This build will be an early P51 with the Allison engine (though I won’t be adding an engine to the build).
I’ve seen a number of Accurate Miniatures’ P-51 models online and if there’s an exception it’s escaped my notice, but they’re all done with the kit decals that shows a P-51 of the 154th Reconnaissance Squadron out of Tunisia in 1943 with the name, Mah Sweet. As it turns out, there aren’t a lot of decals for the P-51 in 1/48 scale. (Yes, yes…I can hear y’all jumping up and down; of COURSE there are lots of P-51 decals available in that scale, but most of those are for P-51B and P-51D kites. I’m doing a P-51 with no suffix. Different bird.) I did manage to find an out-of-production decal set for early P-51s from AeroMaster (Early Mustangs #48-106). As it turns out it has markings for another P-51 from the same unit, the 154th, but with different numbers and name. That’s the set I’ll use for this build.
This is what I’m starting with:


This is where I want to go with it, which is another P-51 from the 154th (decals from AeroMaster Details set #48-106 “Early Mustangs” and the photo is from P-51 Mustang in Action from Squadron/Signals Publications, Aircraft #45, page 12):

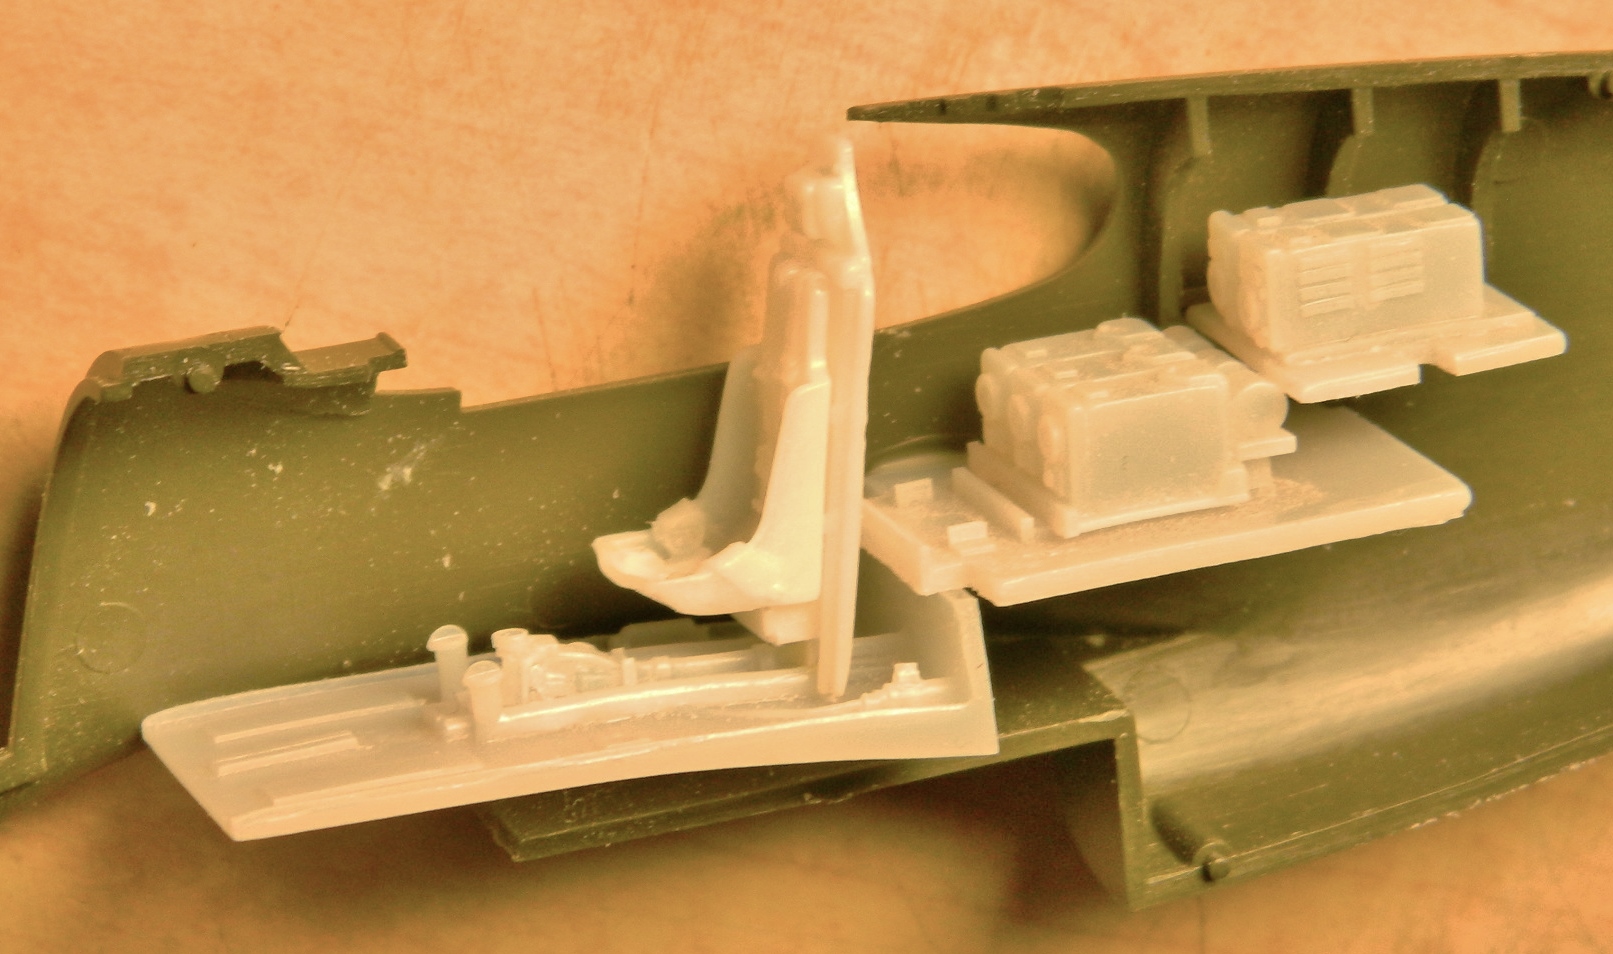
And these parts are what I plan on adding to the build:

Back in the early ’90s, P-51D kits were made by seemingly everyone in many different scales; there were a few P-51B kits, but nobody was making any Allison-engine P-51s. So of course I wanted to build one. I found a resin conversion kit that replaced the fuselage halves of Monogram’s P-51B and started work. But just before I had to move and lost shop space, I noticed that the sides of the nose had a different cross-section between the Merlin engine and Allison engine Mustangs. Construction stopped while I figured out a way around that problem, and then moving really stopped construction. However, some of what I had done I would be able to use with this build.
The Verlinden set offered me the resin armor plate and A-brace but I don’t think it goes quite far down enough. I pulled my scratch-built piece out and compared them:
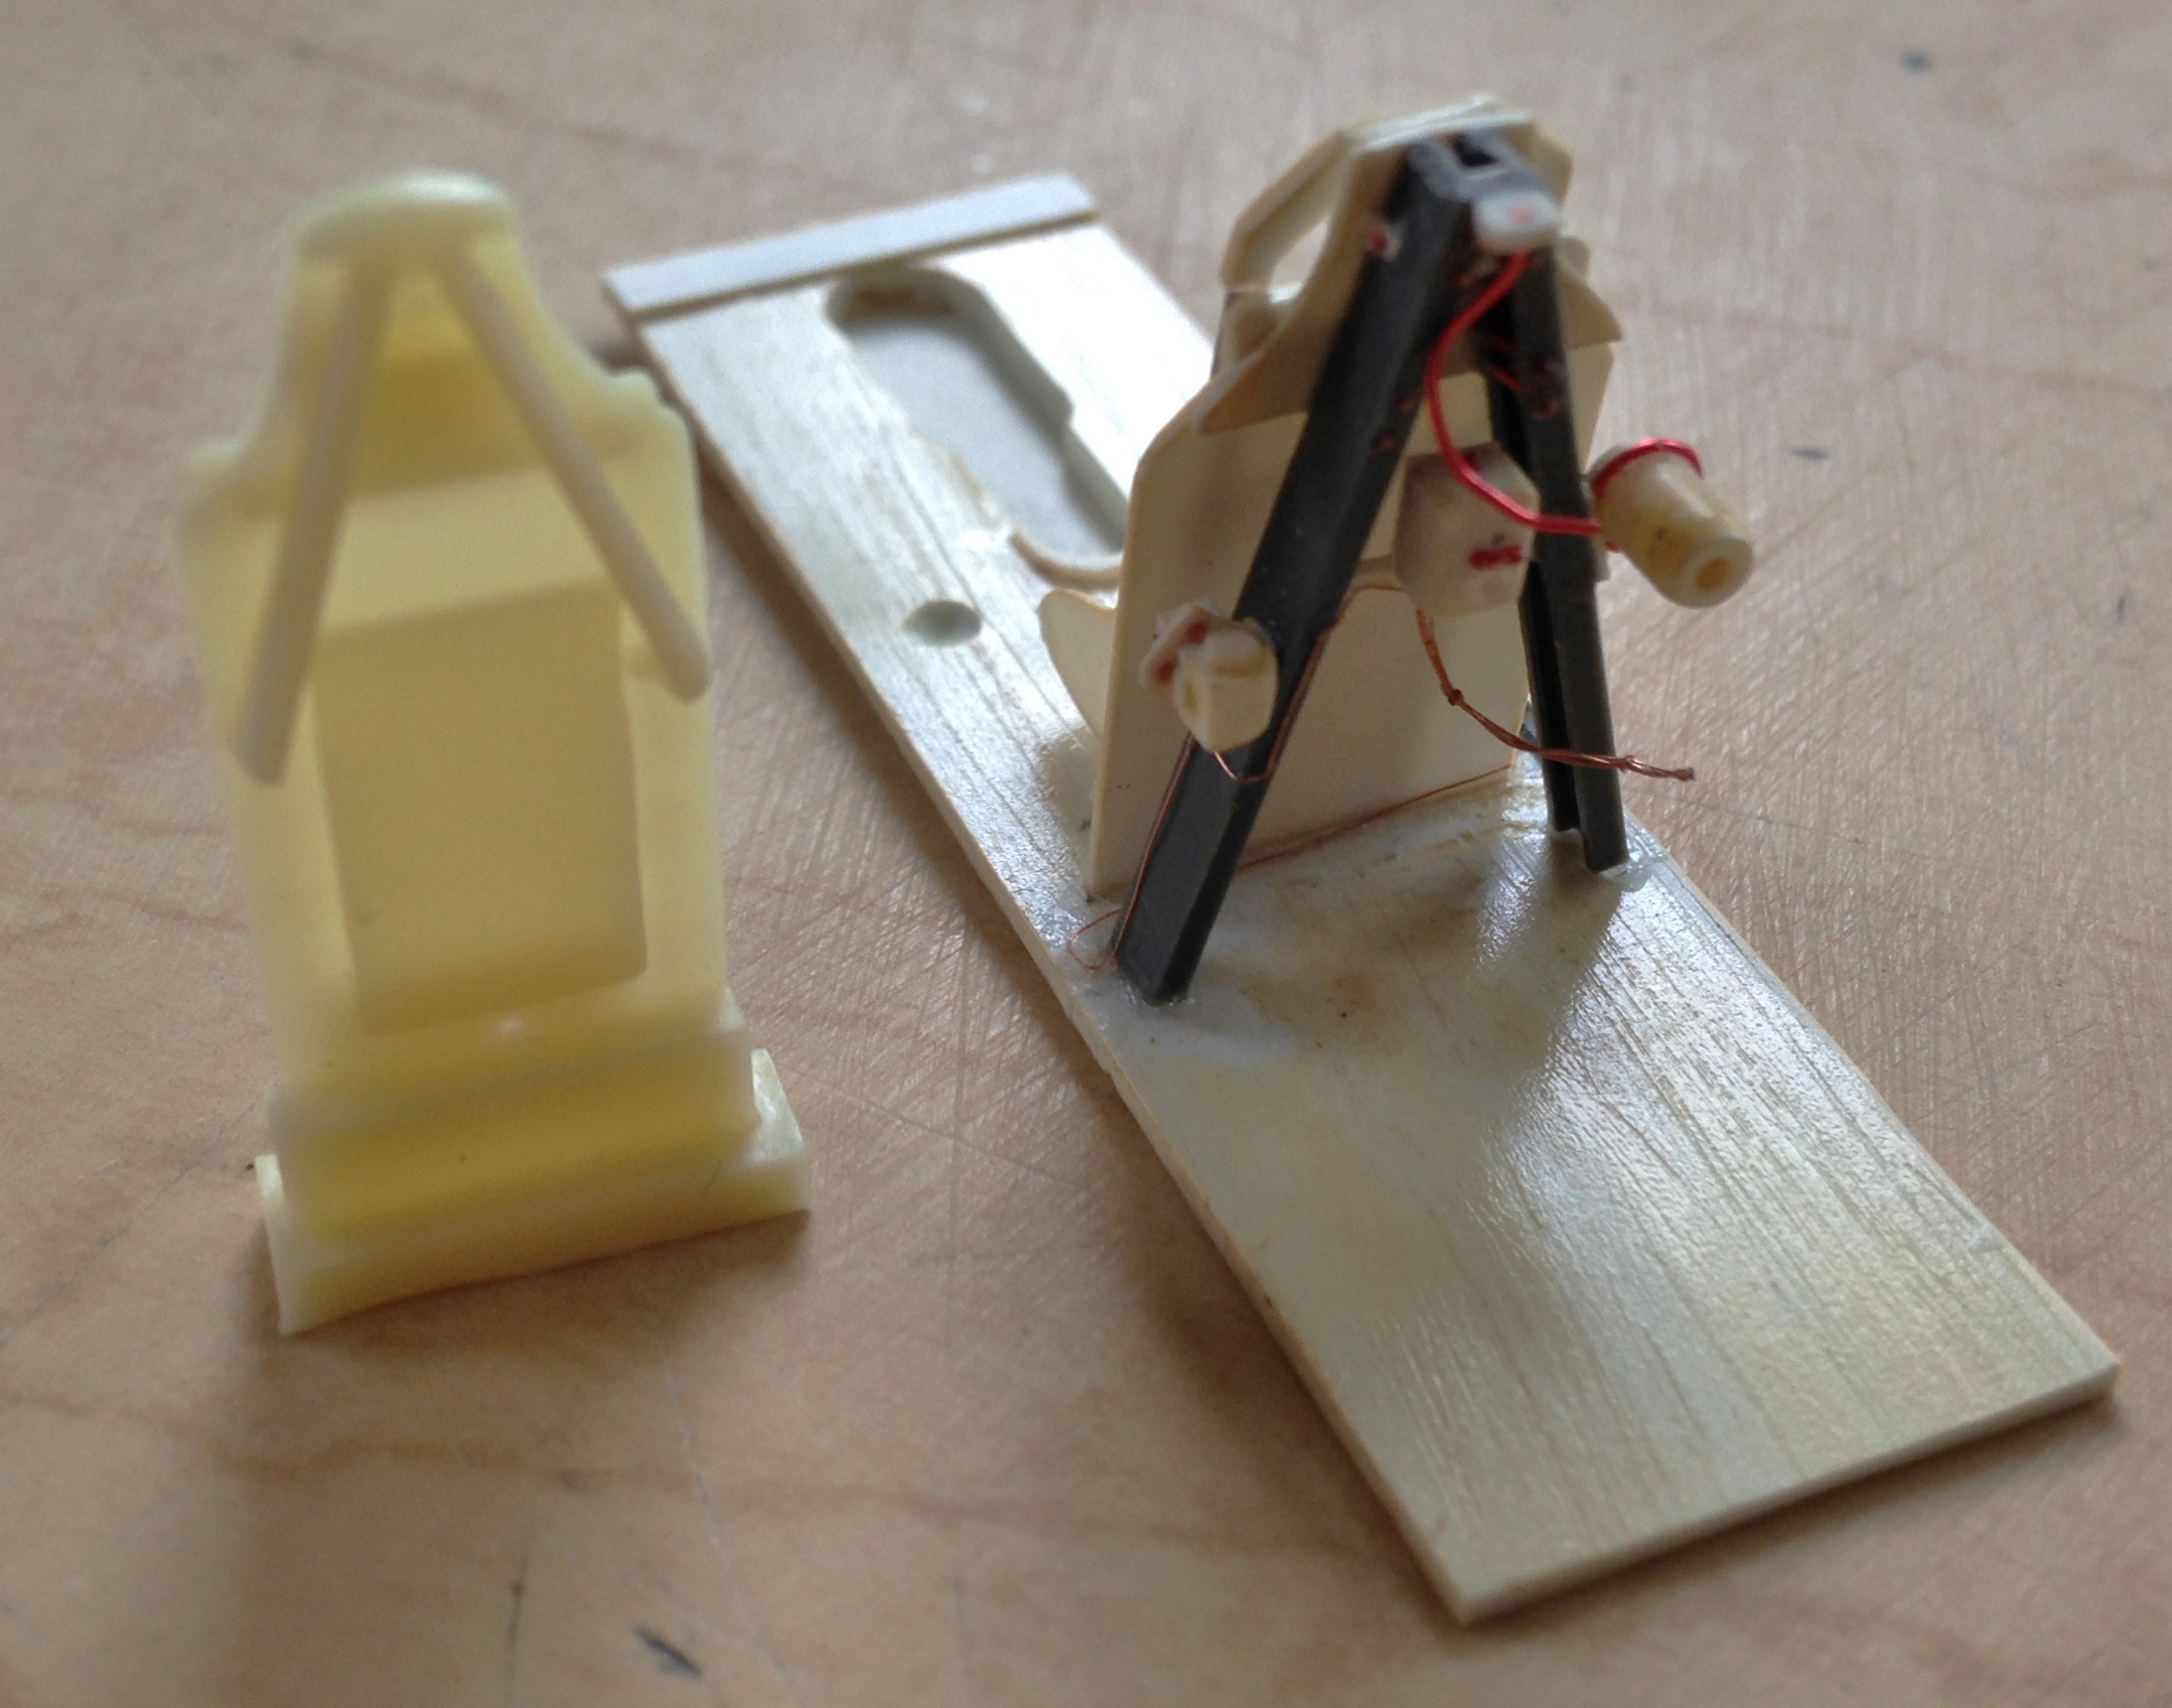
I decided to use the A-brace and its assorted bits. But since I’m going to be doing a few Allison Mustangs, I didn’t want to have to scratch-build that assembly again which meant making a mold of it to cast those parts in resin. It was heartening to note that when I glue something together, I glue something together. It was more heartening to not break anything while separating the parts for the molding process:

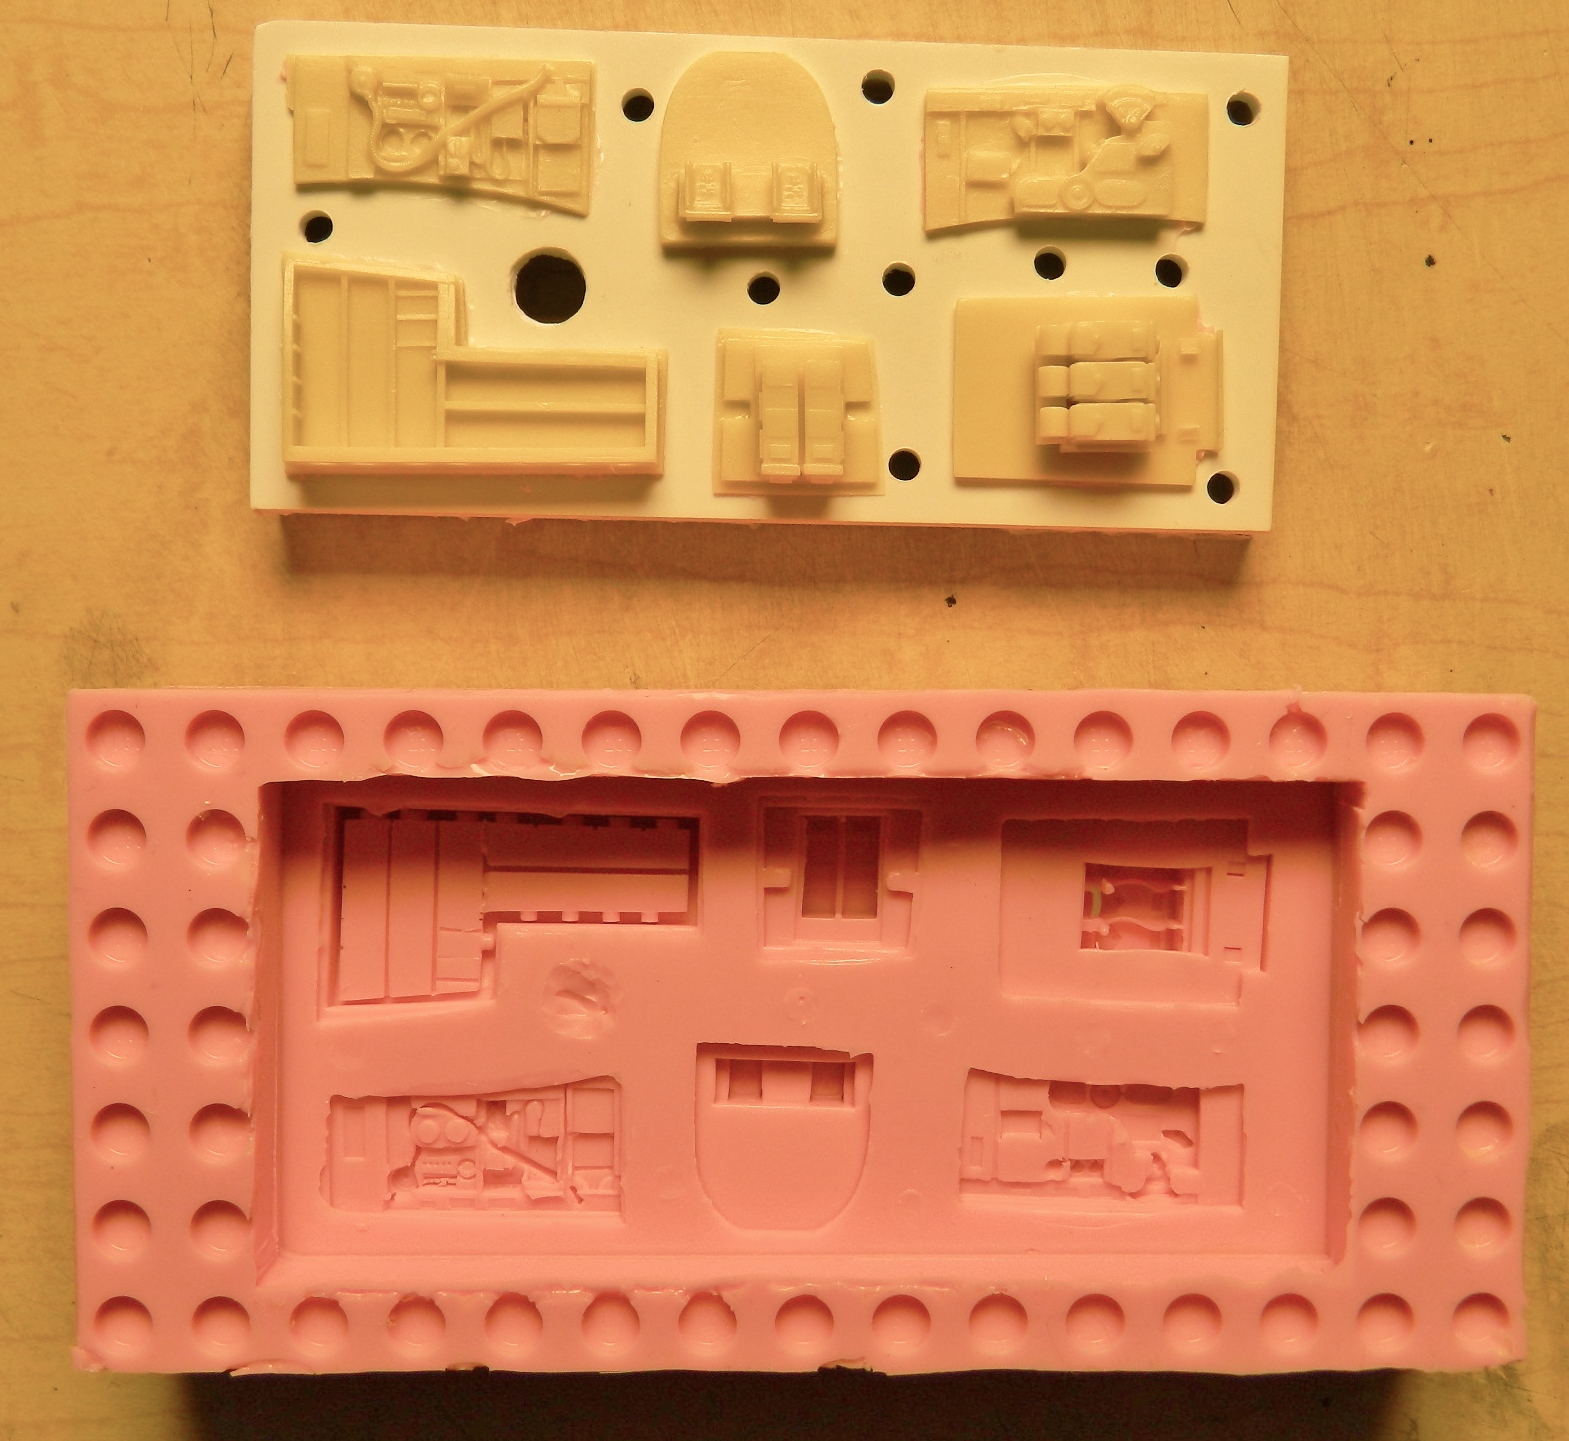
Once separated, the parts needed to be gated so that I could pour them. I also added plastic to the back of the instrument panel so that it would pour easier:


I also took molds of the other parts in the set:

I think it’s safe to say that pretty much all kits have something wrong with them. In this situation, I’m encountering the commercial balancing act between engineering and producing an accurate kit and yet still keep the final cost of the kit reasonable, and the Accurate Miniatures kit, though quite a leap forward at the time (the early ’90s), was no exception.
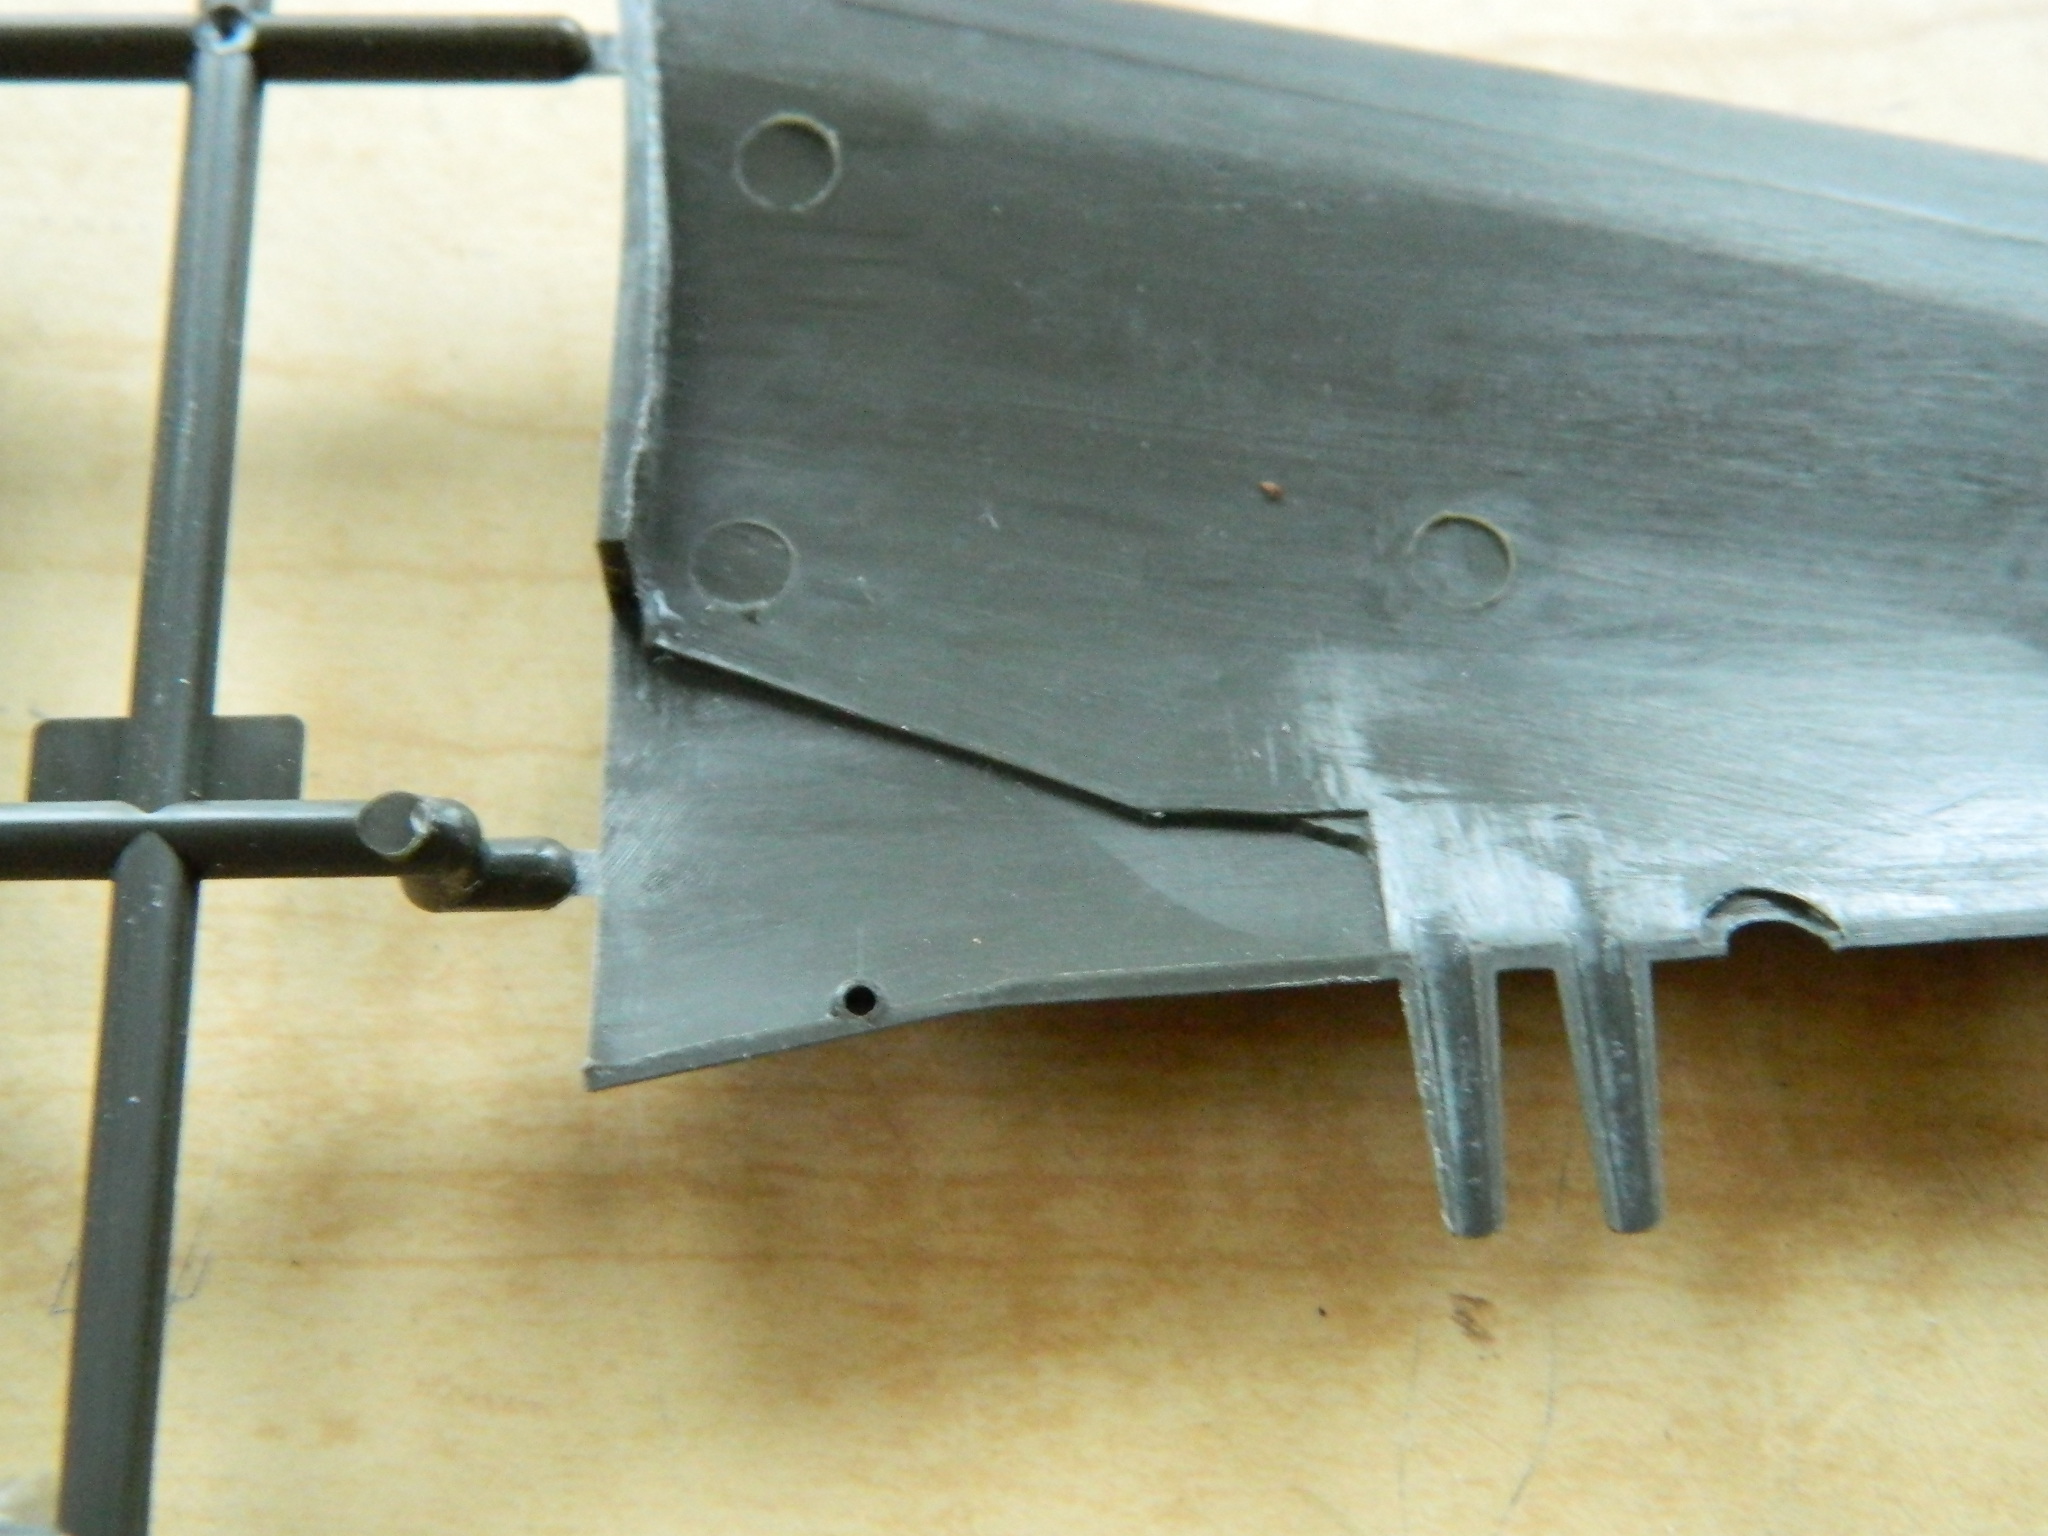
The first thing I noticed is that the landing gear wells are going to need to be reconstructed (and yes, once they have been, I’ll take molds of them and use resin castings in the builds). The rear of the landing gear wells is molded pretty much the way everyone else at the time molded them in this scale. And pretty much like everyone else producing these kits, they’re wrong. The rear of the wells doesn’t follow the openings in the wing surface the way the kit parts do. If you look into the landing gear well of a P-51 (which I have), you’ll see (like I did) that the rear of the well isn’t V-shaped as it’s been molded but is open all the way back to the main spar. And the ribs are not only not that thick (they’re aluminum stampings), they have lips around their edges for rigidity. The kit has none of those features so most of the molded-in wells are going to be cut away and replaced:
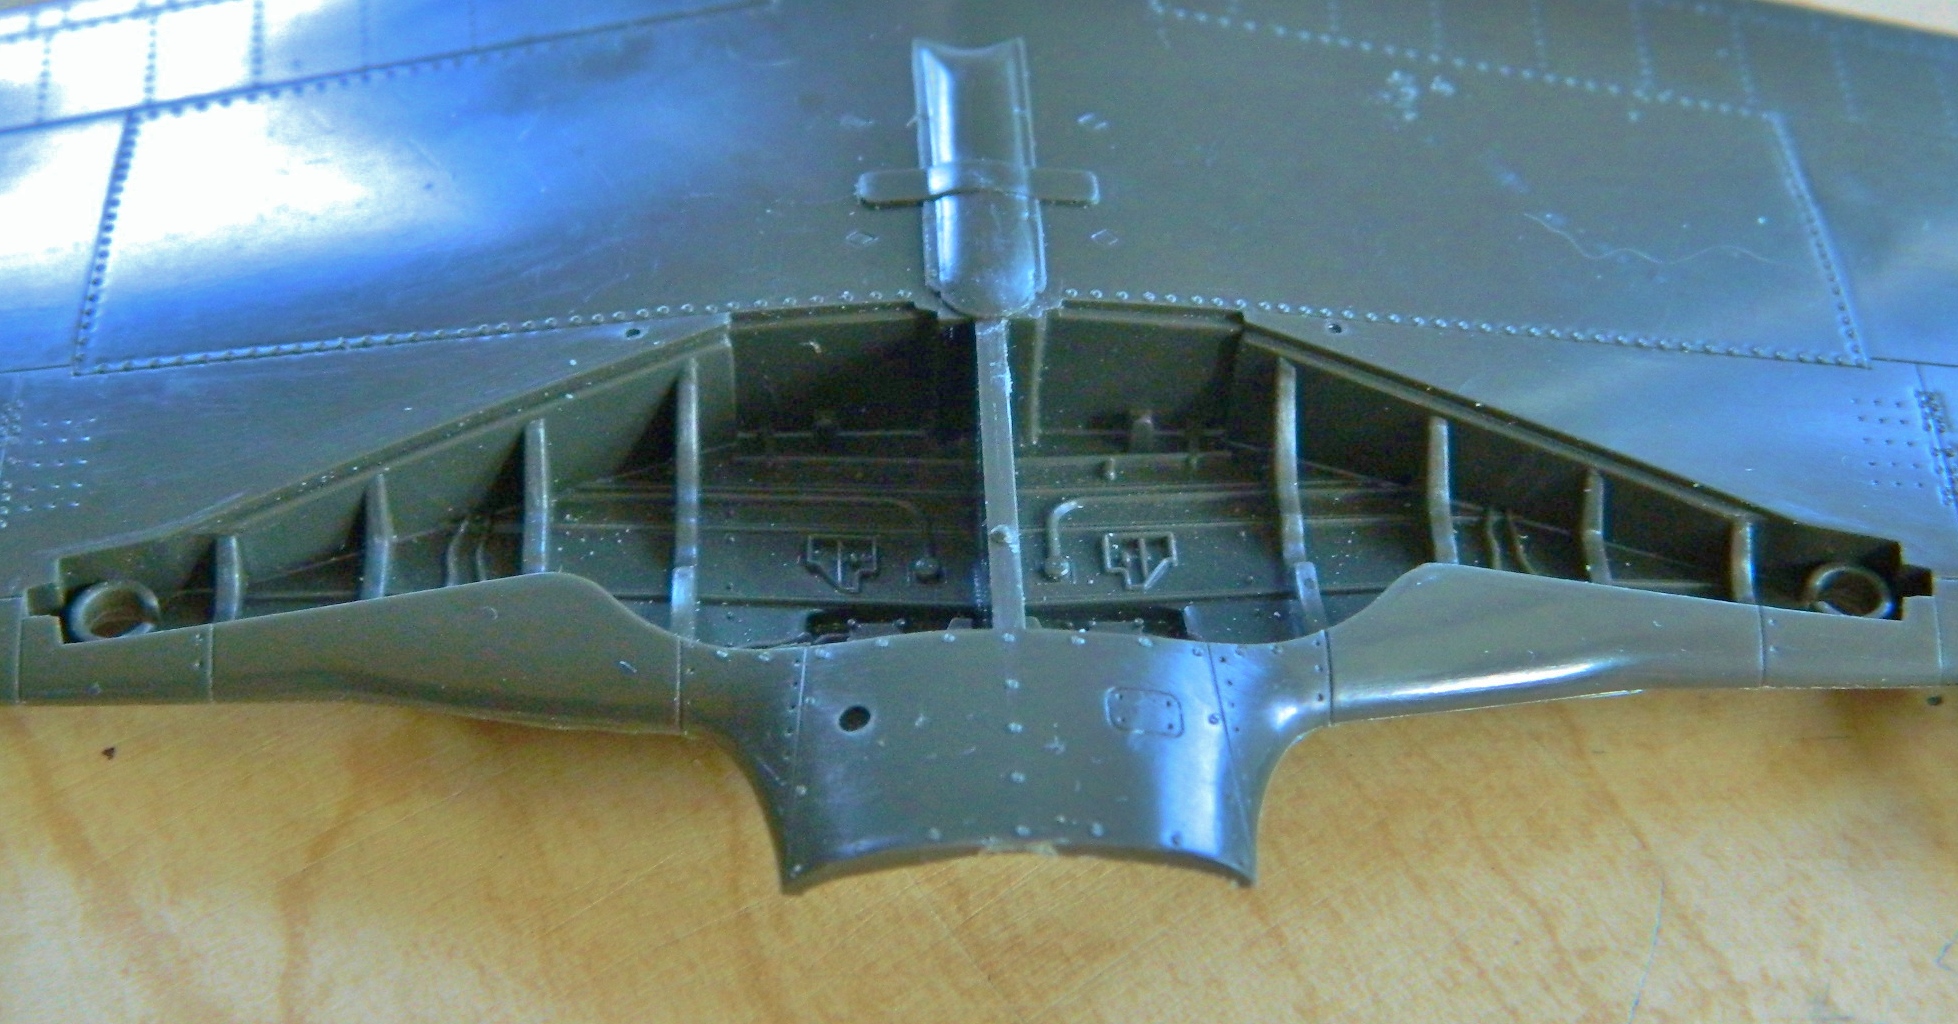

The top of the wells (or bottom, as you look at the above-left photo) are actually the underside of the upper wing surface of the actual Mustang. That means I have to blend the lip below into obscurity:
To do that, I’m going to need to follow the inner curves of the wing so that the parts fit. But to get that inner curve, I’m going to have to assemble a wing and then section it so that I can trace the inner shape. I only have one P-51 kit, but I have a few P-51A kits, and though the armament of the two variants was different, the wing is the same. So one of my P-51A kits has become the donor kit:
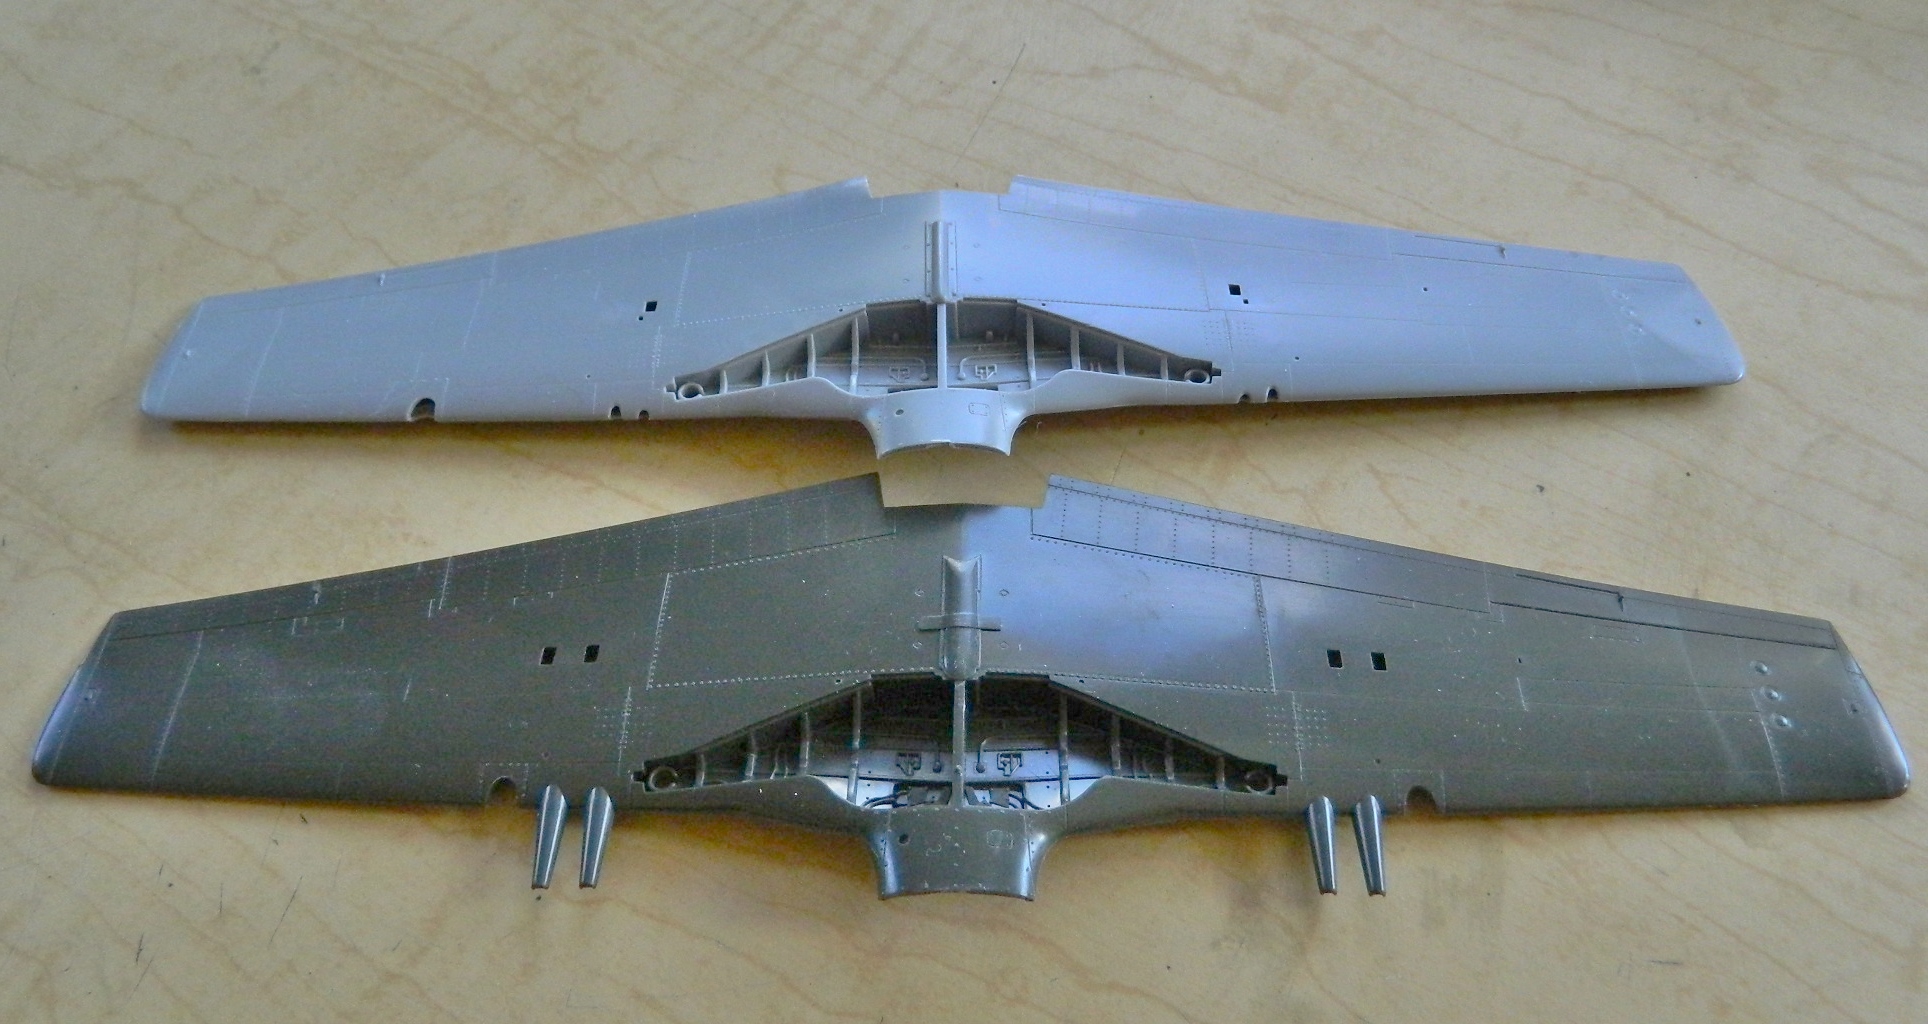
The lower-right photo has arrows pointing to the rib I’m going to want the shape of:

The wing was cut just short of the rib so that I could get in there with a pencil. The inner protrusion is part of the section where the landing gear leg attaches and I’m going to want to keep that for structural strength when the landing gear is attached, so the rib has to be built around that protrusion. Once I had the section I wanted cut free of the rest of the wing, it got taped to a sheet of .040″ (1.016mm) styrene and the inner shape traced:
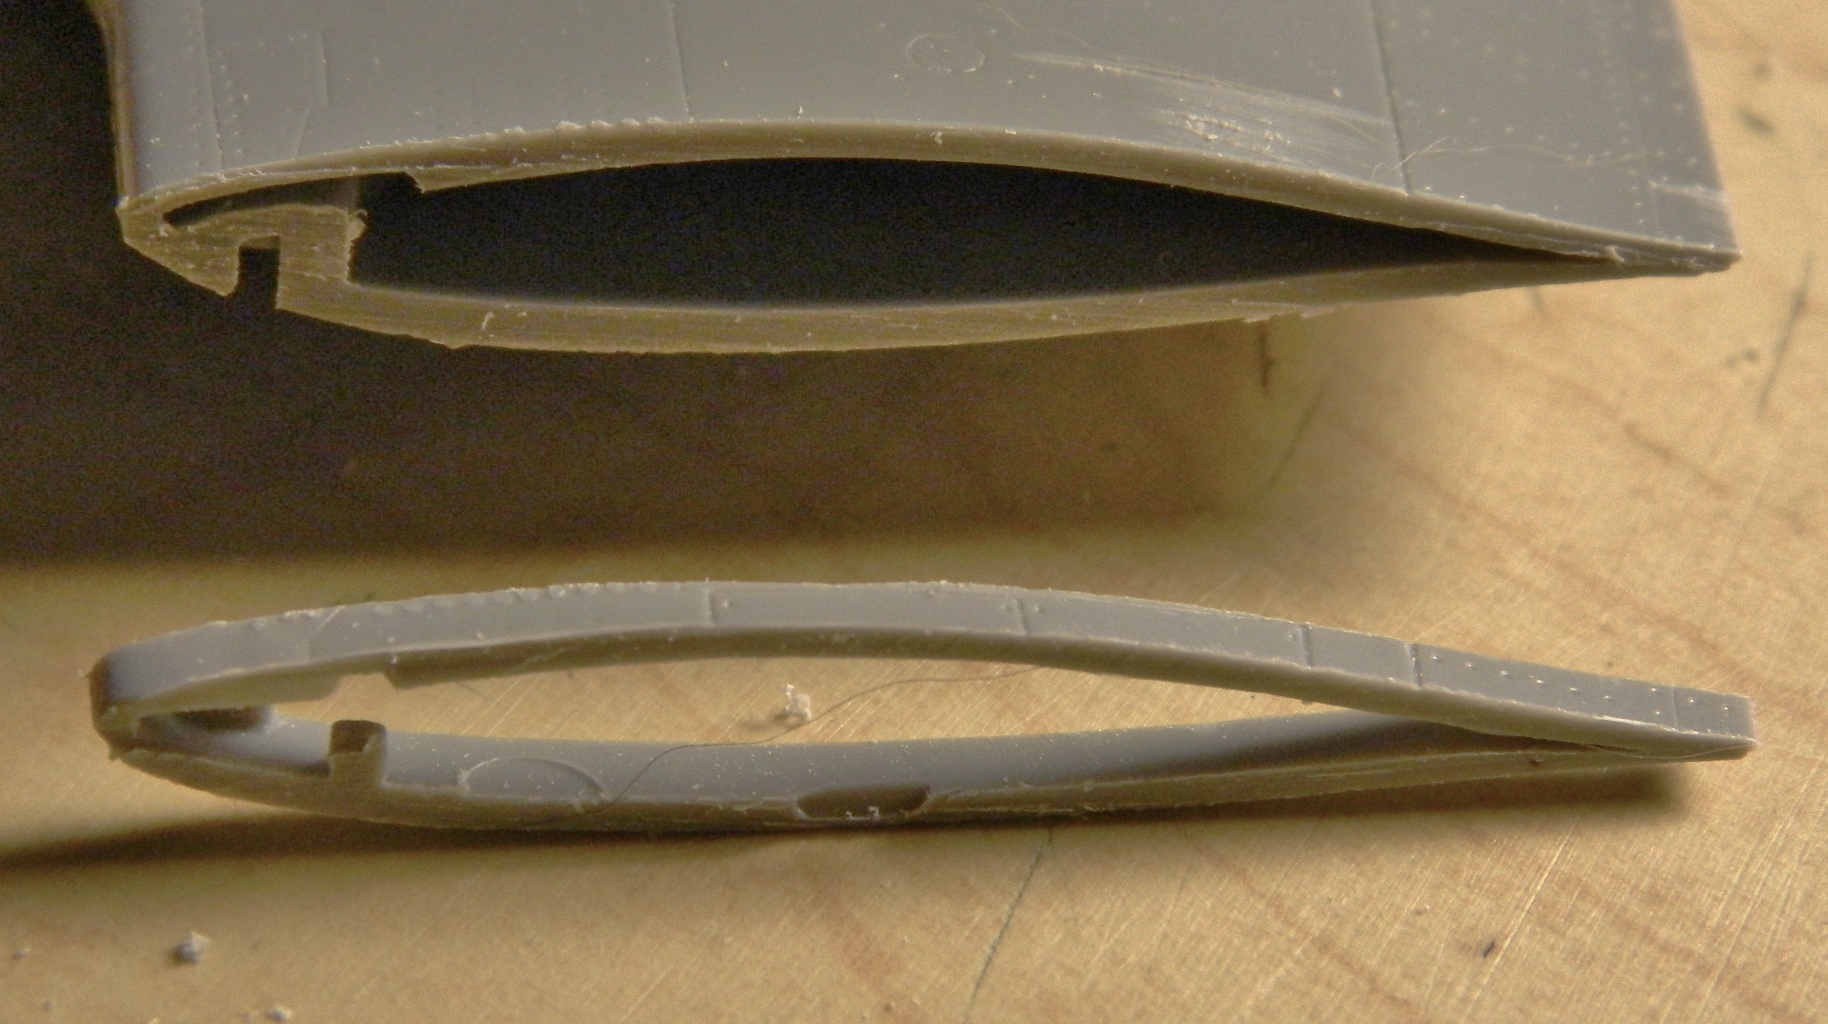

Once I had the rough shape outlined, I cut, carved, cursed, filed, cursed some more until I finally got an adequate fit. This piece will form the outer end of the well:

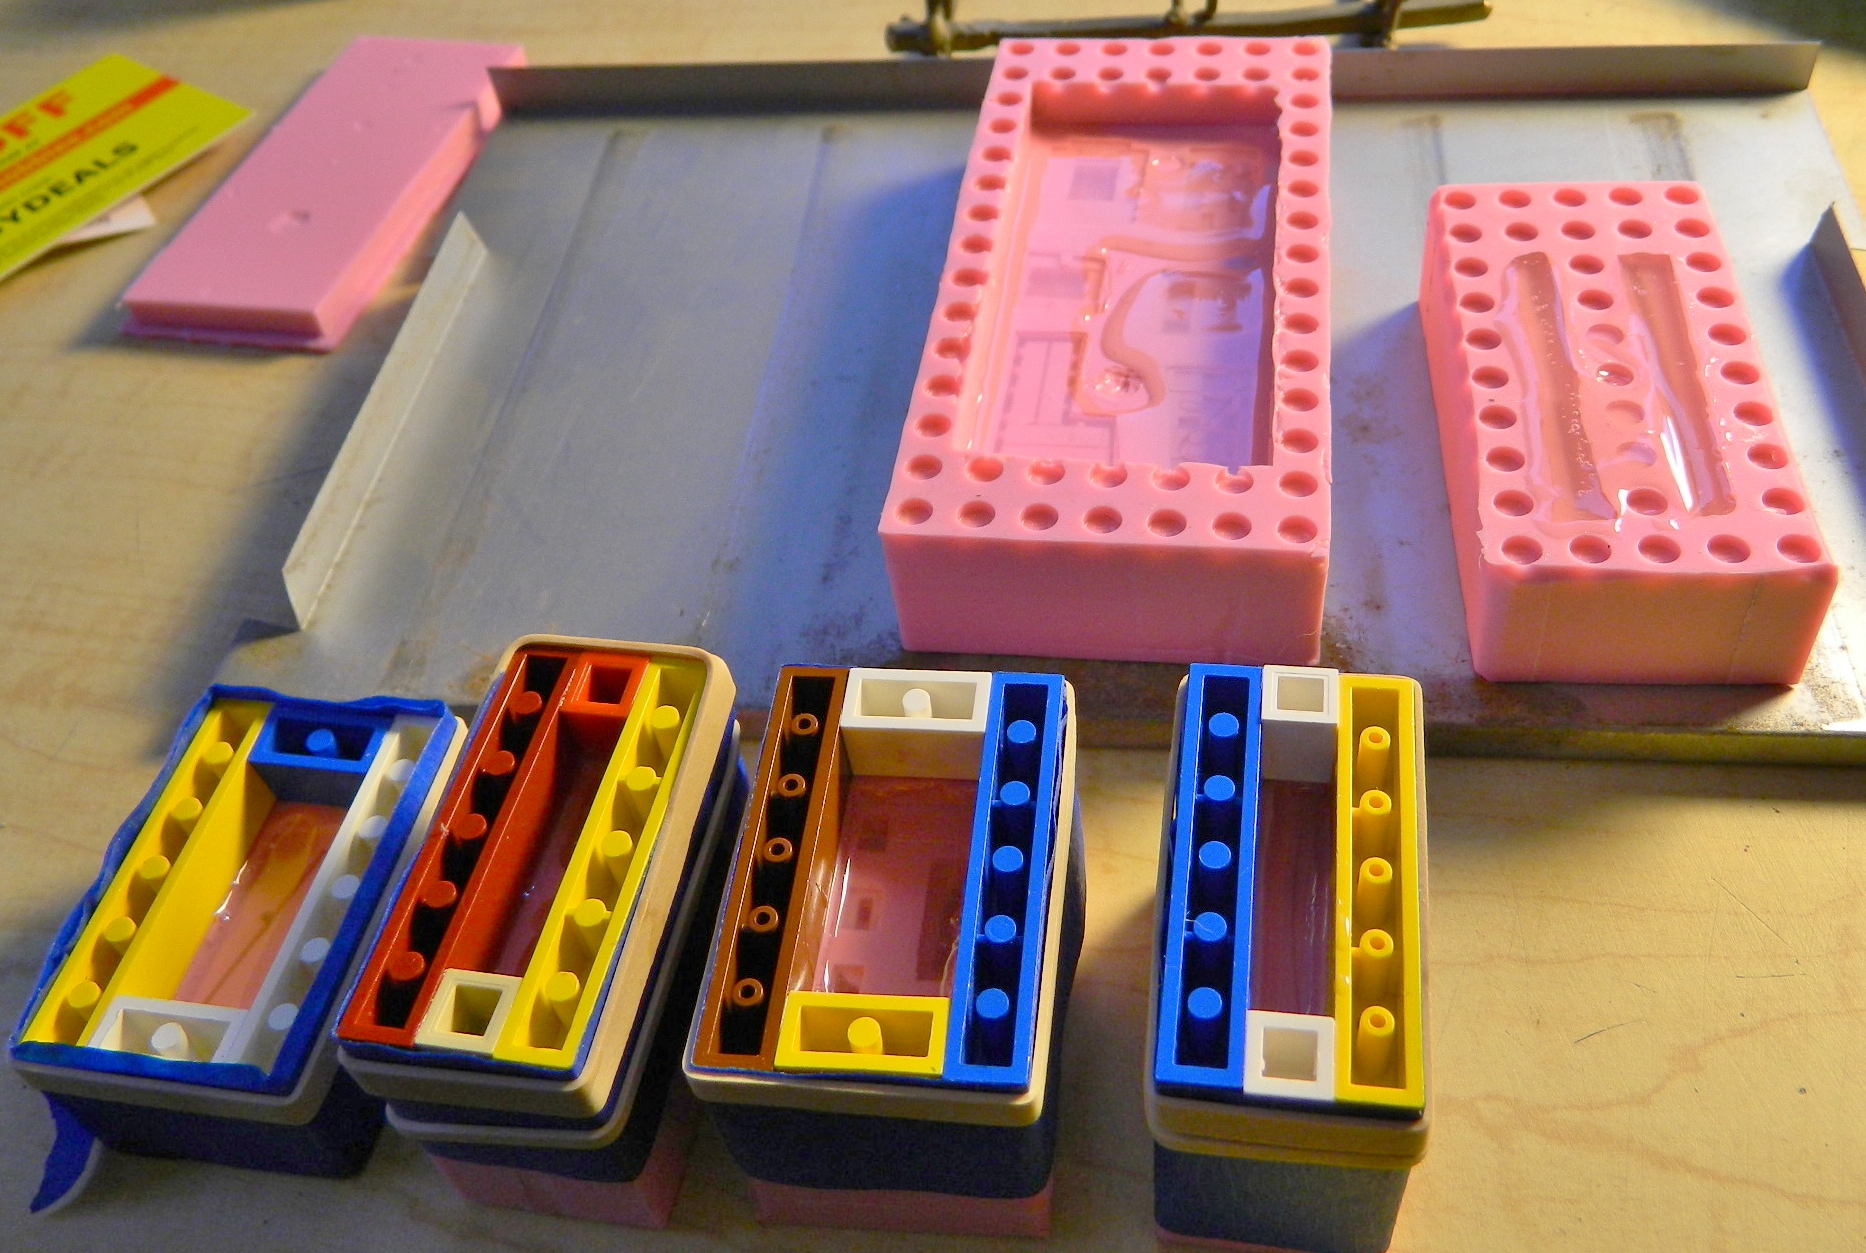
While I was working on that, I was also pouring resin into my new molds (the Lego blocks were taped to the edges of the molds to see if I could get a better reservoir for the resin and though I did, the “benefit” of that reservoir wasn’t worth the hassle of it all):
With the parts out of the molds, trimmed, sanded, filed, and cursed at (really, I’ll take any excuse to exercise my ability with colorful invective), the dry-fitting began by tacking things together with white glue and contact cement: