Now to get the ducting assembled with much dry-fitting along the way. I’ve found it easier when adding pieces that require a specific size to add the piece before trimming it. Once the glue has set, trim to fit. Much less hair-pulling that way:


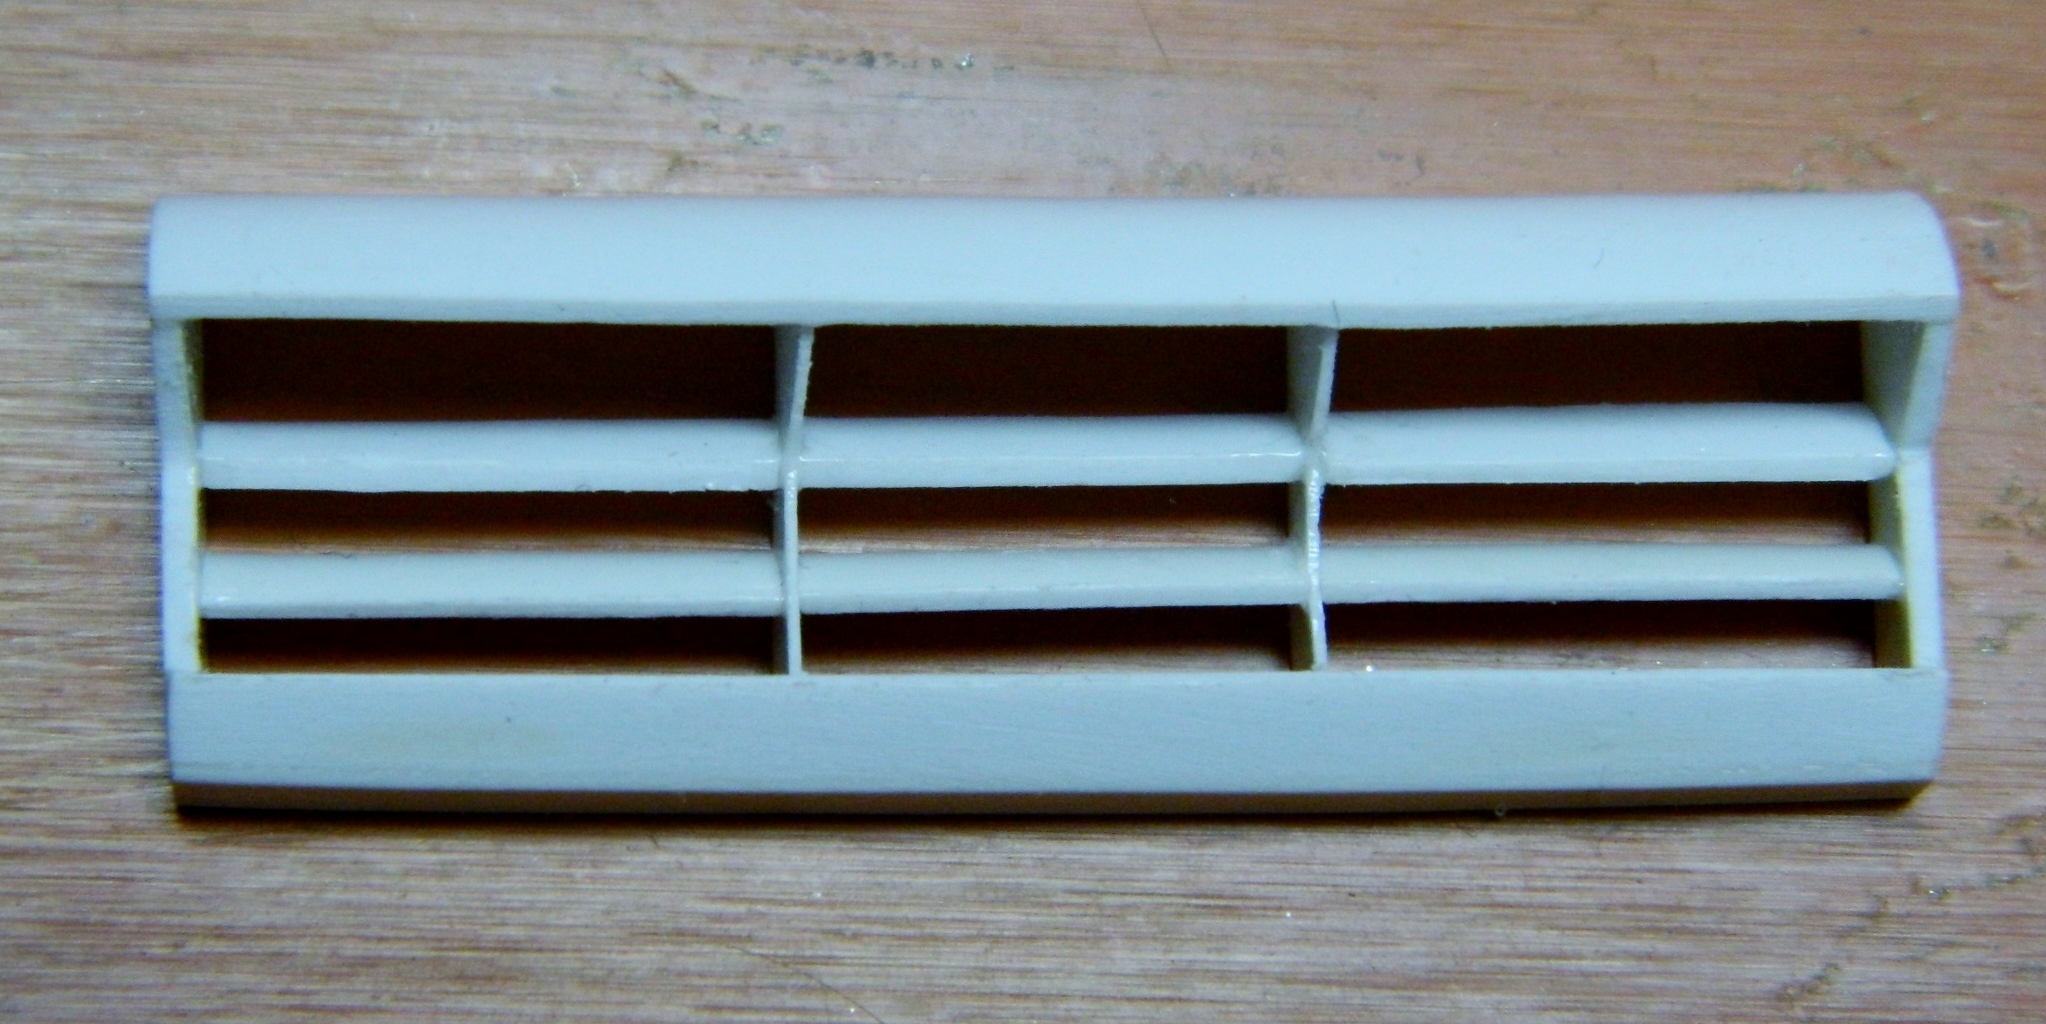
With the basic structure of the deflector (because I don’t know what else to call it) set, horizontal sections need to be added. They follow the same curve as the top of the deflector so I checked to see if the left over plastic I’d vacu-formed would work and it looks like it does:
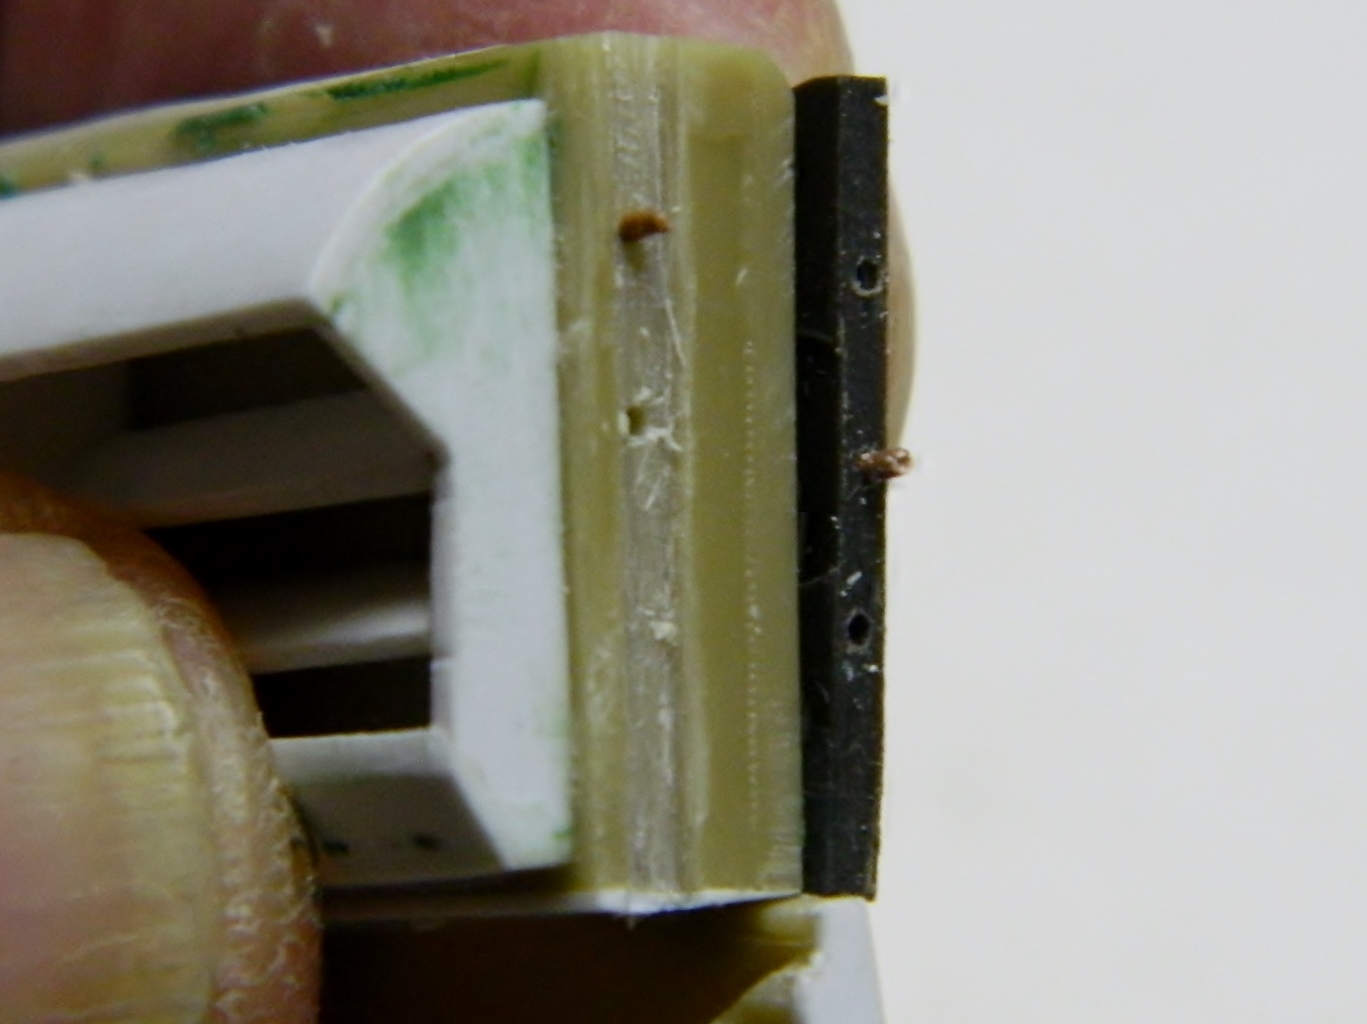
With the structure done, things need to be tidied up and trimmed:
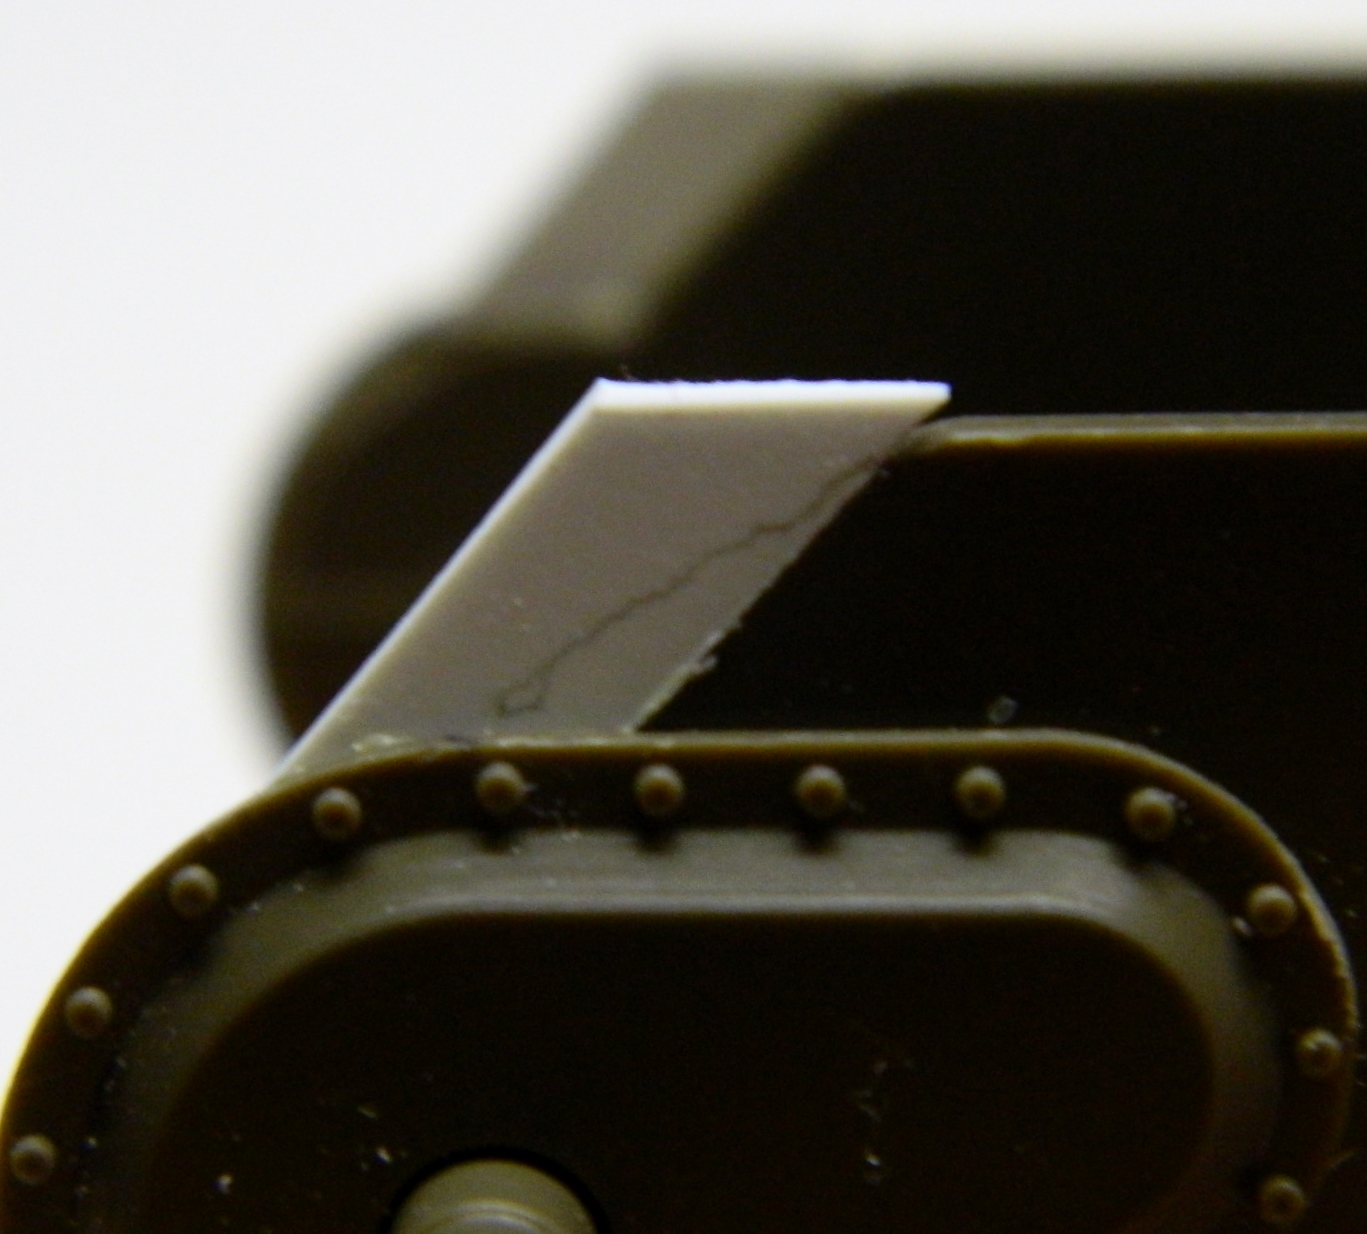
In the course of dry-fitting the deflector to the back of the radiator bulkhead I dropped the Damned Thing. That would have been okay because it’s light and no damage would have happened to it if only my reflexes hadn’t gotten involved and grabbed the Damned (and fragile) Thing. So I had to repair it and the result isn’t quite as good. As it turns out, this part will be mostly (if not completely) hidden. So lest I drop the Damned Thing again, it gets glued to the radiator bulkhead:

With that done, it’s time to attach it to the lower rear piece, correcting the inaccuracy of its angle:
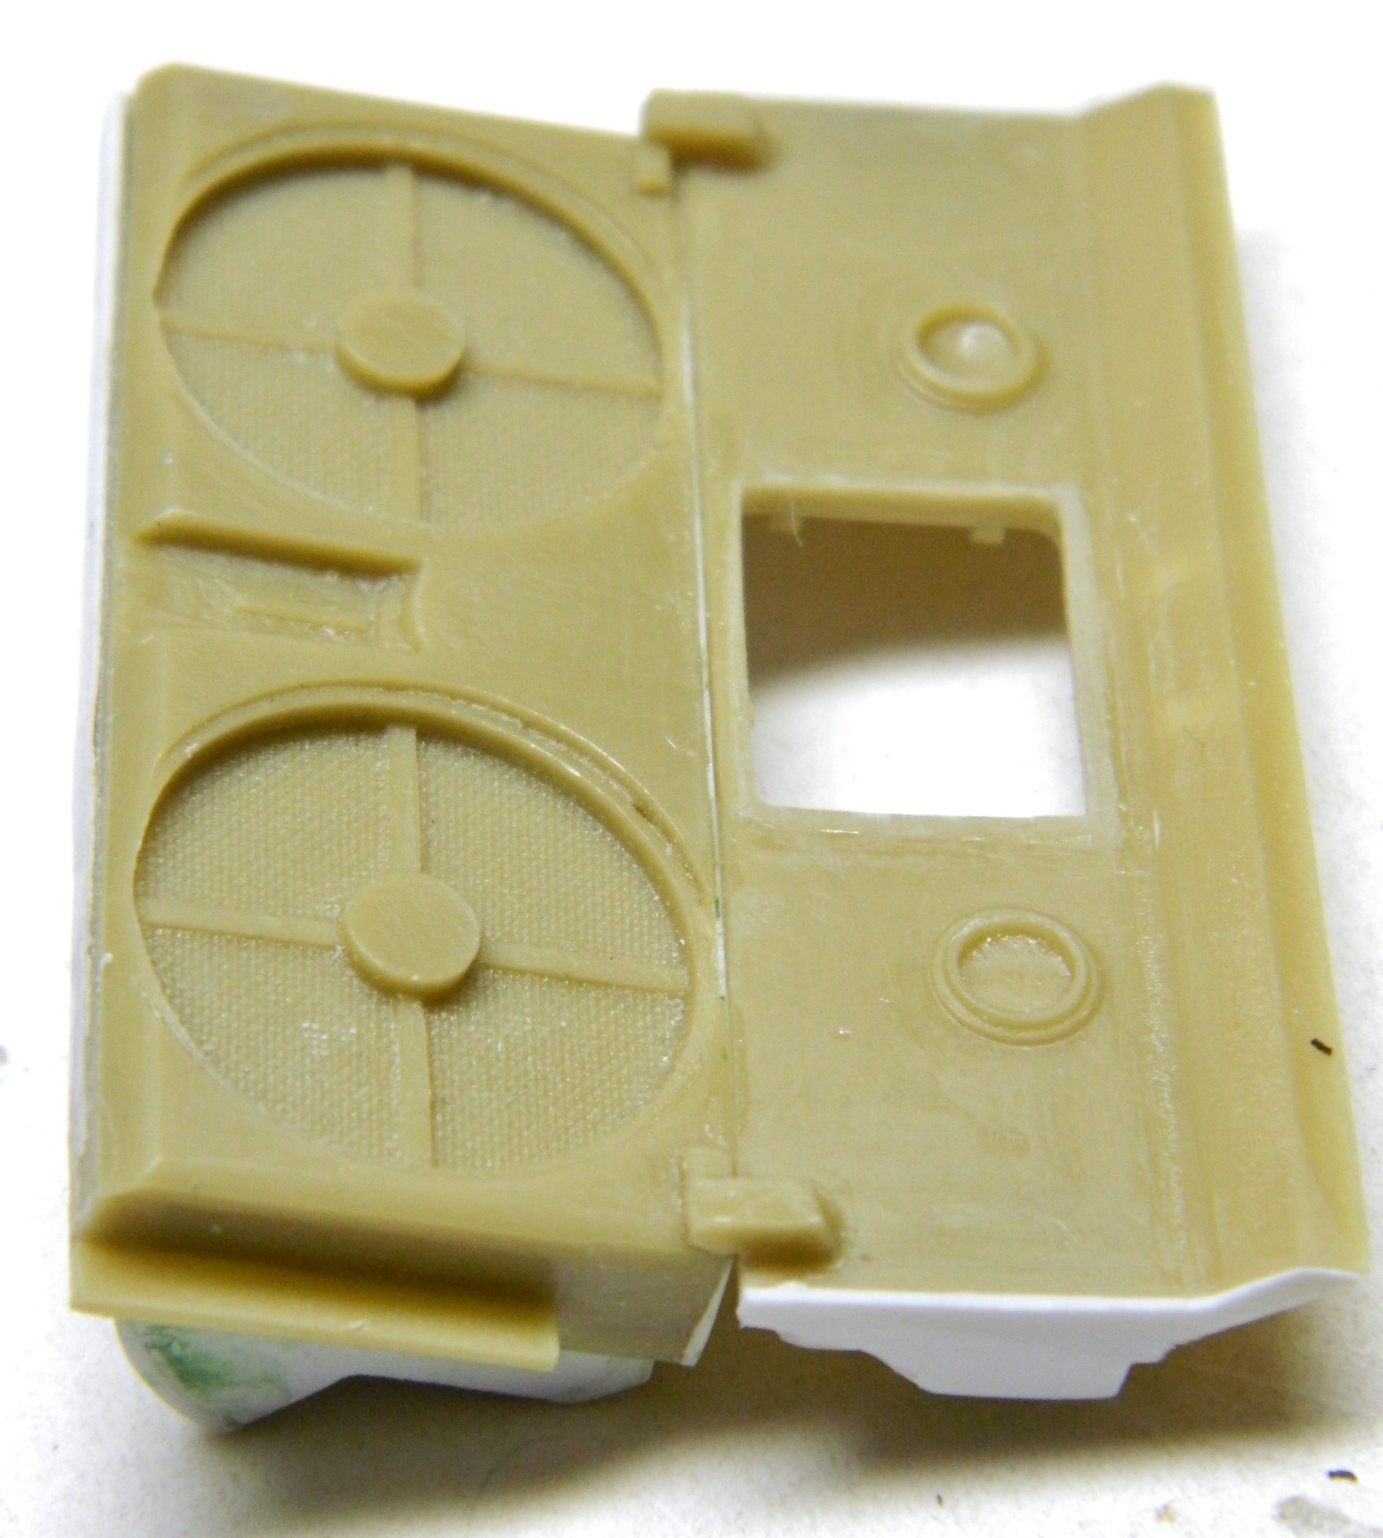
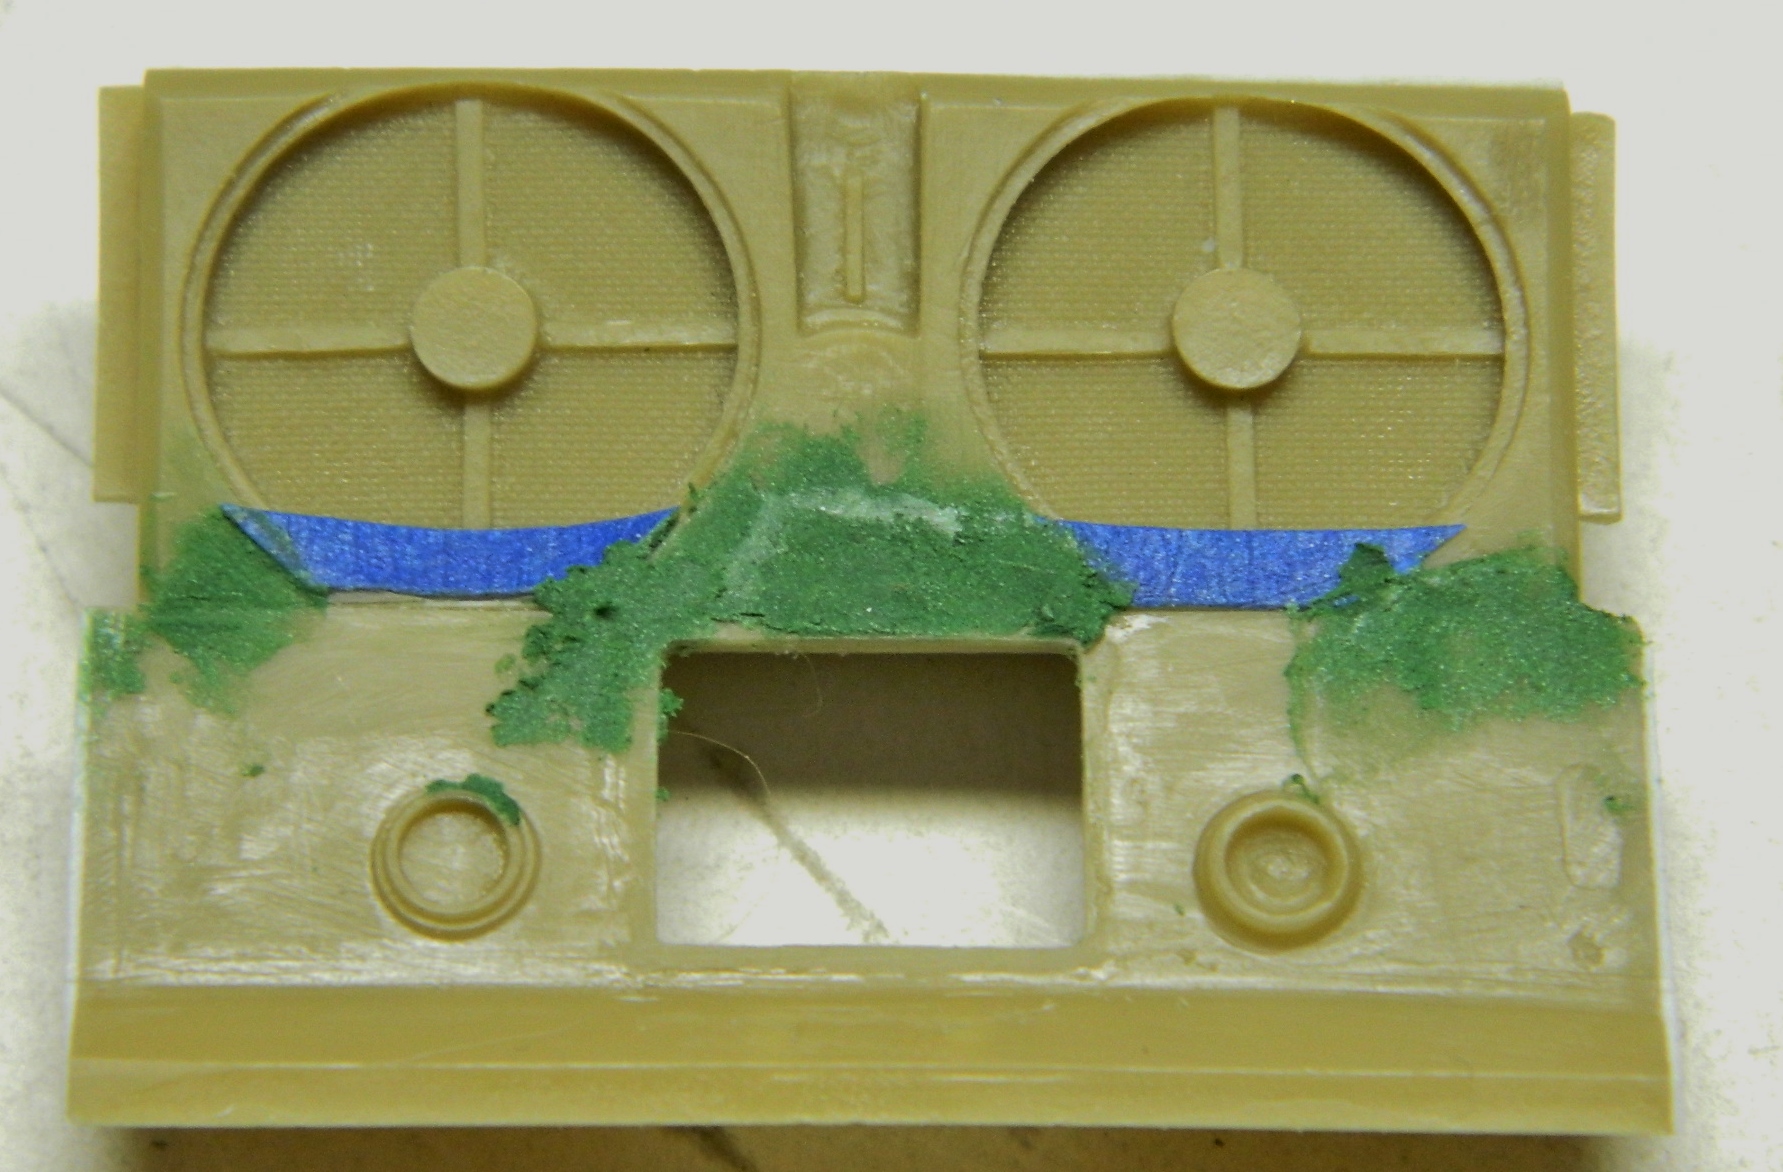
There were alignment tabs cast into the resin parts that had to go. I still wasn’t entirely satisfied by the line created where the radiators meet the lower plate so I masked off the radiator openings and applied putty to the seam. Later on I will scribe the line back in:
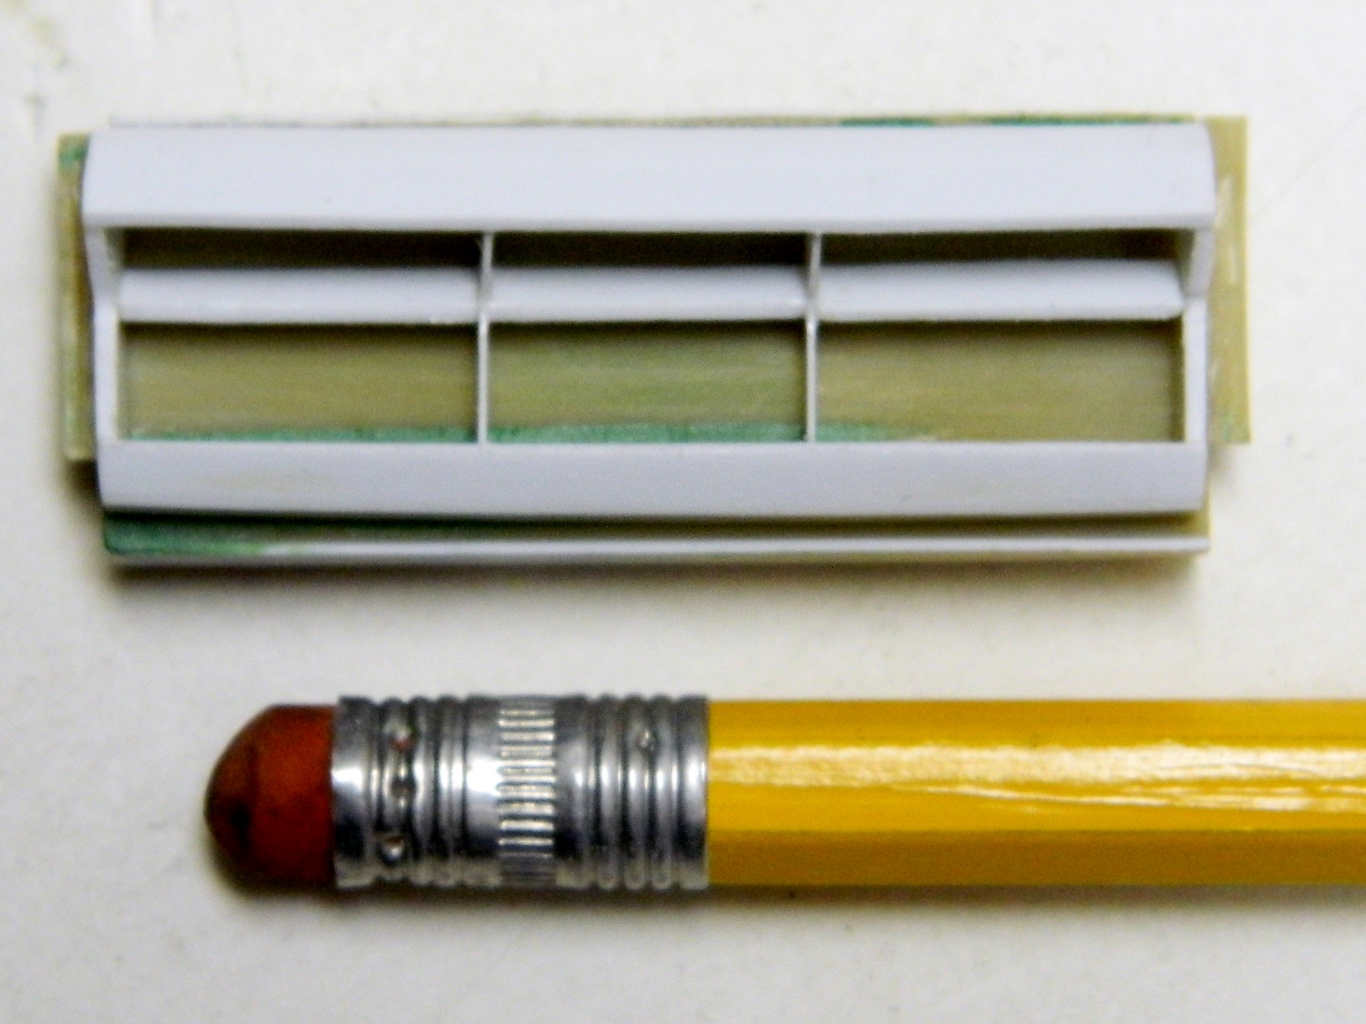
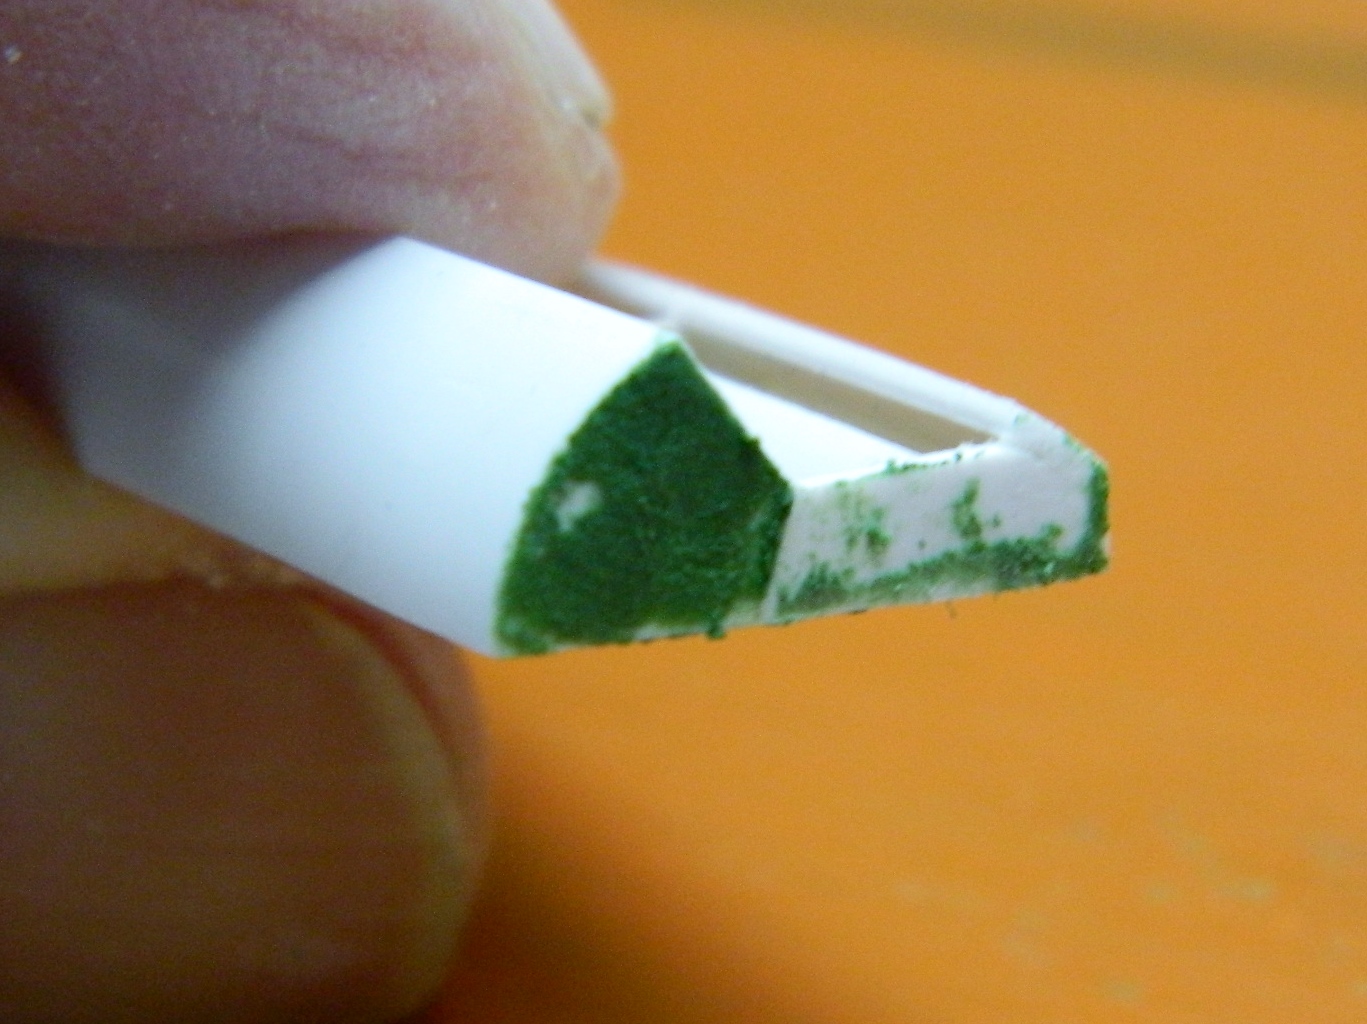
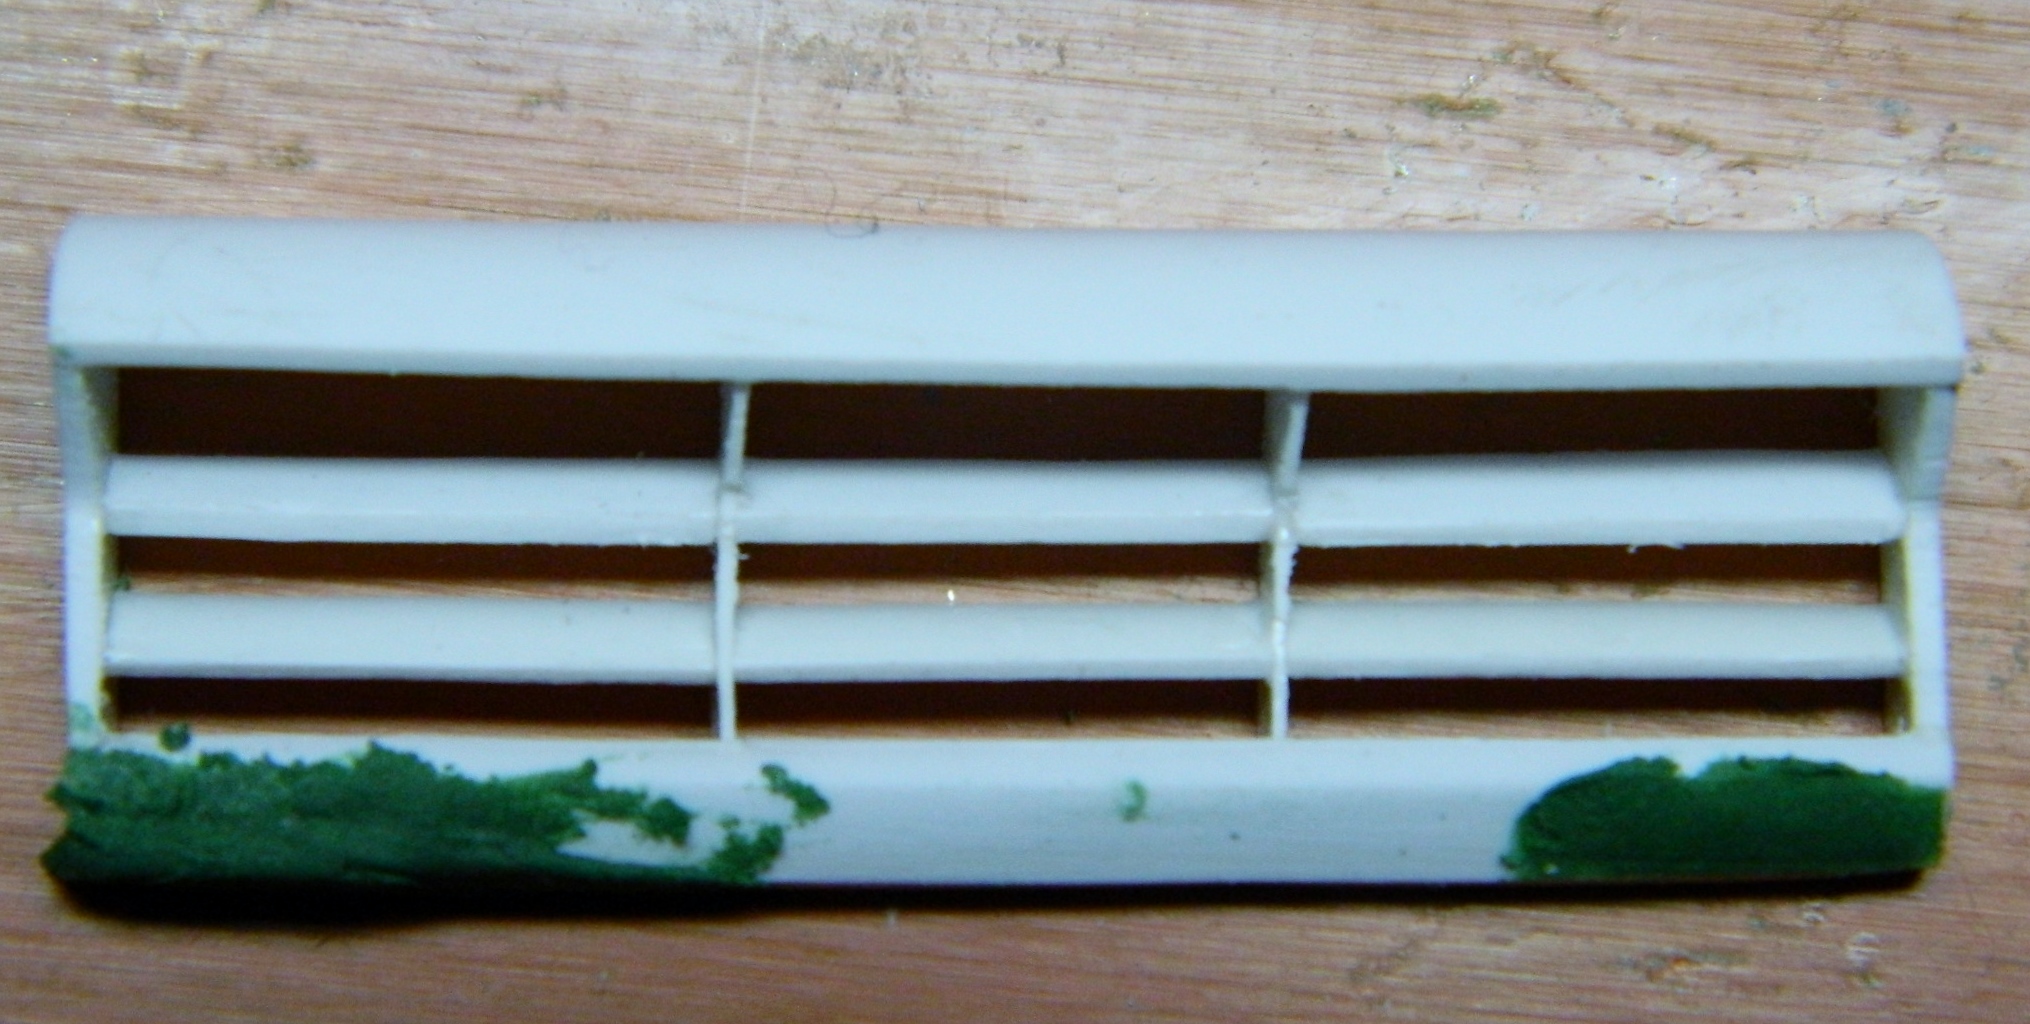
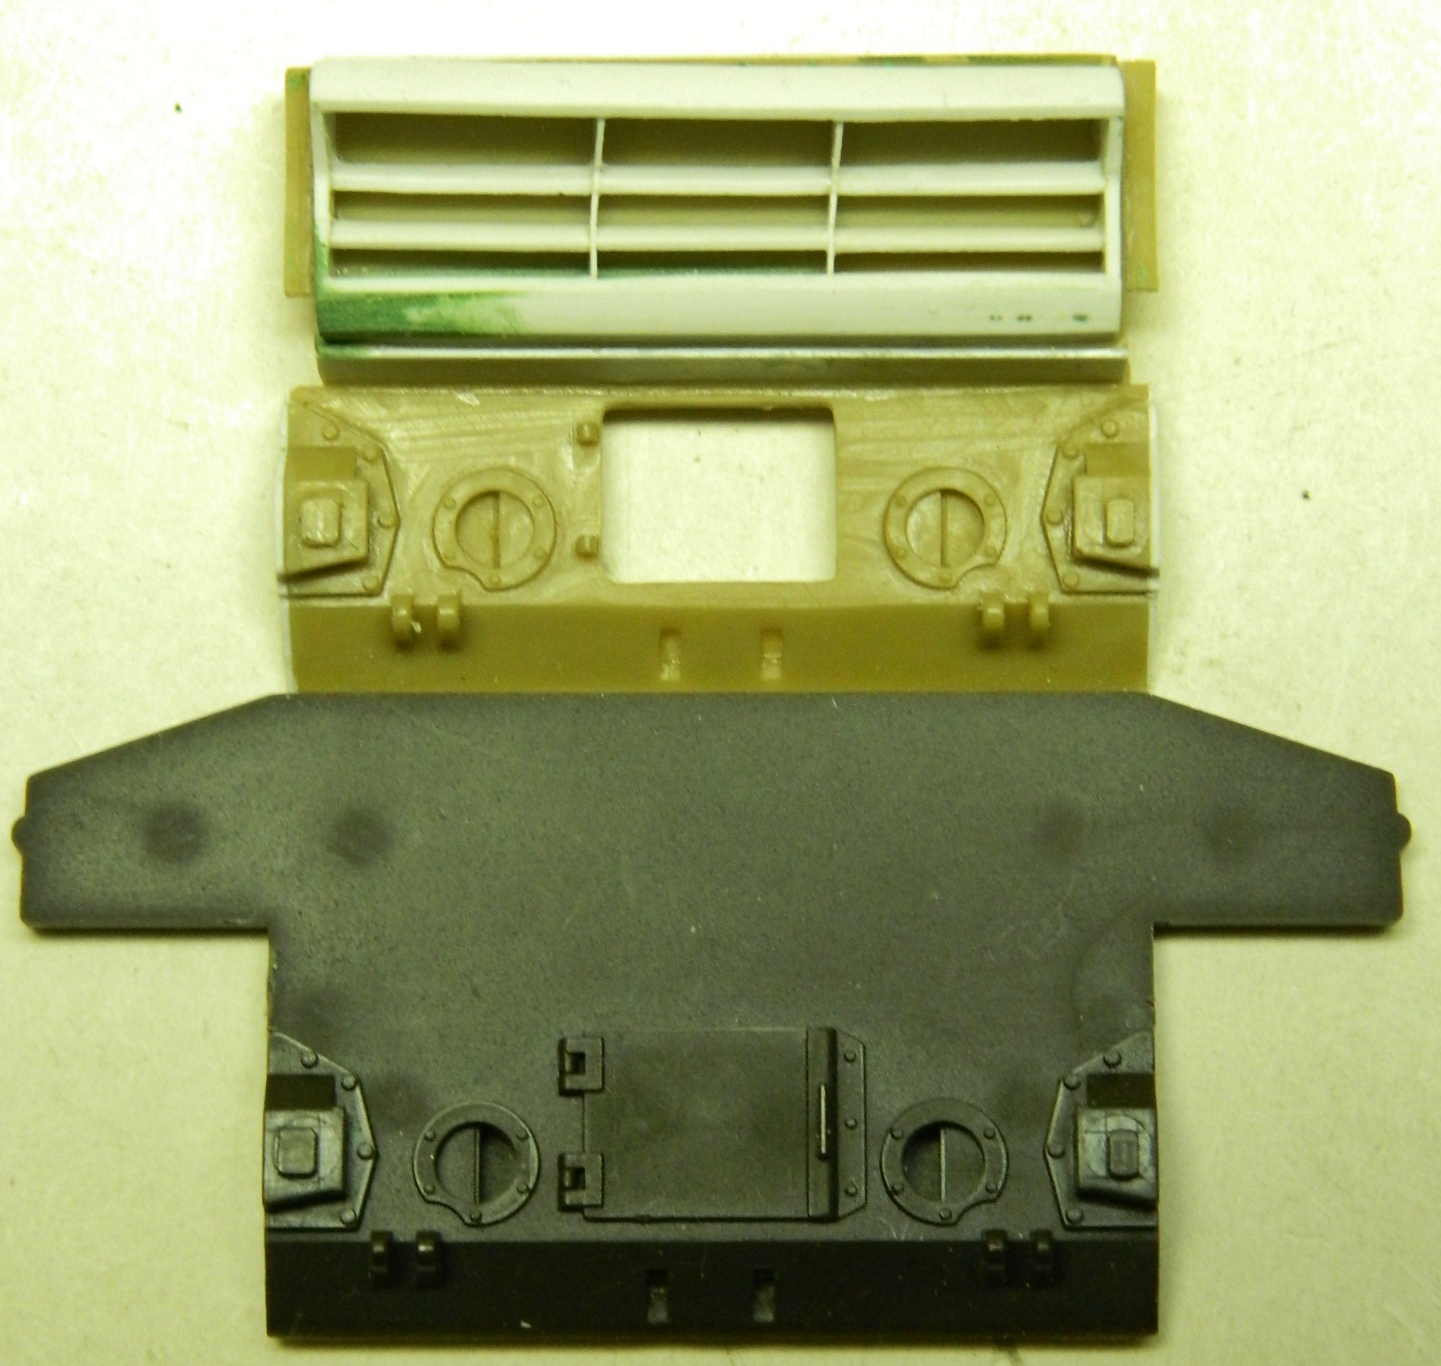
The kit part is in dark green at the bottom. There are “wings” on either side that I need to replicate on the replacement parts. Originally I thought I’d make them out of styrene but then realized that I already had the properly formed parts. Kit parts! So I’m going to measure, cut, and attach them to the replacement parts:
I aligned the bottom of the kit part to the bottom of the resin part and used a white colored pencil to trace the cut lines onto the kit part and made my cuts:

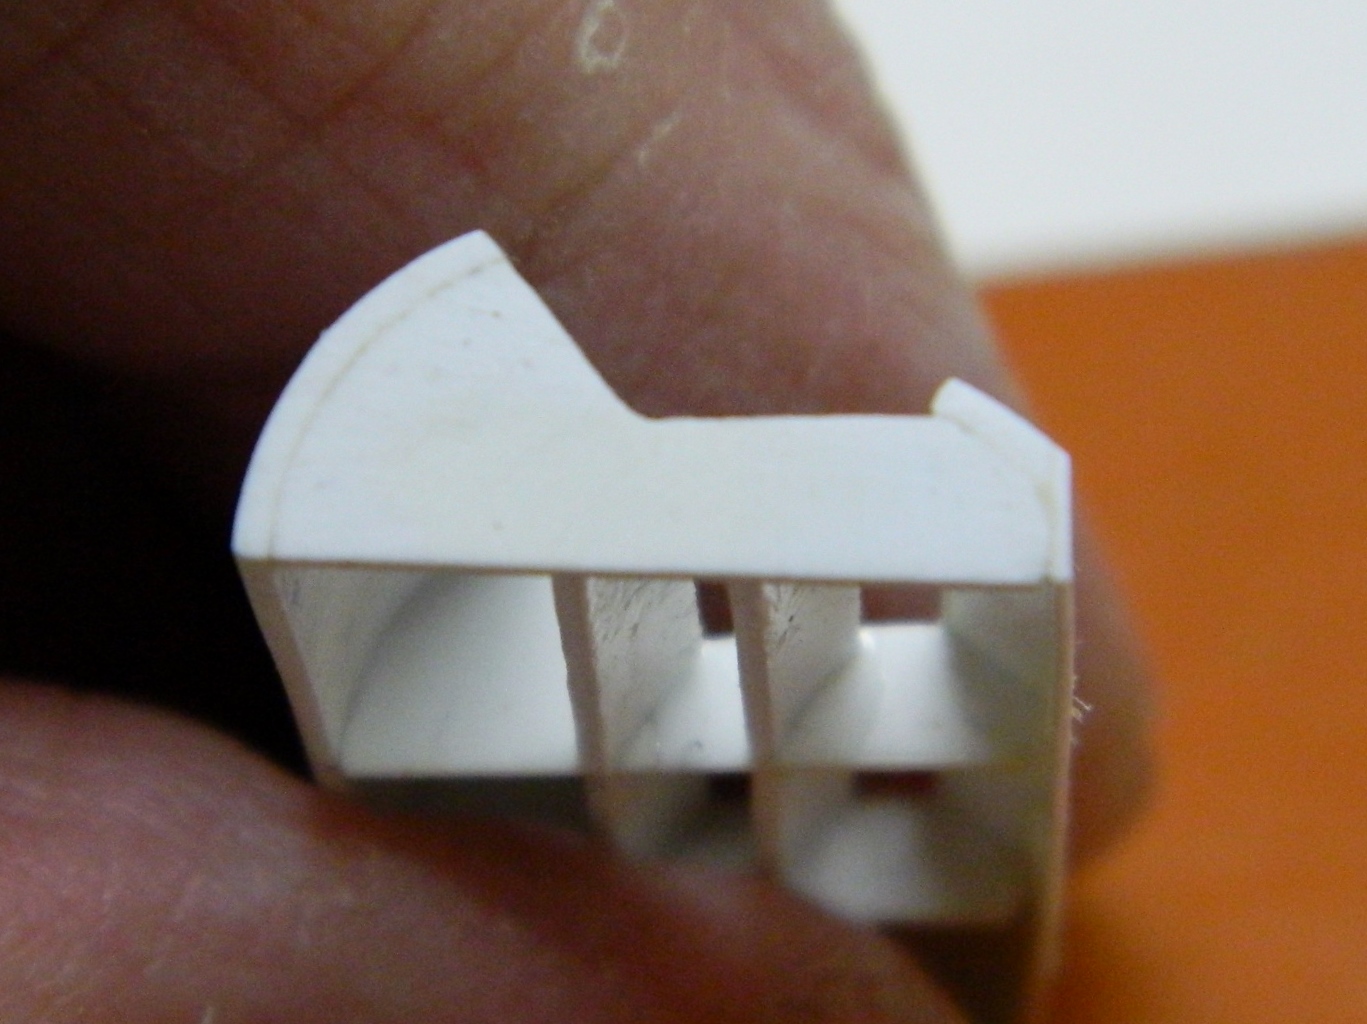
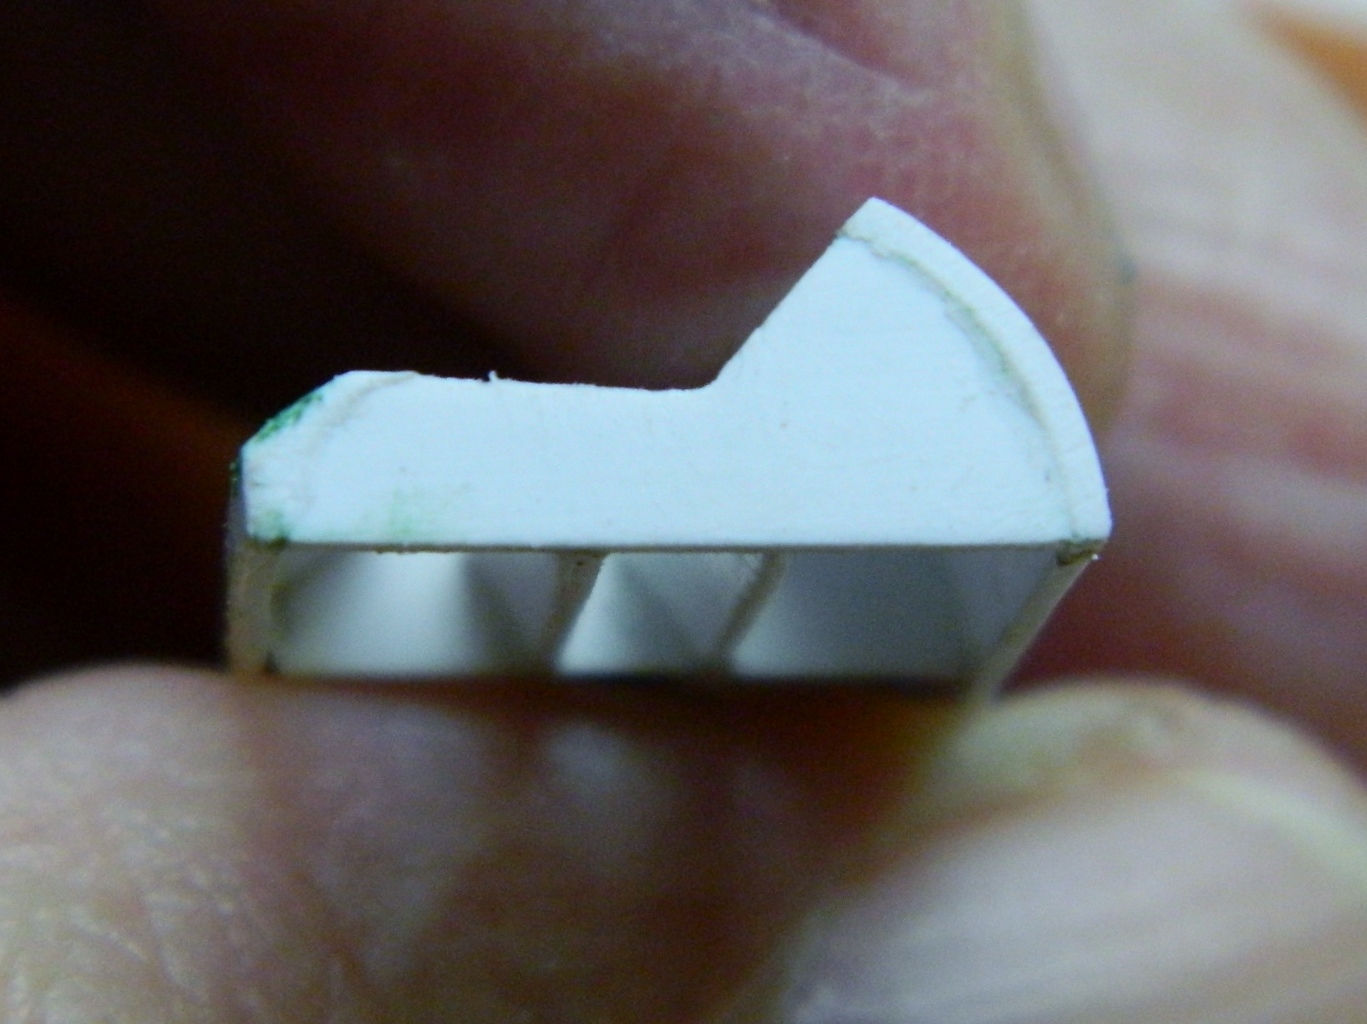
I don’t like butt joints; I find them to be too weak. When there isn’t any other attachment option, I prefer to add pins to not only locate the parts to where I want them but to also strengthen the joint. First I cut slots to “socket” the addition, then I added the pins (22 gauge wire):

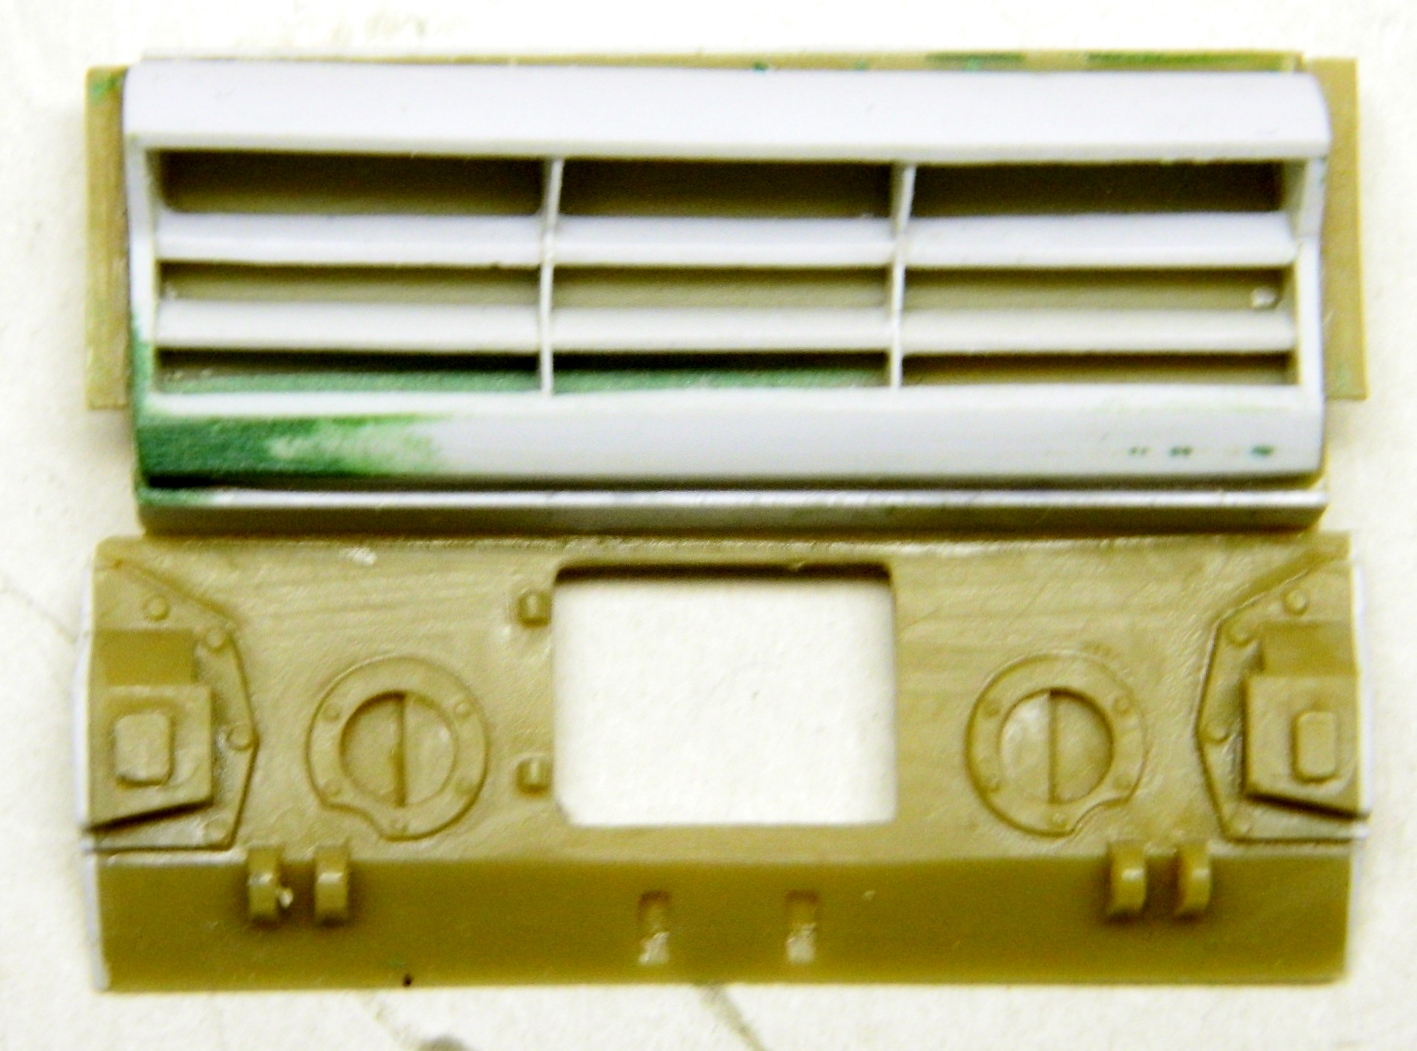
Dry-fitting is also easier with pins, and dry-fitting, in case you haven’t noticed yet, is important to do, especially when doing modifications to parts or adding after-market parts. It’s SO much easier to fix fitment problems that way:

Yep…they sit right where I want them so they were glued in place.
Dry-fitting the assembled rear to the lower hull I saw that I had to add styrene to fill gaps between the hull and rear. I’m sure this will require tweaking later on but it works for now:


At this point I moved to the other end of the lower hull to address more fit problems. I have no idea what Tamiya’s engineers were thinking when they engineered this kit (I get into that in more detail in “Opinions, Reviews, and Tips” later on). My thought concerning the fit problem below is that the lower hull was an attempt at a one-size-fits-all part for their M4 kit. (That whole “economics” thing. ::spits::) Whatever their reasoning was, it left me having to fix gaps on either side of the lower hull where the differential housing attaches to the lower hull. I used styrene to fill those gaps: