One of these days I sincerely hope and intend to take my own advice. That advice is, refer to references often. Doing so has the potential to save me self-created work.
After doing the modifications (I thought were) necessary to the cockpit’s sides, I actually did check my references. Had I done so before gluing the side panels in, it may have been easier to do the other modifications I needed to do. And what modifications were those? Well, nothing really major, just taking the details that are accurate for a P-51B out and putting in the ones that are more accurate for a P-51. In short, don’t take the printing on the package as factual. Verlinden’s details are good for a P-51B but are mostly inaccurate for a P-51. That meant I had to remove the incorrect details and put in the ones that are more accurate:
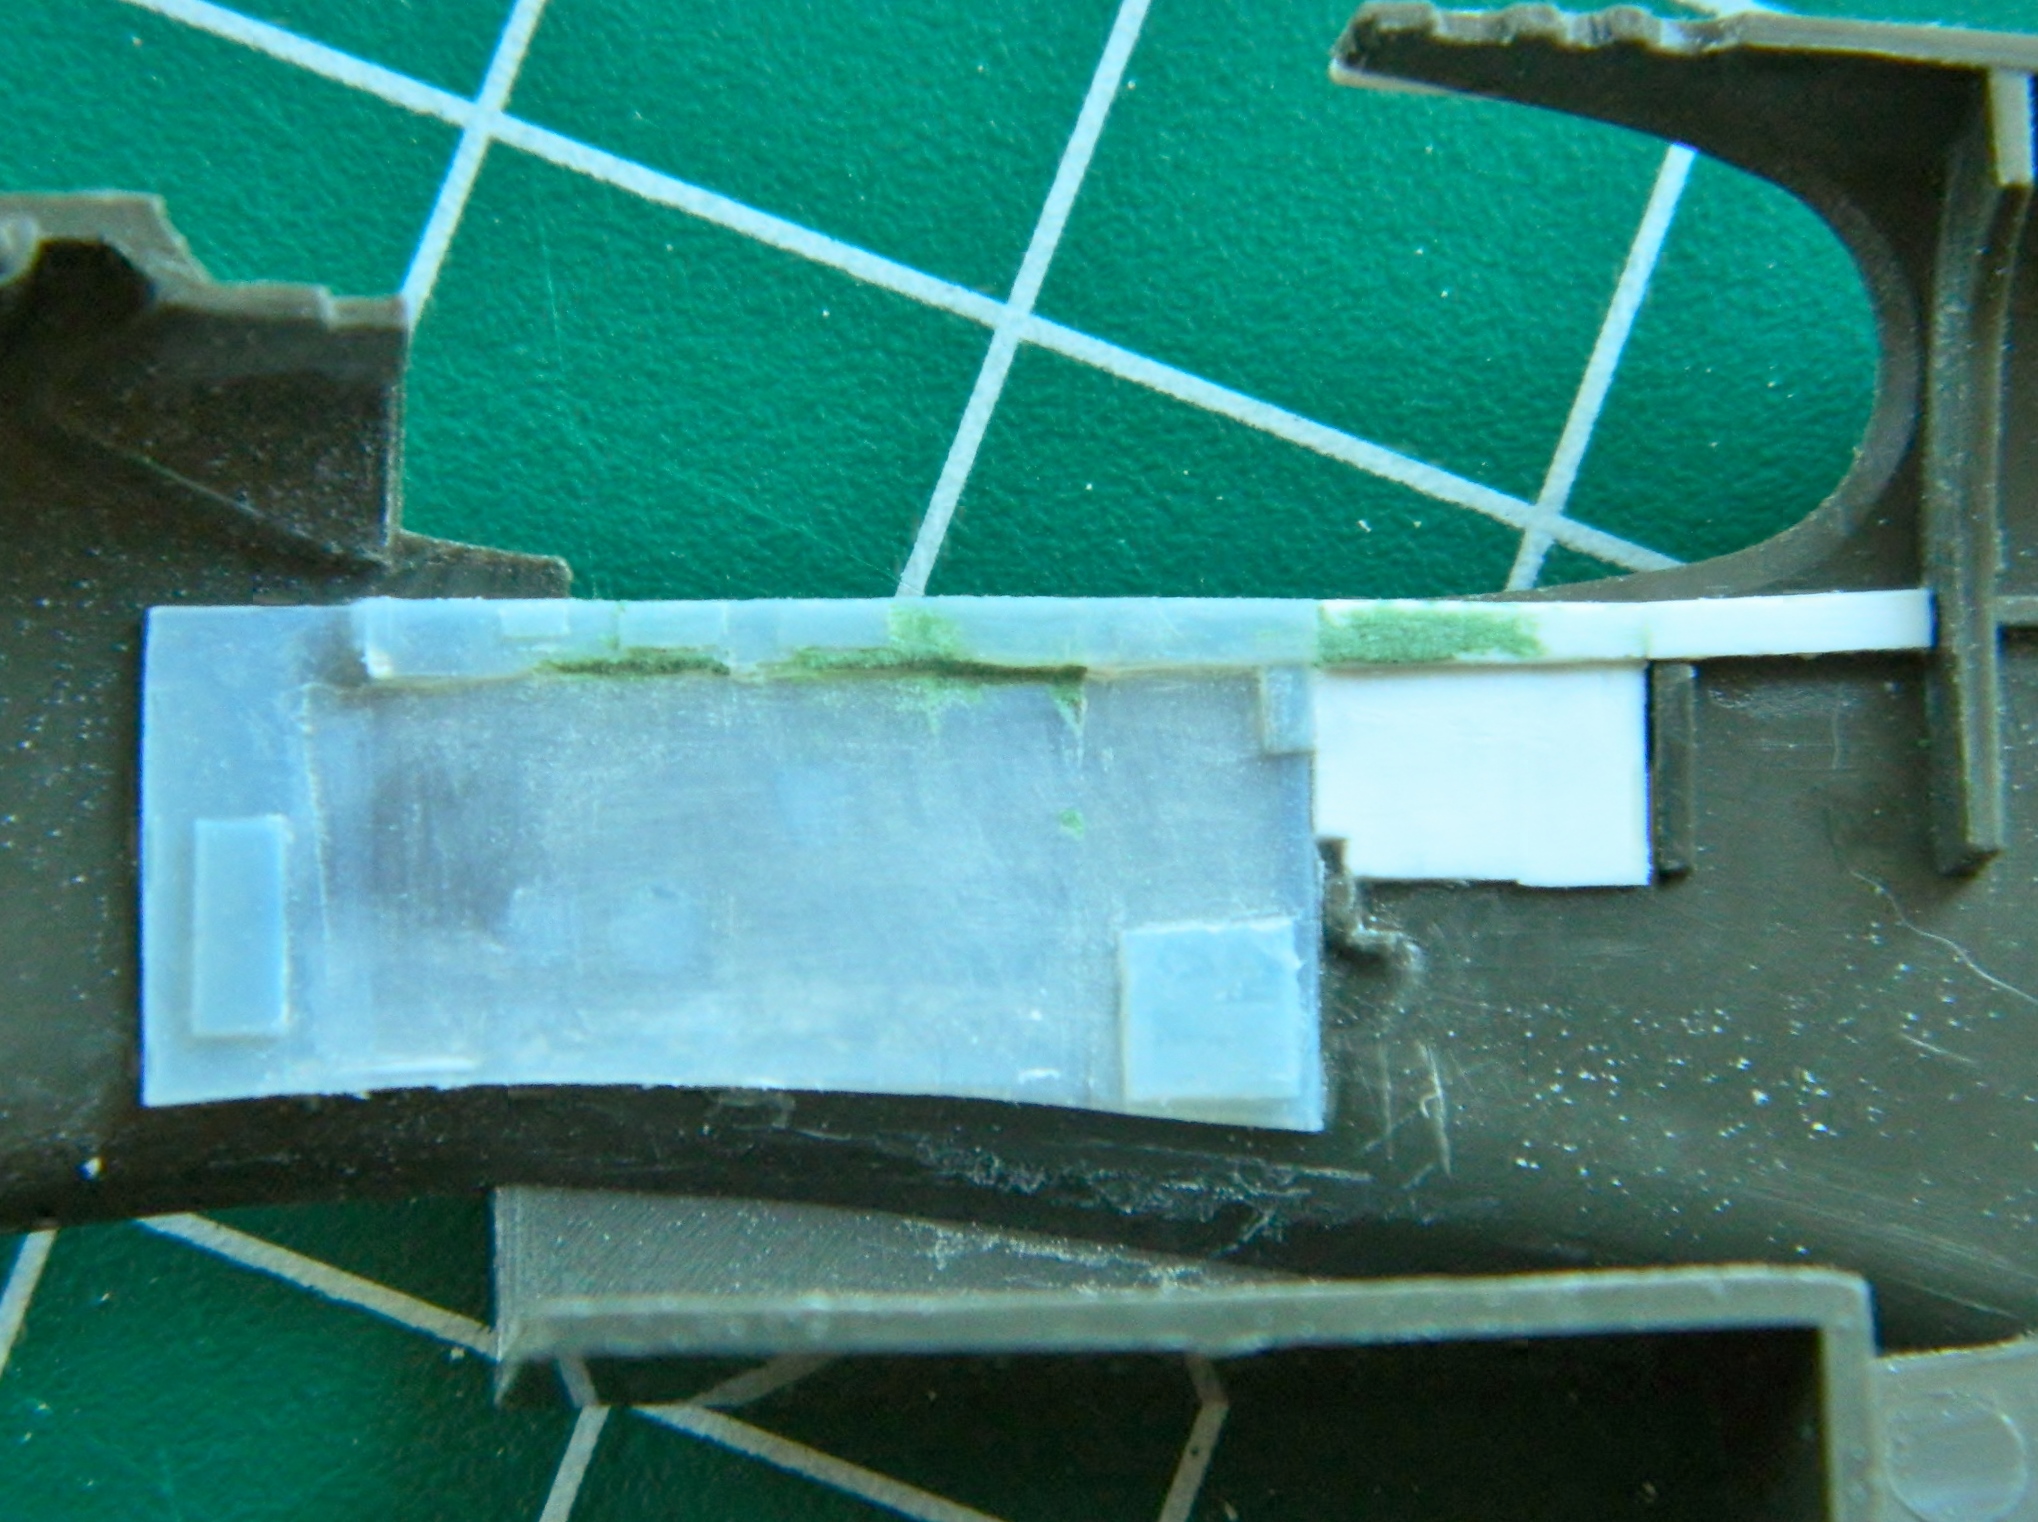

I used the Polish PE set (which were the easiest set I’ve yet worked with; the really small parts were scored to make the bends easy):


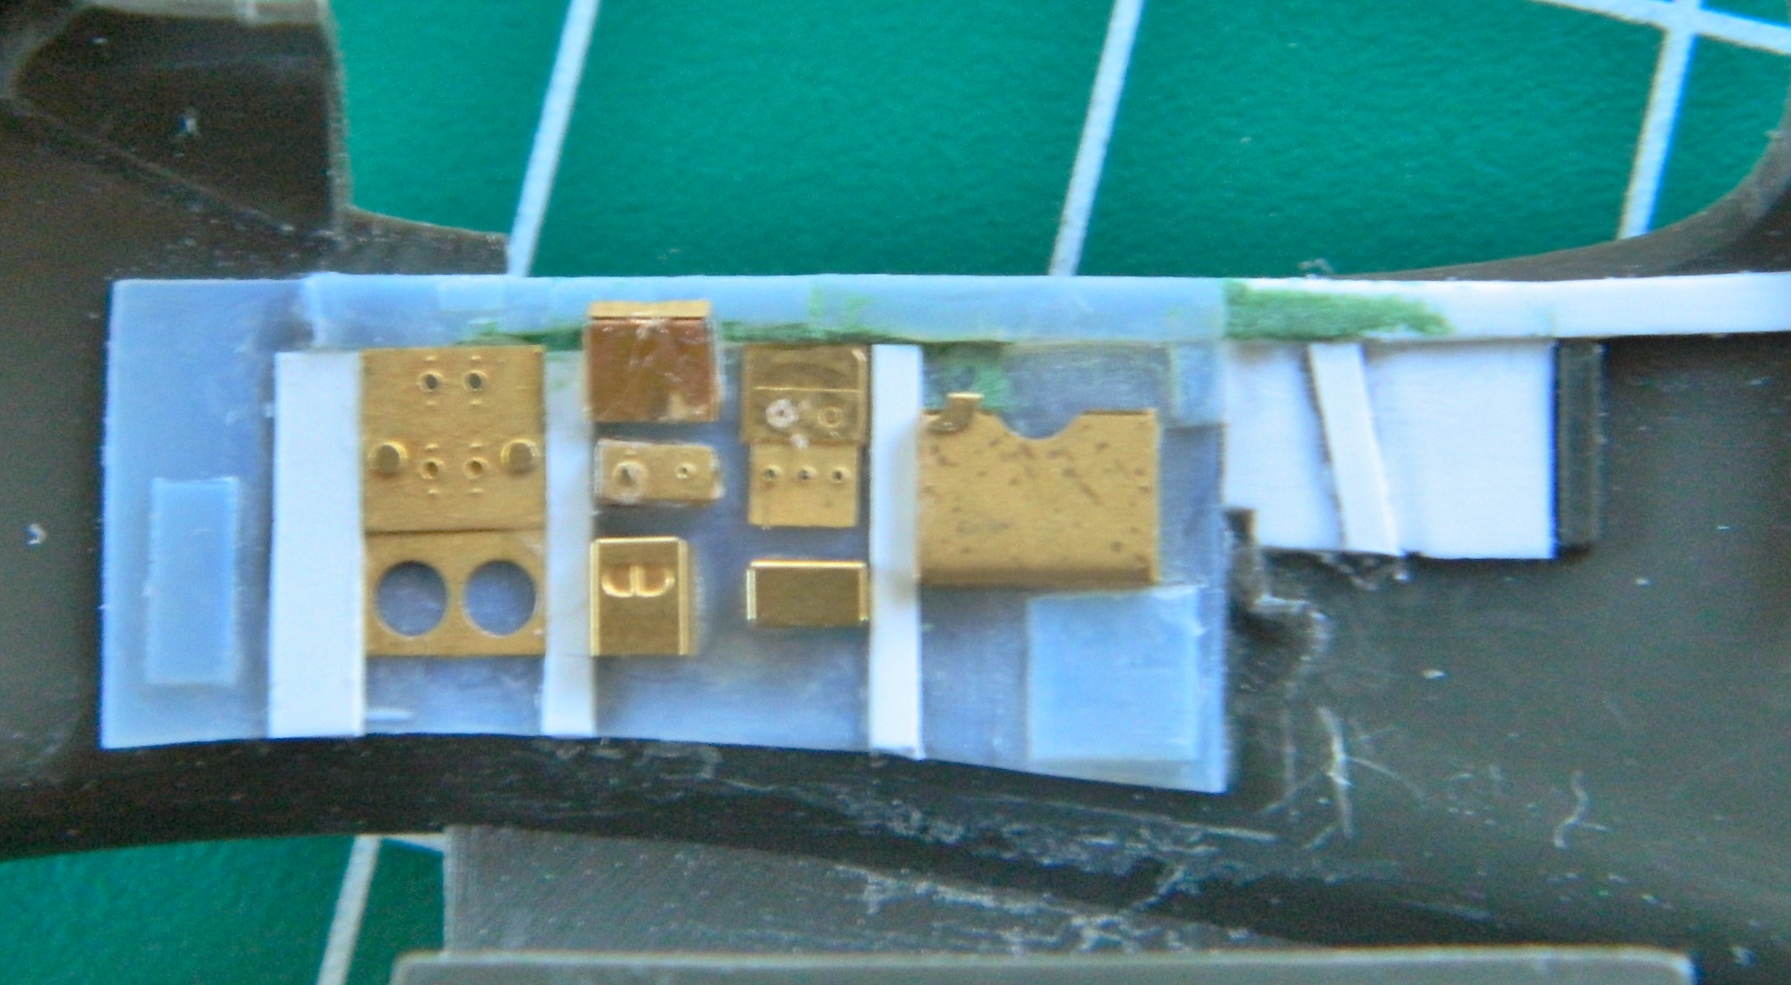
The holes in the various panels and boxes in the photo are places where there are toggle switches. I rummaged around in my wire inventory and found the correctly sized wire (.006″) (.0152mm) to replicate the toggles. The real trick was getting them aligned and glued in. Much colorful invective later, I got them glued in, let them sit overnight, and then trimmed them to length the next day (with much more colorful invective required), and then added the electrical conduits:


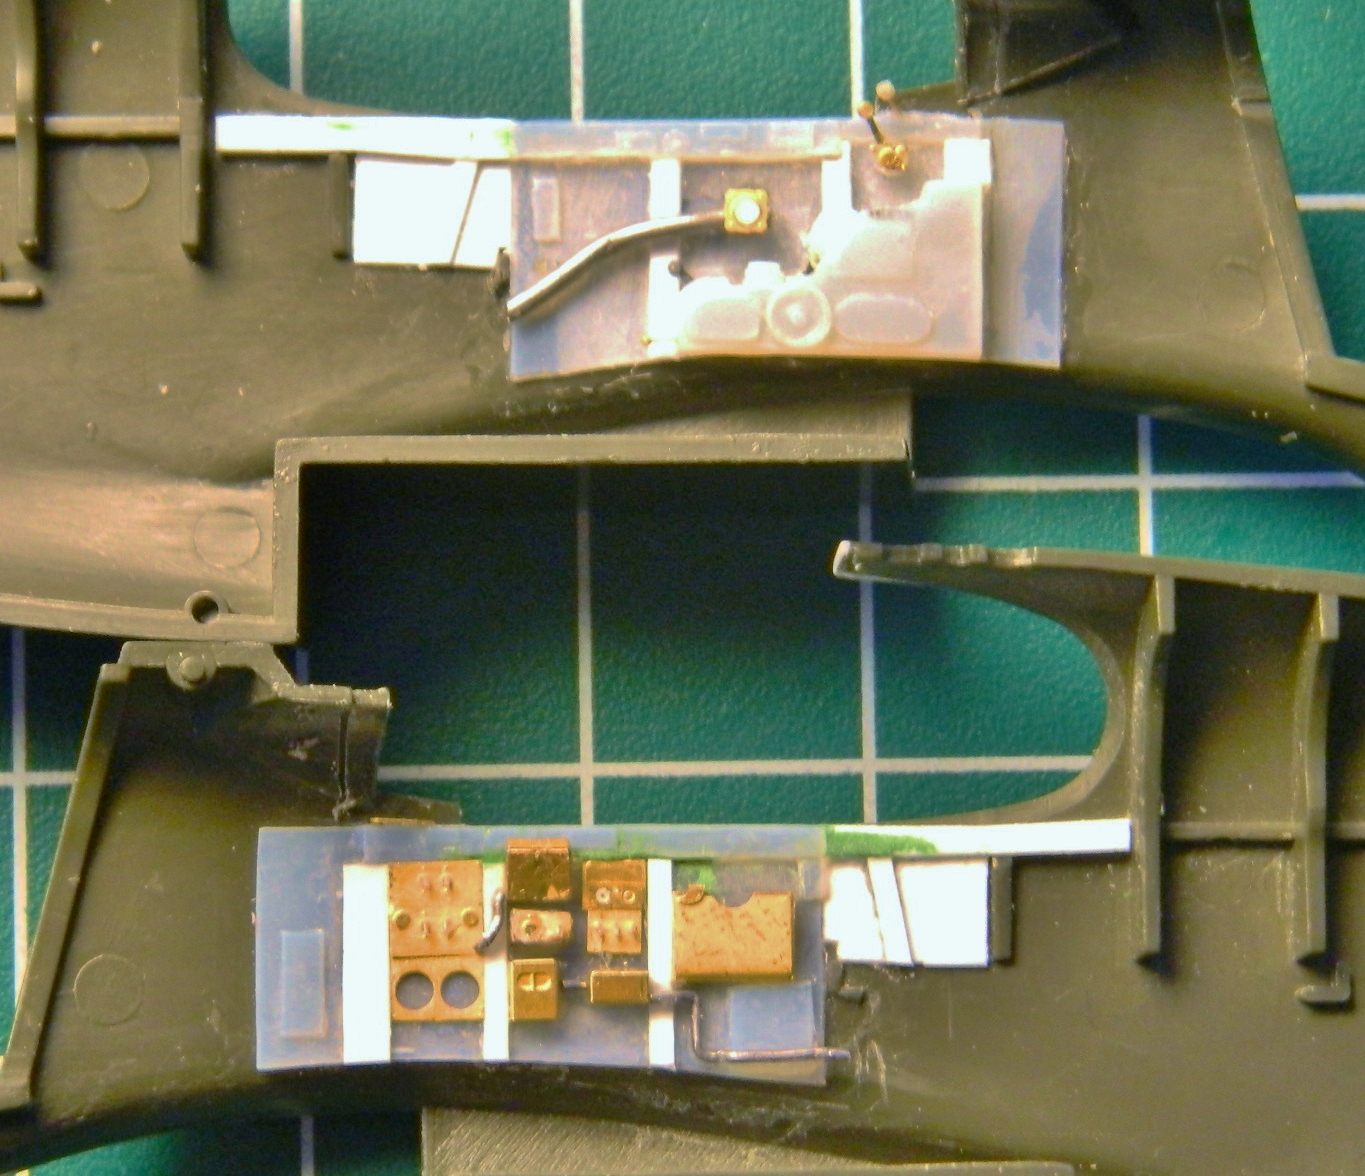
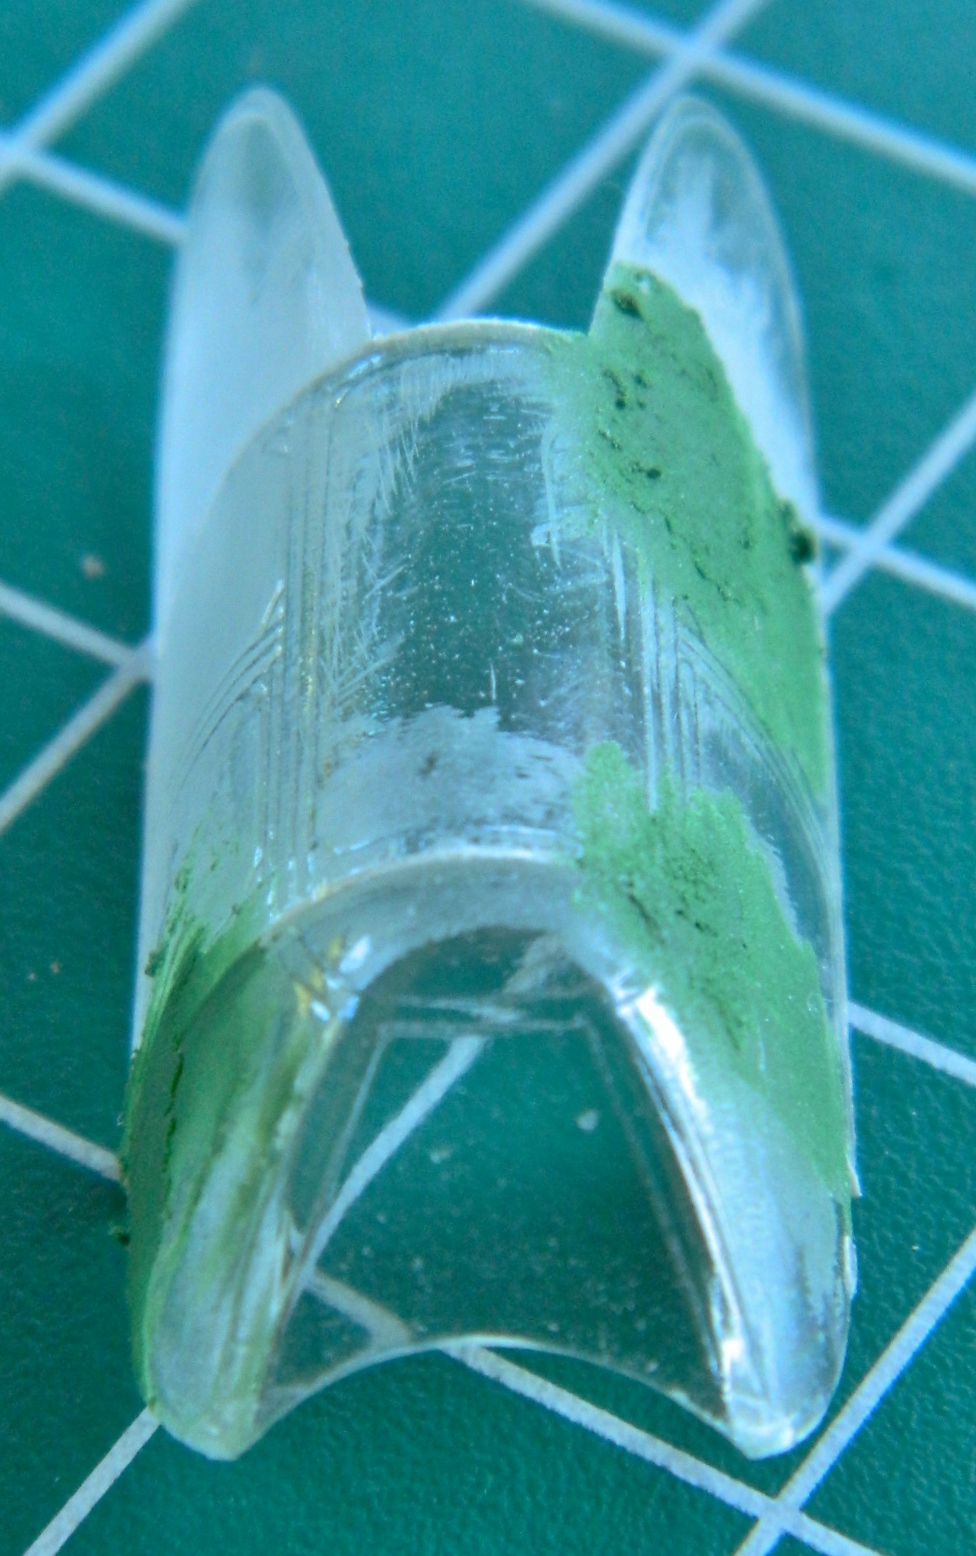
I’m also going to be vacuforming a new canopy from .010″ (.254mm) clear styrene. I’m going to need a form to pull the clear plastic down around and I’ve previously had good results using the kit-supplied canopy as my form. In order to do that, I’ve found it works better if I fit the kit-supplied canopy better than is allowed for in the kit. So the various parts were dry-fit first to get an idea of what needed to be fixed:


Then after determining where the fit needed to be adjusted, I added .010″ (.254mm) sheet styrene behind the front canopy section, to the fuselage, and then determined which areas of the canopy itself needed to be filled for a smooth transition between sections and added putty:


With all that taken care of and set aside for when it’s time to paint, I decided it’s time to address that instrument panel. I have a few ideas…some of which may actually work.

The attachment points for all the toggle switches, did you have to make them or were they there as part of the kit?
LikeLike
THANKfully I didn’t have to drill out the holes! The wire is .006″ in diameter and was the only wire I had on-hand that fit. I don’t have a bit that small. Even if I did, I rather doubt I would be able to drill through .006″ brass without snapping the bit. The holes were part of the photo-etching process and MUCH appreciated.
LikeLike