I debated whether or not to do an update this month because I haven’t spent much time at the workbench. (You can probably figure out what I decided.) Continuing my departure from normal aircraft models, I’m still working on the landing gears and nacelles instead of starting with the cockpit.
I was curious as to how much the nacelles and engines weighed after stuffing things with lead and tungsten (answer, each set was about 19.6g, and we’ll see if that helps…it certainly won’t make things lighter, which is the point):

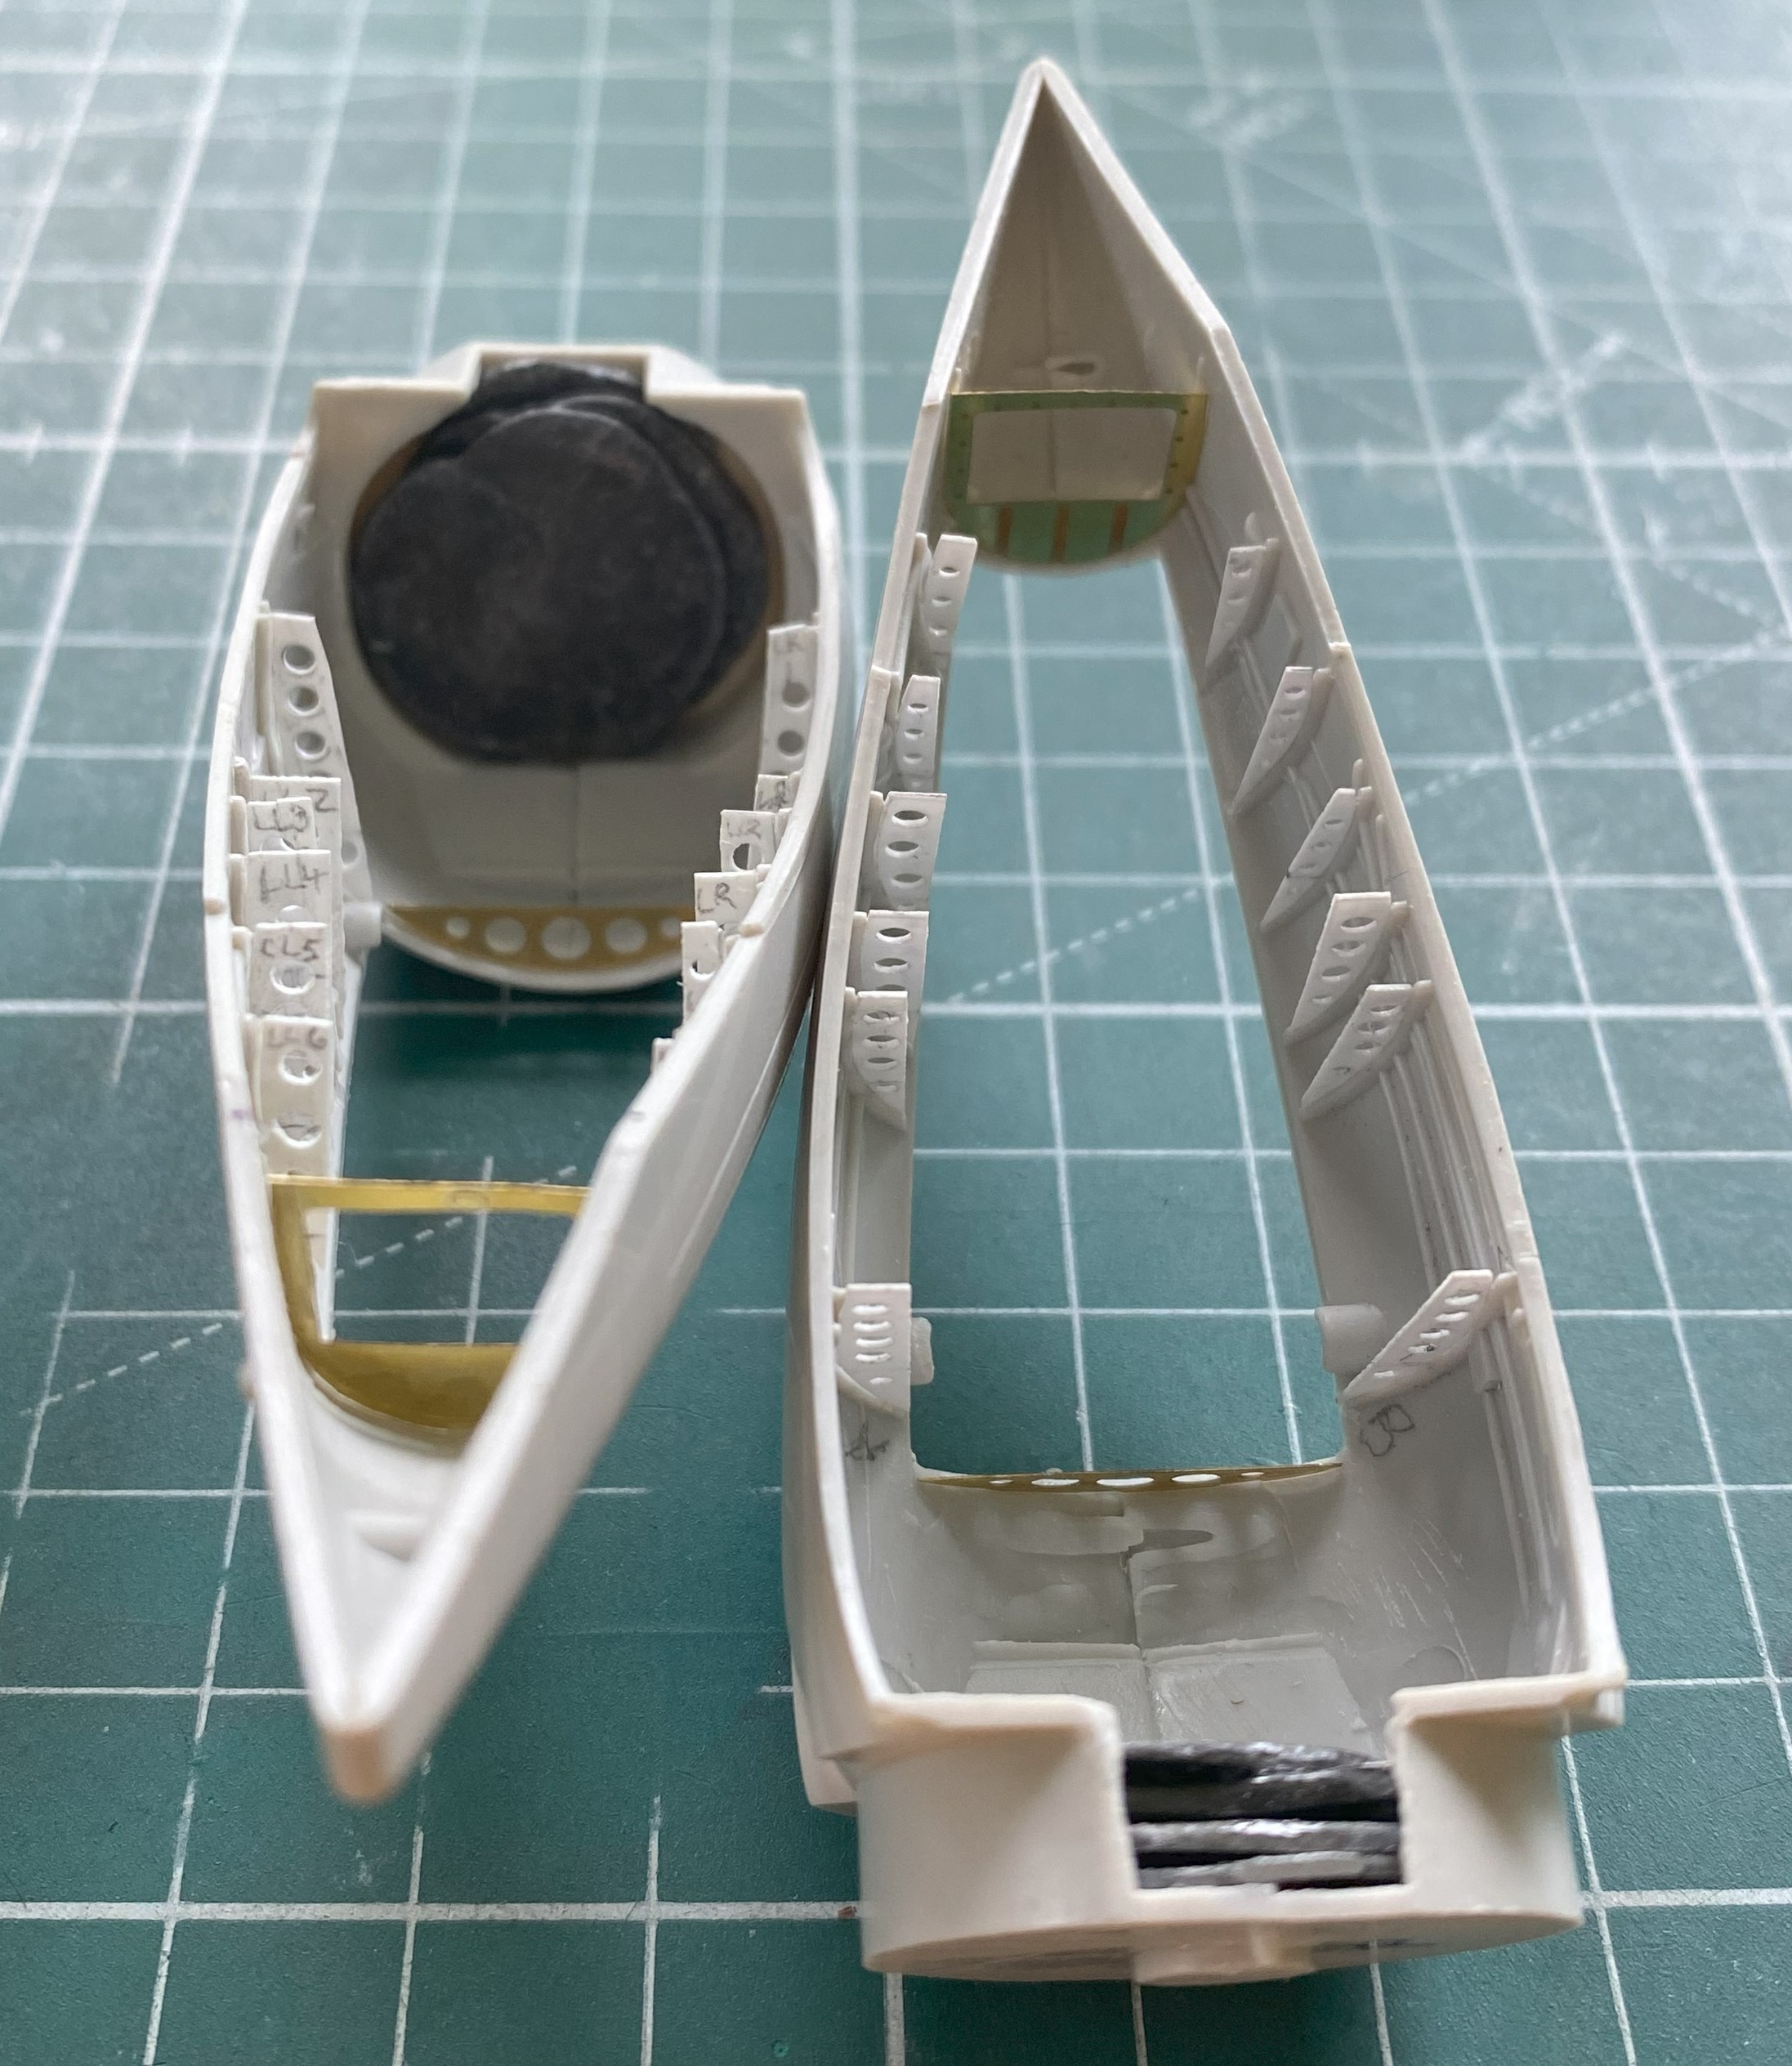
I successfully squared the front and rear of the landing gear openings that I’d started last month:

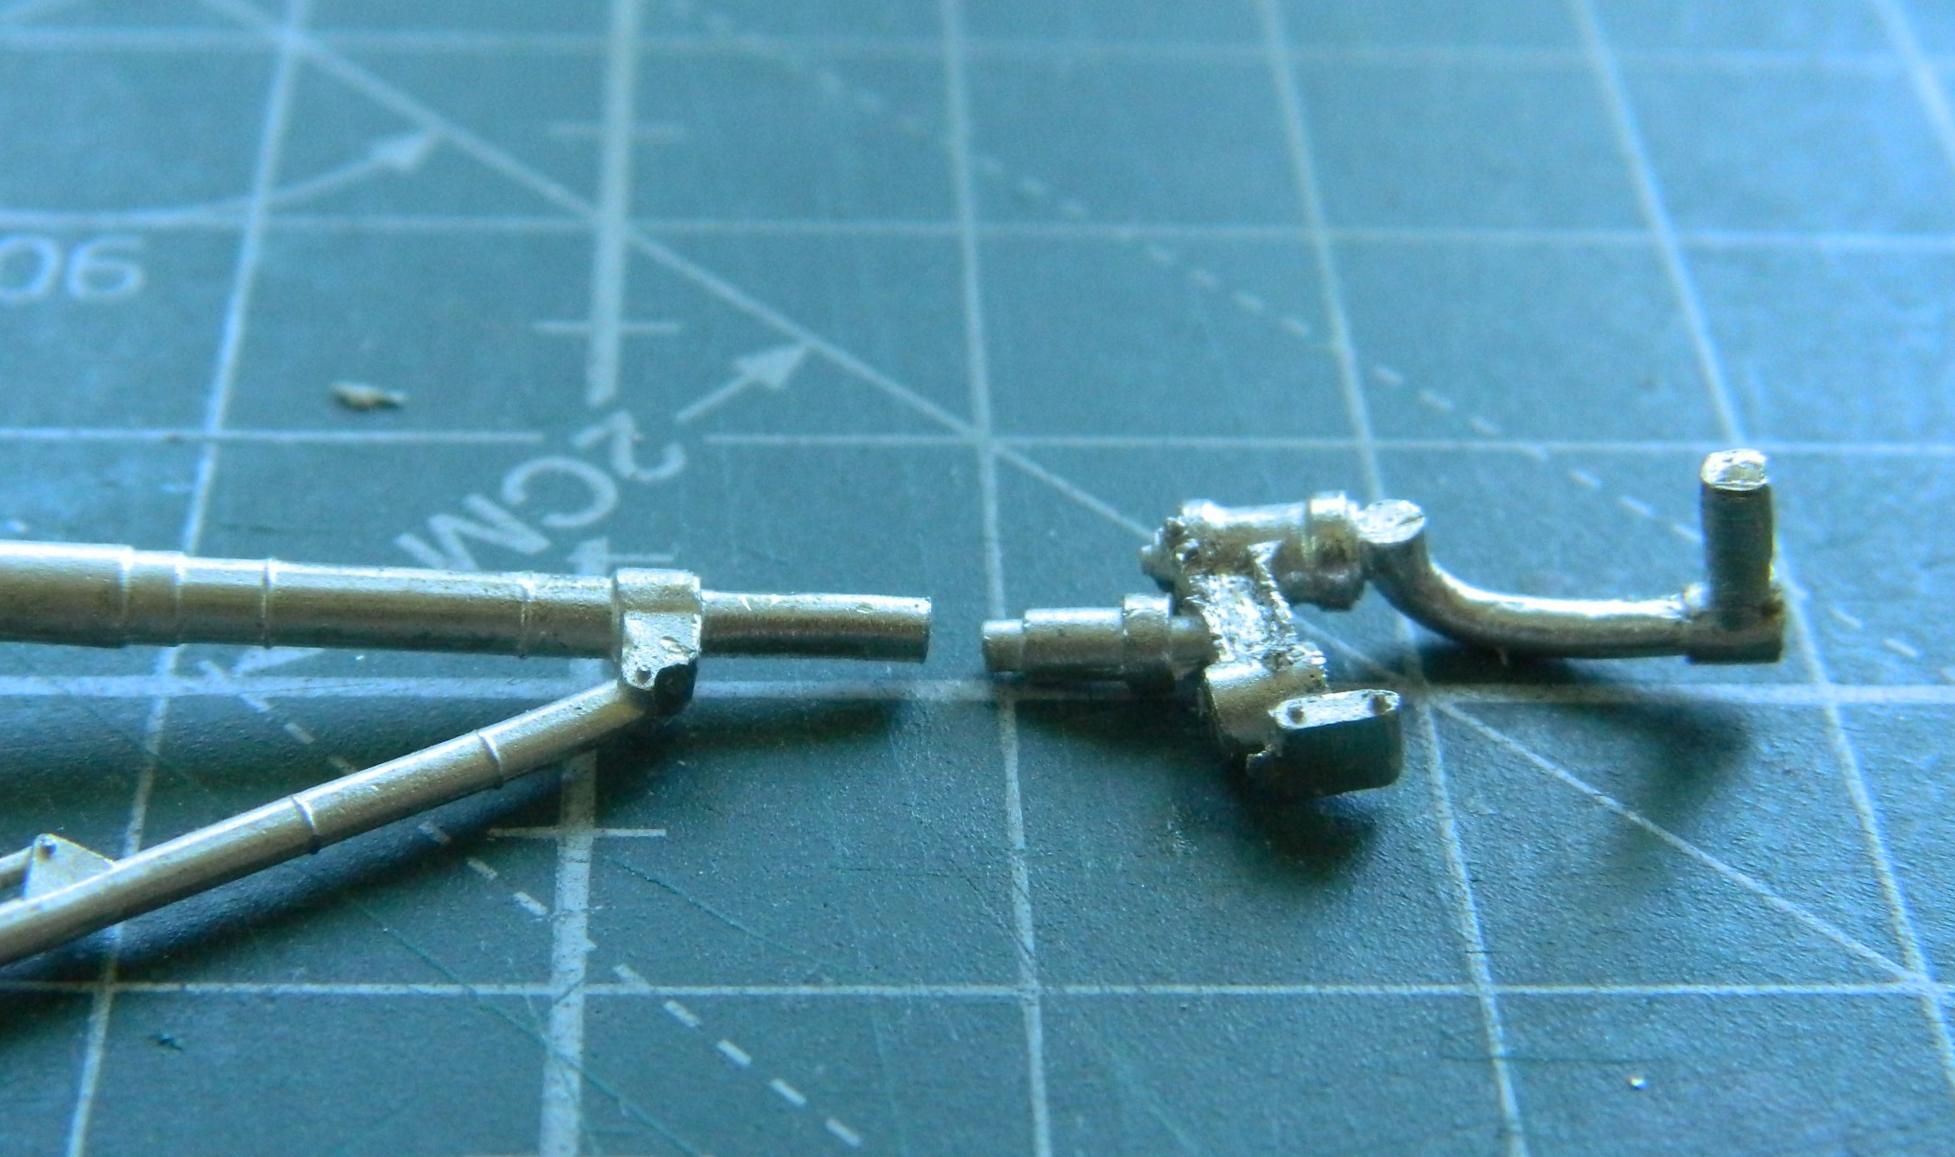
The SAC landing gear parts needed cleaning up. During that process, I discovered that some cleanup had been “done,” which I put in quotes because what was done was less than acceptable. A rod is supposed to have an outer surface of the oleos that is parallel all the way around and none of the SAC parts had been done that way. They were lumpy, so they had to go. I started by cutting the nose gear strut apart (and if you look closely at the stub of the oleo on the left, it’s evident how out-of-round the outside of it was):
Then I drilled the socket that the paperclip stub would be glued into (apologies for the lack of focus but that’s the best the fornicating camera would do):

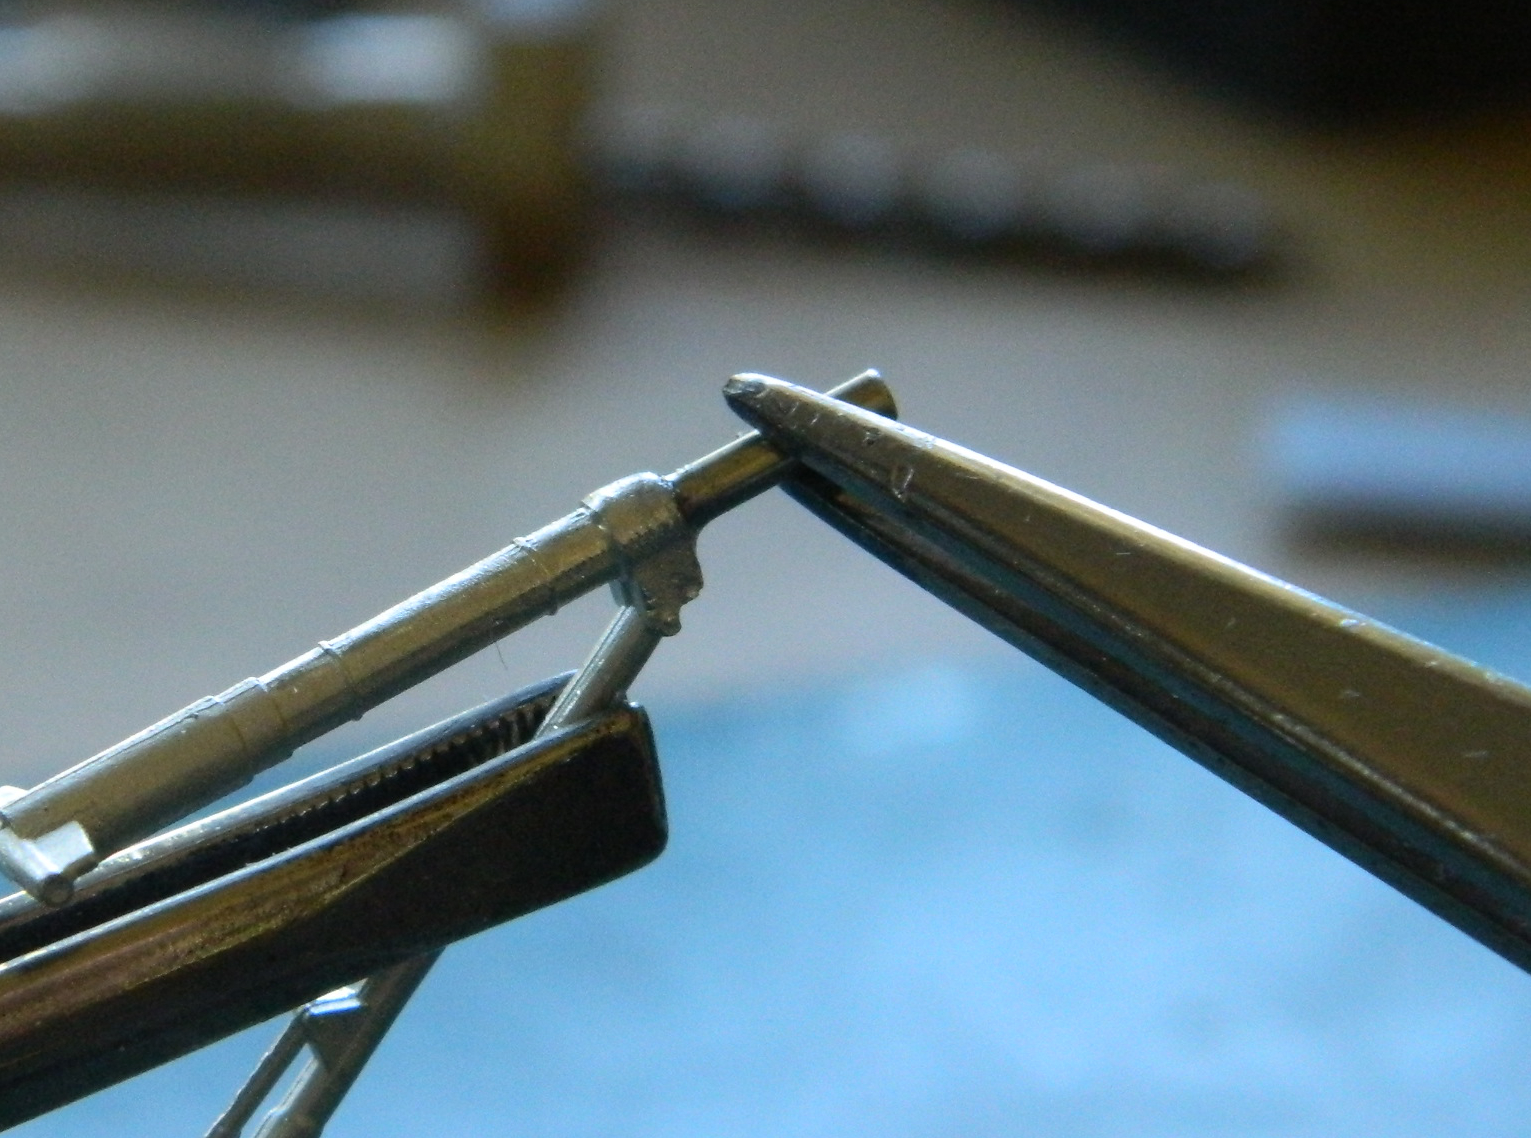
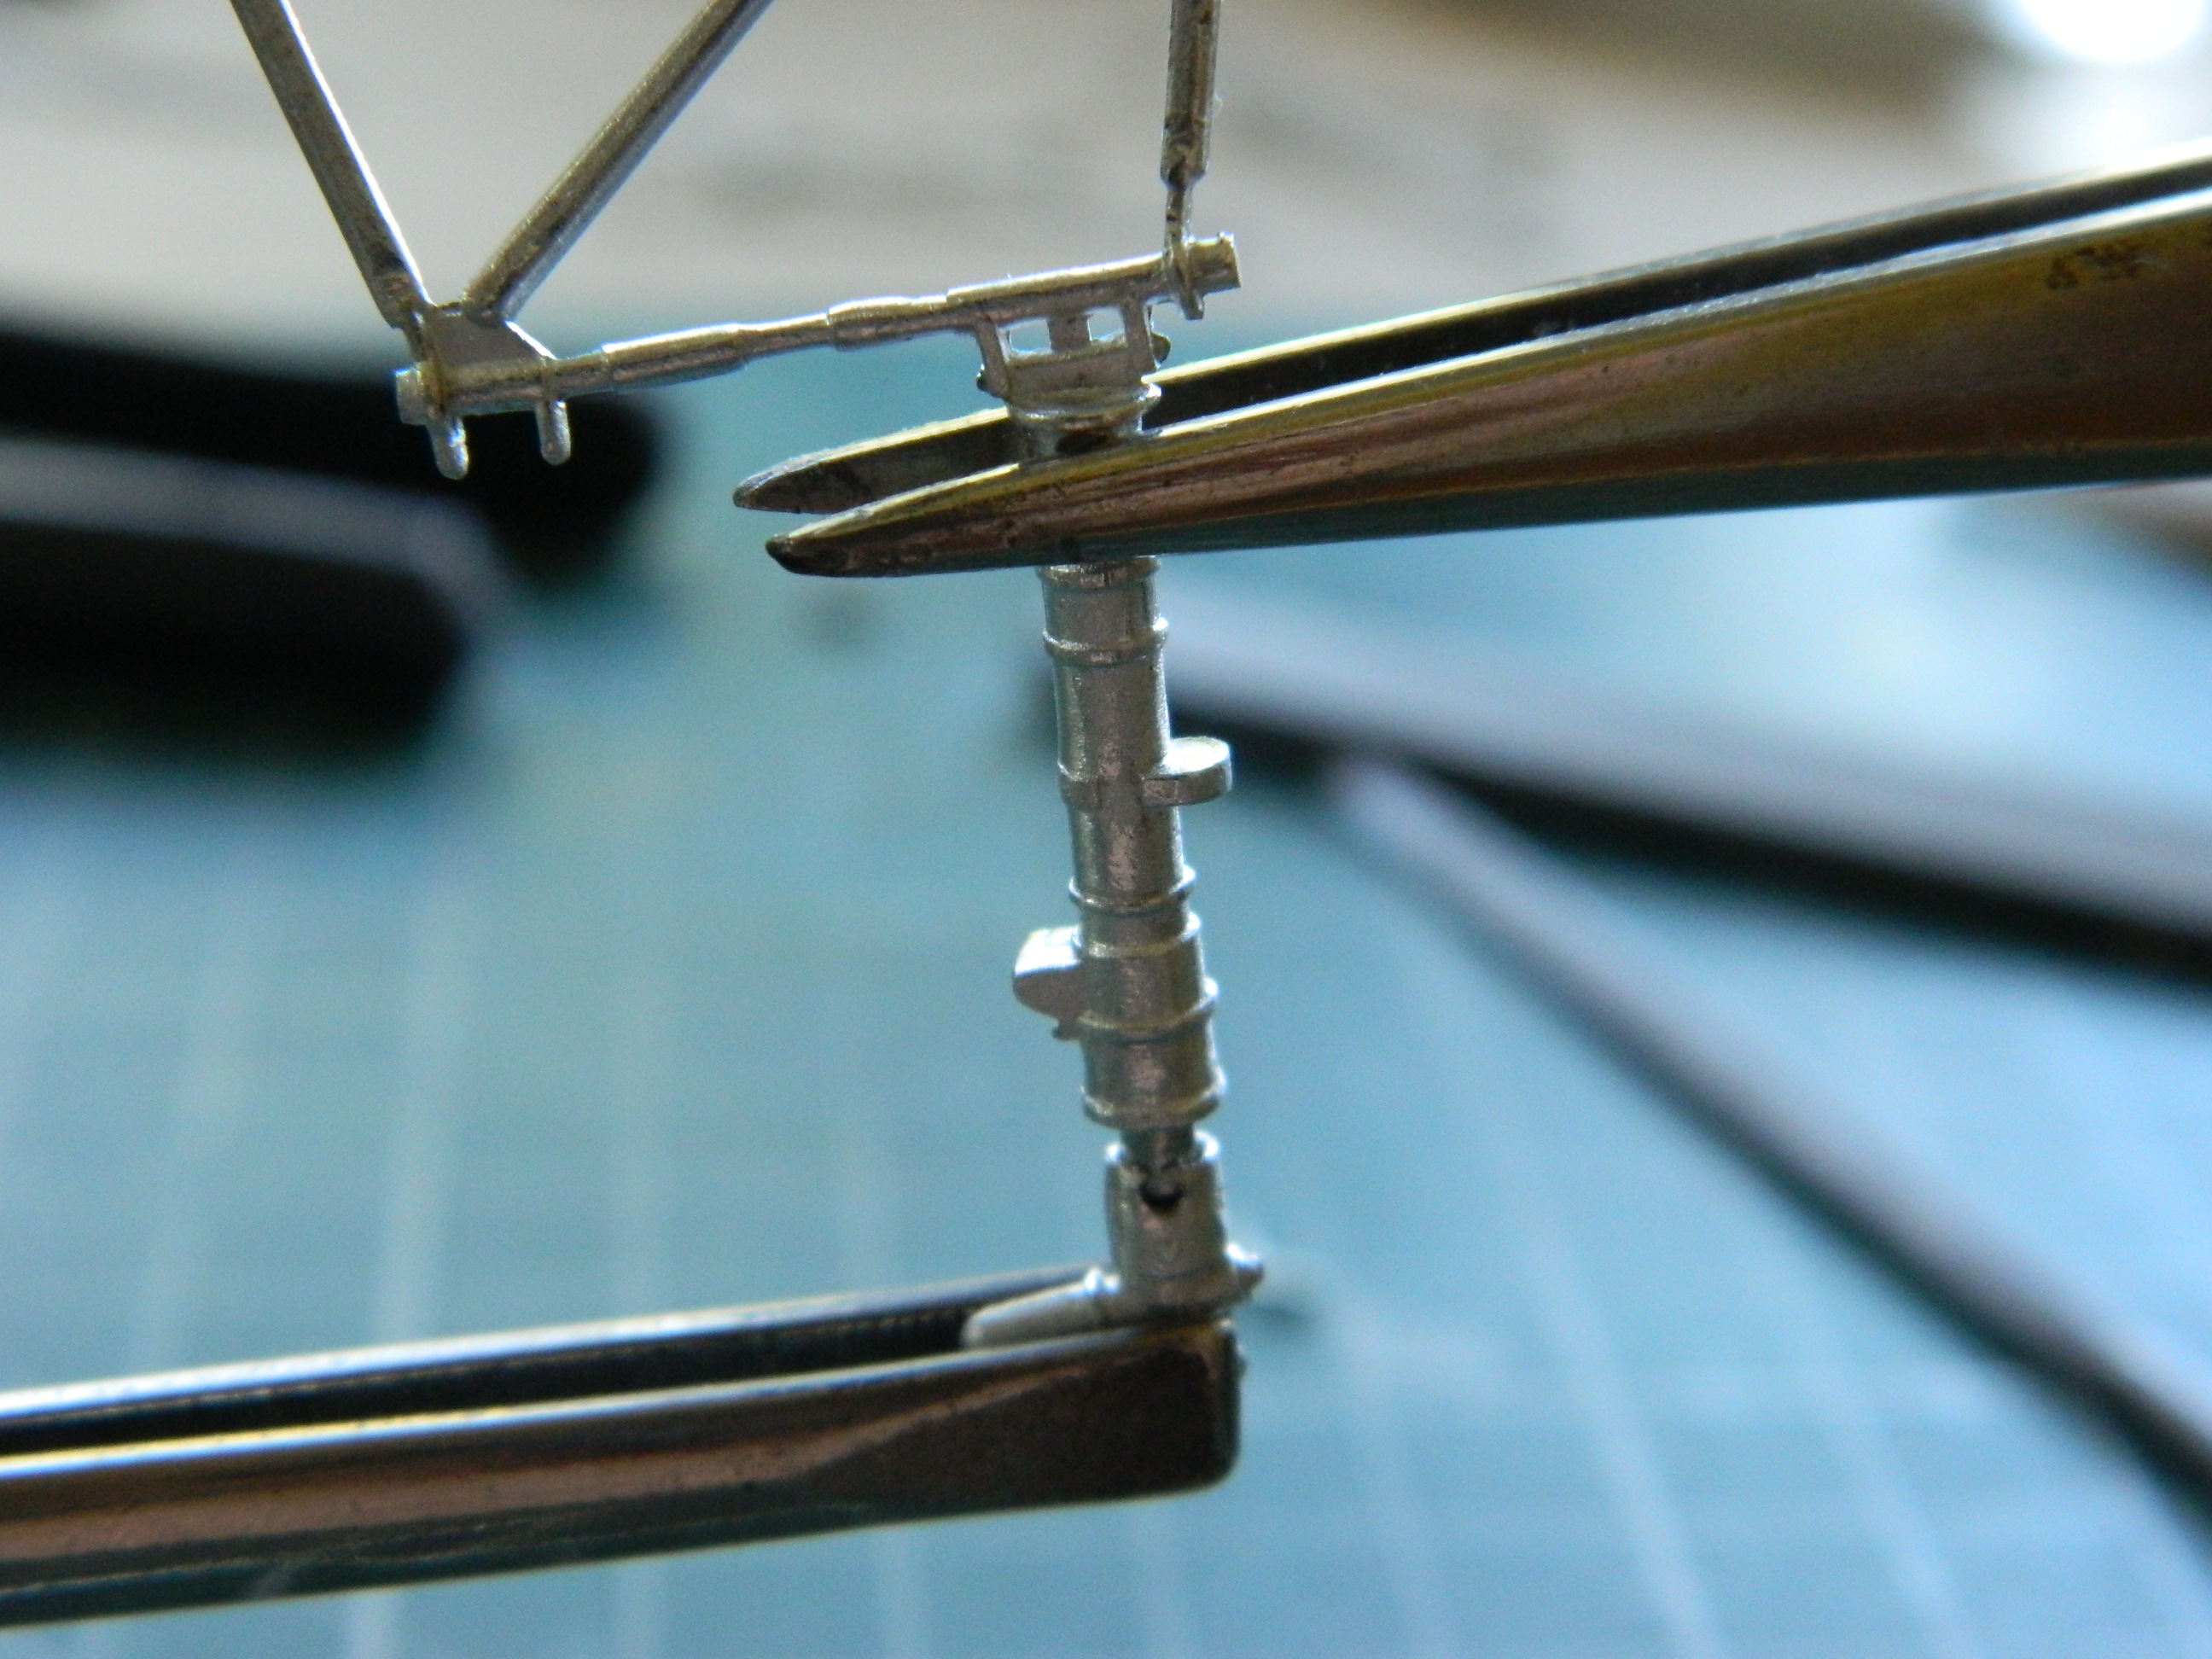
I cut the remaining stub off the nose gear leg, drilled another socket, and then cut and filed the welding rod. Once fitted, the jeweler’s tweezers held it in alignment and superglue should keep it there:
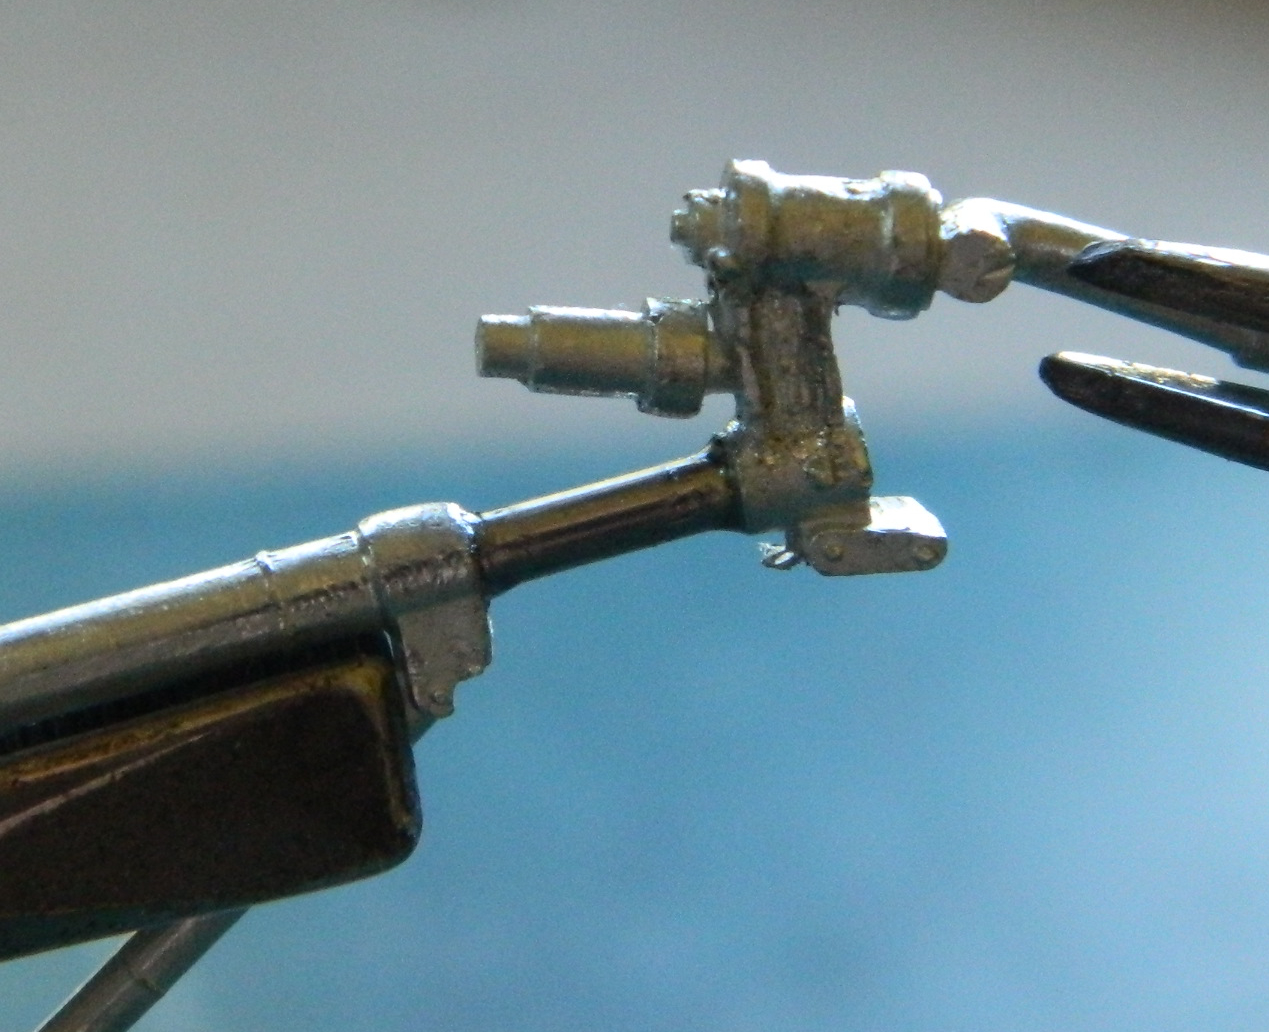
And once that had cured, the bottom of the landing gear was glued on:
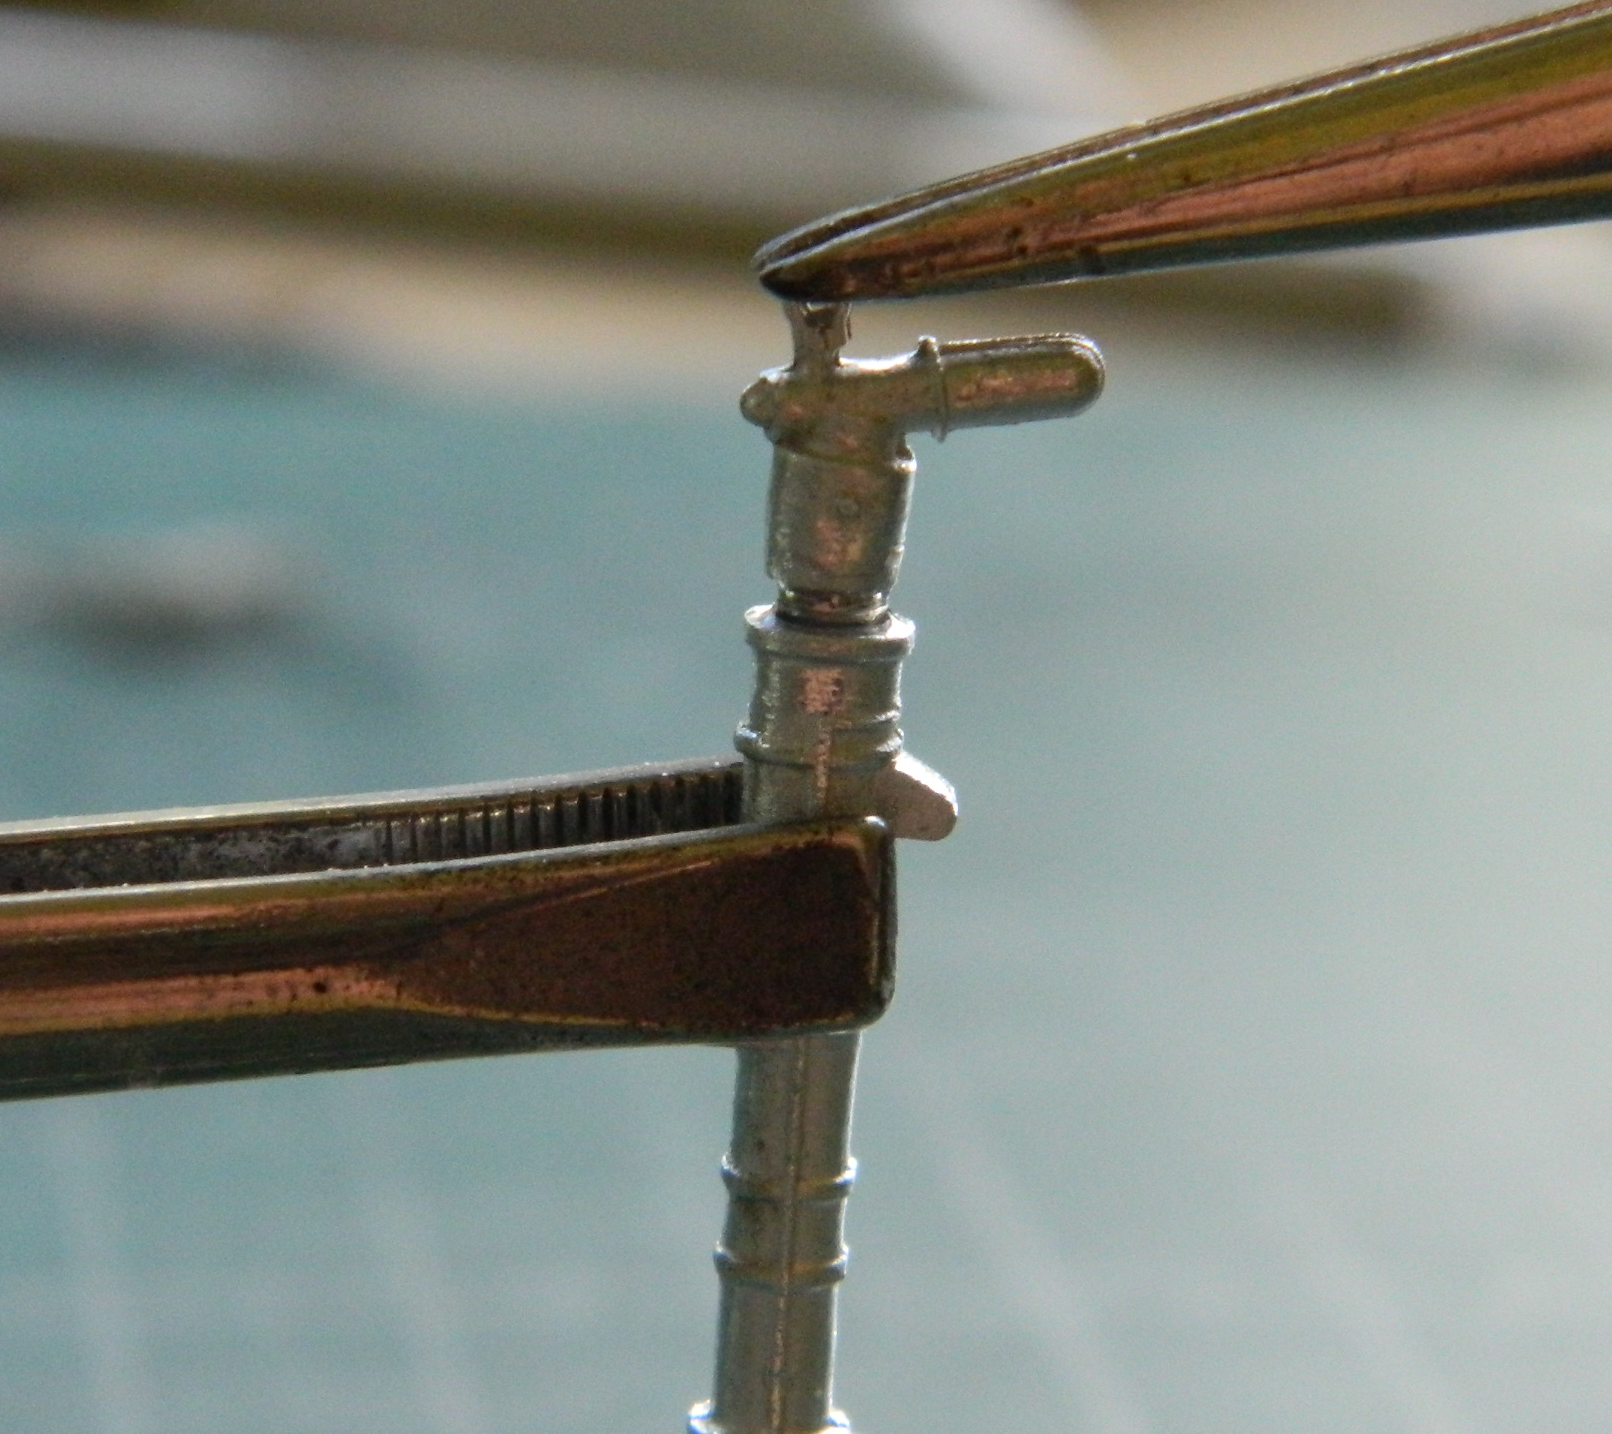
That was easy, the main landing gears were not and fought me, requiring a couple of removals when I realized that the lower part wasn’t quite aligned (and somehow I managed to cut one too short so that had to be redone) with the paperclip stubs:


I’m not going into the massive annoyance(s) of keeping the soft, lead-like alloy, straight and properly aligned with the places they have to fit inside the nacelles. It happened and I got it all straight…I think.
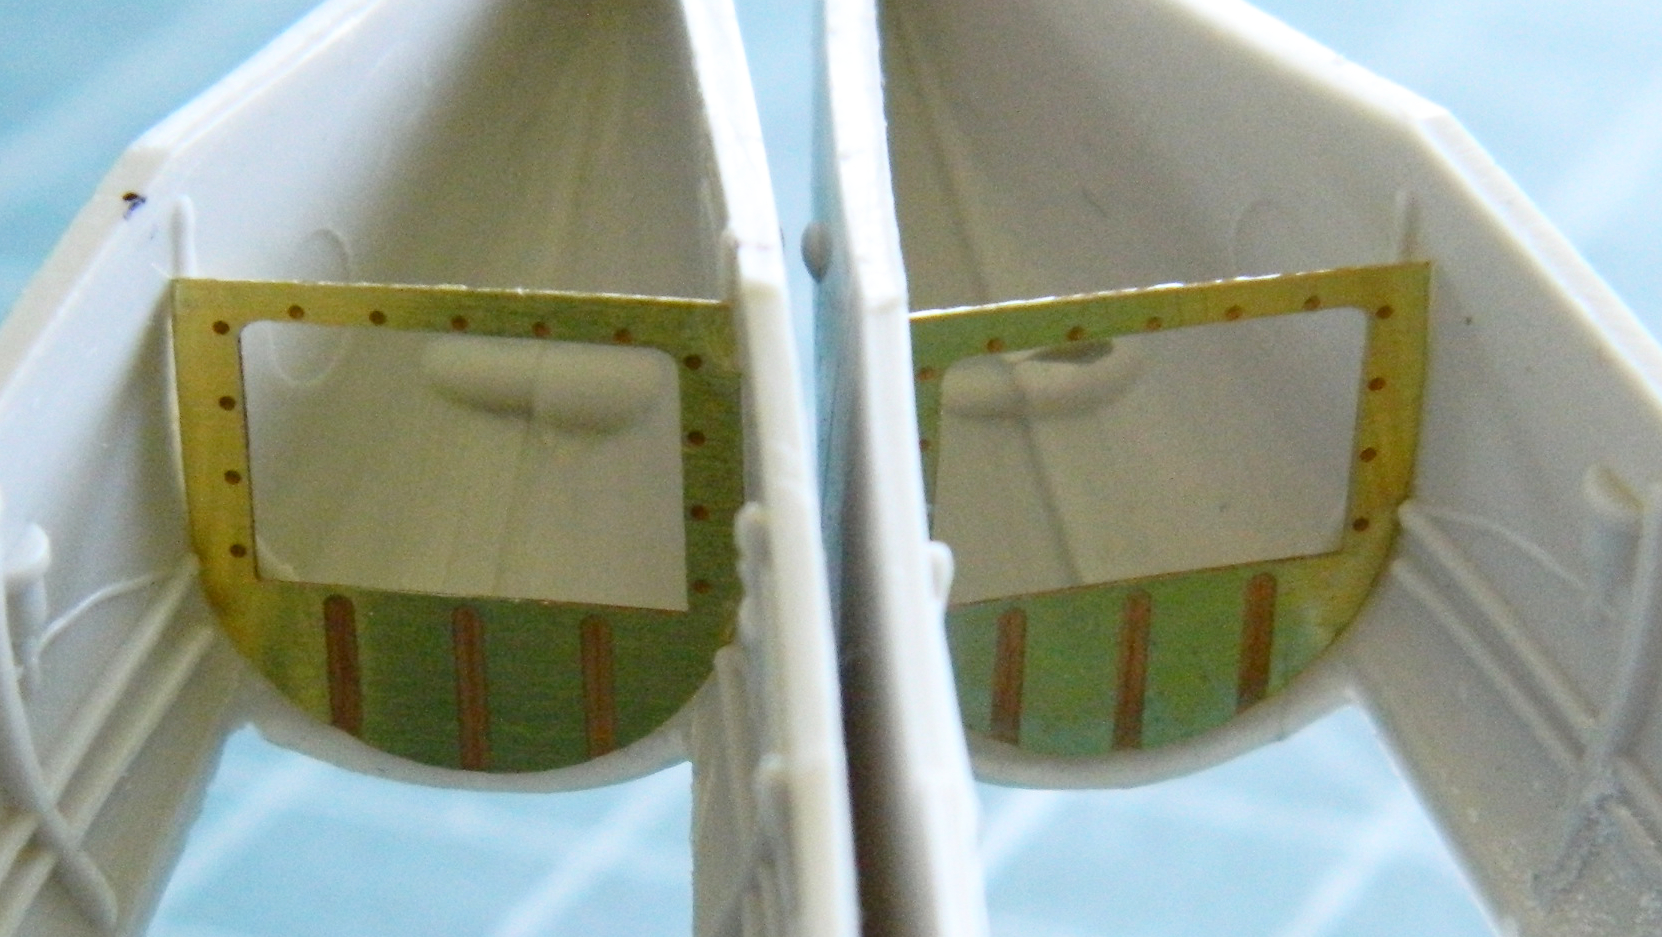
That was the easy part of the past month. The rest of the tedious and annoying month (more because that my mind isn’t really very interested in tedium at present) was populating the inside of the nacelles with the internal support structure. The easy part of that was fitting the PE parts (there’s another set at the front of the opening which you will see in other photos because I forgot to take a dedicated photo of them):
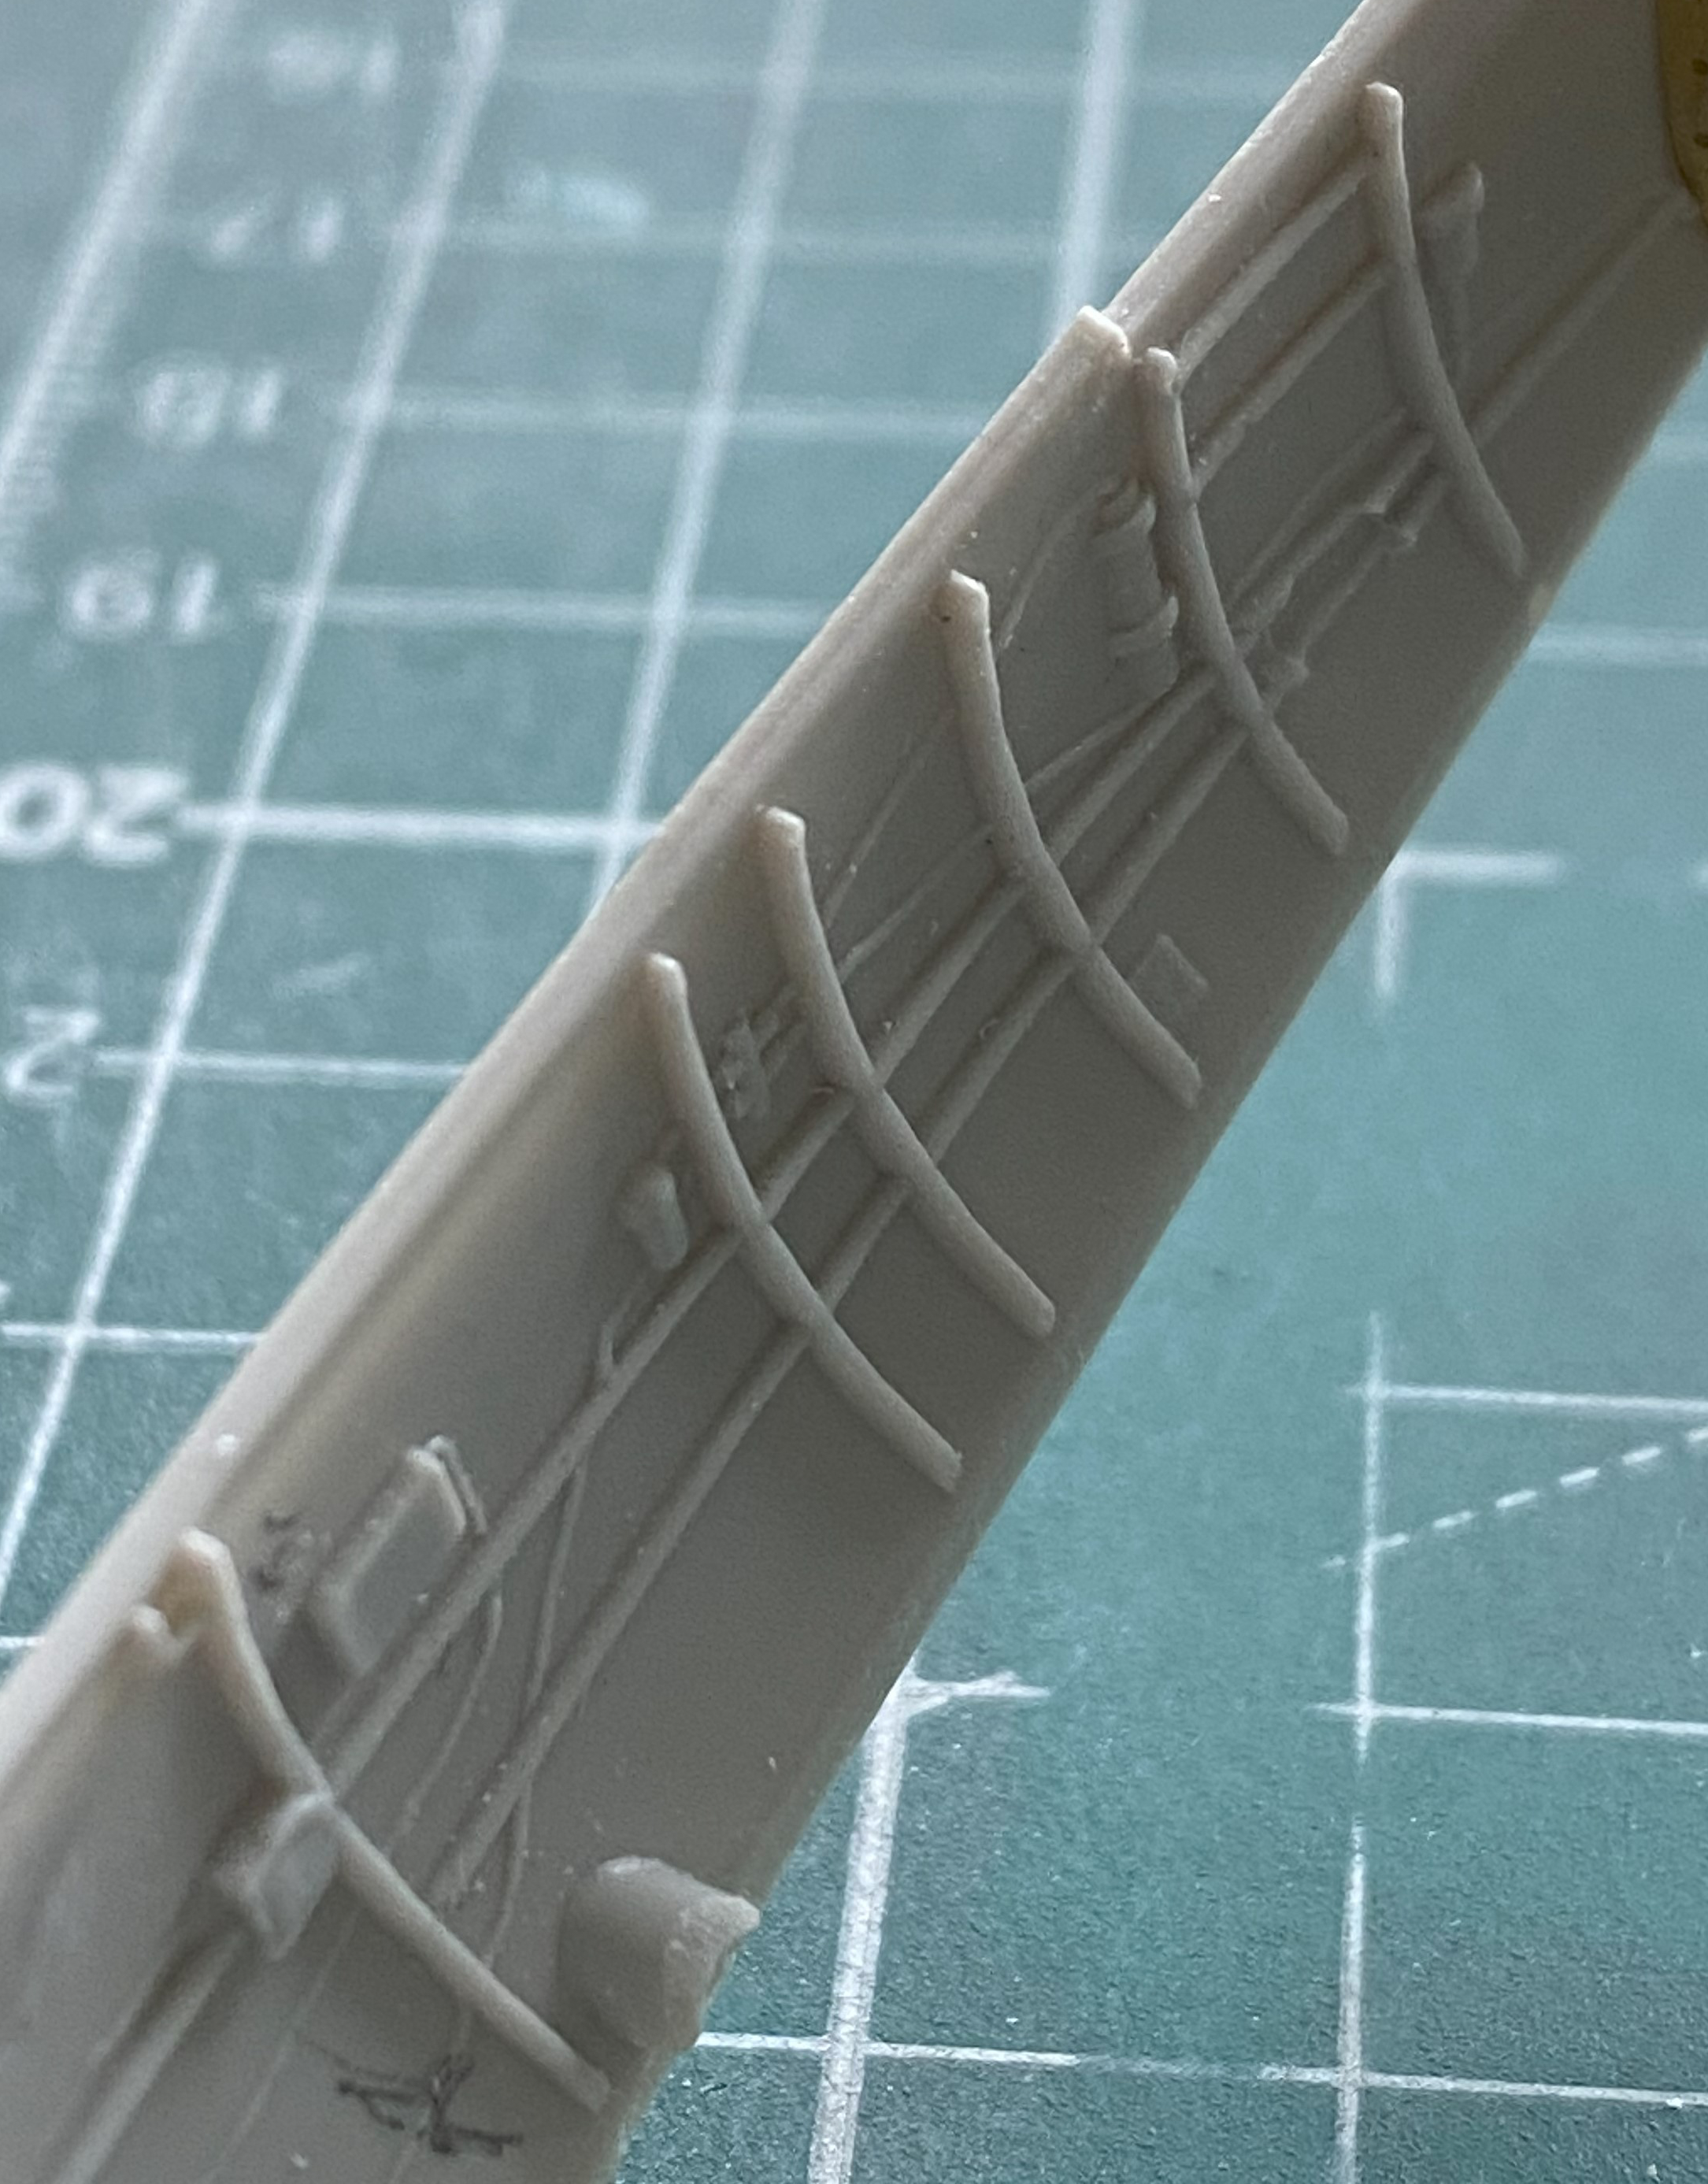
Each of the curved ribs is supposed to be much deeper, but this is where the parts I have to make will be glued. There are 12 for each side for a total of 24 delightful ribs I have to make because I just love matching inside curves (NOT):
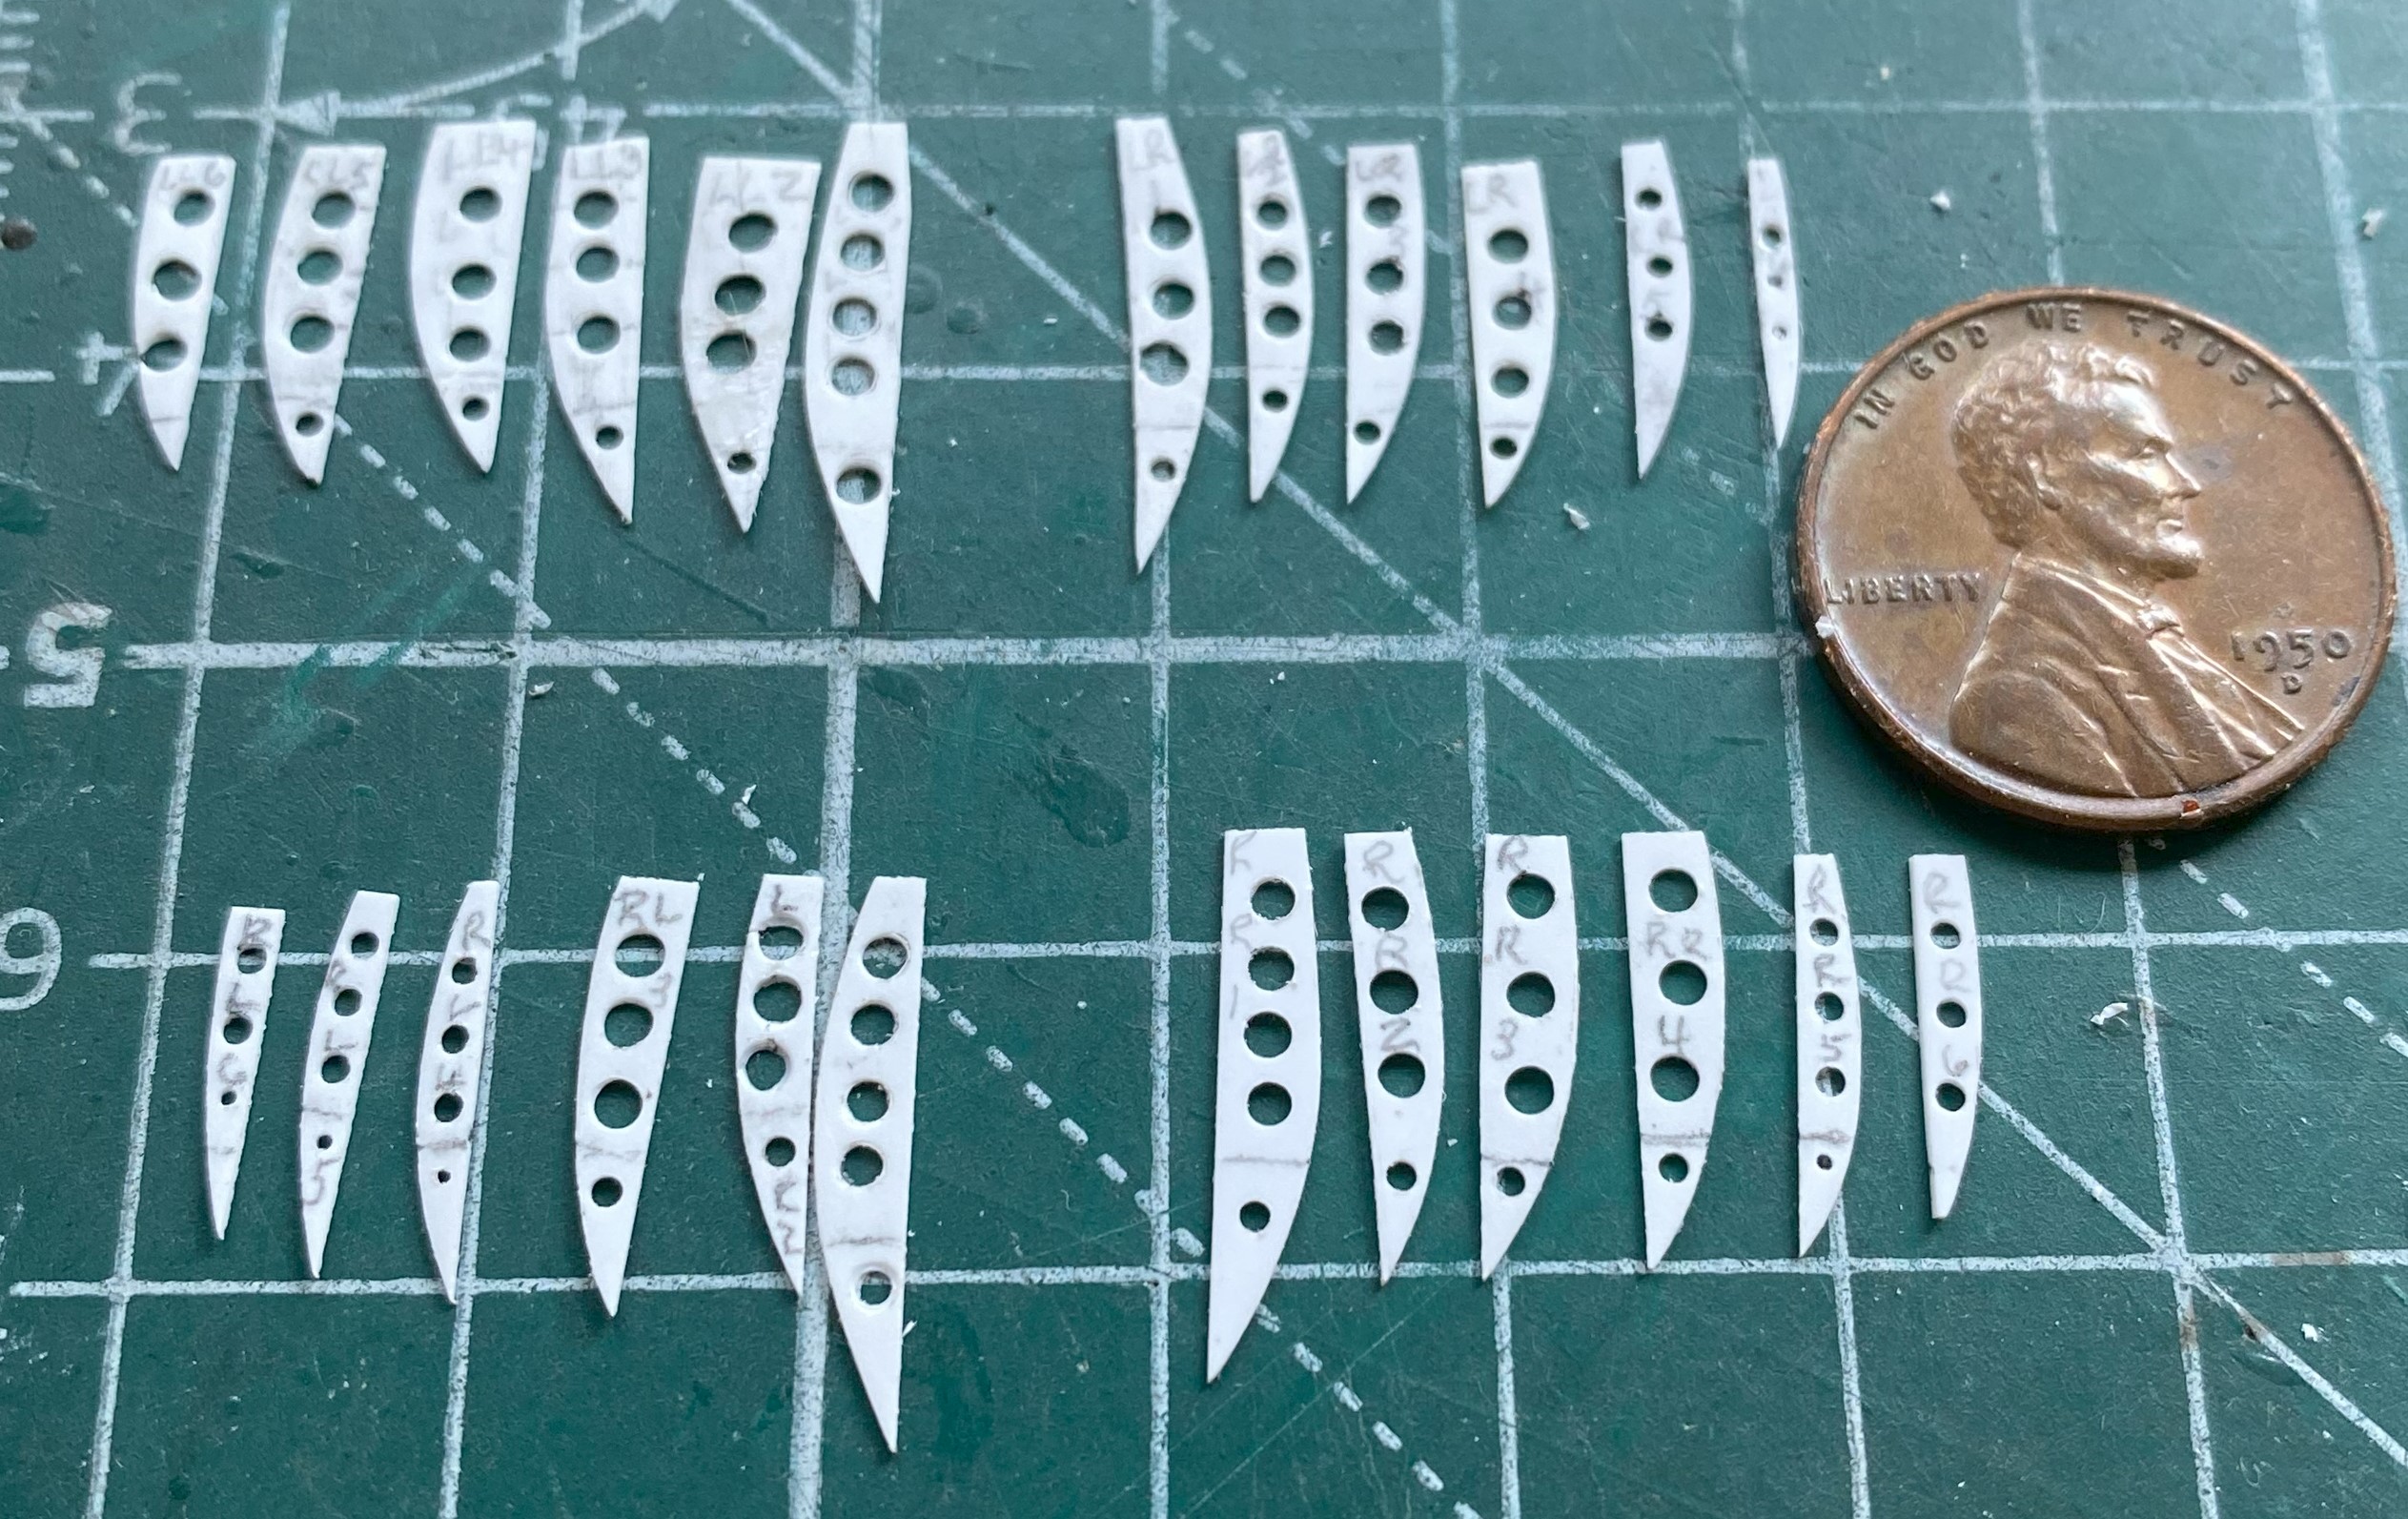
If I needed any physical manifestation of how my mind is off center, this job certainly did that. First I had to cut the stiffeners and match the curves, for which I used 0.010″ (.254mm) styrene scraps:


Then dry-fitting showed me that I’d cut some of them a bit too narrowly, so I had to reattach scrap bits to rectify that (those?) mistake(s?):

Lightening holes were punched into the stiffeners of the actual aircraft. To replicate that I started with the punch/die set but wasn’t very pleased with the result and switched to drilling the holes:
I attached one and then stopped:

I stopped because when working with something so thin, there isn’t a lot of gluing surface to hold things together well enough to withstand the (albeit gentle) handling while constructing. I decided to (finally) give UV setting “glue” a go. Glue is in quotes because this stuff, though sold as an adhesive, isn’t an adhesive at all. It’s a UV setting resin, much like the material that dentists are now using to fill cavities instead of the old amalgam. It acts like an adhesive because it will hold things to each other once cured. To see which I liked better, I did the first nacelle with the UV resin and the other nacelle with my traditional Tamiya Extra Thin. Each has their benefits and liabilities and I ended up using the procedure of tacking one end of the stiffener with styrene cement, gave it a few minutes to goo up, and then used that as a pivot to align the remainder of the stiffener which I then fixed in place with the UV resin:

Between the two methods of affixing something, I achieved what I wanted:

I dry-fit the nacelle to the wing and by doing so realized that I’d trimmed off too much of what I’d added back and had to redo that:


Having fixed that (I hope), it was time to start adding the rest of the structure. This bit replicated (I hope) the five horizontal stiffeners on each side of each nacelle. I got one done:

At this point knowing that I have 19 more to do made the (already borderline hot) circuit breaker in my mind pop. This is as much as I have to show for this month. We’ll see if I have more inner endurance next month for tedium.
