Crankenstein – 1/25 Scale Kitbash Build #1 Parts Layout and Resin Casting
This project has been rattling around under my wig (not that I wear one) since I rekindled my model-building fire in ’14. I’m going to stuff a Small Block Chevy (SBC) into a Karmann-Ghia where the rear seat would go if it had one. (I’d always rather stuff too large an engine into a car than a back seat.) Nobody makes a kit of this…configuration…which means there will be much kit-bashing and scratch-building and whining complaints. (Hopefully it will also be entertaining.) It’s my intention to clam-shell the rear body from the doors back (and possible the front body as well but I haven’t decided yet), rework the doors so that they’re “suicide doors,” which are doors that are hinged at the rear (because of how I’m planning on doing the roll-cage), plus fender flares. That’s the short list!
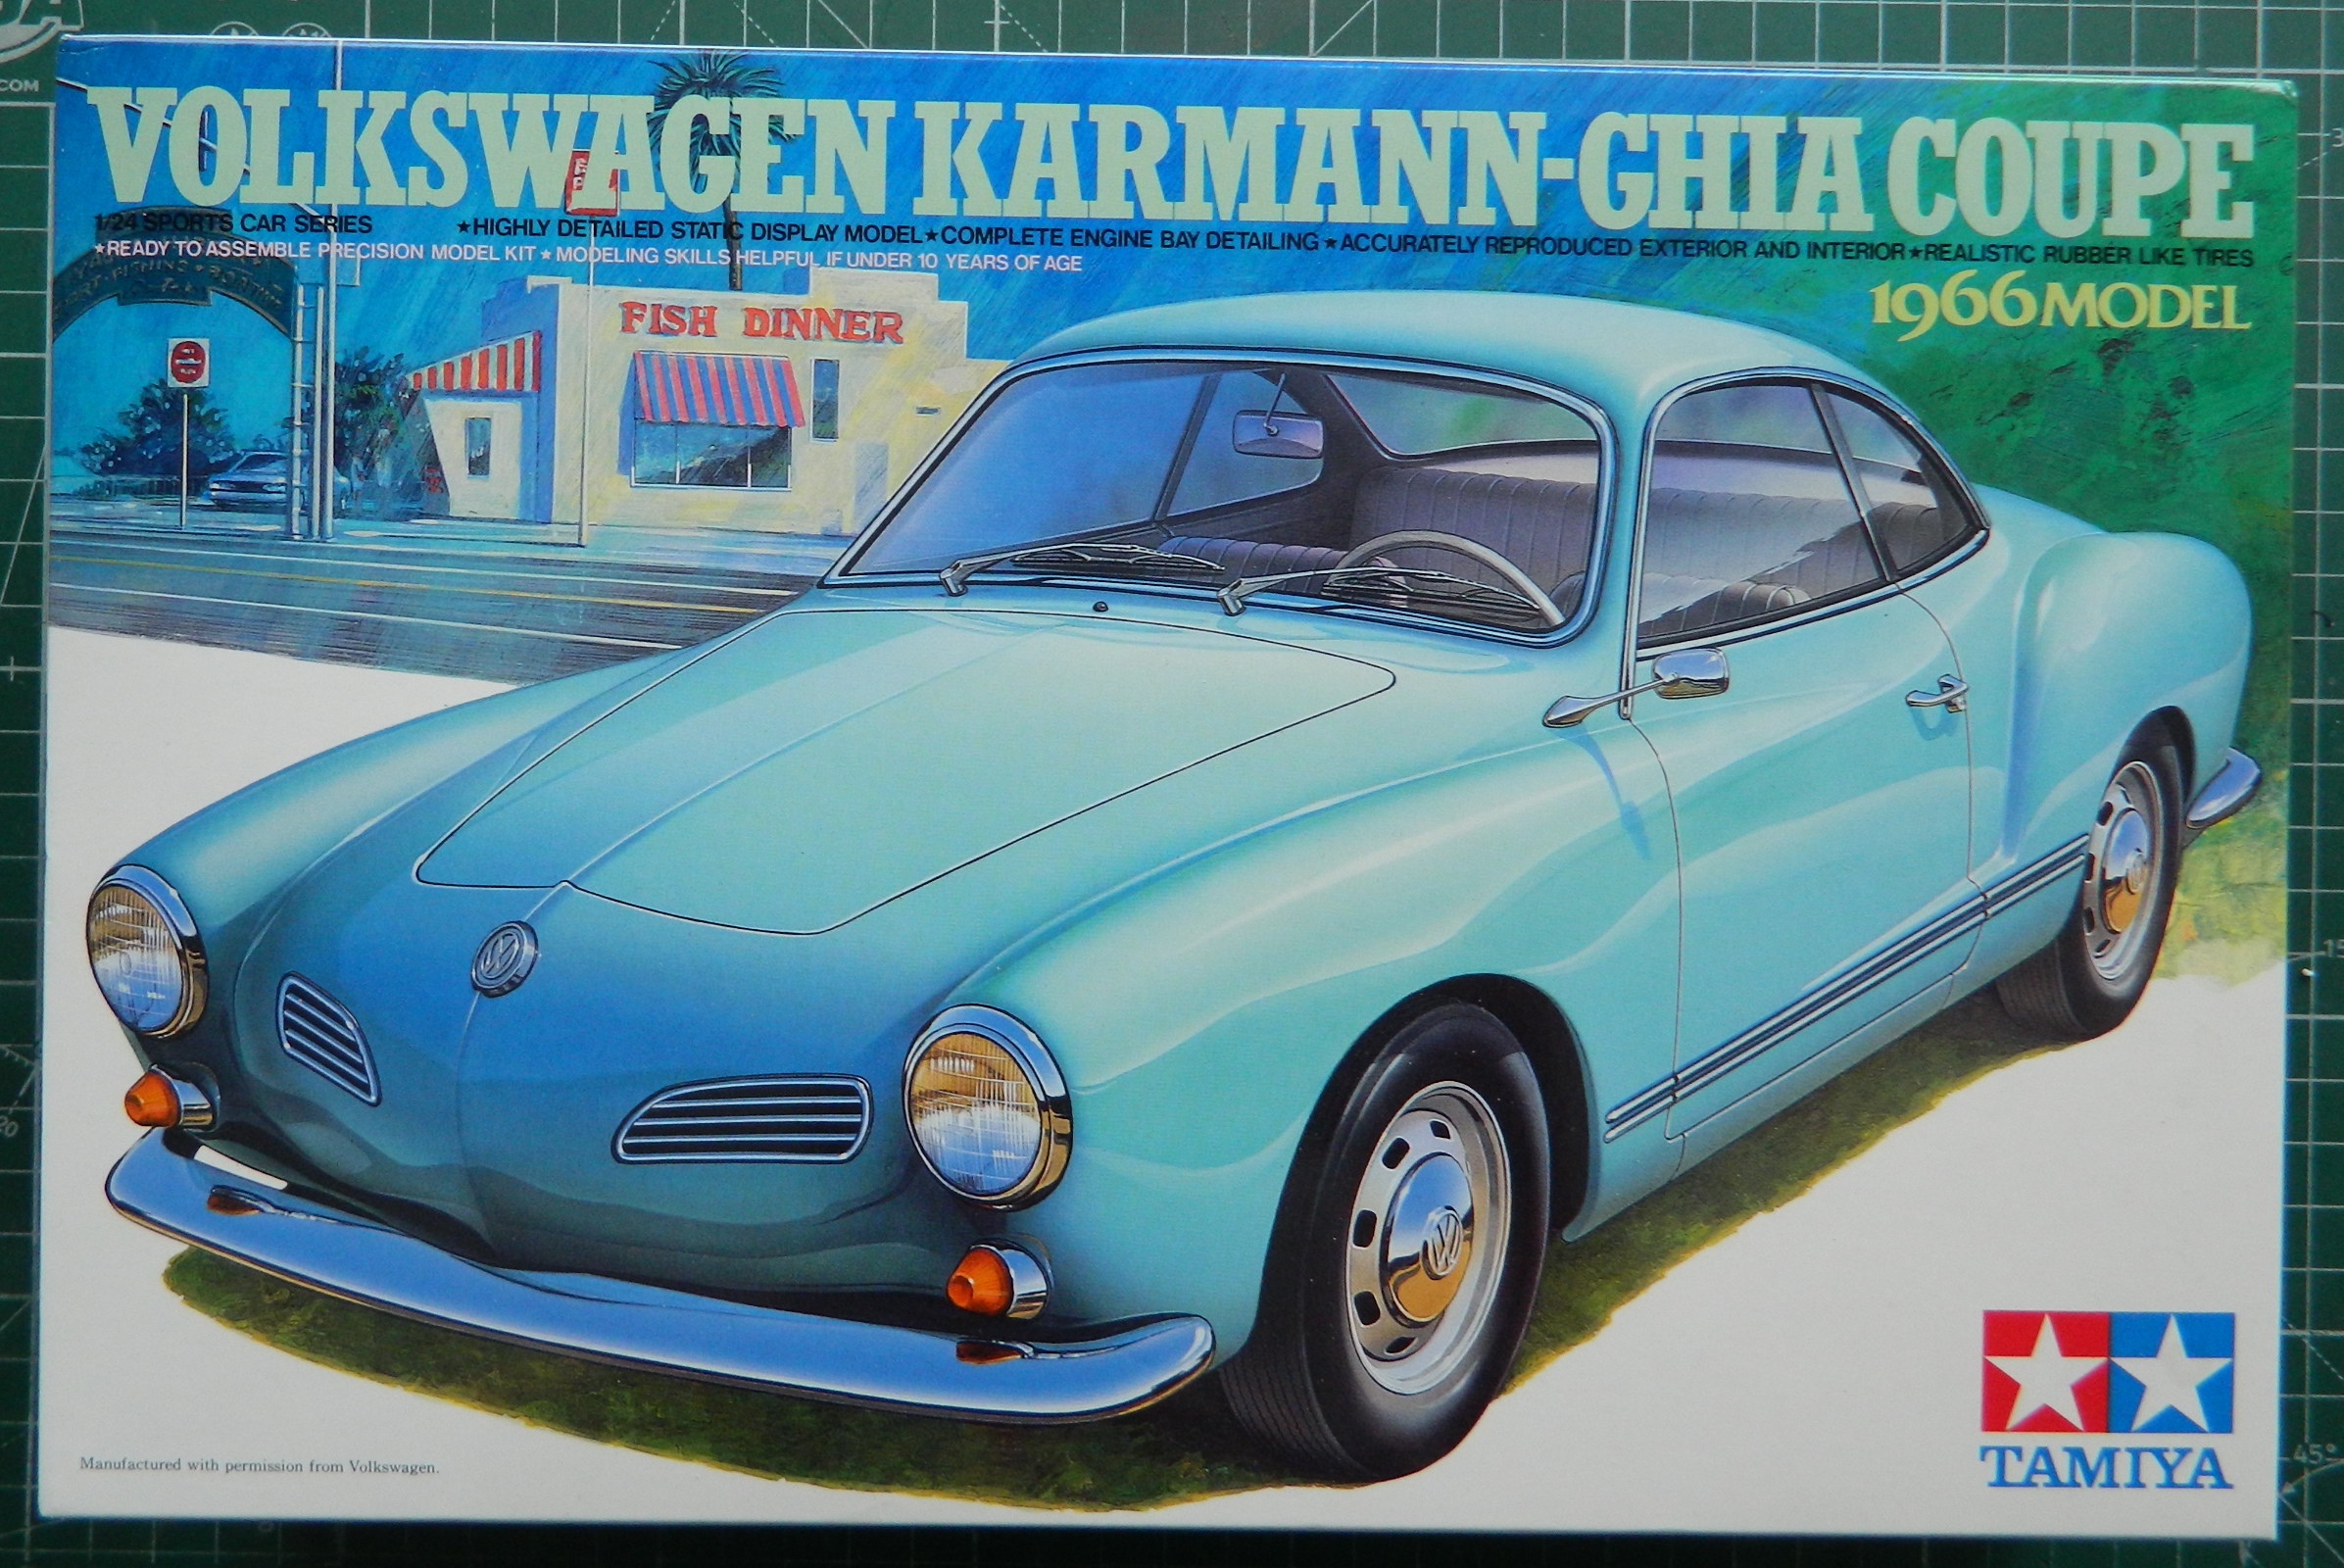
It starts with this:
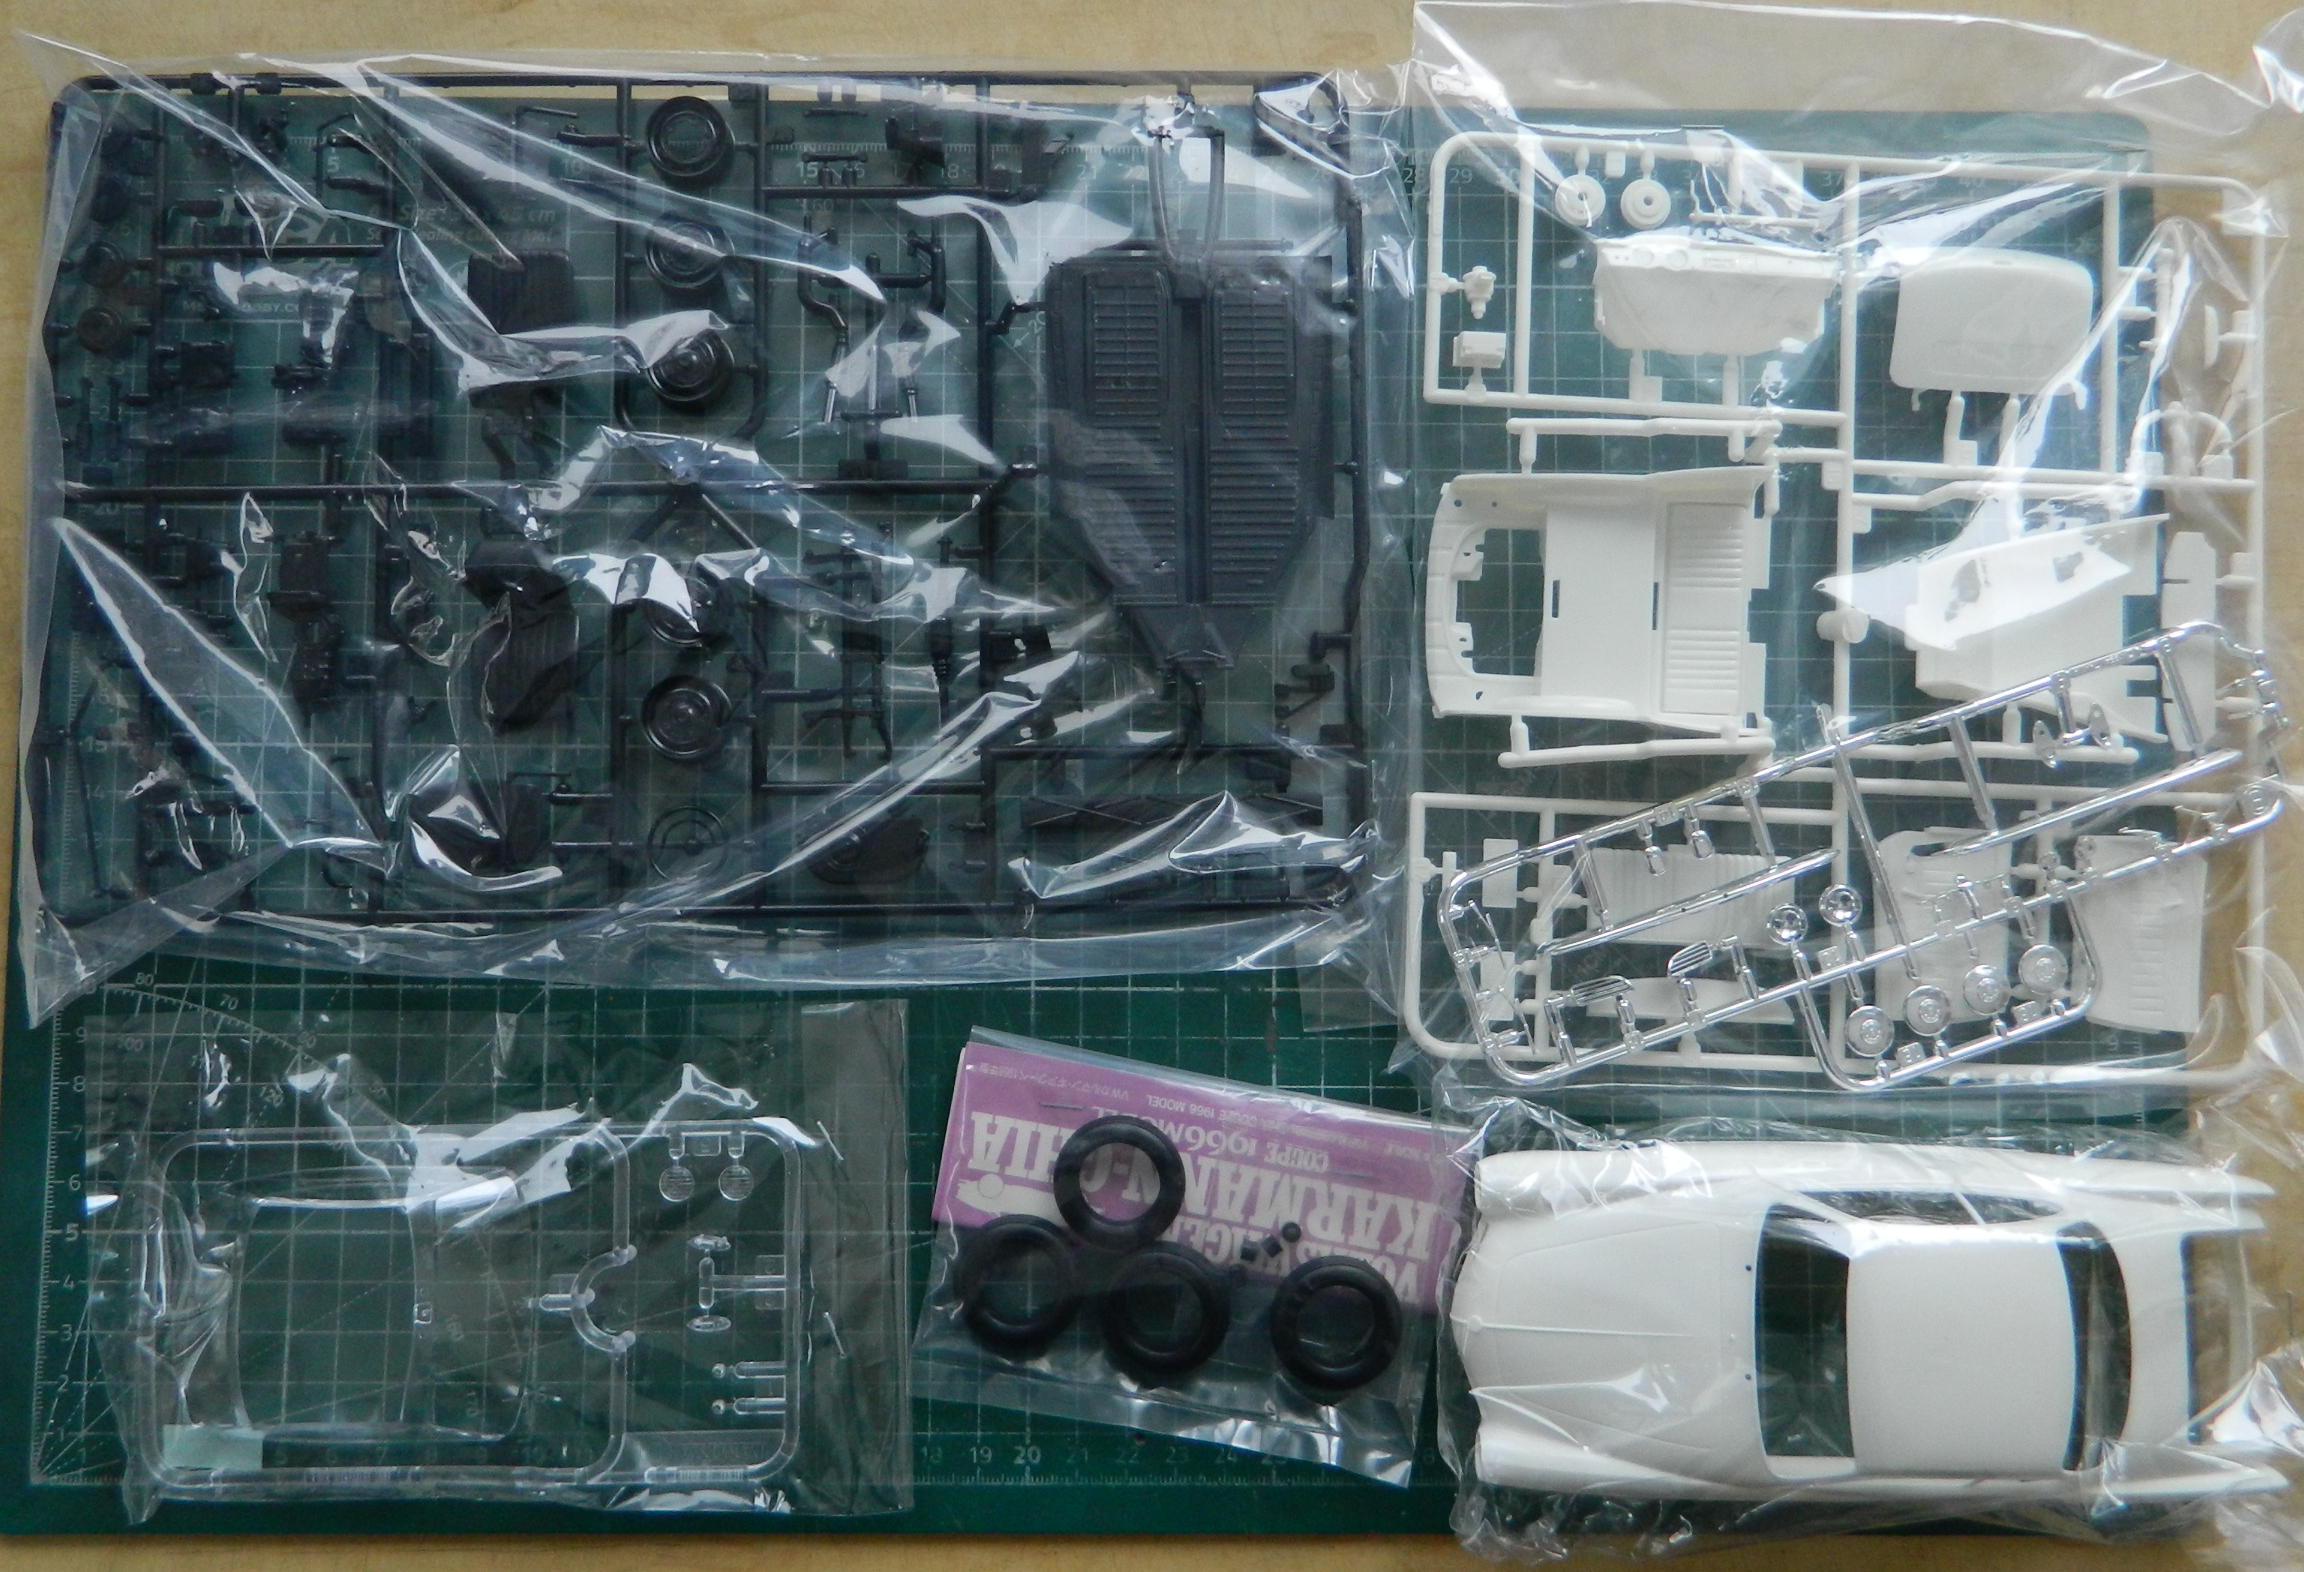
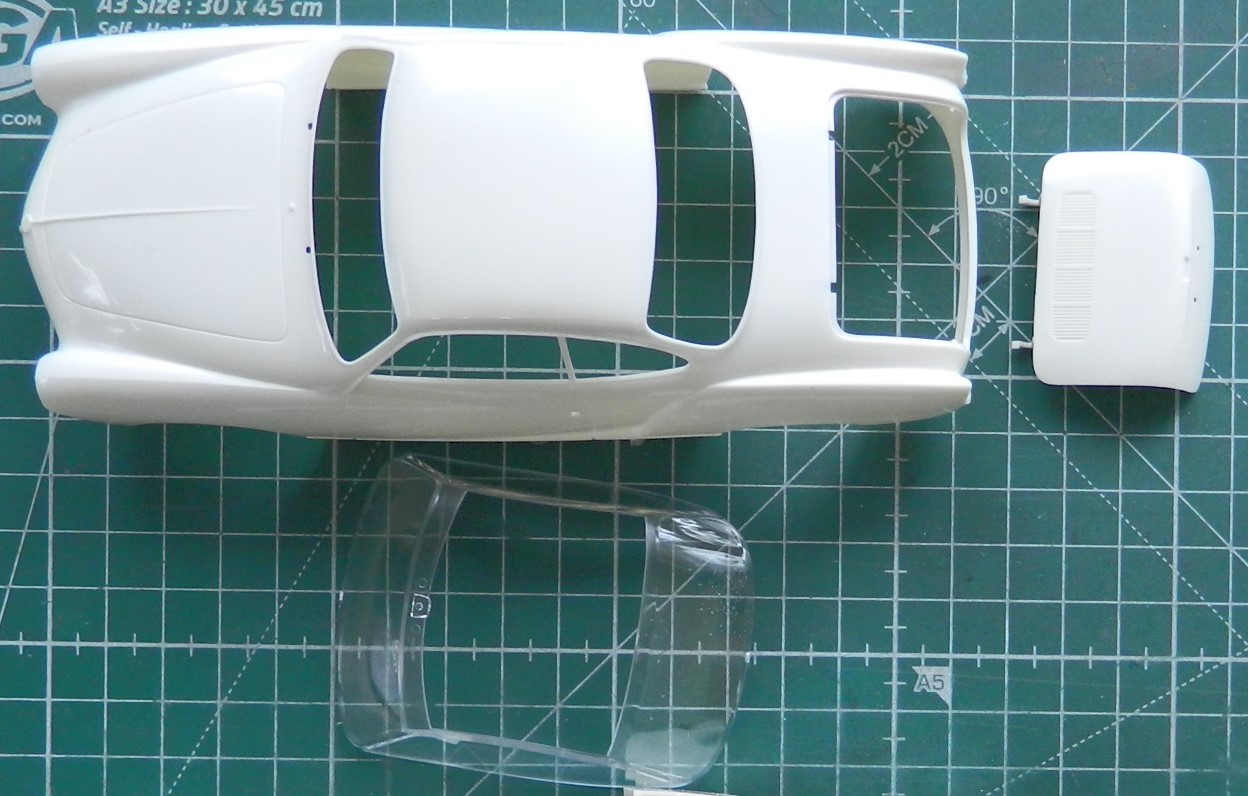
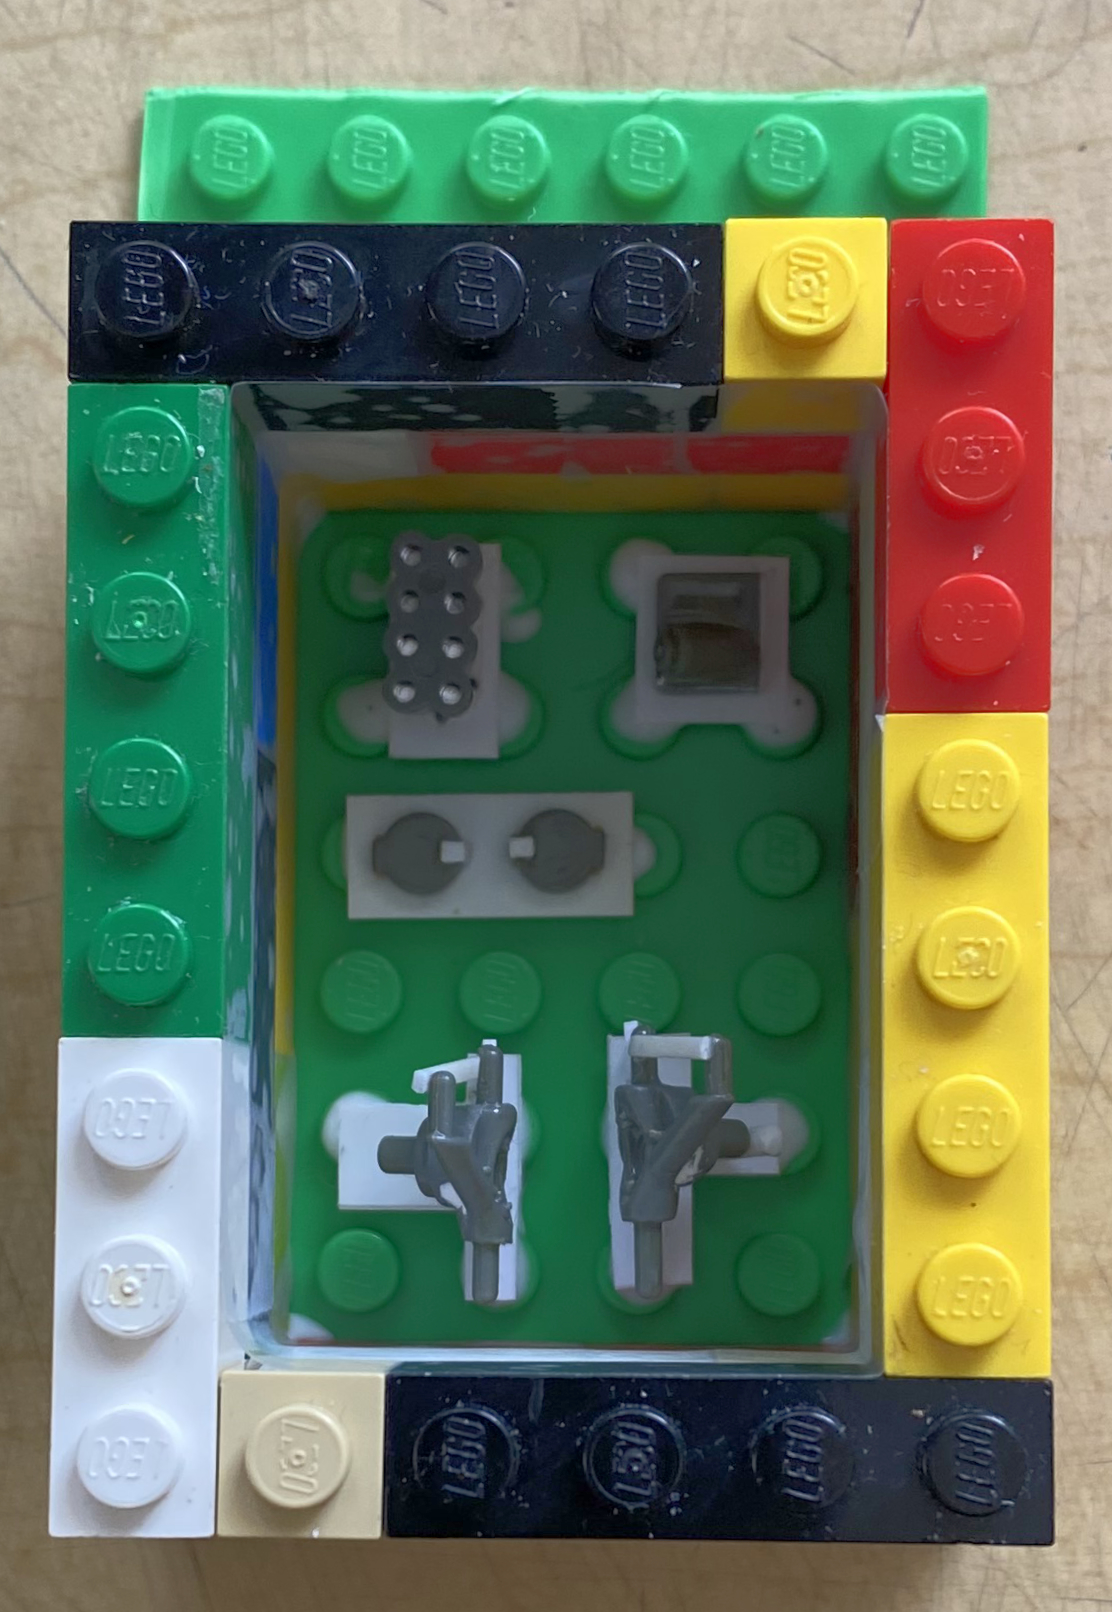
At this point, the only parts I’m fairly certain I’ll be using from the kit are these (I’m not sure about some of the clear parts):
What will drive this build and determine where things go will be where the engine goes and how much room that allows. I want to play automotive engineer as little as possible because I’m not an automotive engineer. That means I’m planning on raiding kits that I have in the stash. A small, light, over-powered car…hmm…where have I heard about this before? Oh! The Ford GT40! It so happens that I have two IMC GT40s, the MkI (#104-200) and the MkII (#112-200) on hand. Those were really good kits back in the mid 60s (Adam’s navel, that was FIFTY YEARS AGO!) but half a century ago [INSERT WHINING HERE] the standards of accuracy were so much lower. I took the engine/transaxle parts from the MkI kit, glued enough of the parts together to learn if I have enough room to do this (looks like it, sorta) and that the transaxle supplied with this kit is utterly inaccurate.
I went online to see if anyone made a 1/24-1/25 scale ZF transaxle and I found naught. Okay…I’ll scratch-build one. To see if the transaxle from the MkII kit was any better, I opened the box and was pleasantly surprised. No, the transaxle in the MkII wasn’t any better (it looked identical to the MkI), I had gone online to see if I could find any AM goodies for it back when I’d purchased it a few years ago and I did. Historic Racing Miniatures made what looked like a nice resin AM set. Excellent! I’ll just cut the ZF off the 7L engine and…whoa. Wait a sec. I decided that before I sacrificed this part, because I do have those two kits I’d hoped to use this in, let’s see if I can replace the part that I’m about to butcher. Good thing I looked because it seems that HRM closed its doors shortly after my purchase. Bugger. That means it’s mold making time.
Since both my molding rubber and casting resin have been sitting around for at least a couple of years, perhaps even to the pre-Covid period, they’re certainly past their use-by date. So I ordered more.
I’ve seen resin SBCs online but for some reason I decided that I didn’t want to do a resin engine (I have no actual reason for that decision, so chalk one more notion up to mood and whimsy), so I checked online and FB modeling groups to see if there was a kit that offered a nice rendition of the SBC in plastic. The consensus from a couple of online locations is that Revell’s ’69 Chevy Nova SS (kit #85-2098) is pretty good. Got my hands on one and I support the consensus. It’s pretty good.
So look…I get that I’m a bit off center (amazing what one can learn about oneself in SIXTY YEARS). For whatever “reason” (because mood and whimsy ain’t always “reason”) (in fact, they’re rarely “reason”), I decided that since I’m going to be making molds anyway, I’ll go ahead and take a mold of the SBC and cast one in resin! I’d bought another kit for its engine because I didn’t want to use a resin AM part, but I’m going to use a resin copy of the kit’s part instead? The irony isn’t lost on me (unlike my sanity, evidently, or consistency). In order to mold the SBC parts I’m going to need to do some assembly and cut the 4-speed transmission free (the nicest replication of a Muncie 4-speed I’ve yet seen) and then block off the holes left in the engine and trans (I’ve also attached the intake manifold) so that they don’t fill with rubber when I pour it:

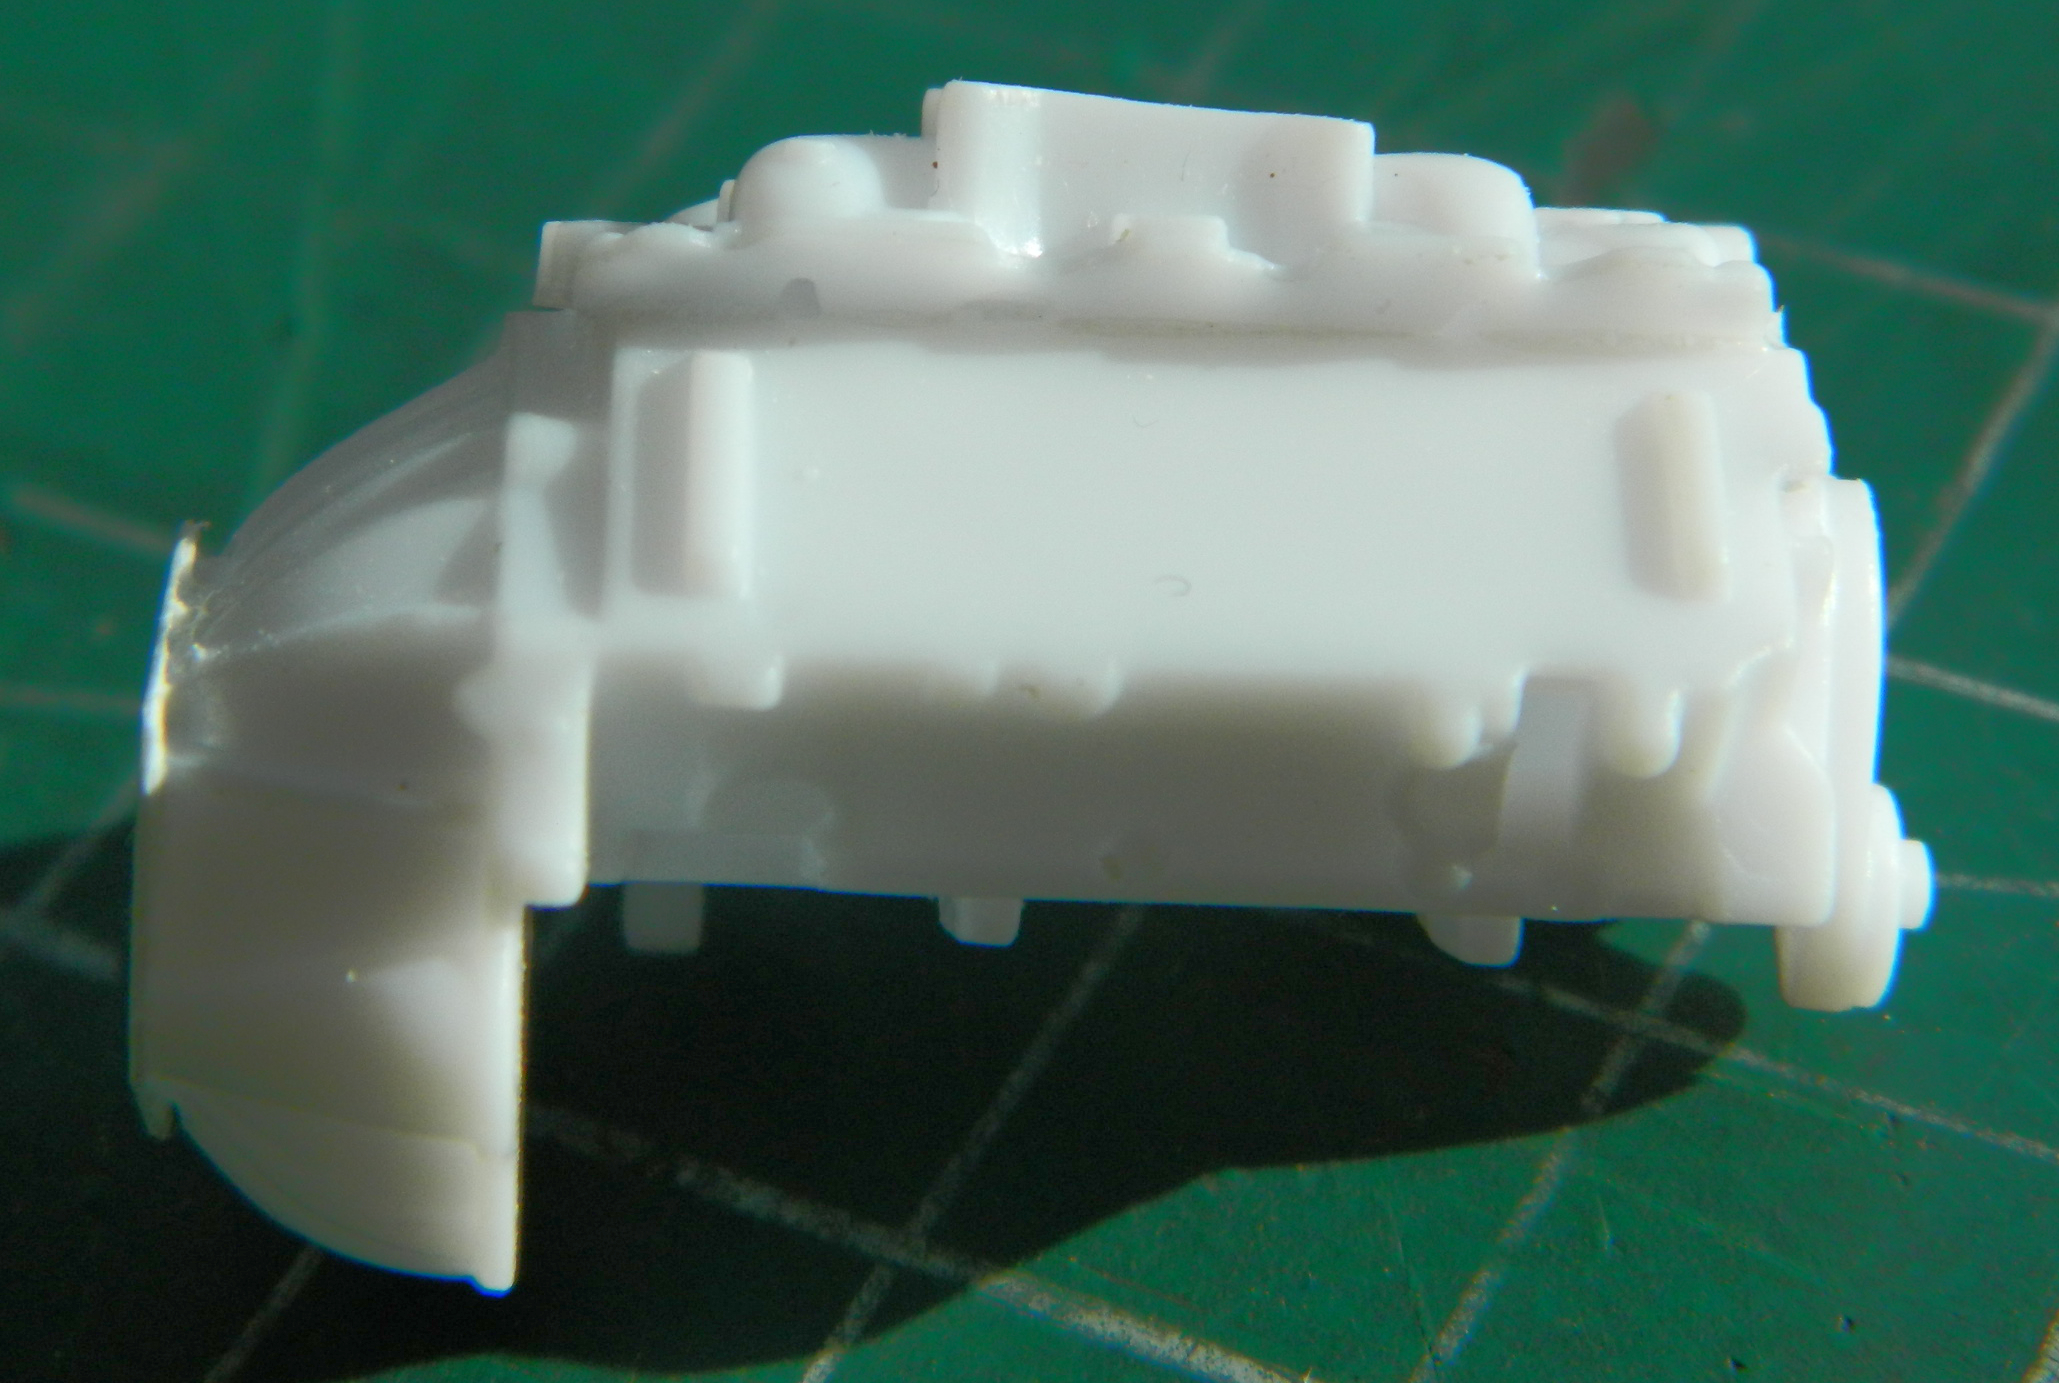
I wanted to make the mold with the heads and valve covers attached to the block along with the spin-on oil filter. Fitting the heads to the block shows an unacceptable gap between the heads and manifold so I shimmed the gaps with .005″ (.127mm) and .010″ (.254mm) scrap styrene:

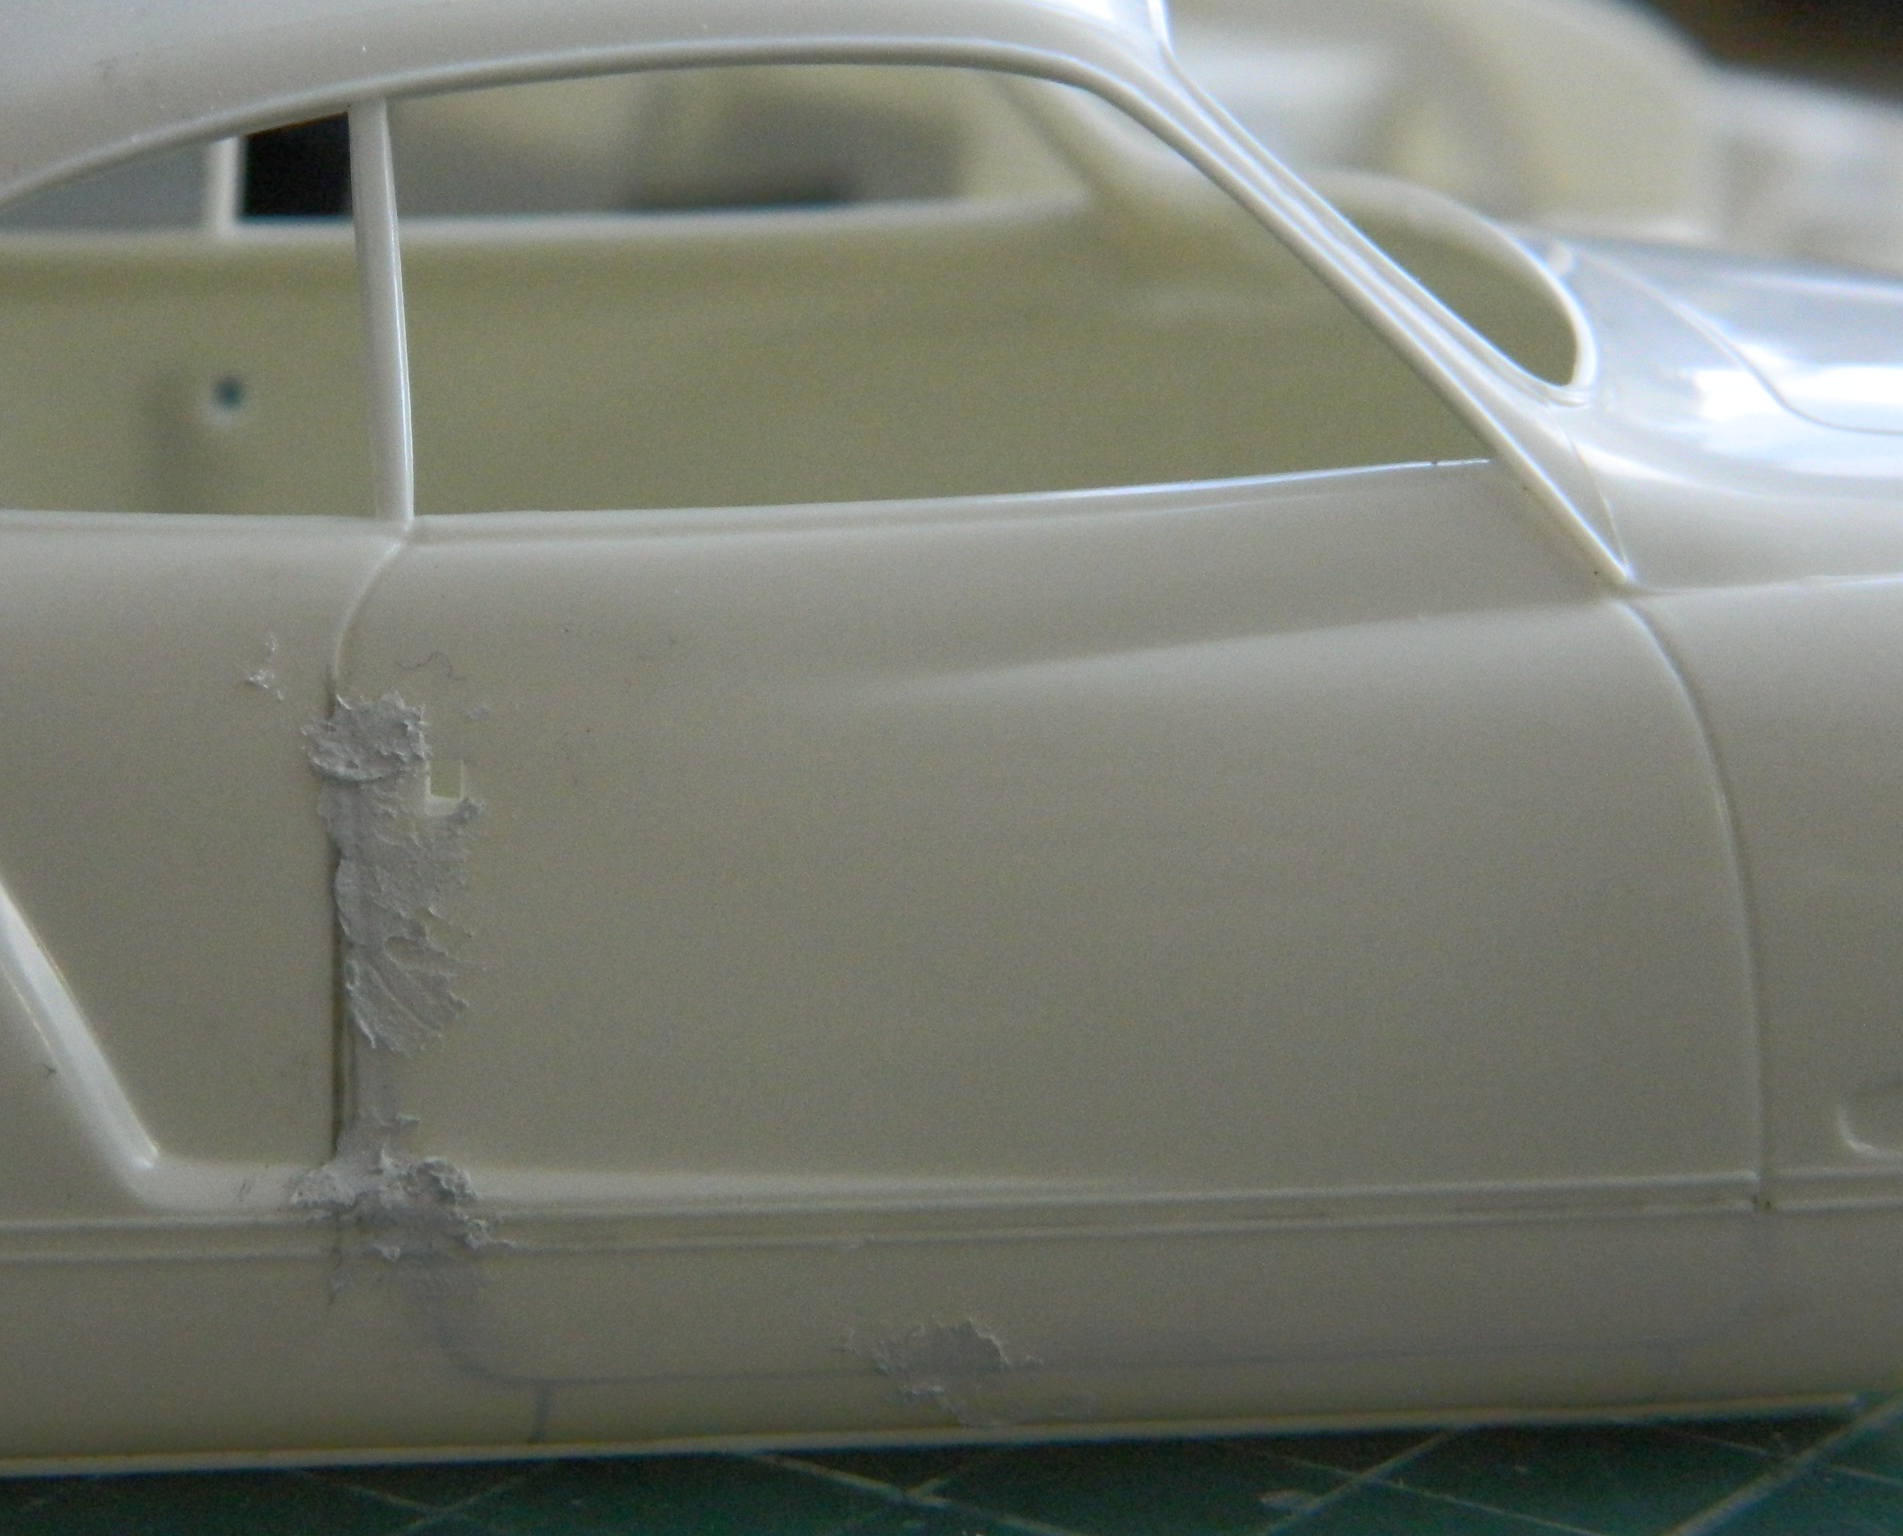
Since I’m going to change to suicide doors, I needed to decide how. It will be much easier to move the hinges from the front to the rear if the rear of the doors are vertical instead of curved and angled. And since there are going to be lots of bits stuffed into a volumetrically-challenged interior, I need to figure out where the fuel tanks will go. At this point I realized that I need some idea of what I have to work with. I tacked the major interior parts together so that I could check how much space, and where that space is, to work with:

My intent is to have a minimum of 20 gallons (just under 76 liters) of fuel onboard. I haven’t taken exact measurements yet but if I take another notion from the GT40 and put the fuel tanks in the door sills, that could give me the total fuel quantity I want. And if I move the door sills up just a little, that would work to help the chassis by adding rigidity as well as increasing fuel quantity. I’m going to open the doors at the bottom between the two chrome strips. I’m also going to need an air intake for the carburetor (no fuel injection…I’m doing this using early/mid 70s tech) so I added .020″ (.508mm) scrap styrene to blank out the left side rear window which is where the air intake will go. I puttied the panel lines I won’t be using and penciled in a rough approximation of where I want the doors to hinge:

I added the heads to the SBC and trimmed back the shims and realized that, once again, kit manufacturers seem to replace what should have an aluminum finish with chrome (more irony since the “chrome” added to car kits isn’t chrome, it’s aluminum). In the case of this SBC, that means the valve covers, fuel pump, and air cleaner housing (which I think I’m going to replace with an AM assembly) are chrome…which I don’t want. I’ve noticed that when builders want to strip chrome, they use some pretty caustic stuff; oven cleaner, brake fluid, and several types of paint strippers. Well, if it works for them… I’ve found that simple household bleach works great. It’s cheap (so that I can spend my cost savings on more AM goodies) and I can just flush down the drain without ecological penalty after using it. I think the longest it took me to strip chrome was from the Bugatti Type 35B I built. Half an hour. These parts were stripped to bare plastic in 15 minutes:


I’m not building a show car or custom anything (well, aside from most of the build, that is). This isn’t intended to be a trailer-queen and I’m building it as the street racer I wanted when I was young and more enthusiastic than smart. And if I had built this Back Then, I wouldn’t bother with dress-up parts; stamped metal is just fine. I’ll be painting these the standard color that Chevy used.
I wanted to get a rough idea about how well (nor not) this thing will fit into what limited space there seems to be and it looks like it’s going to be snug. I’m prepared (grudgingly) to move the rear wheel wells rearward if I need to:

As you can see in the above photo, I added some bolts to the engine that it needed as well as what will be the pouring block when it’s molded.
Since I was still awaiting the molding materials, I figured it was high time to get the parts ready to mold:
When doing the GT40 suspension upgrade parts, I realized that molding a coil-over part would be tedious, if even possible, so I just scratch-built a pair. My first attempt used a plastic rod with annealed copper wire wrapped around it for the spring:
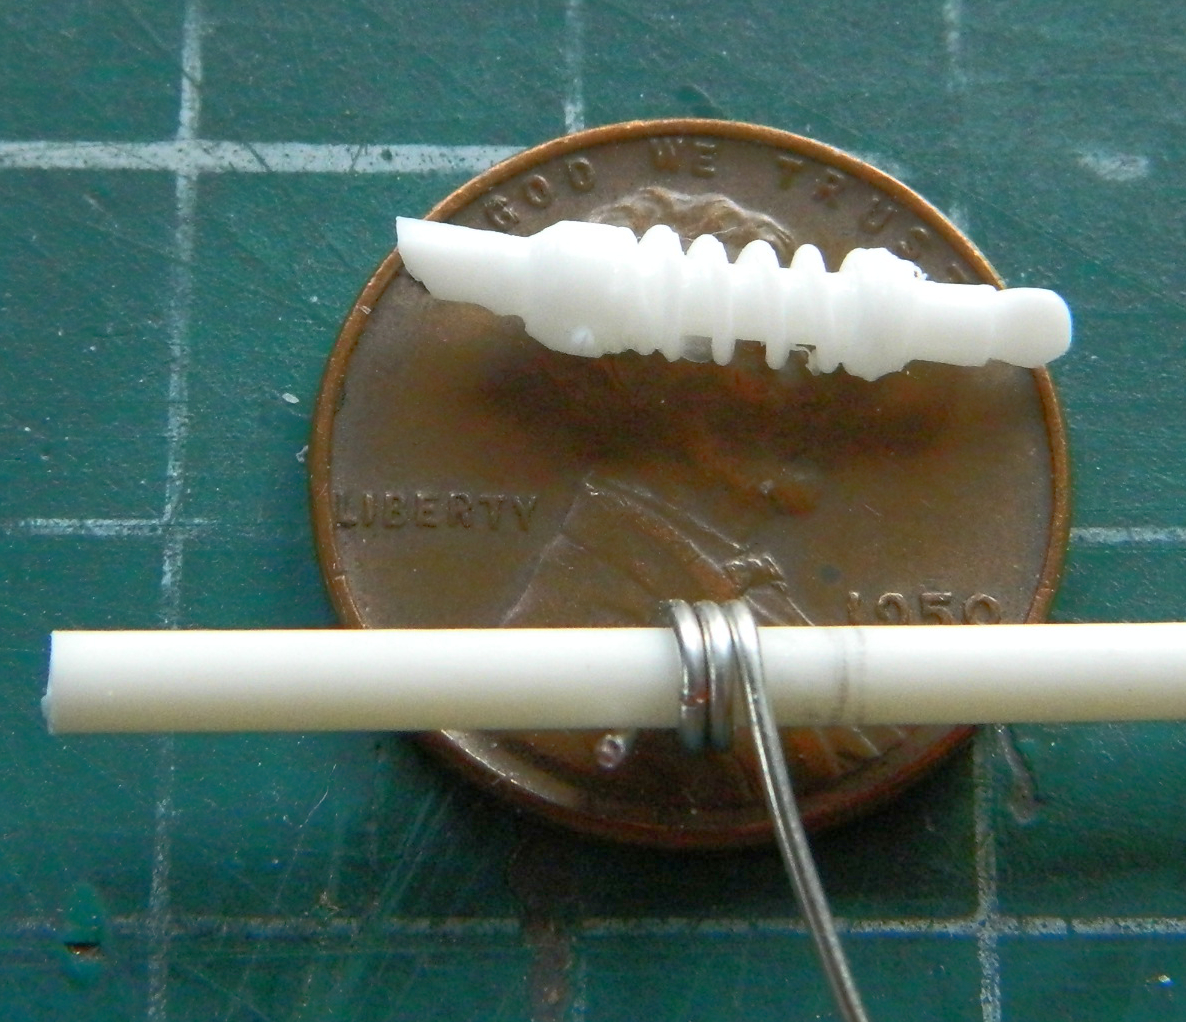
Freakin’ tedious for marginal results. Instead, I used annealed 22 gauge copper wire twisted around a screw. It was easy to maintain even gaps between the coils and the gaps between the coils were easily adjusted. I will do the coil-overs for the front suspension later using thinner wire. On the two rear coil-overs, I left one end flat; I’ll figure out later what sort of attachment I’ll need there:

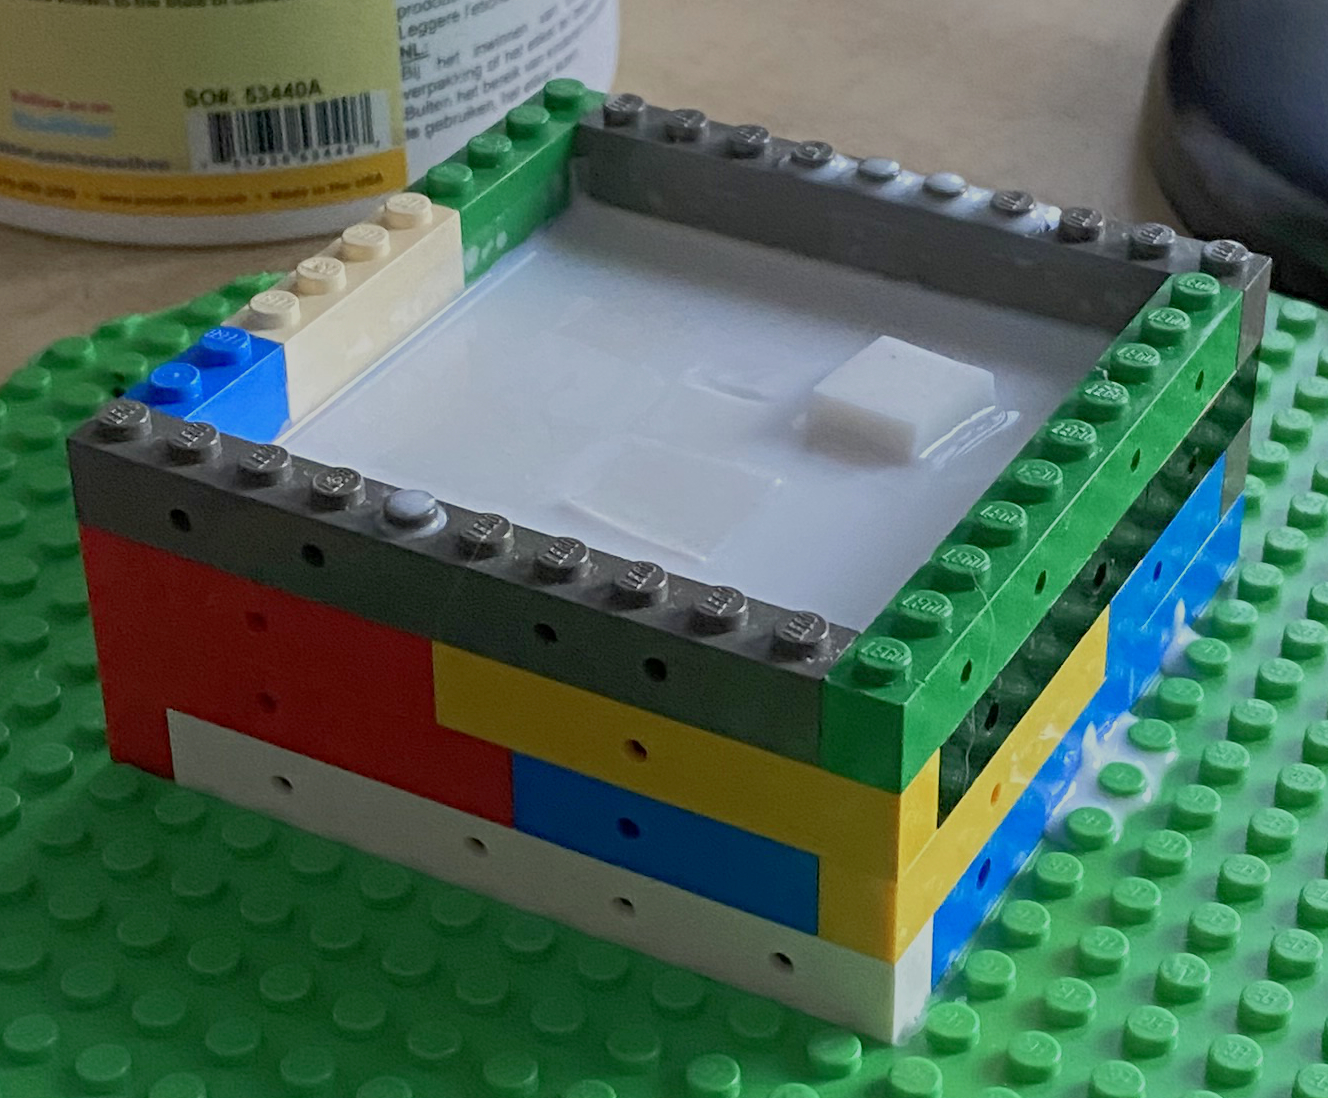
With the molding supplies in hand, I started making mold boxes and going through that process. Once again perfection eludes me. I thought that all I’d need was 150g of rubber. Nope. Events showed me that I should have mixed up (and boy am I often mixed up) 200g. 150g just barely covered the SBC block. I’m being giddy using the word “covered.” Had it cured at the thickness as poured, the “covered” area would be more of a membrane and therefore easily ripped. I scraped all the rubber out of the mixing container that I could to get that inadequate coverage. Then I remembered seeing someone who had cut the cured rubber left over from other molds and I filled out the volume of the mold box a bit and by dropping the cured rubber chunks into the uncured rubber, being certain that I got enough support over the engine part by dropping a block of cured rubber directly over it:
Once that had cured, I laid out an estimation of how I wanted to mold the HRM parts that I want to use in this build:

While that rubber-filled box was curing (without repeating my previous error of not enough rubber mixed), I laid out the IMC parts in its own box (these parts have also been dechromed):
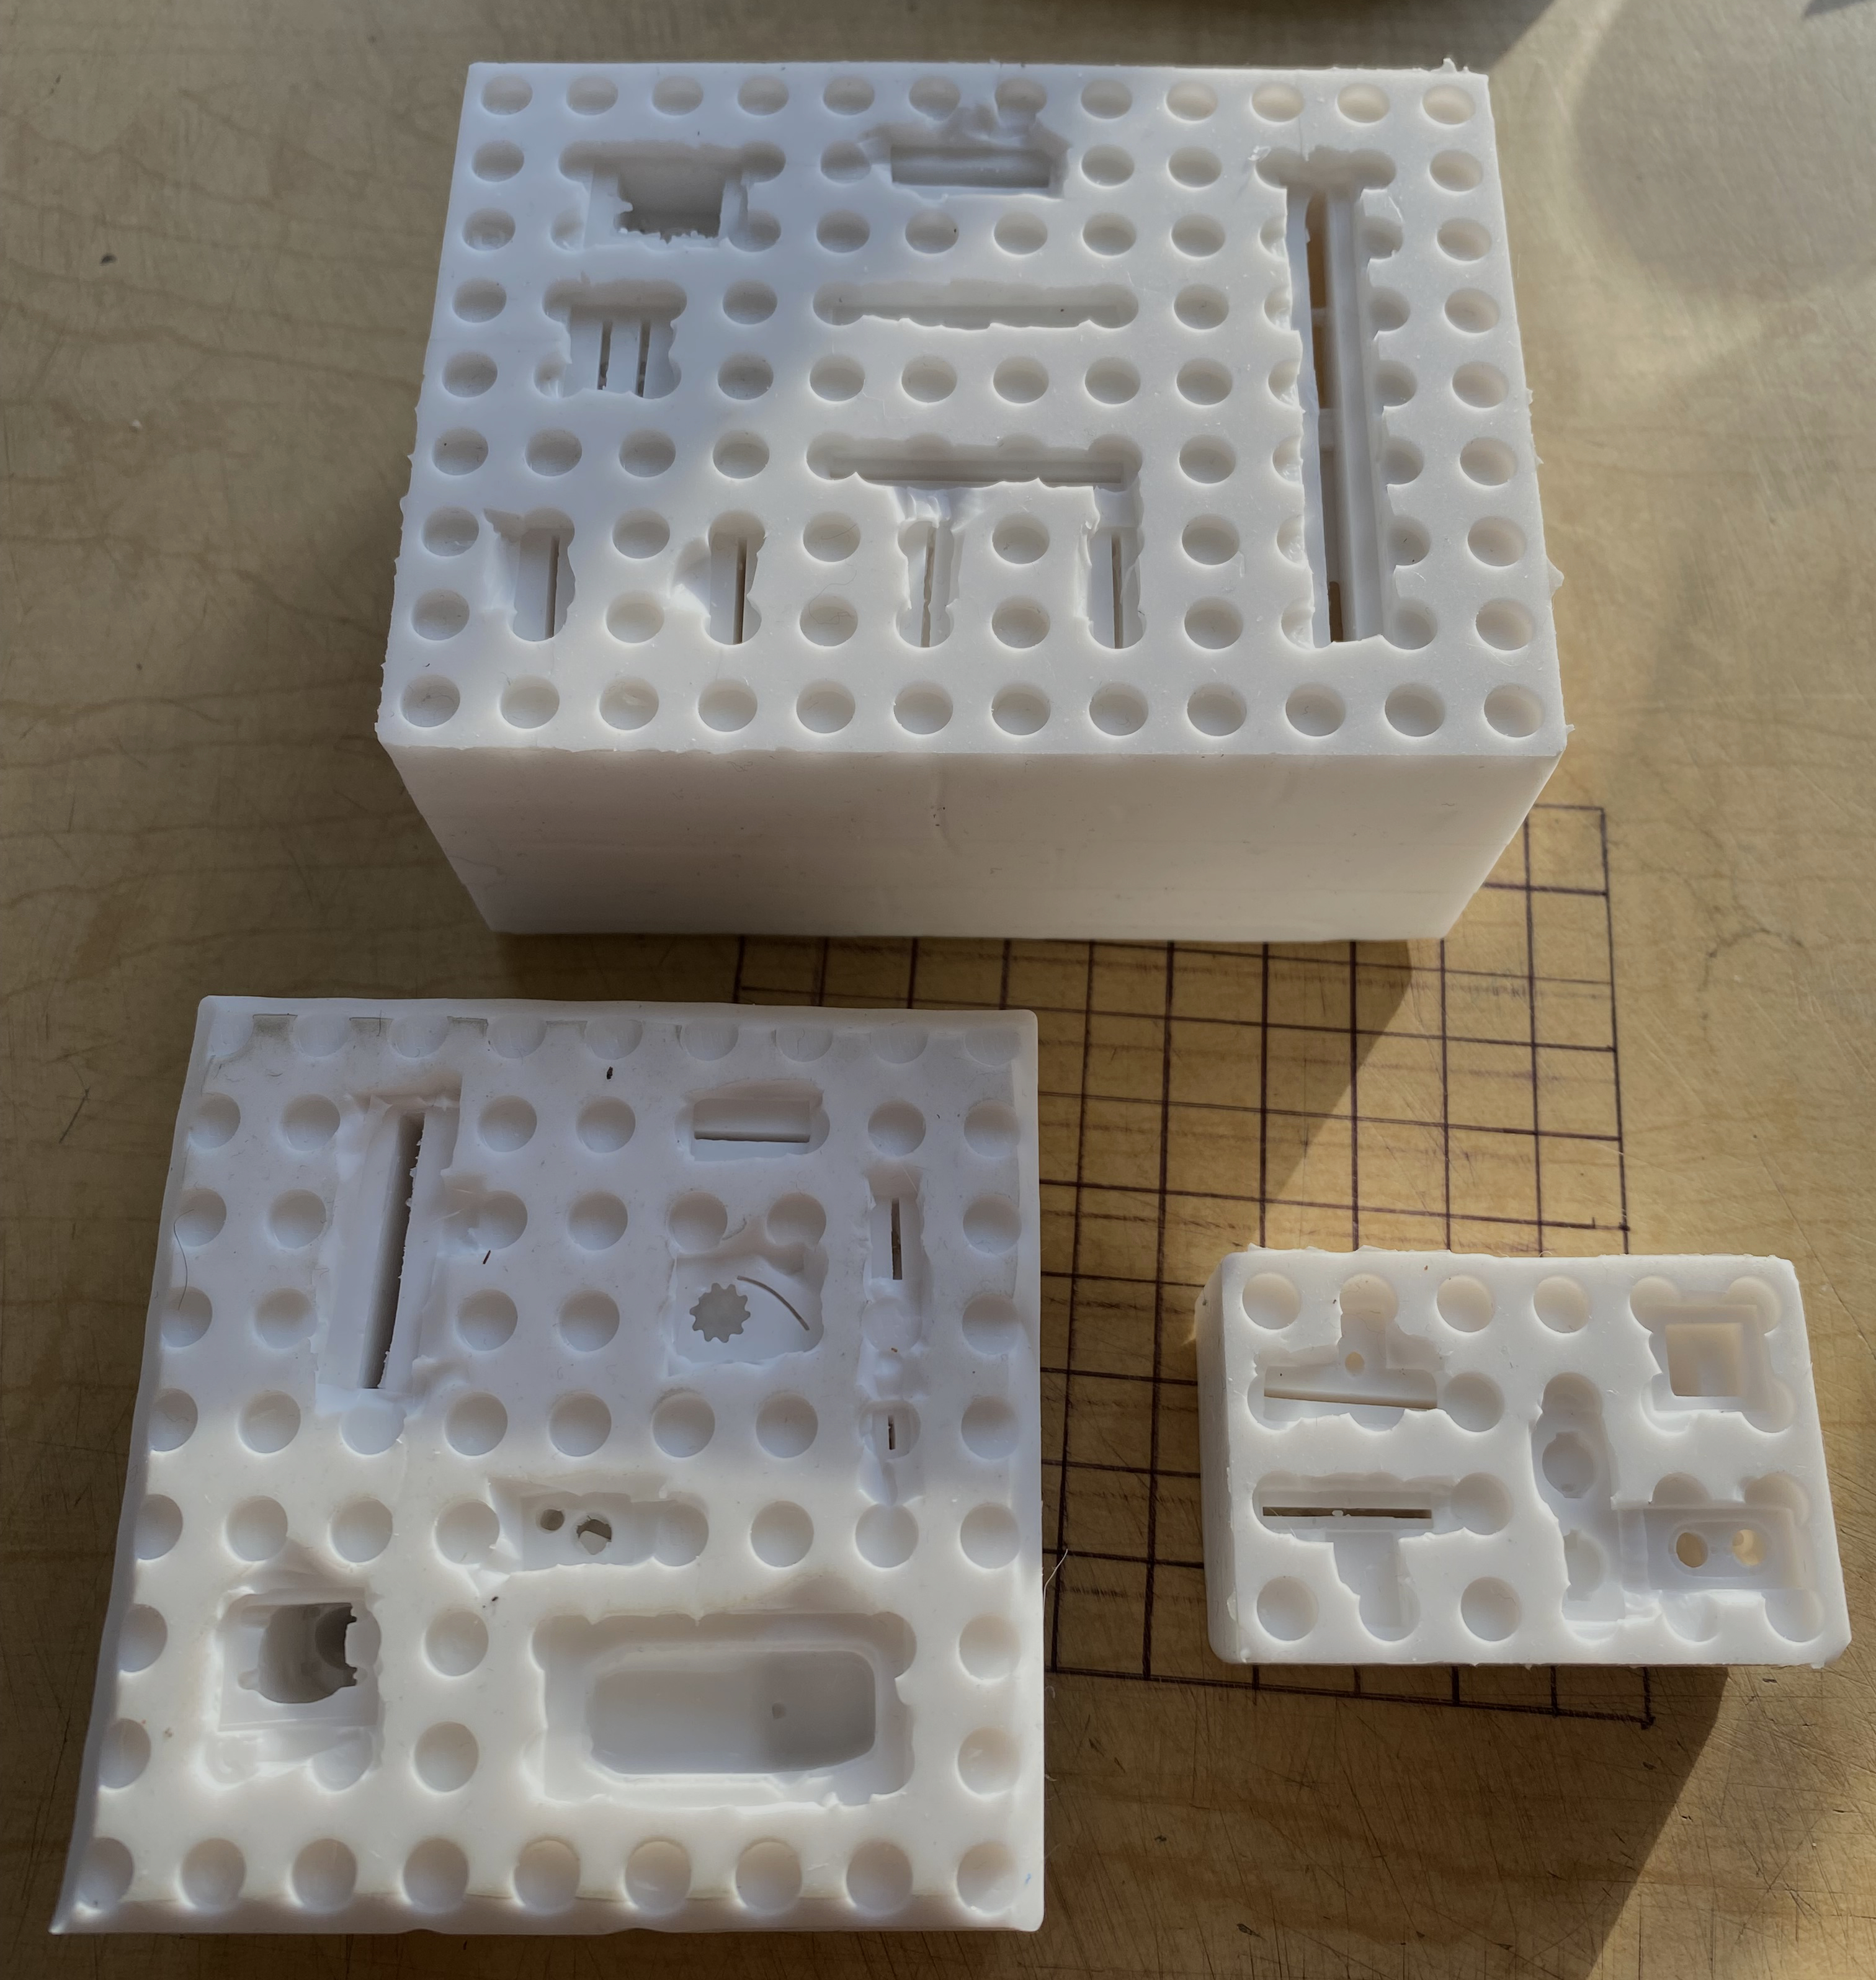
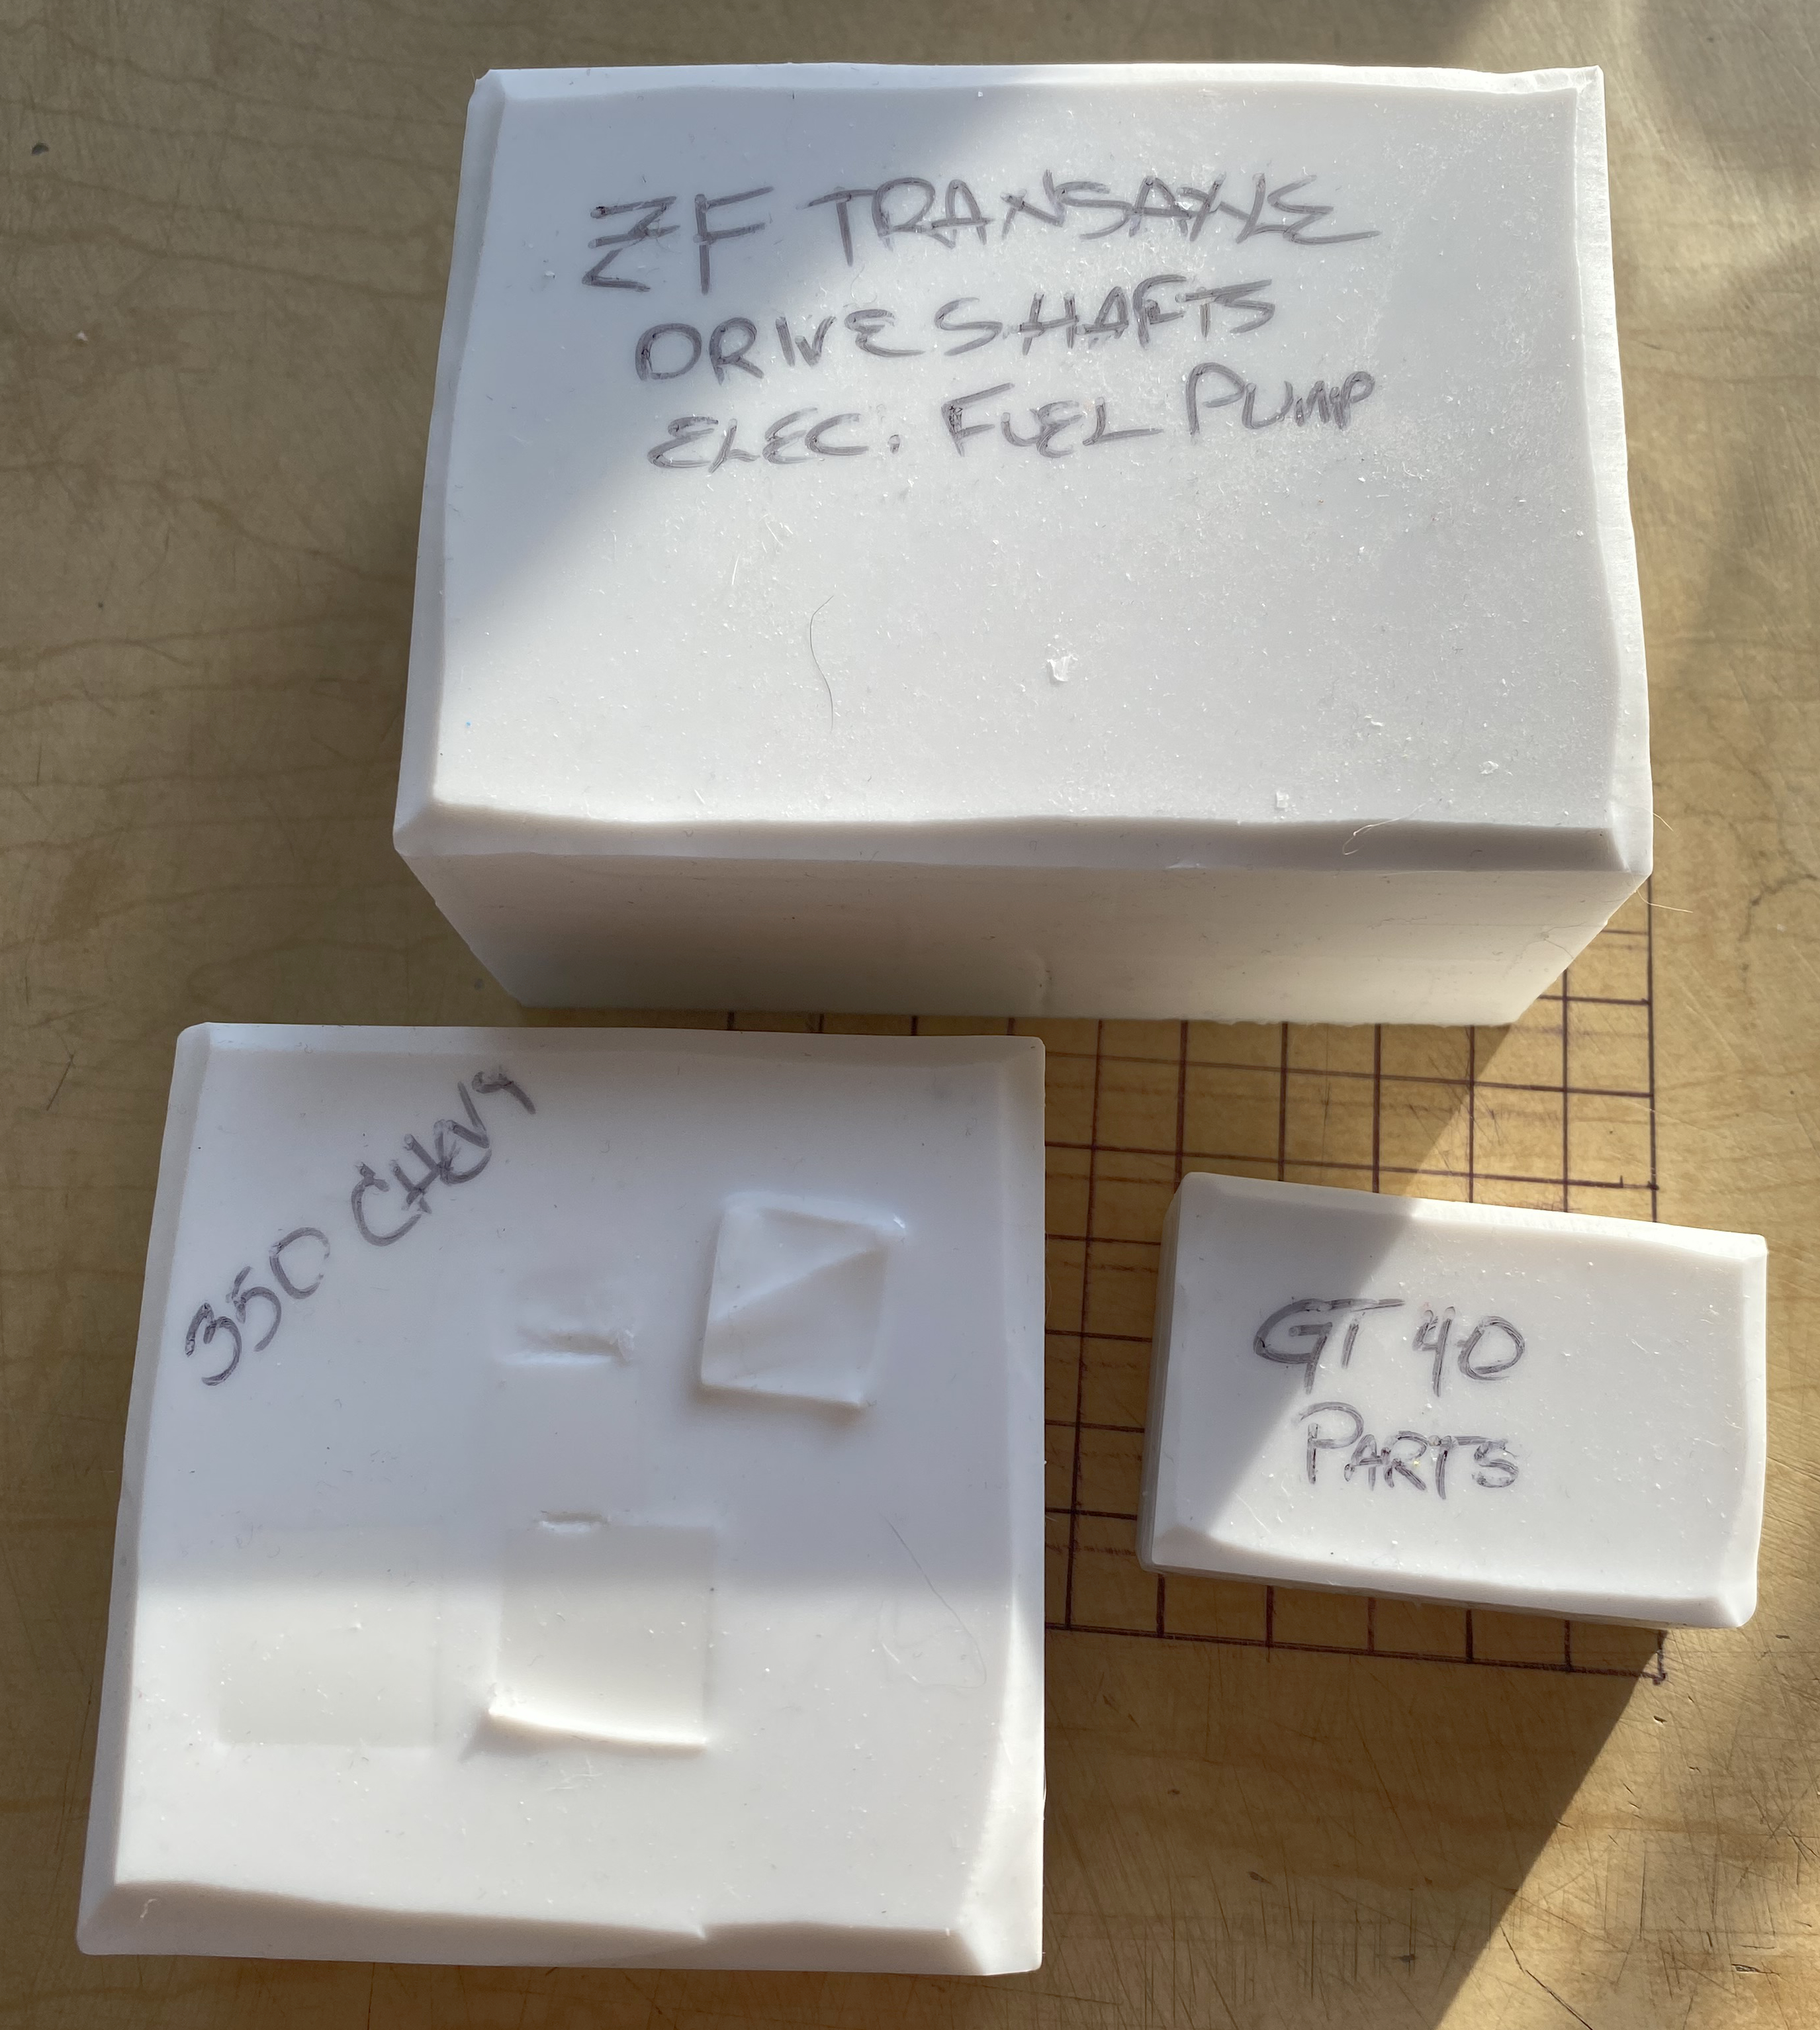
Molds are done:
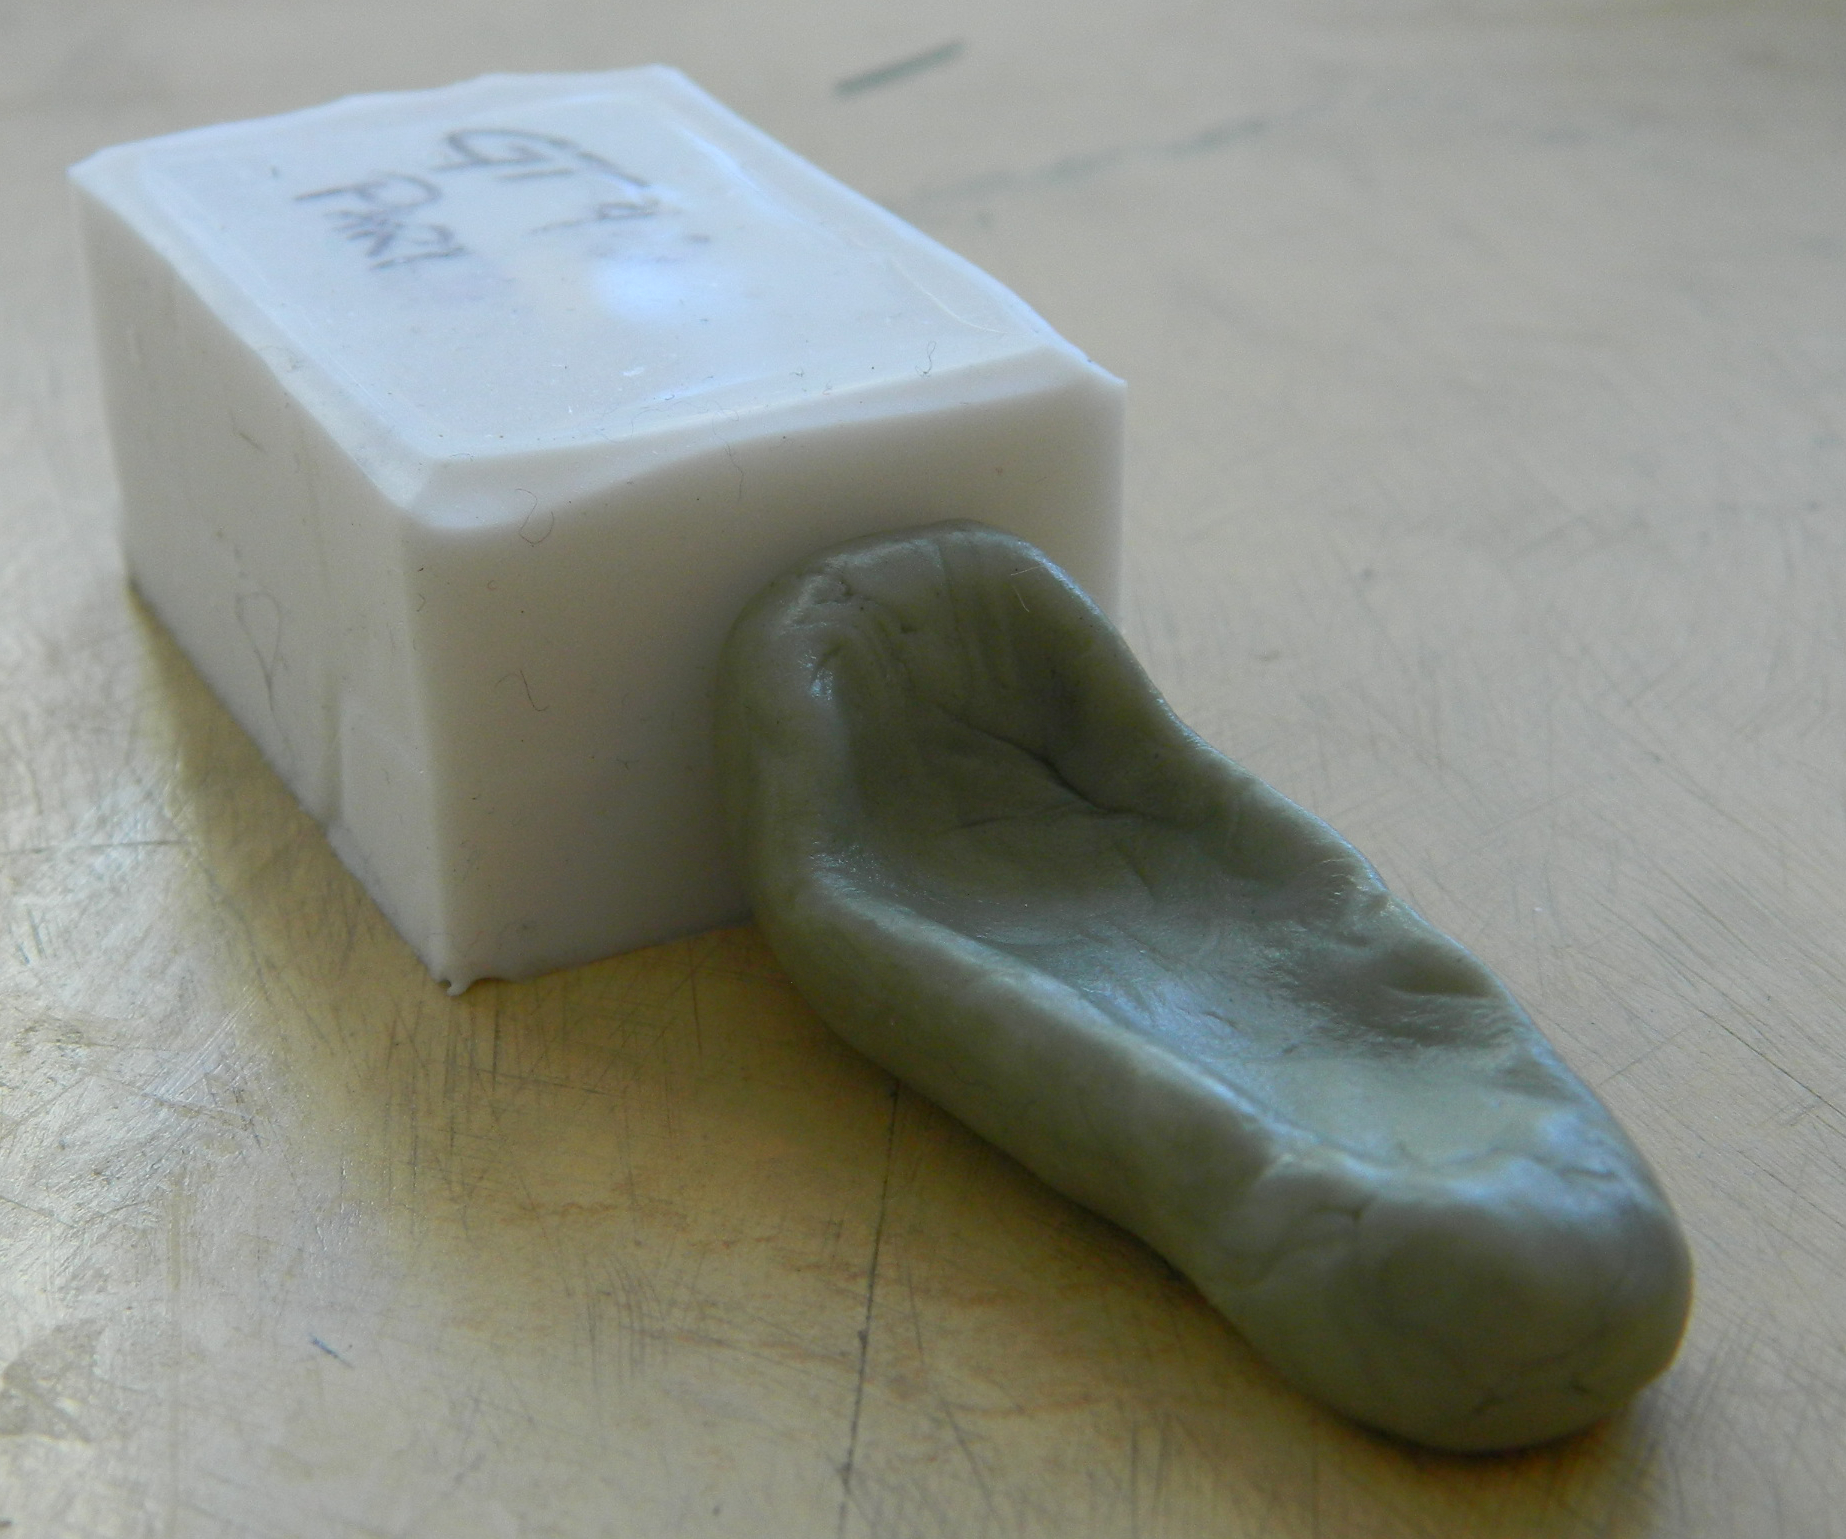
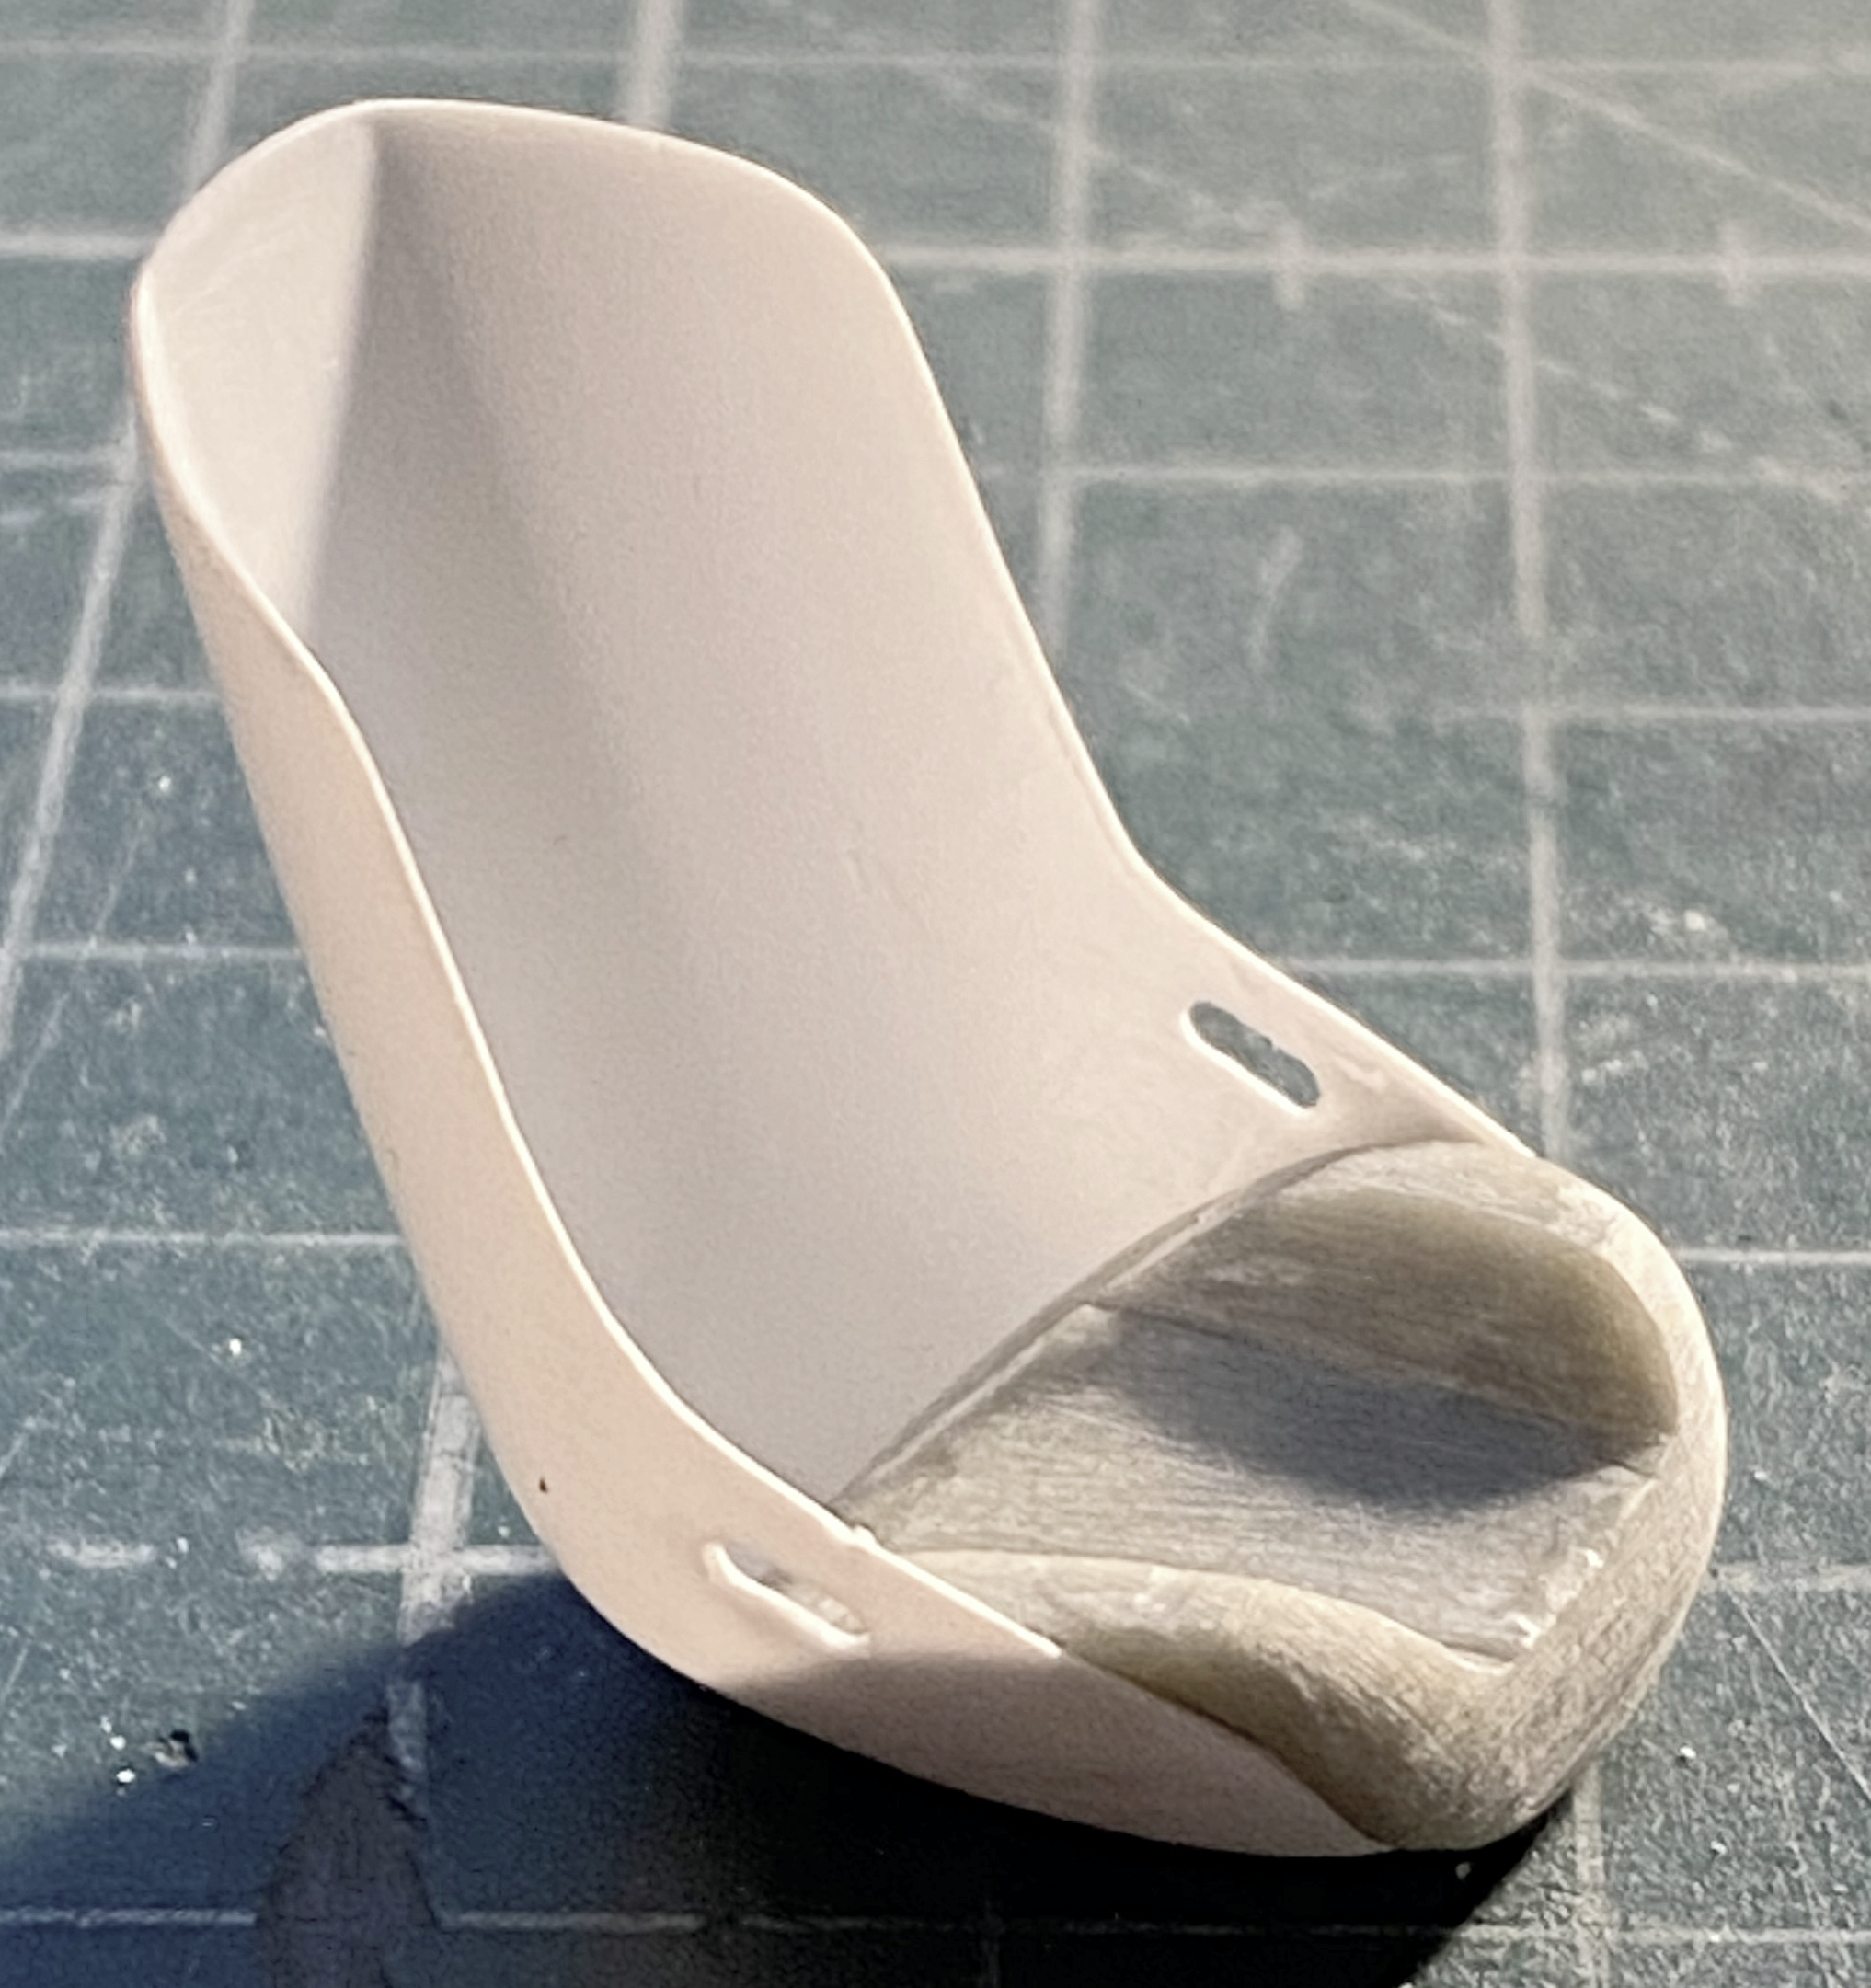
The next thing I tried was to make a custom bucket seat for the driver. I’ve seen a lot of resin seats online but they’re all modern or intended for drag racing. Why can’t I used a drag racing seat? Road racing cars are subjected to lateral G-loading more often than drag racing seats because unless something really goes wrong, that seat won’t have to deal with lateral loading as much as a road racing seat. I started with Aves Apoxie Sculpt:

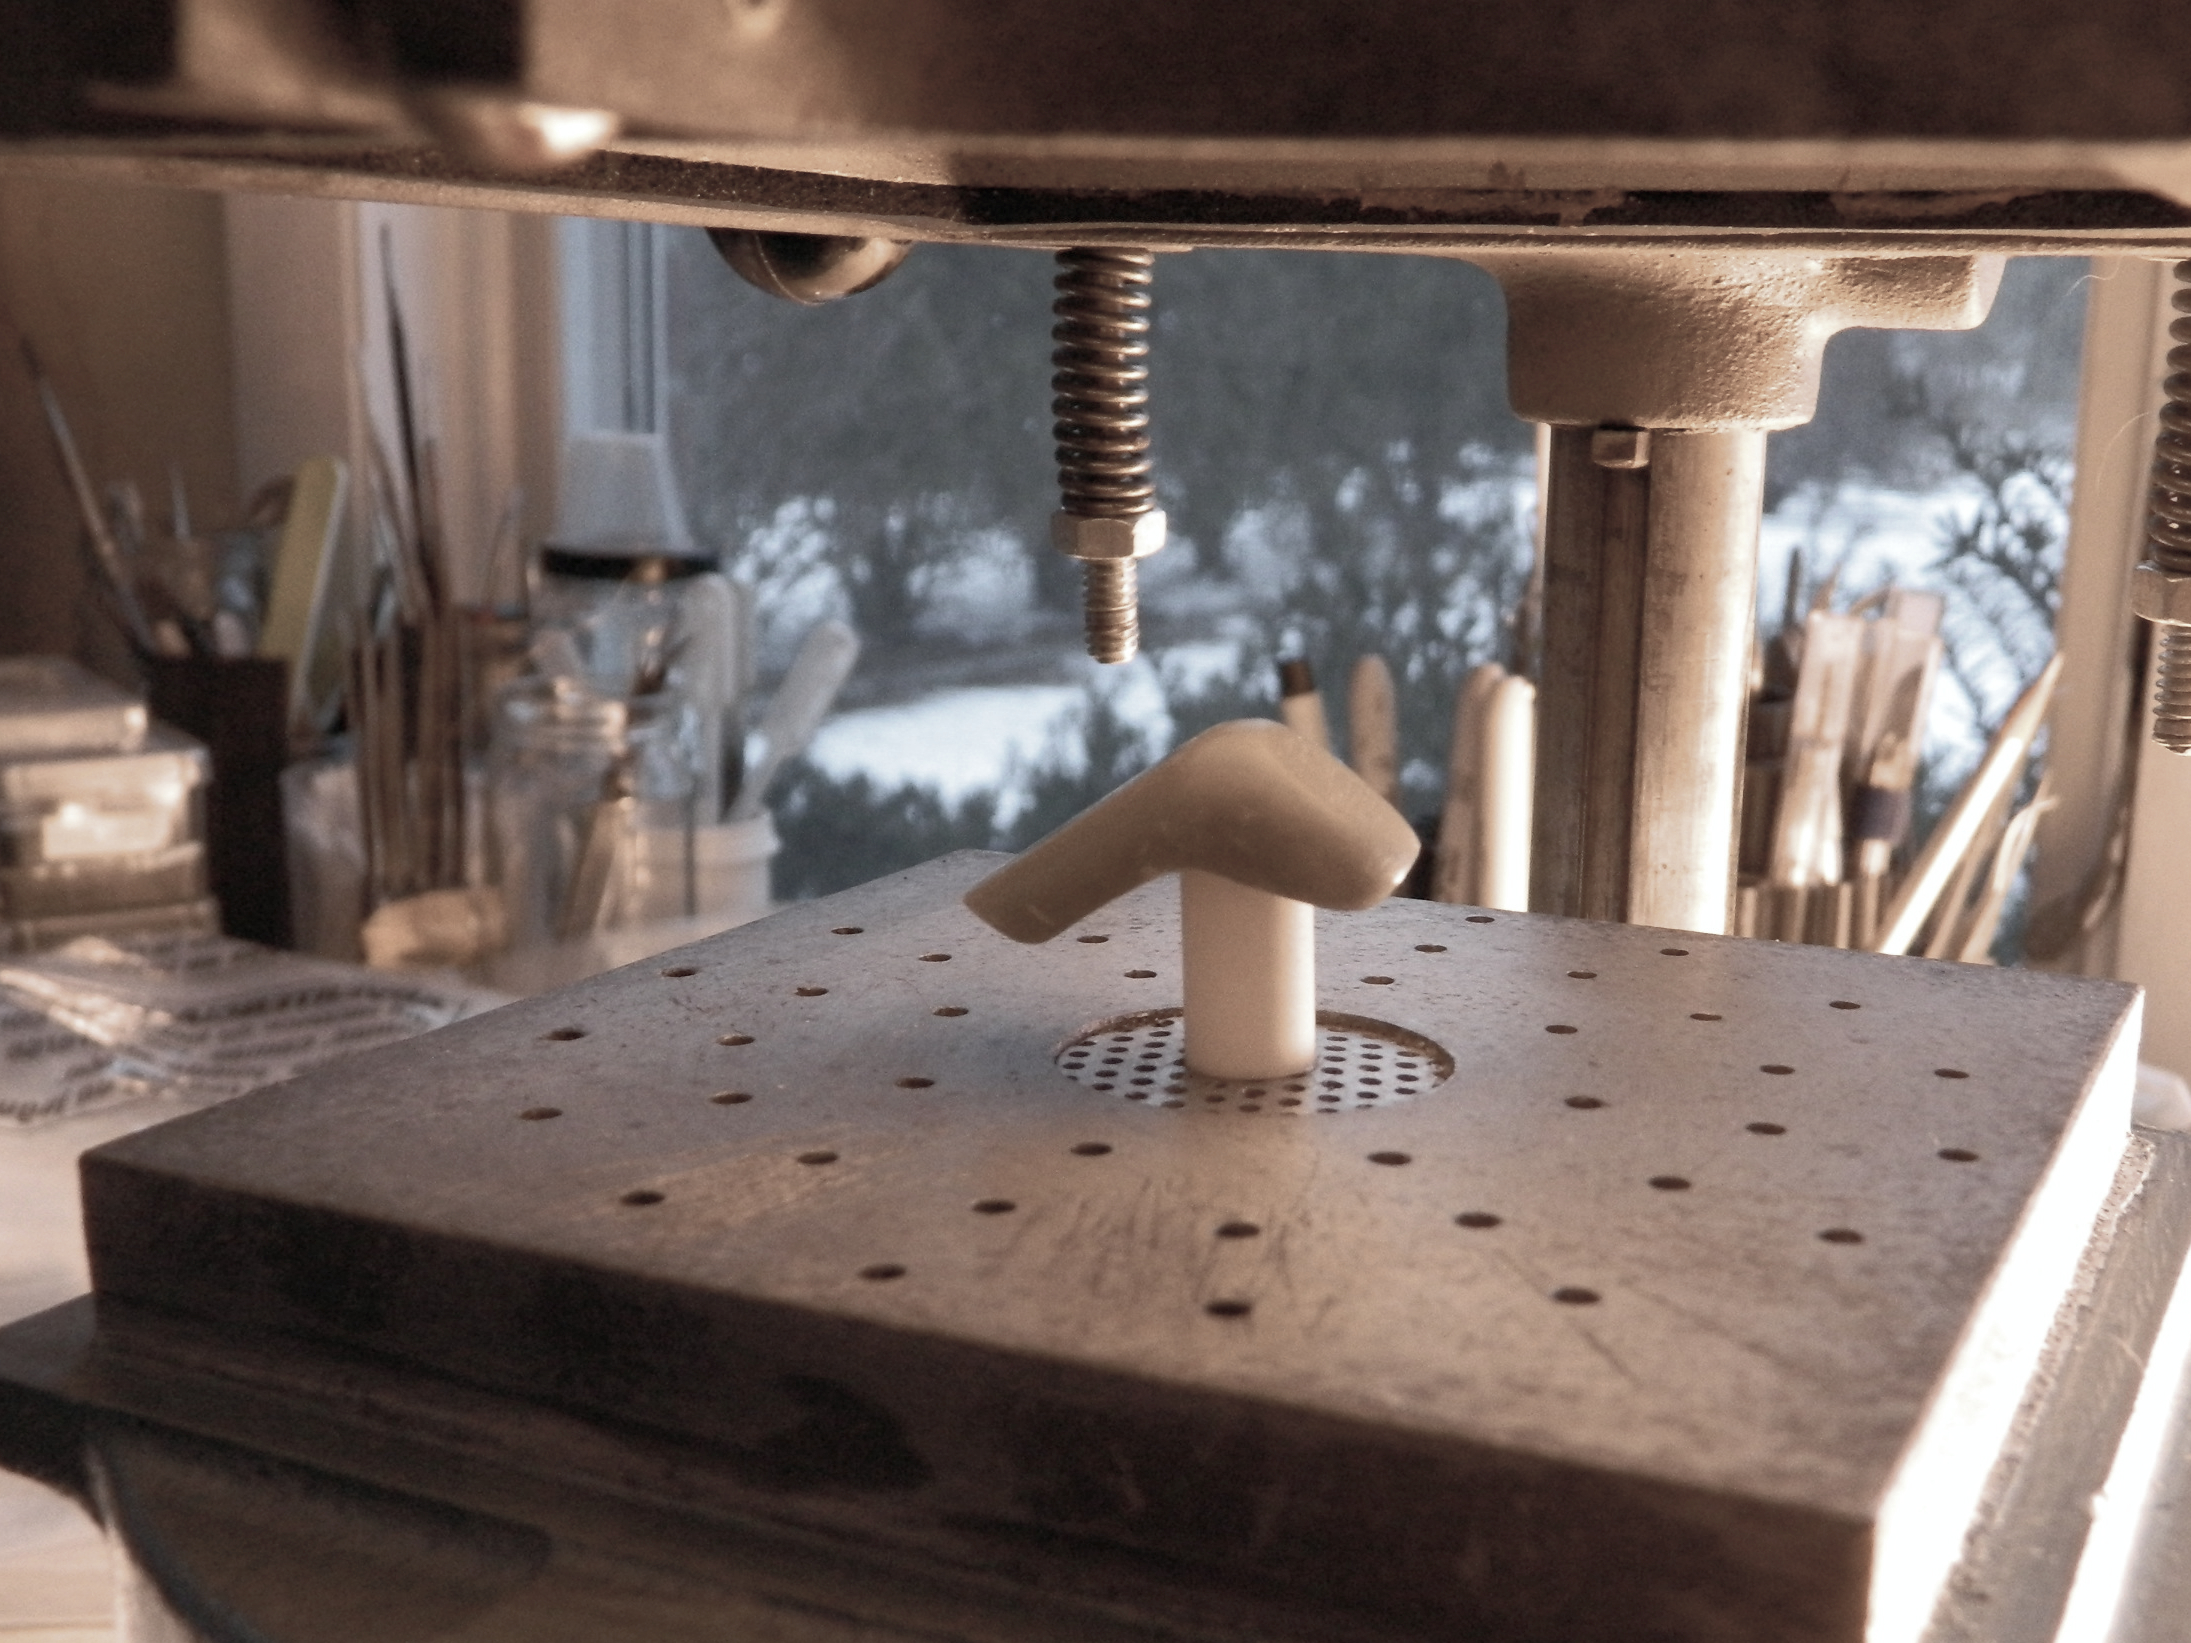
It cures into something pretty hard, yet it’s easy to cut and shape. I started with a block that I intended to form into a buck that I could vacuform the body of the seat over (the rubber mold it’s resting against is to keep one end of it bent up until it hardens):
After sawing, filing, sanding, (and bitching at another one of my “clever” ideas) I ended up with a shape I thought would work. The buck was mounted on a scrap piece of styrene tubing and then it was glued to the platen of a vacuum-molder:
Normally I use .010″ (254mm) up to .020″ (.508mm) for vacuforming, but plastic stretches quite a bit when it’s vacuformed, meaning I would end up with something far too thin for scale. This time I used .030″ (.762mm) and this is what I ended up with:

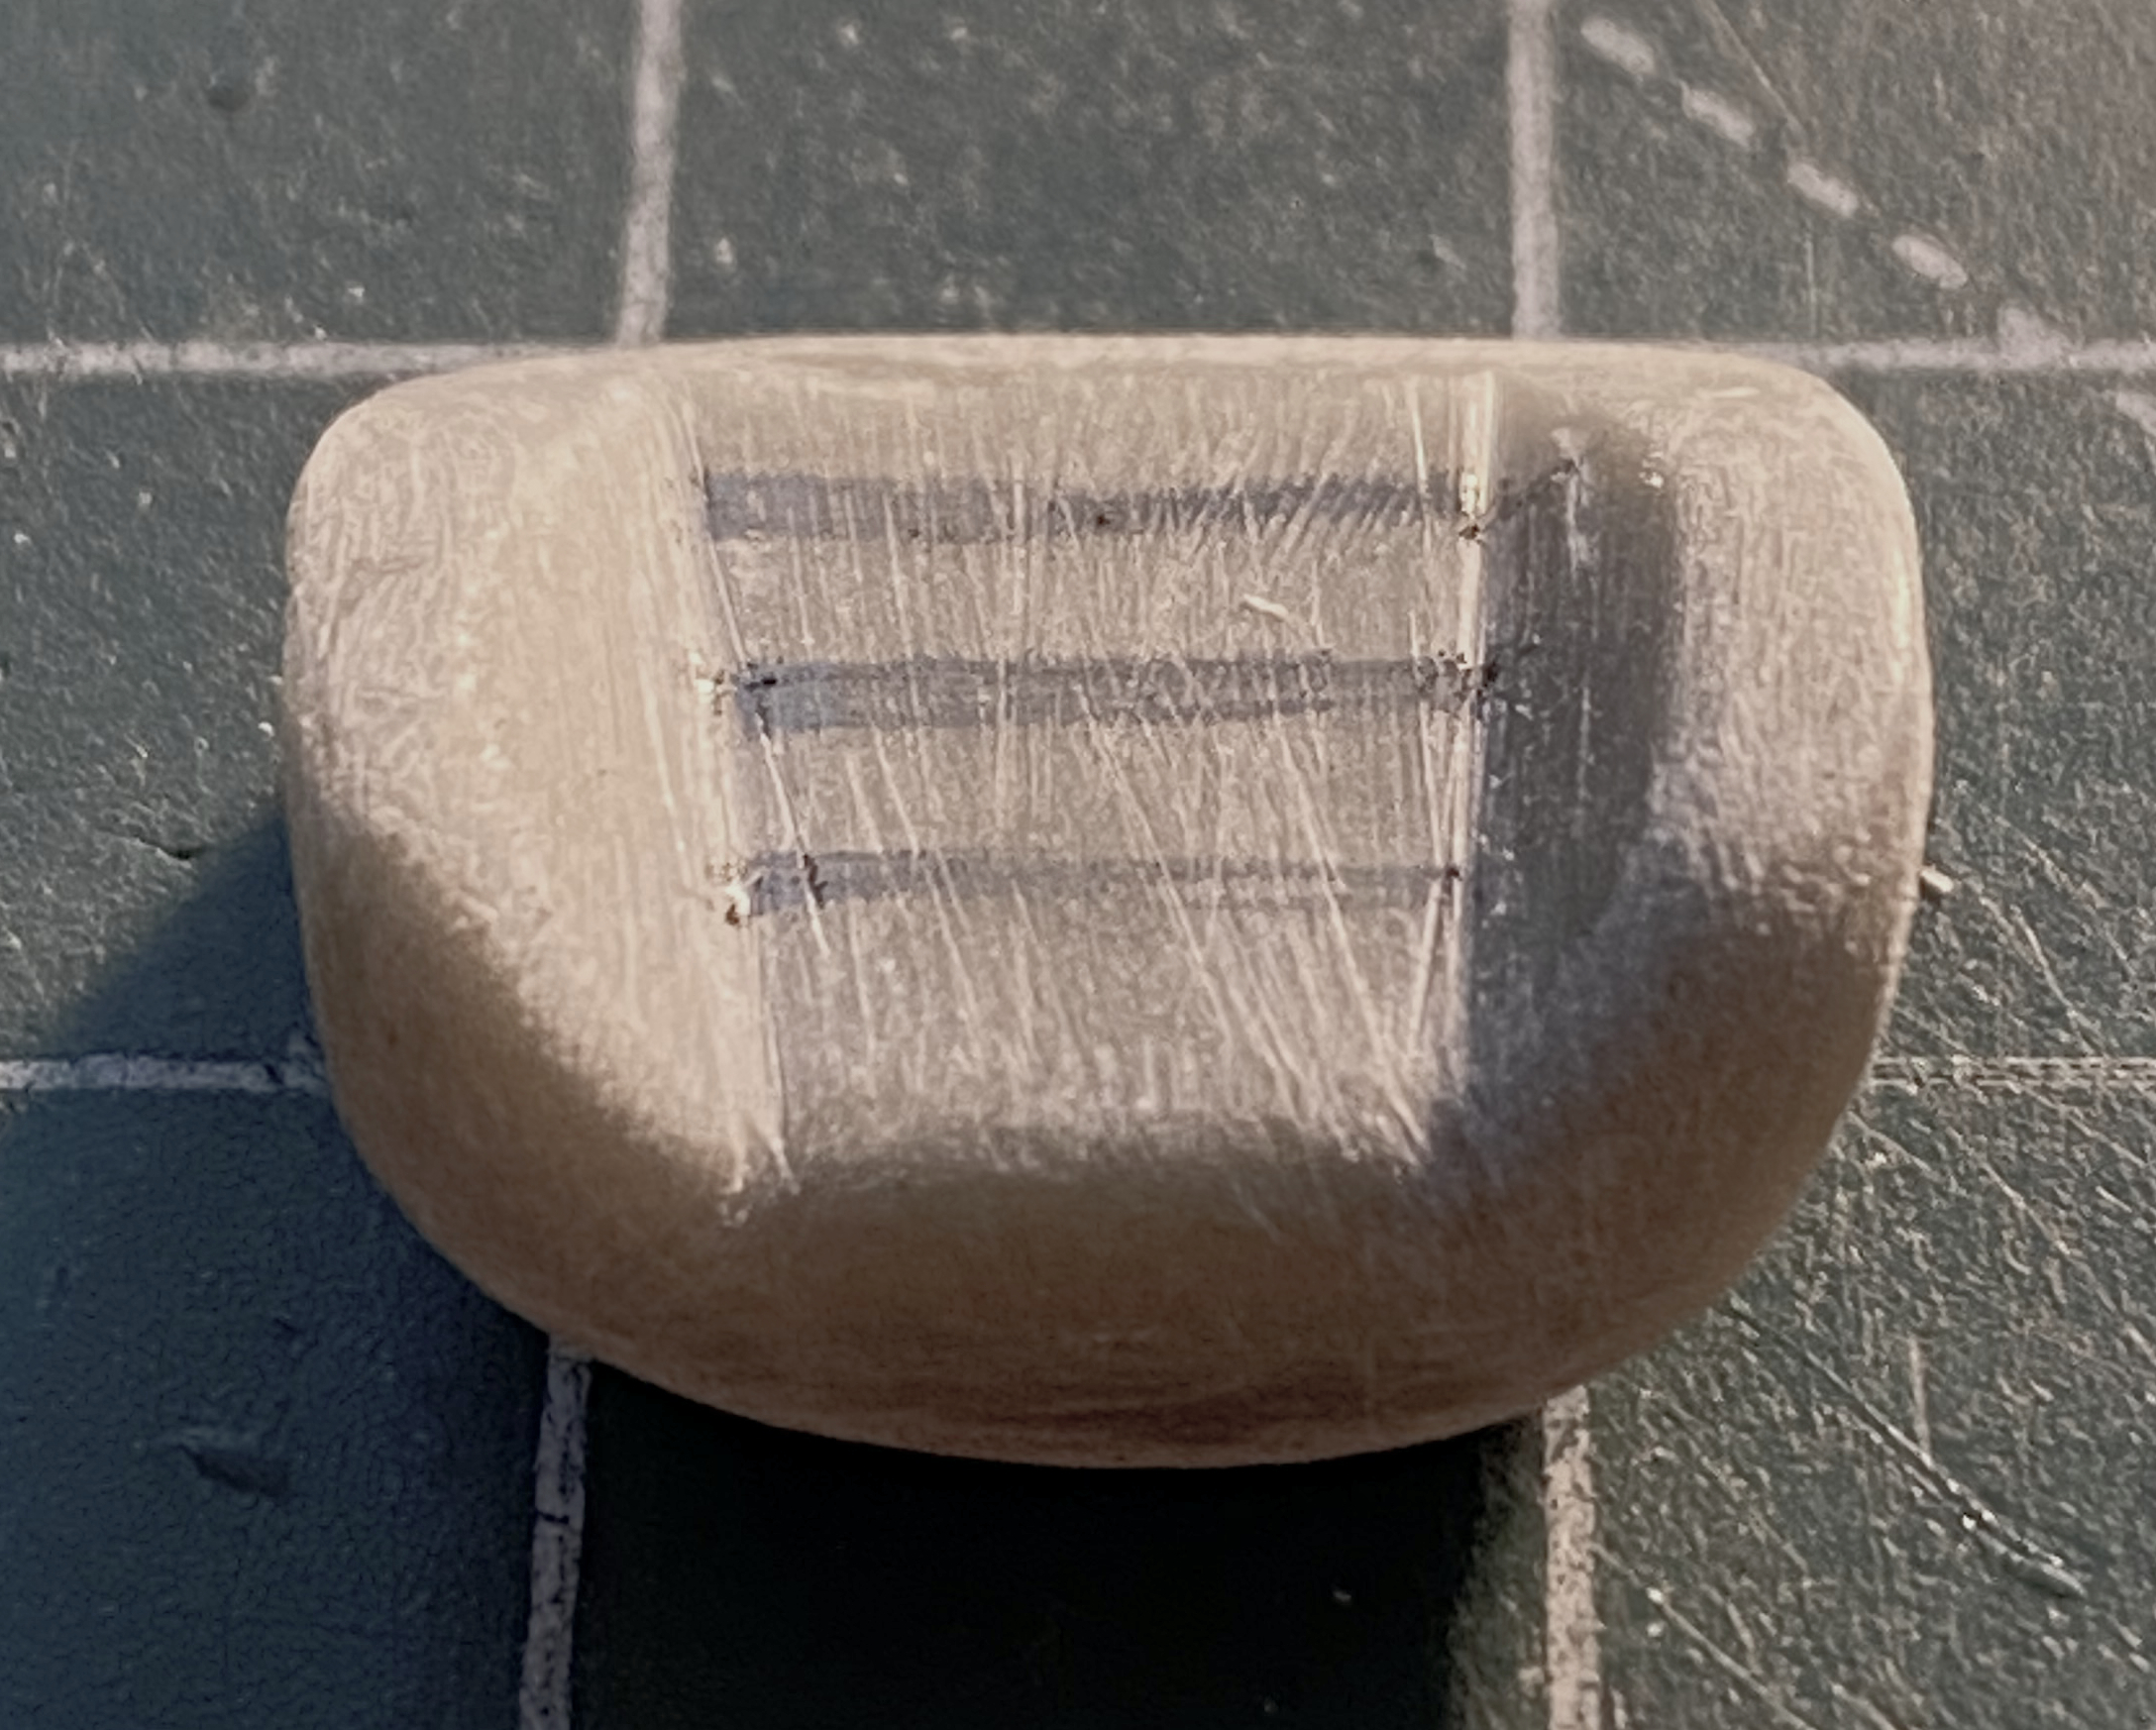
The folds to the right of the photo going from the platen to the buck are significantly thicker than I’d expected. I’m not sure why it happened like this but my suspicion is that the thicker plastic combined with the significant suction of this molder (an old dental molder) may have been responsible. But because the plastic is thicker than what I normally use, I wondered if I could fix that. I mean…I still have the buck so the only thing at risk was a sheet of styrene. Once I had cut away the excess plastic, I applied a liberal quantity of Tamiya Extra-thin inside and out, and clamped the outside of the “fins” tightly. After letting it sit overnight, I cut, filed, and sanded the fins away. Though it almost worked, the last bit on the inside of those “fins” didn’t bond. It was so close that I used a couple of strips of scrap .005″ (.127mm) styrene as reinforcements inside the bucket, figuring that the seat cushion will hide the addition, and filled the gap with 3M Acrylic Putty. I think it worked well. At the bottom left corner you can see where the fold was:

A closer shot of the other side:
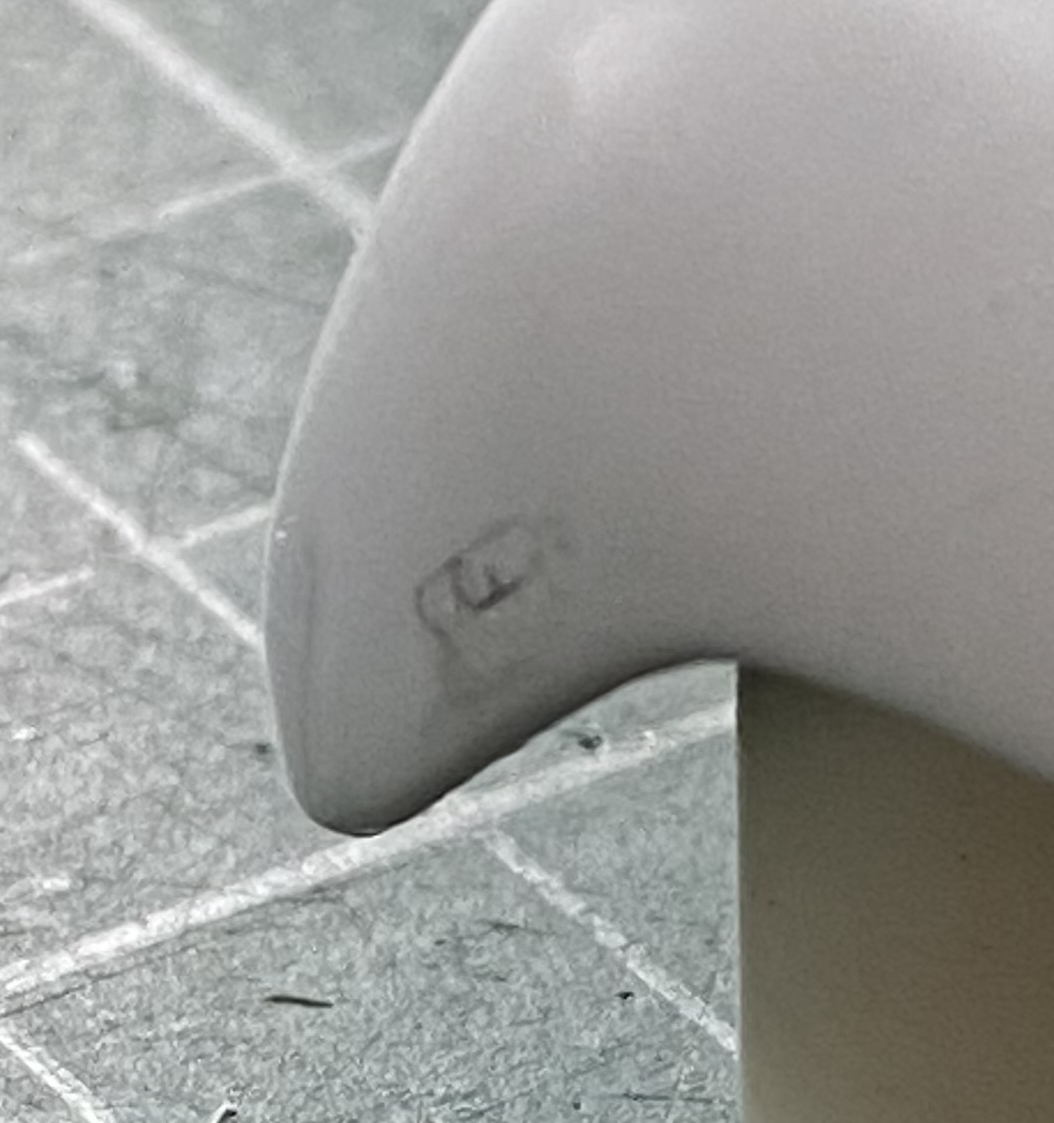
And if you look closely at the above photo you can see an oval penciled onto the plastic. This is the cutout for where the lap belt will go through. To keep the unsupported plastic from deforming under the drawing and drilling steps, I placed it back onto the buck for support (and this photo clearly shows the strips I’d glued to the inside of the bucket to support the fix of the sides):

Using more Apoxie Sculpt, I formed the raw blanks for the seat cushions. This epoxy putty will adhere to whatever it rests on/against while it hardens. Rather than try to make a more generic form, I wanted these cushions to fit snugly to the bare seat (for what I hope are obvious reasons), but I knew that if I just stuffed the plastic seat with the putty, I’d probably destroy the seat getting the cured putty to release from it so I could shape them. So I wrapped the seat in plastic wrap before stuffing the putty into place(s):
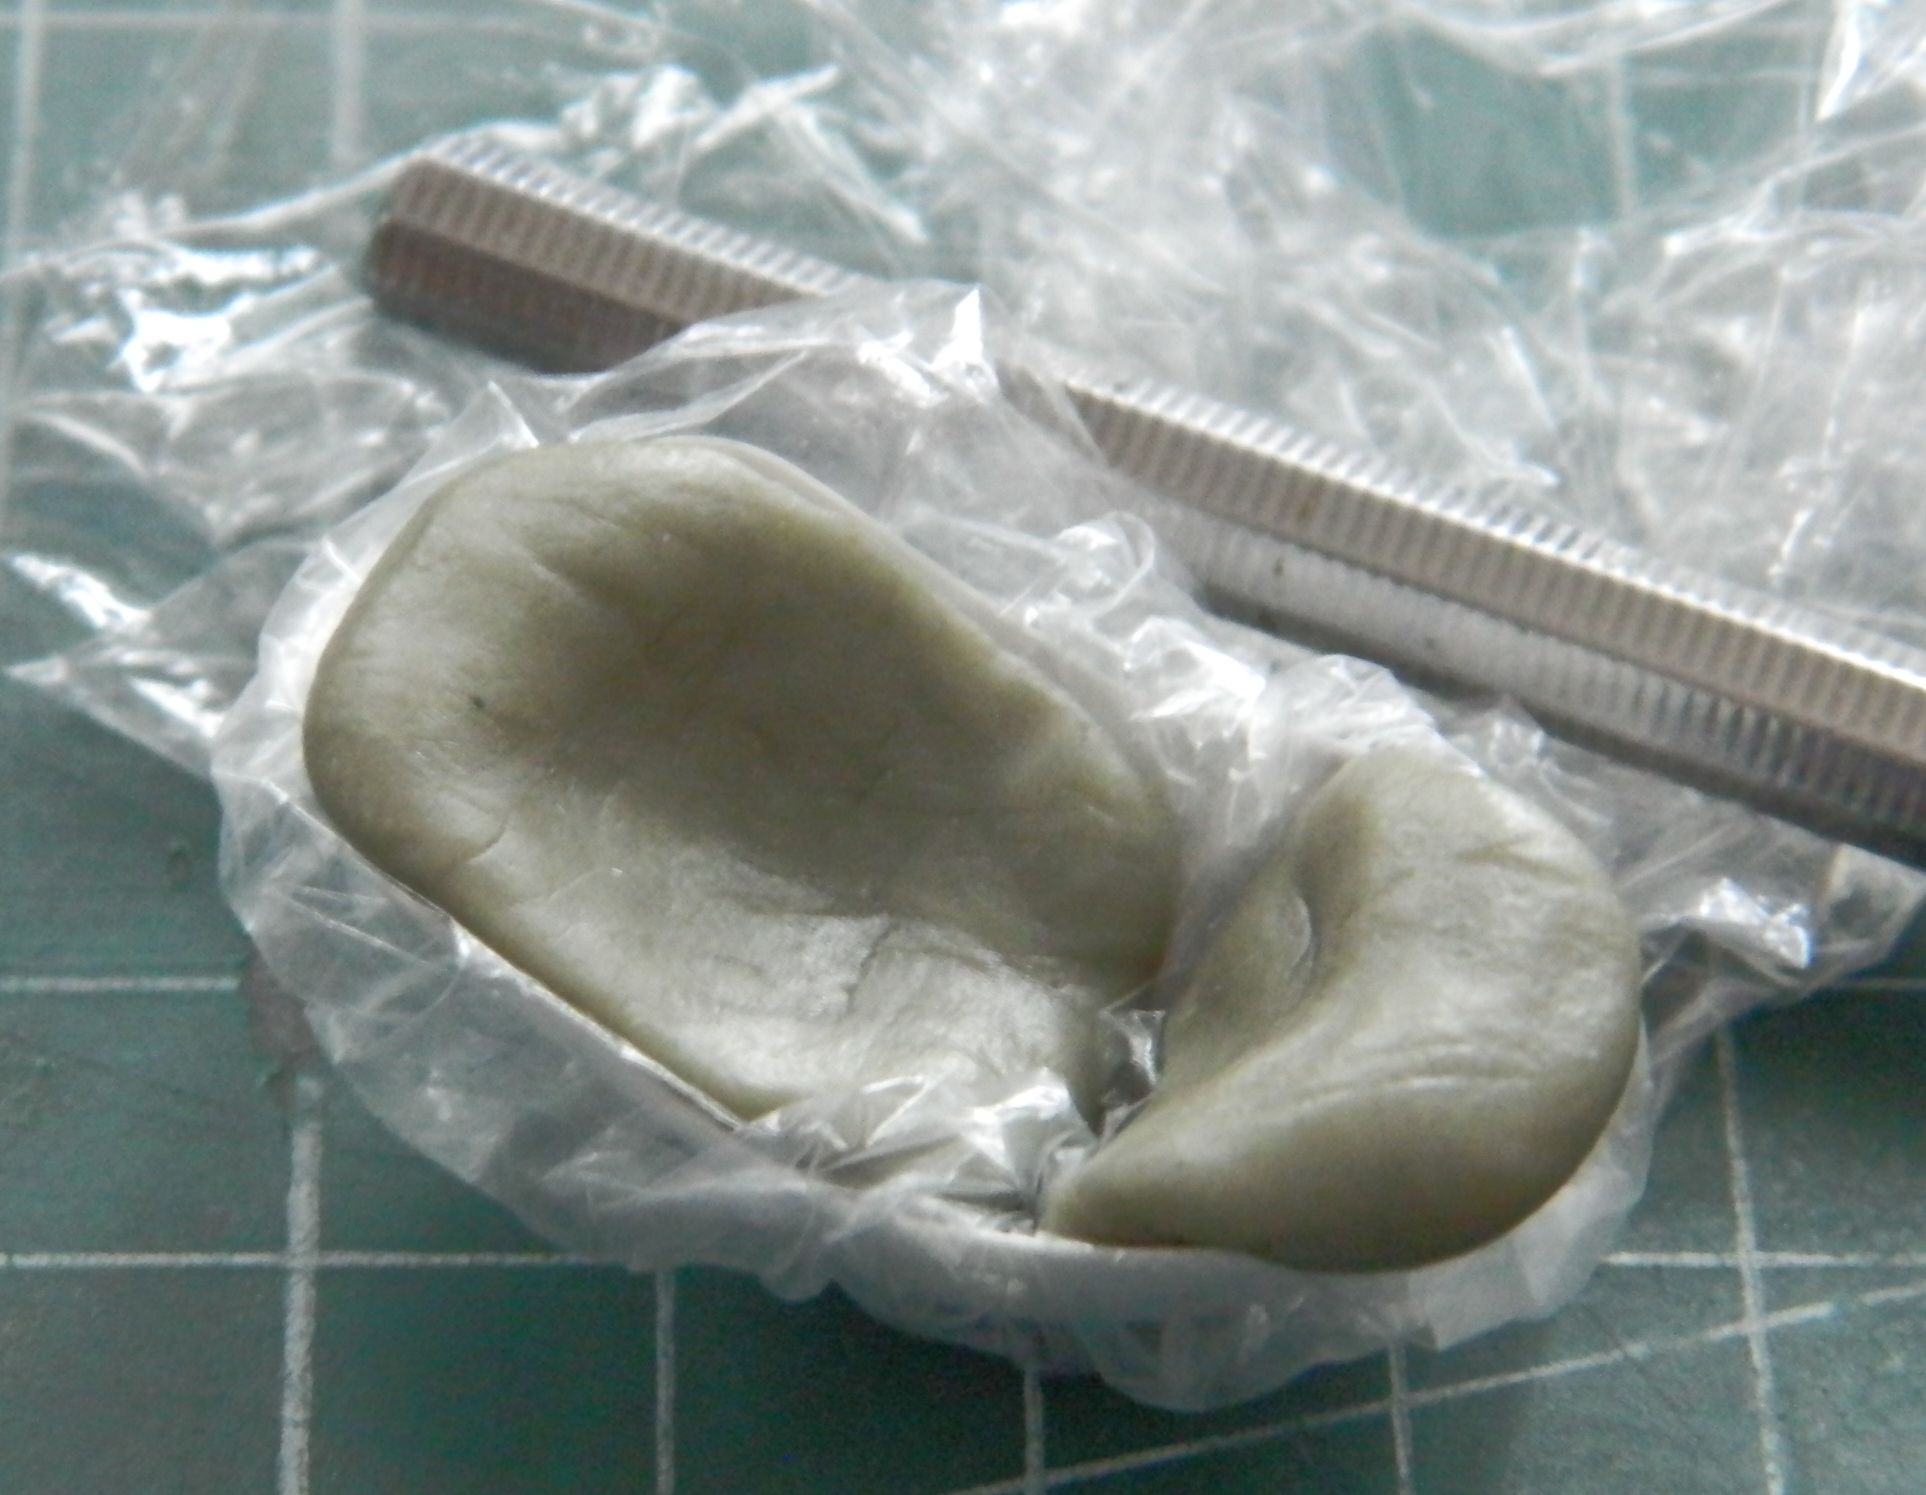
I came back the next day, peeled the plastic film off, and checked the fit of the blanks. Just right:

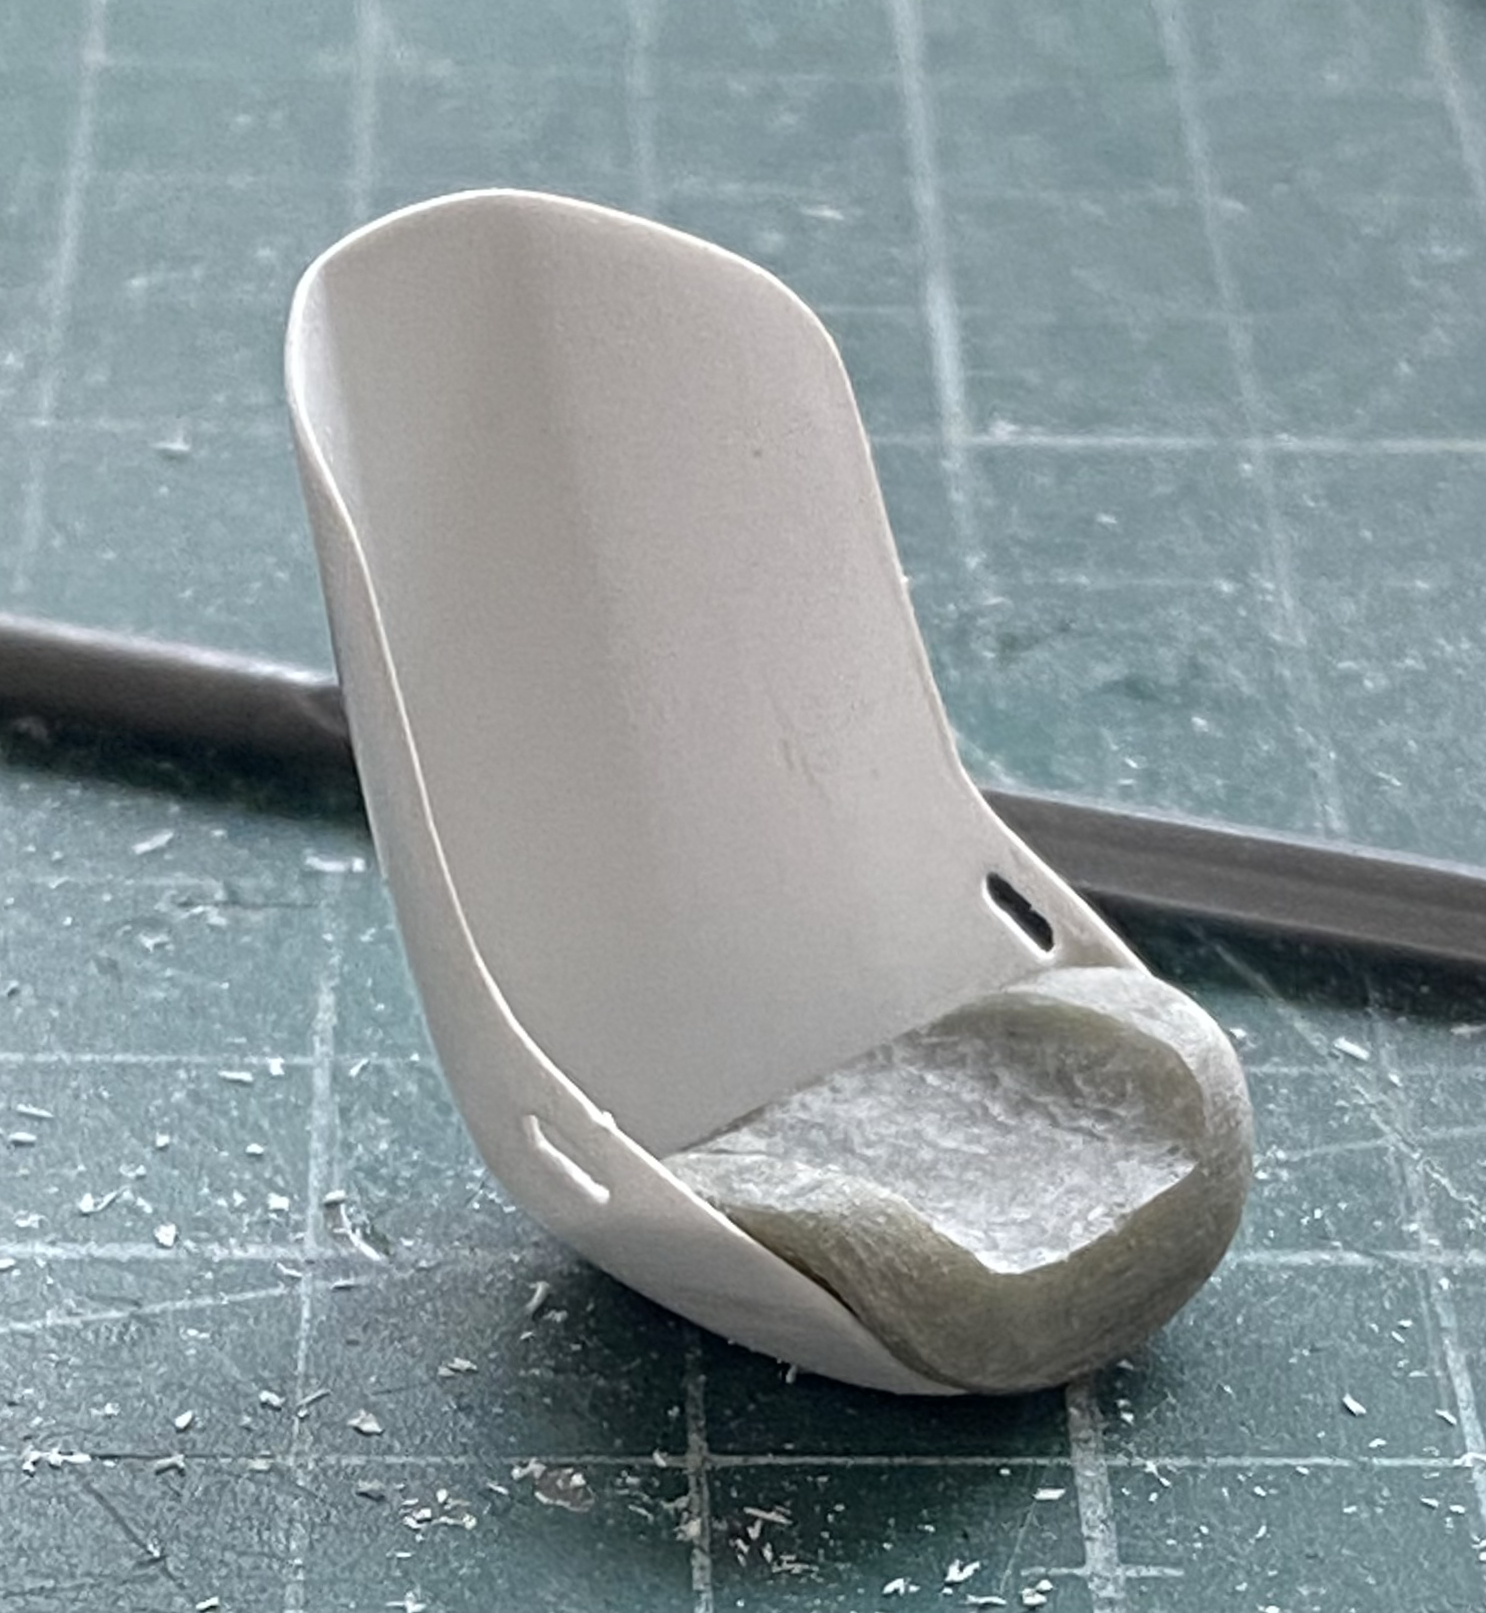
Then the sculpting process (which isn’t finished yet) was started on the bottom seat cushion, initially using a Dremel, and then graduating to files and sandpaper:
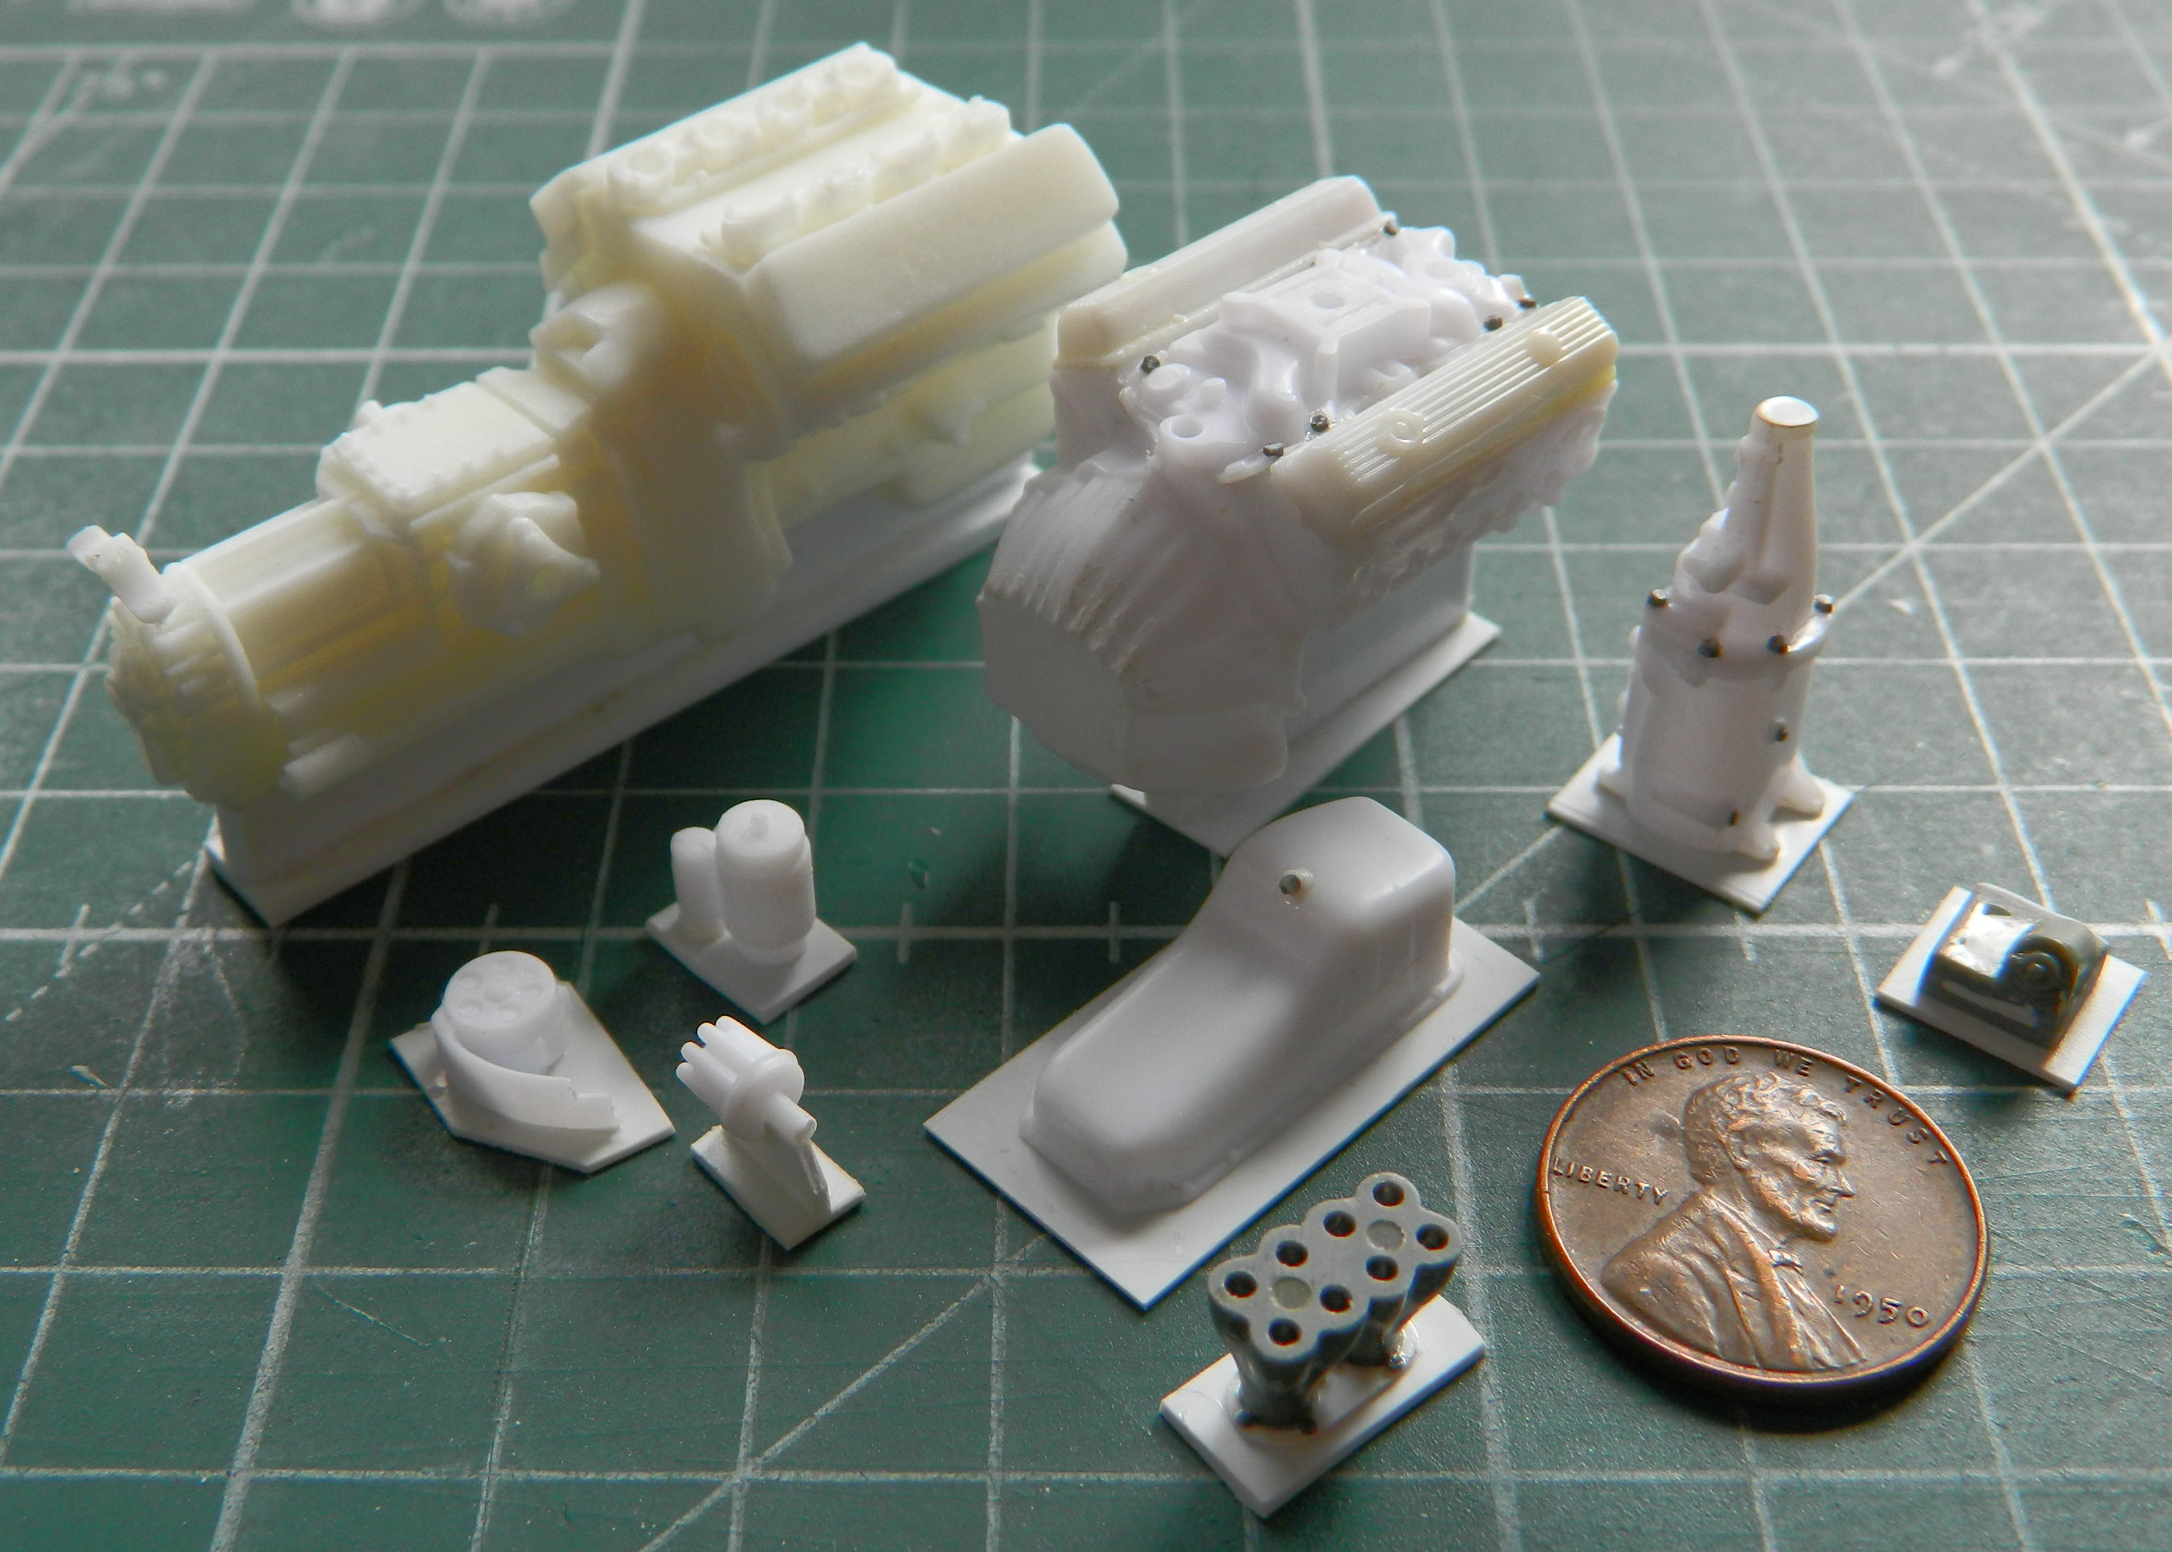
With all the molds made, I mixed up a batch of resin, added just enough dye (formulated for this purpose) to make the parts gray (or grey) and make it easier for my old eyes to see, and poured resin. Most of the parts came out quite well, with a couple of exceptions. The large part above the ZF transaxle is the suspension mount subframe. One of the lower arms snapped while I was prying it out of the mold (you can see the resultant crack at the bottom right, just above the pouring block…no problem to glue back together). The other problem was the oil pan for the SBC. With the first pour I didn’t add enough resin to fill it and the flange where it mates with the block didn’t fill. Essentially an open-back mold, I filled it with resin again and, figuring that there really wasn’t any place for bubbles to form, I didn’t put it under pressure. It was late and I didn’t want the compressor in the garage cycling on and off as pressure leaked out, so I just let it sit overnight on the bench. Mistake. The resin, being exothermic, produces gas as it cures. With it under pressure, the gas bubbles are compressed into invisibility (where they form at all). That doesn’t happen if some beef-wit lets it sit on his work bench overnight…and every place there’s supposed to be a bolt head on the mounting flange is also a bubble:


So I tried it again and poured another one, except this time under pressure. Well…as it turns out, my garage, being unheated and where the compressor is, didn’t really allow enough heat energy for the resin to cure within the four-hour elapsed time it’s supposed to cure. When I took the mold out of the pressure pot, I saw that the resin was about the consistency of grape jelly. I figured that since there wasn’t enough heat energy in the garage, I’d stick it in the oven for a half hour at 170F (76.66C). I was only half successful. The resin continued to cure, but since it wasn’t under pressure…well…let’s just call that a “learning experience.” The next day, I mixed more resin, stuck it into the pressure pot at 60psi, and instead of letting it cure for four hours, because it’s still cold in the garage, I let it stay out there for nine hours. By this time it was getting a bit late and I still didn’t want the compressor to cycle all night. I closed the valve on the pressure pot but disconnected it from the compressor (which was shut down and drained). Without releasing the pressure (which still indicated 60psi on the gauge), I brought the pressure pot into the (comfortably warm) shop and let it sit for another three hours while the pressure bled off. After that three hours the pressure had dropped to a little over 20psi. I opened the valve, took the molds out, and demolded the oil pan. Success! A nice, dense, bubble-free, casting that I can use.
I’m interested to see what other “learning experiences” the next month will teach me.
Crankenstein – A Brief Overview
This is an unusual Overview in that the object I’m discussing never (to my limited knowledge) existed…and this starts with Kelmark Engineering.
Back in the 70s, Kelmark offered a square tube platform chassis to replace the floorpan of the VW bugs and Ghias. Why? So that one (or a team) could put a V8 where the back seat would go. As someone in their 20s with more enthusiasm than common sense, I thought that this was a fantastic idea! The fact that half a century has passed between then and now indicates that I did not have the funds to create this monster…but I wanted to. Clearly the notion has stayed ensconced in my mind because I decided that I would be more likely to survive the experience if I built a model of the car instead of the actual car.
That’s what this build will be, putting a small block Chevy (SBC) into a Karmann-Ghia.
This will require kit-bashing, scratch-building, and scouring the Internet for bits ‘n’ bobs that I can buy instead of having to build. This is going to be a kit-bashing and scratch-building extravaganza!
Let the insanity commence…
