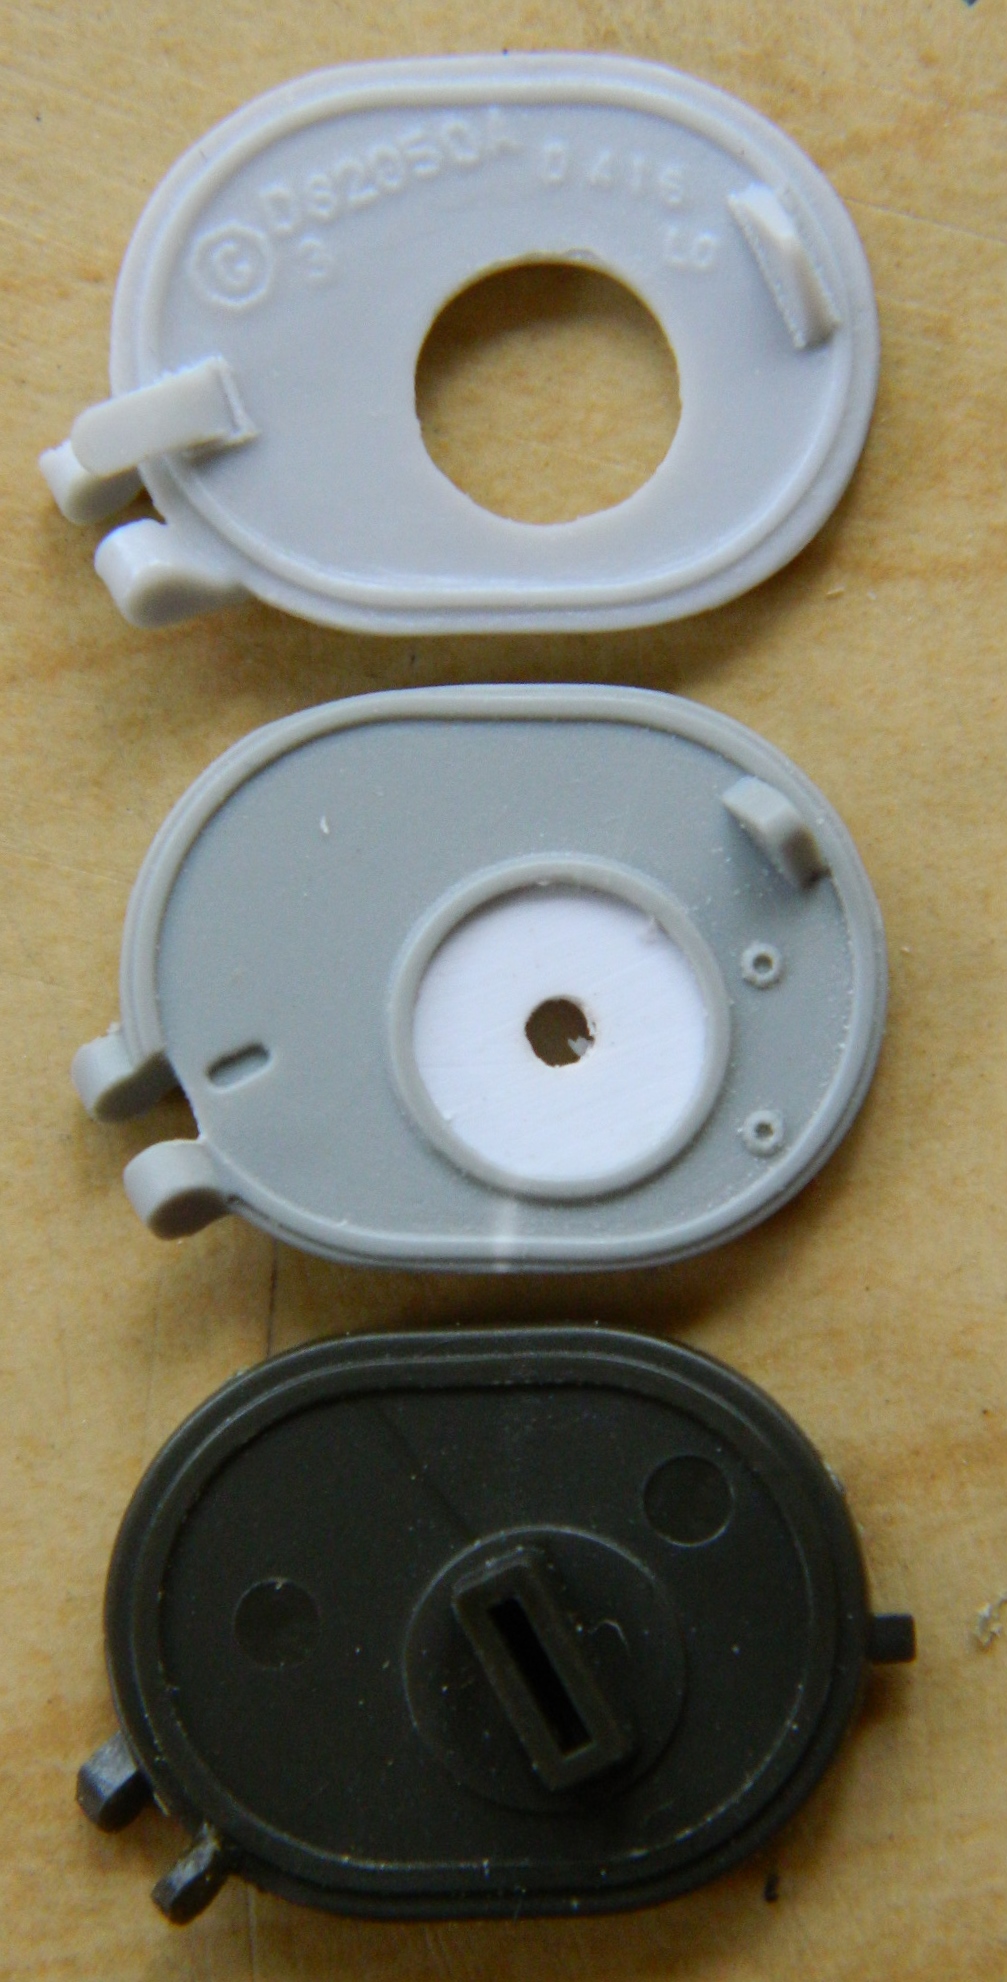
While cruising around online, one of the things I found was that New Tiger Models Direct makes nicely detailed hatches for the driver and co-driver. The bottom hatches are the kit-supplied part, the middle hatches are from another kit with better detail (and required me to resculpt the hinges on the bottom hull), and the top ones are the most accurate hatches I’ve found for the large-hatch Sherman courtesy of NTMD:

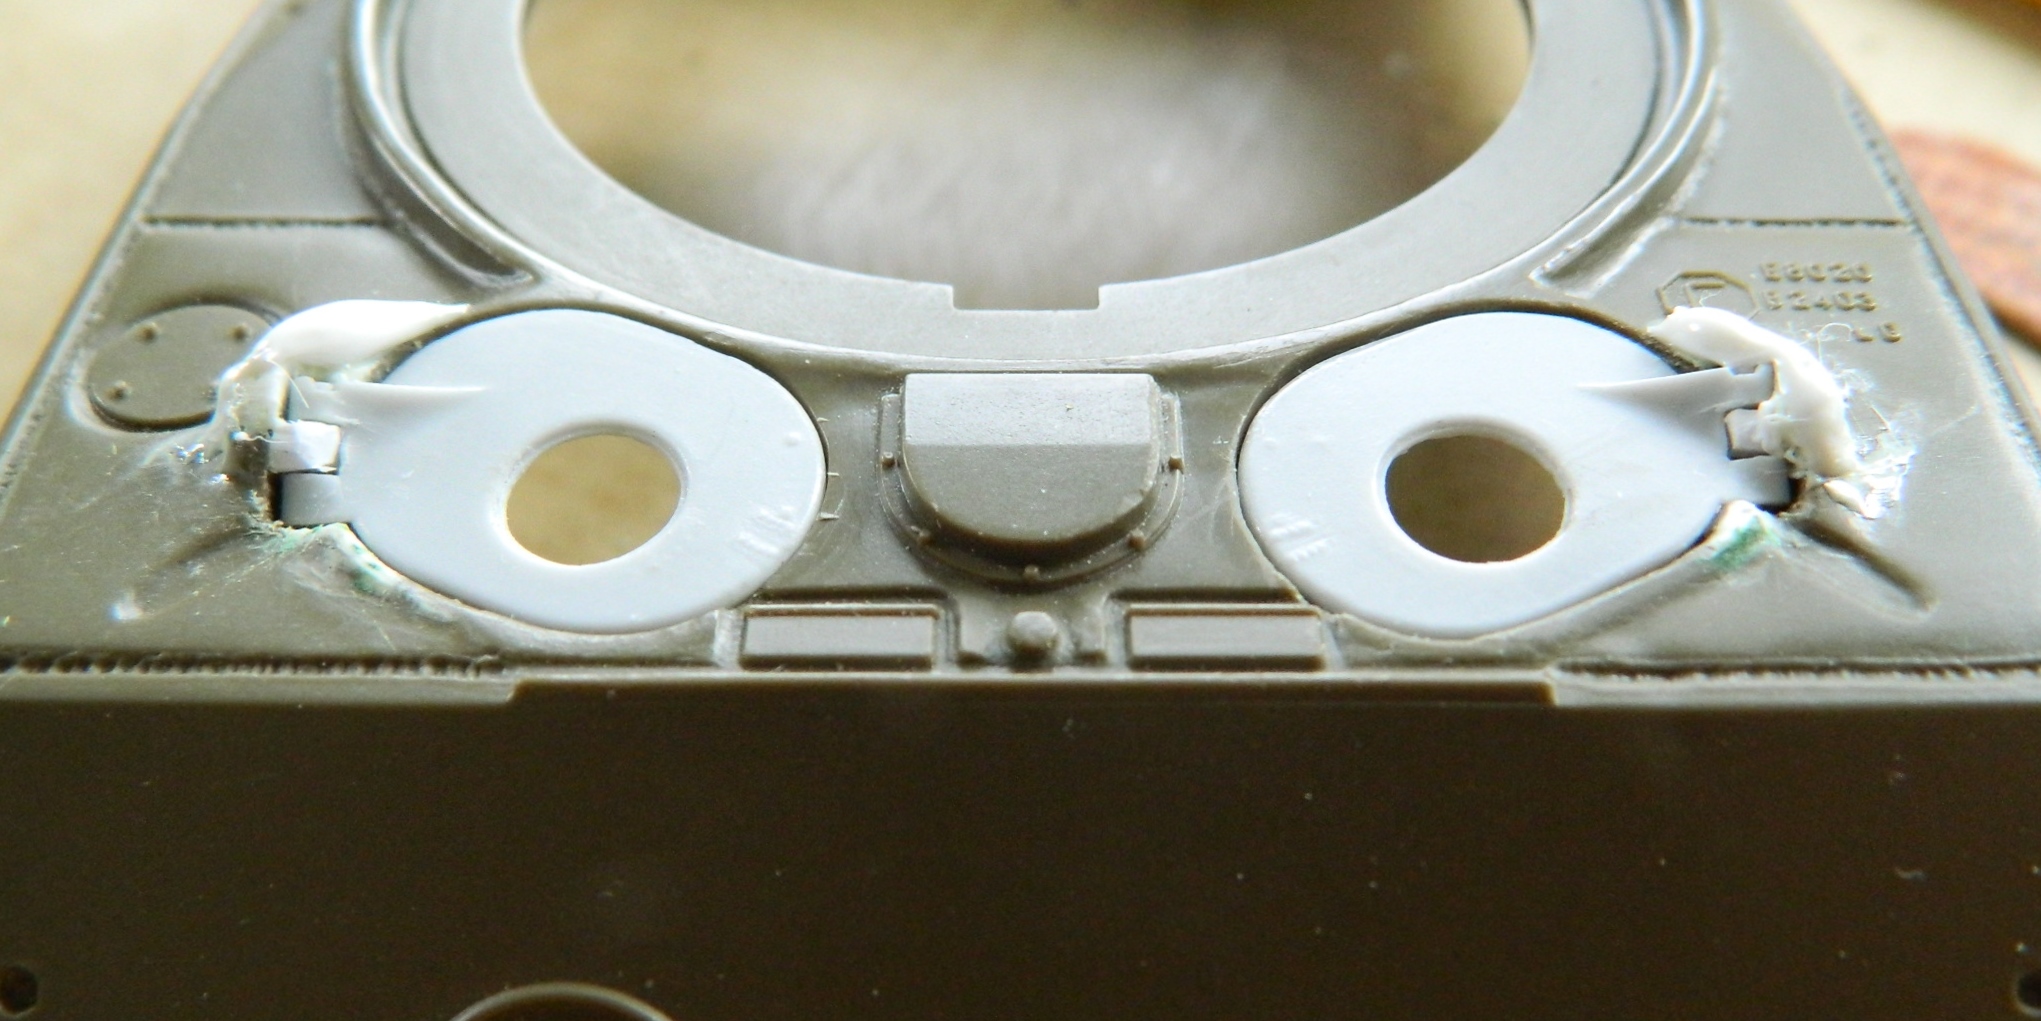
Of course, that means I had to resculpt the hinges on the hull again:
This is the external cap for the vent blower shown on an actual Sherman. It was discovered early on that the crew needed fresh air because carbon monoxide and the gases created by the 75mm’s breech opening after being fired weren’t very good for the efficiency of the crew (clearly in those days, “health” wasn’t very high on the list of Things to Fix):

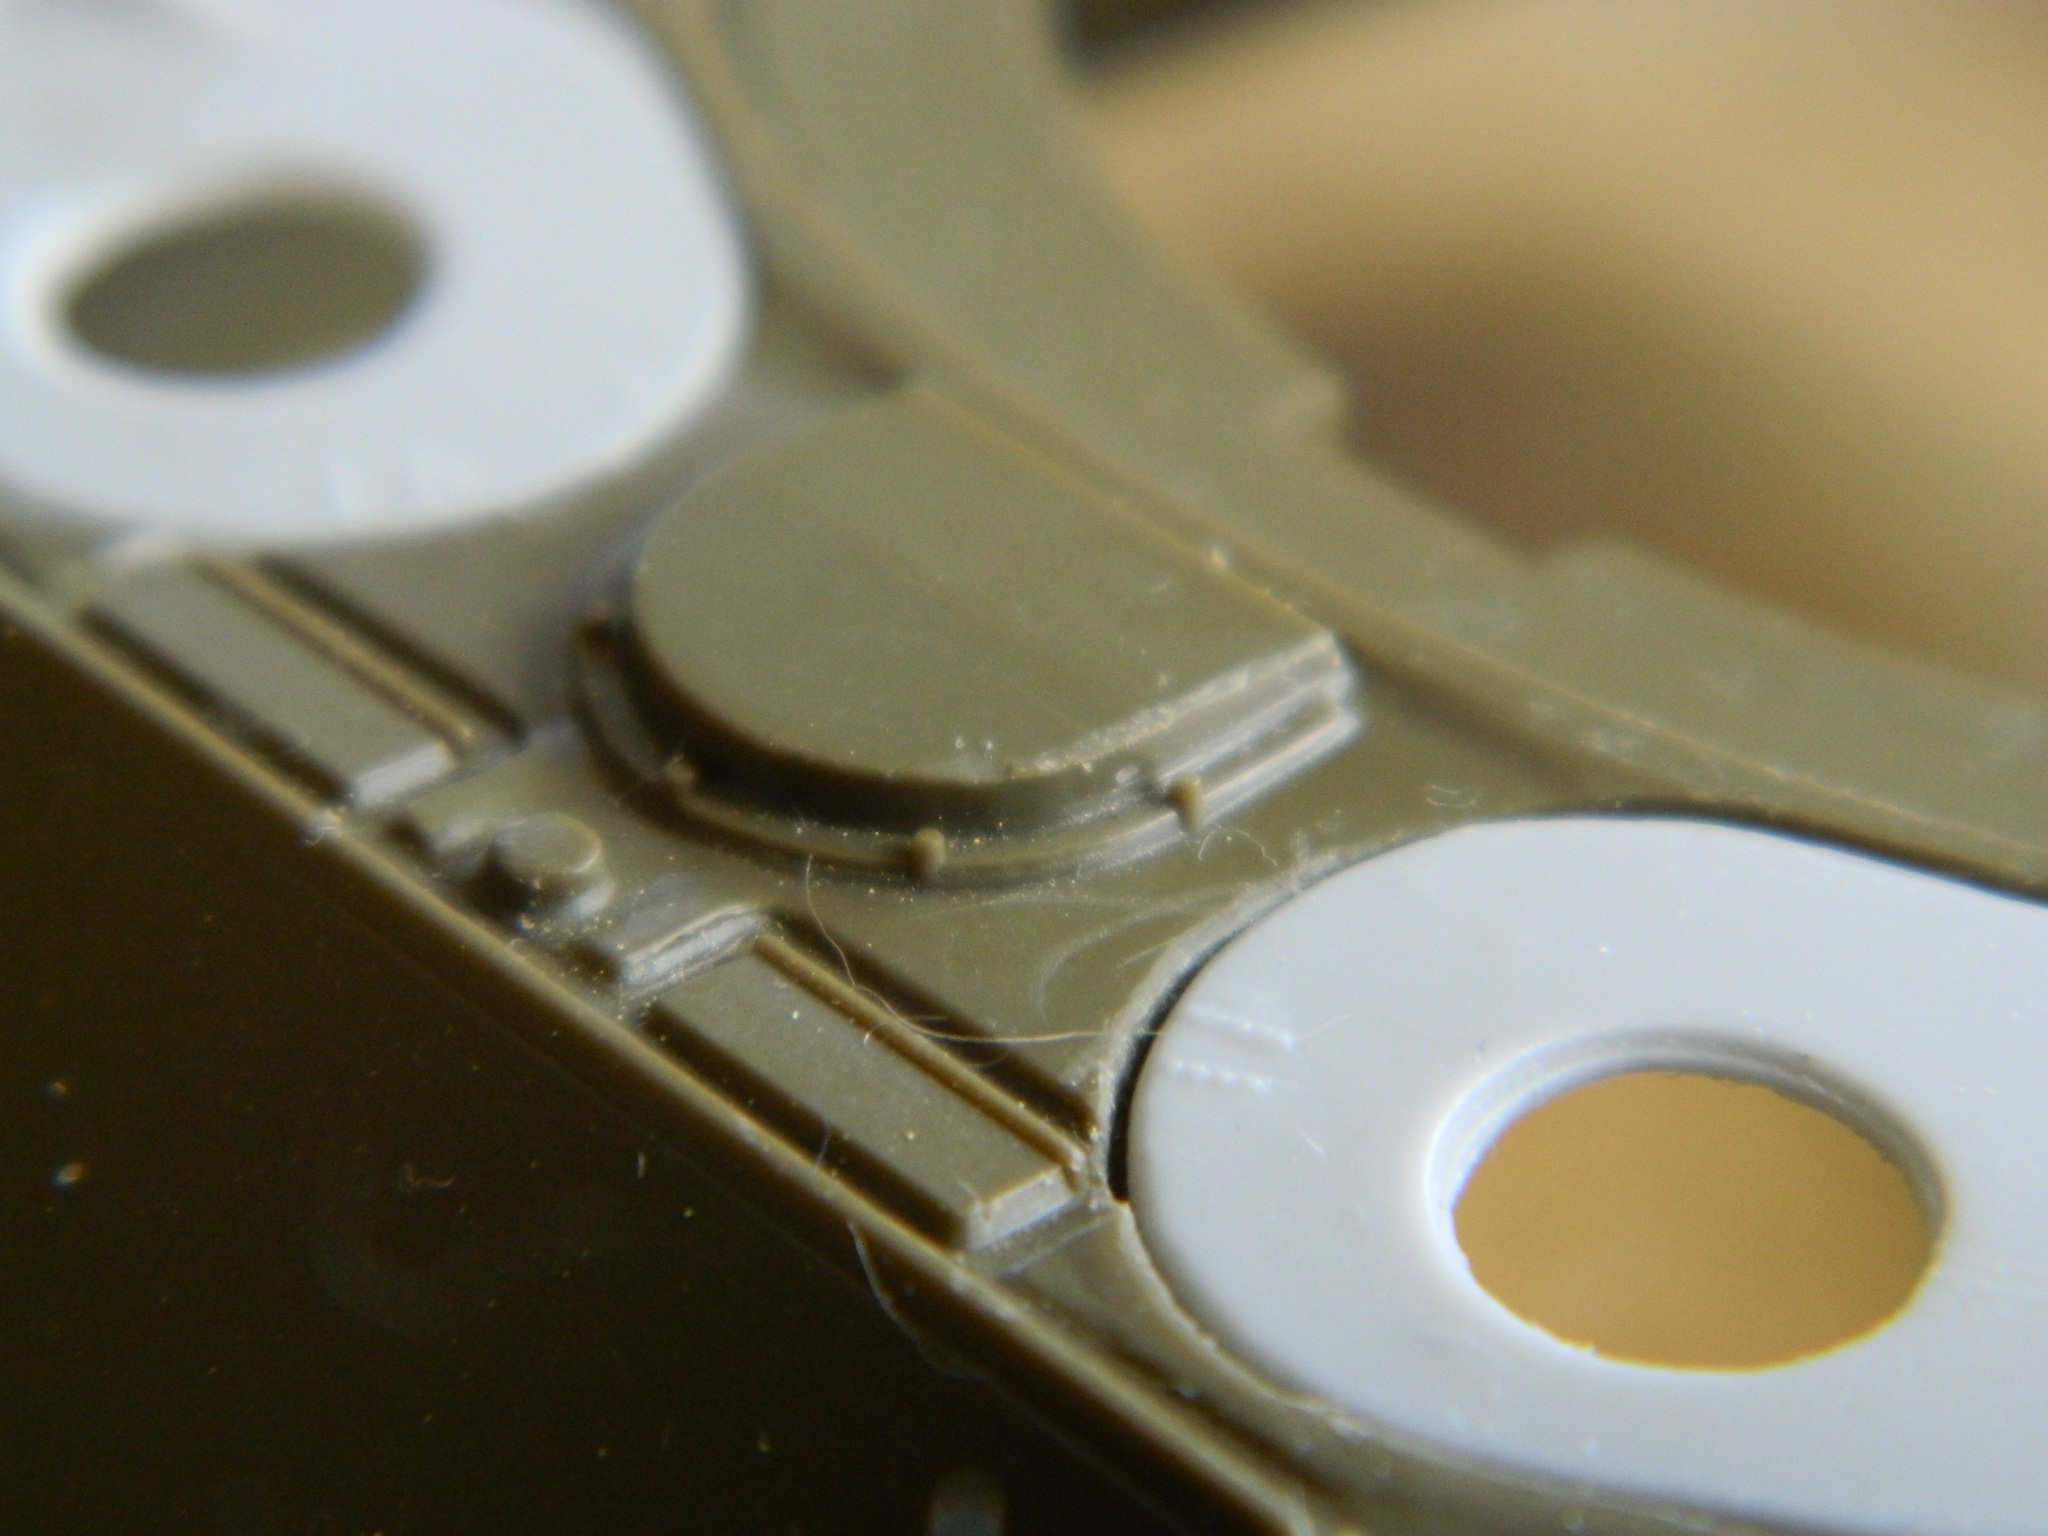
This is how the kit has that modeled; solid with the bend of the top too far forward:
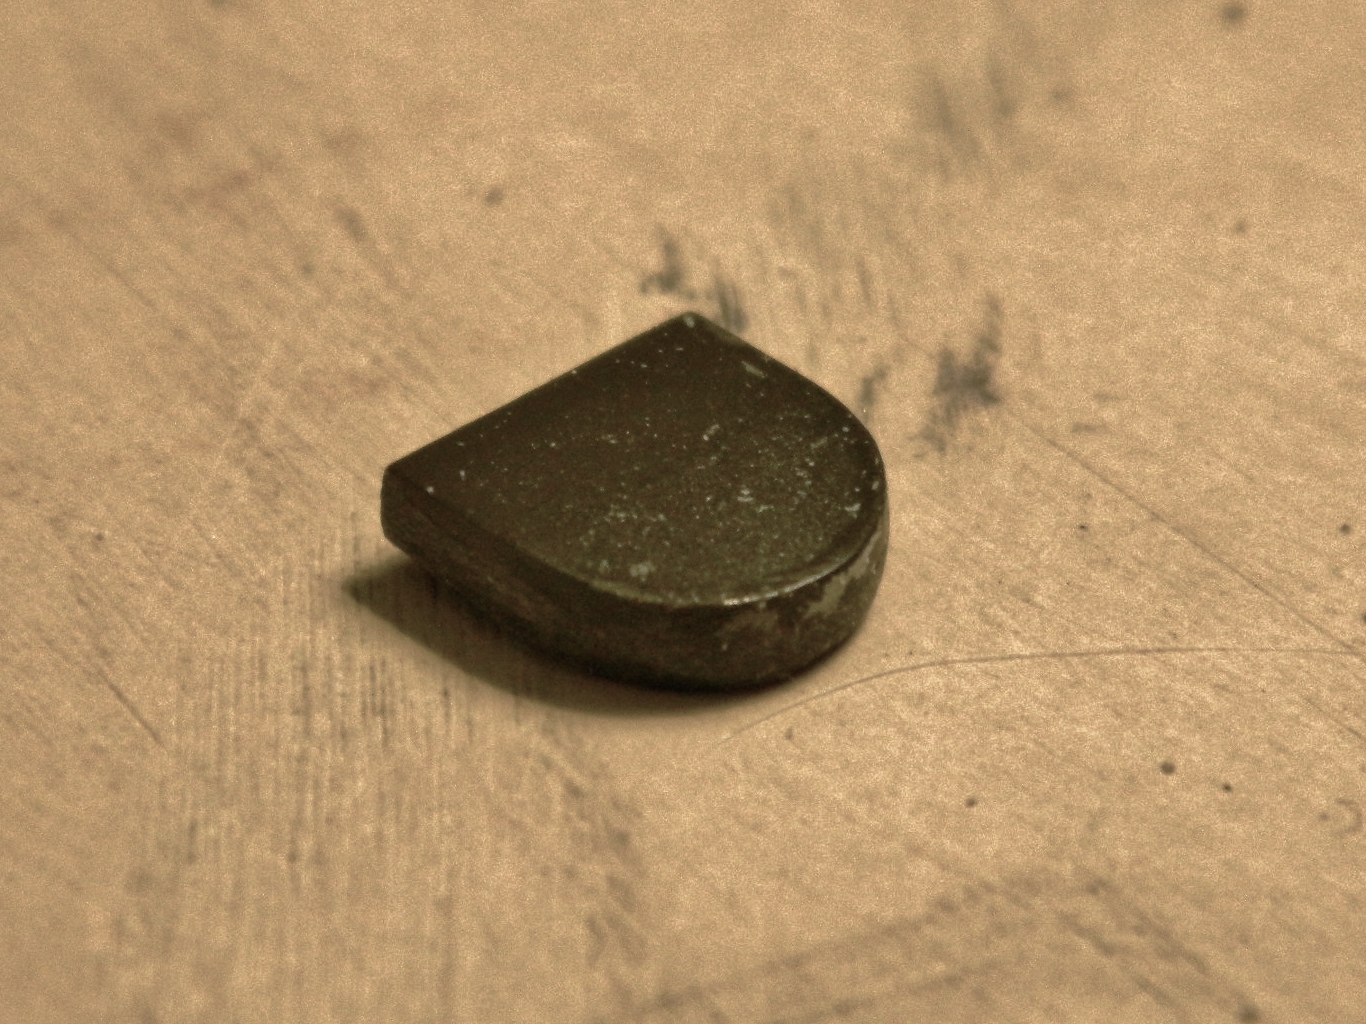
Once again I used .010 brass shim stock to make the replacement. I fumbled around trying to make a usable pattern to transfer the shape to the brass before realizing that this is one good reason I have an extra kit. I cut the section out of that kit and then trimmed it down:

That made creating the pattern as simple as tracing:

I tried a few ways of making the new part but each of them had their own problems:

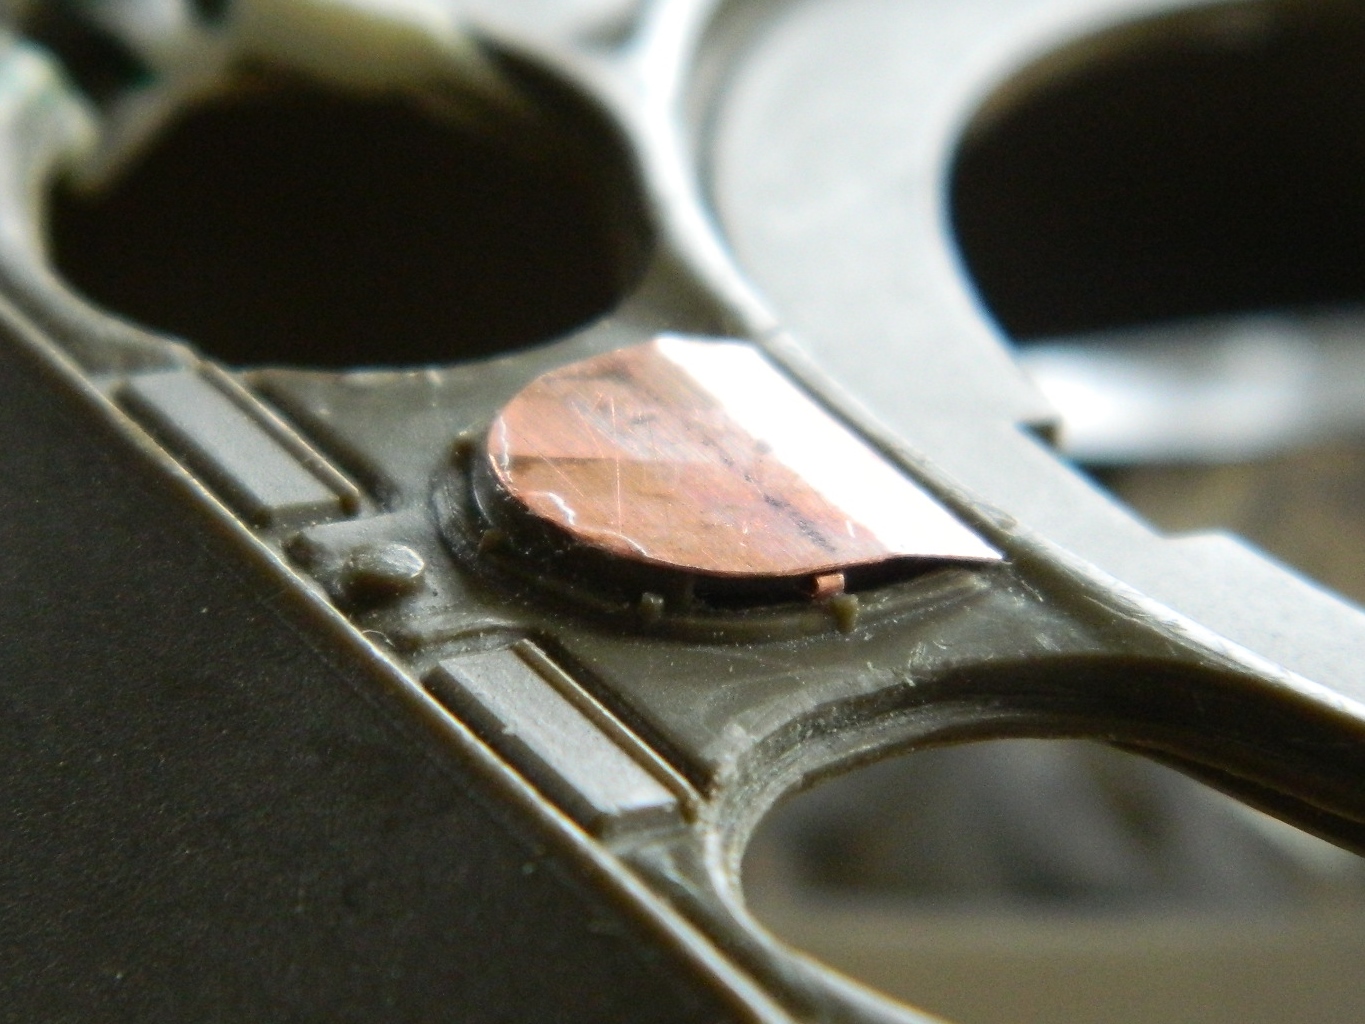
Then I looked more closely at the reference photo. The legs that hold this sheet metal cap up were actually under the cap, so okay…I’ll do it that way:

Before I could dry-fit the new part to check fit, I had to remove plastic from the hull and then I plugged the hole with sheet styrene:

Fit checked out well and I glued it into place:
Before I went further with detailing the hull, I needed to make a vent blower assembly that was fitted between the hatches and under that brass cap I just made. However, I knew I was going to be using that blower assembly again (an M4A3E8), I wanted to be able to replicate it. For that I was going to need to be able to make a mold from the original (the “master”) and be able to pour resin into that mold. That was an entirely different direction and task, so while I was researching how to go about all that (see under “What the Hell Does That Mean” the topic, “Degassing – What it is and Why Do I Need it?”), I decided I’d work on the turret.
