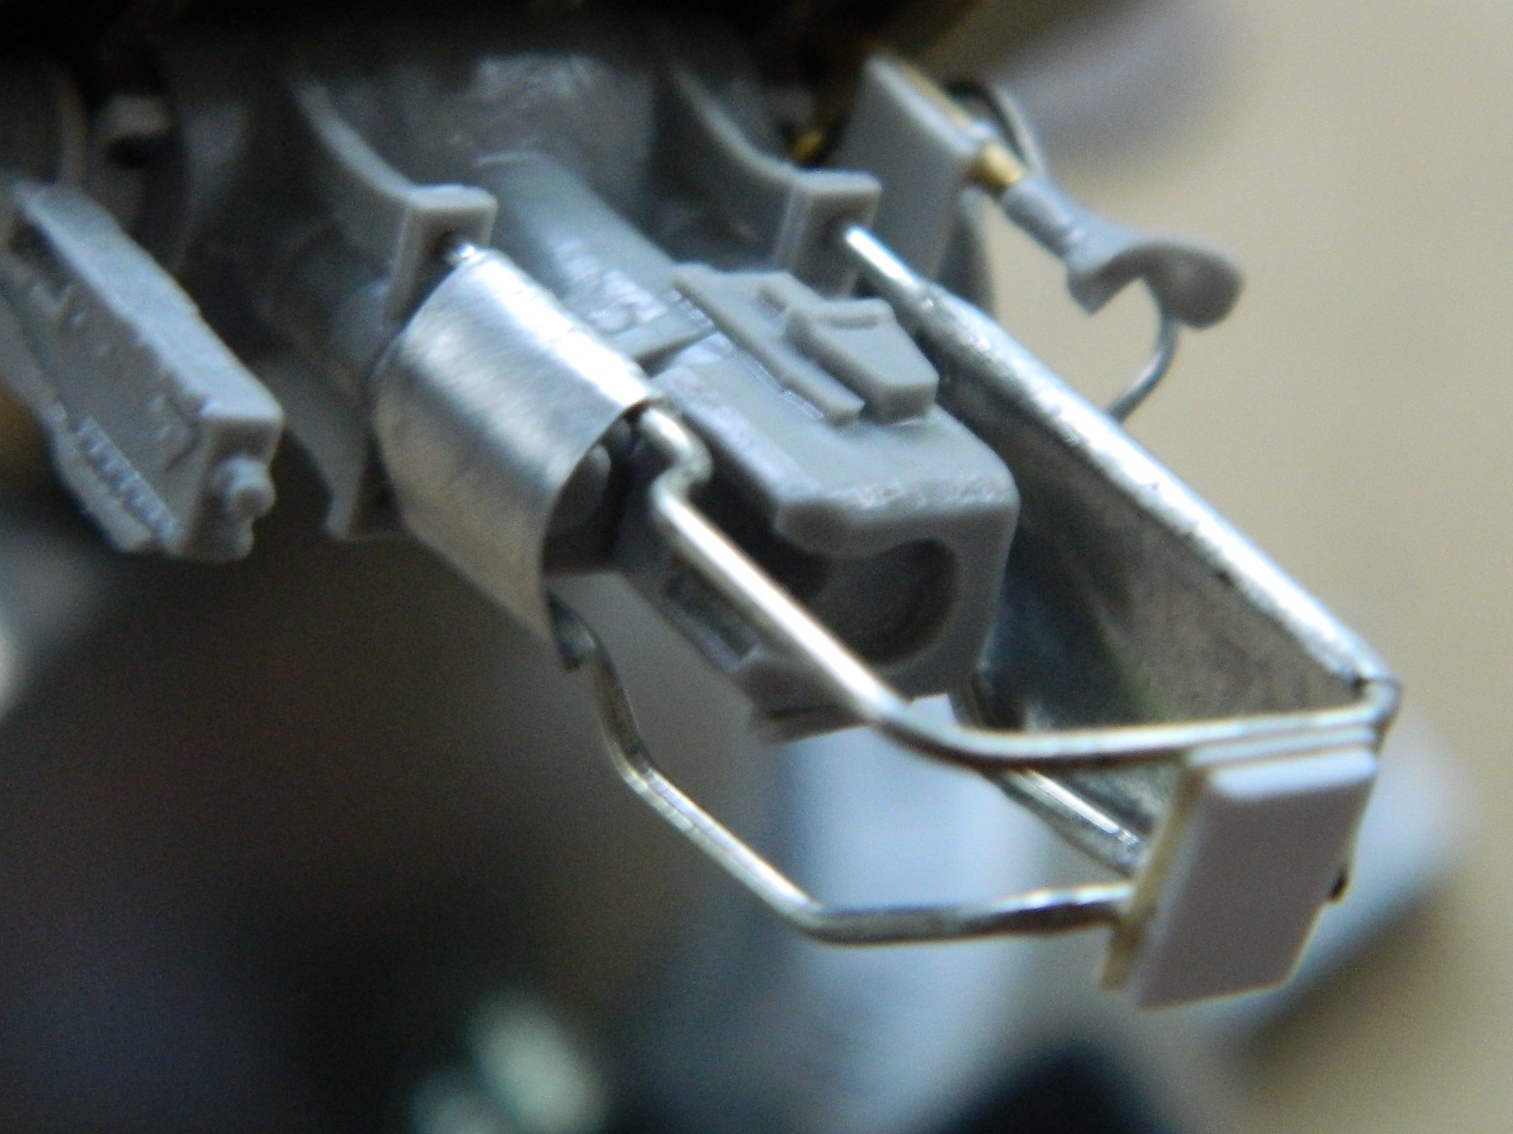
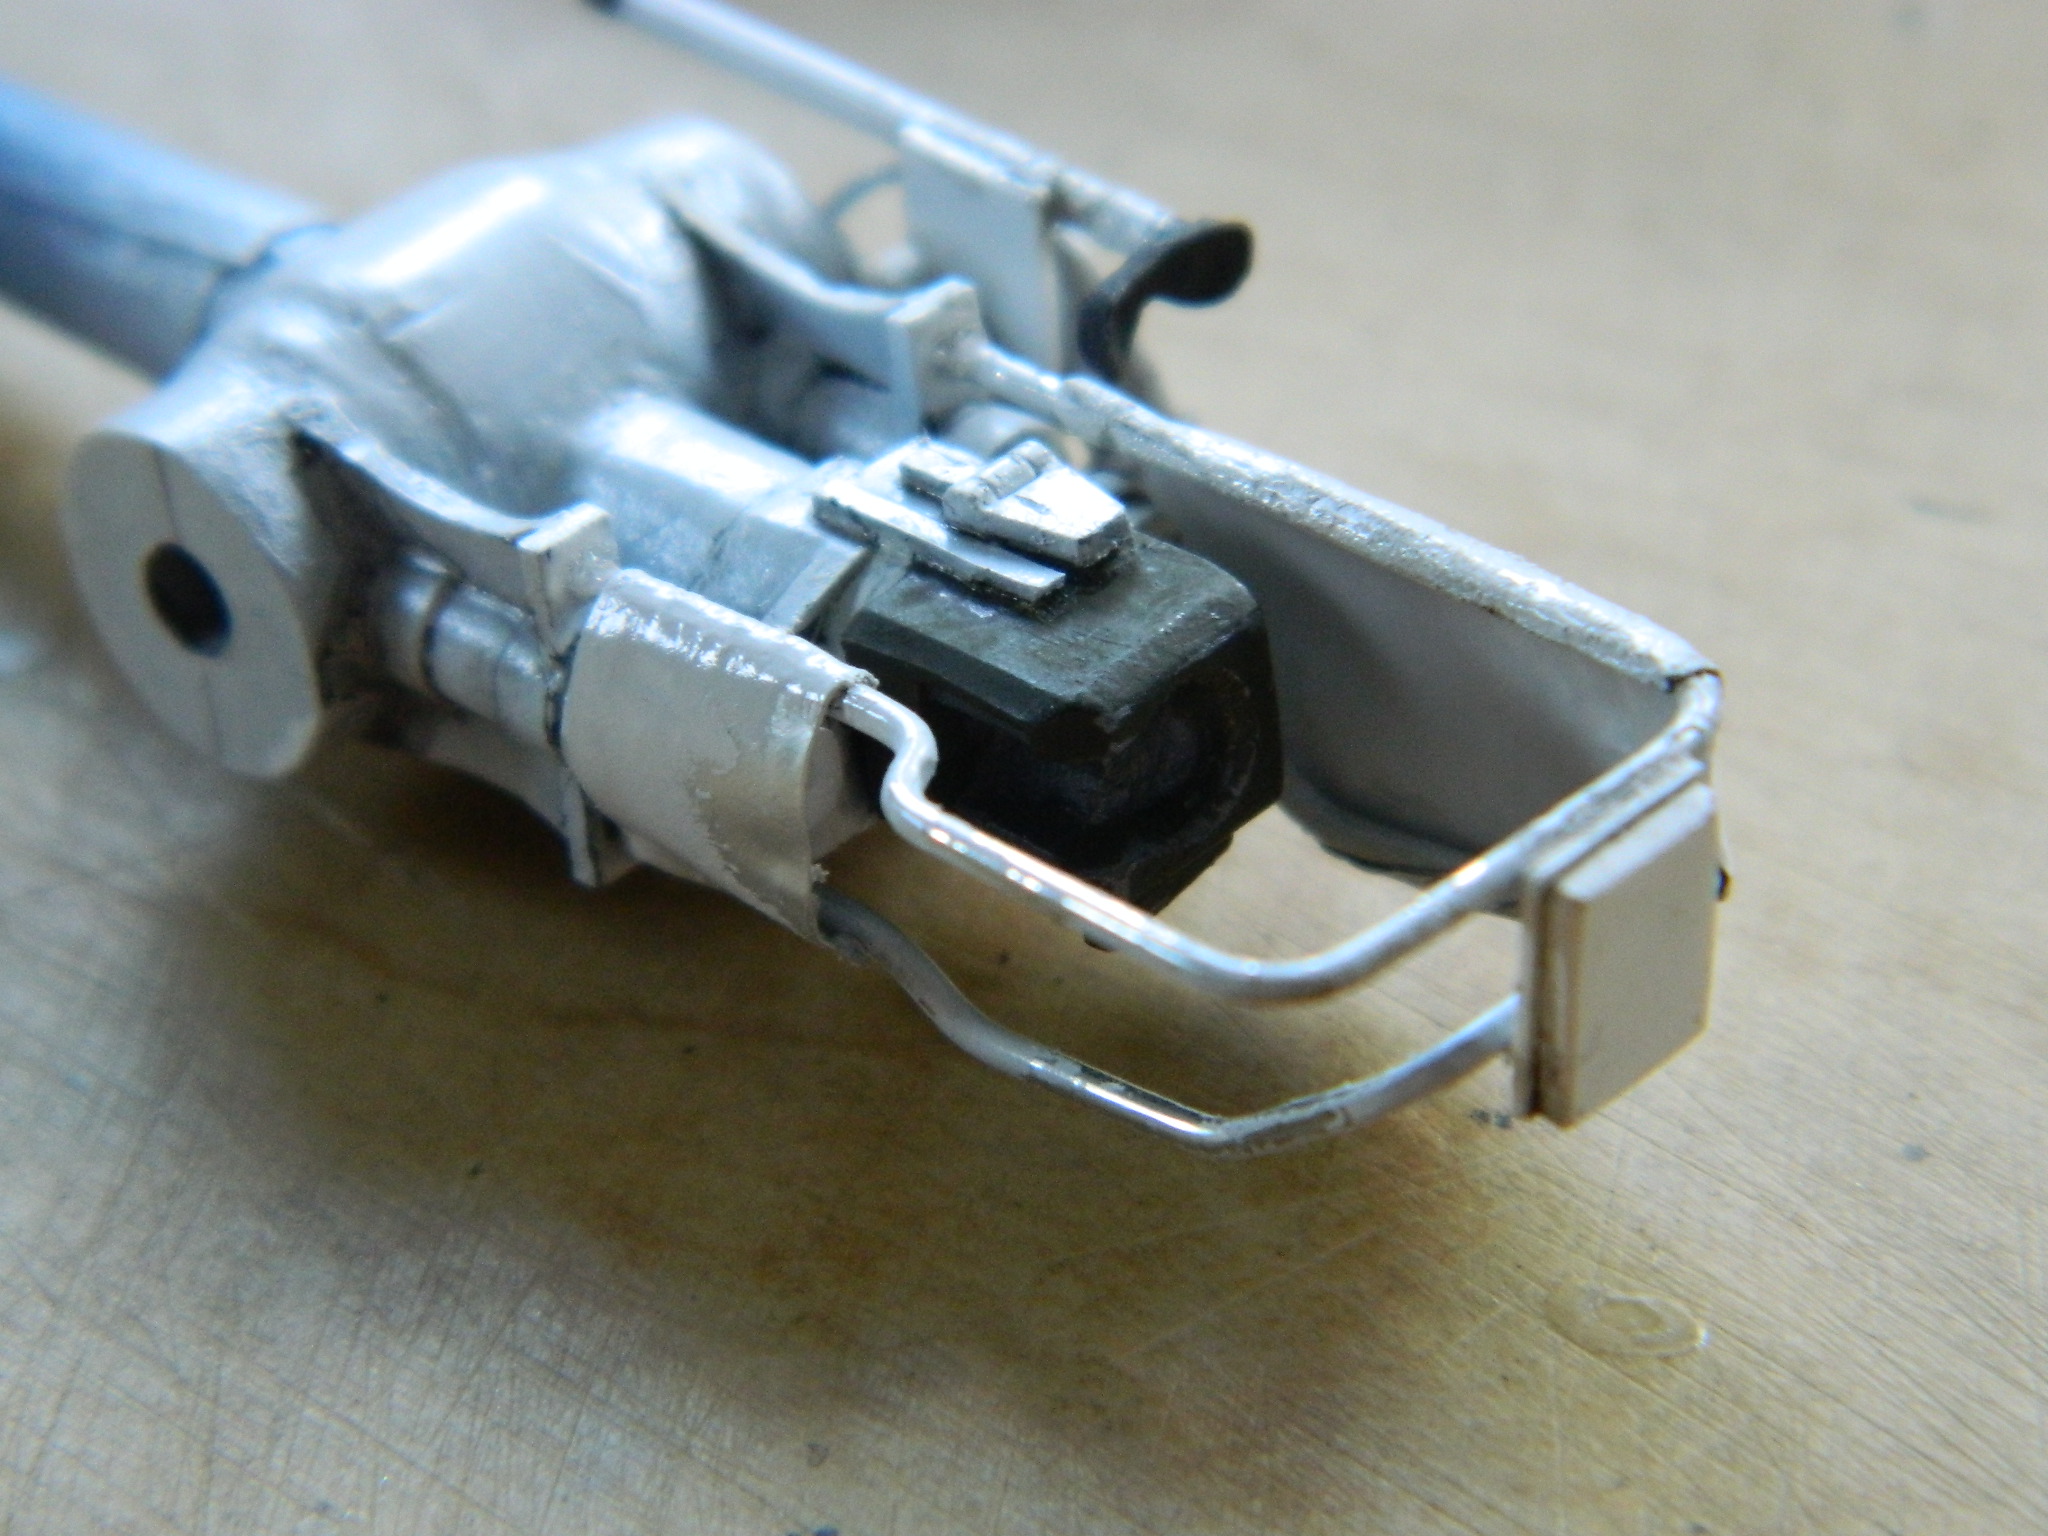
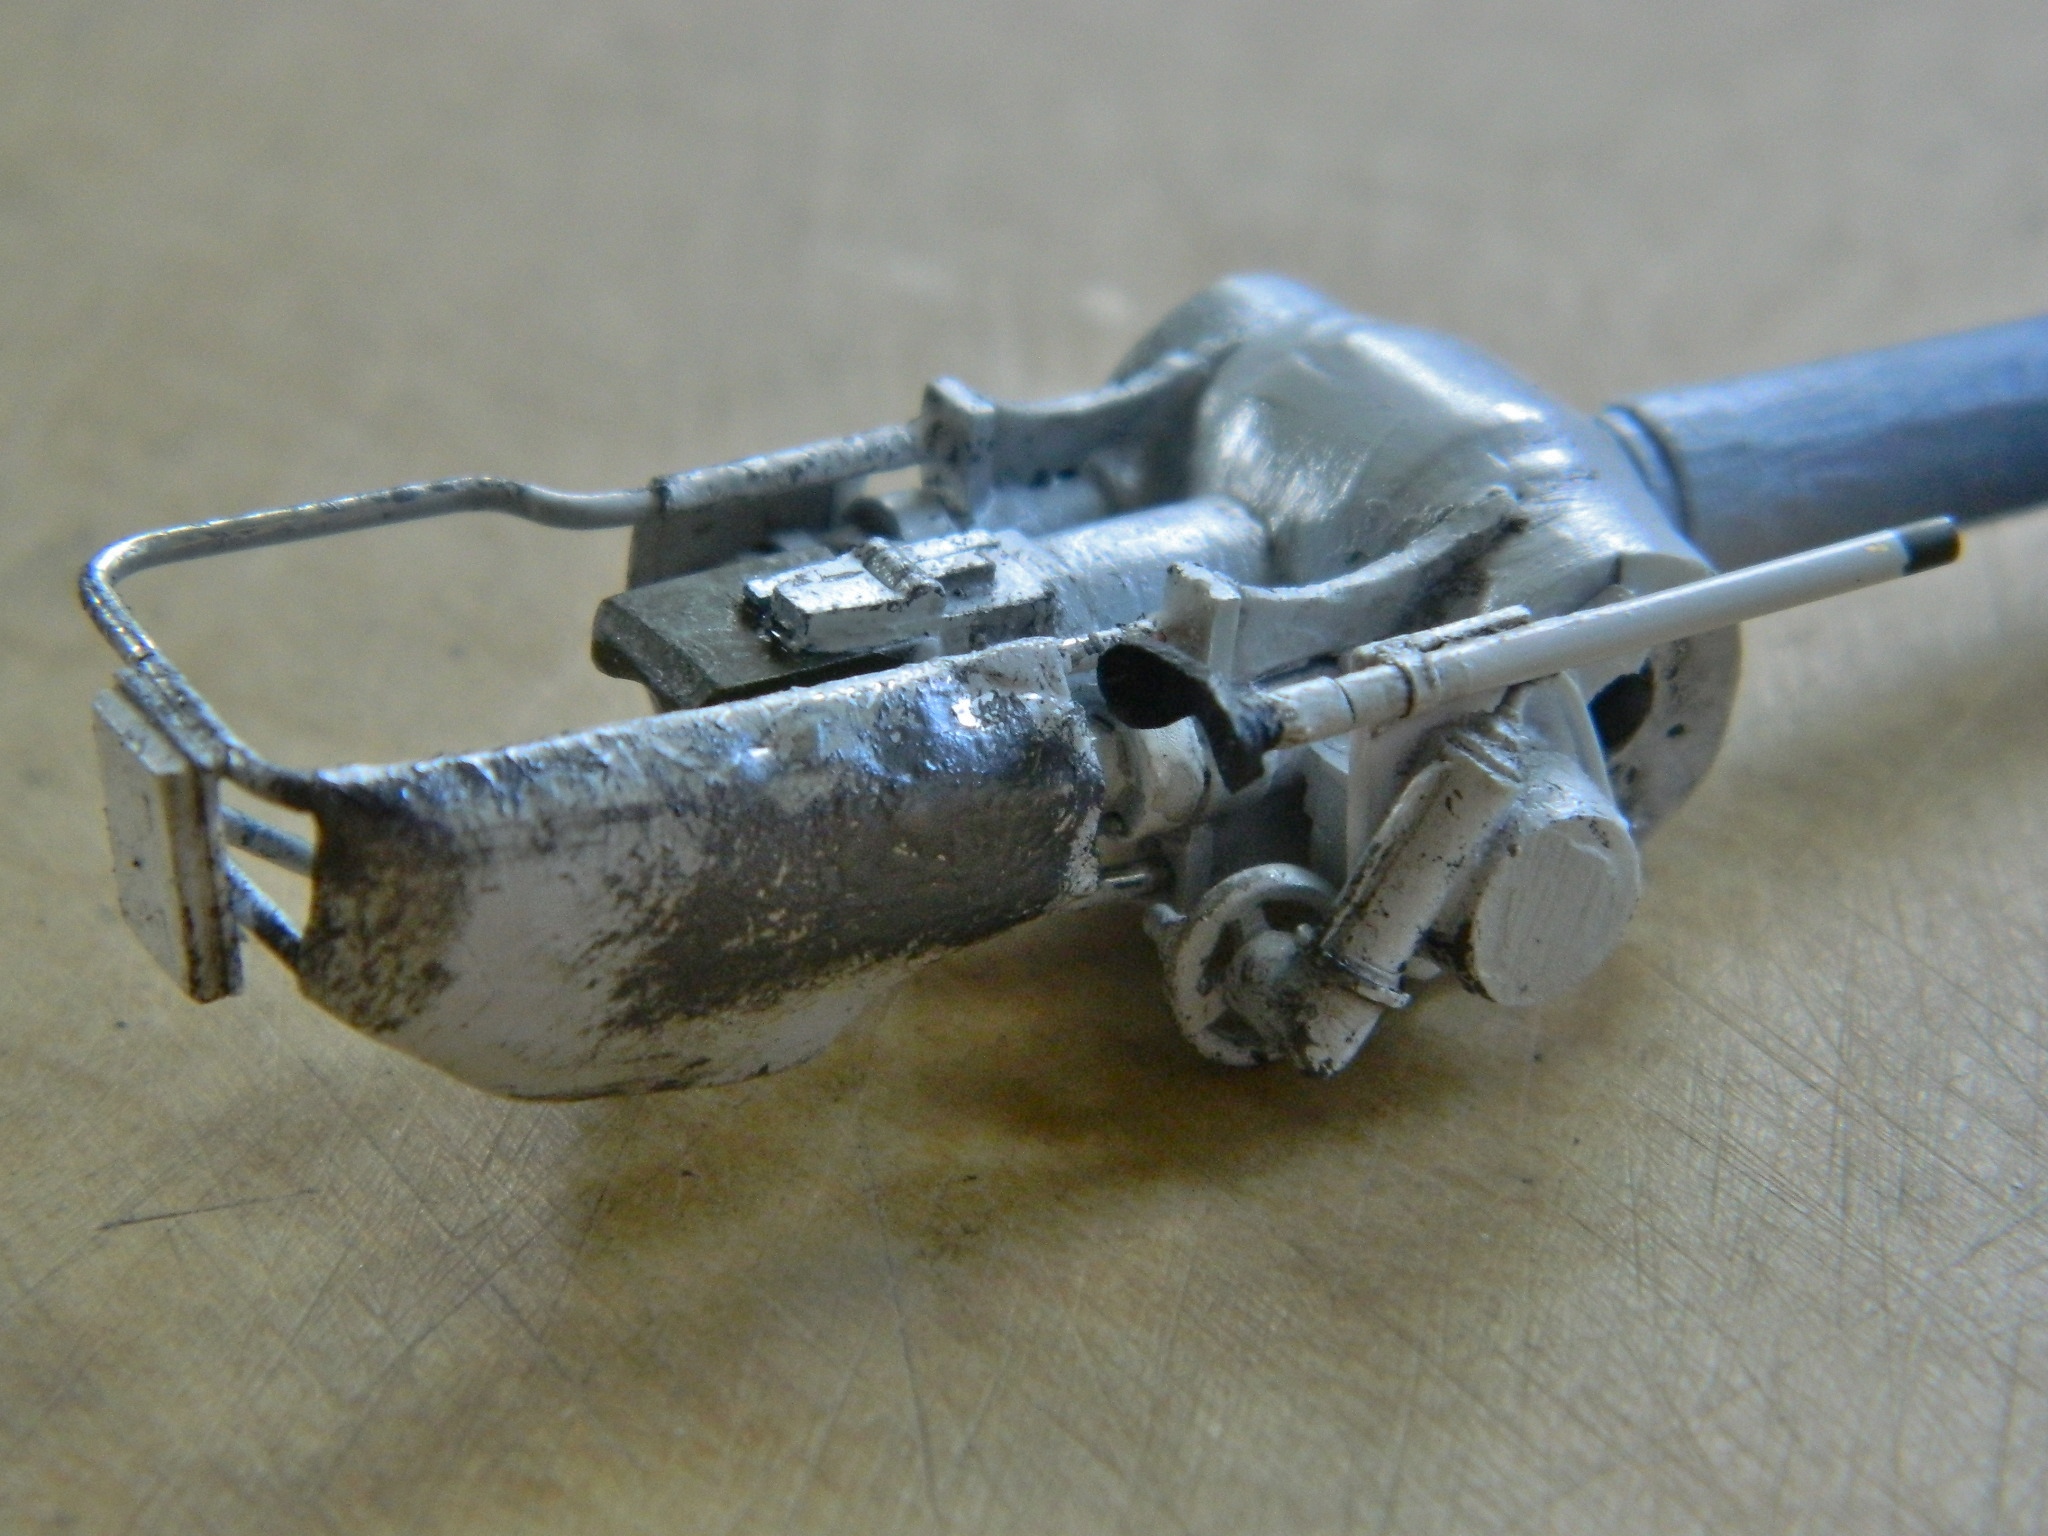
There is a guard that attaches to the breech mount to keep delicate body parts from getting crushed by the breech during the recoil from firing. The hard part to this particular assembly is that I have to make the guard detachable so that masking and painting it later doesn’t become a nightmare. The AM set provided a bending template and I used copper wire to make the frame:

There is a sheet metal barrier on the gunner’s side (the right). The AM set’s resin part is WAY too thick, so I used it as a buck and formed lead foil around it. Quite interesting in how far off it is:

So I made my own buck. I held the part as close to perfectly straight sideways as I could and traced the outline on a separate piece of 3×5 card and transferred the pattern to an old piece of plastic I had been laminating for a decades-defunct project:

I don’t know if it’s small parts and big fingers or if it’s big fingers and small parts, but sometimes just holding on to something I’m working gets “interesting.” This time I figured I’d add a handle to make forming over the buck, if not easier, at least (maybe, I hope) less difficult:

I made a copy from this buck and tried it against the guard. It’s close, but slightly off so I needed to shrink the buck slightly:

Yeah, the fit is better:
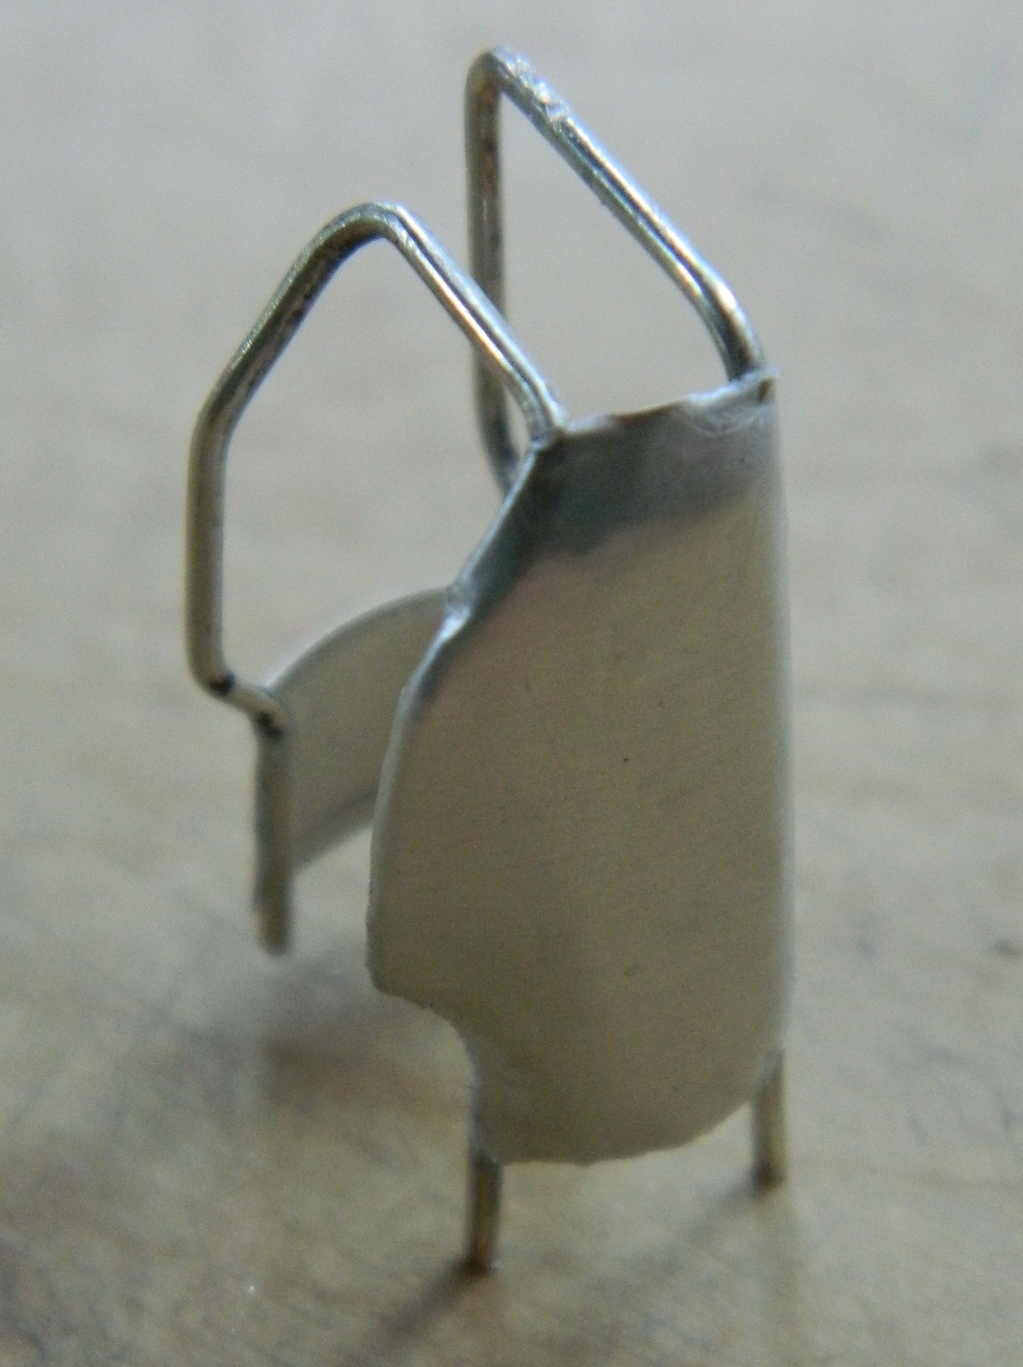
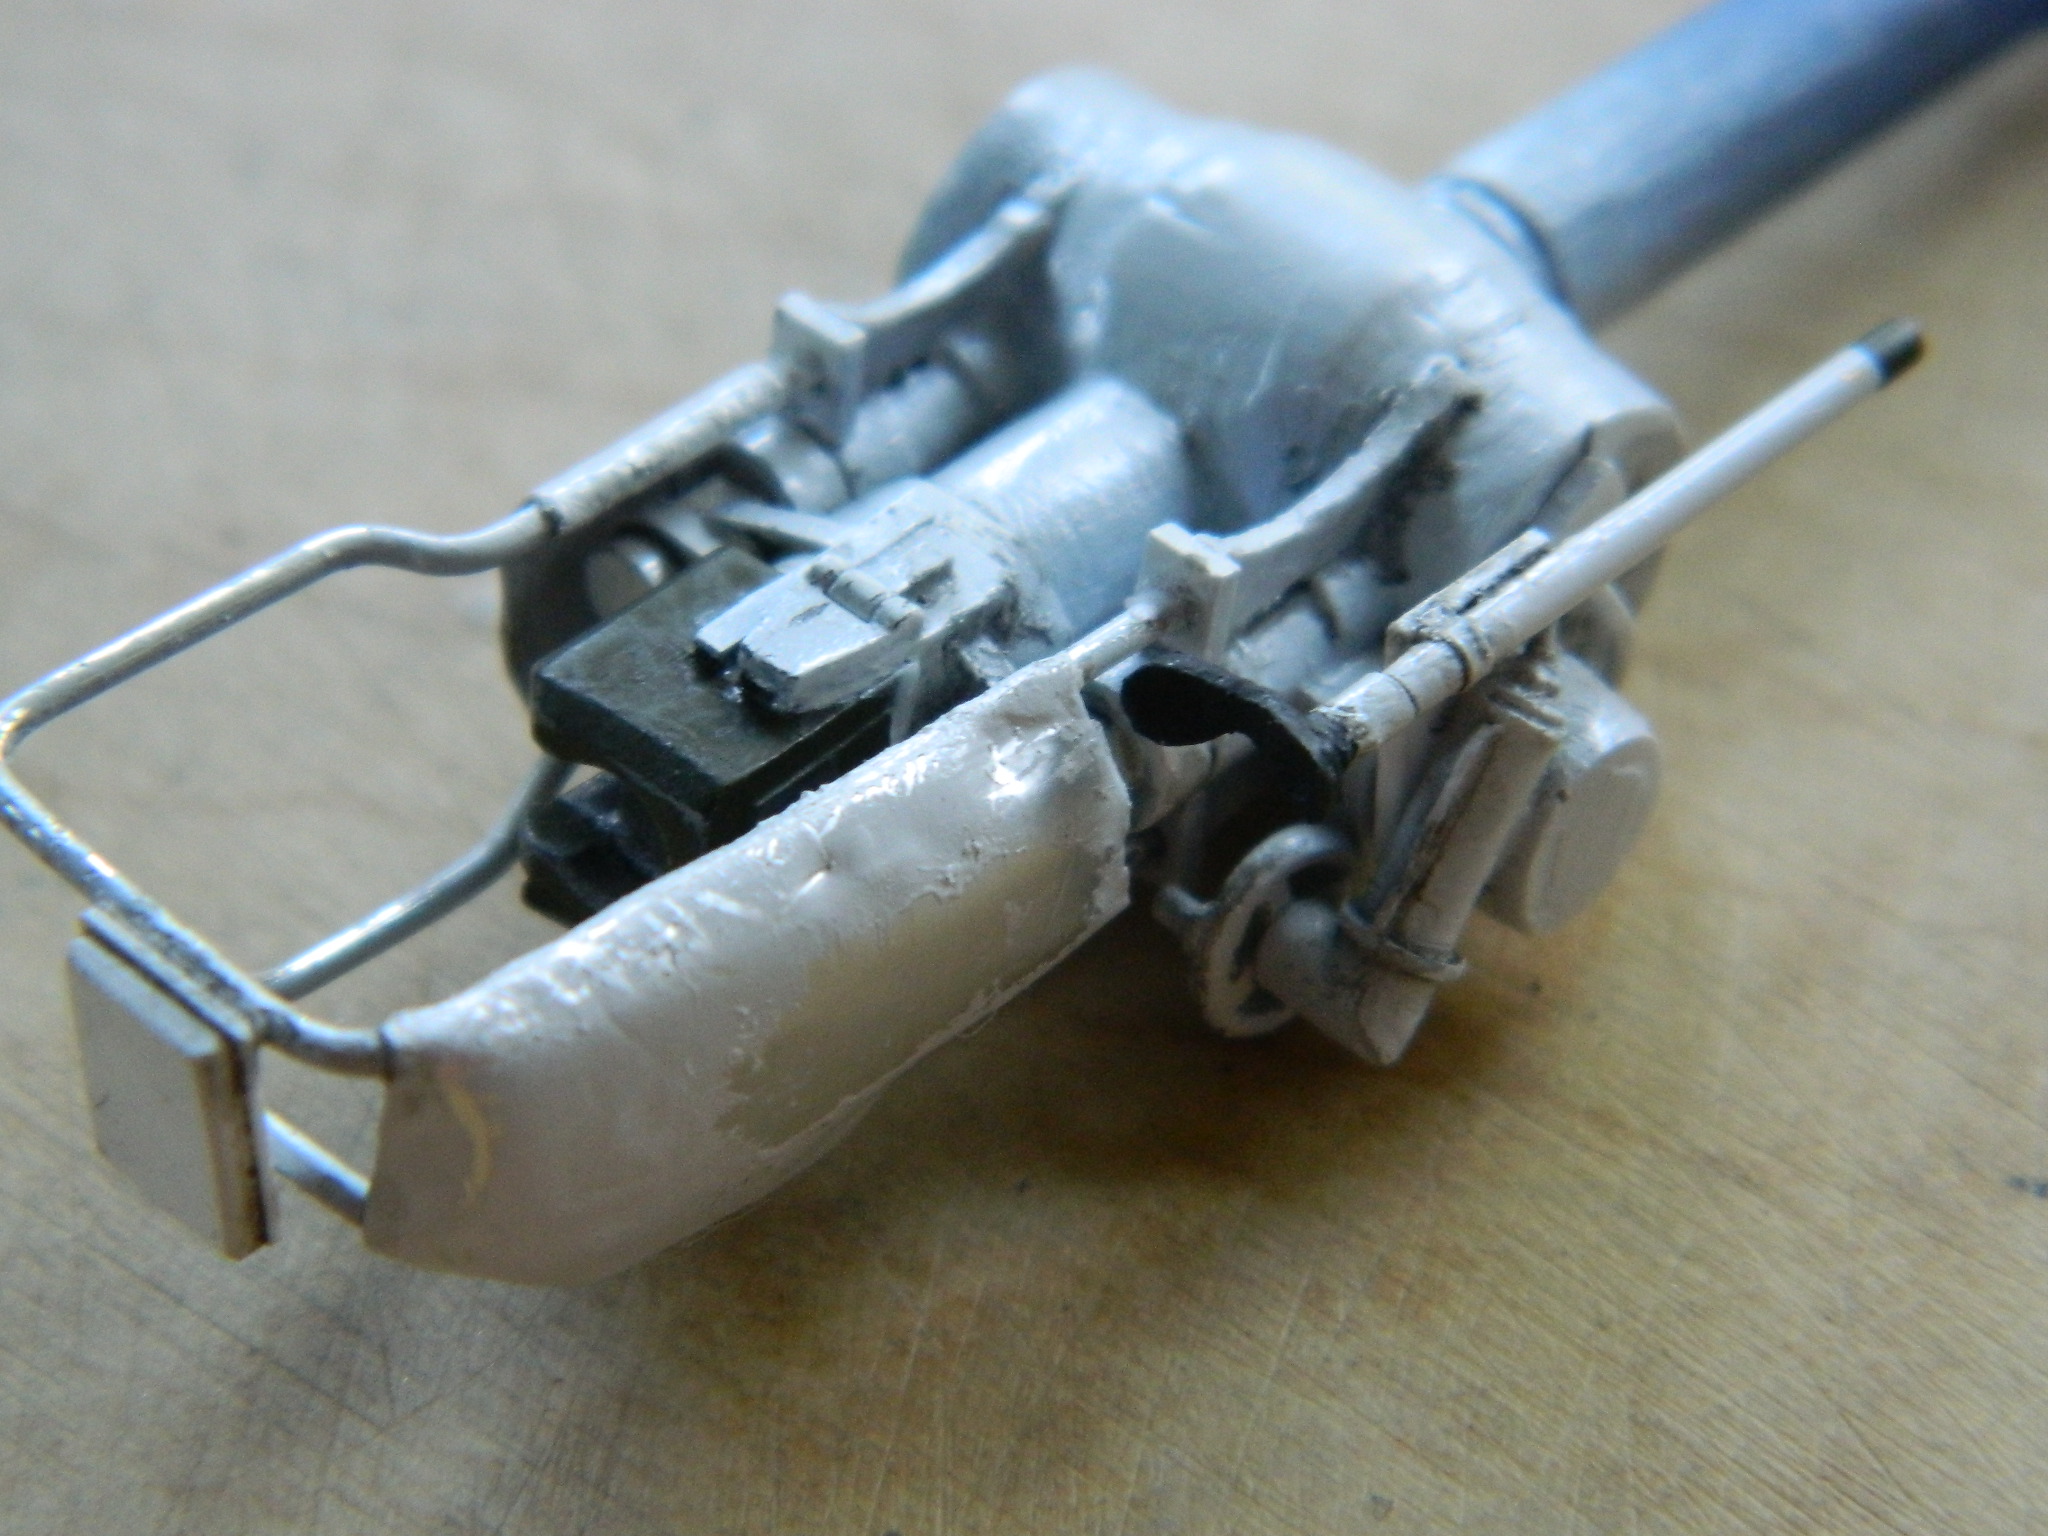
But I still wanted to tweak it a bit more. After several attempts to nail it, I did just that and glued it together and lo…it doth be removable. For the shape, size, and location, it turned out that using lead foil for these sheet metal parts was creating more problems than it was solving, so I went with heavy gauge aluminum foil instead:


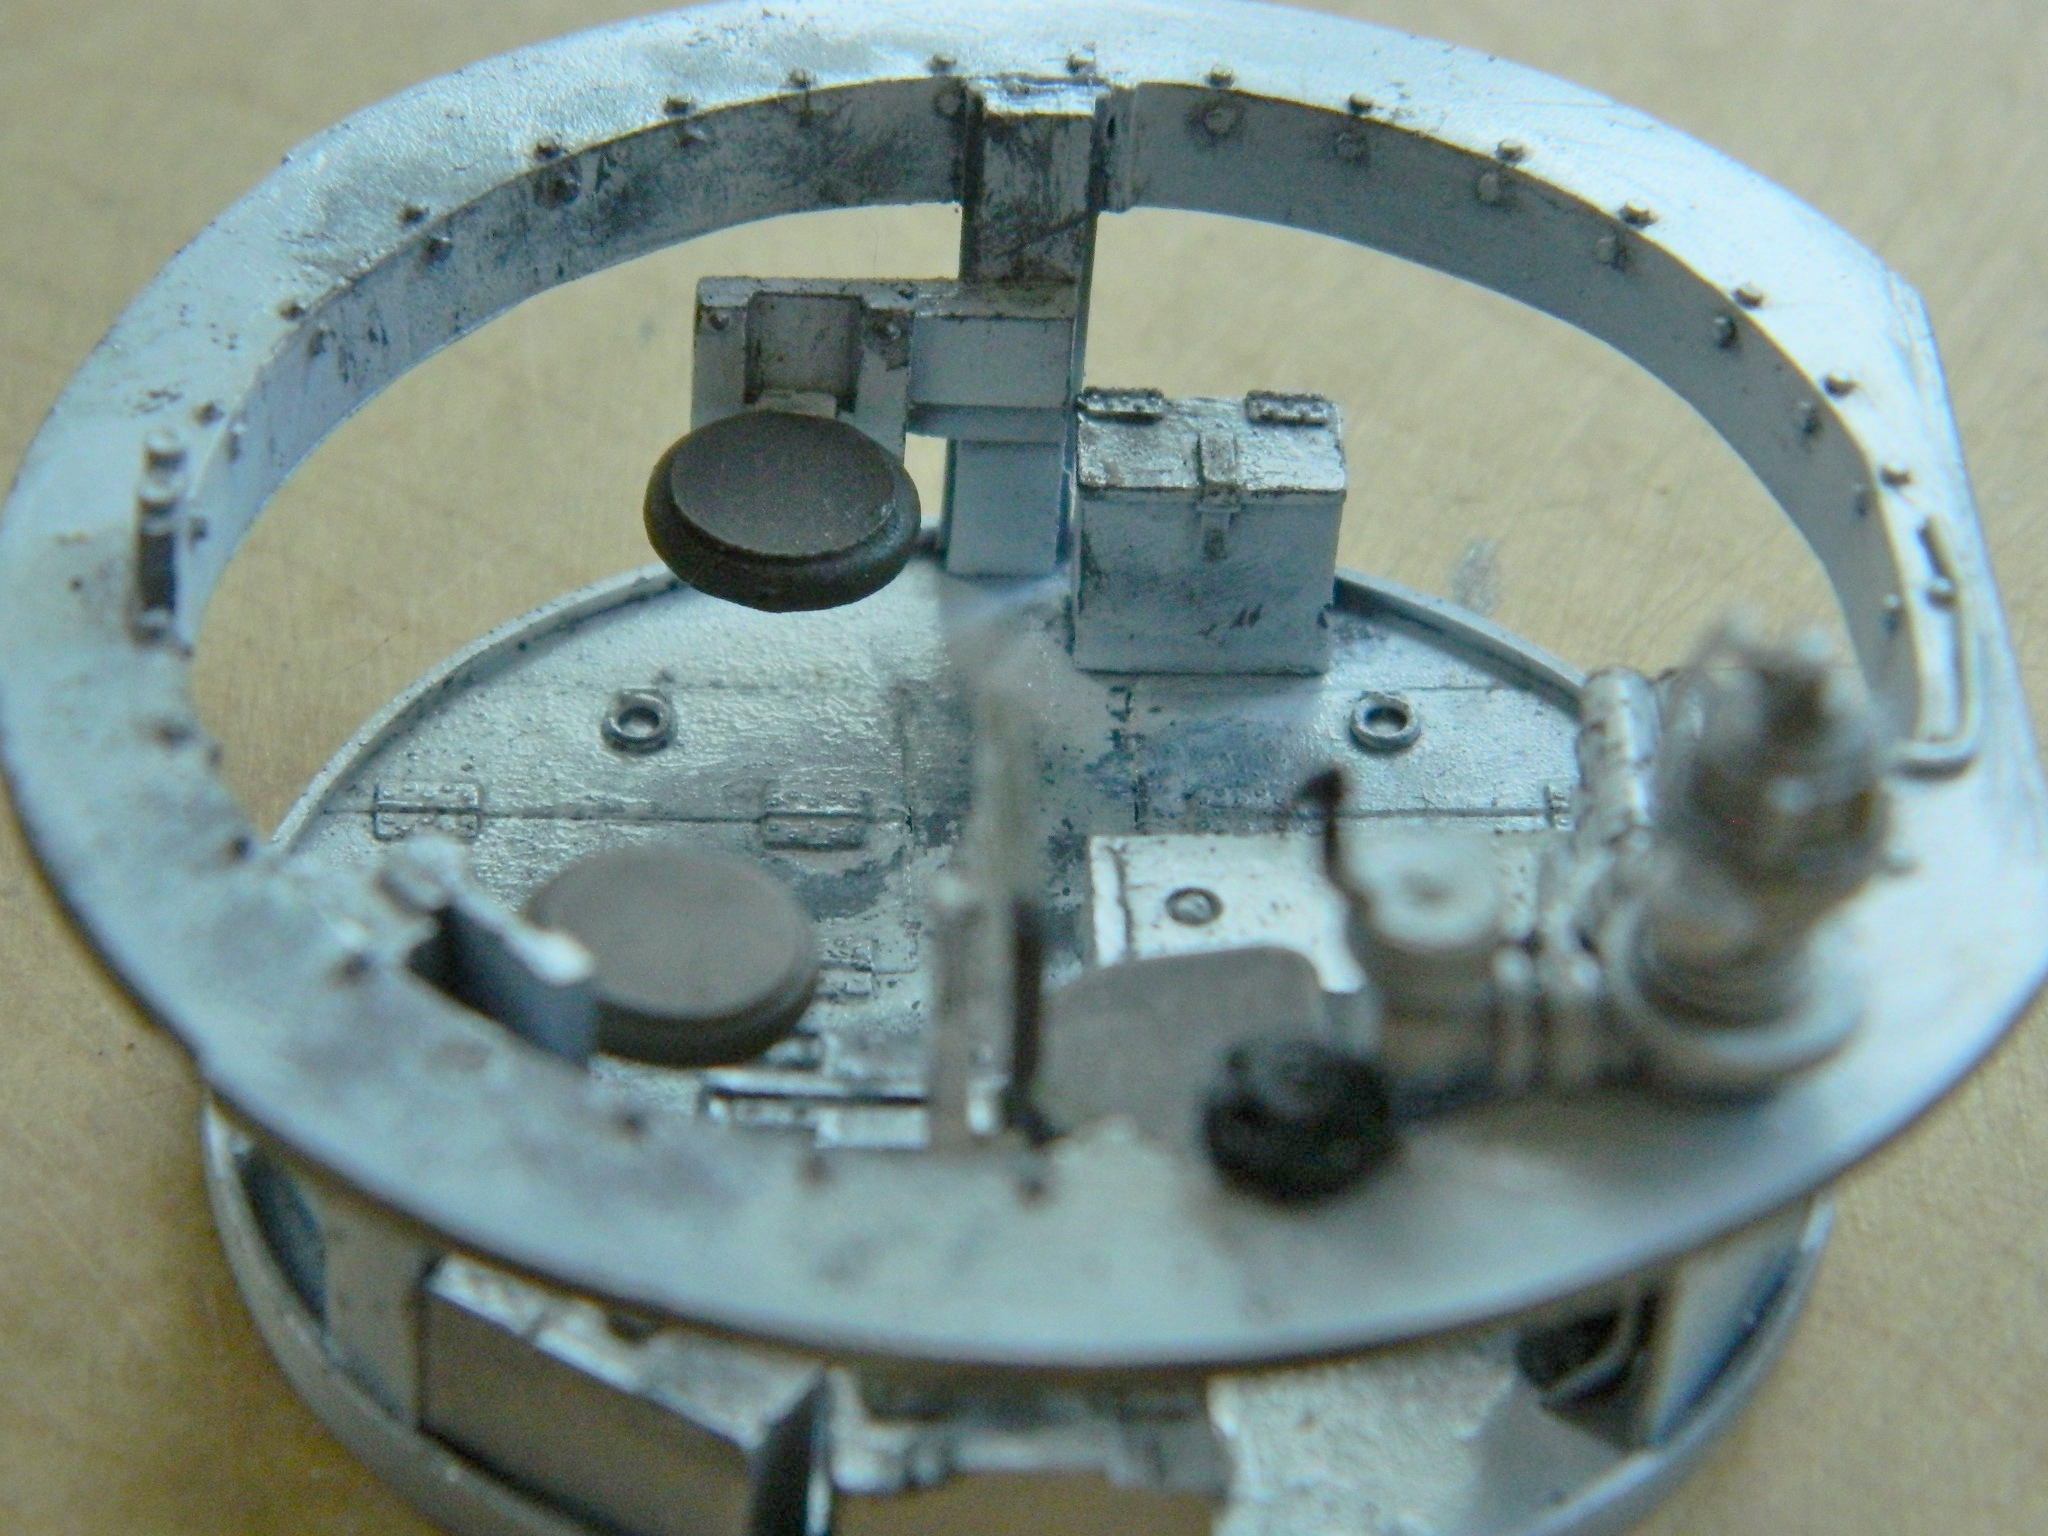
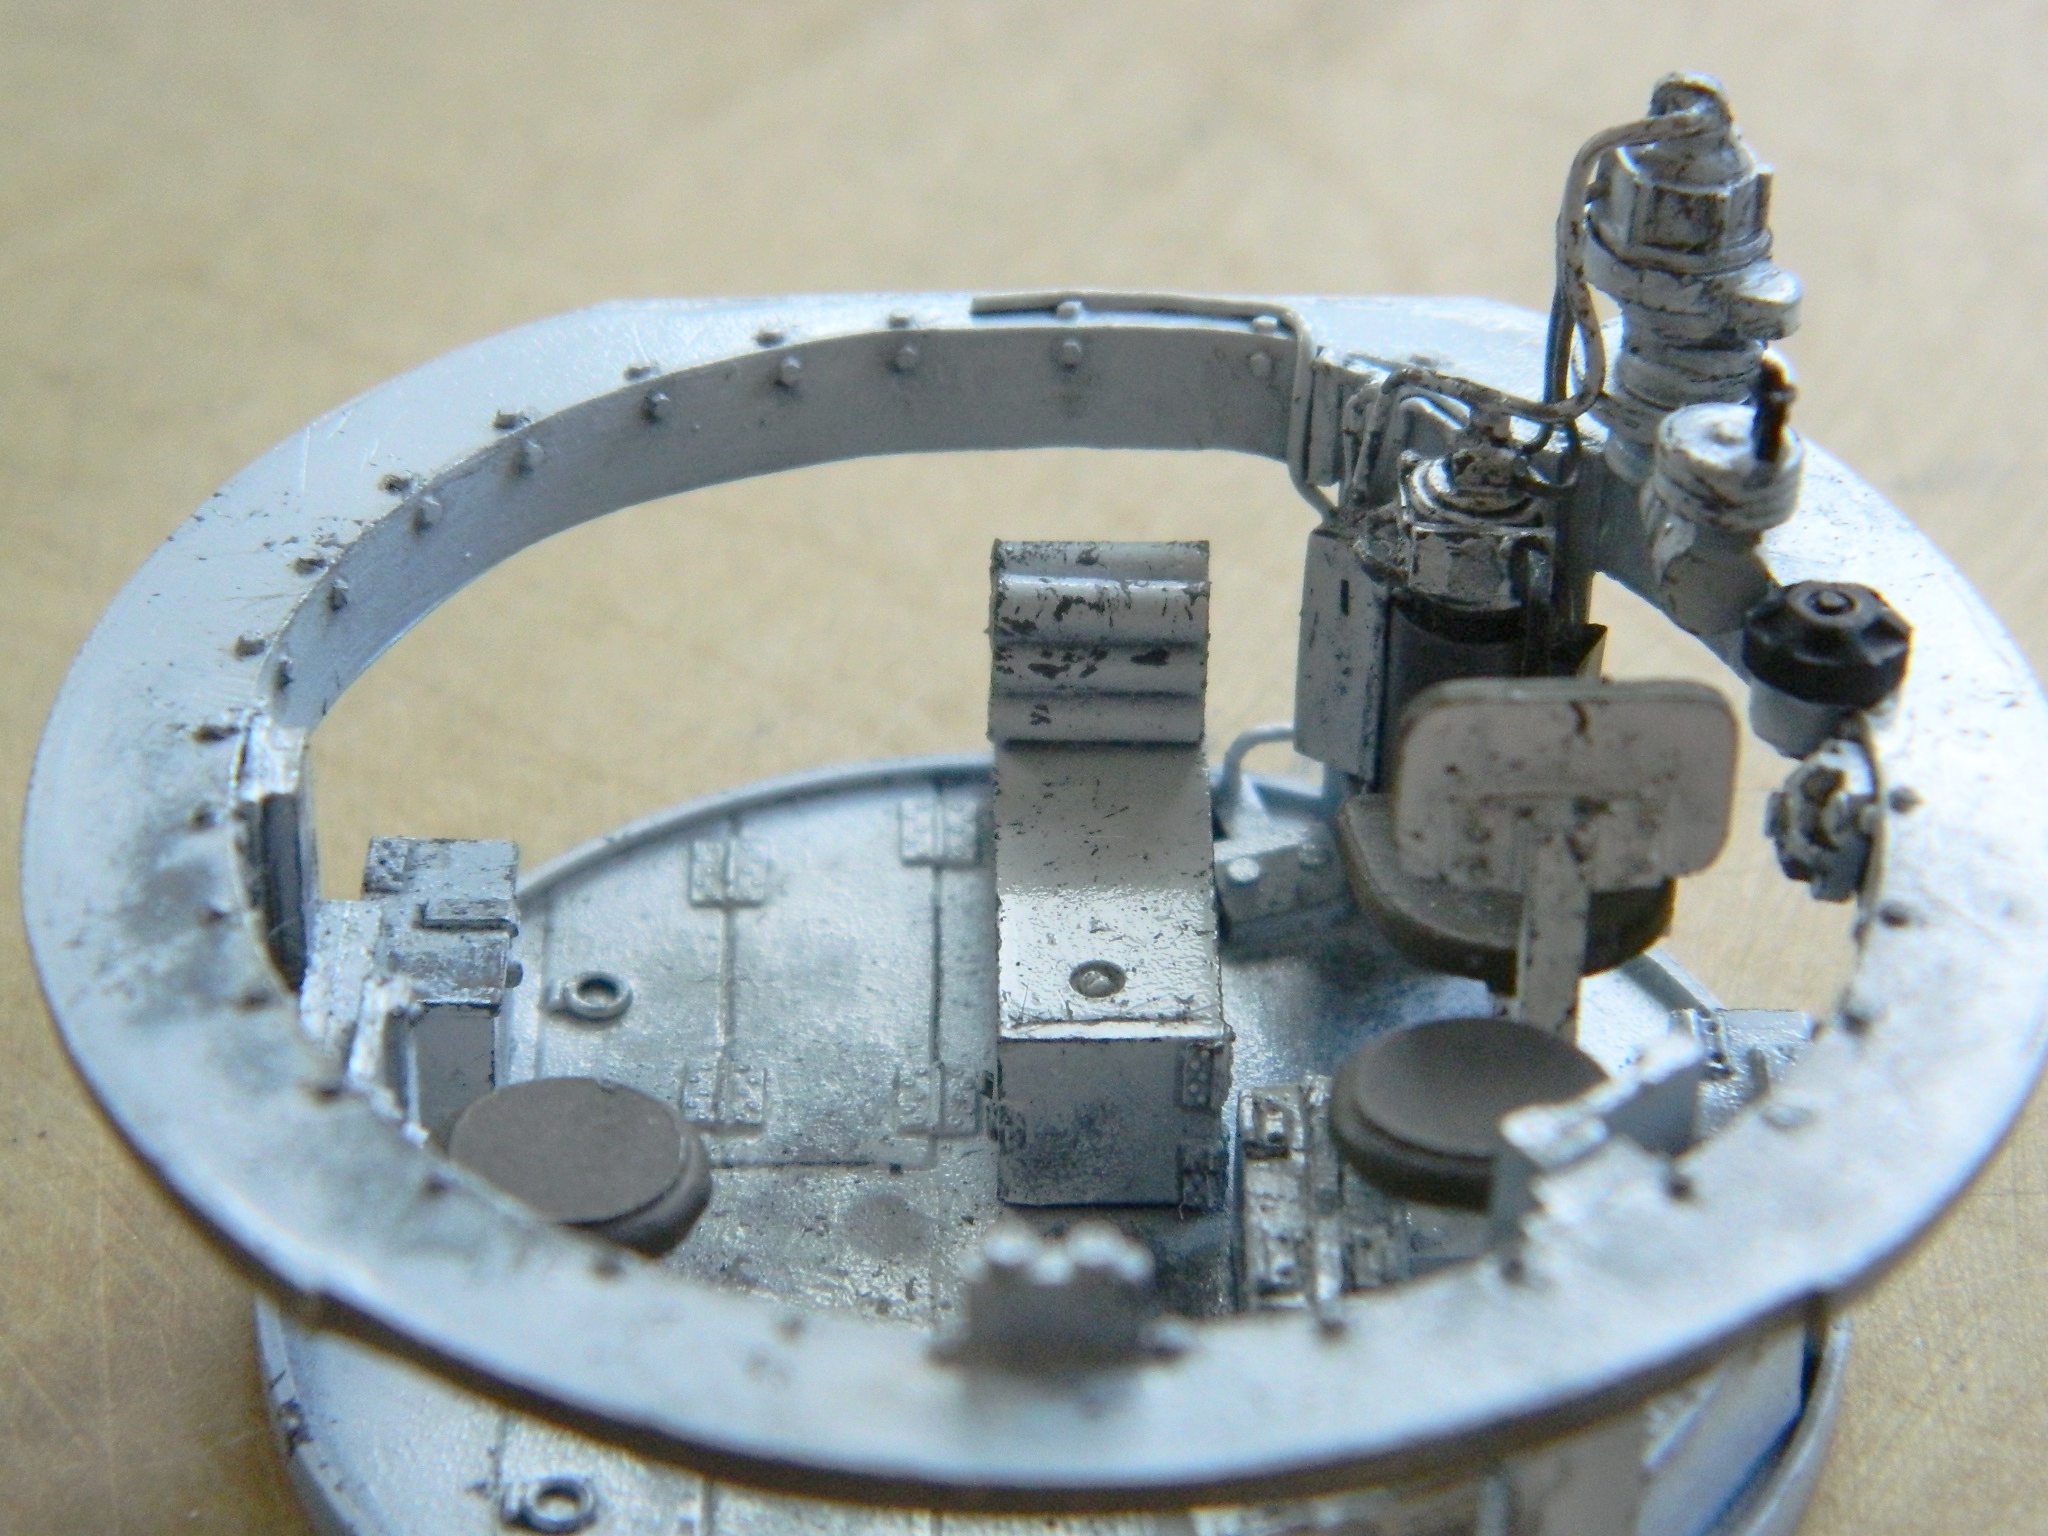
Then I dry-fit the turret basket in place to make sure things, as they do, fit:

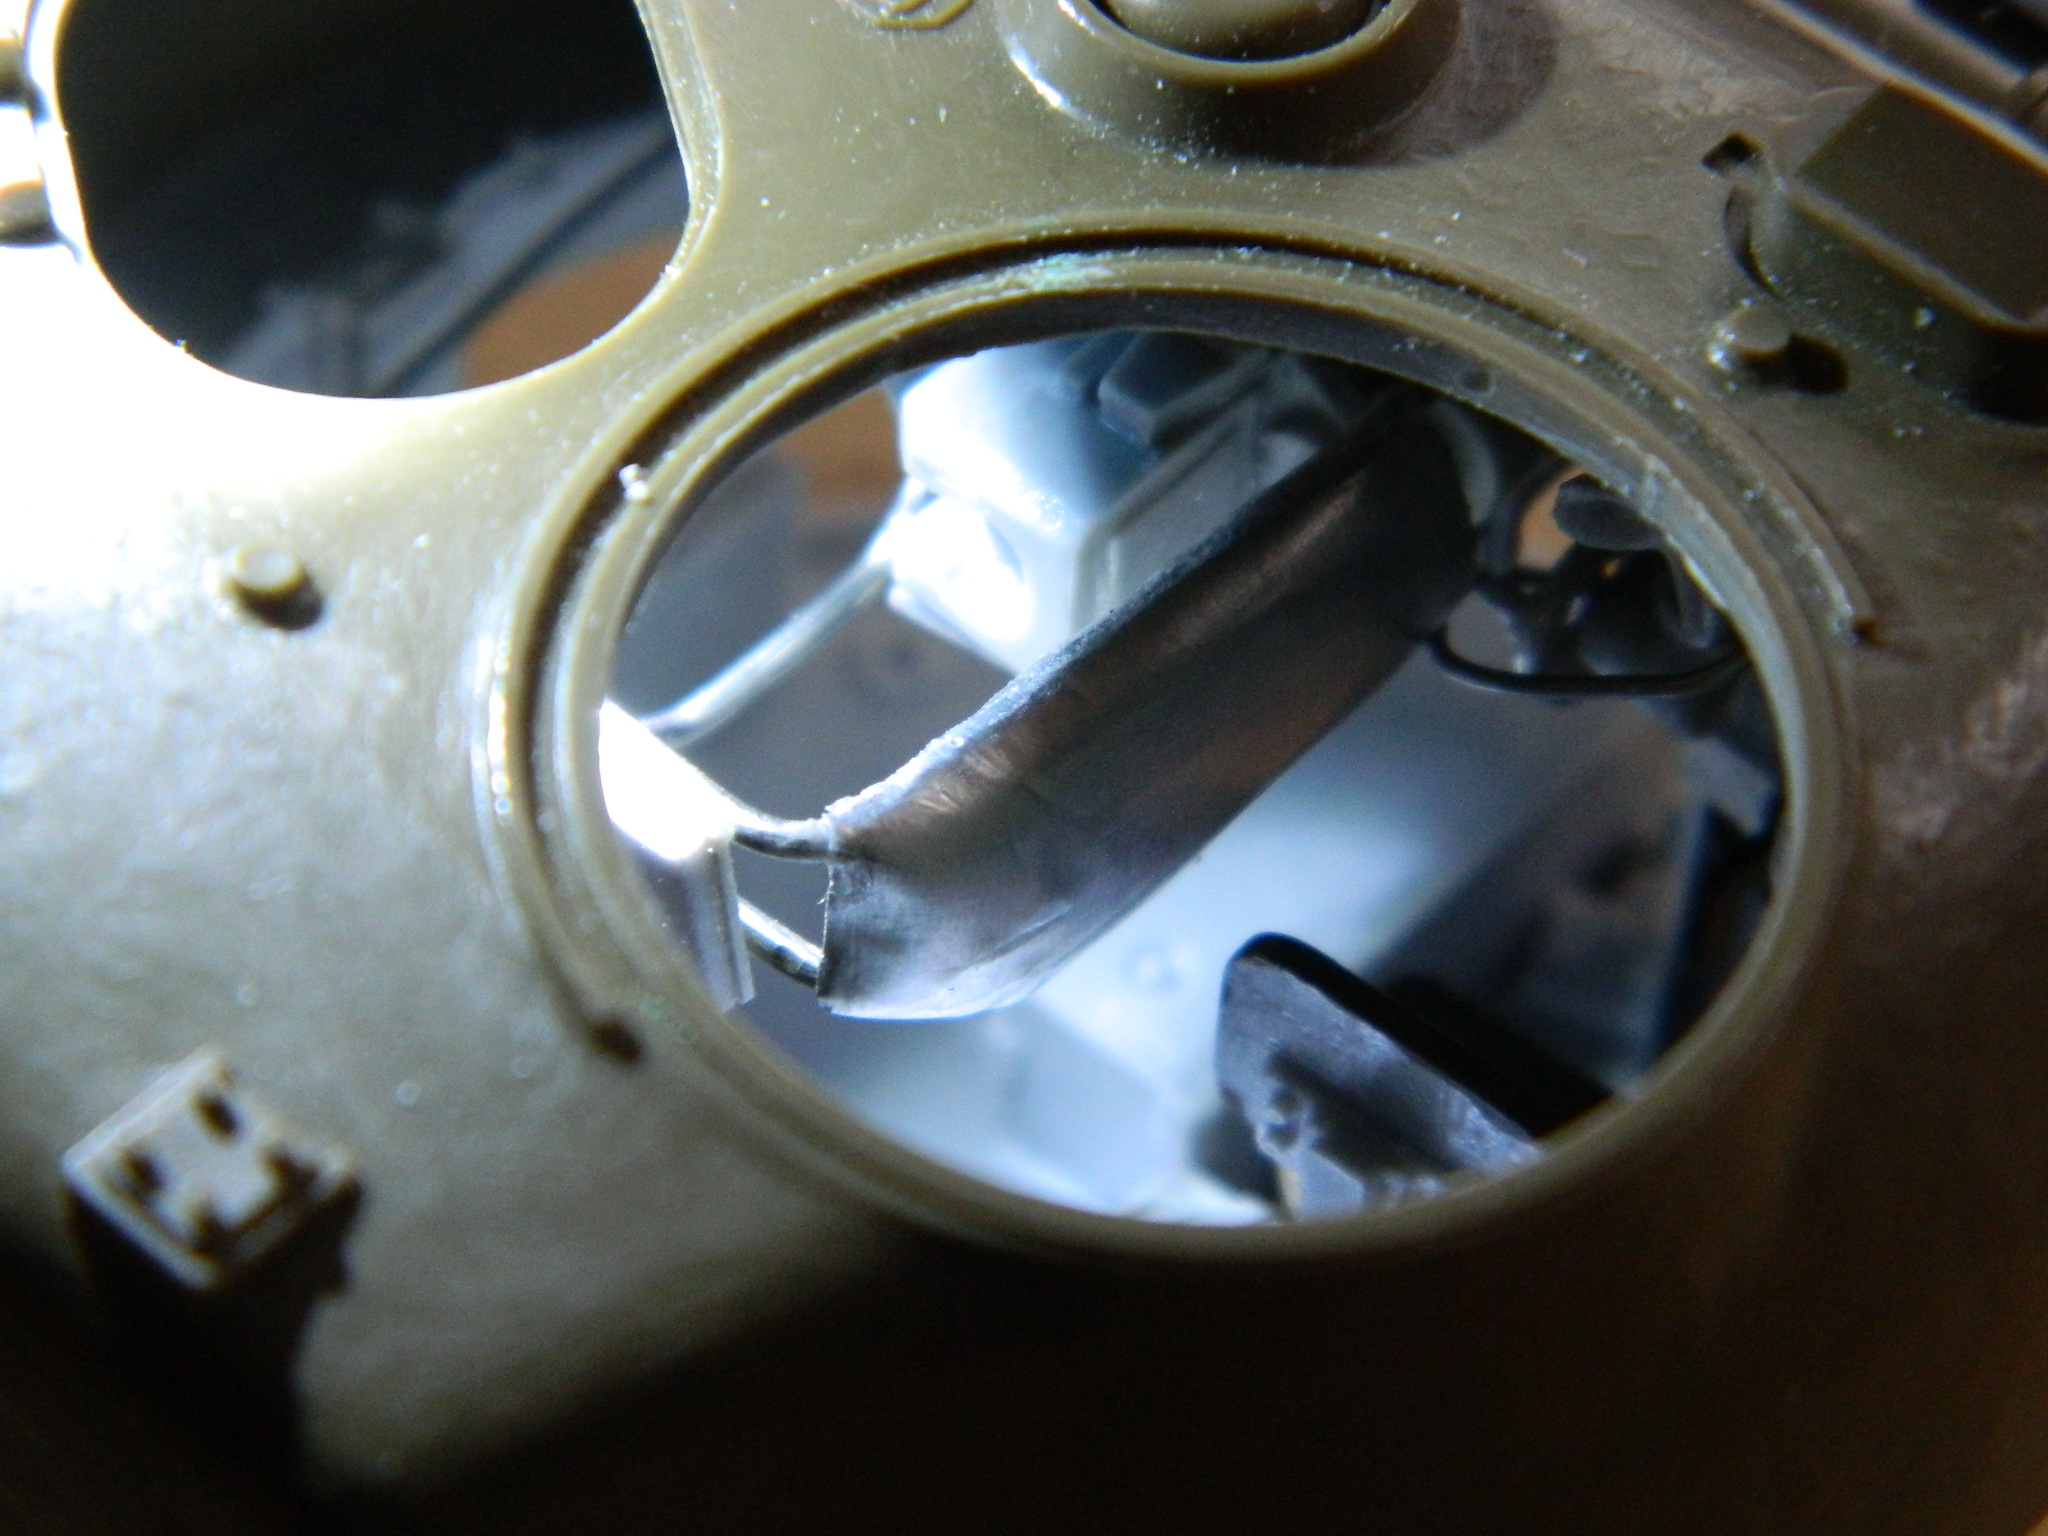
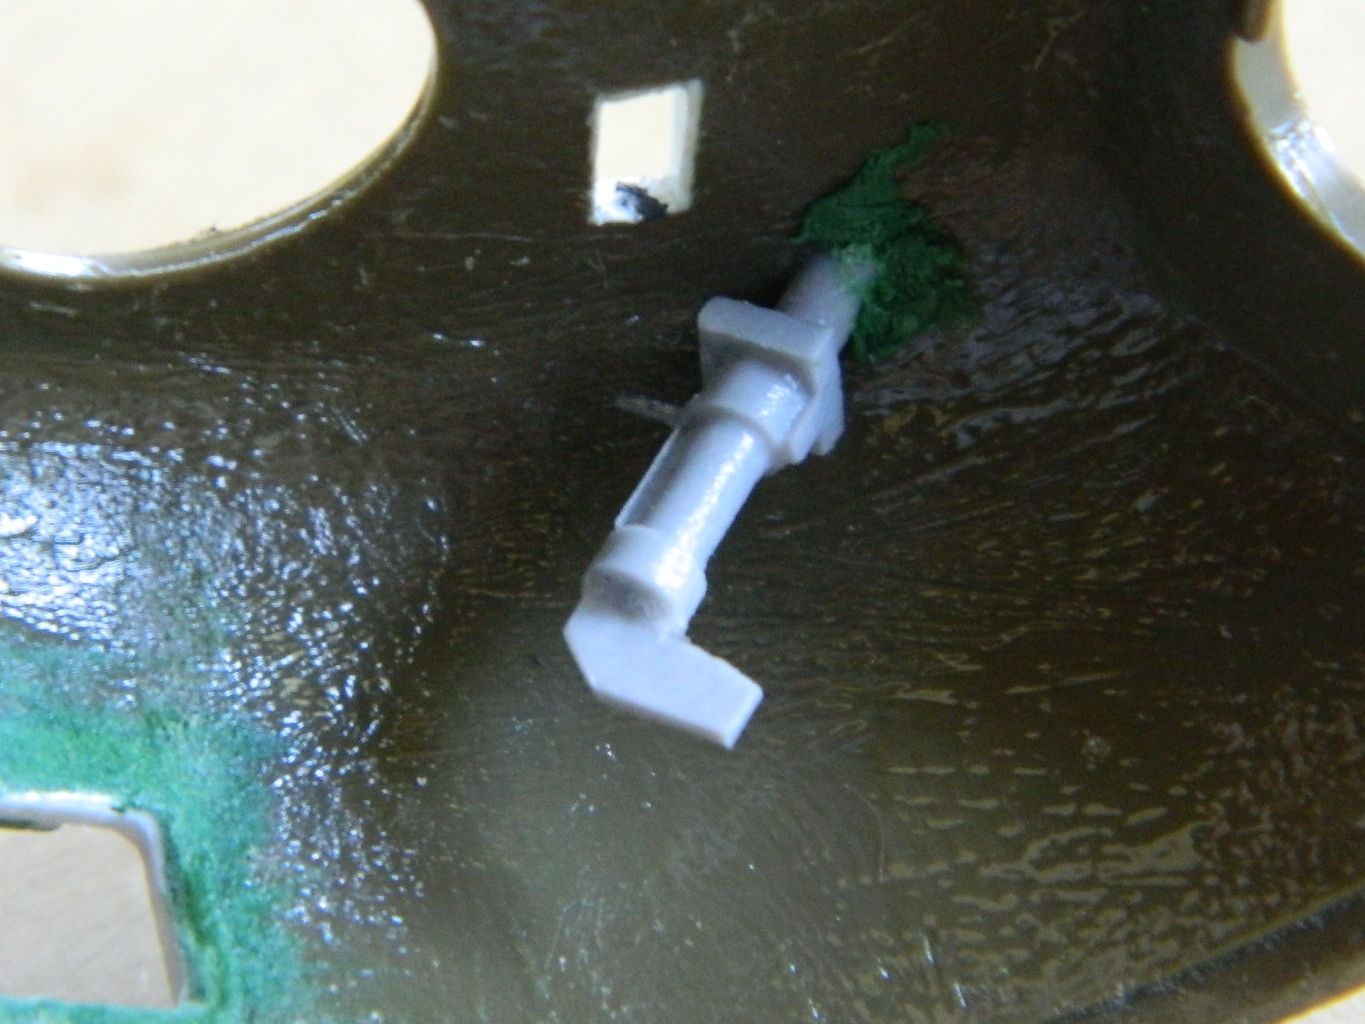
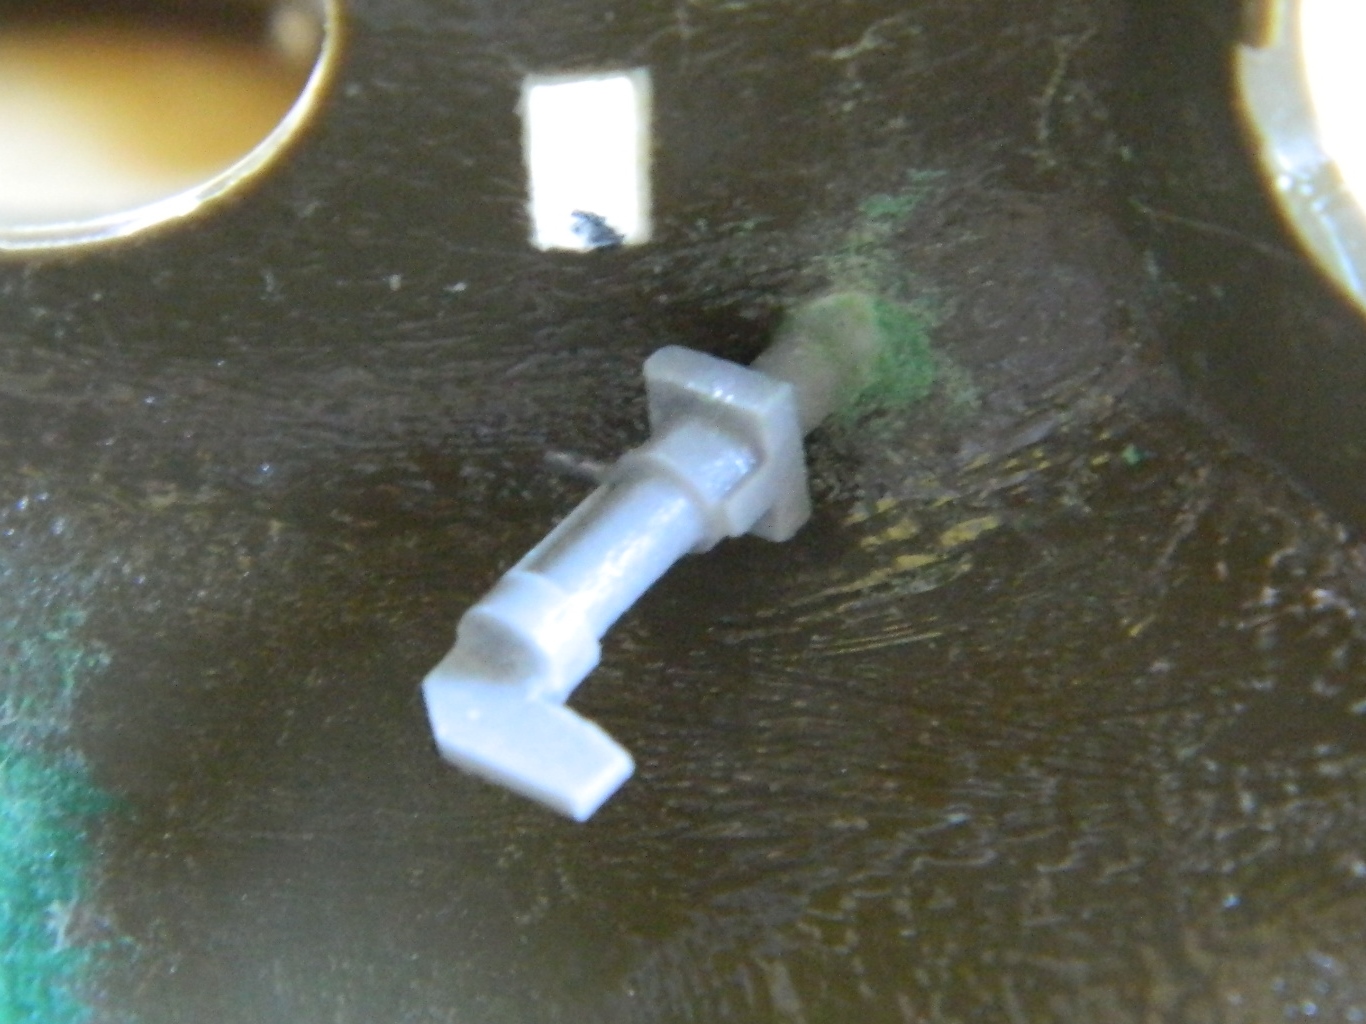
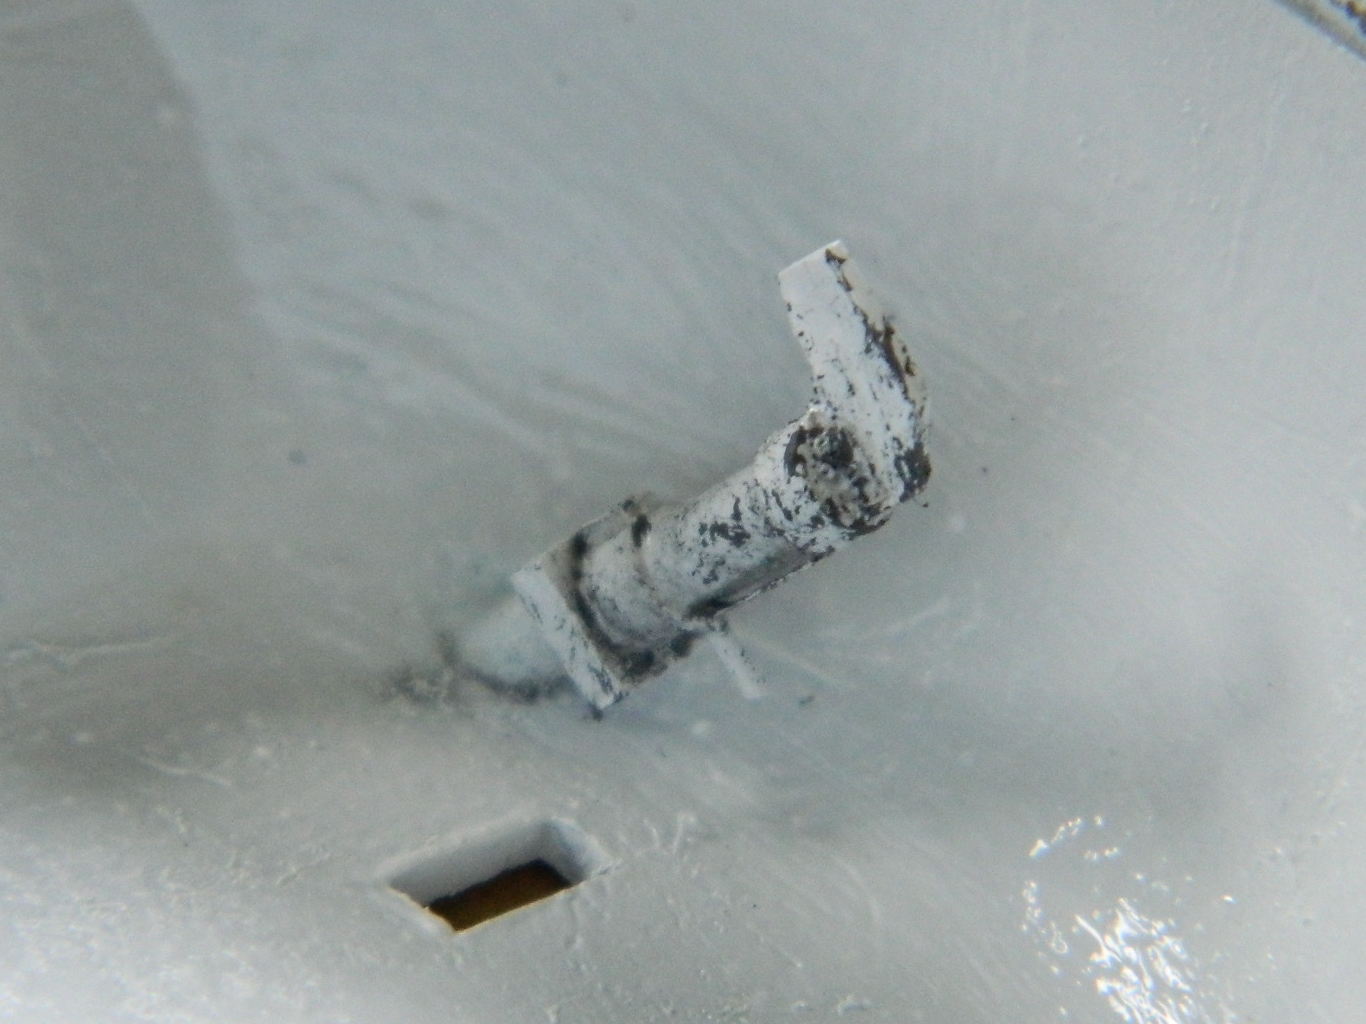
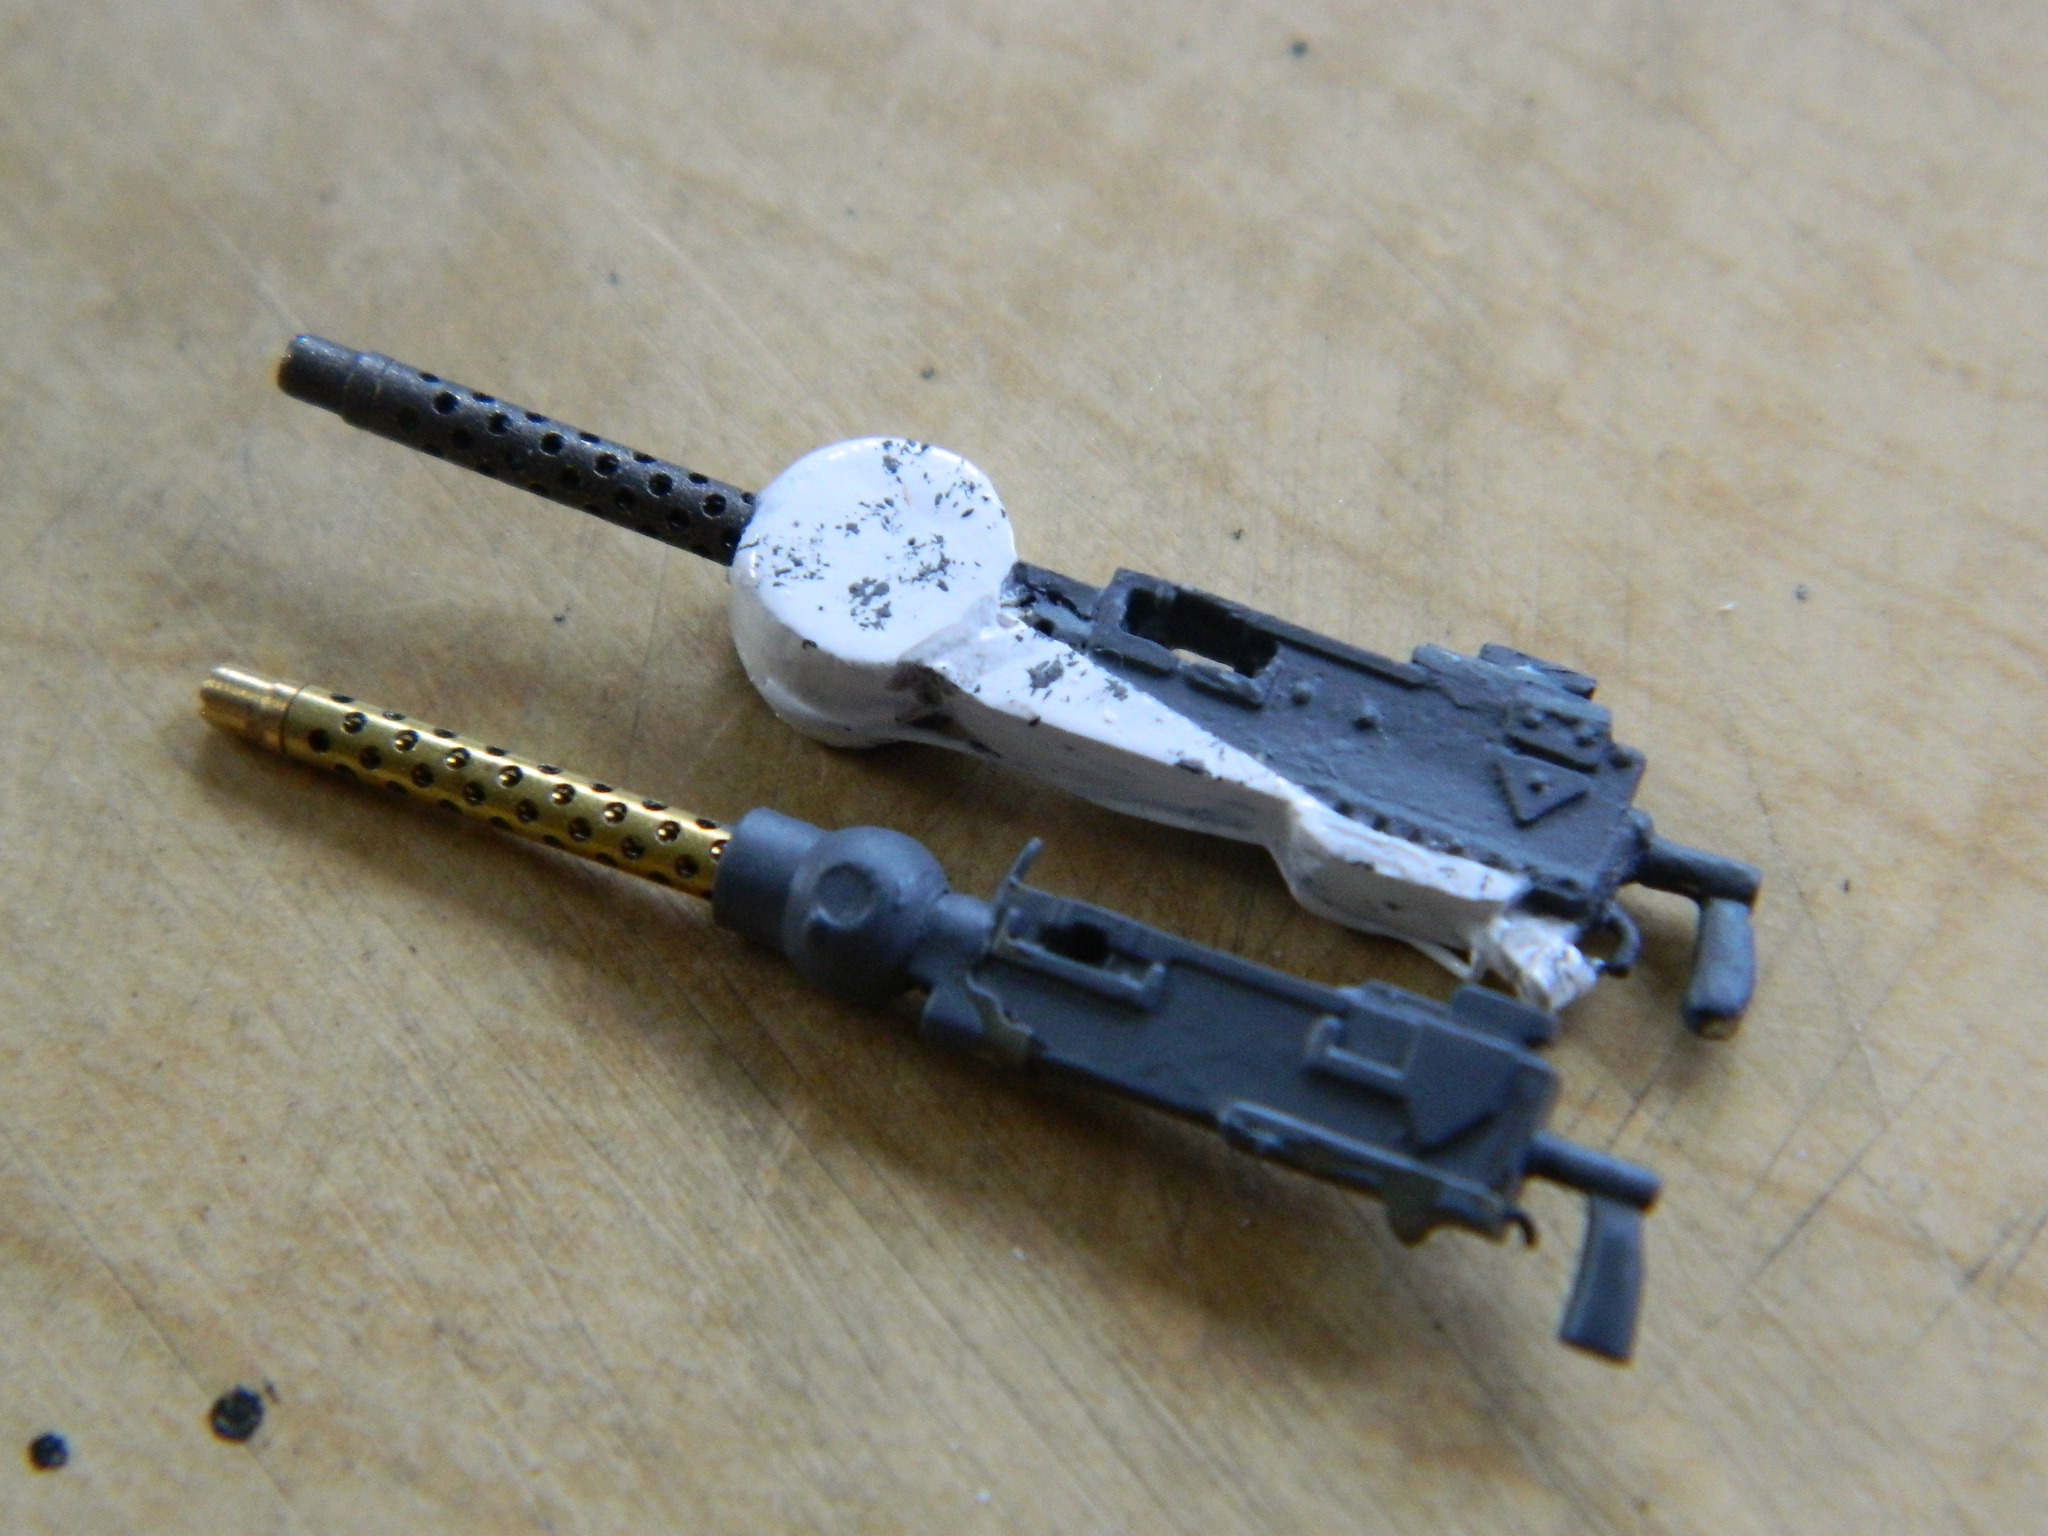
And then I checked my references again (and I really, really, should do that more often and NOT rely on whoever made any aftermarket set to have gotten it correct). This is when I noticed the eyepiece for the gun sight is incorrect. As supplied, the resin part would have the gunner using their left eye to lay the gun on target. Nope. The right eye was used to do that, so that means I have to (again) rework the sight. During the previous session reworking it, I realized that the person that mastered the mold used the goggles from Tamiya’s kit to fashion the eyepiece. Well. (That was done in my best Jack Benny voice.) (Which really isn’t very good.) I happen to have those pieces:
So I cut the resin eyepiece off, drilled out the Tamiya part, and attached it to the sight (and since the end of the sight’s tube protrudes slightly into the eyepiece, I was able to replicate that as well):
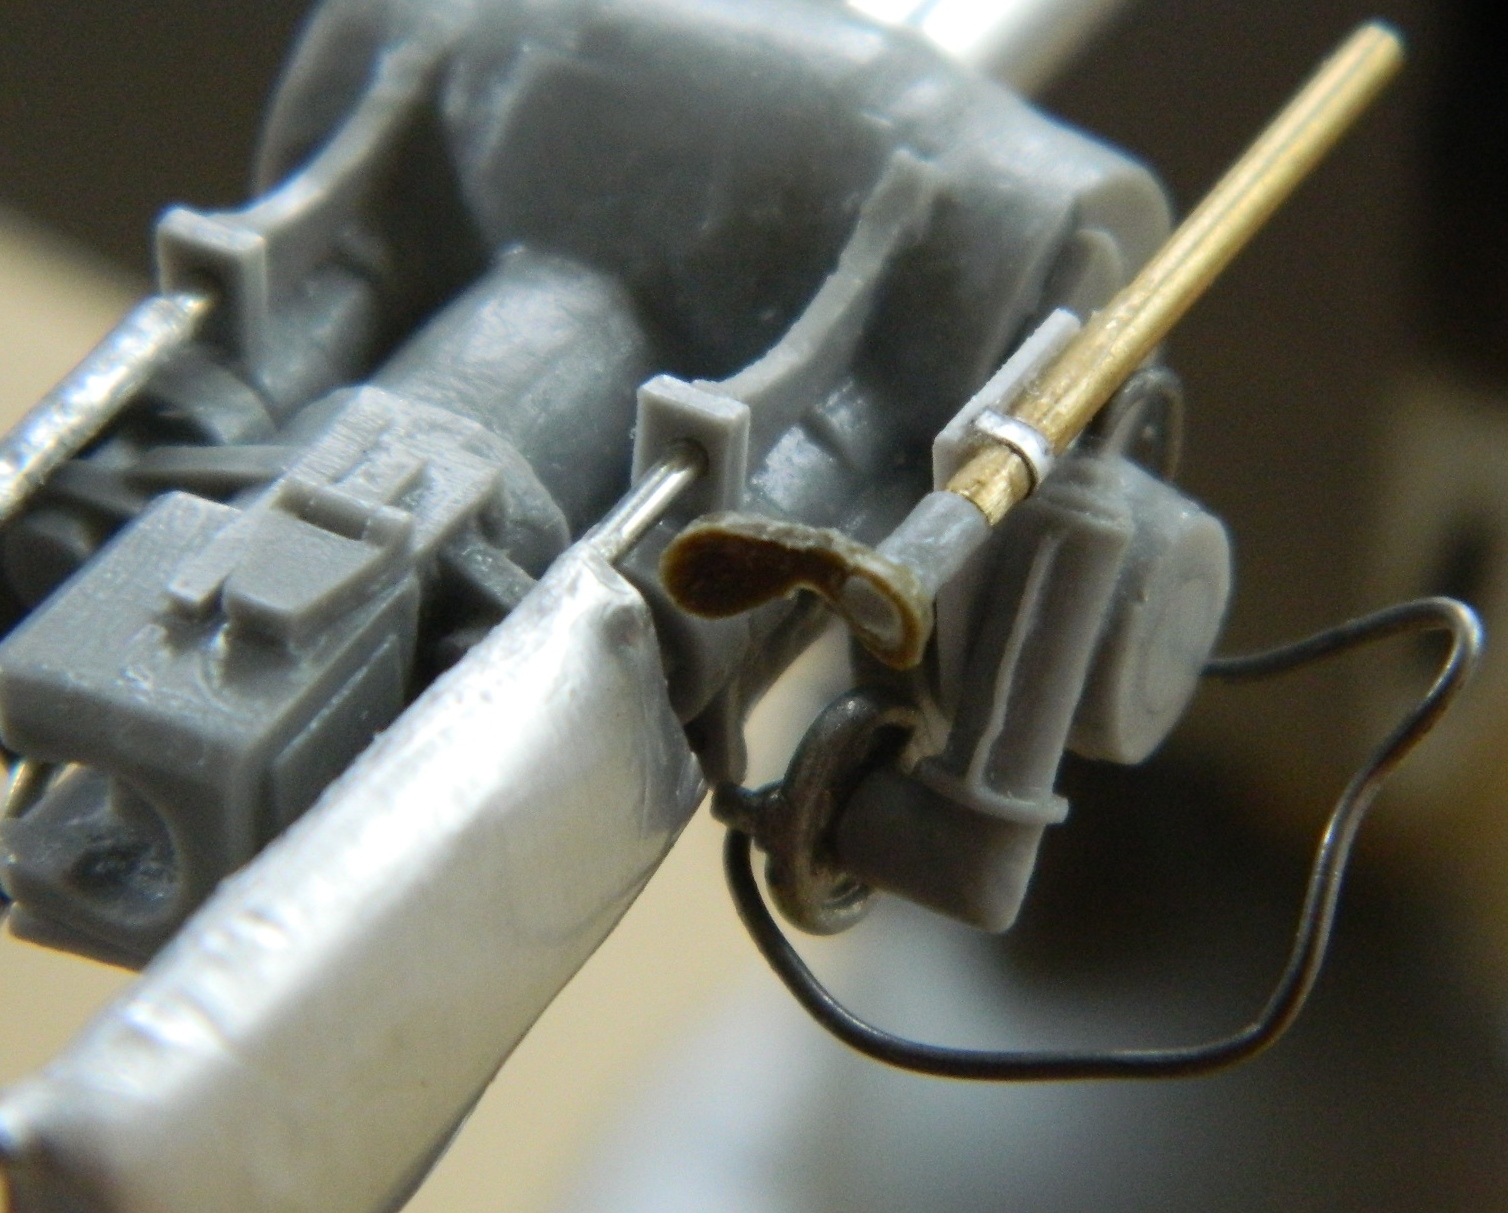
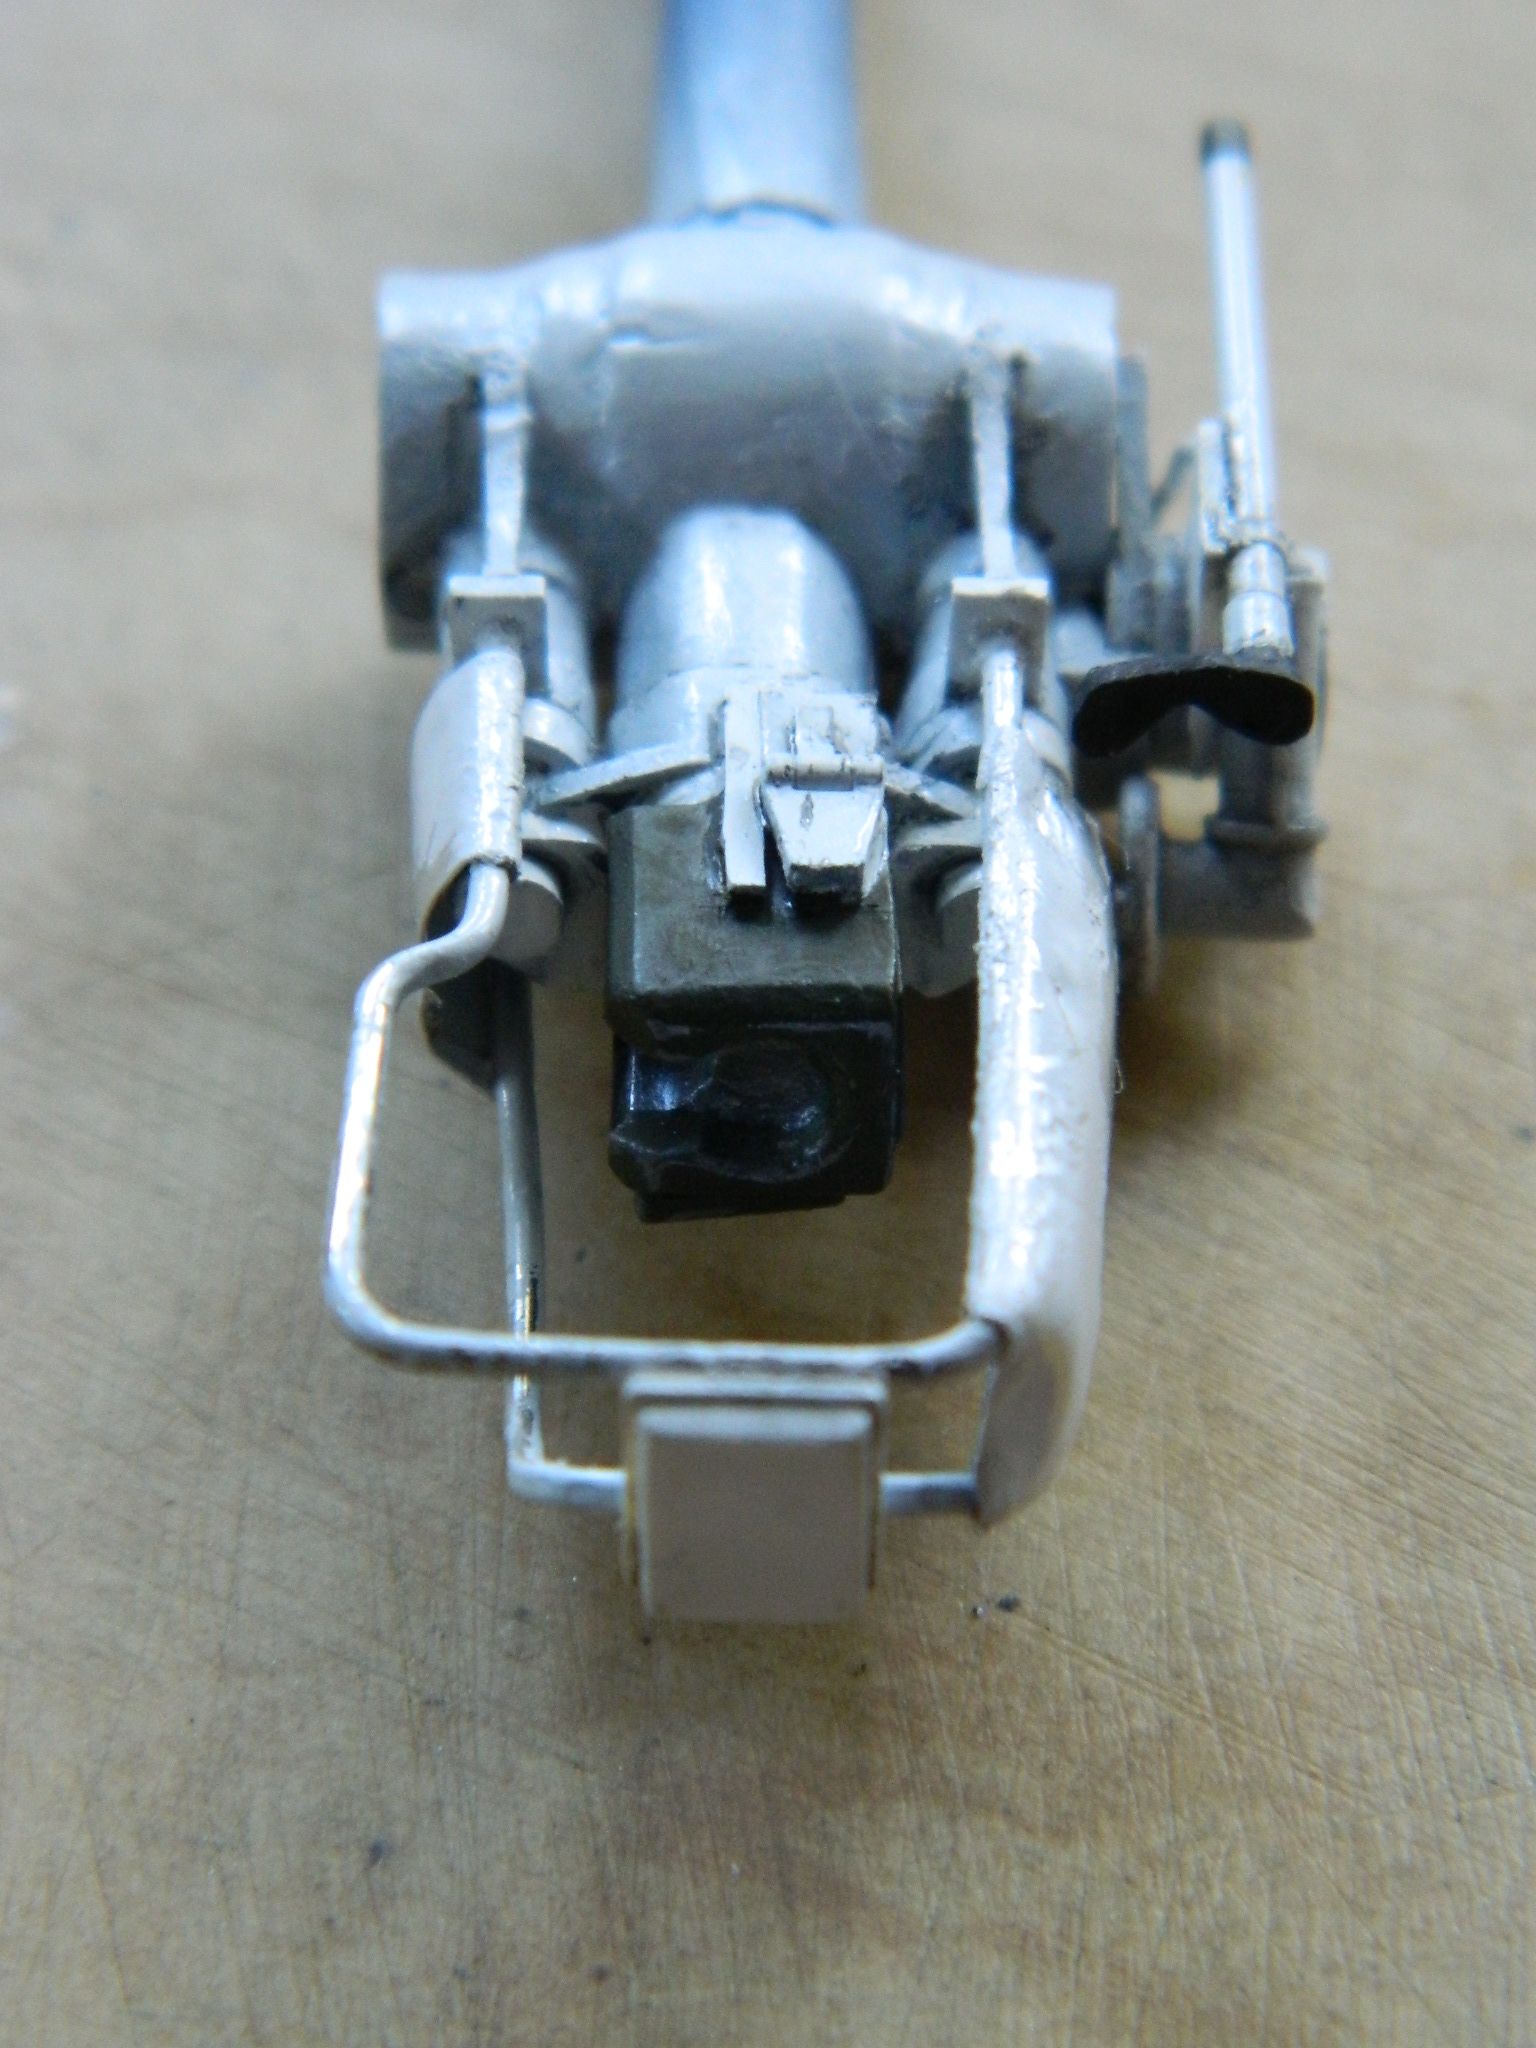
The .30 cal doesn’t have a grip or a trigger and it needs both, so now they’re there, as is the firing solenoid and the wiring for it:

While I was working in the turret, I (finally!) noticed that although the interior of an actual turret has an as-cast surface, which was pebbled as they were sand-cast, the kit’s part is smooth. I knew there was a “texturizer” out there but I was damned (he says, stating the obvious) if I could remember the name of the stuff which made finding it online not happen. Then I had an idea; liquid styrene cement works by dissolving the parts in contact and as the glue’s solvent evaporates, the dissolved styrene solidifies, bonding the parts together. Okay, basic stuff. But what I can work with is the “dissolve” aspect of all that.
I used Tamiya’s “Extra Thin” liquid cement, brushed it quickly onto the surface of the spare turret, and then used a cheap, coarse, nylon-bristled brush and tried to replicate the pebbled surface of a sand-cast casting:
And to my eye that worked just fine, so I treated the entire inner surface of the turret that way.
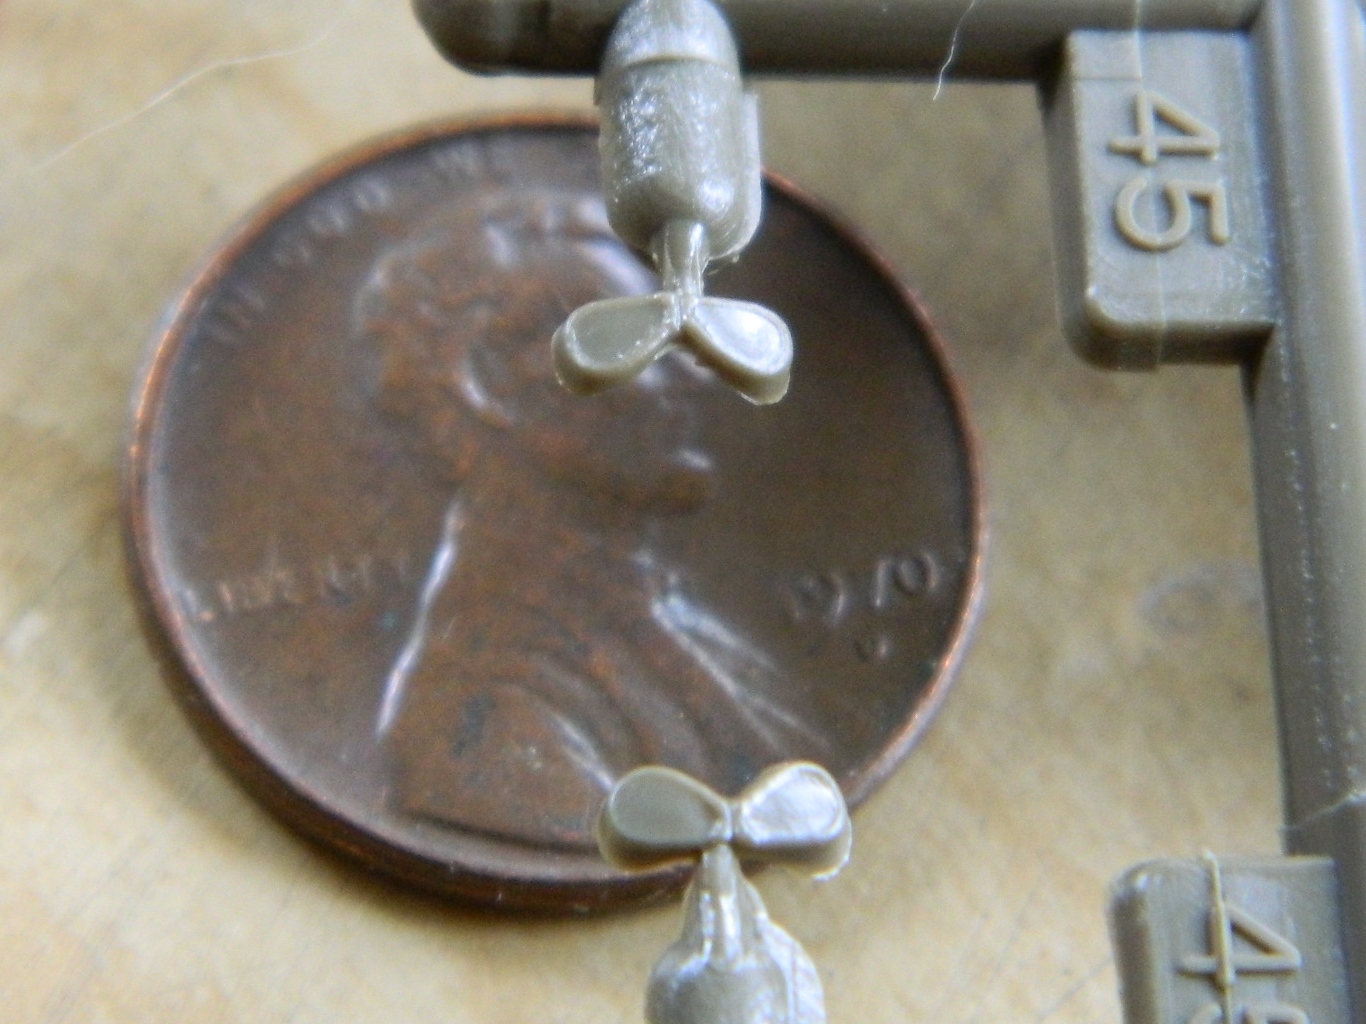
The later model Shermans had a mortar attached to the roof of the turret to lob smoke bombs (used to obscure the enemy’s ability to sight on the Sherman). Since this is a late-model M4A3, that’s got to be added (note added the sand cast texture) and then puttied the gap:

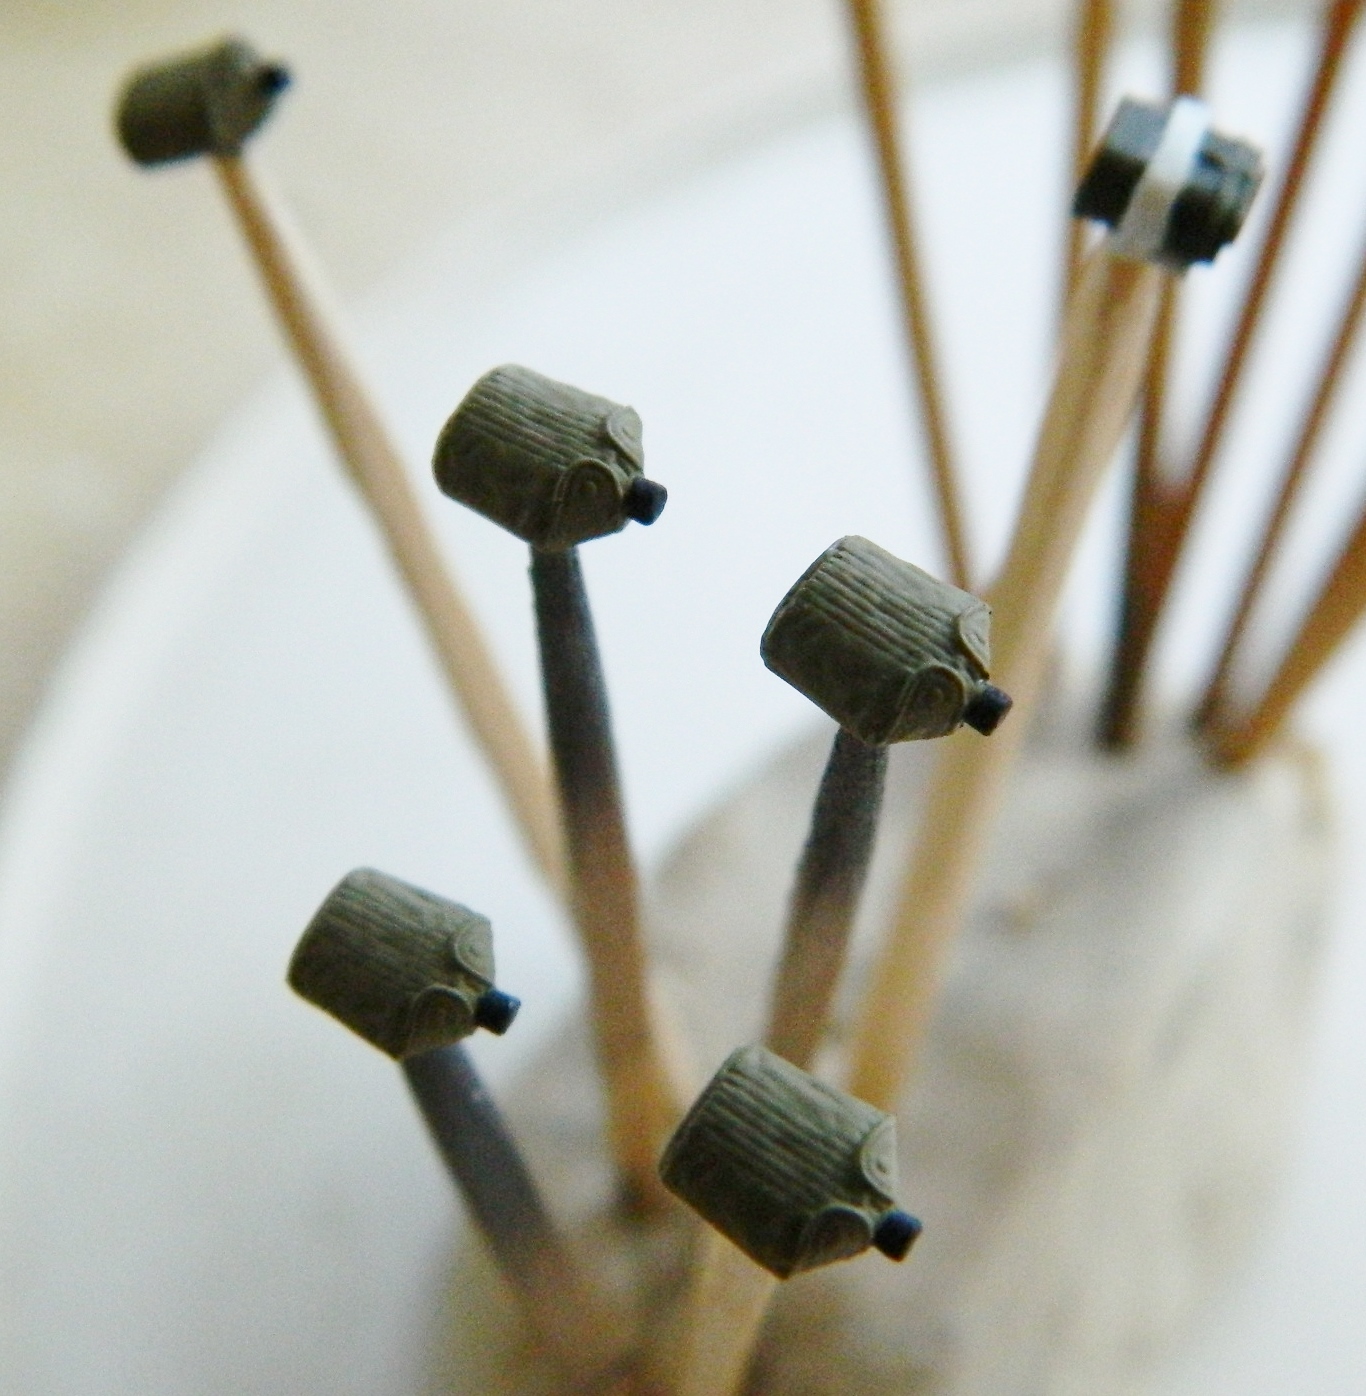
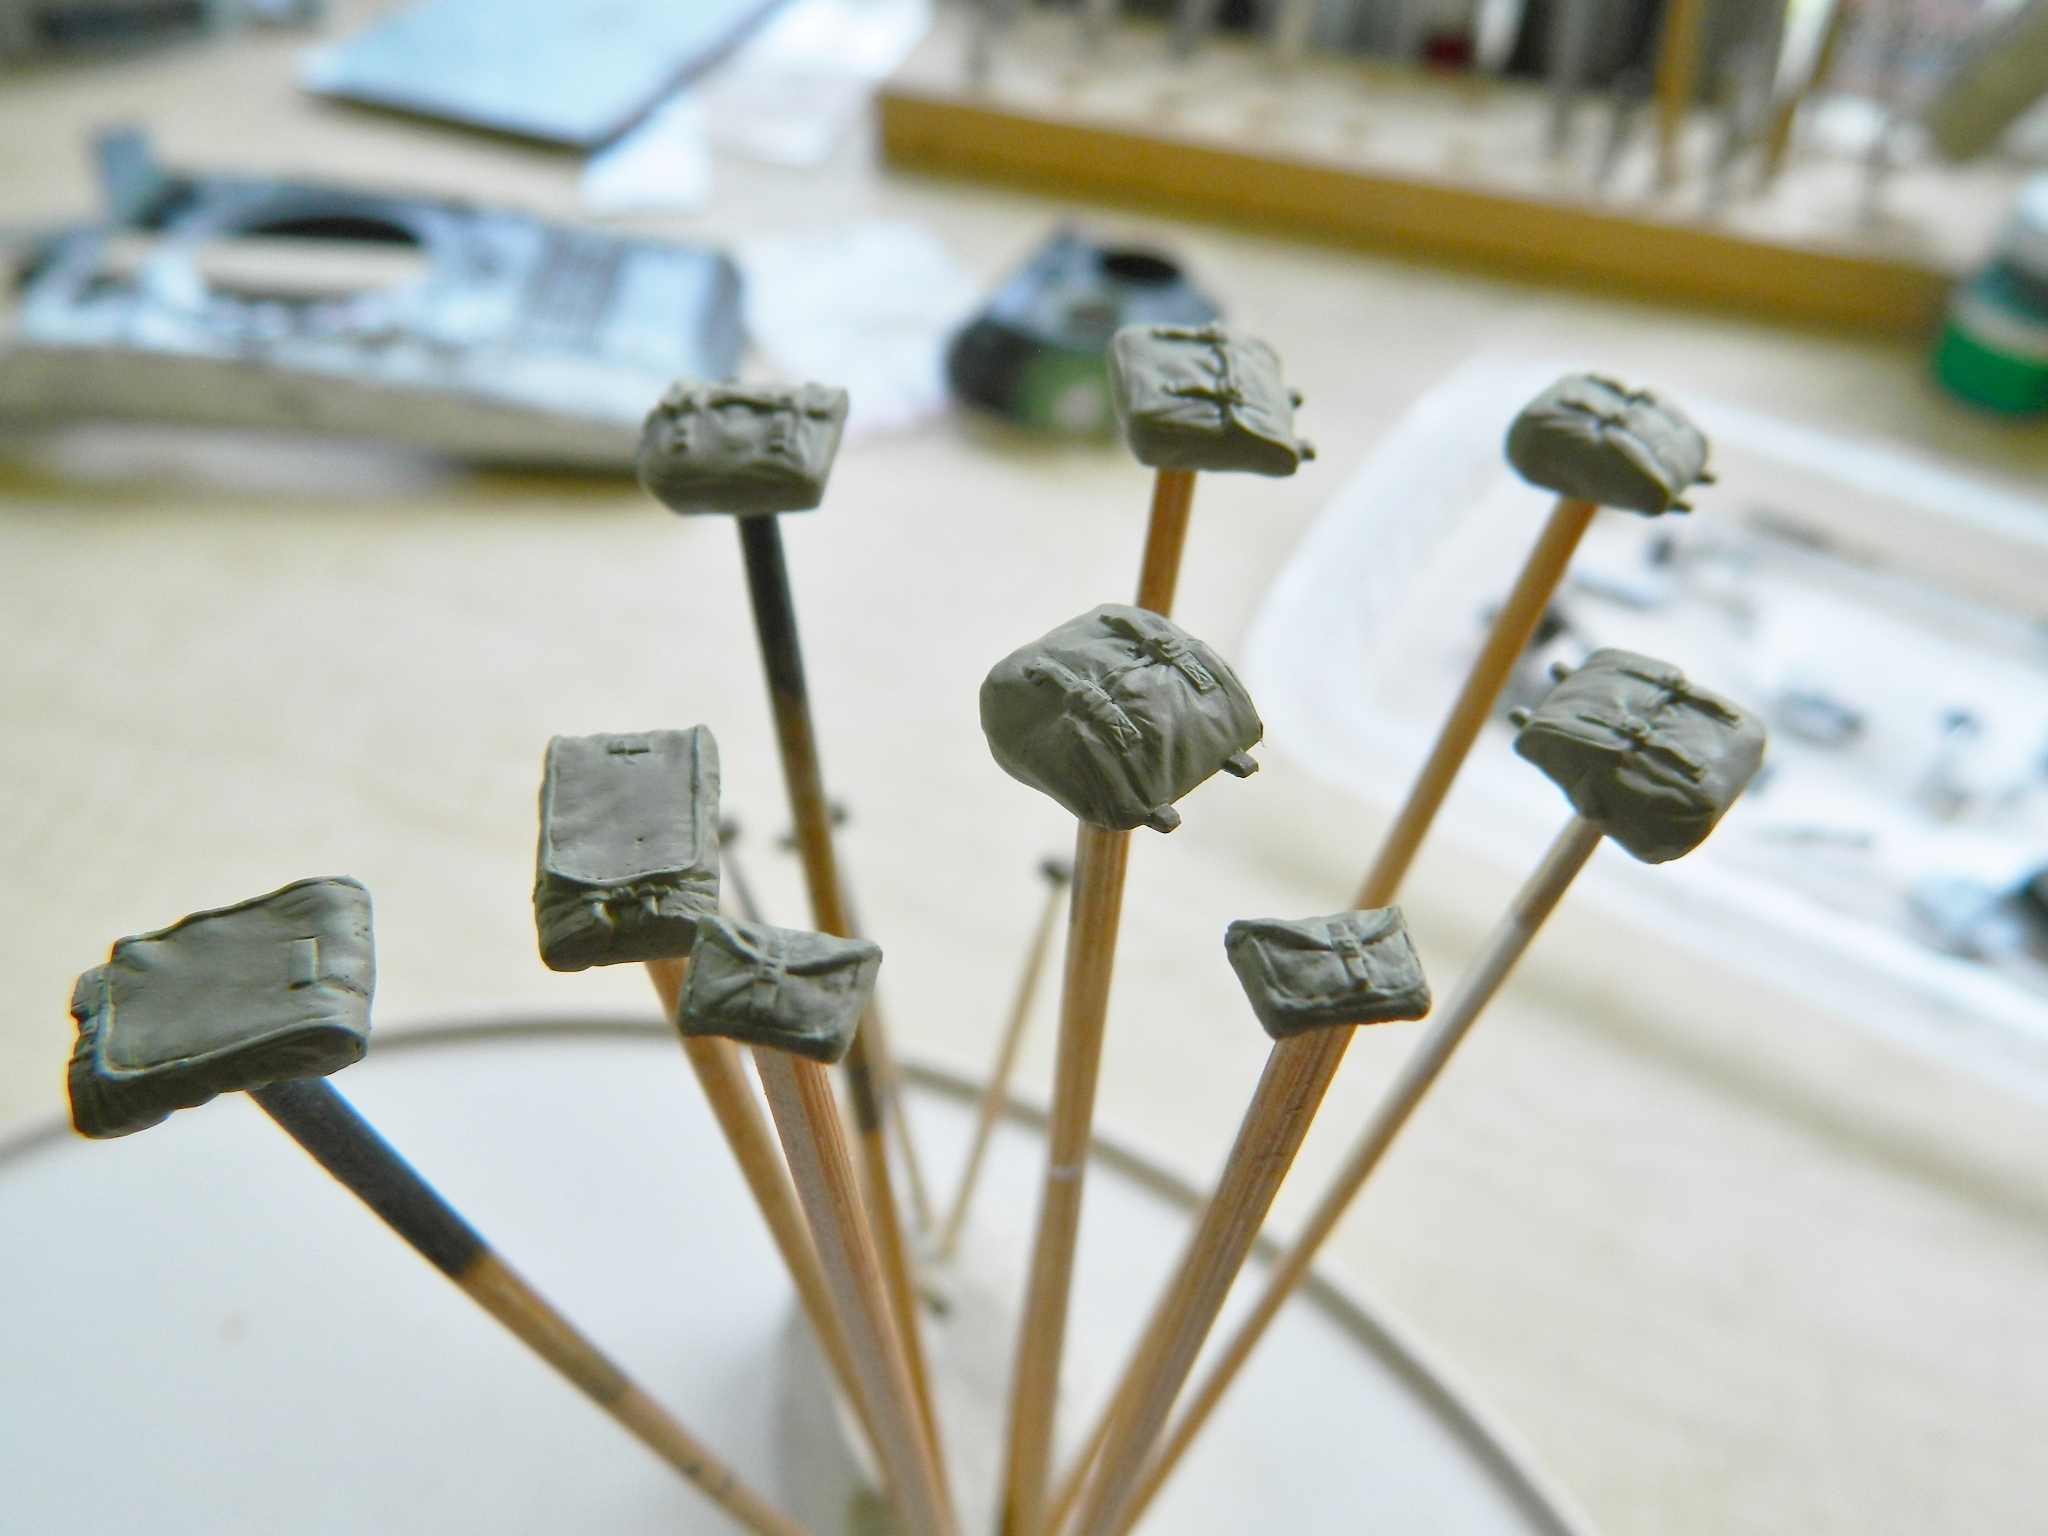
Time to throw paint! Again, the first step is to shoot a coat of “steel” paint. It sits overnight to cure and then will get buffed to the appropriate luster:

Some of the crew’s items will be added to the turret basket so while I had the airbrush out, I loaded it with khaki paint and did the items, too:

The radio sits on a shelf in the turret bustle and the AM set didn’t supply one. I used the photo-etched part from CMK’s dry-stowage interior as the template (because I liked it better than the one I’d already made), traced it onto card stock, then traced that onto 010 brass shim stock (which, unlike plastic, won’t sag over time), cut it out and filed it, and tacked it into the bustle (the radio is dry-fit for alignment):
With the matte khaki paint cured, I hit the parts with clear gloss and gave them a gray wash:
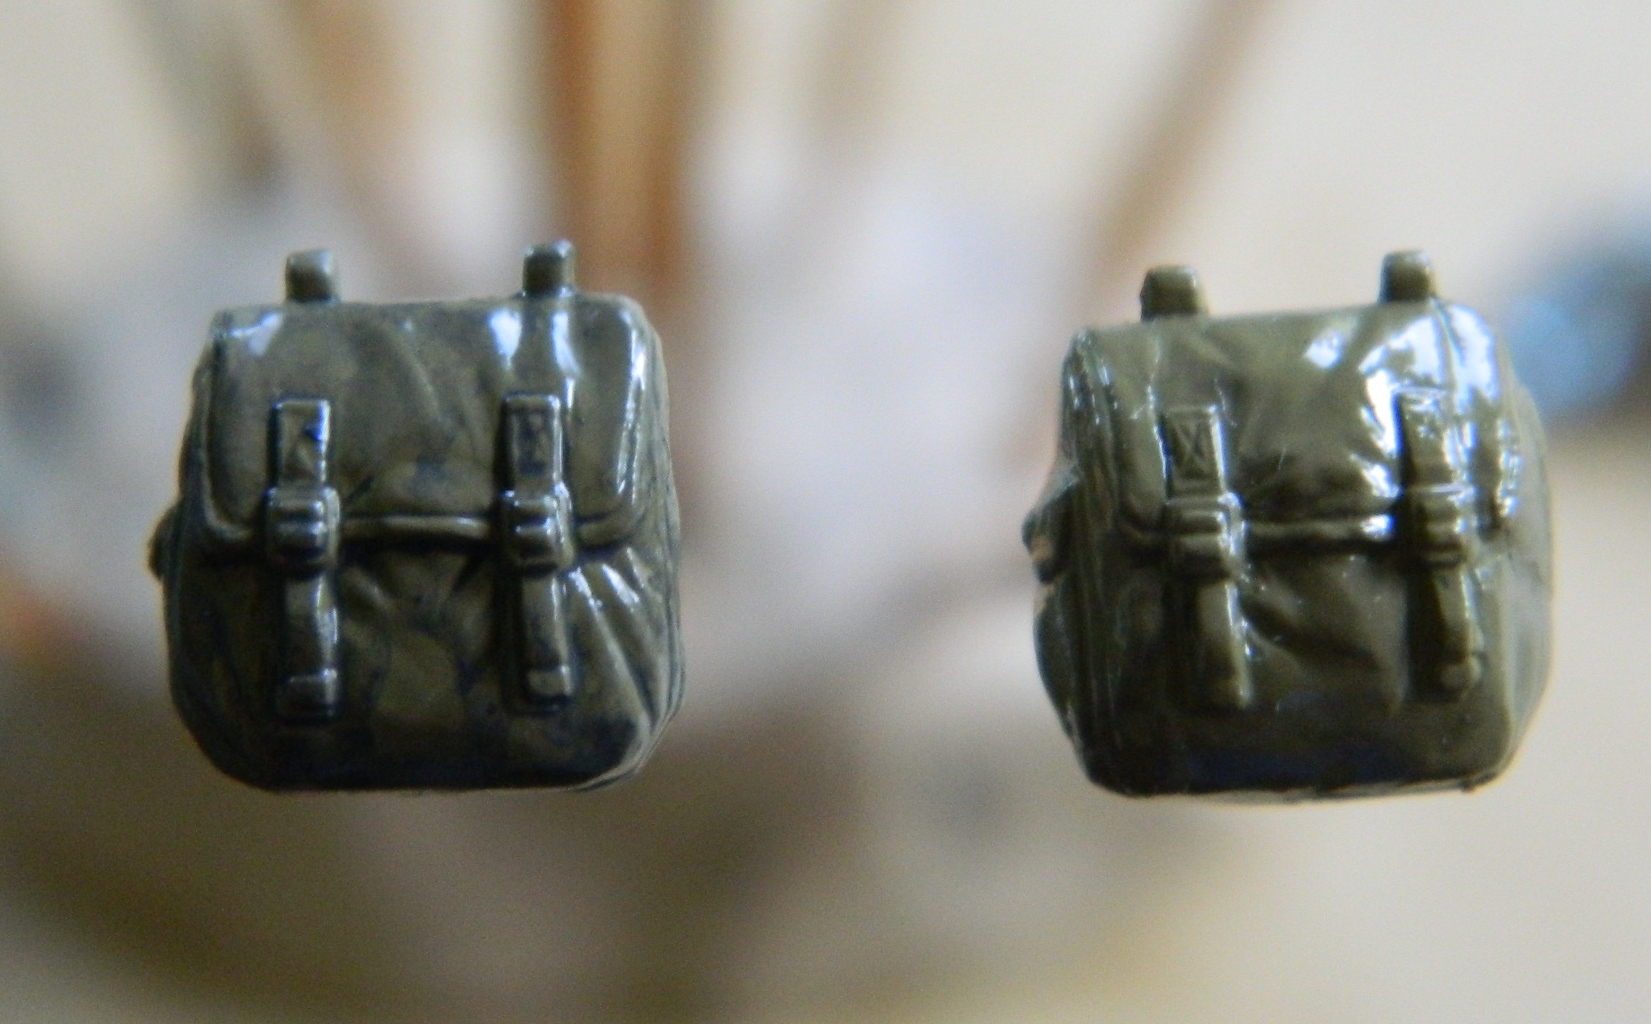
Then it all got coated with clear matte and set aside for later inclusion:


Since I’m working on turret components, I decided to work on the loader’s hatch while painted parts were drying. The loader’s hatch actually had a pad on its inner surface, one of the few padded things in the turret to keep the loader (or anyone else, for that matter) from getting bashed by hard and painful objects. The first part of that was to trace the outline of the hatch on 030” styrene, then trim and shape the piece to fit the hatch properly:


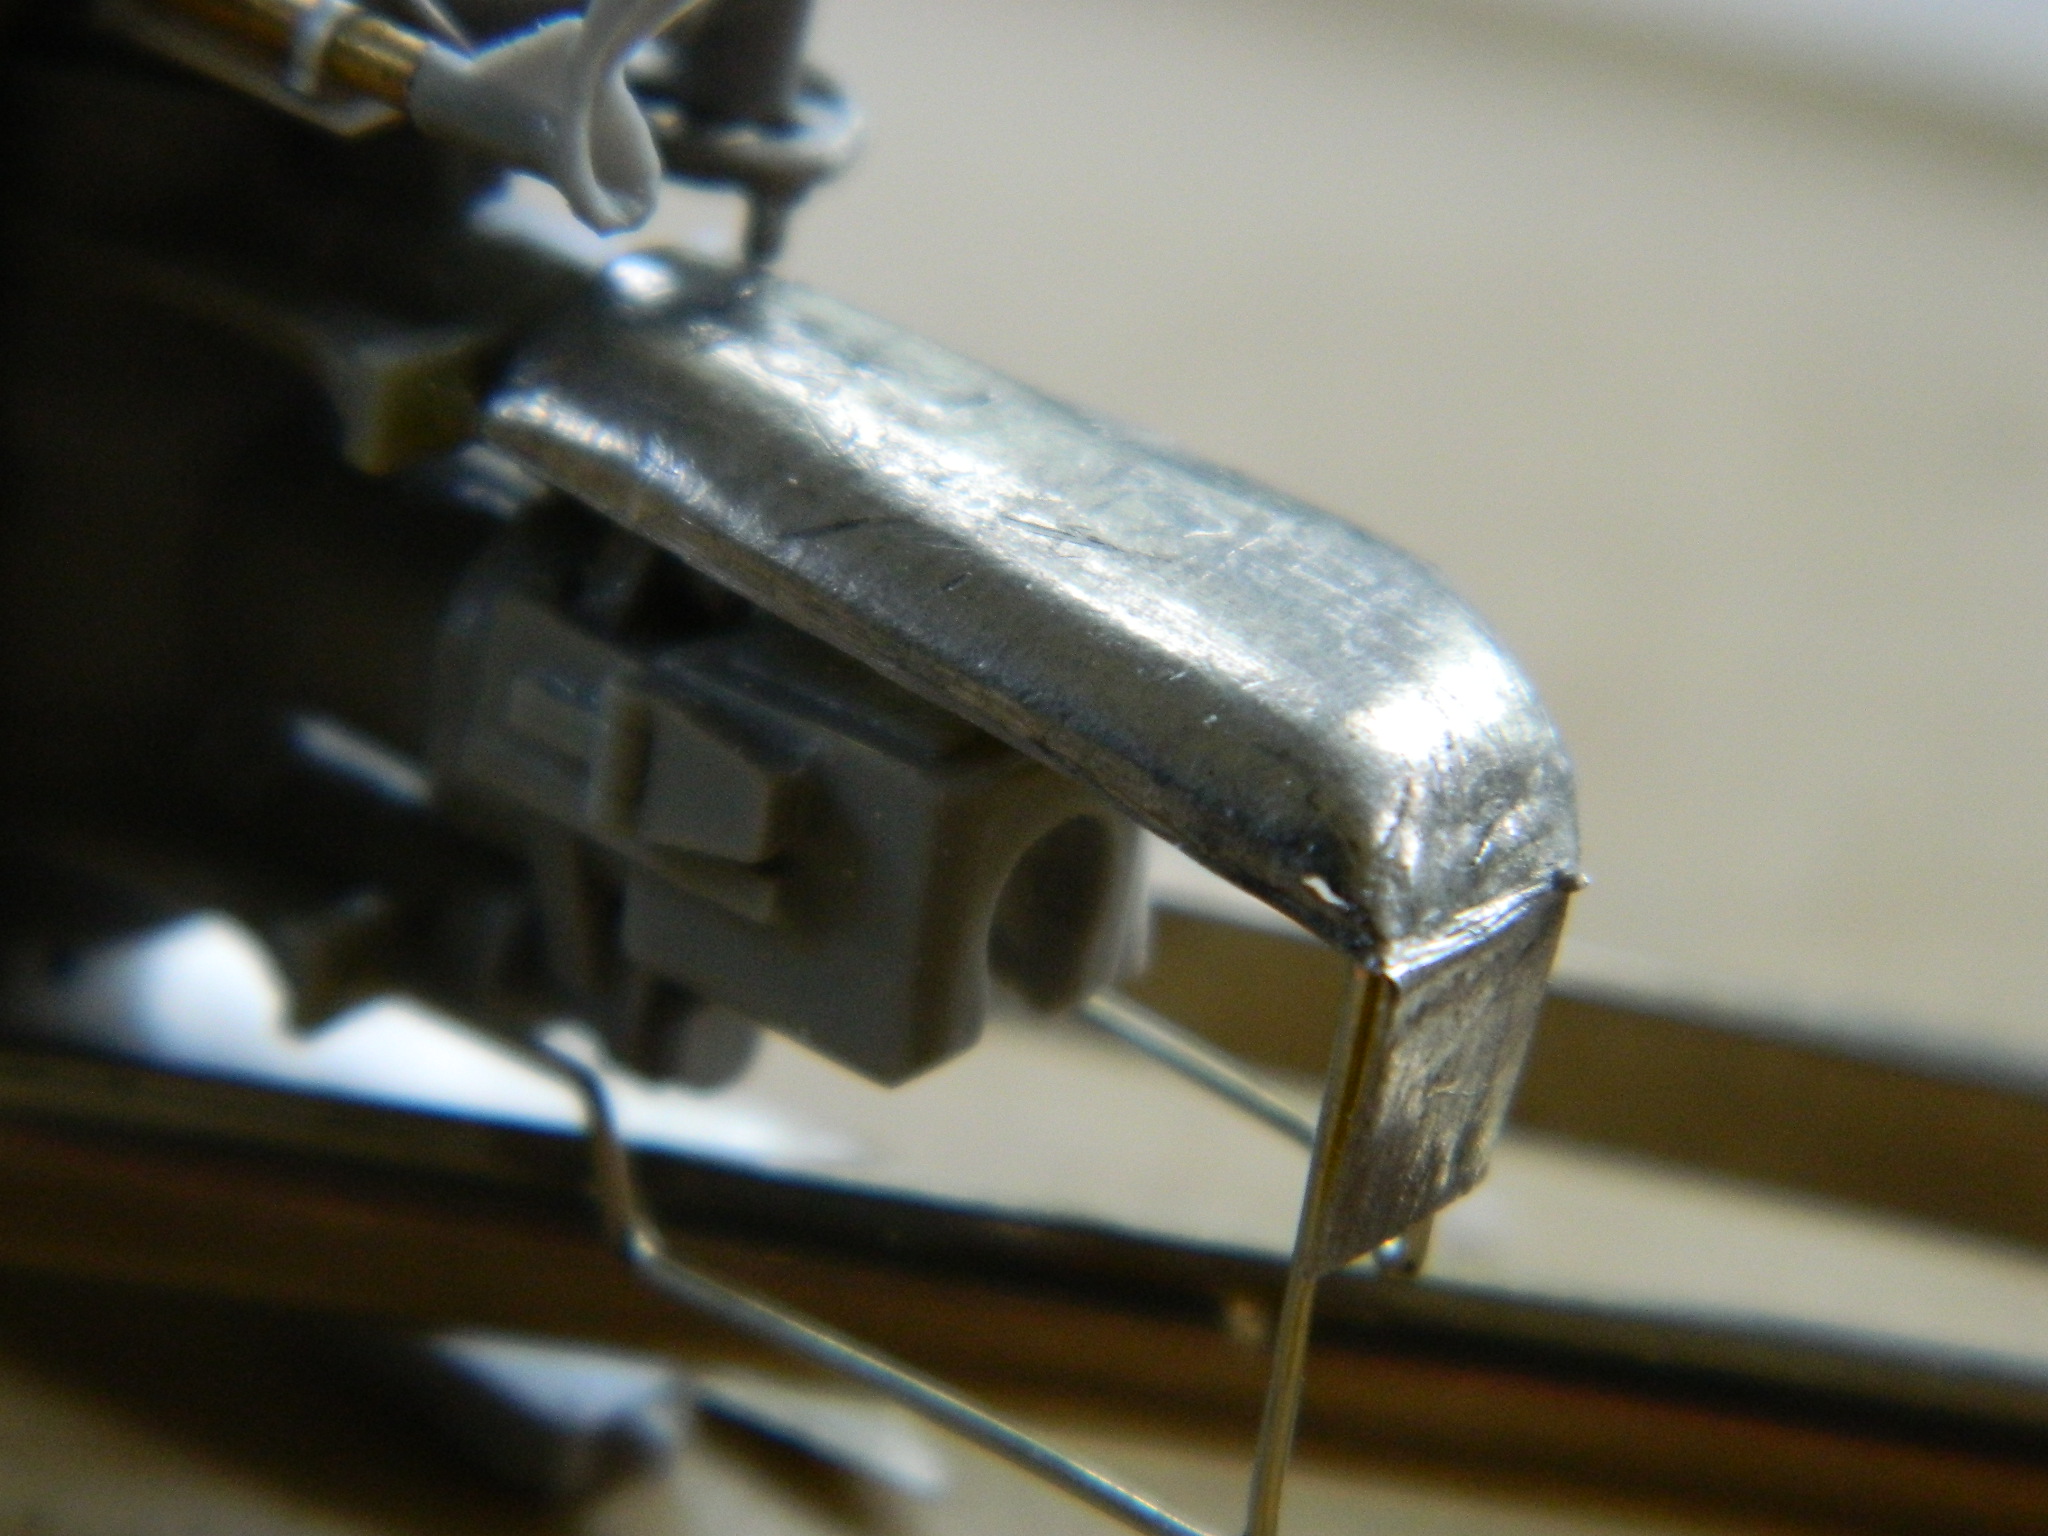
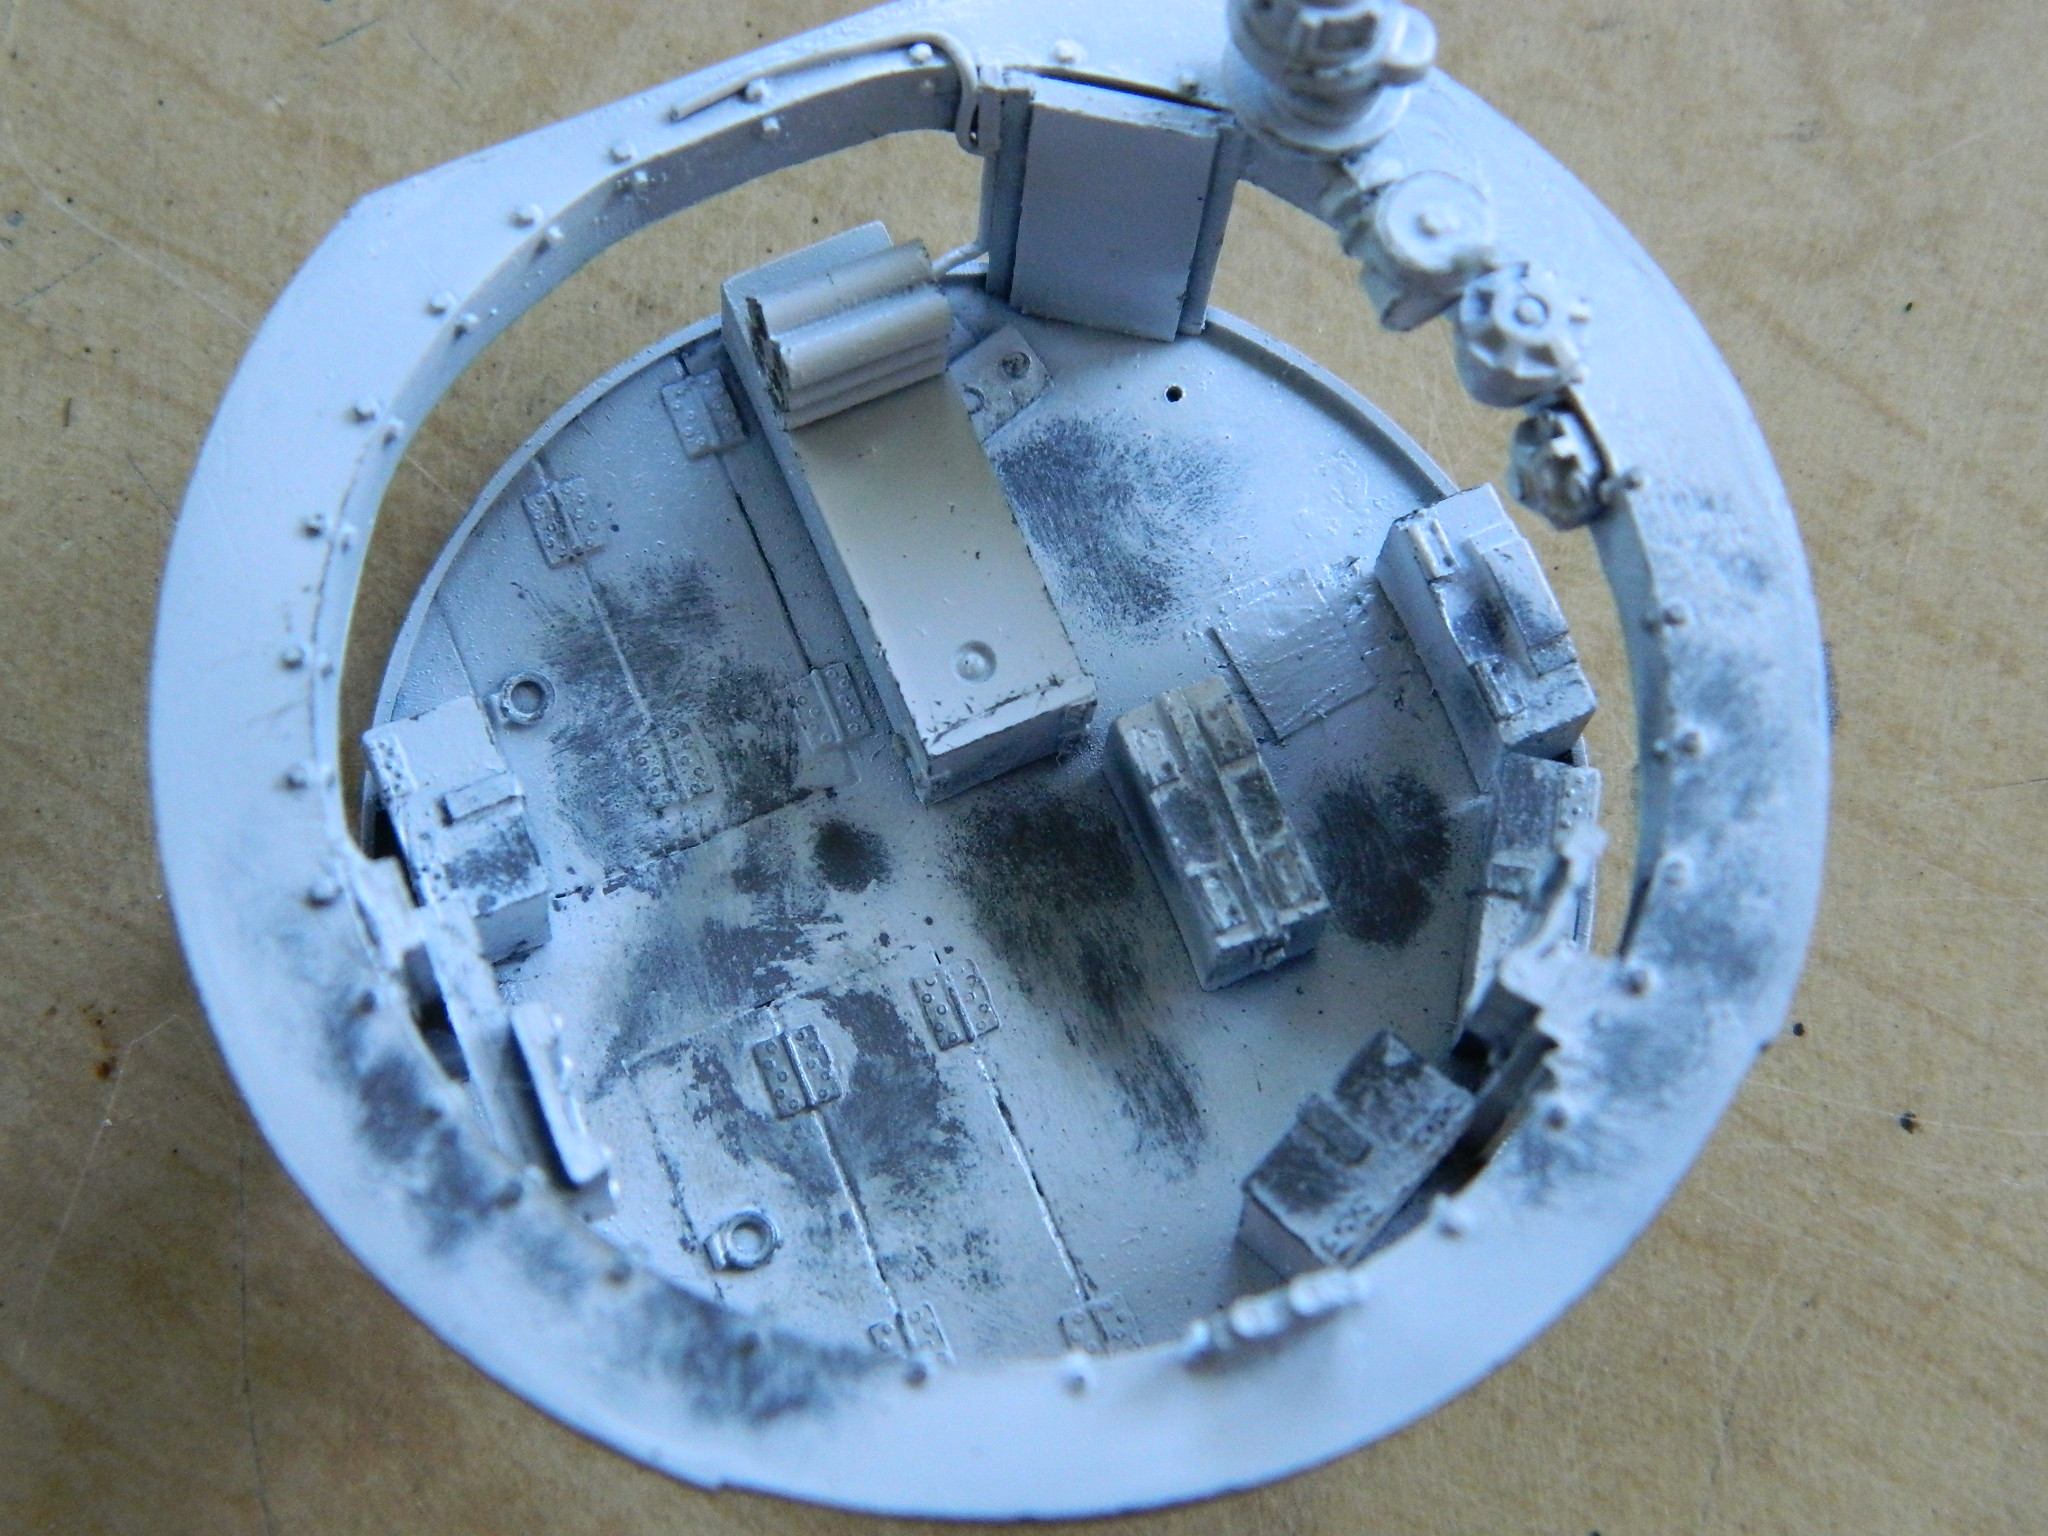
With the undercoat of steel paint well cured and selectively buffed, it was time to salt chip things. The items were treated as before and then overshot with matte white. As before, once the white had set up, I knocked off the salt crystals, rubbed the edges of the various boxes to wear the paint off, and dipped a cotton swab in acrylic thinner and applied the areas of rubbing wear:


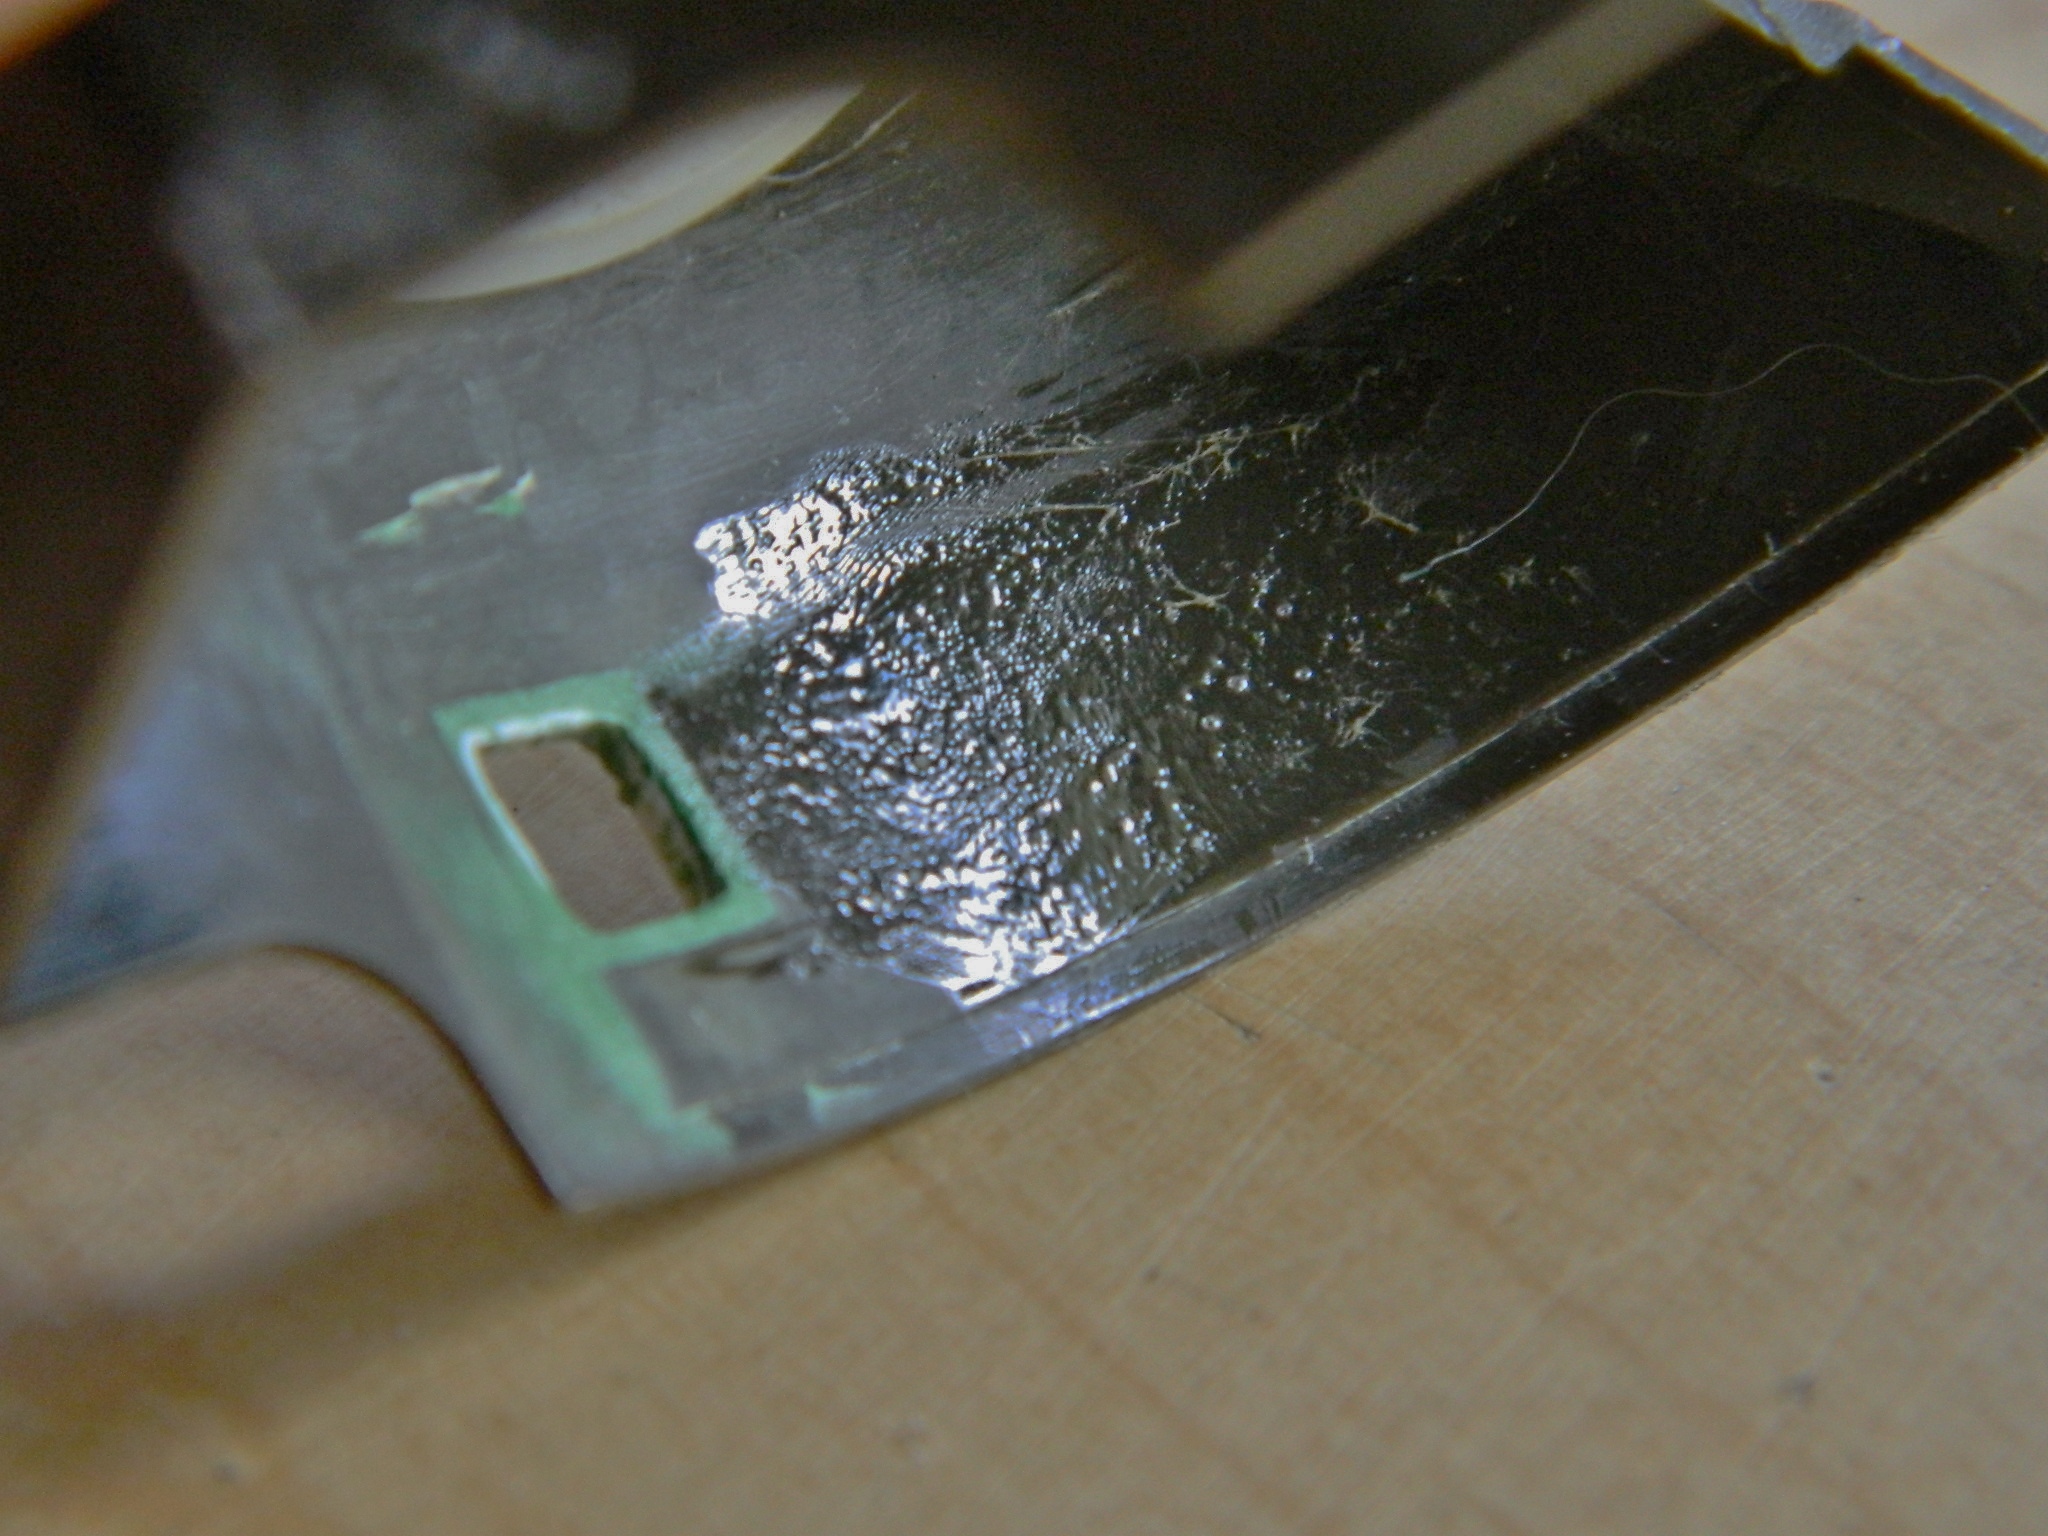
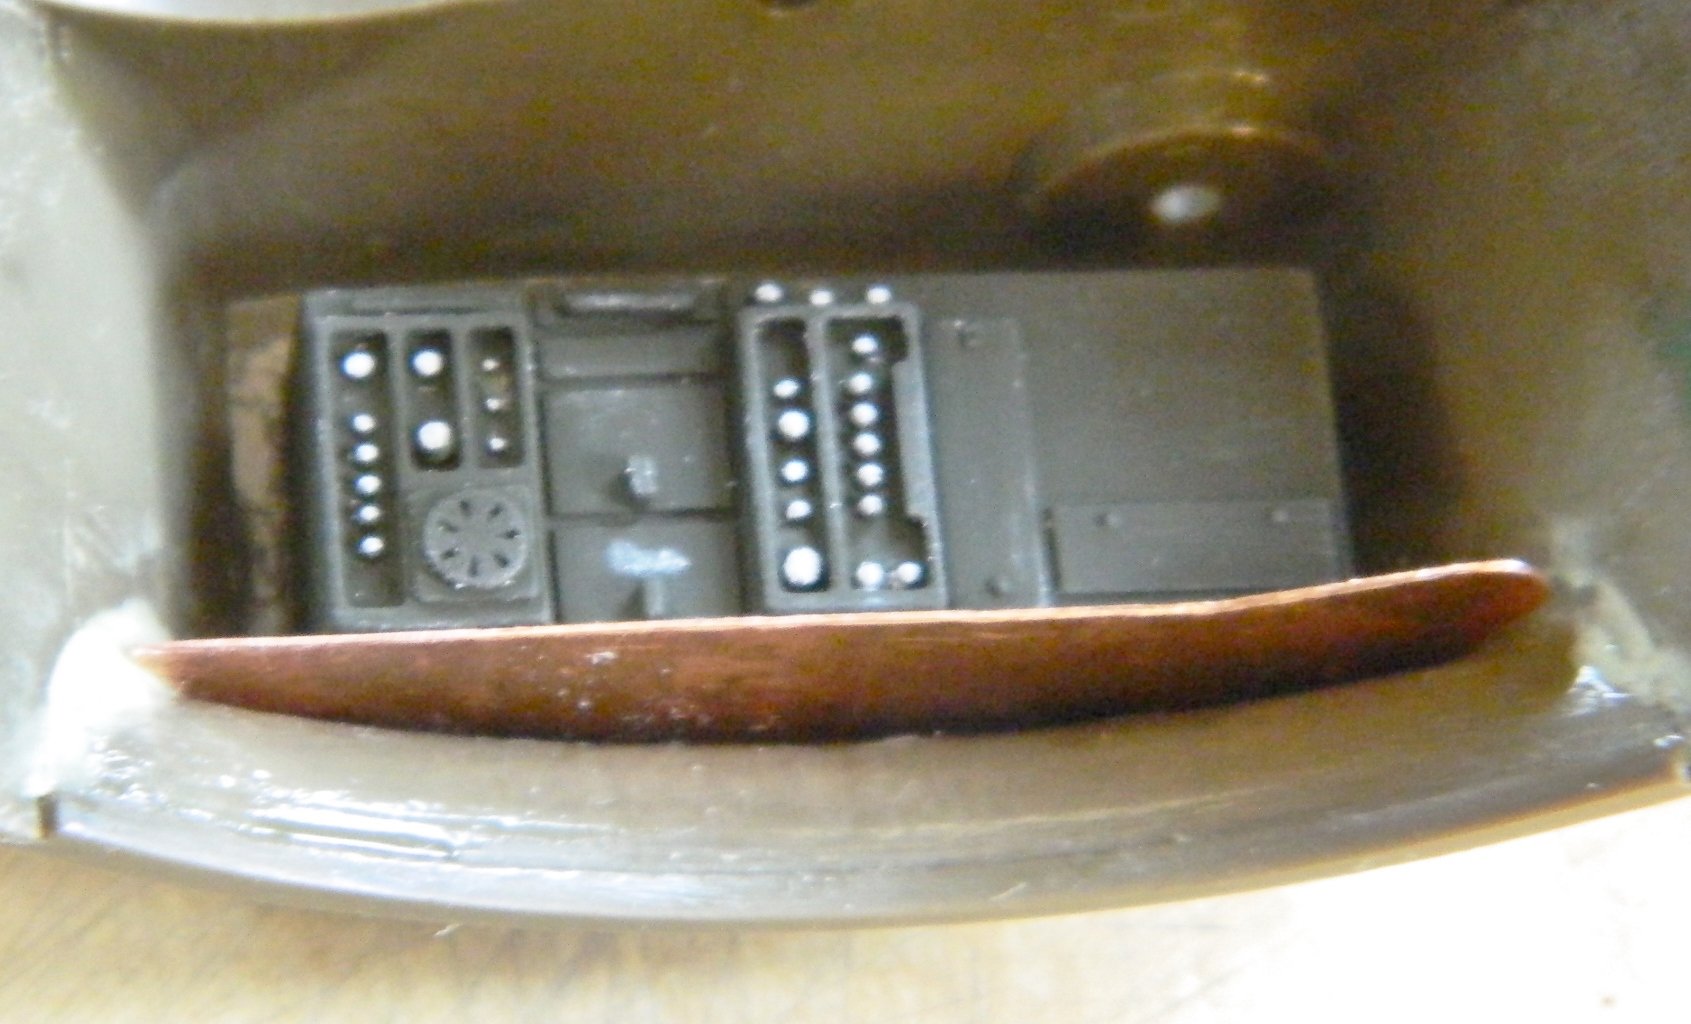
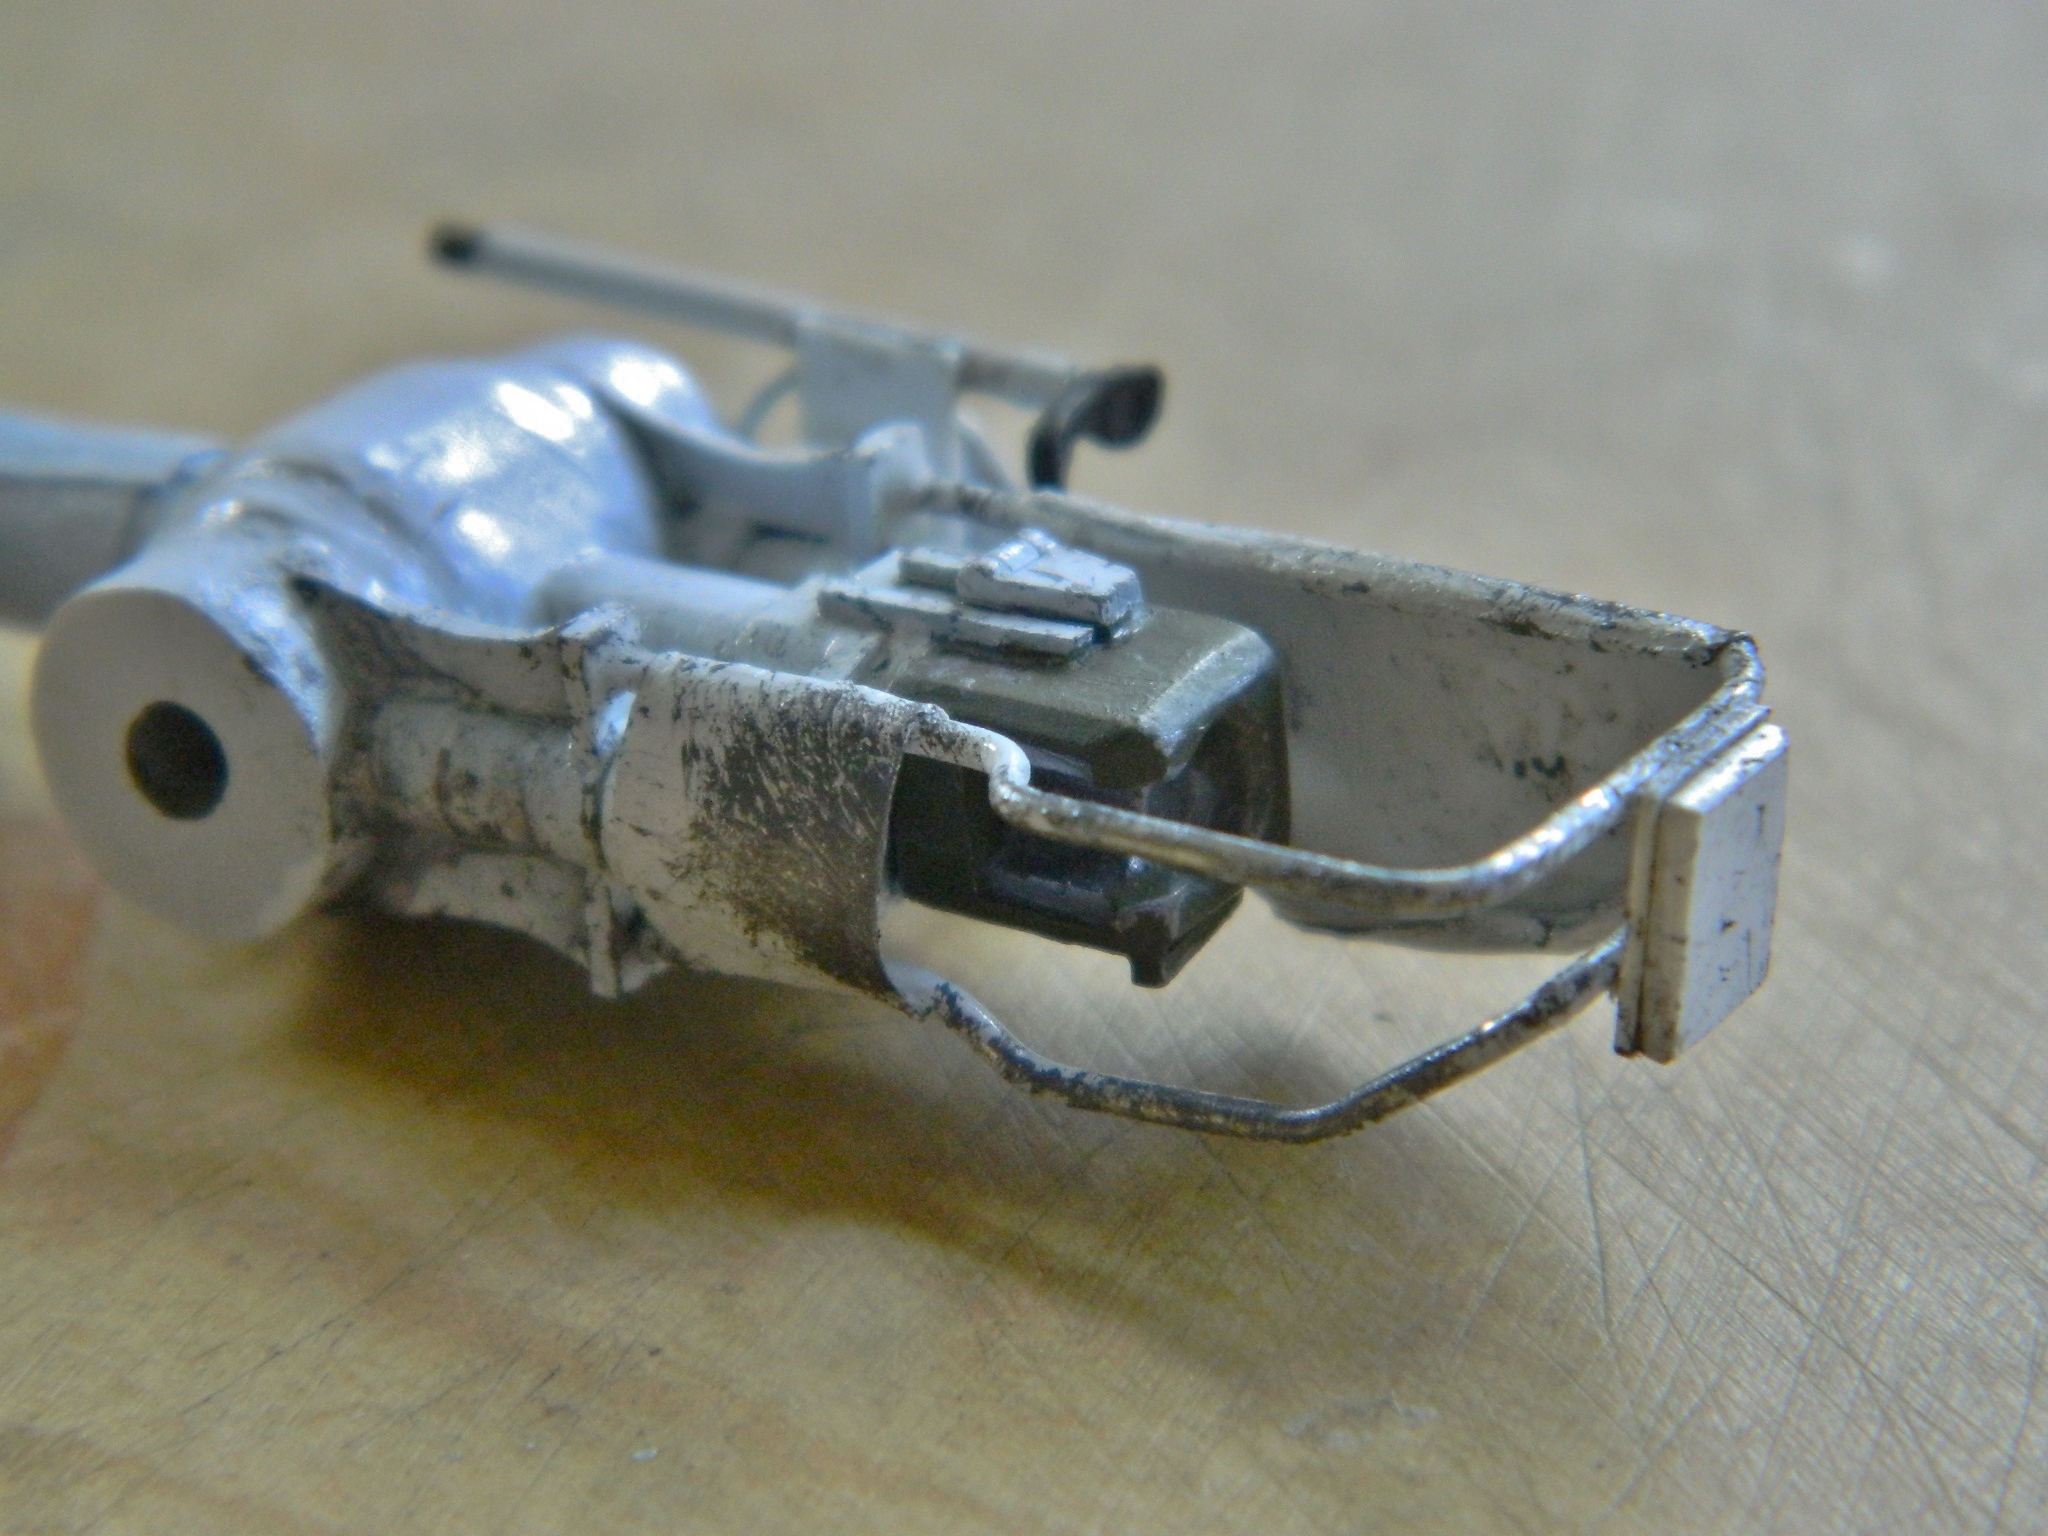
When I rubbed the paint off the sheet metal breech guard, I exposed the aluminum underneath. And surprising no one (except me at the time), it looks like aluminum and not the steel it was supposed to be, so I will go back and coat that with steel:


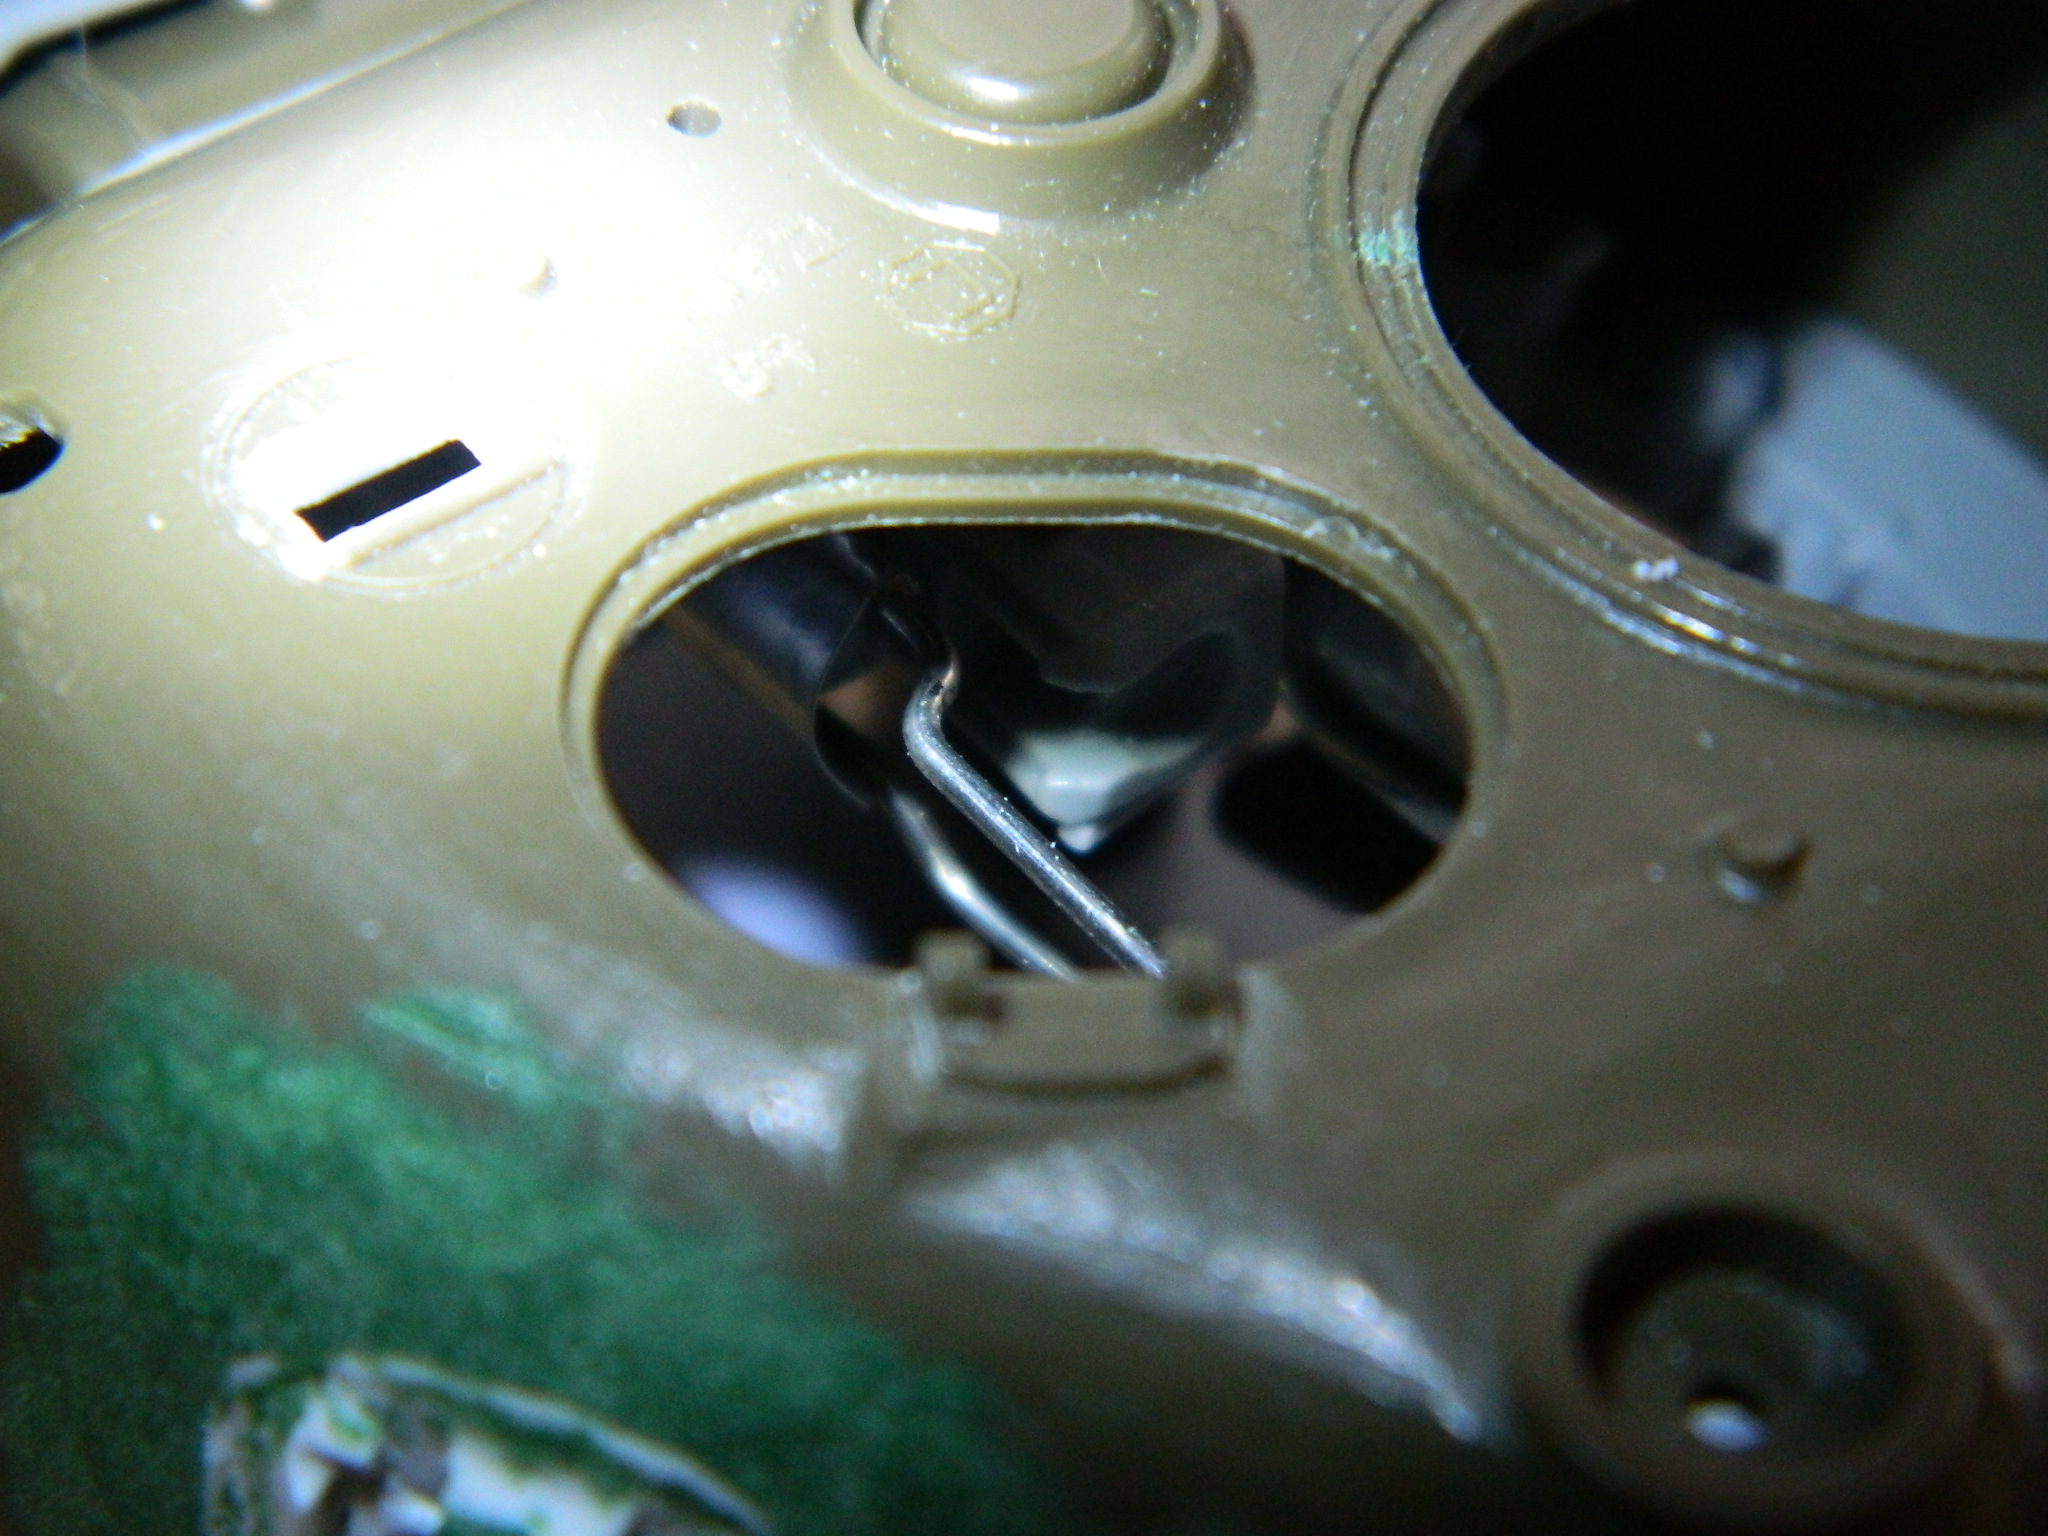
But I did like how the breech area looked after I removed the masking (made SO much easier by having the breech guard removable):
And while I was in there, I also treated the mortar to a black wash, too:

The next step is to add some more chipping and scraping wear to the turret basket and associated parts (and to cover that damned aluminum):


Time to start putting things into the turret itself that are supposed to be there.
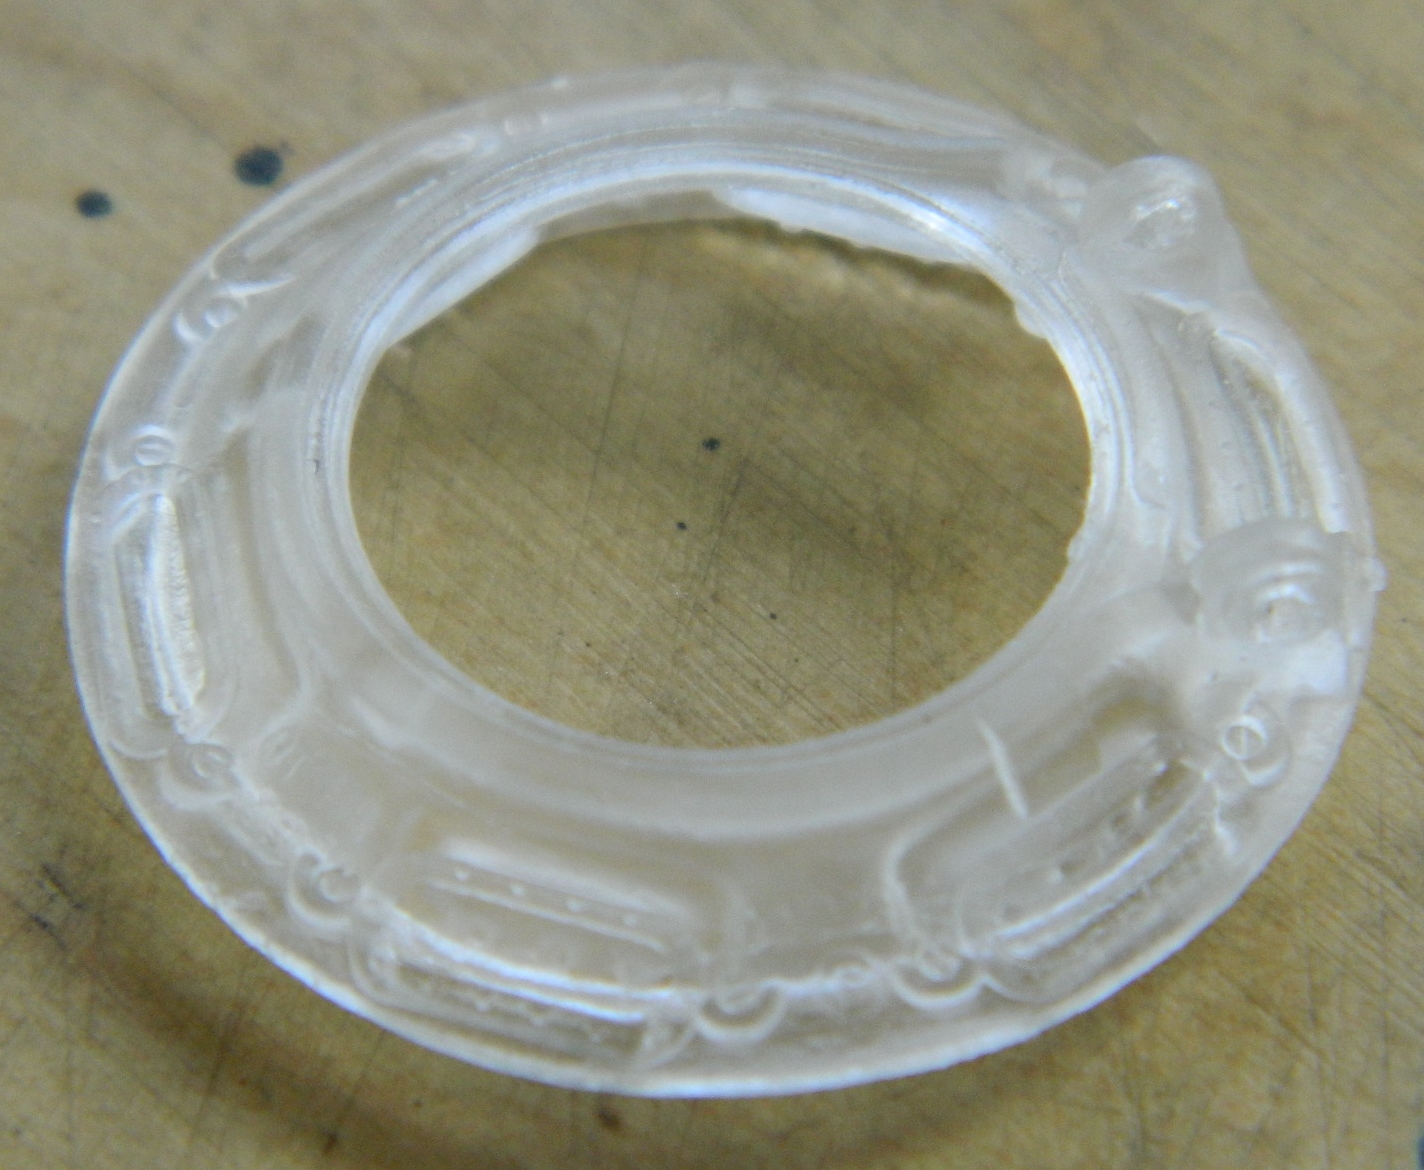
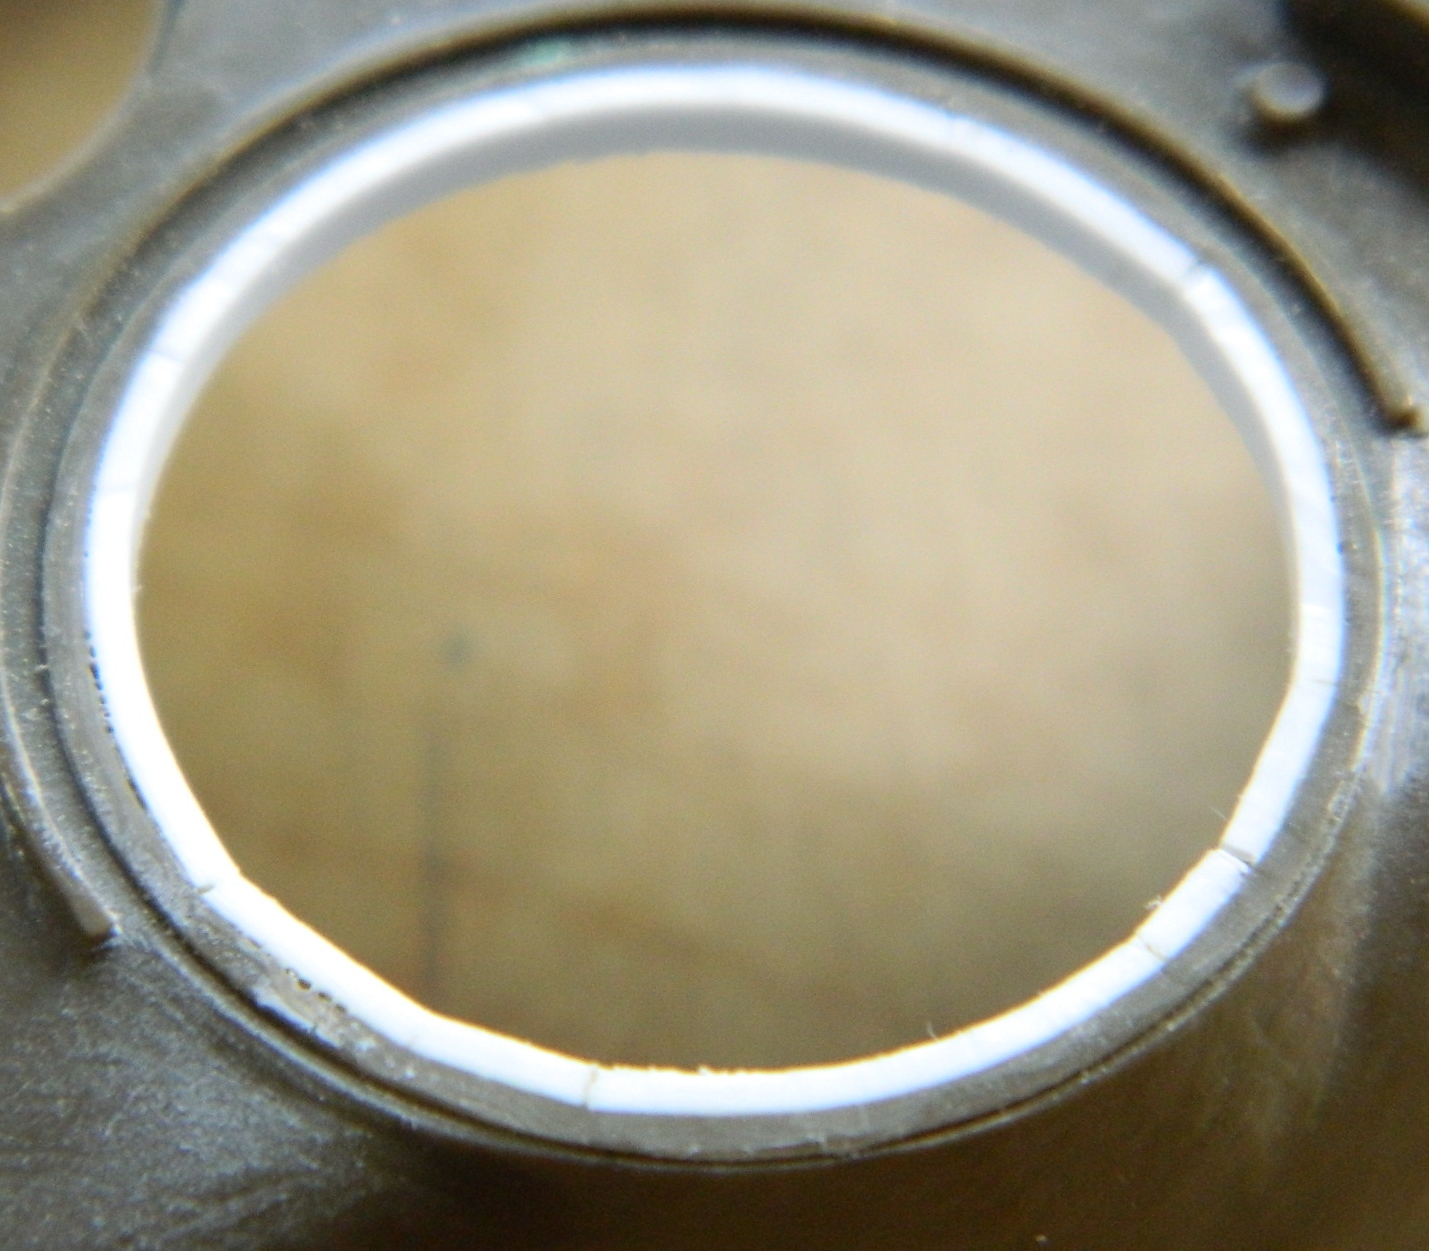
I started with the commander’s hatch, which in this case is the late-production vision block cupola. NTMD makes a nice set for this and it starts with a clear resin casting of the cupola (I was NOT looking forward to replacing those incredibly tiny vision blocks with clear plastic!):
But this part wasn’t designed for the Tamiya kit and the cupola was just slightly smaller in diameter than the opening it was going into, so I took some 010 styrene and shimmed the opening and the result was a nice snug fit:

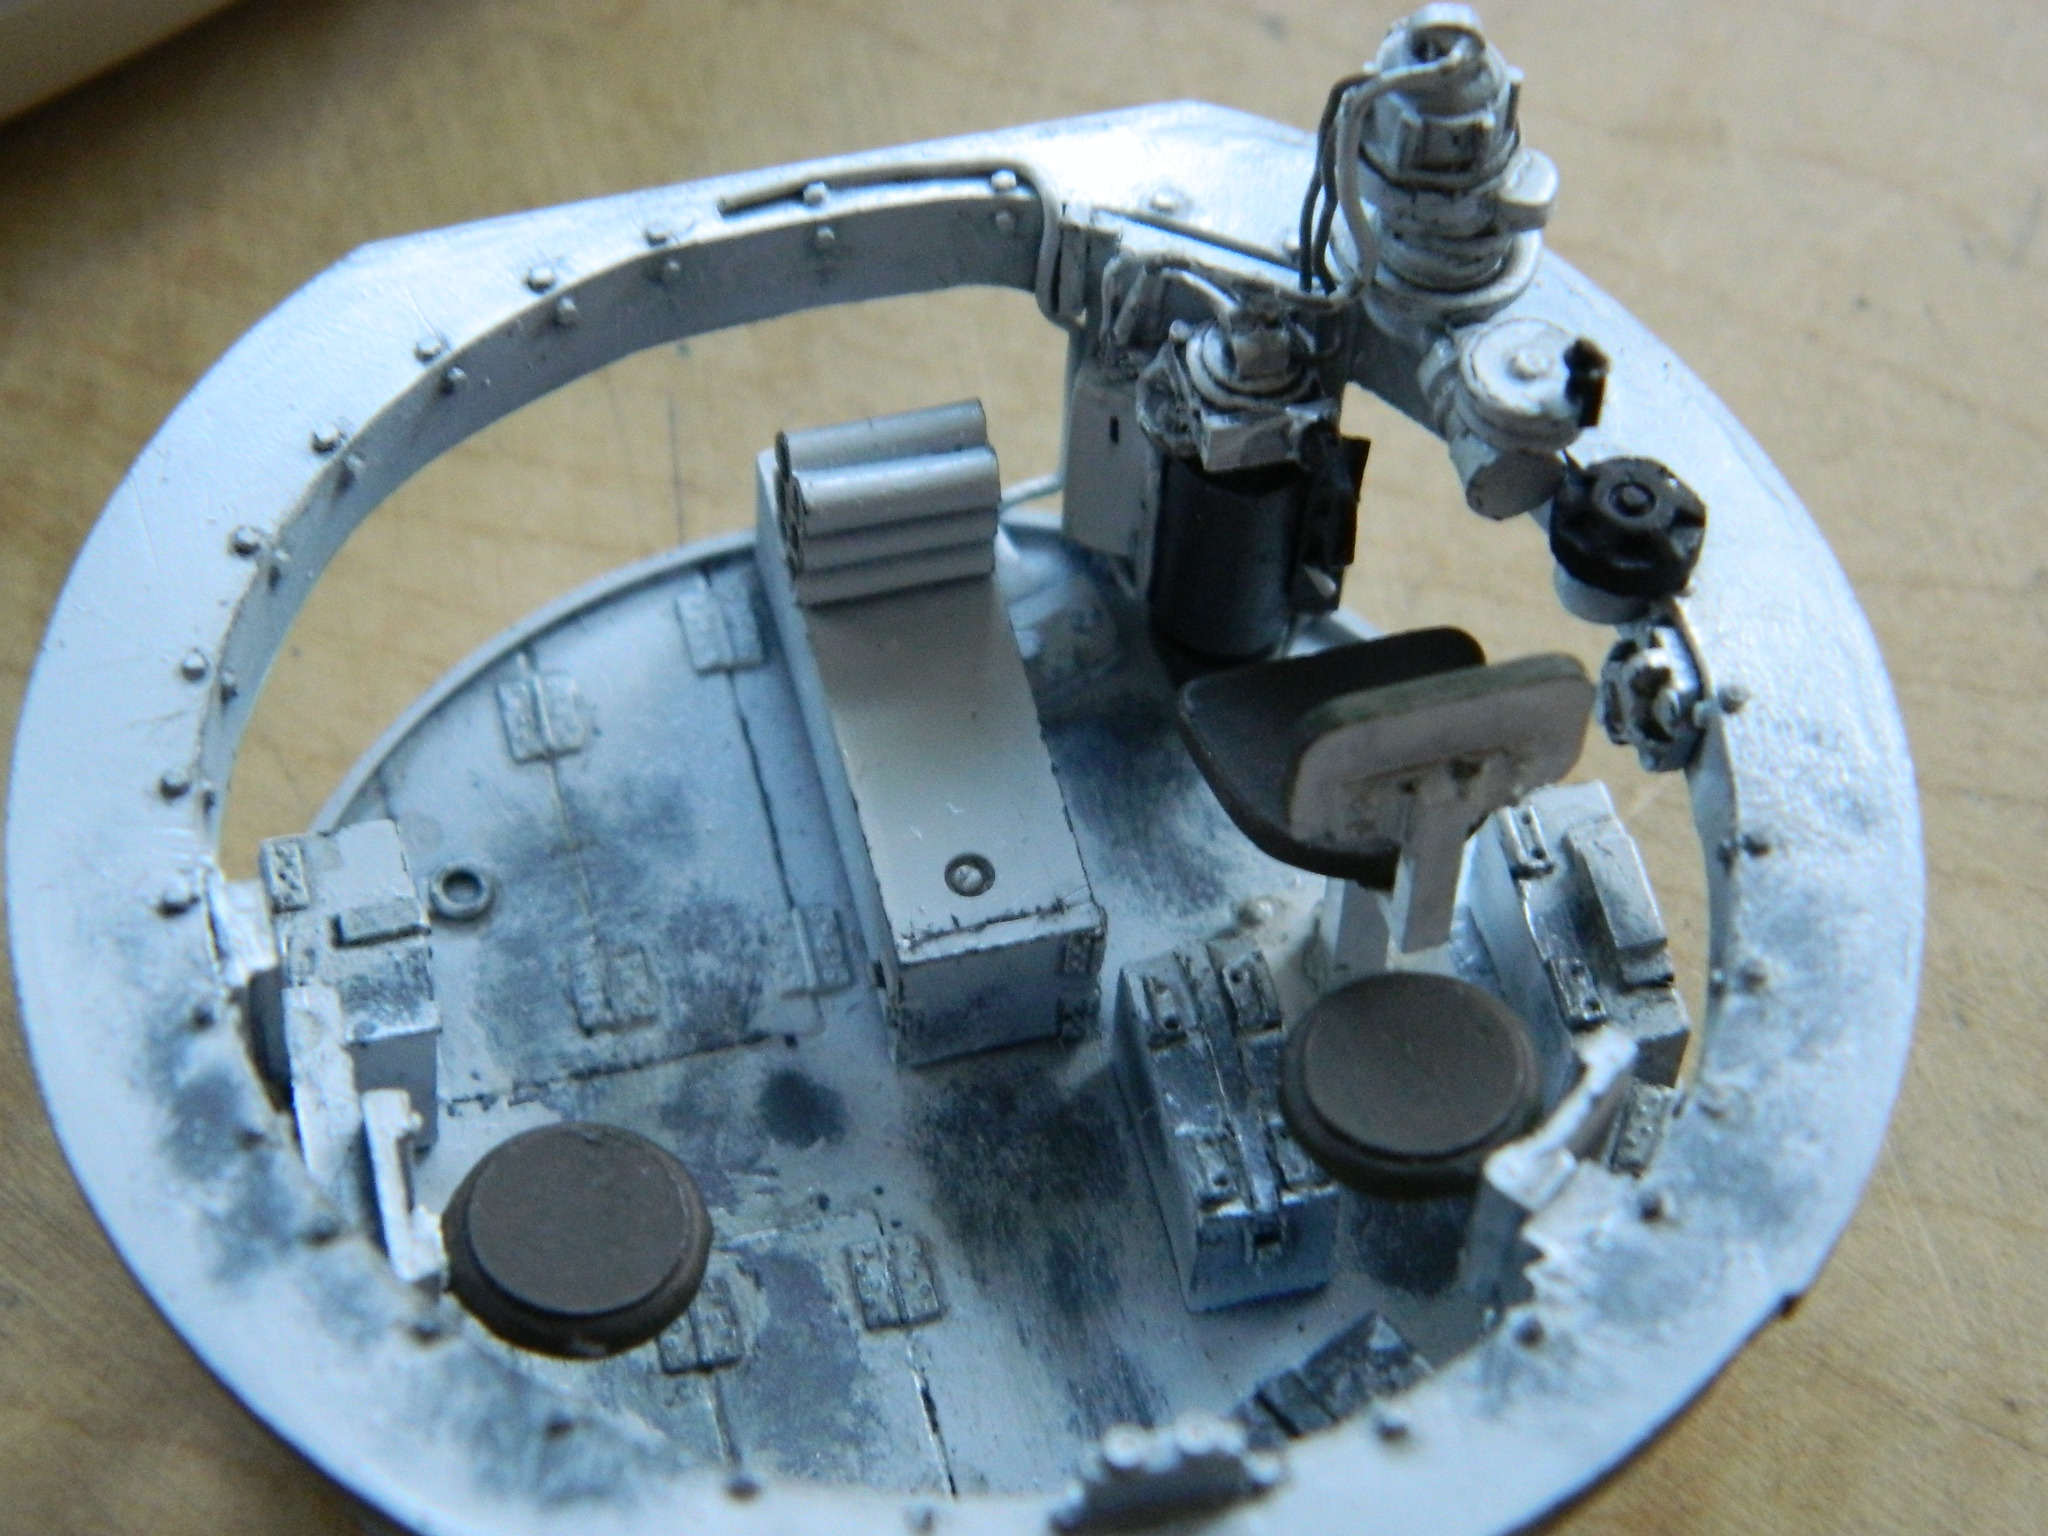
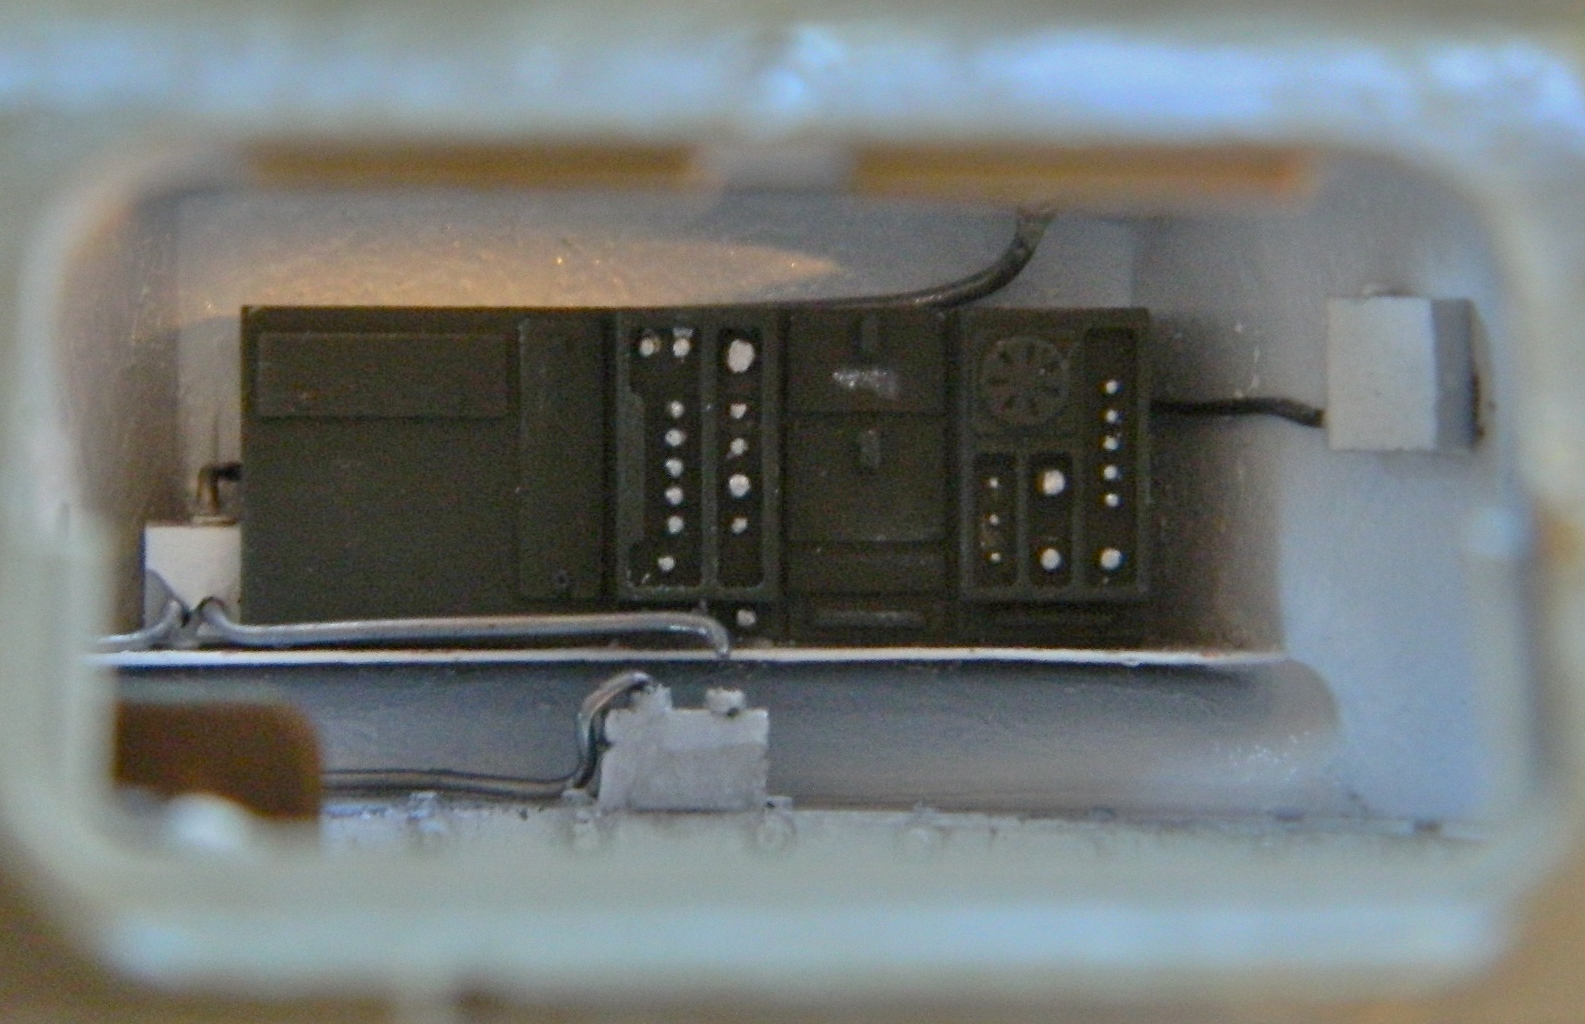
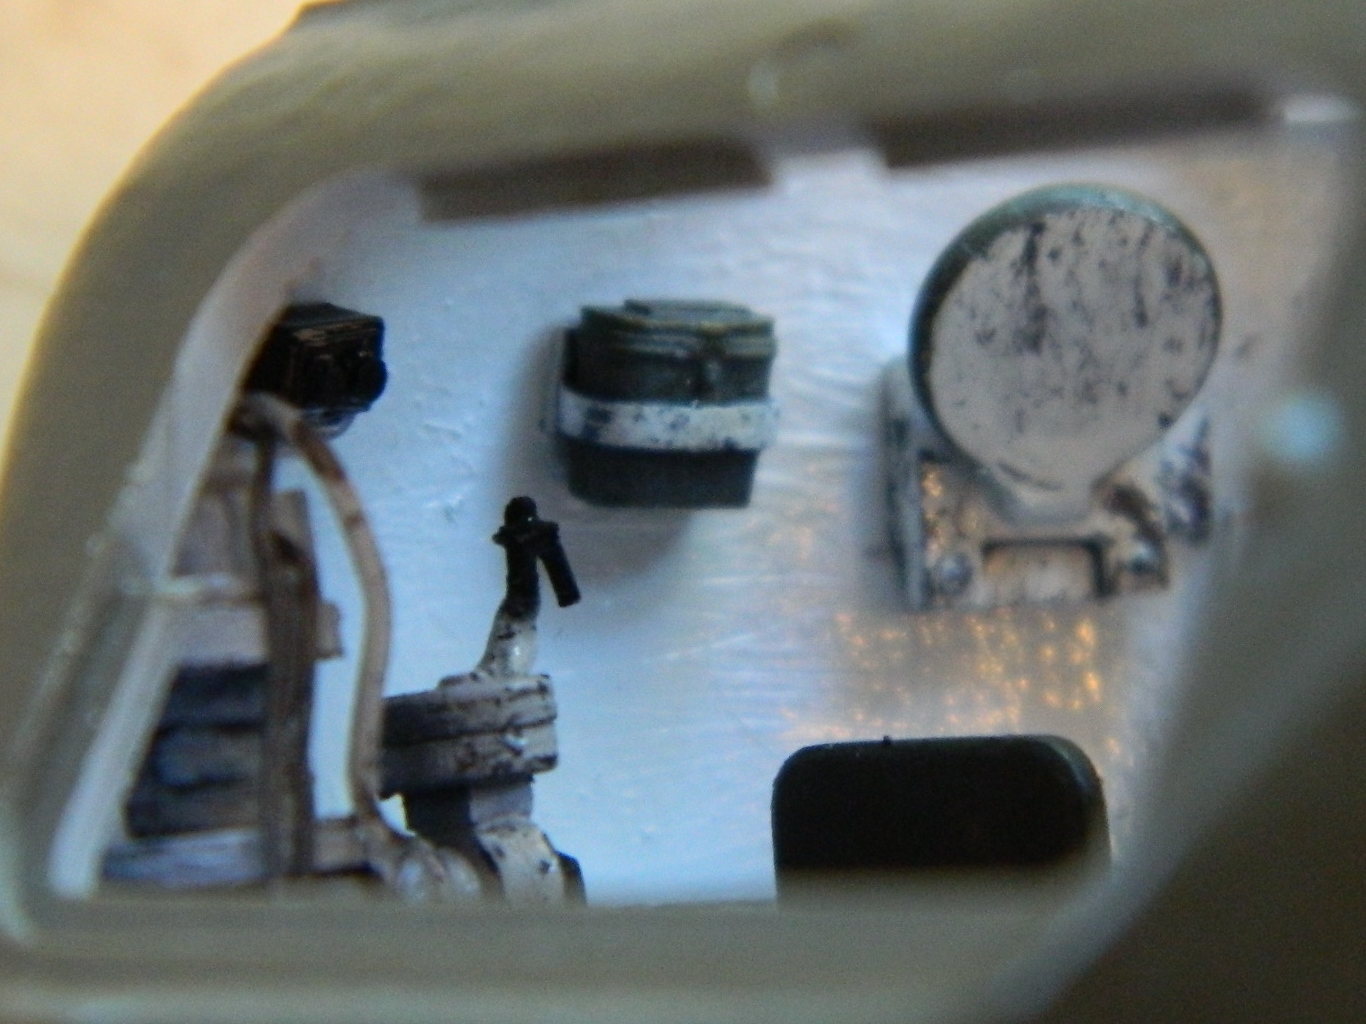
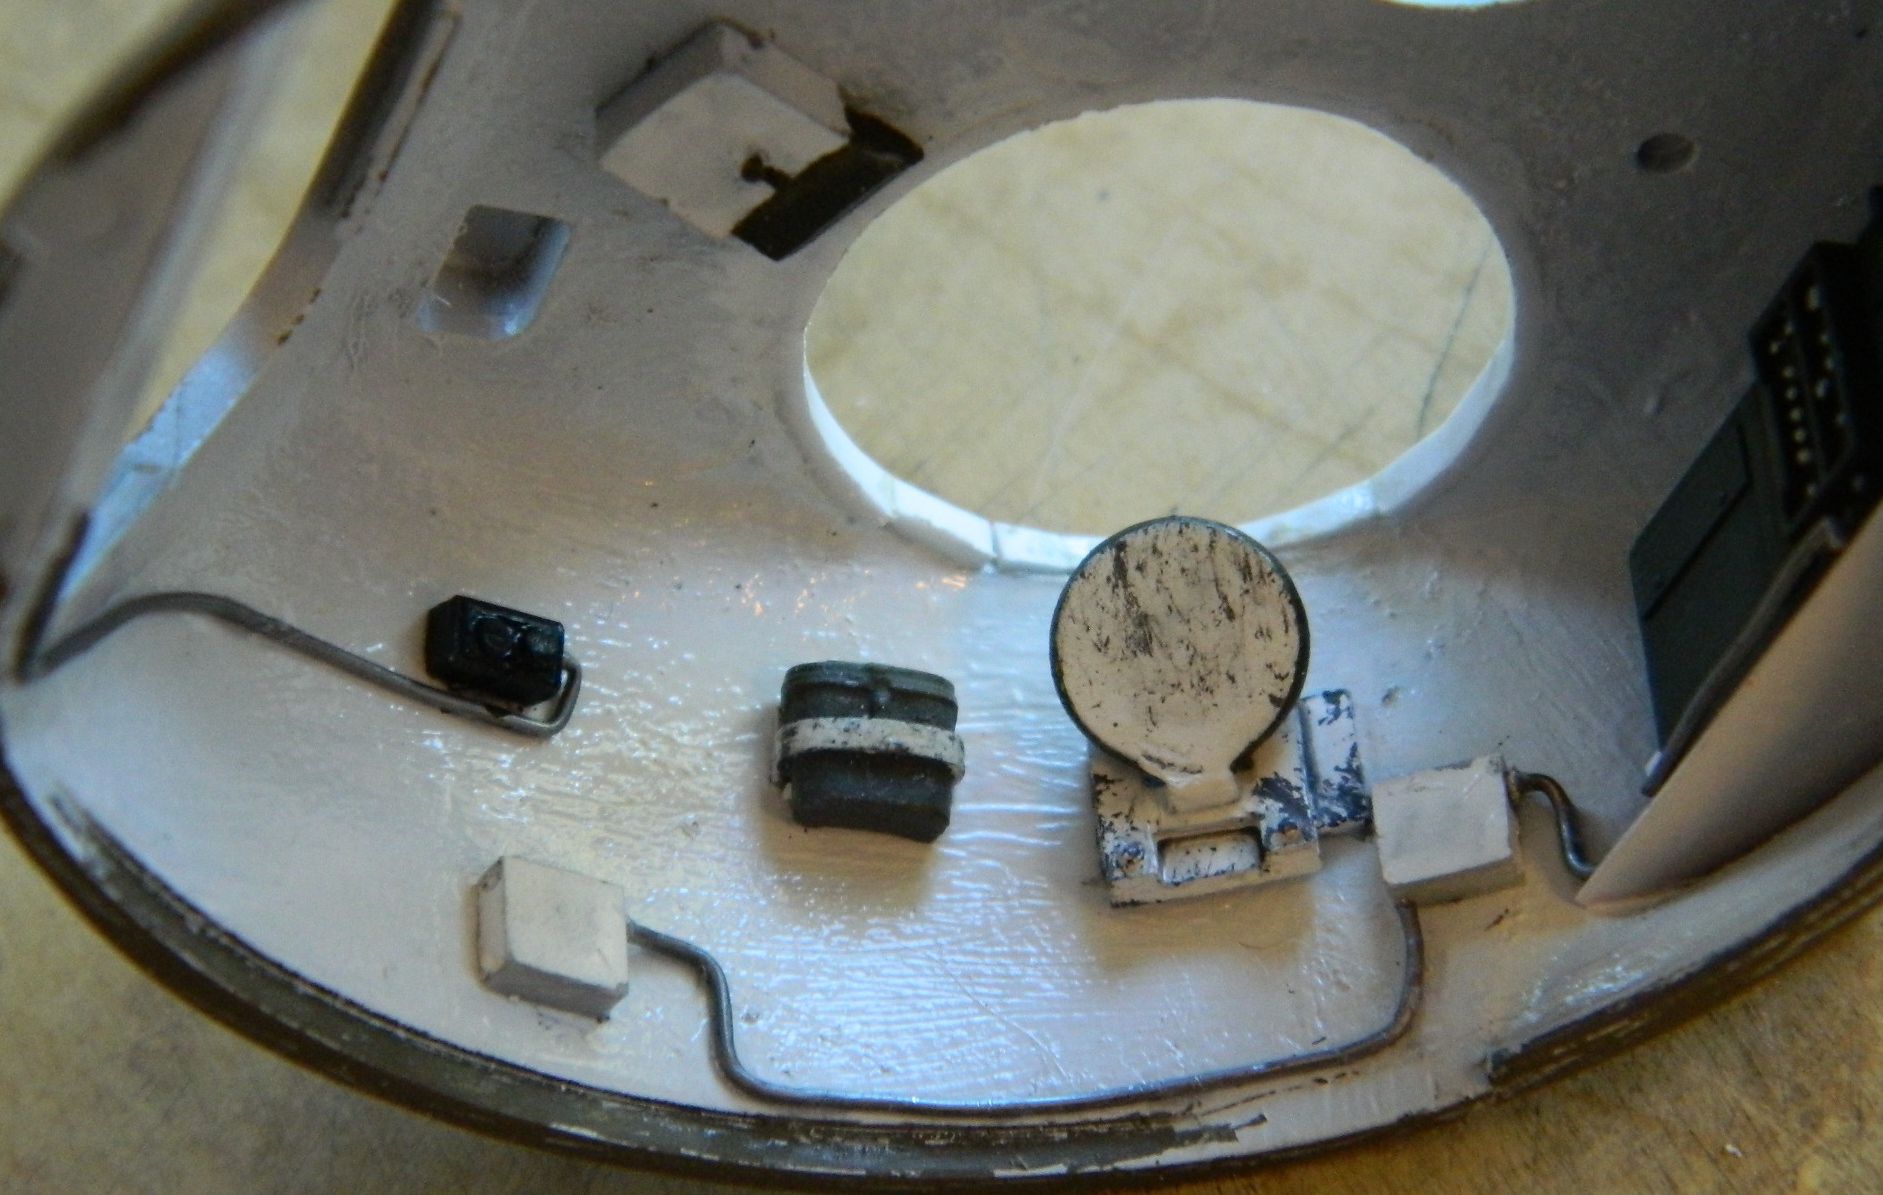
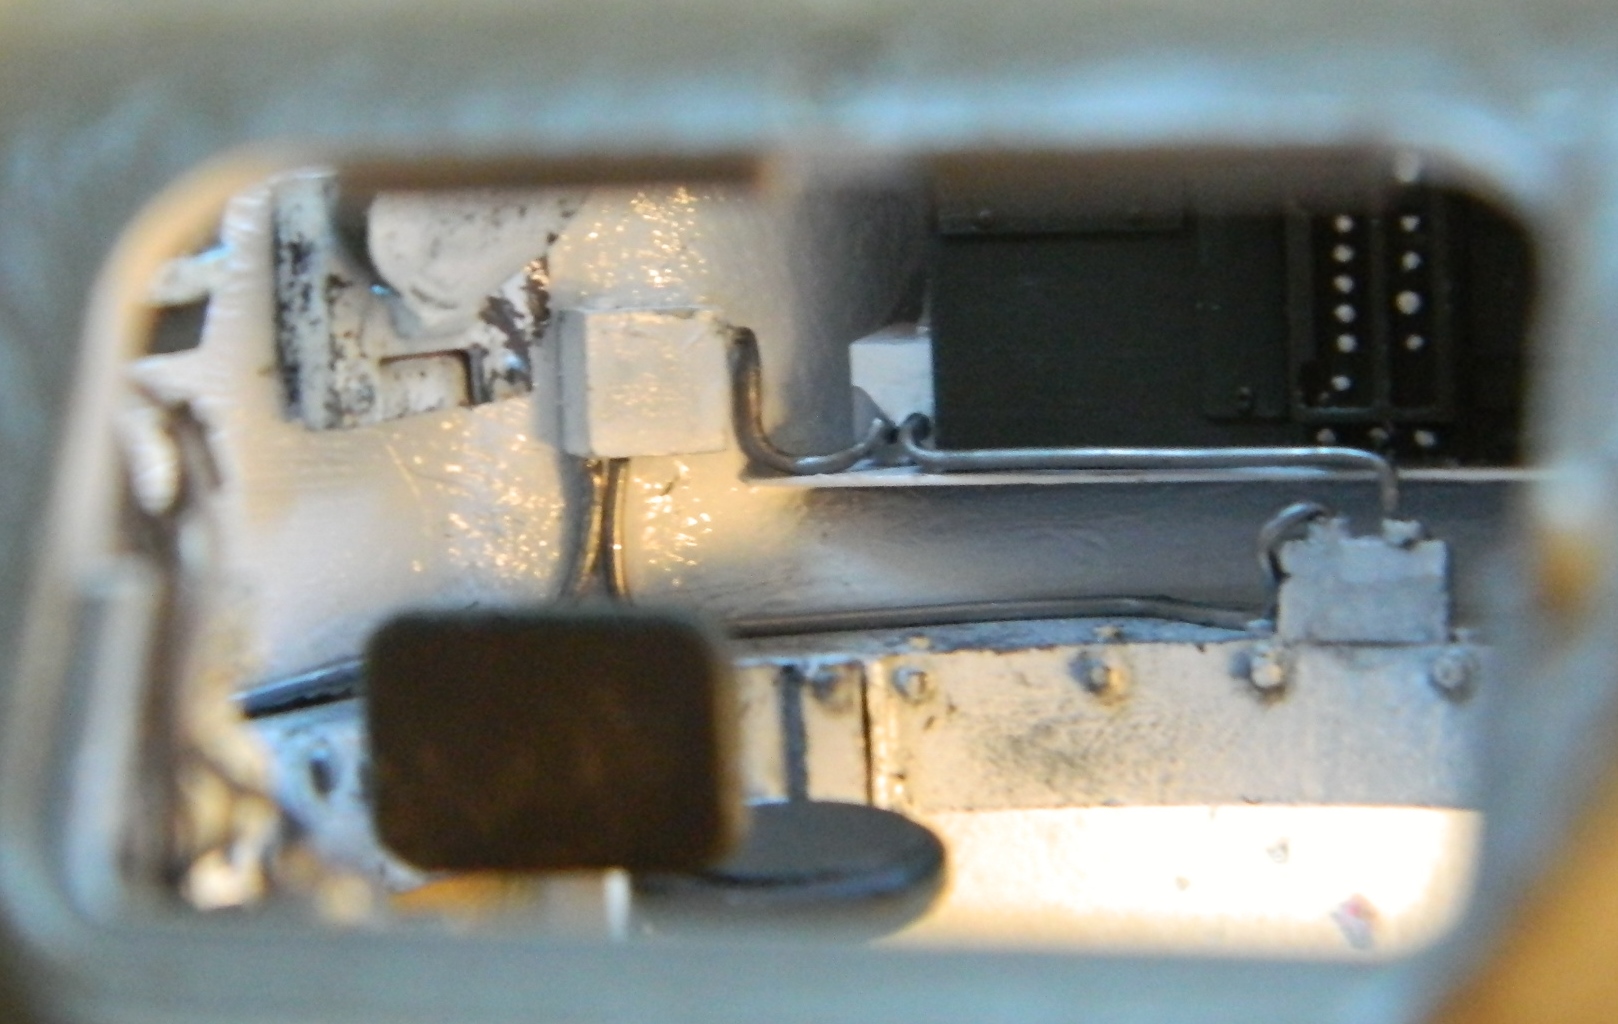
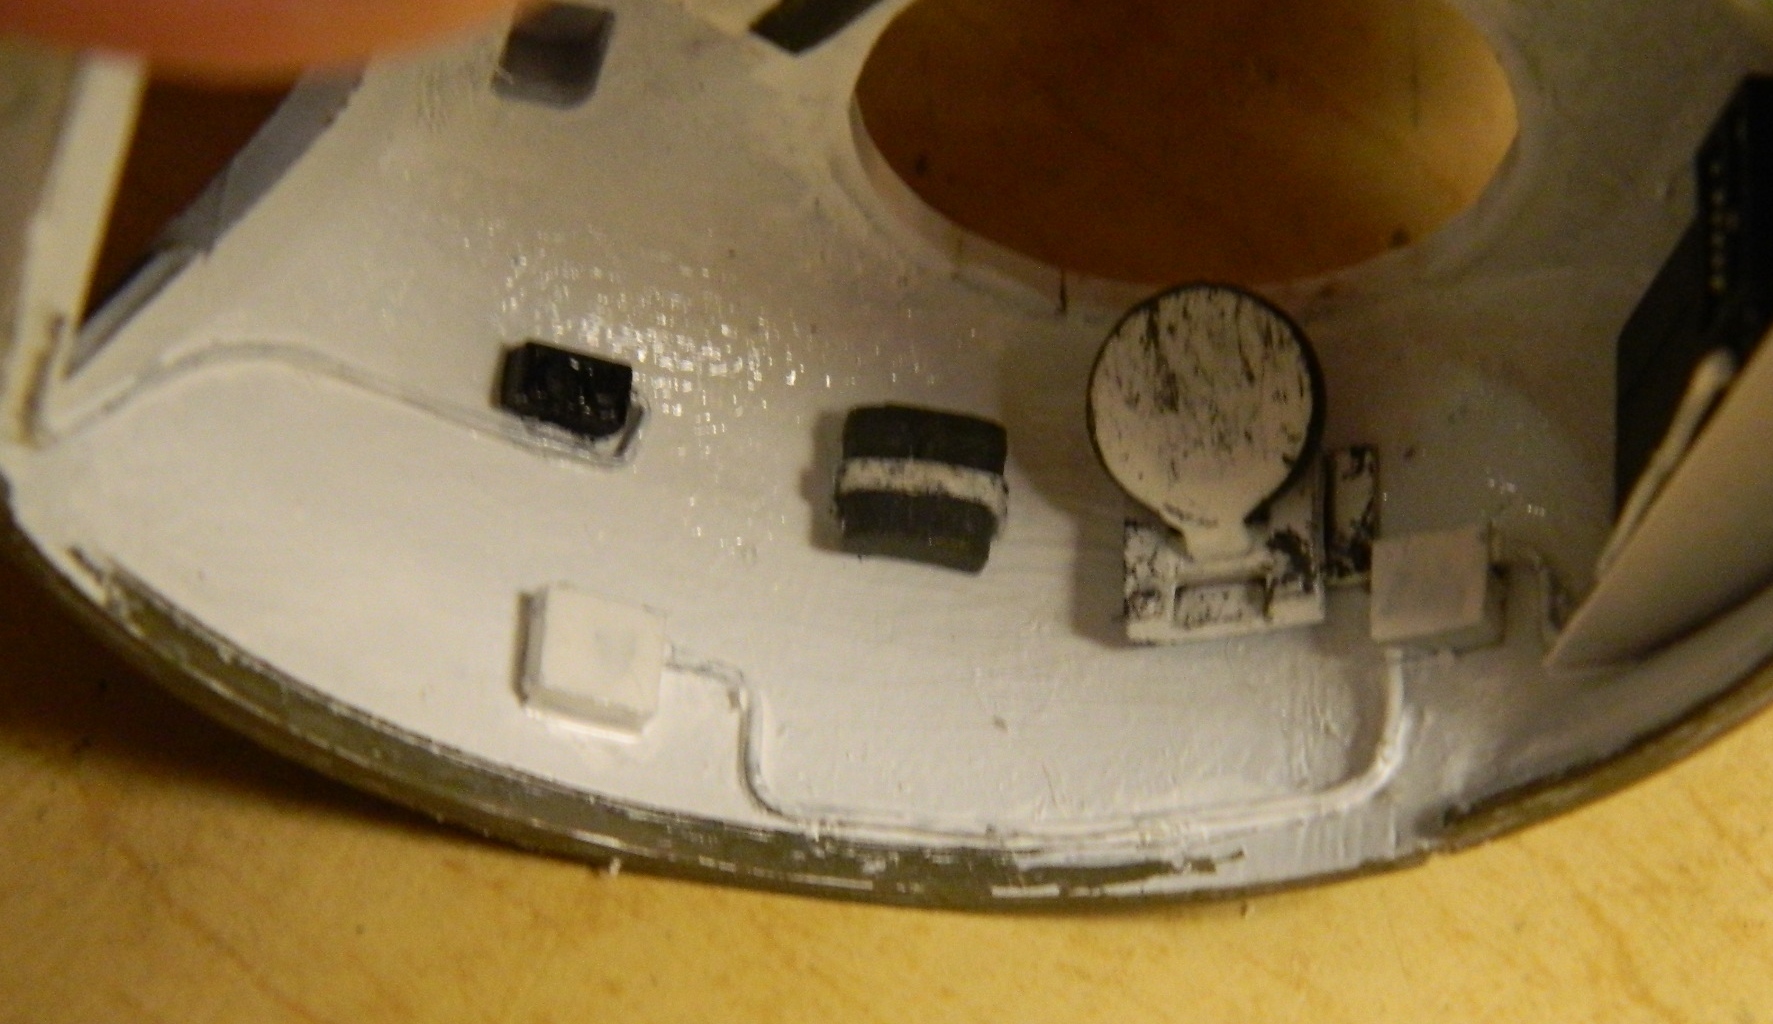
I added the various items to the turret walls, installed the radio, added the electrical conduits (solder, of course), and then painted the conduits white:


amazing, amazing, AMAZING!!! left eye, right eye…who is going to be looking in there to notice???
LikeLike
Well, ME to start with. And one thing I’ve noticed about details, as soon as someone sees they are there, they *look* to see what else is there. One thing (of many) I could sincerely do without is when once a project is done, having someone look at it and say, “You realize that [INSERT ANNOYING OBSERVATION HERE] is wrong, don’t you?” Well of course! I just put that in there to see who would notice! Well, when someone like that looks in through the hatch (and they will), it’s done and it’s correct.
LikeLiked by 1 person