Colonial Viper MkII (Moebius Models) 1/32 Scale Build #5, Main Components Completed; On to the Dreaded Figure
Before I get started working on the figure, there were some things (anything) to finish before I descended into my own personal hell (figures), so taking whatever dodge I could find before that descent seemed “reasonable.”
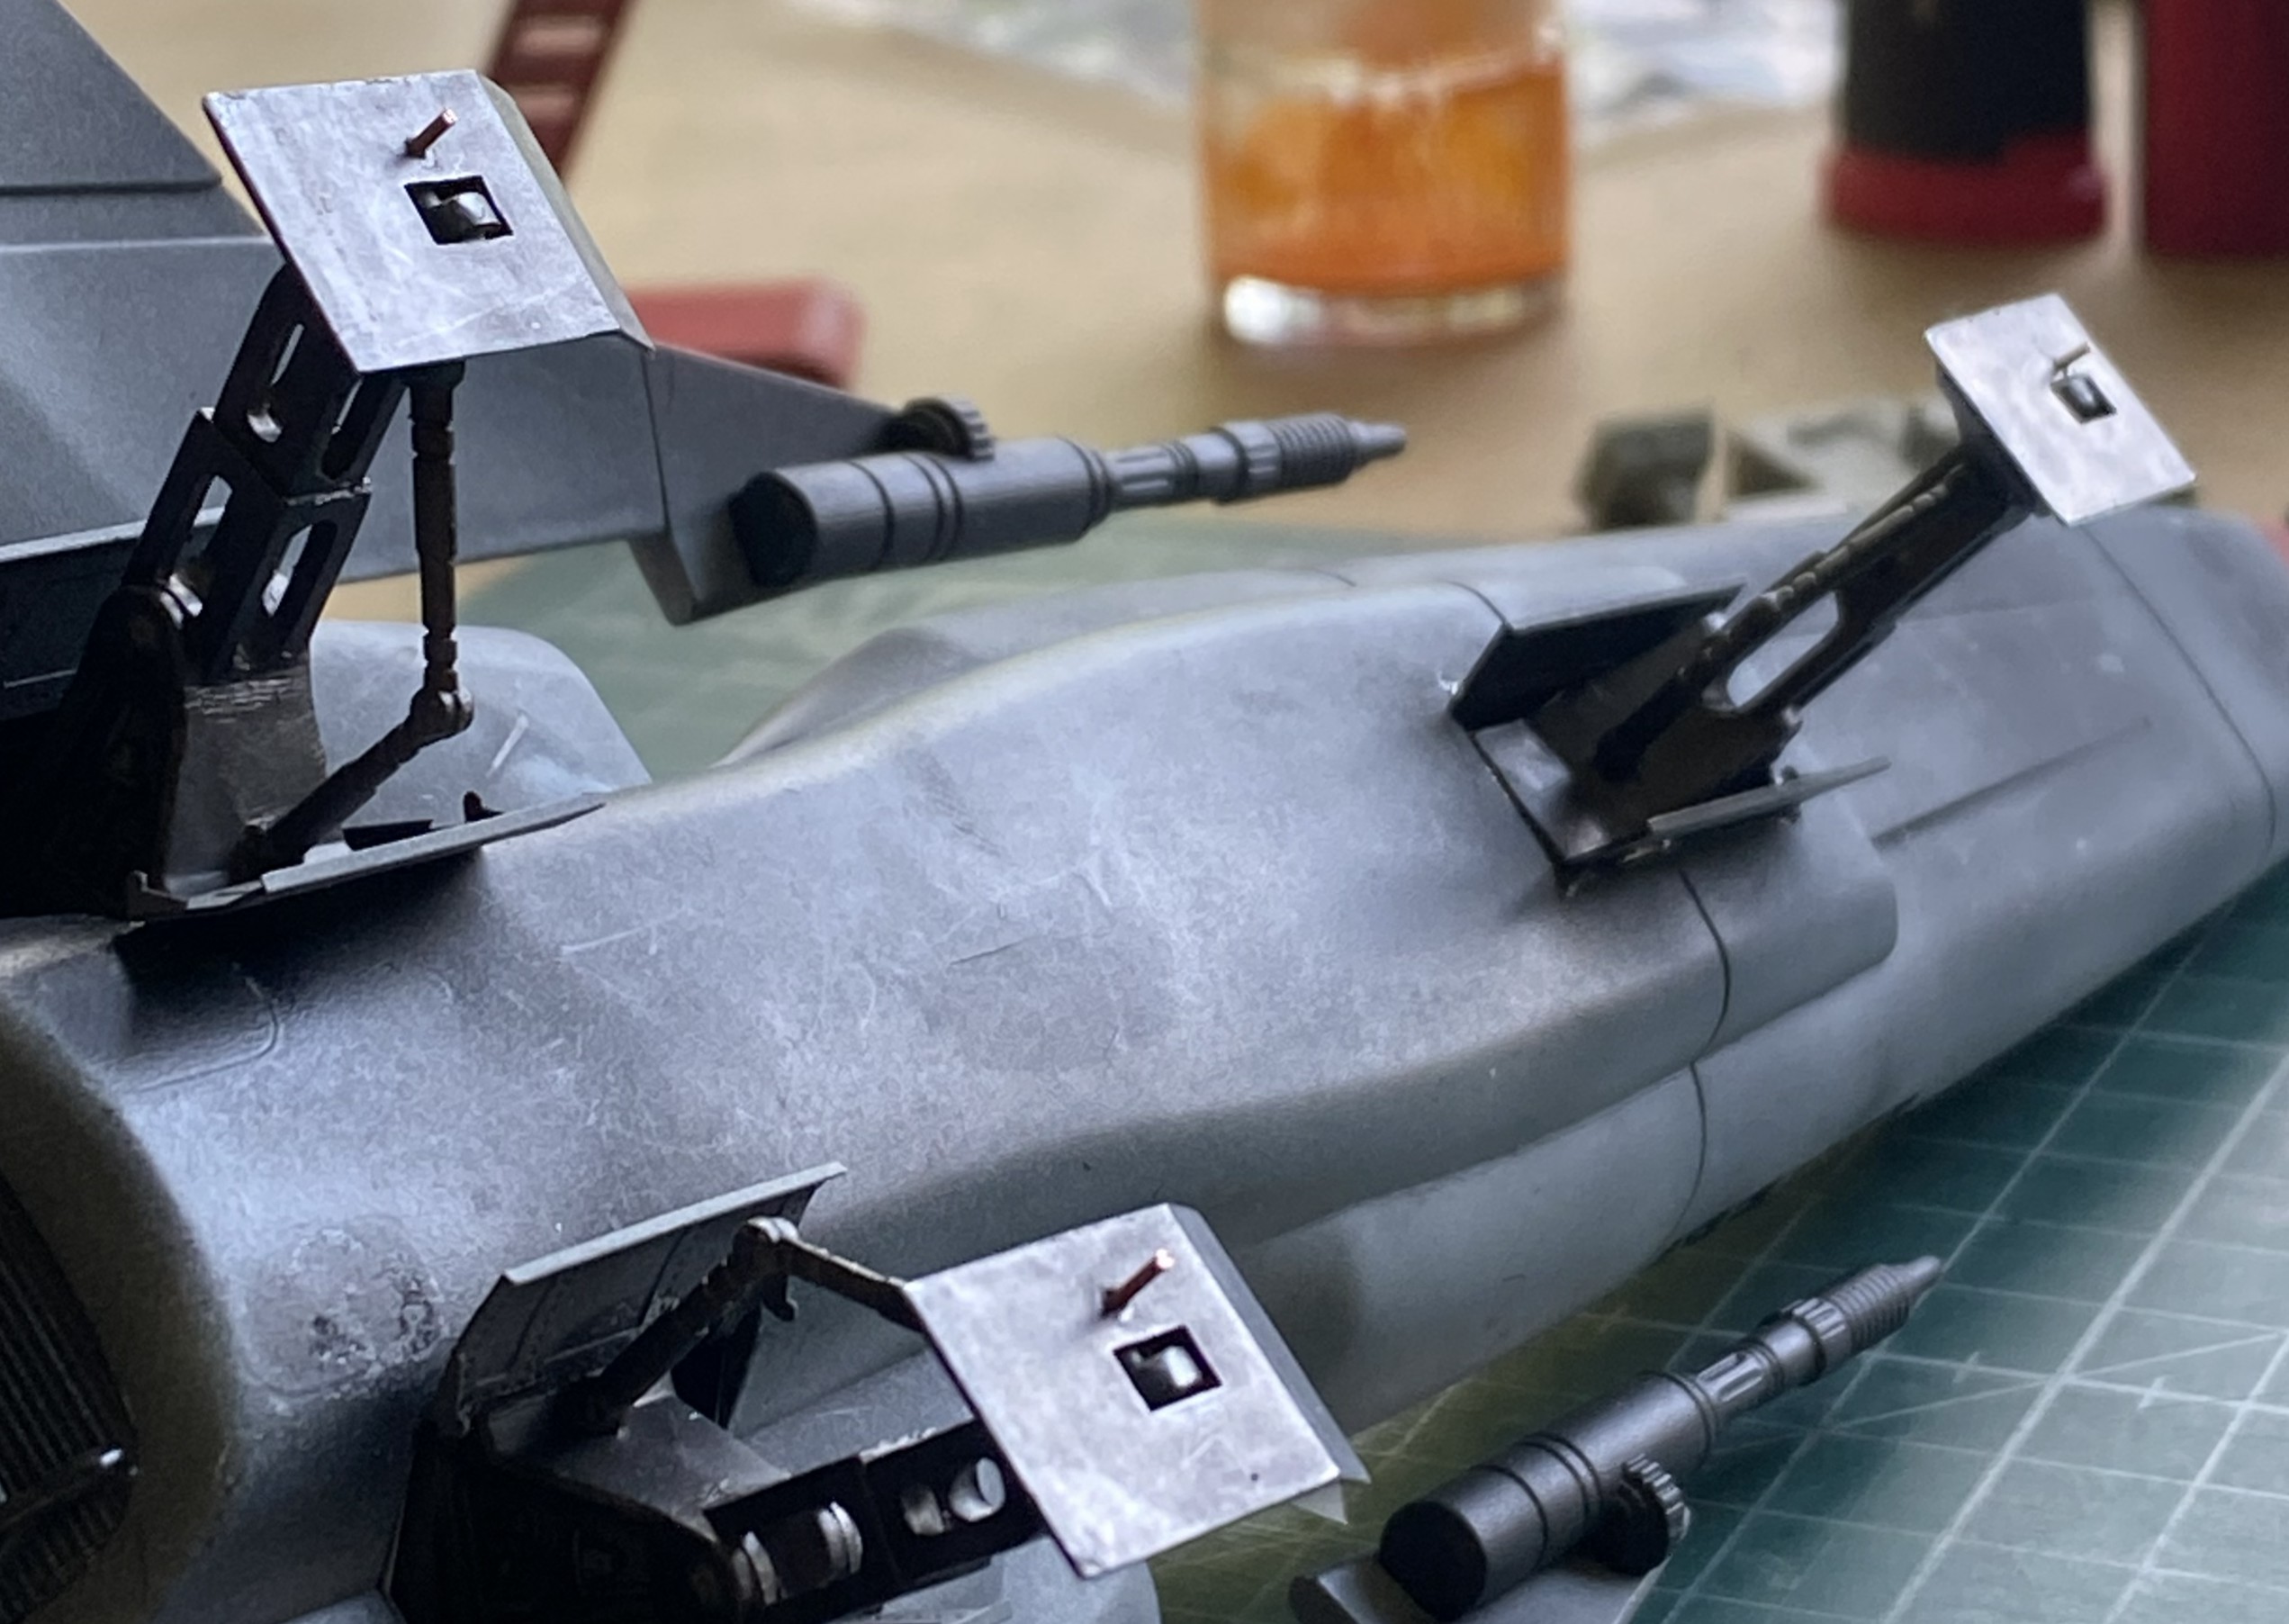
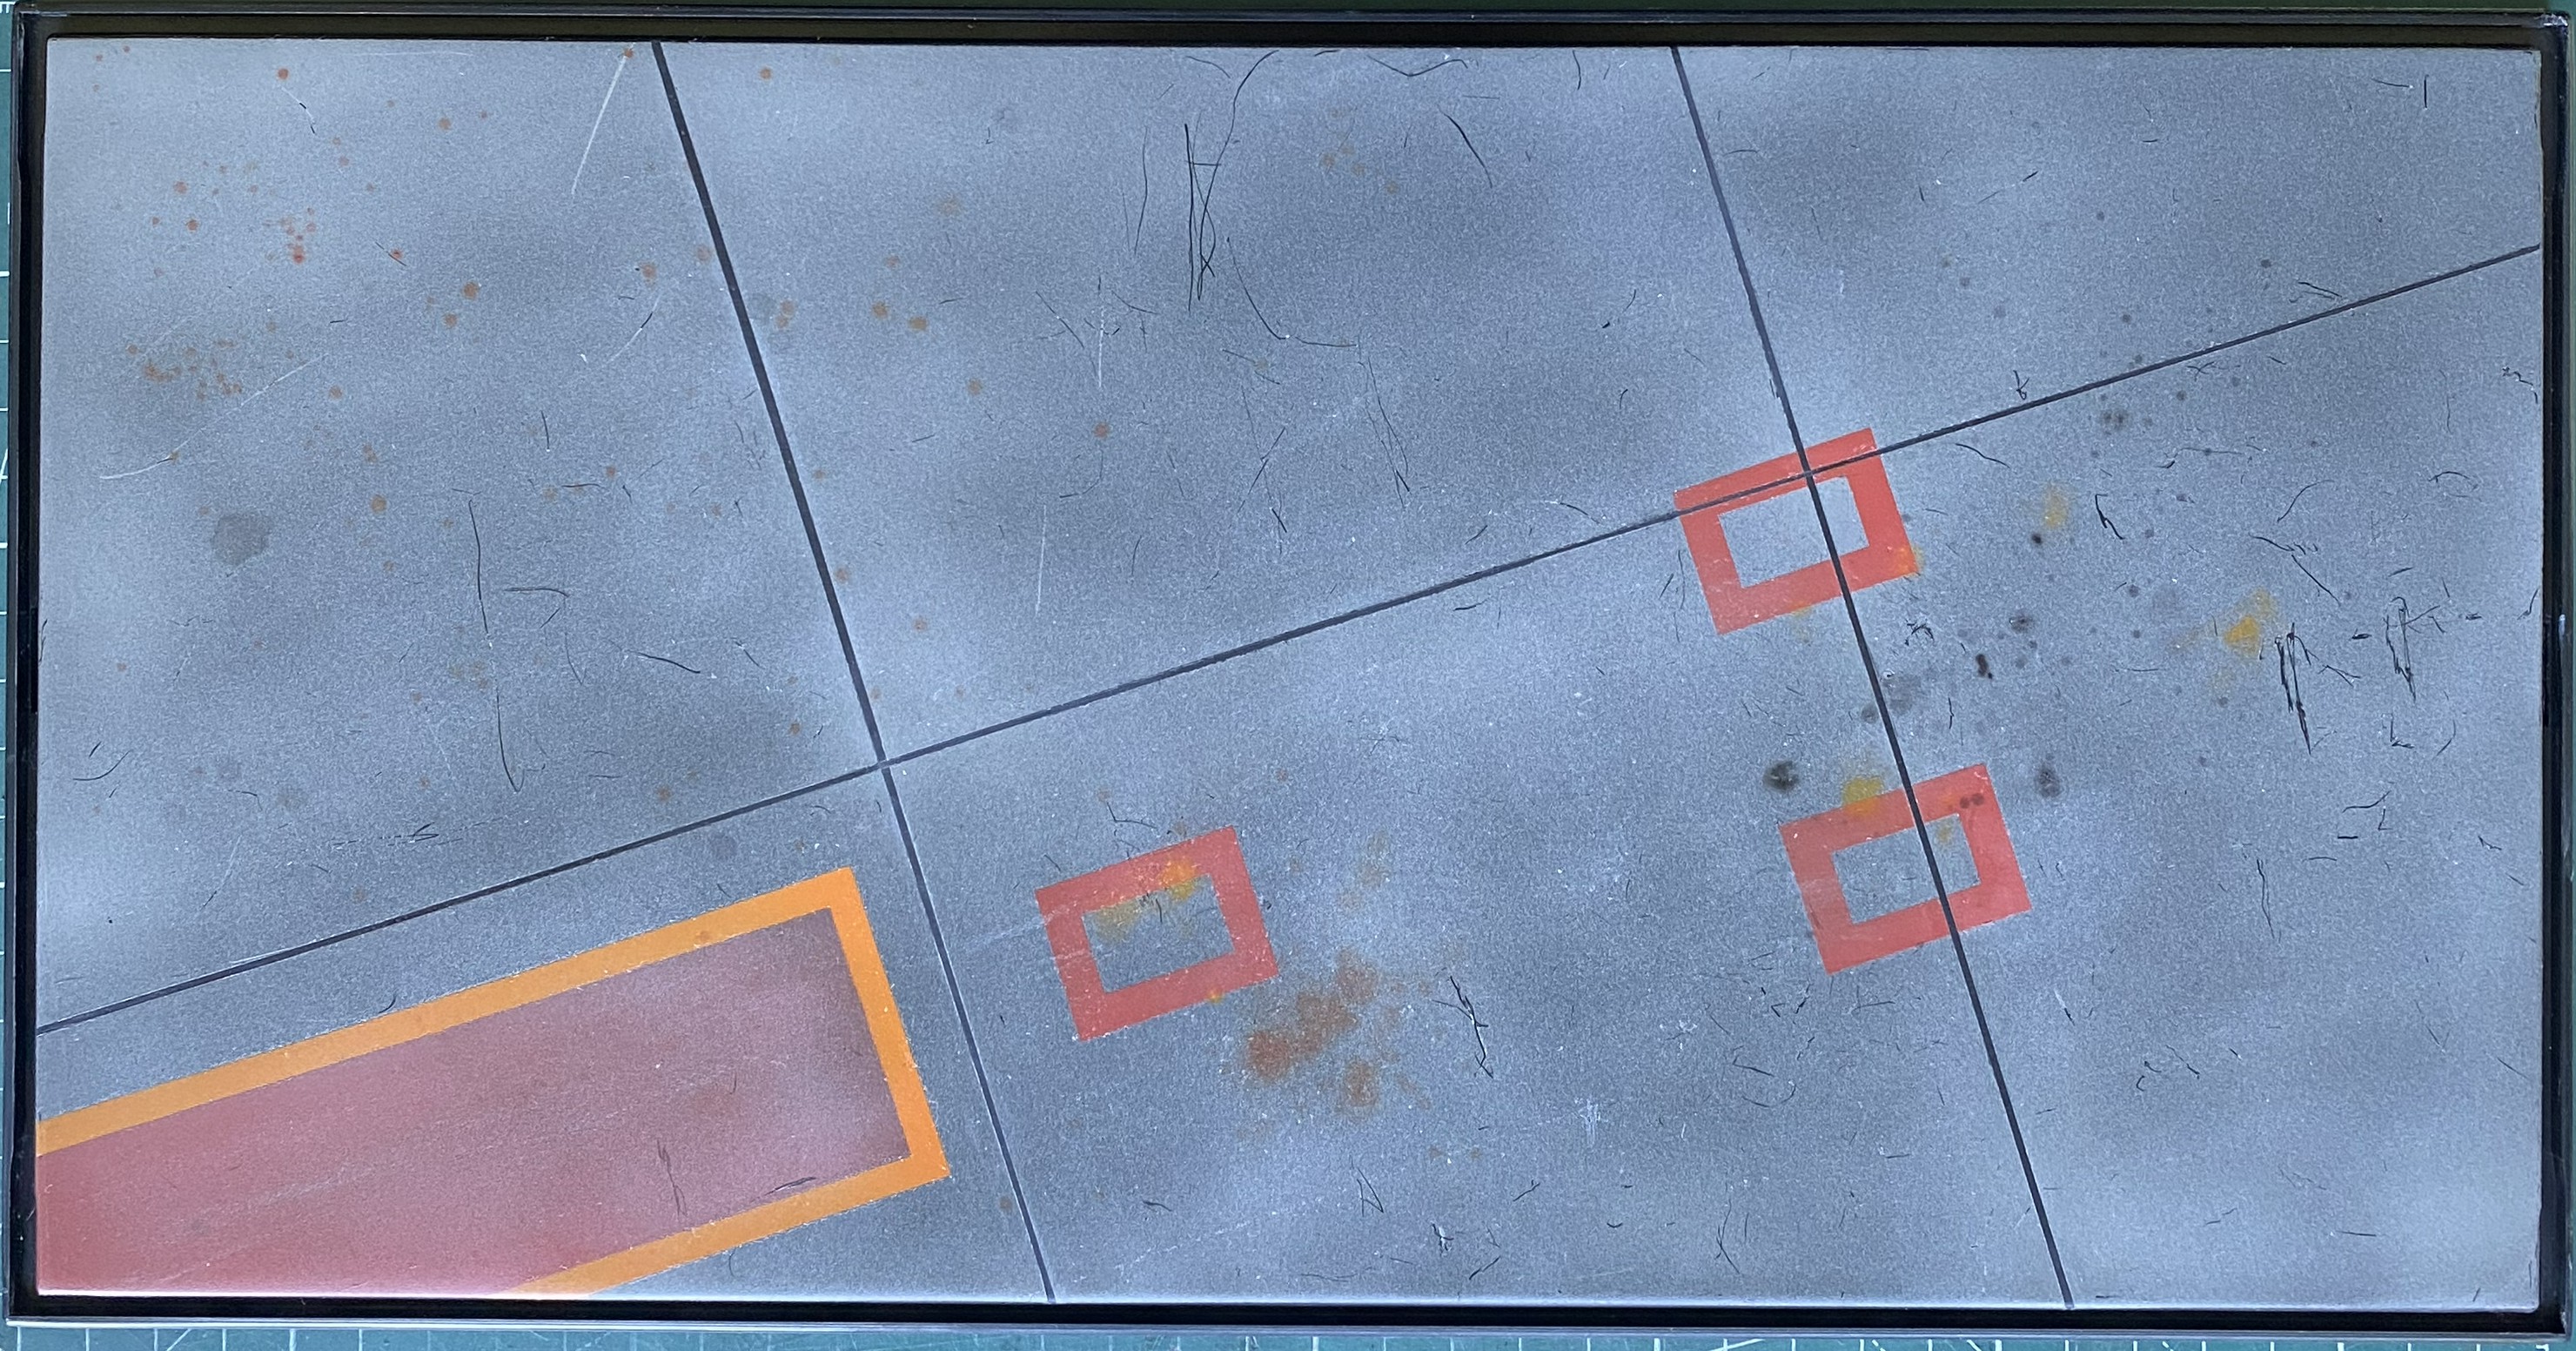
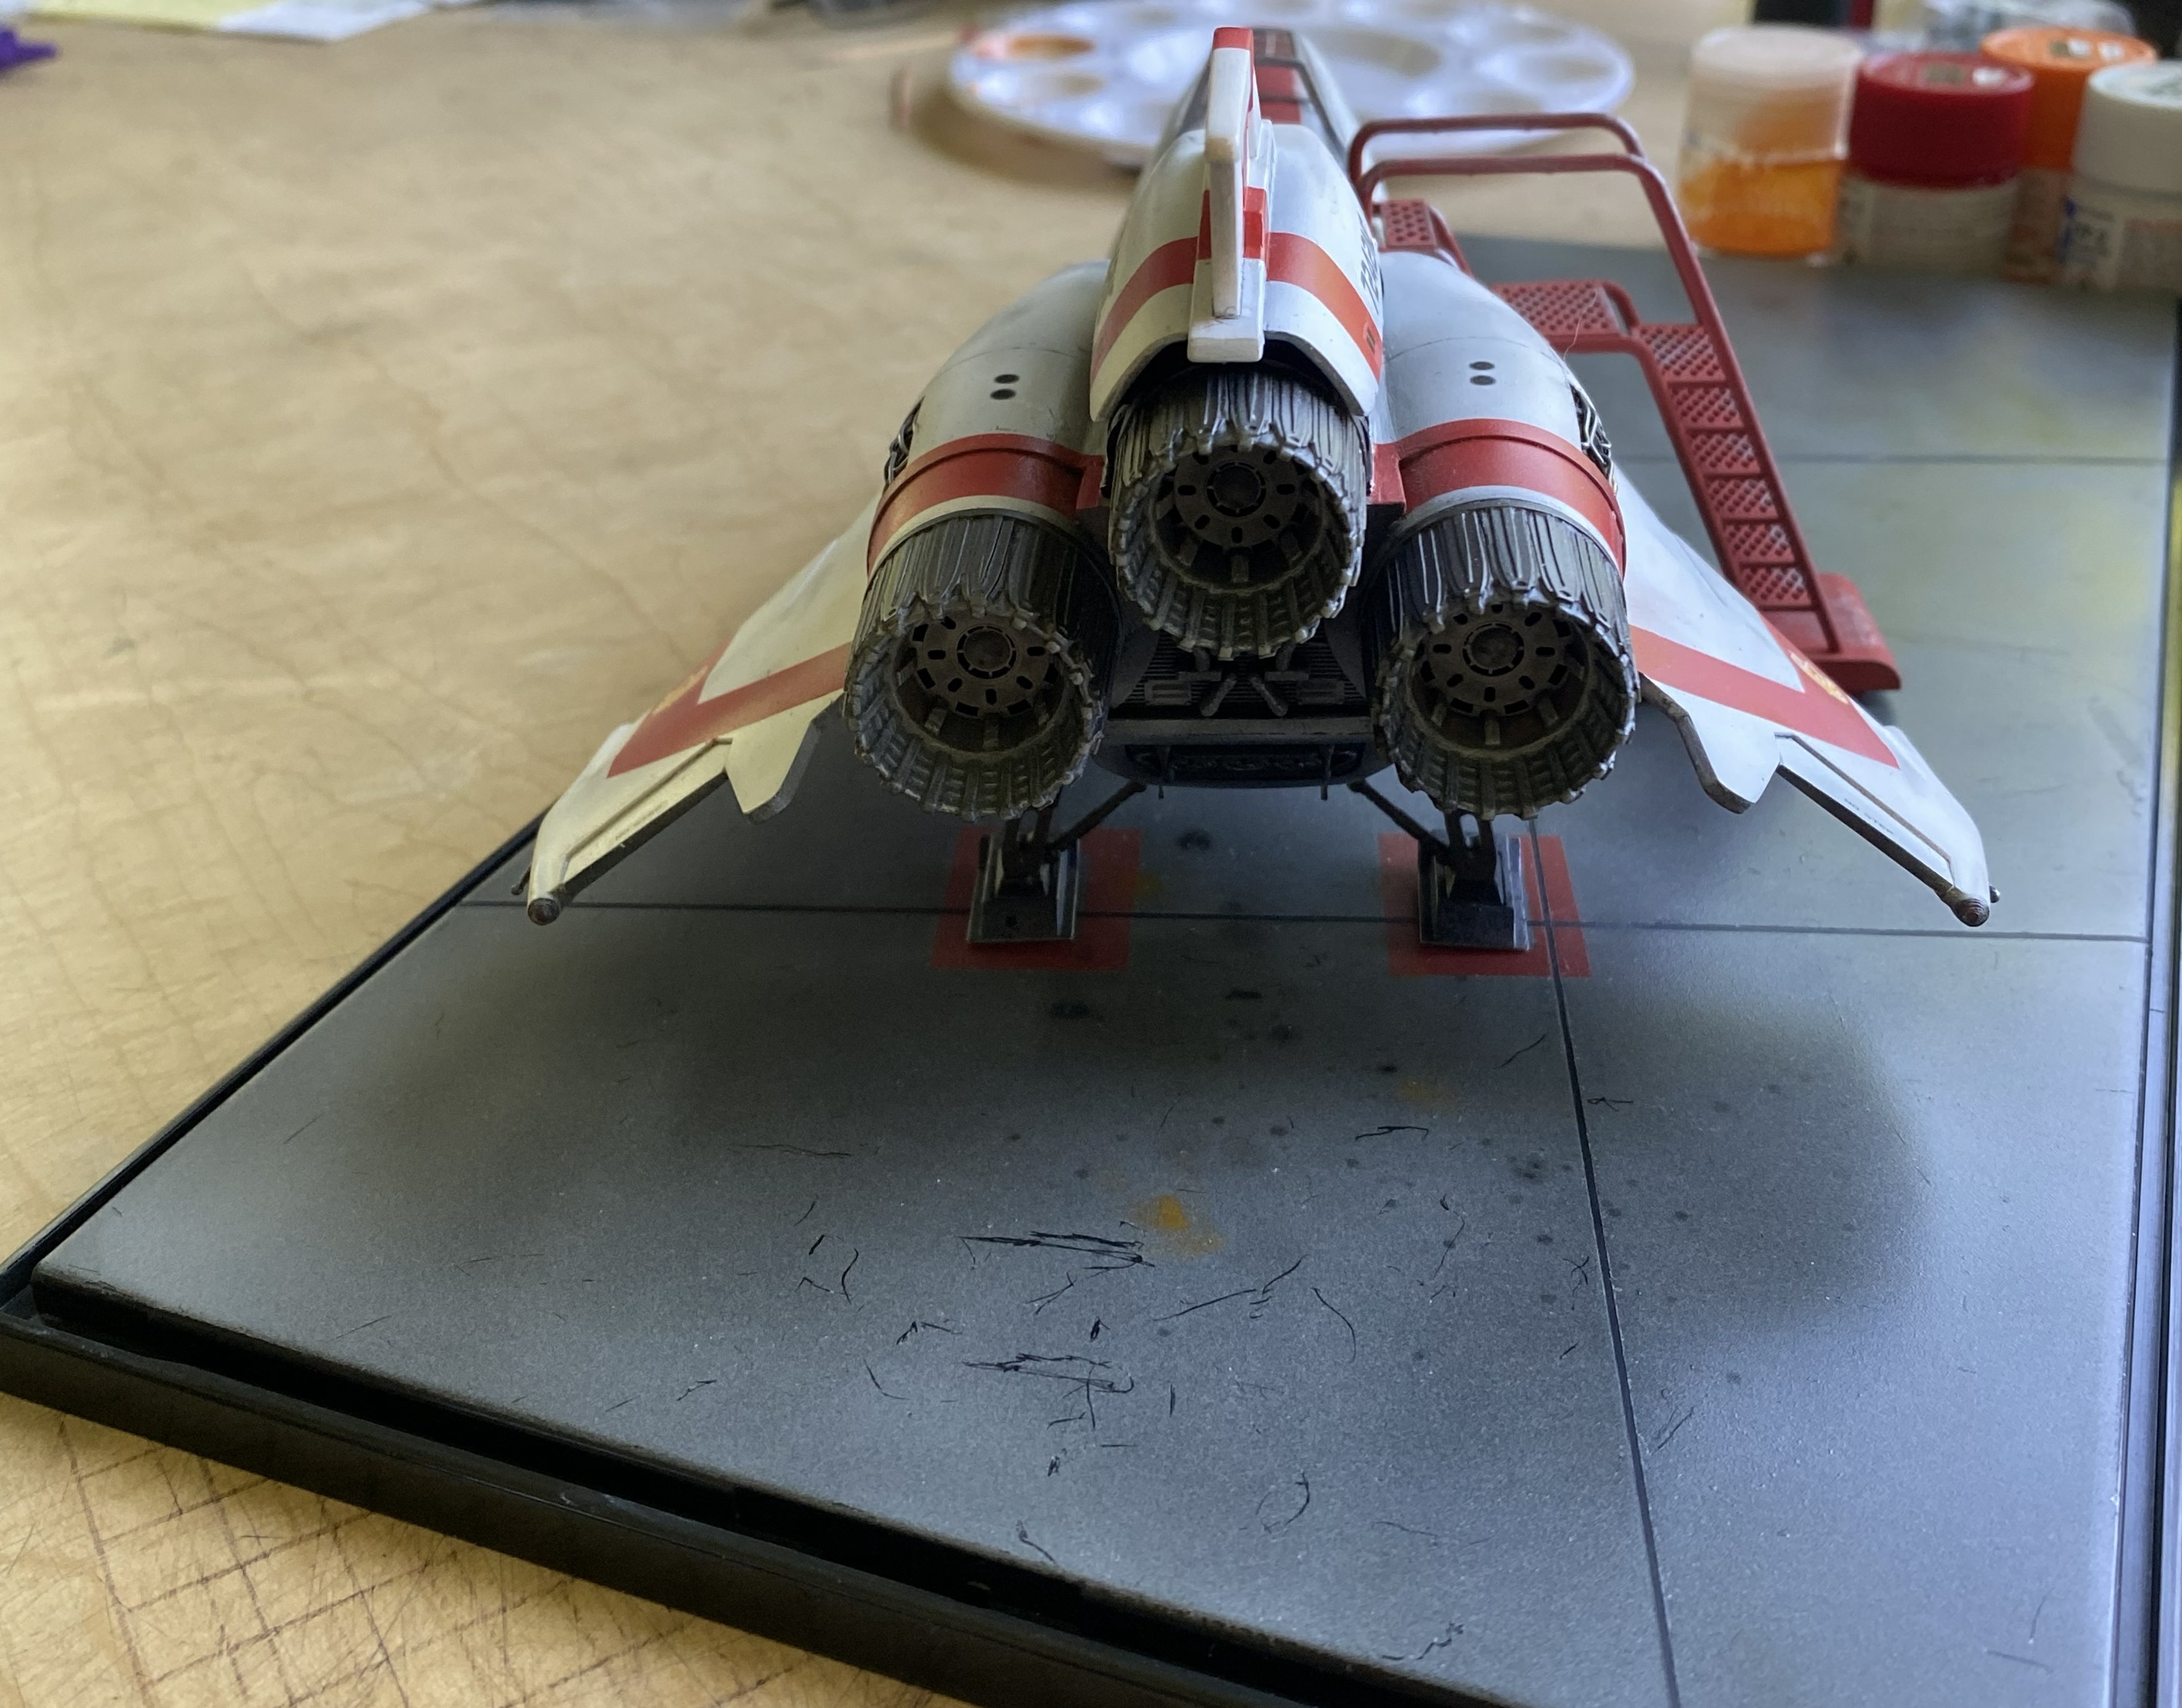
I finished the Viper and base by adding pins under the landing gear and drilling the base to accept them. The intent was not to affix the Viper to the base (not entirely sure the landing gear is sturdy enough for that), instead I wanted to make the model and case “bump resistant.” Having the model sliding around for (hopefully) years on that base would wear away the paint, which I’d rather not have happen:
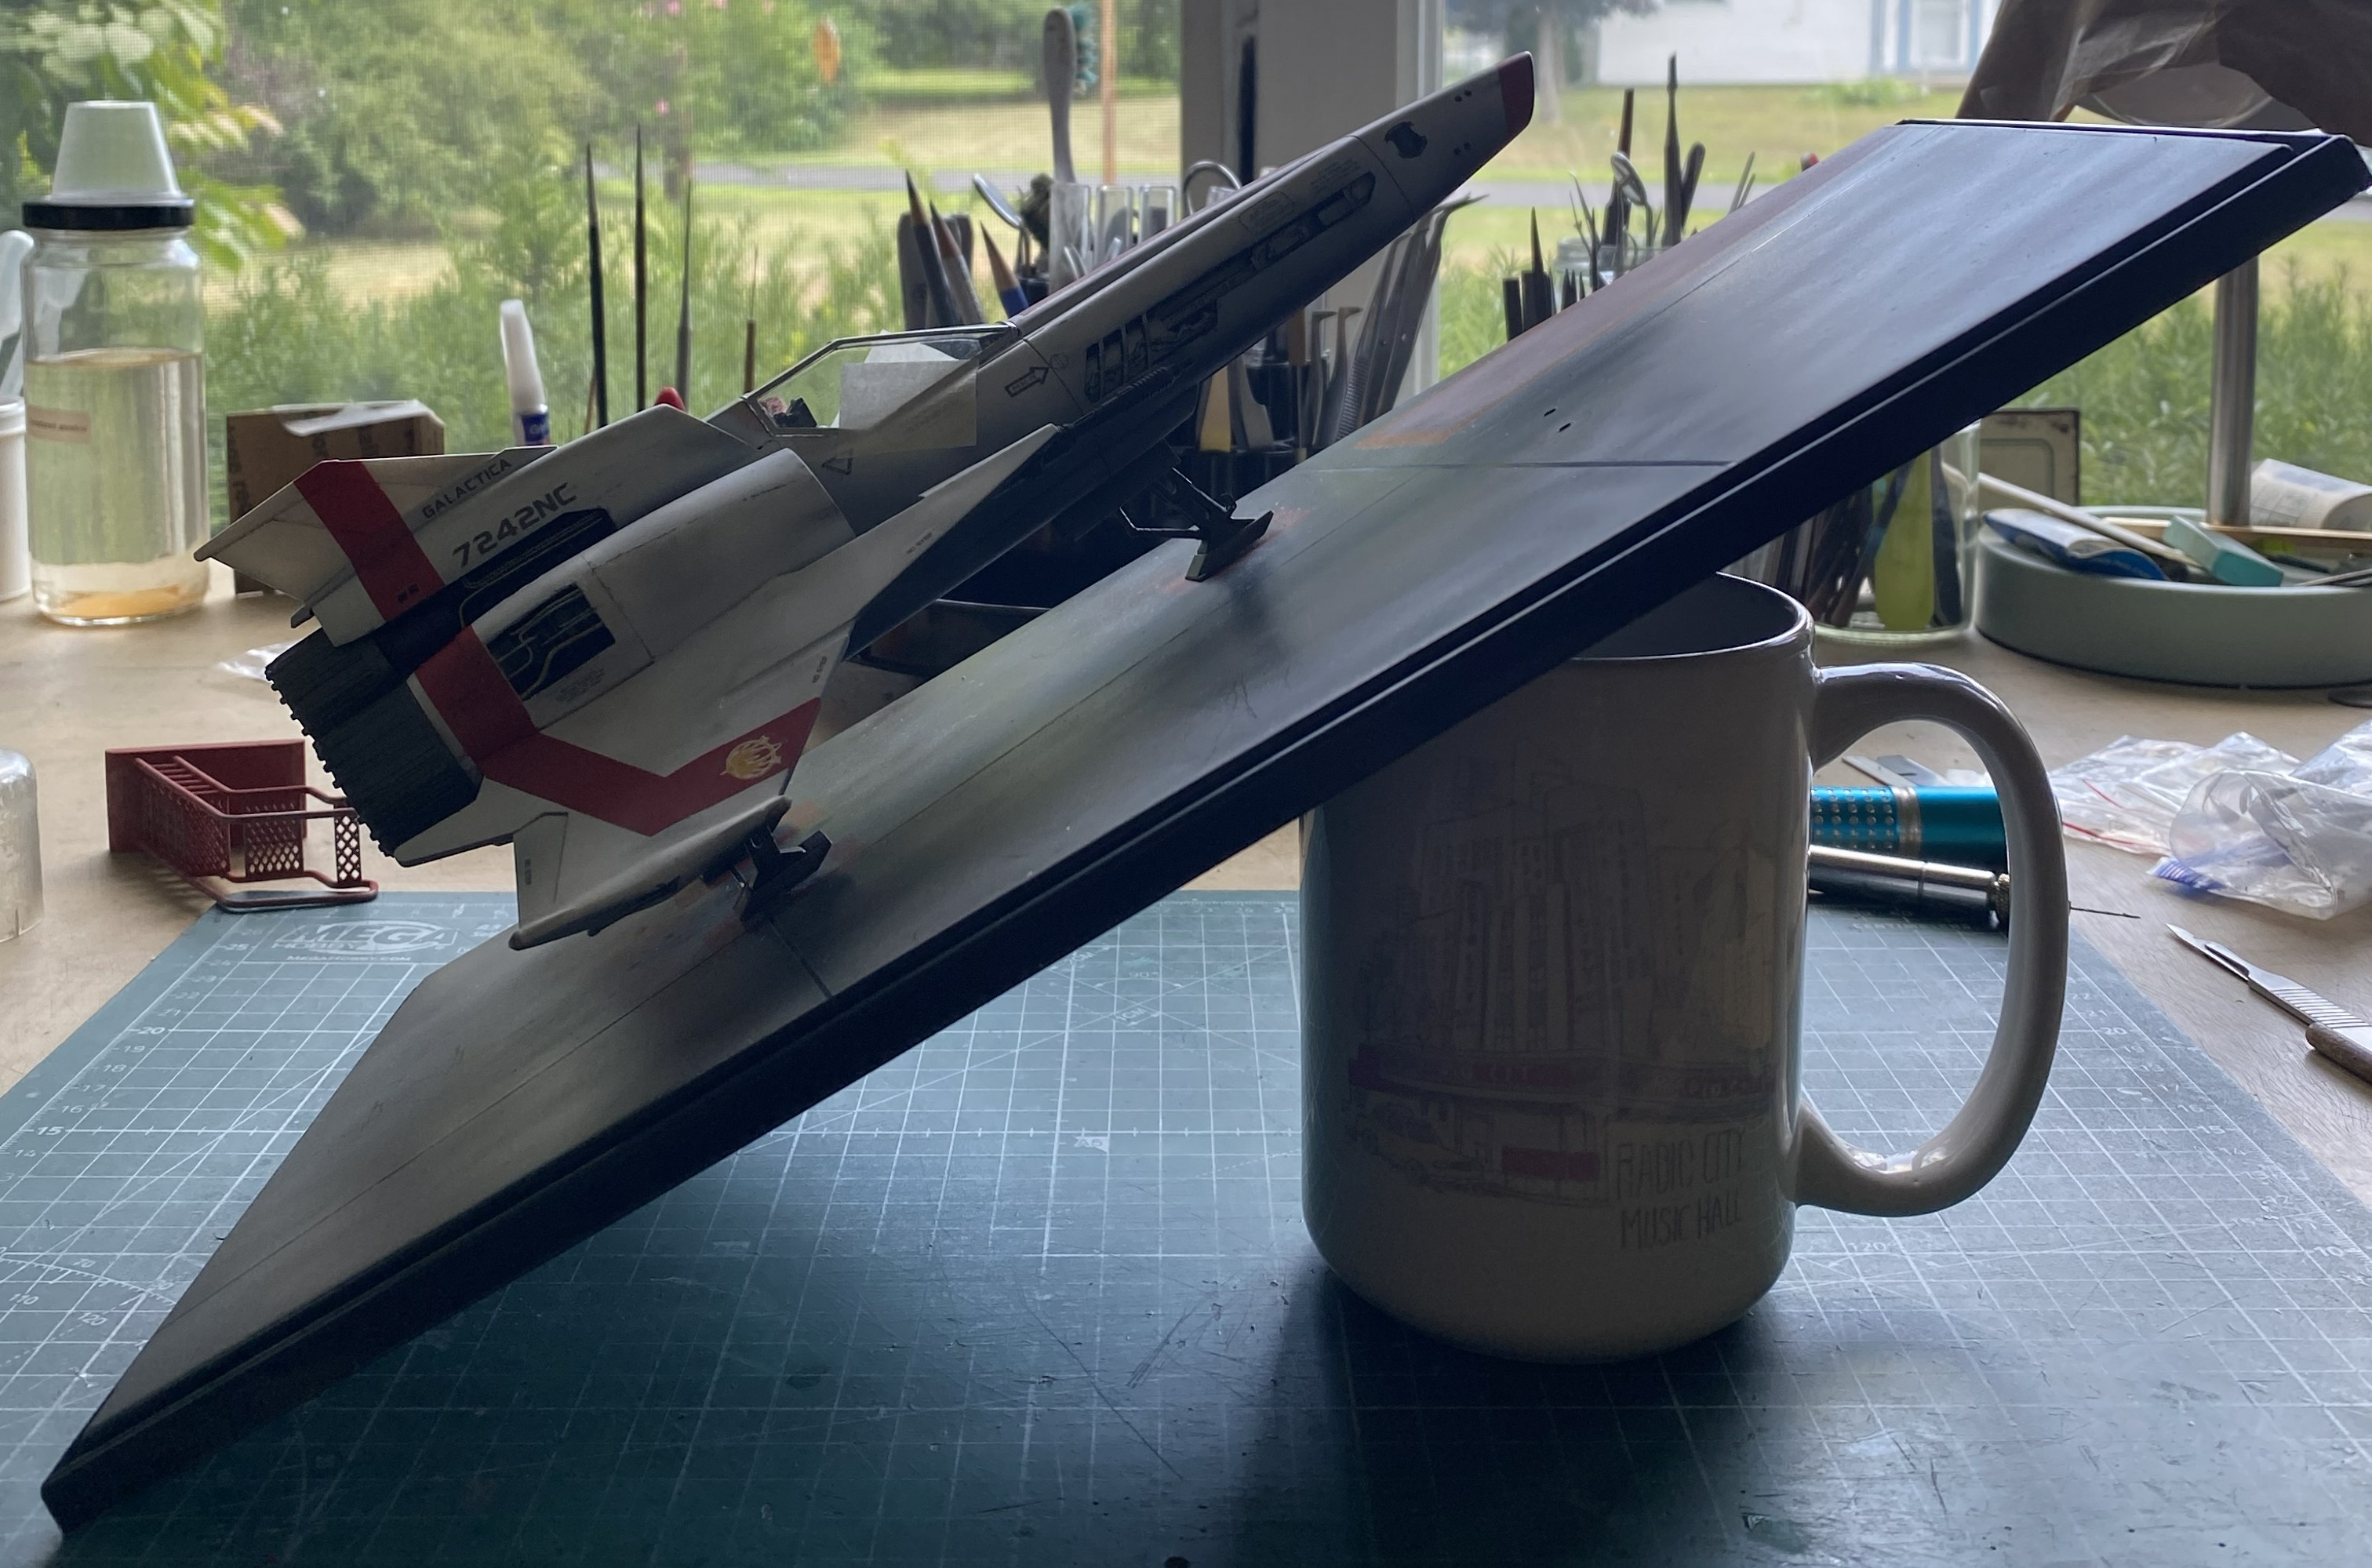
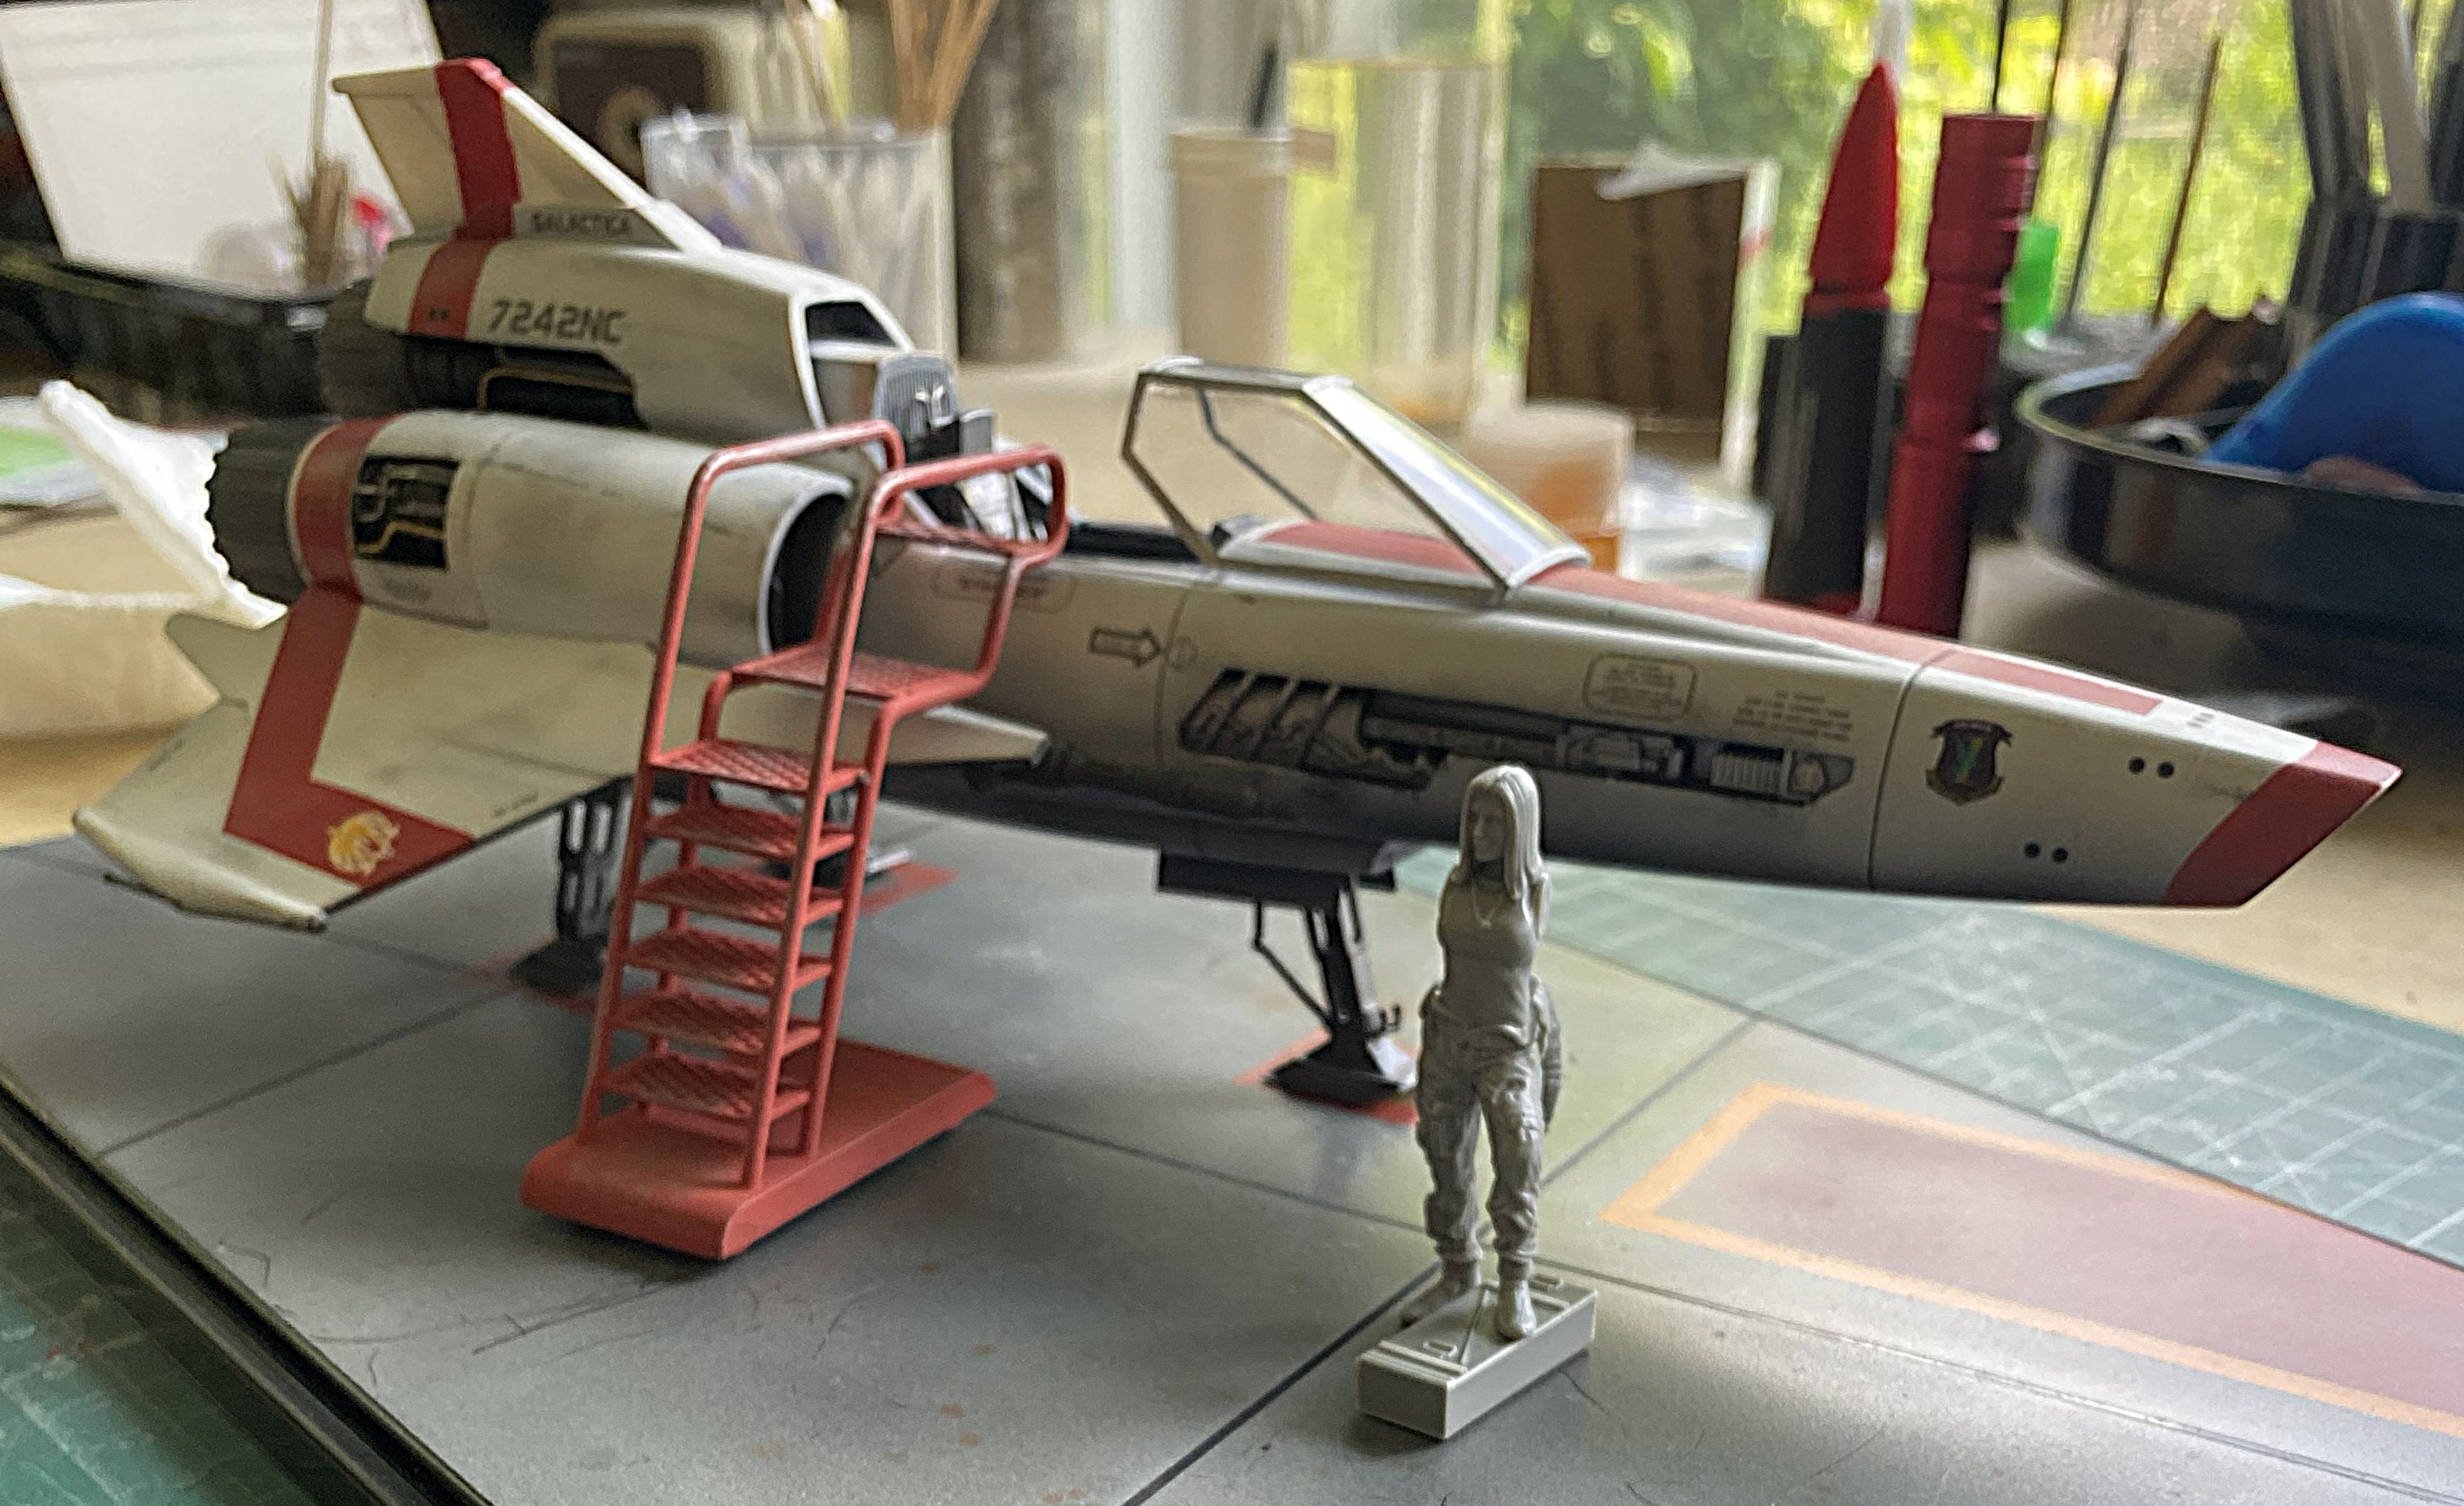
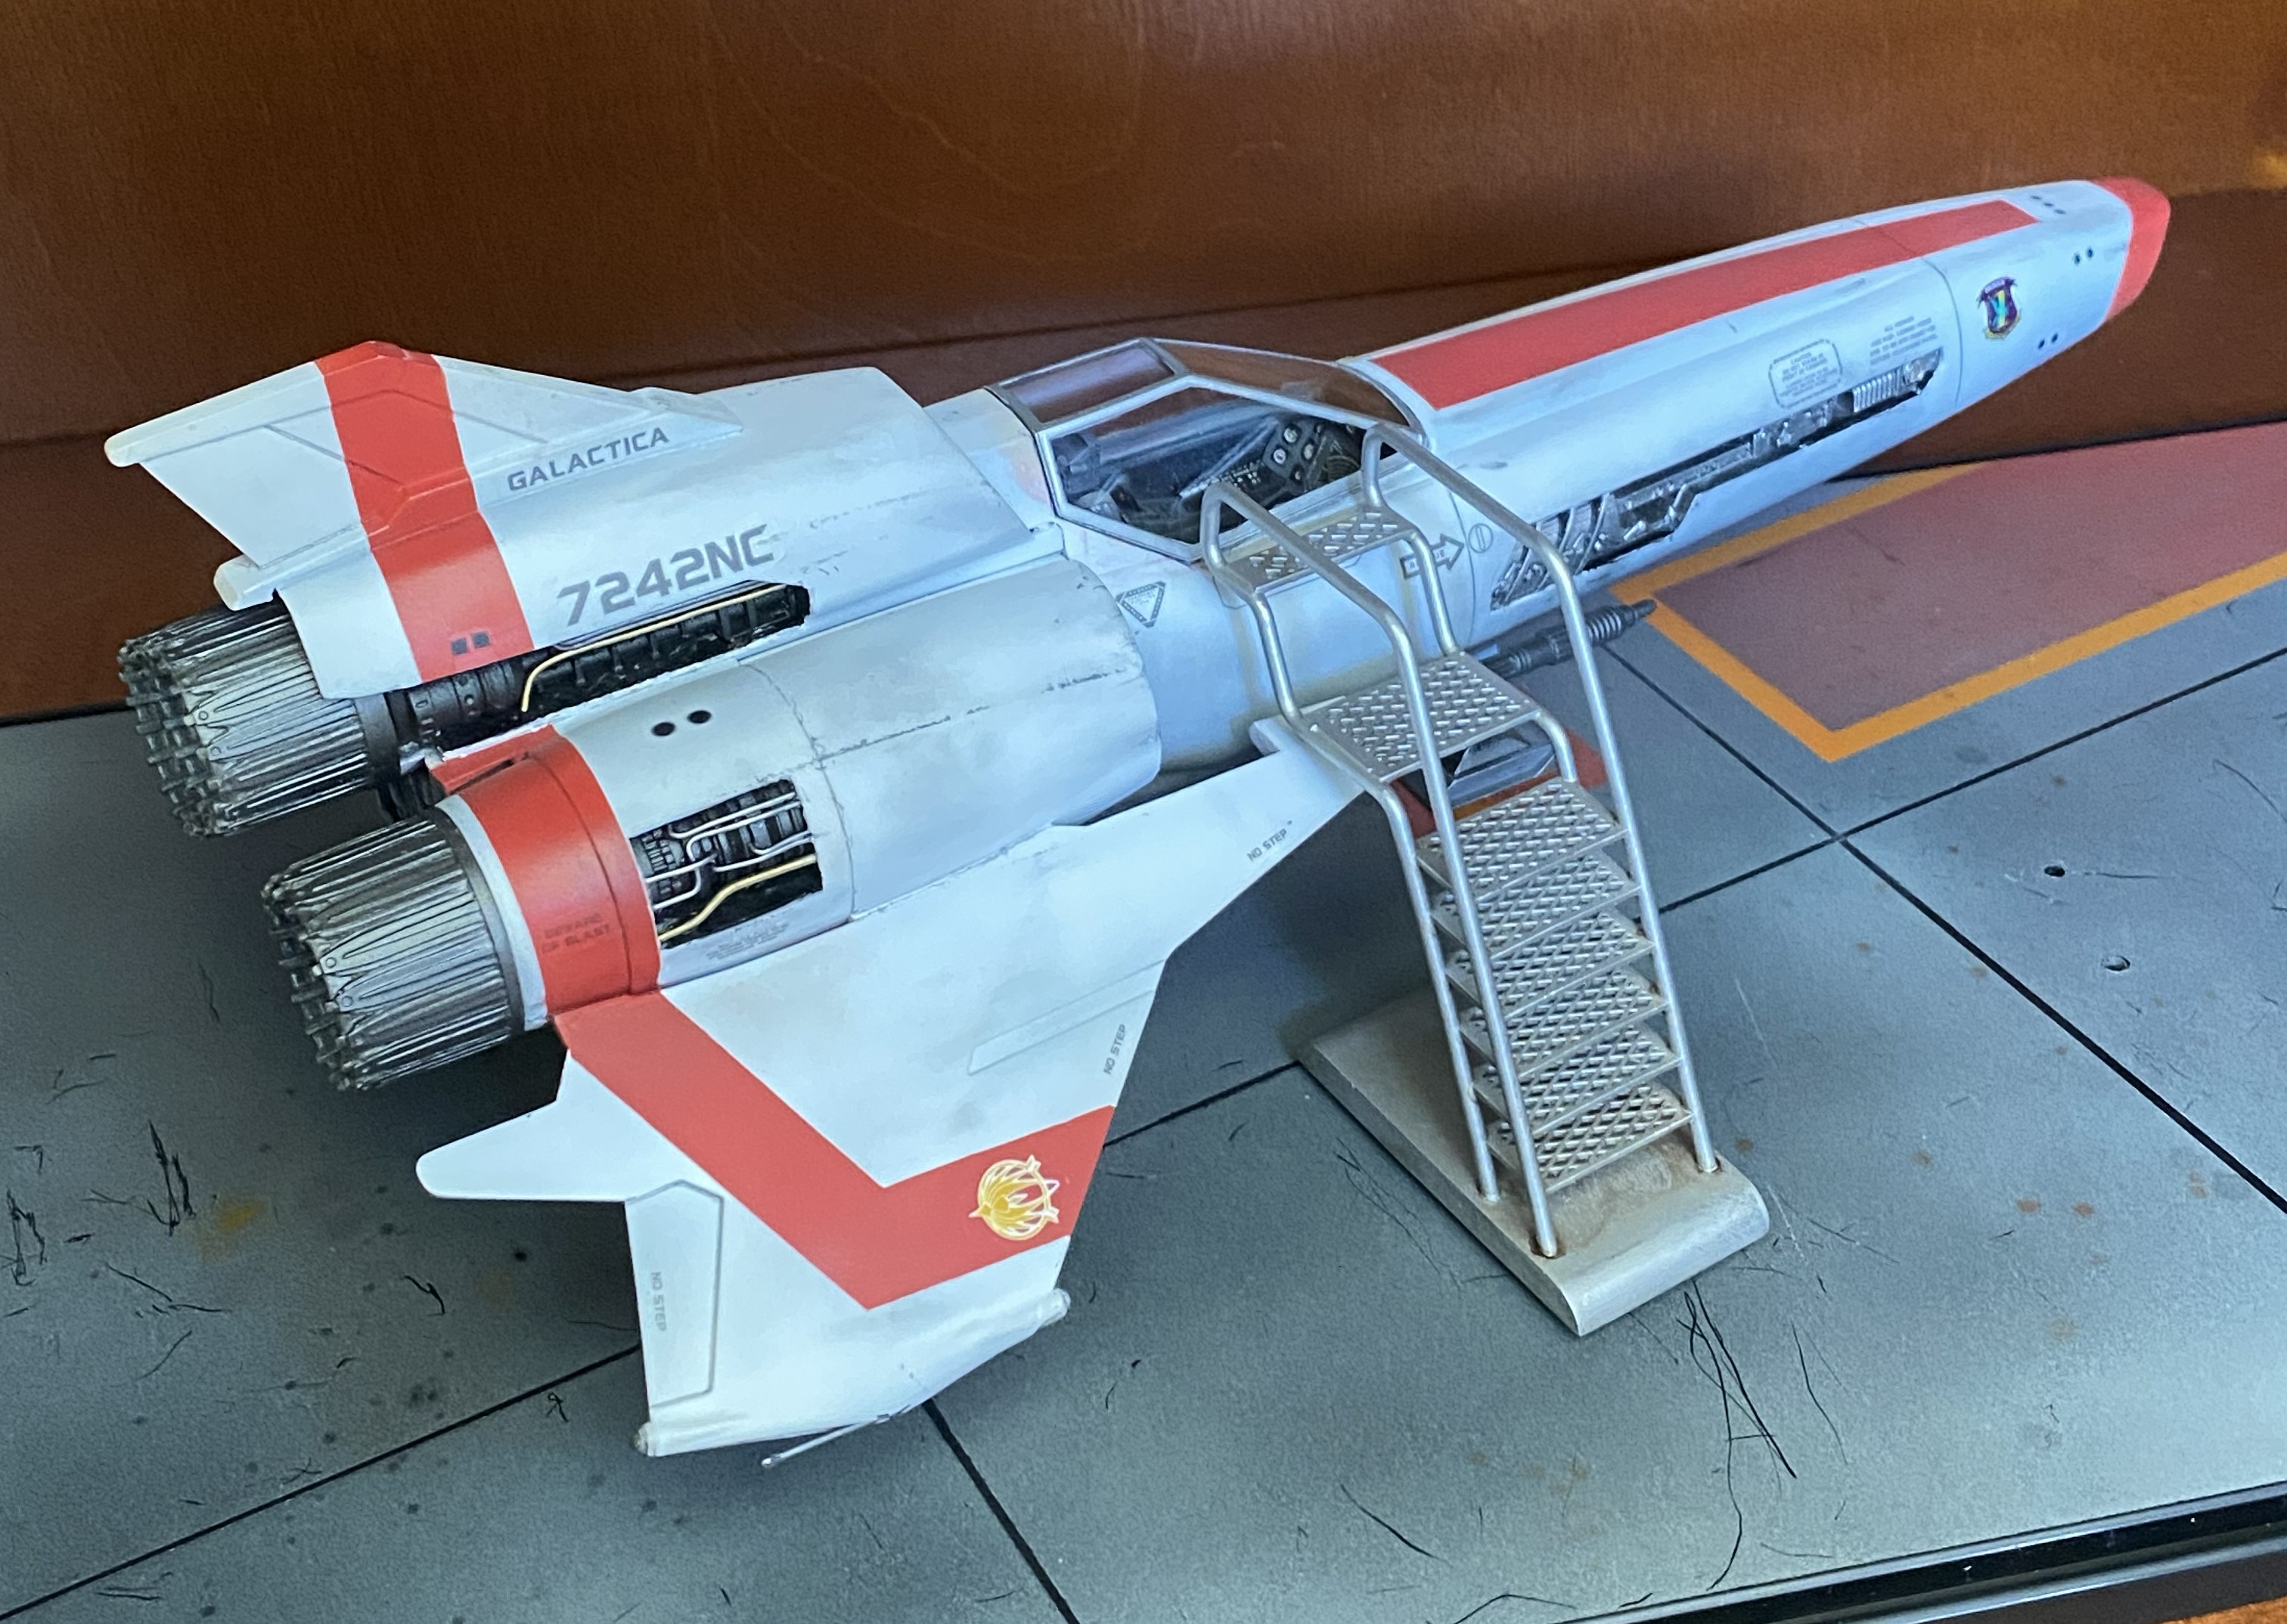
The intent to keep things located extends to the figure and ammunition box, but not to the access ladder (the one pose option, where to put the ladder). At the angle shown below, this model would slide off its base:
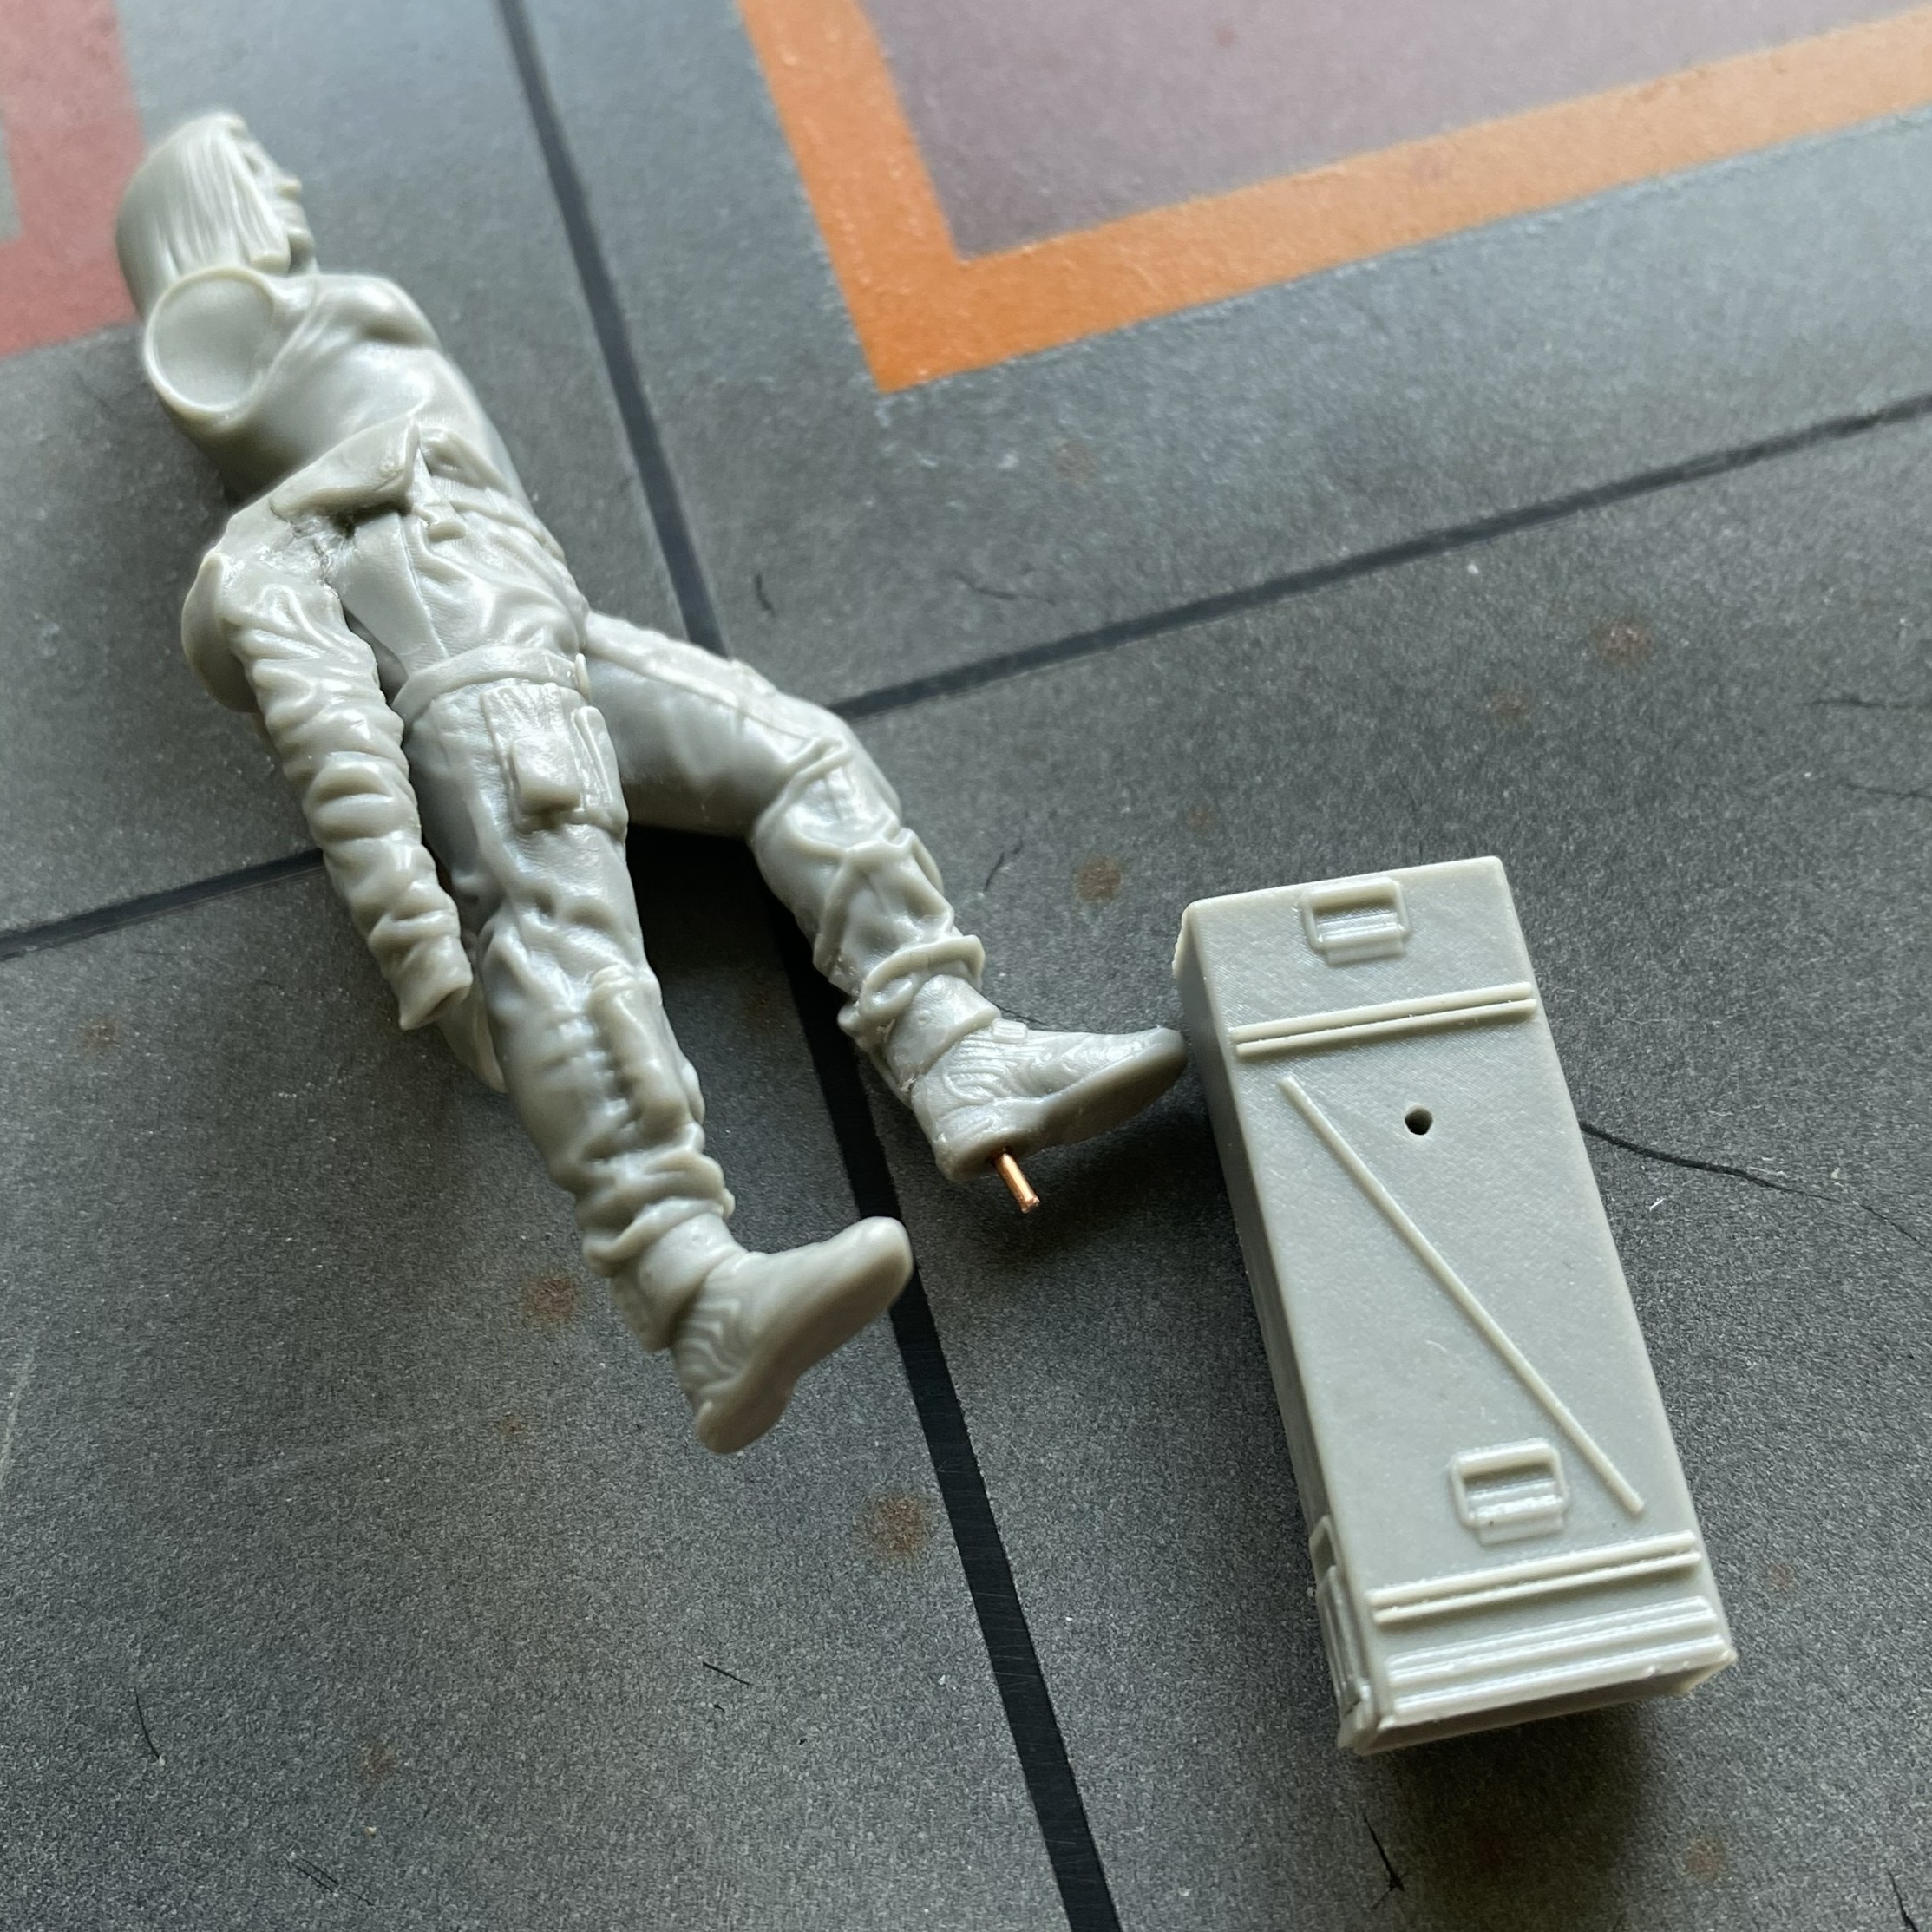
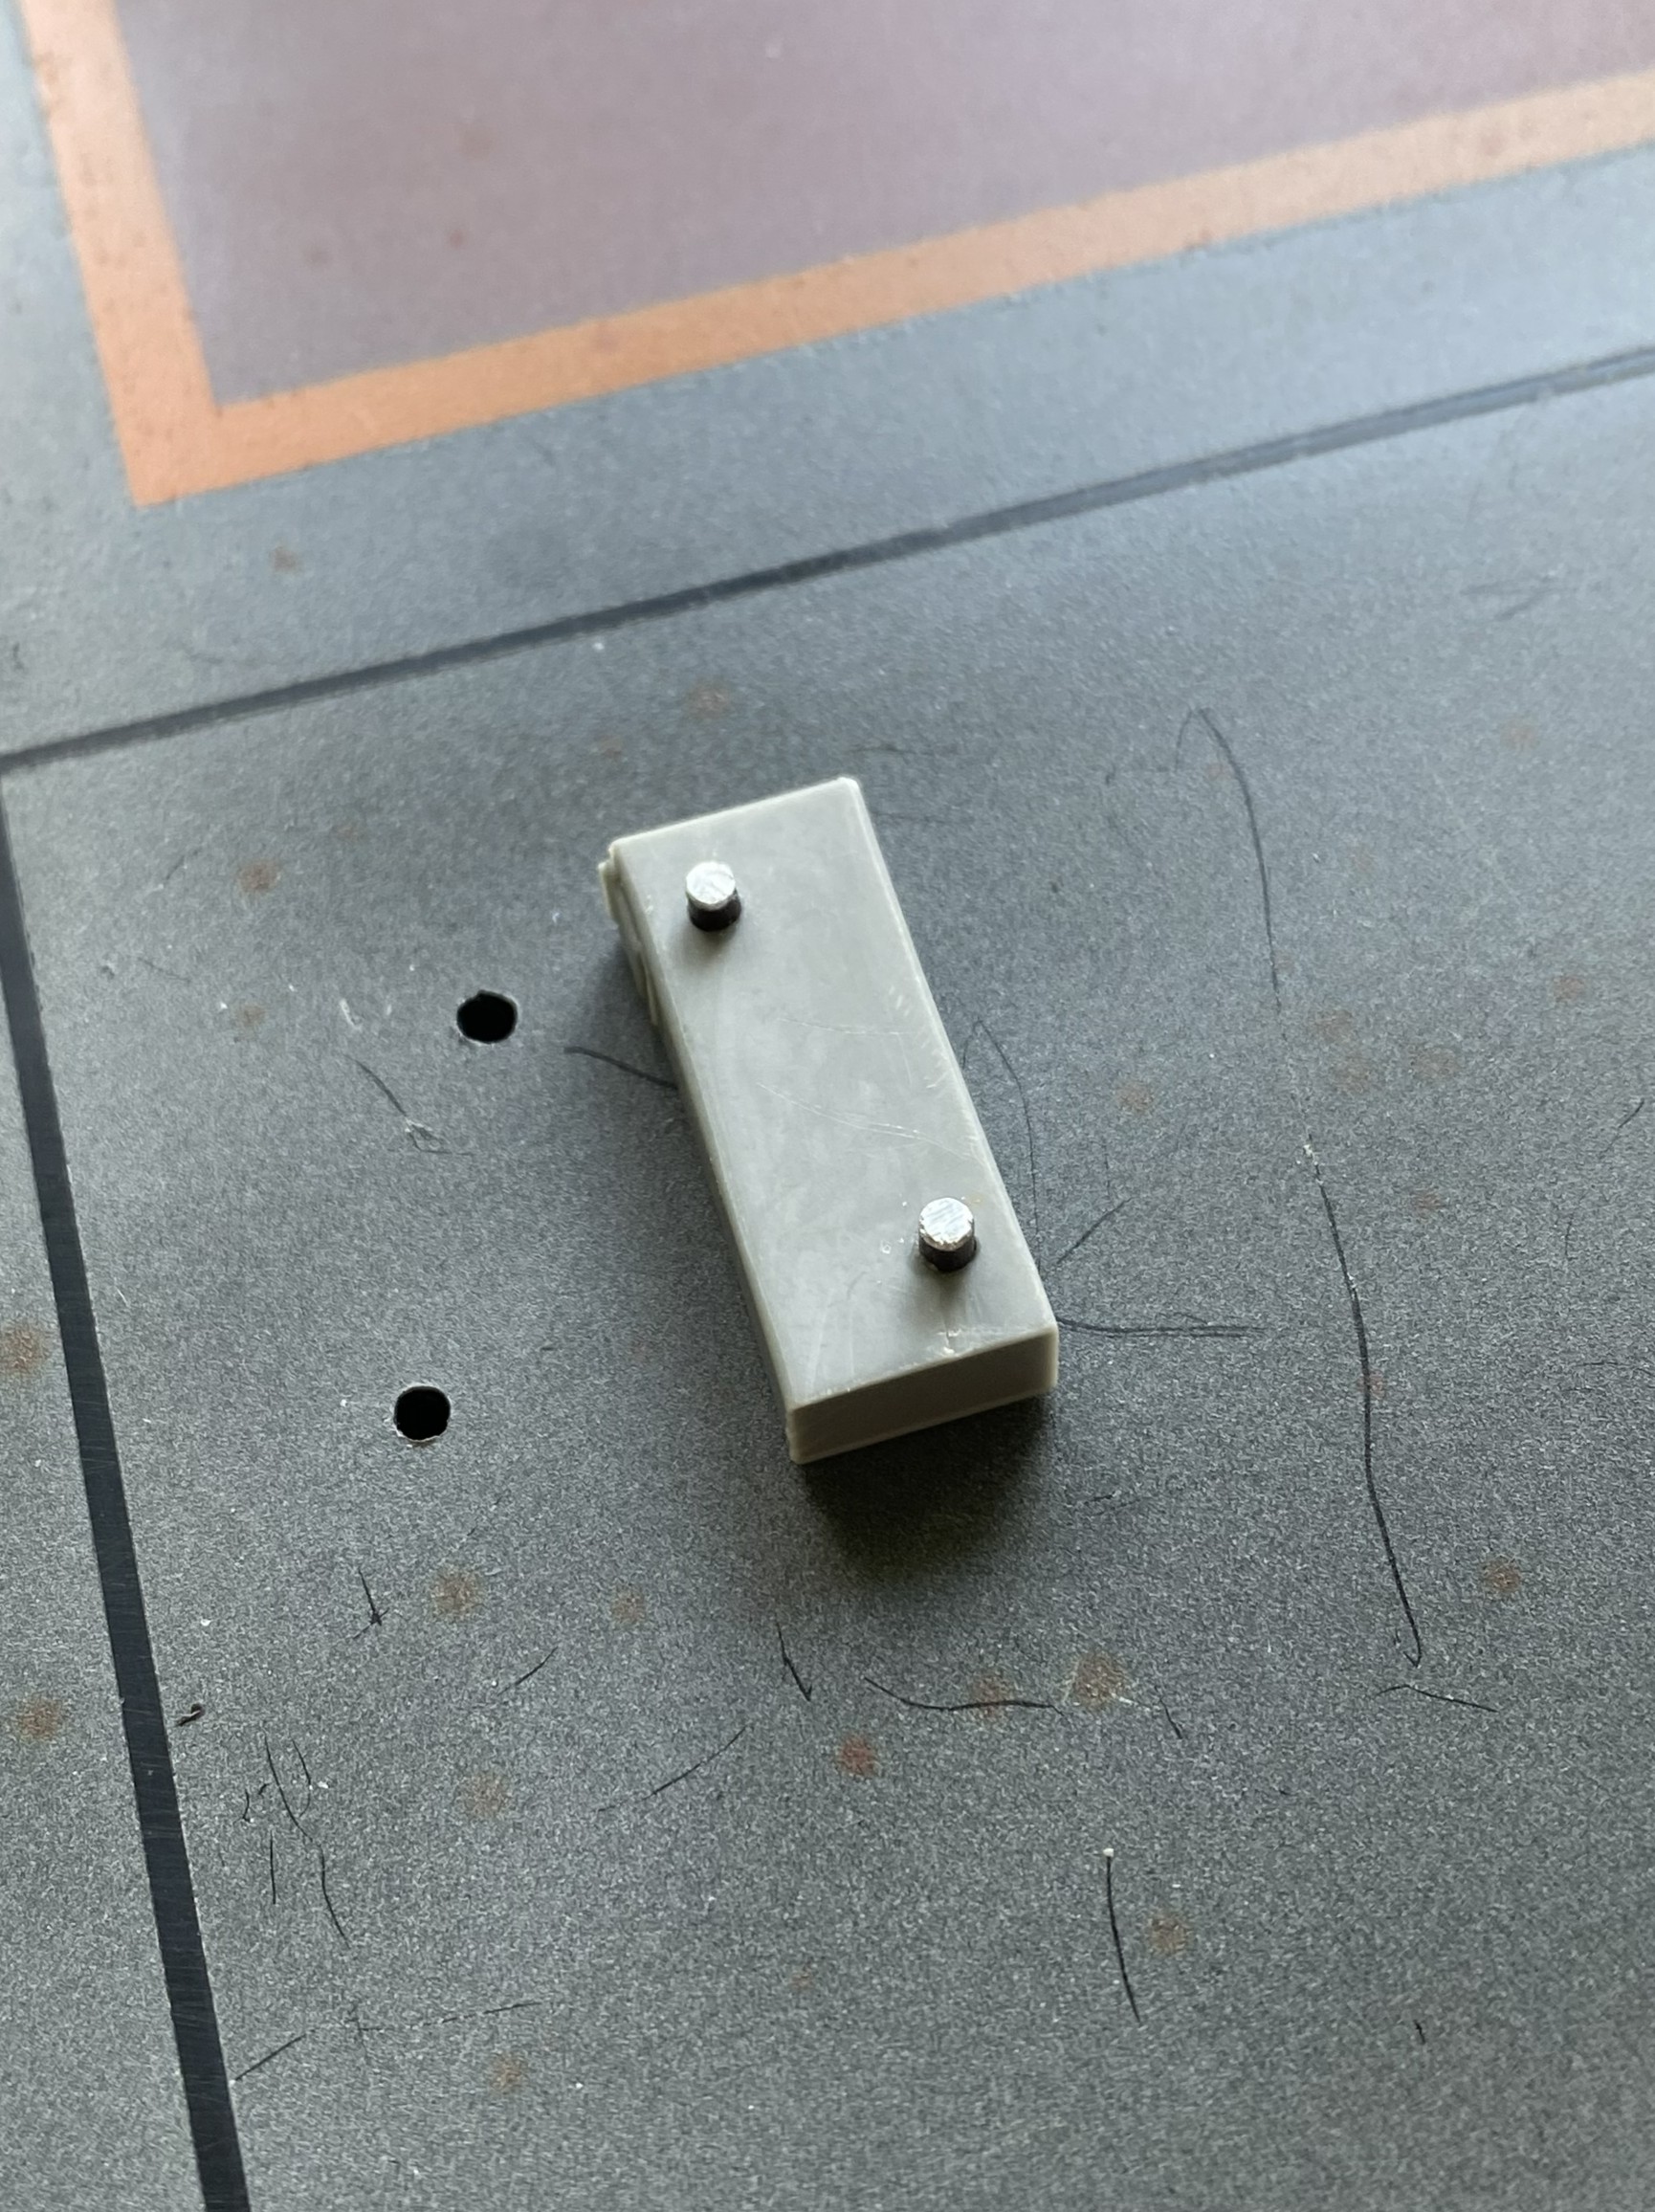
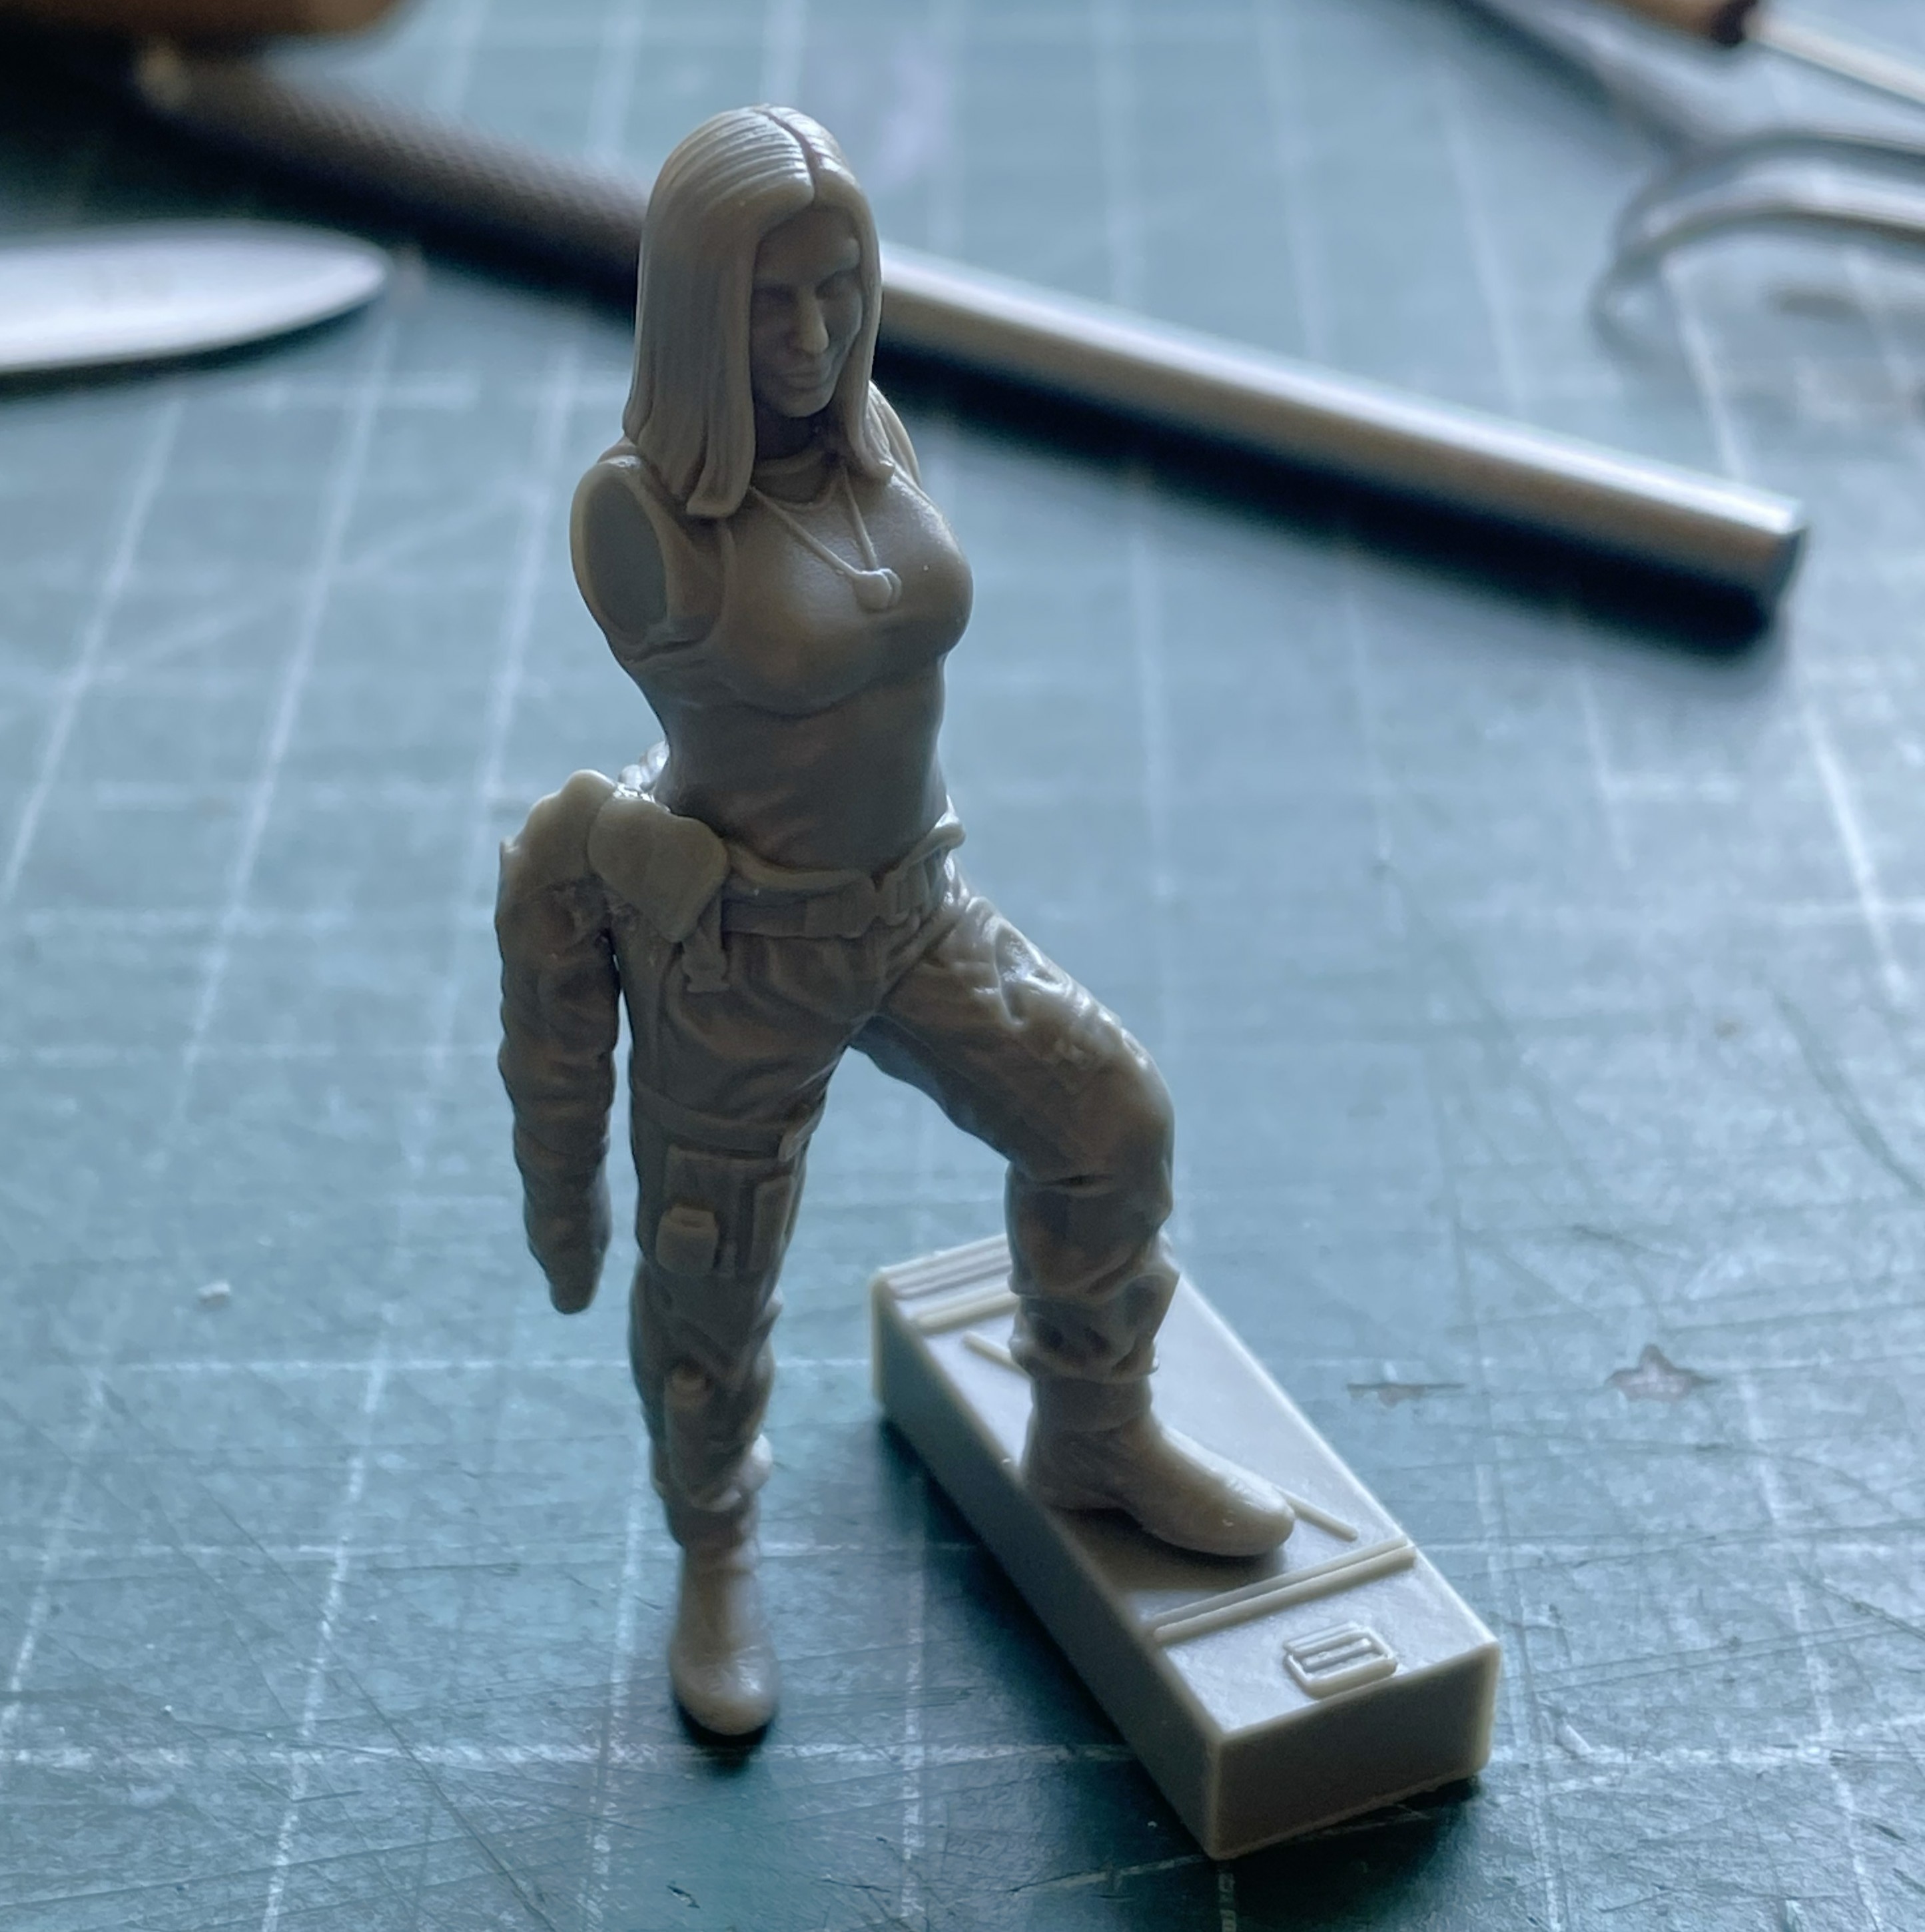
While in “pinning mode,” I decided where to put the ammo can and figure and then added pins (these will probably not be glued to the base, but that decision is for later):
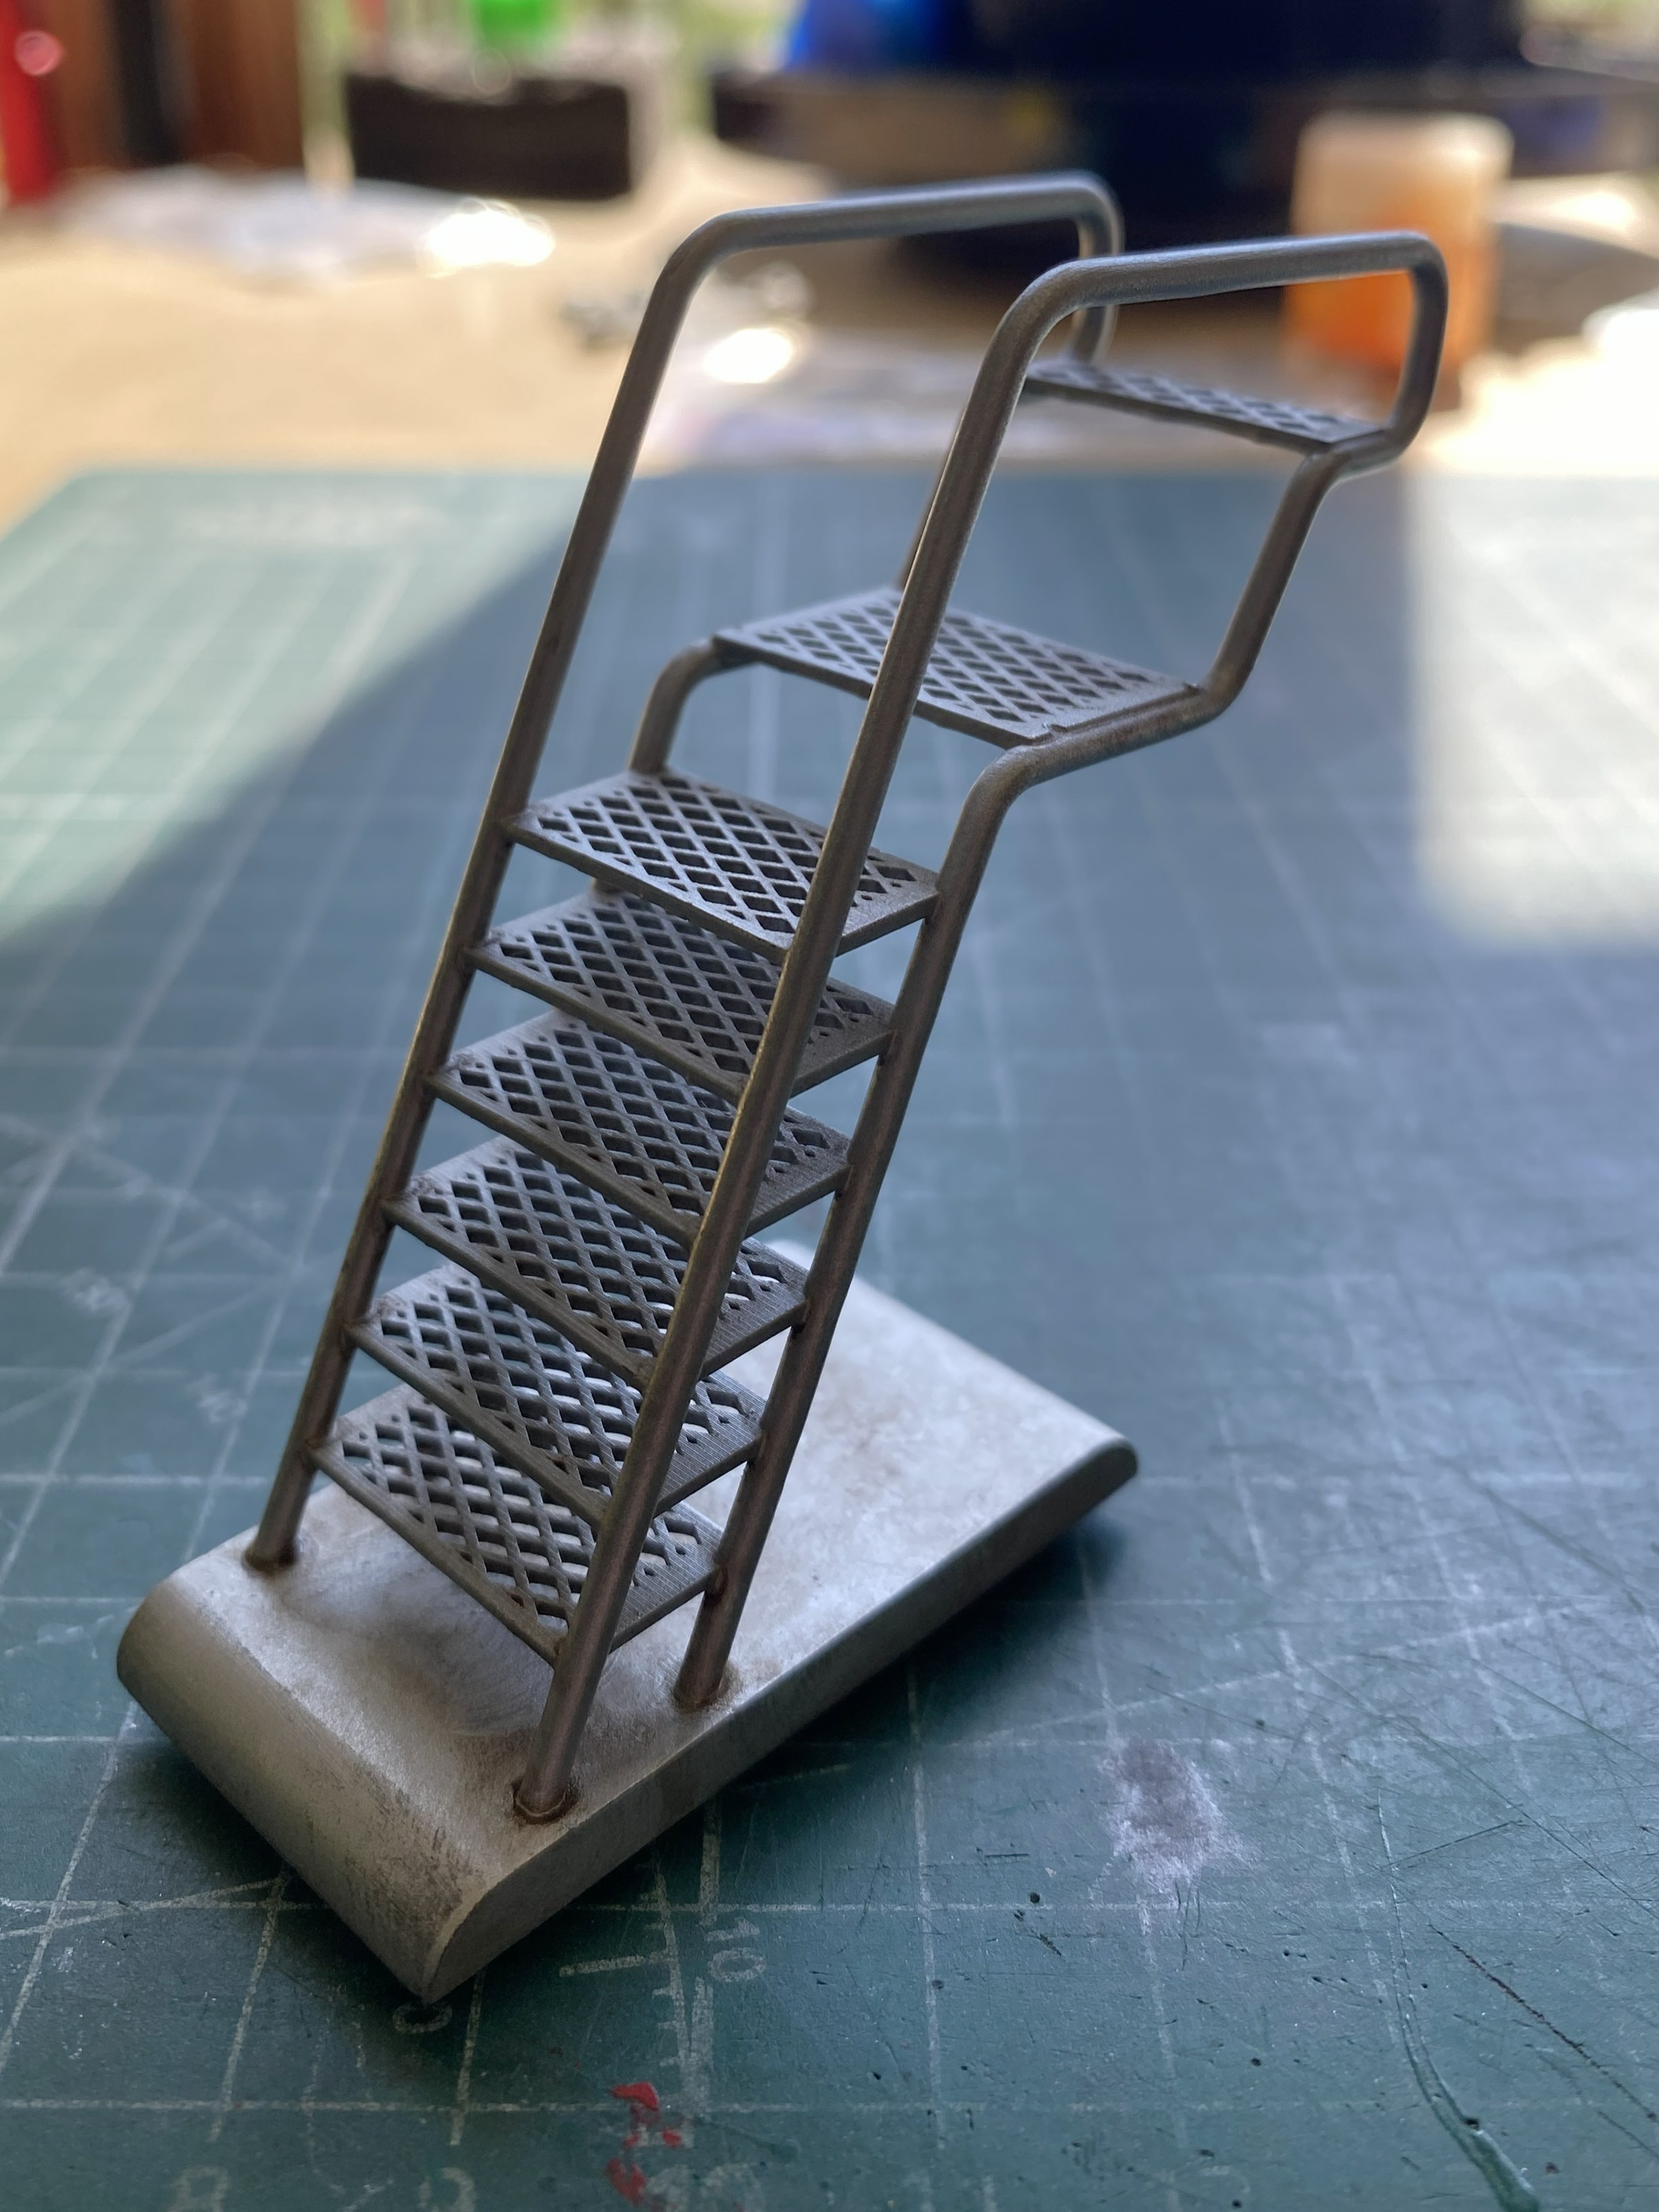
Keeping with my theme of I’ll-do-anything-instead-of-paint-the-figure, I repainted the access ladder. Mistakenly, I’d assumed that the support equipment would be the same color as the markings on the deck and Viper. Then I looked at references and saw that those ladders were natural (or so they appeared to my color-defective eyes) aluminum. I stripped the red off, did my due diligence by working the surfaces of the ladder’s railings to remove marks from the 3D print (which, you’ve correctly concluded I should have done before painting it red). Once done, I shot it with a mix of Tamiya XF-16 Flat Aluminum (4 parts) and XF-1 Flat Black (1 part) thinned one-third:
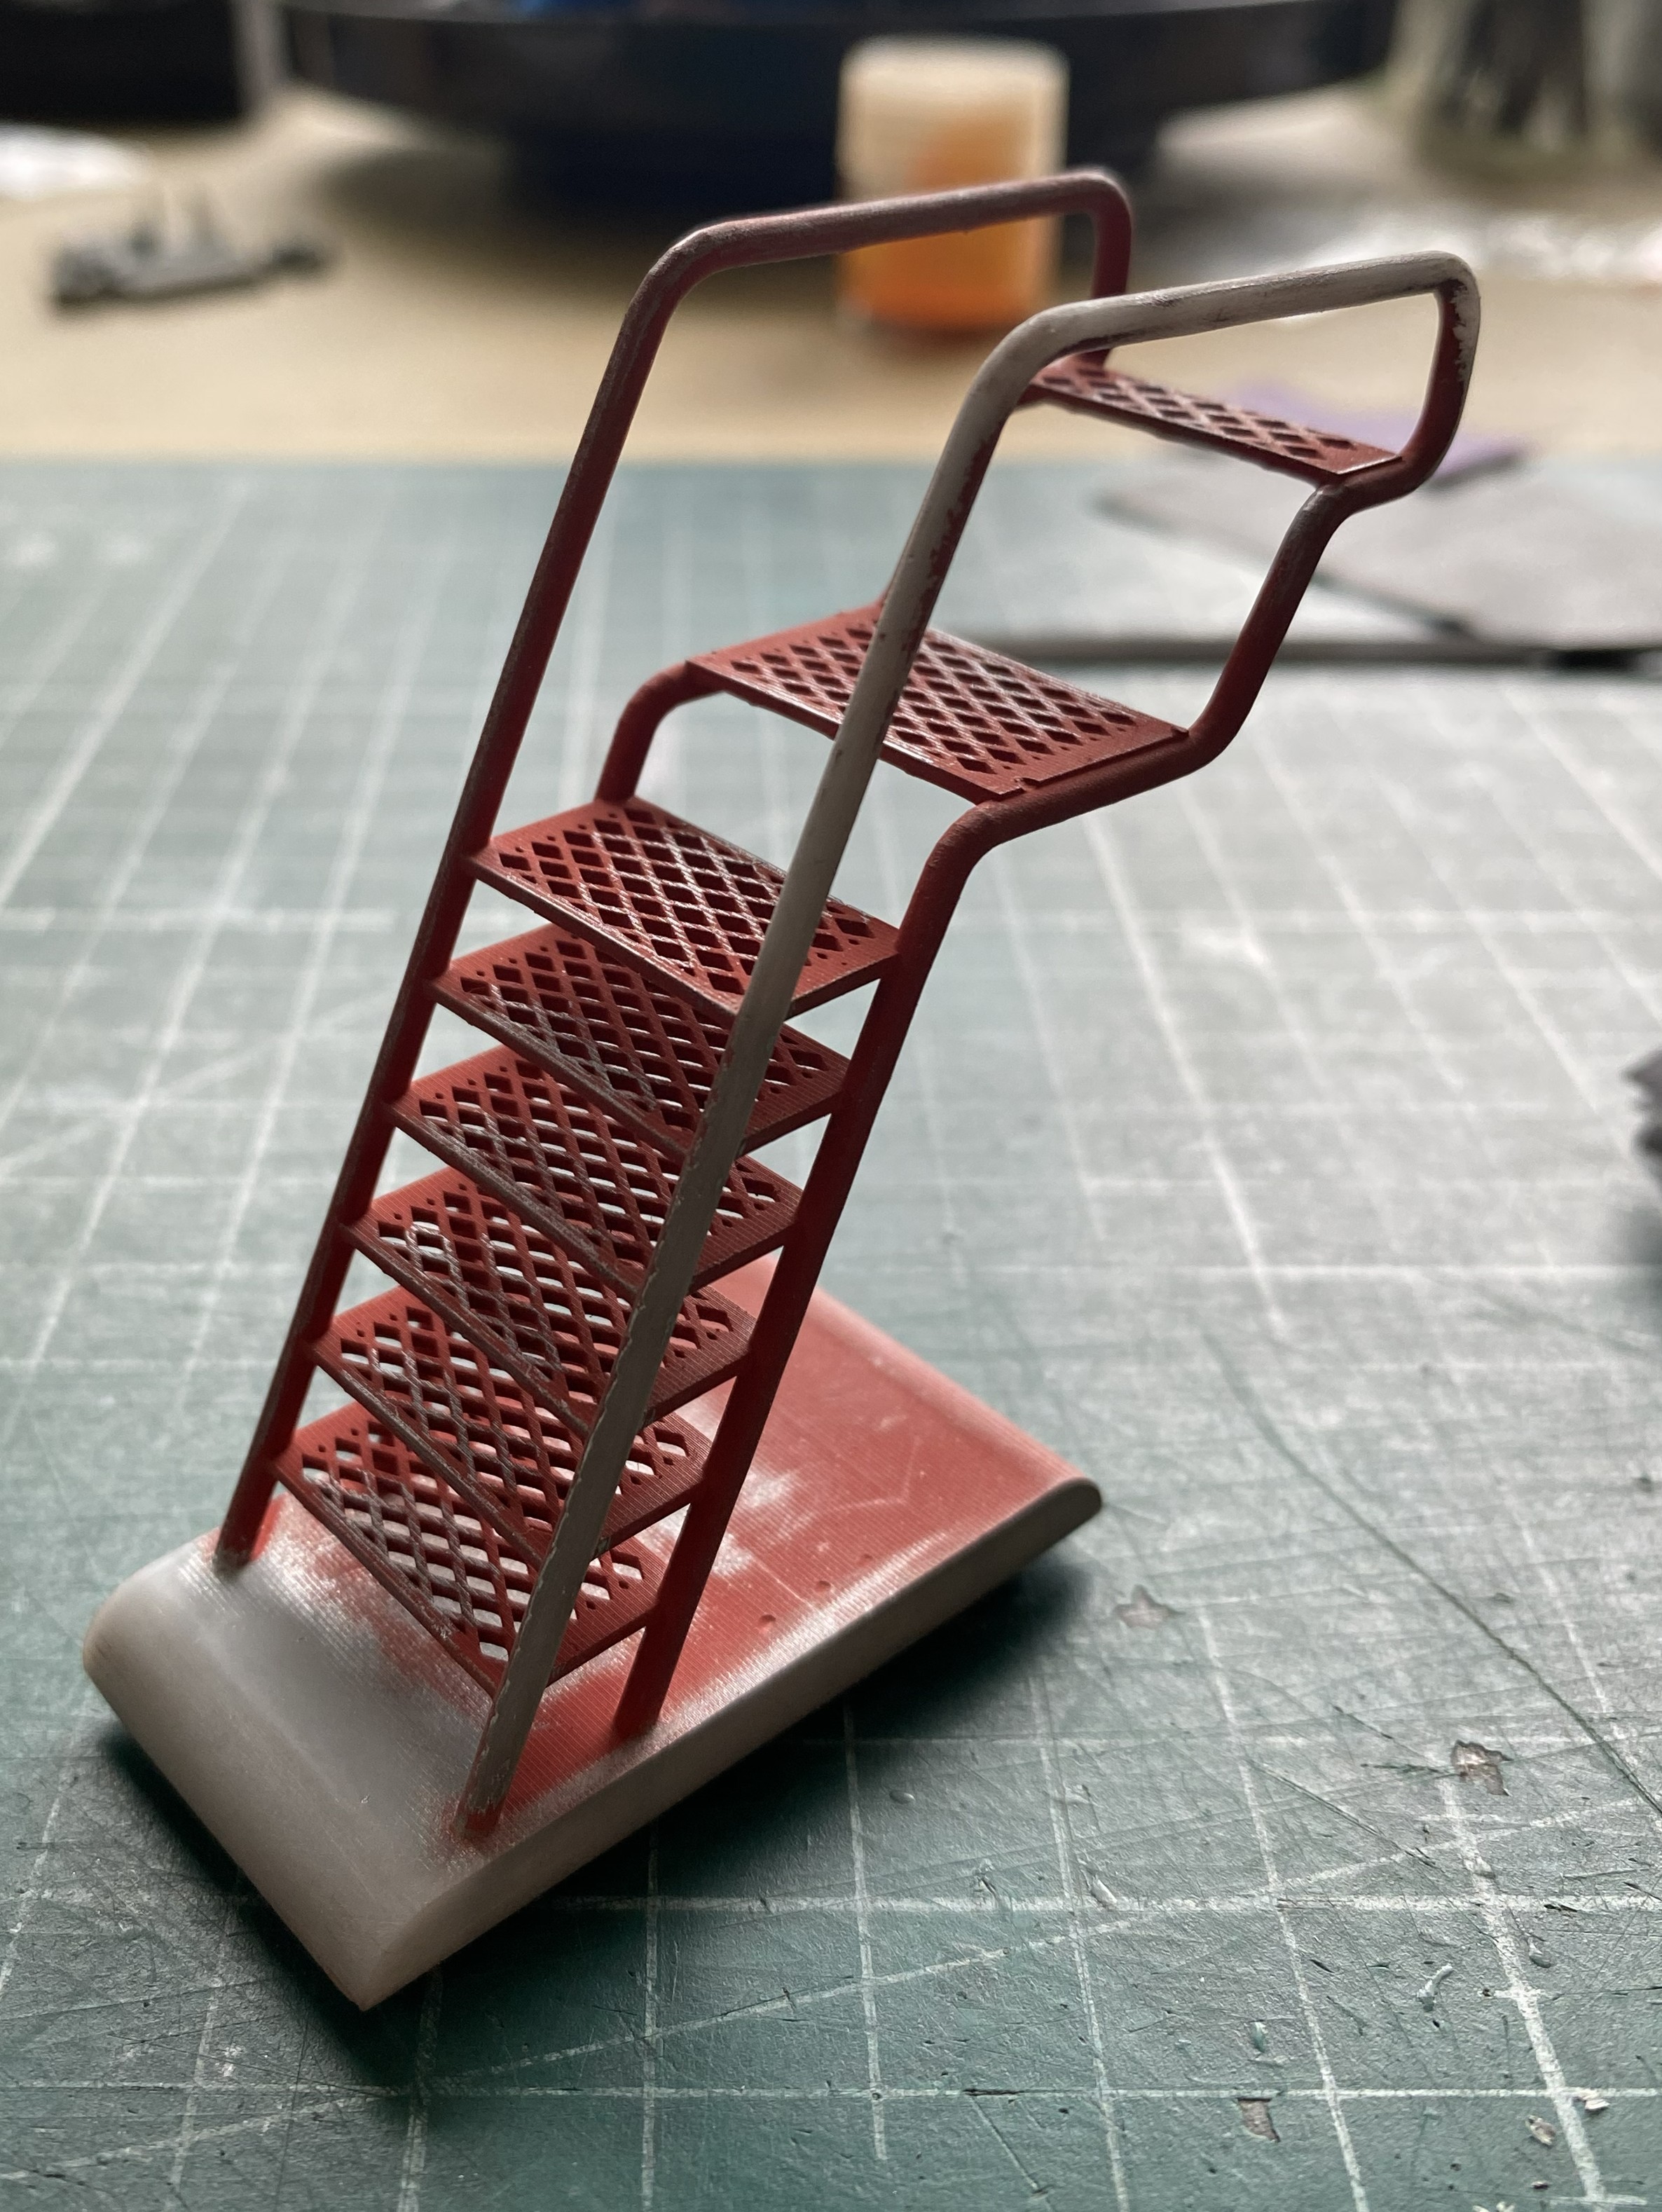
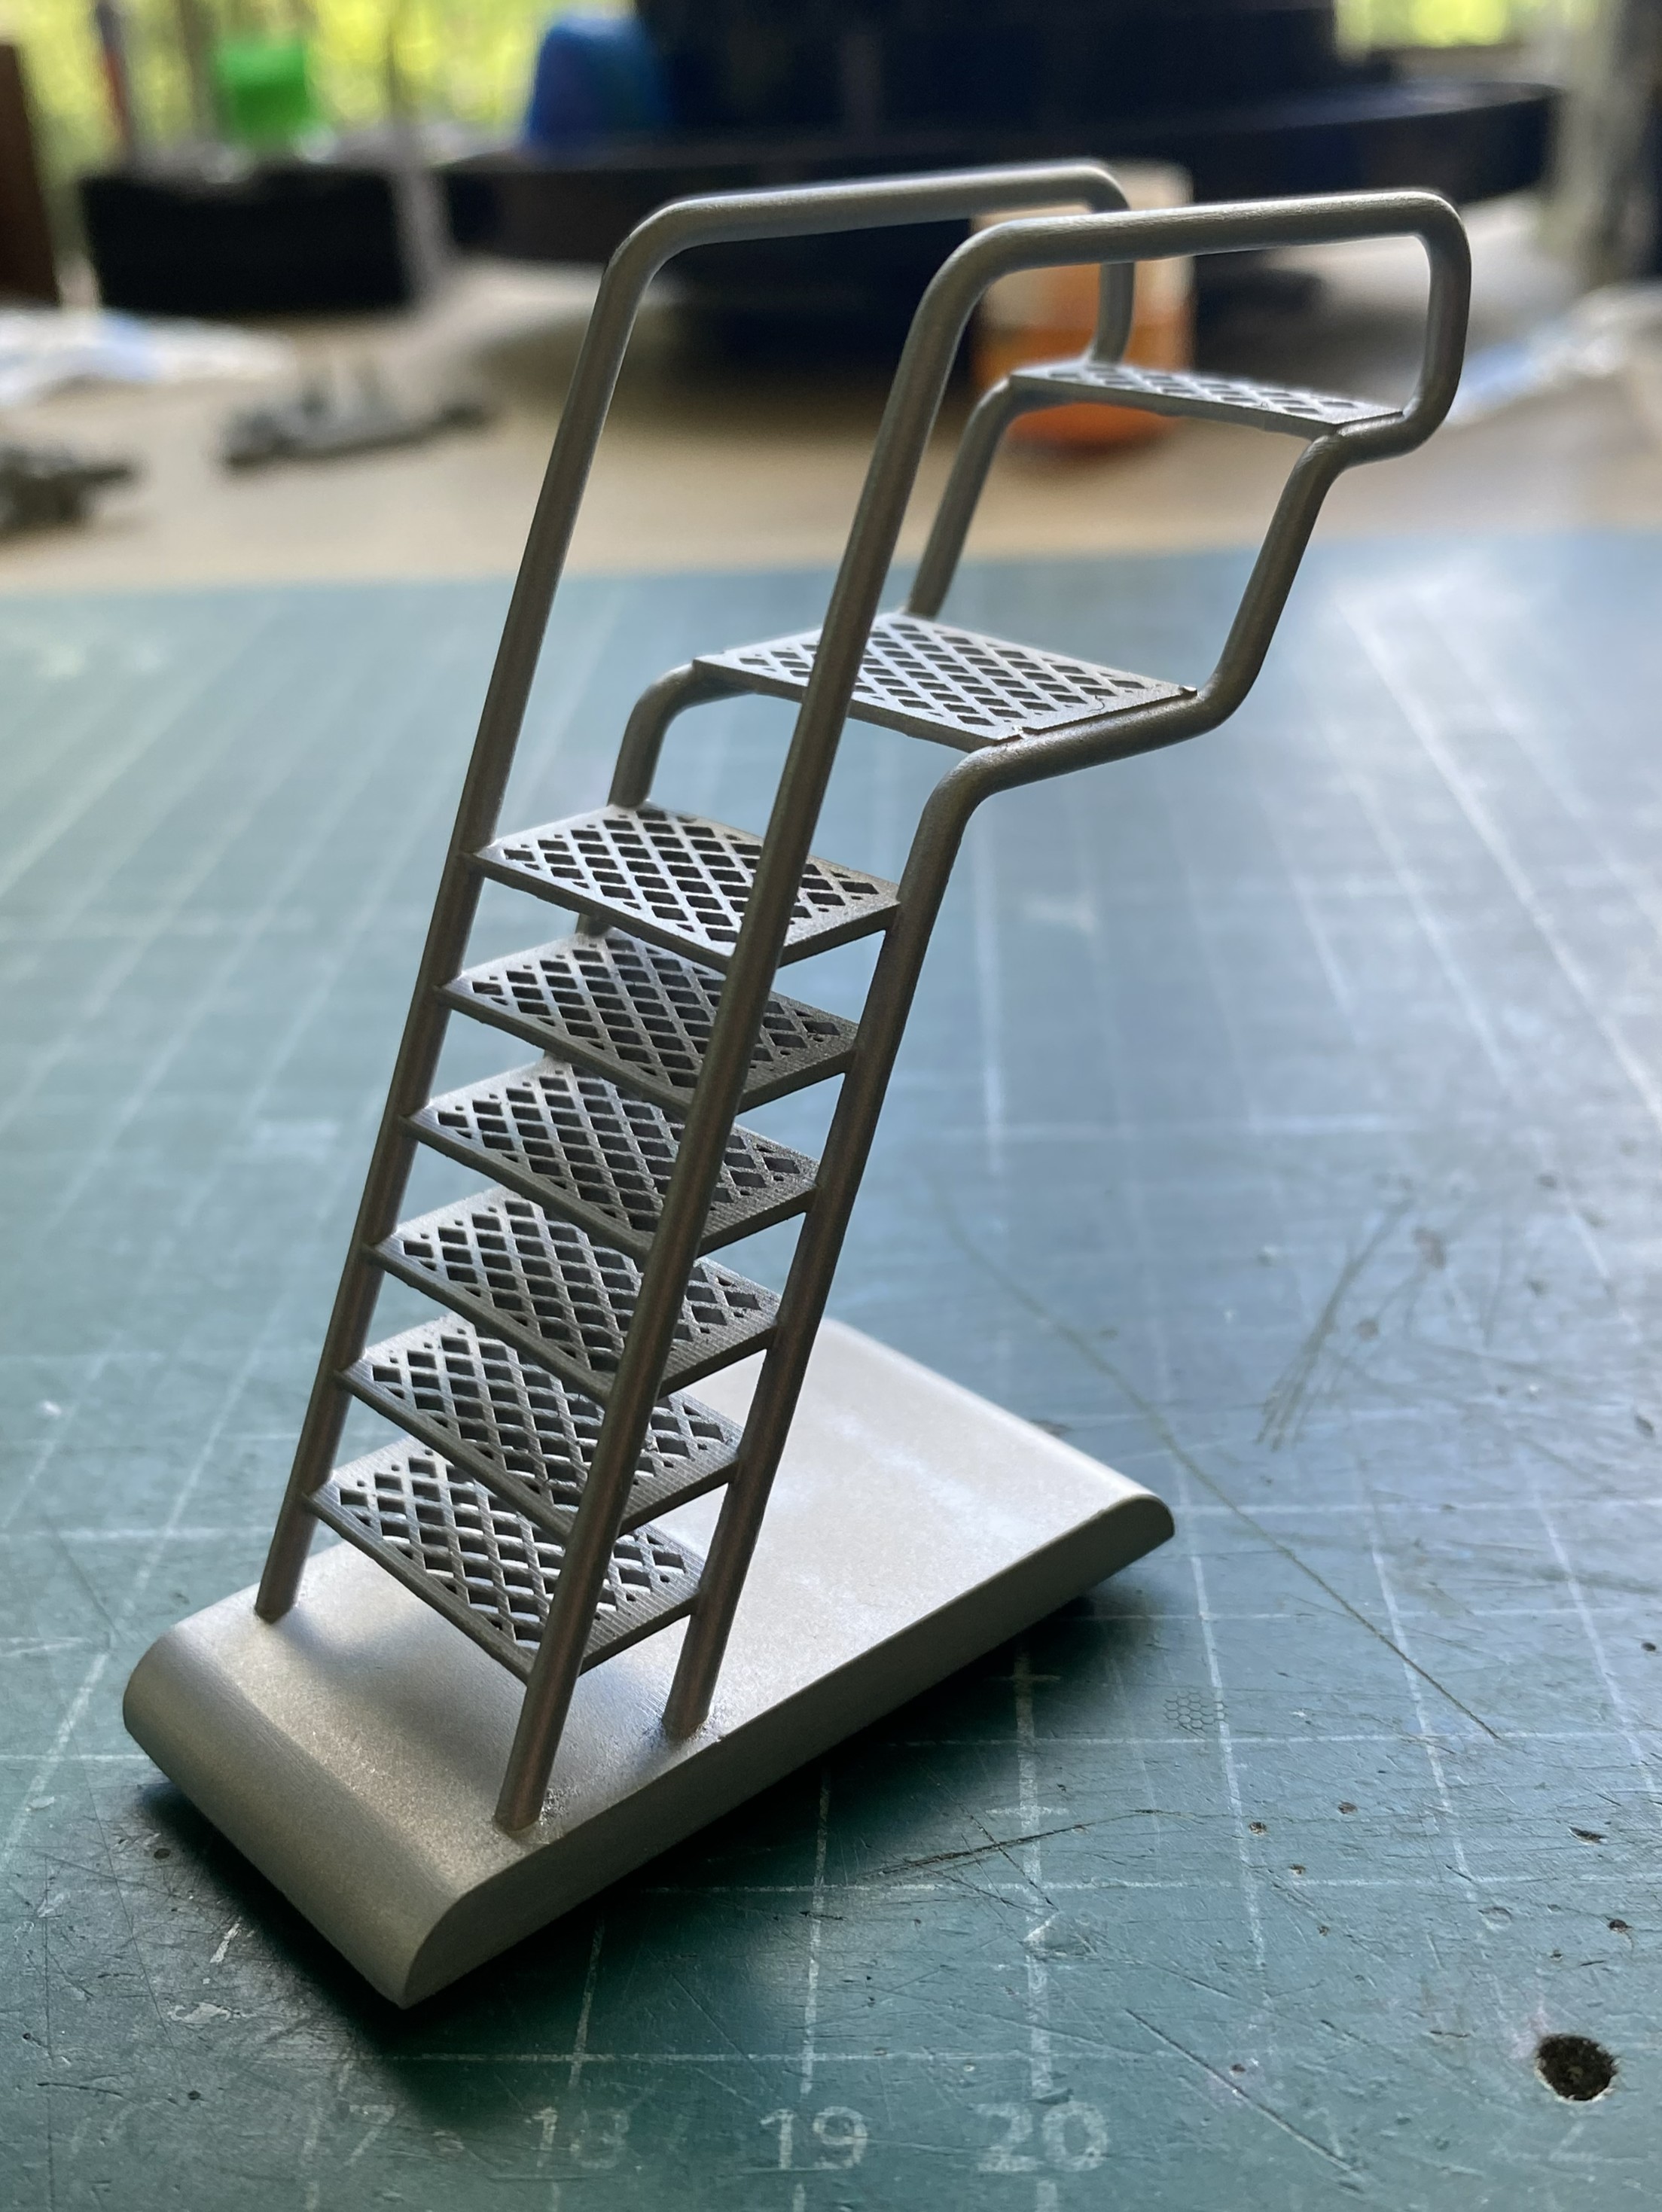
After the paint set up, I did a bit of wear marks and used oils (Burnt Umber and Black mixed) and gave it a wash, which toned down the brightness of the metal paint:
Having reached the point where there is nothing left to do but start work on the figure…fine.
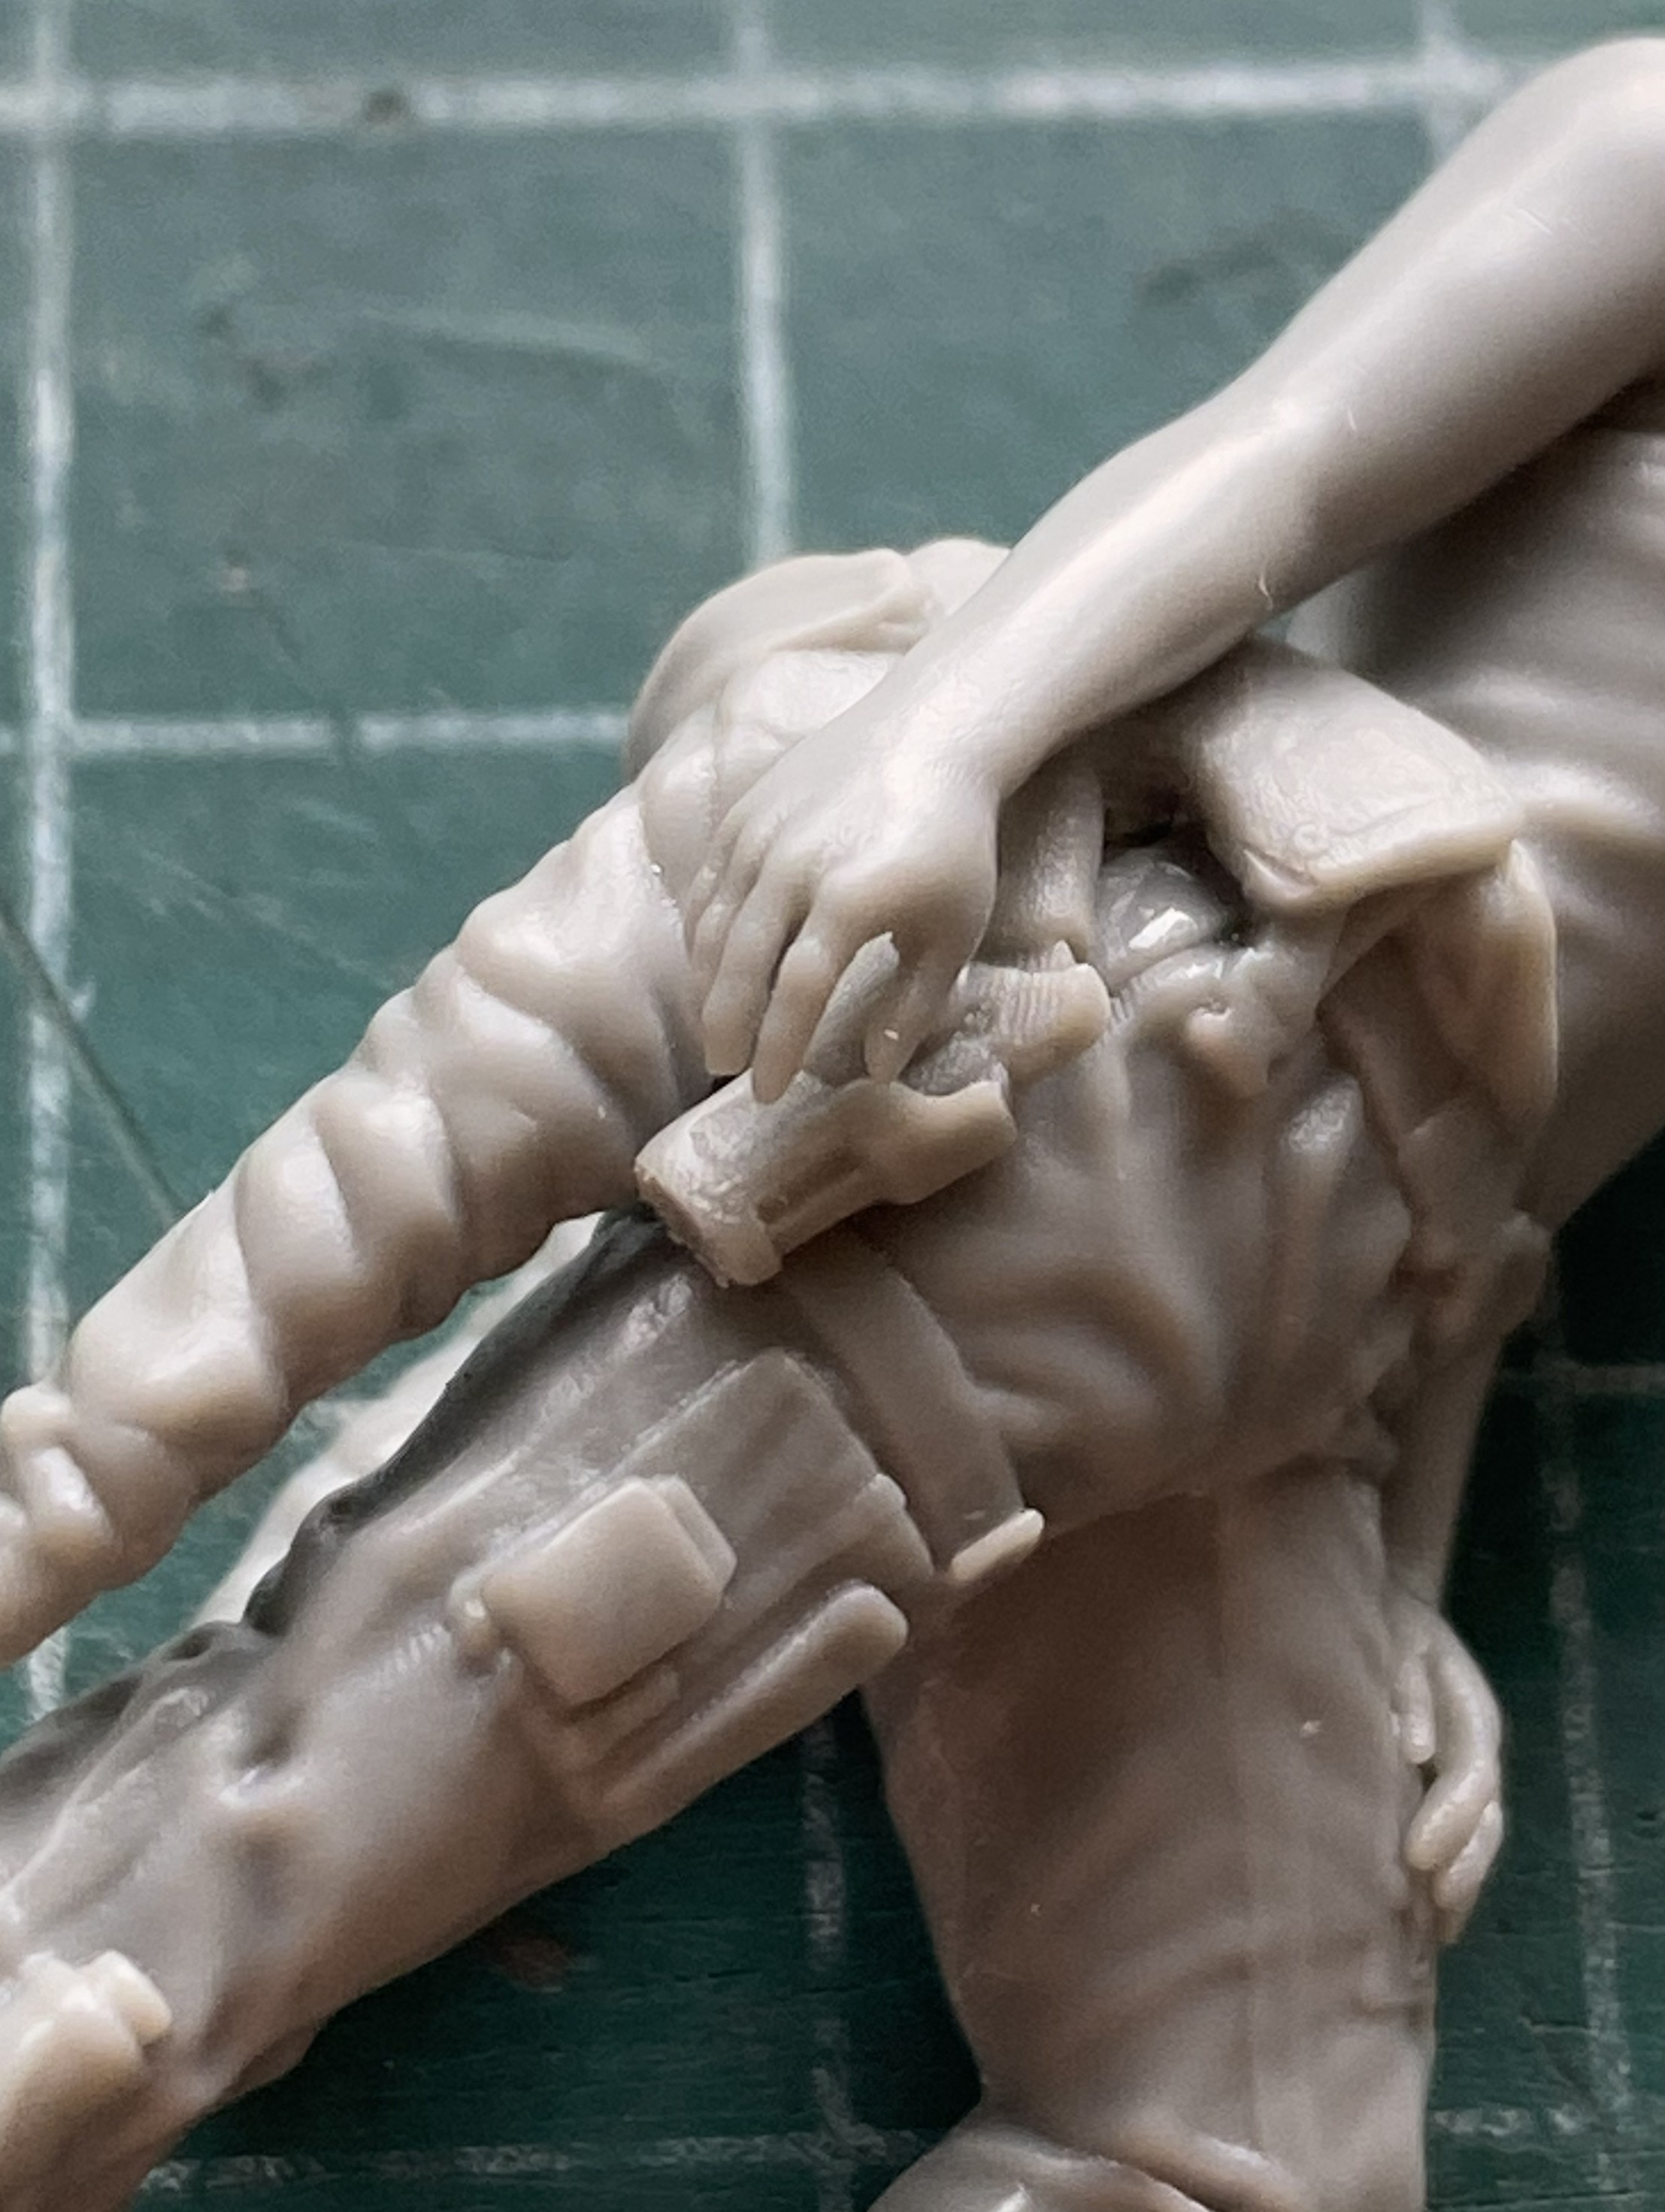
The figure seems to be a 3D print that served as the master for the mold and is nicely done. The assembly used a combination of CA (towards the center of the contact areas for strength) and UV-setting resin (at the surface because it’s easier to work than CA). The pistol is just dry-fit to see how well it fits. And it does fit nicely:
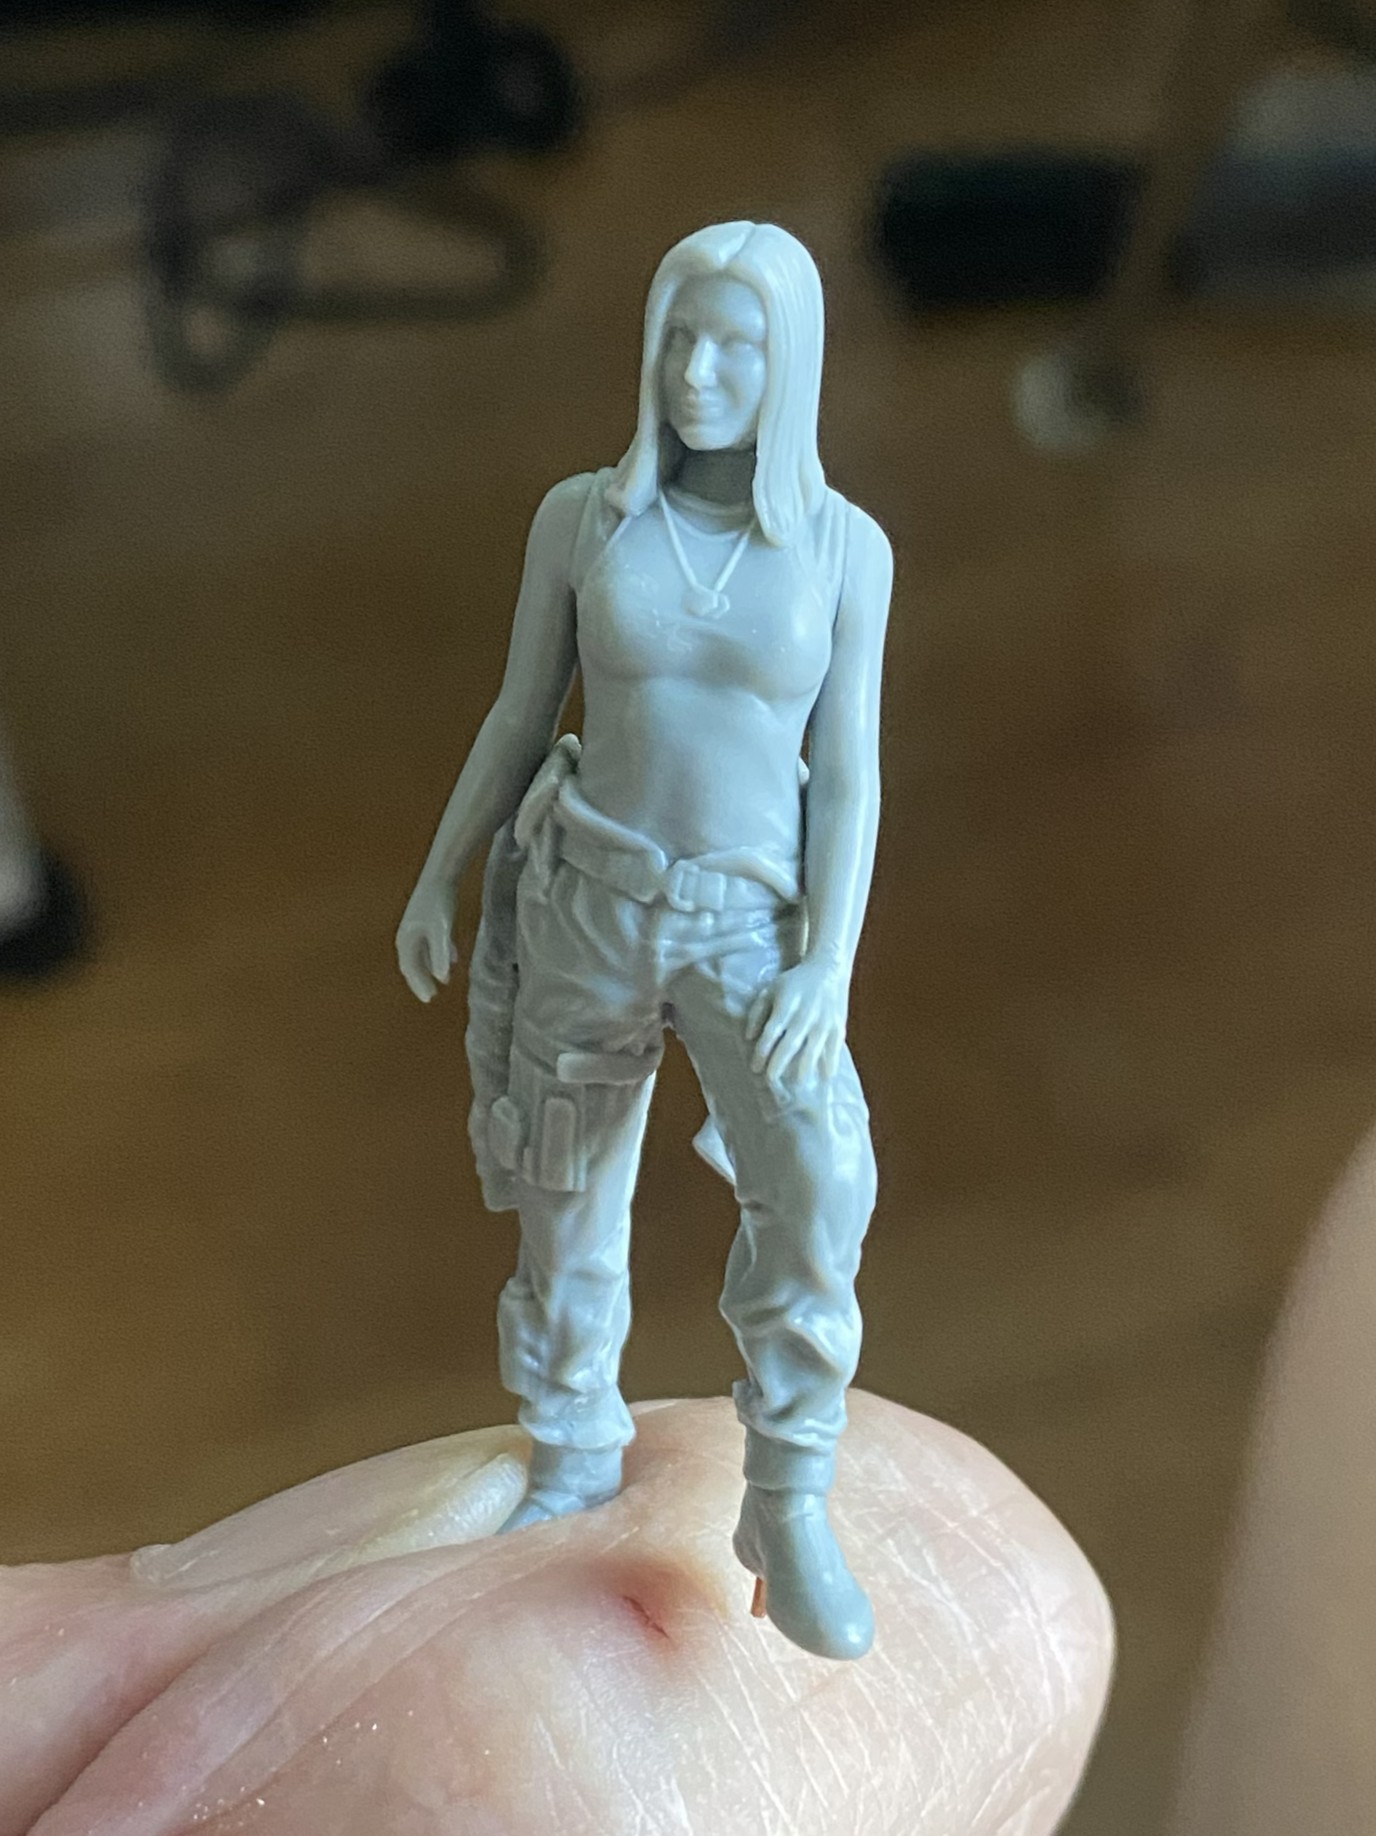
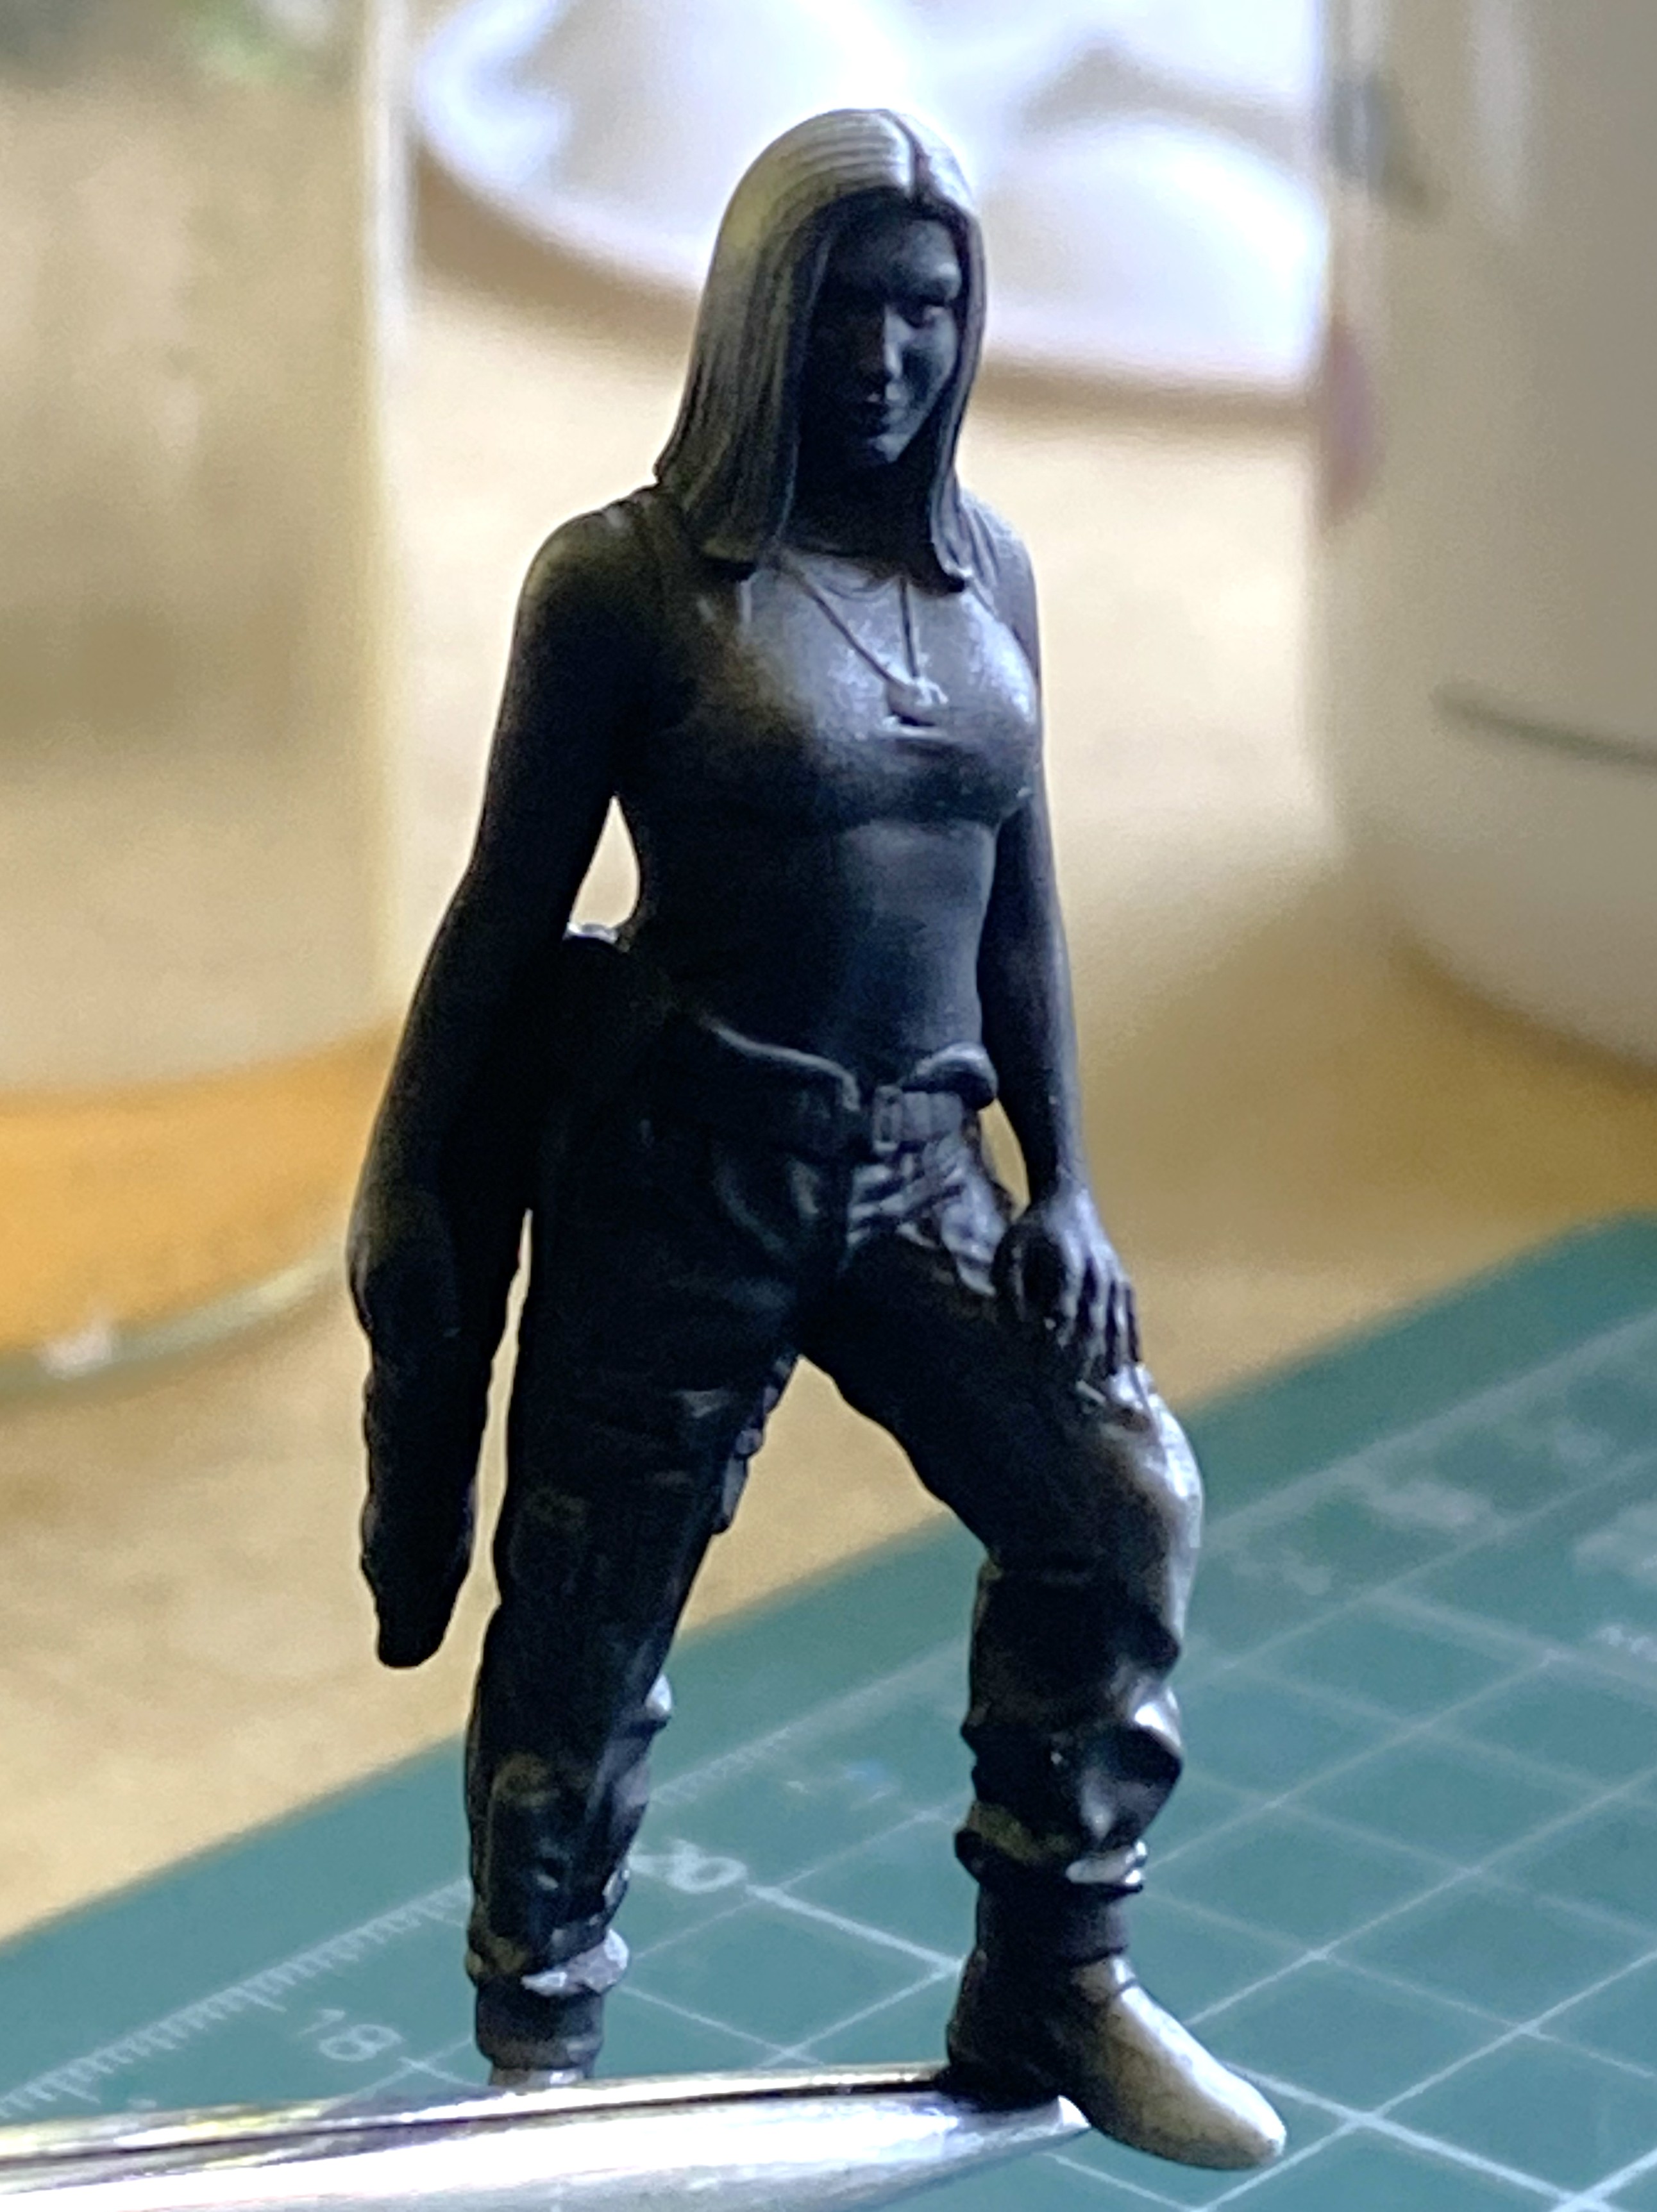
My first nightmare with the figure started where most of my paint jobs start (The nightmare is mine, the figure itself is quite fine). I used to call this “pre-shading” but that term has (once again) been supplanted by something less precise. This is now called “black-basing”. (If that sentence doesn’t explain the effects of light, I’m not interested in explaining this further.):
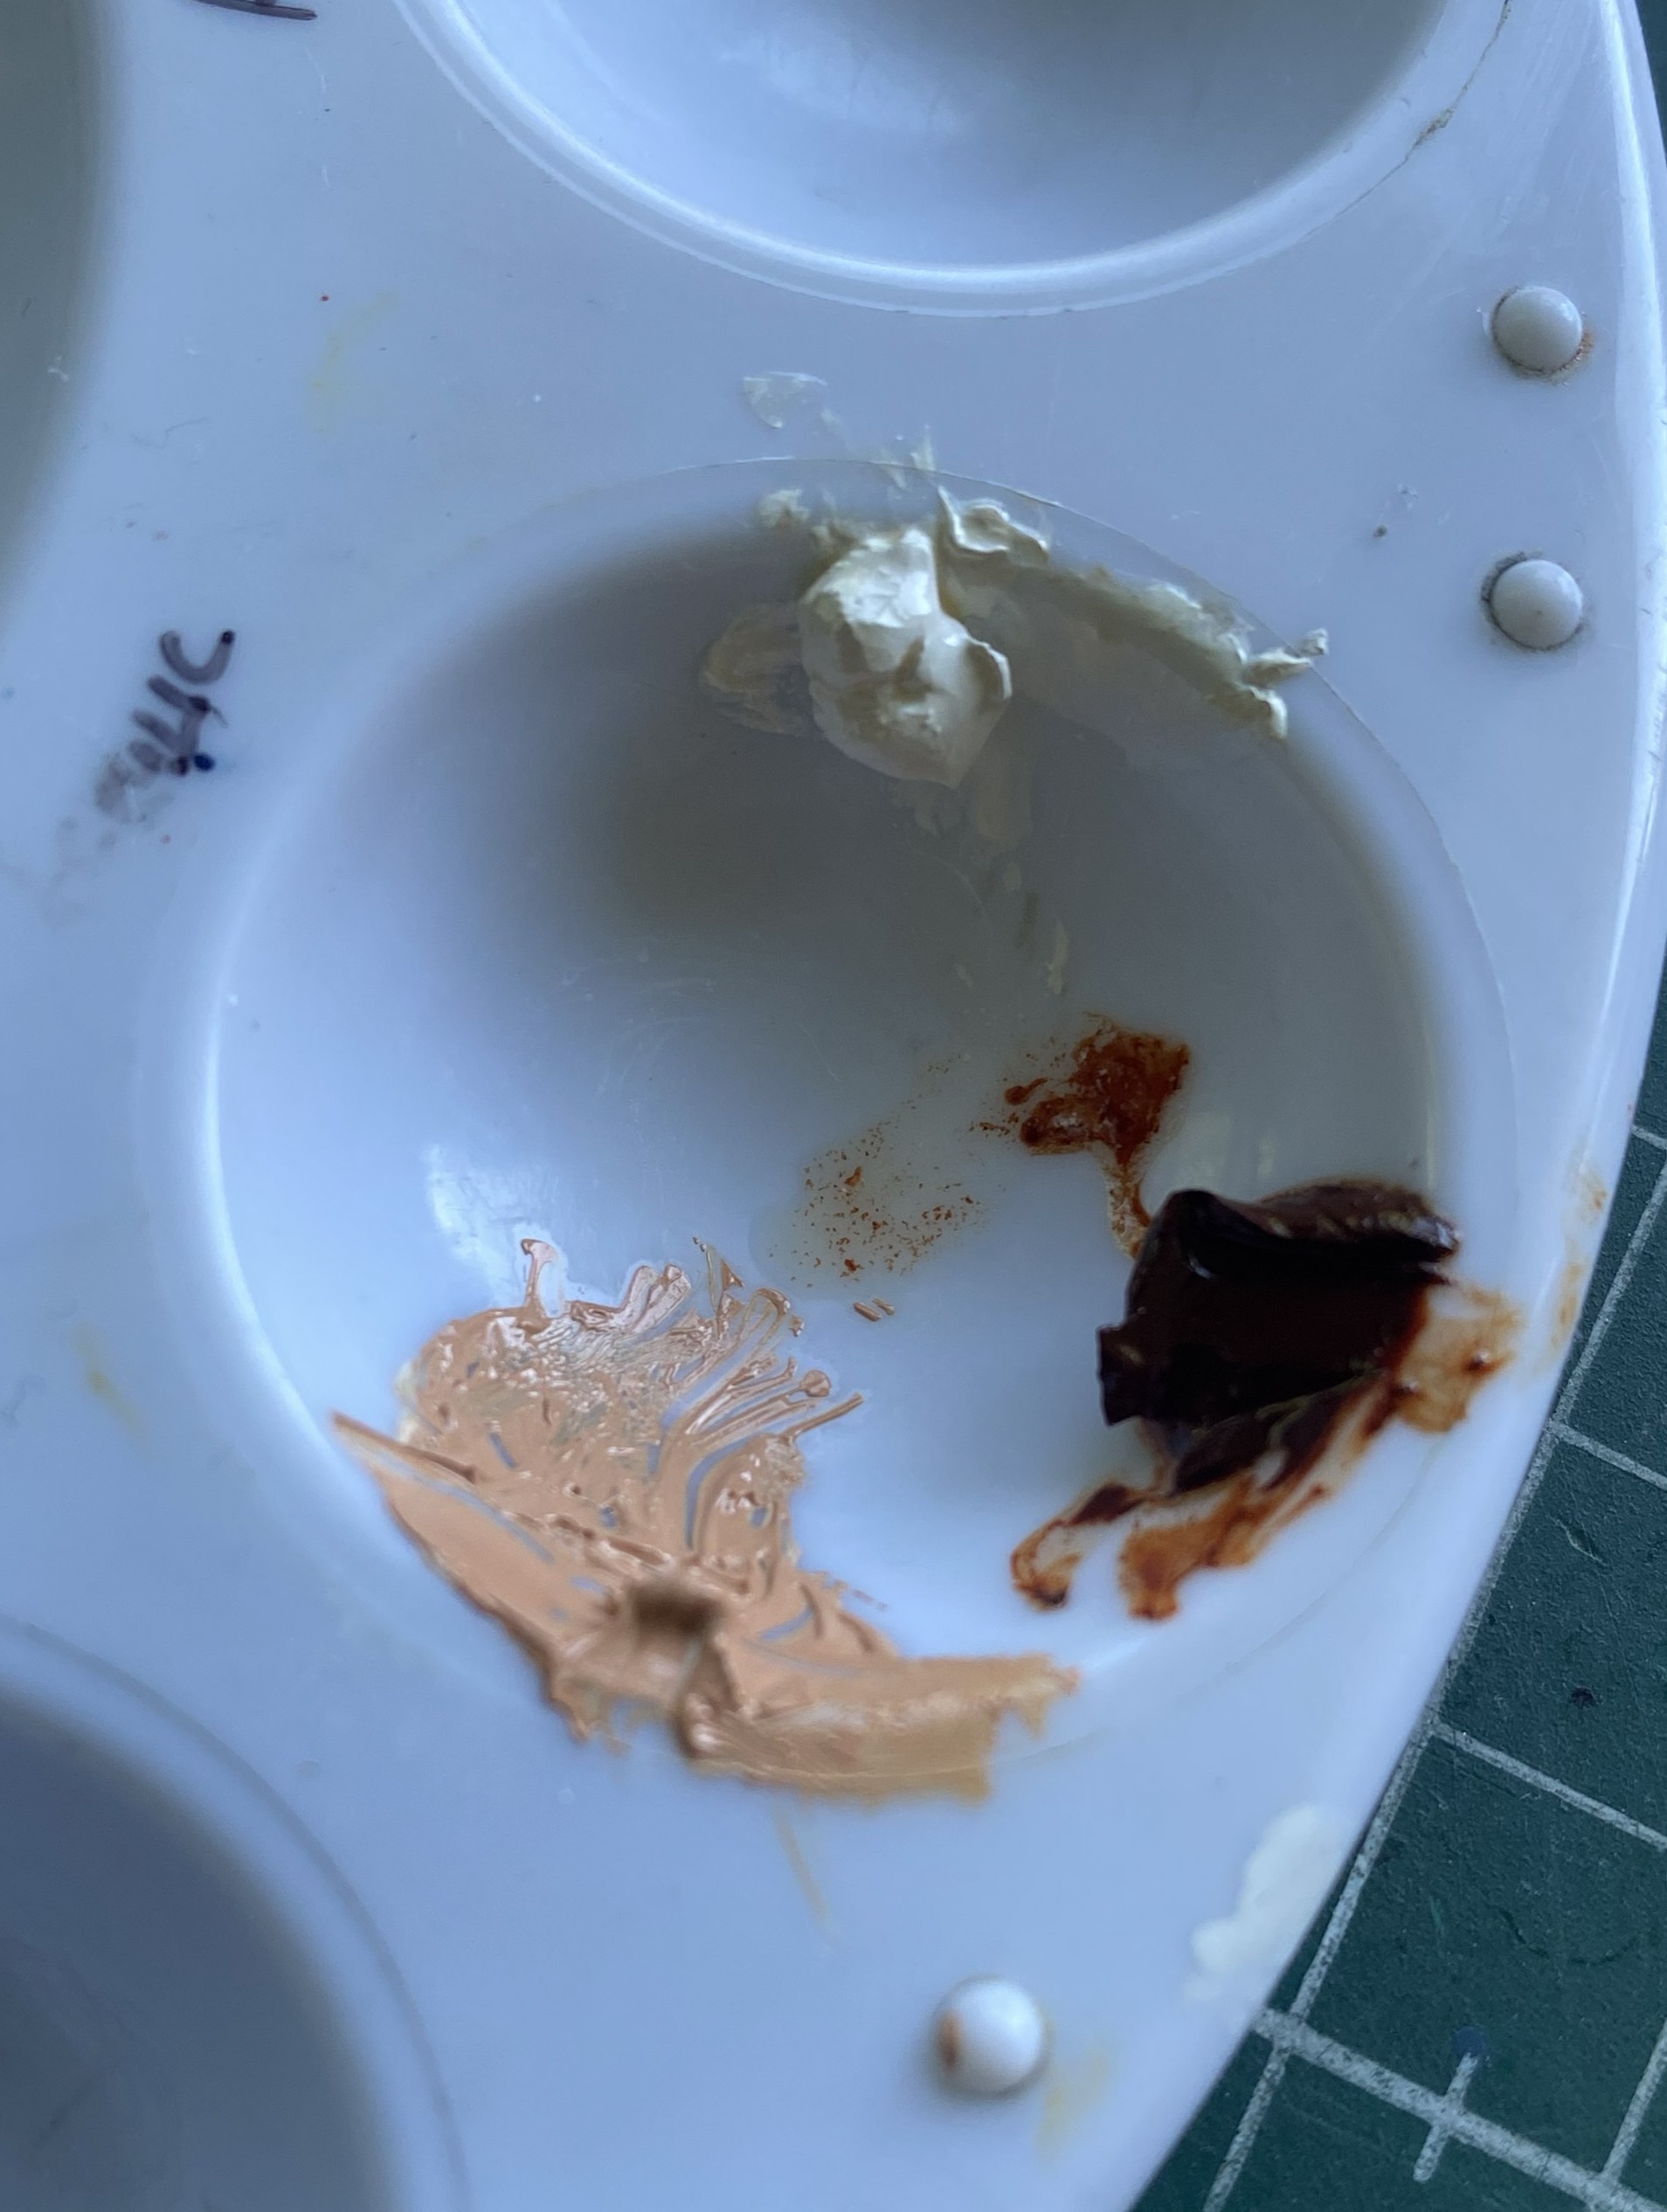
Keeping in mind (like I could ever bleeding forget it) that my color-vision bites the short curlies, I decided to use oils because not only do I know how to use them, they can be blended quite realistically. I used burnt sienna and white:
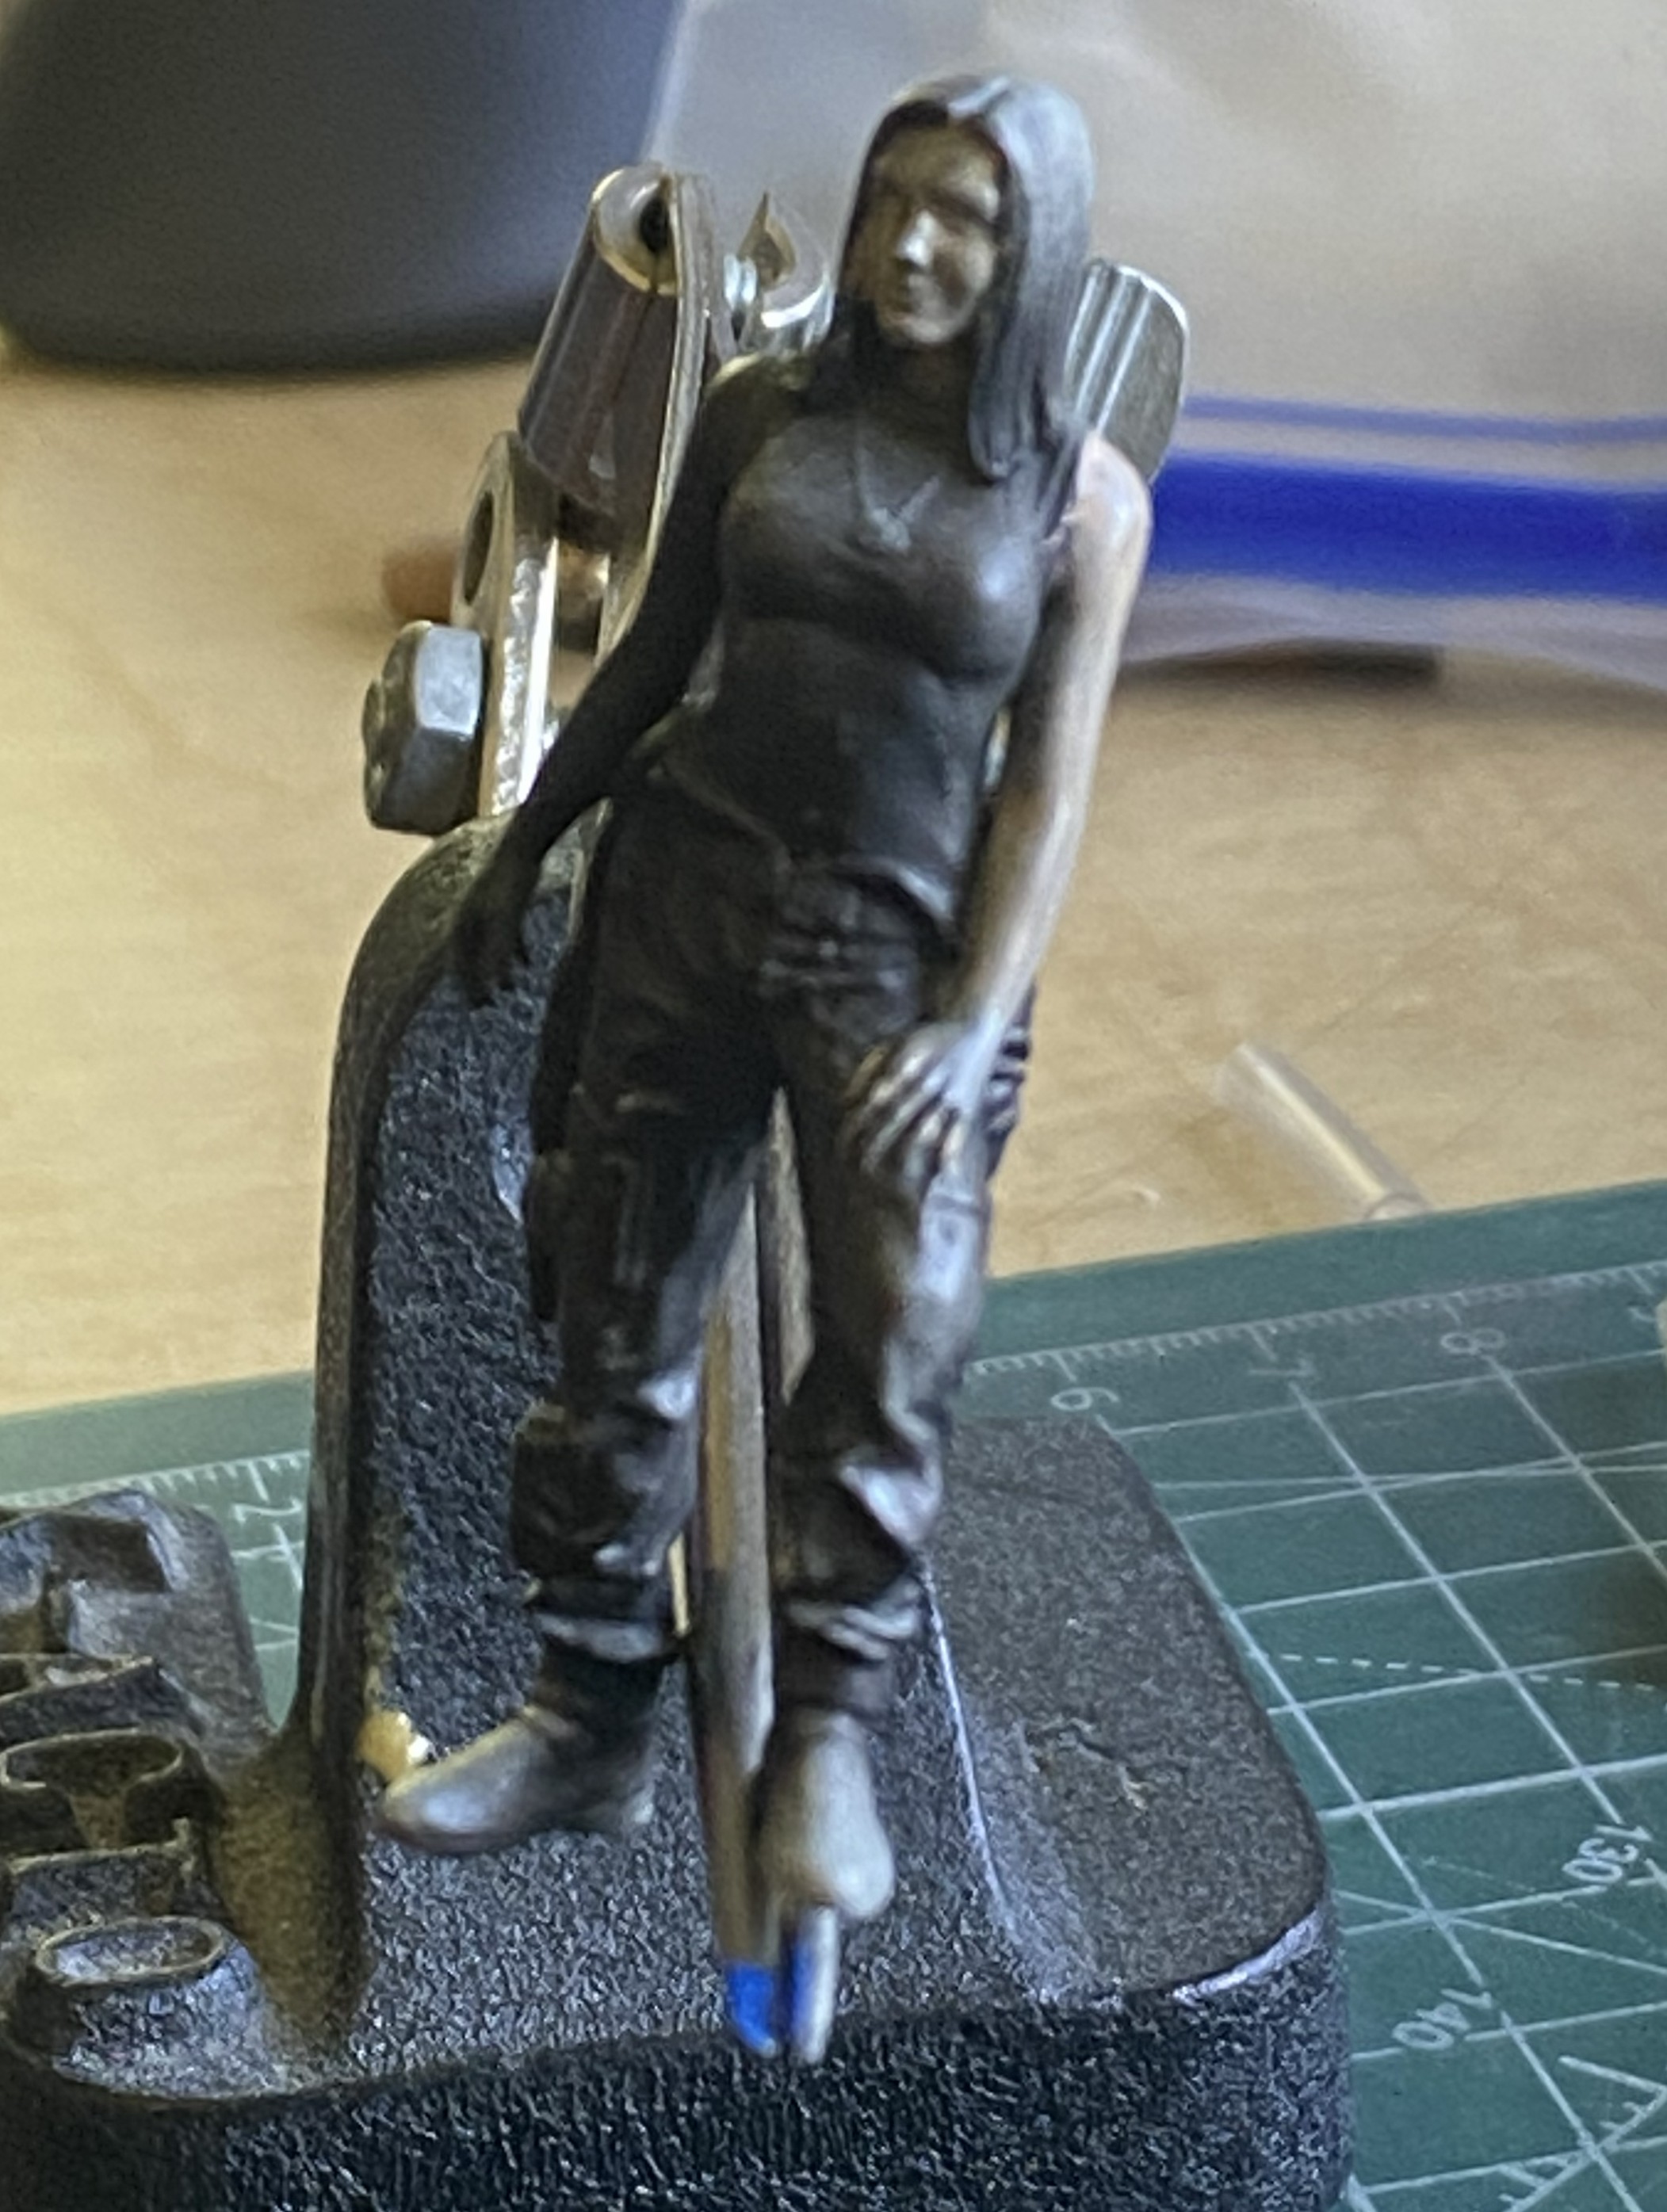
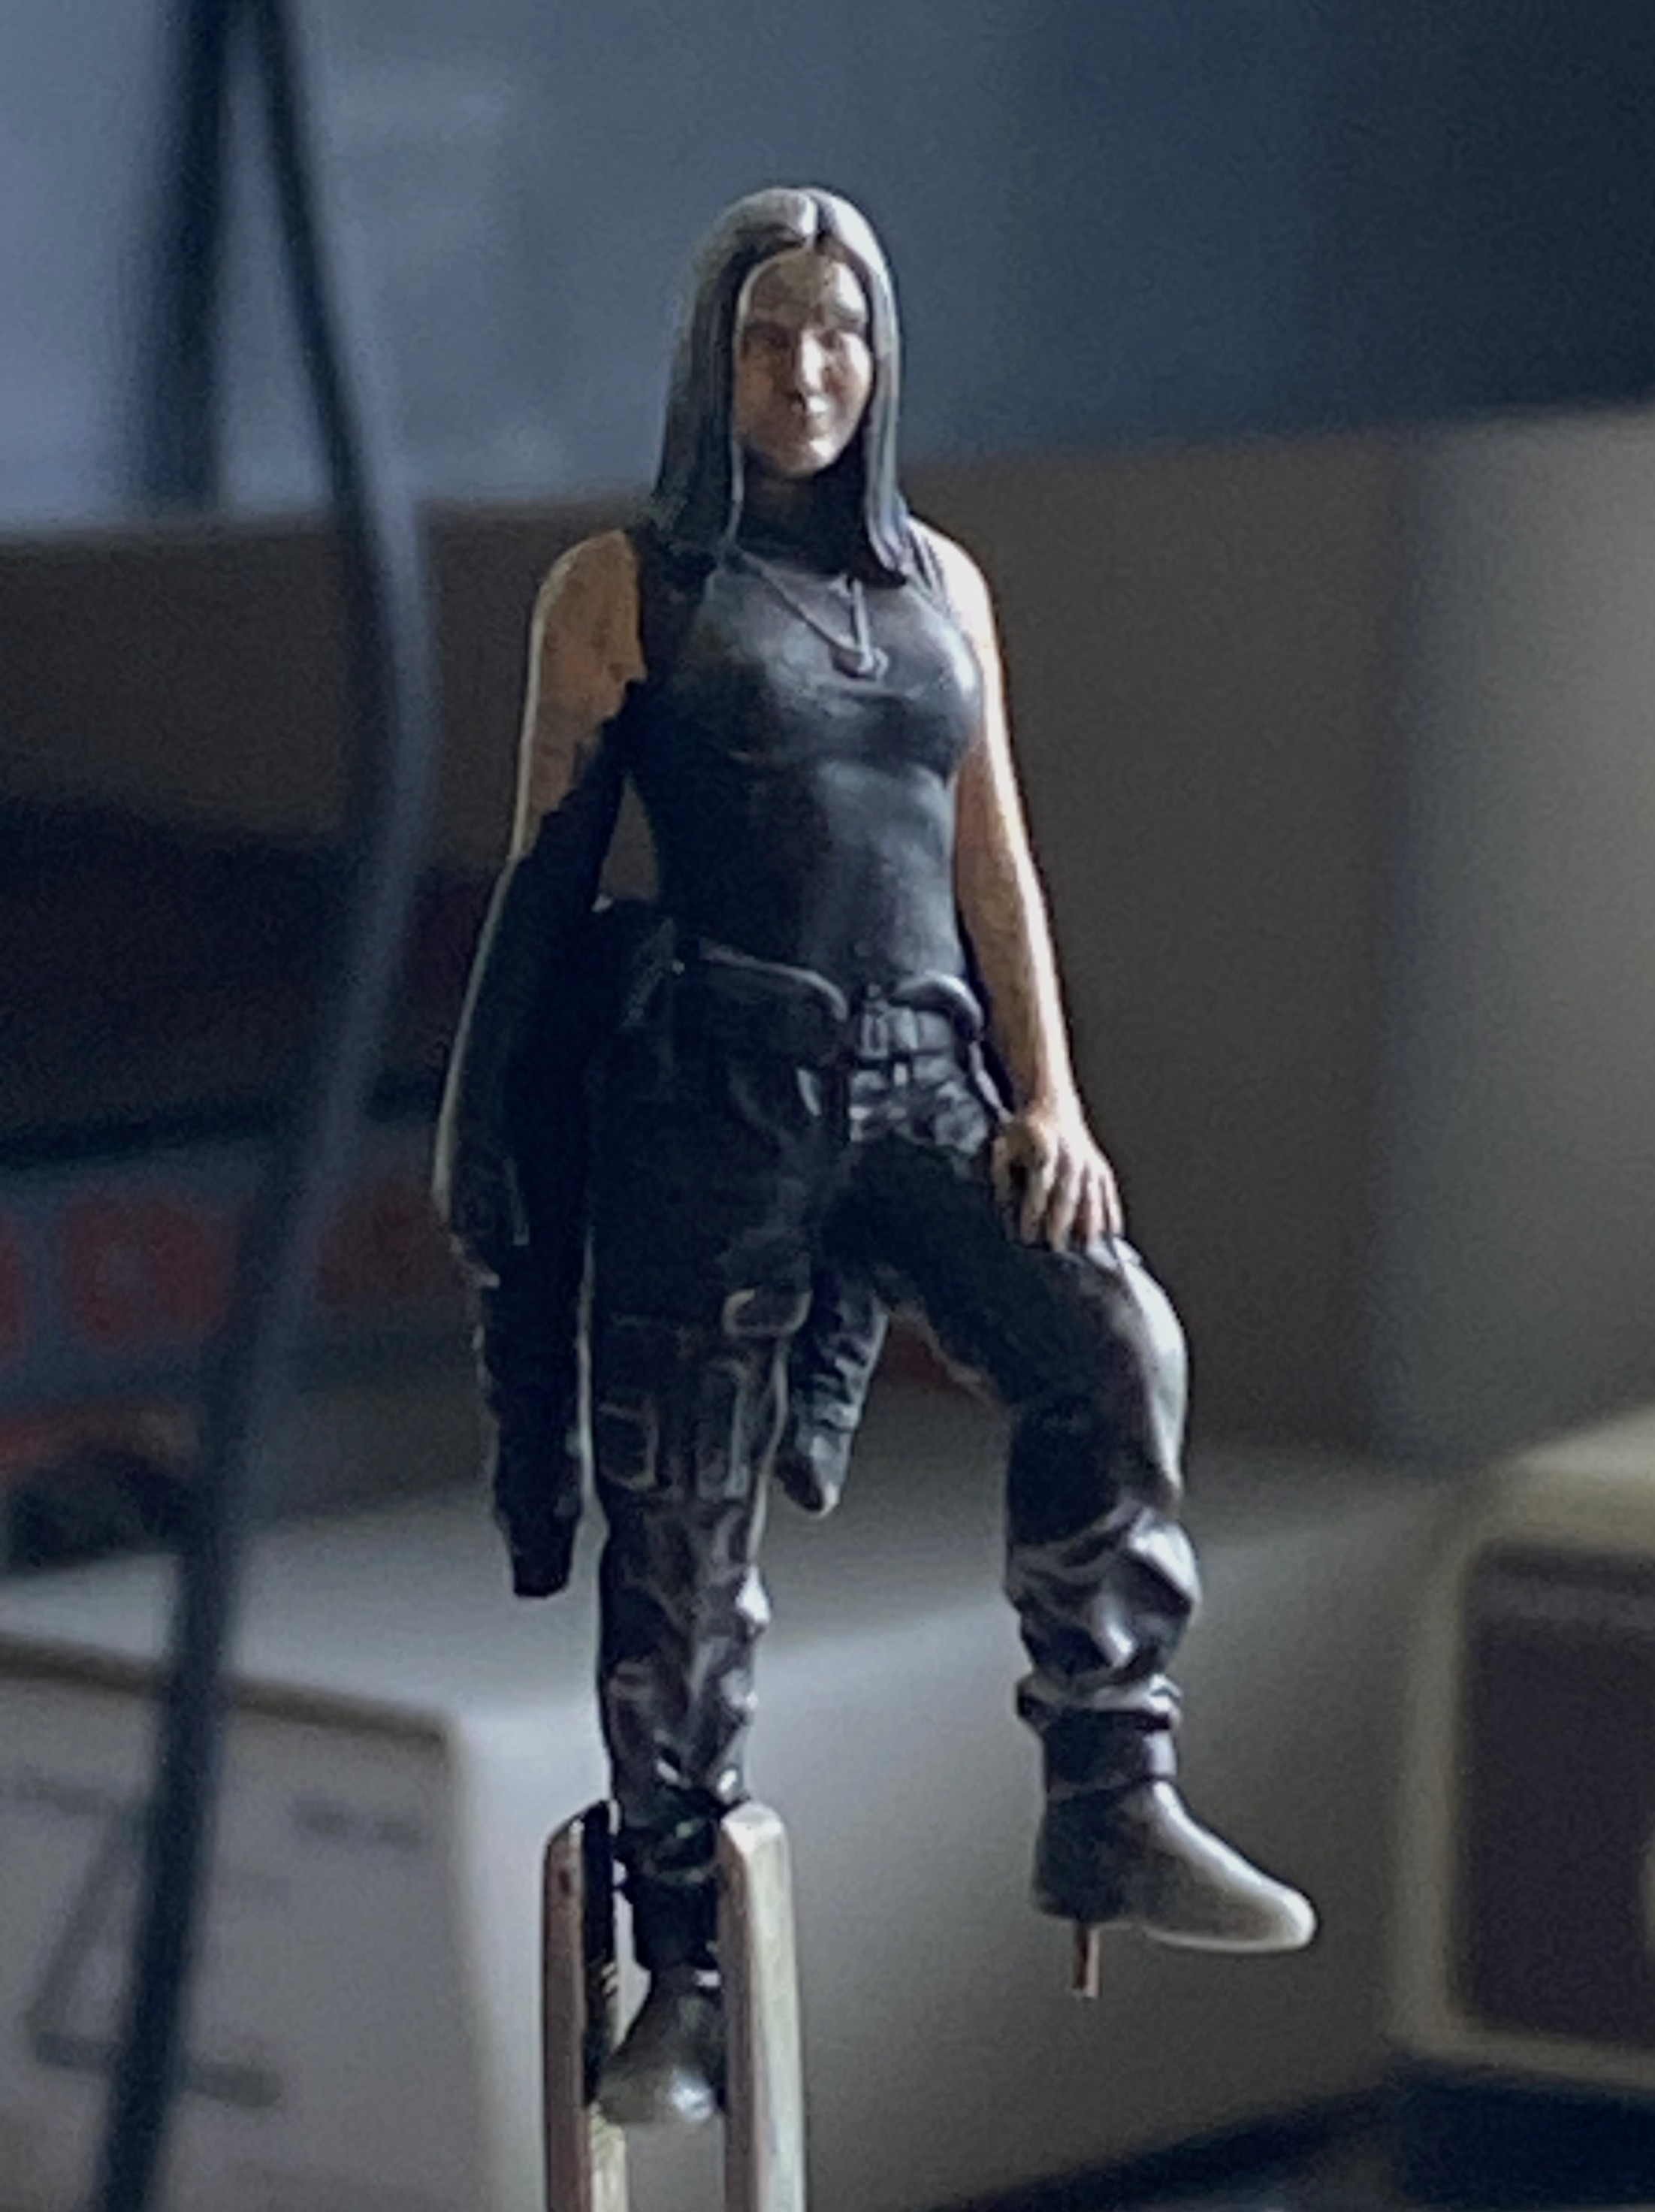
As laid down, the paint doesn’t blend all that well. Very small areas and too wet; blending attempts merely lift the paint off. I reapplied the paint and let it sit. There’s a “window” I was looking for. Seemingly dry to the lightest of touches, yet still wet enough be moved without lifting it. I waited a week and tested its state daily. One day I went to bed and the paint was still too wet, but getting closer. Then I woke up and (after coffee) tested it. Too dry and it wouldn’t move.
::facepalm::
I’m not at all interested in trying the oils again. I’ve already burned up a week for no effect.
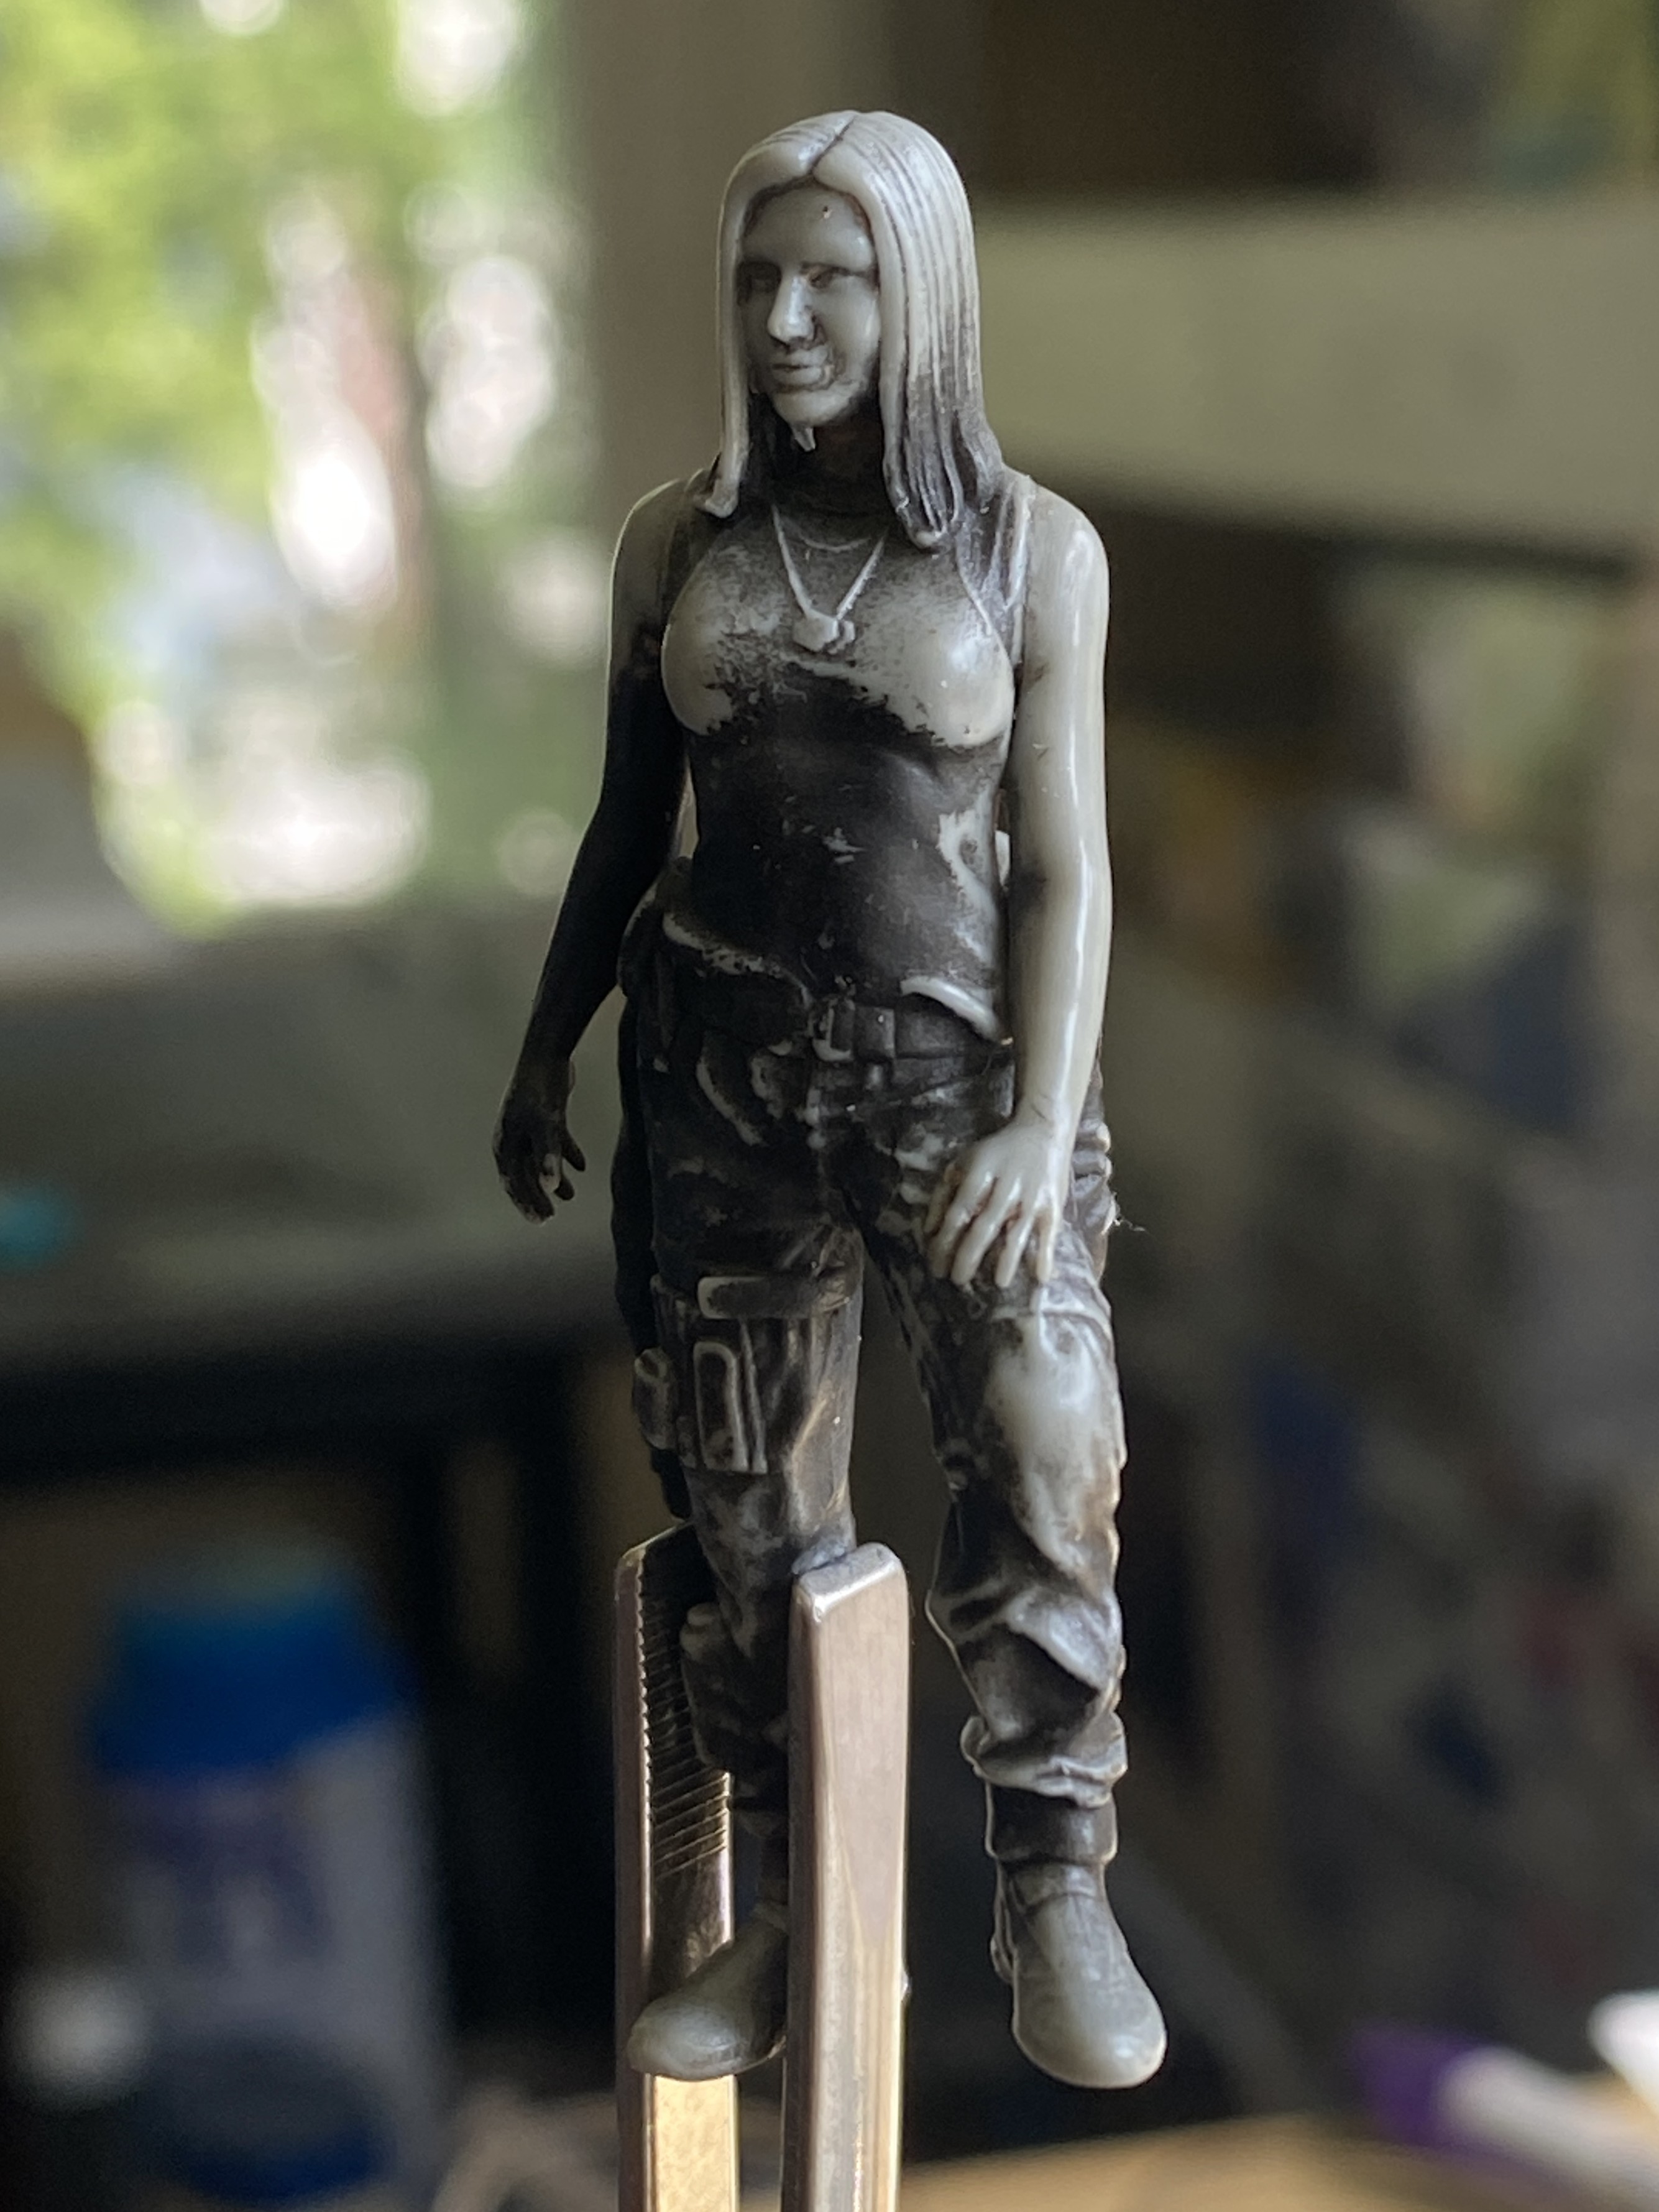
So I stripped it back to resin:
Next try used Tamiya paint. XF-64 Red Brown (1 part), XF-3 Yellow (1 part) and X-2 Gloss White (5 parts) (it looks better than it presents):
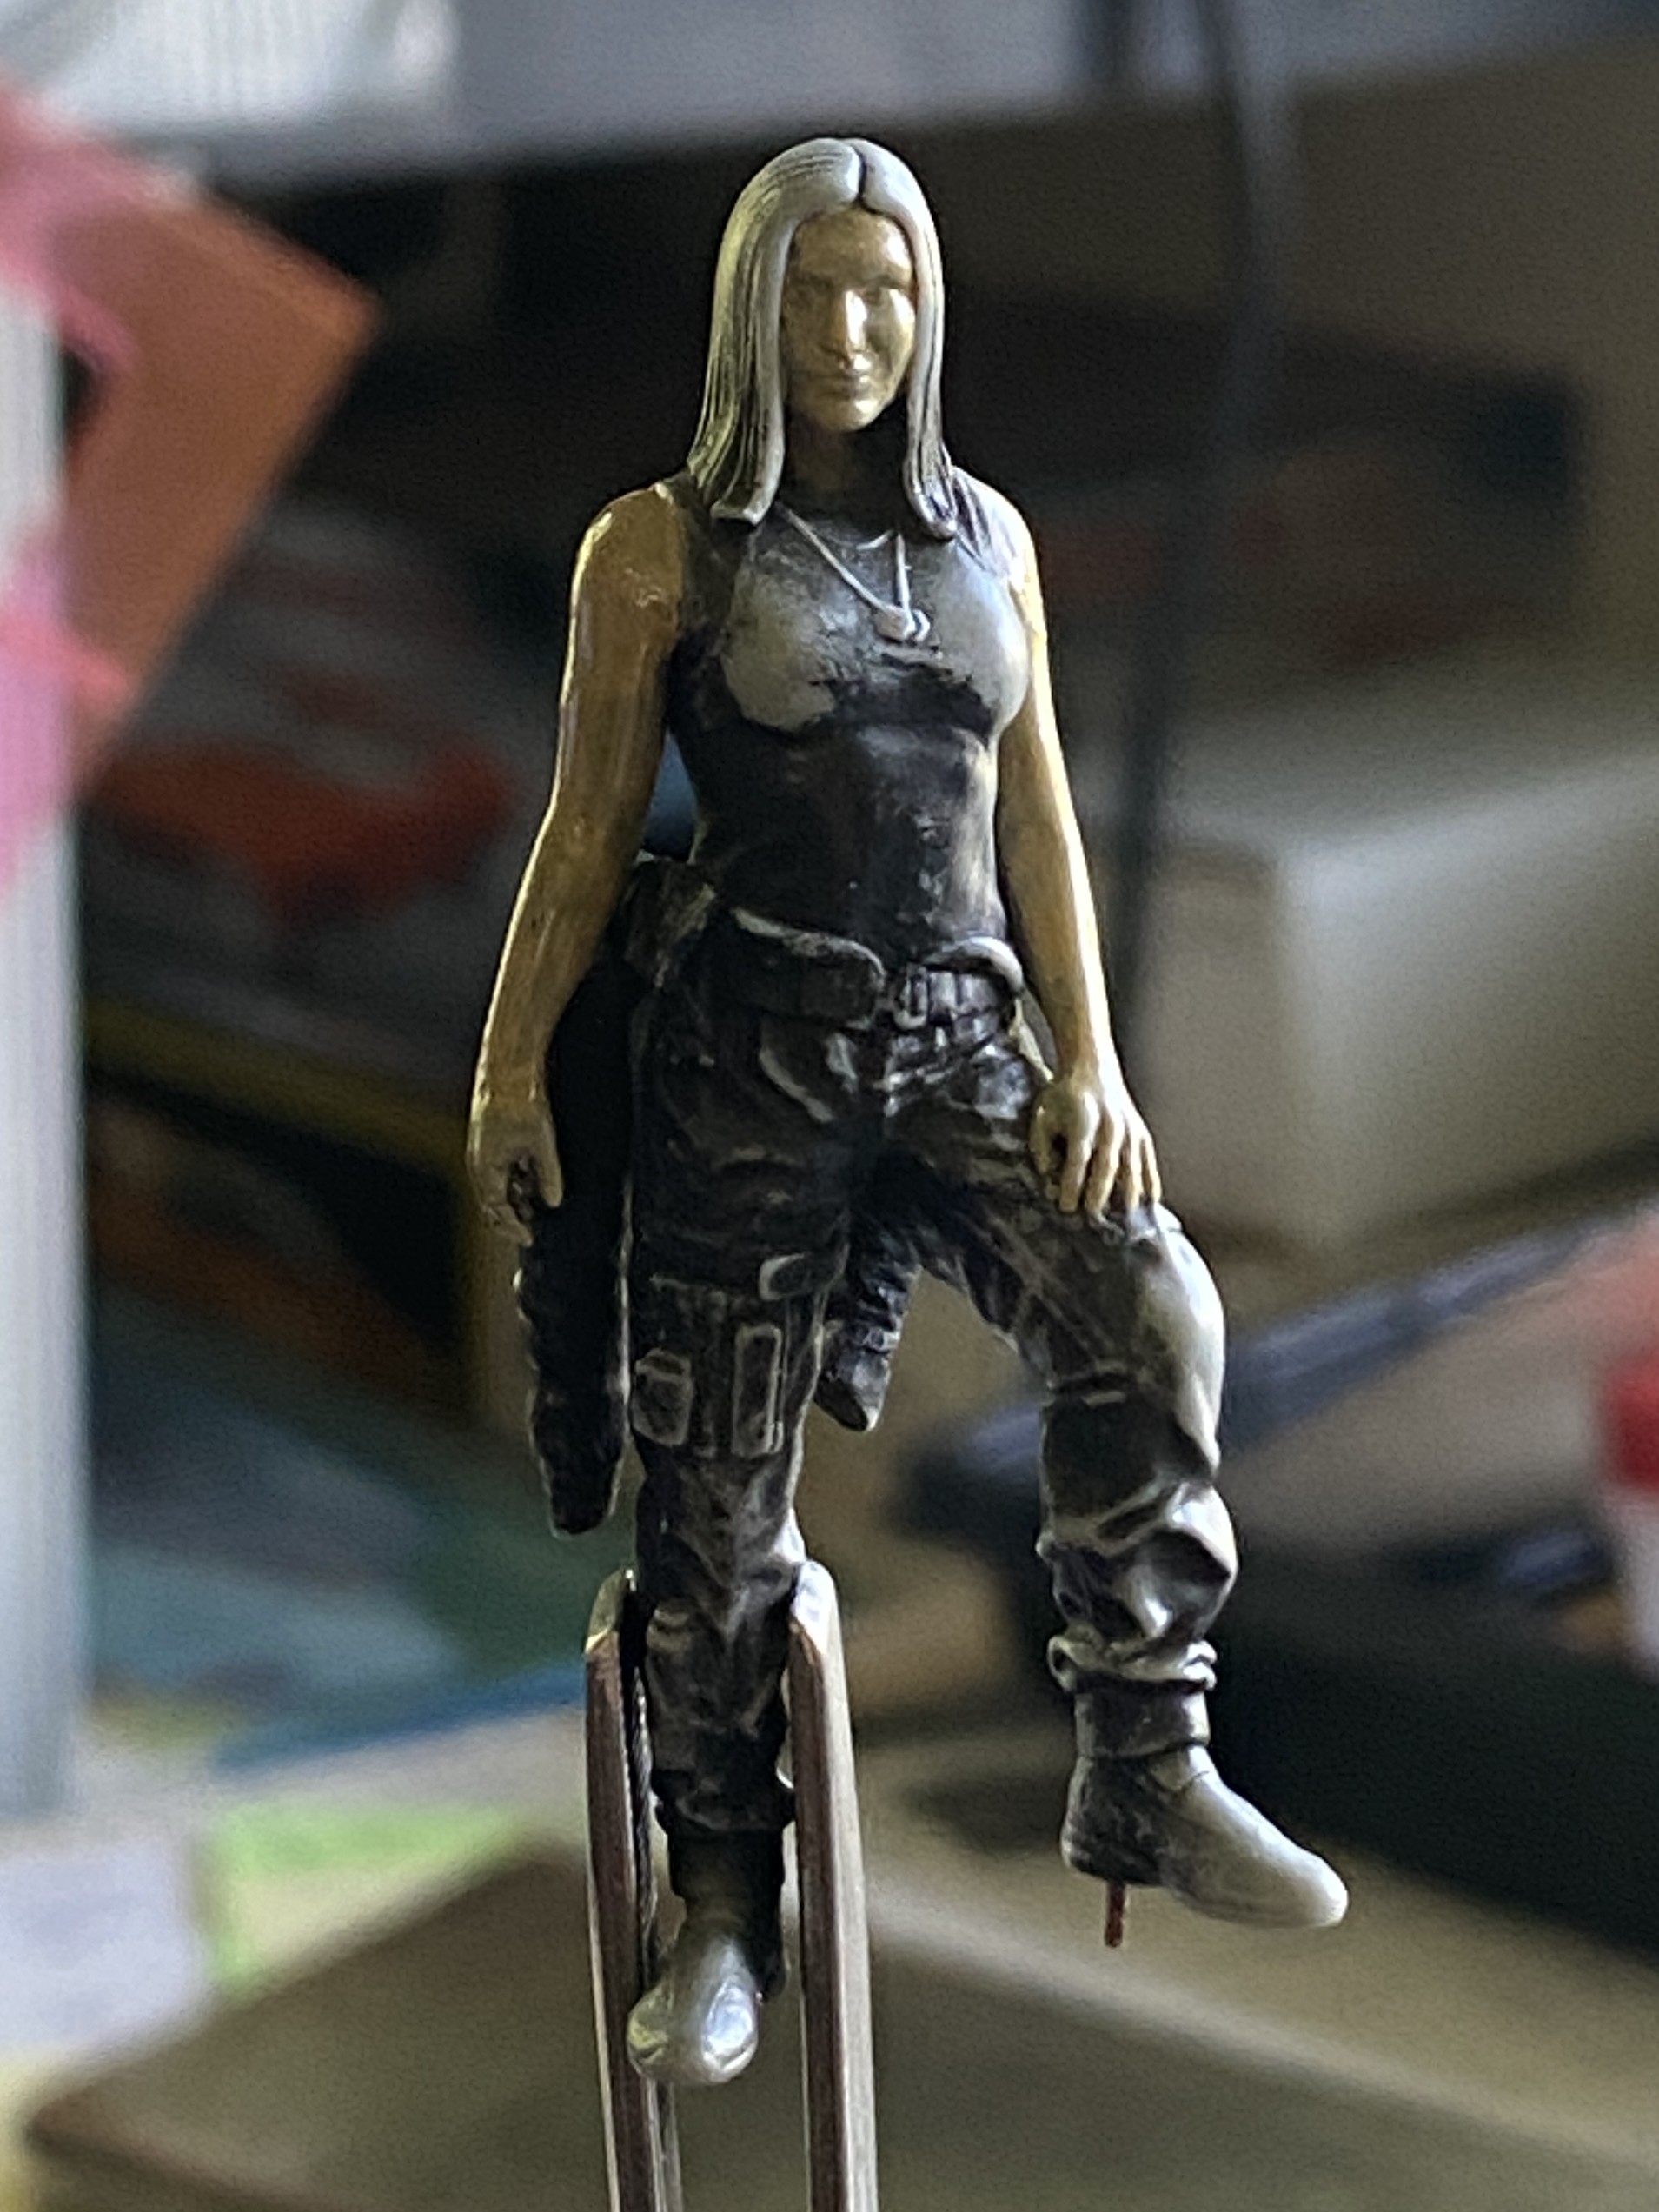
Then a wash of Burnt Umber:
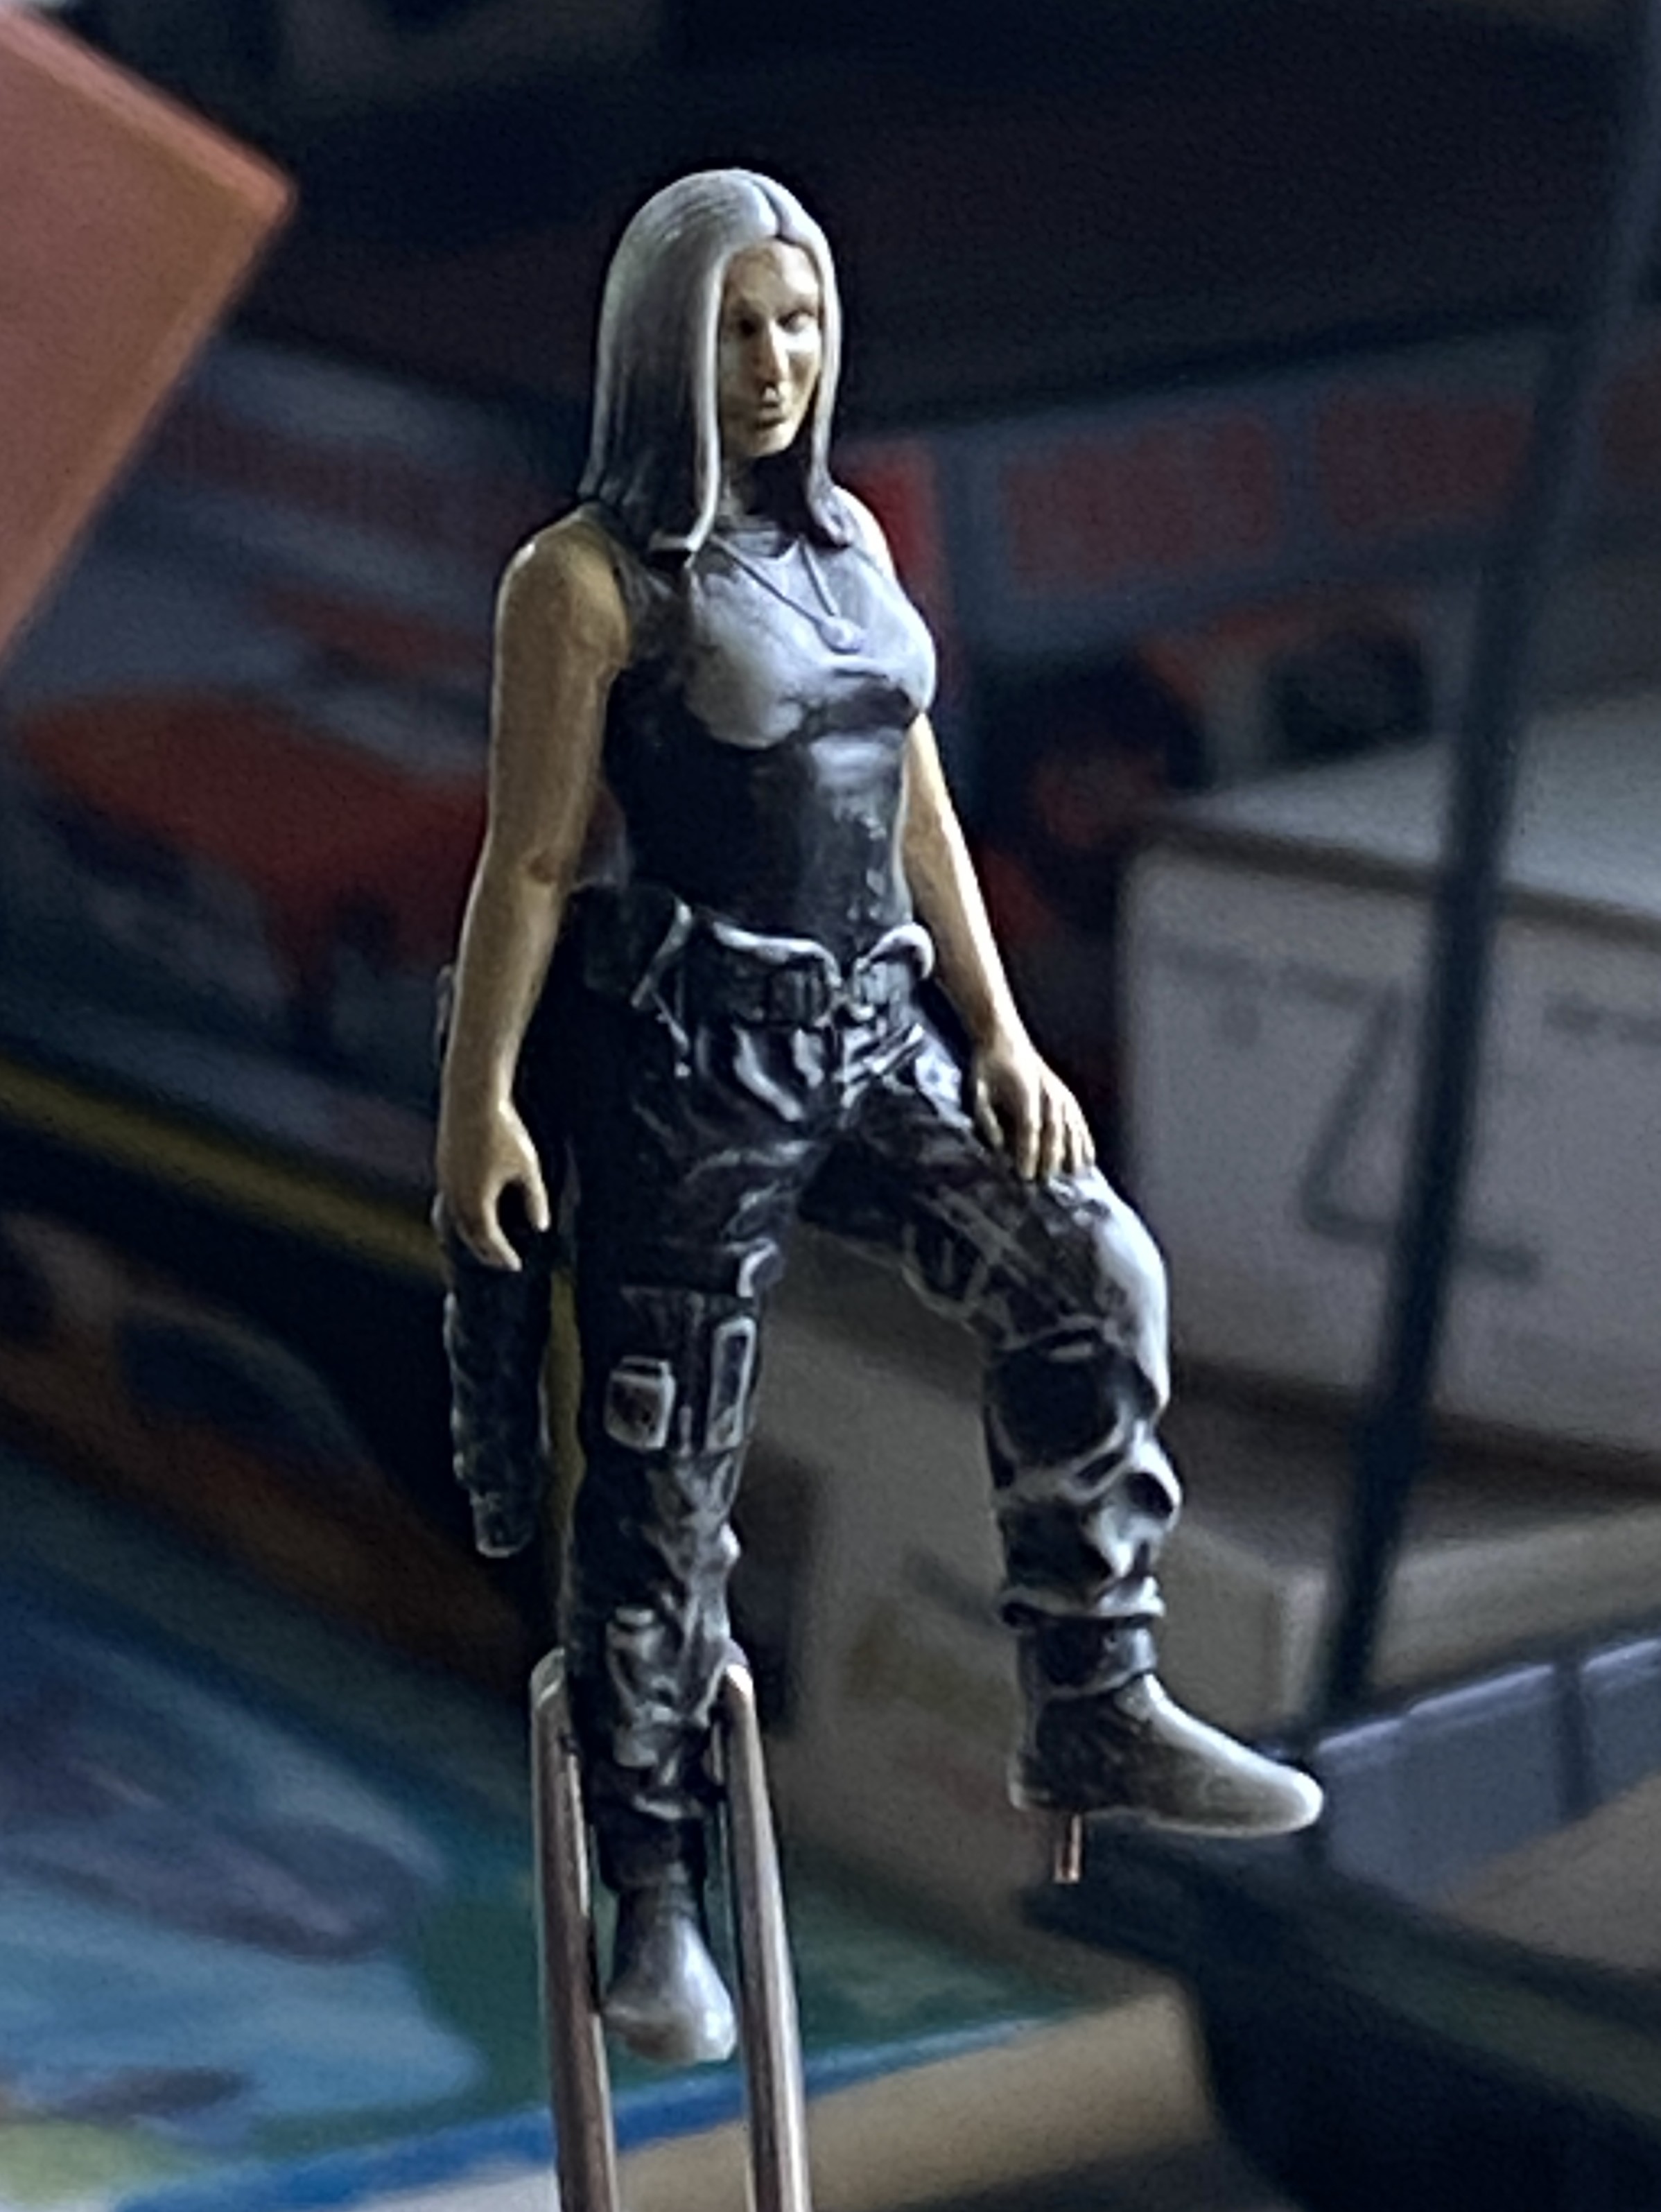
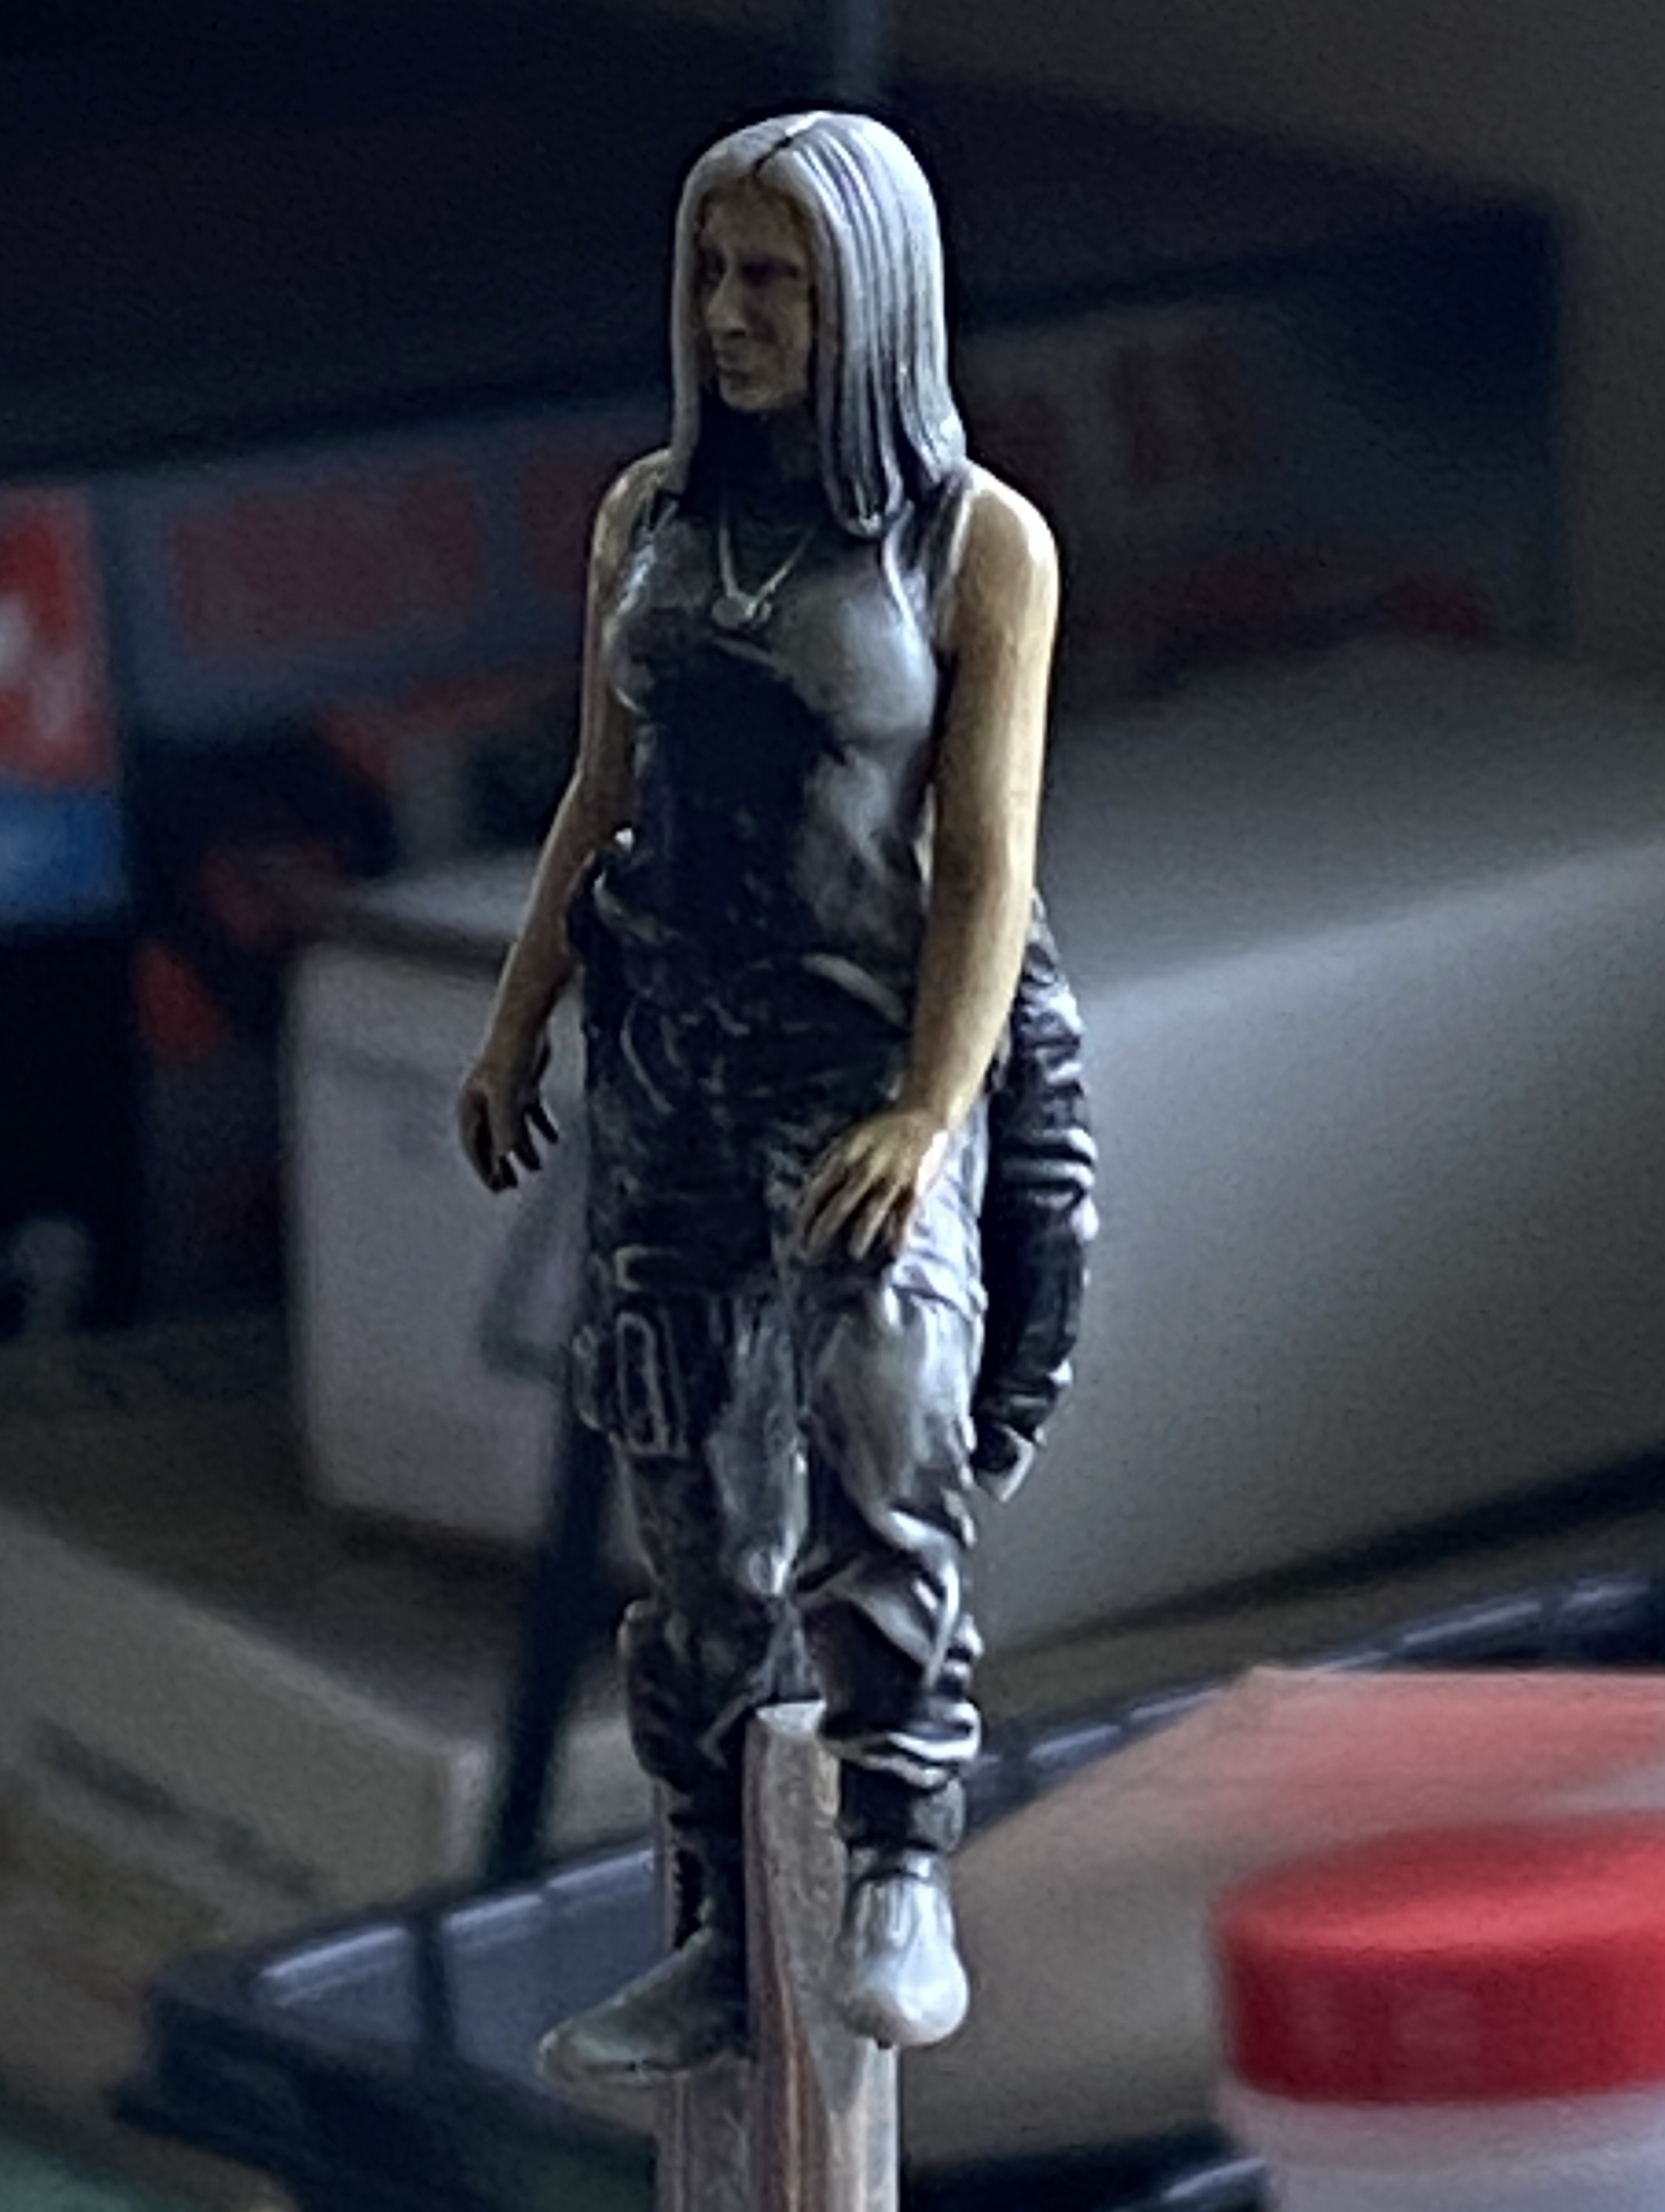
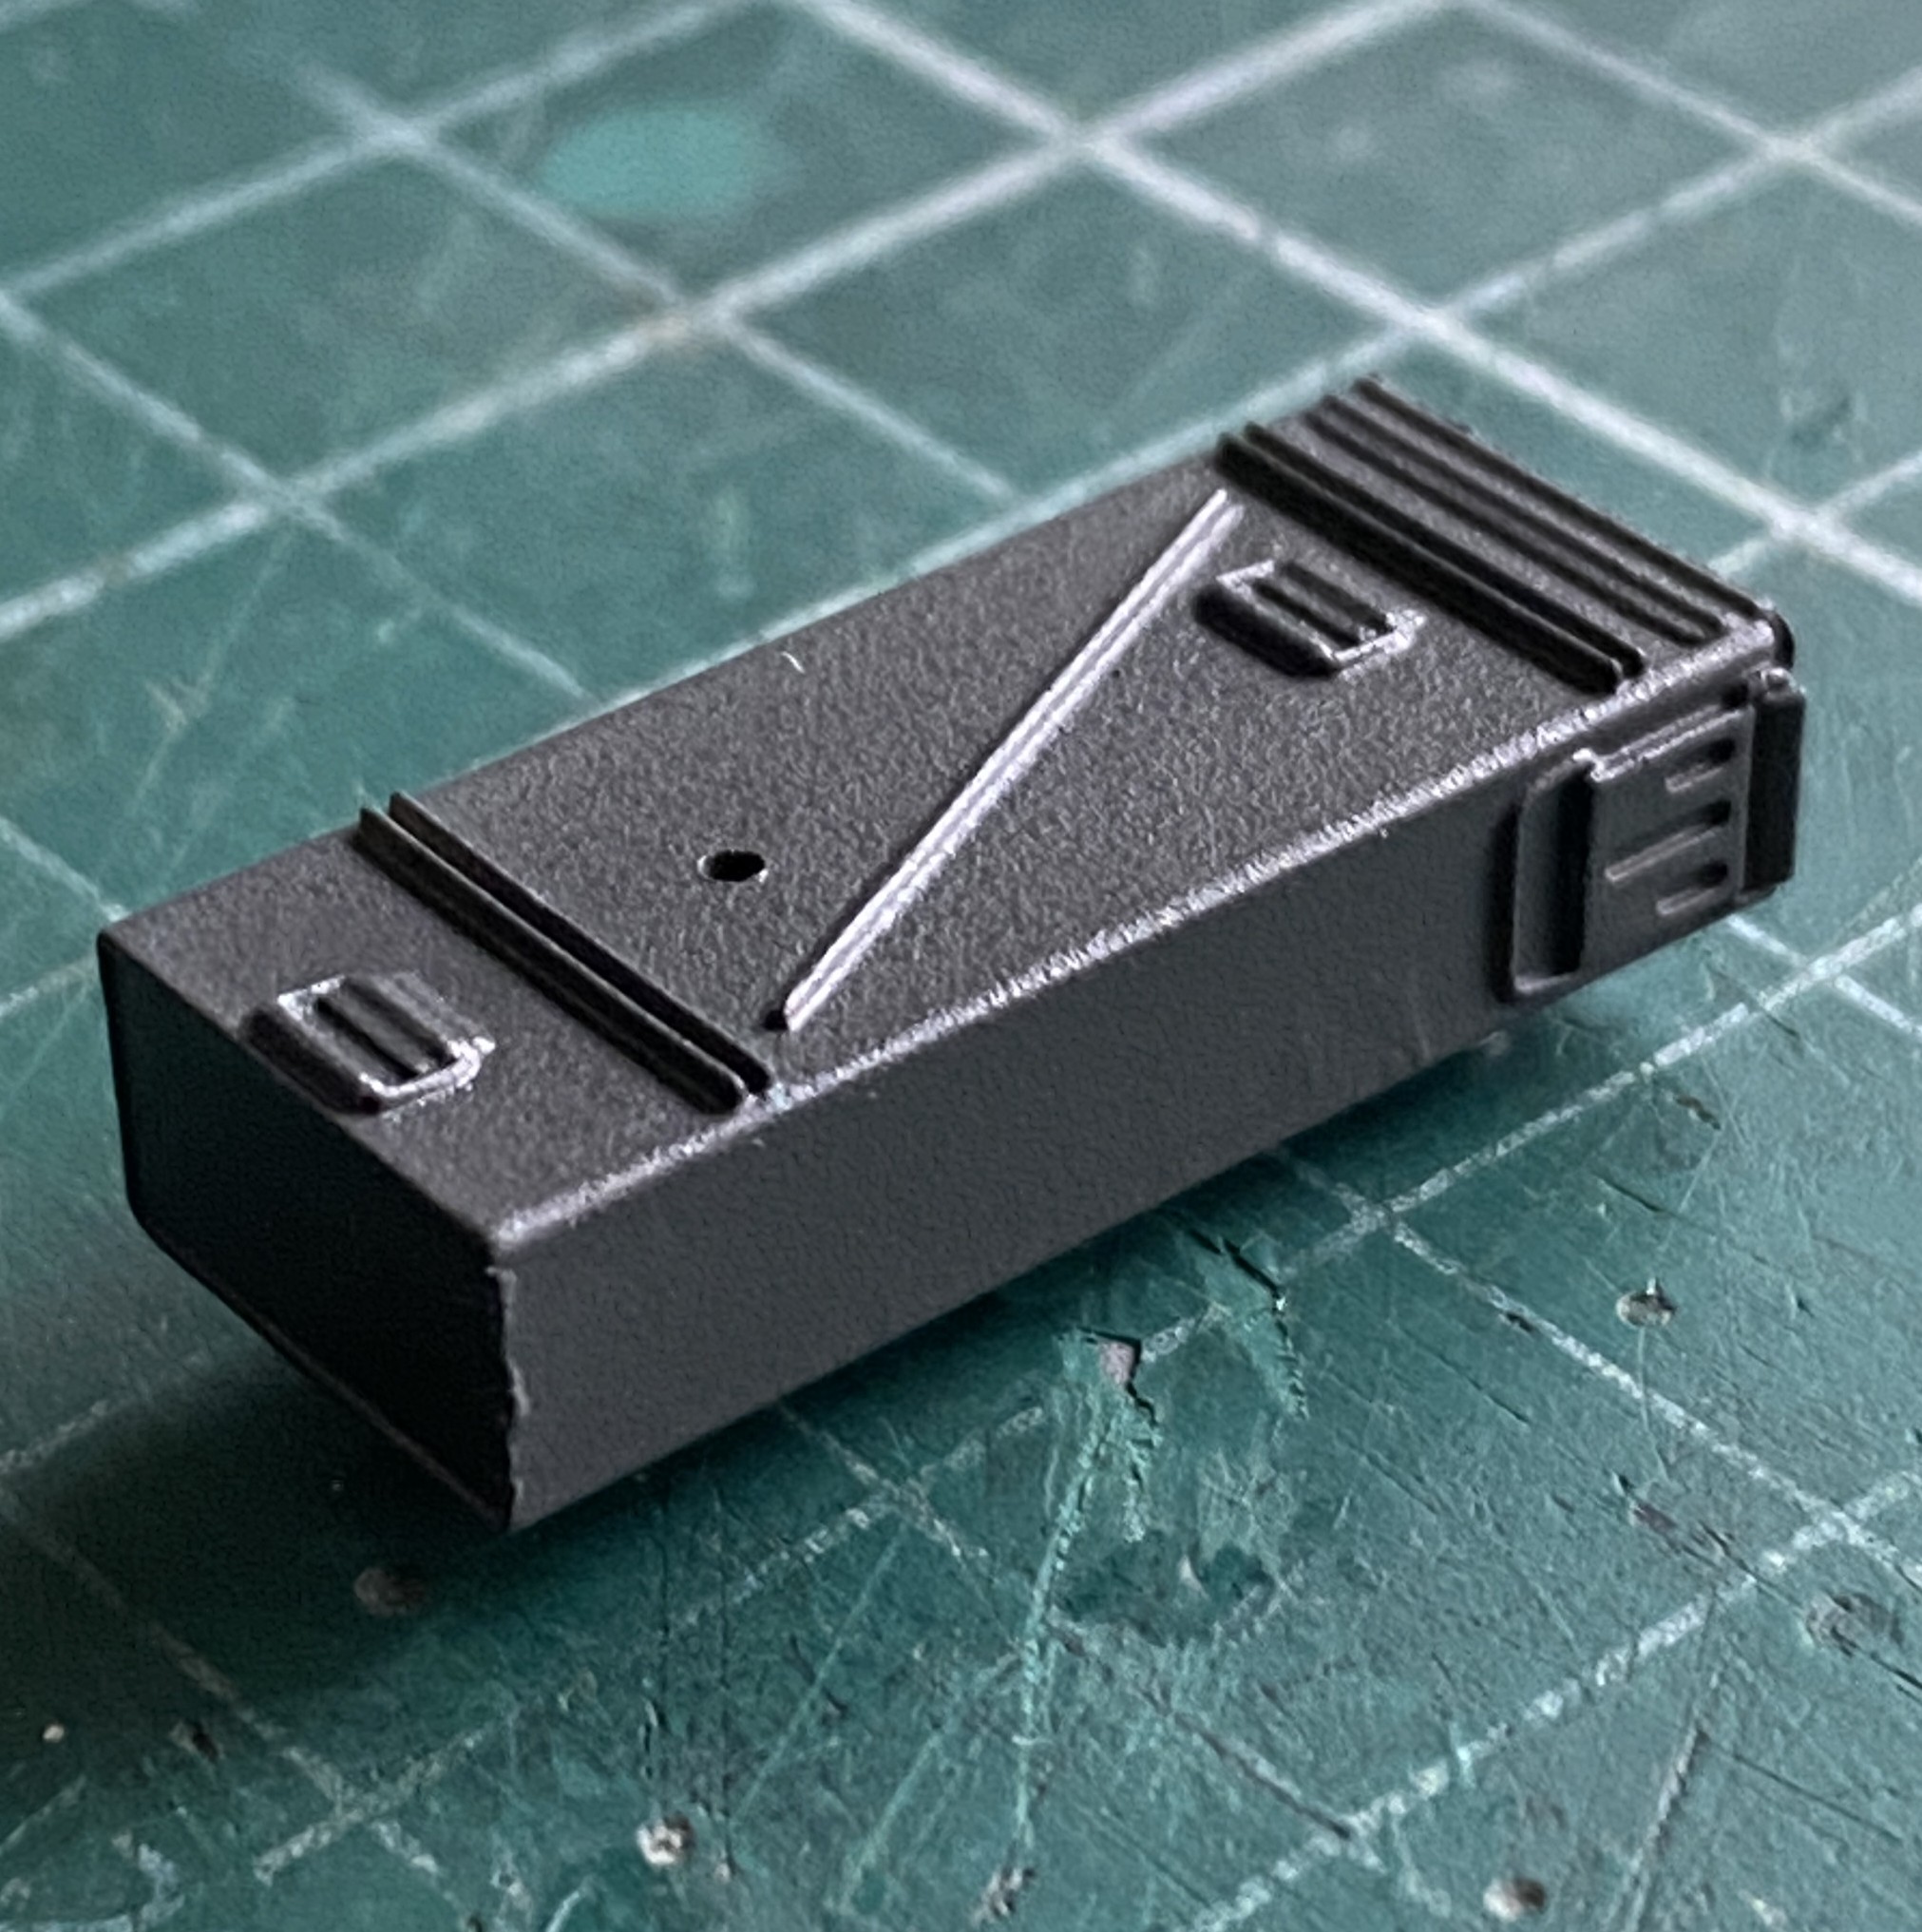
While that was sitting, I threw some of my custom “gunmetal” paint (X-18 Semi Gloss Black, 5 parts; XF-20 Medium Gray, 4 parts) at the ammo can:
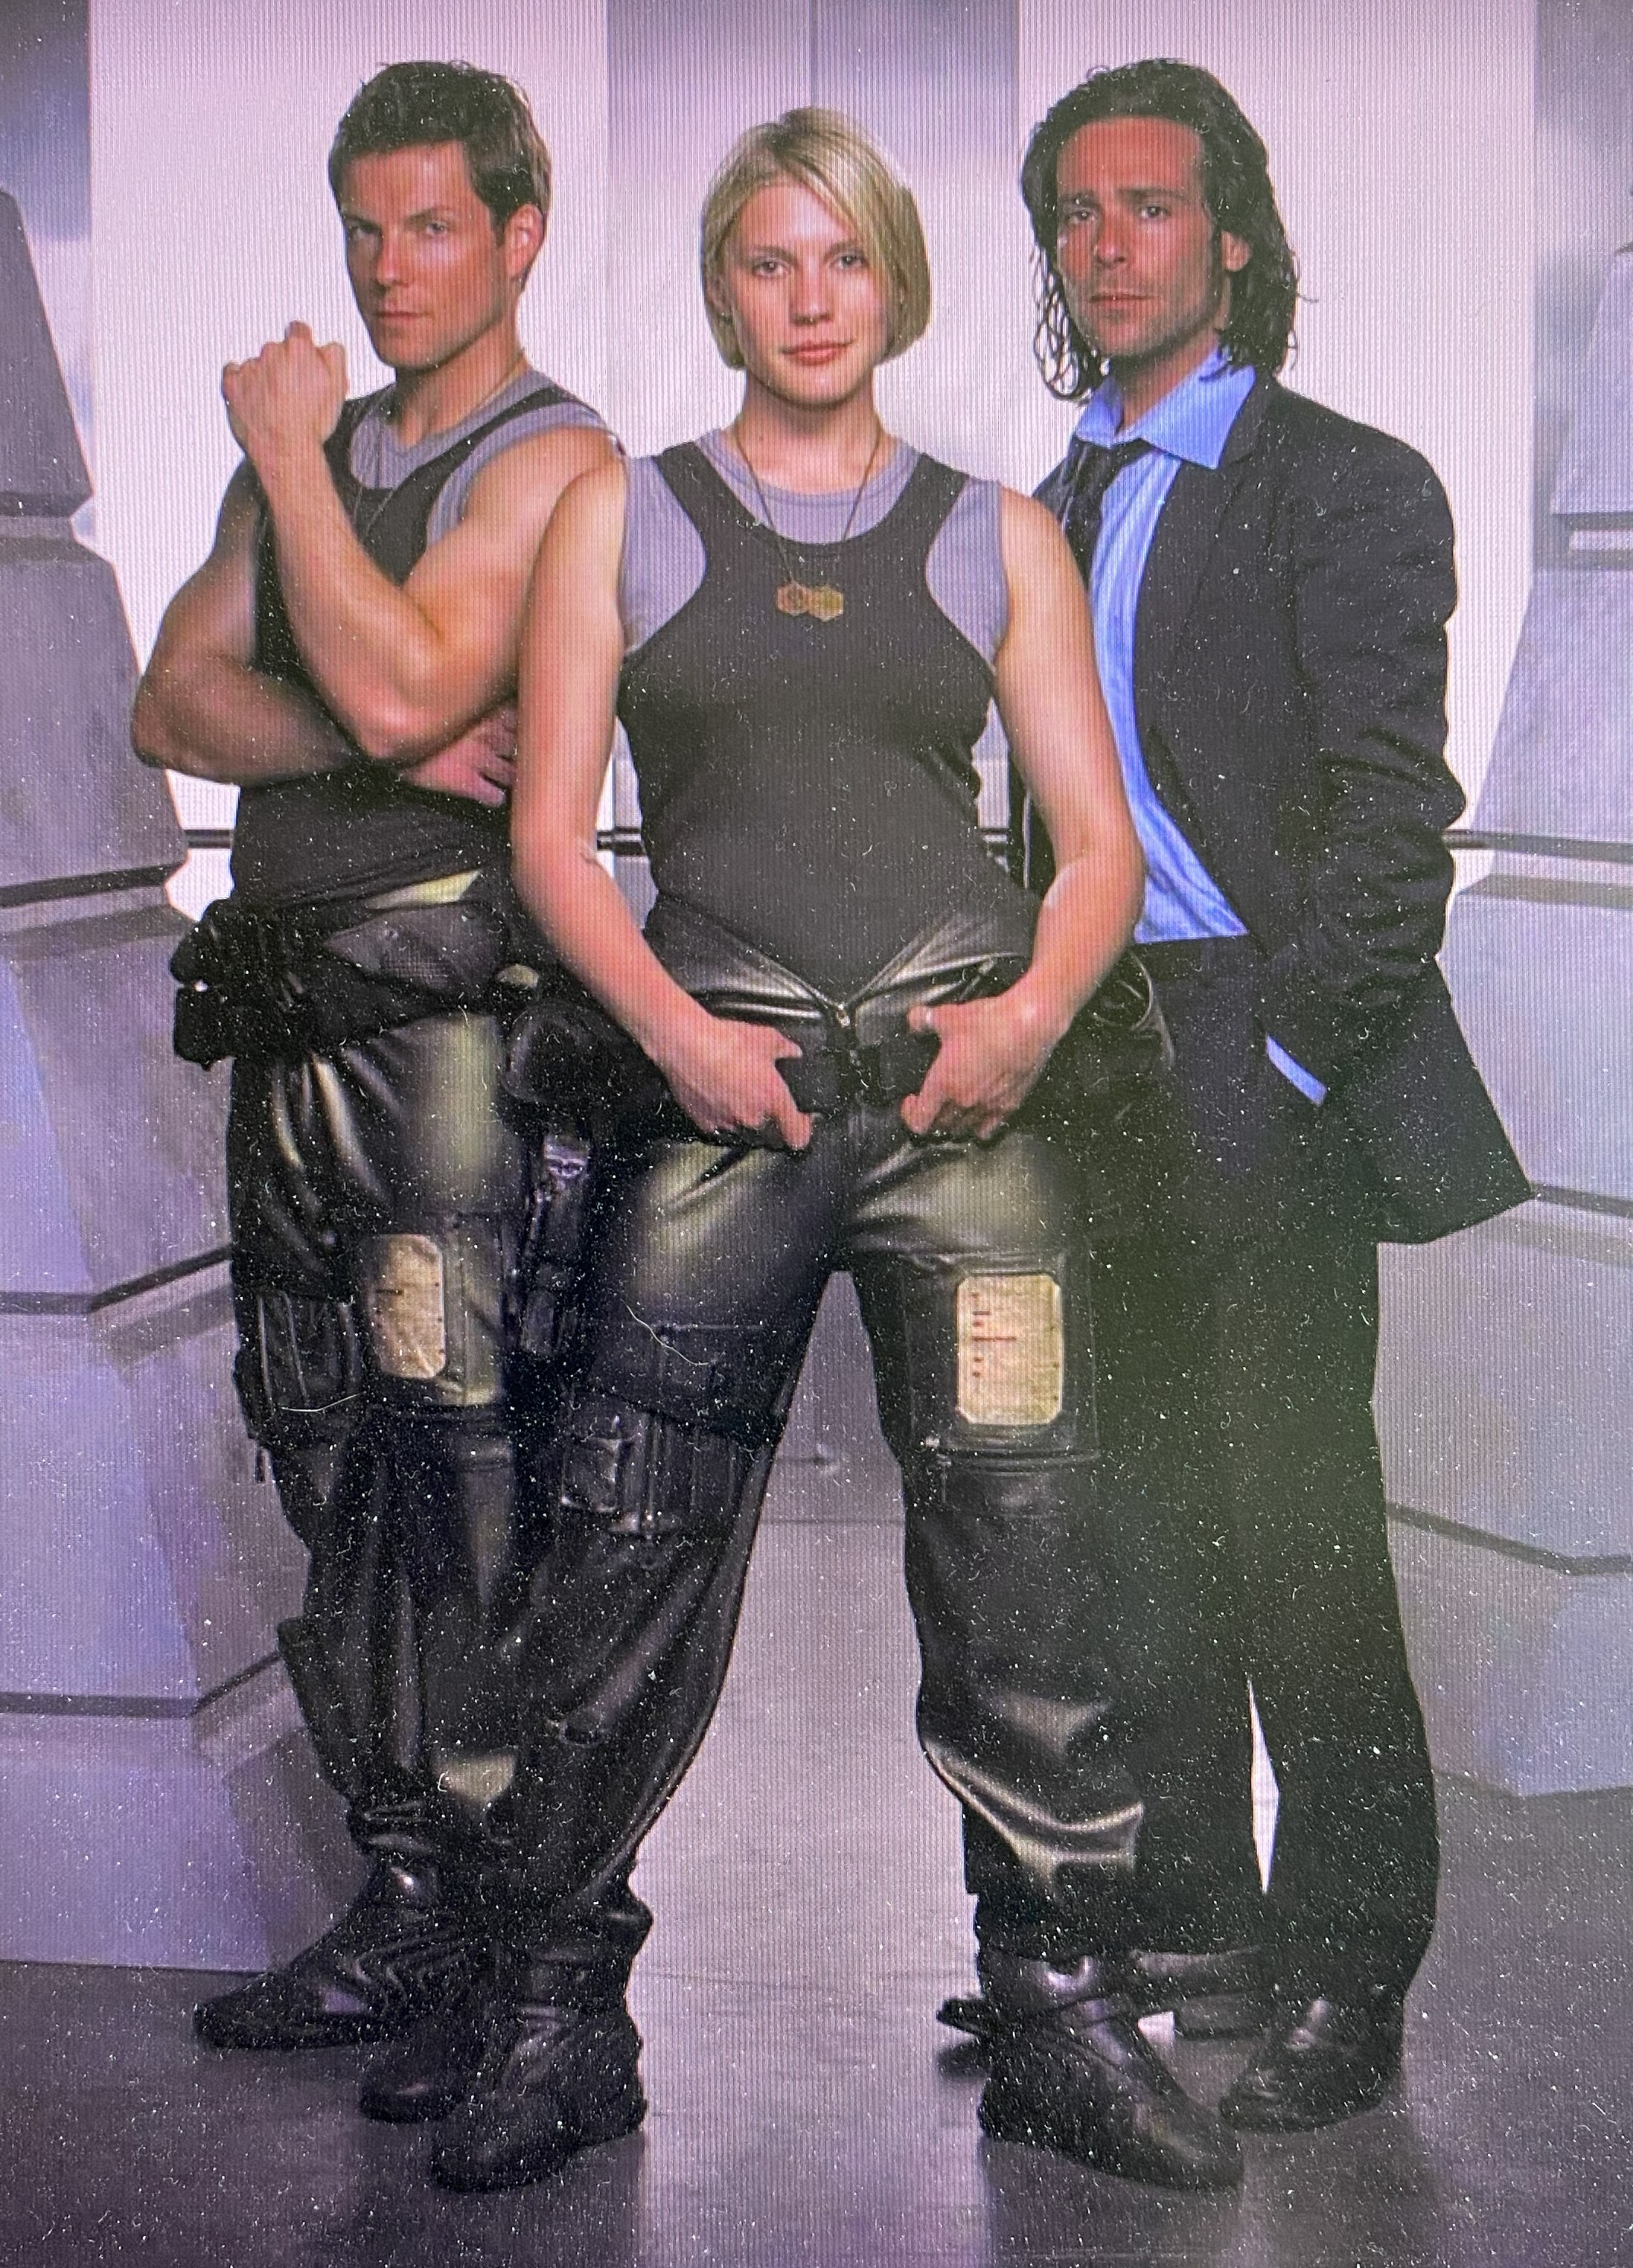
While I’m sitting here deciding if the skin tones/wash is acceptable to me, my next color-related challenge is getting the color of the flight-suit correct(ish):
It’s obvious to me that I’m going to need to have something to practice on. I went into my stash of spare armor parts and tossed together this painting mule:
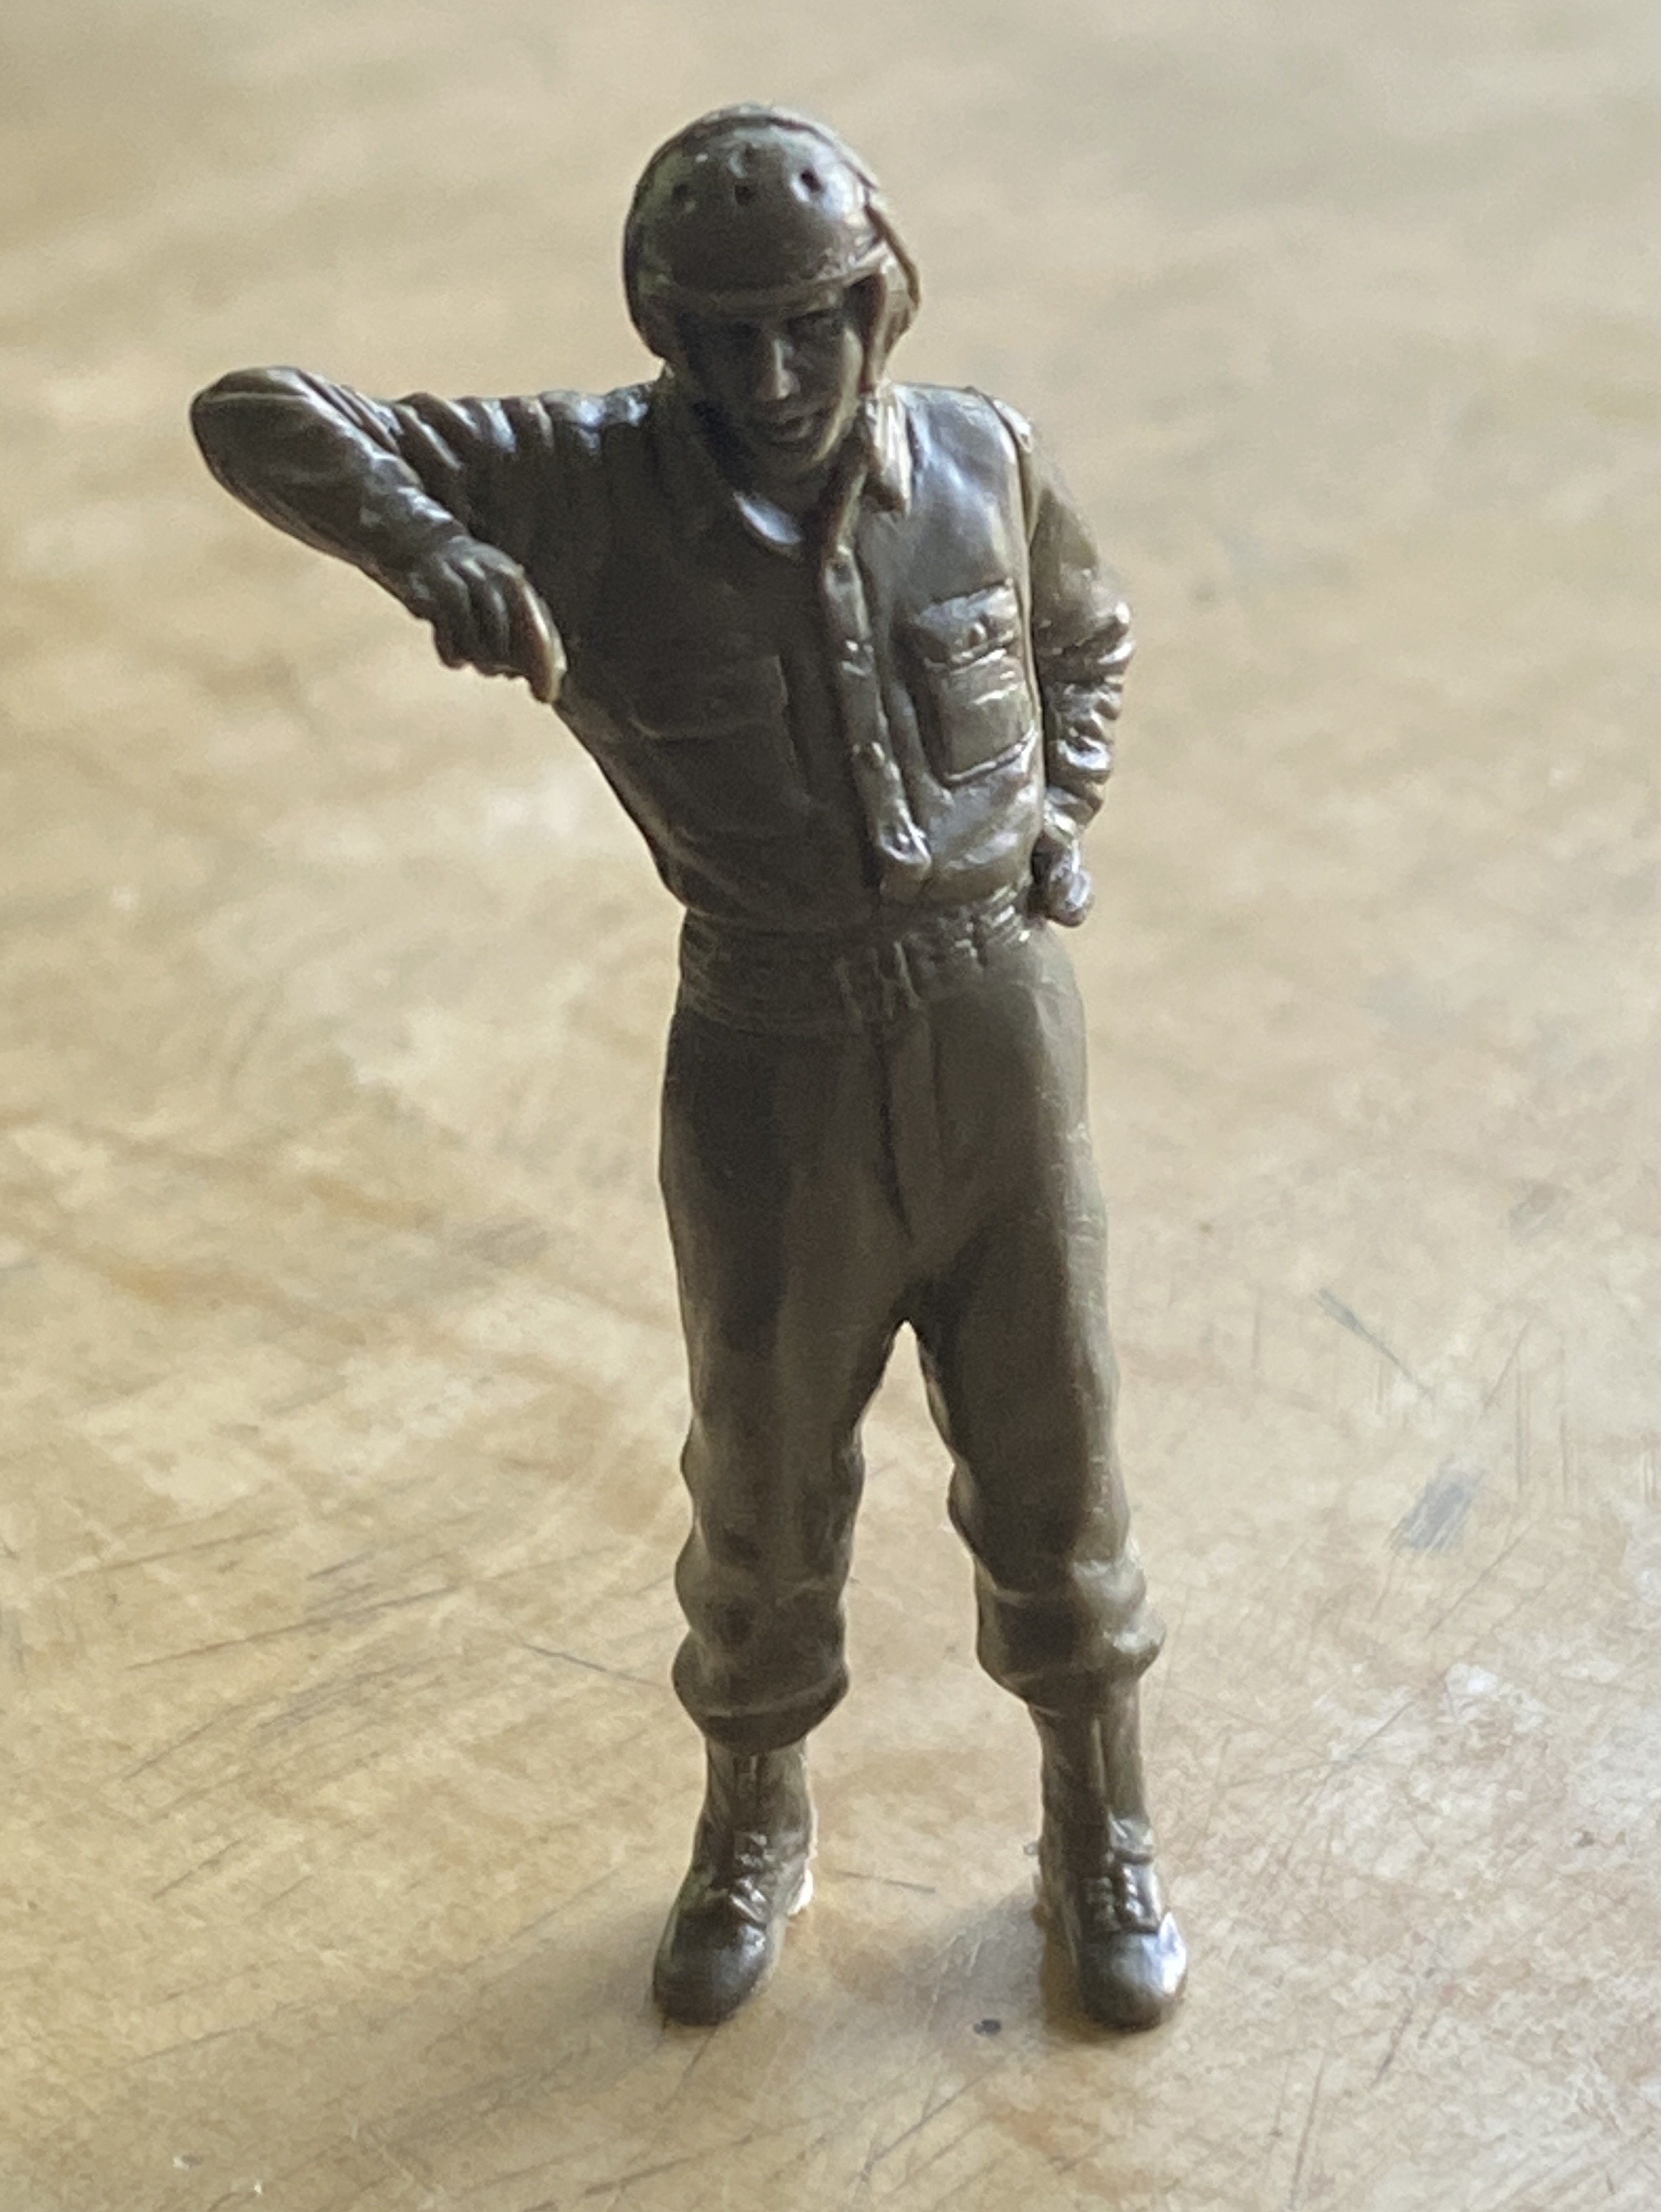
Or it’s a crash-test dummy.
Colonial Viper MkII (Moebius Models) 1/32 Scale Build #4, Construction Completed Leading to Decals, Painting, and Fitting a Display case
I suspect that I understand wimmen (not at all) better than I do decals (so beyond not at all). Yes, the premise isn’t that complicated and there are those decal producers (whom I wished worked for Tamiya) that clearly understand the whole process (yeah, I’m looking at you, Cartograph!) (and THANK YOU!!). It’s when the adhesive meets the (clear gloss) paint that the results too frequently end up in the what-the-FUCK-just-happened category (my build of the Blackbird being the most egregious example of that category). I managed to spin myself up so much that I forgot to photograph the “process” (calling my decaling “a process” is really quite funny). I did manage one photo and here it is:
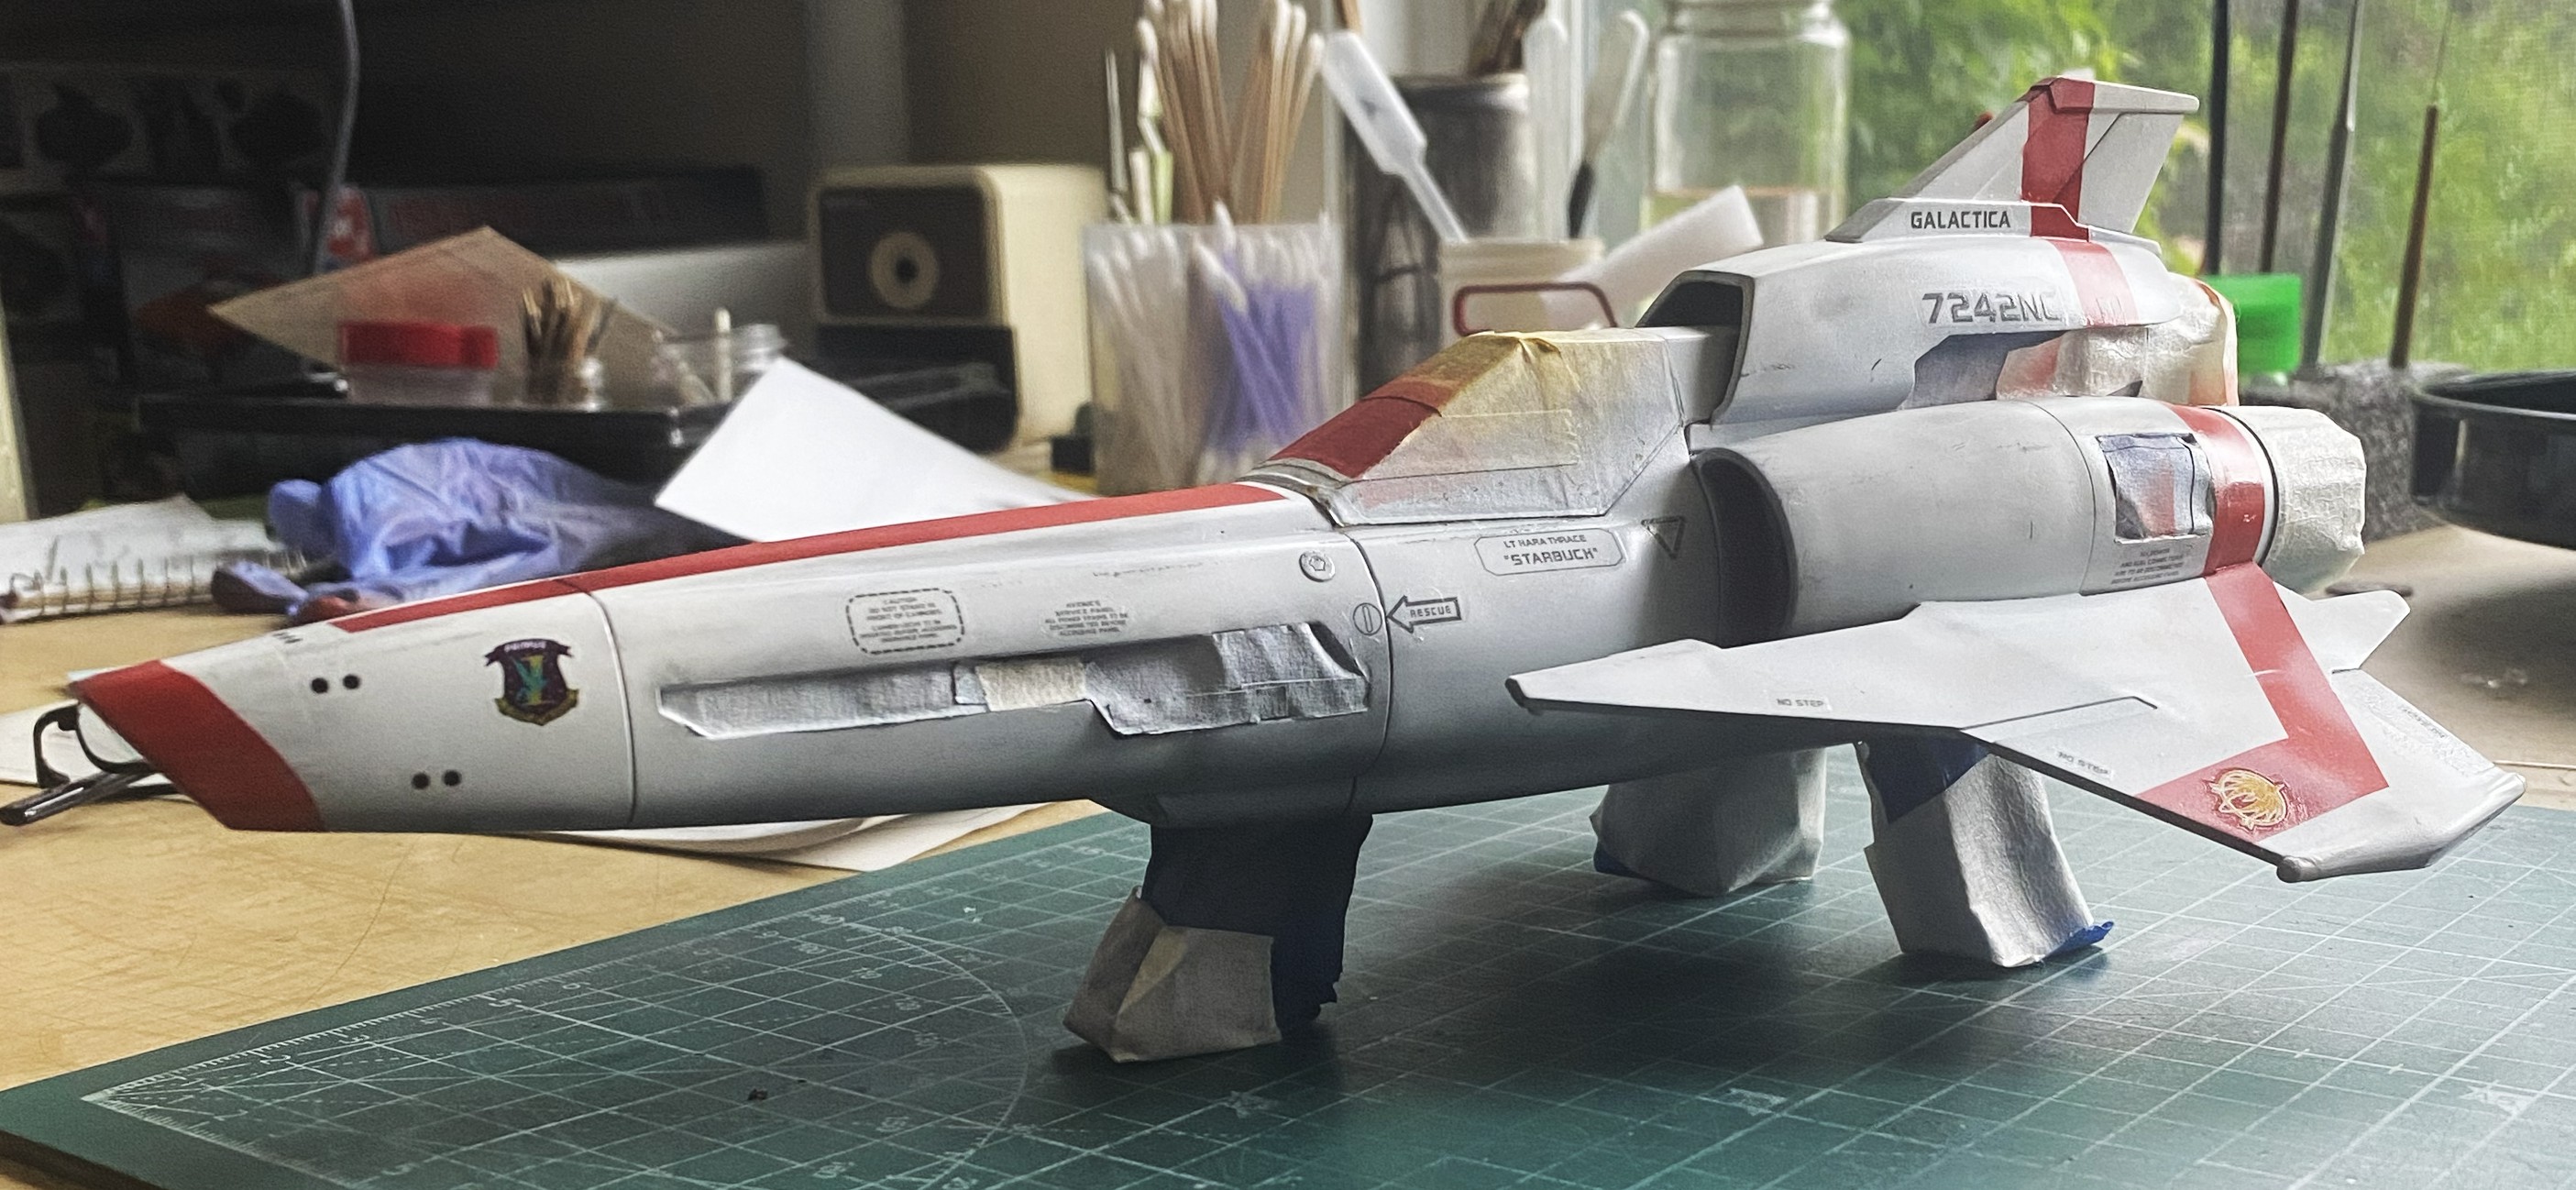
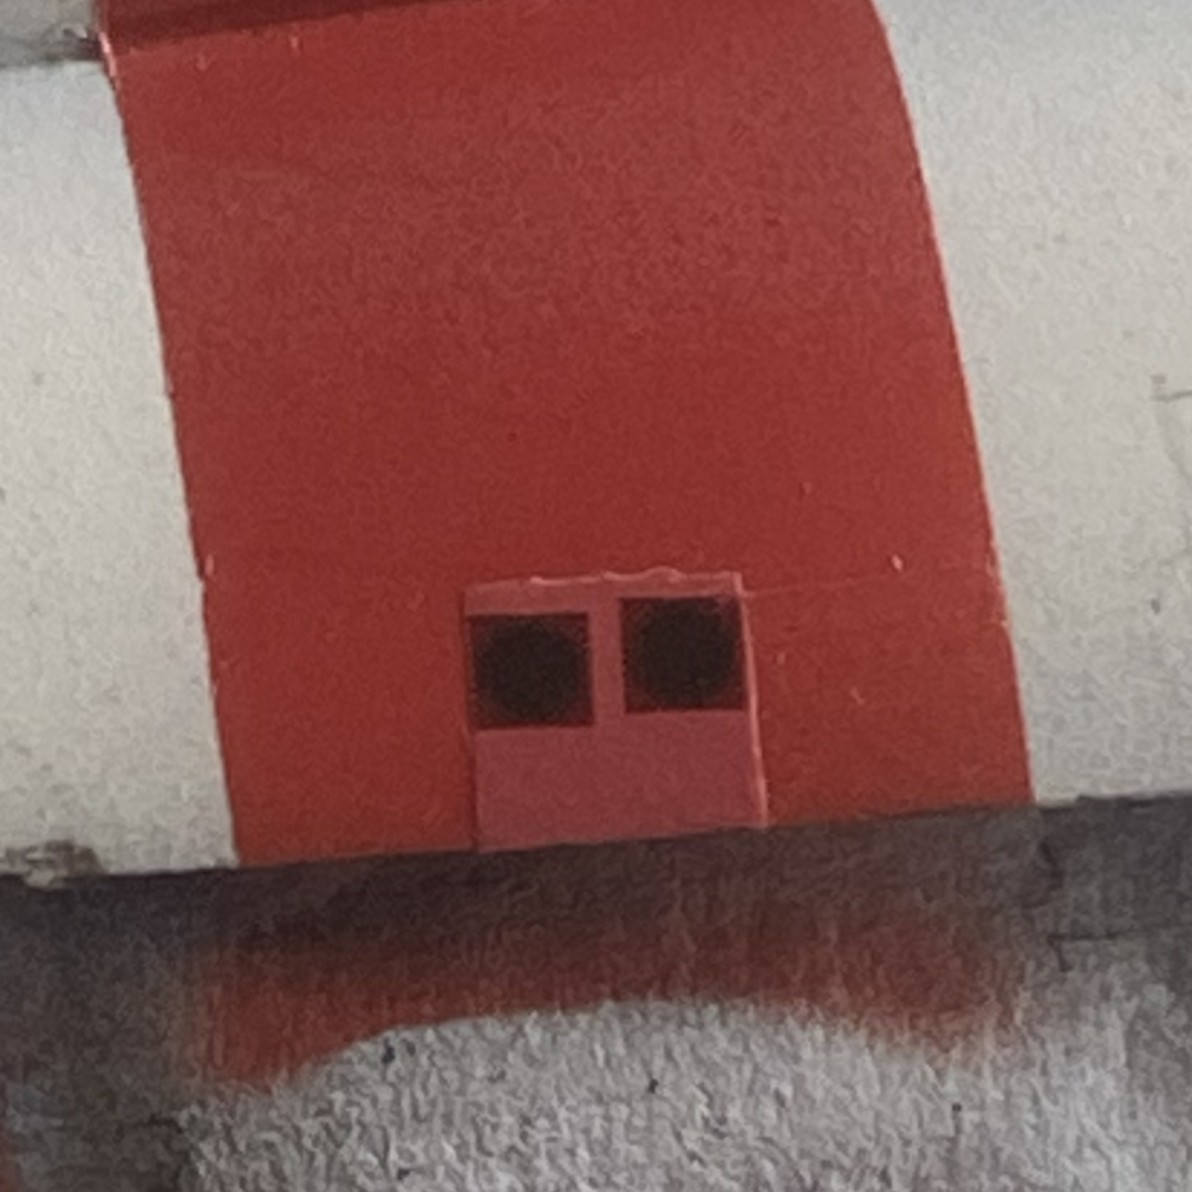
And I certainly hope the colors match because I noted on one decal that the manufacturer had placed OMS (Orbital Maneuvering System) thrusters on a stripe decal. I cut that section from the decal and added to where it’s supposed to be:
At this point, I realized that the masking on the canopy had been there for months. Masking tape has an annoying property of the paper of the tape separating from the adhesive. Removing tape like that generally leaves a lot of adhesive behind and for removal, I use lighter fluid. This time I’d rather not, and since I was done painting that area, there was no reason for the mask to be there anymore, so I removed the masking. During masking, I’d manage to miss covering one small section that had to be covered. I didn’t realize that until later. [Sidebar: I use acrylic paint, preferably Tamiya’s, for several reasons and one of those reasons is that when something like this happens, I can use a modified toothpick to scrape away the offending paint.] Time to modify a toothpick:
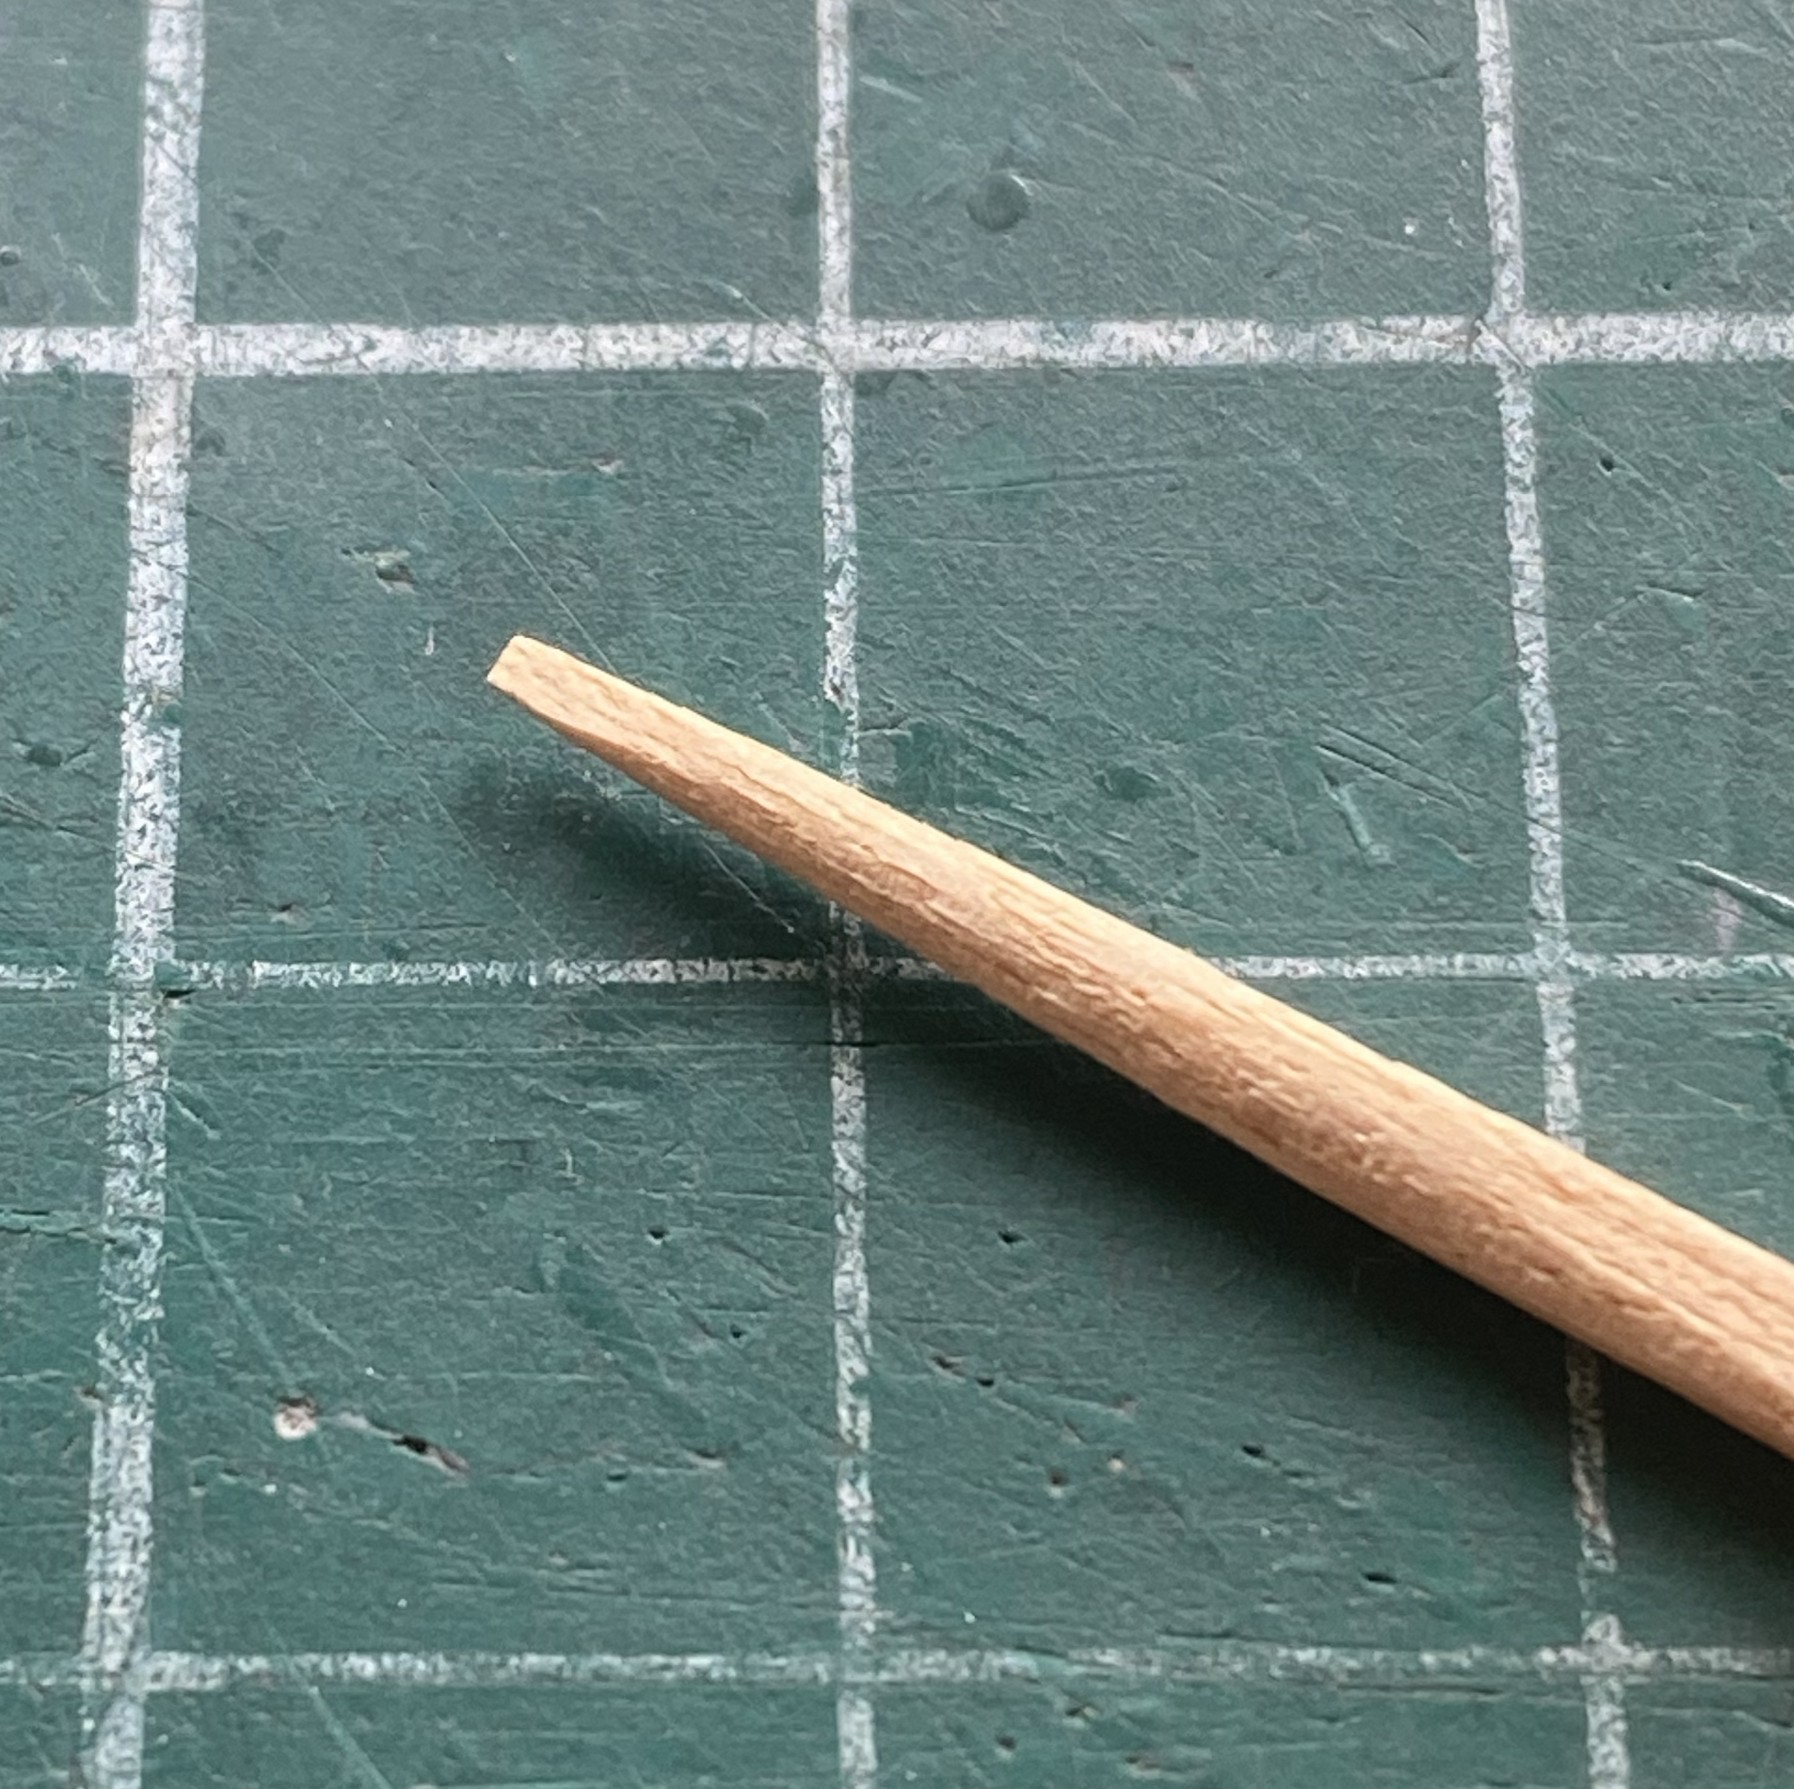
With a nice sharp edge, the paint came off (mostly, which is good enough):
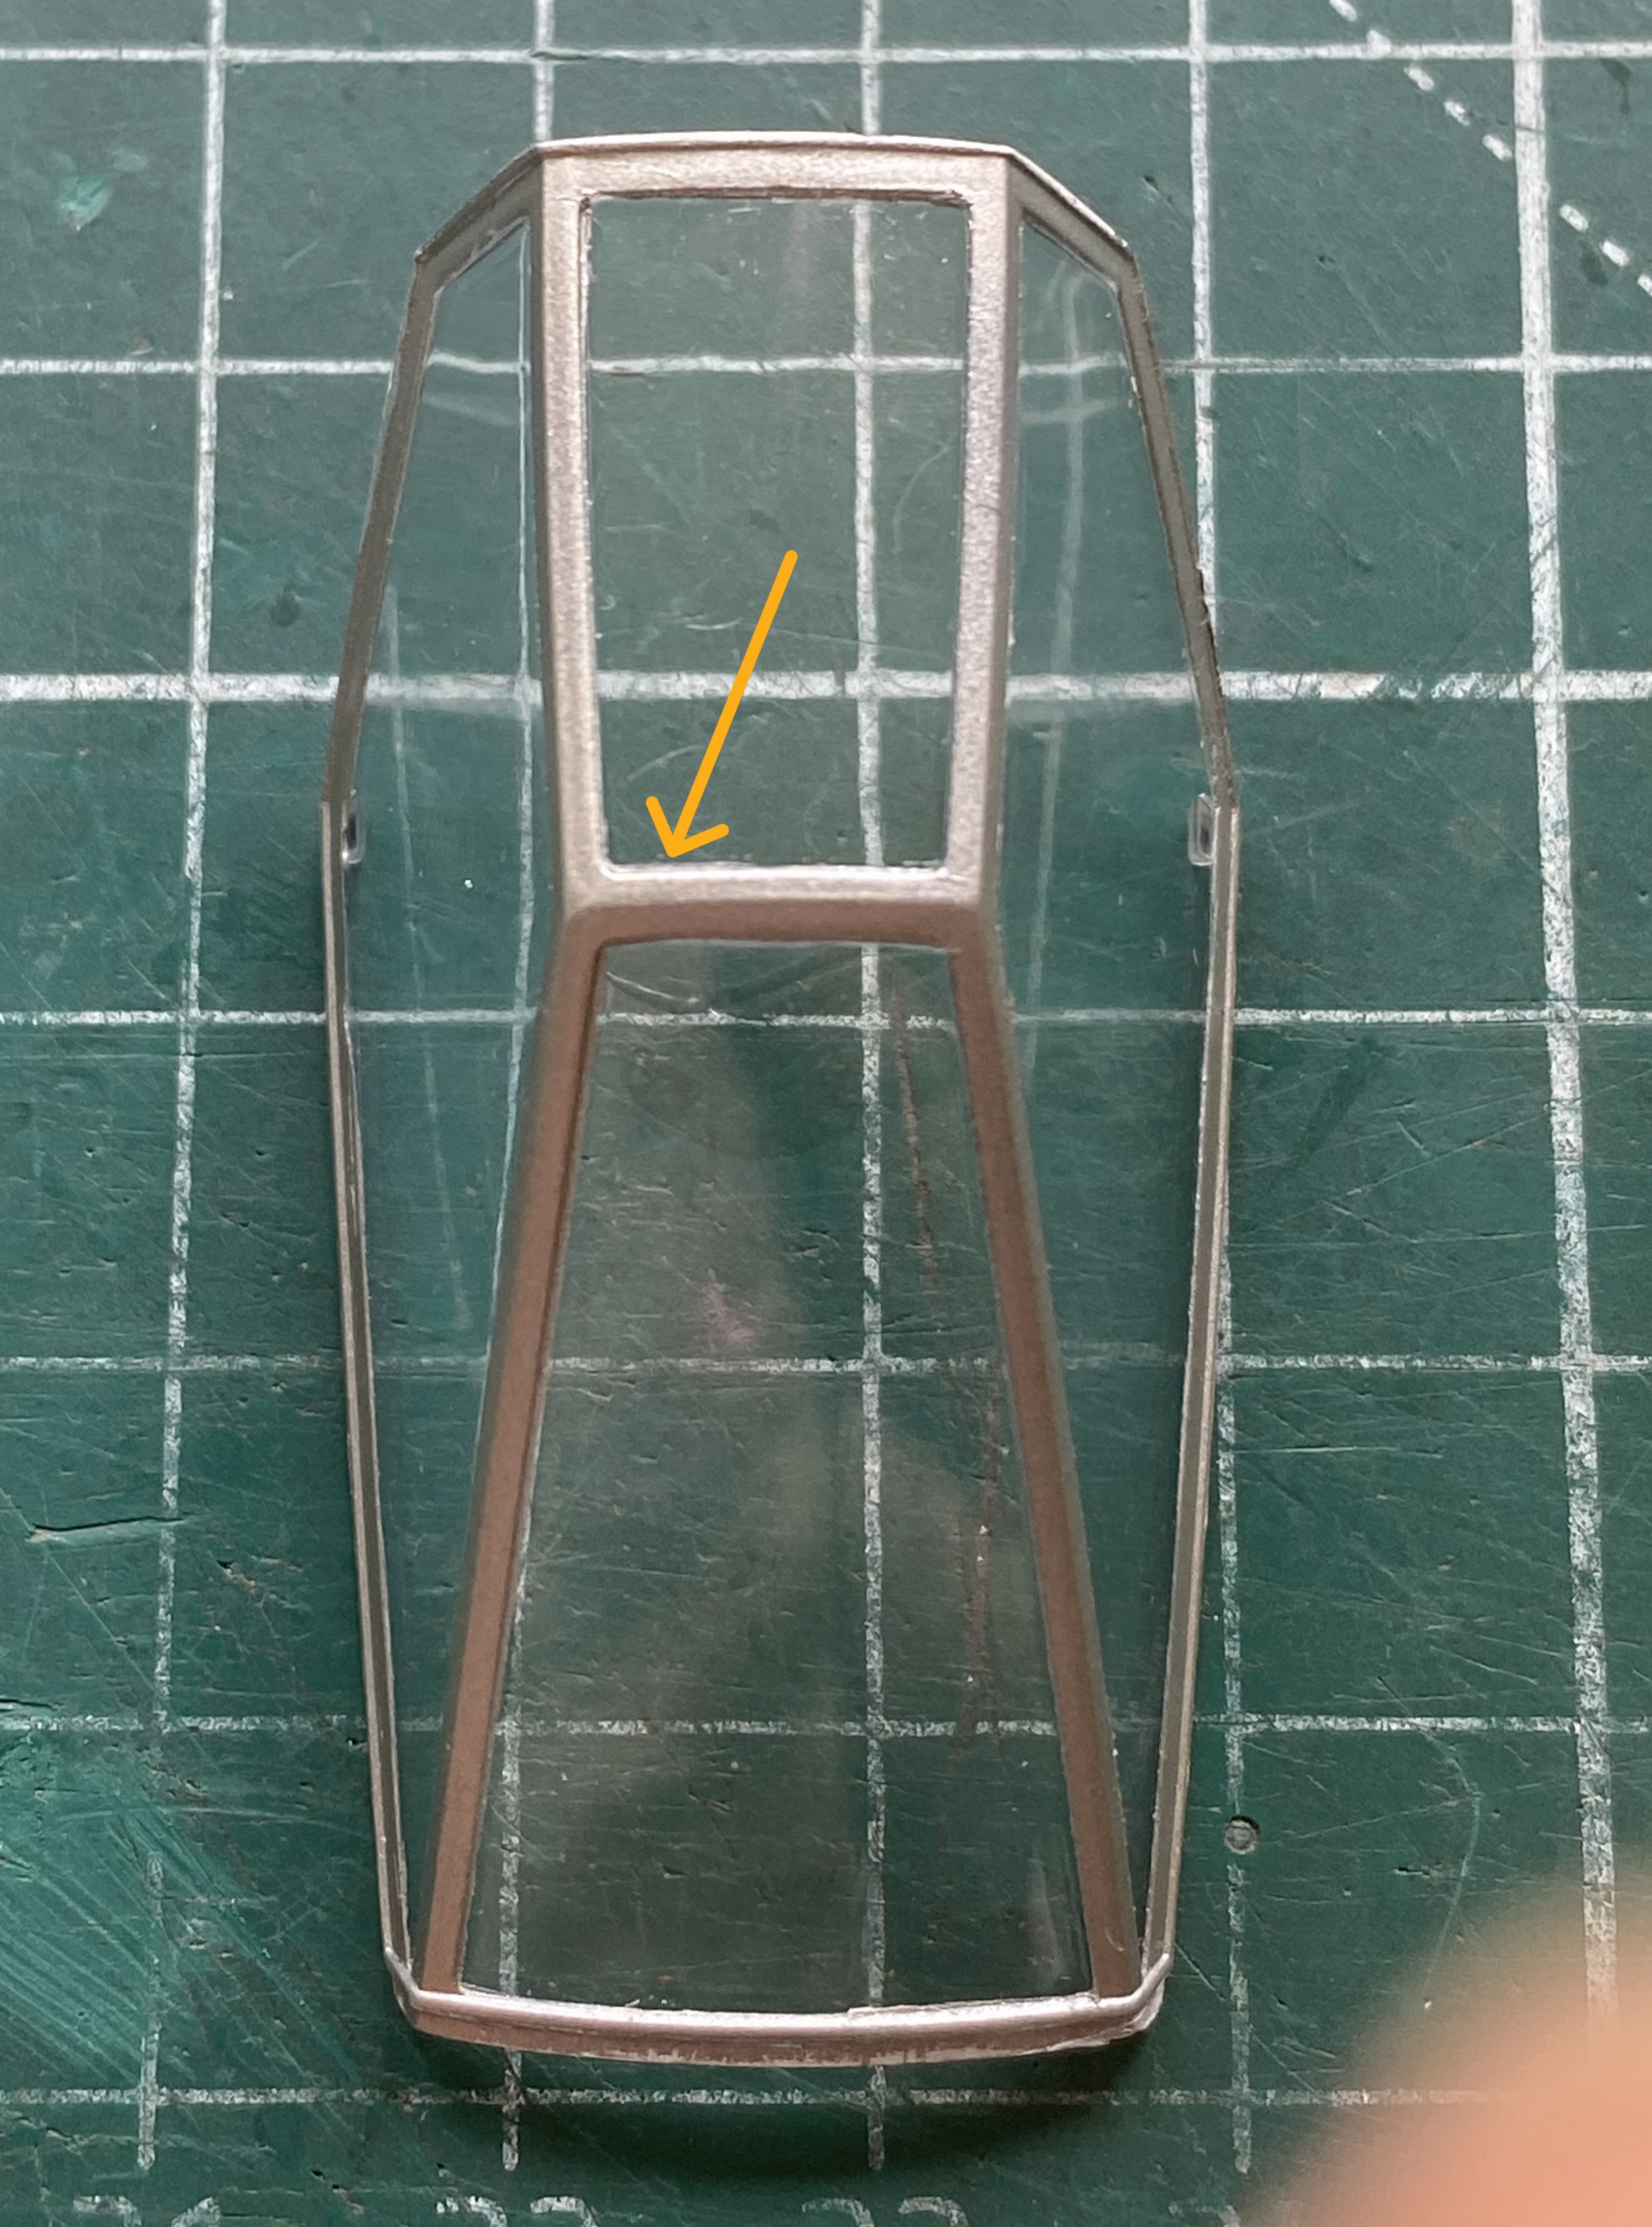
As stated, good enough, and I got to this before the adhesive started separating from the paper:
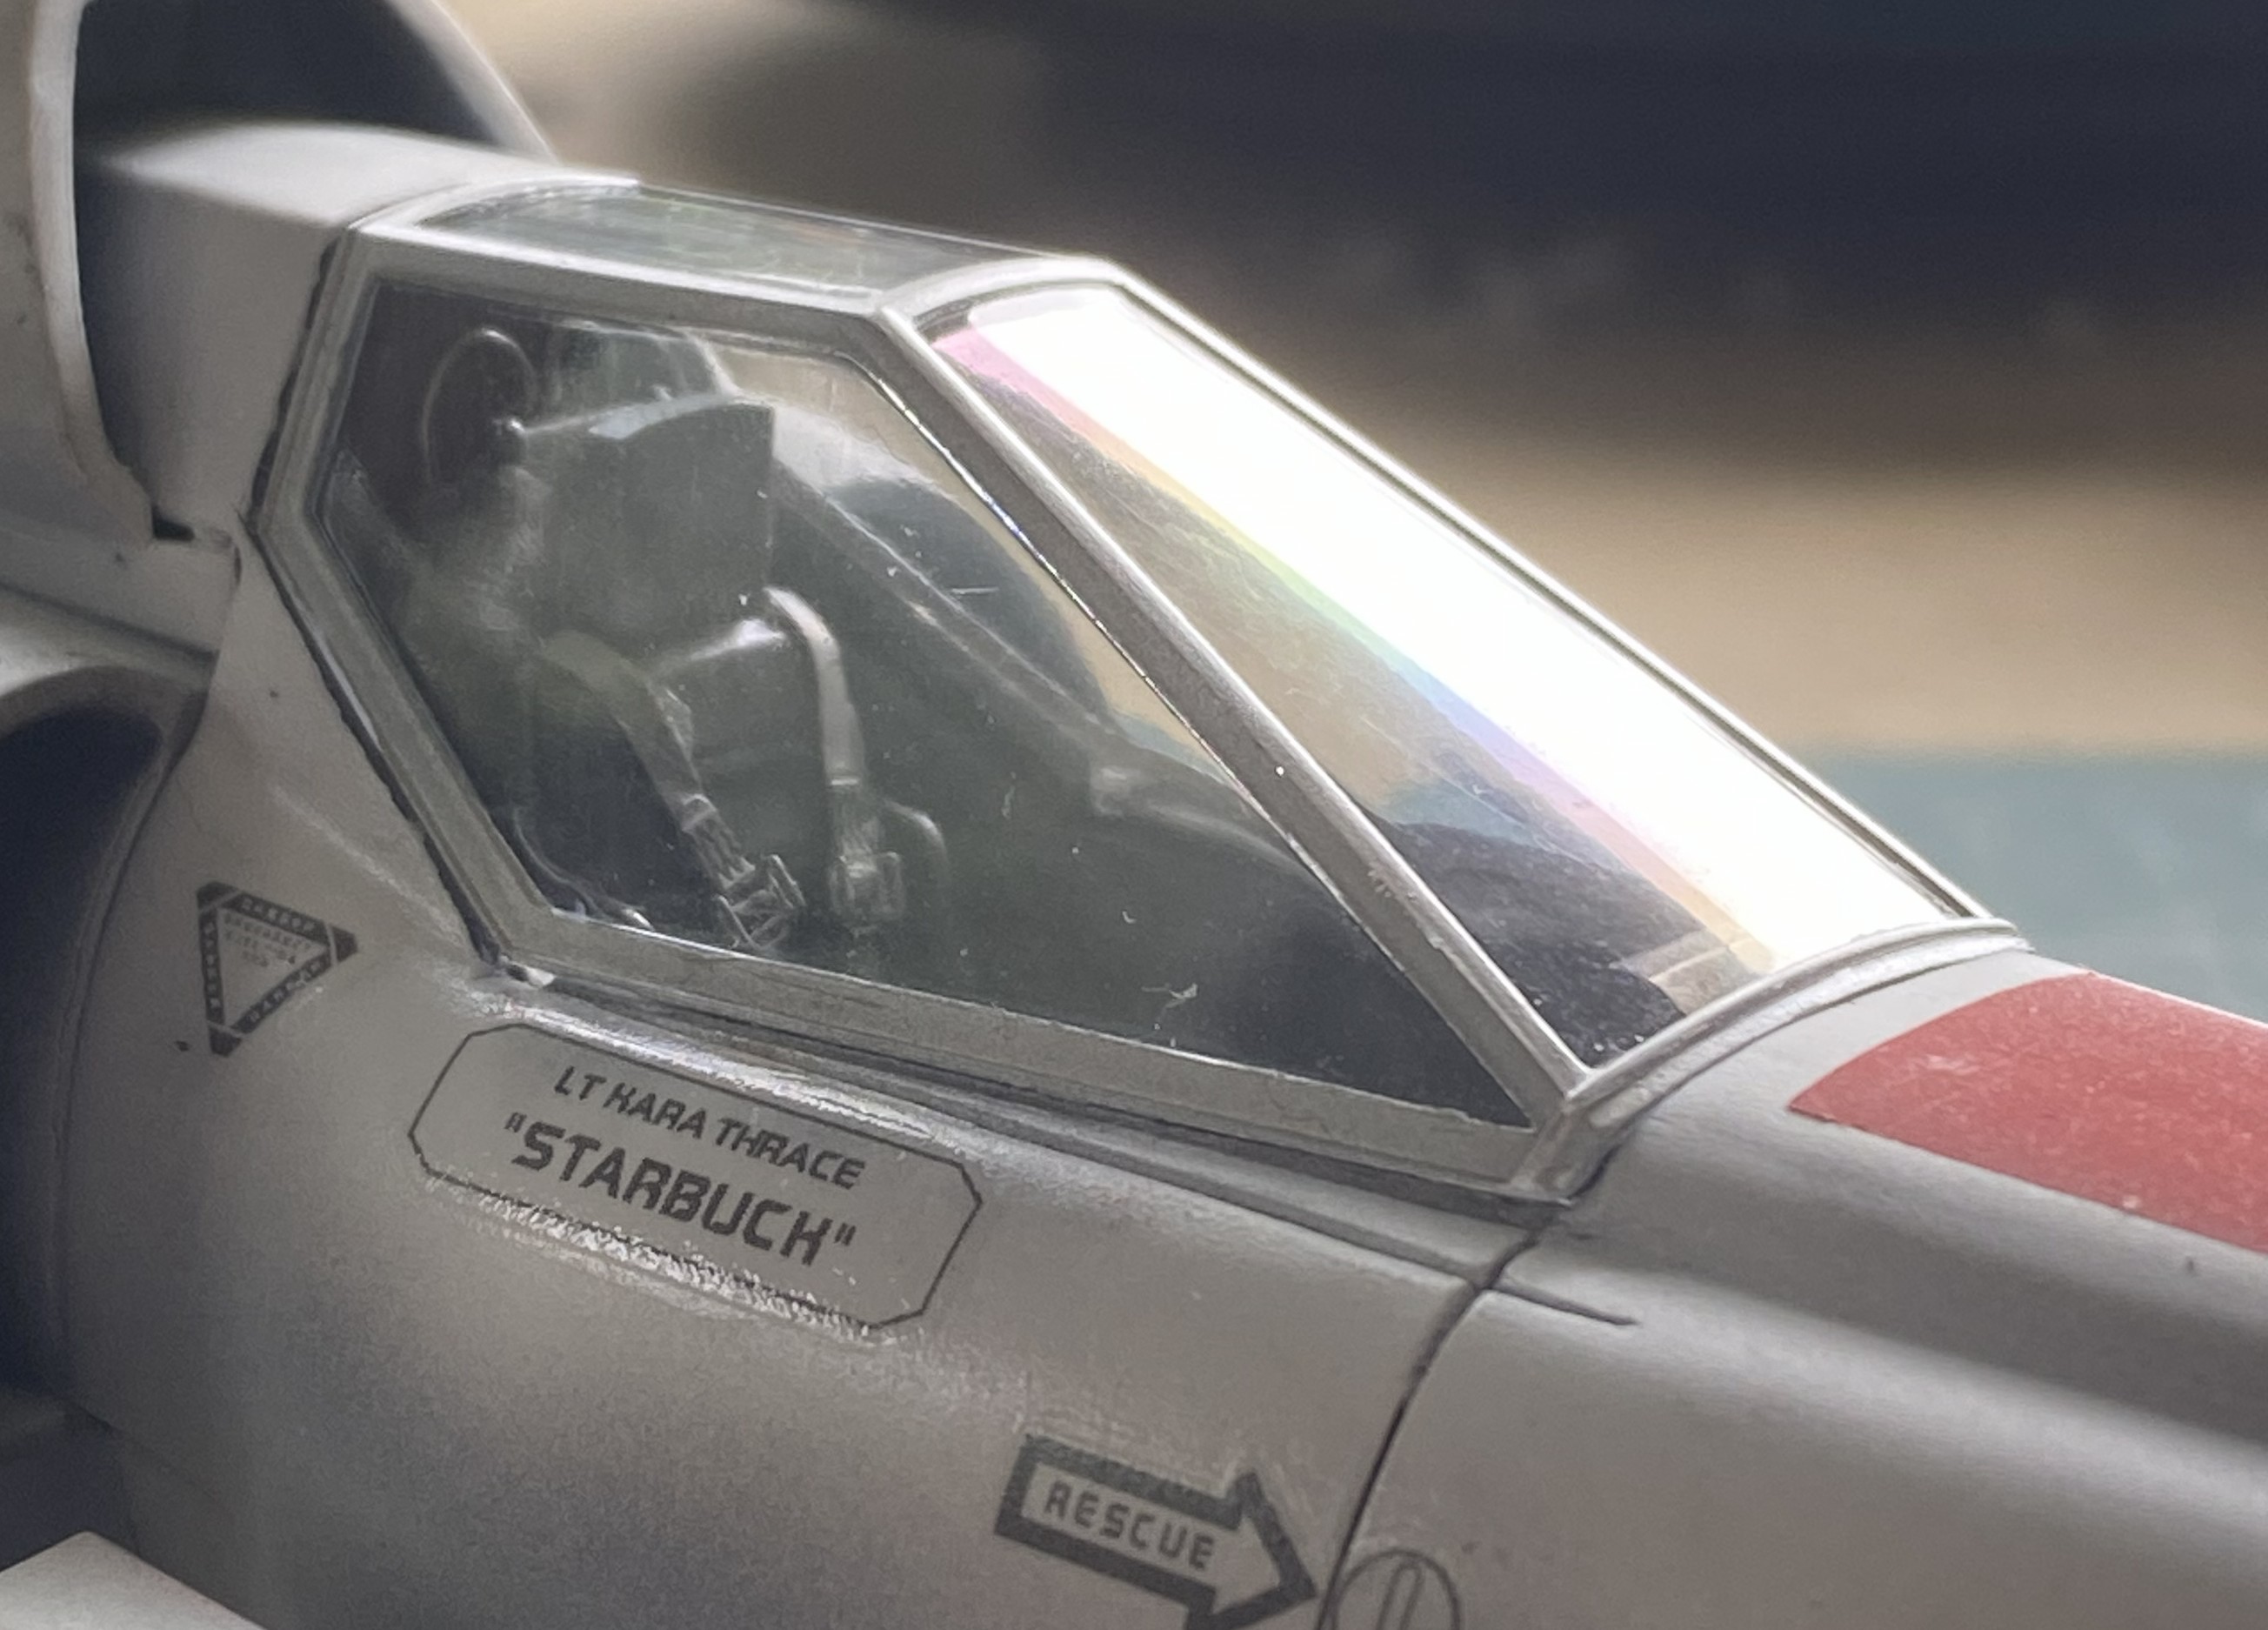
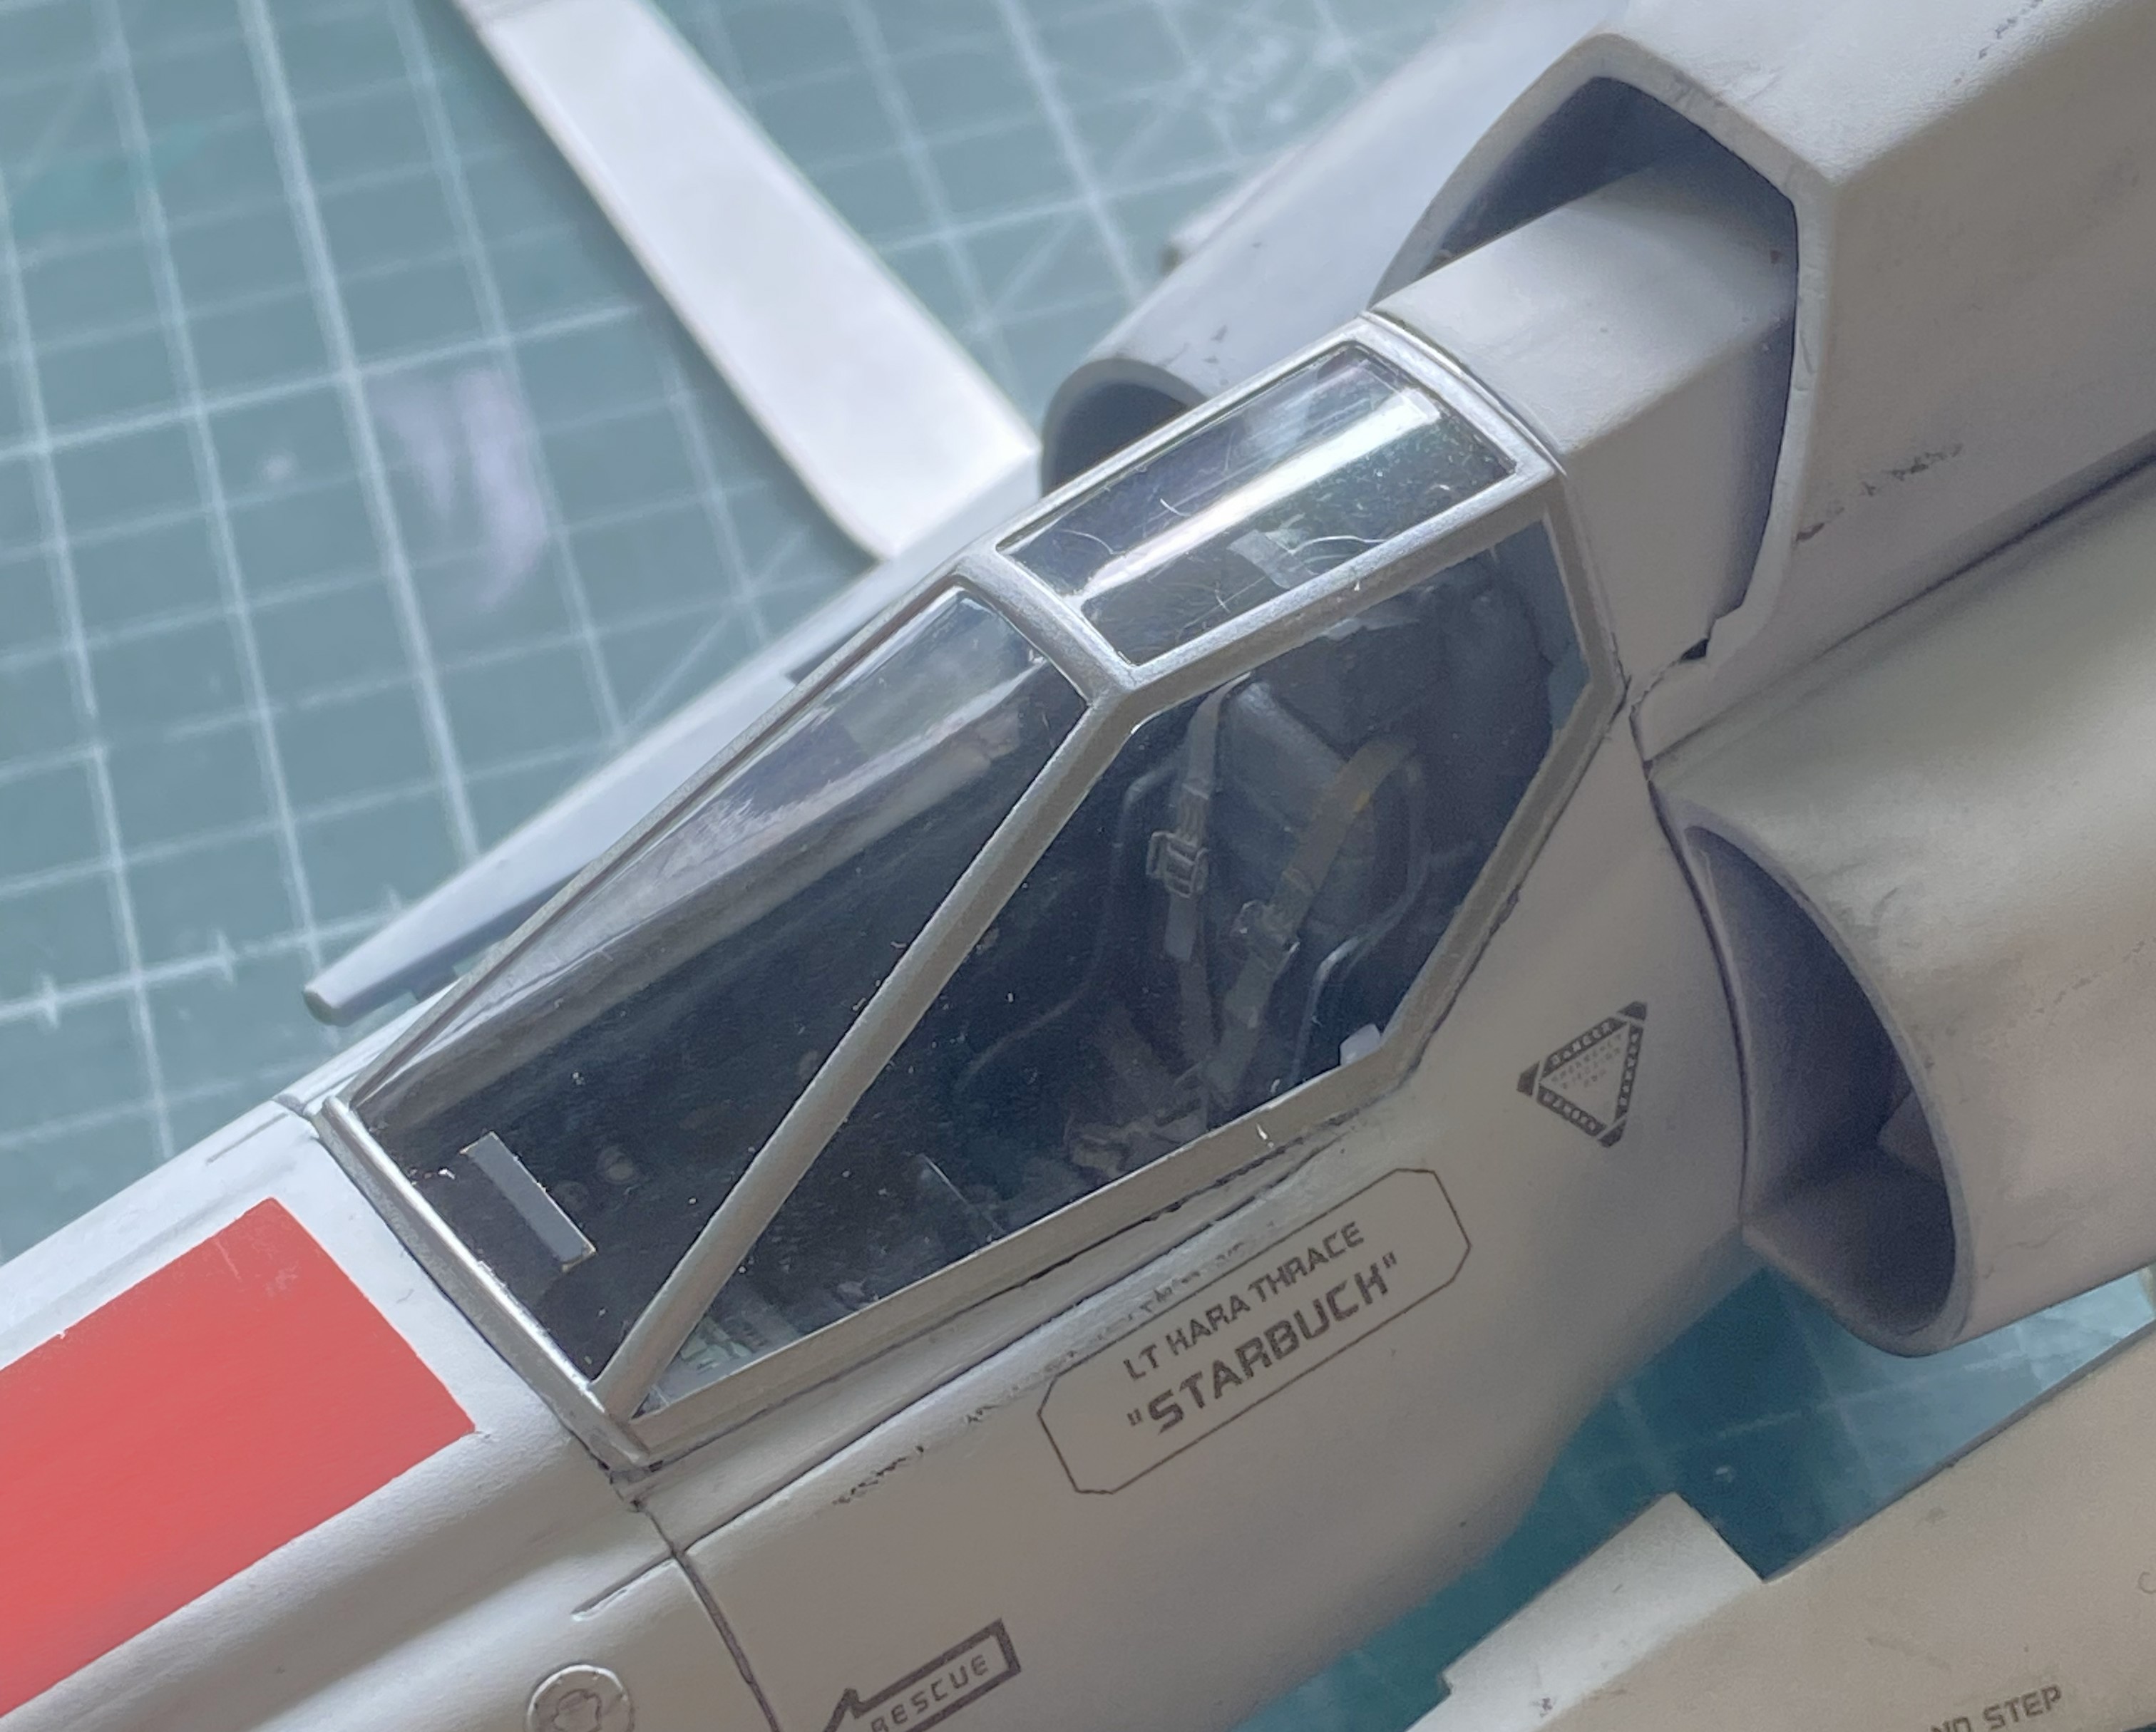

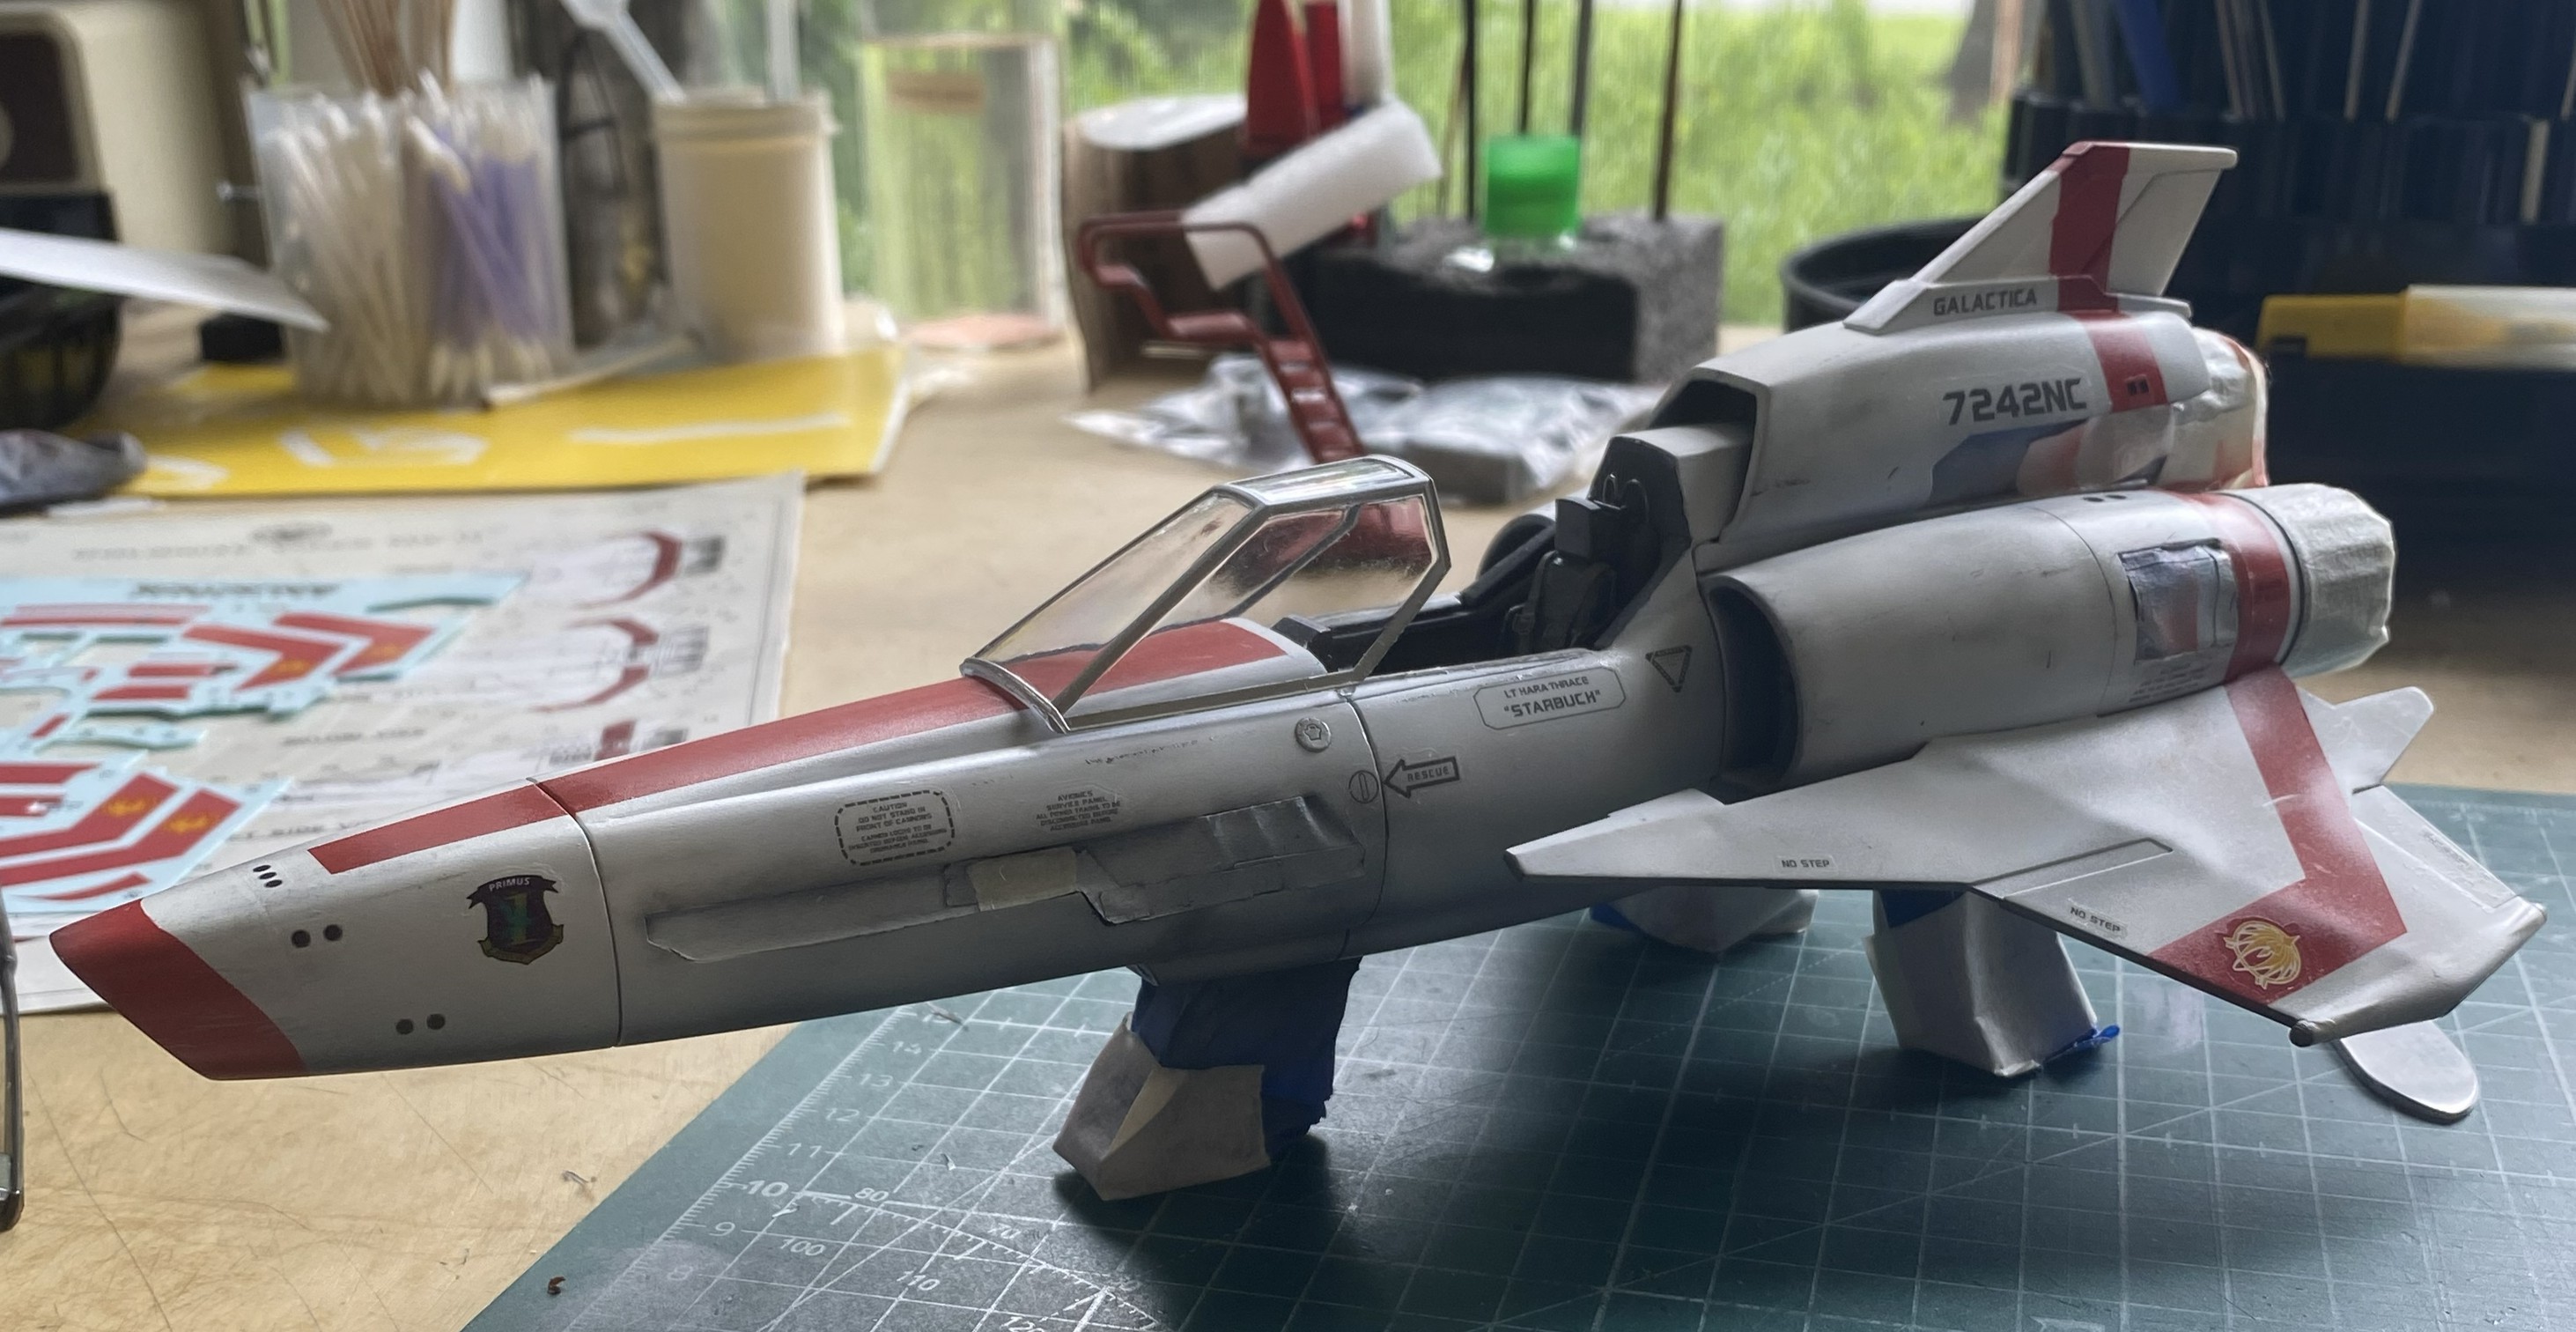
At this point I decided to remove all the masking. Yes, there will be additional shots of clear gloss and semi-gloss to make this thing looked used, rode hard, and put away wet with the saddle still on, but this is the essential paint/stain/wear results:
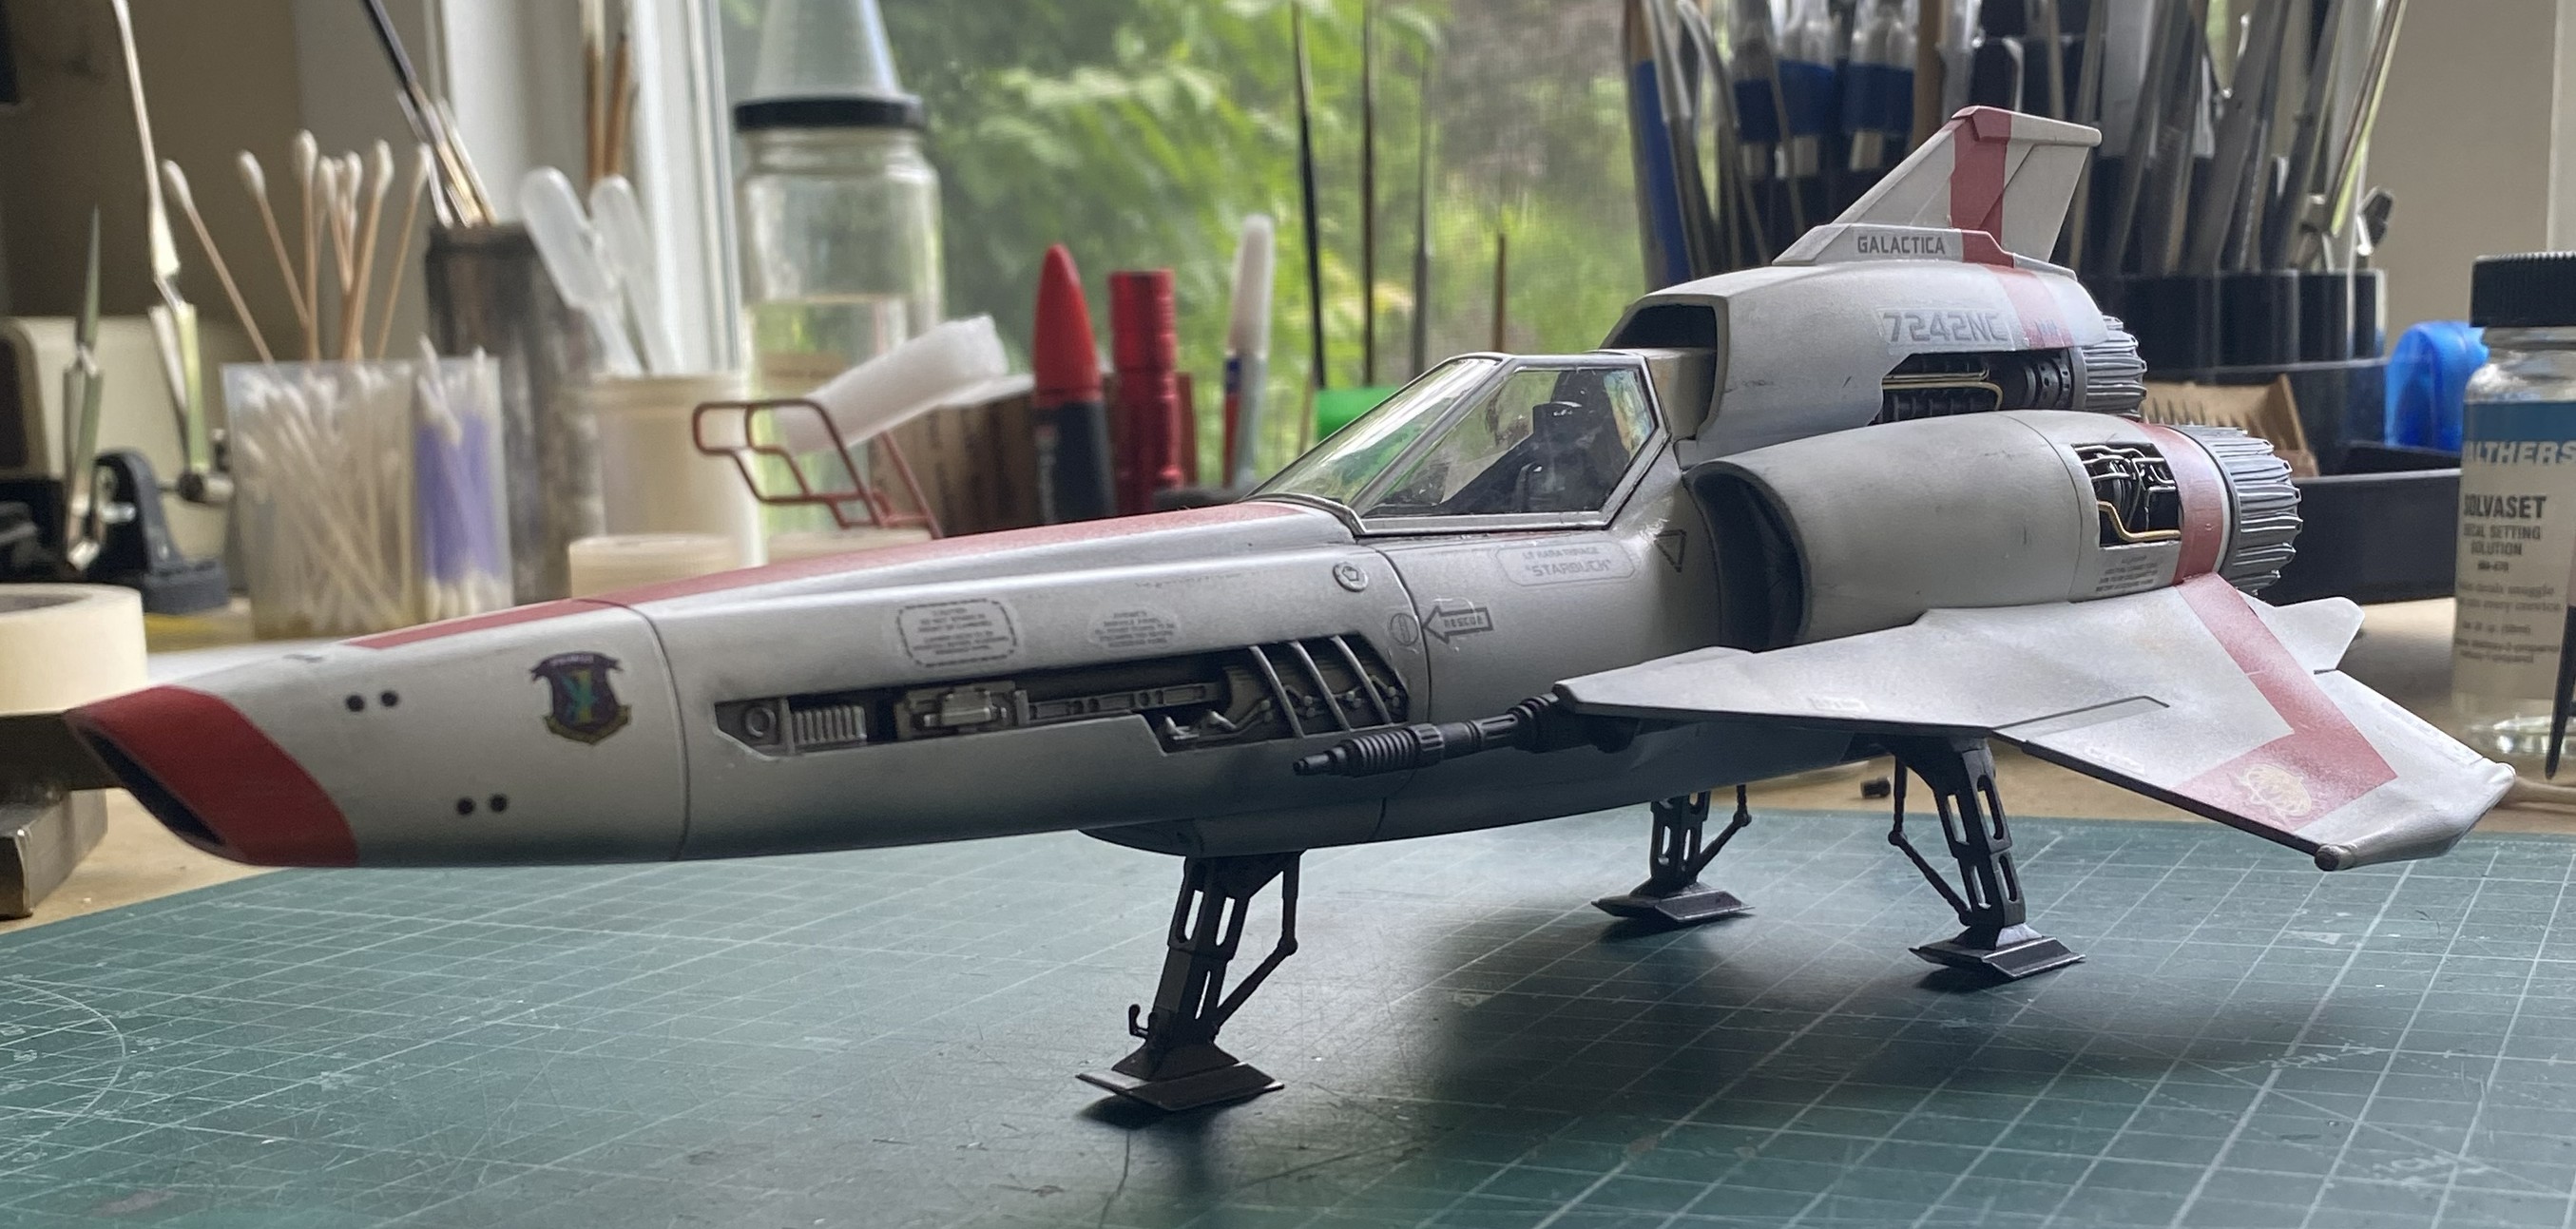
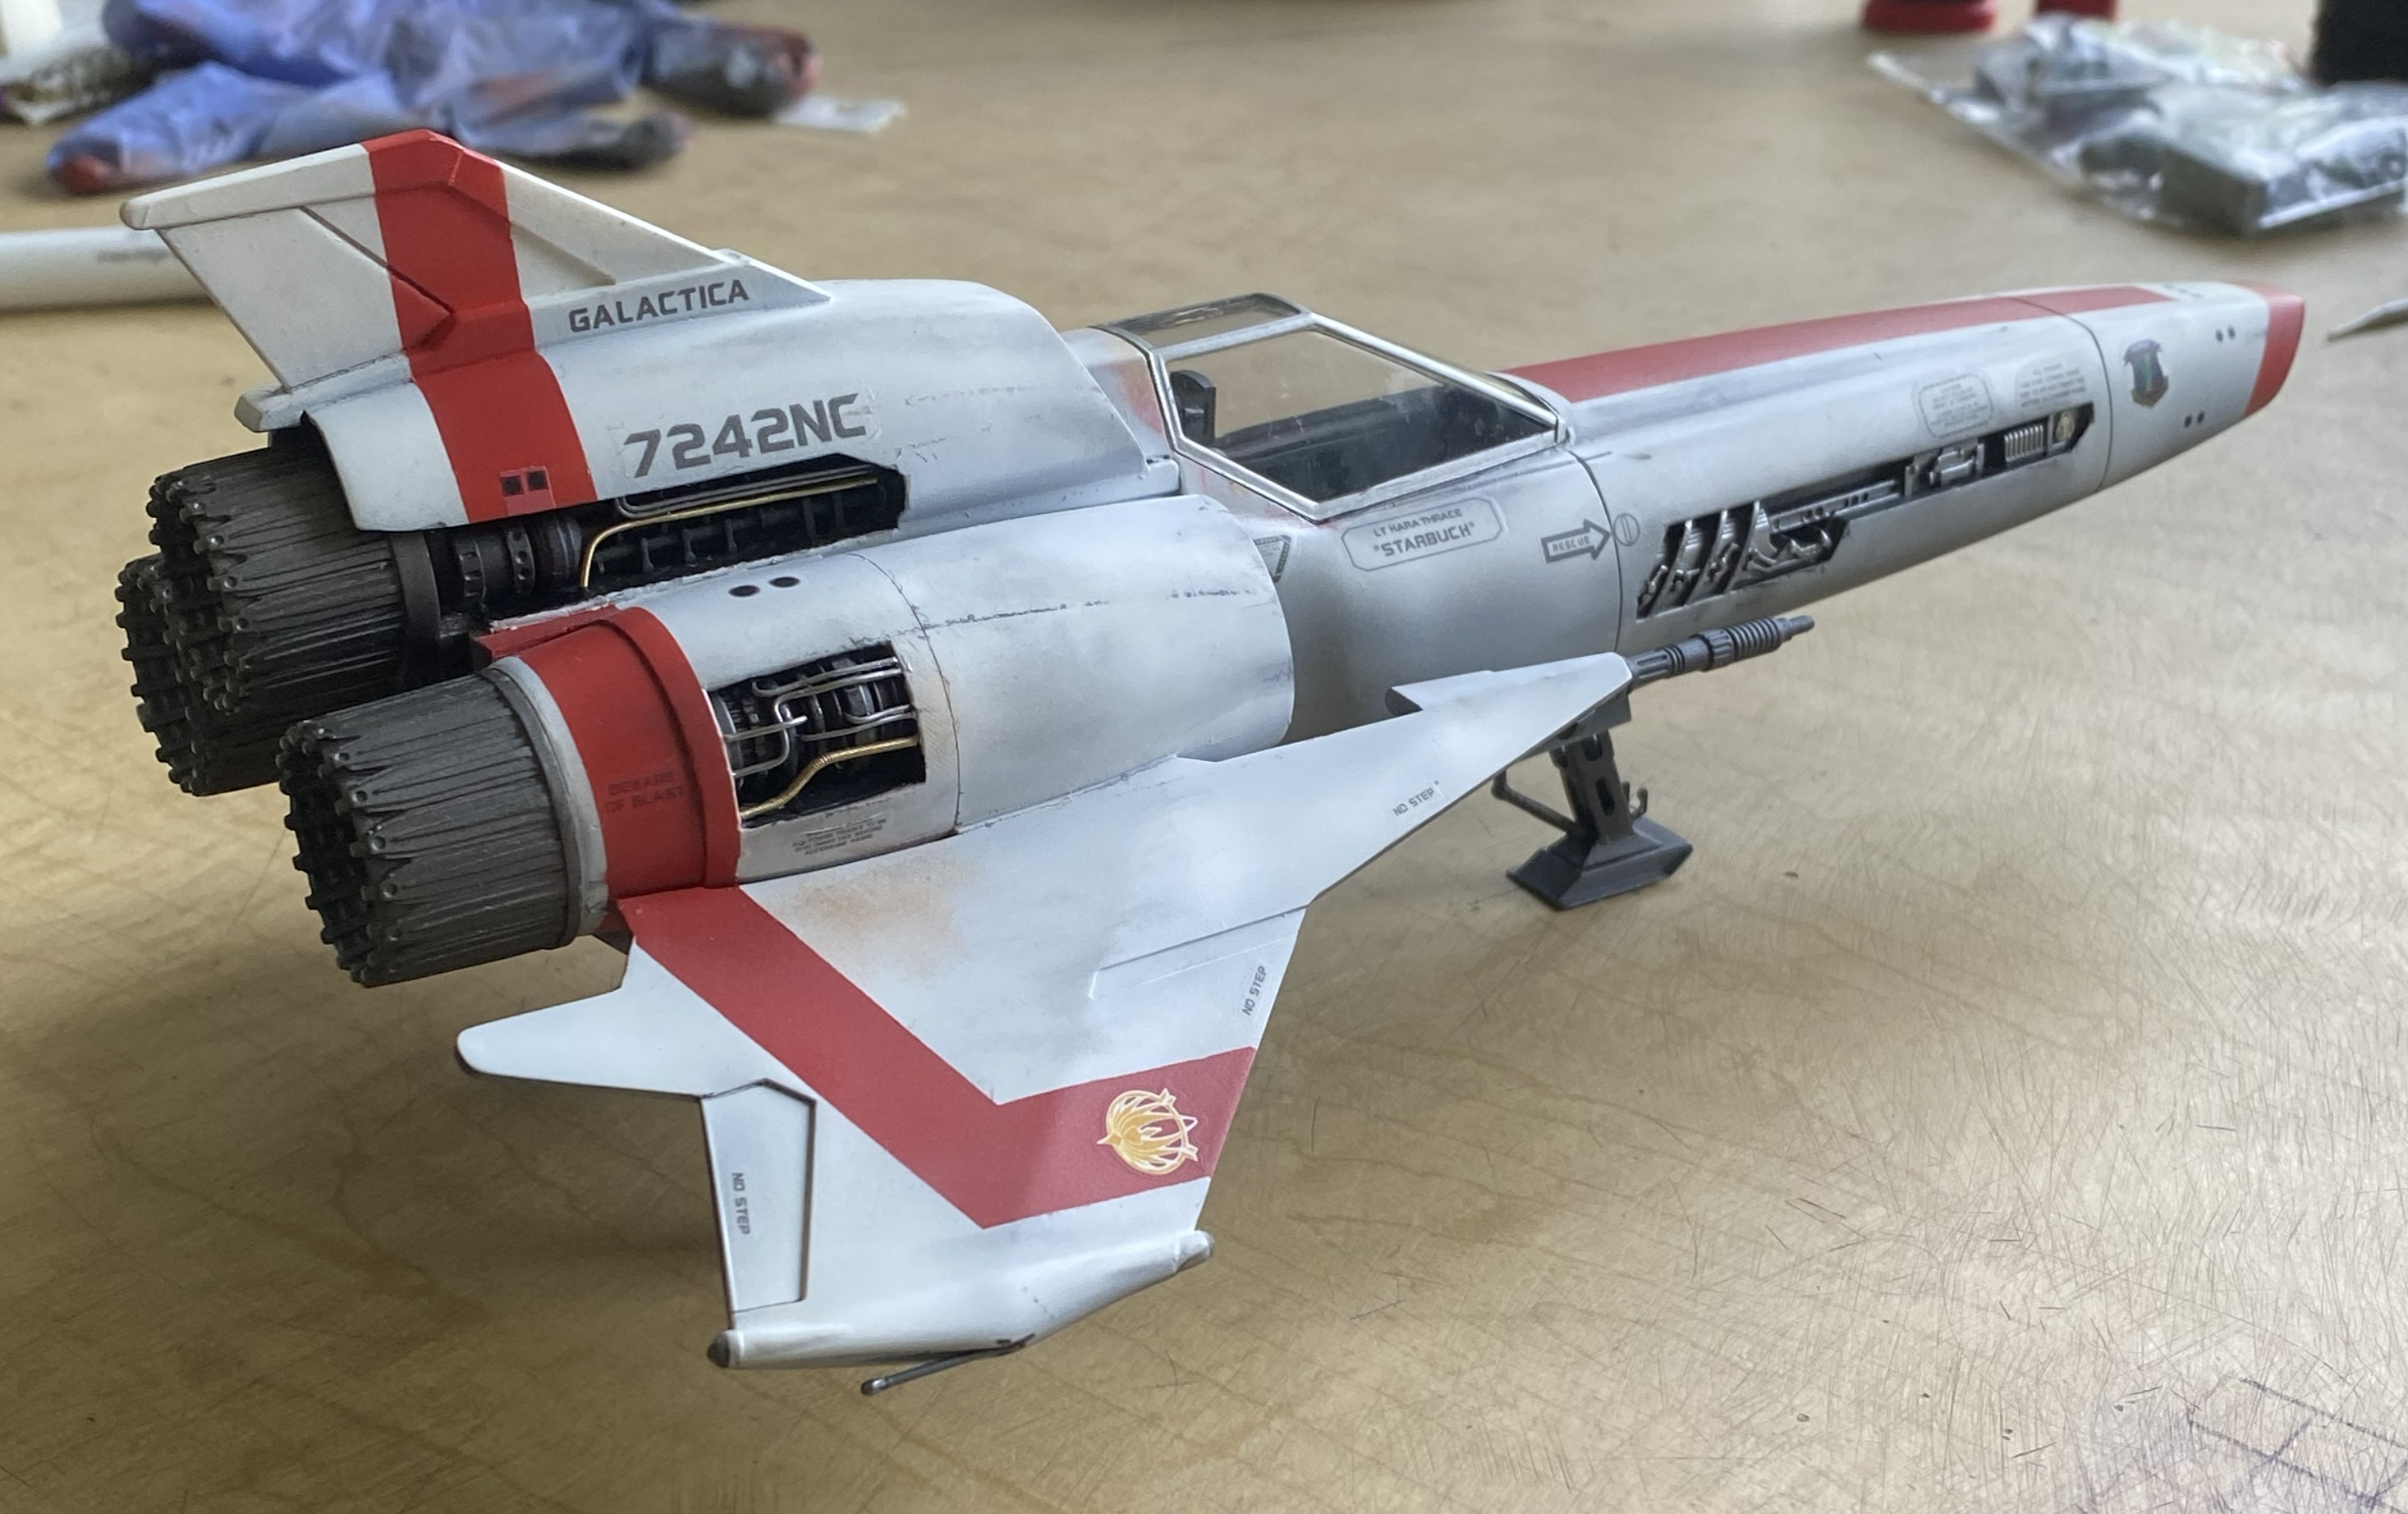
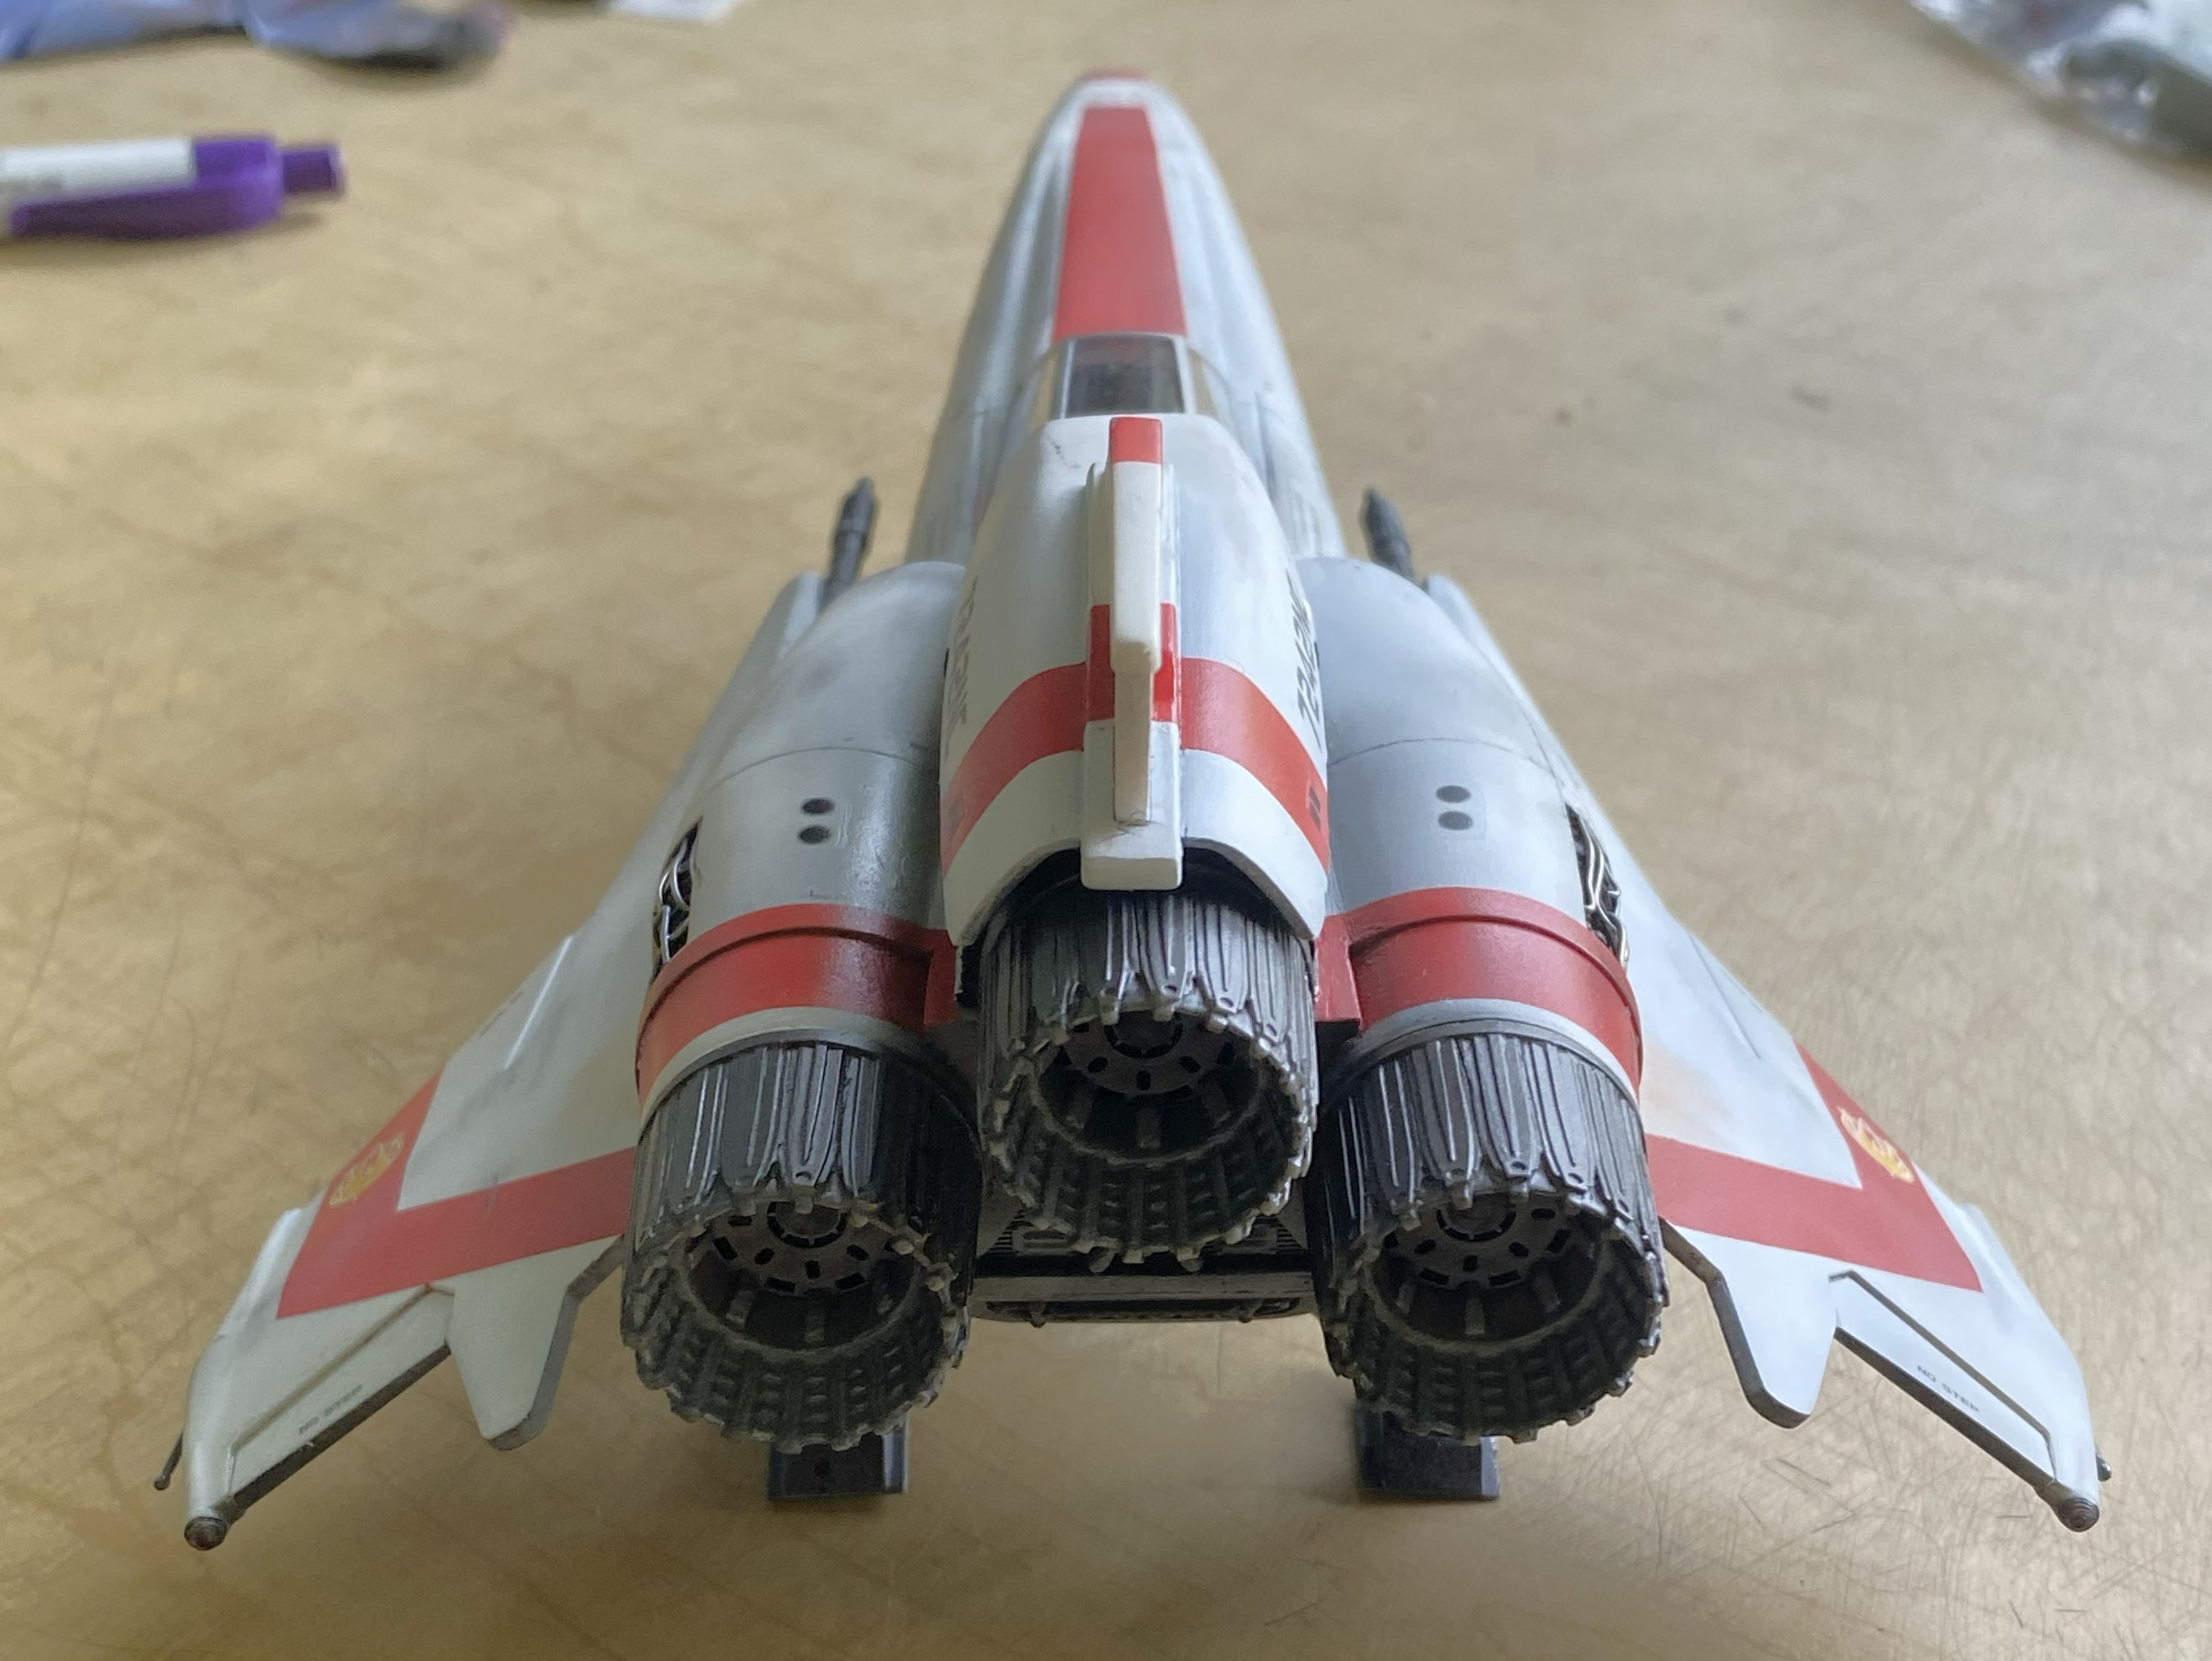
Some touch-ups of paint need attending to, but that’s typical (for me, anyway). Overall, I like how it presents.
Speaking of how it presents, I wanted a case to keep dust off it as much as something unsealed can. If you’ve priced “display cases,” you’ve probably noticed that some of them cost more than what you hang your license plates from. Since I am not a museum (though sometimes I feel like an exhibit at one…you know the “Dawn of Man” display), I require neither that level of quality OR that level of pricing. (I just want to keep dust off m’damned models!) Trumpeter (of model fame) has a line, Master Tools (don’t go there) and part of that line is a very reasonably priced line of styrene display cases. Most of the time I used their #09808 (276mm deep, 316mm wide, 136mm tall) for most things because most things I build fit that size. For this build, I used their #09815 (186mm deep, 365mm wide, 121mm tall) which is about as close to perfect as I’m going to get off the shelf (or want to pay for):
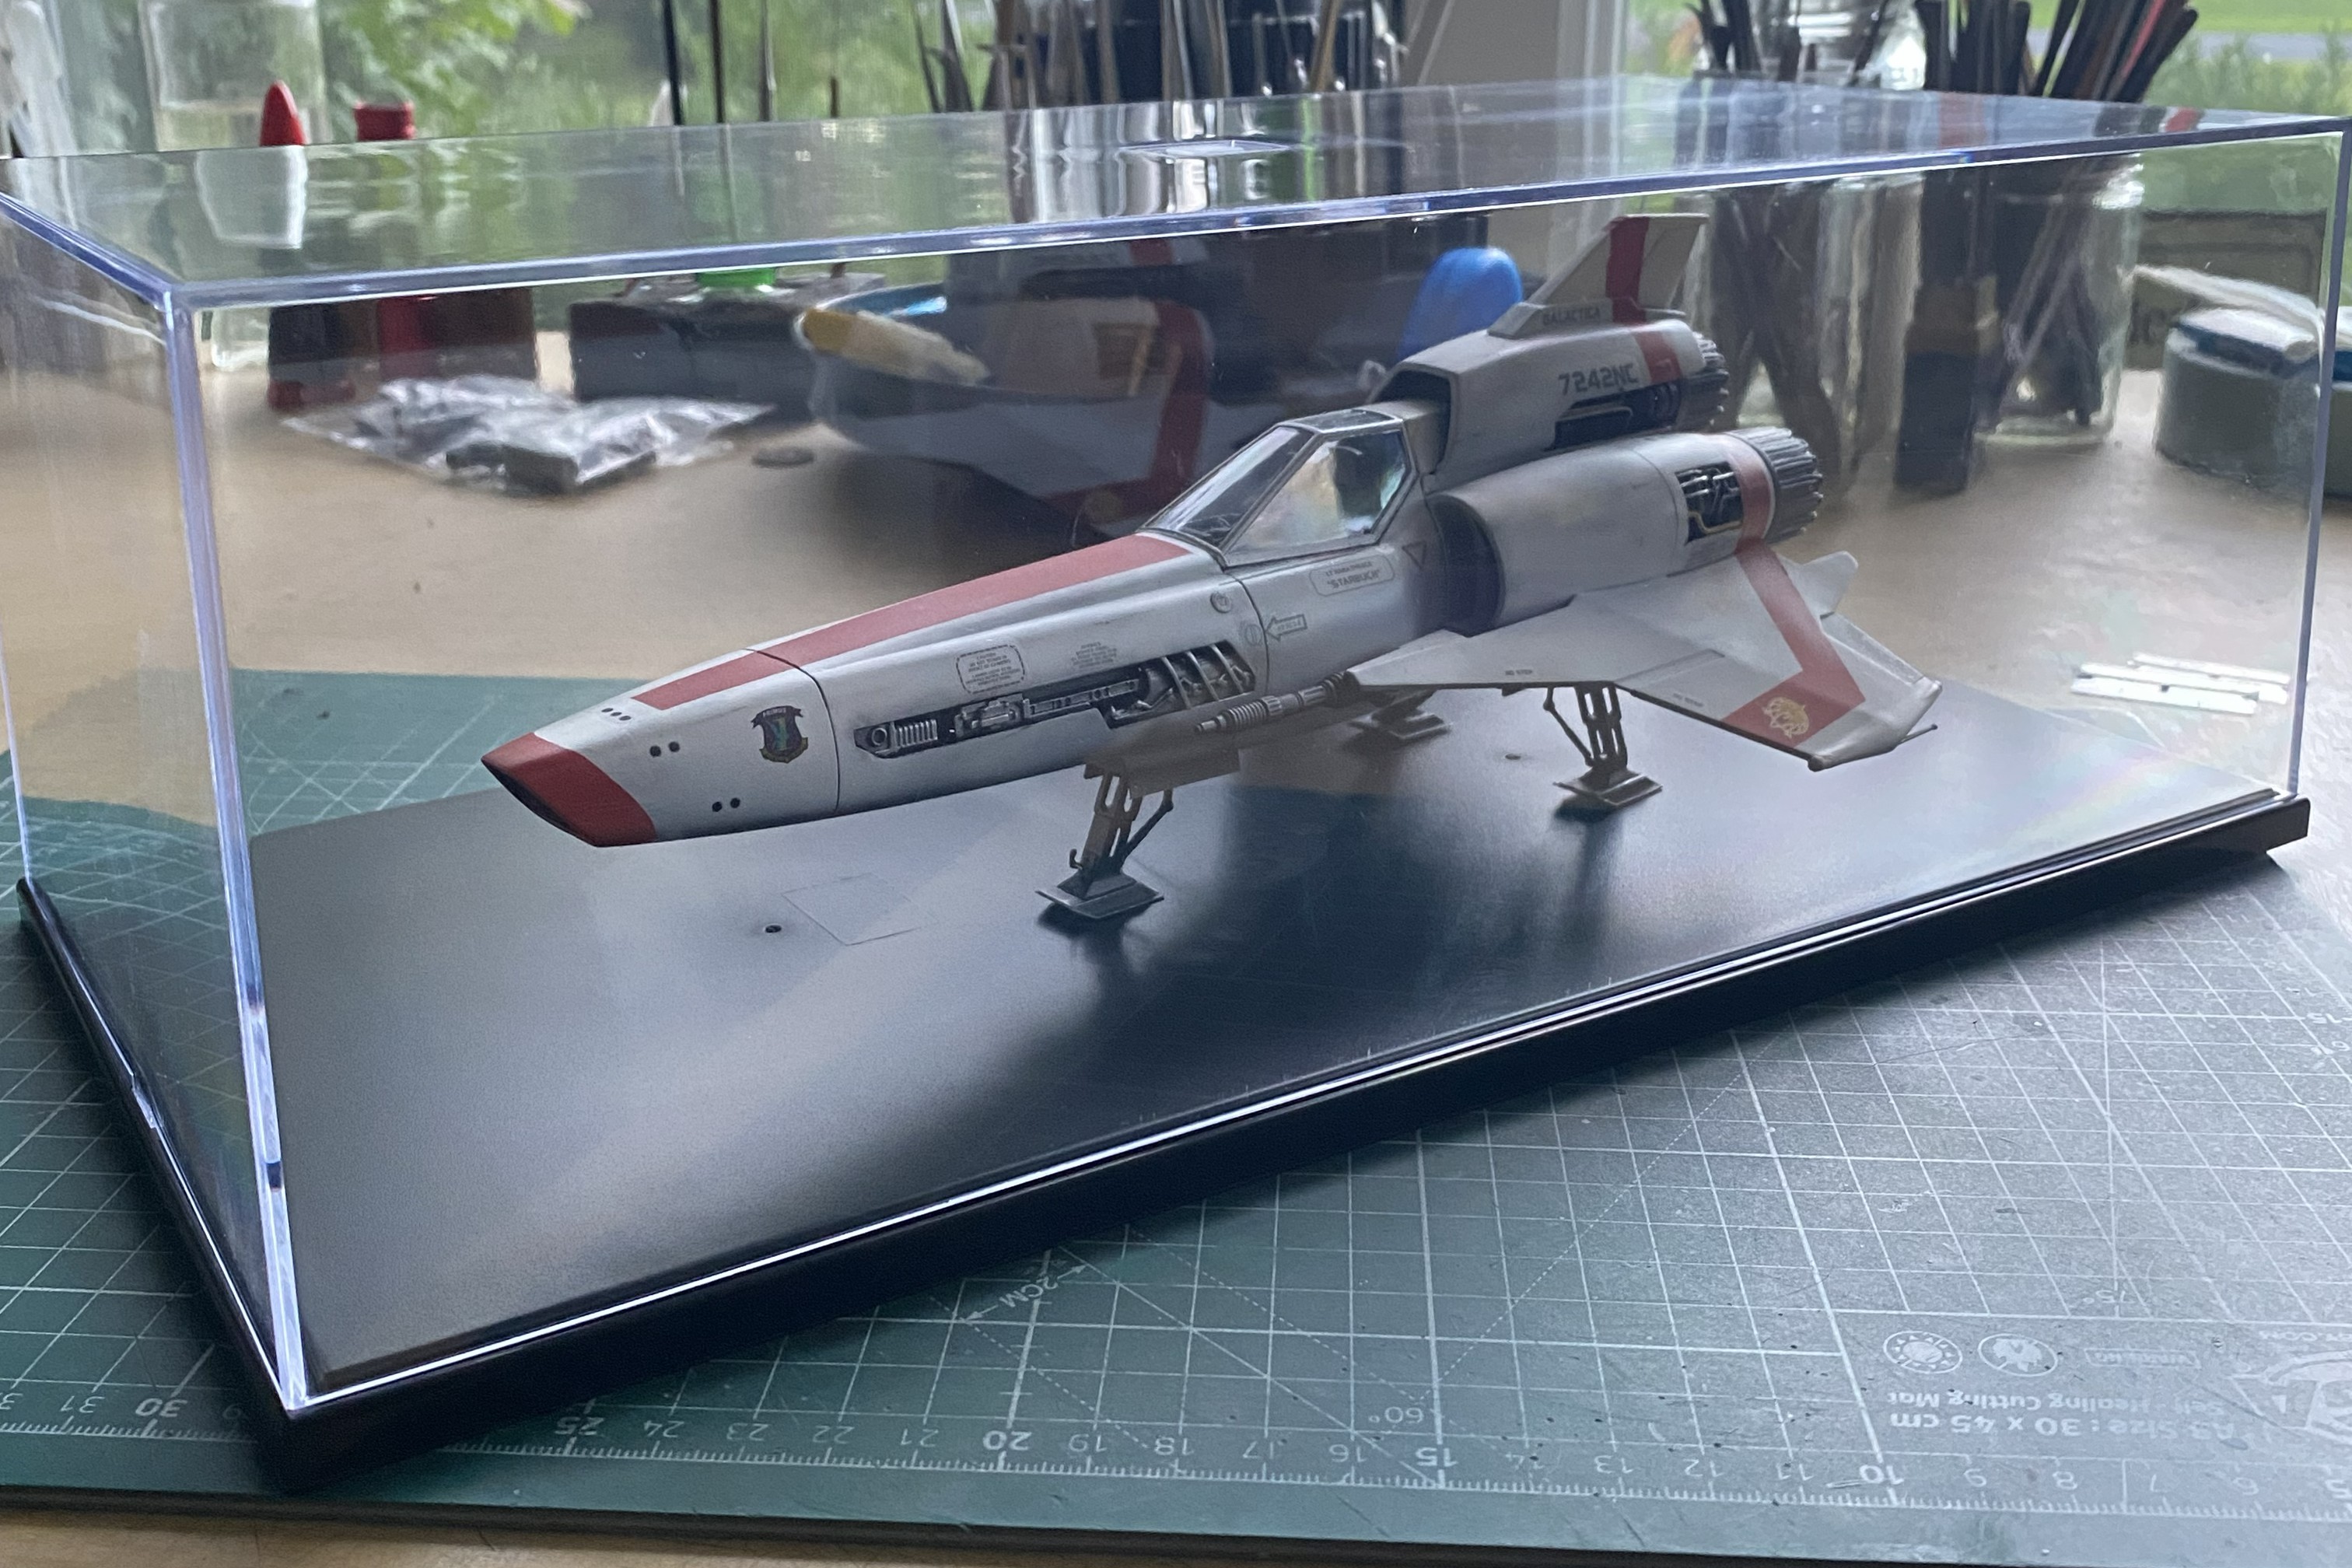
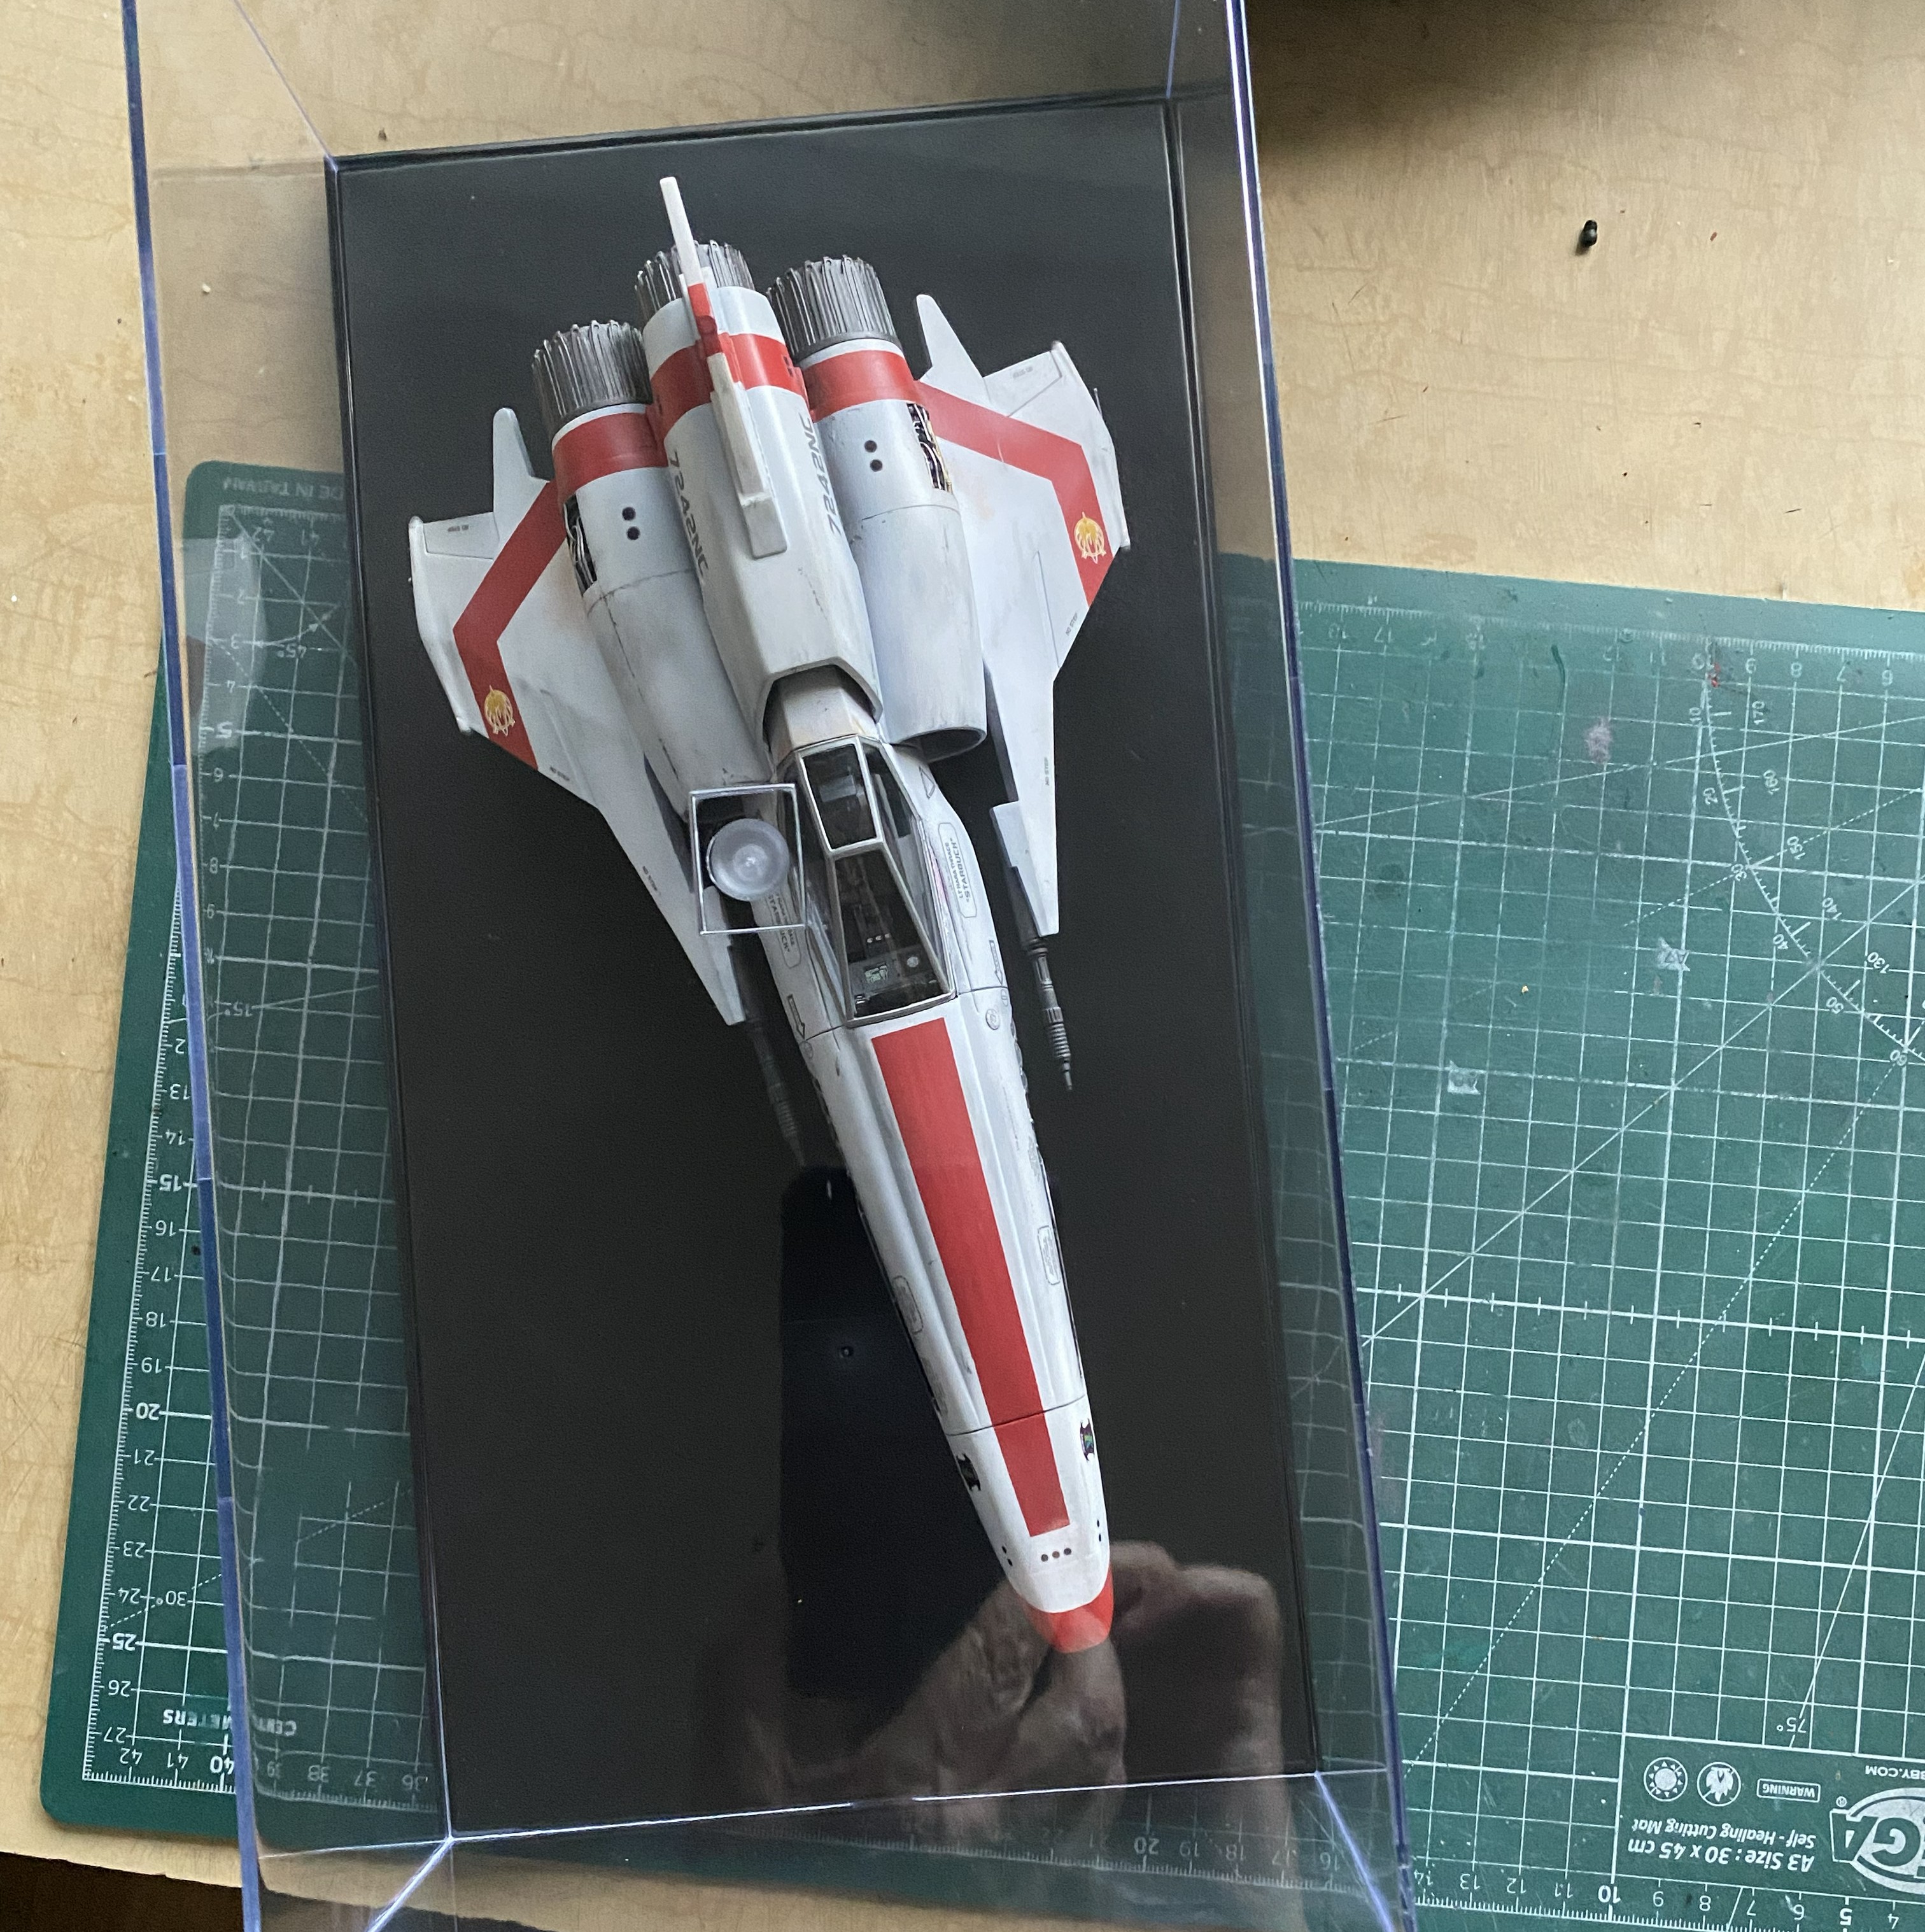
Yes, I could just leave it as it is. My initial intent was to recreate a small section of the hangar bay in the case. While blocking things out, I realized that doing so would block off too much of the model and, the sin of sins, clutter things up needlessly. Then I thought that I’d glue down a sheet of styrene to act as the floor, but wait…isn’t this base already styrene? Well, yes it is. What would I need to do to use the base as, well, the base? Simple. Sand off the pebbled texture! So I did. I started with 220 grit and worked it up to and including 5000 grit:
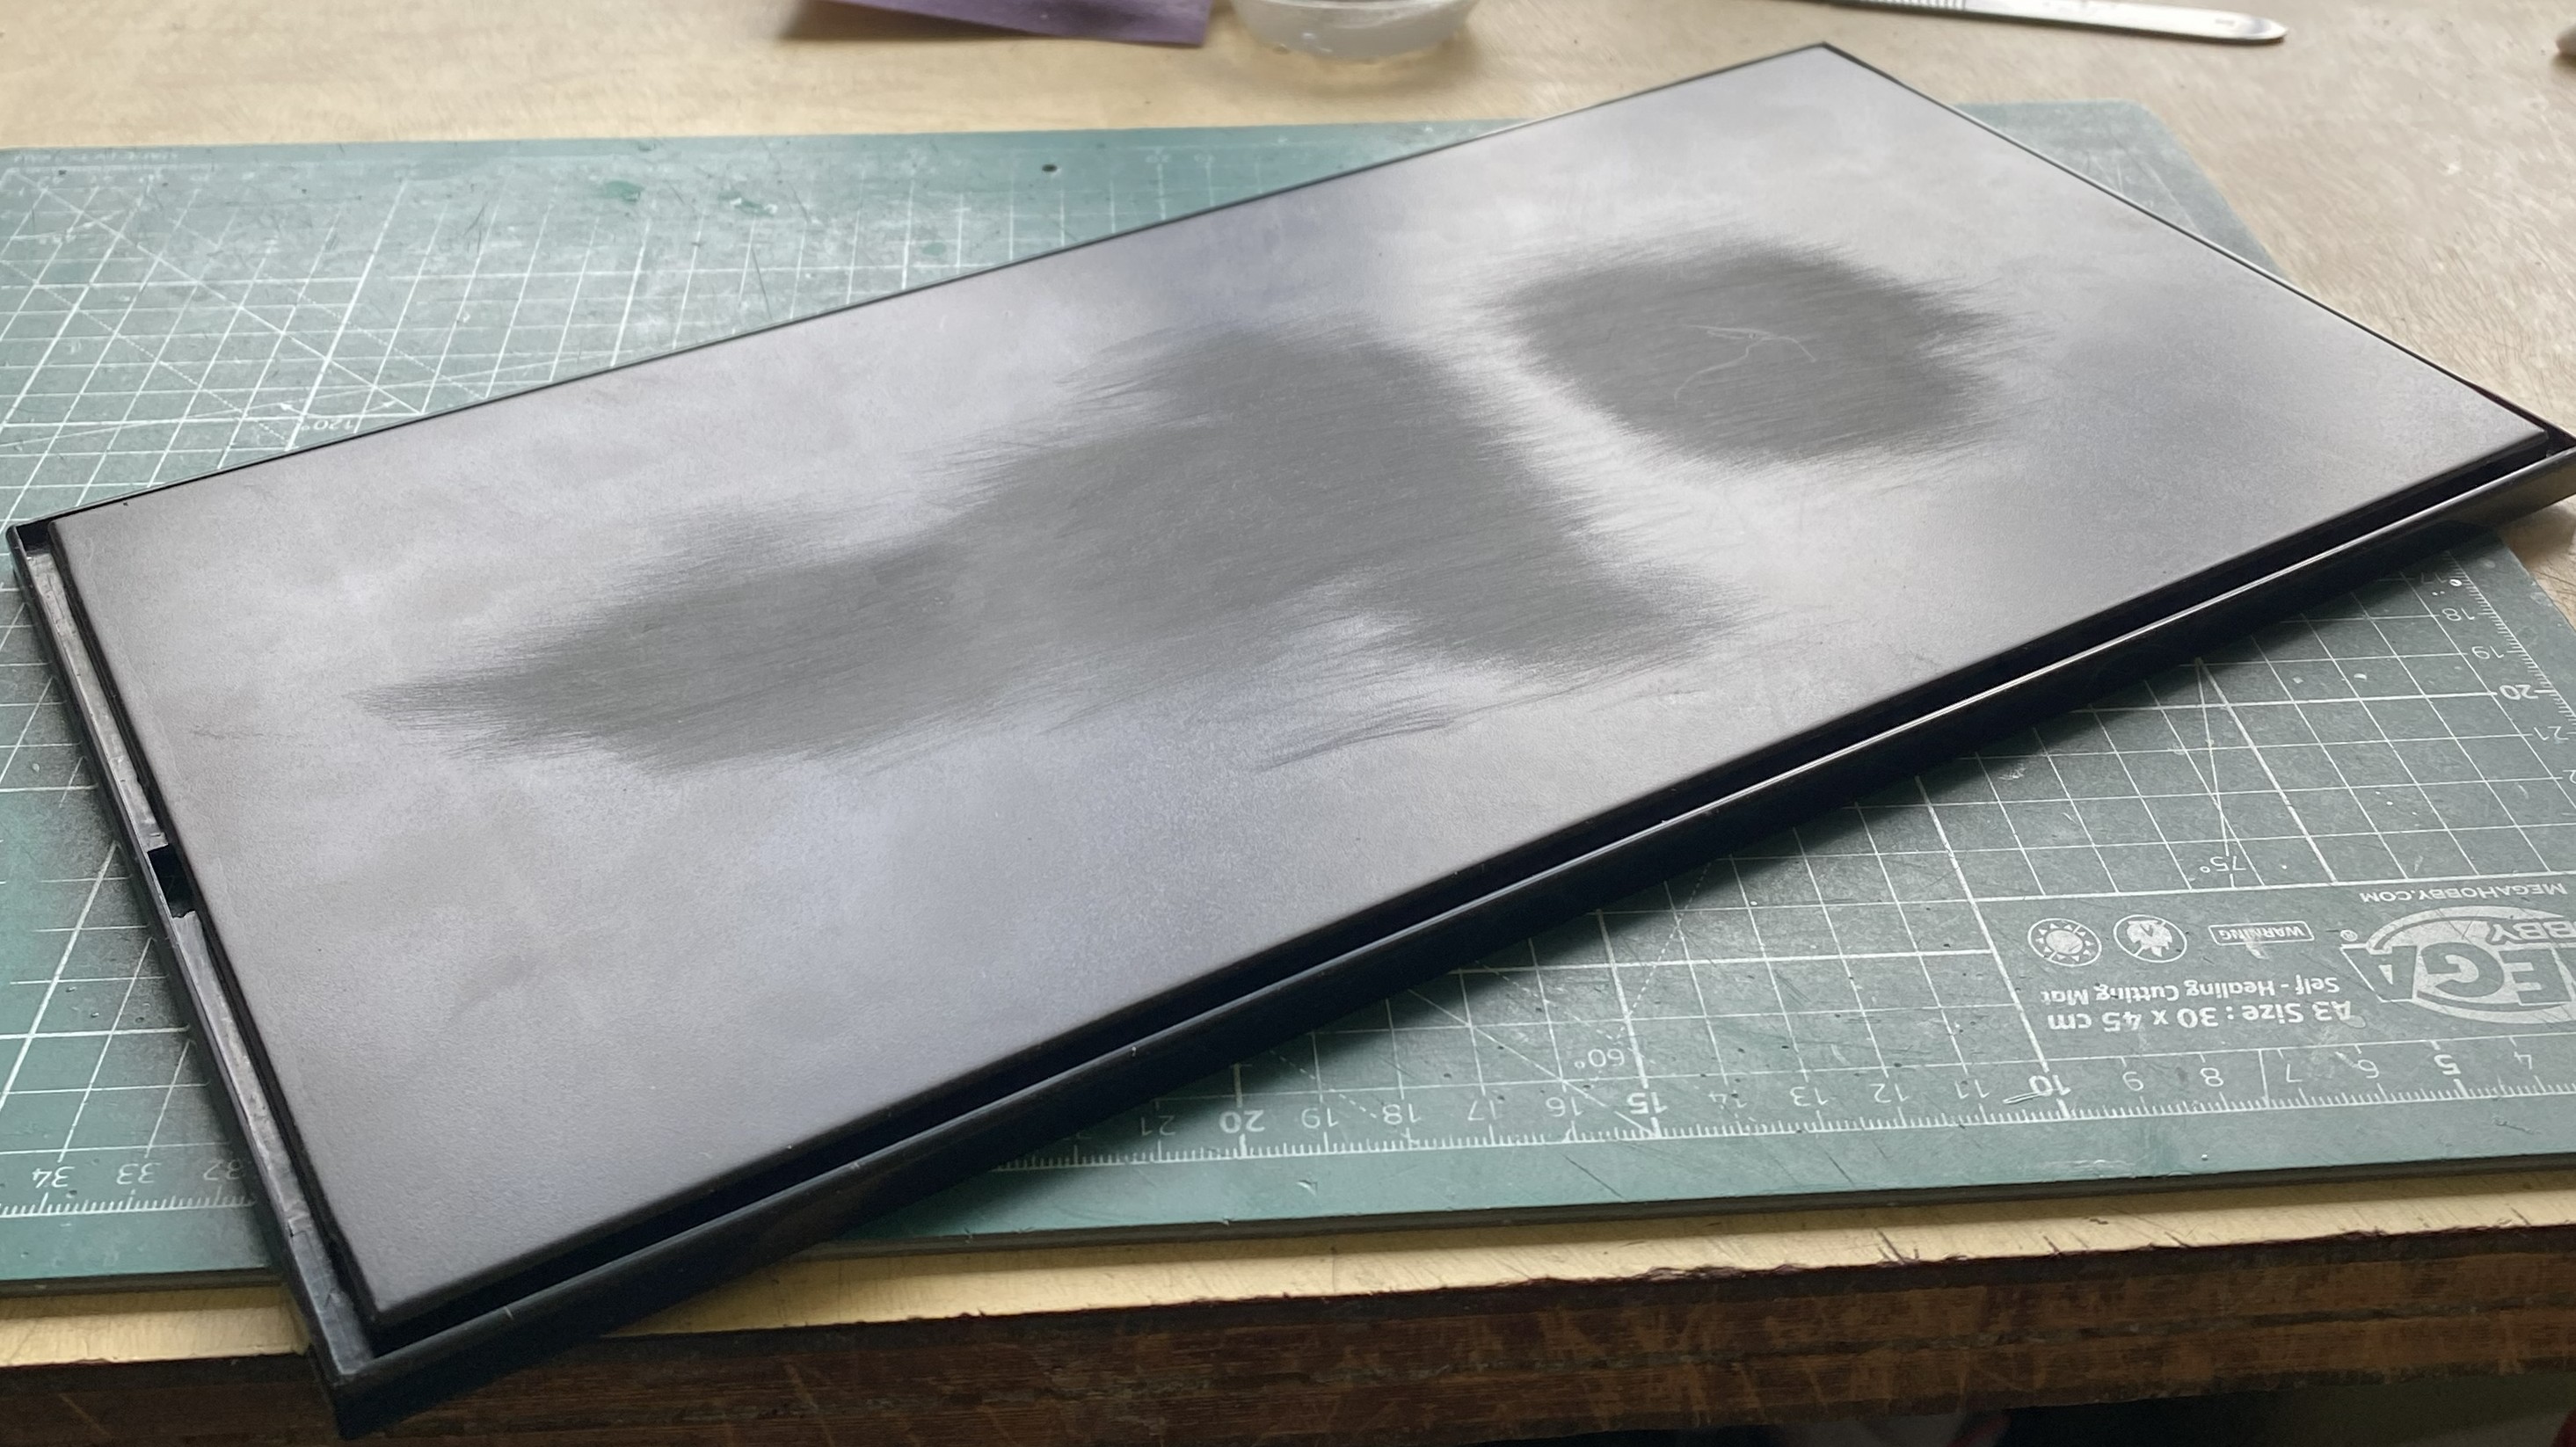
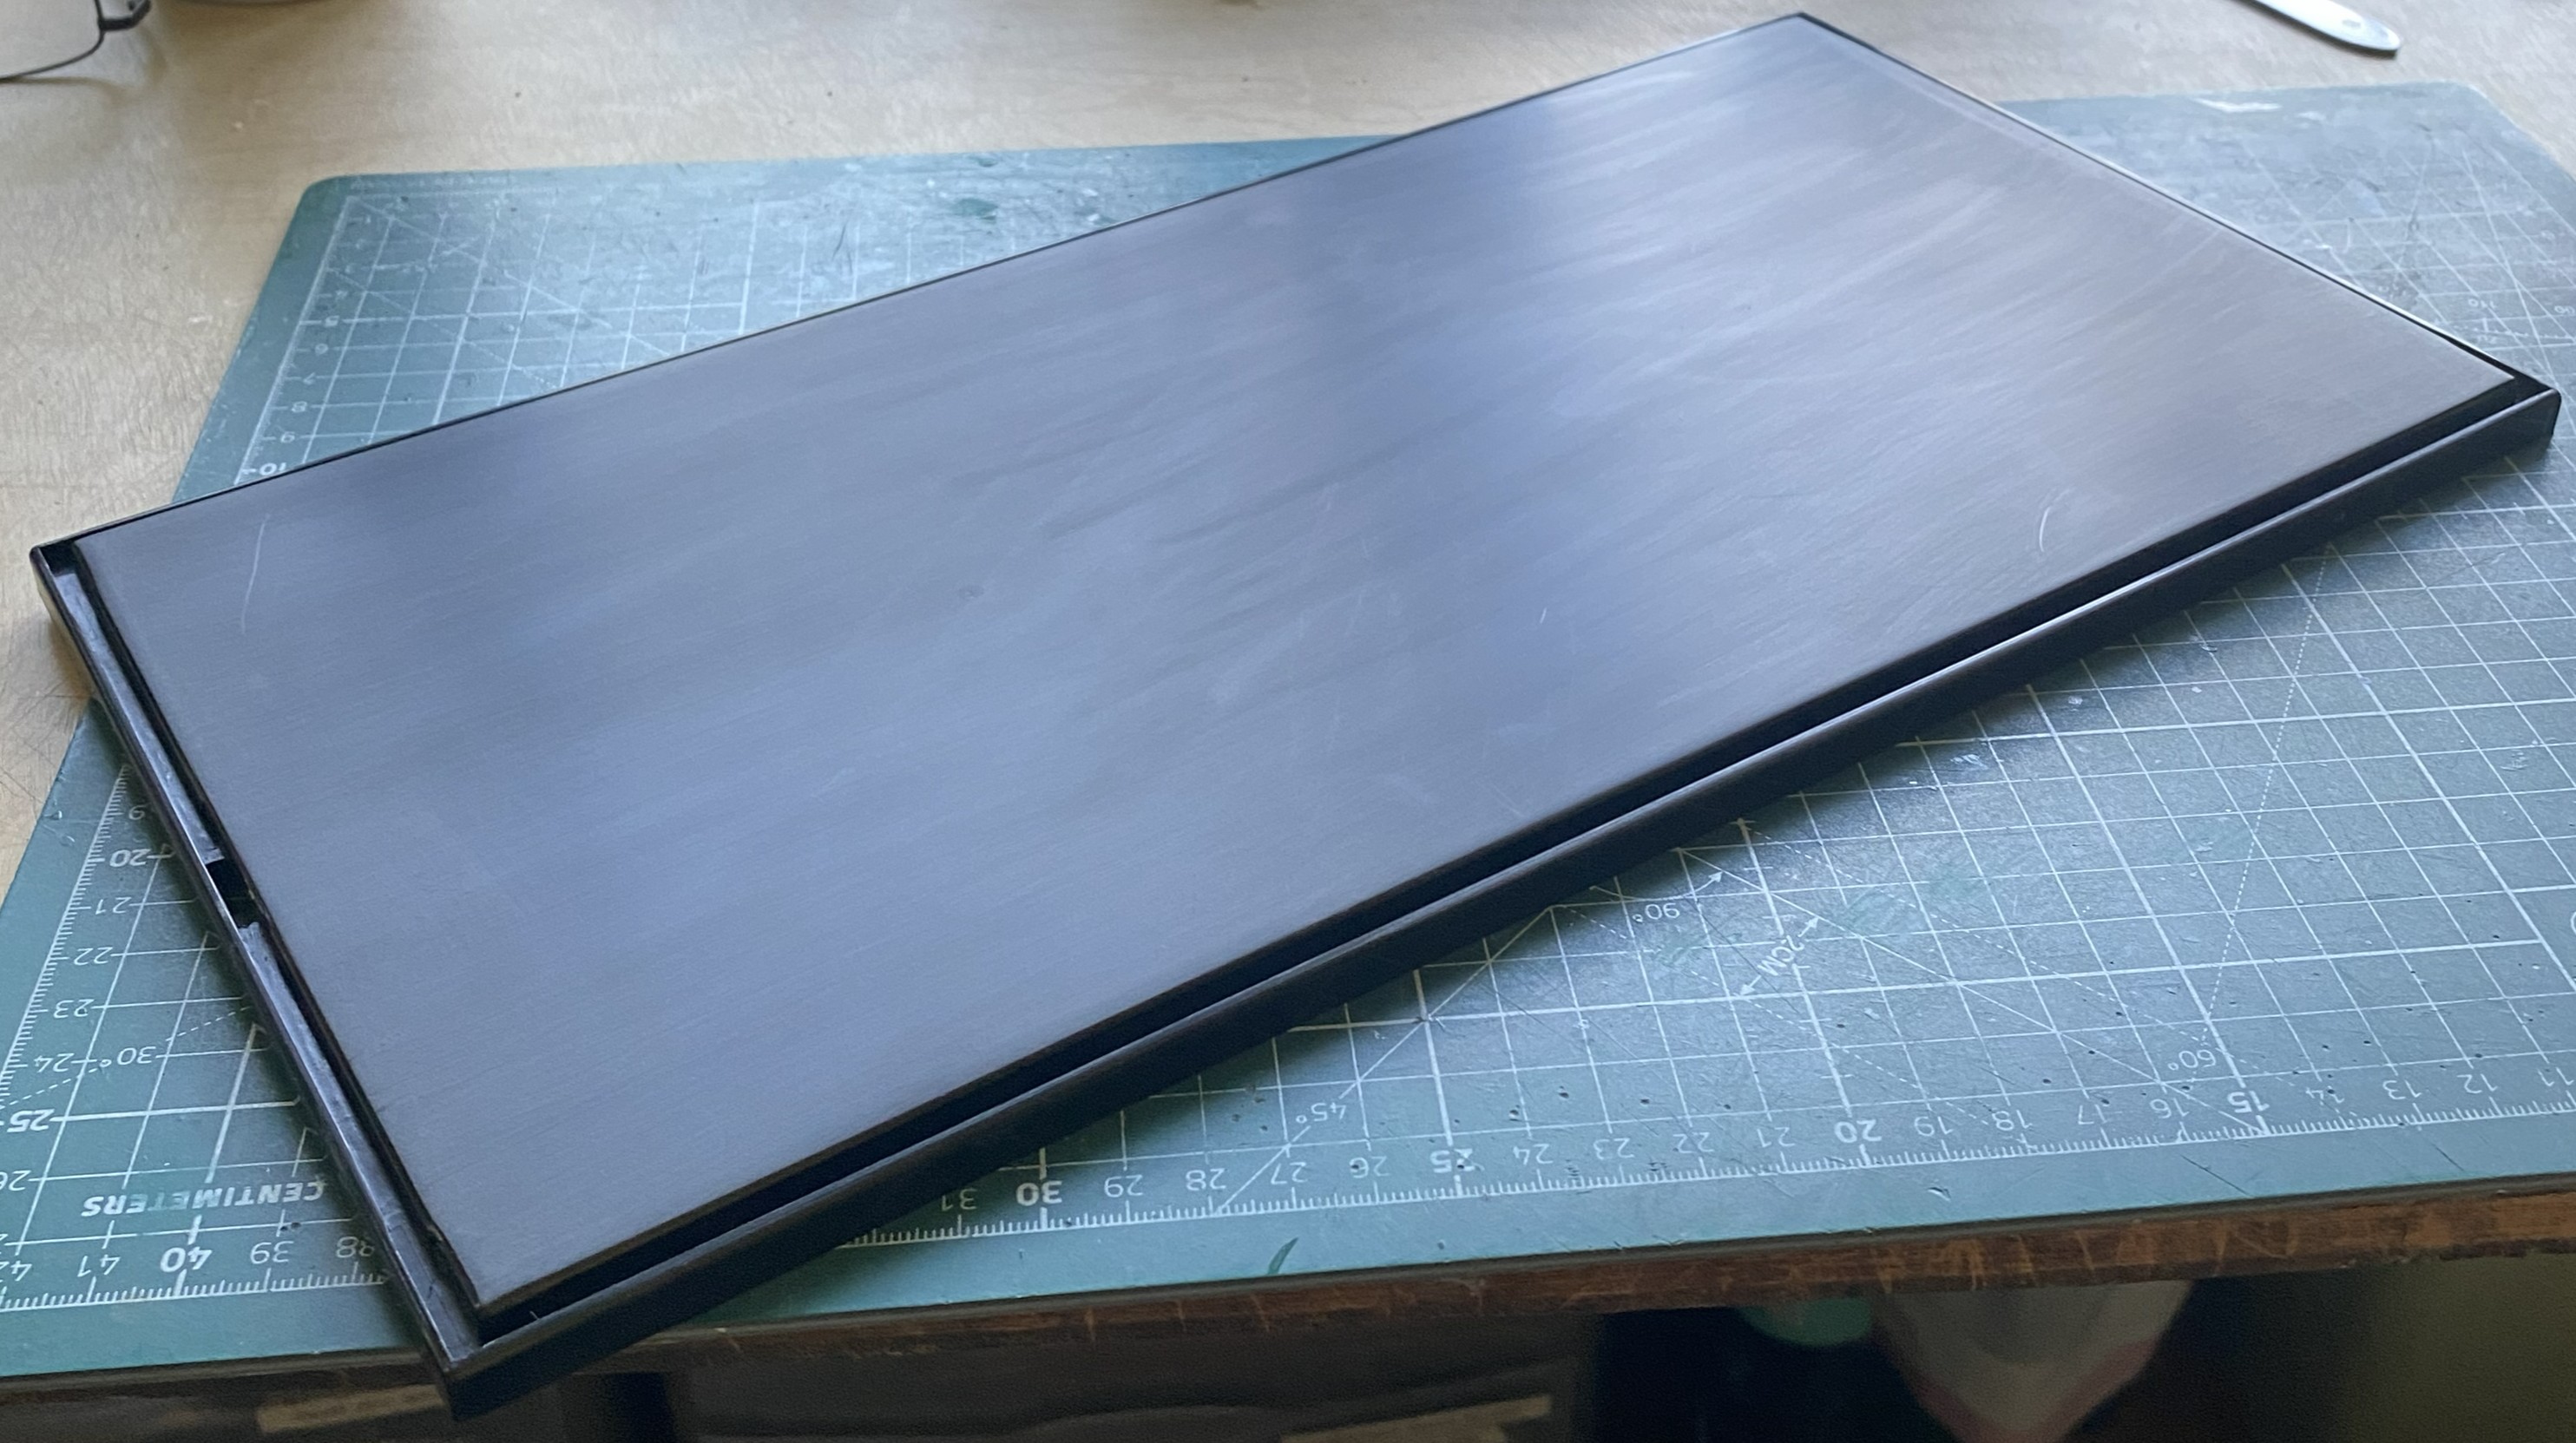
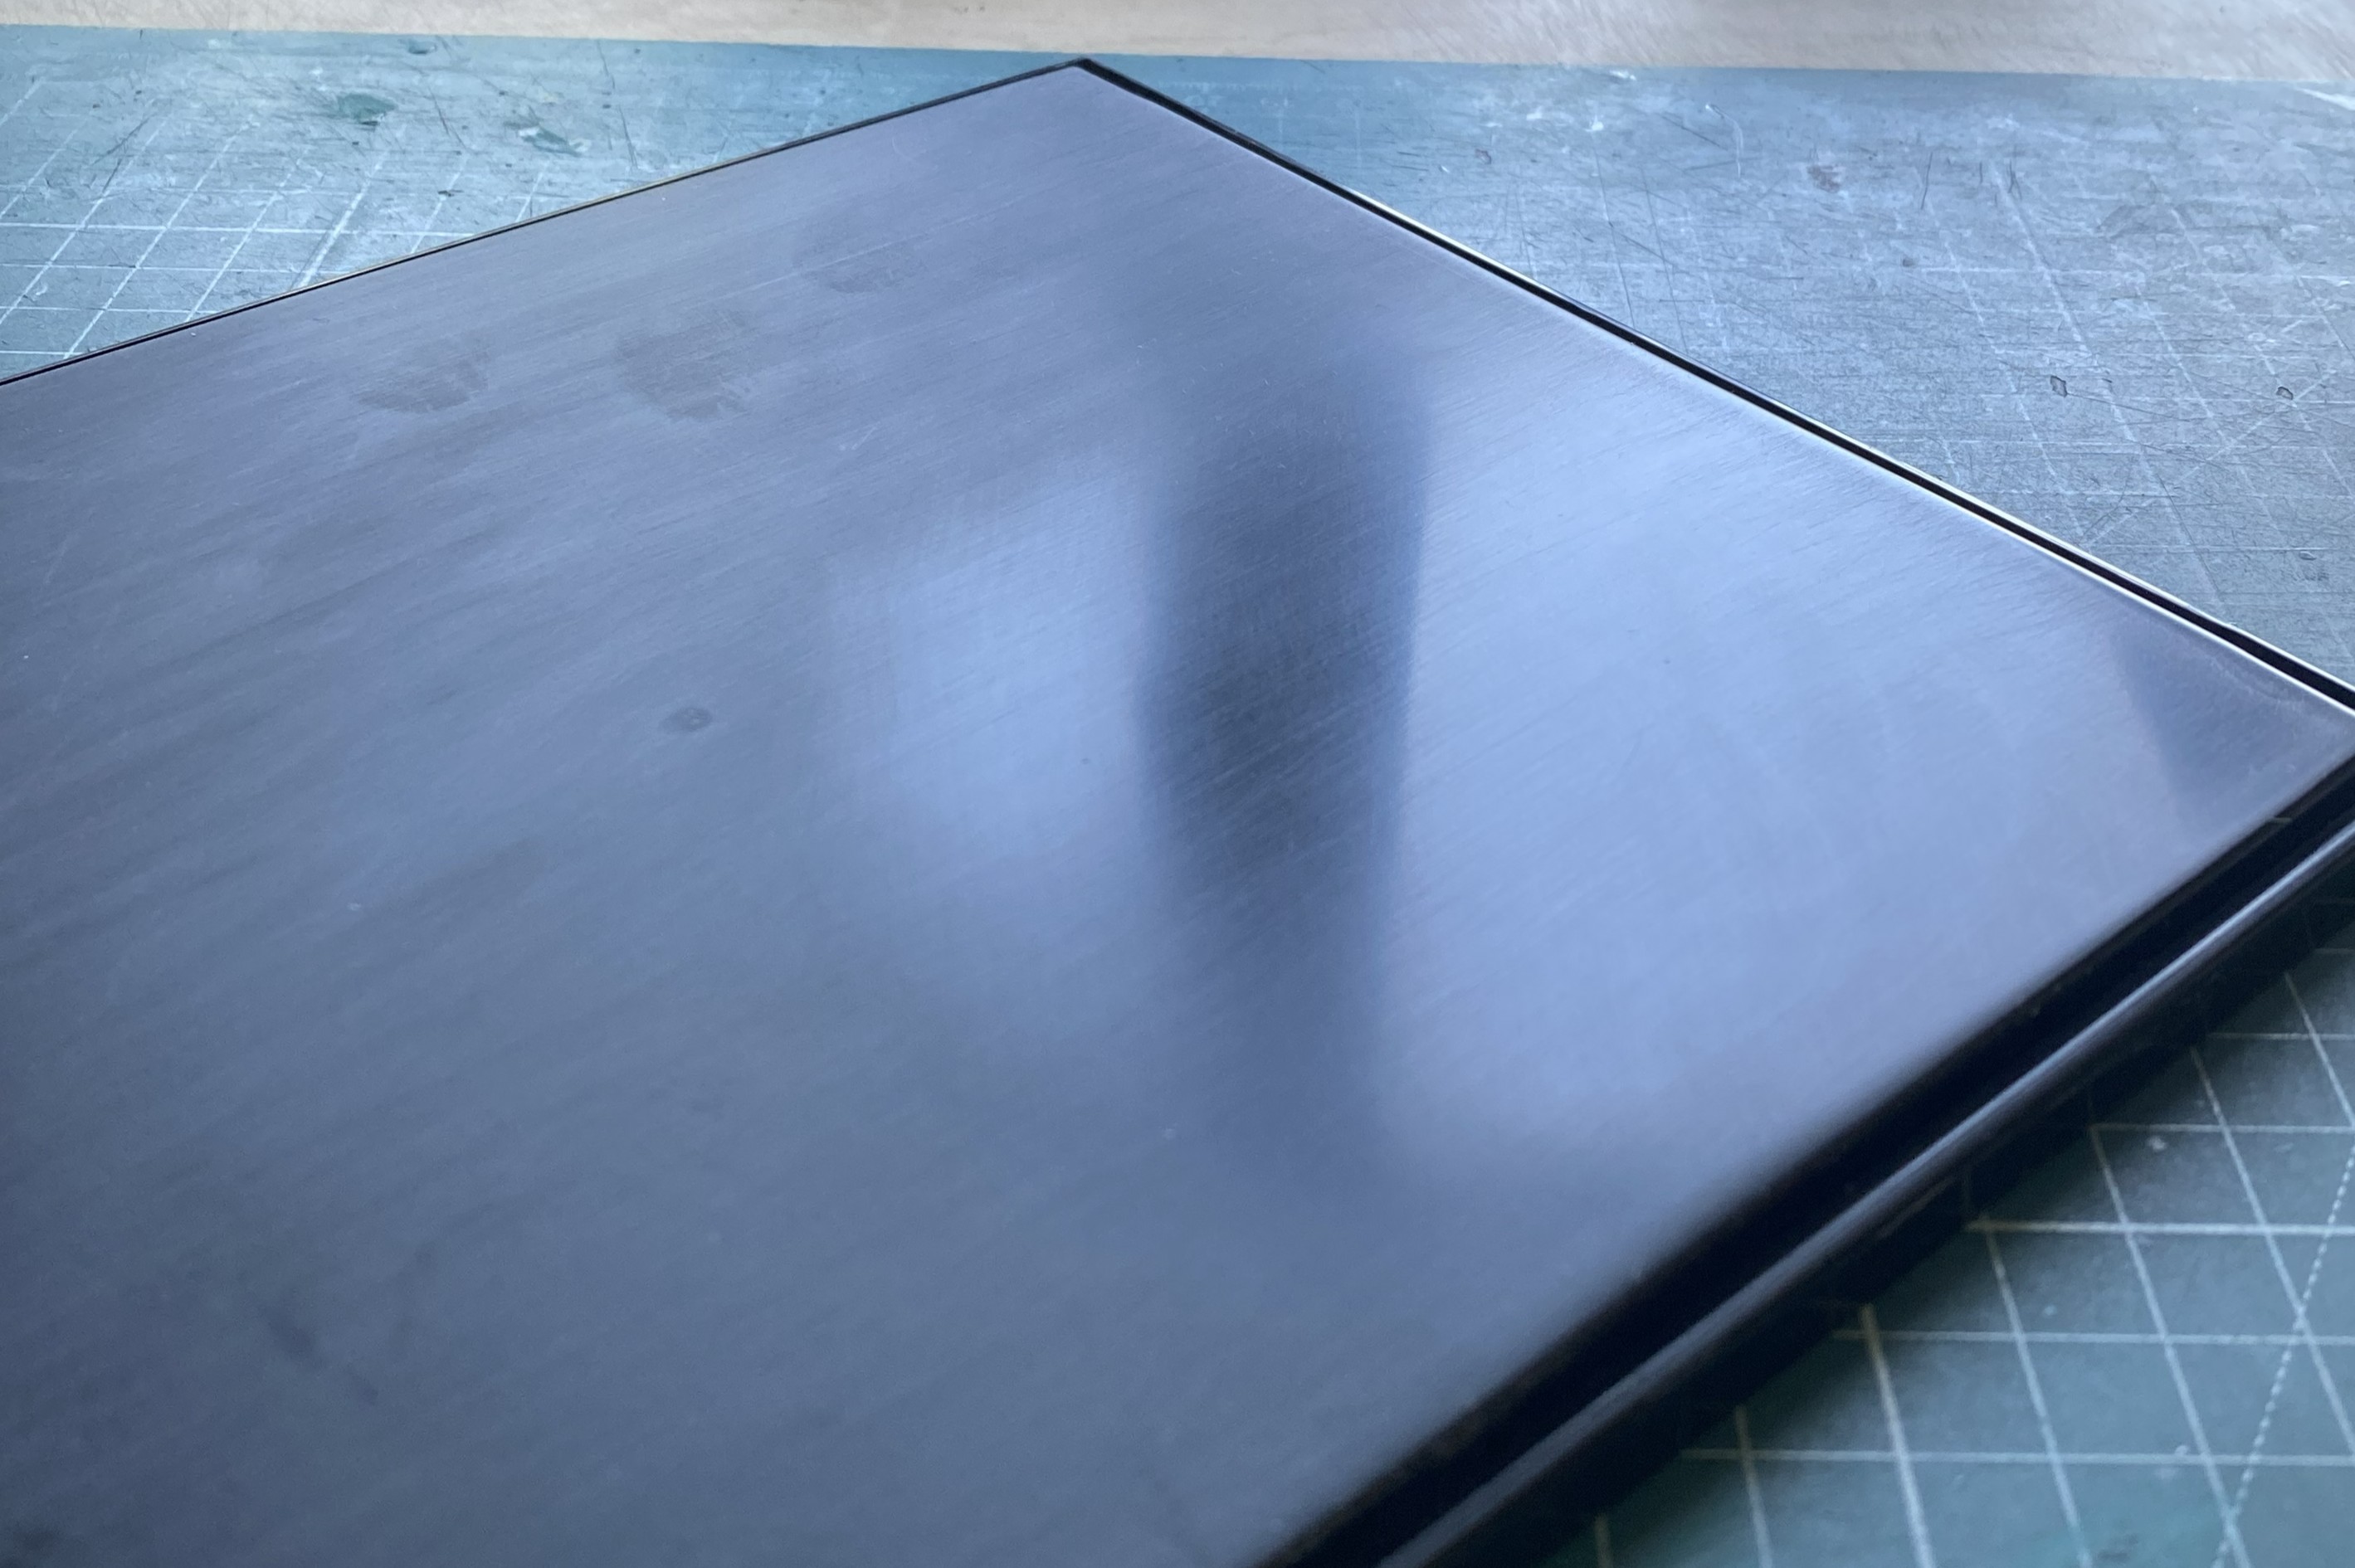
Since I’m not trying to replicate a glassy surface, I had to remind myself of that and not go for a mirror finish. This is supposed to be the deck of a warship. Then I realized that none of my references showed one deck plate. Not. One. Oh…right! This was shot on a sound stage with a smooth cement floor. Nah. Ain’t doing that. There should be deck plates for things like repairing the deck, repairing what’s under the deck, looking for a lost contact lens, y’know, all the stuff that normally happens on a warship. In space. So cue the deck plates. Pity that I don’t have something black…oh…wait. It so happens that I do. Right. Masking tape.
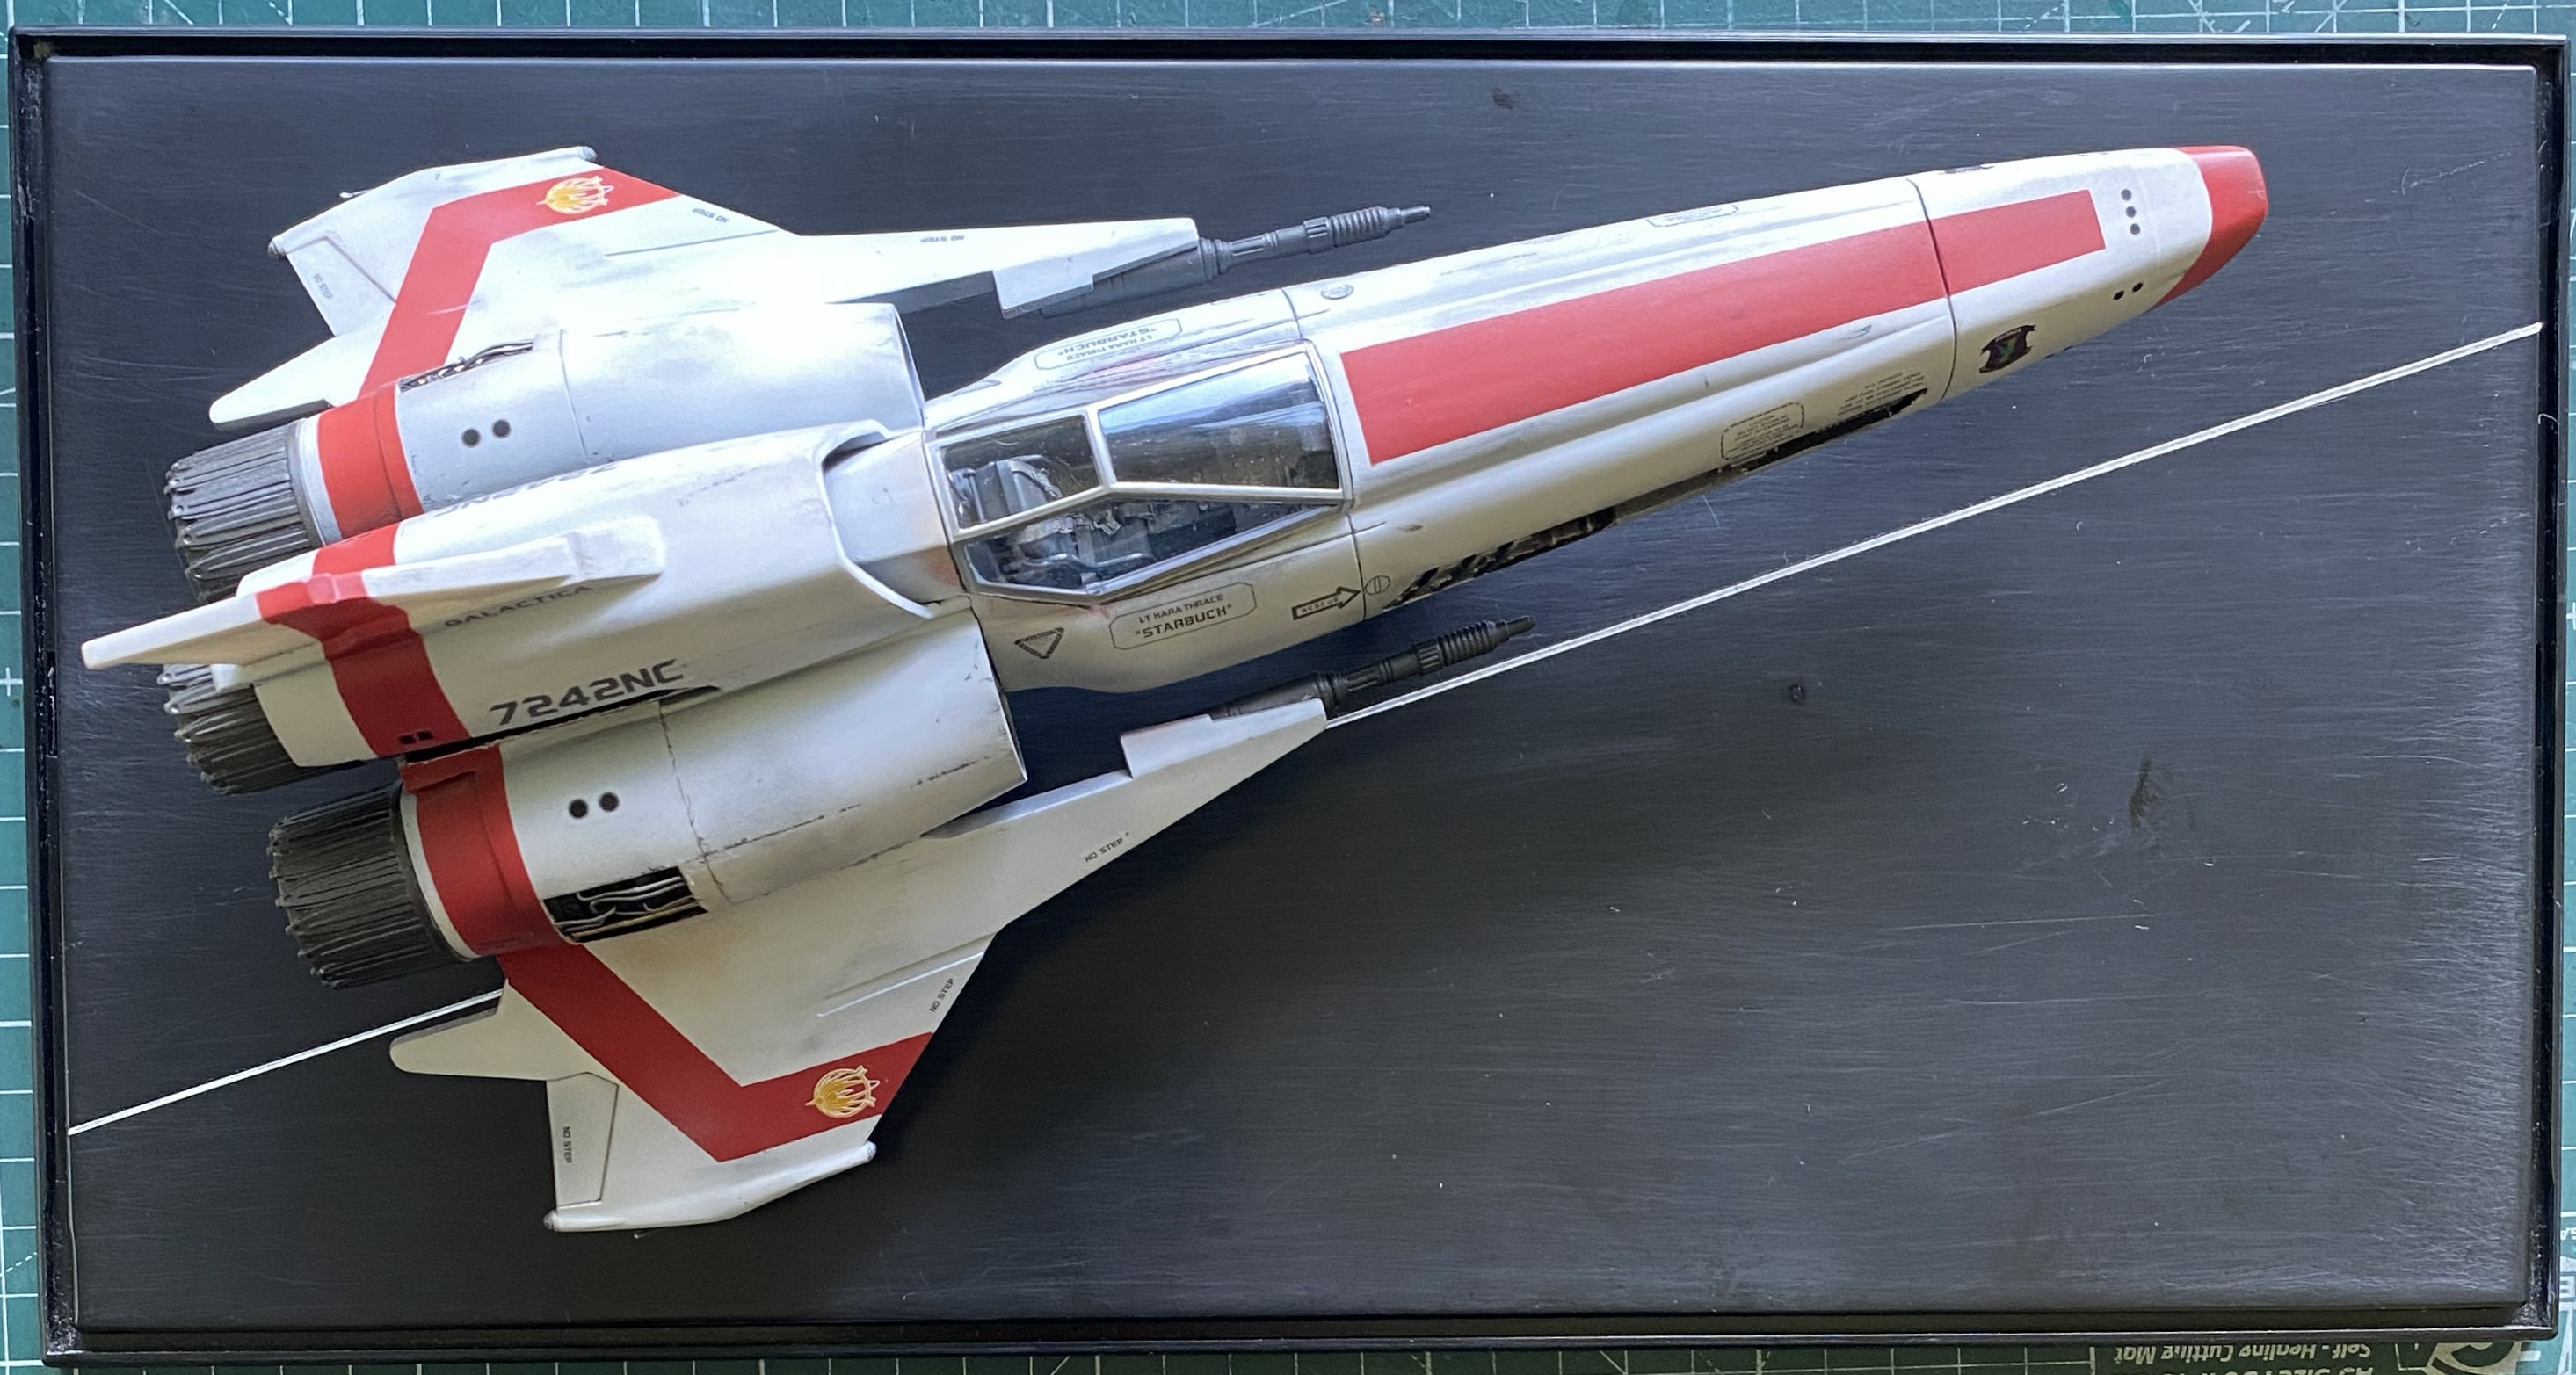
I wanted something a bit more visually stimulating. Rather than center the focus of the display or have it align with the sides, I went for something more visually interesting:
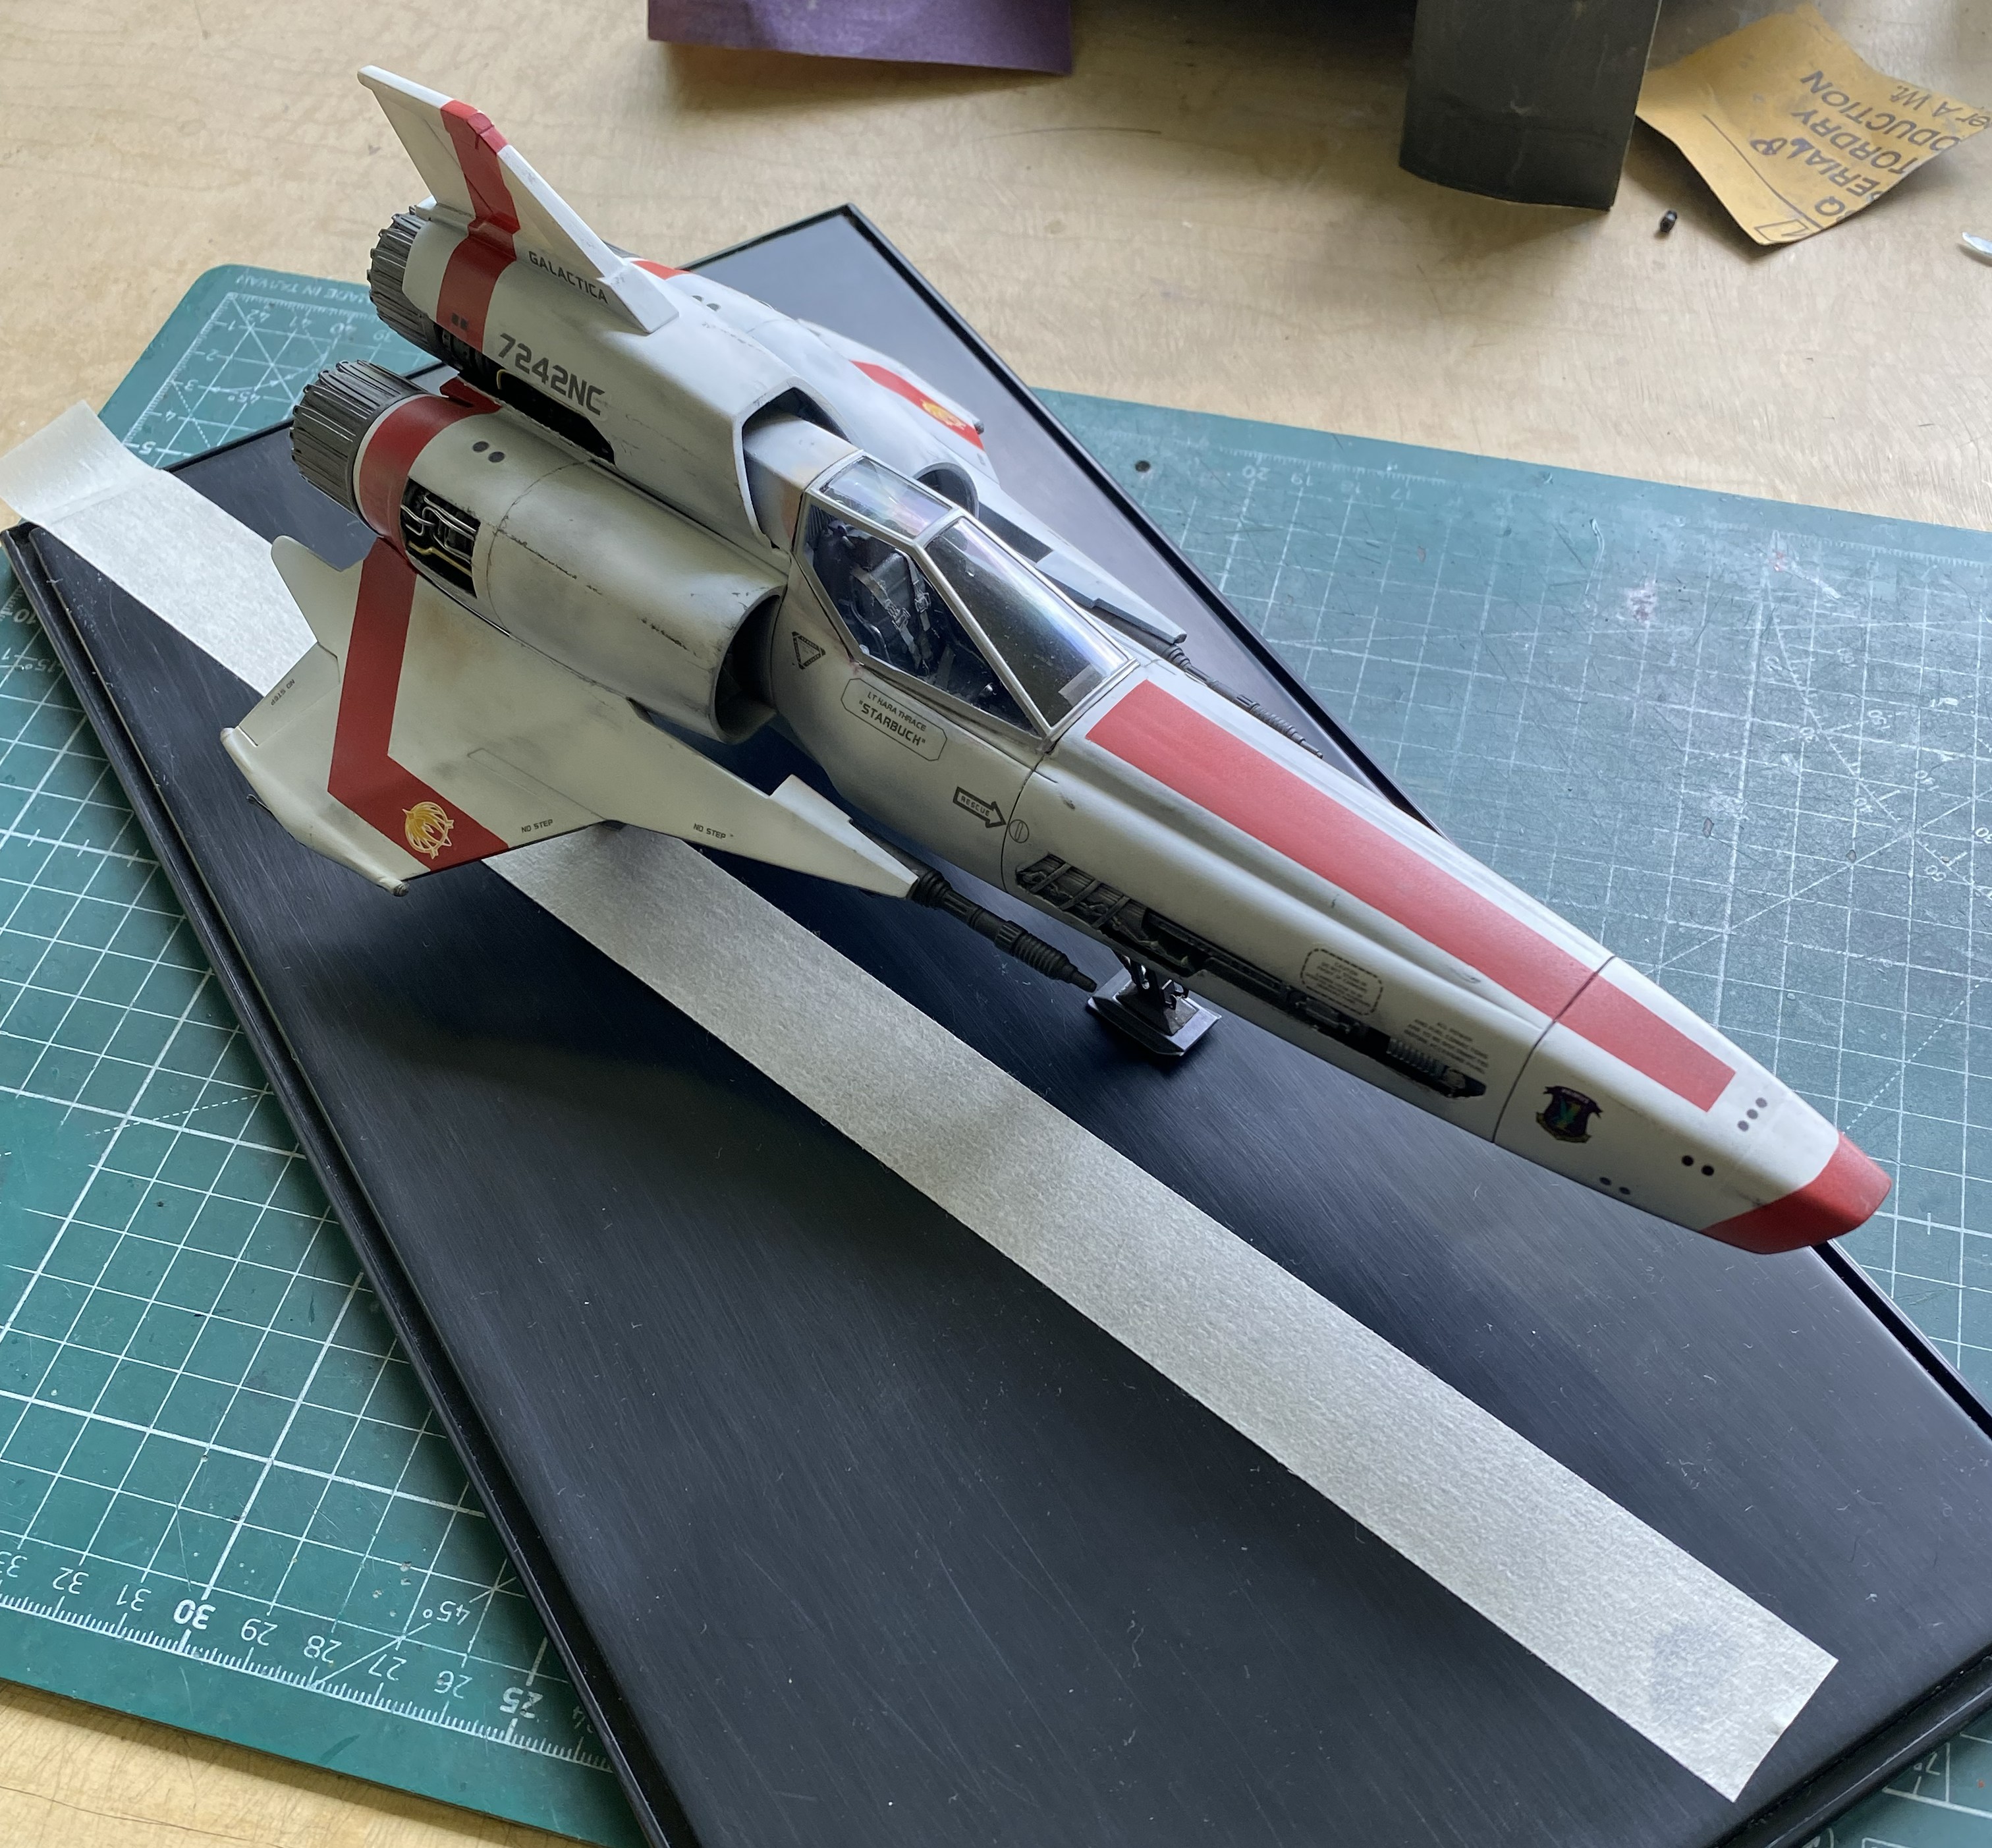
I moved the Viper as far back and as close to the side of the dust cover without putting the model at risk. The tape (shown above) was aligned parallel with the centerline of the Viper and served as the alignment reference for what came next.. Next I had to cut some annoyingly thin tape. Often. It kept tearing:
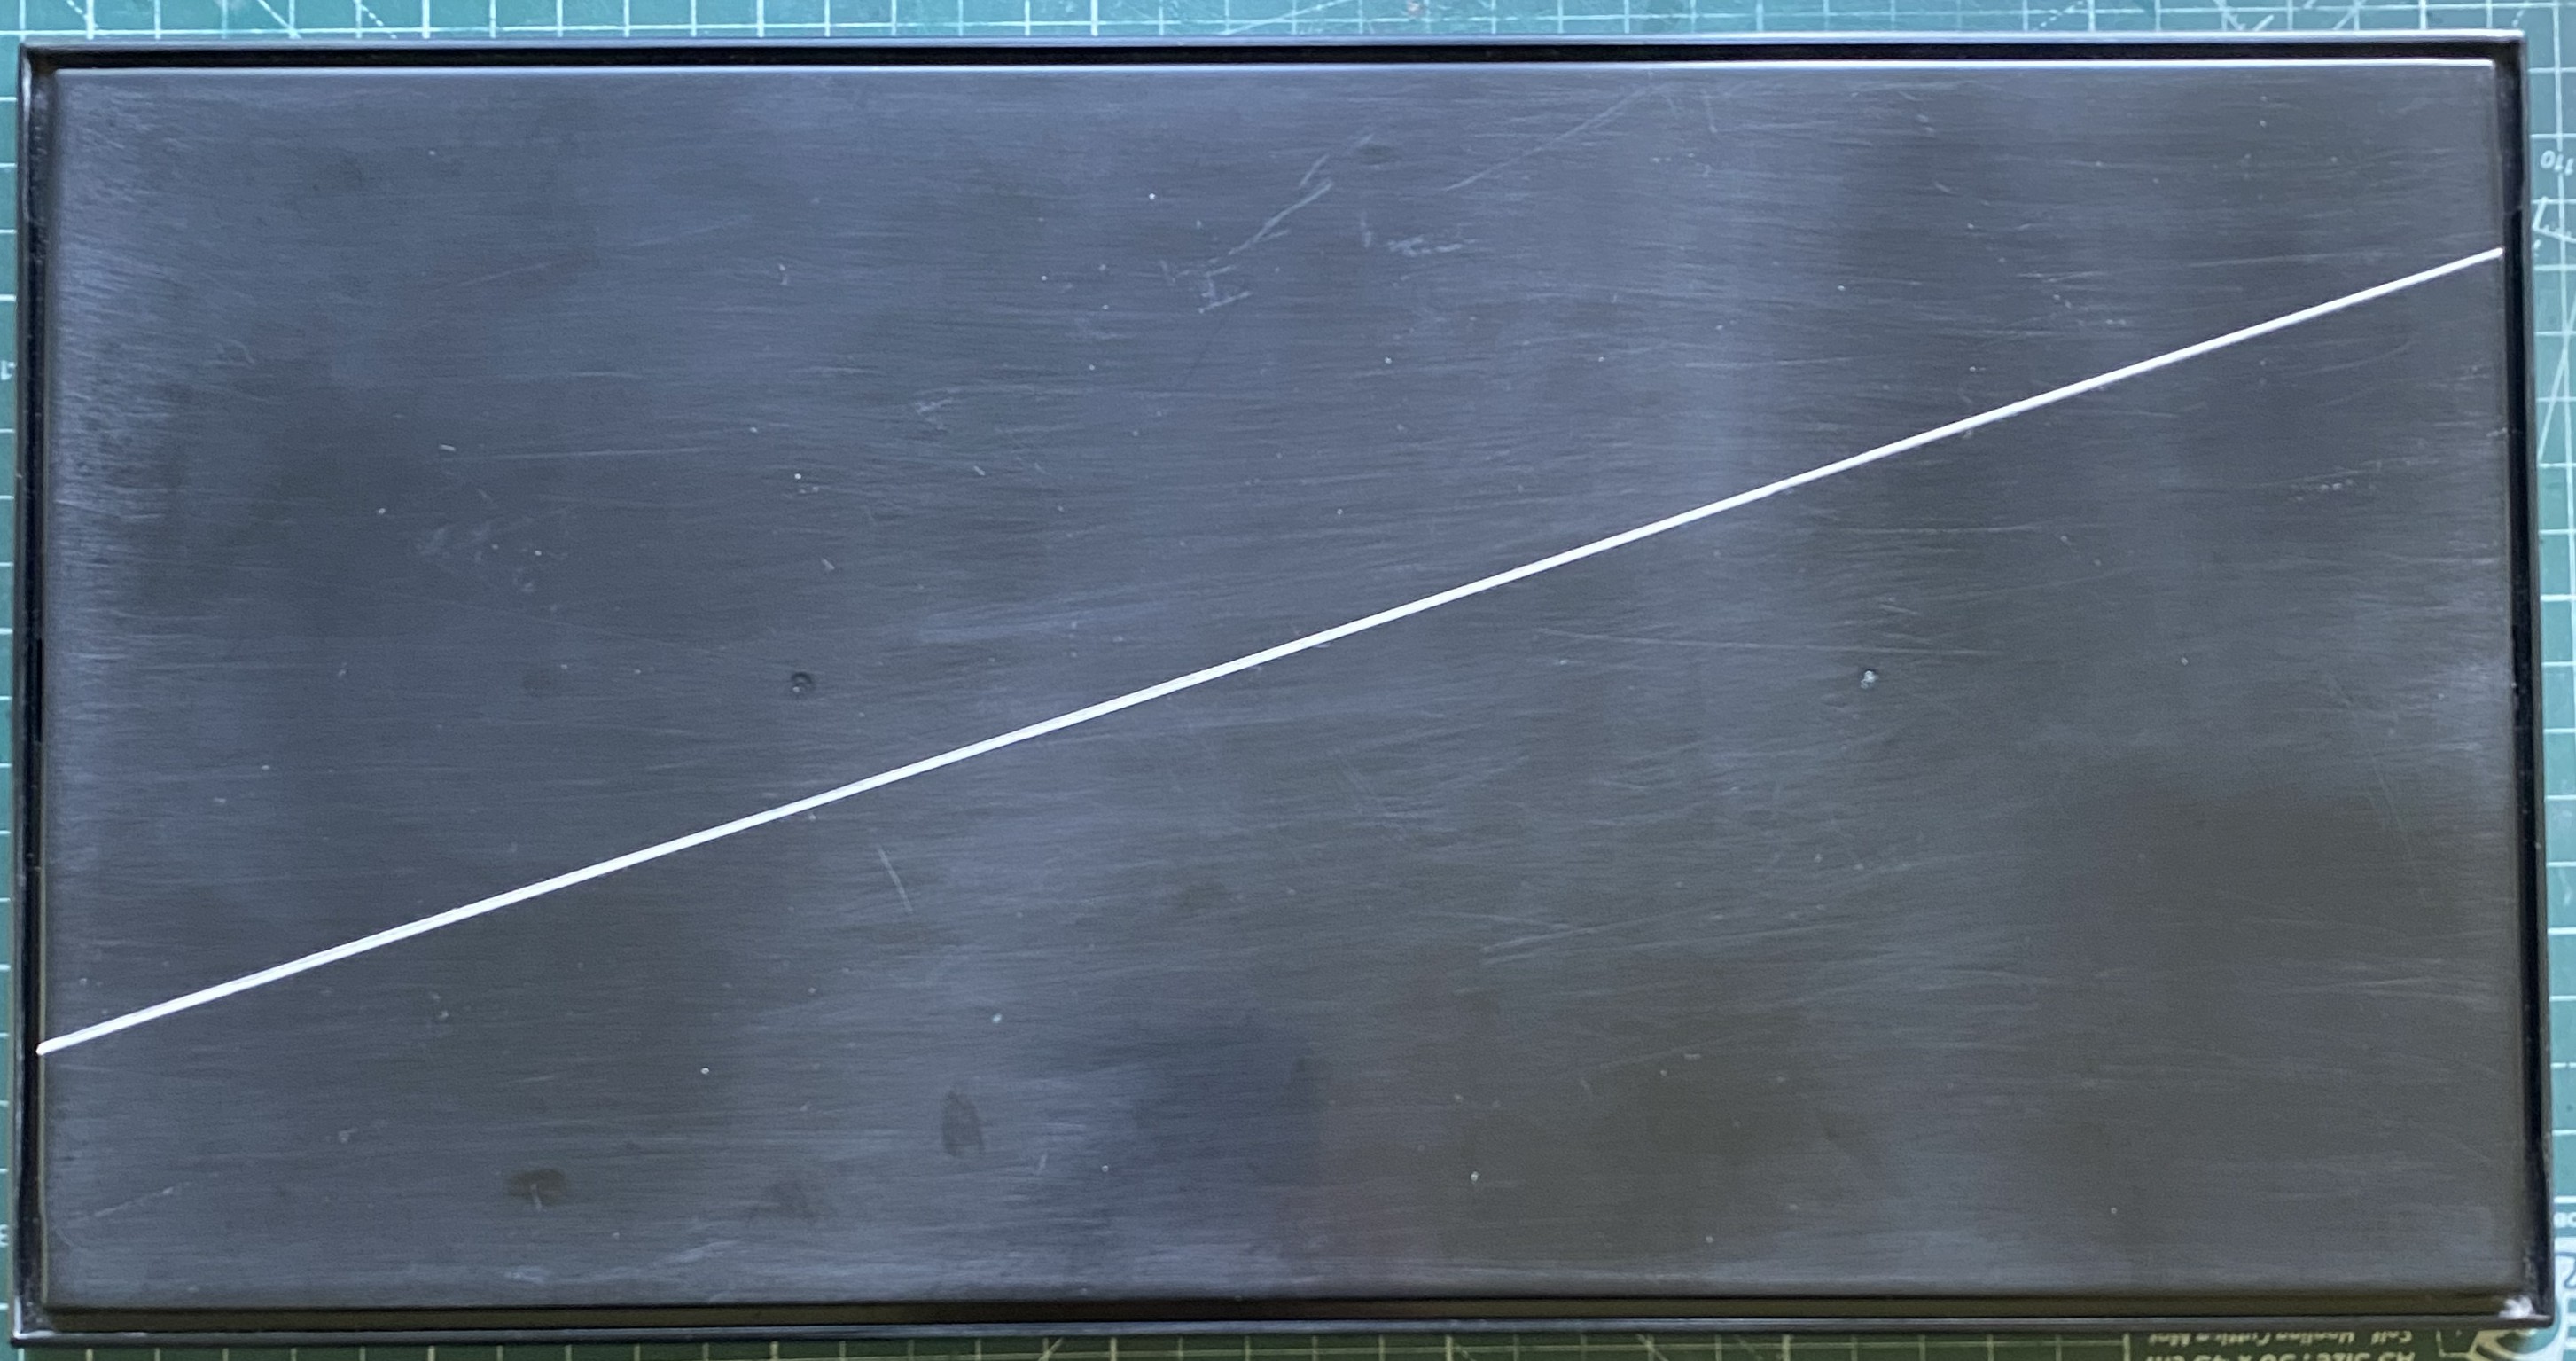
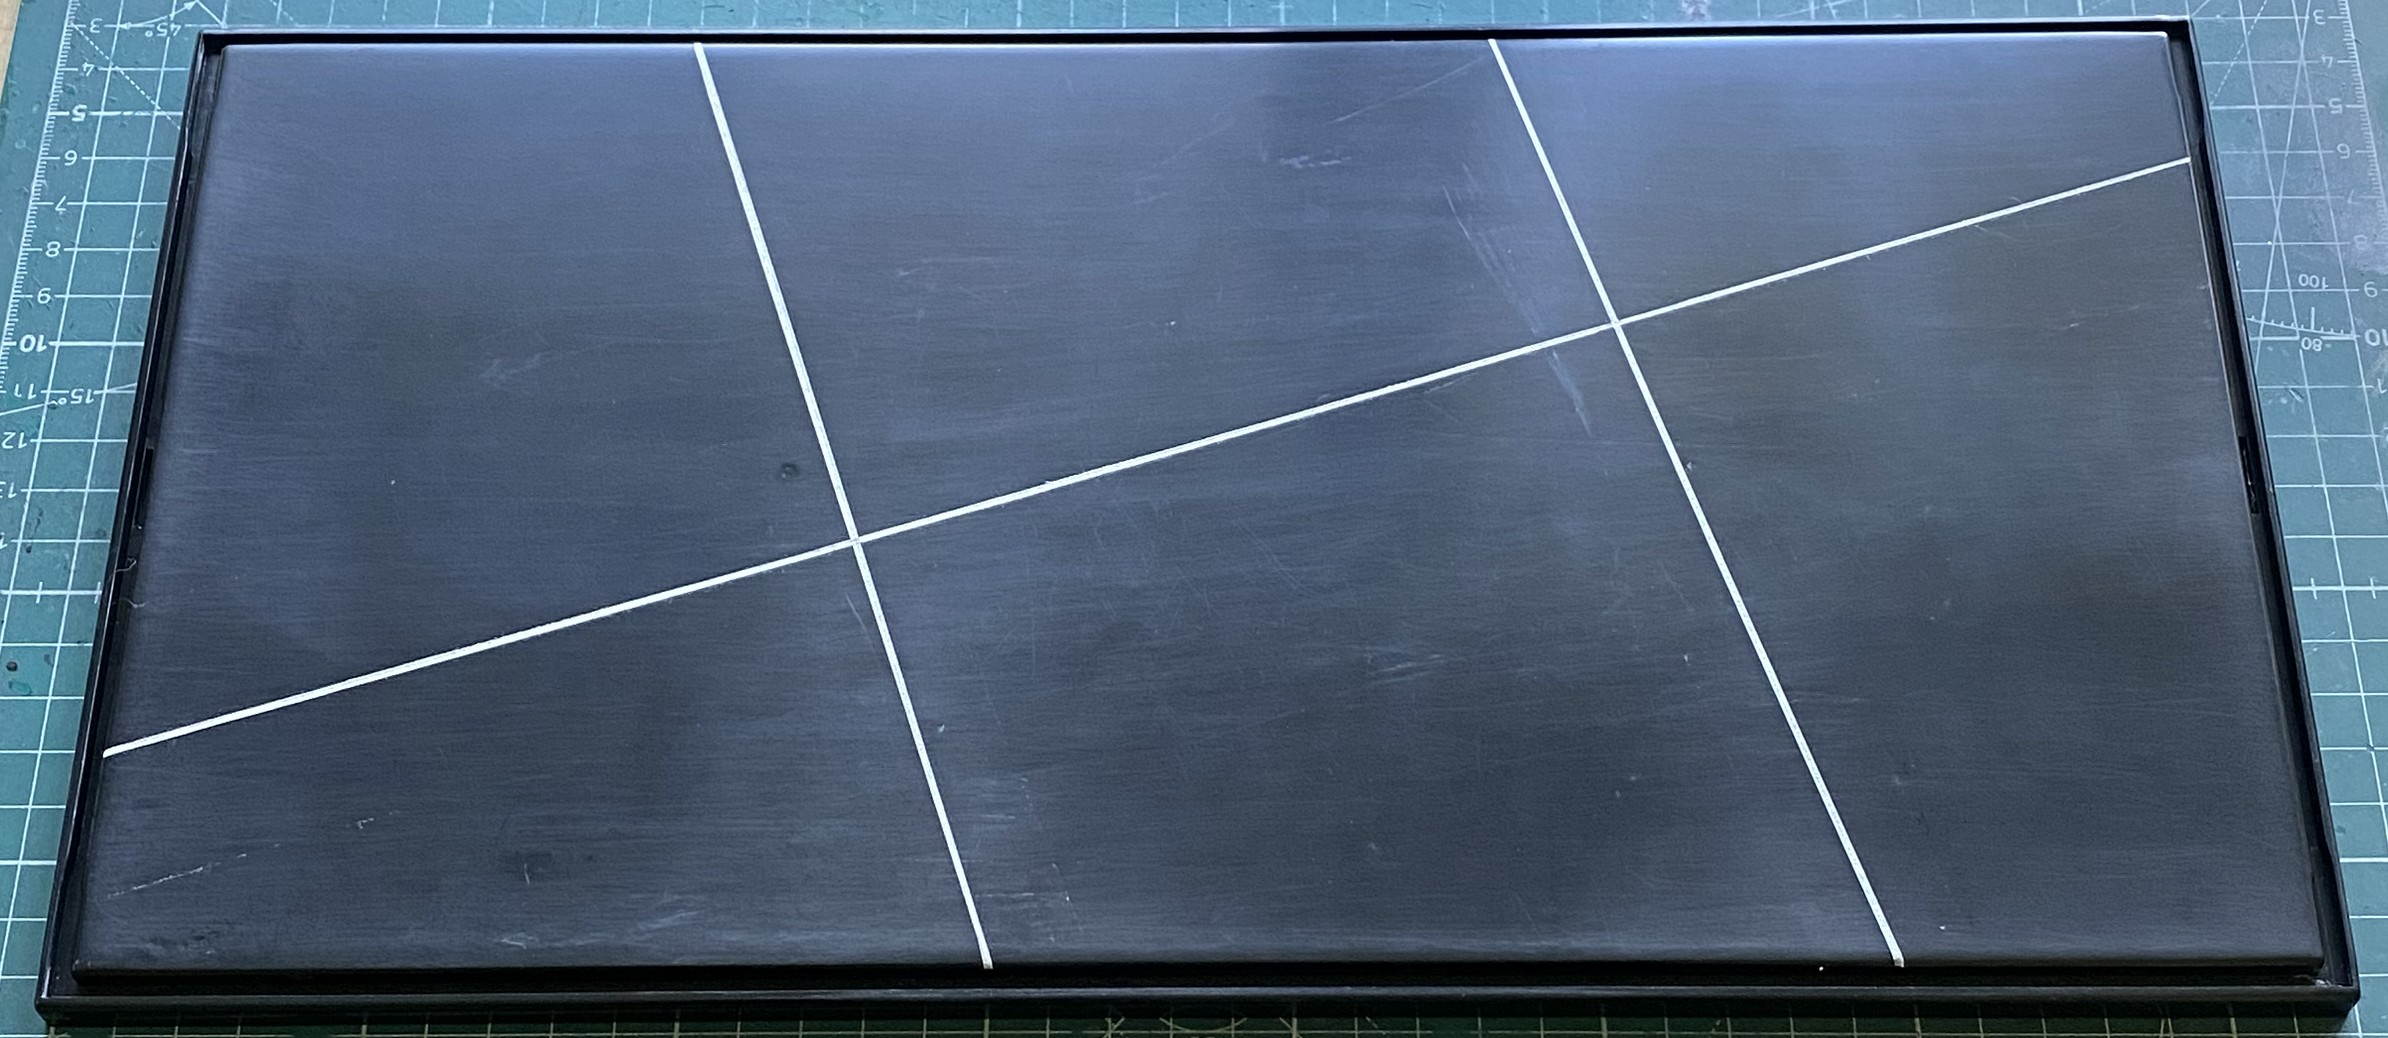
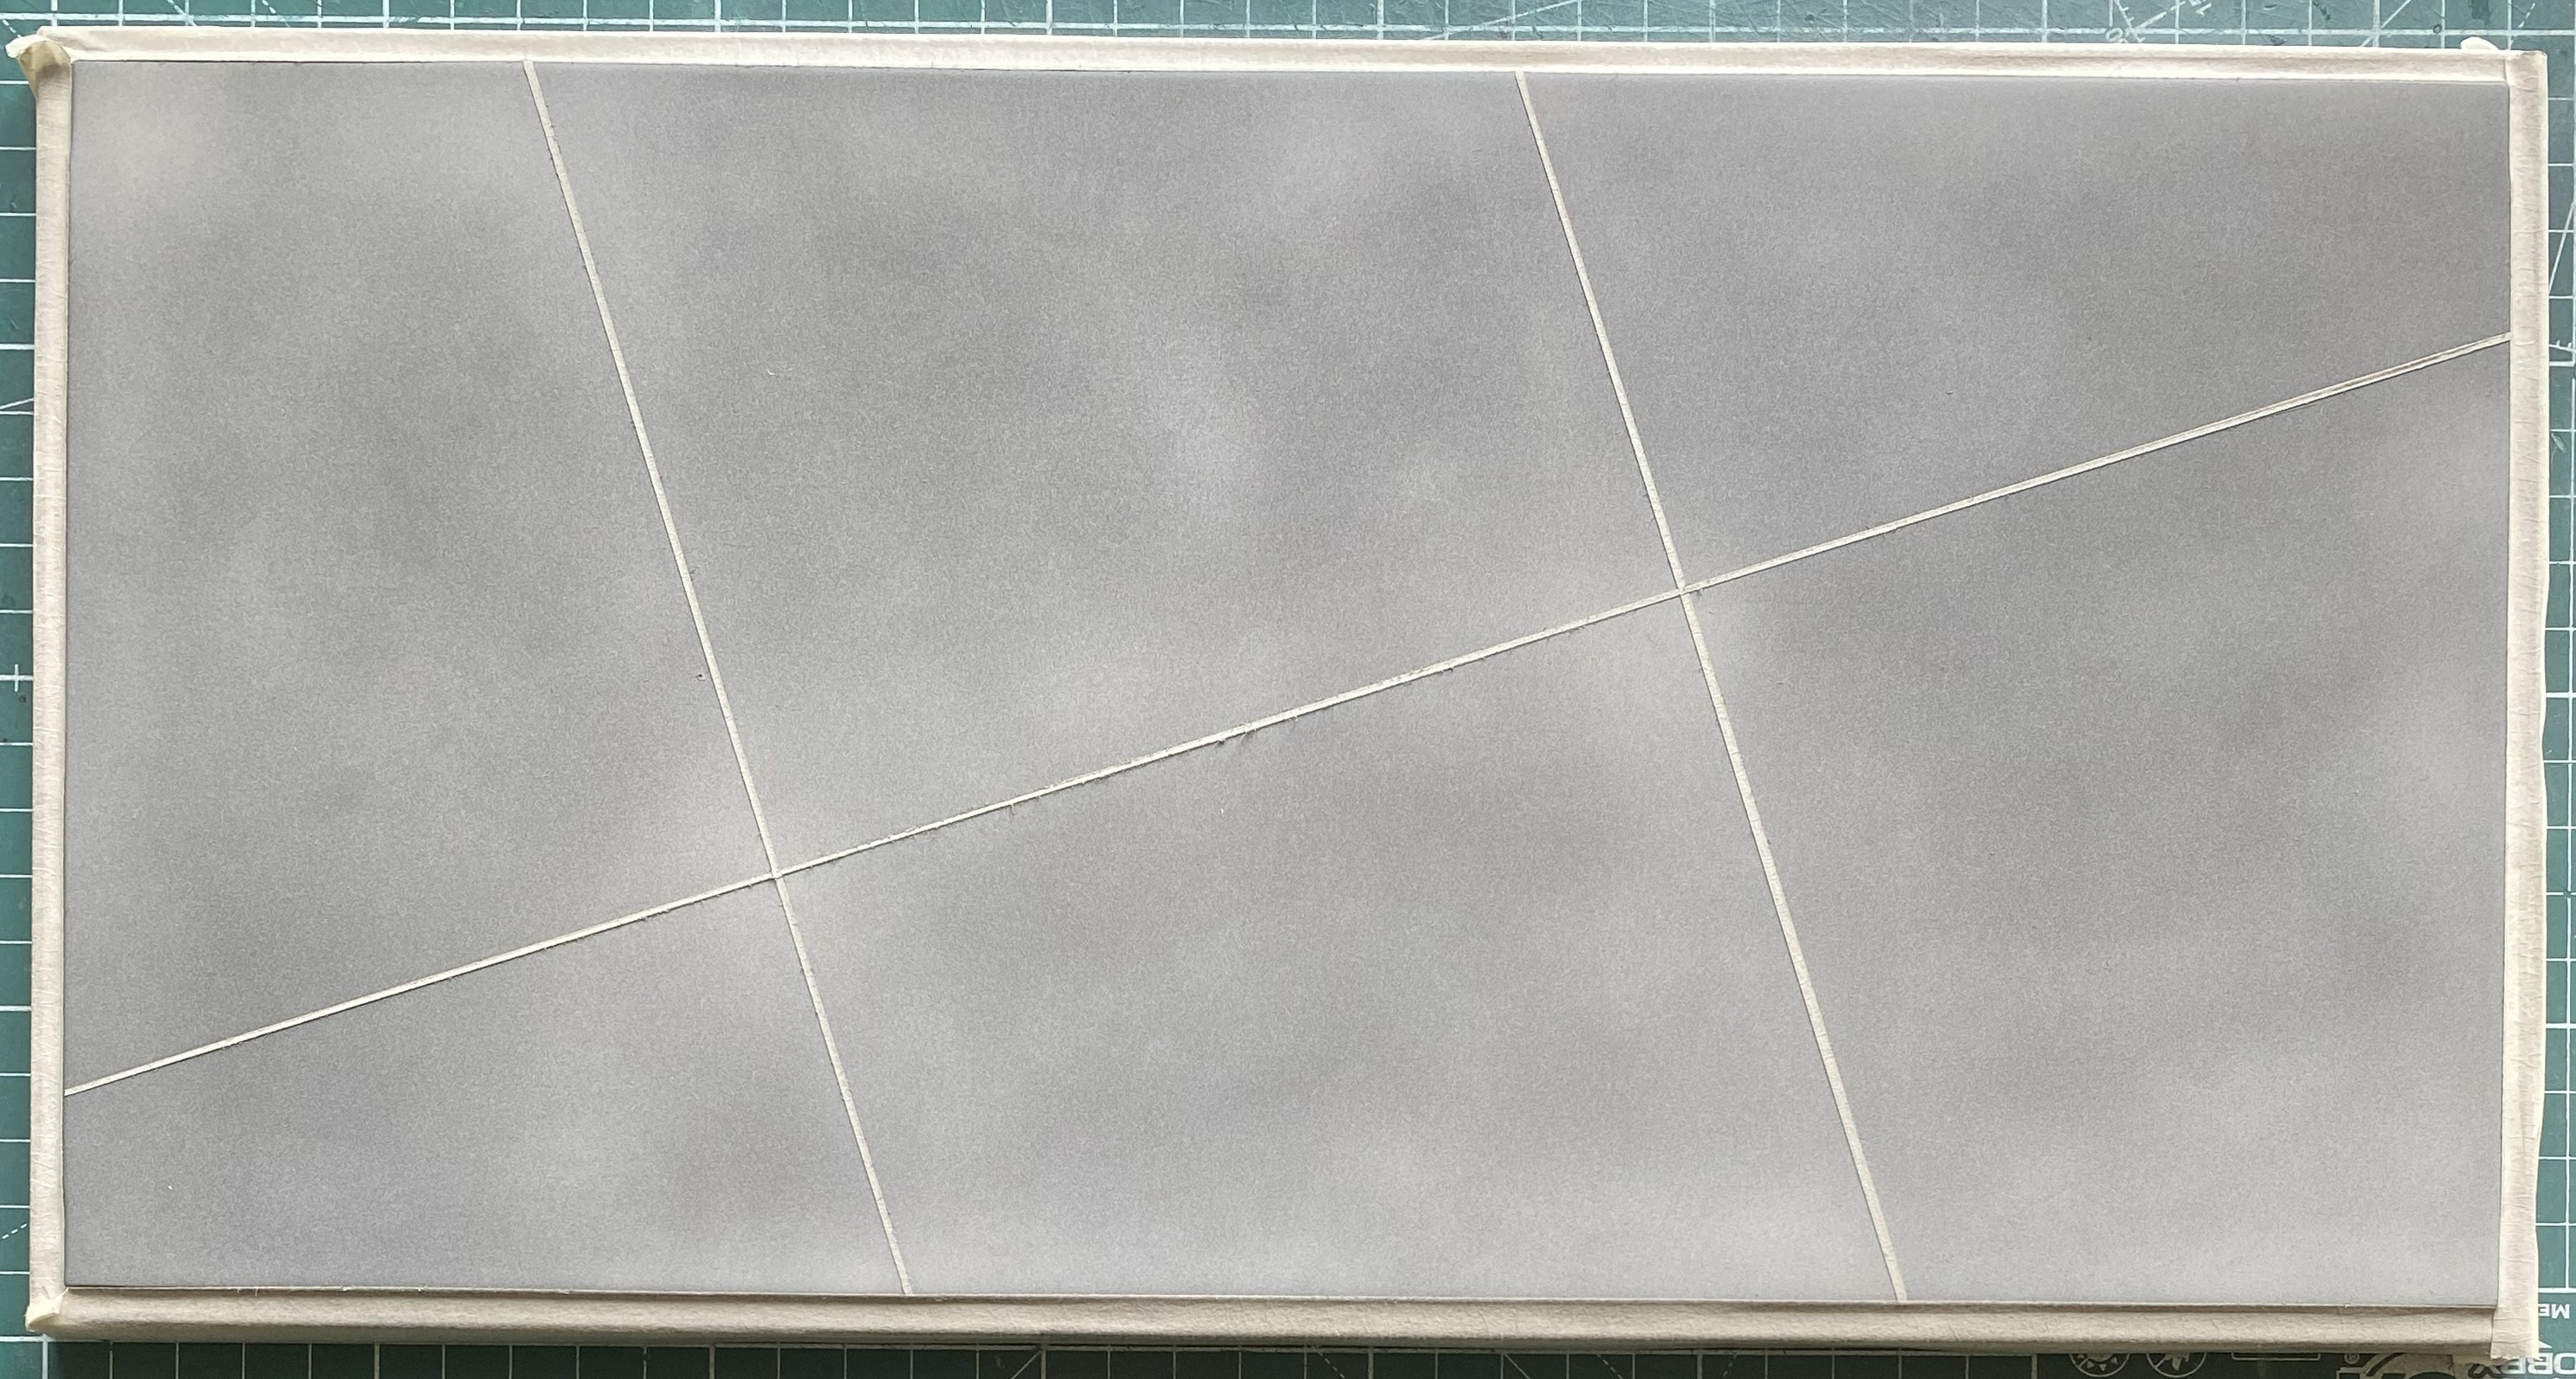
With the seams masked, I started tossing Tamiya XF-2 Flat White.
Back when I was young (the rocks were still soft and dirt was a pale grayish color), and before my absolutely lousy color-vision was pointed out to me, I painted with oil pigments. I started dark, the darkest value of the work, and then brought in the light (various techniques for that), which also delineated shapes and textures. I understand the process and, though I may be fooling myself, I believe I have a decent grasp of how it works and how to work it.
With that experience, when I paint a model, I establish the darkest color value for the model, which is also generally Tamiya XF-1 Flat Black, and I do the whole model in black. Then I establish a generic light source in my mind, usually overhead unless I have a specific purpose for more dramatic lighting. Then I do many multiples of color passes to bring the highlights out, refine shapes, and so on. This time I don’t have to do that because the surface itself is black. Instead, I went for a more mottled effect:
There are markings painted on the deck for taxiways and parking location. They’re mostly red. Damn…I wish I had a custom-mixed red paint… And I do! I used the paint that I’d mixed (with very patient and appreciated help for those with proper color-vision who provided the help I needed) for those markings.
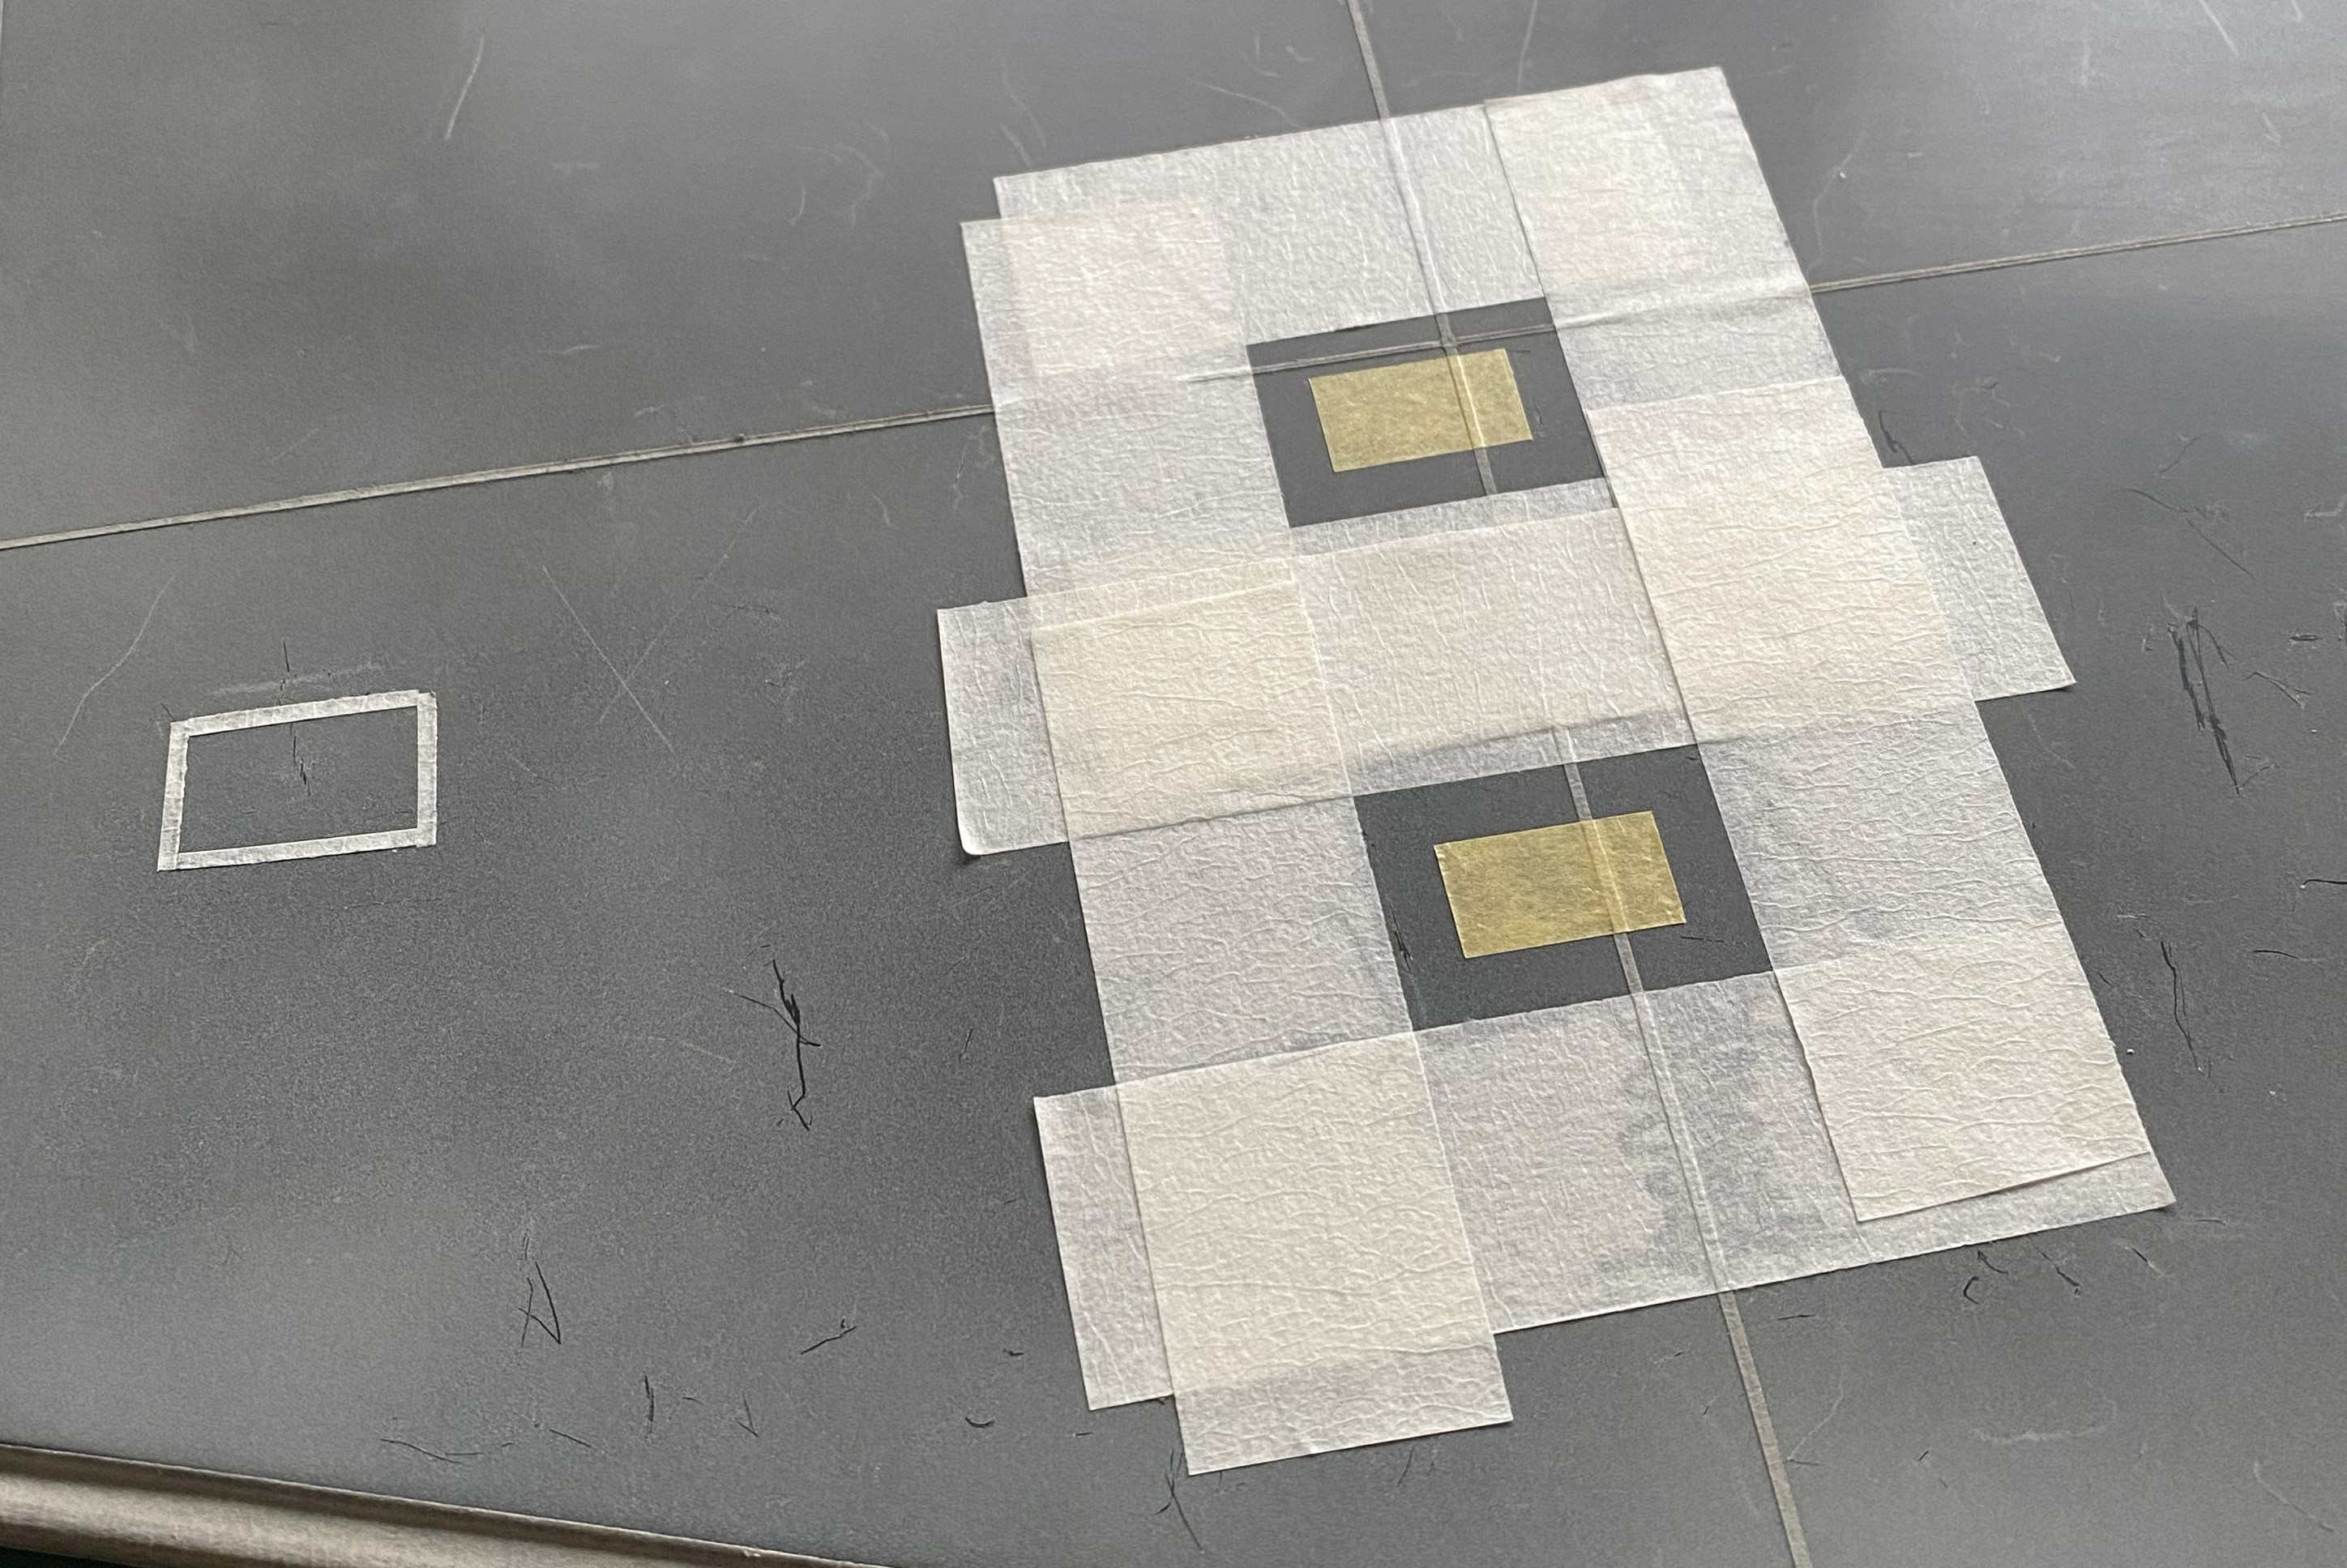
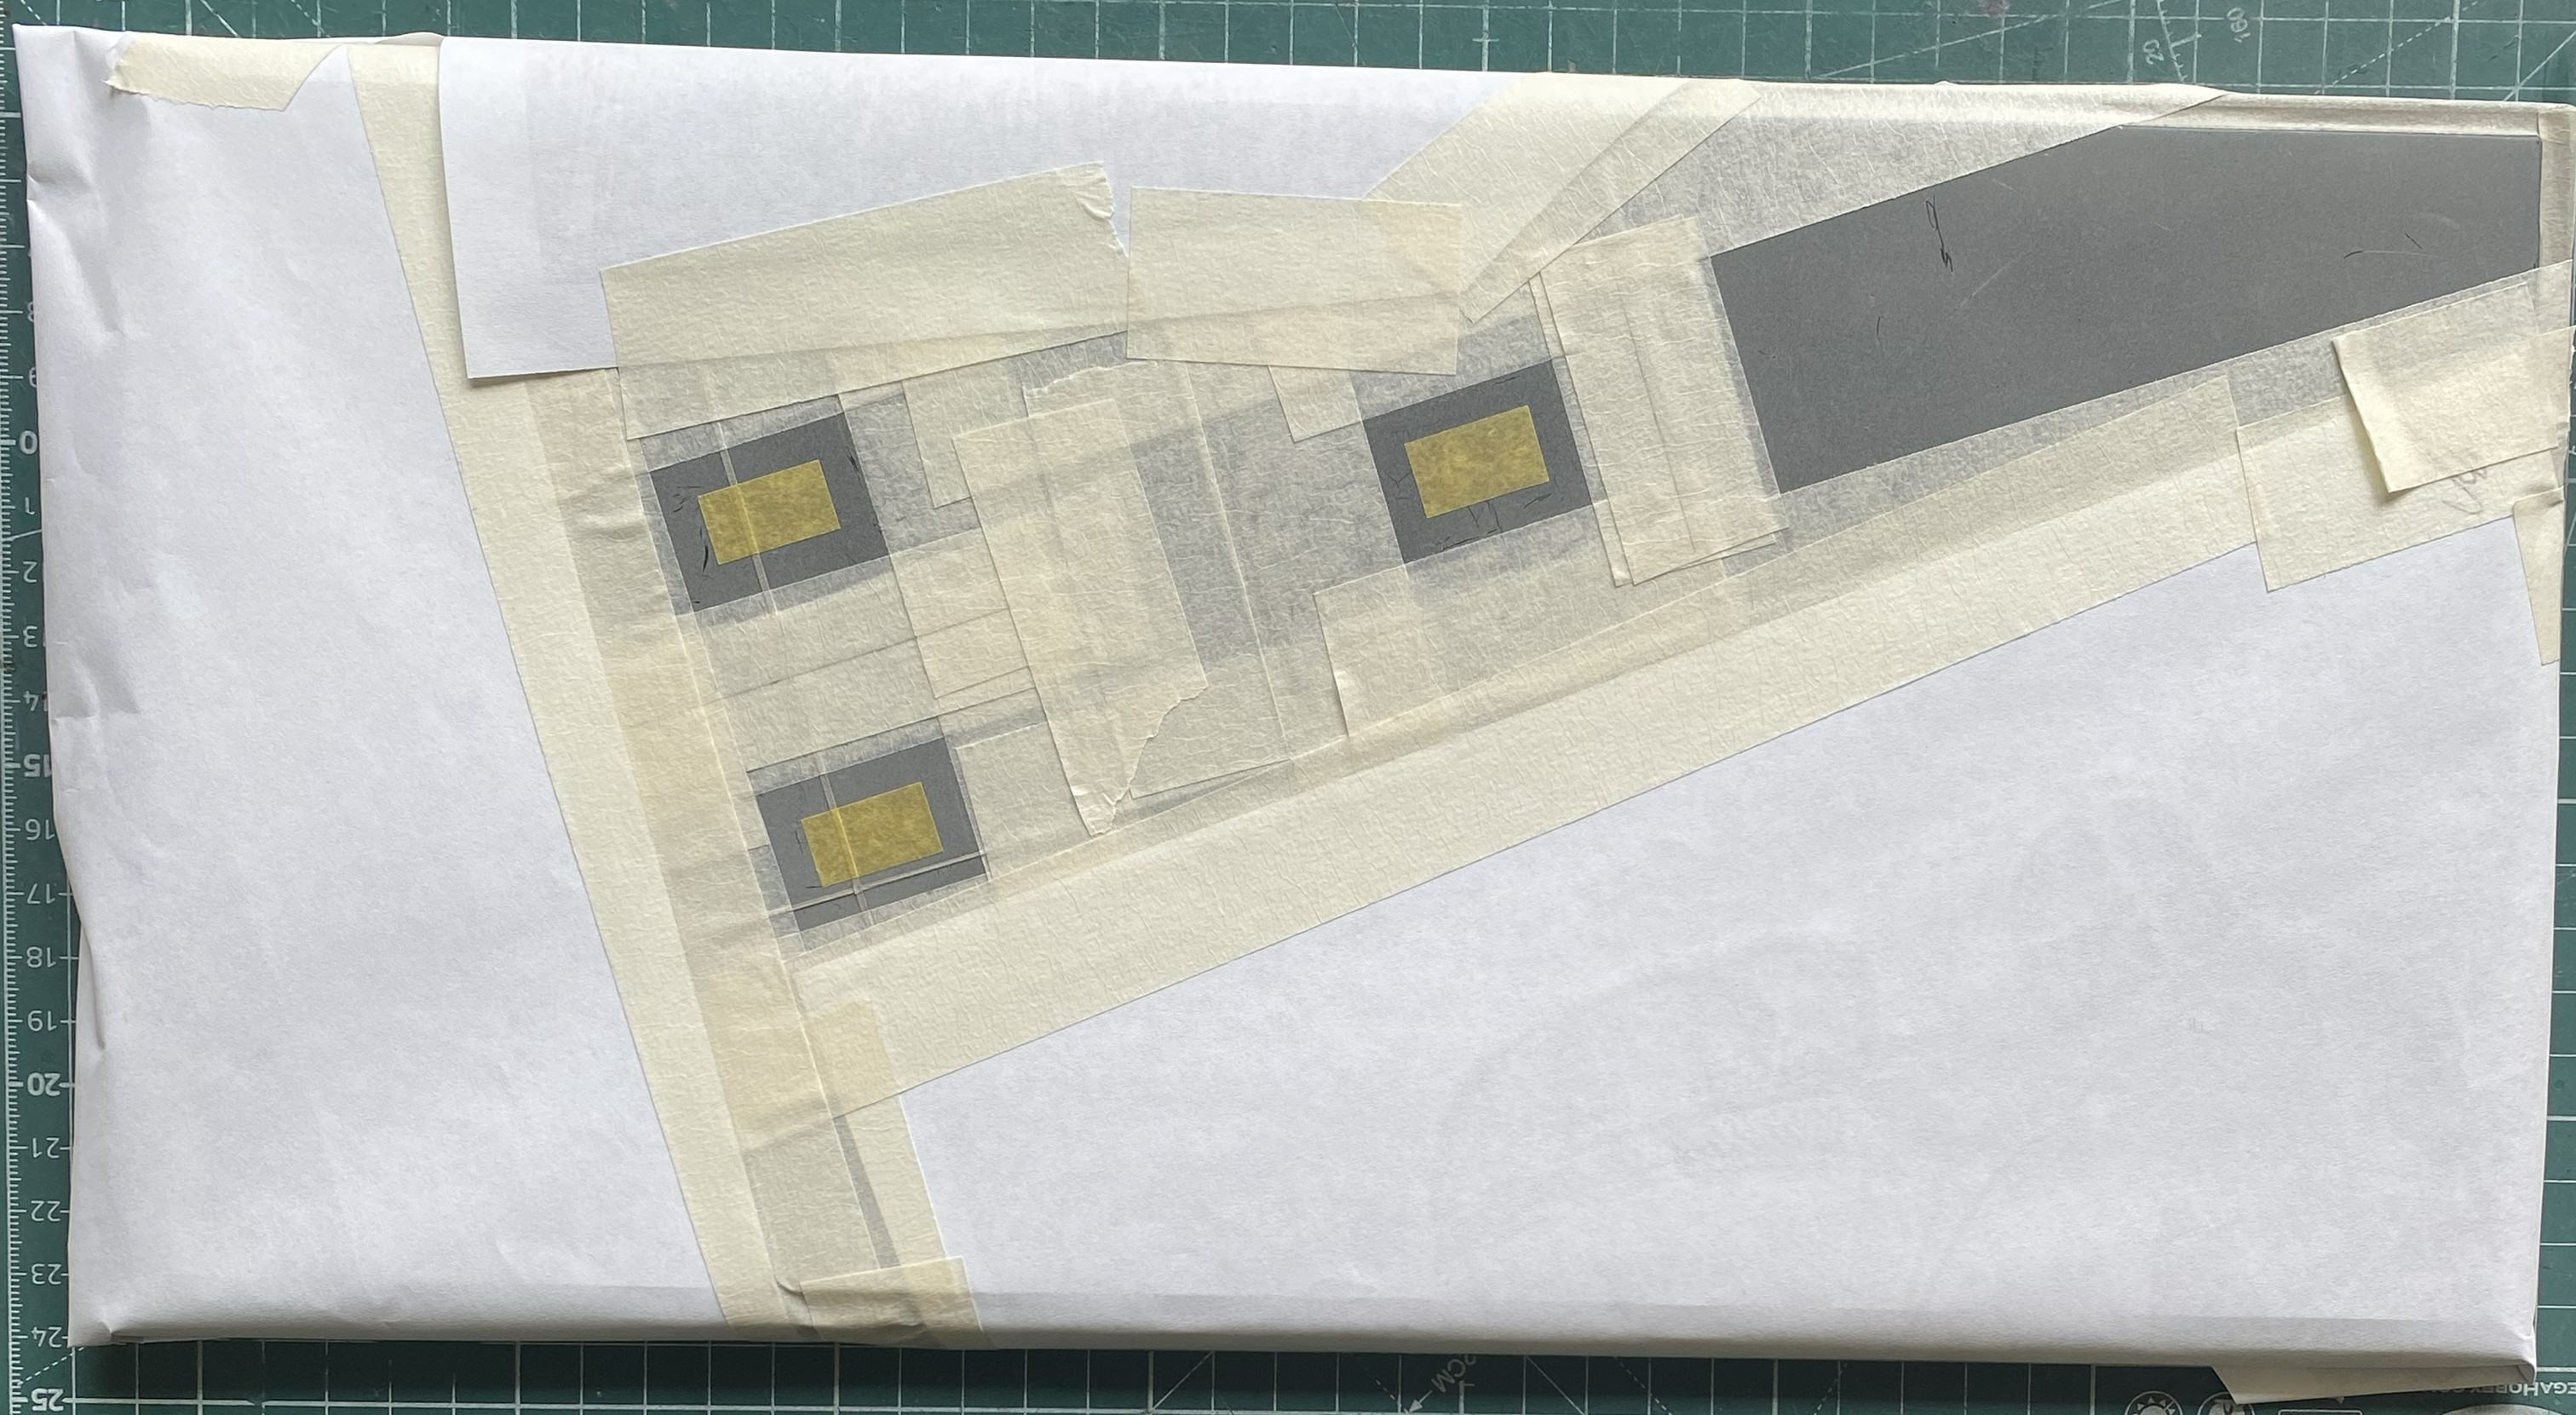
I started by masking the parking indicators and taxiway:
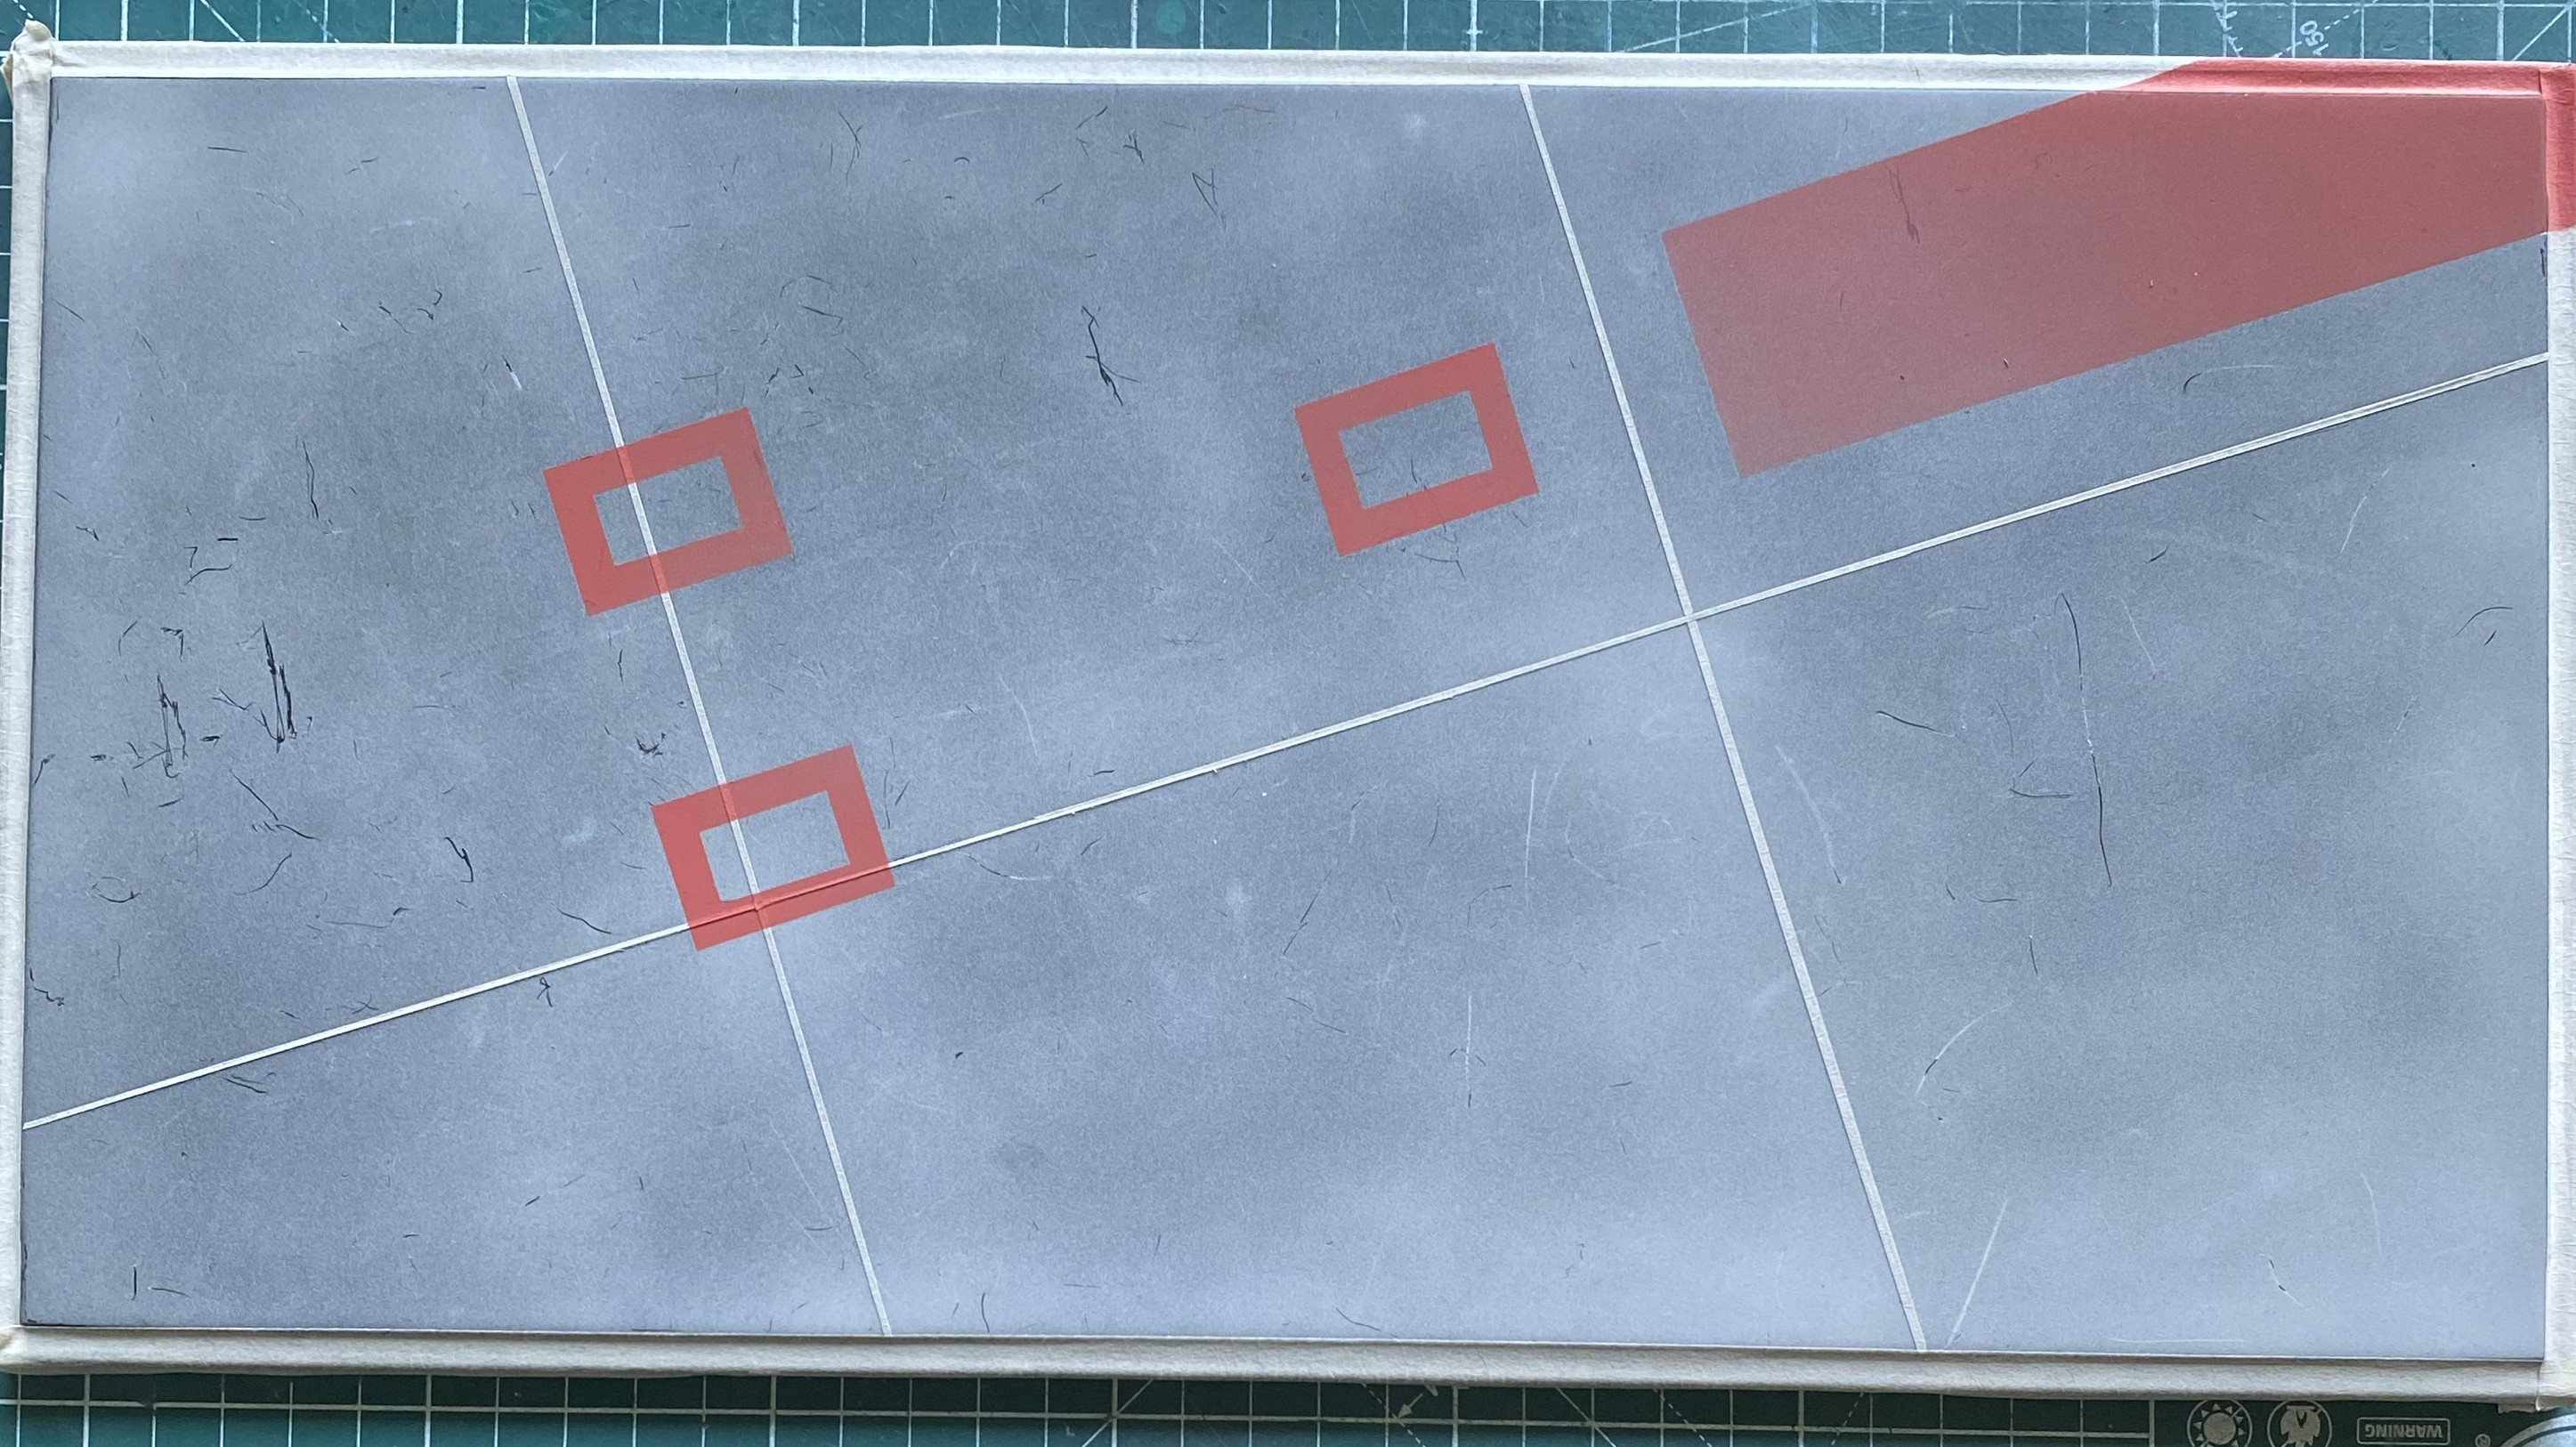
I used my BSG Viper Red mix to paint these areas:
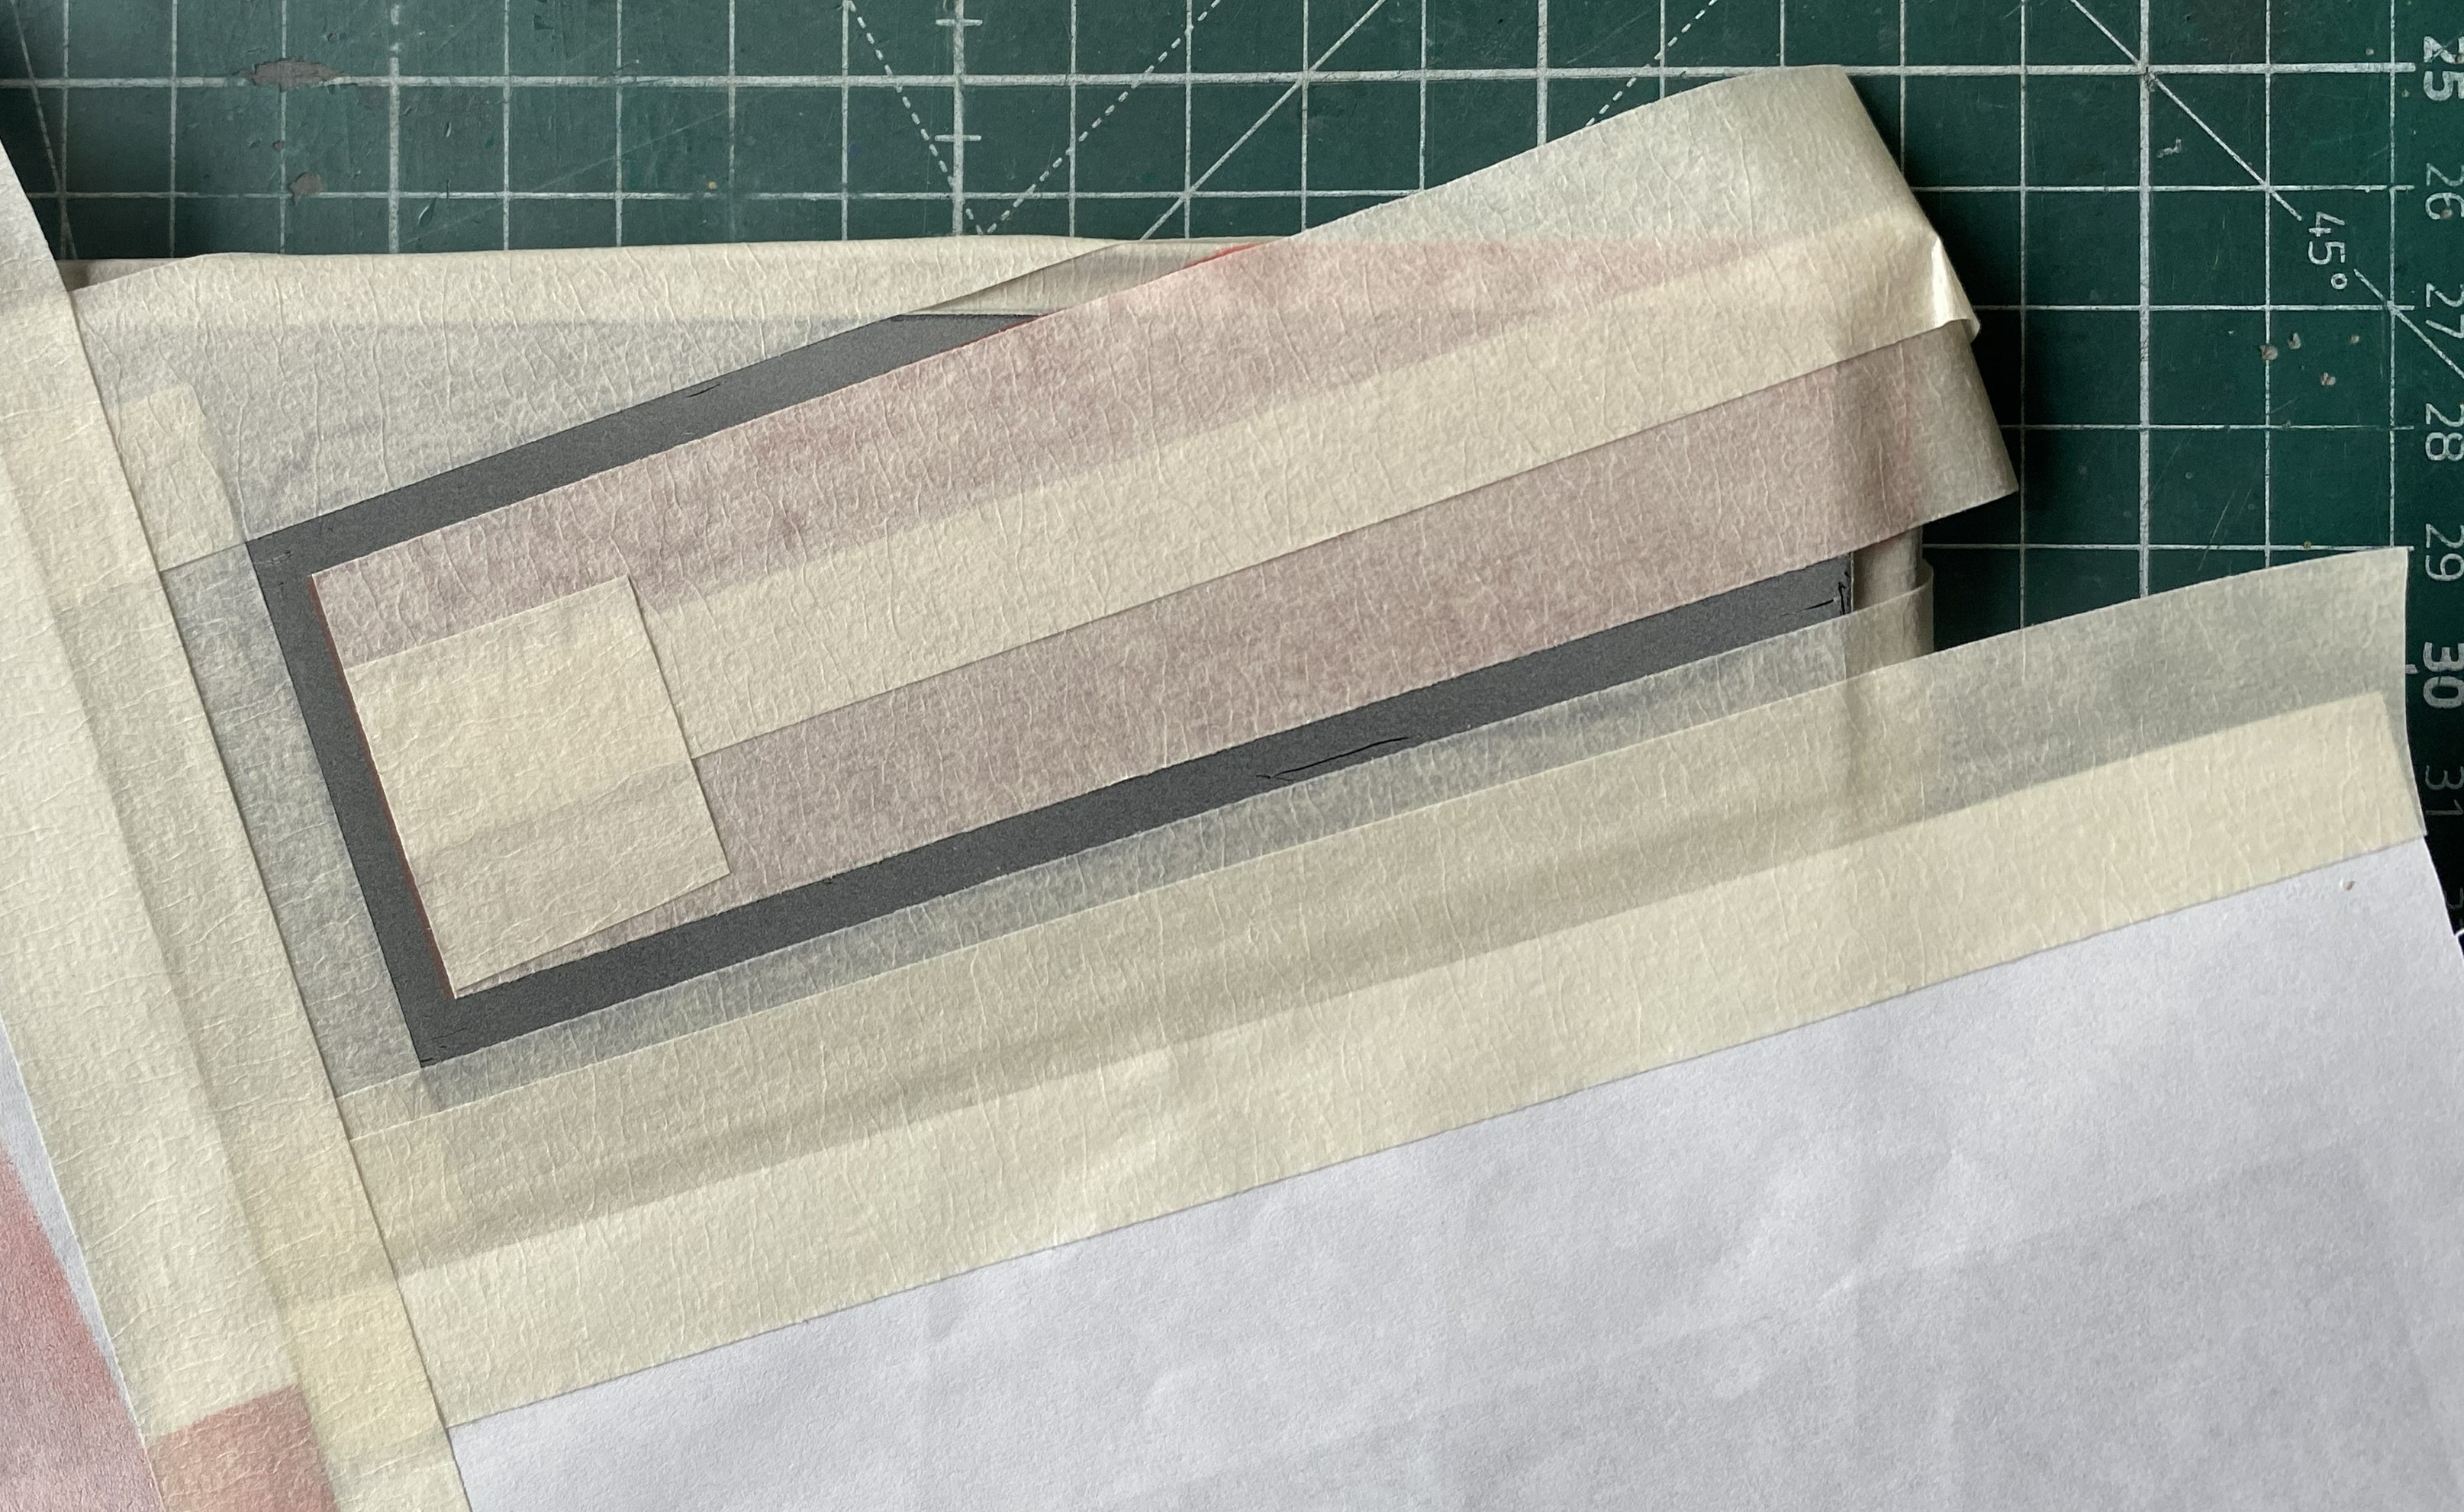
The taxiways have an orange stripe around them. I used Tamiya XF7-Red (1 part), XF-6 Orange (3 parts), and XF2-Flat White (1 part). Once satisfied with the color, I masked off the taxiway and tossed this paint mix at it:
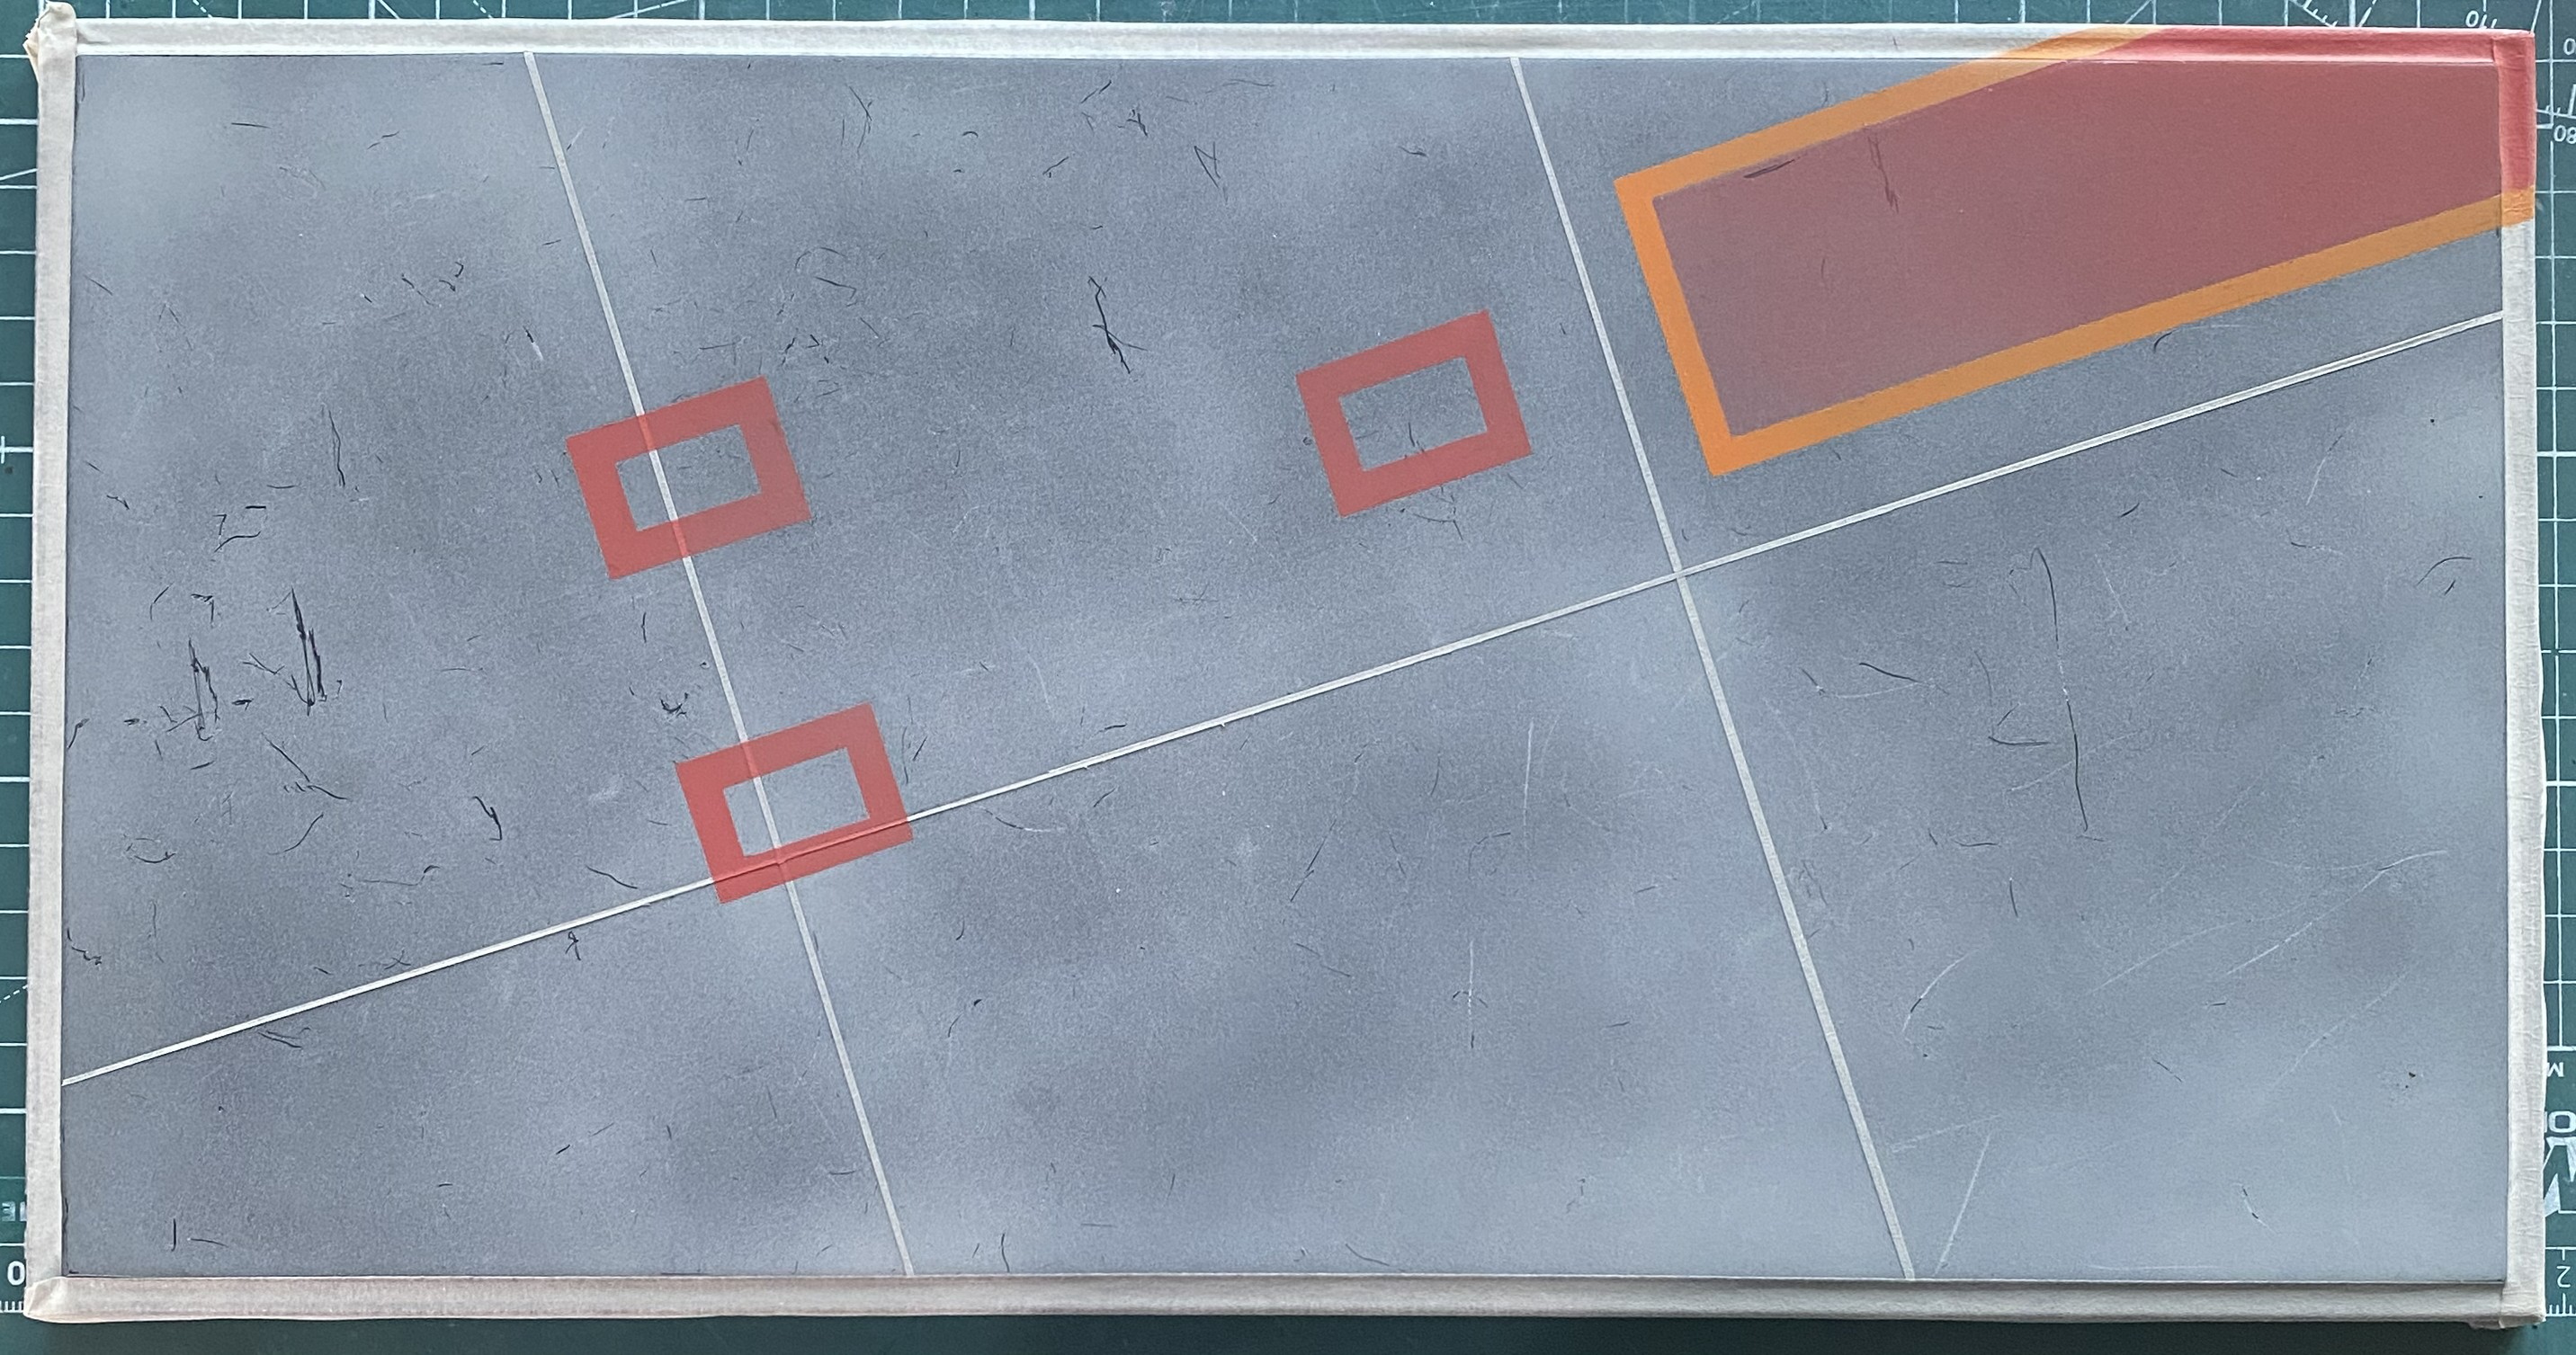
Handling freshly painted acrylic paint (particularly Tamiya’s line) almost always leaves marks. The scuff marks shown in the above photo were caused by varied tools used to align the masking. My initial notion was to touch them up with more flat white. Then I realized that serendipity helped me. The scuffs from the masking process look the part, particularly the rear, so I left them as is. That the scrape marks are actually random (something that my detail-oriented brain always has to watch out for!) is another serendipitous event.
Can’t have a parking area for an abused warbird without stains. In a perfect world, that which is supposed to stay inside would in fact stay inside. Not a perfect world. I used oil paint thinned with this stuff:
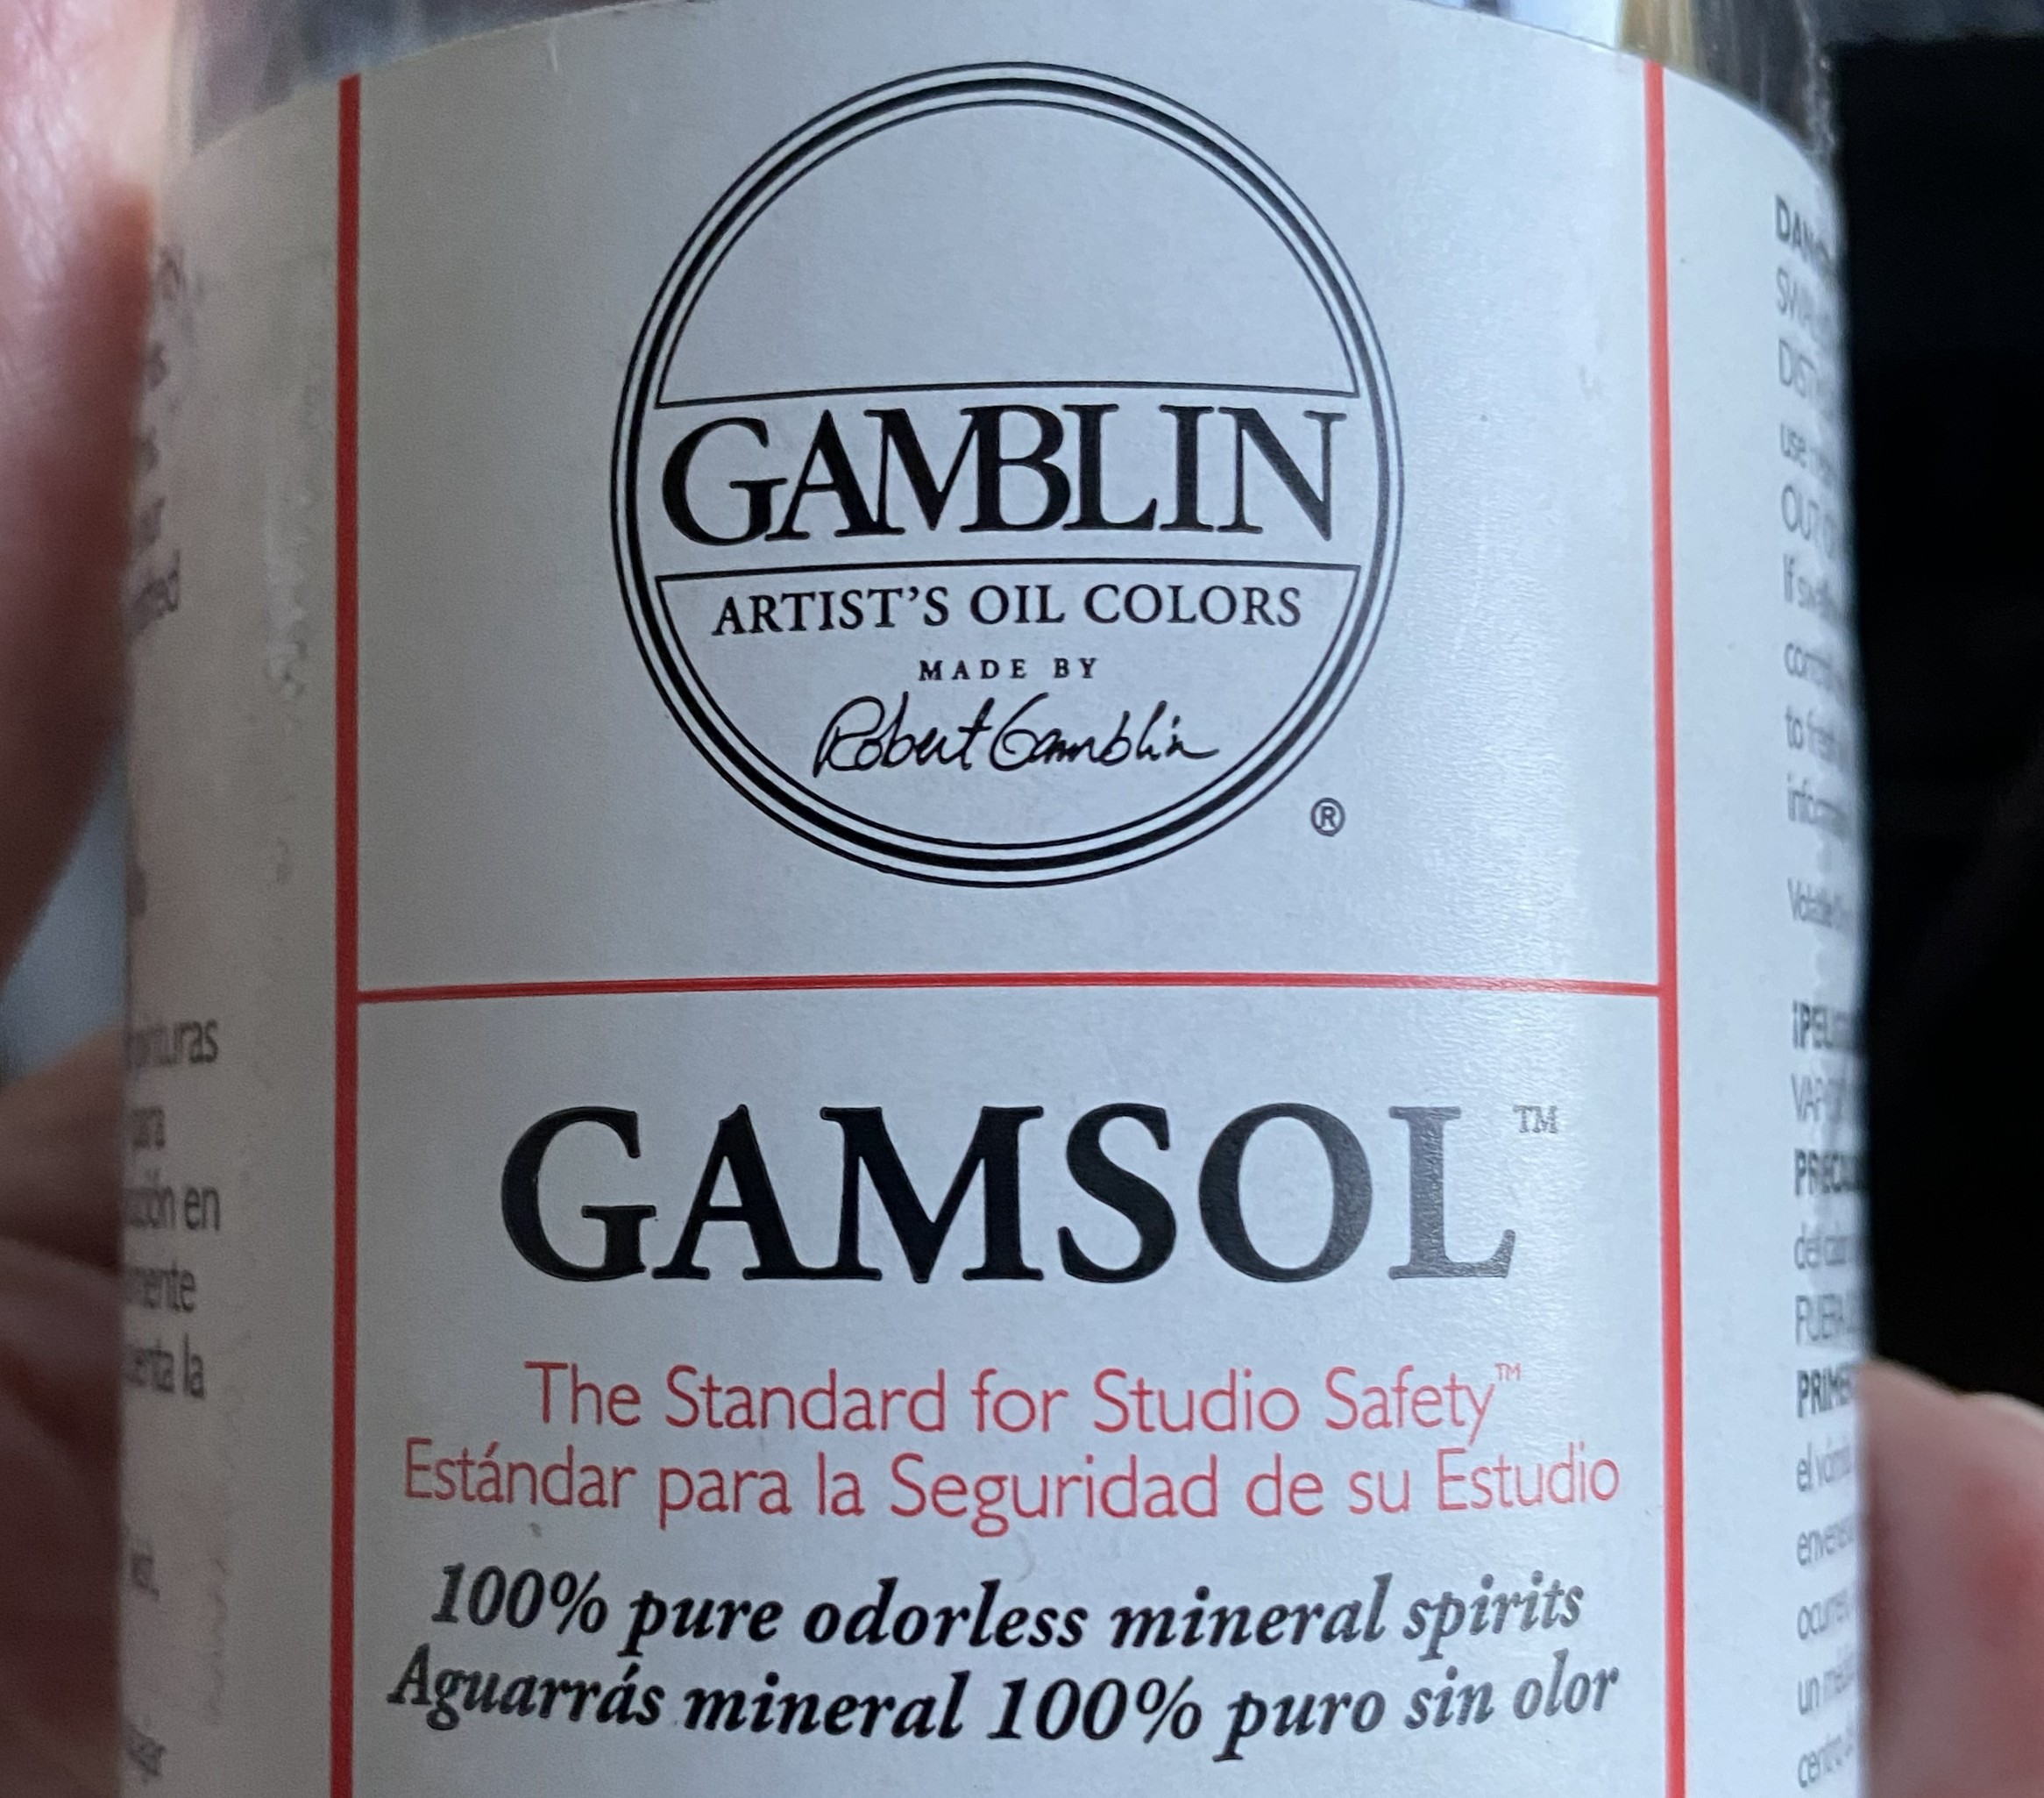
Typically I don’t use turpentine. The roommate hates the smell (this is also why I try to wash my socks and knickers regularly) so I’ve been using Turpenoid instead. I use oil in washes because I like the color options (and no, I’m not immune to the irony of that comment). A couple of years ago, I was told by a friend that Gamsol works well also and I’ve had a bottle of it on my chemicals shelf for just about as long, I’d just never used it (laundry frequency aside, I am a creature of habit like most Homo Sapiens seem to be) before this build. I mention this because using Turpenoid and oil paint as a wash require a minimum of three days to dry. To get what I want, I’ve waited longer than 72 hours for what I want so I didn’t spin up over the drying time. It is what it is and there it is. And then I used Gamsol. Oh my! Three hours is all it took to dry.
The first decision prior to mixing stains was what color is the fuel and what color is the hydraulic oil? For fuel stains, I used a mix of Cadmium Red and Burnt Sienna (which sounds like someone I dated when I was in my 20s). I can’t offer you the formula because, well, let’s see. Mixing a red (which I usually see as brown) with sienna (which is brownish) was largely a function of prayer (if the Big Architect really is omniscient, It knew I was lying like all the other times I’ve invoked Divine Assistance). But I knew it would have a reddish tint! For hydraulic fluid I used a mixture of Cadmium Yellow and Raw Sienna. For lubricant stains I used Ivory Black. This is what it looked like when everything was still wet:
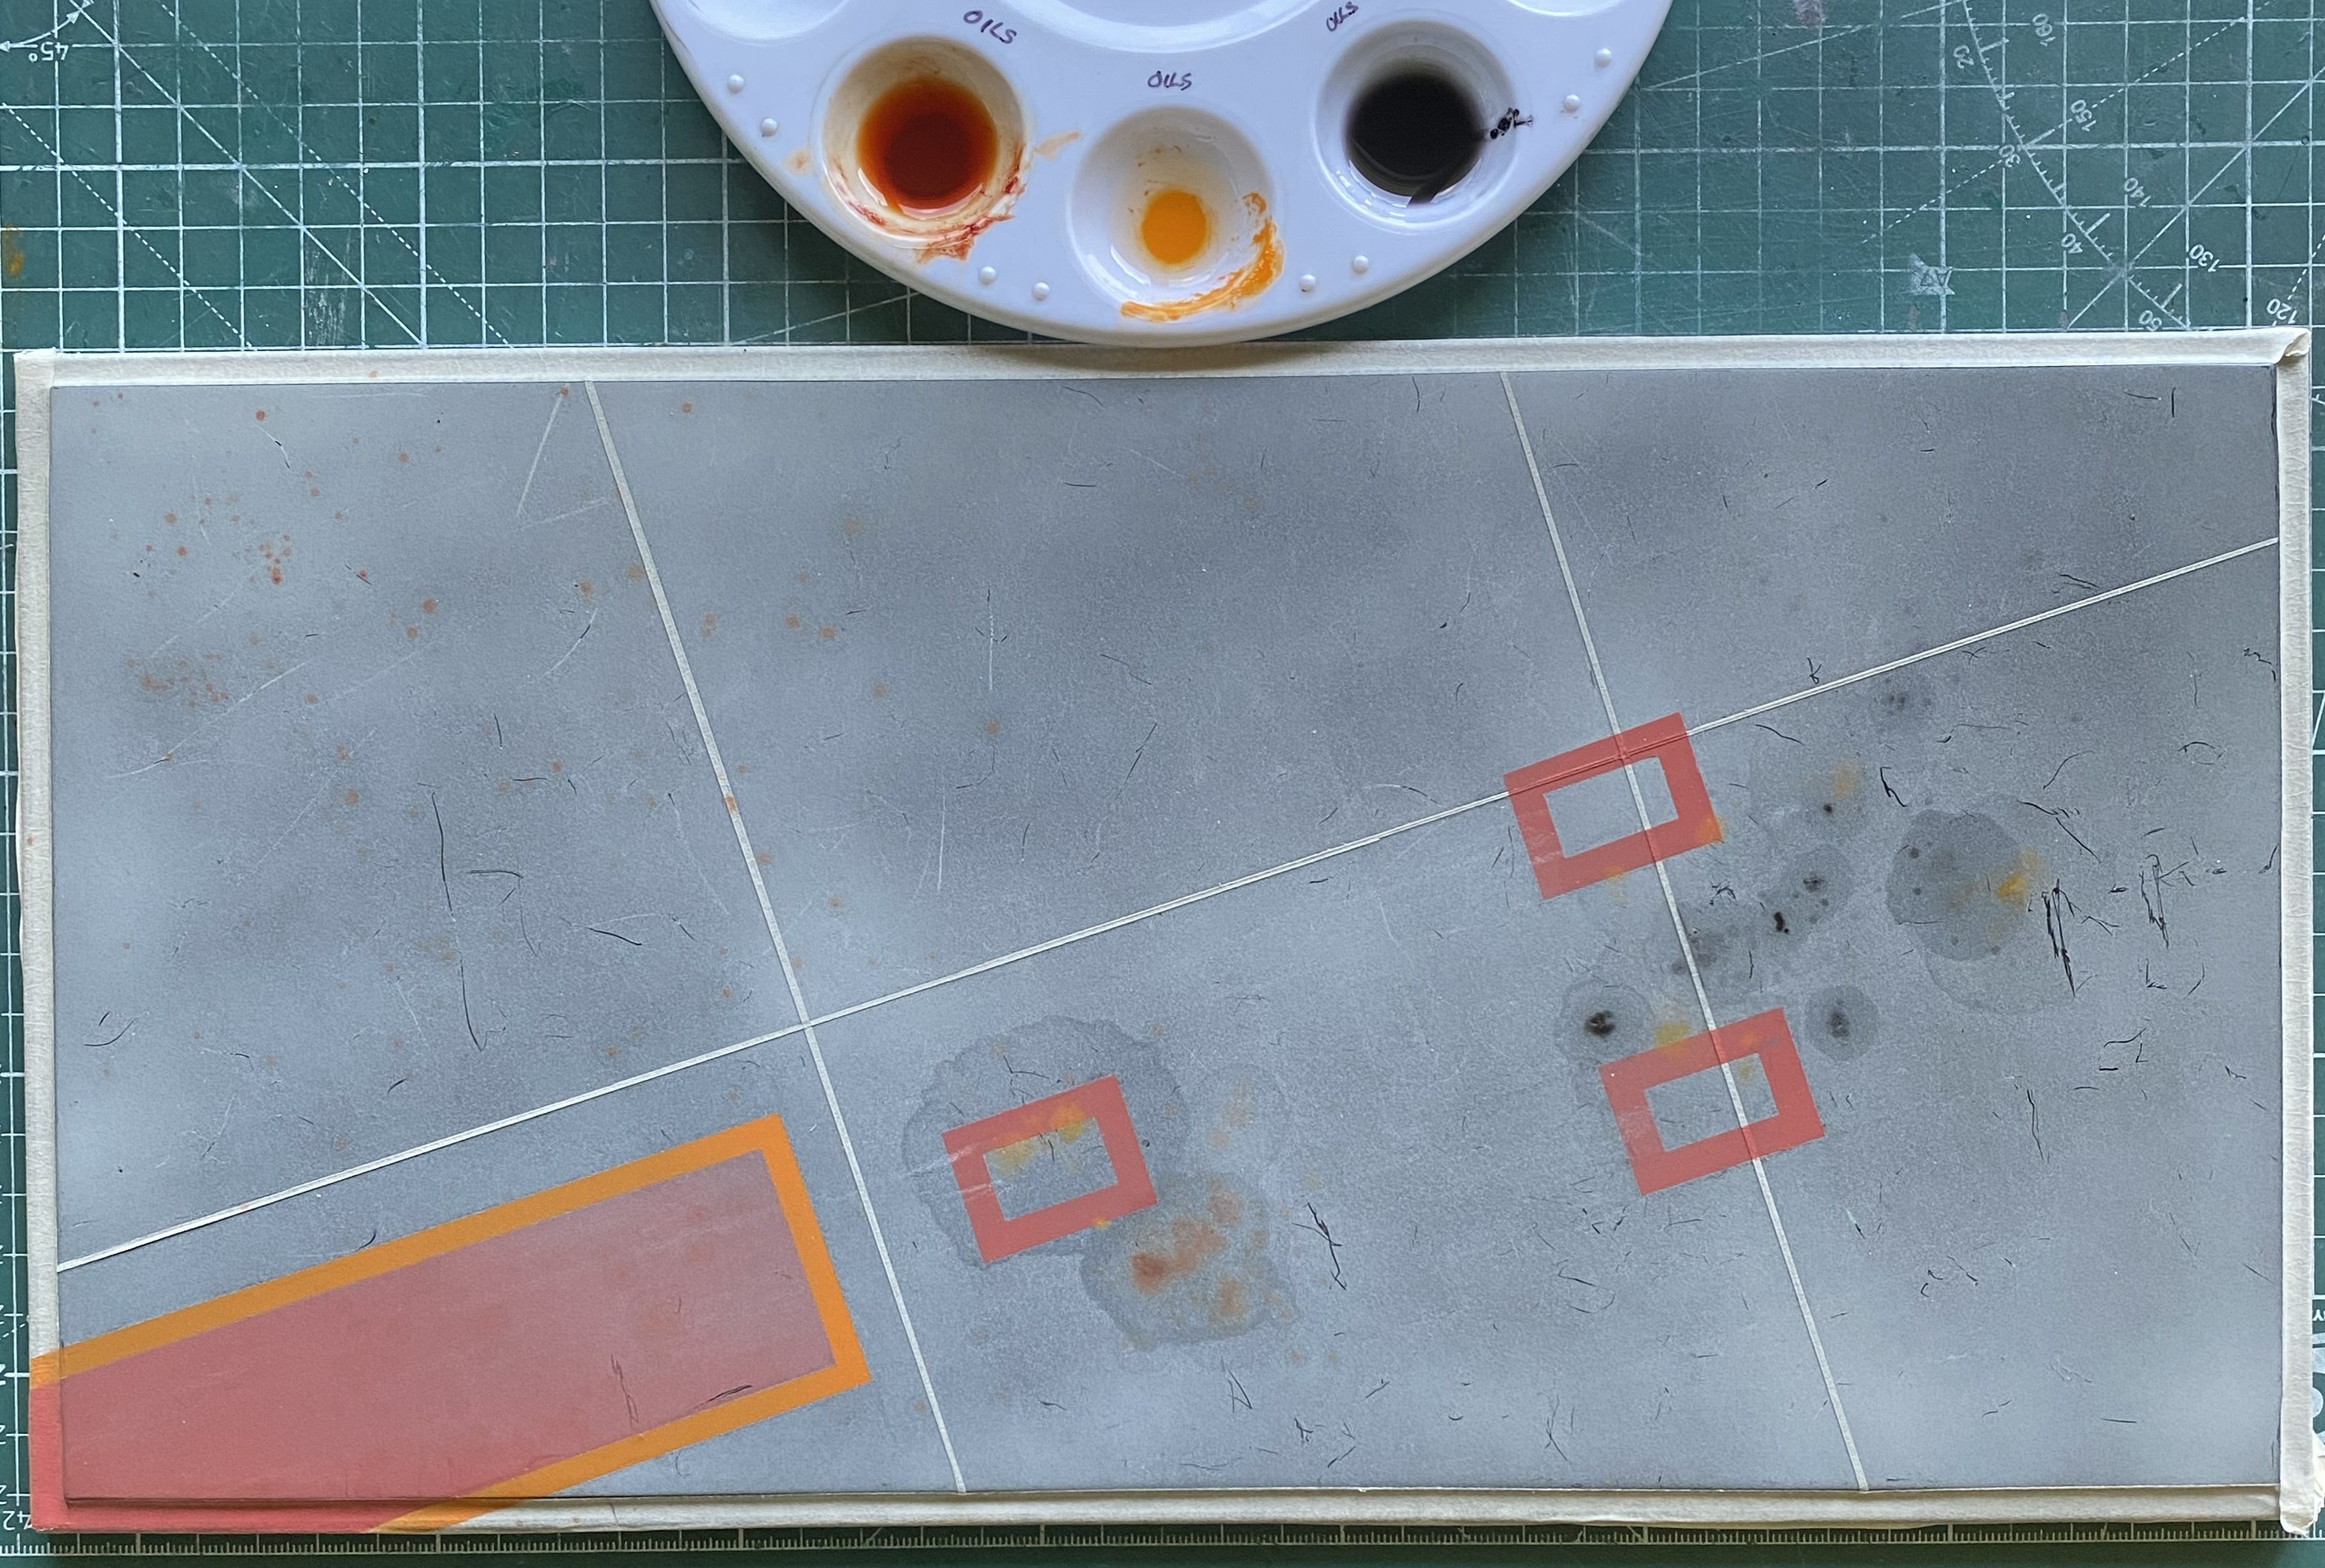
I tested the stains to see how well they’d adhered about three hours later, which was when I found out all the stains had dried:
The camera didn’t pick it up but there are very faint “blossoms” of thinner around the major stains that helps sell the illusion:
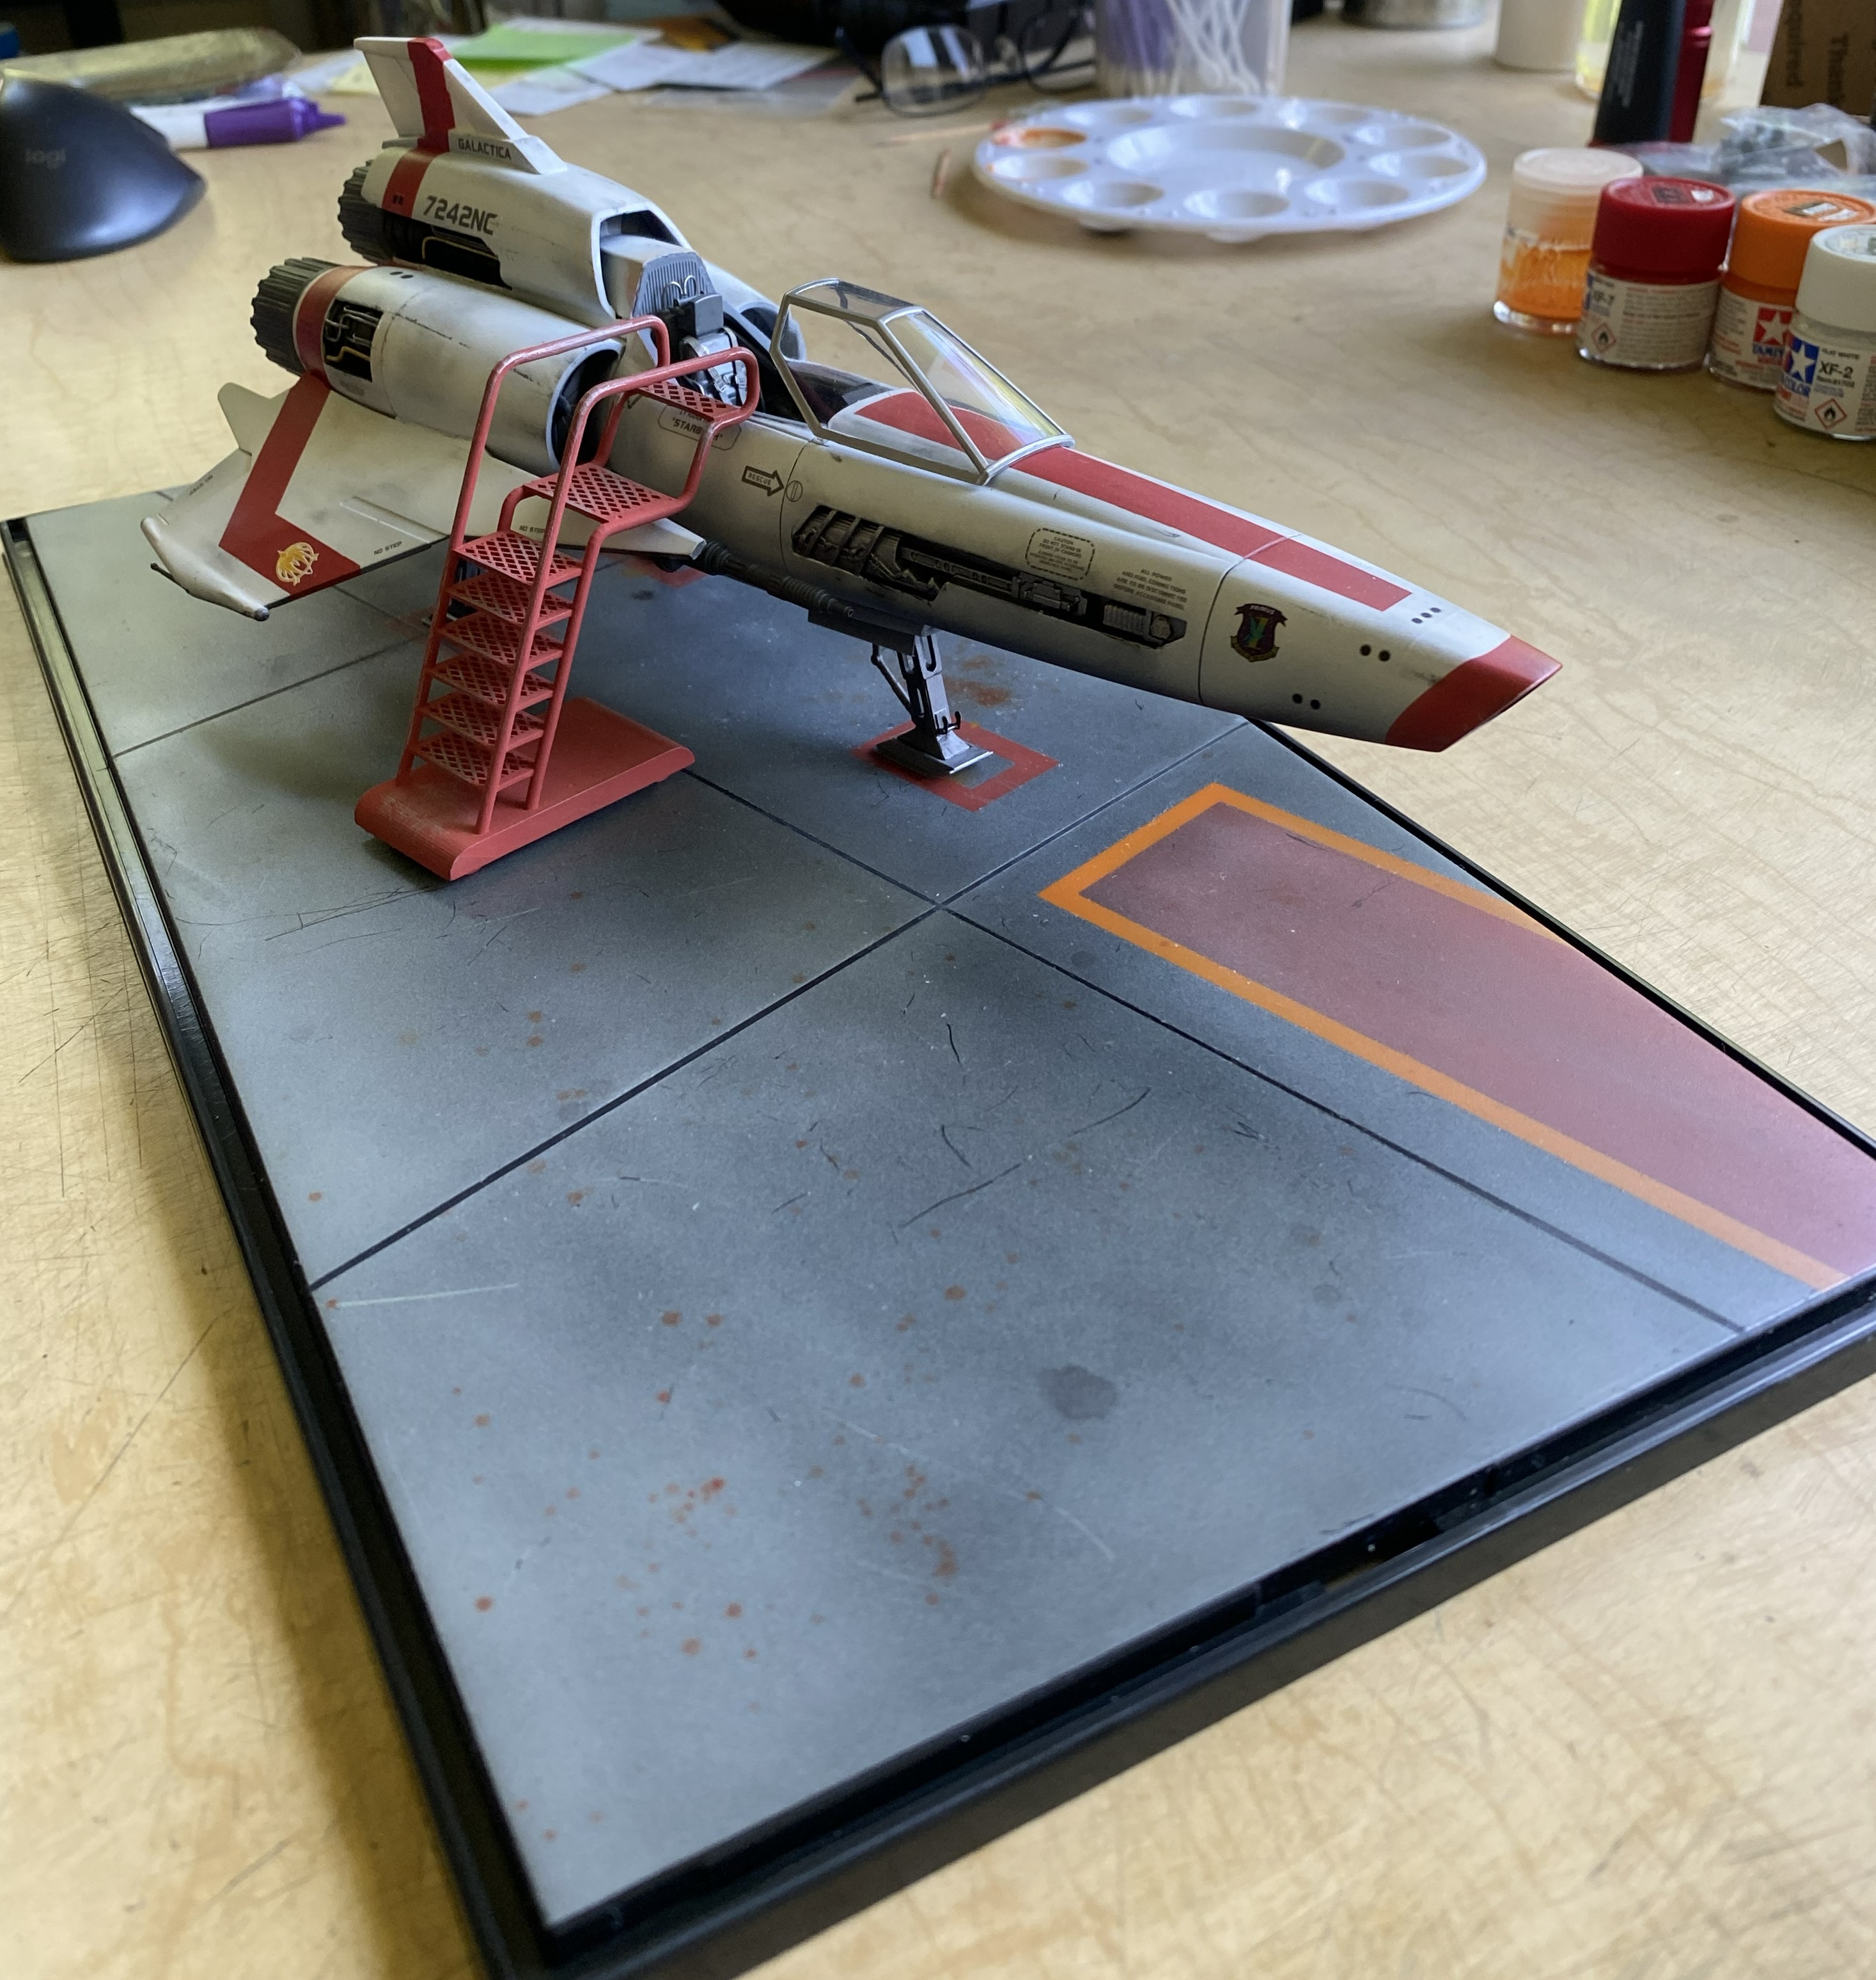
I like the stains and wear effects.
Next month I want to wear and stain the boarding ladder and then do the figure. I hate doing figures…
Build Order and Philosophy
I haven’t been building much due to medical reasons. Somehow I managed to get tendonitis in both thumbs. The left thumb has improved and the right thumb is taking its damned time about improving. Since the major windows in my shop face due east, every morning I sit in said shop with my coffee and consider that maybe today I’ll do something.
Nope.
I frequent (mostly troll, tbh) FB modeling groups. There are some really clever monkeys out there and I get some great ideas from them. When I feel as if Life is going well and there really aren’t that many problems I have to deal with daily, I go to the comments section and read, amongst all the clever monkeys, some really shortsighted questions. Since I am not ready to resume building at this point (hell…even typing hurts and I ain’t gonna be doing much more of it at one sitting), I thought that I’d address some of the more common questions. I’ll start by stating something I cannot believe I need to say.
Whatever your modeling question, start with an online search. I doubt that you’ll be the first person to have that problem and someone (frequently several someones) has the solution. YouTube is also a handy reference source regarding the sometimes-specialized method(s) to solve the problem and access other minds to better your skills.
Rarely does one problem have one solution. Find one (or invent one, you can do that as well, y’know) that works for you, makes sense to you, and gives you the results you want. It seems most modelers are looking to improve their skills. Excellent. That’s motivation enough to face the big monster: The Unknown. ::eerie Theremin on soundtrack:: I think the most effective manner to build the skill-base is starting a kit you don’t know how to finish…and then working on it until it is. Somewhere along the line you’ll have to face the “problem” and solve it to get it completed.
What’s a good starter kit? Whatever catches your attention. Whatever you like. It doesn’t matter. Your desire, desire, will be the fuel that will get you past the problems that are waiting for you in the kit. Problem solving is a very useful skill in this hobby. Speaking of problems…
None of us are born with many skills. By the time we check out, we have many skills (some of which are actually useful). Those skills are created by figuring a way around a problem. This starts with simply looking at what’s there in front of you. Don’t assume anything (starting with the assumption that you can’t do it). Look at what you’ve got. Identify the problem. Just that will frequently show you what you have to do if you want to fix it. If you believe you can’t do it, then congratulations…you’re now correct. Not one of the builds you see that impress you built themselves. Someone had to figure it all out. If they can do it, demonstrating clearly that it’s possible, why can’t you? It’s only a plastic kit and if you totally bitch it up, box the kit back up, put it on the parts shelf (shelves), and buy another one. Start again. Of course you still don’t know what to do, but you now know what not to do. That’s the process of improving. Learning by experience.
Another question that’s oft asked, “Am I supposed to paint the parts on the trees, and if so, how do I handle them?”
Let’s start with the fact that there’s rarely any “supposed to” in this hobby. Unless you’re a builder who does commission work, all of this hobby (which may not apply when the hobby becomes a business…and since I don’t do commission work, this virgin won’t hypothesize about sex) is about what’s acceptable to you. You’re spending your money and spending your time on it. If you’re pleased with your effort(s), who fornicating cares what someone who doesn’t have any notion as to the effort you put into was thinks about it? What…they have none of their own business to attend to?
When starting a build, after that mystic moment when the box is opened for the first time, pull out the instructions. Sometimes they’re good, sometimes they’re not, and sometimes they suck ass (not in the, I suppose, “good” way). This is where I do most of my skull-sweat.
I start by going online and searching the original of the kit I’m considering building. Sometimes I’ll build it the way it was produced OOB (Out Of Box). Sometimes the kit is just the basic start point for a metric butt-load of additions and corrections. (Lemme restate that. For me, delete the “sometimes” at the beginning of that sentence.) This is the place to think, compare, decide, ruminate, and then commit to the version you’re going to build, OOB, mostly scratchbuilt, or any variation between extremes. Make notes on the directions in pencil because it’s not unlikely that at some point during the build you’ll change your mind, figure out a different way to do it, or realize that you don’t need to do it because NObody will see it once the build is completed.
I rarely either work or paint something that’s still attached to the sprue. That’s a personal preference, not a Kosmik Law. Sometimes on very small parts, I’ll leave them attached to the sprue while I take down (or fill in) the defects and parting lines of the piece I’m working on because it’s nice for old hands (and tendonitis) to have a handle on the part being worked. Last step is removal and cleanup. This supports my building style. I build from the inside out in subassemblies. Sometimes the subassemblies will be painted before permanent attachment to the model and sometimes they won’t. I attempt to minimize duplicated effort(s). It’s style, not requirement. You’ll figure out your own method if you keep trying new things. Sure, sometimes it doesn’t work. Sometimes it’s a charm. Sometimes you’ll apply a proven method that worked like a charm and it’s simply not. Put it down, look at it, think about what you tried versus what you’d gotten. It’s more likely that you’ll find a solution if you look for one.
What do I have to do to win a contest? Well, my first response to that is, “Grow up.” If there are 20 models in the class you’re entering your Magnum Opus in, right off the blocks the odds are 19-1 against winning. What organization is sponsoring the contest/show? Sanctioning bodies have different requirements. I have no evidence that will mean squat to you, but I entered several IPMS shows to see what, in FACT, the judges were using as criteria. Here’s what I’ve taken away from those events.
It’s gotta be a clean build. No seams, fingerprints, or sloppiness in general. It’s my opinion that the IPMS wants clean builds. Weathering and wear are not your friends at an IPMS show. The consensus seems to be that weathering hides flaws. (No, not a bullshit hole I care to go down.) I’ve not done an AMPS-sponsored event and cannot speak to their judging criteria. I don’t build “clean.” I prefer worn and dirty (kinda like my wimmen). In case the subtext isn’t obvious, I build for me, not judges. I went to shows, and may go to others, because of a couple of reasons. The primary being the knowledge that I’m not the craziest bastid in the room. And then there are some simply amazing examples of what modeling can be and I love seeing them on display.
Is an airbrush worth it? Definitely. Is a double-action airbrush worth it? Depends. It seems that most people use them. I’m not one of them. I use a single-action airbrush (Badger 200 if that matters to you). I can do almost everything I want with it without ever feeling, “Gee…if only I had a double-action airbrush.” Not once. (For the instances that happen outside of “almost,” I use a brush.) I prefer the single-action because it’s a simpler machine. I have HORRIBLE color-vision. Seeing delicate shades of color are almost impossible for me. Knowing that, I clean the airbrush after each use. I know I won’t see color contamination so I make certain that there will be no color at all in the airbrush left from previous passes. Single-action airbrushes clean much faster.
How do I clean up a clear part that I got glue on? Sand and polish, assuming that you don’t vacuum-mold parts. Fix or replace are the only options (aside from not getting the glue on there to begin with). If it’s bad, I’ll start with 200 grit until the deformation cause by the glue is gone. All subsequent steps are to remove the sanding striations from the previous pass. After 200, my steps are 320, 400, 600, 1200, 3000, and if I want a high gloss finish, I’ll also use 5000 and 8000 grit. Then I polish with Novus Plastic Polish. If there are any striations left that I miss, I’ve no problem going back to coarser grits to fix it. If you don’t fix what’s wrong, it stays wrong.
Do I have to remove paint from gluing surfaces? Yeah. You do. Solvent-based adhesives will move acrylic paint out of its way. Superglue and UV-setting resin will not. So for two out of three (and there are even more adhesives than that) the answer is a solid yeah. You do.
How do I remove chrome from parts without damaging the part? Bleach. Bleach will go bad so if you go this route, buy a quart sized bottle. Sometimes the “chrome” (in quotes because it’s not chrome, it’s aluminum and bleach will dissolve aluminum) has an undercoat that encourages the aluminum to plate easier. It ignores any solvent-based adhesive and will need to be scraped away. The problem is that you won’t know if the part has this undercoating or not until you try to glue it in place. I use a section of the sprue as a test. Snip off a section, drop it into a glass jar of bleach, and then try to glue it to itself. If it works, excellent. If it doesn’t, I scrape.
How do I remove paint? Depends on what you’re using. I rarely use anything but acrylic paint and for that, denatured alcohol works perfectly and doesn’t damage styrene. For lacquer and enamel good luck.
What do I clean my brushes, airbrush with? Same answer as above. Denatured alcohol.
Should I get a Dremel? What are you using it on? Plastic? Unless you’re extremely careful, you’ll melt the plastic with it because even the variable-speed motor tools spin too quickly.
What’s the best tool to sculpt small styrene parts? An dentist’s electrical drill, Buffalo #15 or #17. Pricey, though it’s profoundly useful and speed controlled so that you don’t have to melt plastic.
Where do you find the models you build? How can I tell which are good and which are not? Internet. I don’t buy a kit anymore (usually) until I look online for build reviews.
When was this model first produced? Is it a reboxing? Scalemates.com will give you a complete listing of the kit, initial release, subsequent re-releases, who reboxed it, and whatever accessories, references, and decals associated with the kit you’re researching.
Is 3D printing worth it? At my age? No. I’ve spent over 50 years developing skills that 3D printing obviate. Unless you’re an old fart (such as I) who doesn’t have time to learn Blender, etc., stick with what you know. Just starting in this hobby? Yep. Definitely.
And there are about as many questions as there are modelers. I’ve just hit the frequent fliers and all of the above is just my opinion. Your opinions should differ. Your questions are different.
In closing, I restate the notion that there are many modelers who do things differently from how I do them, probably as many that do things the same way. There’s no one answer, but if they were, it would be this:
I paid for the model, the tools, the paint, and all associated with it. I’ll build the way I choose to.
So. Go make choices!
 Scale Modeling Mania