So much of our Reality is formed within our skulls. In my skull in 2026 is that I have done fuck-all in the shop. In May, the coin came up heads and that informed me that I was “ready” to get back at it. May. One month. I thought. Well, once into the folders where I keep the raw photos before editing them, one of the things I do is start the name of a file with the year. My goodness, I was quite surprised that I had photos from March. I was very surprised that I had over a hundred of them total from the end of March through today.
So much for my connection to Reality (he says, surprising no one who knows him).
Moving on.
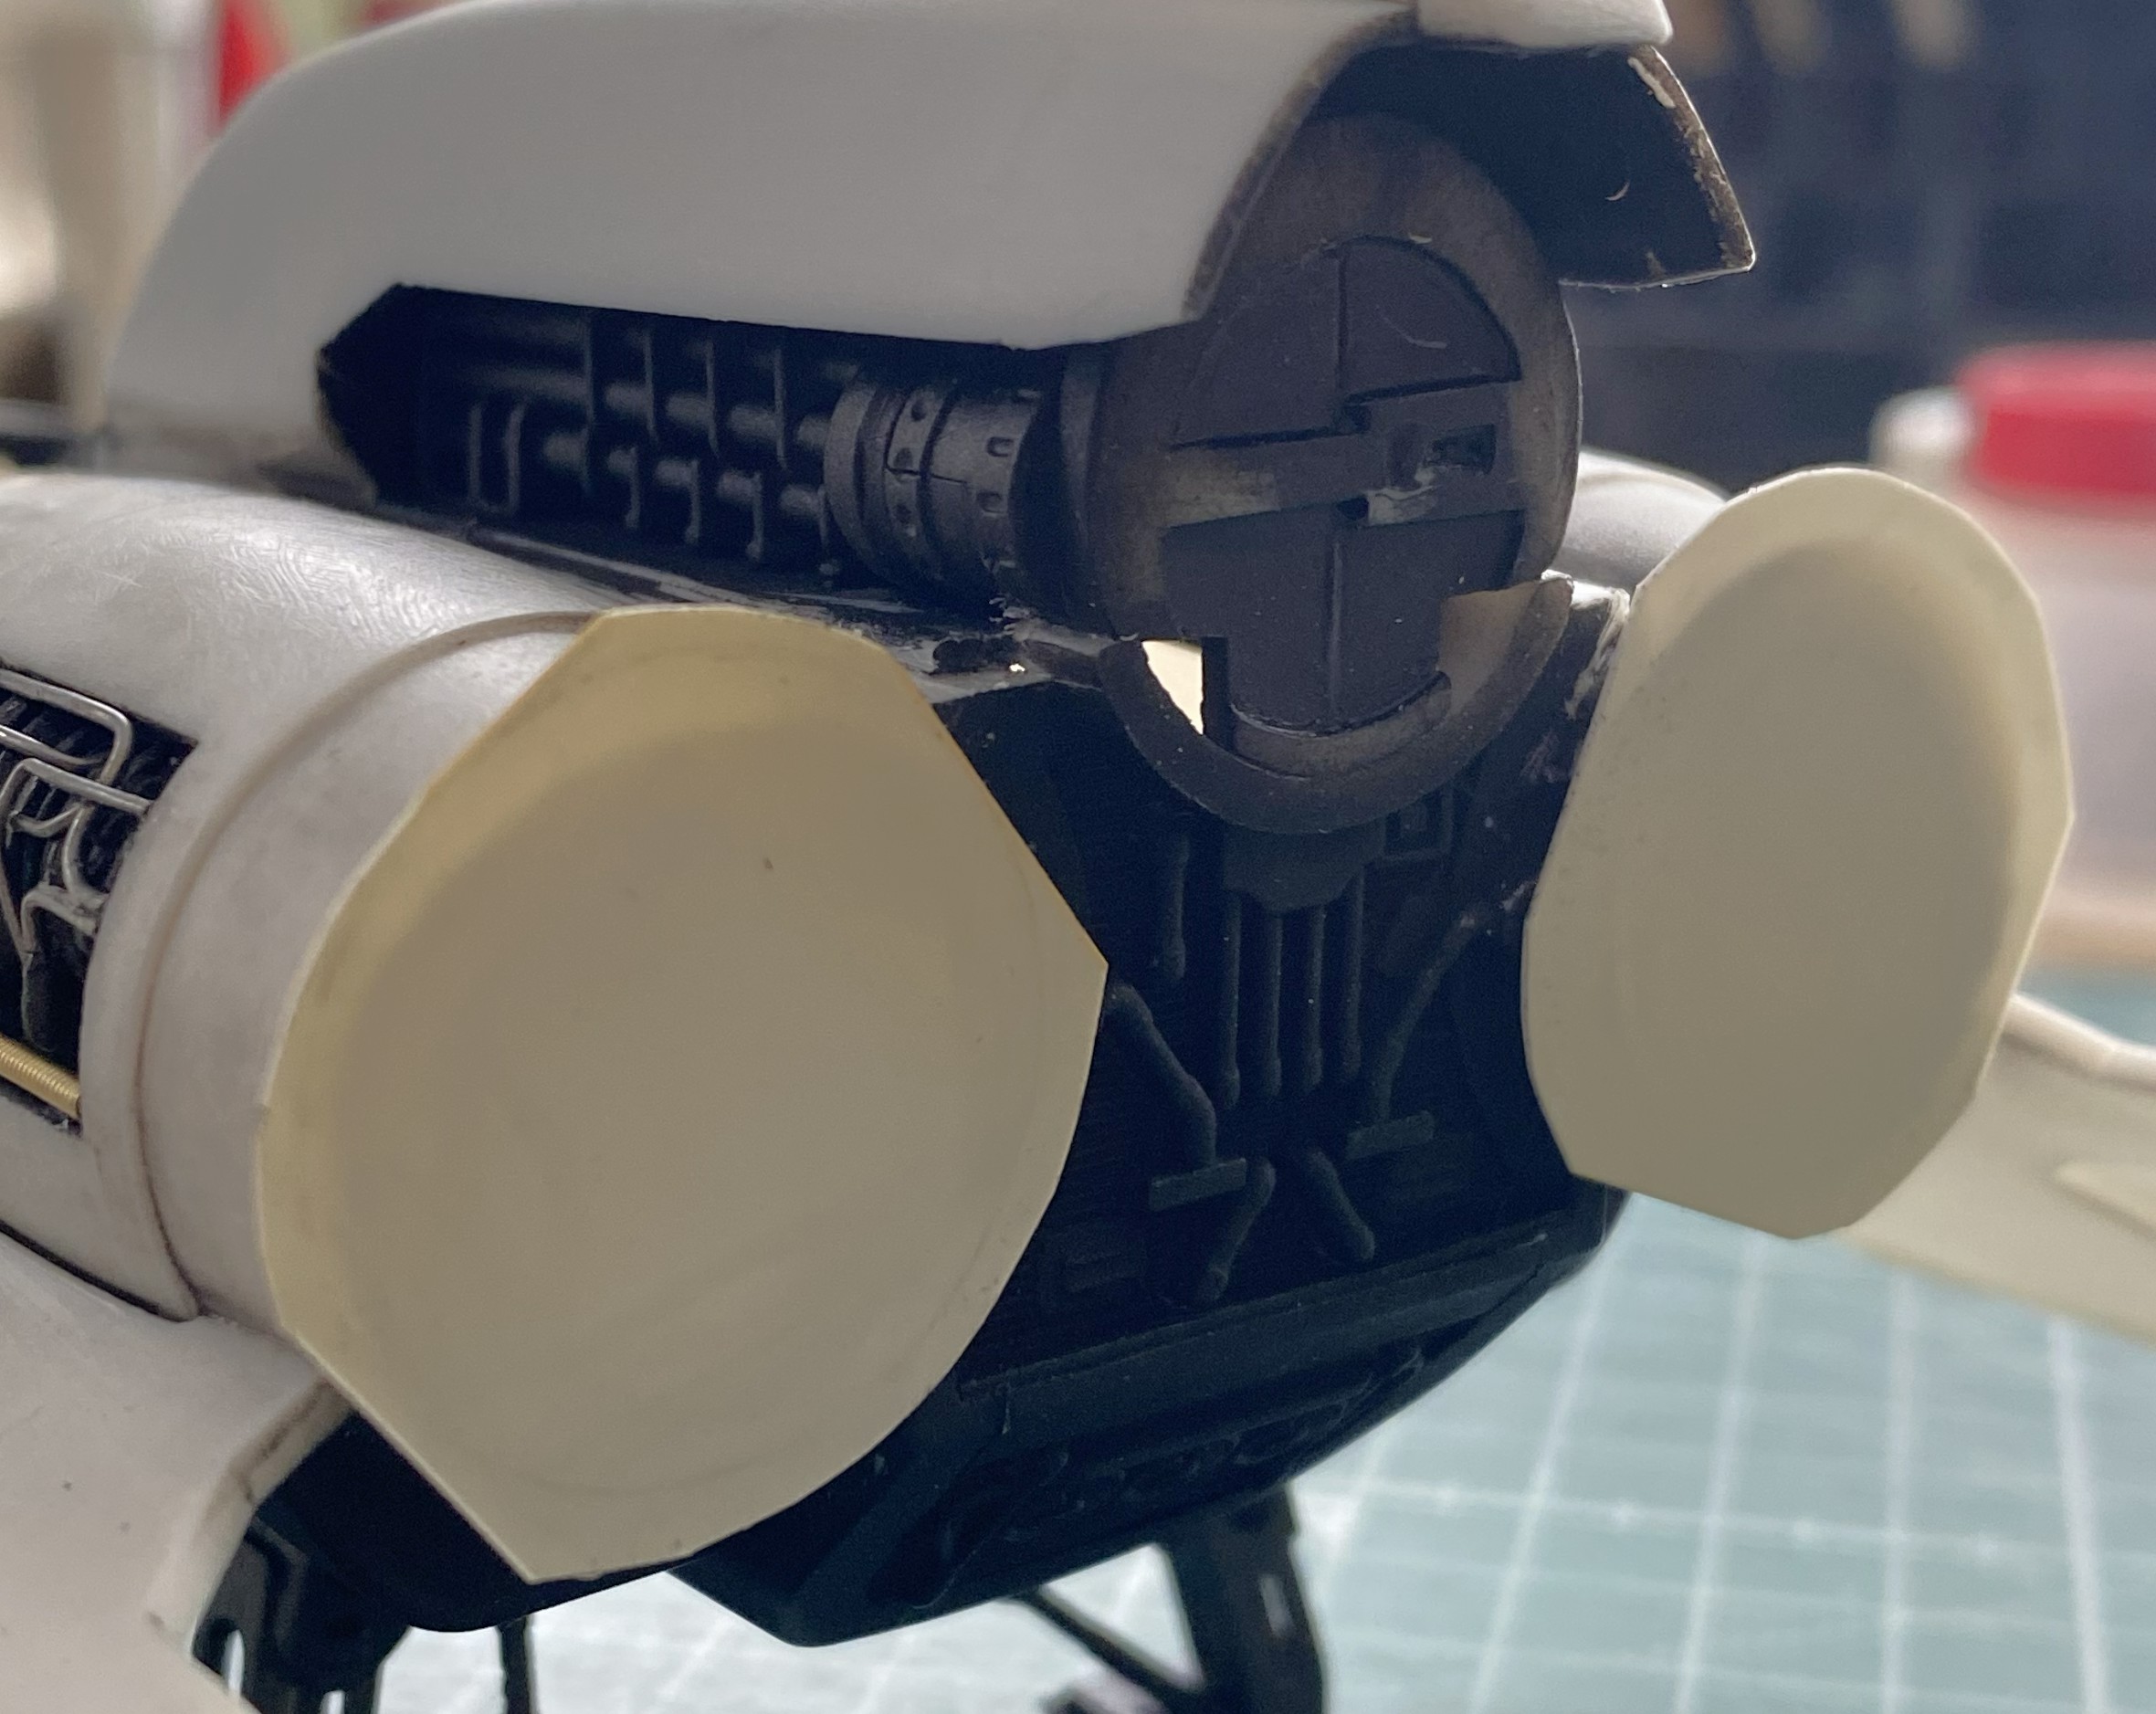
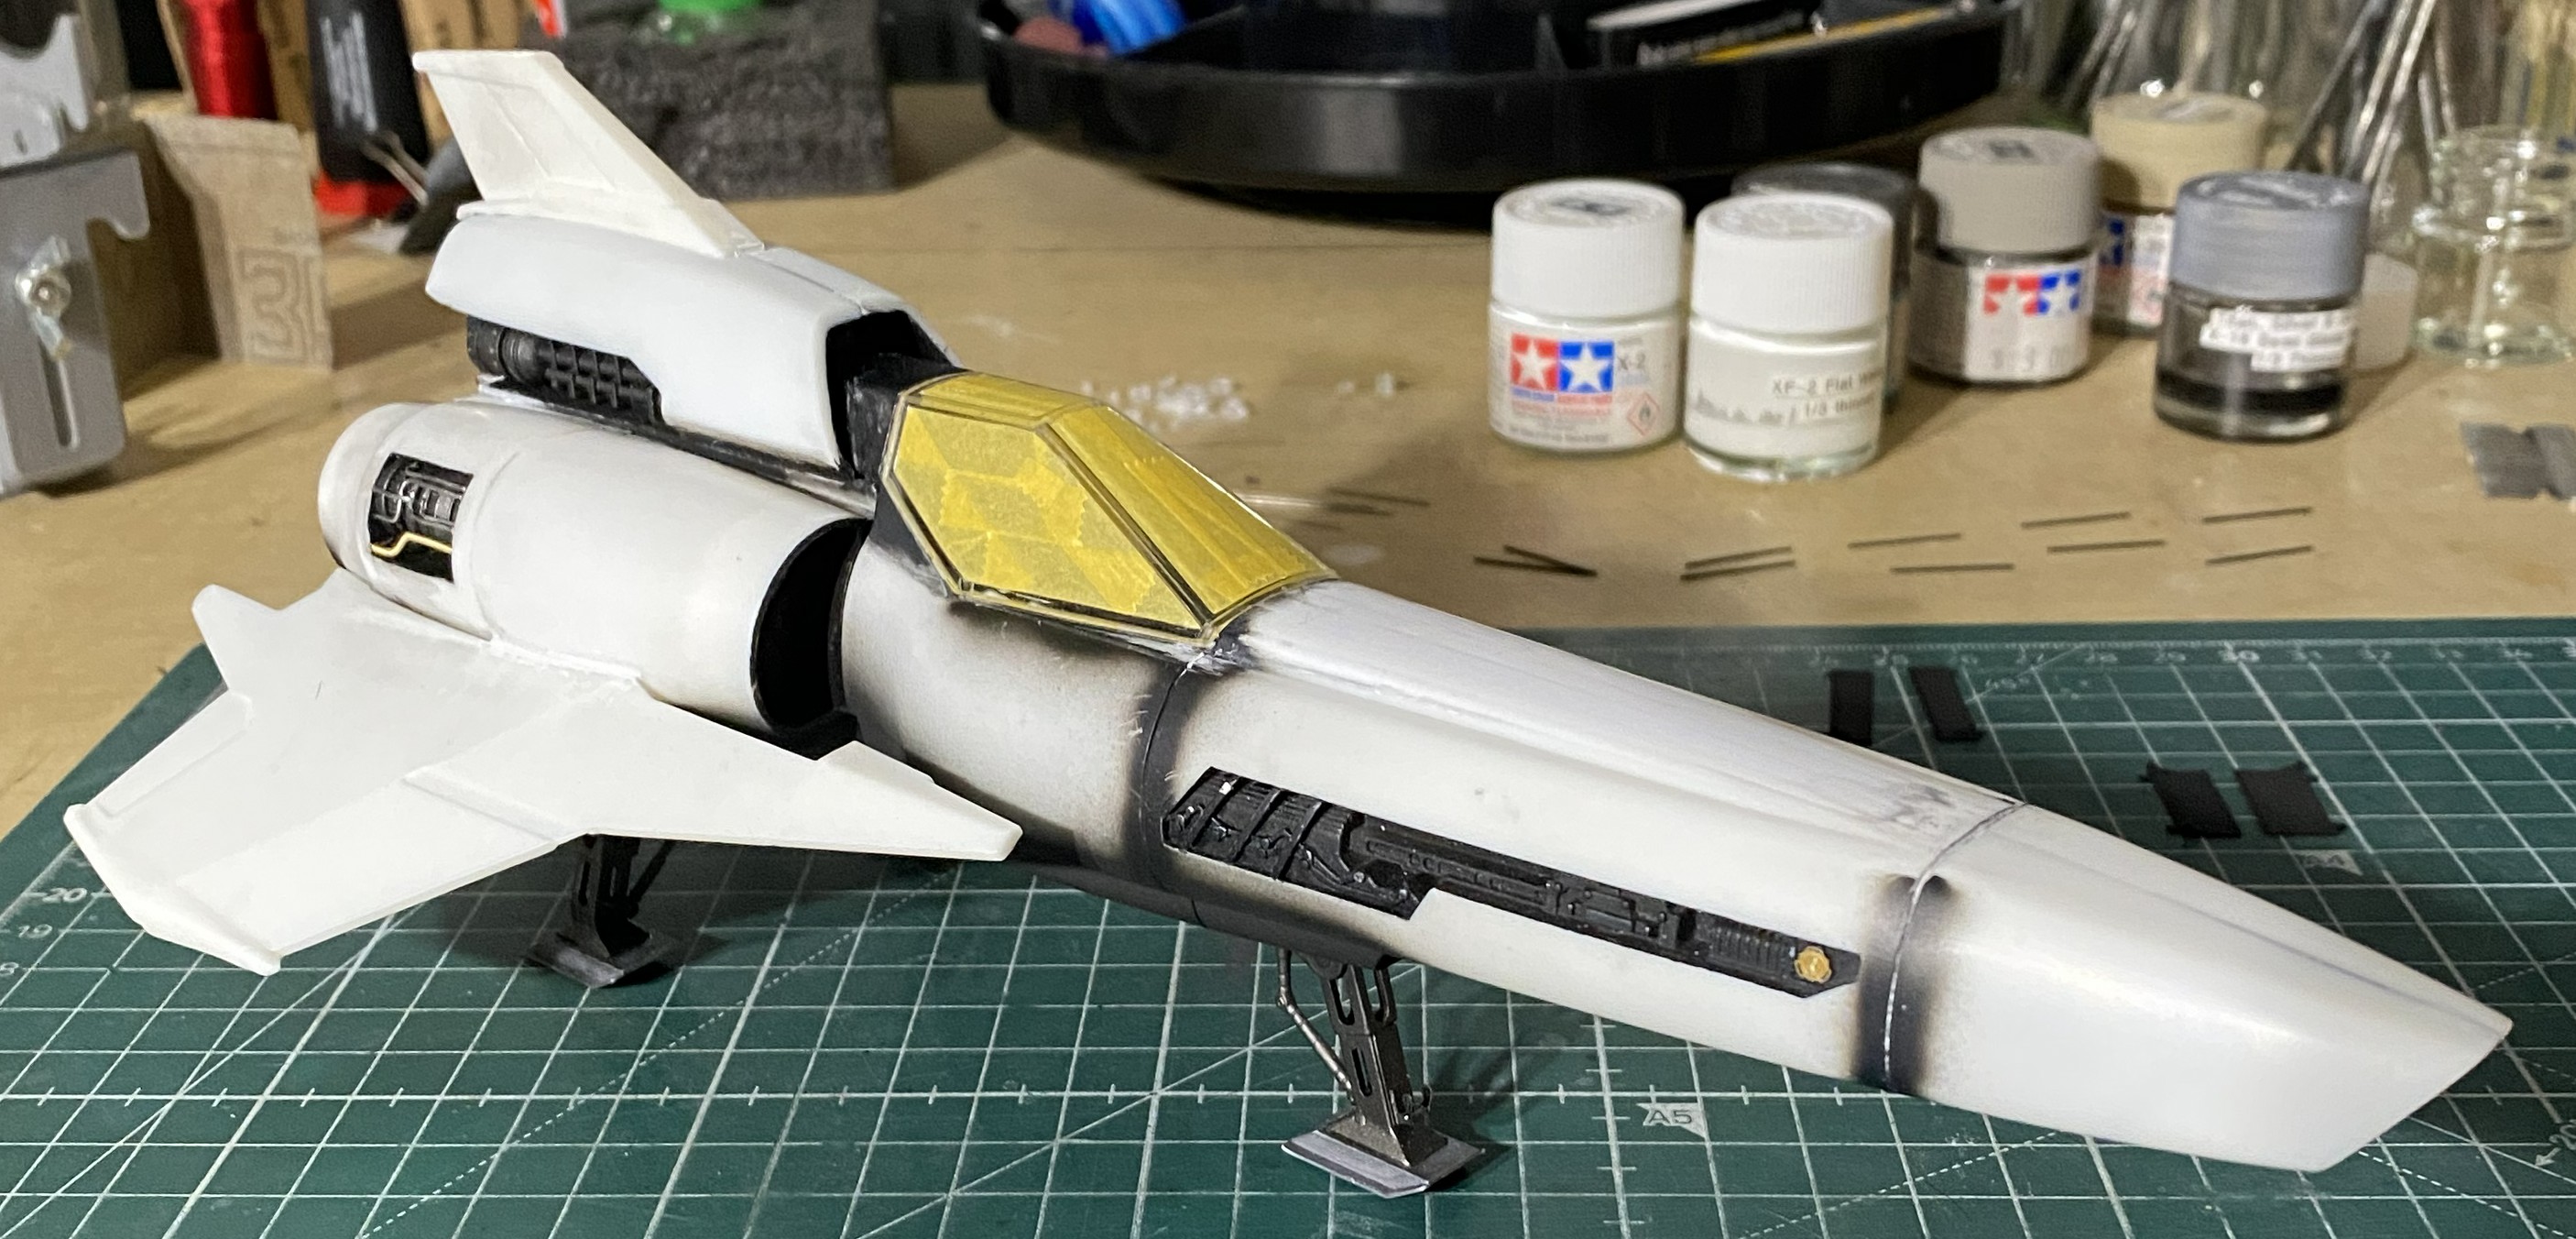
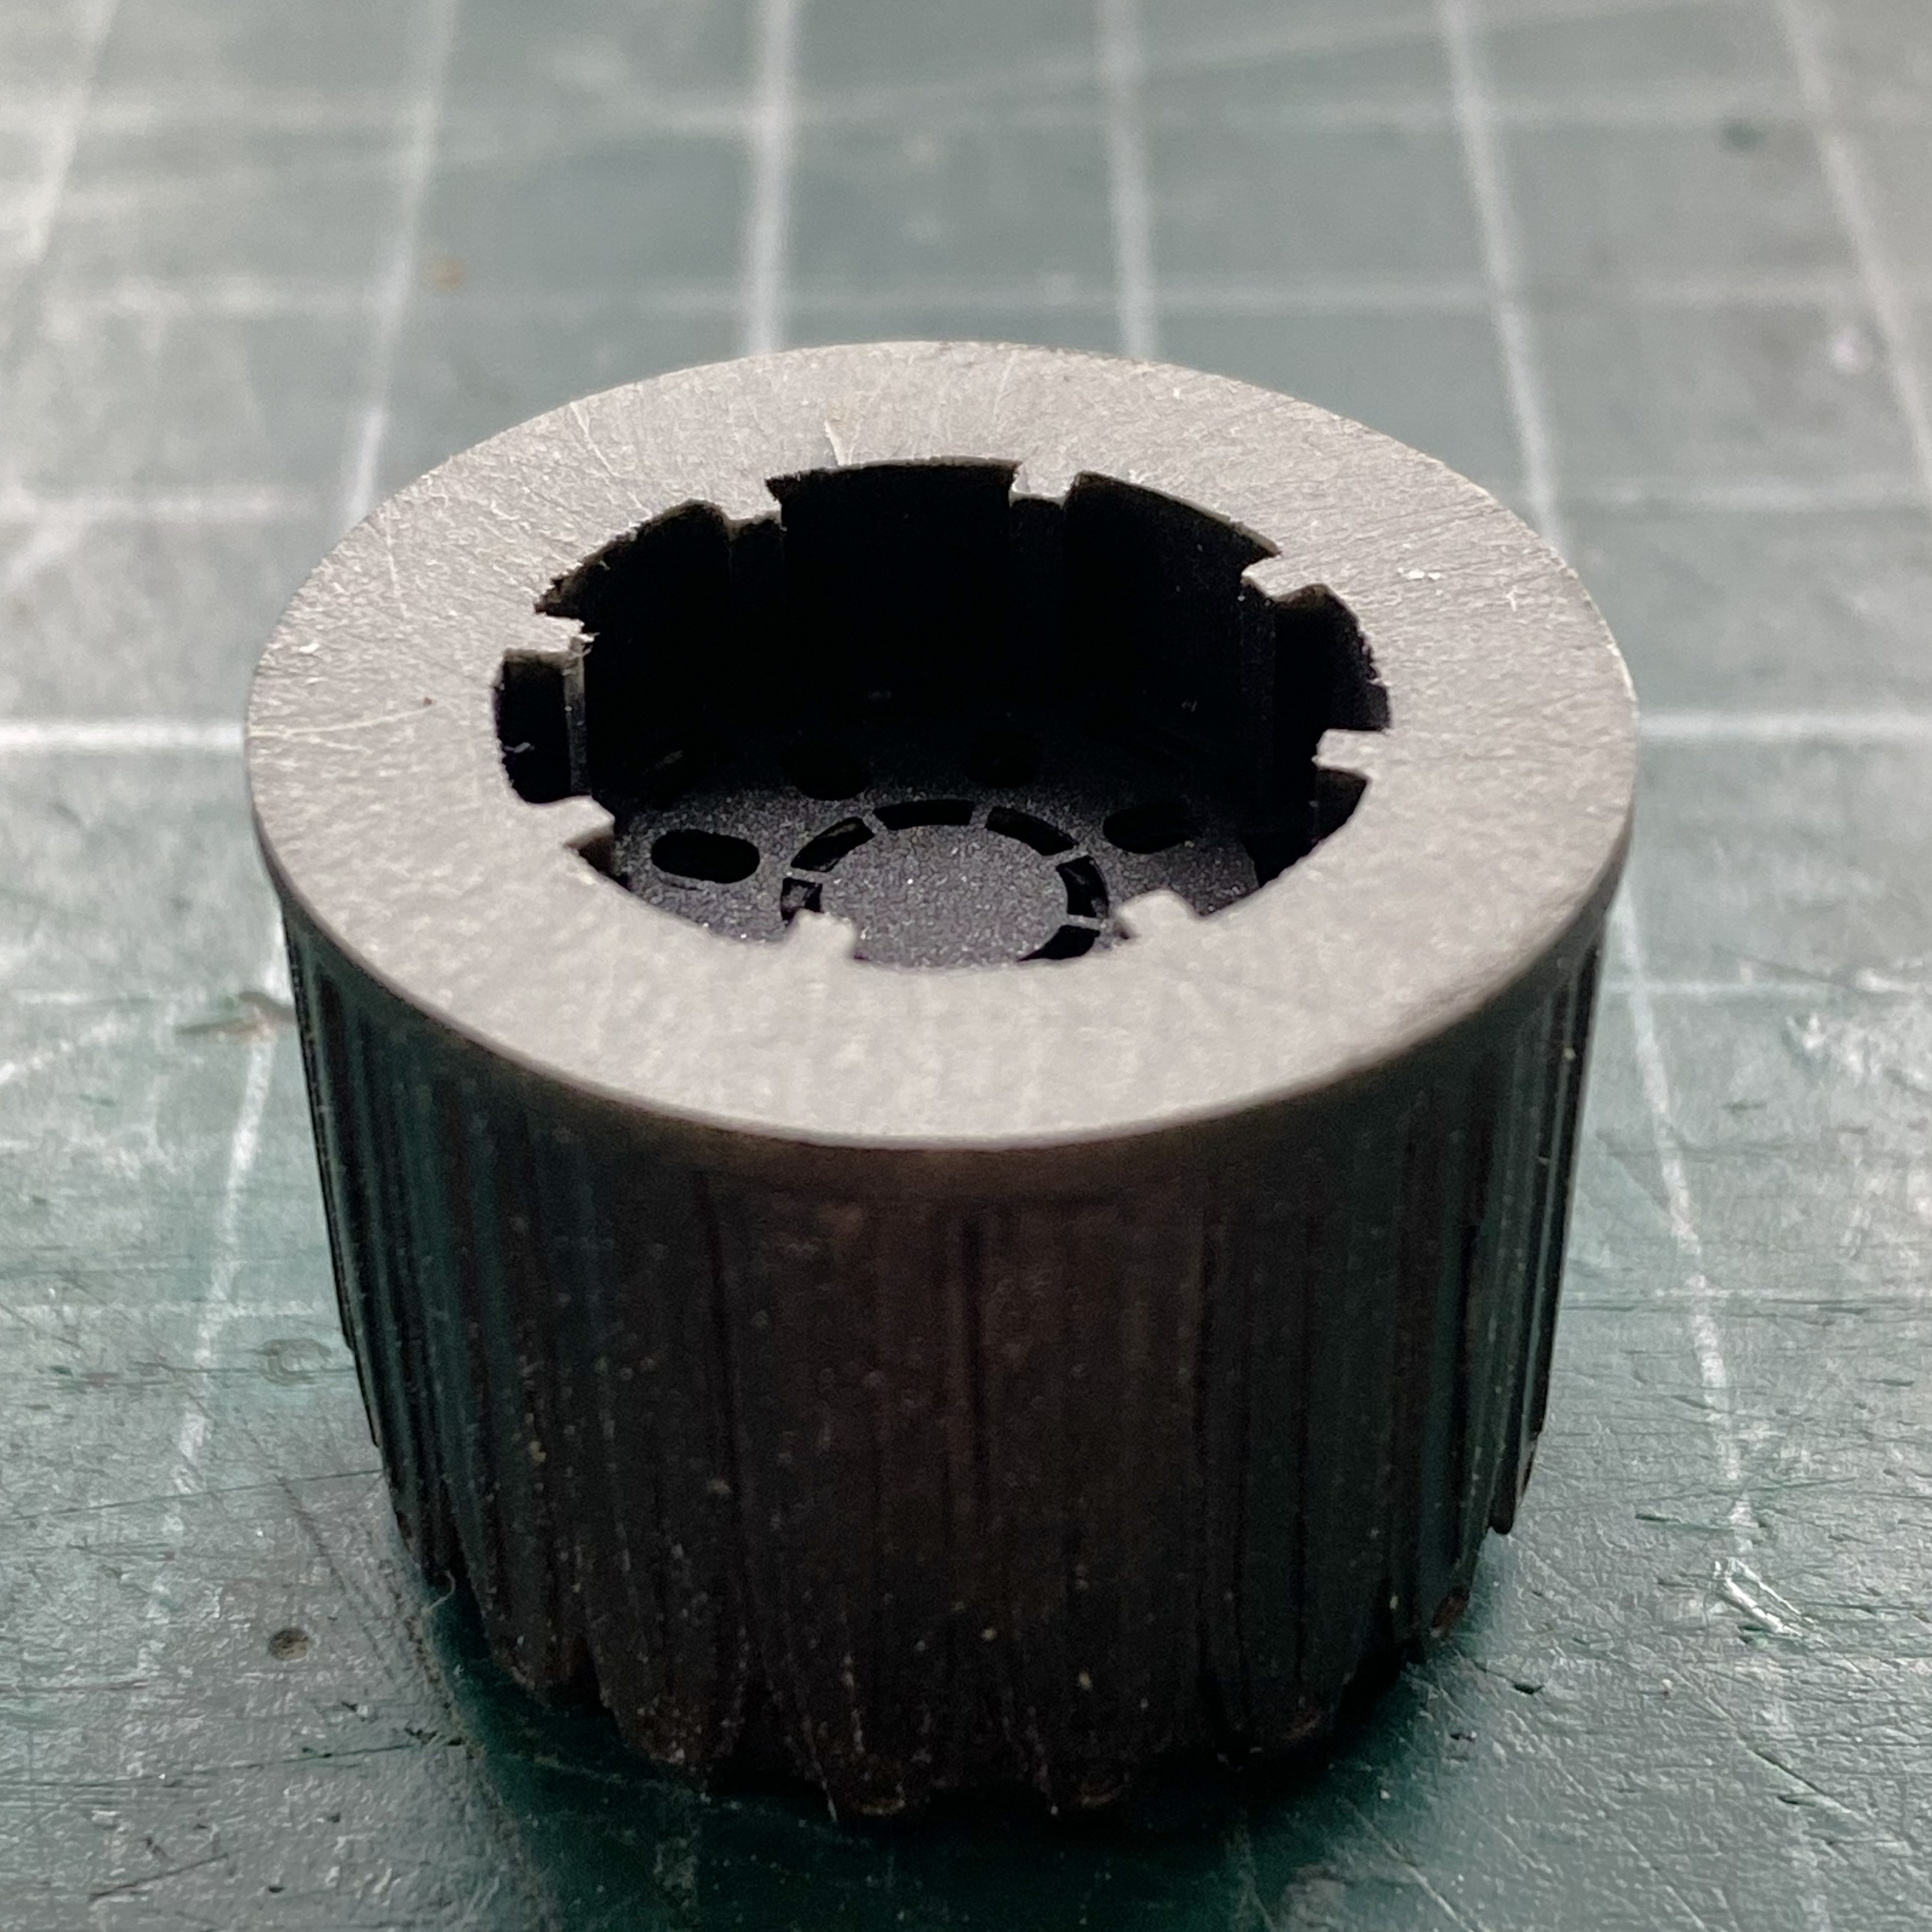
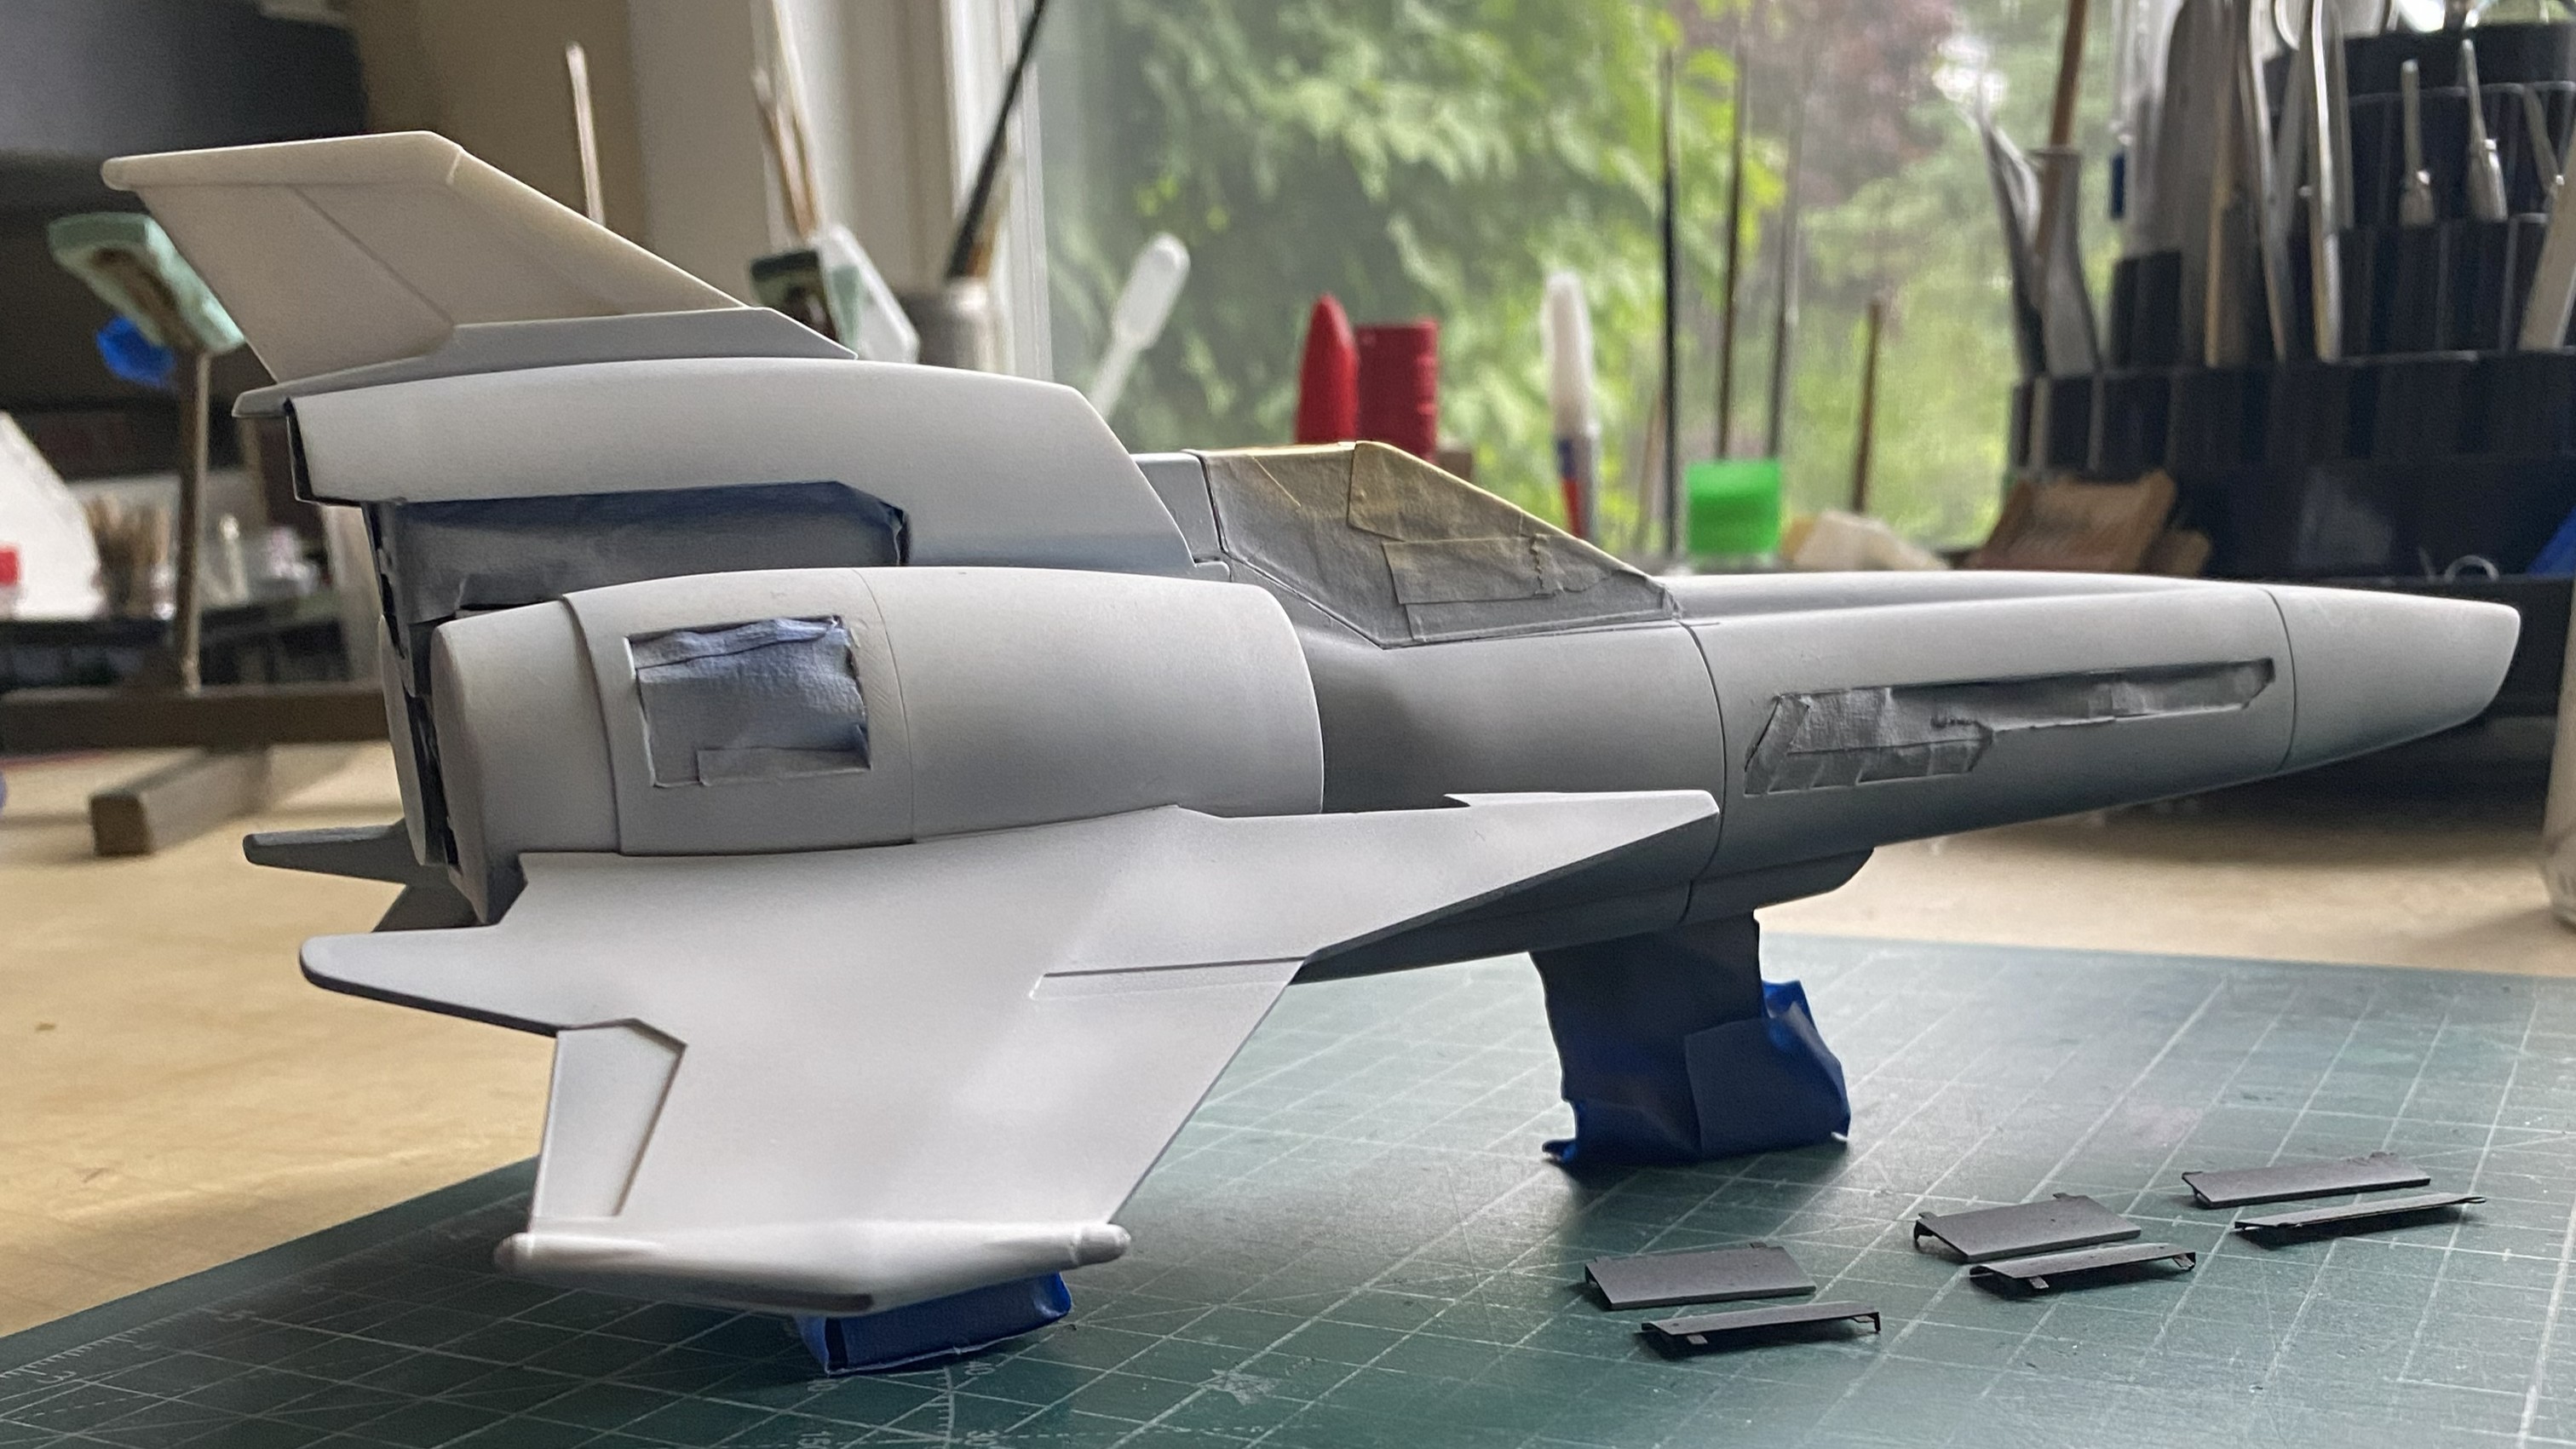
Having gotten the stern of the Viper ready for the AM nozzles, probably not a bad idea to get the nozzles ready for the stern. My initial thought was to add a disc of styrene to the back of these resin nozzles. Doing so would allow me more time to get the alignment correct if it was Tamiya Extra Thin I had to deal with rather than CA:
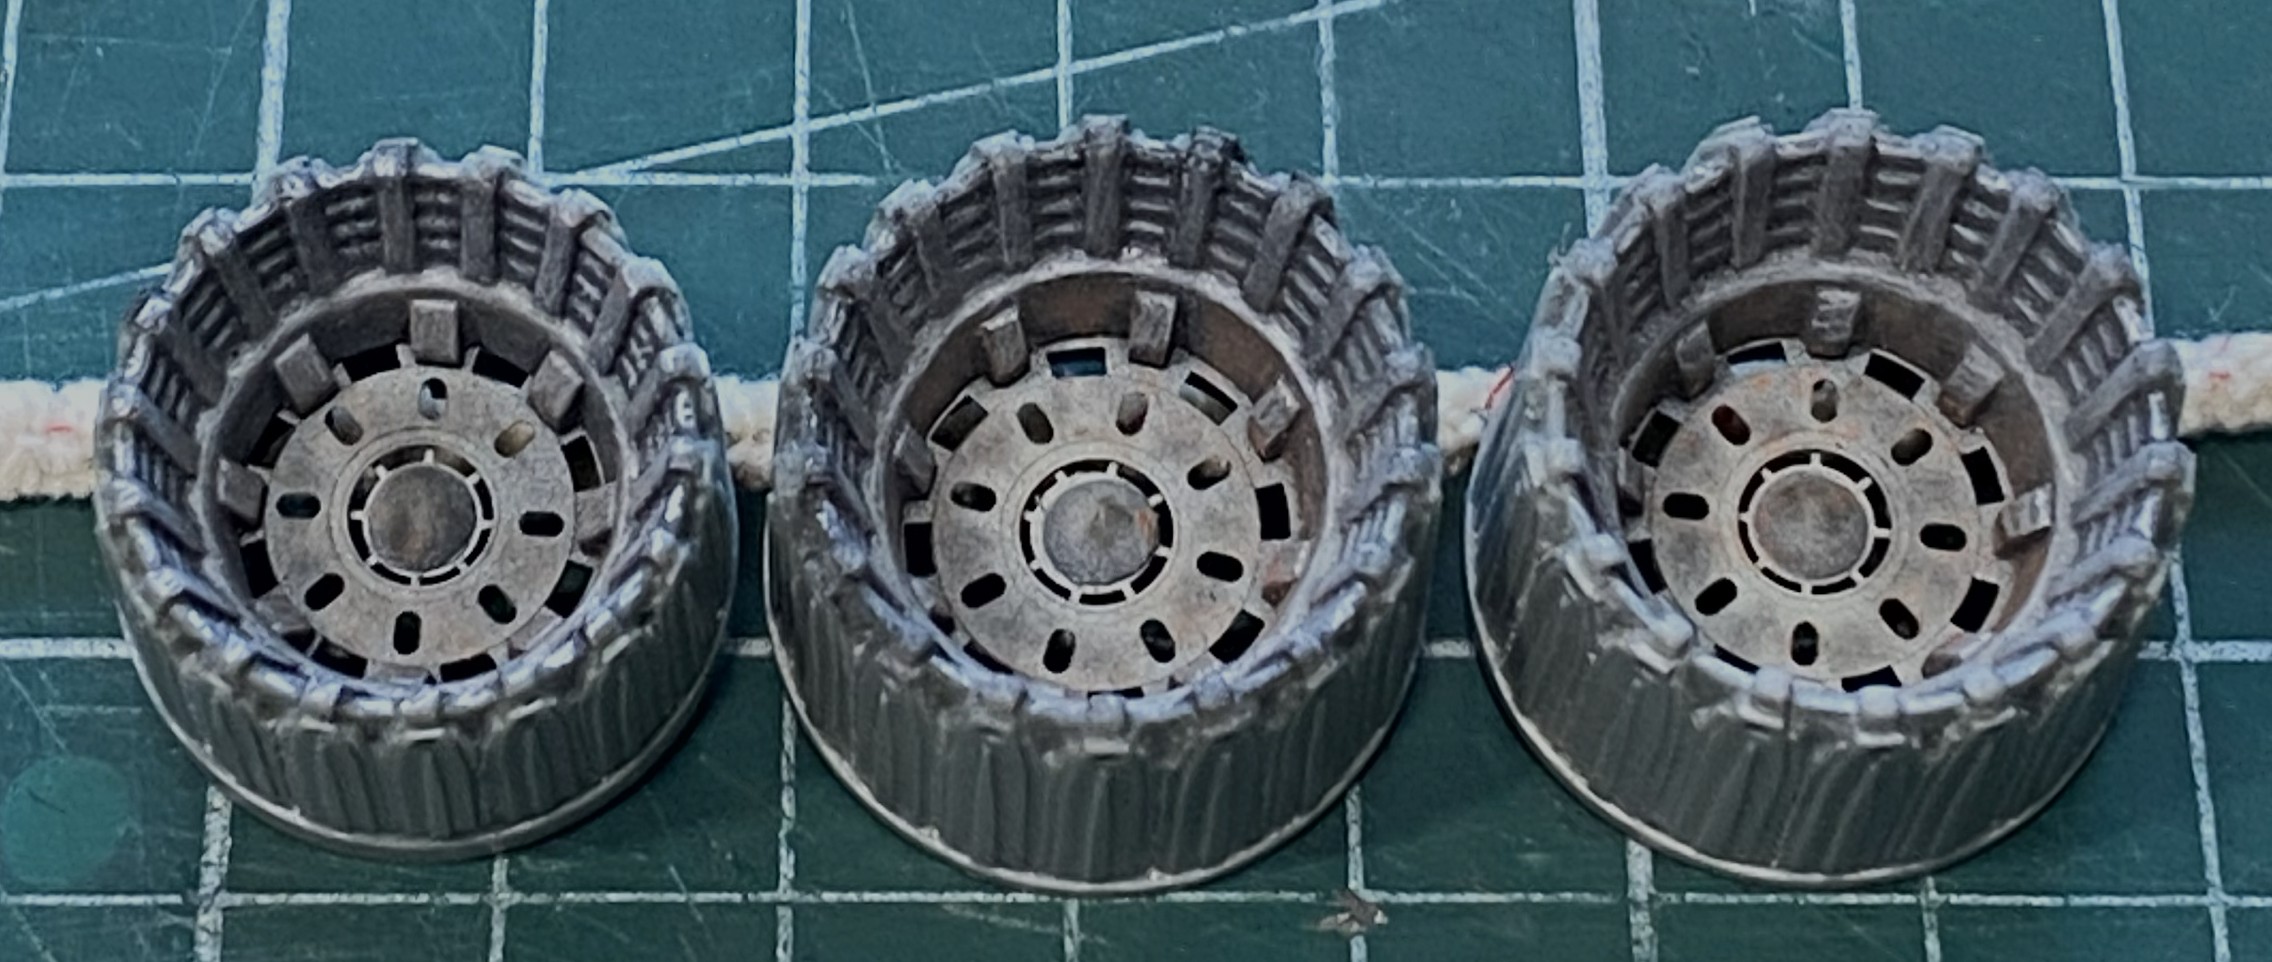
As it turned out later, this was the latest example of me being too clever for my Reality.
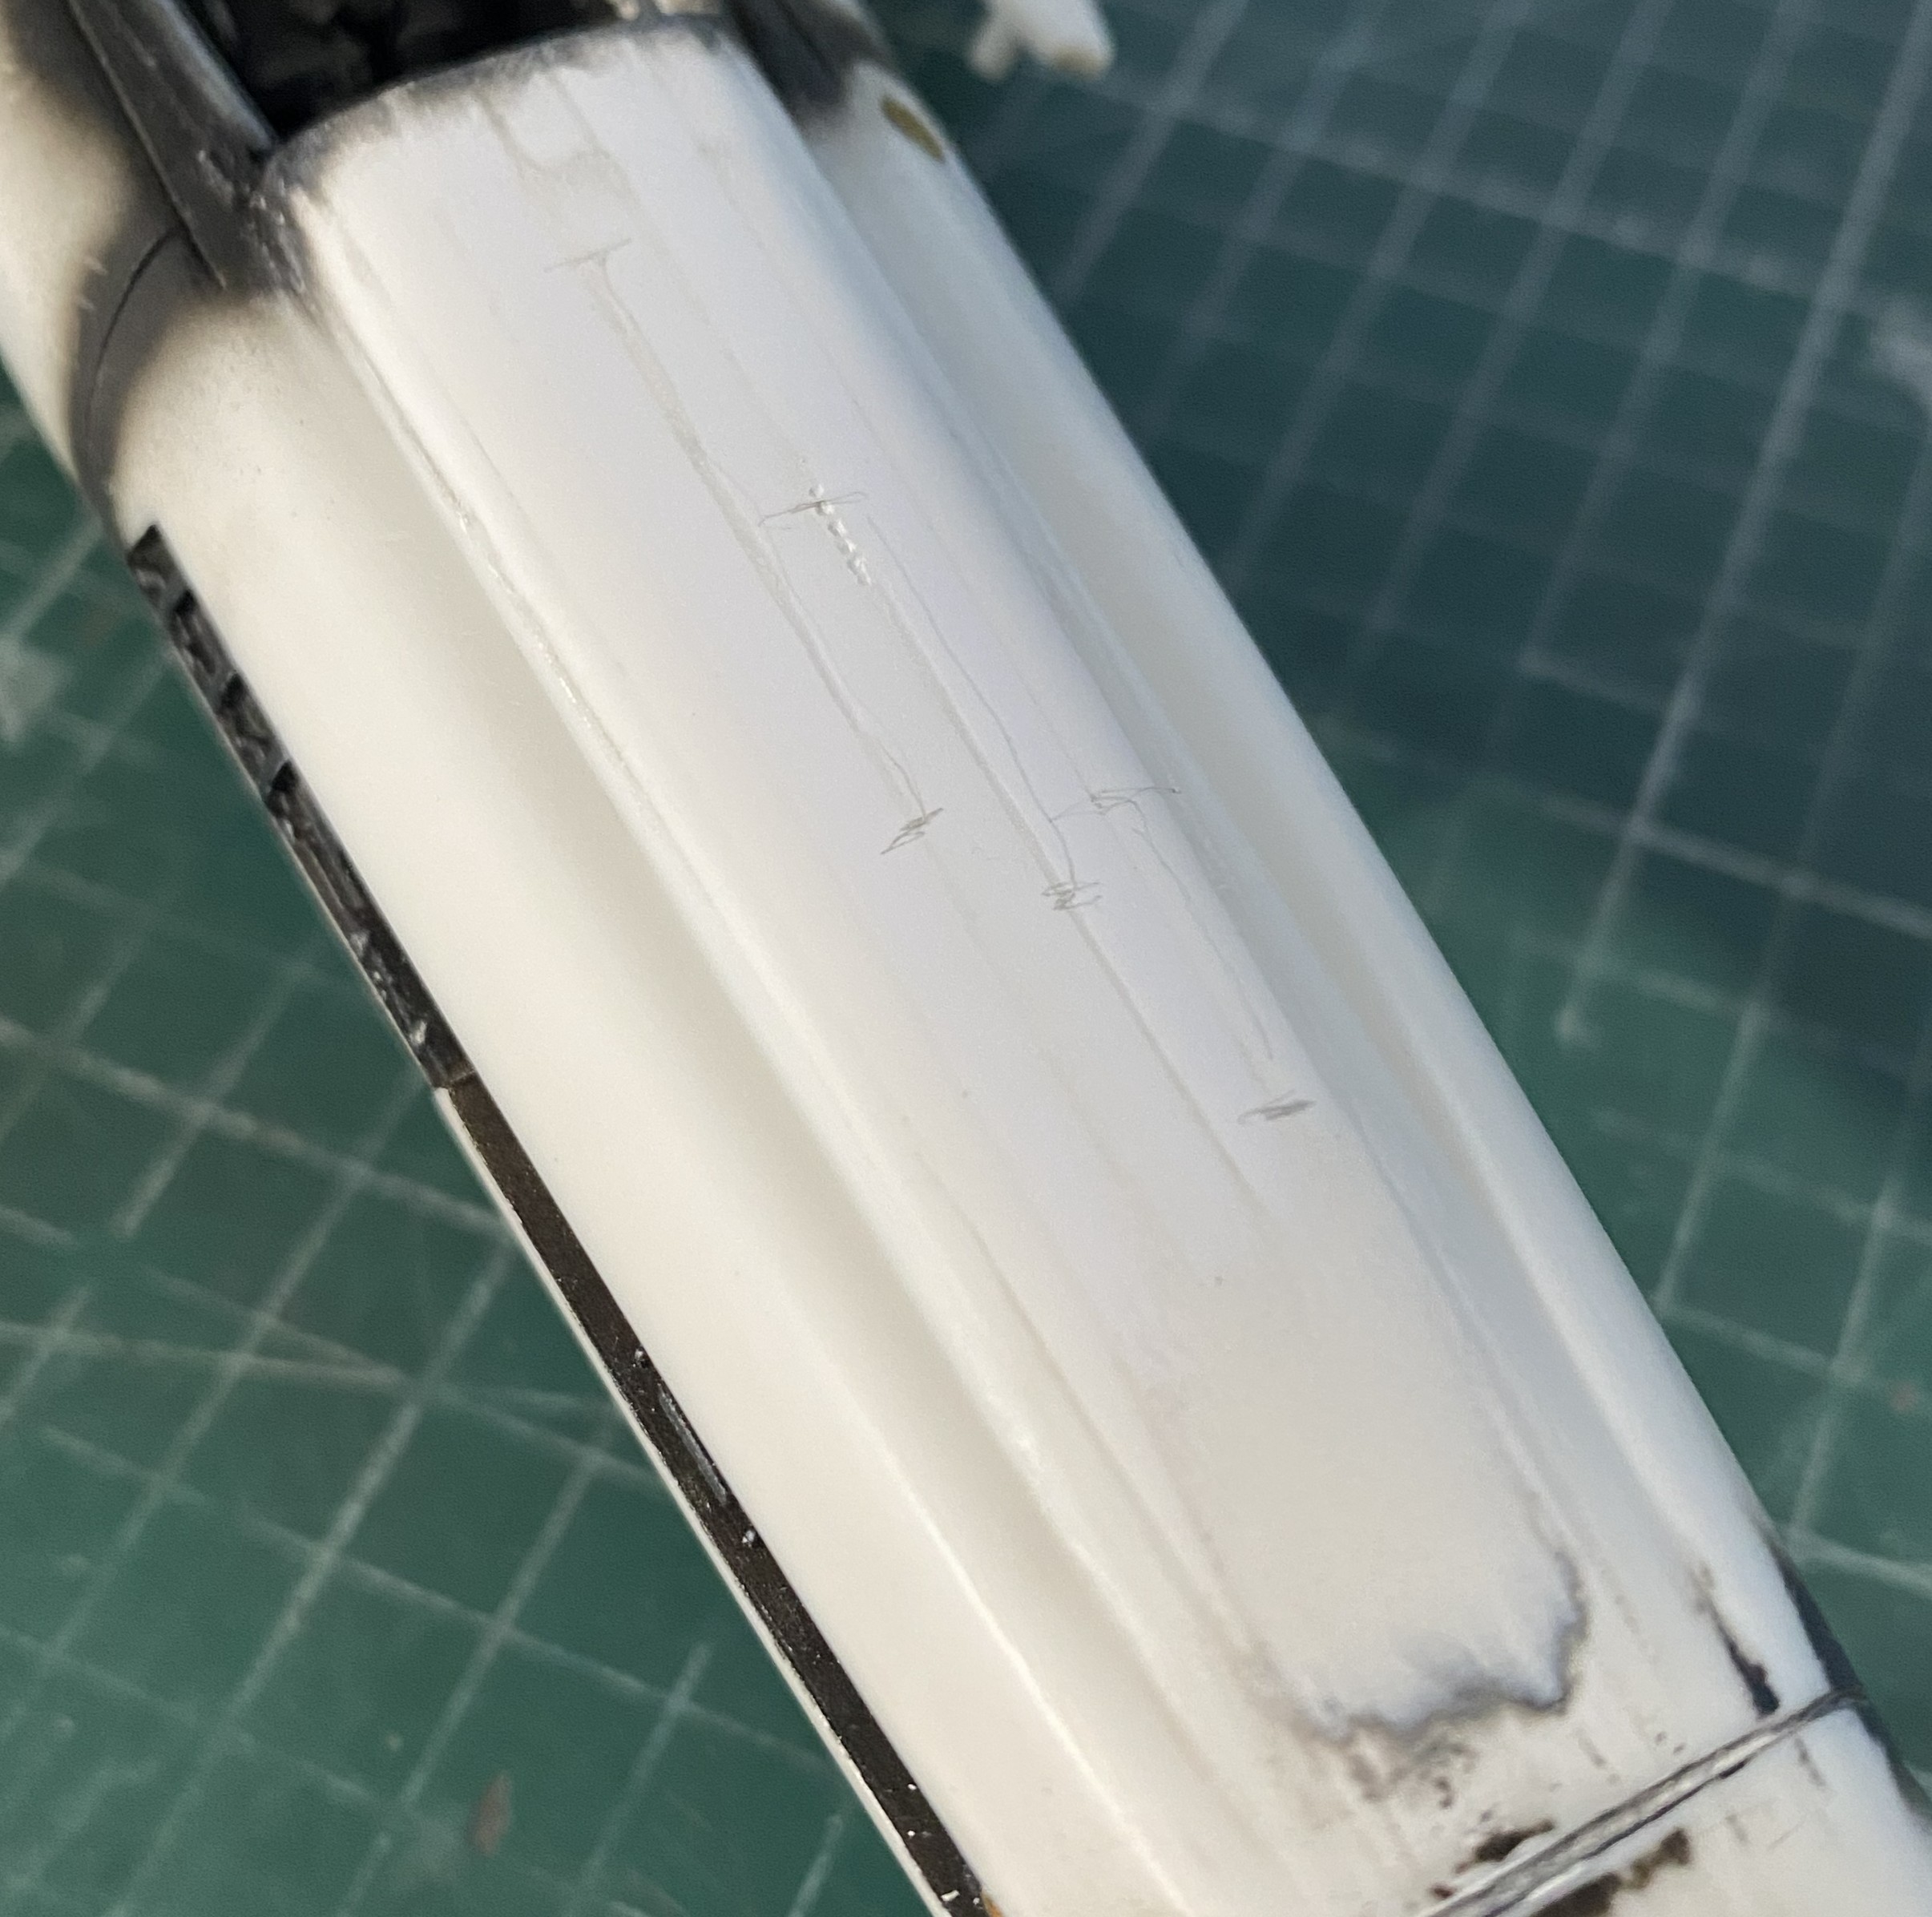
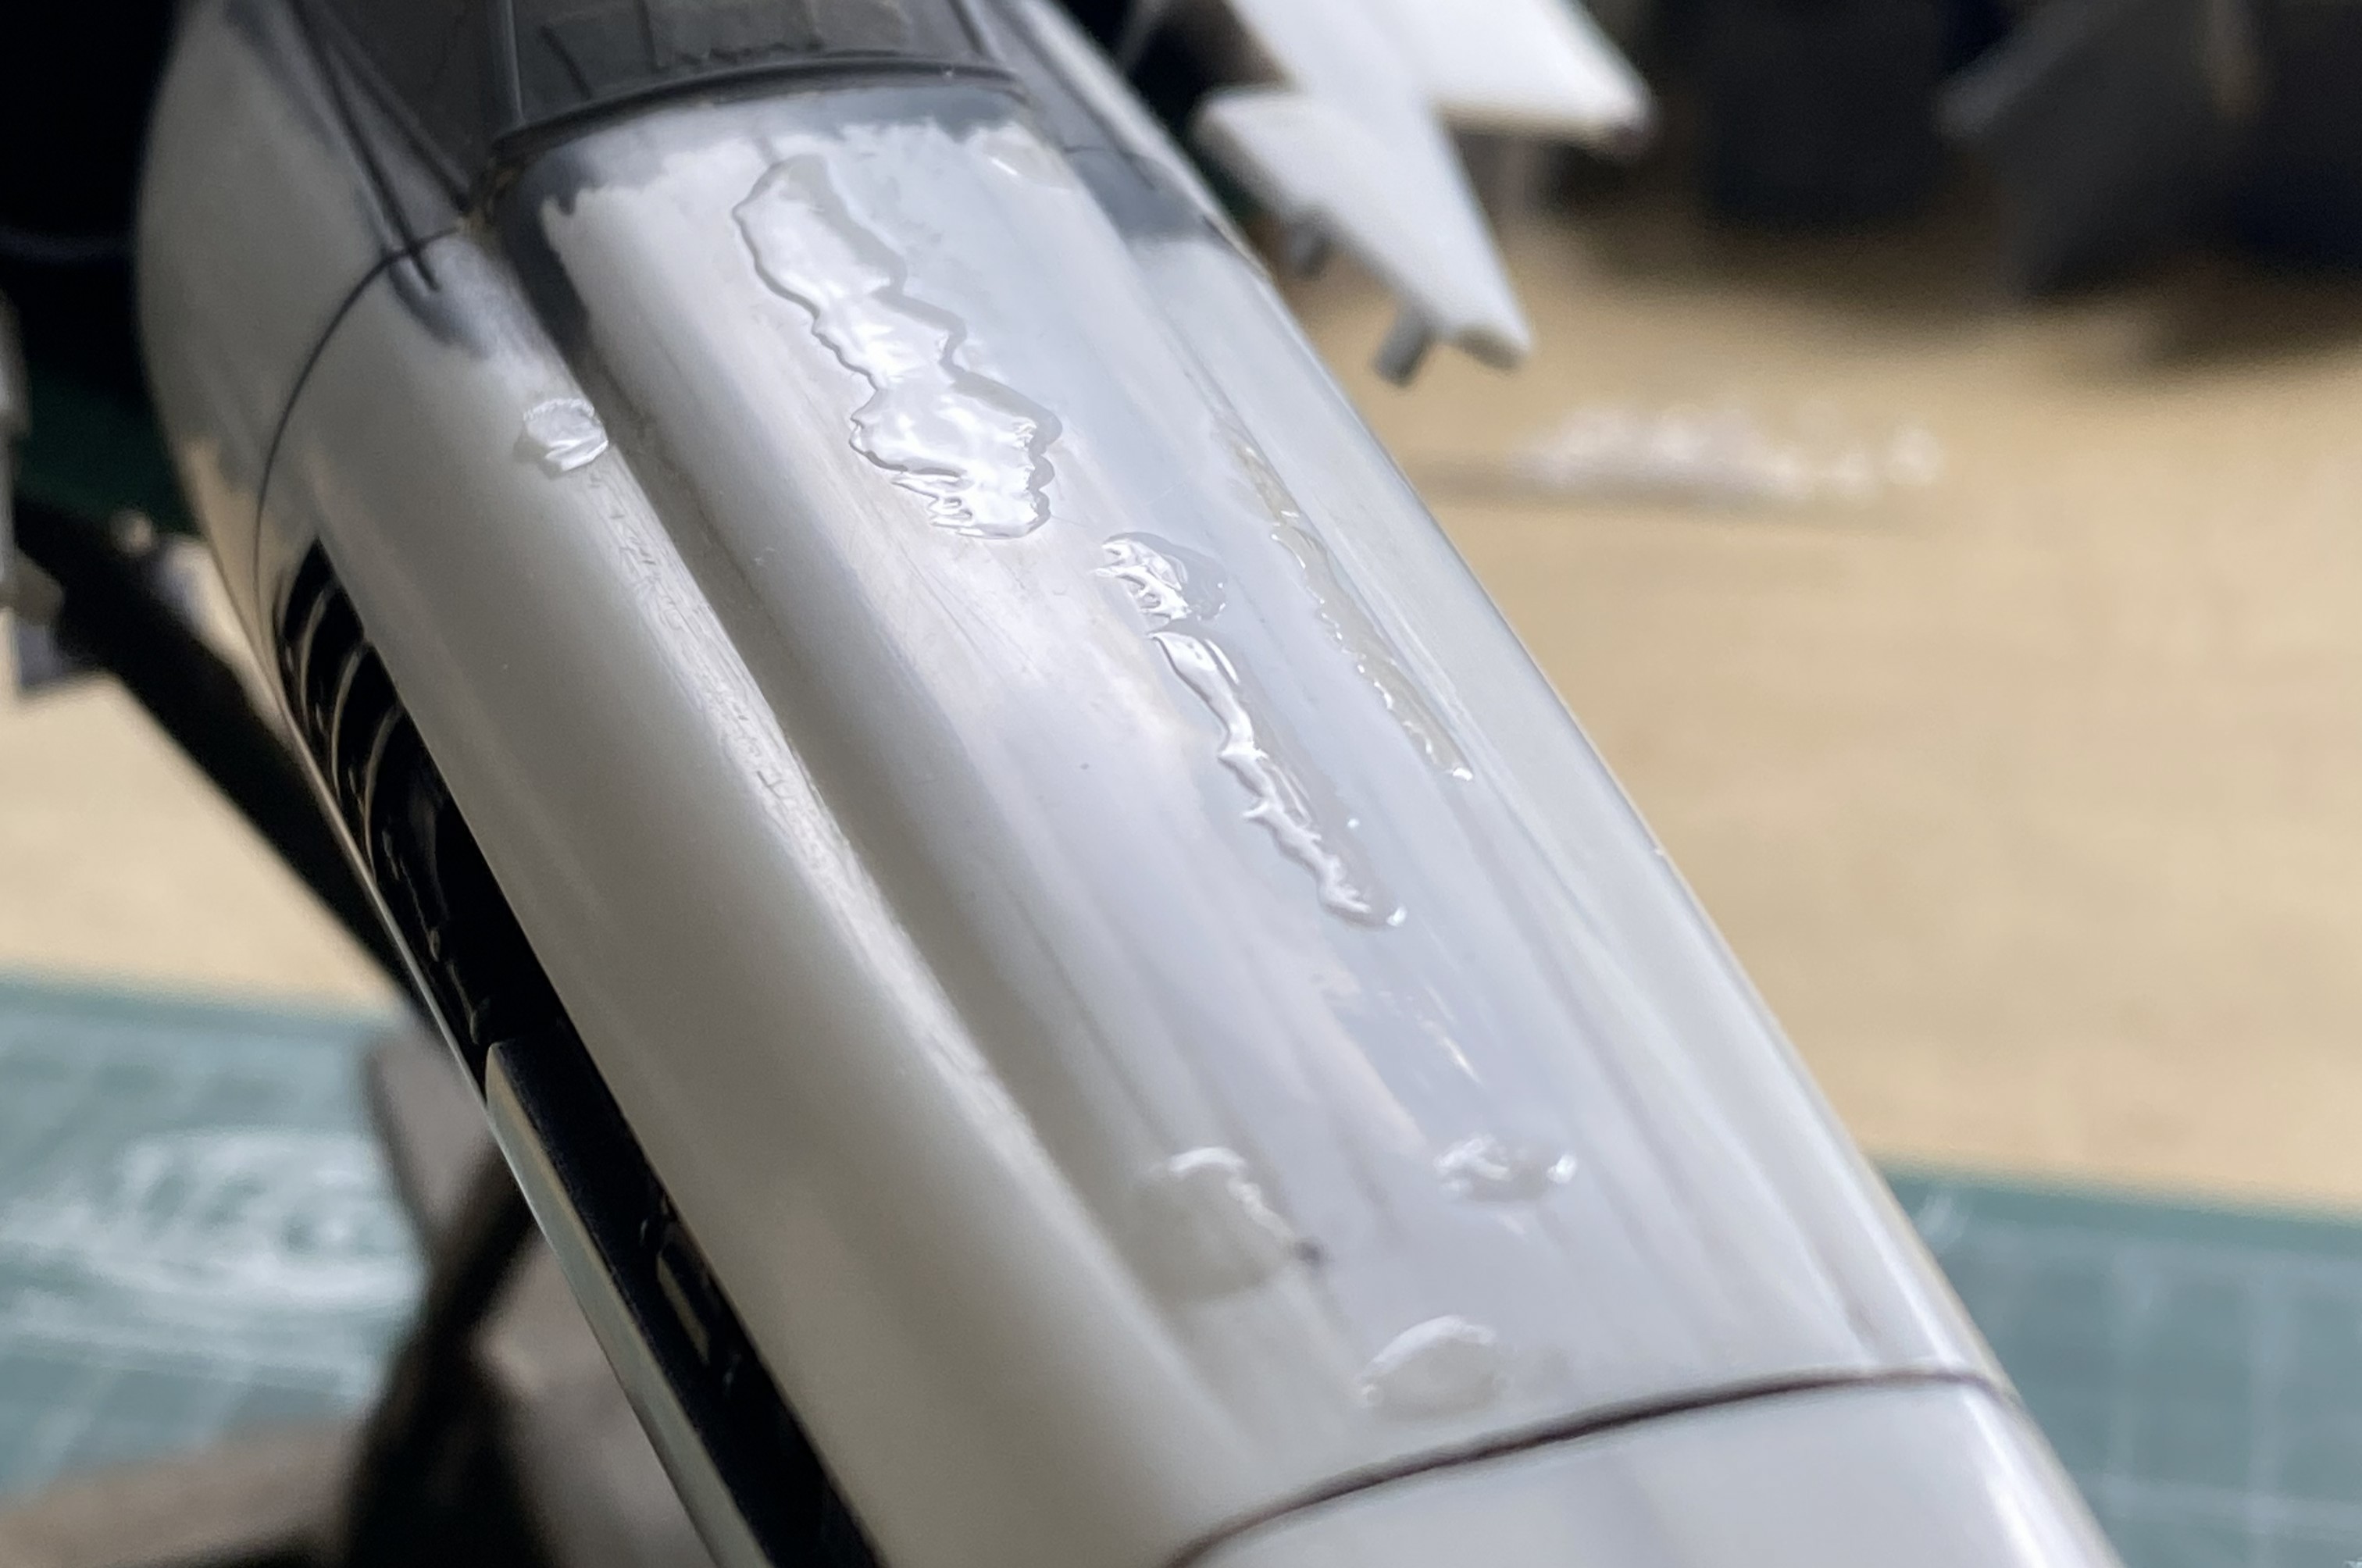
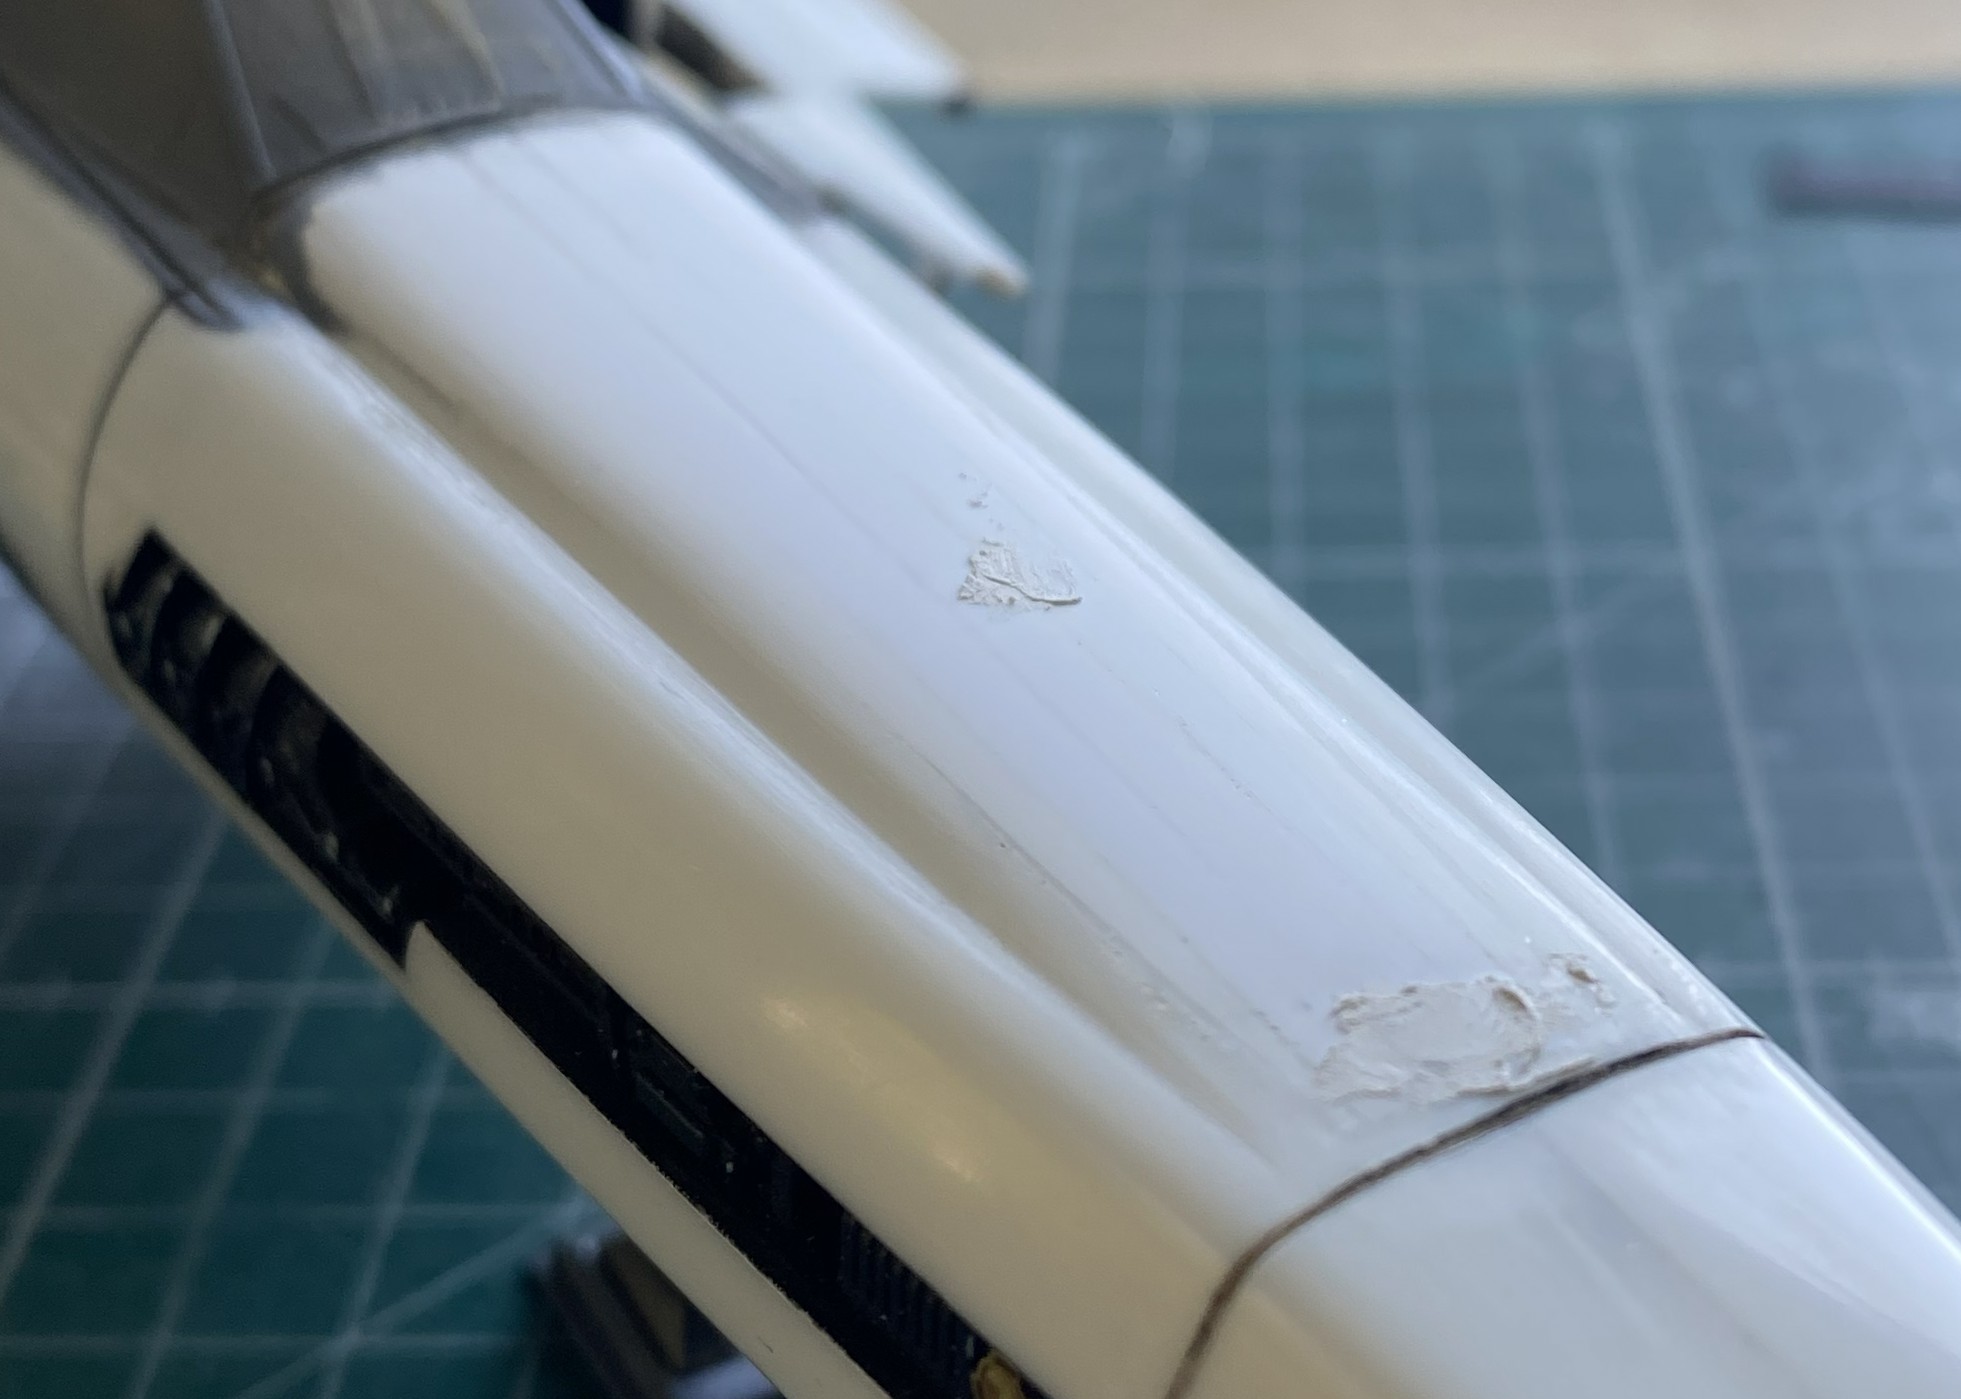
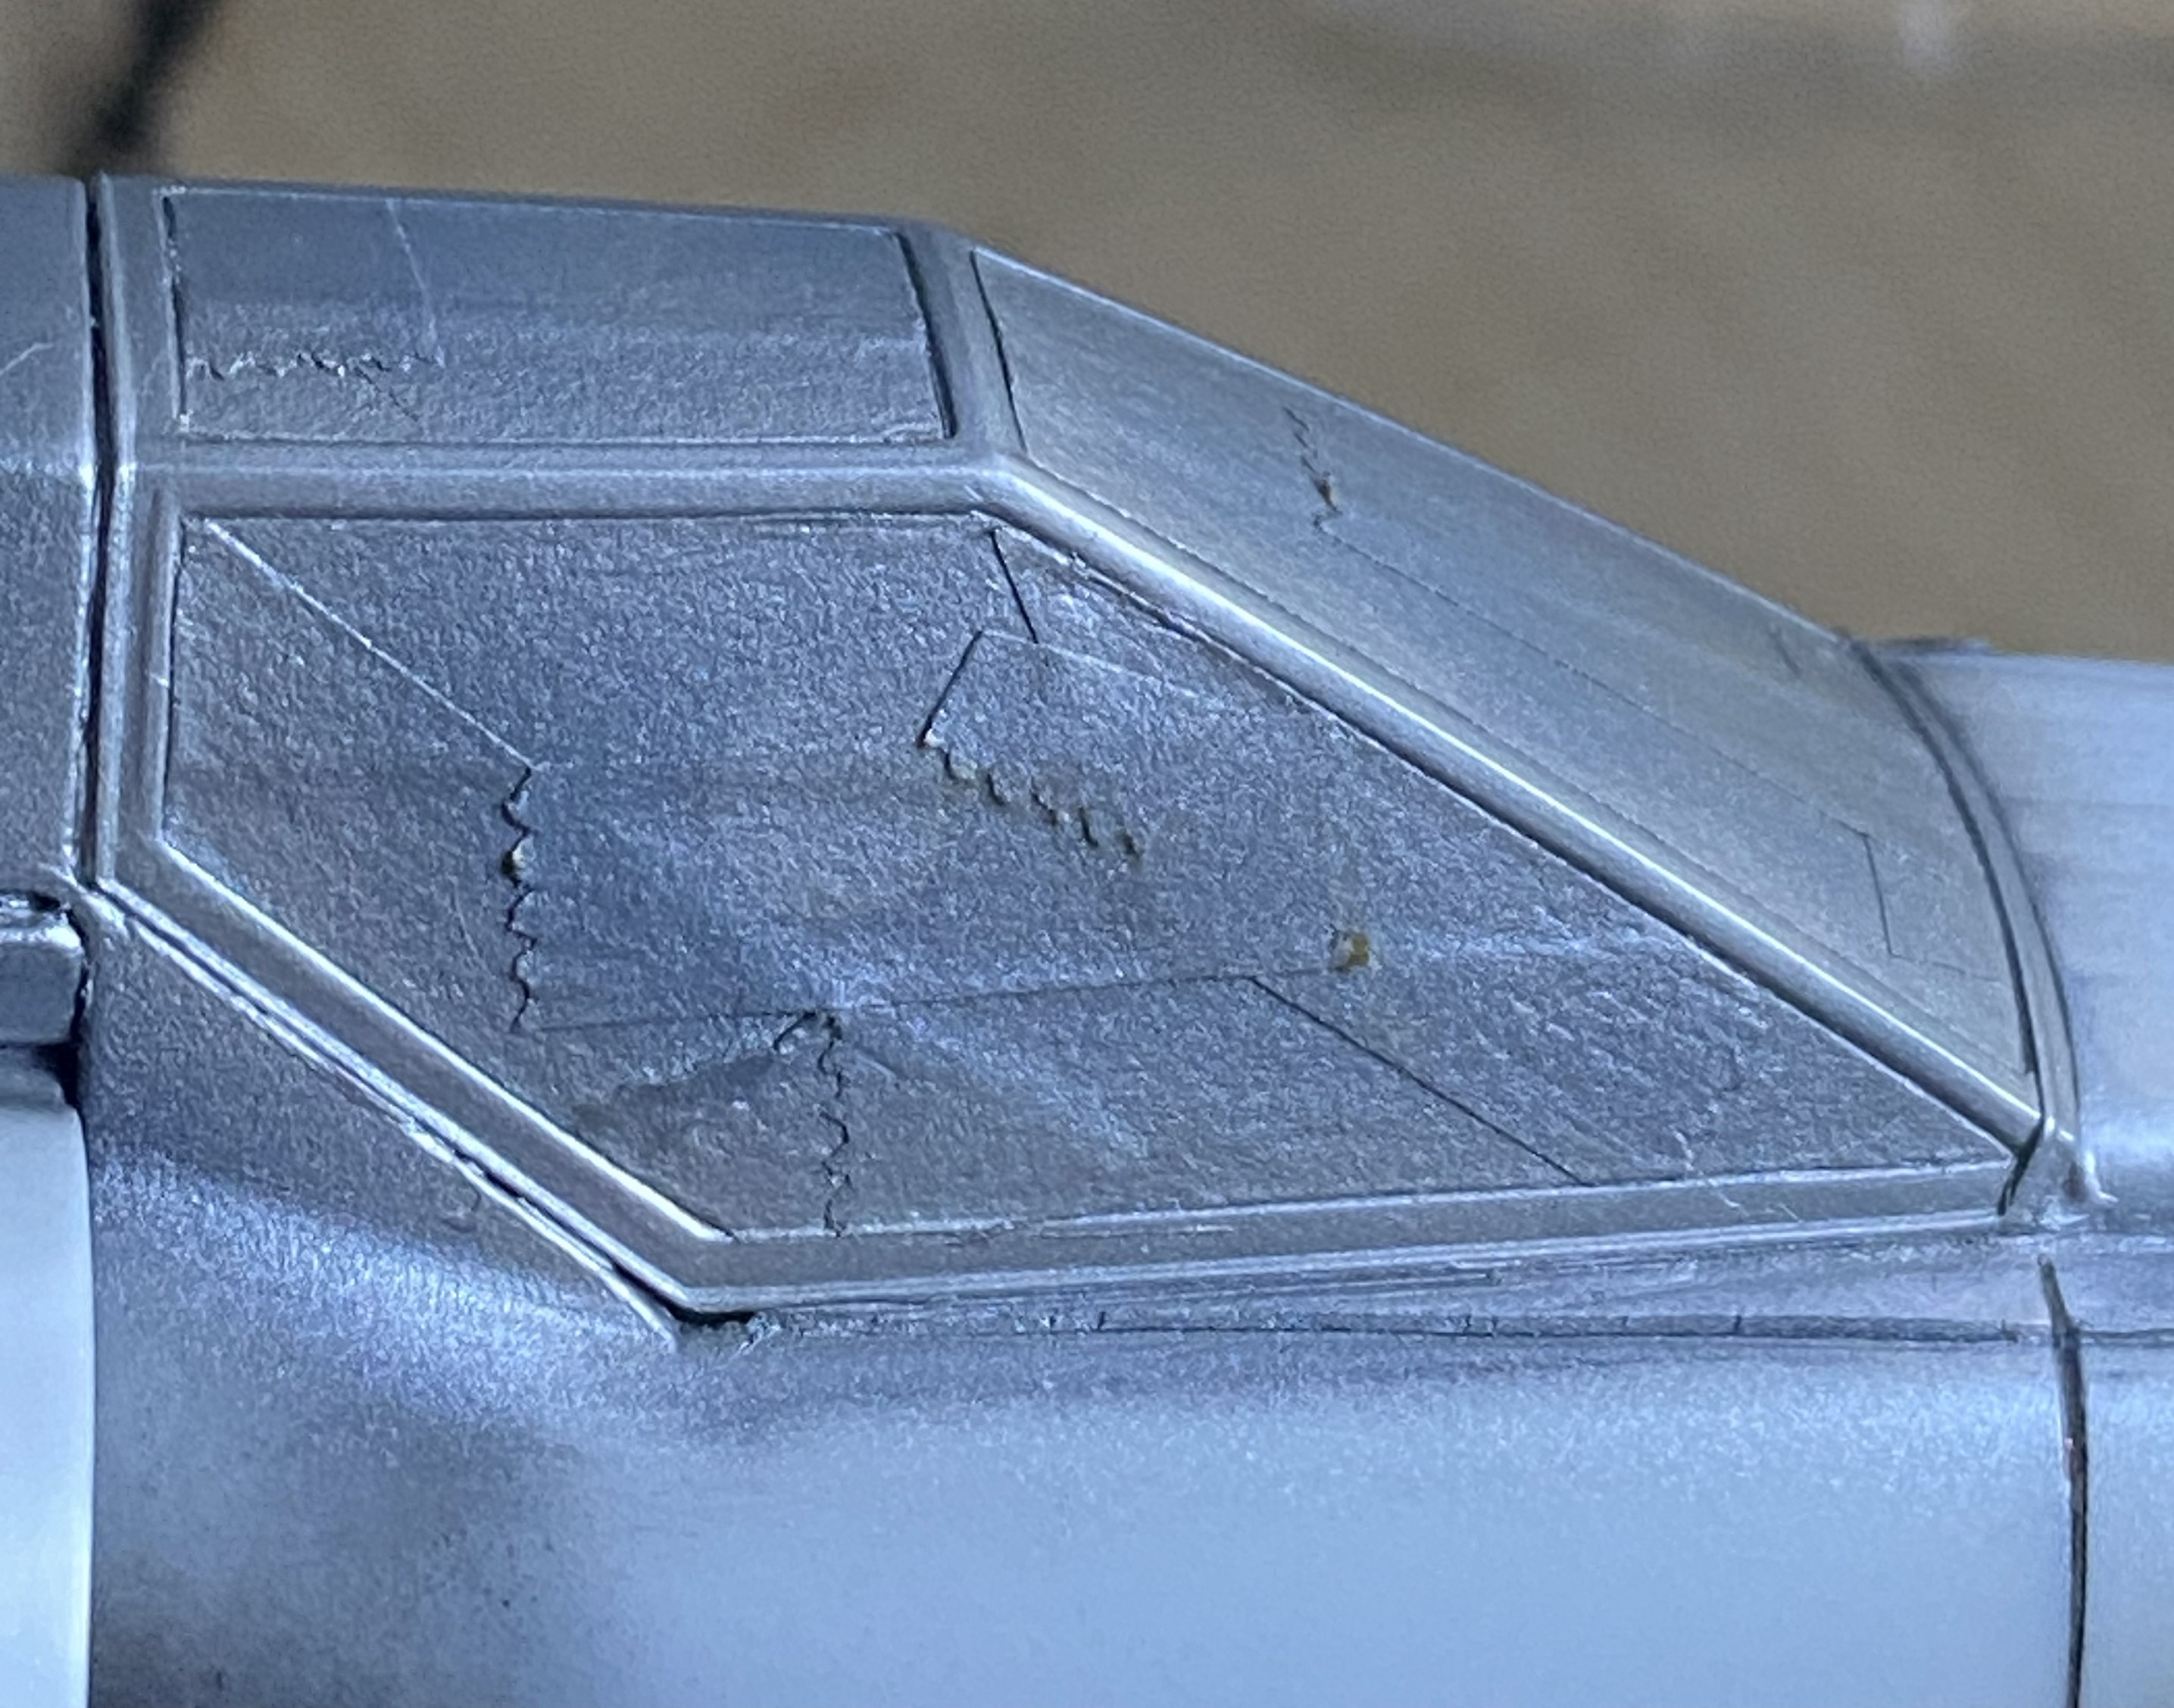
An ongoing thorn in my flank at this point was the top of the nose of this. I had managed (somehow) to get most the slats that I added to build up the nose so that I could match the curve of the nose to the curve of the canopy to play nice with each other. Those areas needed no work. However, there were a few places on the nose that the more work I did on them, the more work I needed to do on them. Adding sprue worked a bit. Adding flat scrap that had been trimmed into “planks” and then the corner jammed AND SINCERELY GLUED into the problem areas:
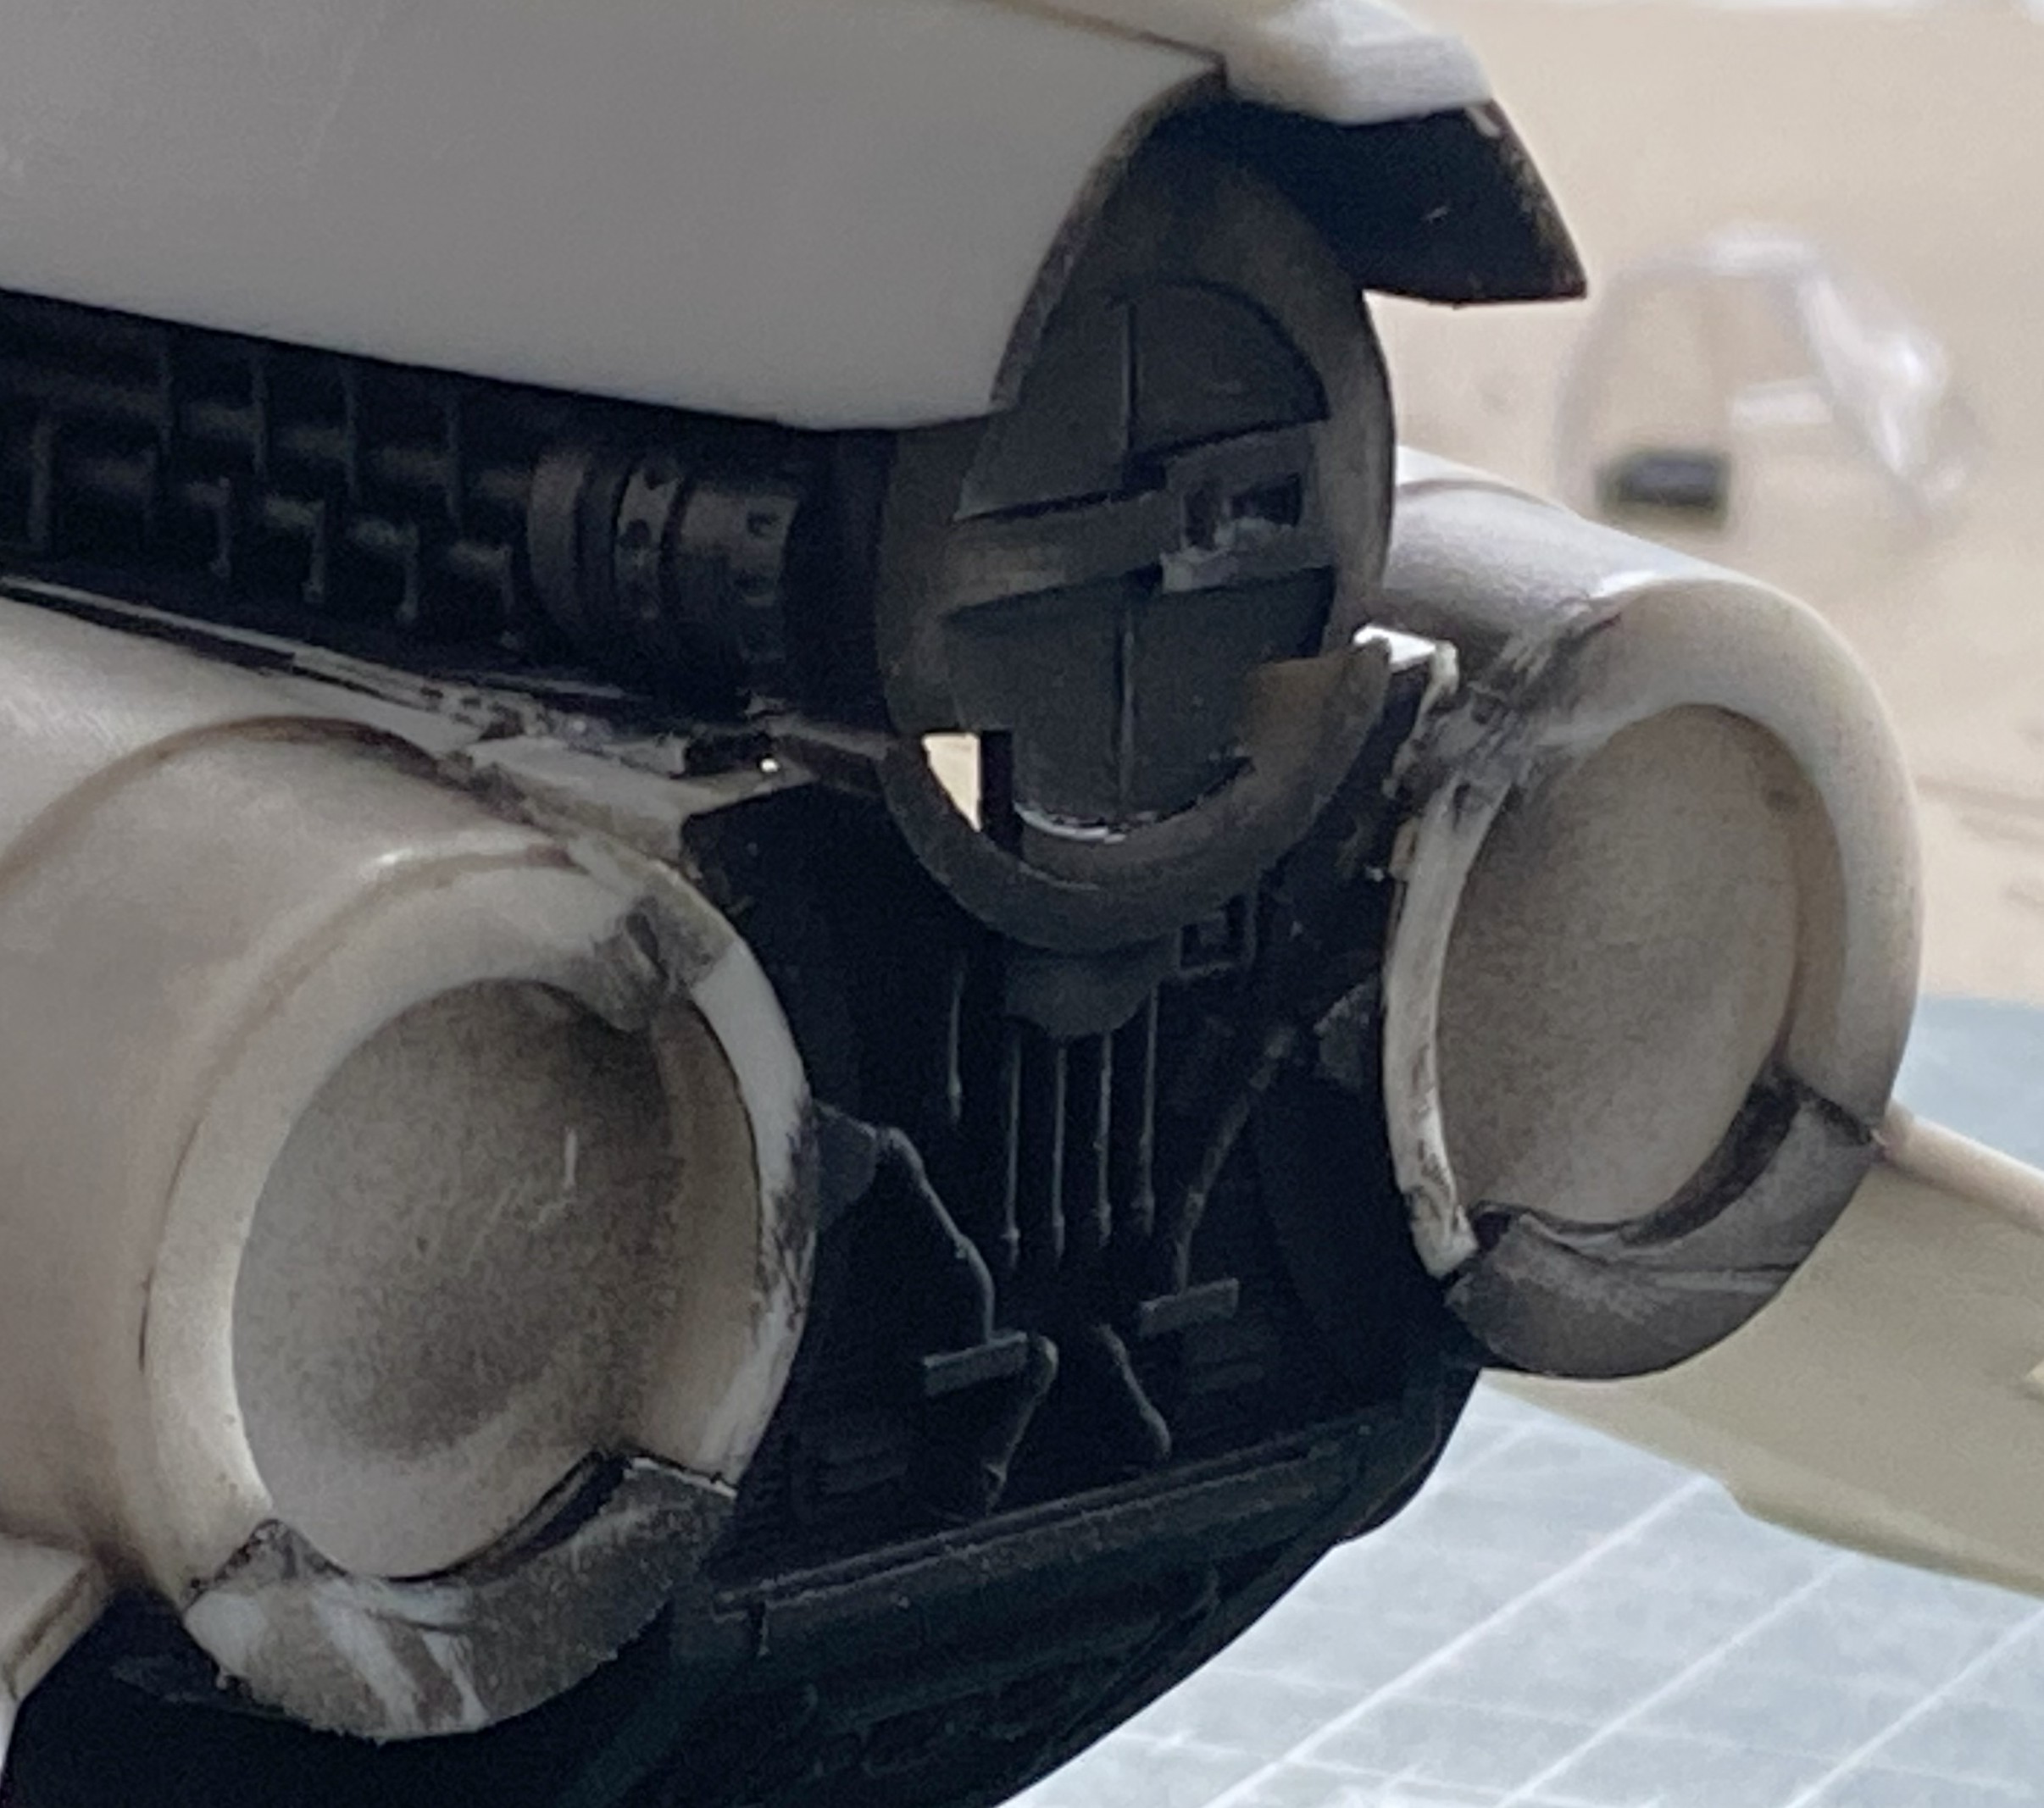
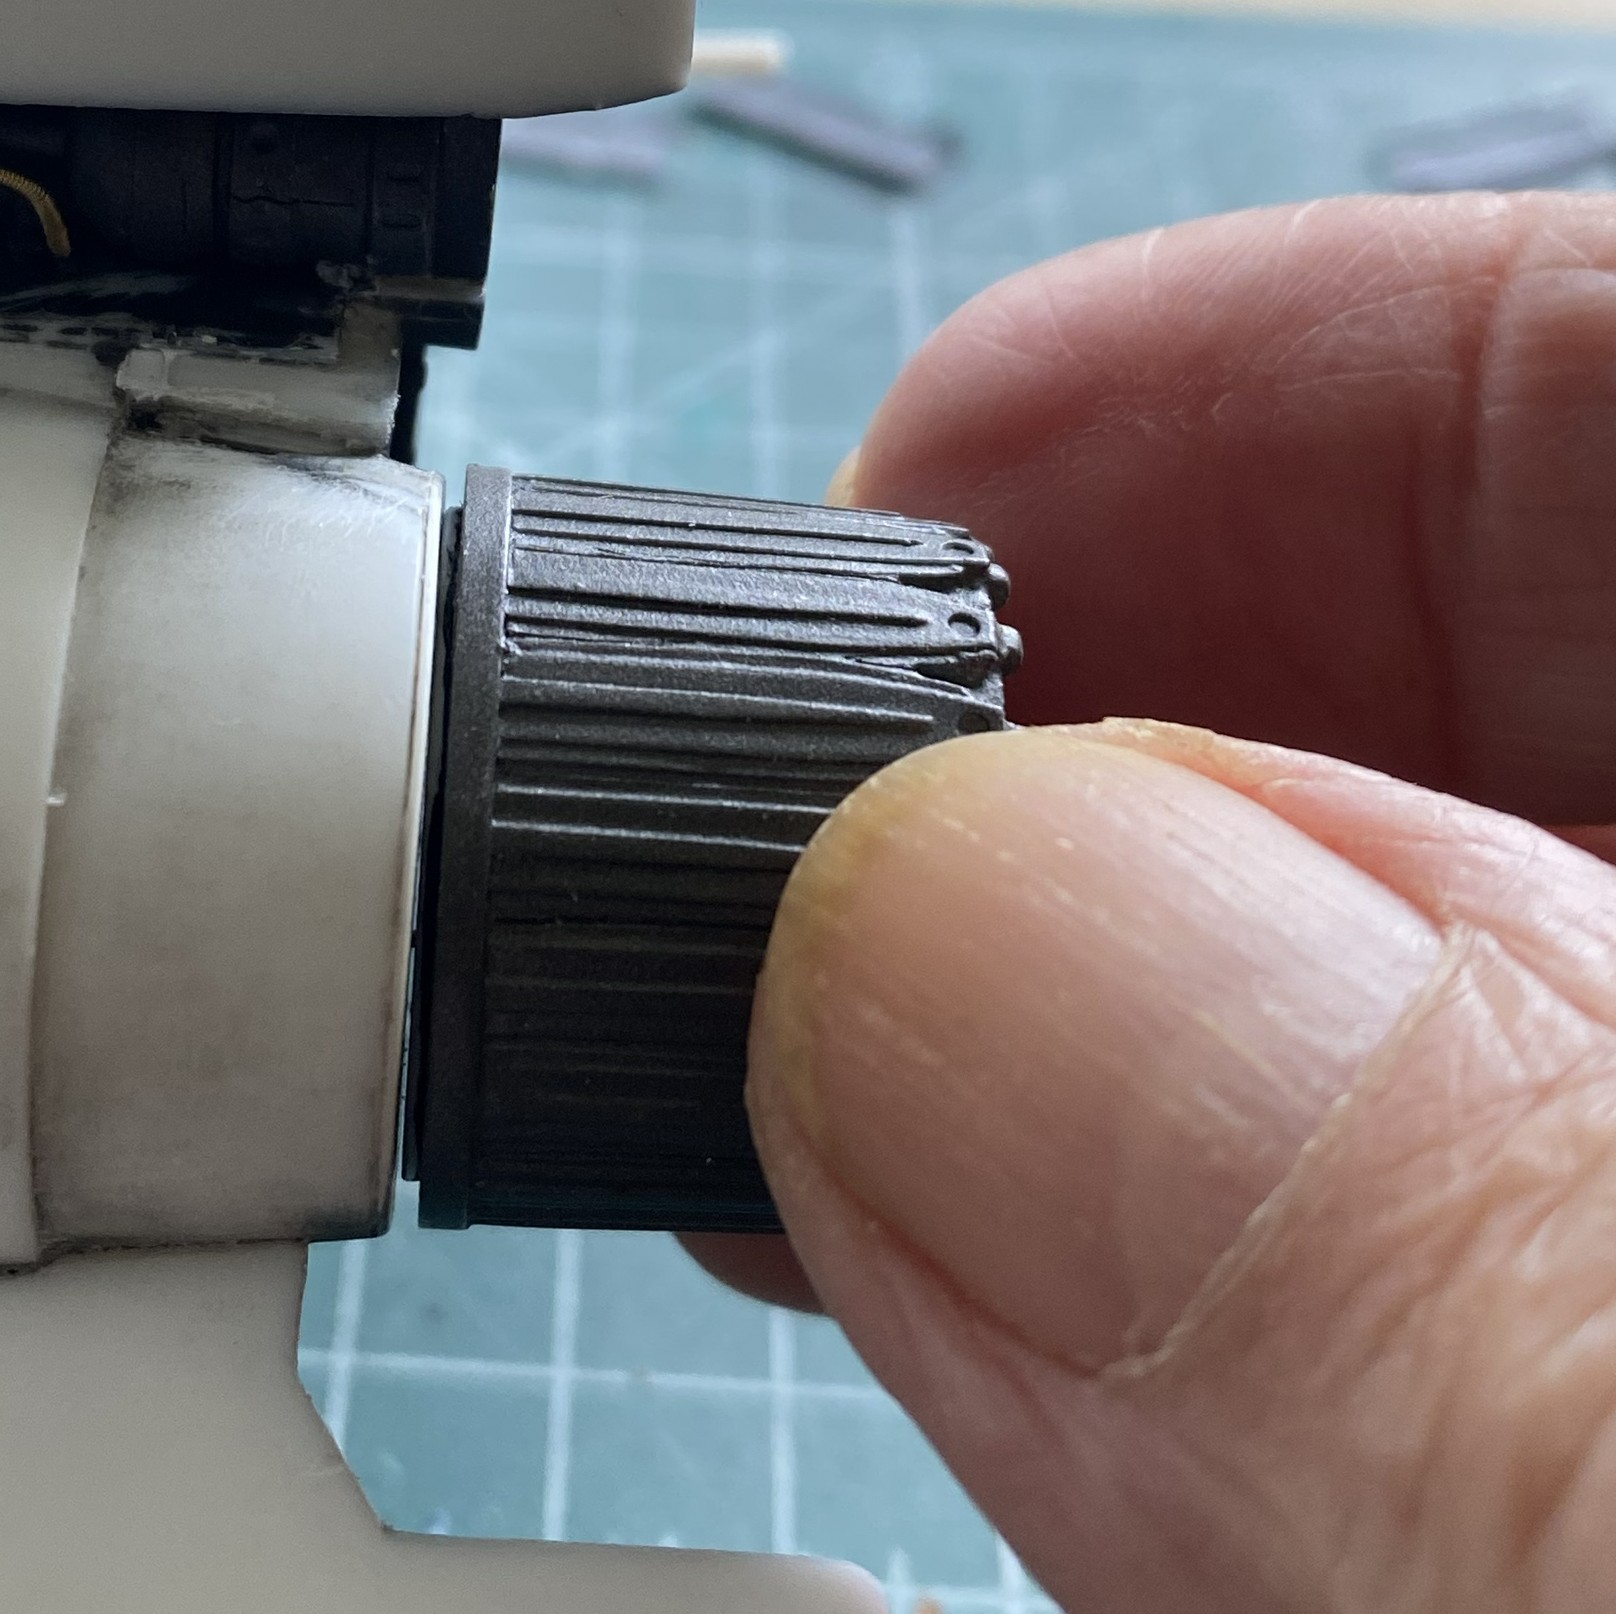
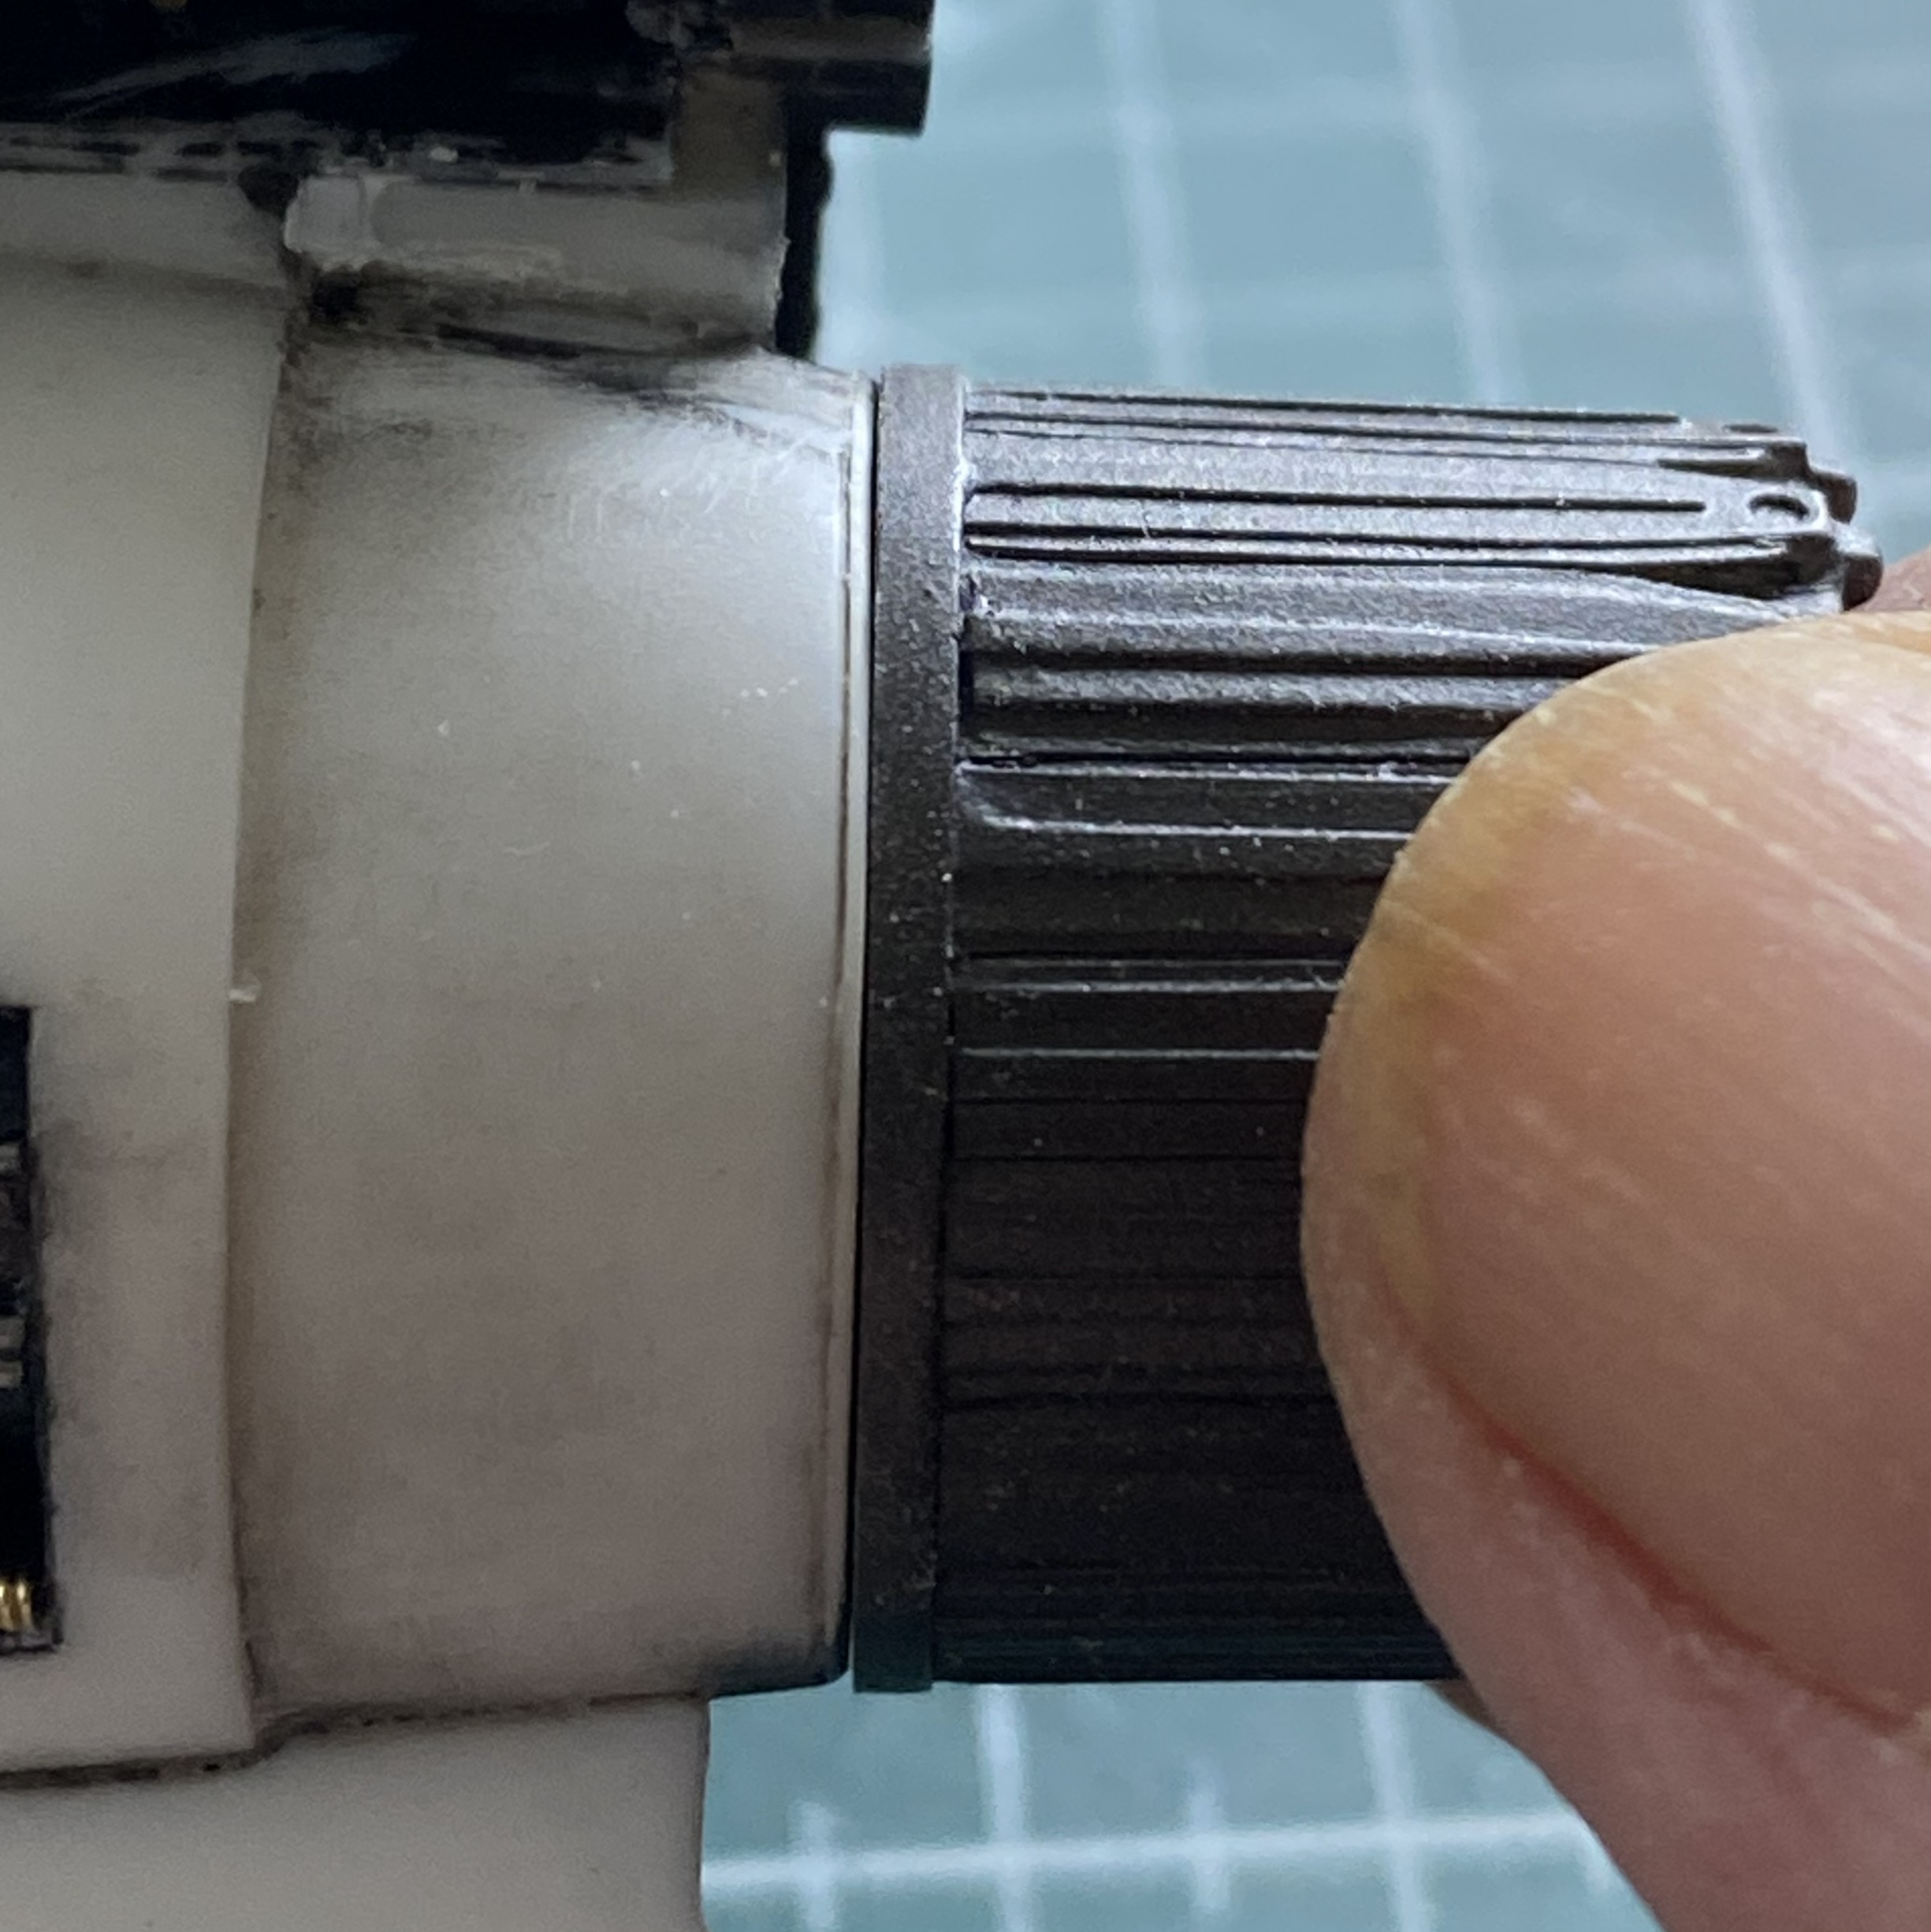
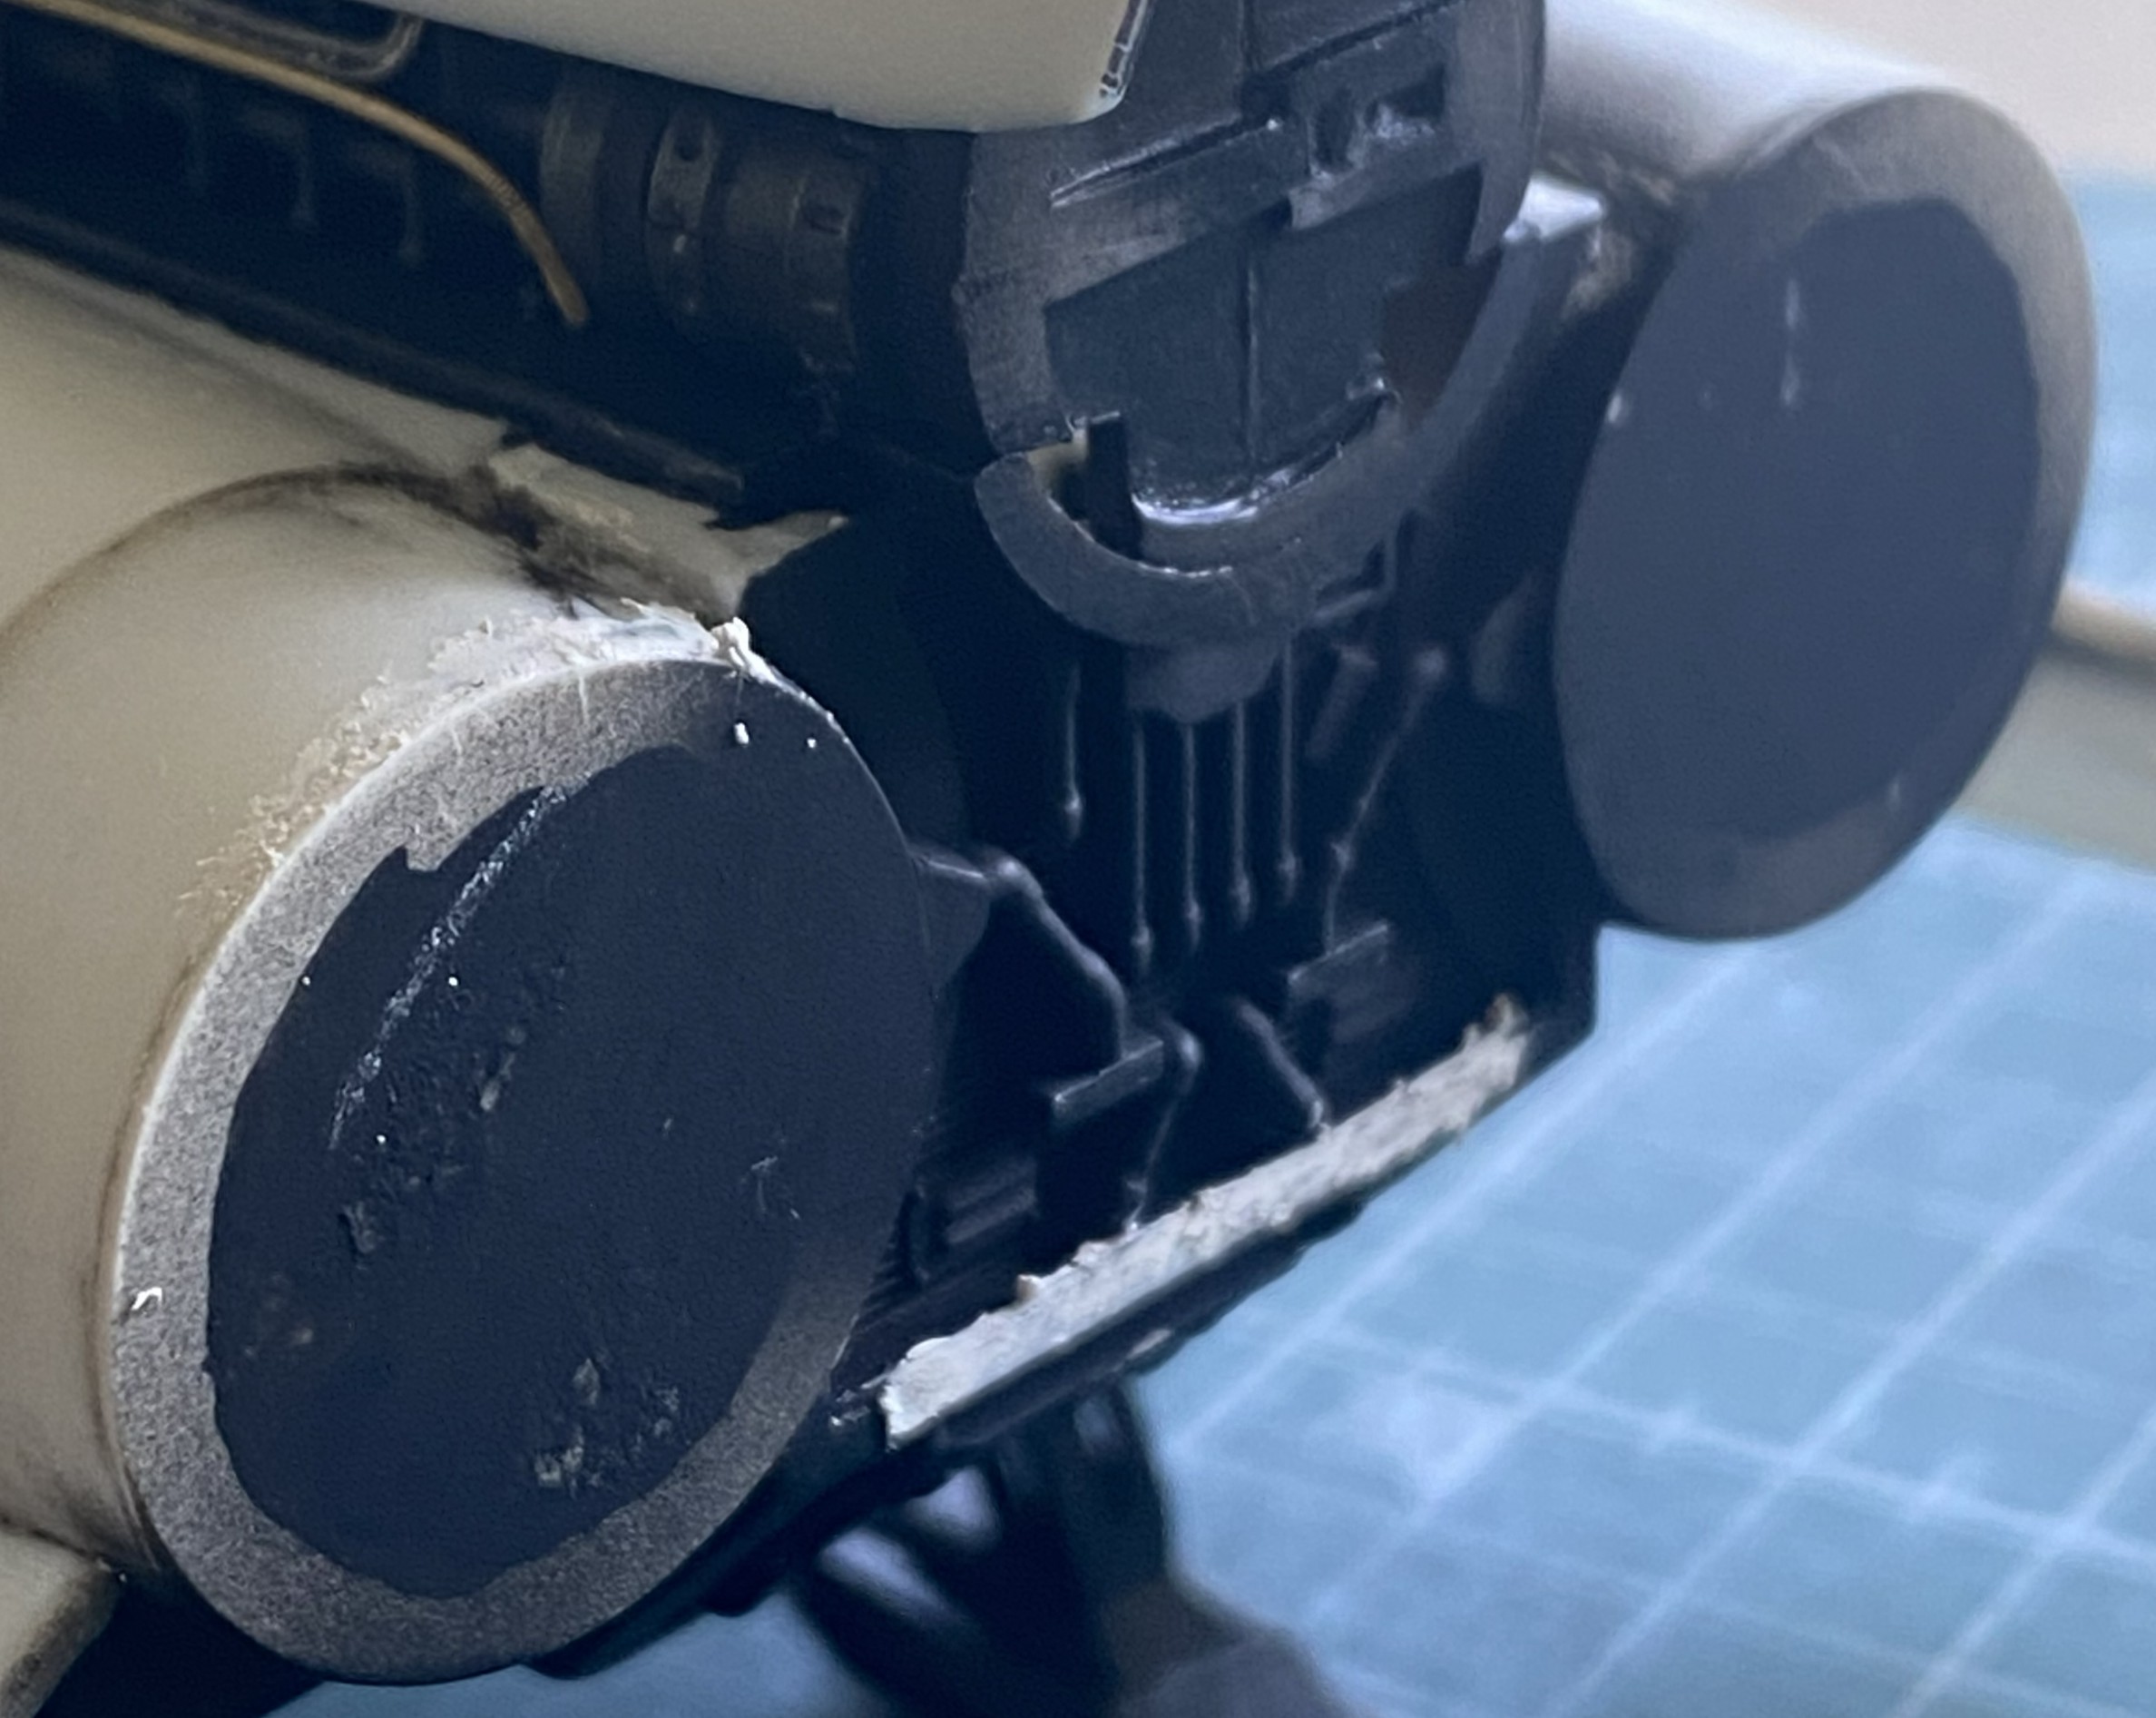
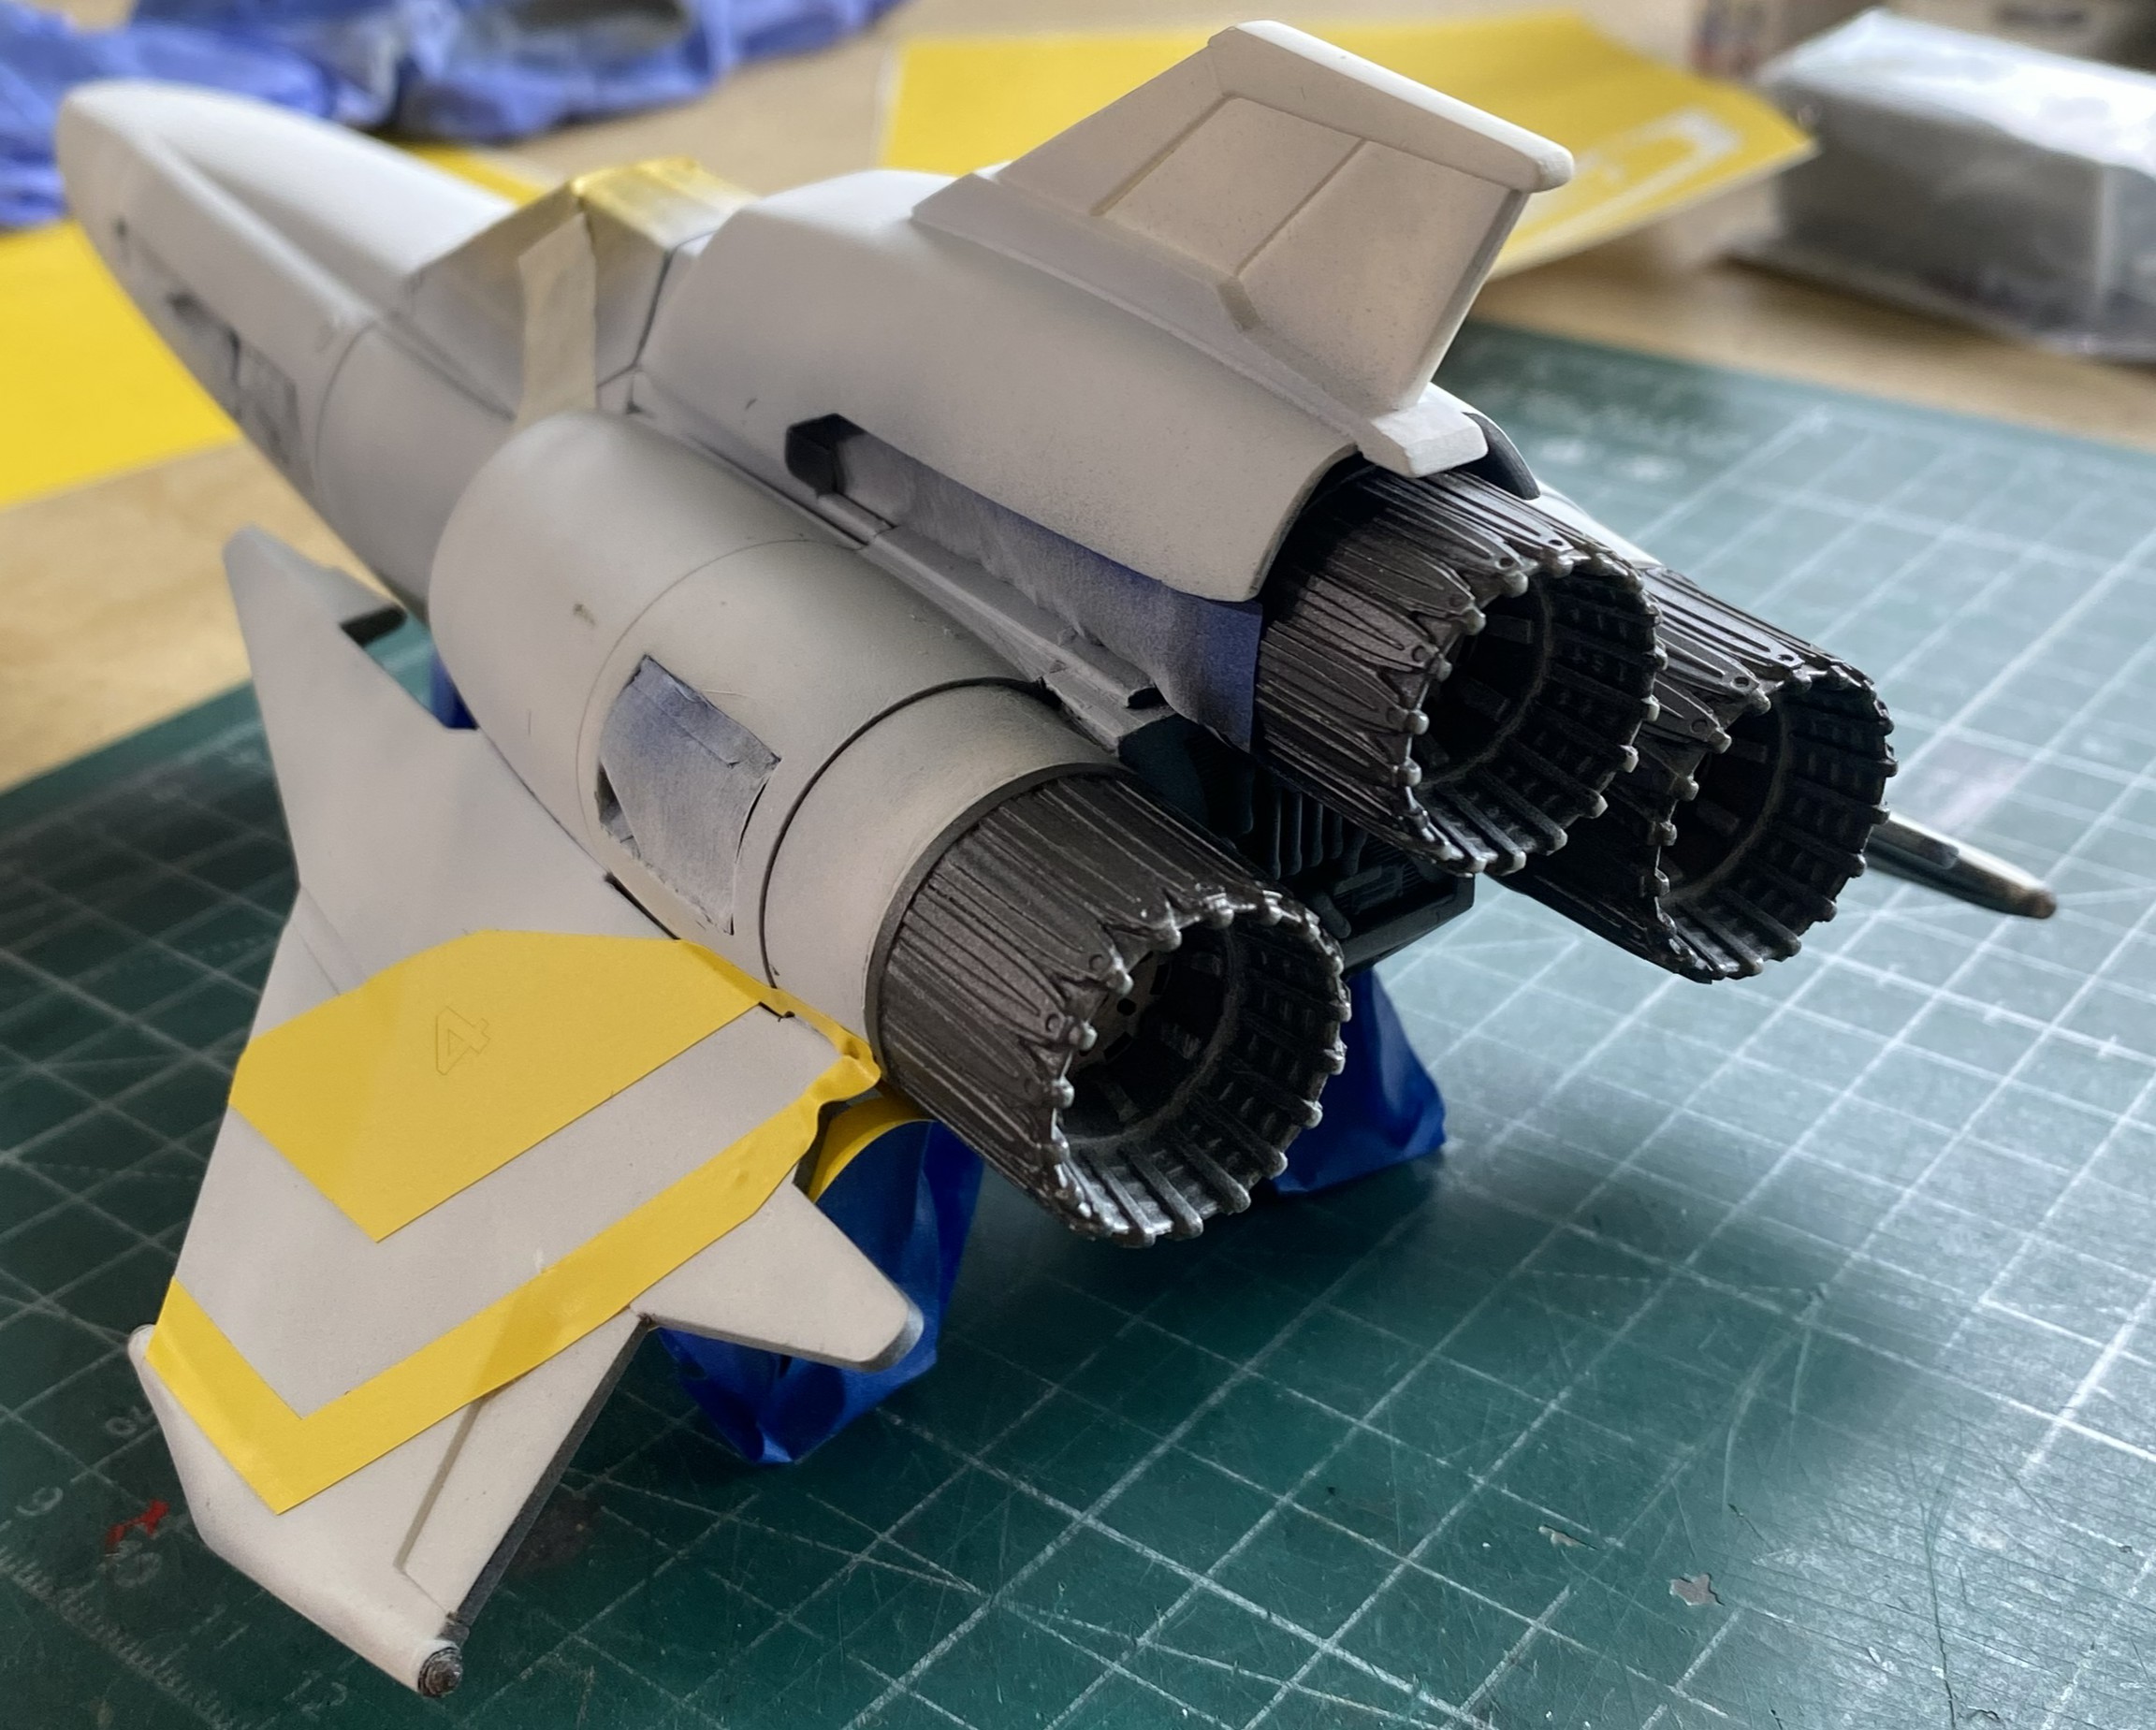
While waiting for the glue to cure on the nose, I attended to a few tasks. I started to fit the nozzles to the rear. Where the fuselage and shroud meet is uneven and there were gaps that had to be worked:
Simple (this time), just trim the circumferences to fit:
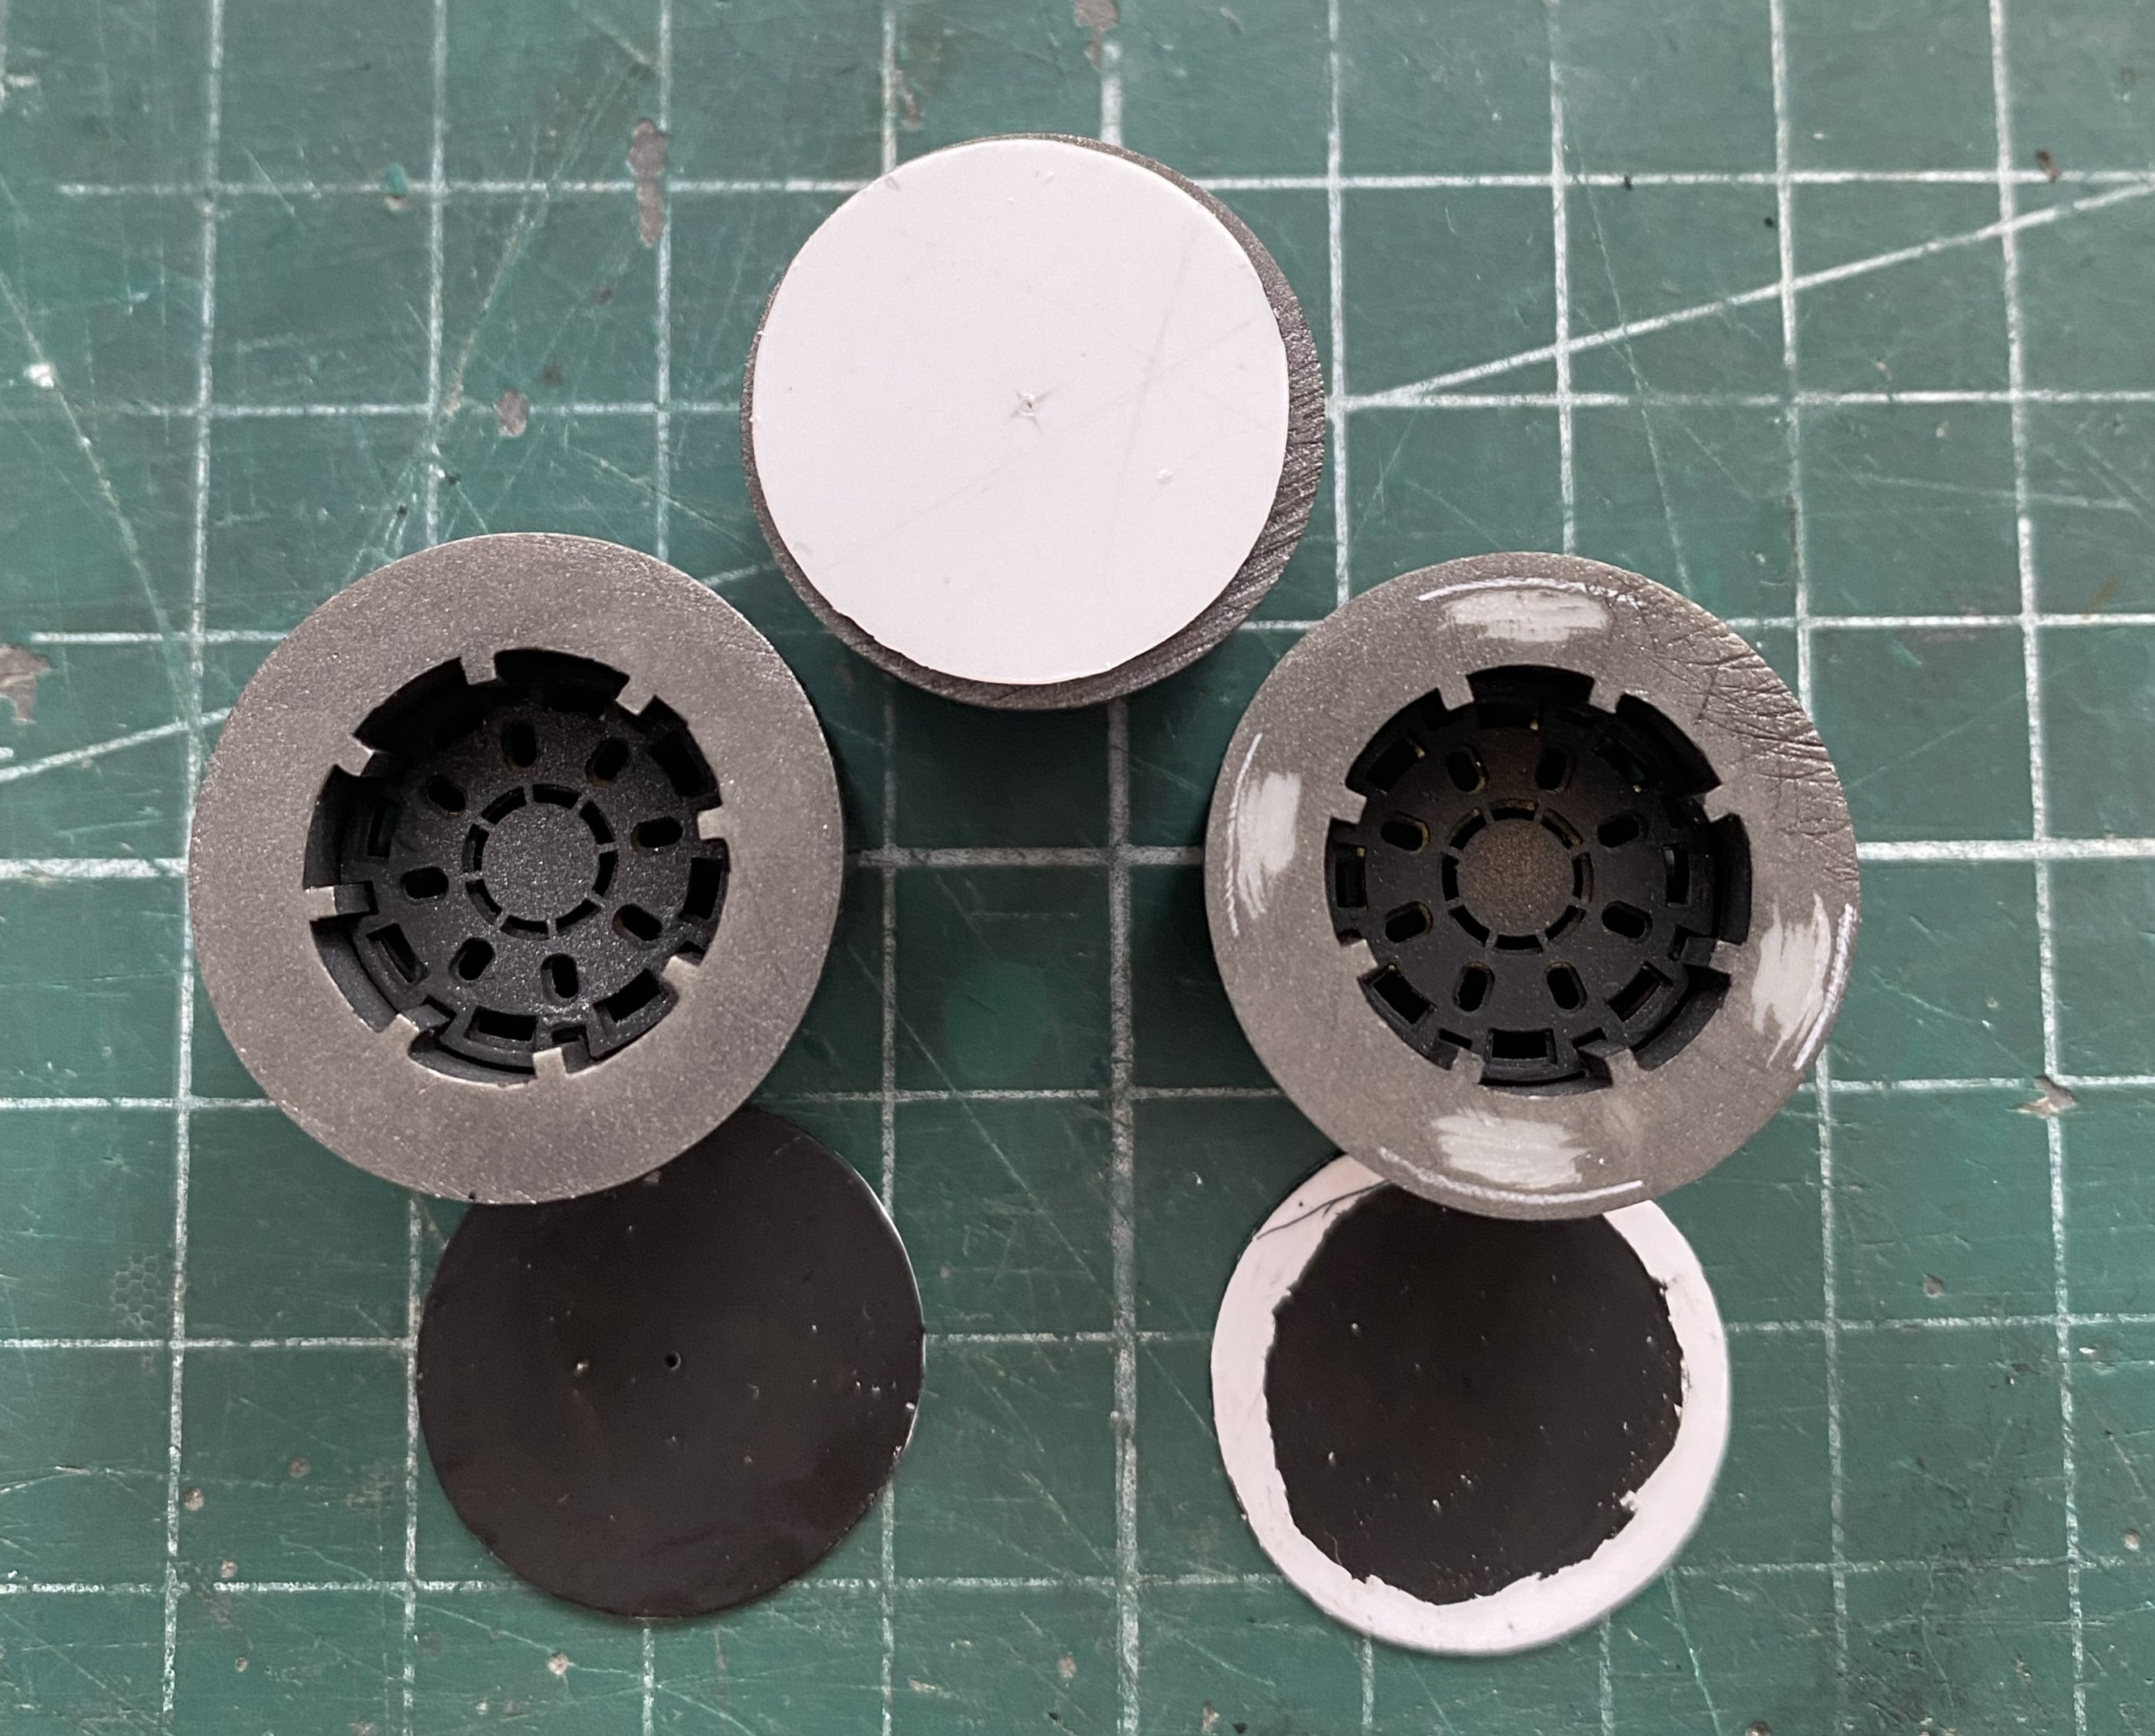
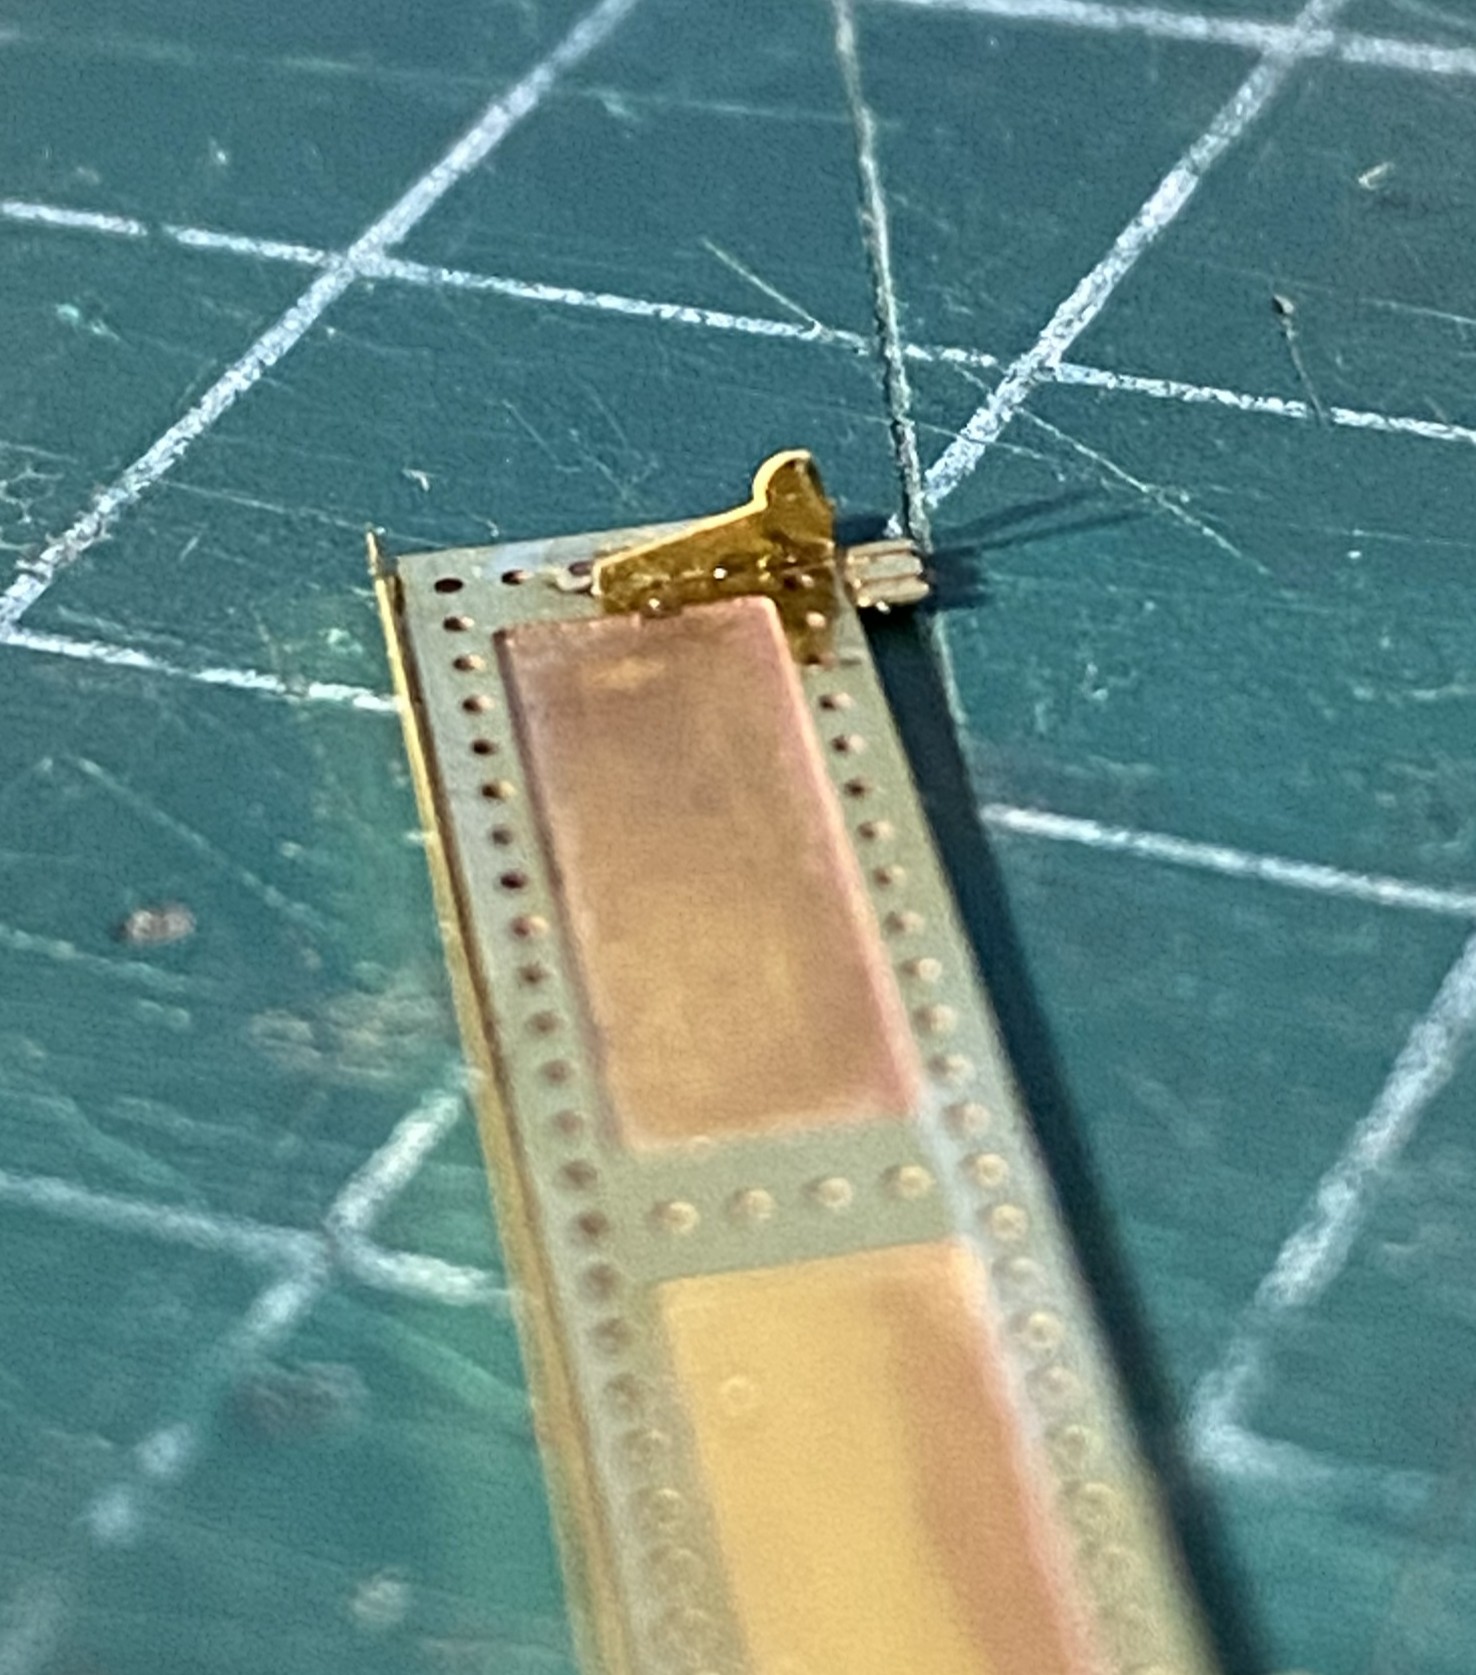
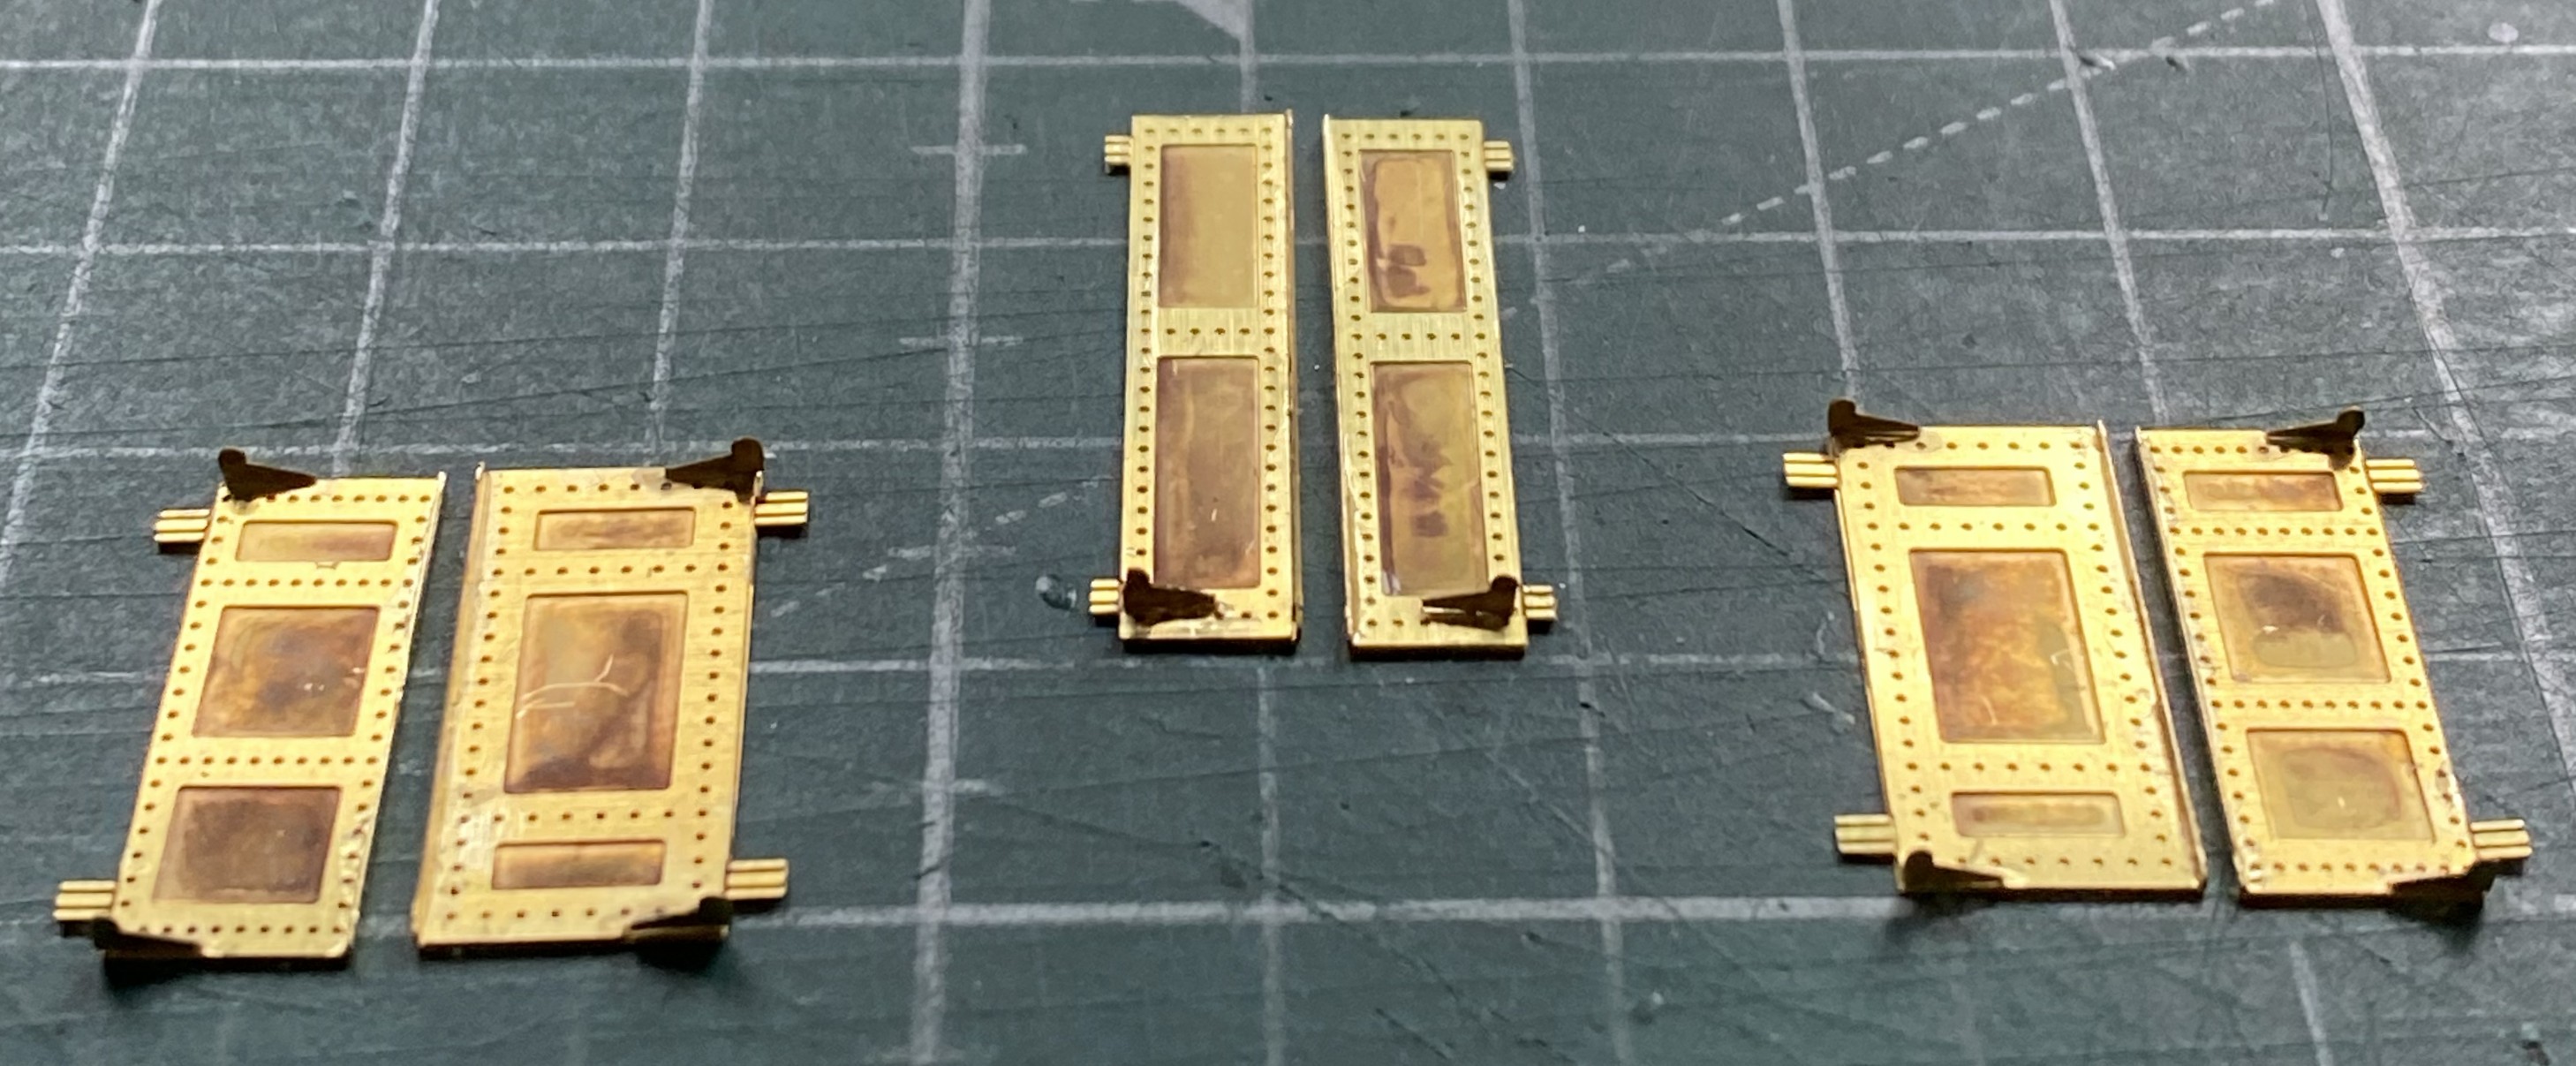
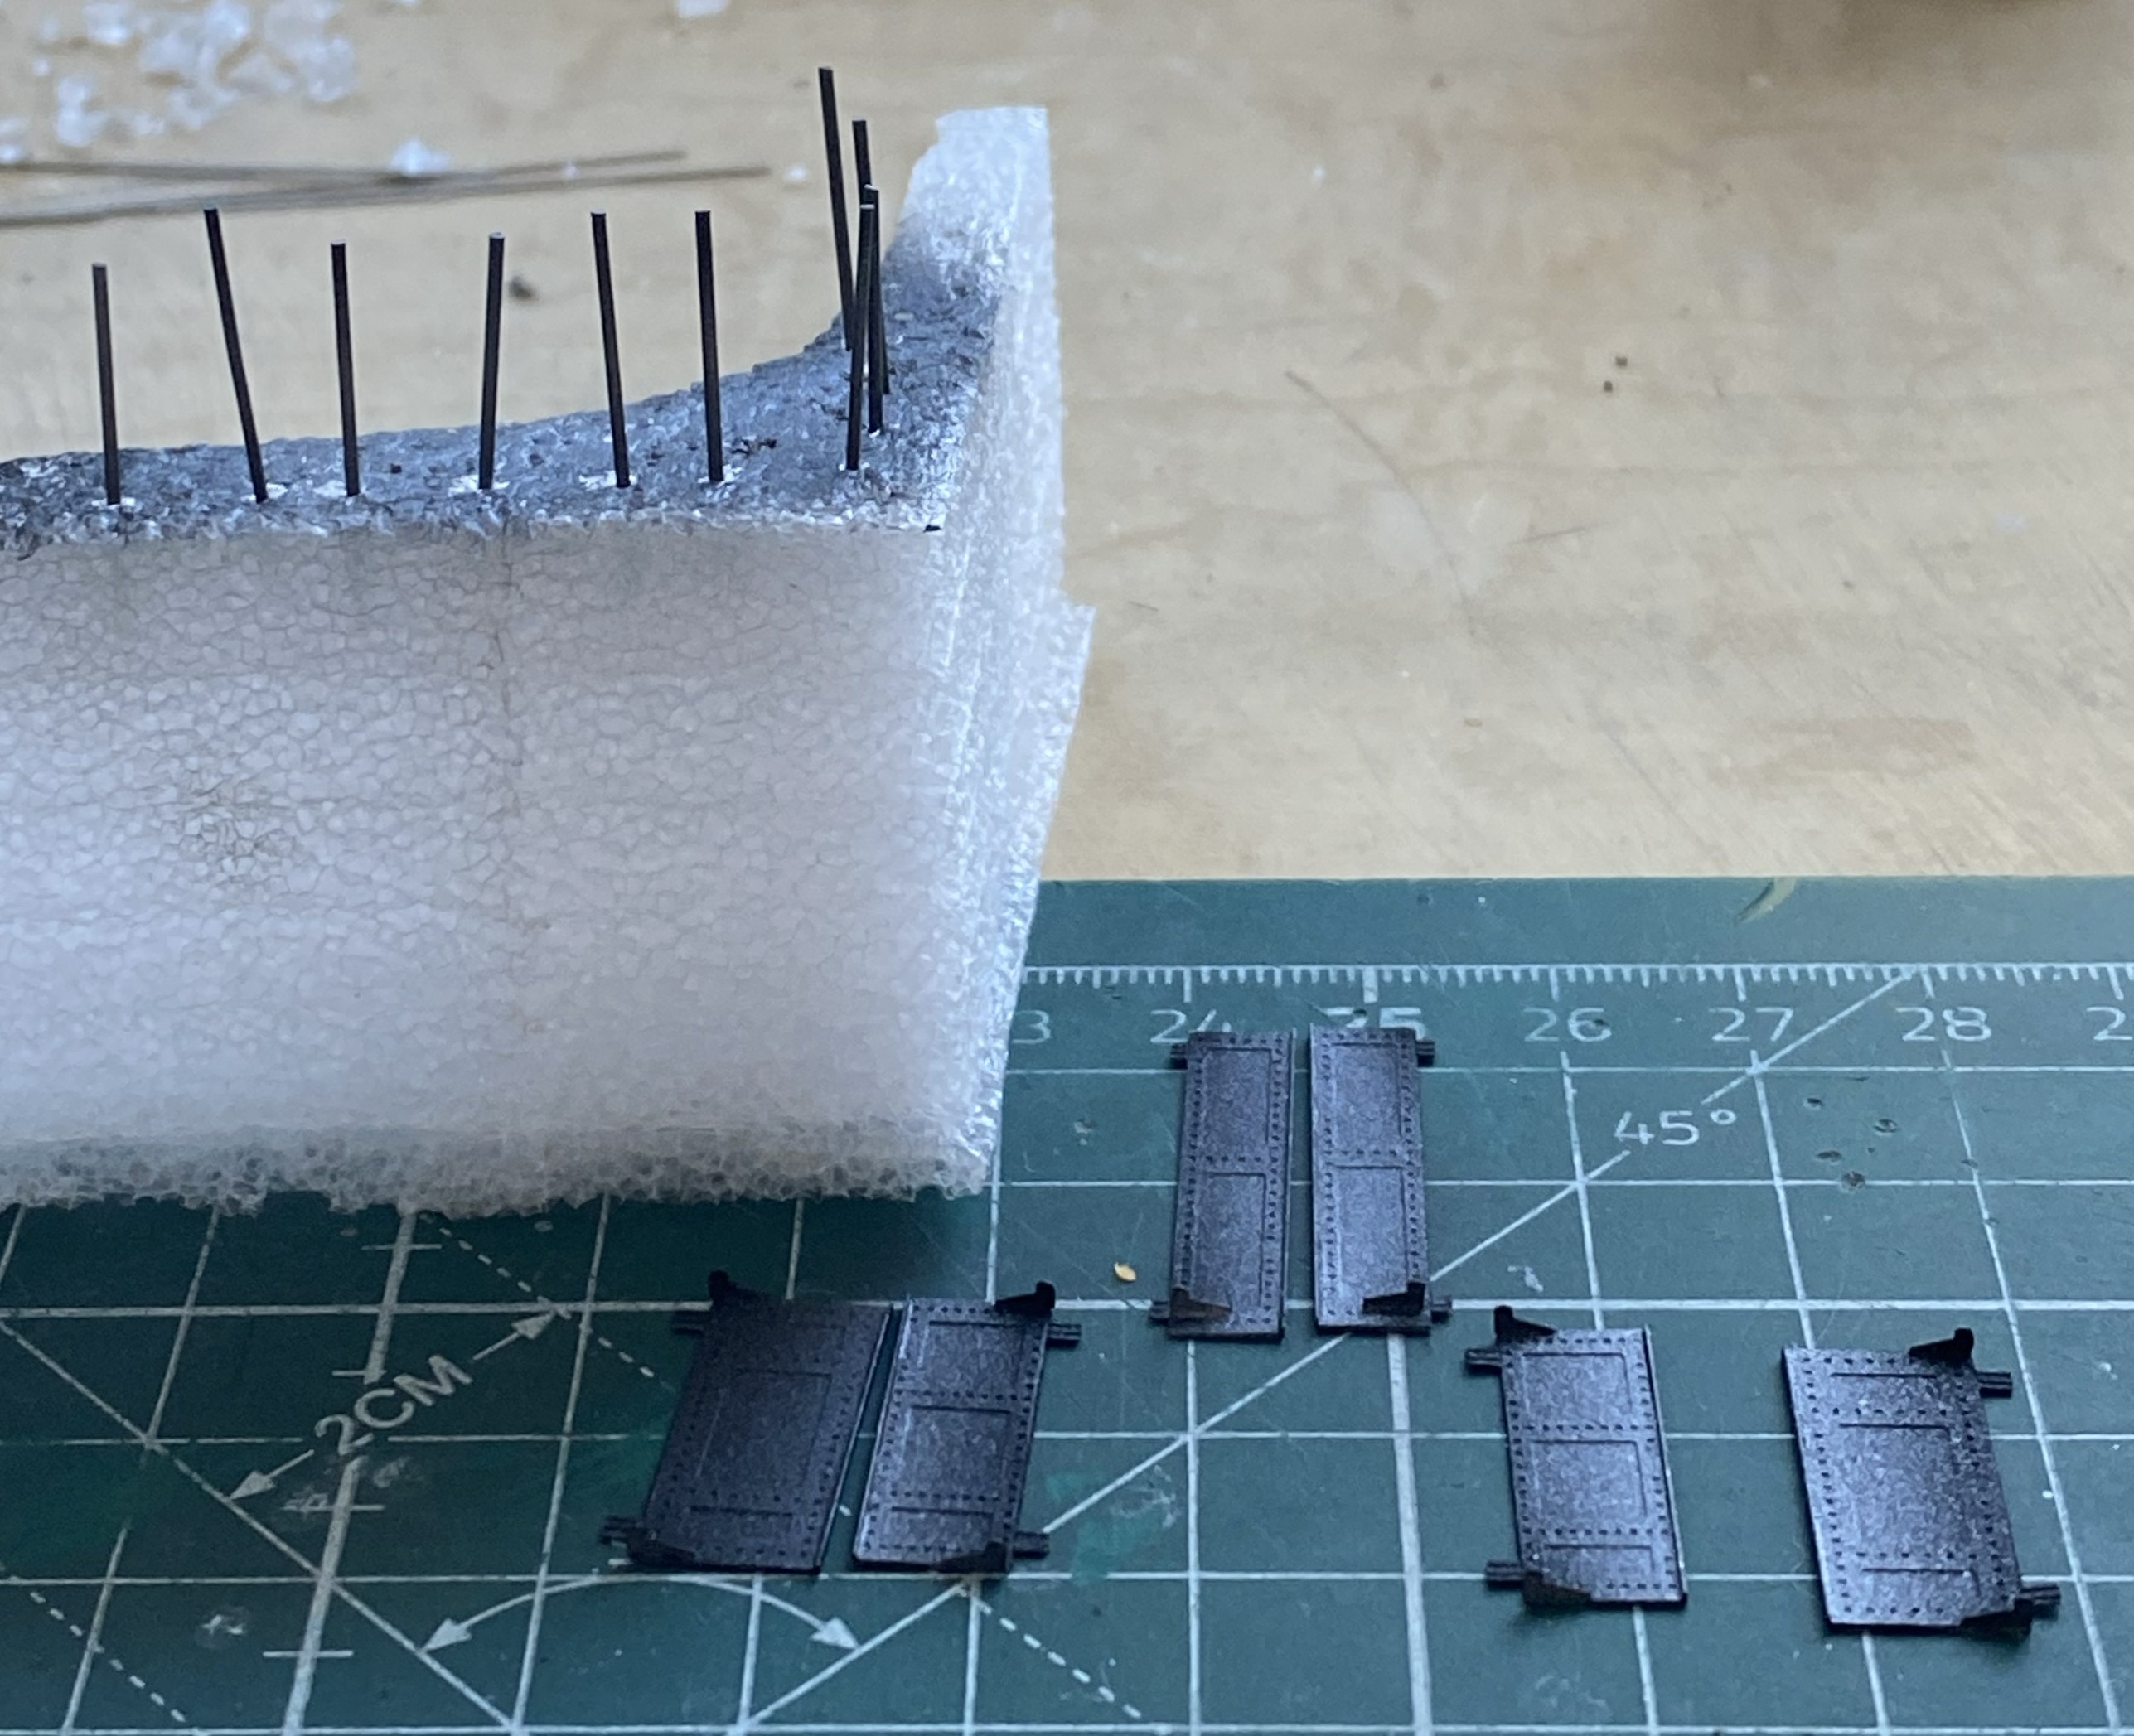
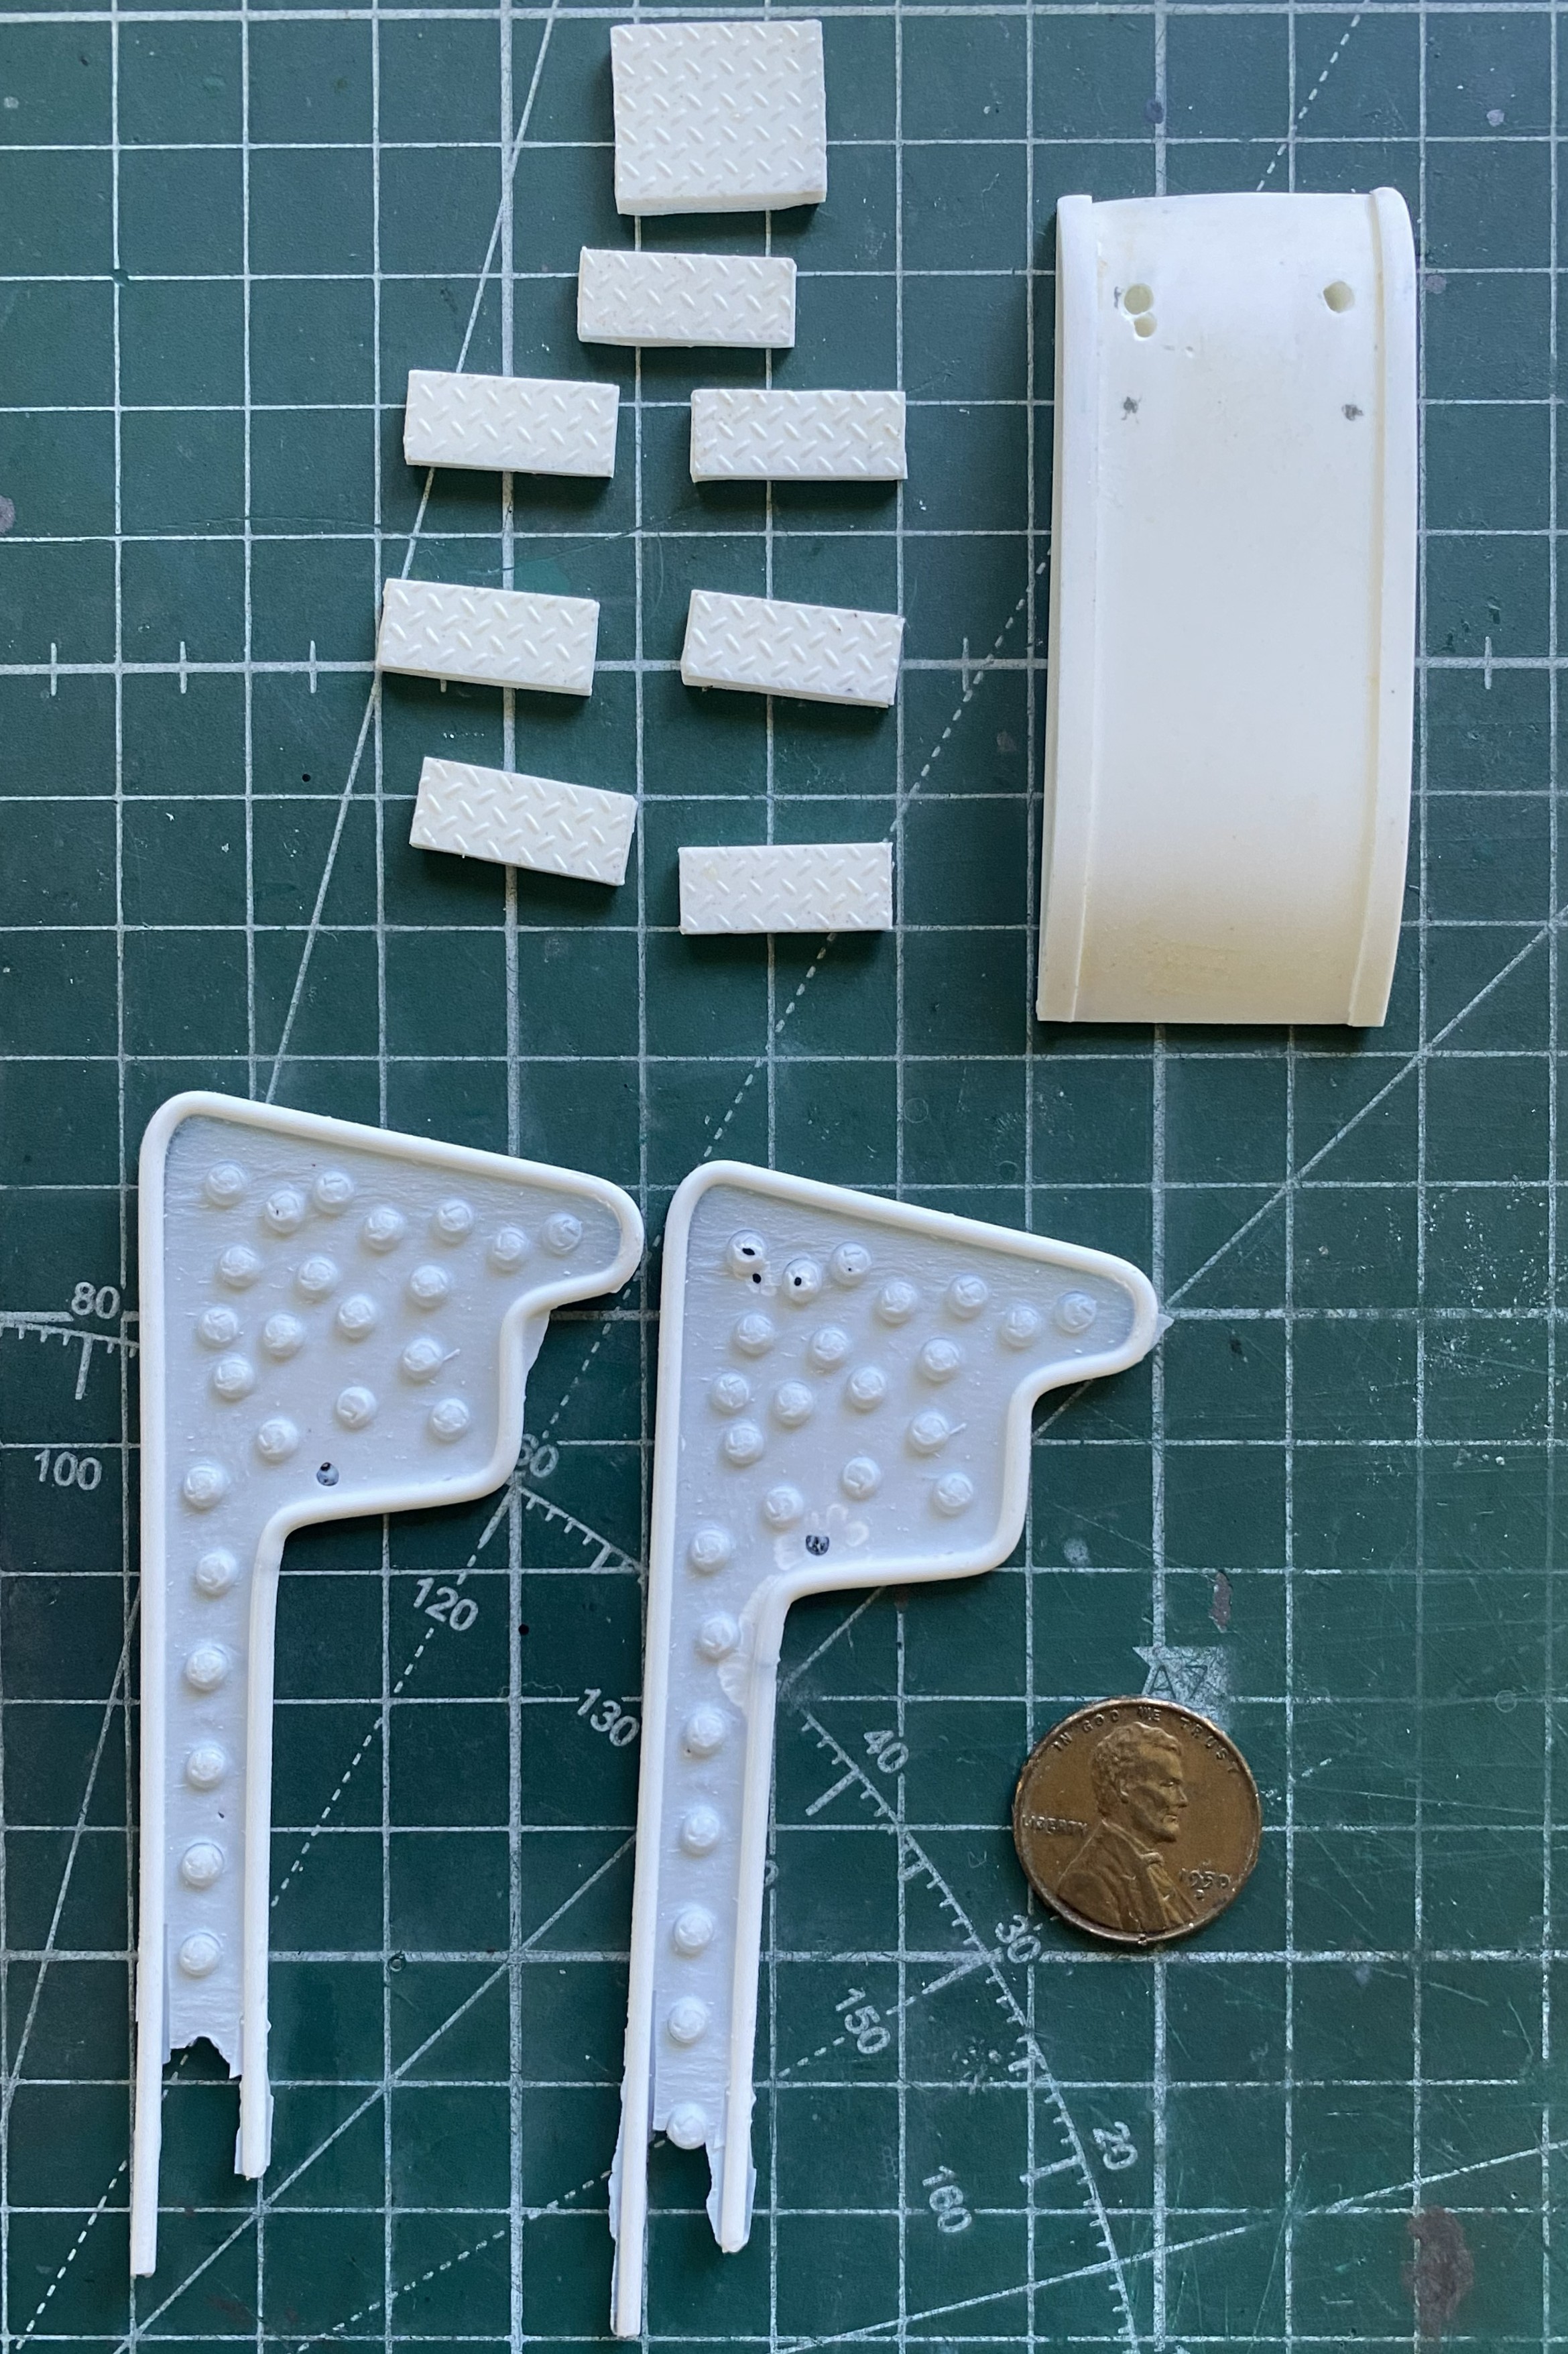
I decided that I should get the landing gear doors assembled and painted:
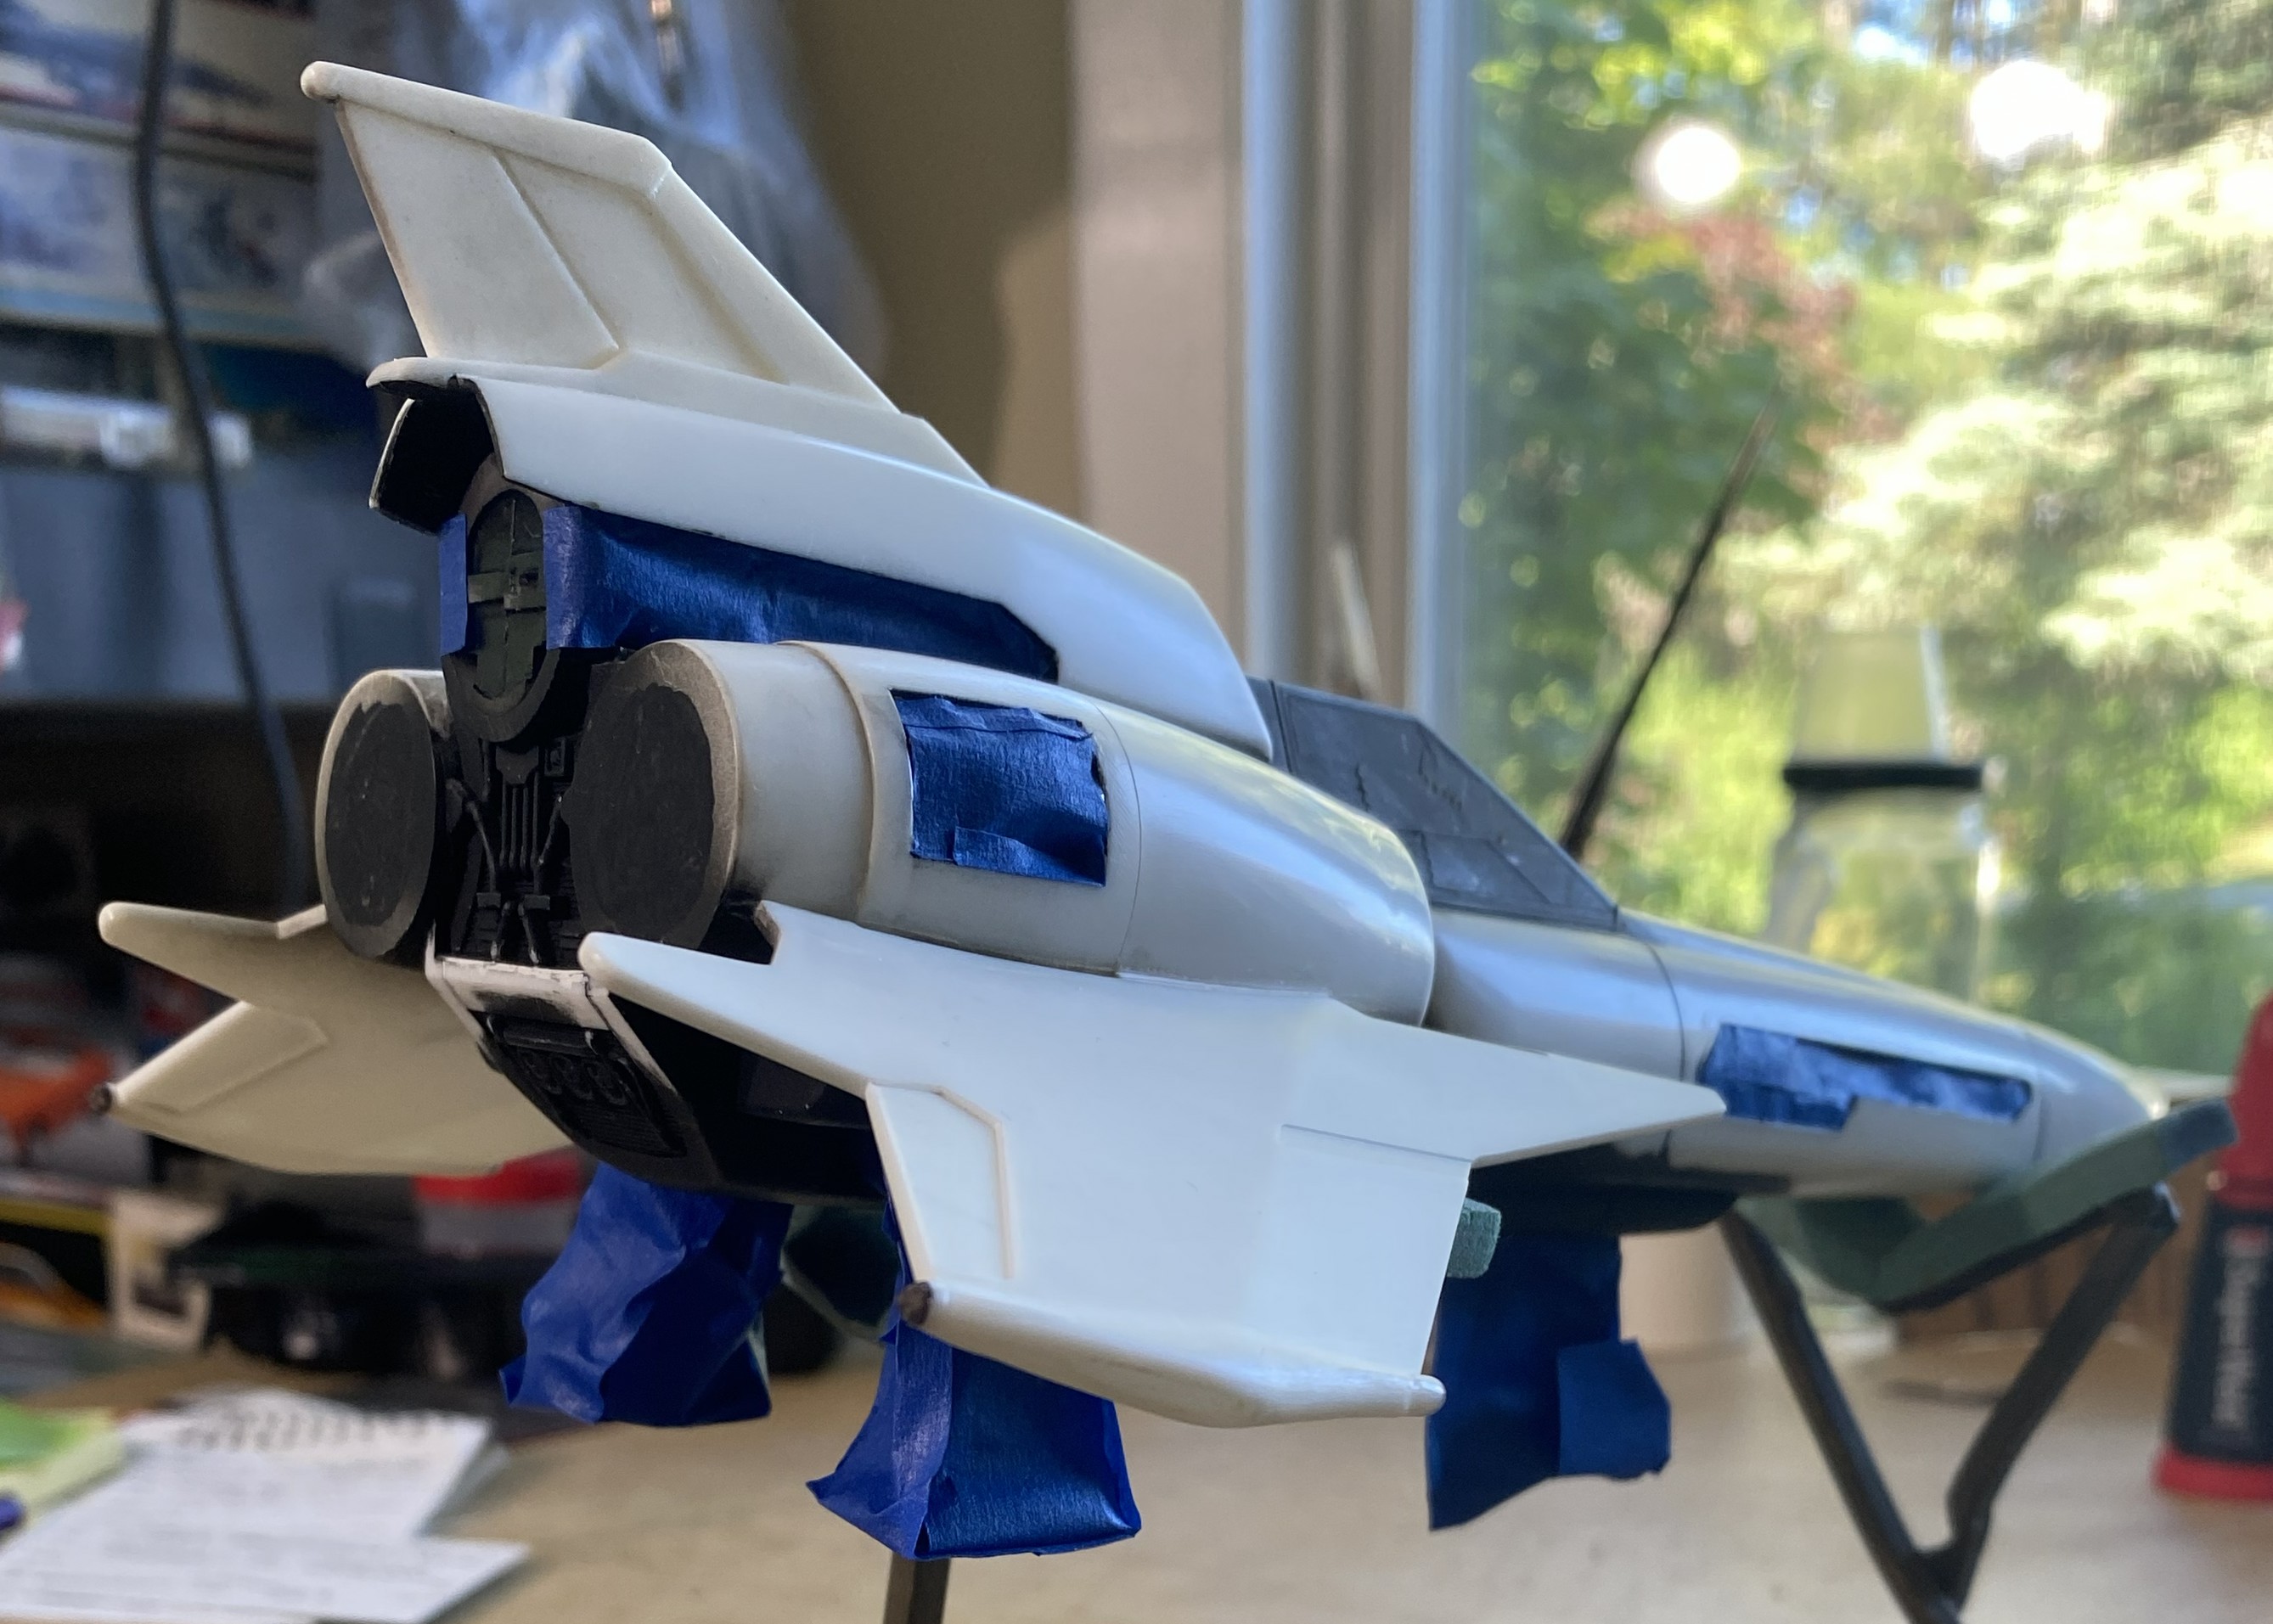
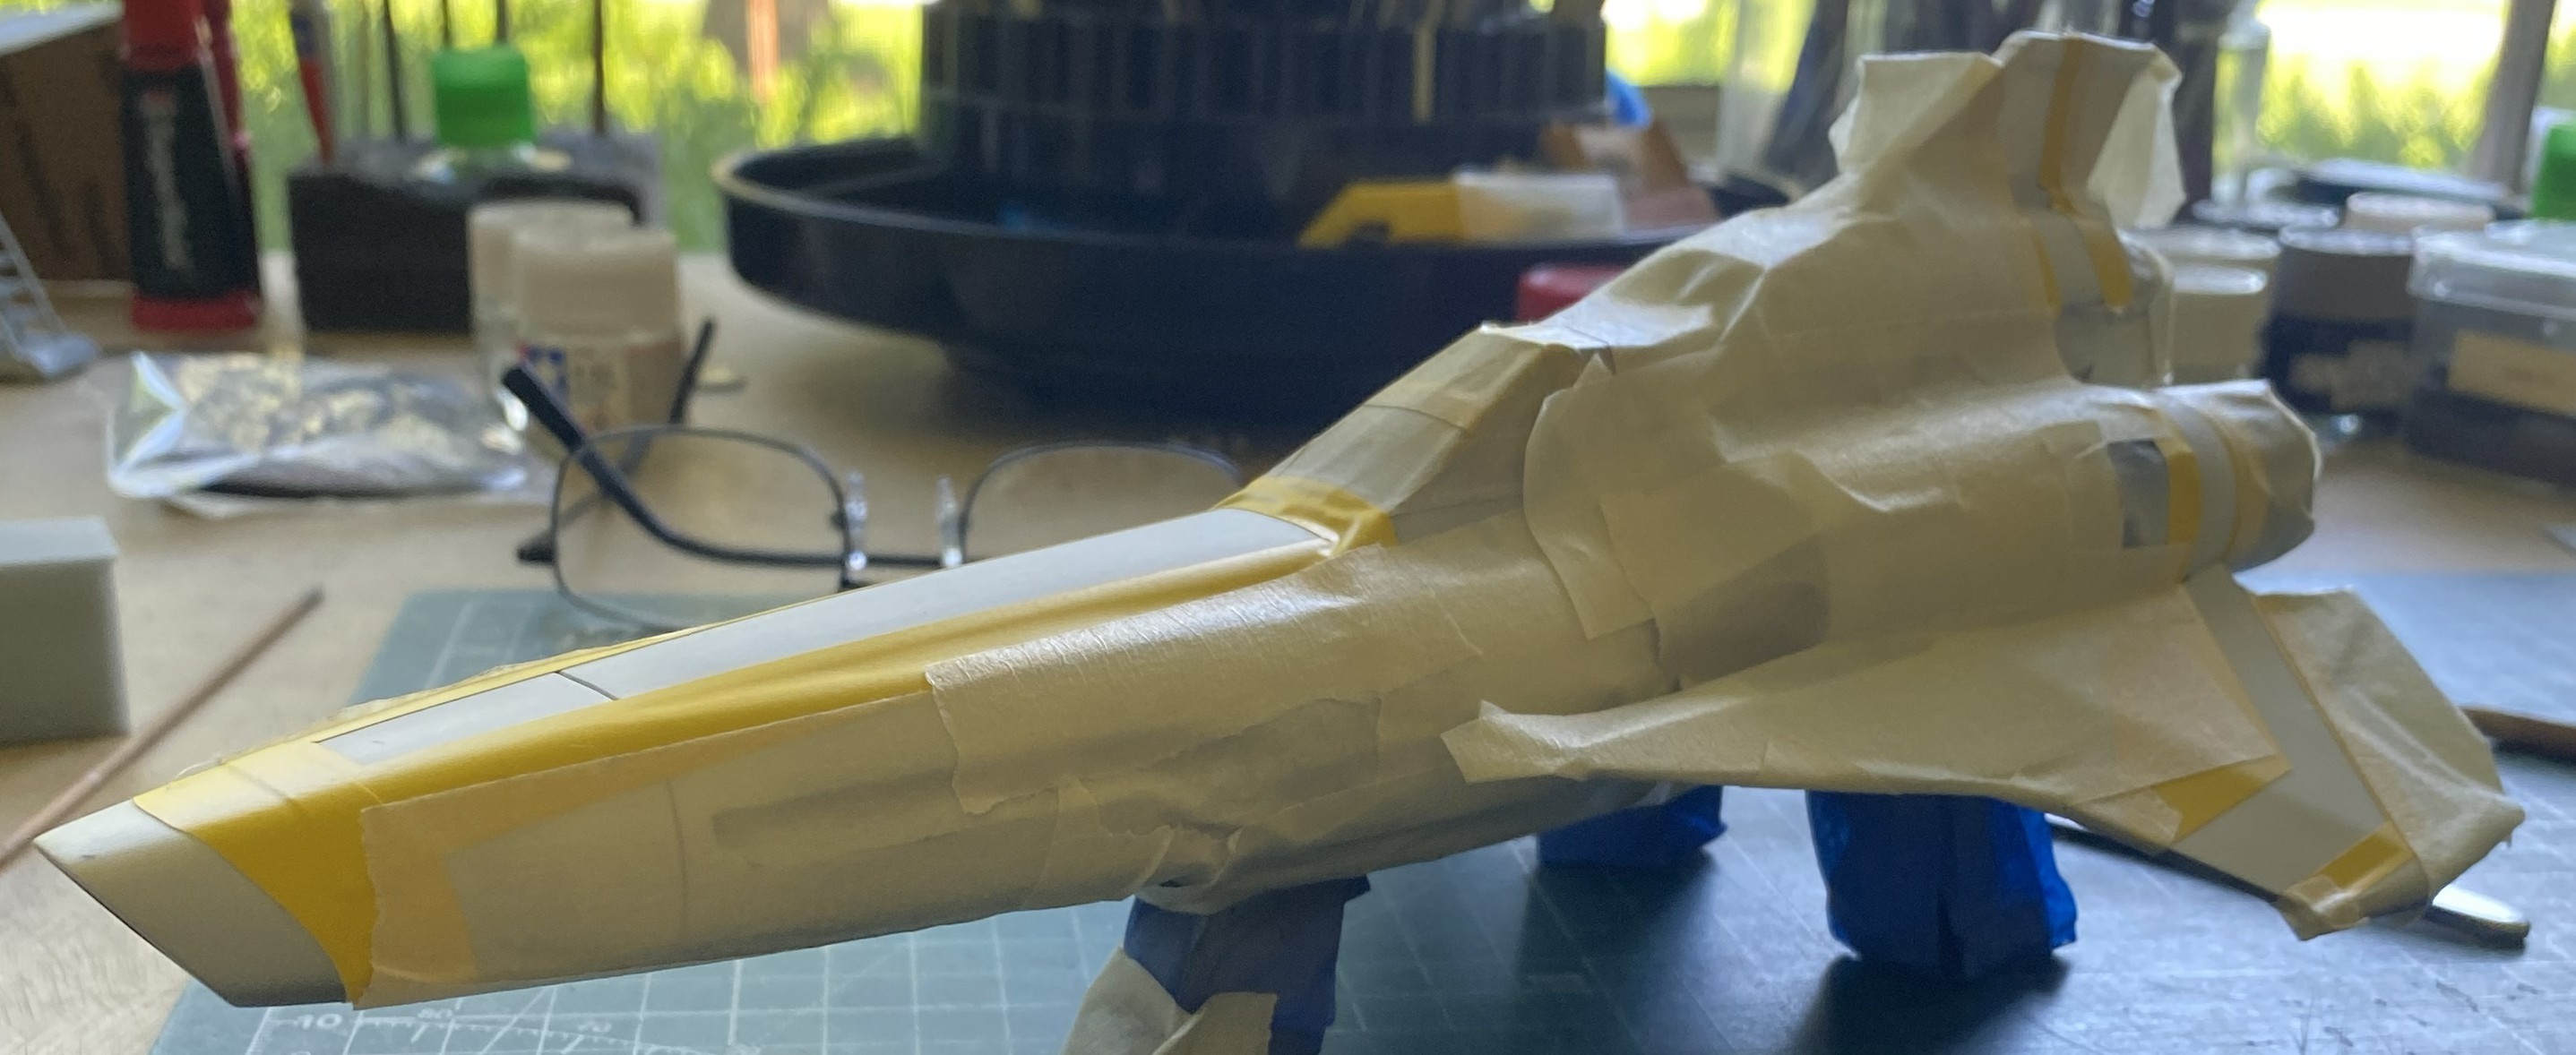
With the main fuselage components assembled and finished, painting time is getting nearer. Rather than attempt stuffing the cockpit with sponge or cotton (too many fragile PE edges and corners to snag on), I masked the canopy and attached it temporarily with PVA (which, to be honest, is my generally preferred method of keeping errant paint out of the cockpit):
From what I can tell from references, there’s not supposed to be a gap at the wing root, only under the engine panel, so I filled it in with scrap sheet and finished it down:

I also painted the actuator arms Humbrol Steel:
With the canopy temporarily affixed, the framework had to be painted the cockpit color:
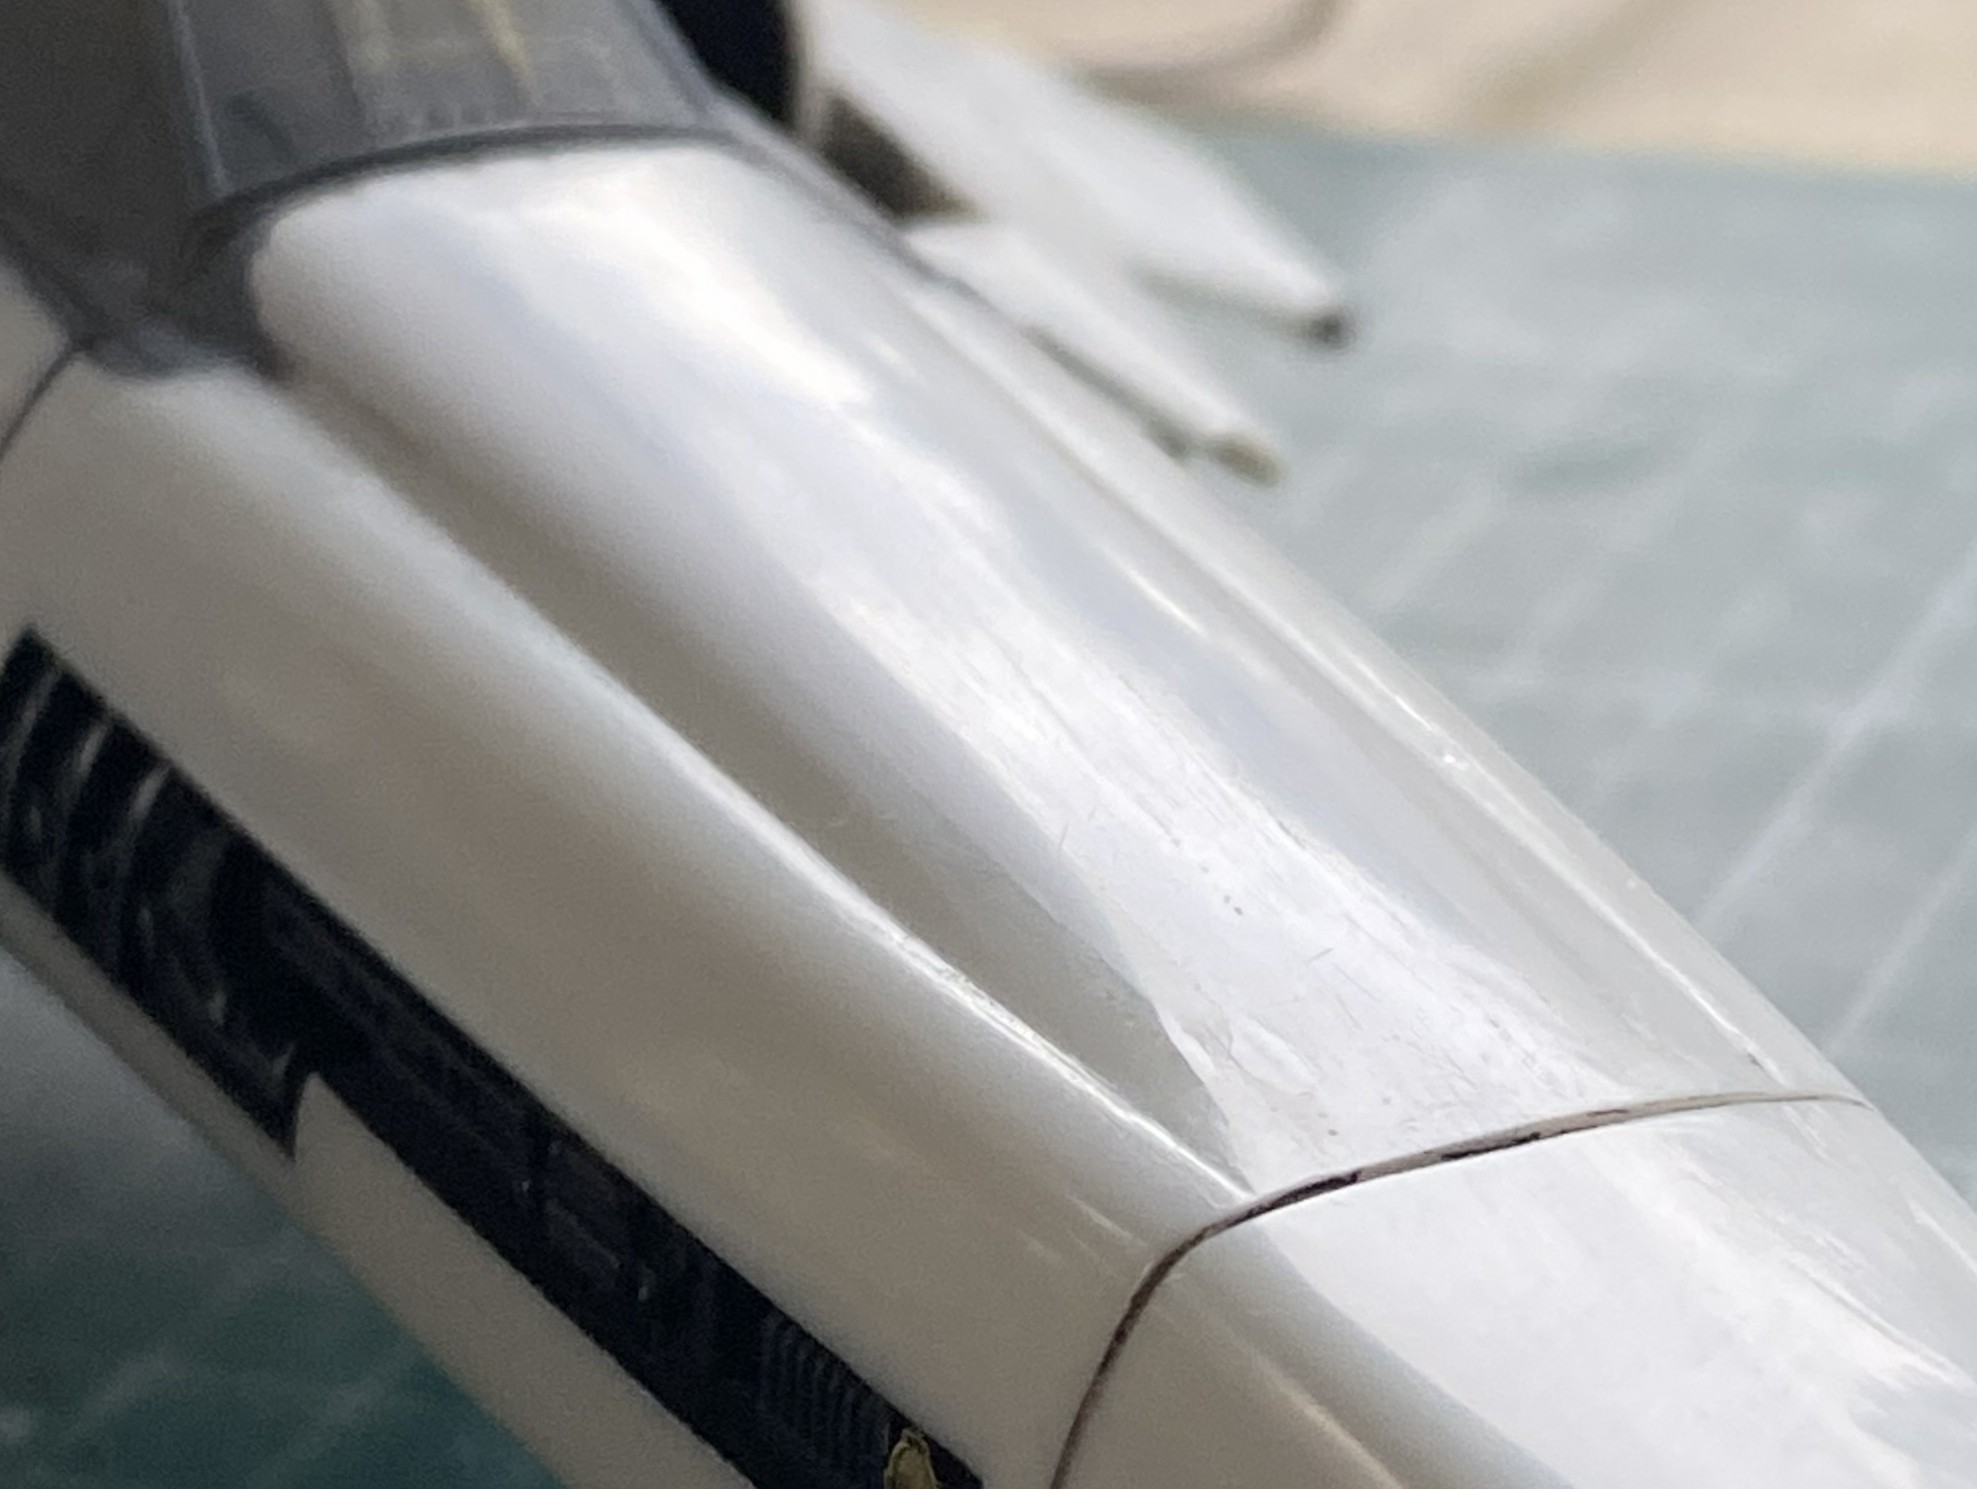
Back to work on the nose, I brought down the added scraps and I still wasn’t pleased with the result. The last thing I could think of (that was acceptable, anyway) was plue, so I painted the problem areas with it and waited:
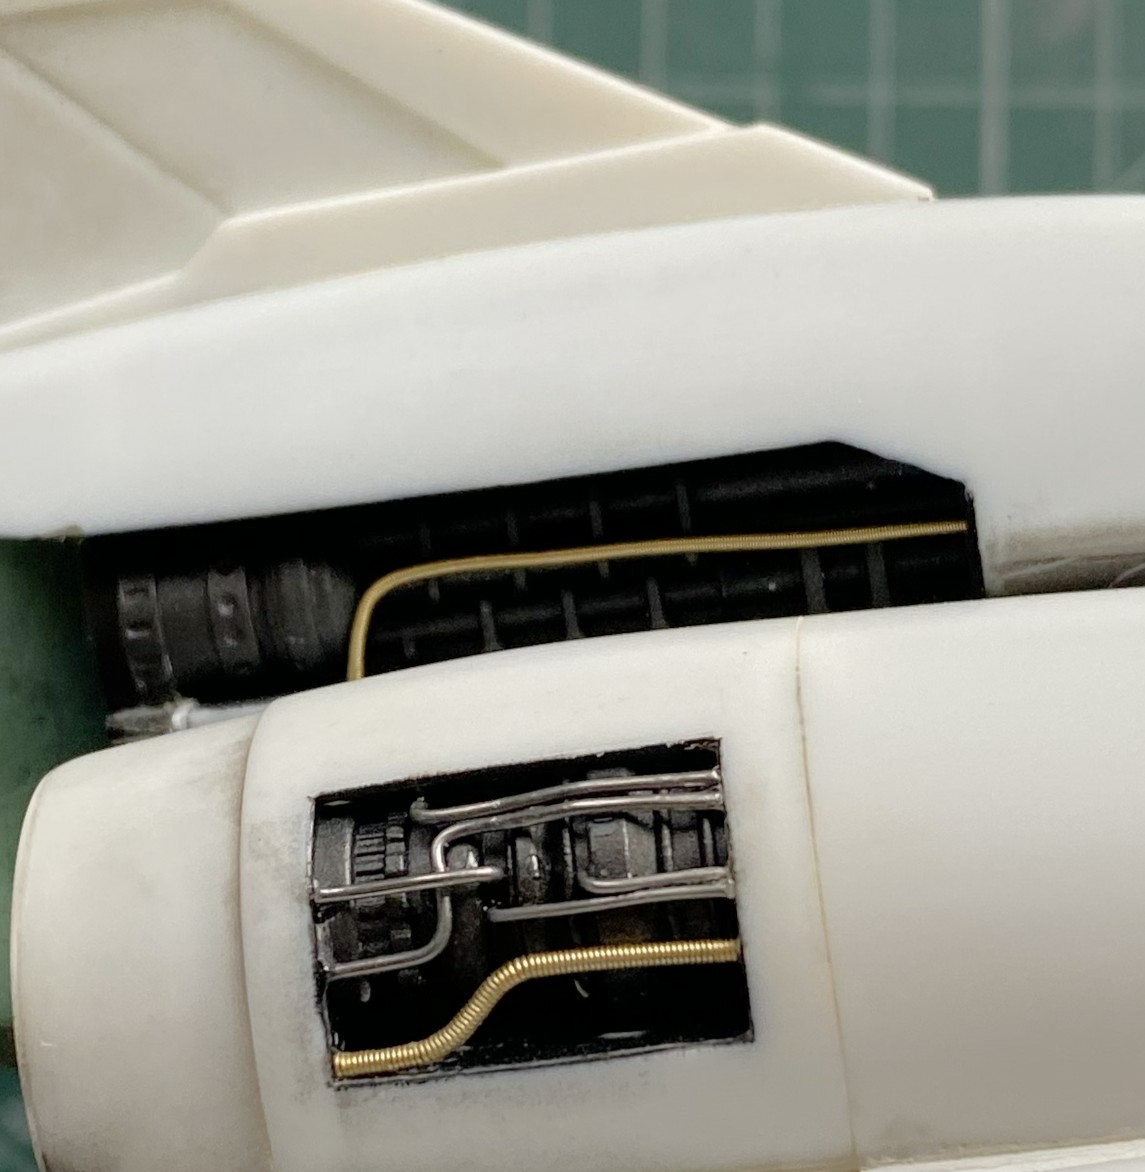
While the plue cures, I started adding details to the center engine:
I’d added discs to the back of the nozzles so that I had a styrene to styrene join. I decided that maybe I should check and see how that would look. Too much of a gap between fuselage and nozzle, indicating that I’d outsmarted myself. Again:
I have plenty of sandpaper and this was an easy fix:
With the plue cured, more sanding was done on the nose:
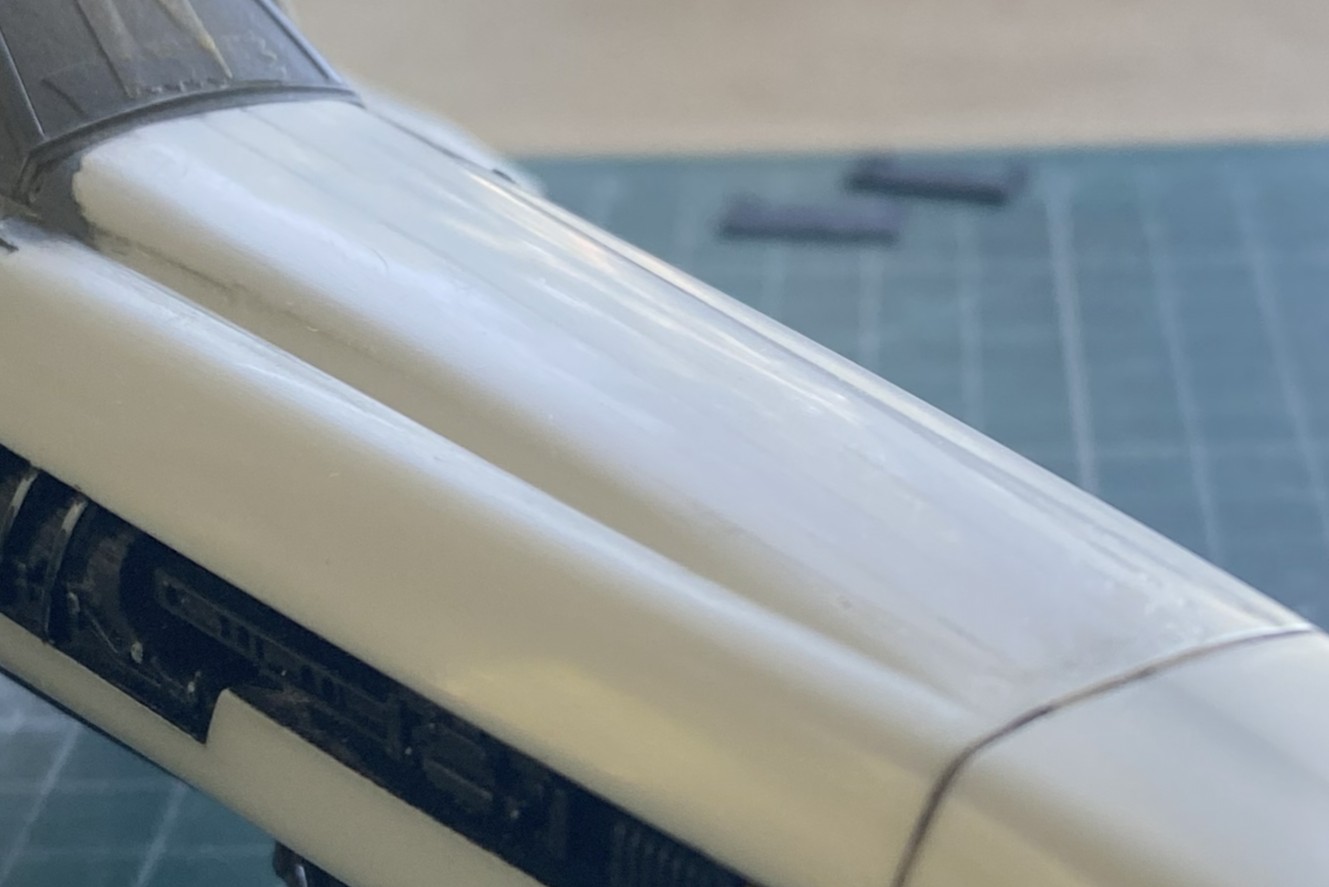
Still not entirely pleased but the best part of being good is knowing when to stop. I don’t know when to stop so the above is me guessing. Paint will inform me if I’ve guessed correctly.
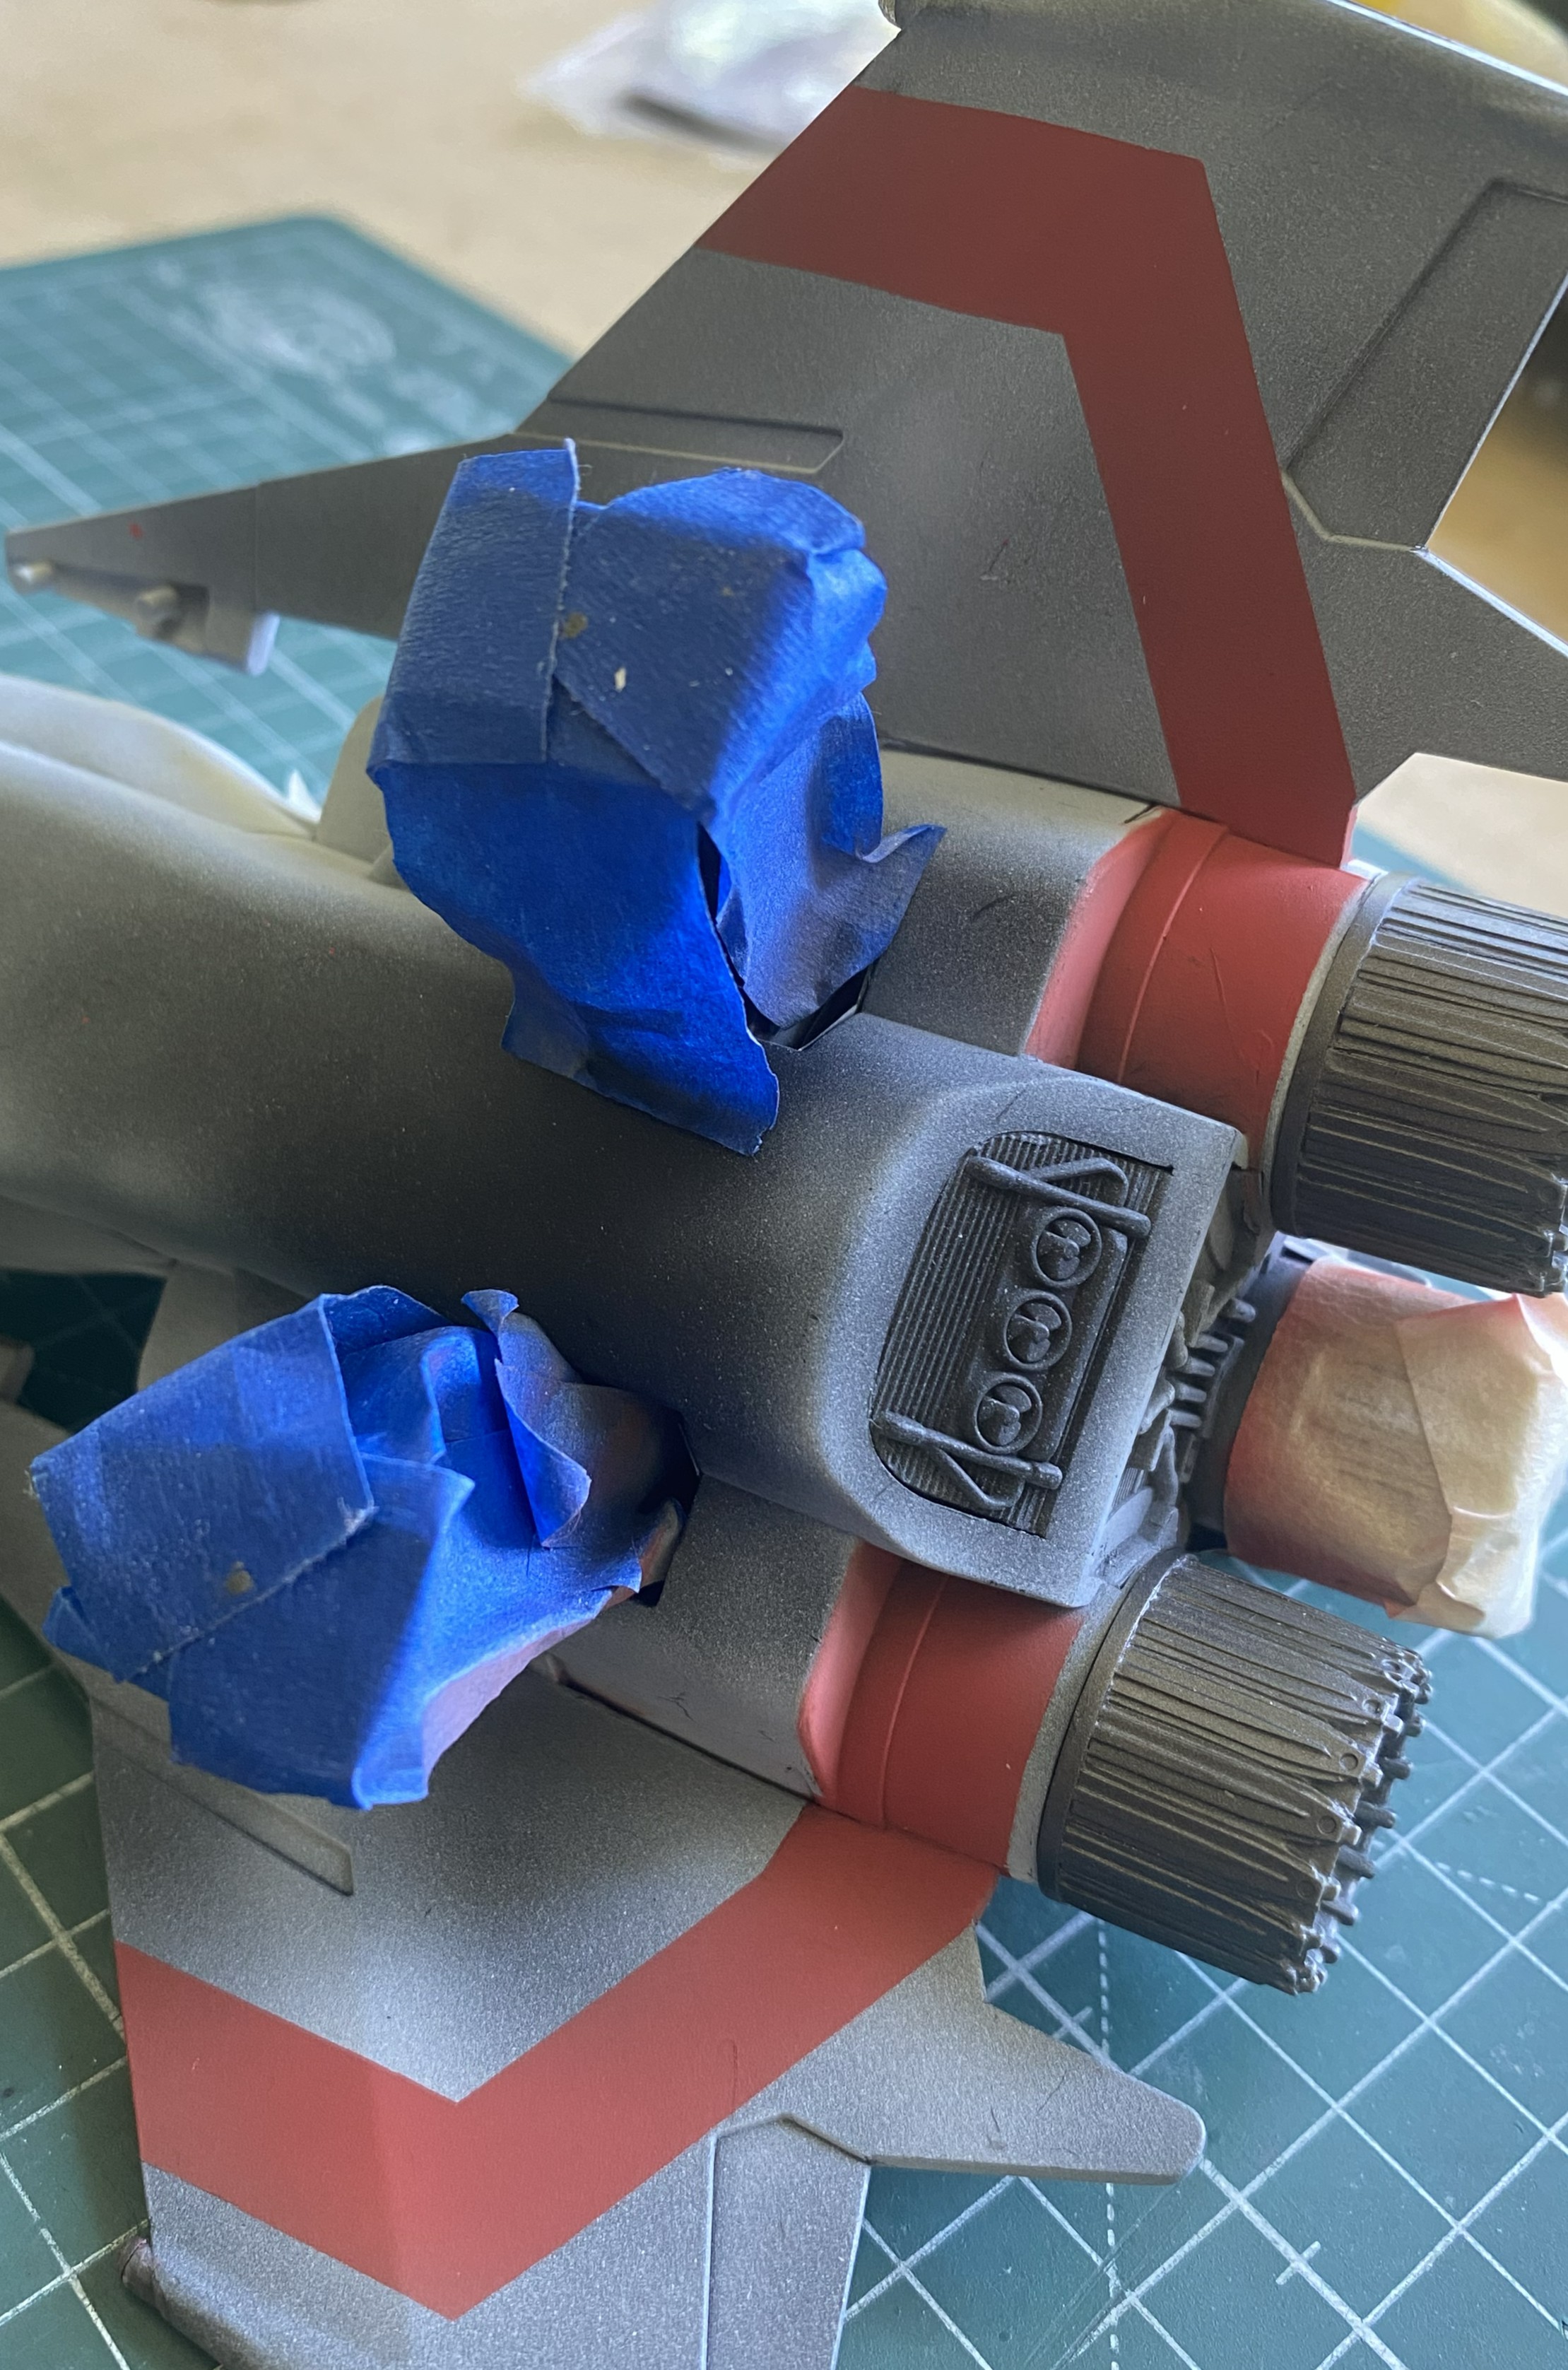
The rear section needs to be worked next, adding putty and scrap to smooth and connect things:
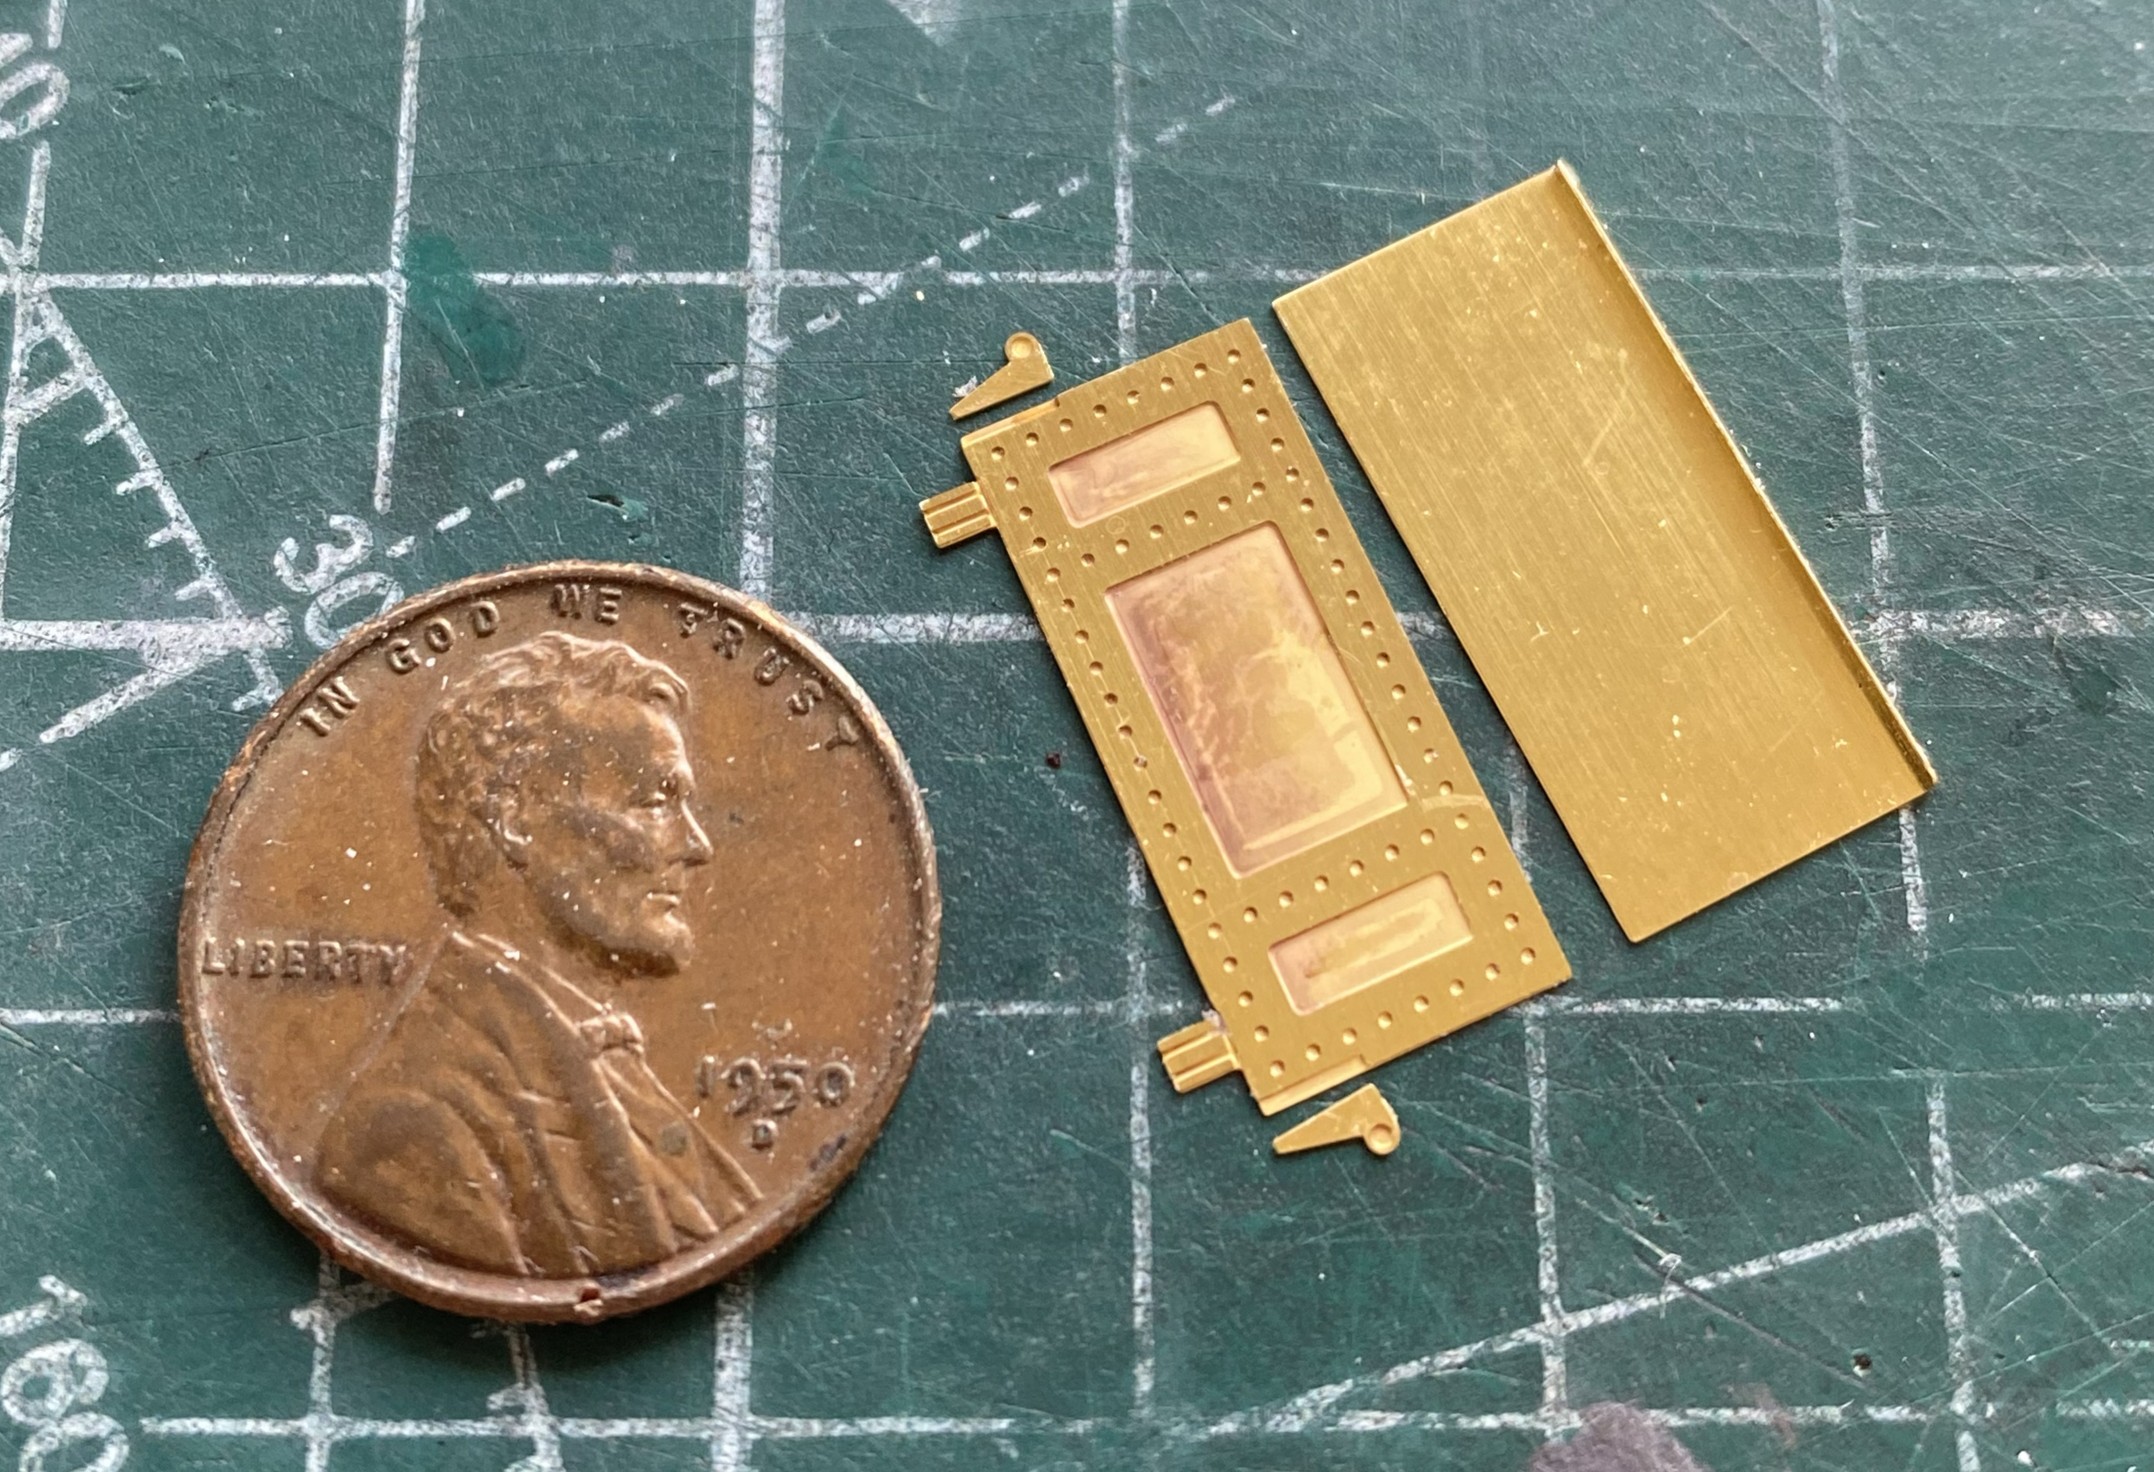
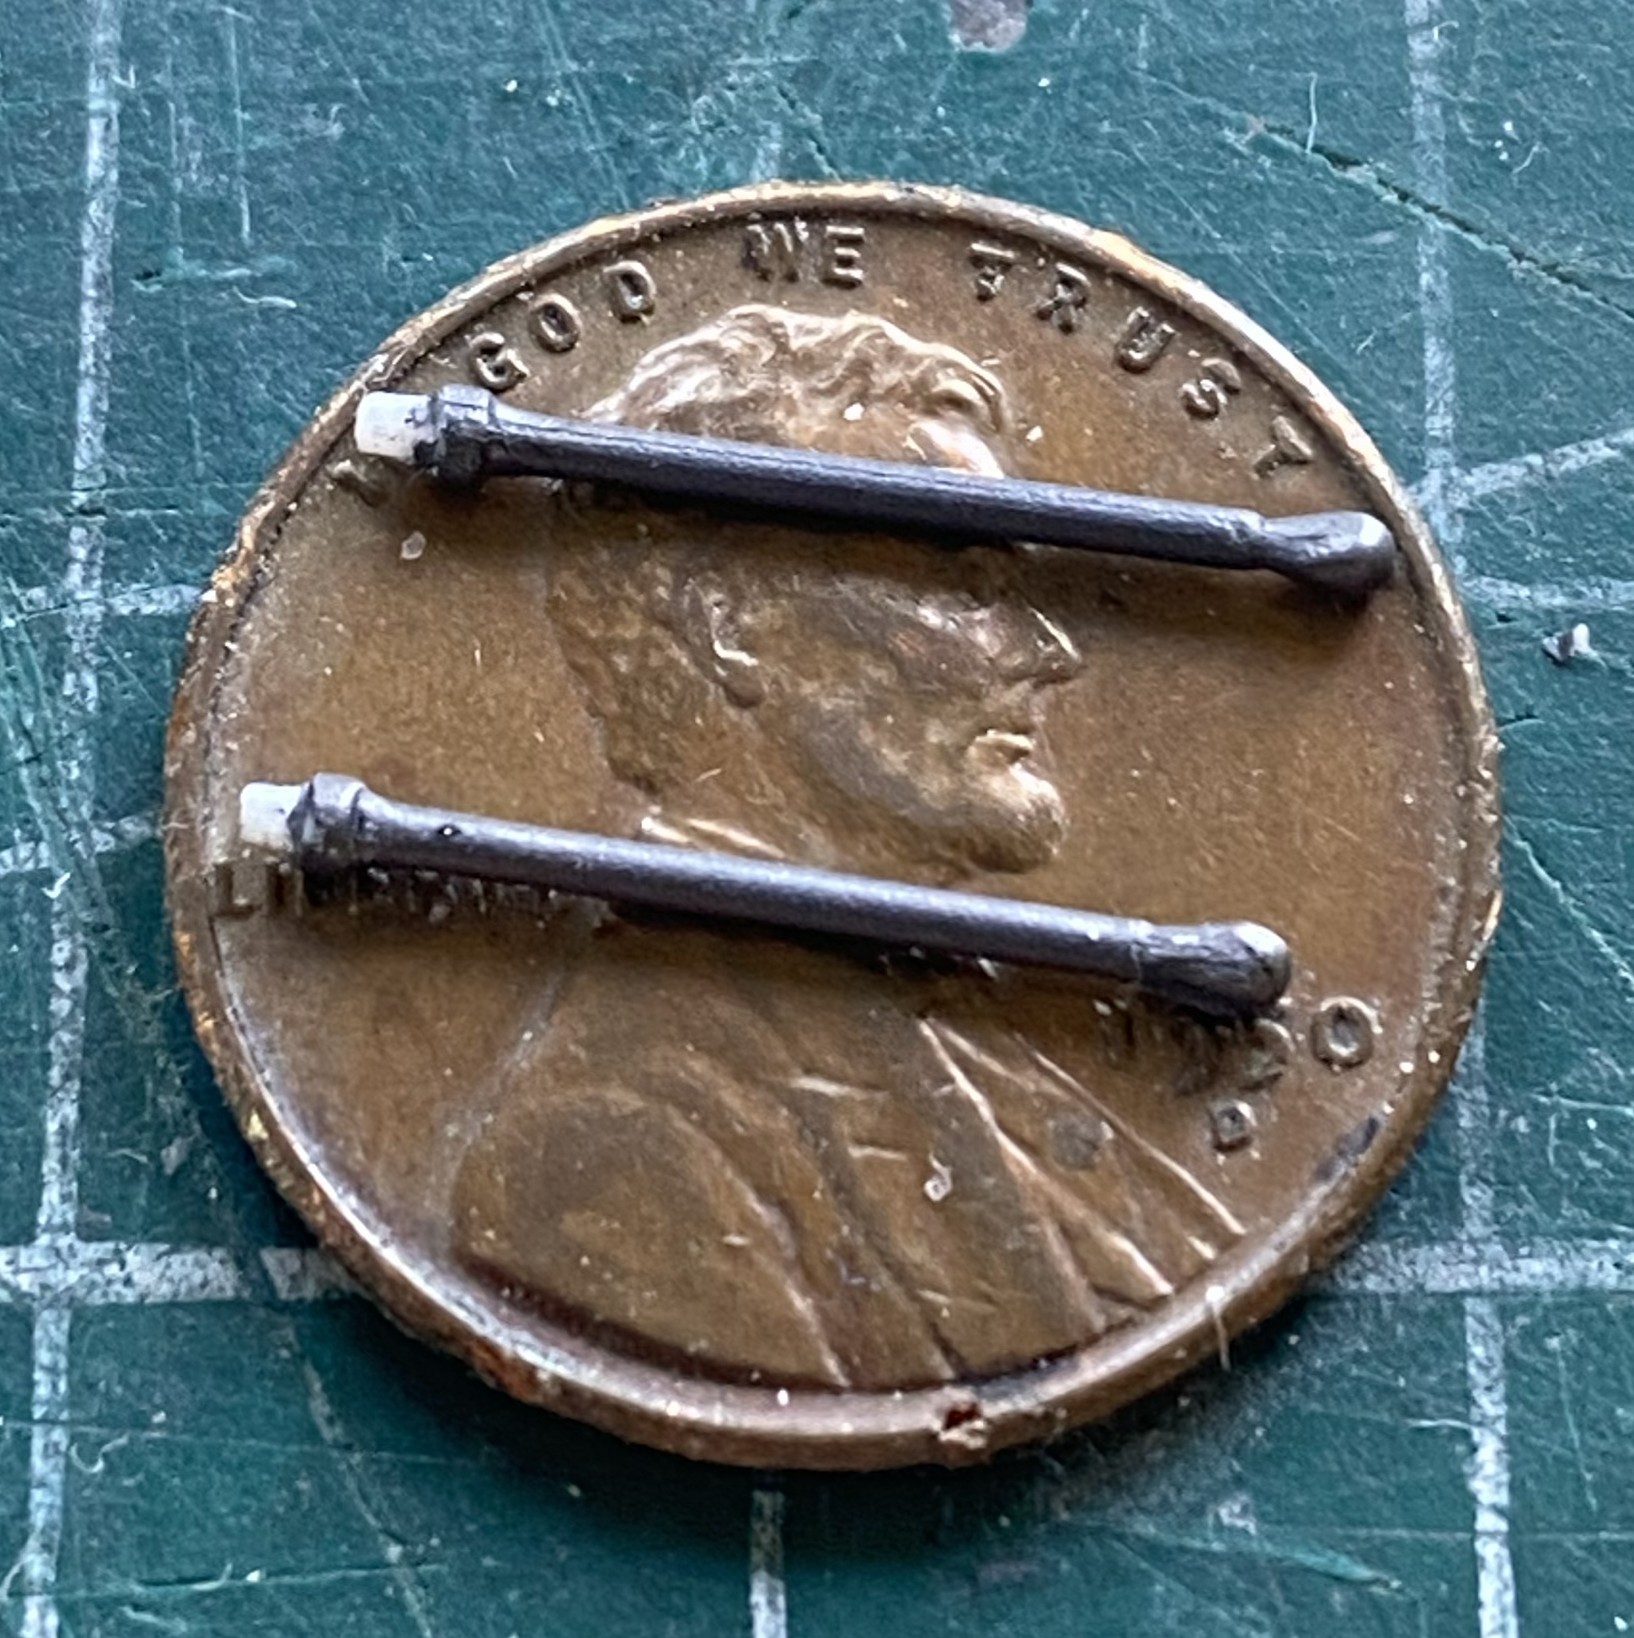
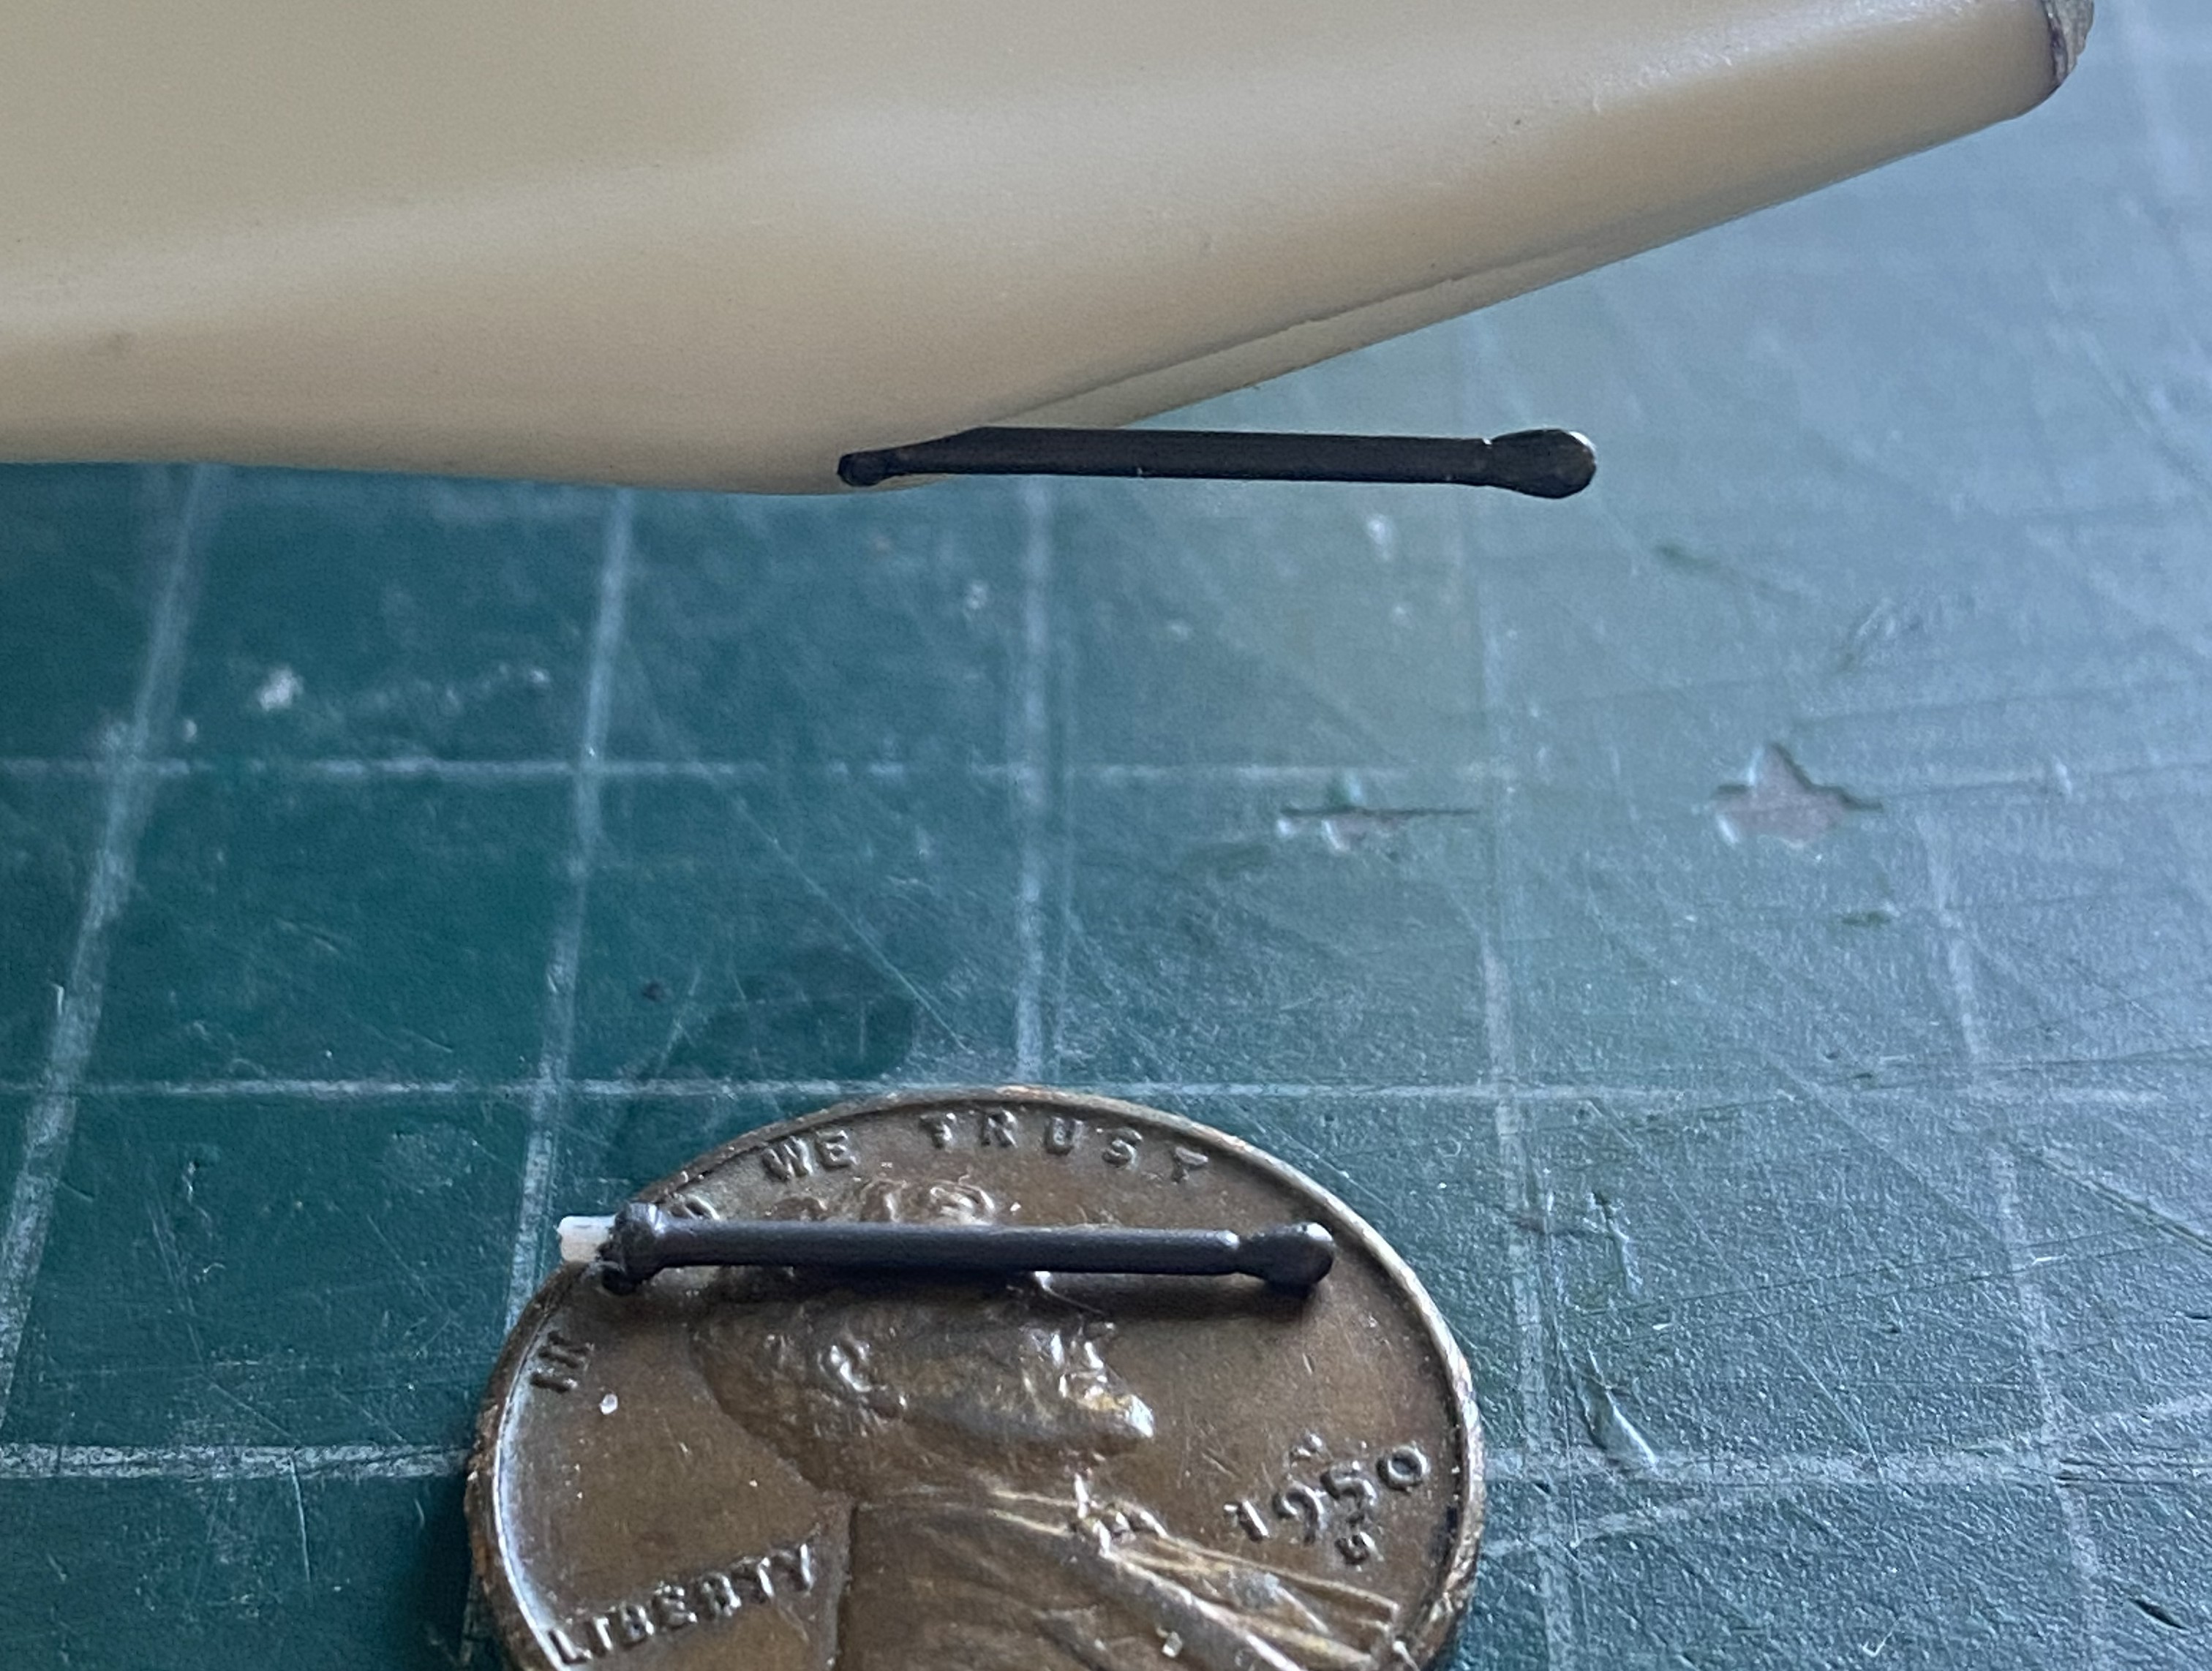
I was surprised to see a bit of an actual aircraft’s kit included with this model. Static discharge antennae. I thought it more than a little odd that the designers of this prop would add a piece of gear that’s intended for atmospheric flight. And yeah, sure. This thing was supposed to be able to operate in an atmosphere, so, okay. I just found it odd that the designers would add that piece of realism and yet make the engines utterly unrealistic.
Anyway, I painted them Humbrol Steel, and dry-fitted them (sans glue) to see how they’d look. I’m not impressed and am considering doing something else but have yet to decide:
I’m intending to make a vignette for this and my plans require a boarding ladder. Revell’s issue of this kit provides a ladder, Moebius’ kit (the one I’m working) did not. After several hours of wrestling with floral wire (correct diameter and easy to bend) to profoundly underwhelming results, I went online to find one and what I found is resin. It won’t be without its challenges but it’s magnitudes better than the garbage I was producing:
The handrails are warped so I decided to start gently reshaping them using weight:
Then I went online and continued searching for a boarding ladder and found one in Britain (cozmicscalemodels.com) that just knocks the first one out of consideration:
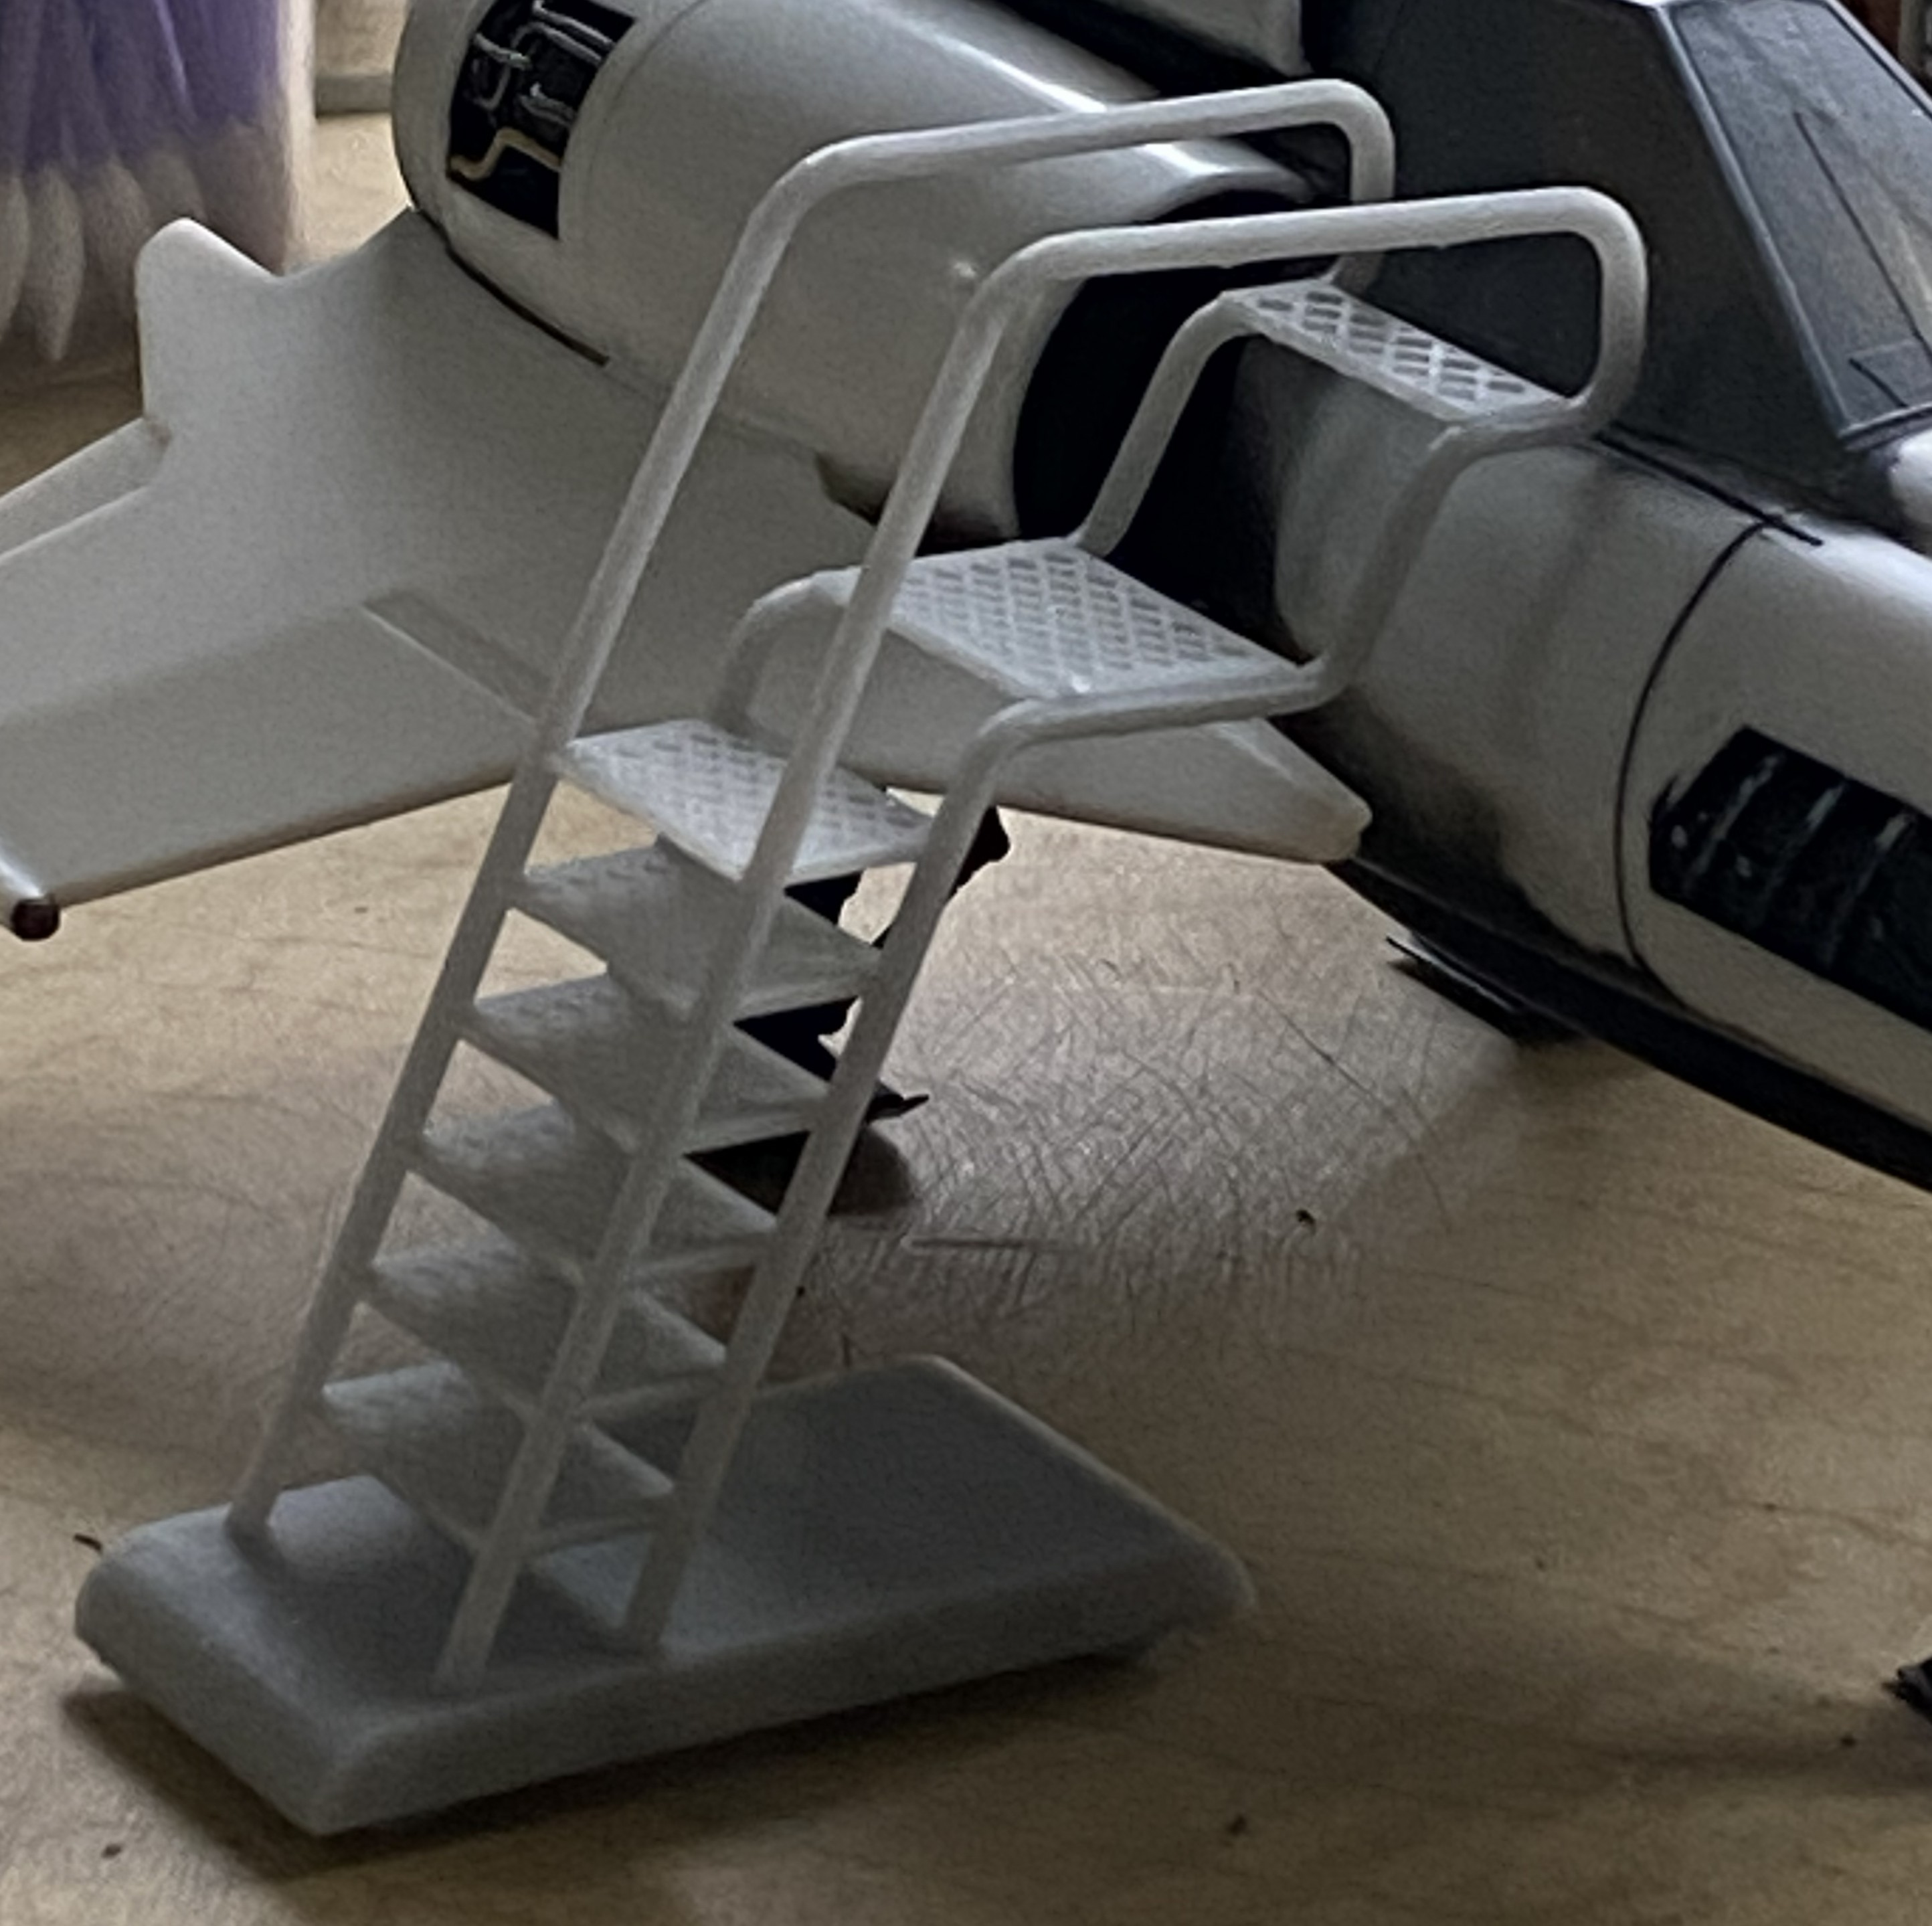
That’s a 3D print, complete, and just requires a little cleanup:
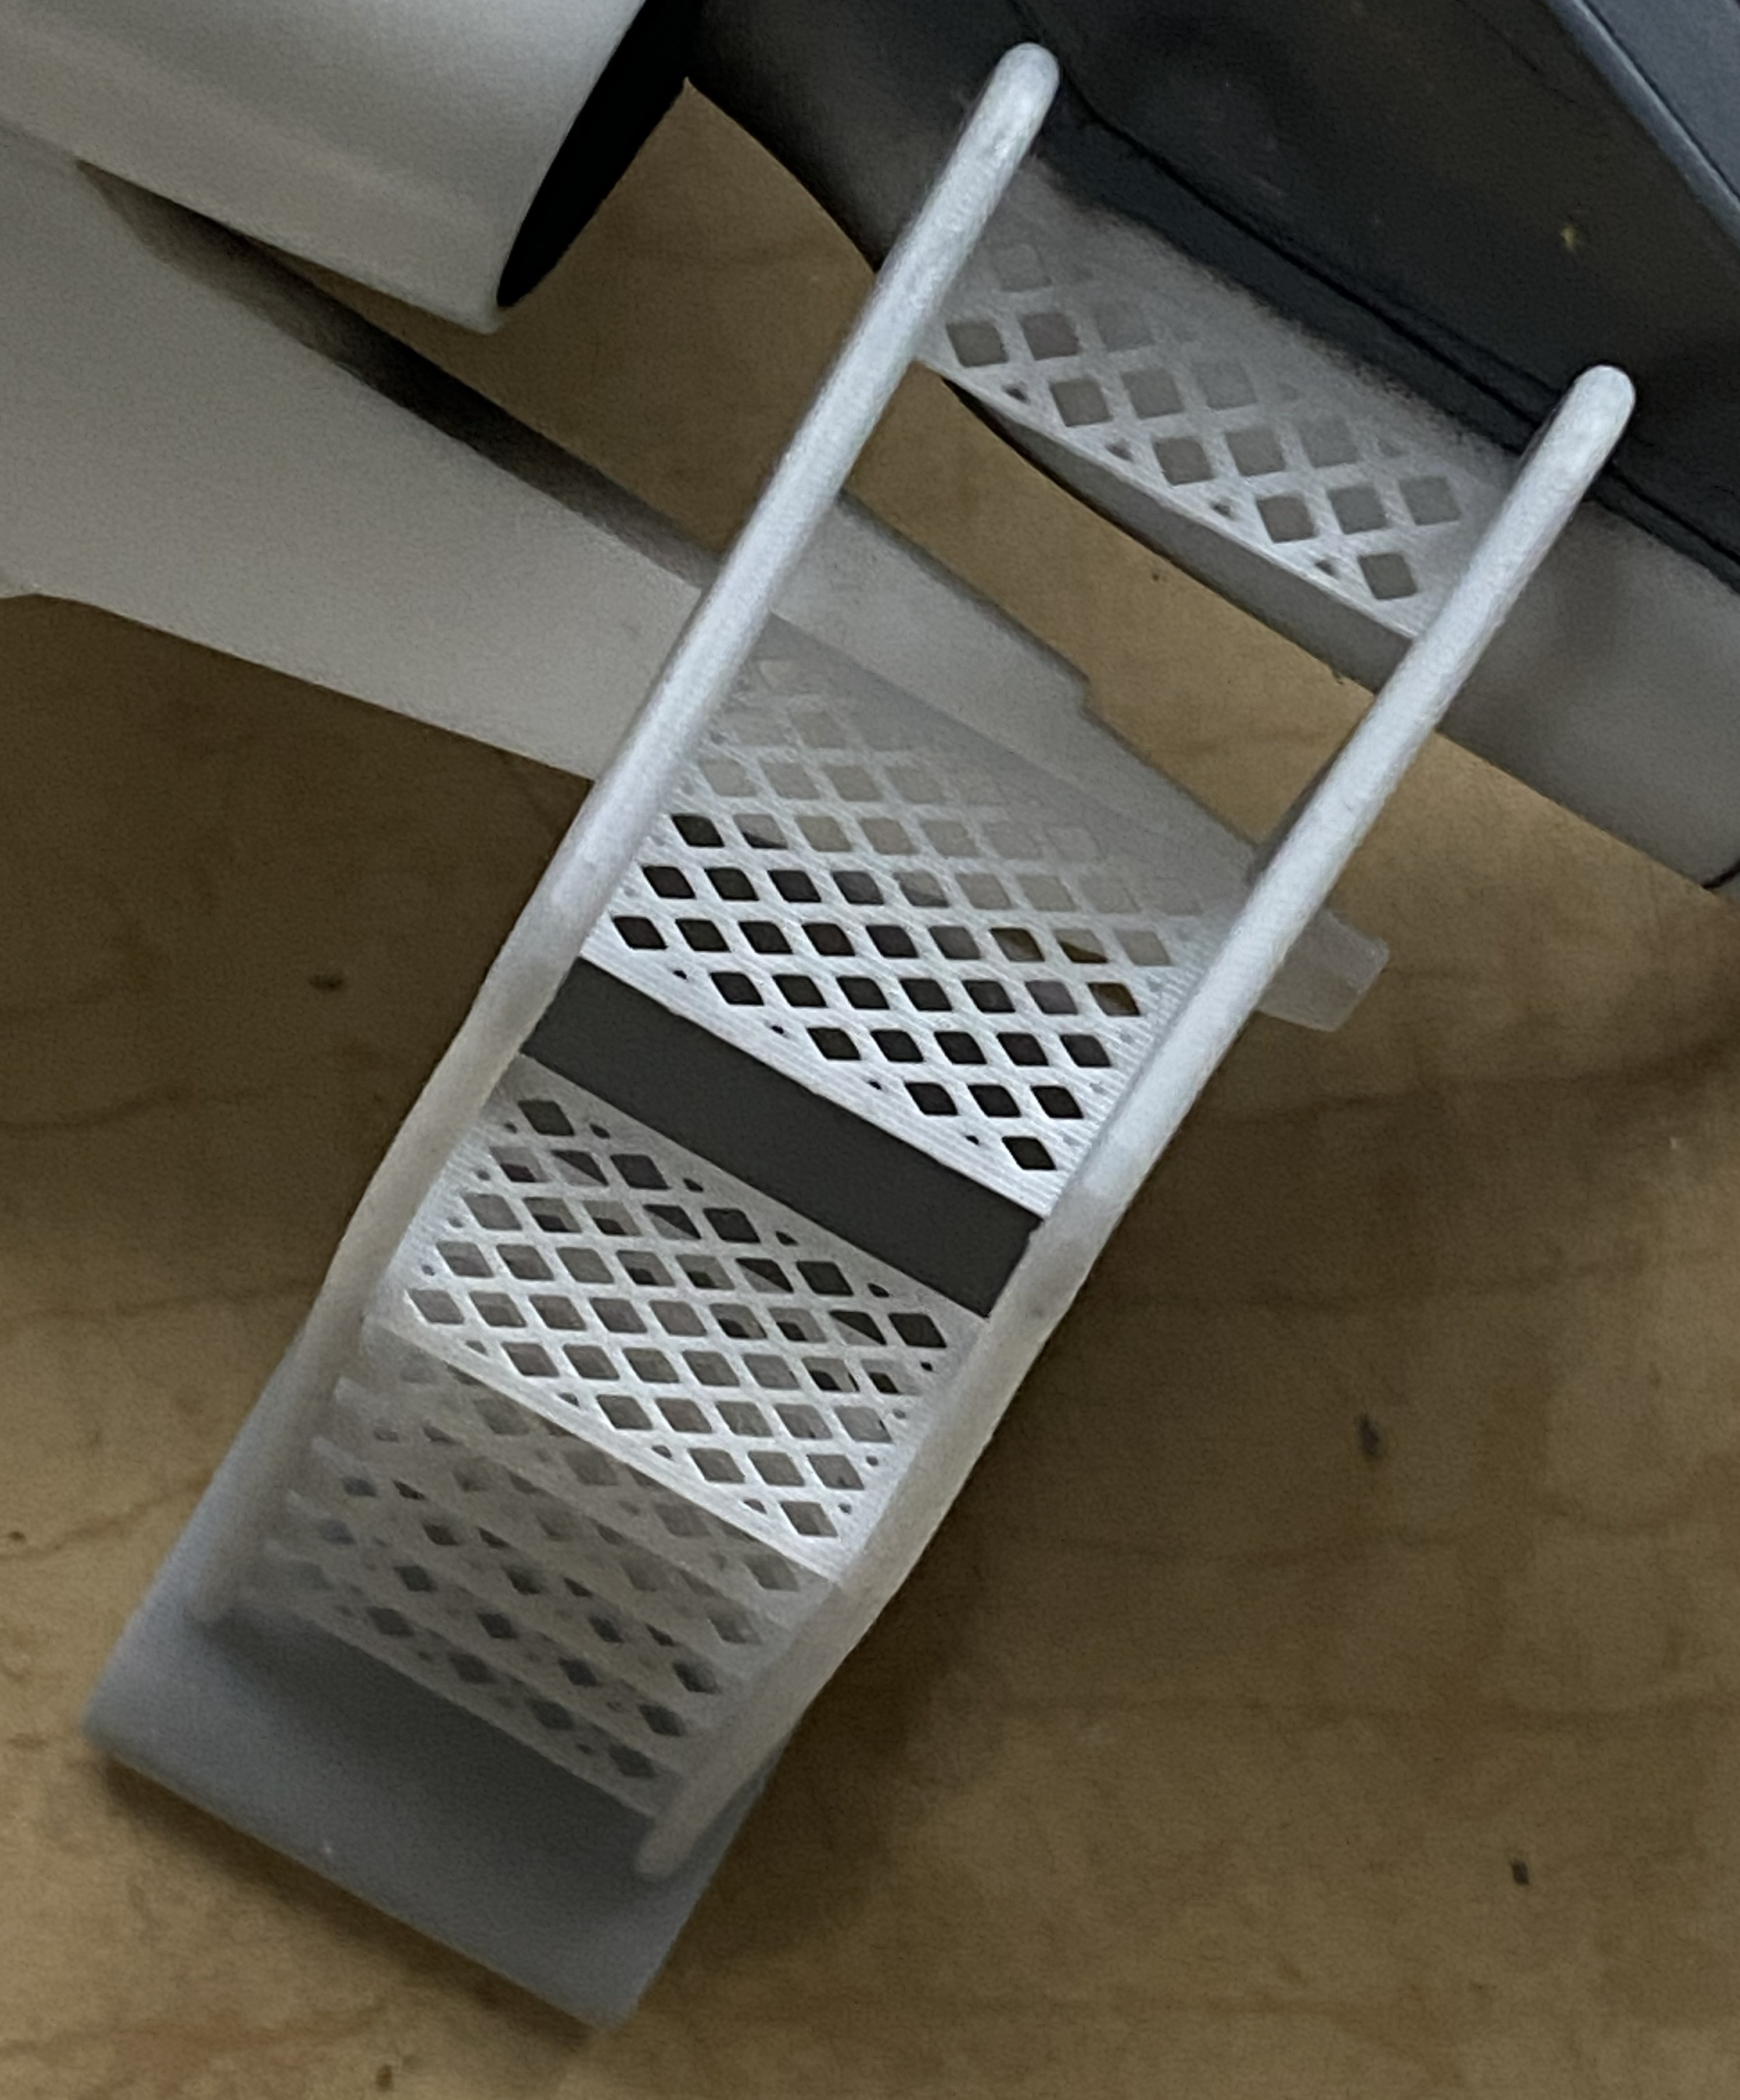
Perfection is rare and this ladder isn’t perfect. The handrails require a little persuasion to be parallel at the top:
I used a piece of styrofoam to lift and separate (oops…wrong commercial). But you get it:
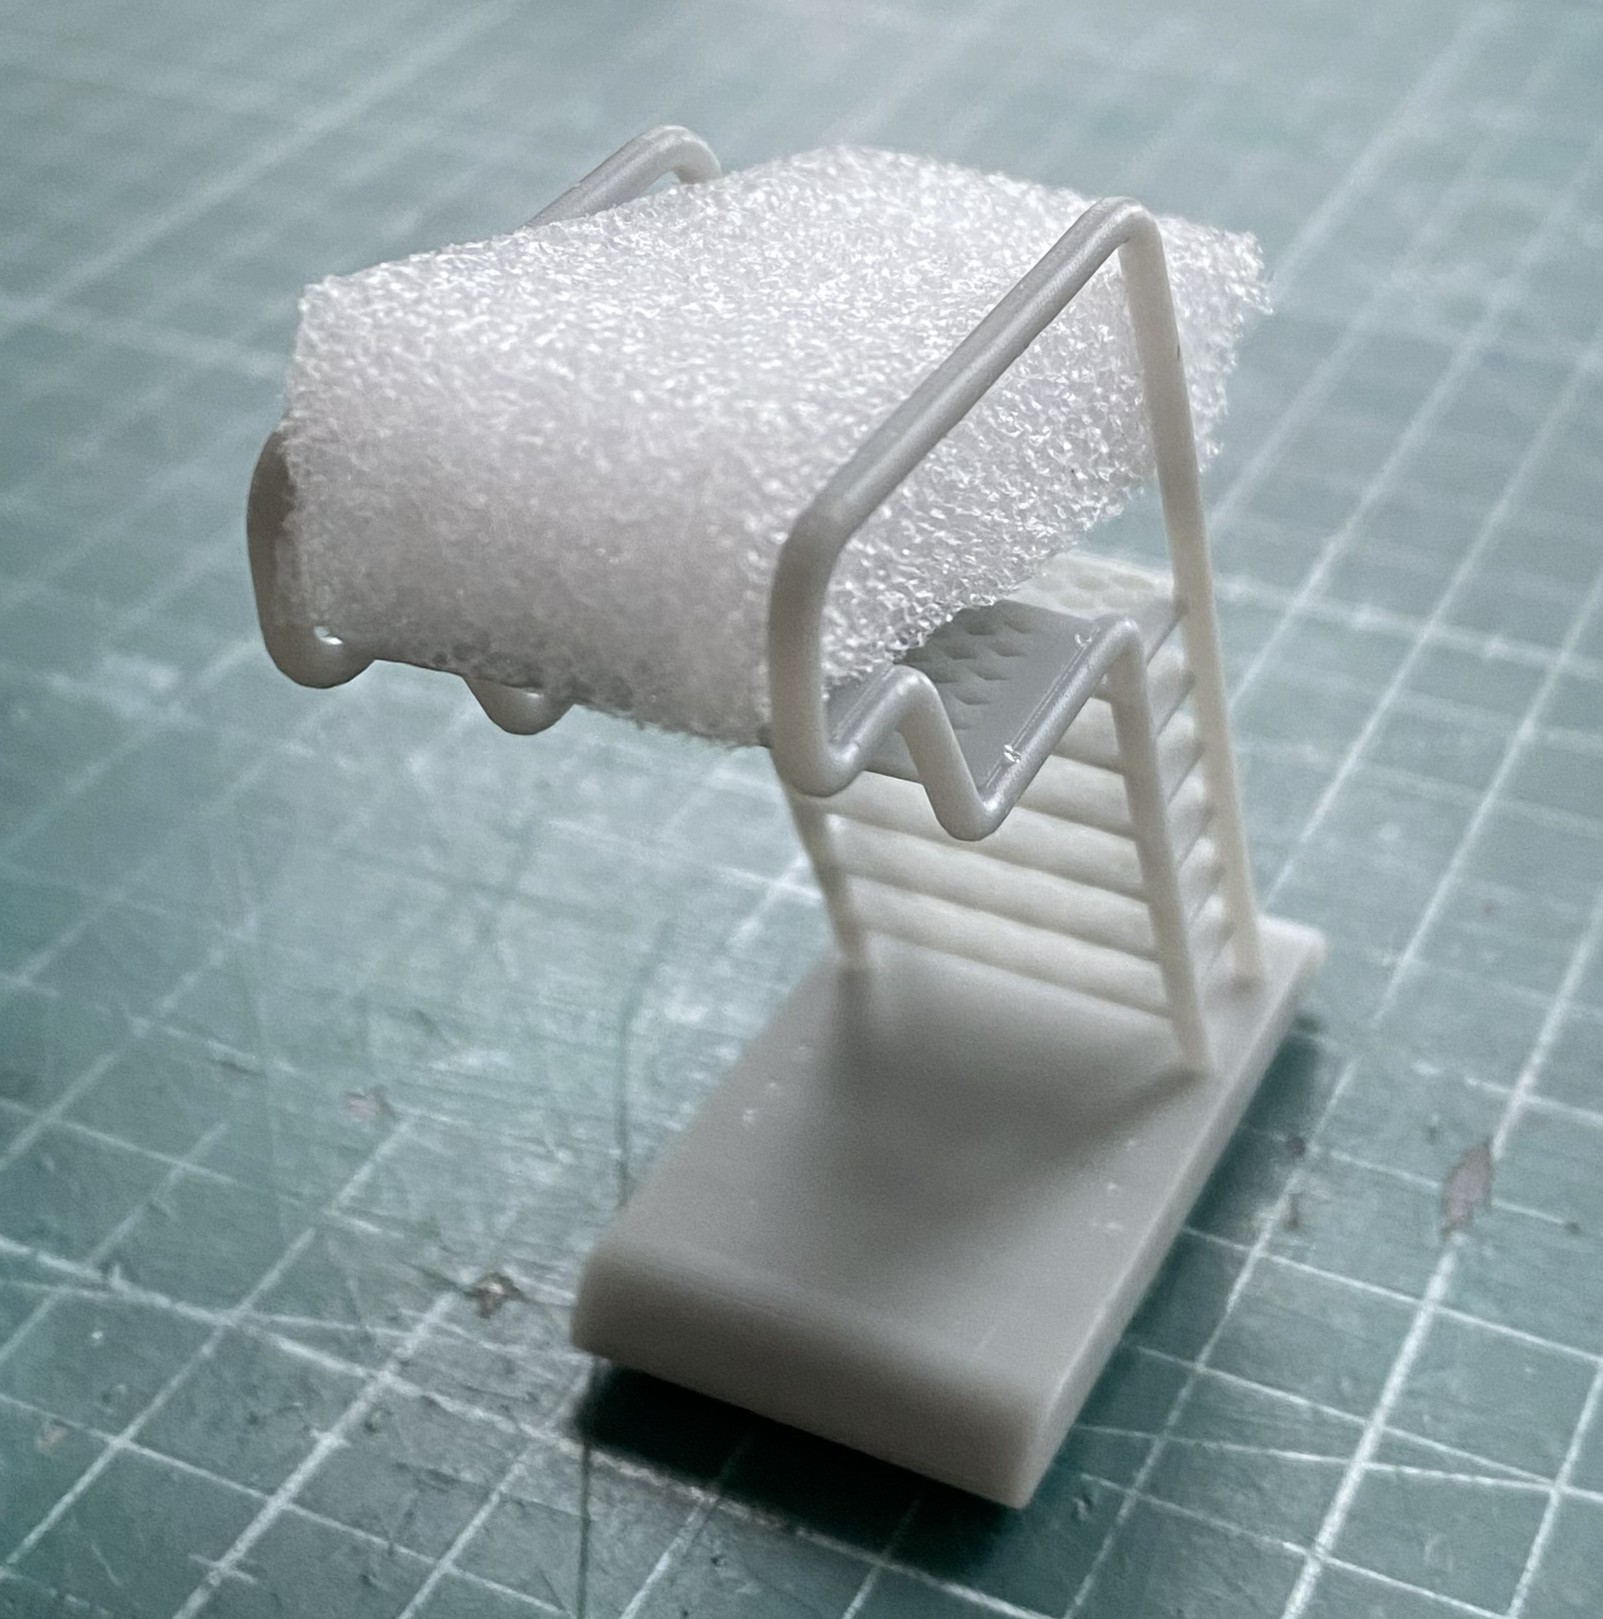
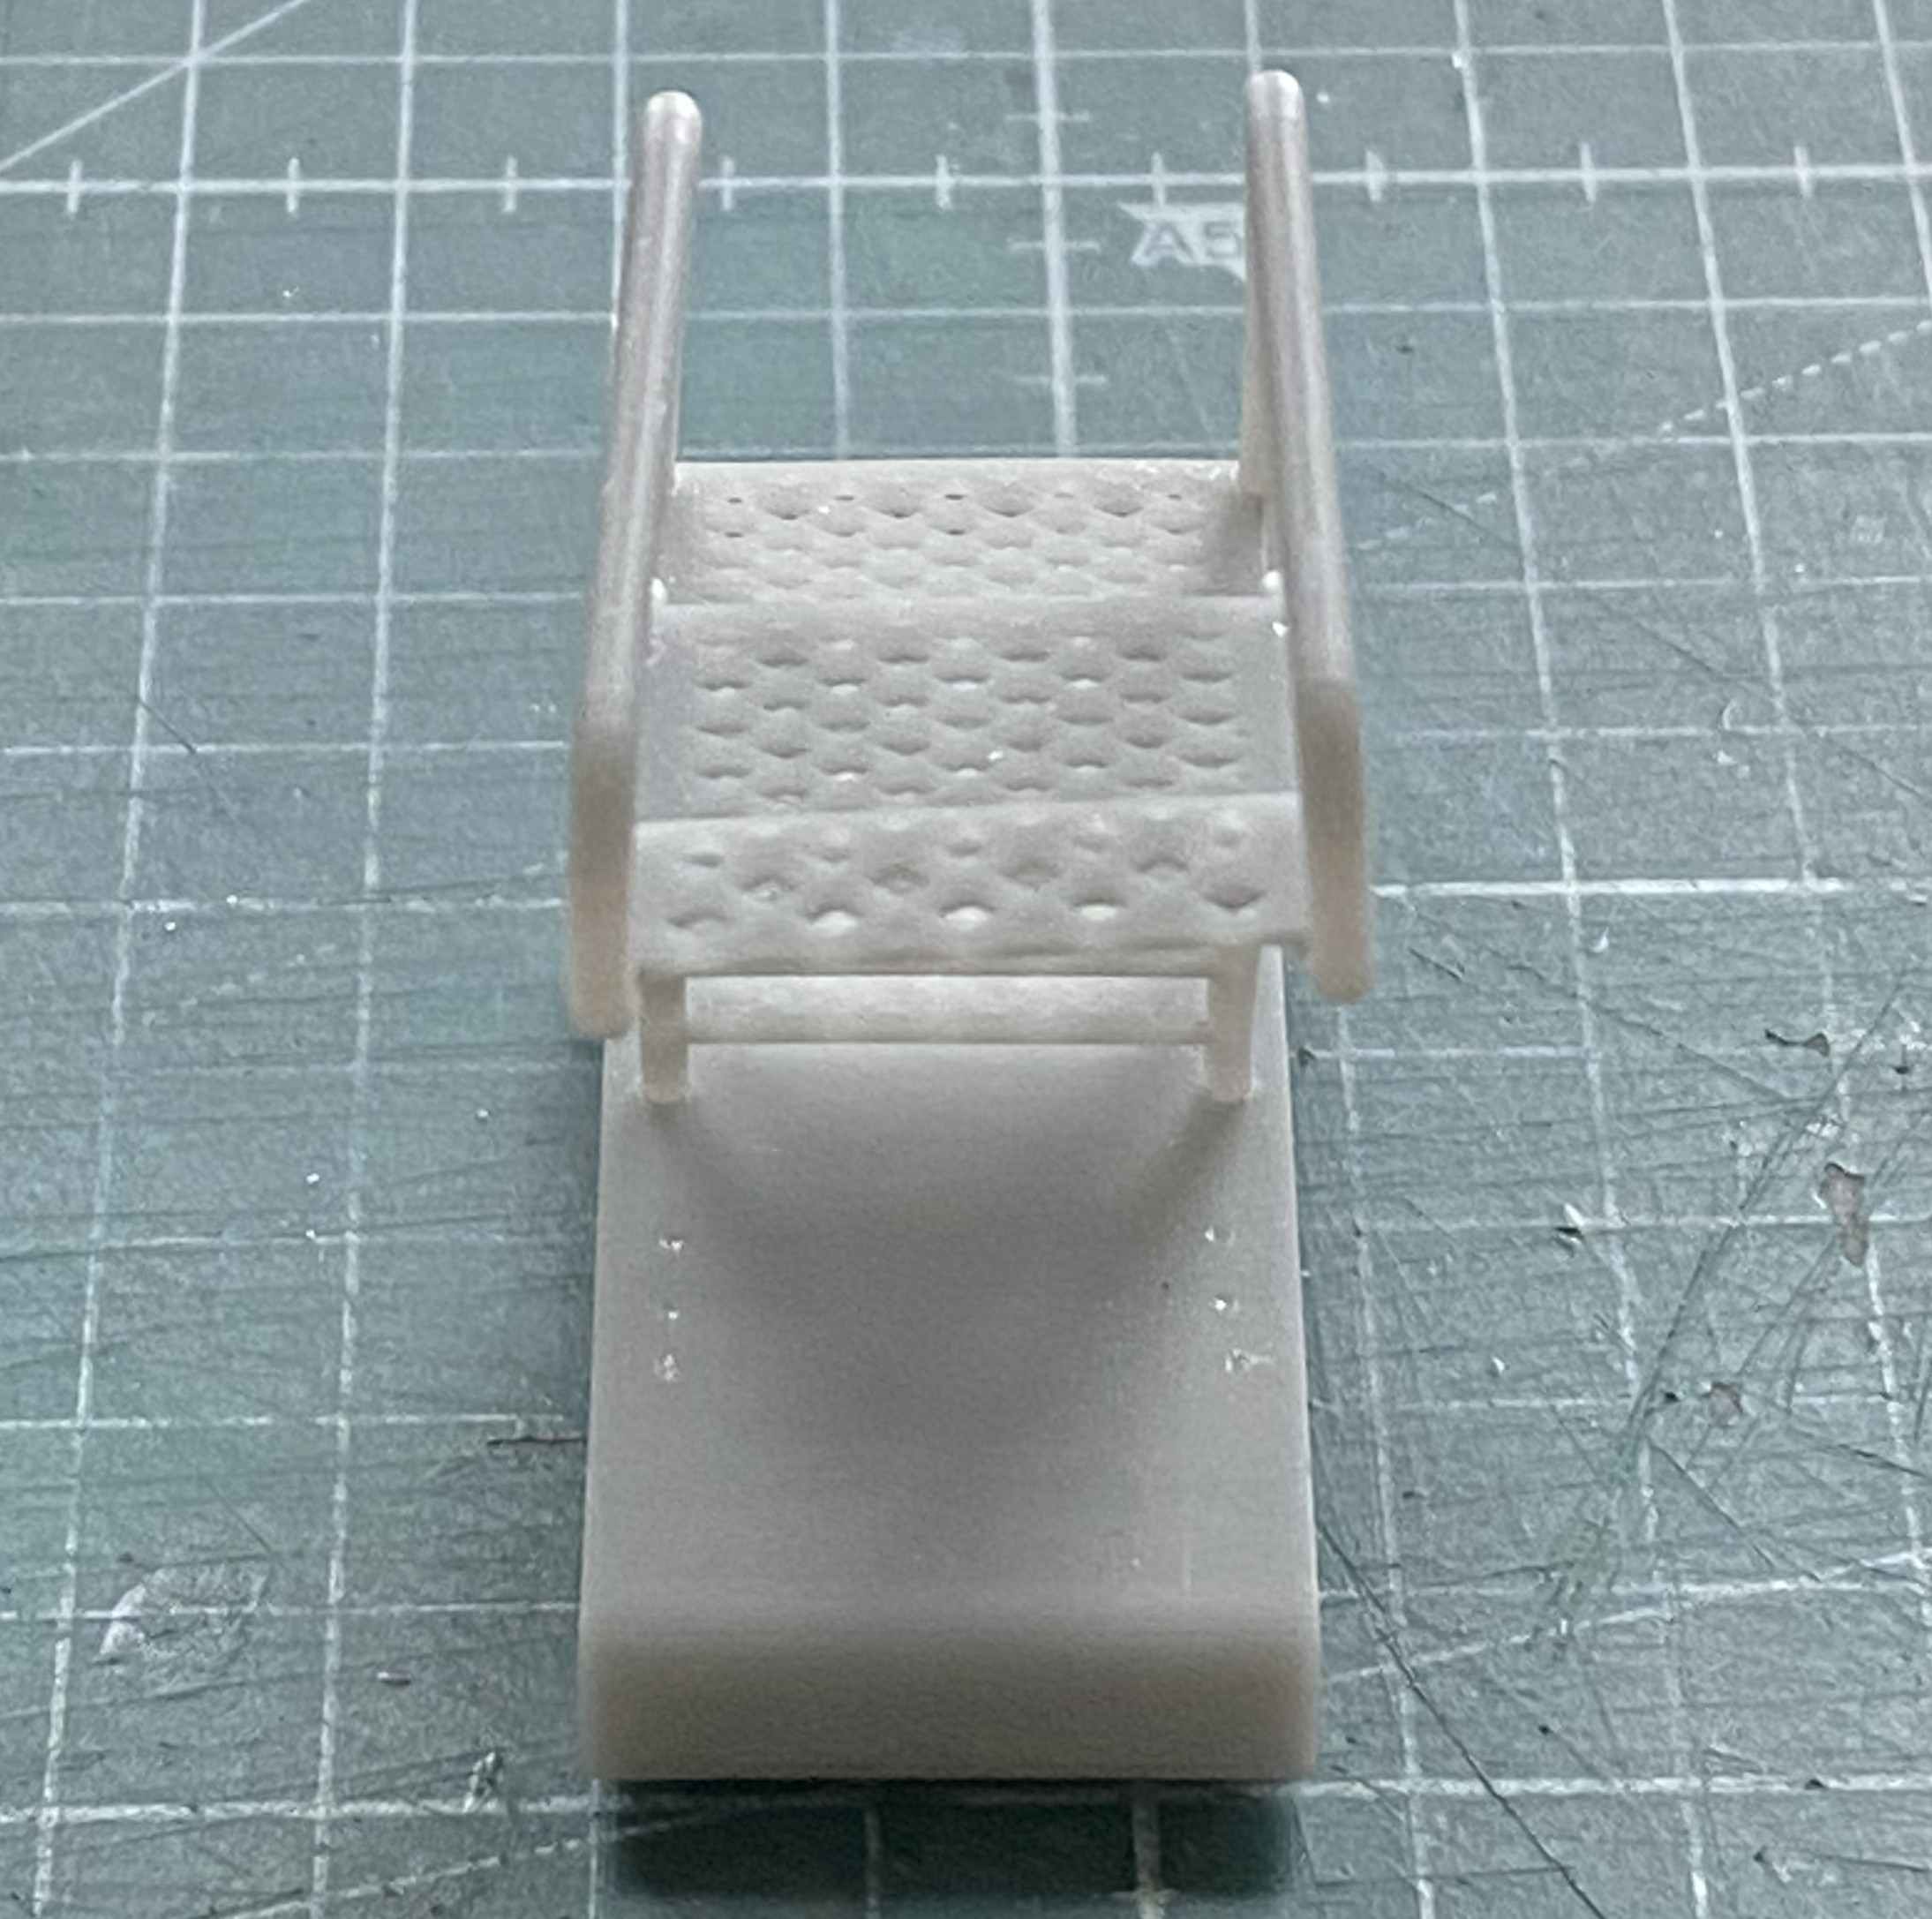
After an hour or so, I checked to see if it would work. Yup:
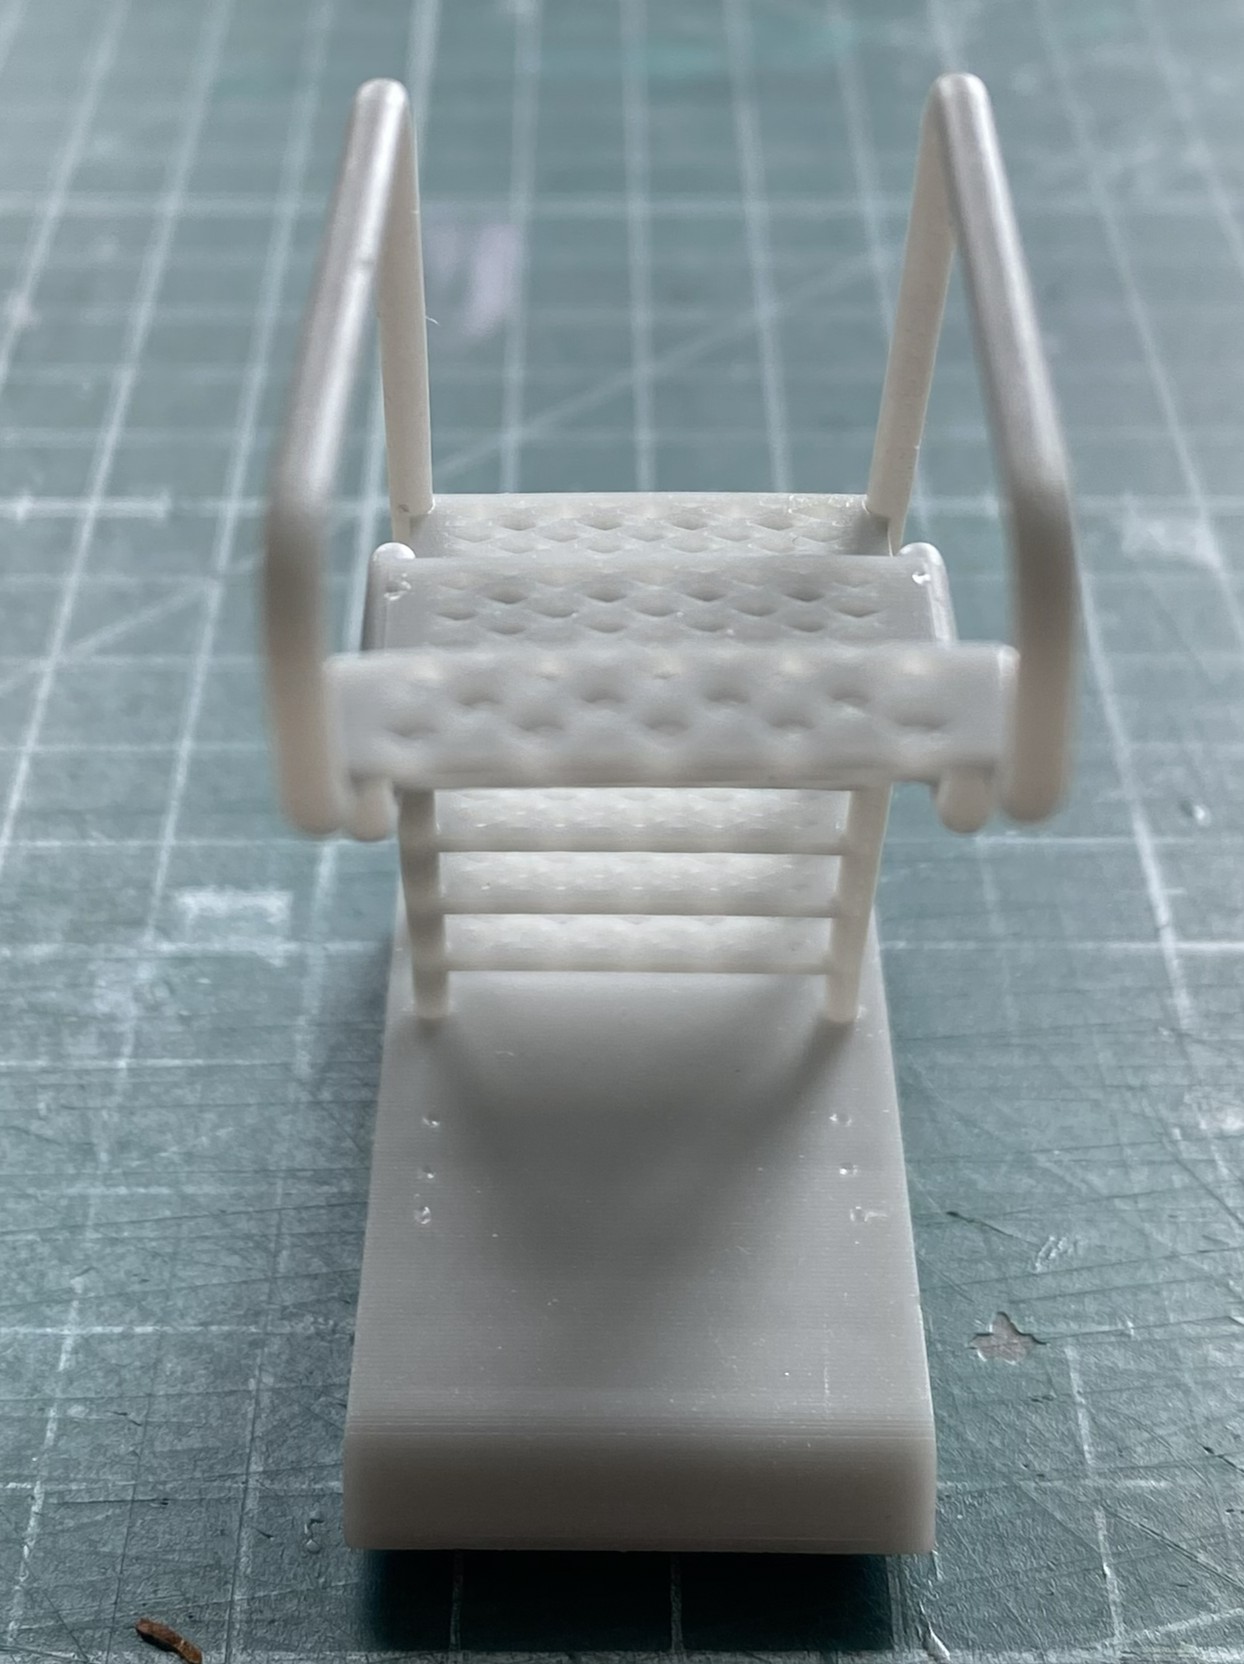
Yes, I can see that the top of the ladder is twisted slightly. I’m leaving it. Fixing it is too much work for too little result. I stuffed the styrofoam back into place and let it sit until it was time to paint, which again was Humbrol Steel:

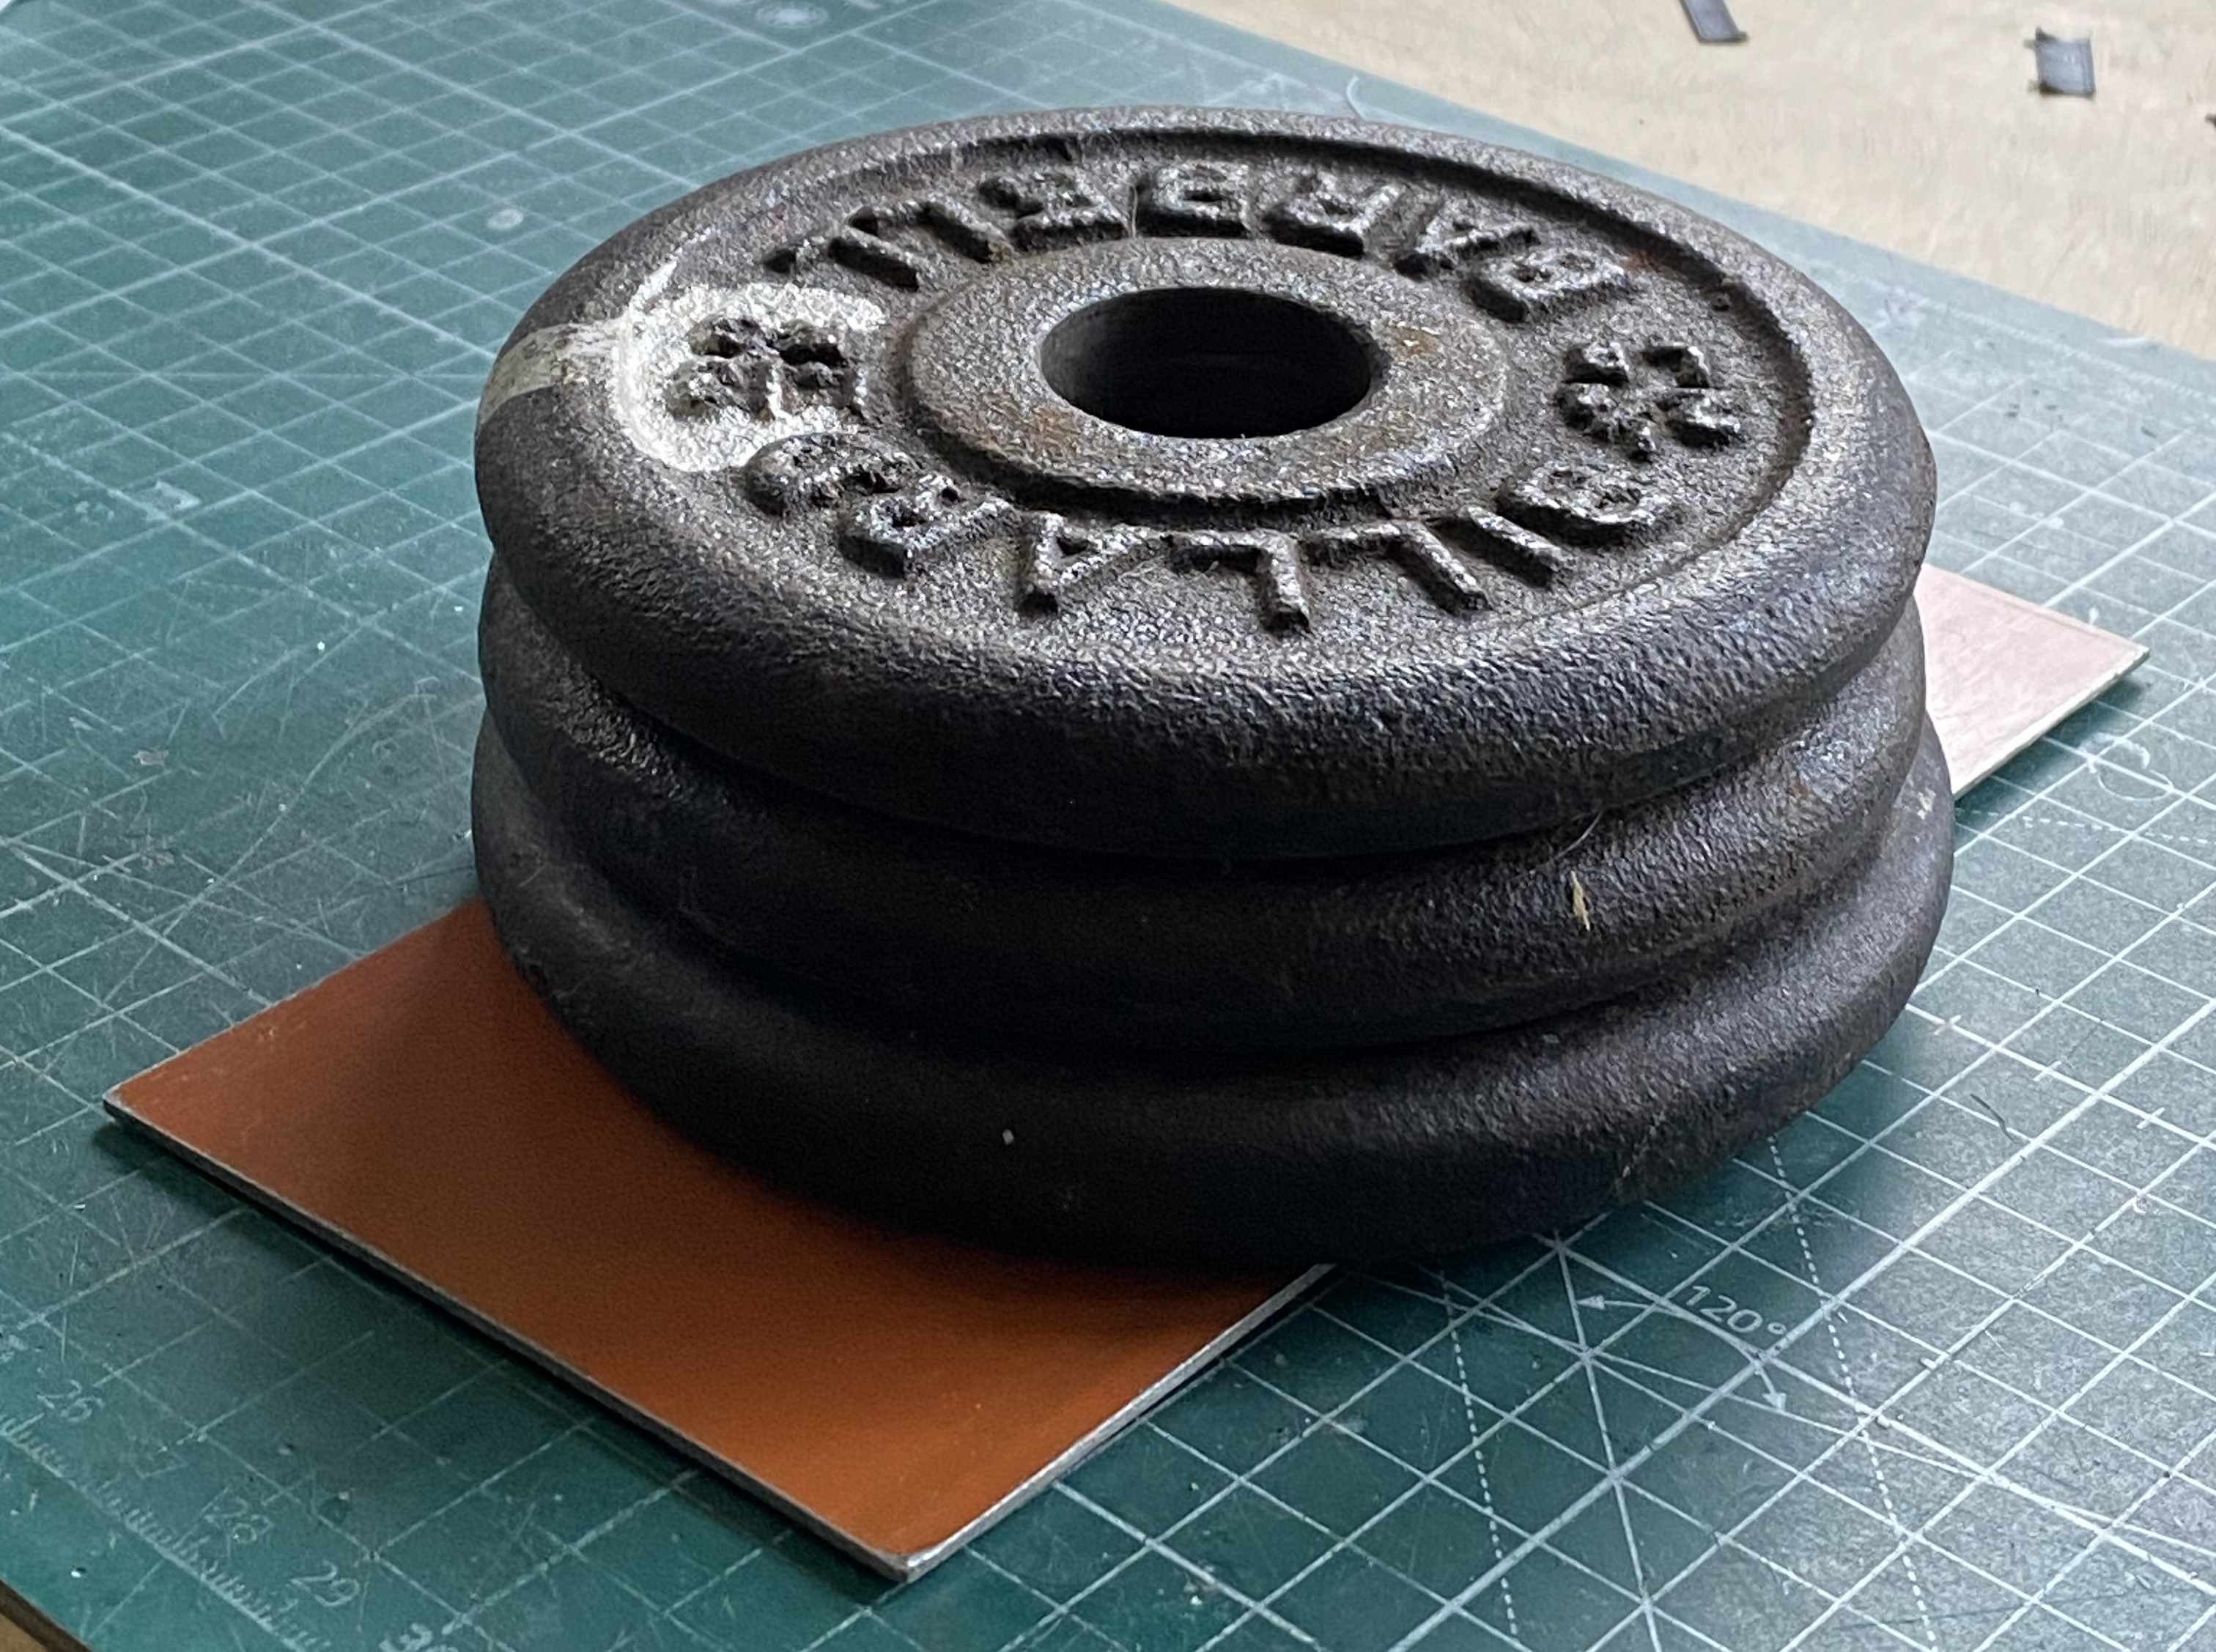
Before I move on, a shout-out to Cozmic Scale Models (cozmicscalemodels.com). When I purchase something, I expect that what I’m buying was accurately portrayed prior to valuta changing hands. Cozmic nailed it. What I didn’t expect was a free gift. And you know free gifts are generally binned upon discovery. Not this time. This is Cozmic’s idea of a free gift:
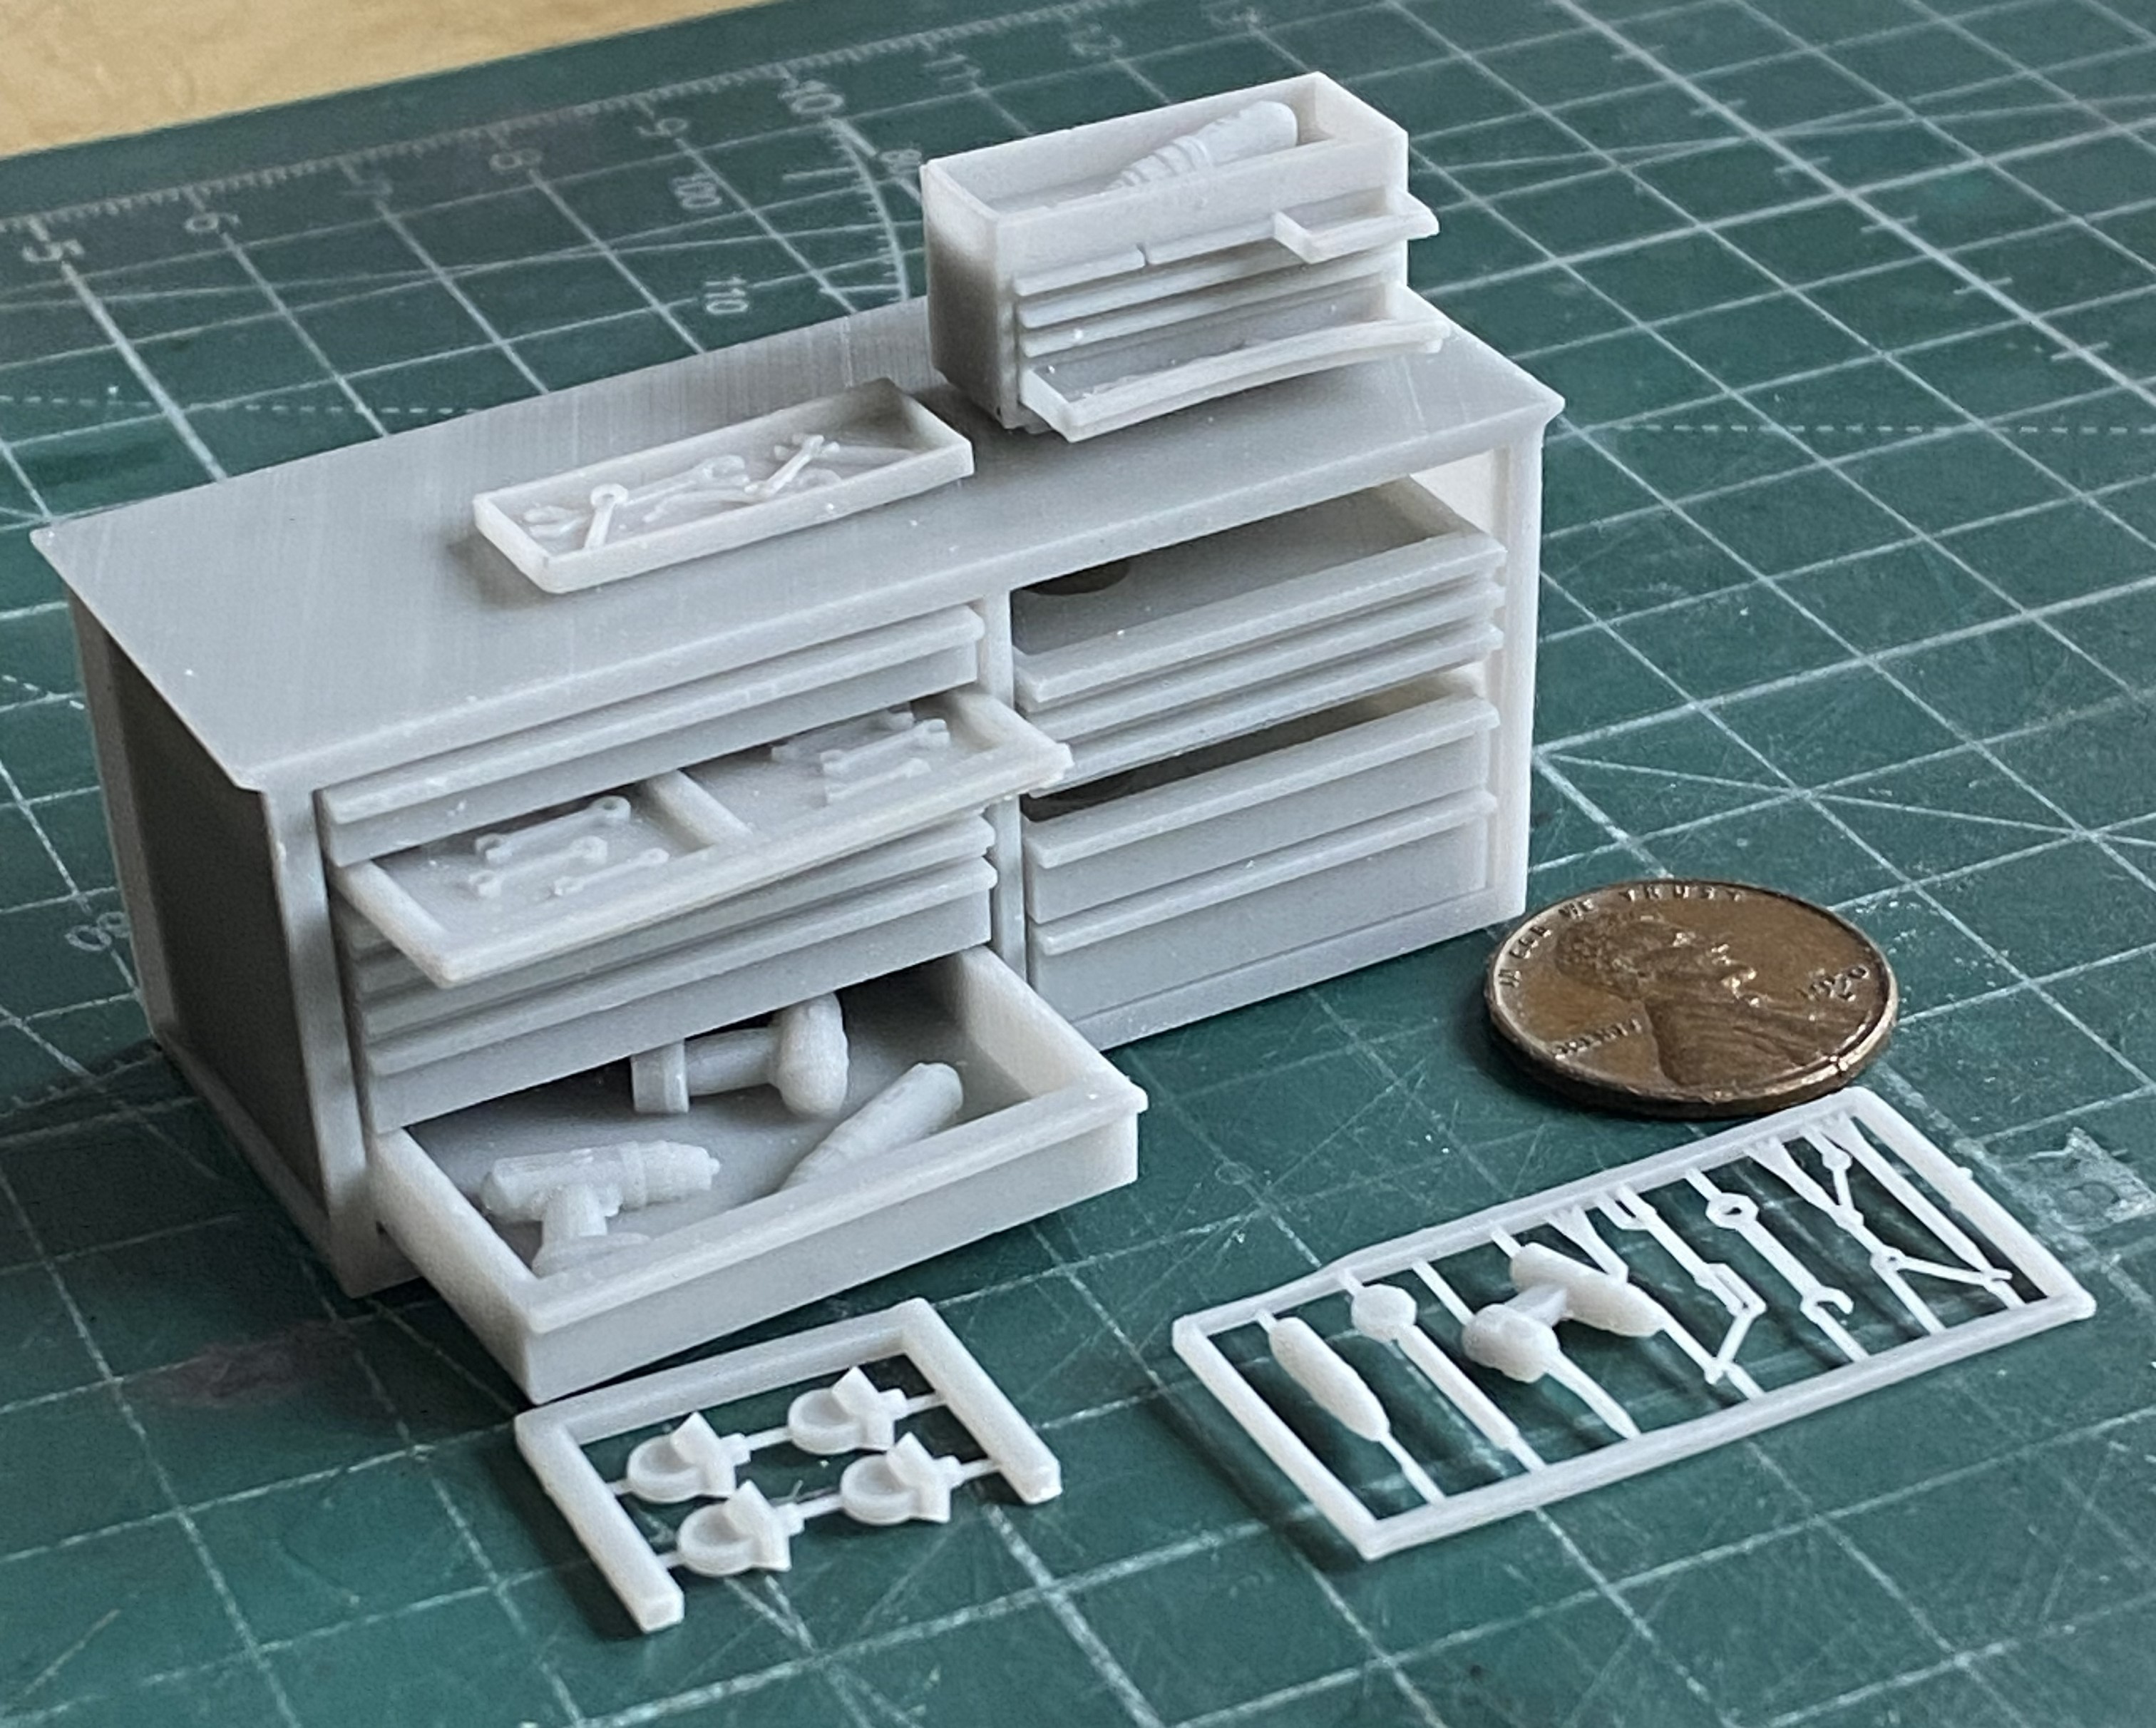
Did not see that one coming! A USEFUL free gift! (What a pleasant surprise.) Cosmic Models has moved to the top of my can-I-find-something-better list.
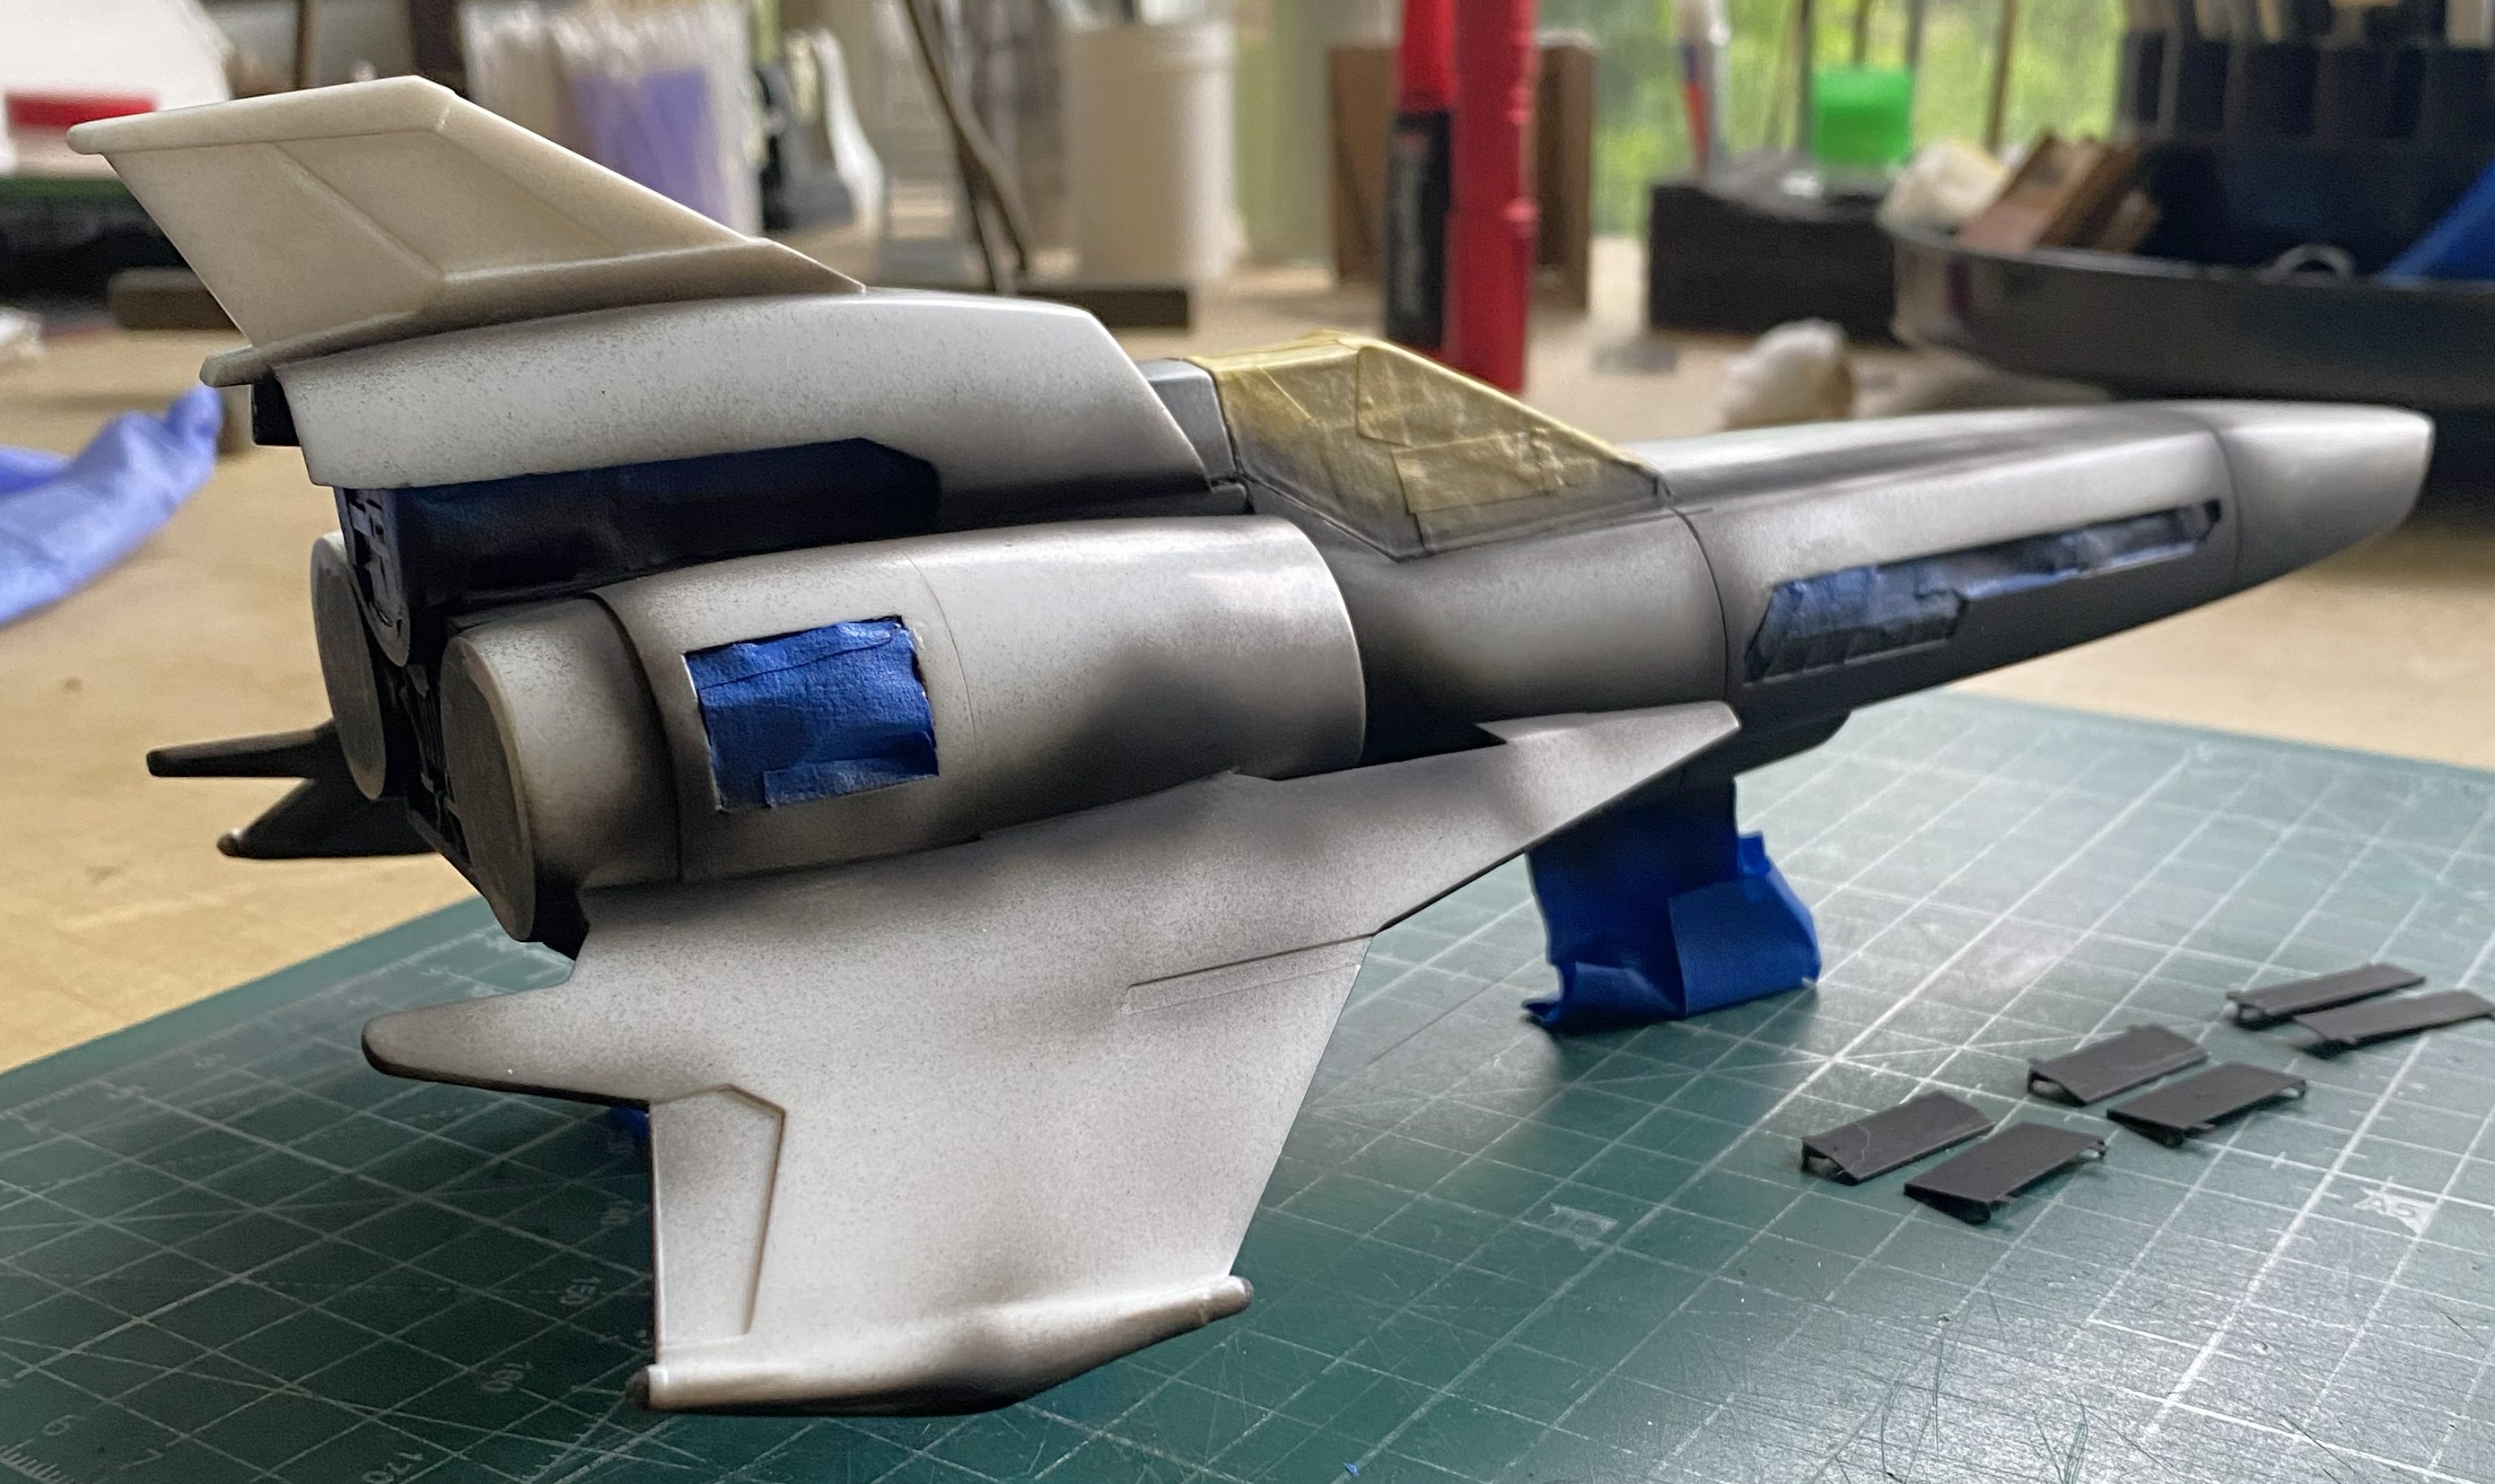
Since the next major job is painting, a supporting job is masking. The canopy frame isn’t itself masked off yet. I wanted to paint it Tamiya X-32 Titanium silver, so I did:
I also did the “whateveritis” side details the same color:
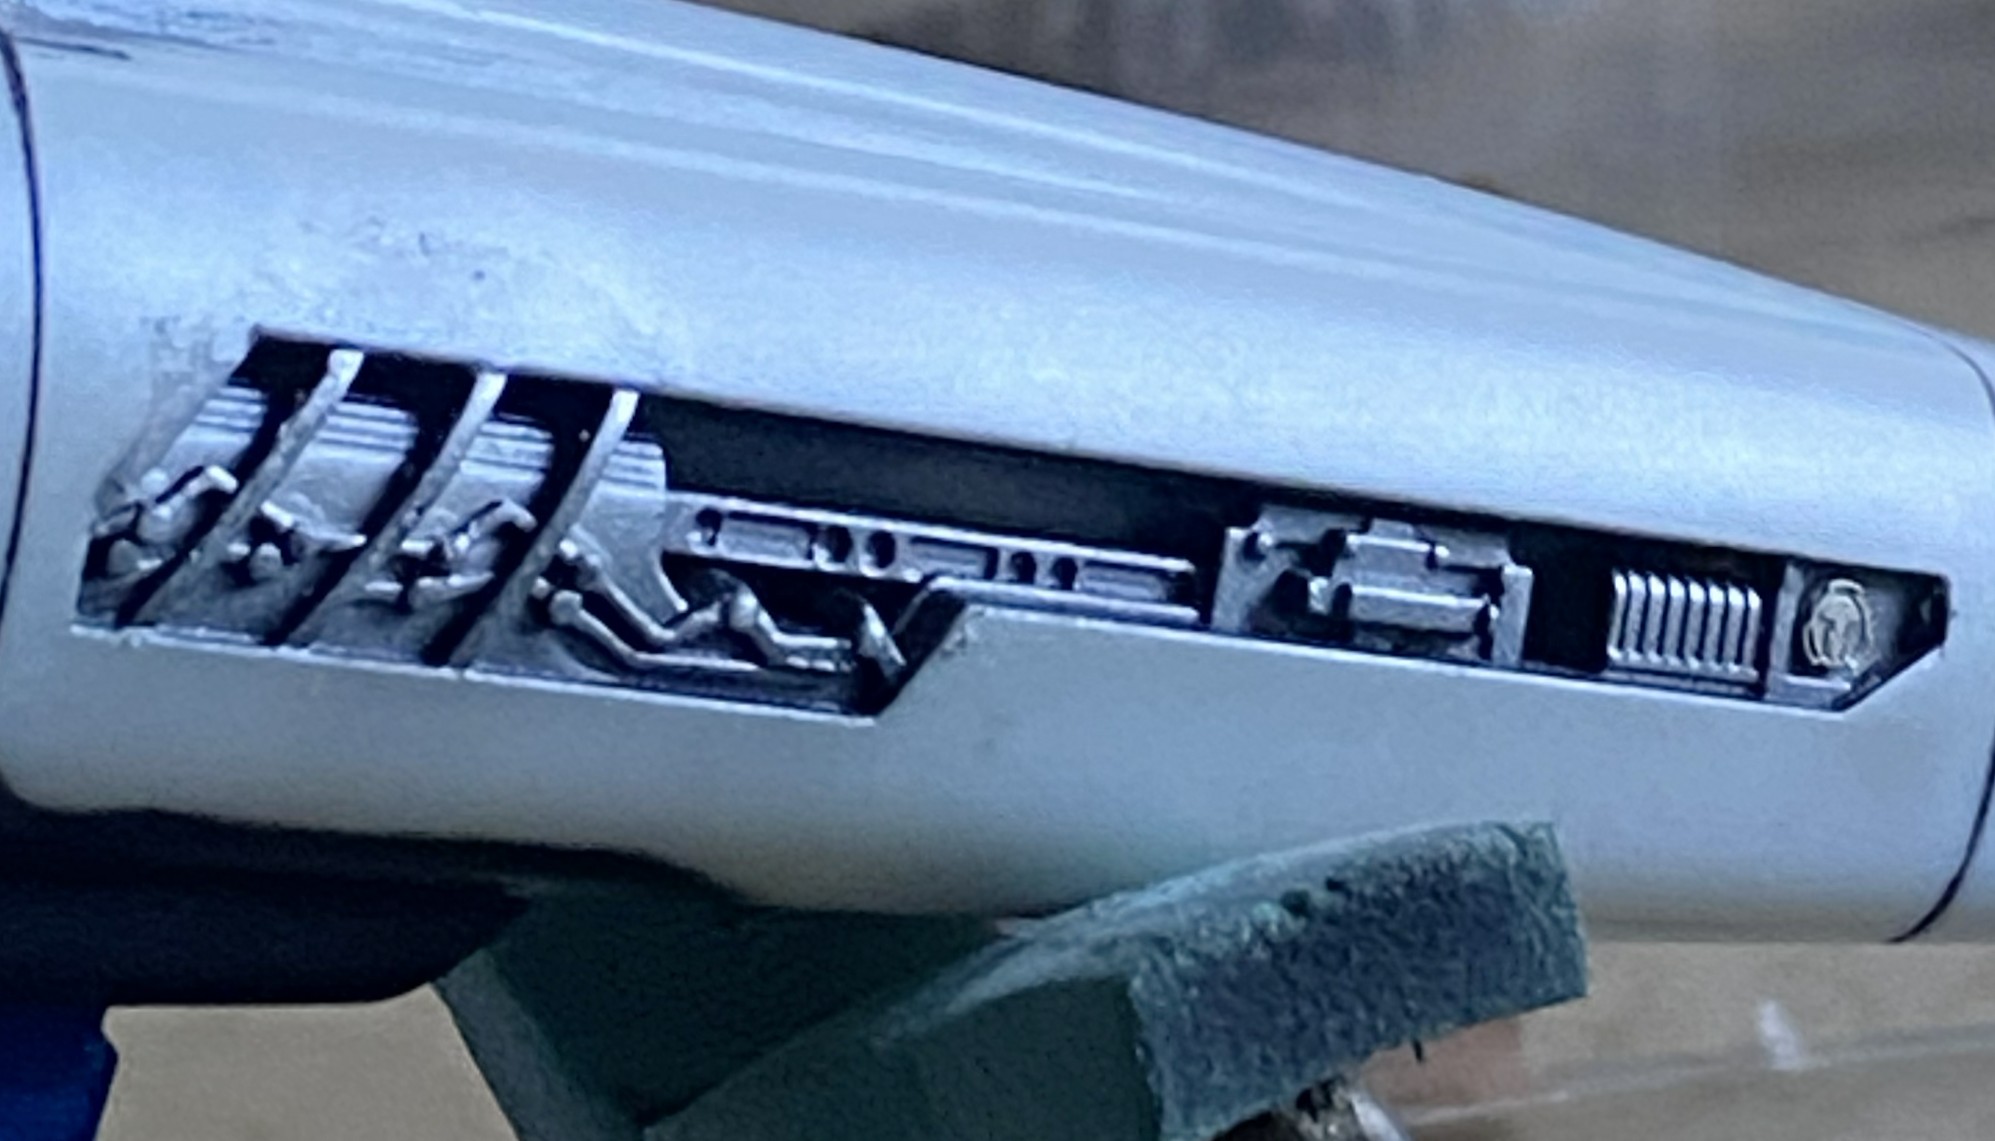
All of which was masked off:
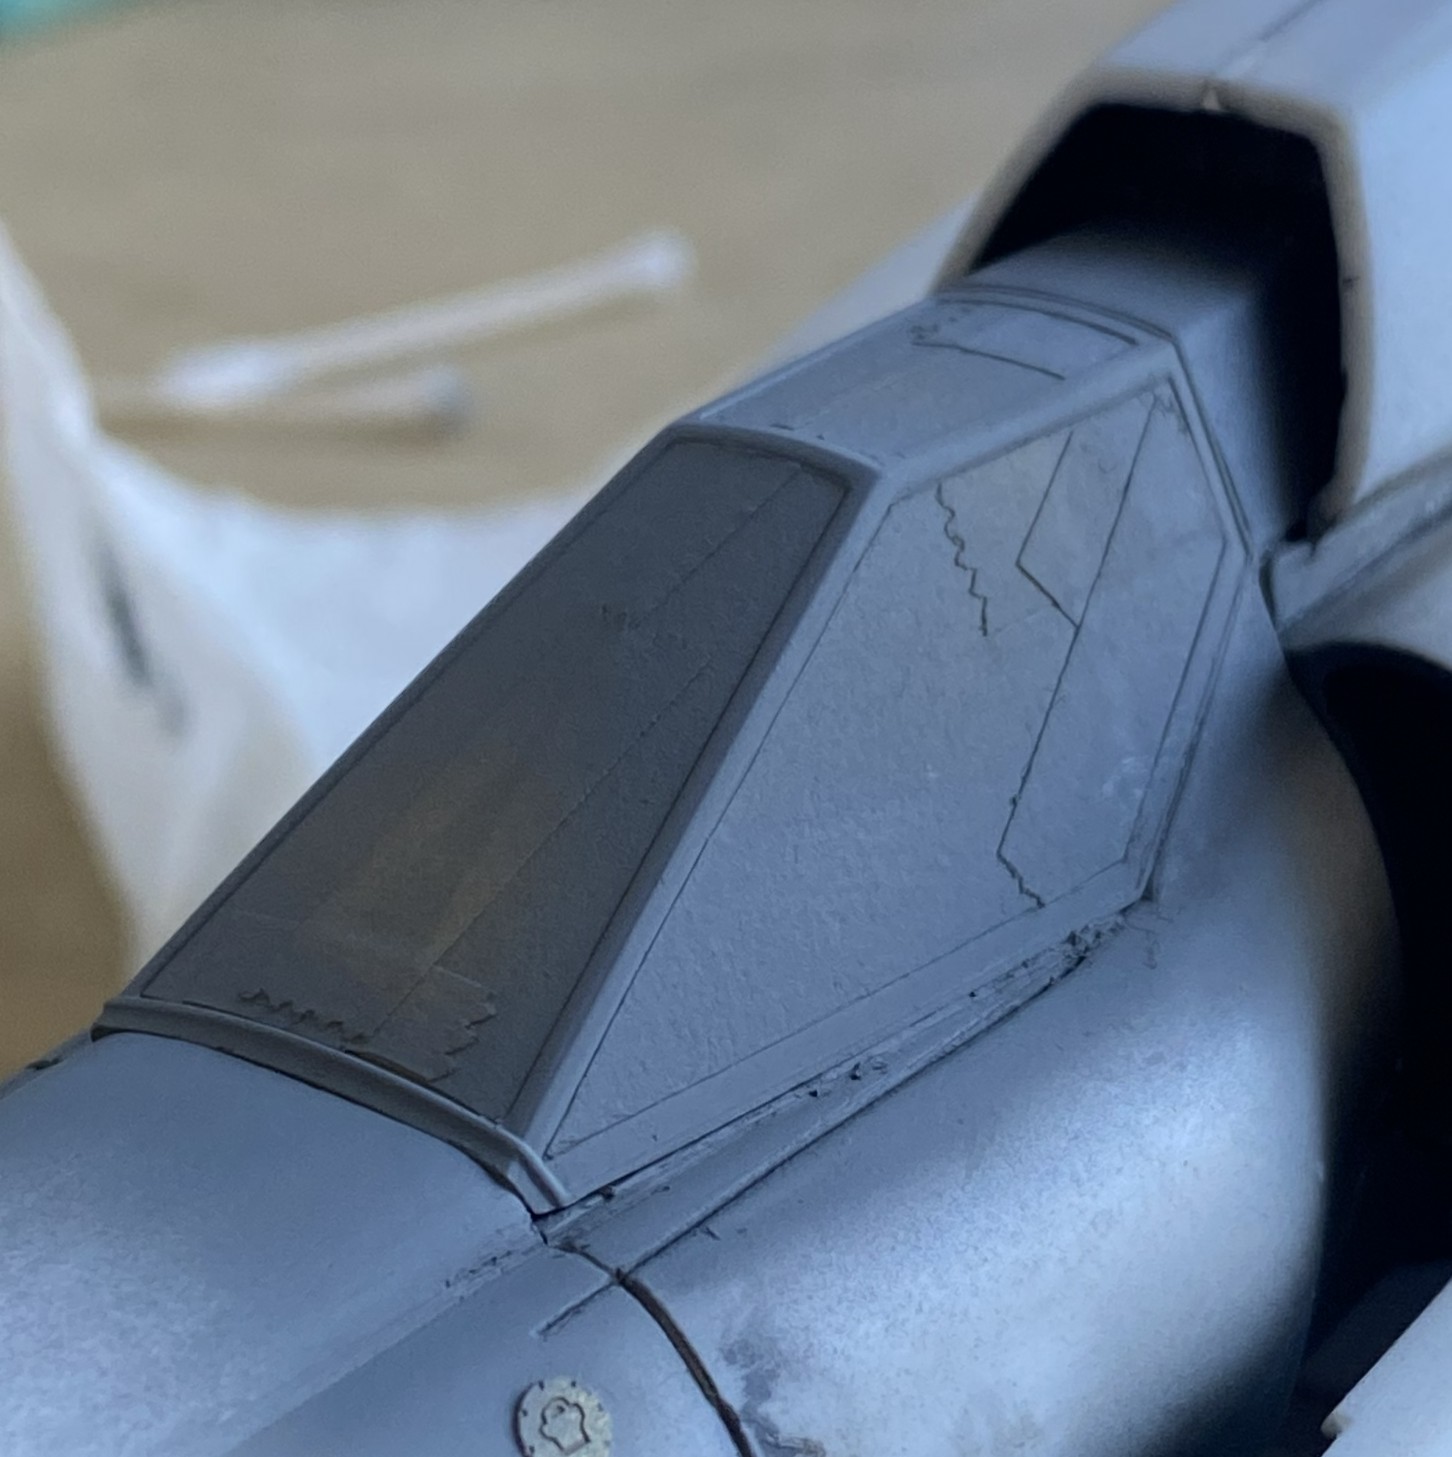
I masked over the canopy rails that I’d painted and started preshading:
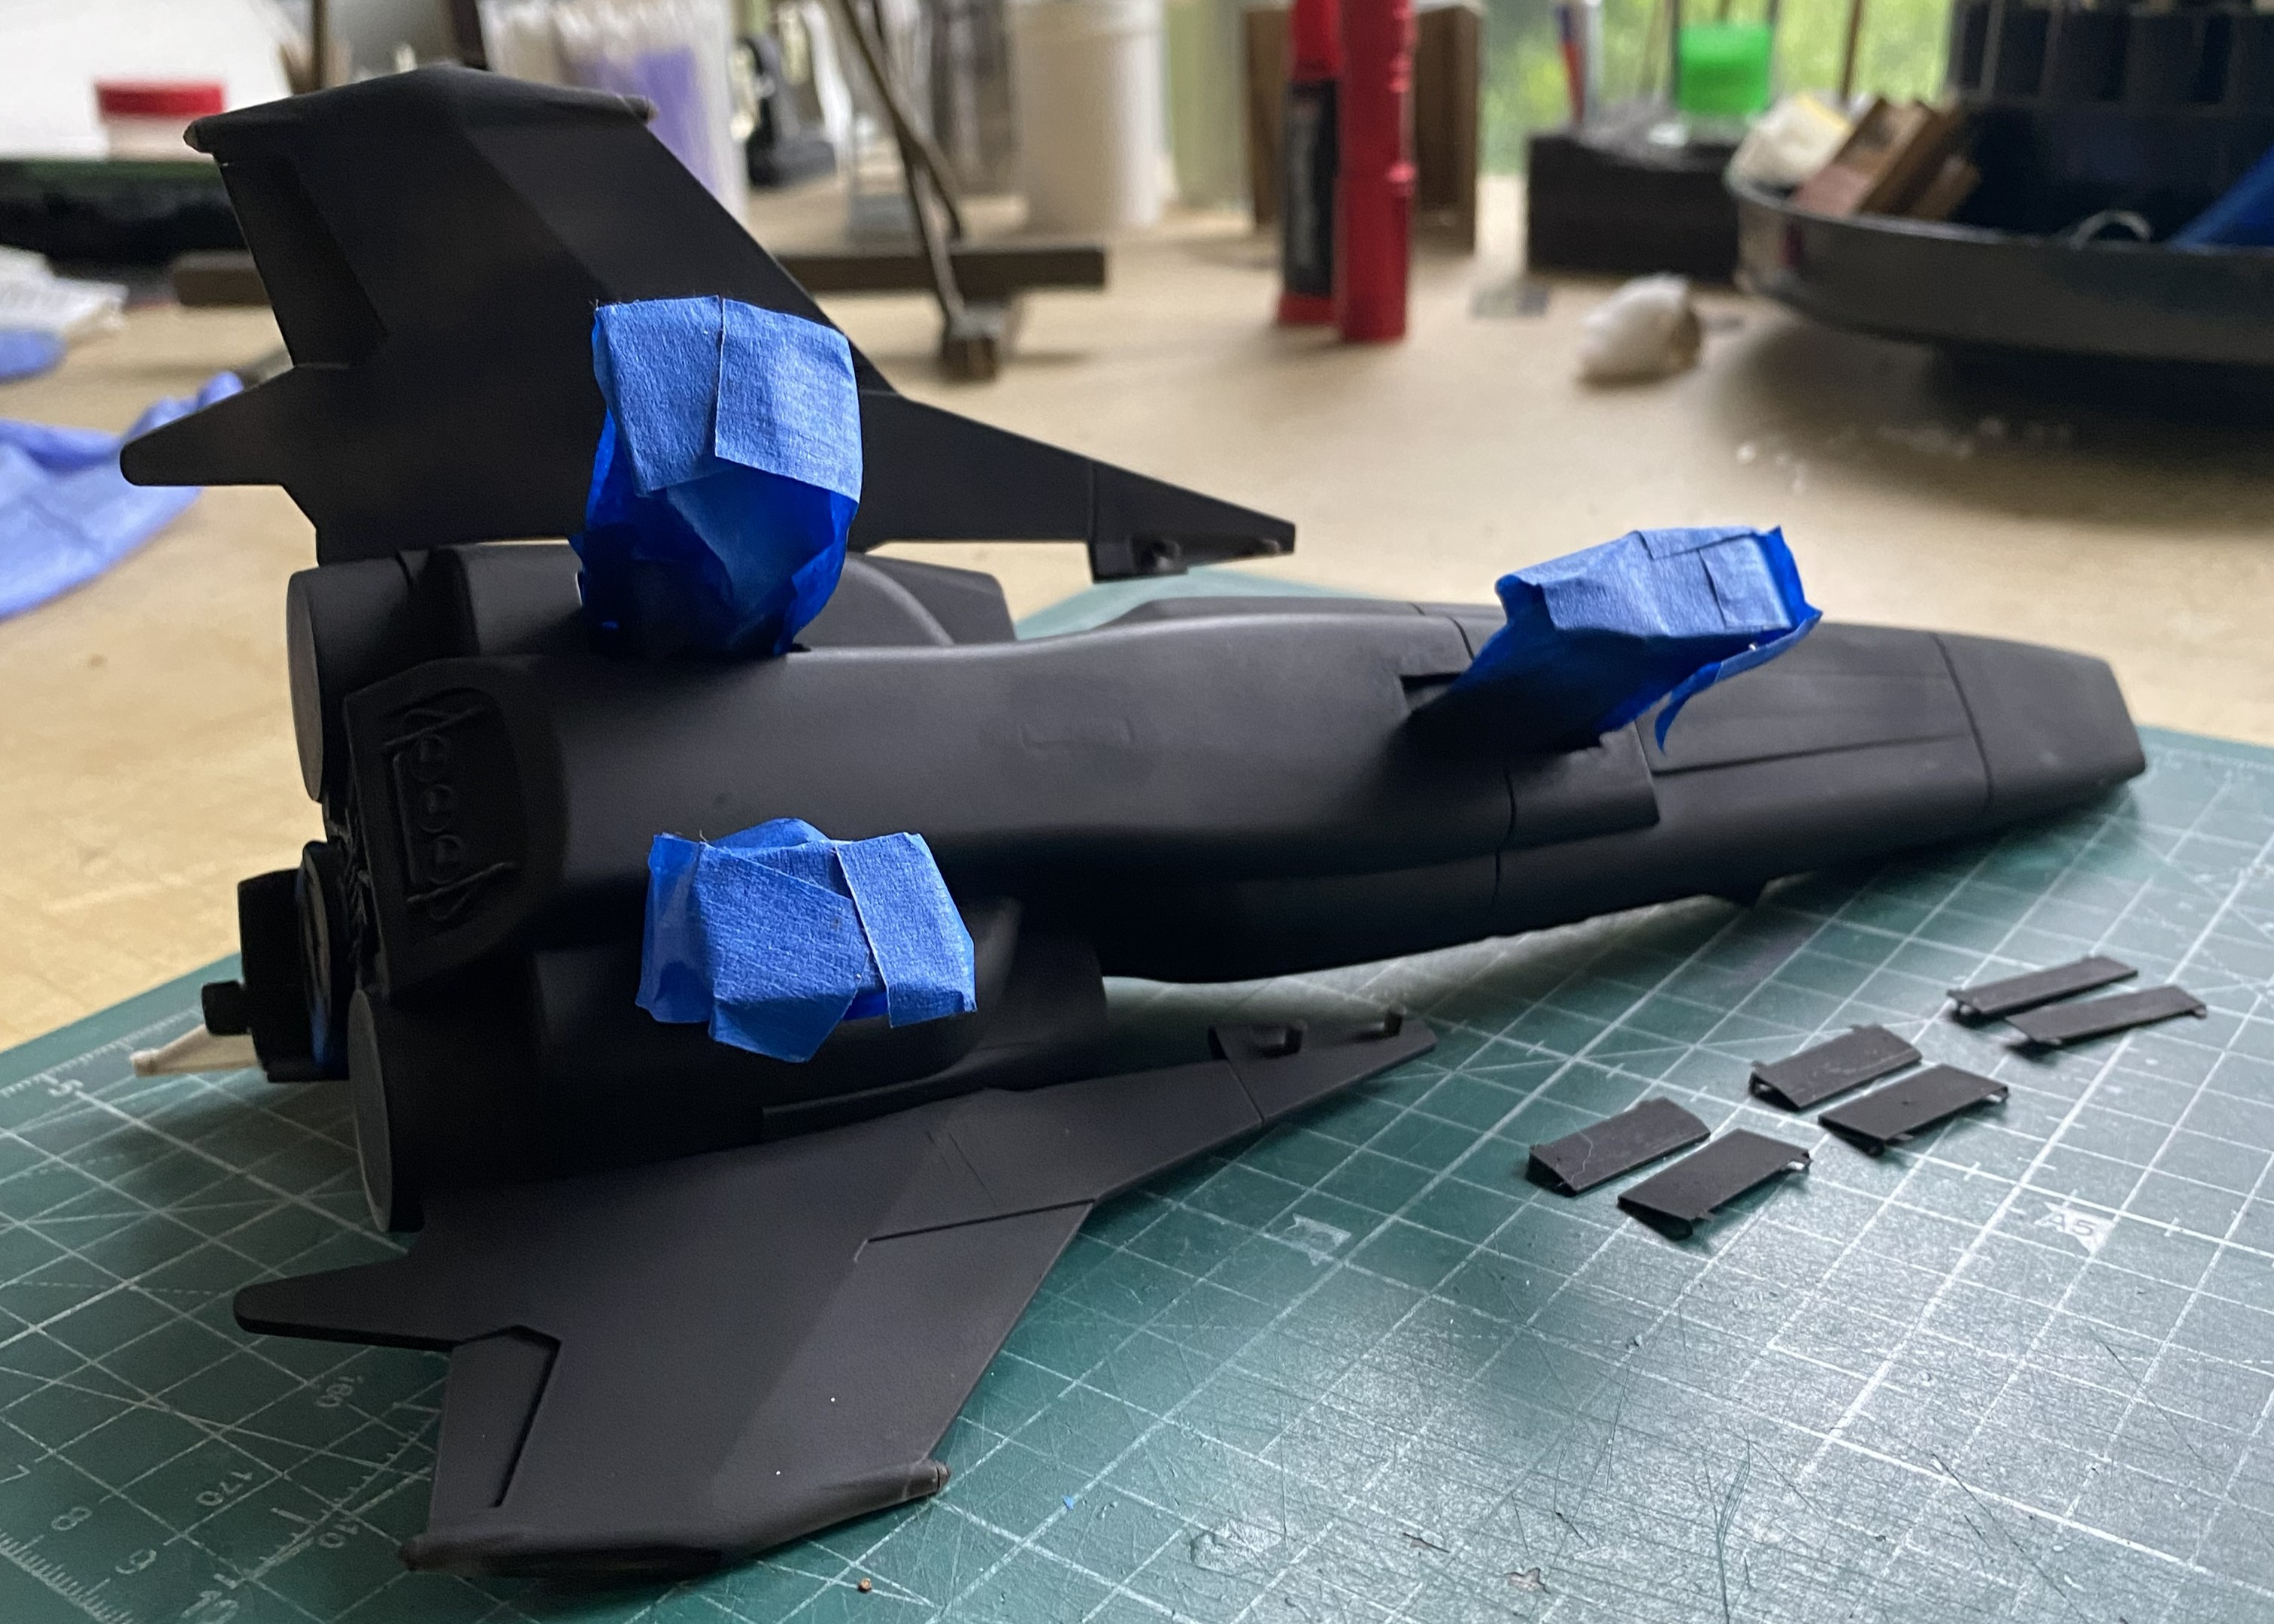
With that done, I loaded the airbrush with Tamiya XF-2 flat white and started tossing it:
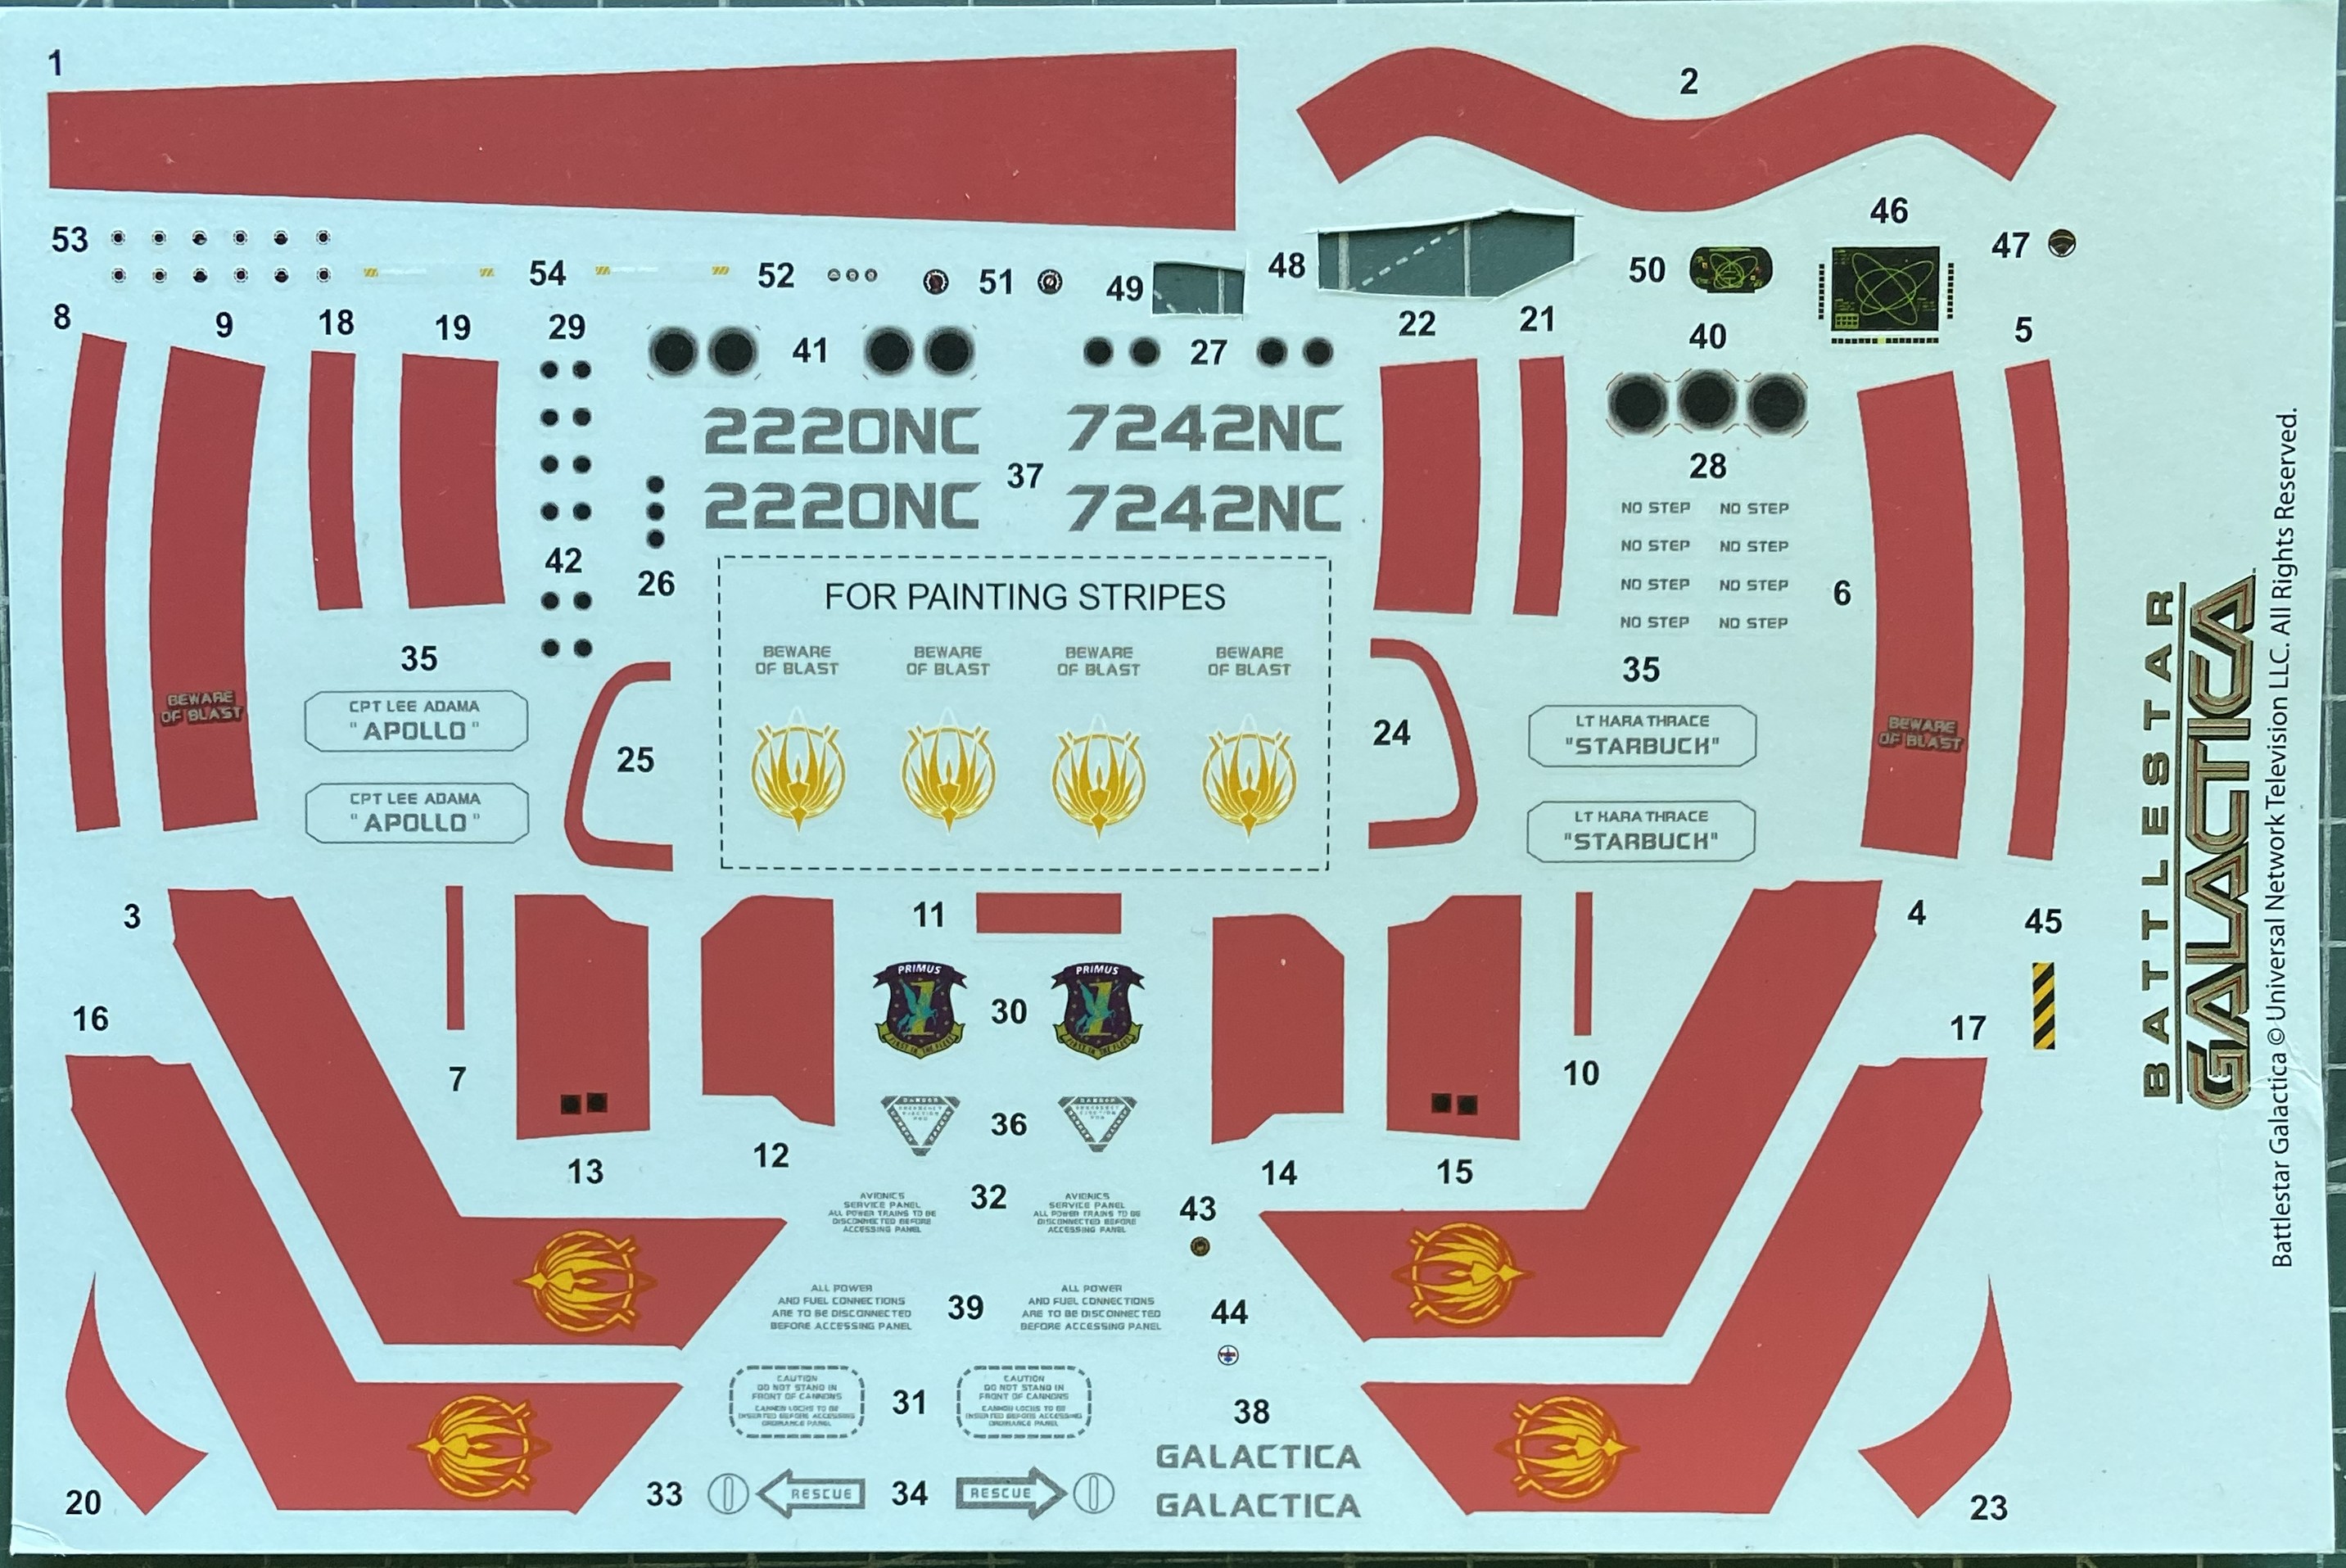
With few exceptions, those being parts that will easily break off, it’s decaling time and man am I nervous. The only decals I’d done at this point with this build had one of four break. 25% decal failure is not confidence inspiring. There are decals for stripes. Big ones. Having had freakin’ lousy experience with shattering decals, l was dreading this part.
A LONG time ago, probably back in the late 60s, I did someone a favor that I don’t remember doing. How can I recall something I can’t recall? Logic. Something SO GREAT just happened to me that it must be payback for that LOOONG forgotten favor. What am I prattling on about? This stuff:
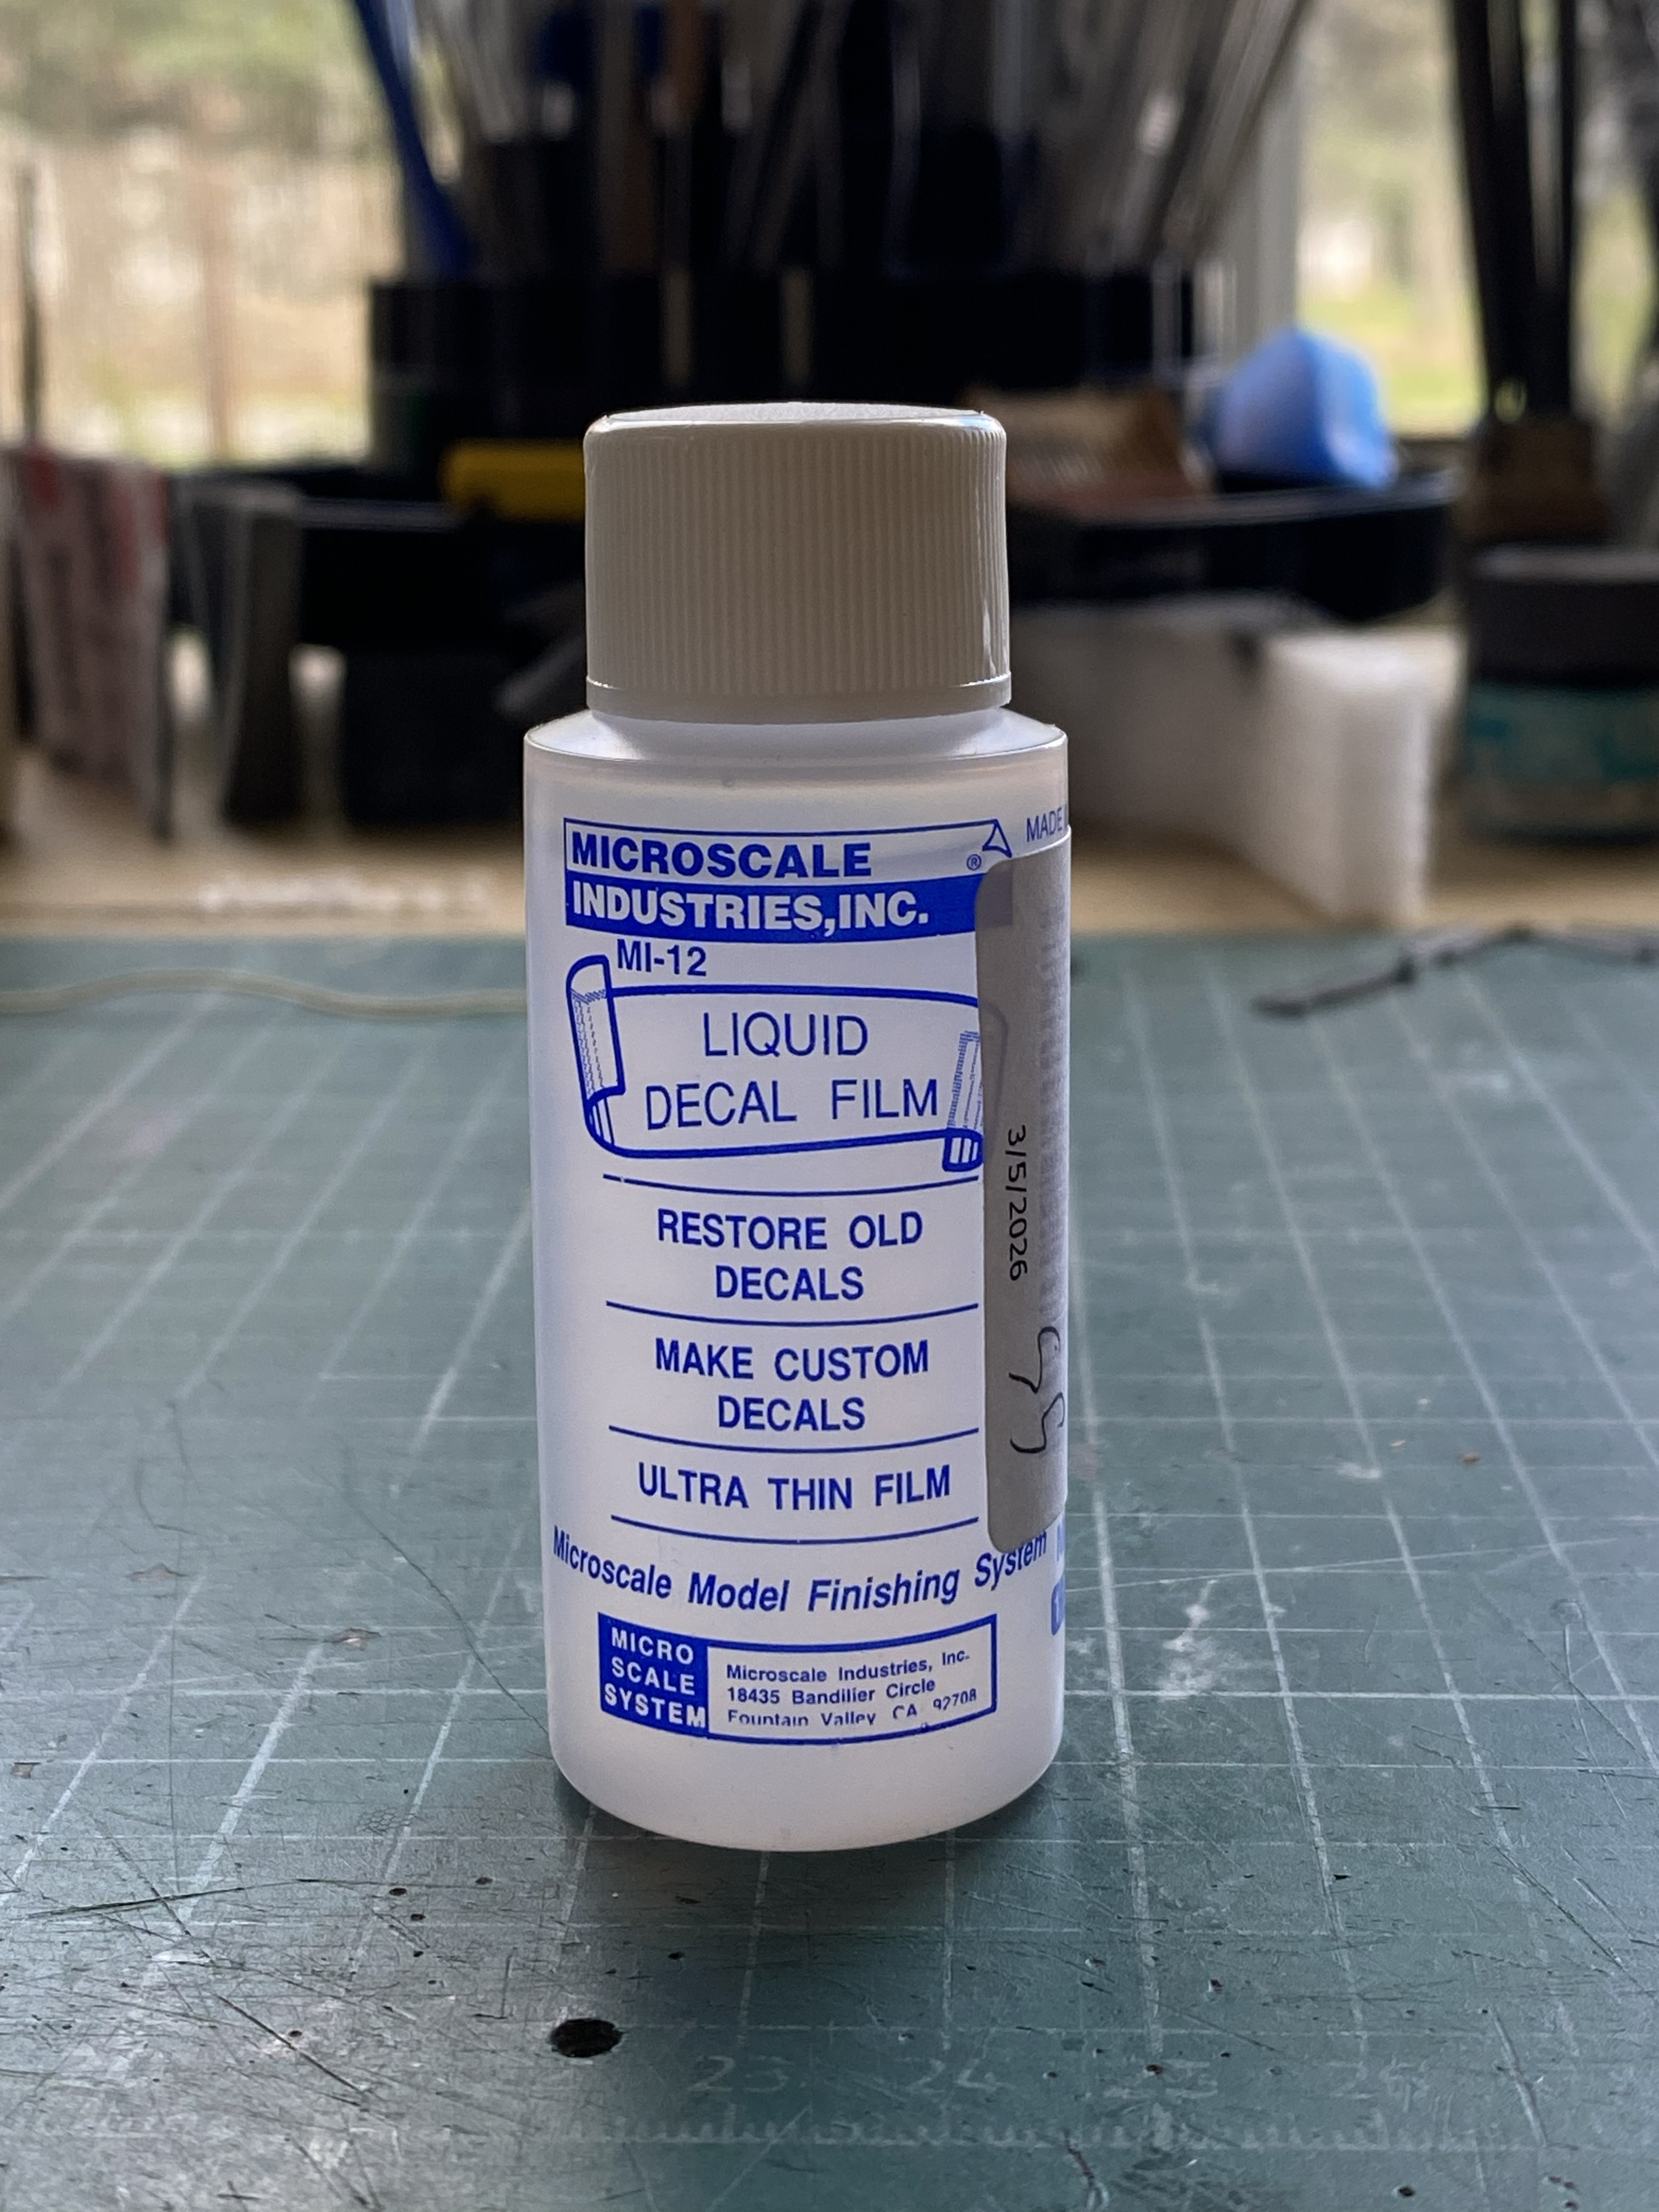
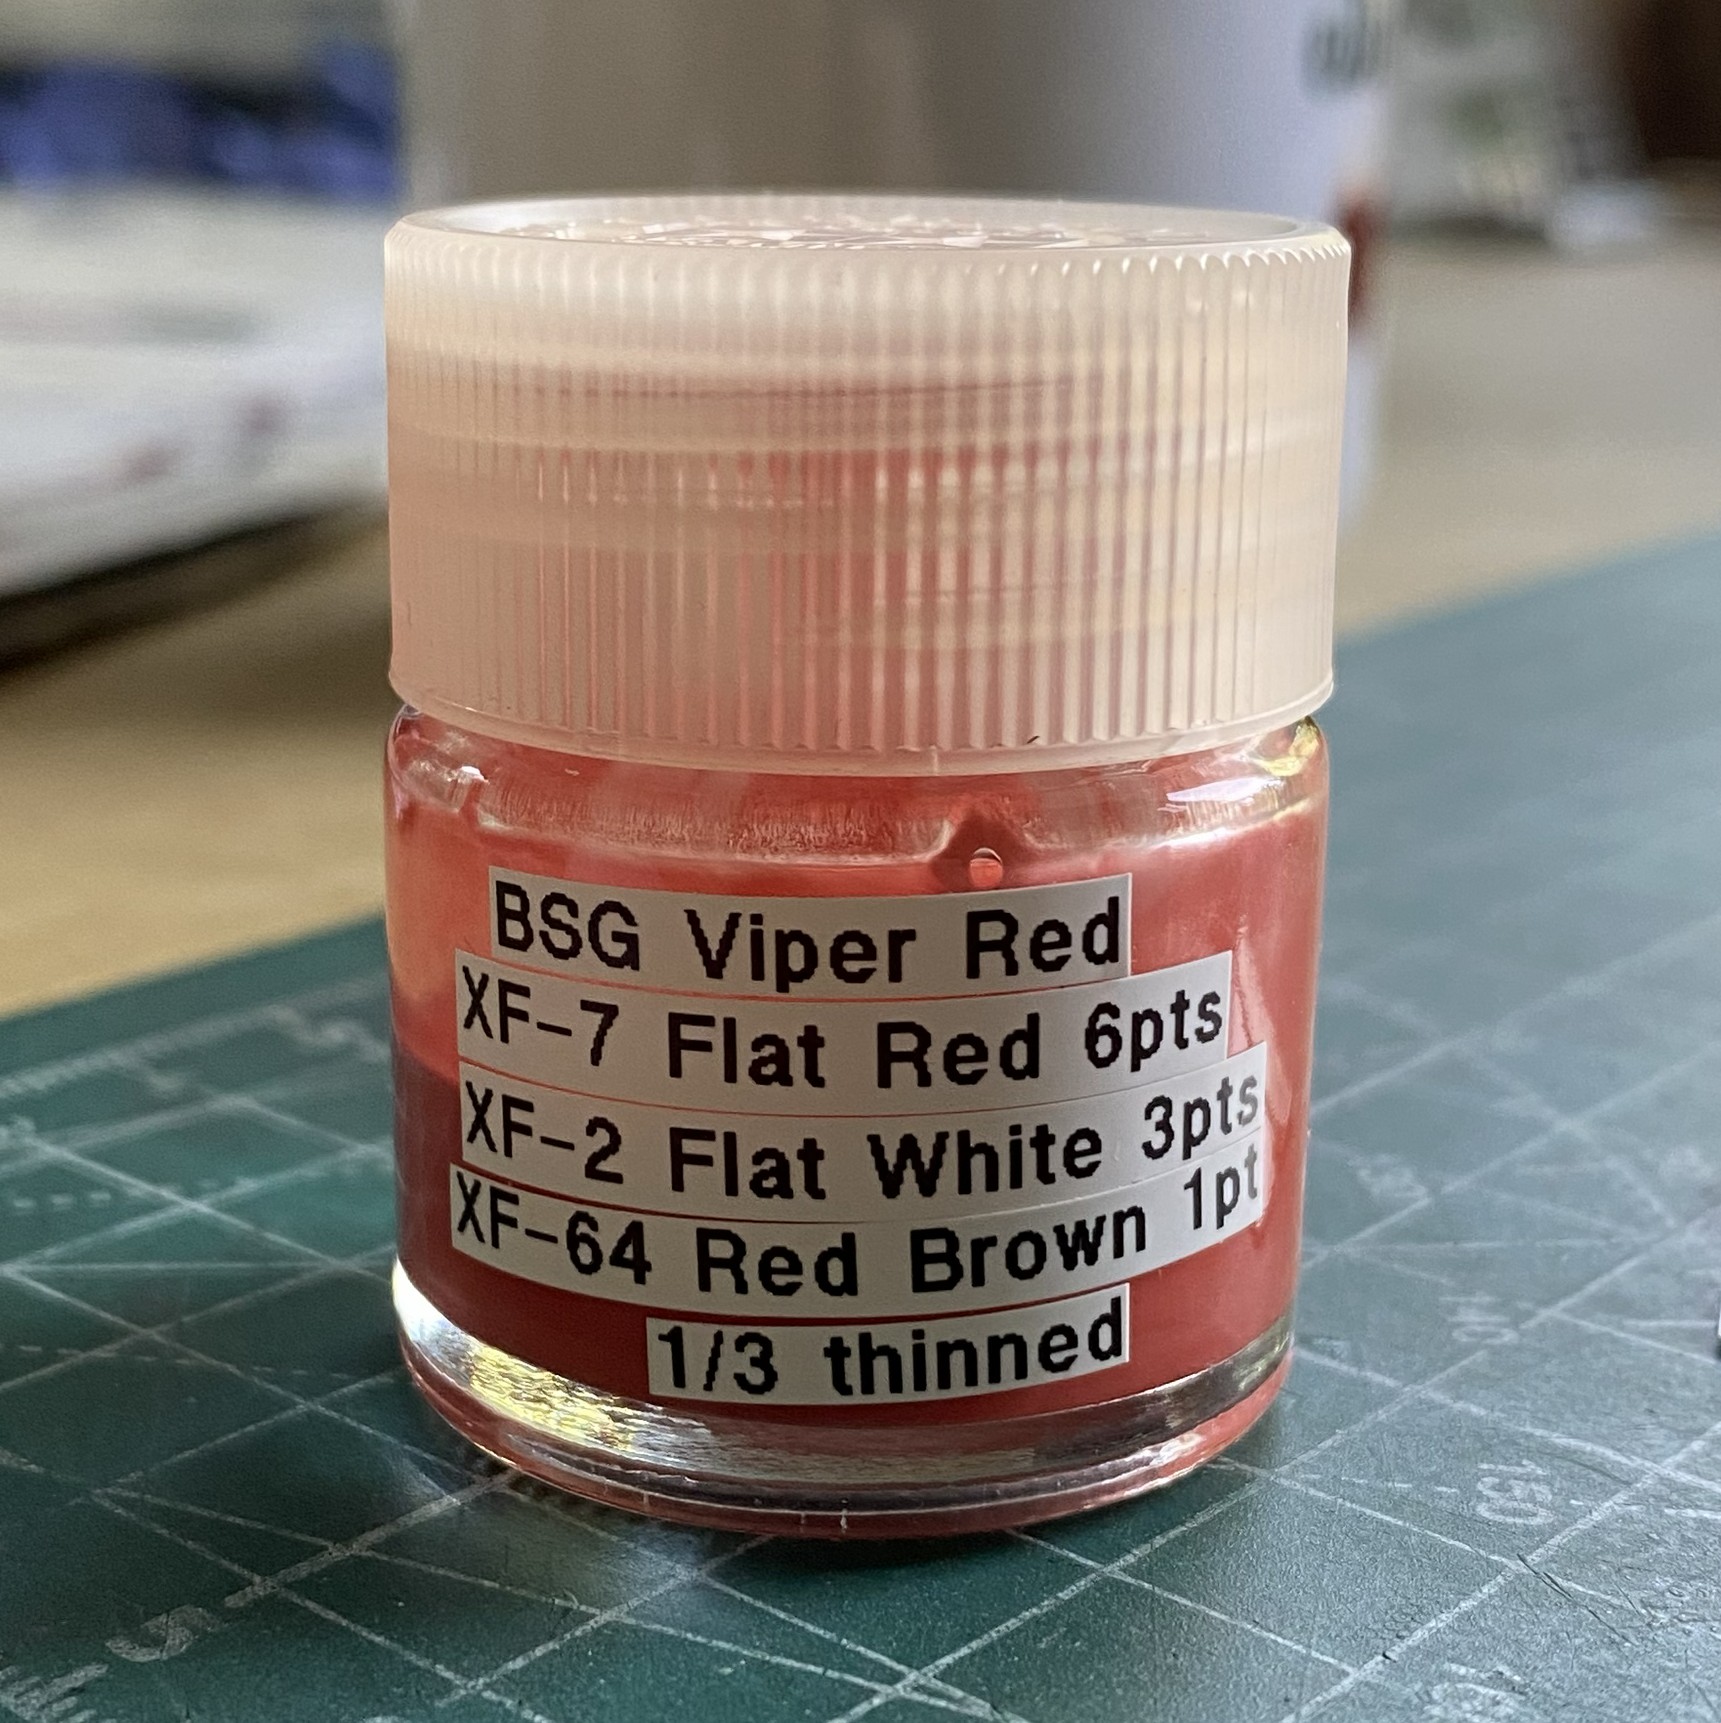
I wish I’d found this product when I was doing both the F7F-3 and the Goose. Okay, one level of dread dispersed. Next level of dread. Painting the stripes. Had the decals been perfect, I’d still want to paint the stripes. Getting large decals positioned accurately is a special version of tedium that I could do without. But, with the notion that all solutions create new problems, painting the stripes mean I have to mix a color that will match. A red color. Well…the Y-chromosome I was issued is defective (in so many ways) and in this situation, that defect means that I generally don’t see red. Or green. And the colors I do see, aren’t the colors that are there; we just use the same labels for them.
My roommate has two X-chromosomes. Likely good color vision. I have a friend (he of the Blackbird fame) who has perfect color vision and he spent many years mixing dyes for the leather trade. Not only can he see color, he also has the knowledge of what colors to add to the base color to move the results in the desired direction.
Much consulting ensued:
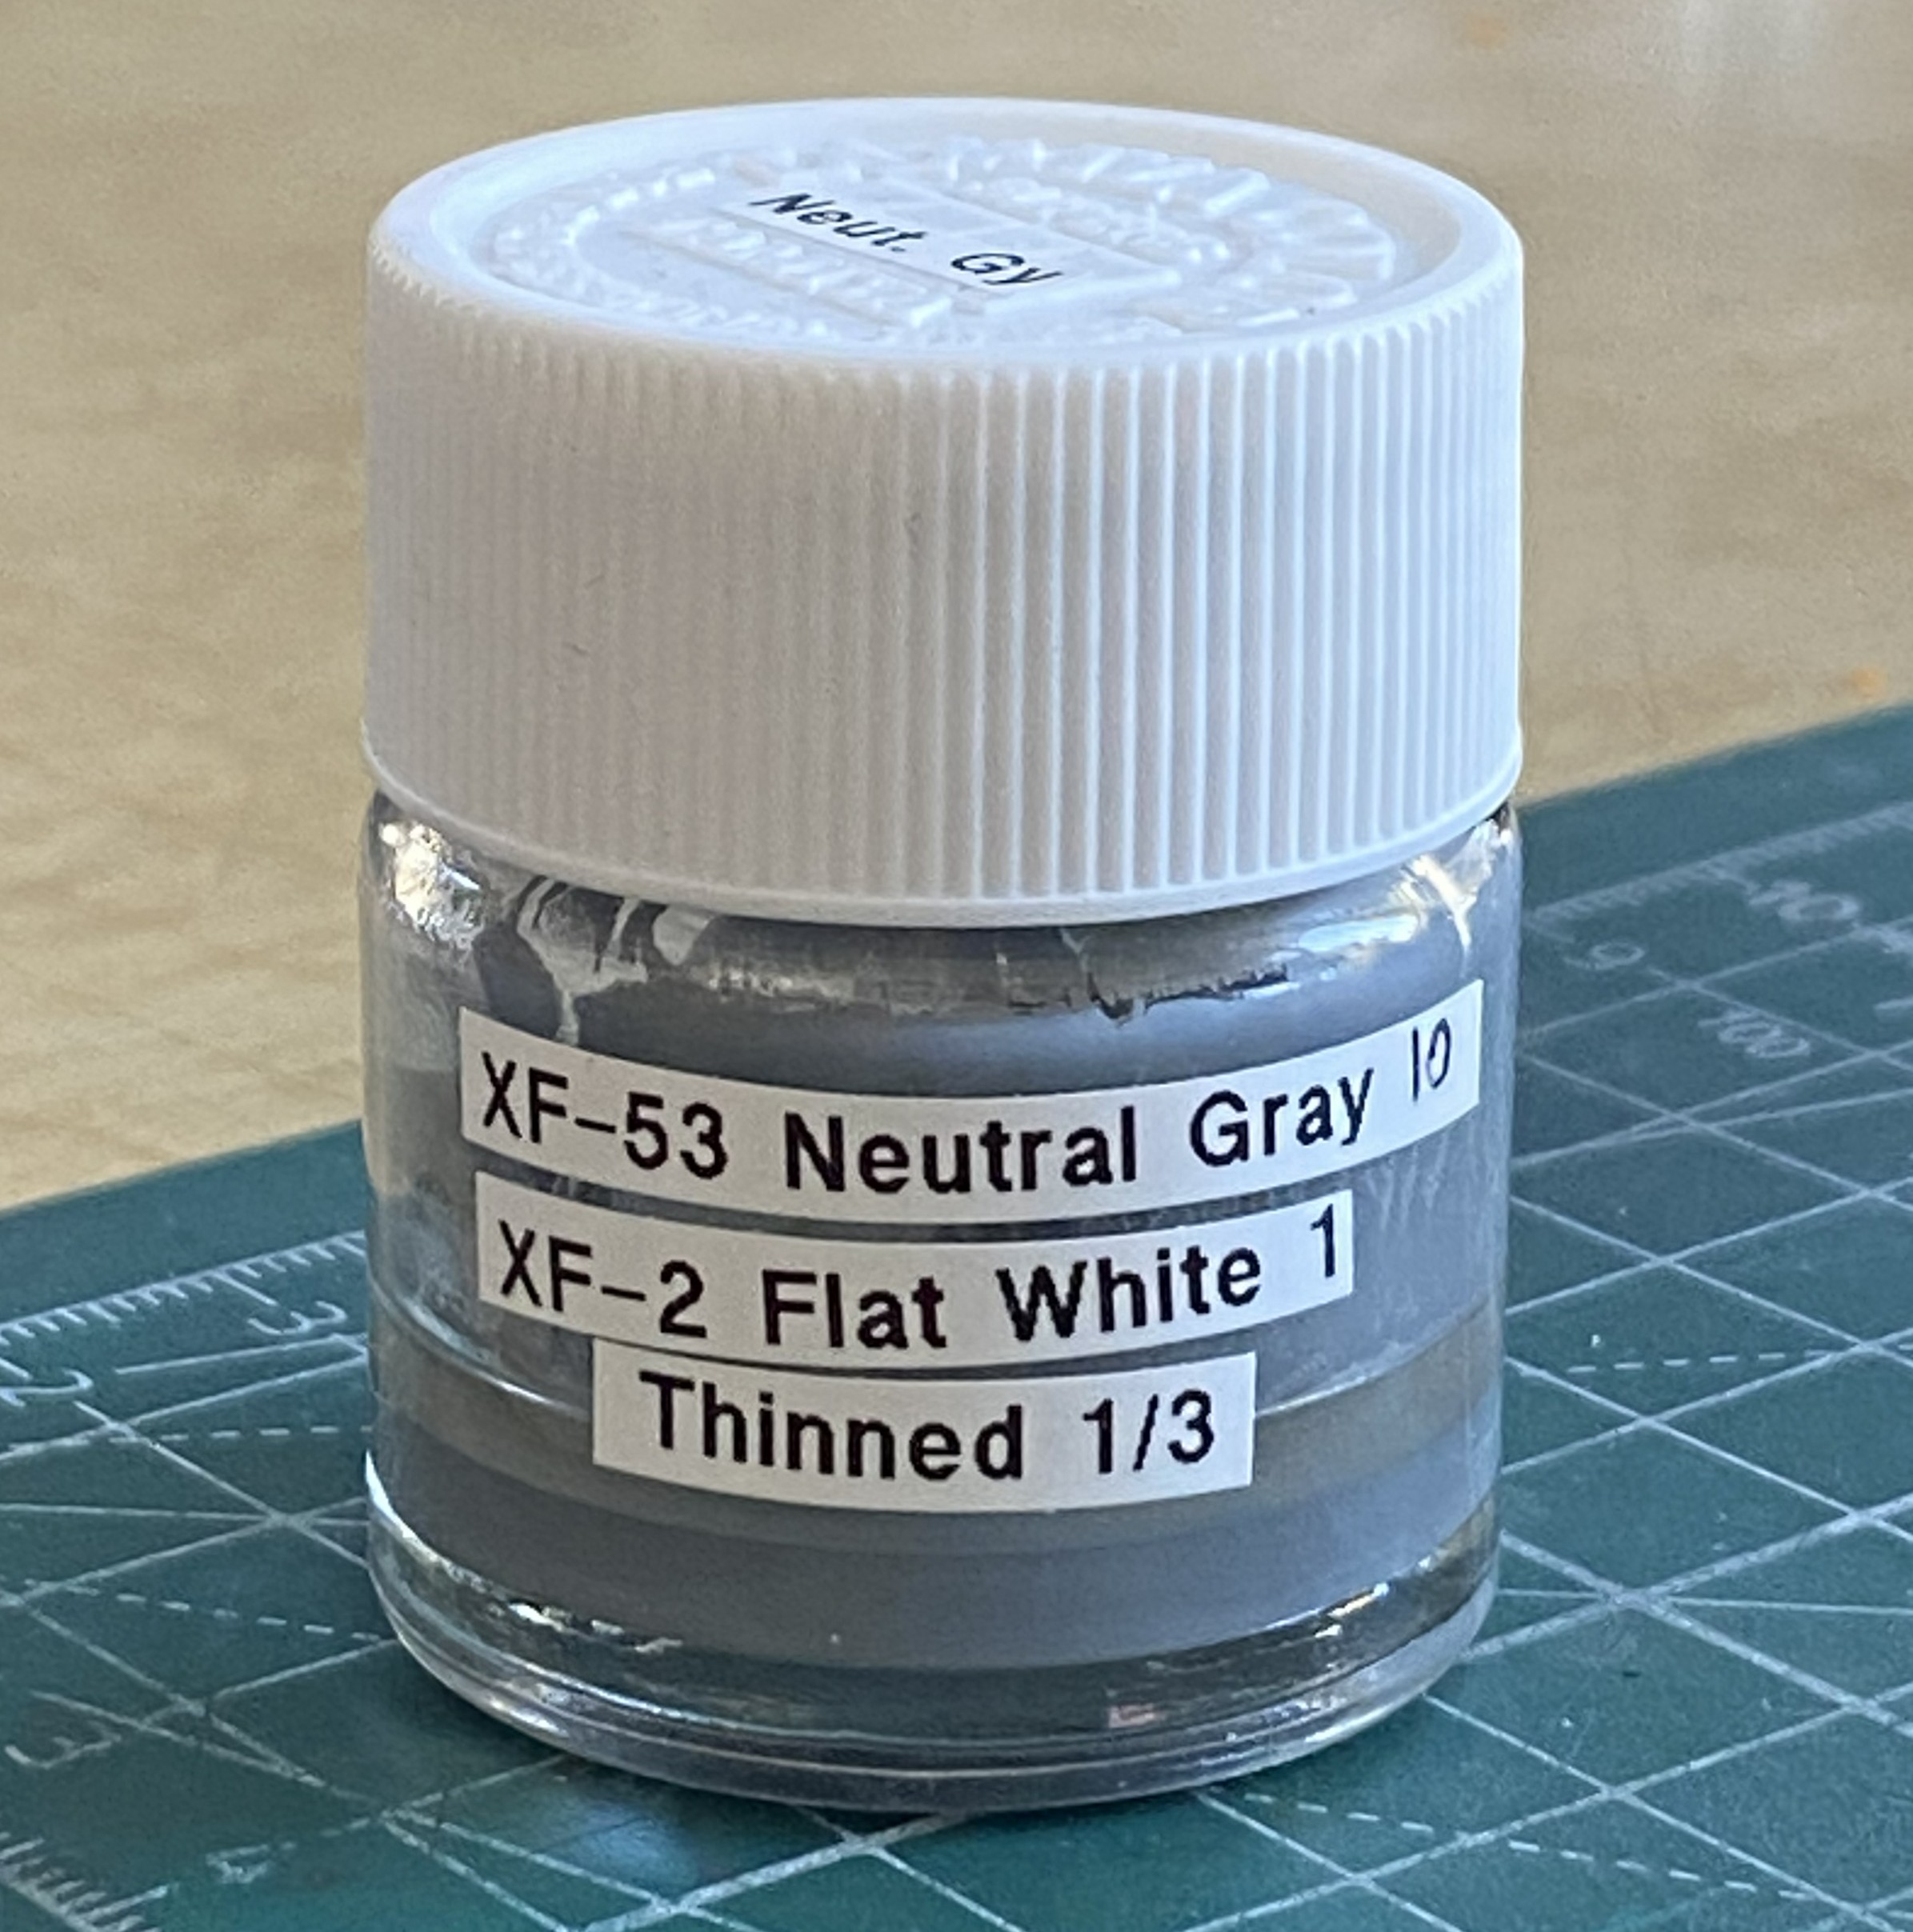
The lower color is a match (I’m told) and here’s the formula for it if you need it for your build:
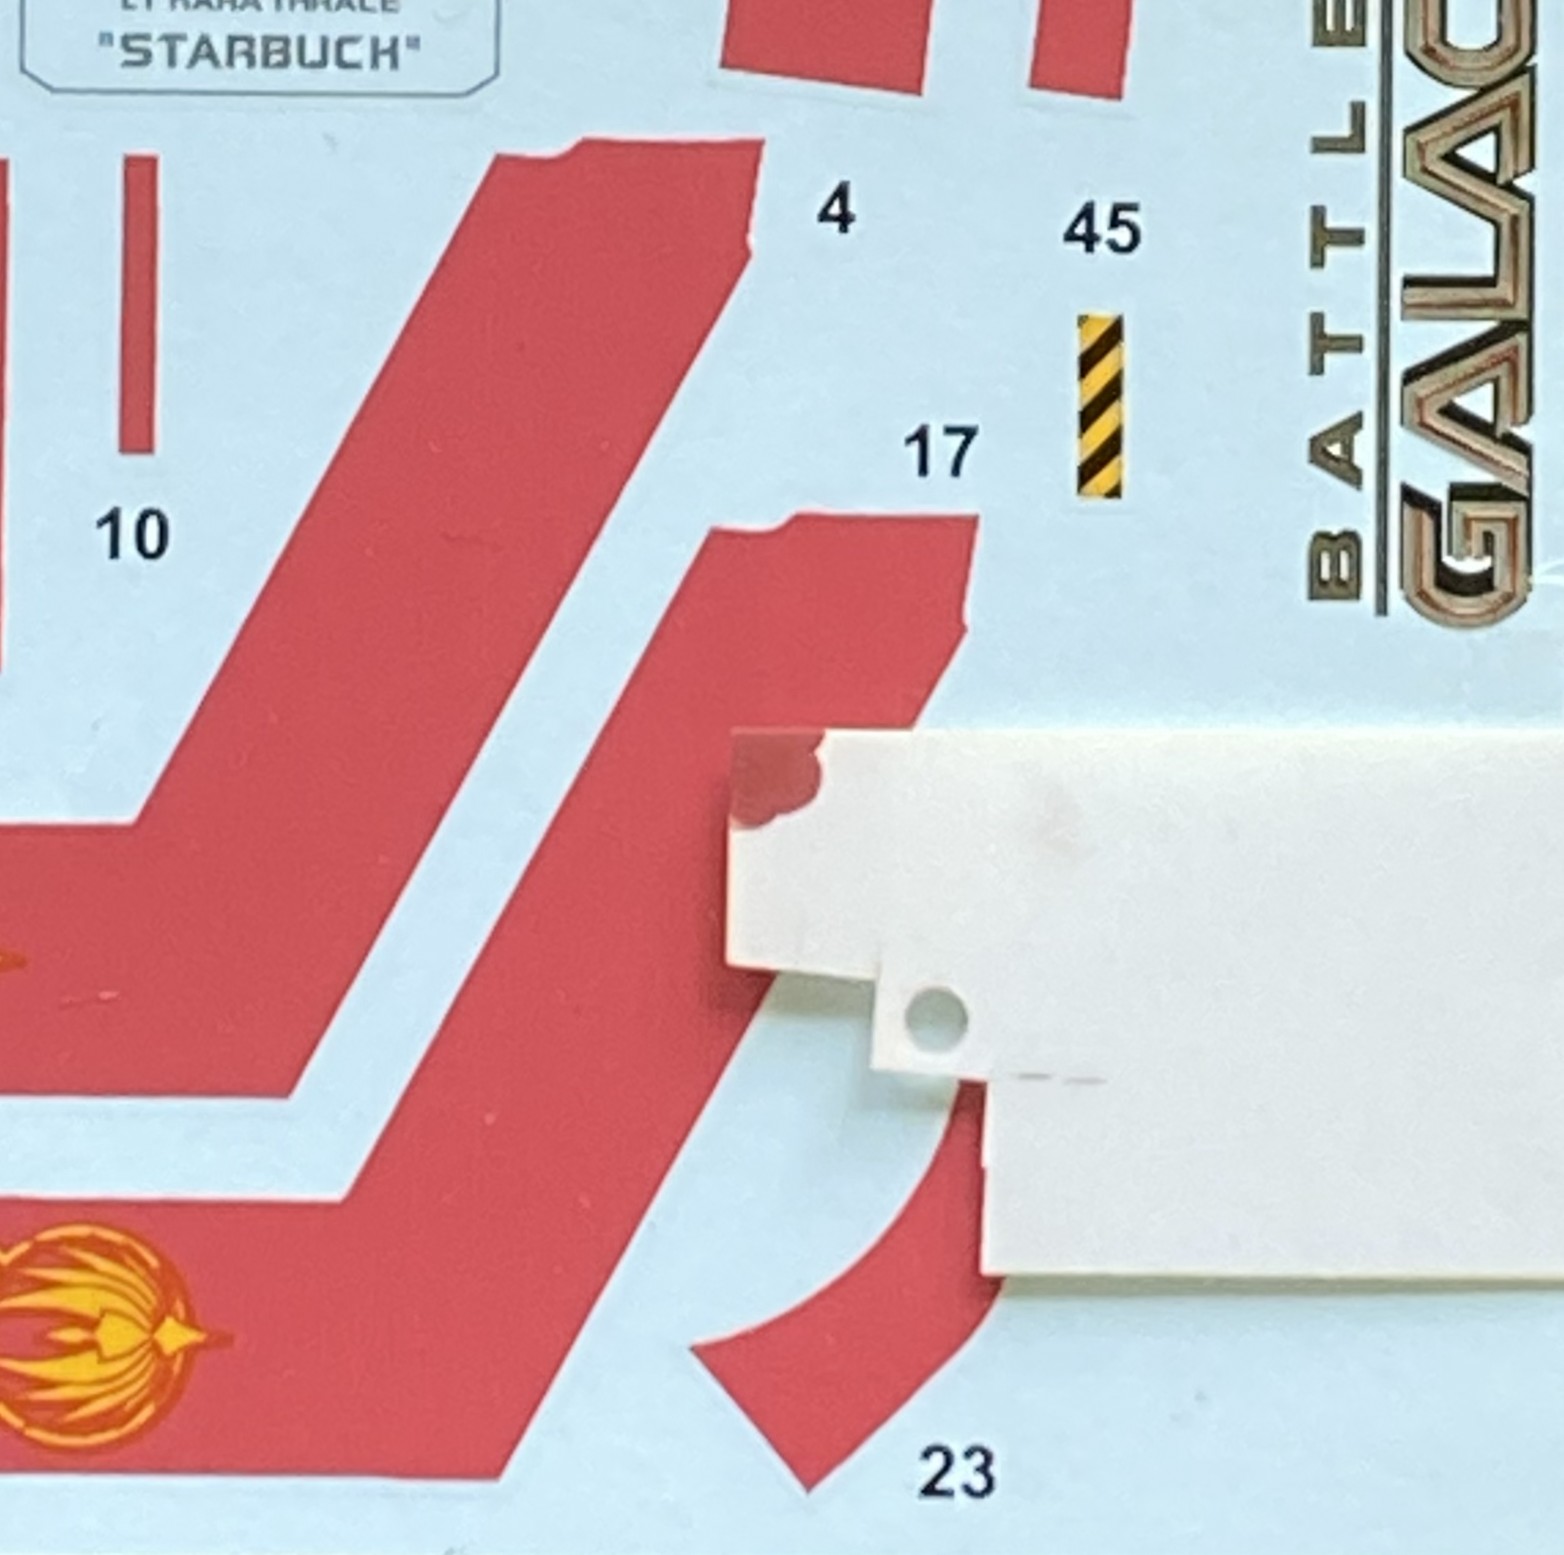
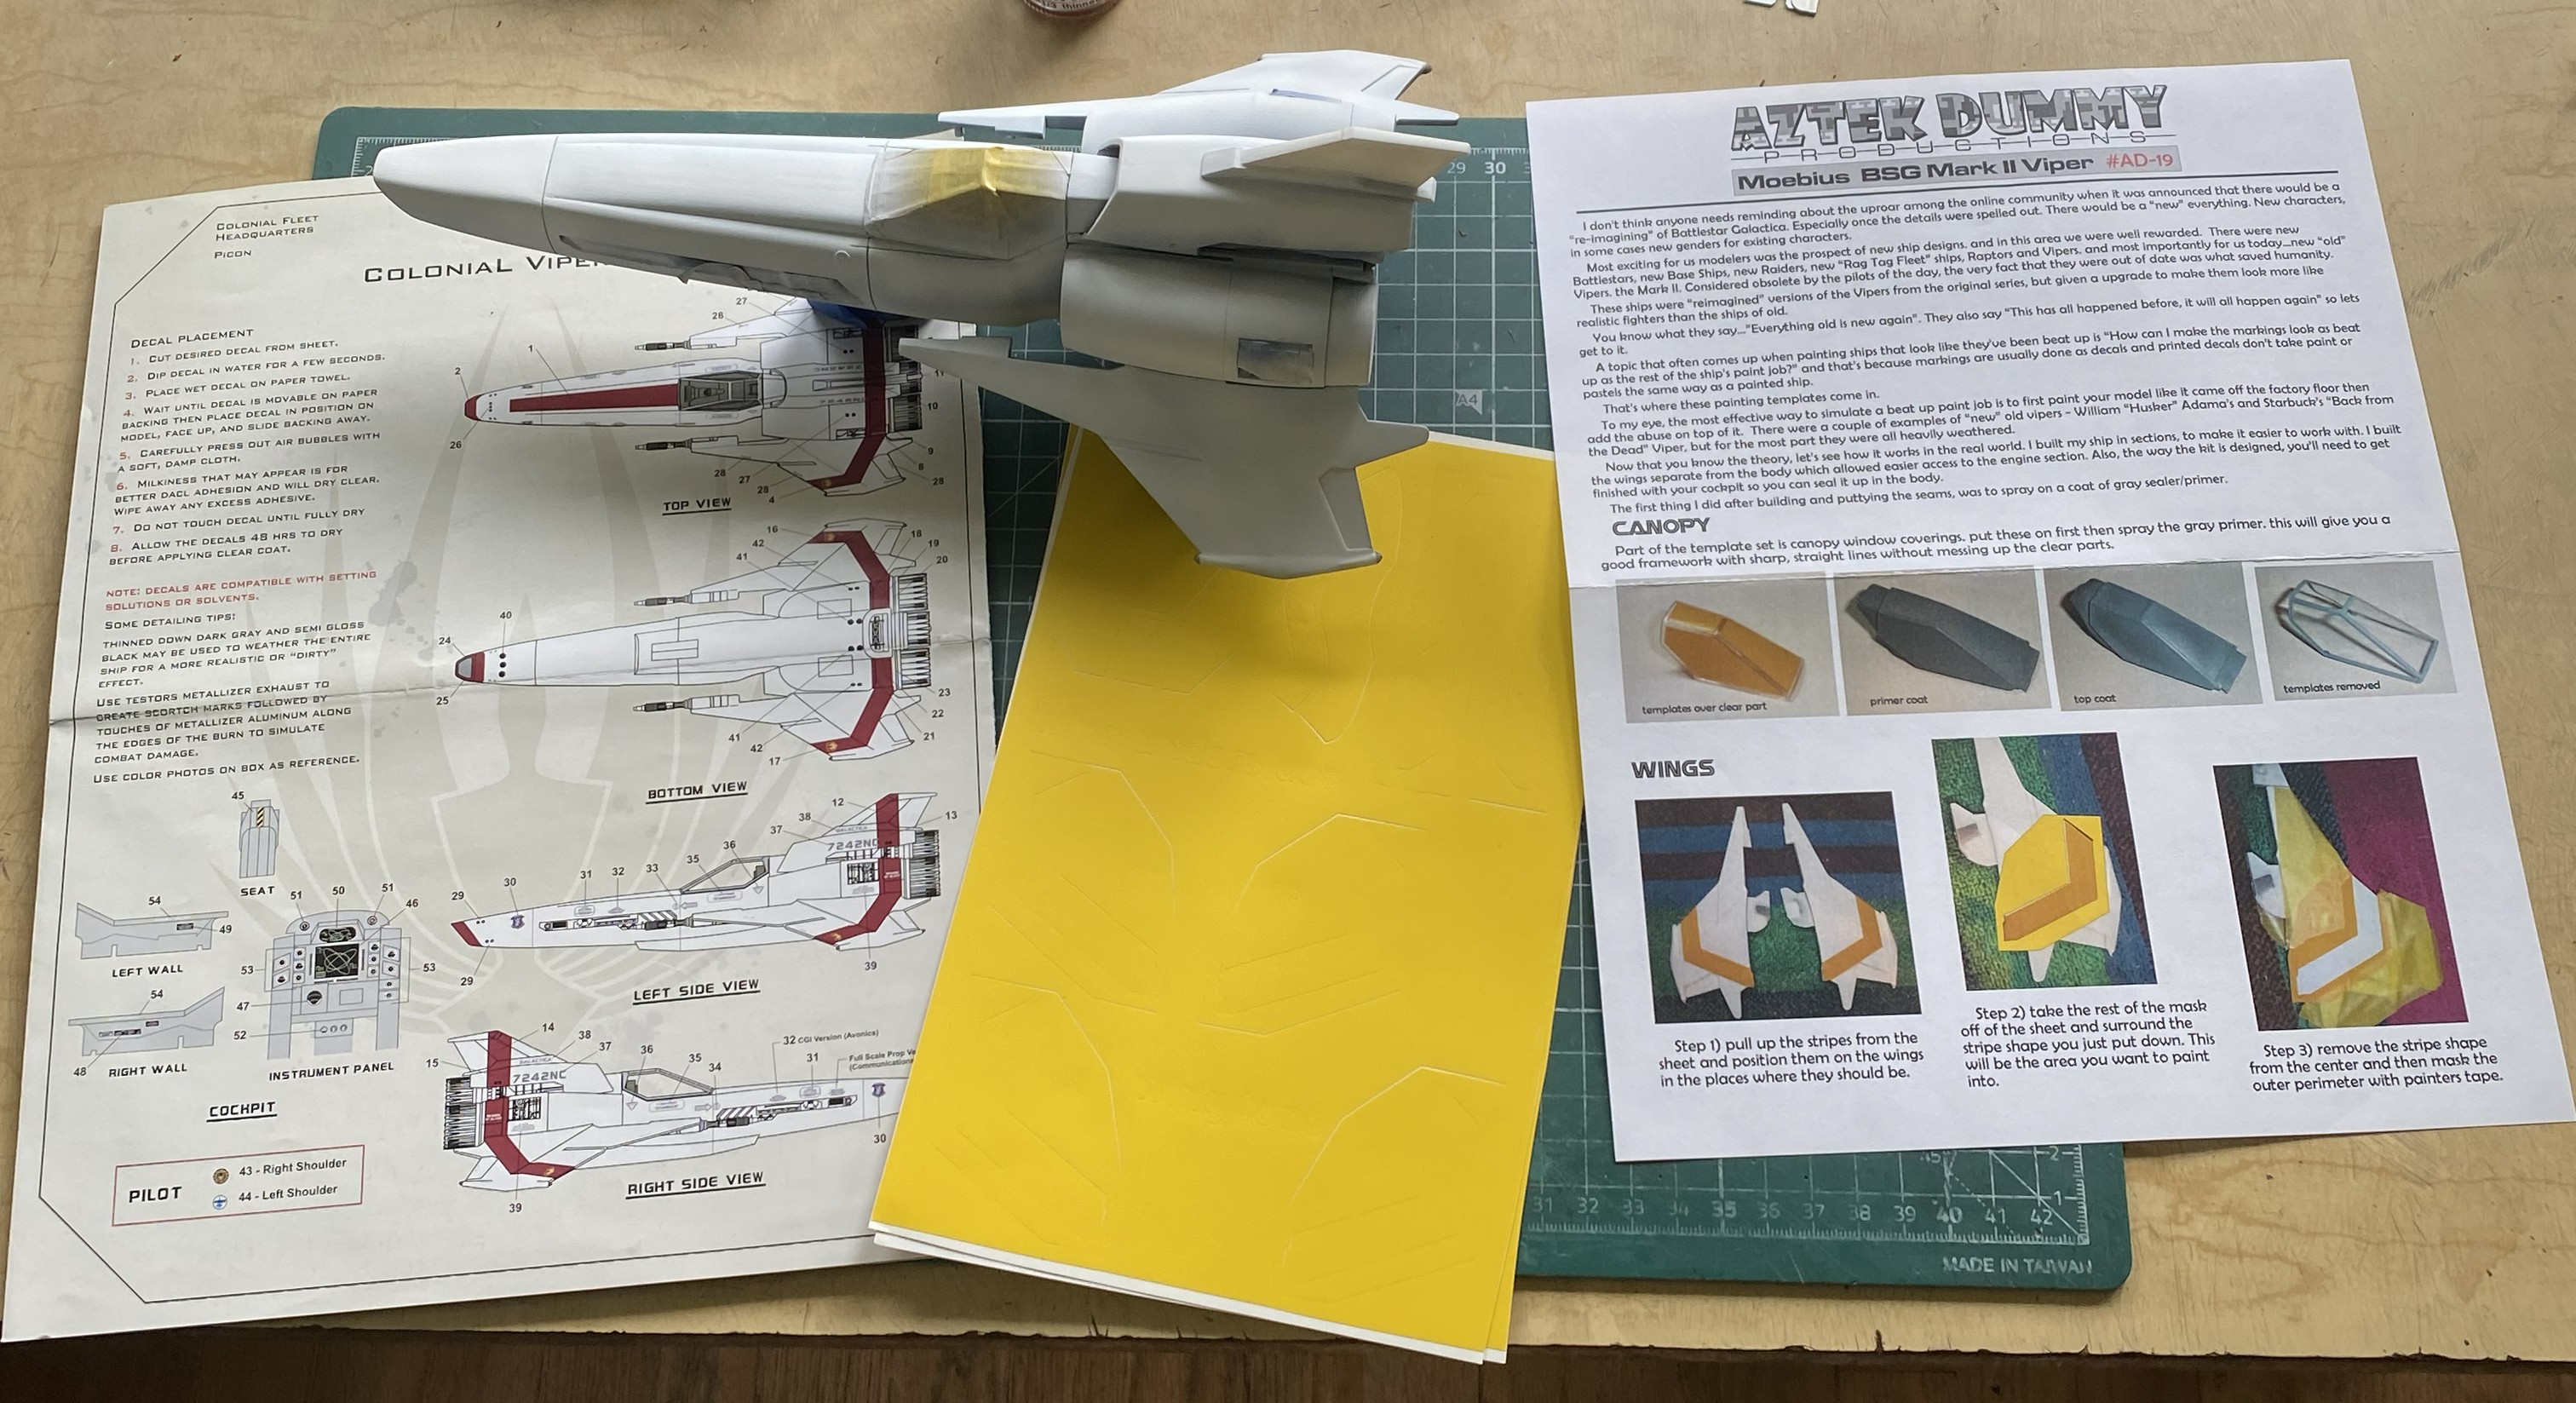
Right. Now that this problem has been solved, it’s time to mask! If you’re building this and would rather use pre-cut masks for it, this is what I used:
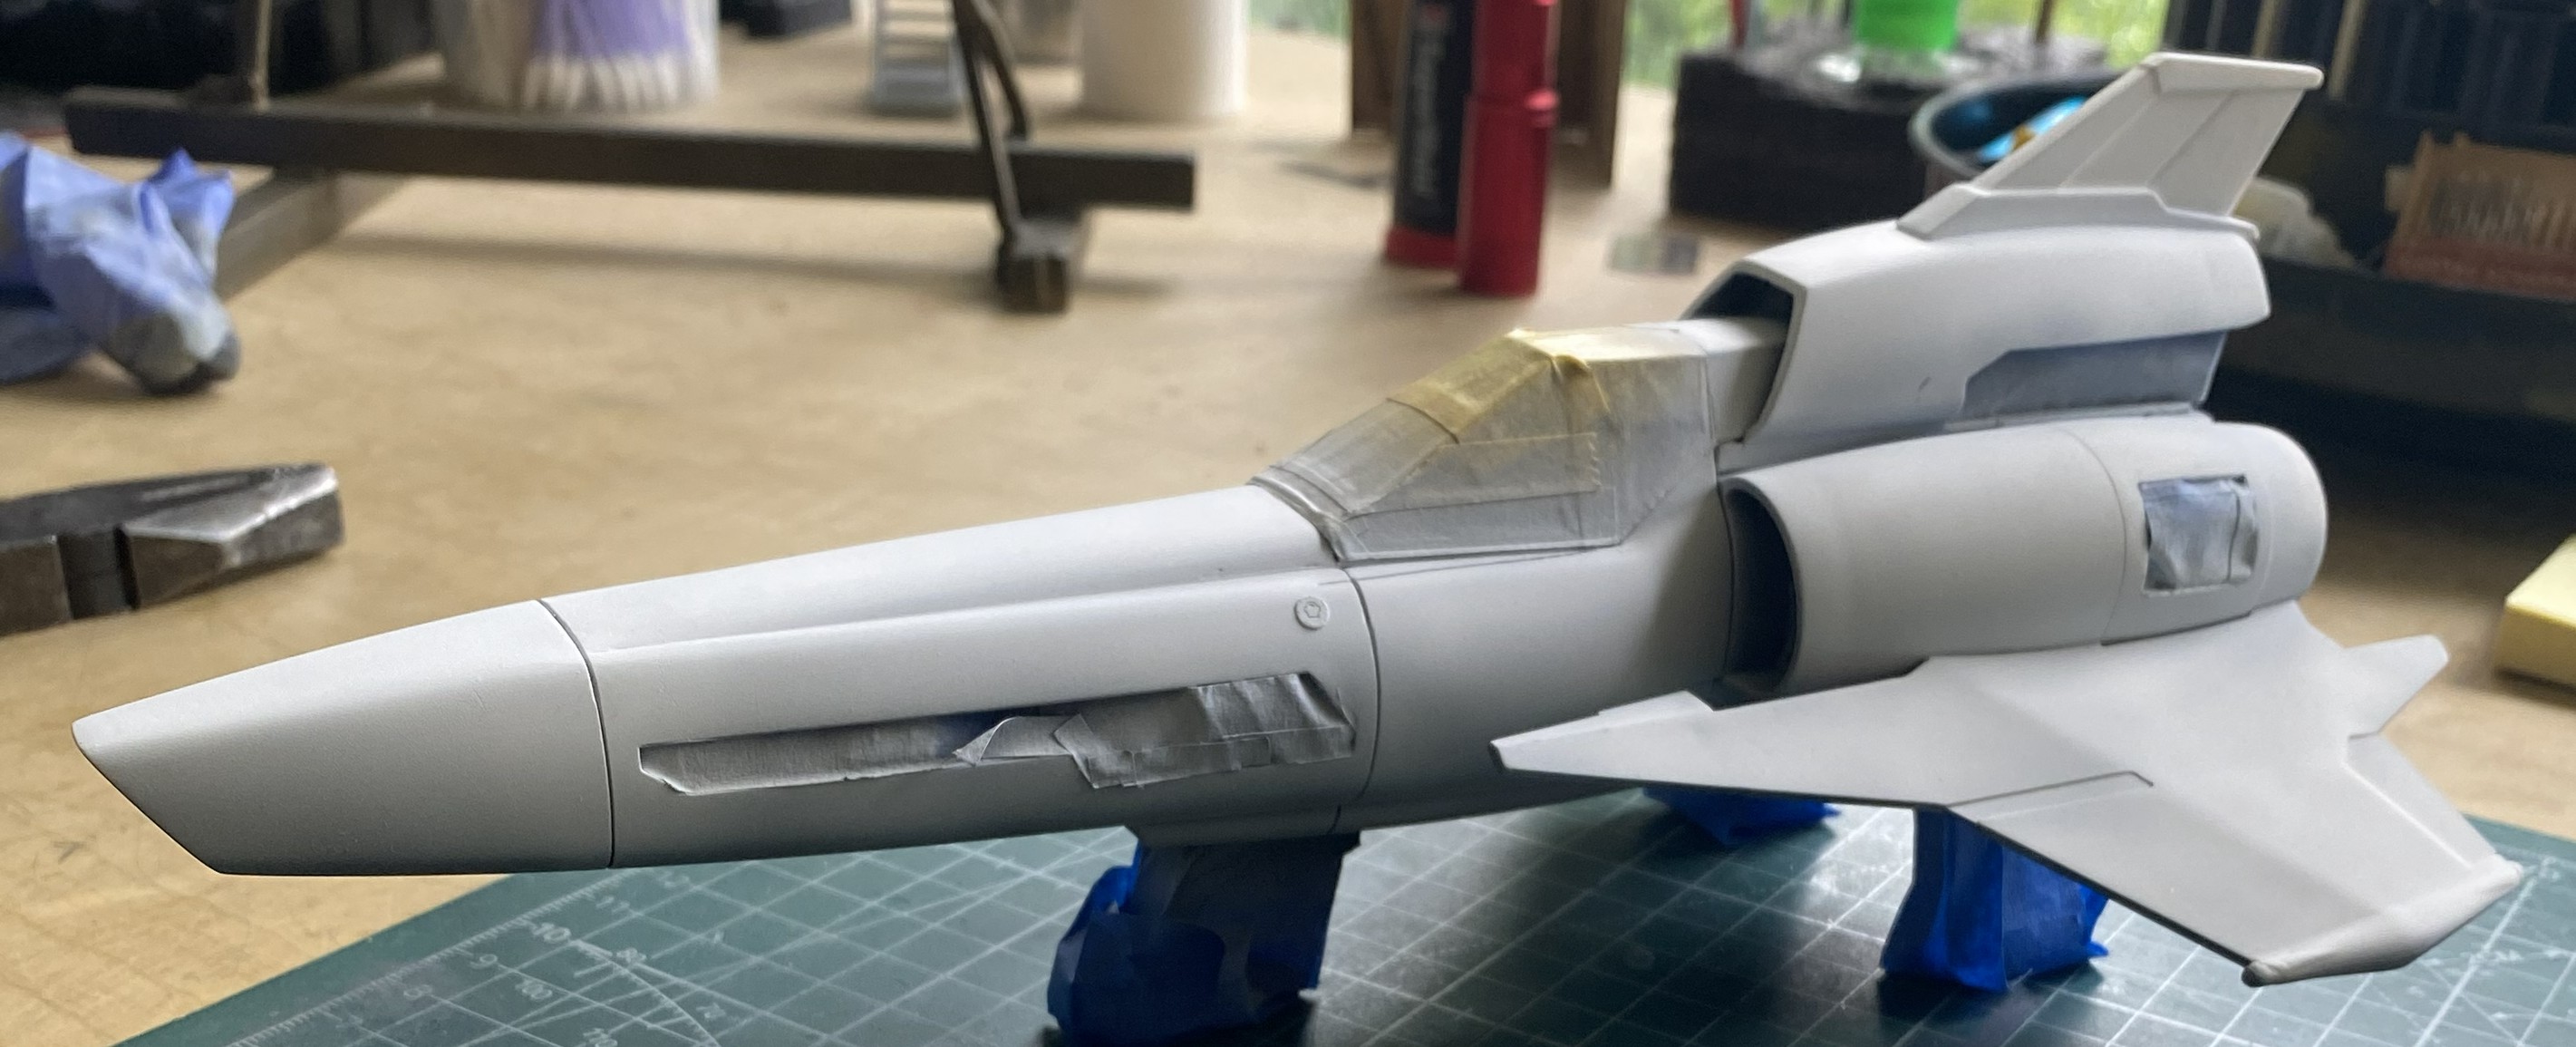
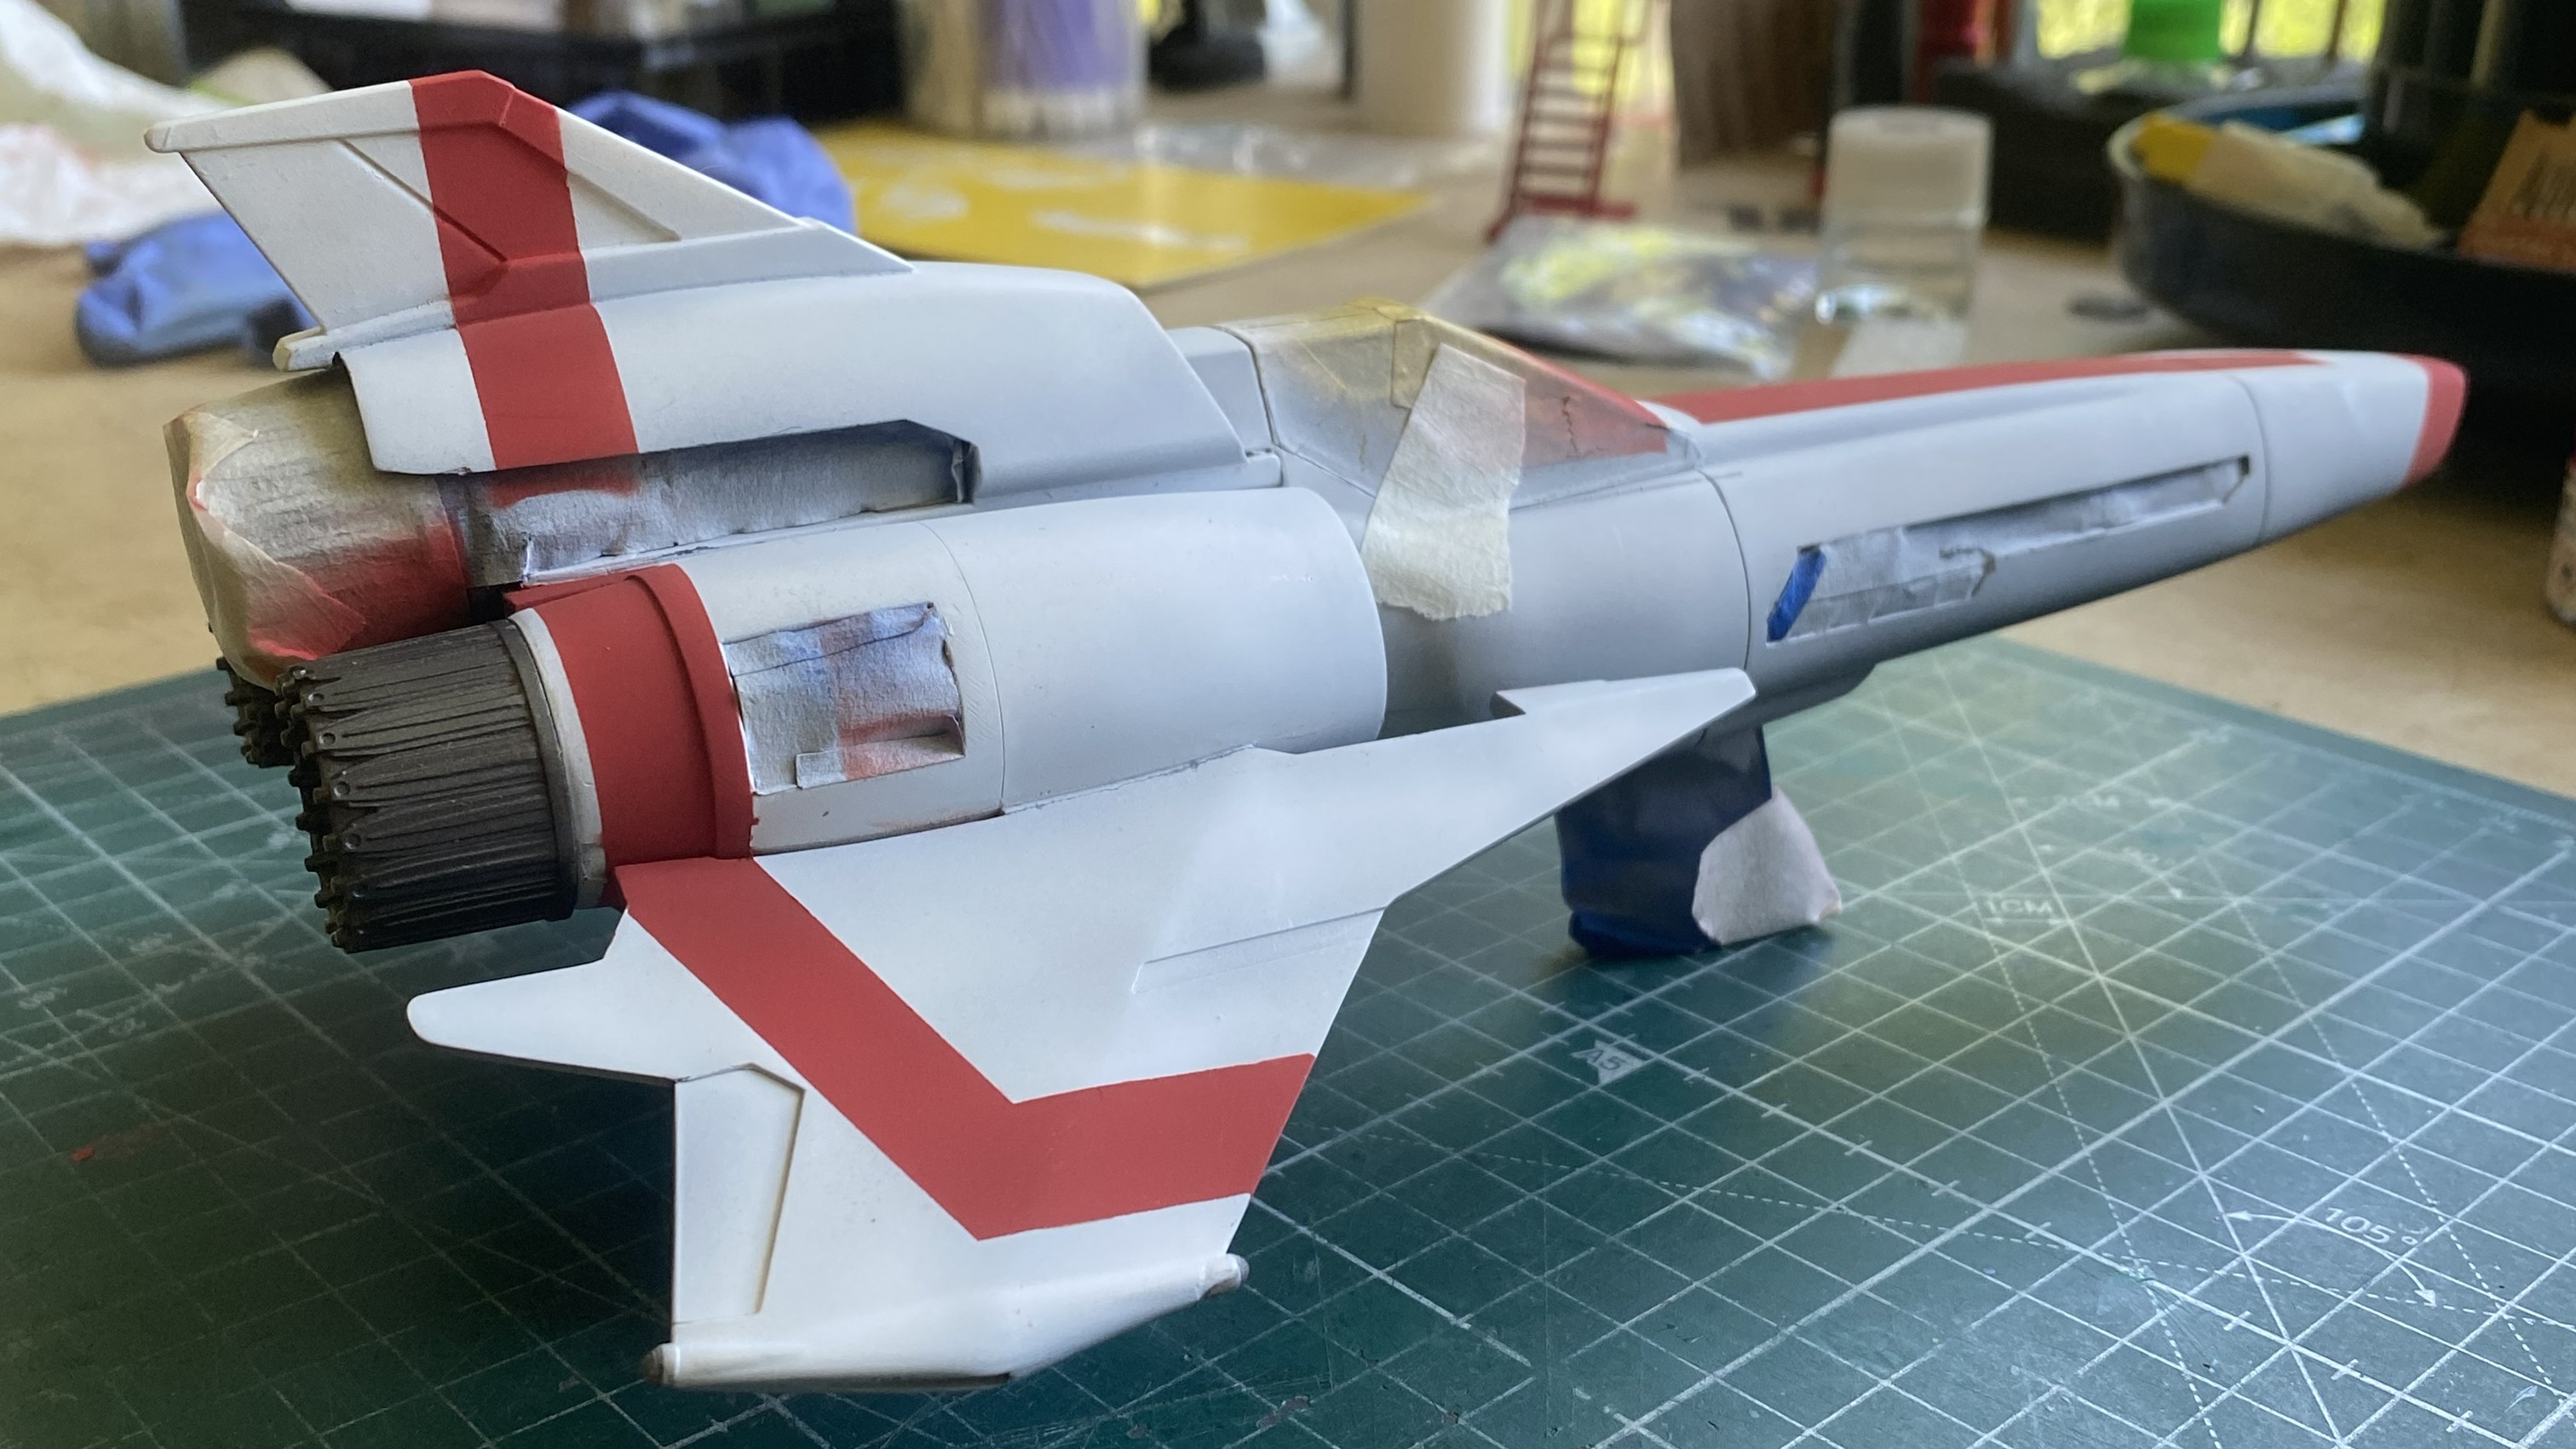
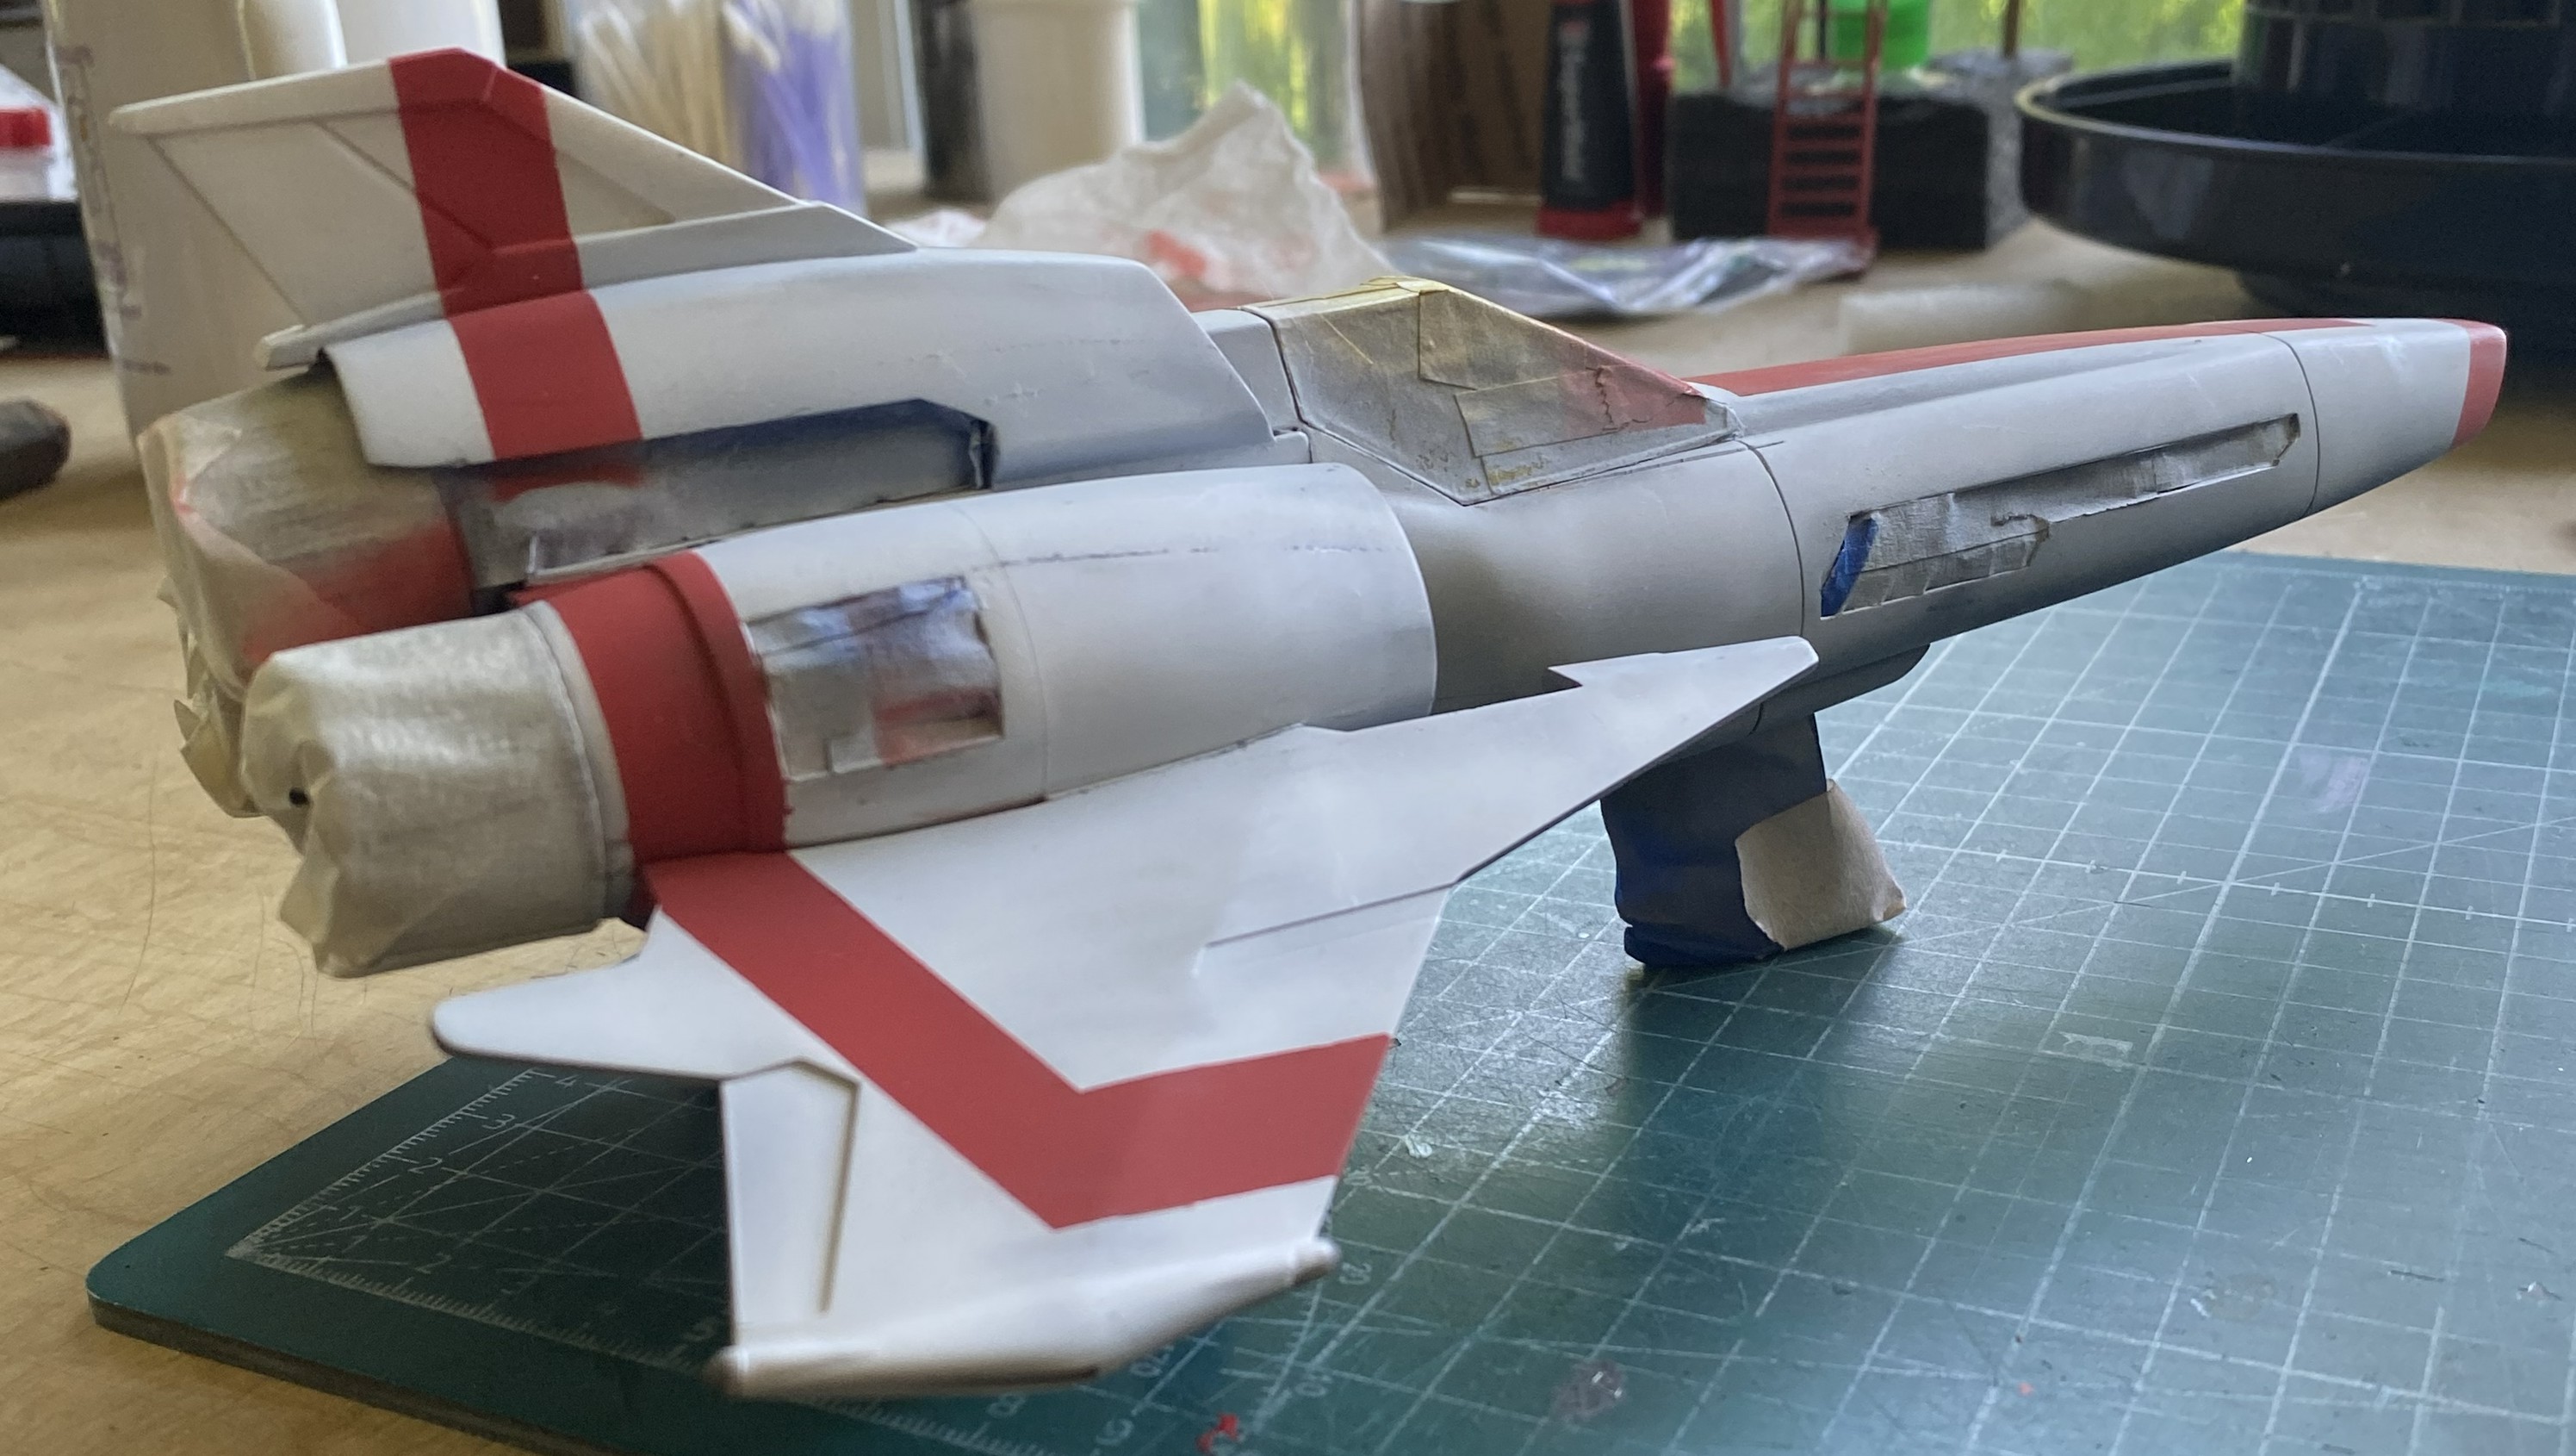
And this is the Viper, all wrapped up like a Sub at a Dom’s birthday party:
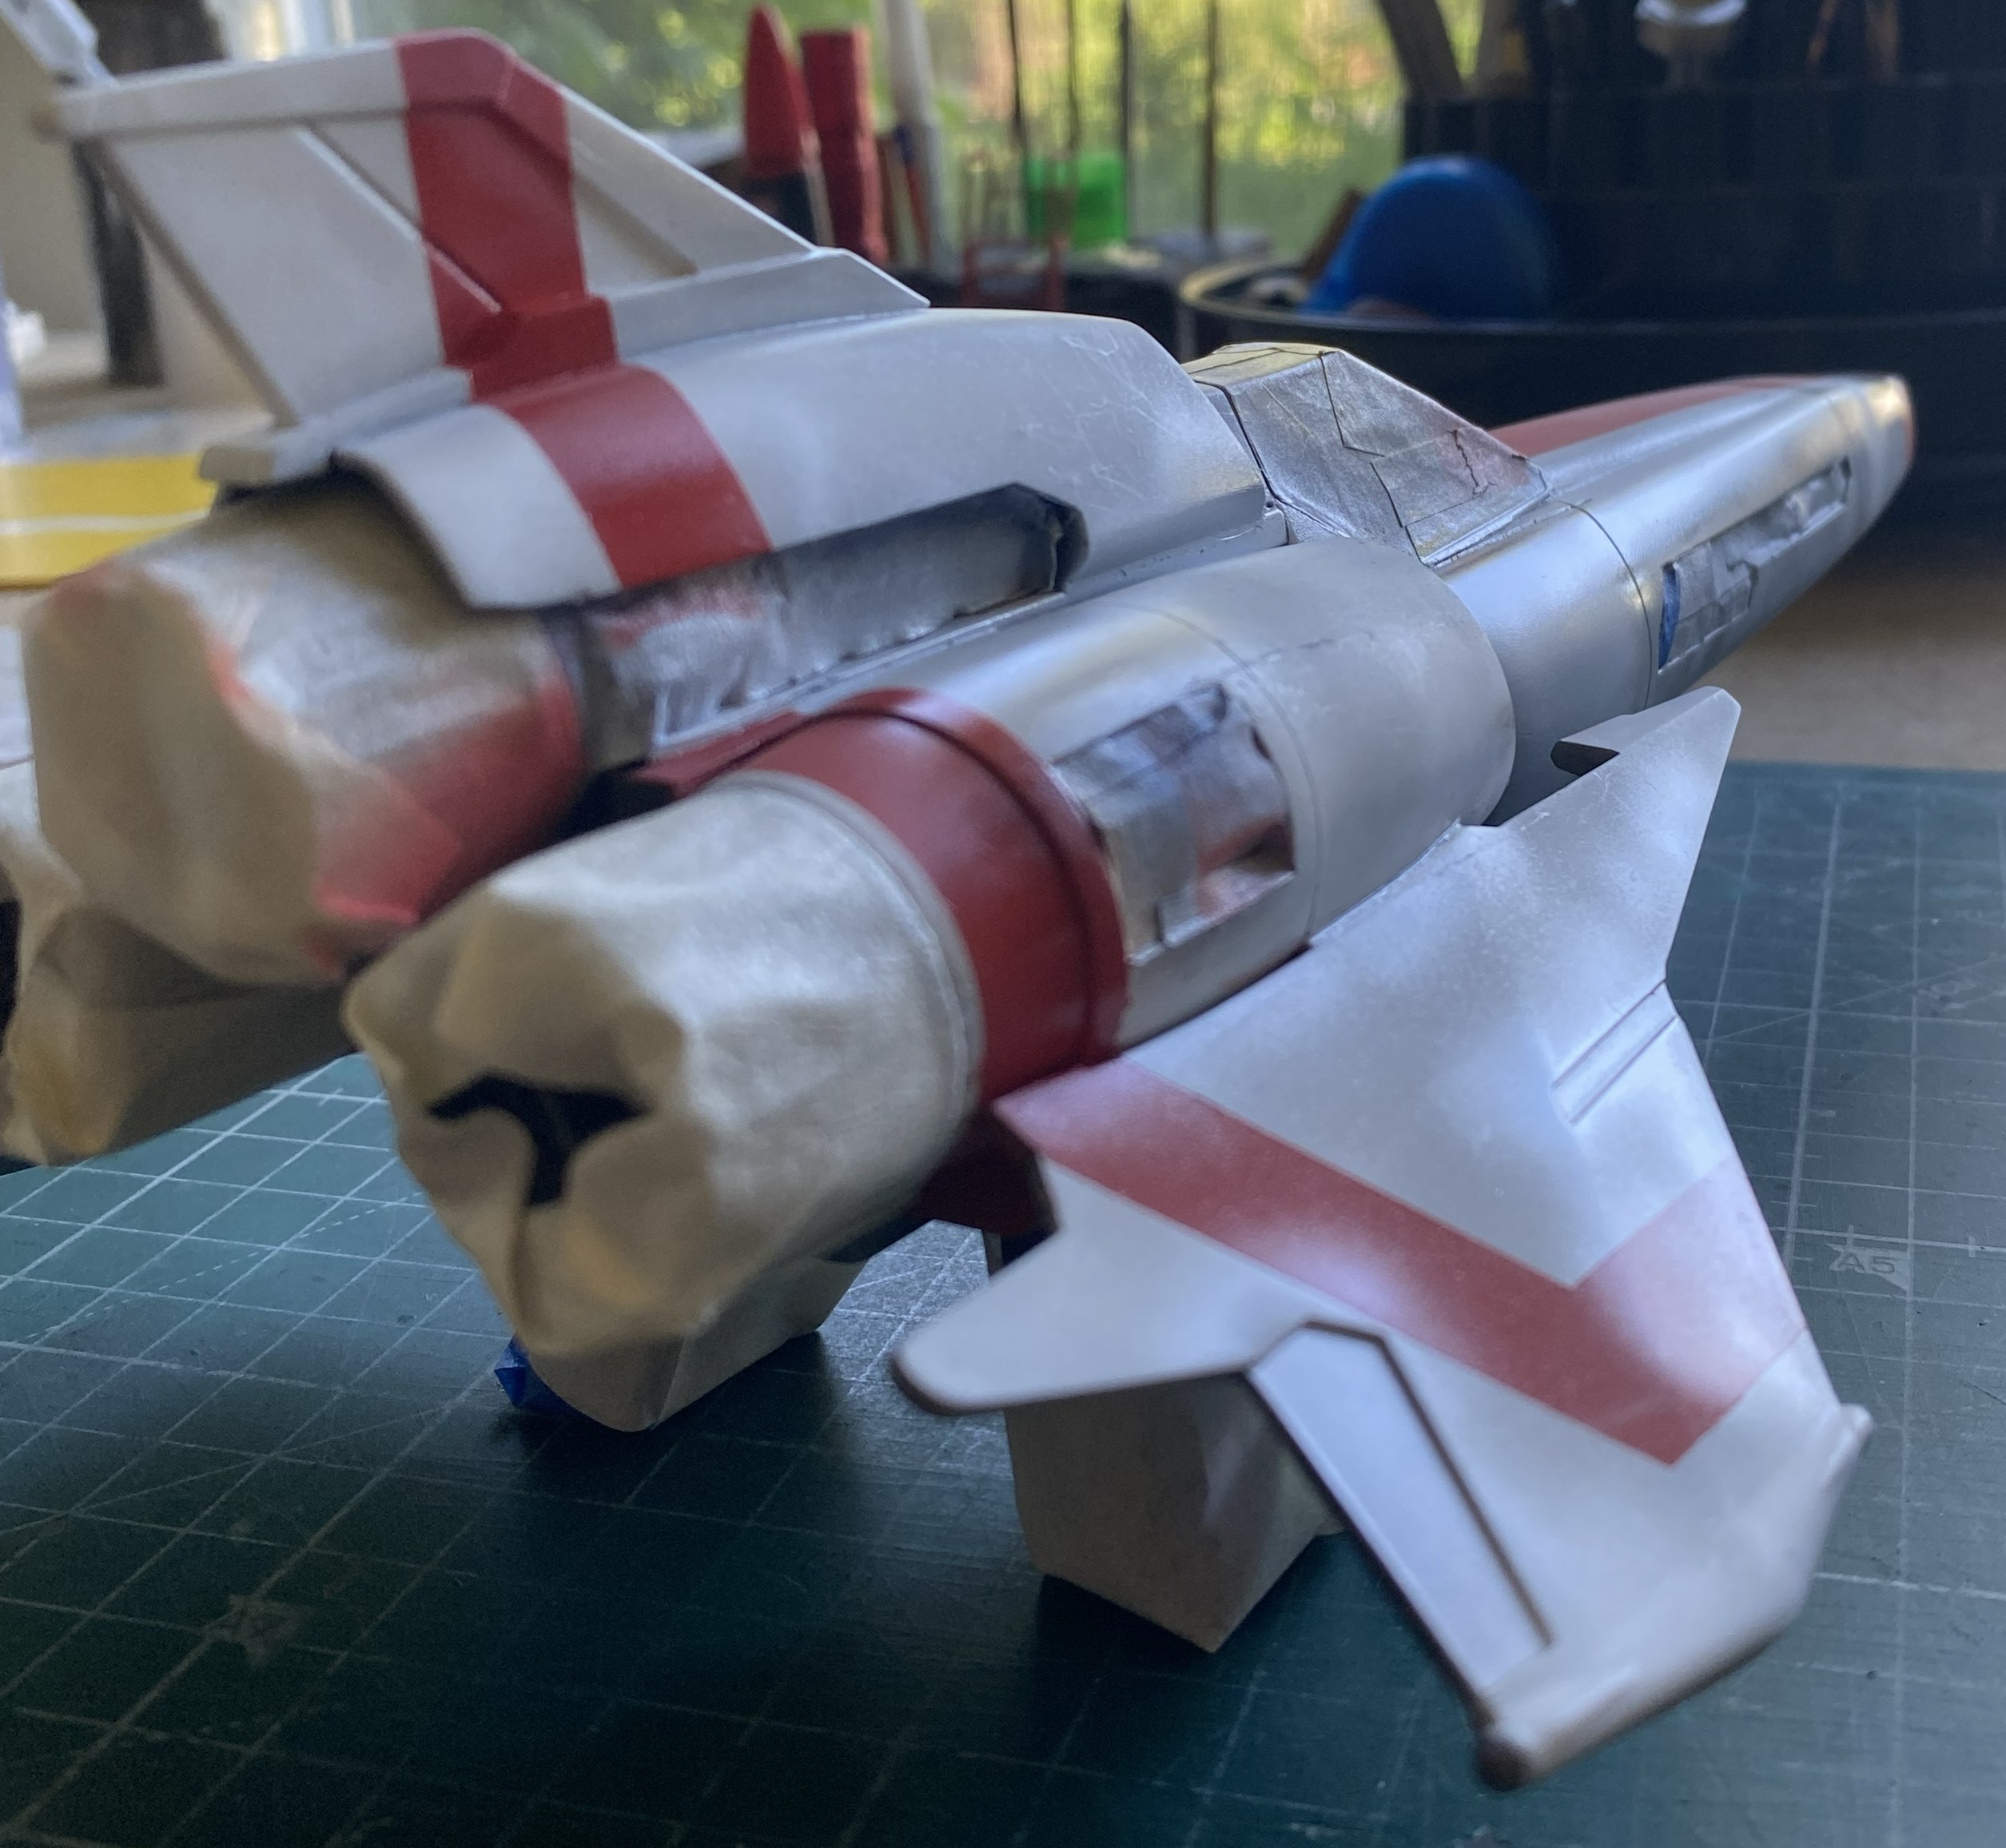
In order to have enough surface for masking tape to hang onto, the exhaust nozzles had to be added before the wrap party:
Painted and unwrapped:


Whew…and yea the apprehension doth wane.
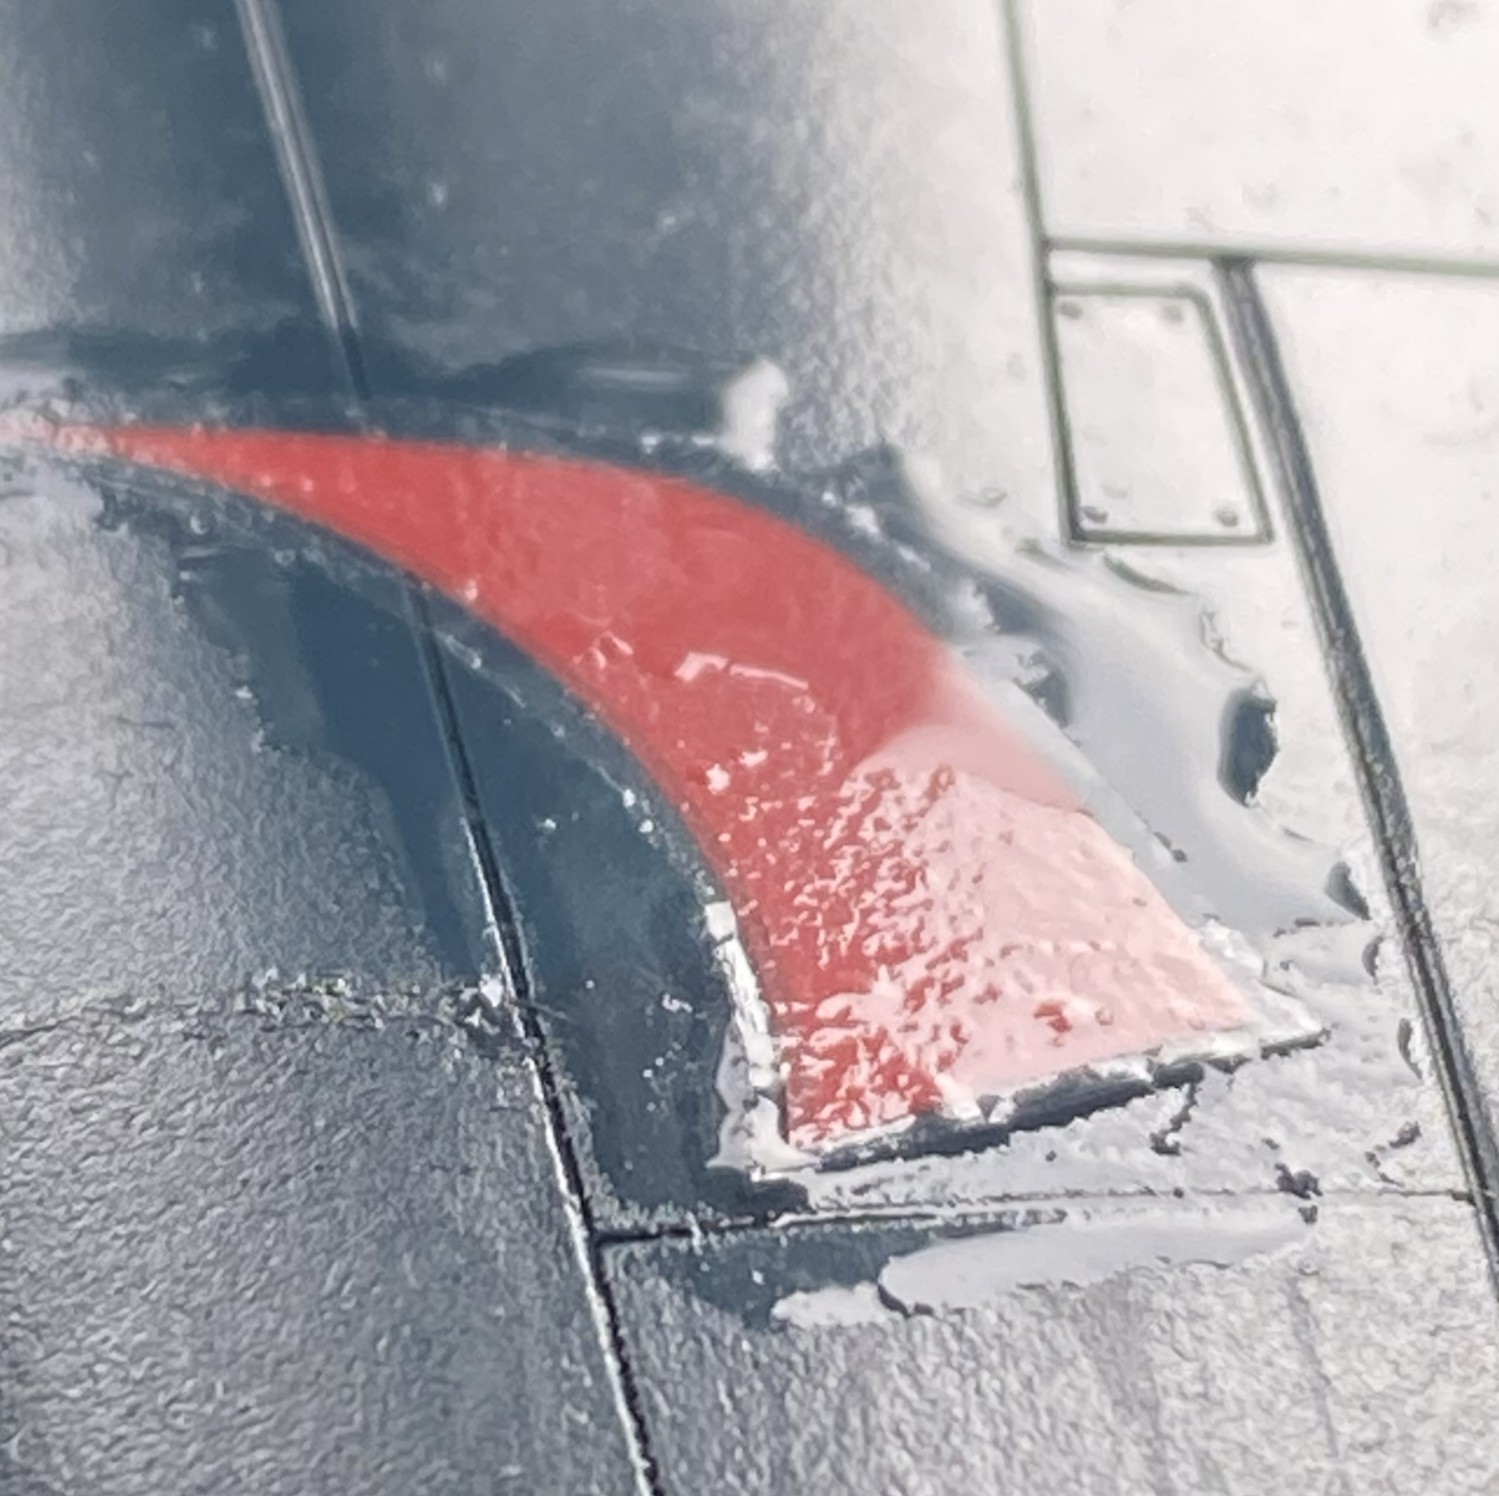
Time to start adding stains and wear. Usually at this stage, I break out the pastels. Not this time. There will be clear paint over the pastels. Because of how pastels work (reflected light), clear paint profoundly diminishes their effect. I scrubbed a standard pencil over paper until I had a fair amount of graphite there. Using a cotton swab, I started adding dirt smudges:
Basic dirt applied, I hit (mostly) all the areas with clear gloss that will get decals:
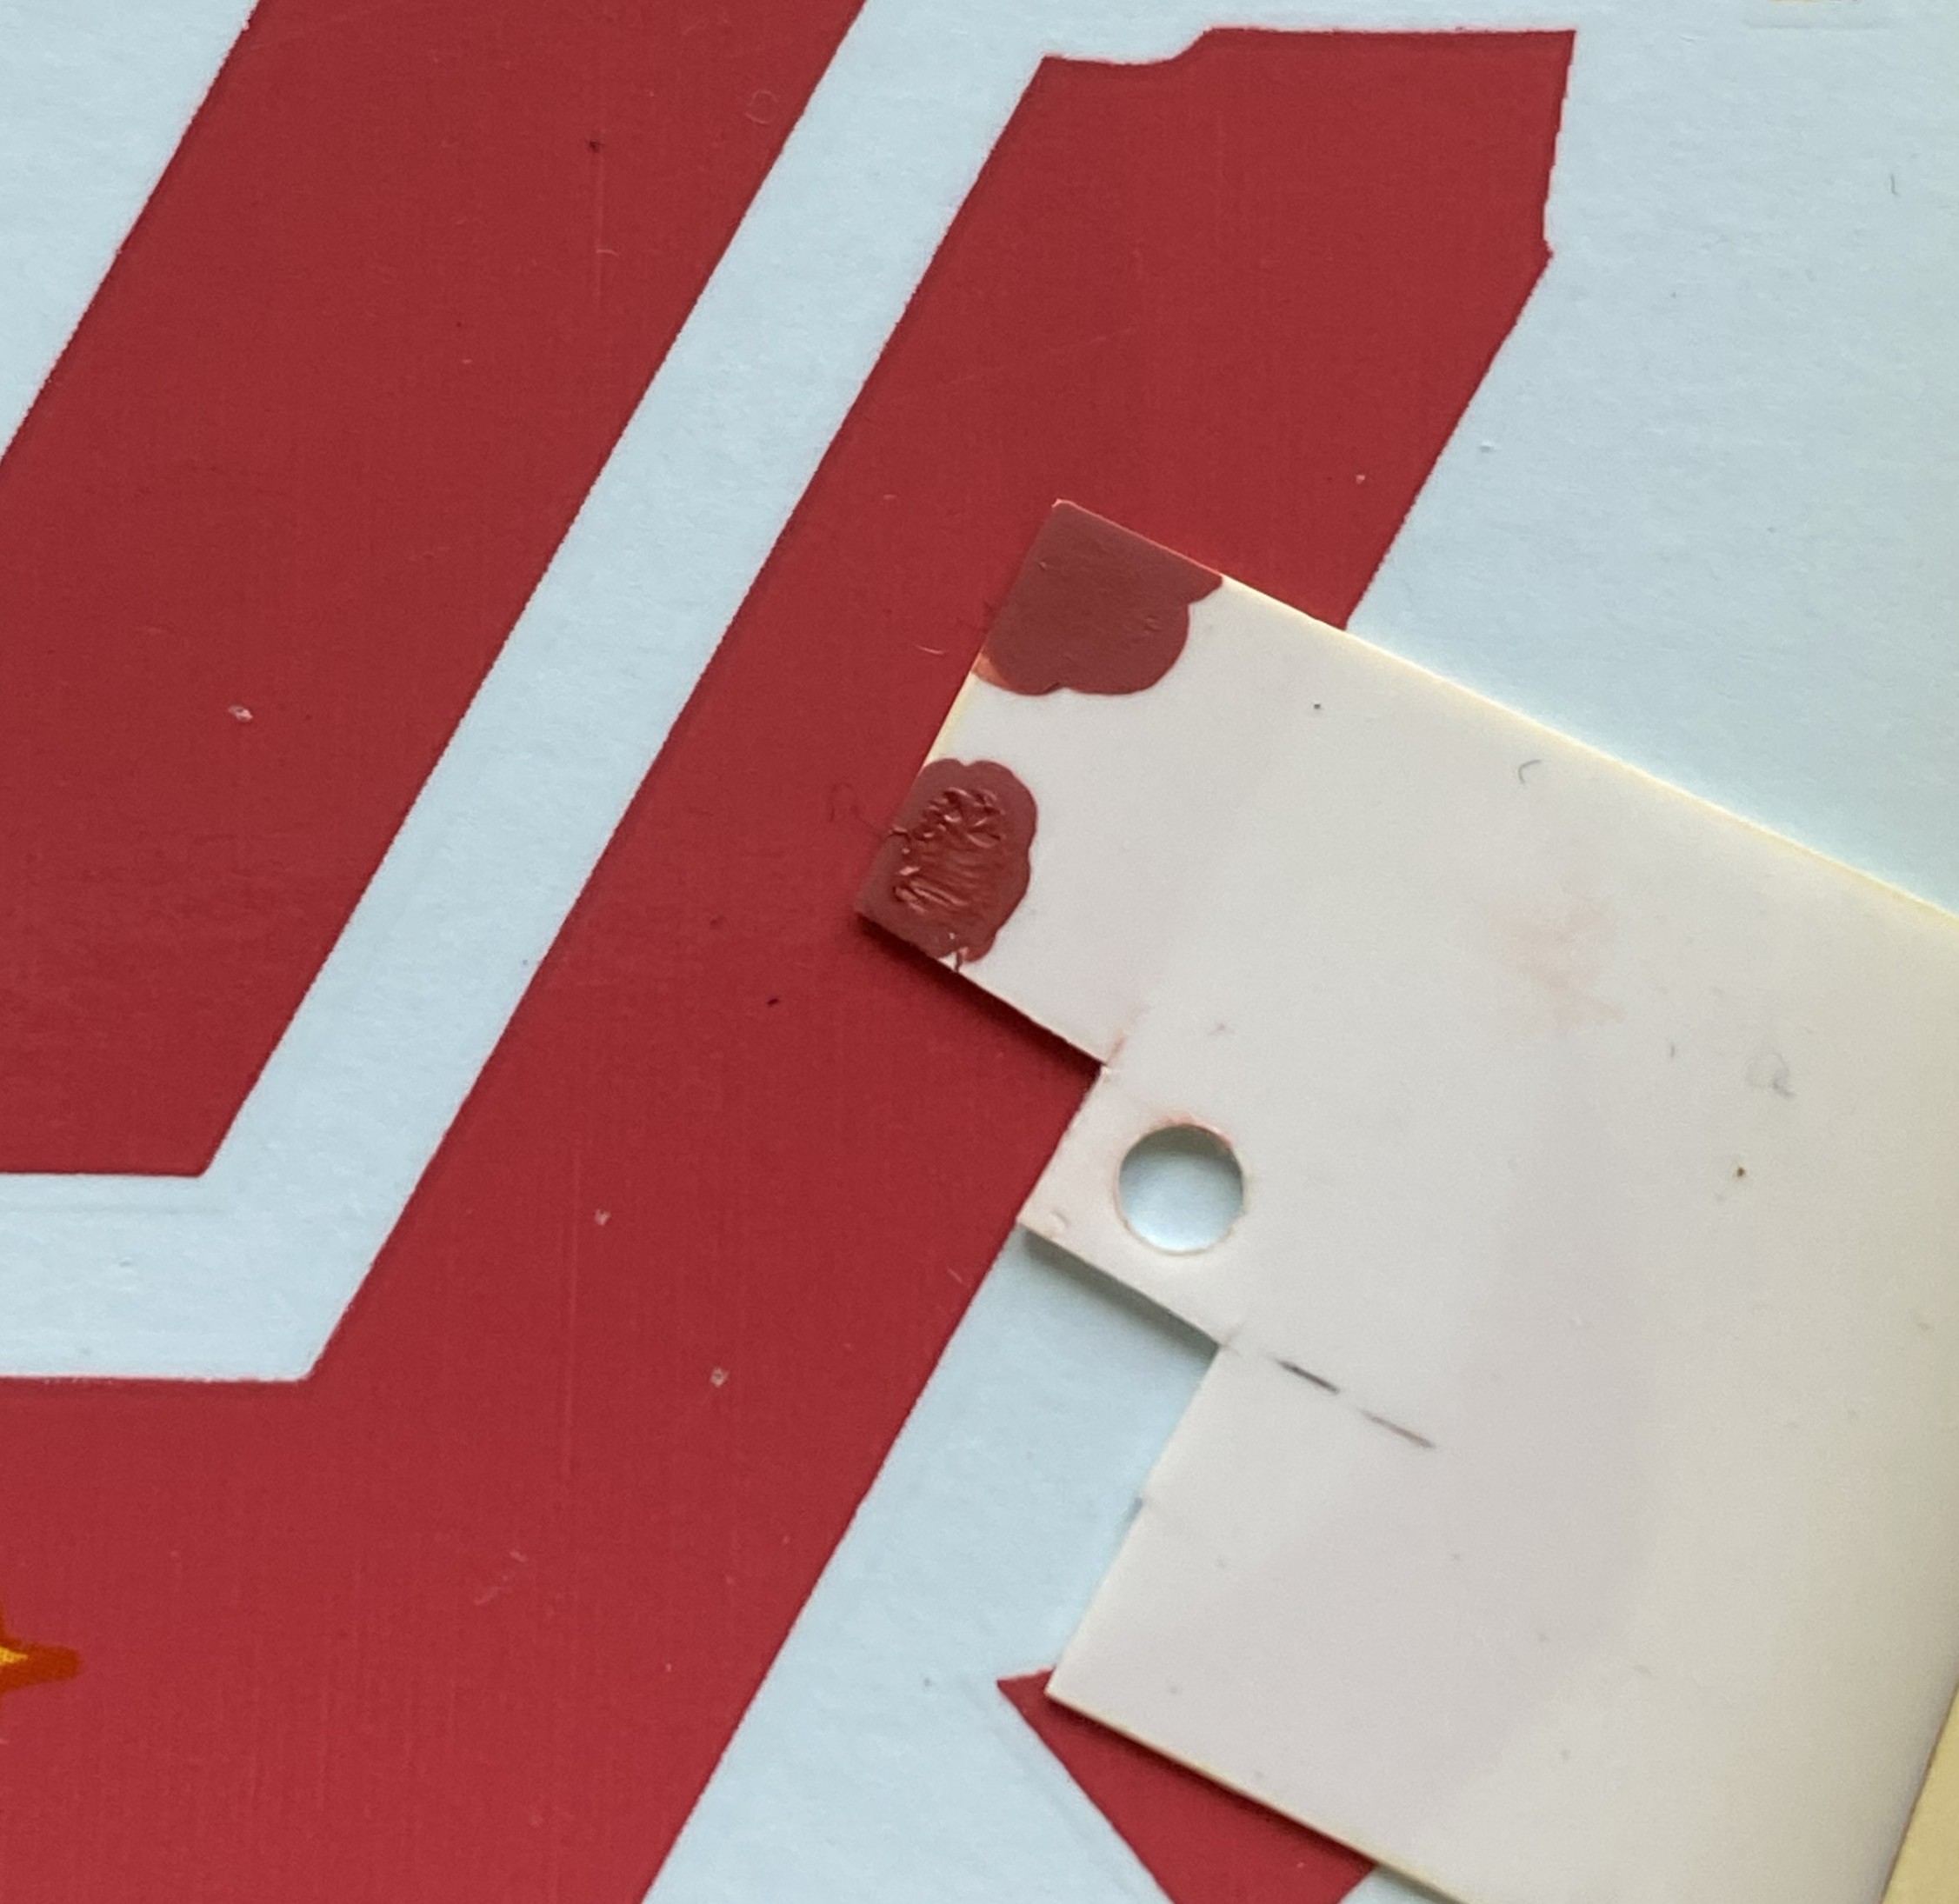
At this point, it’s time to address the big boogieperson, the decals themselves. Having painted the stripes, that left a stripe decal availabe for testing. How do the decals react to the decal film? Cue the paint mule. Put one down. You can see the edge of the decal saver around the graphic:
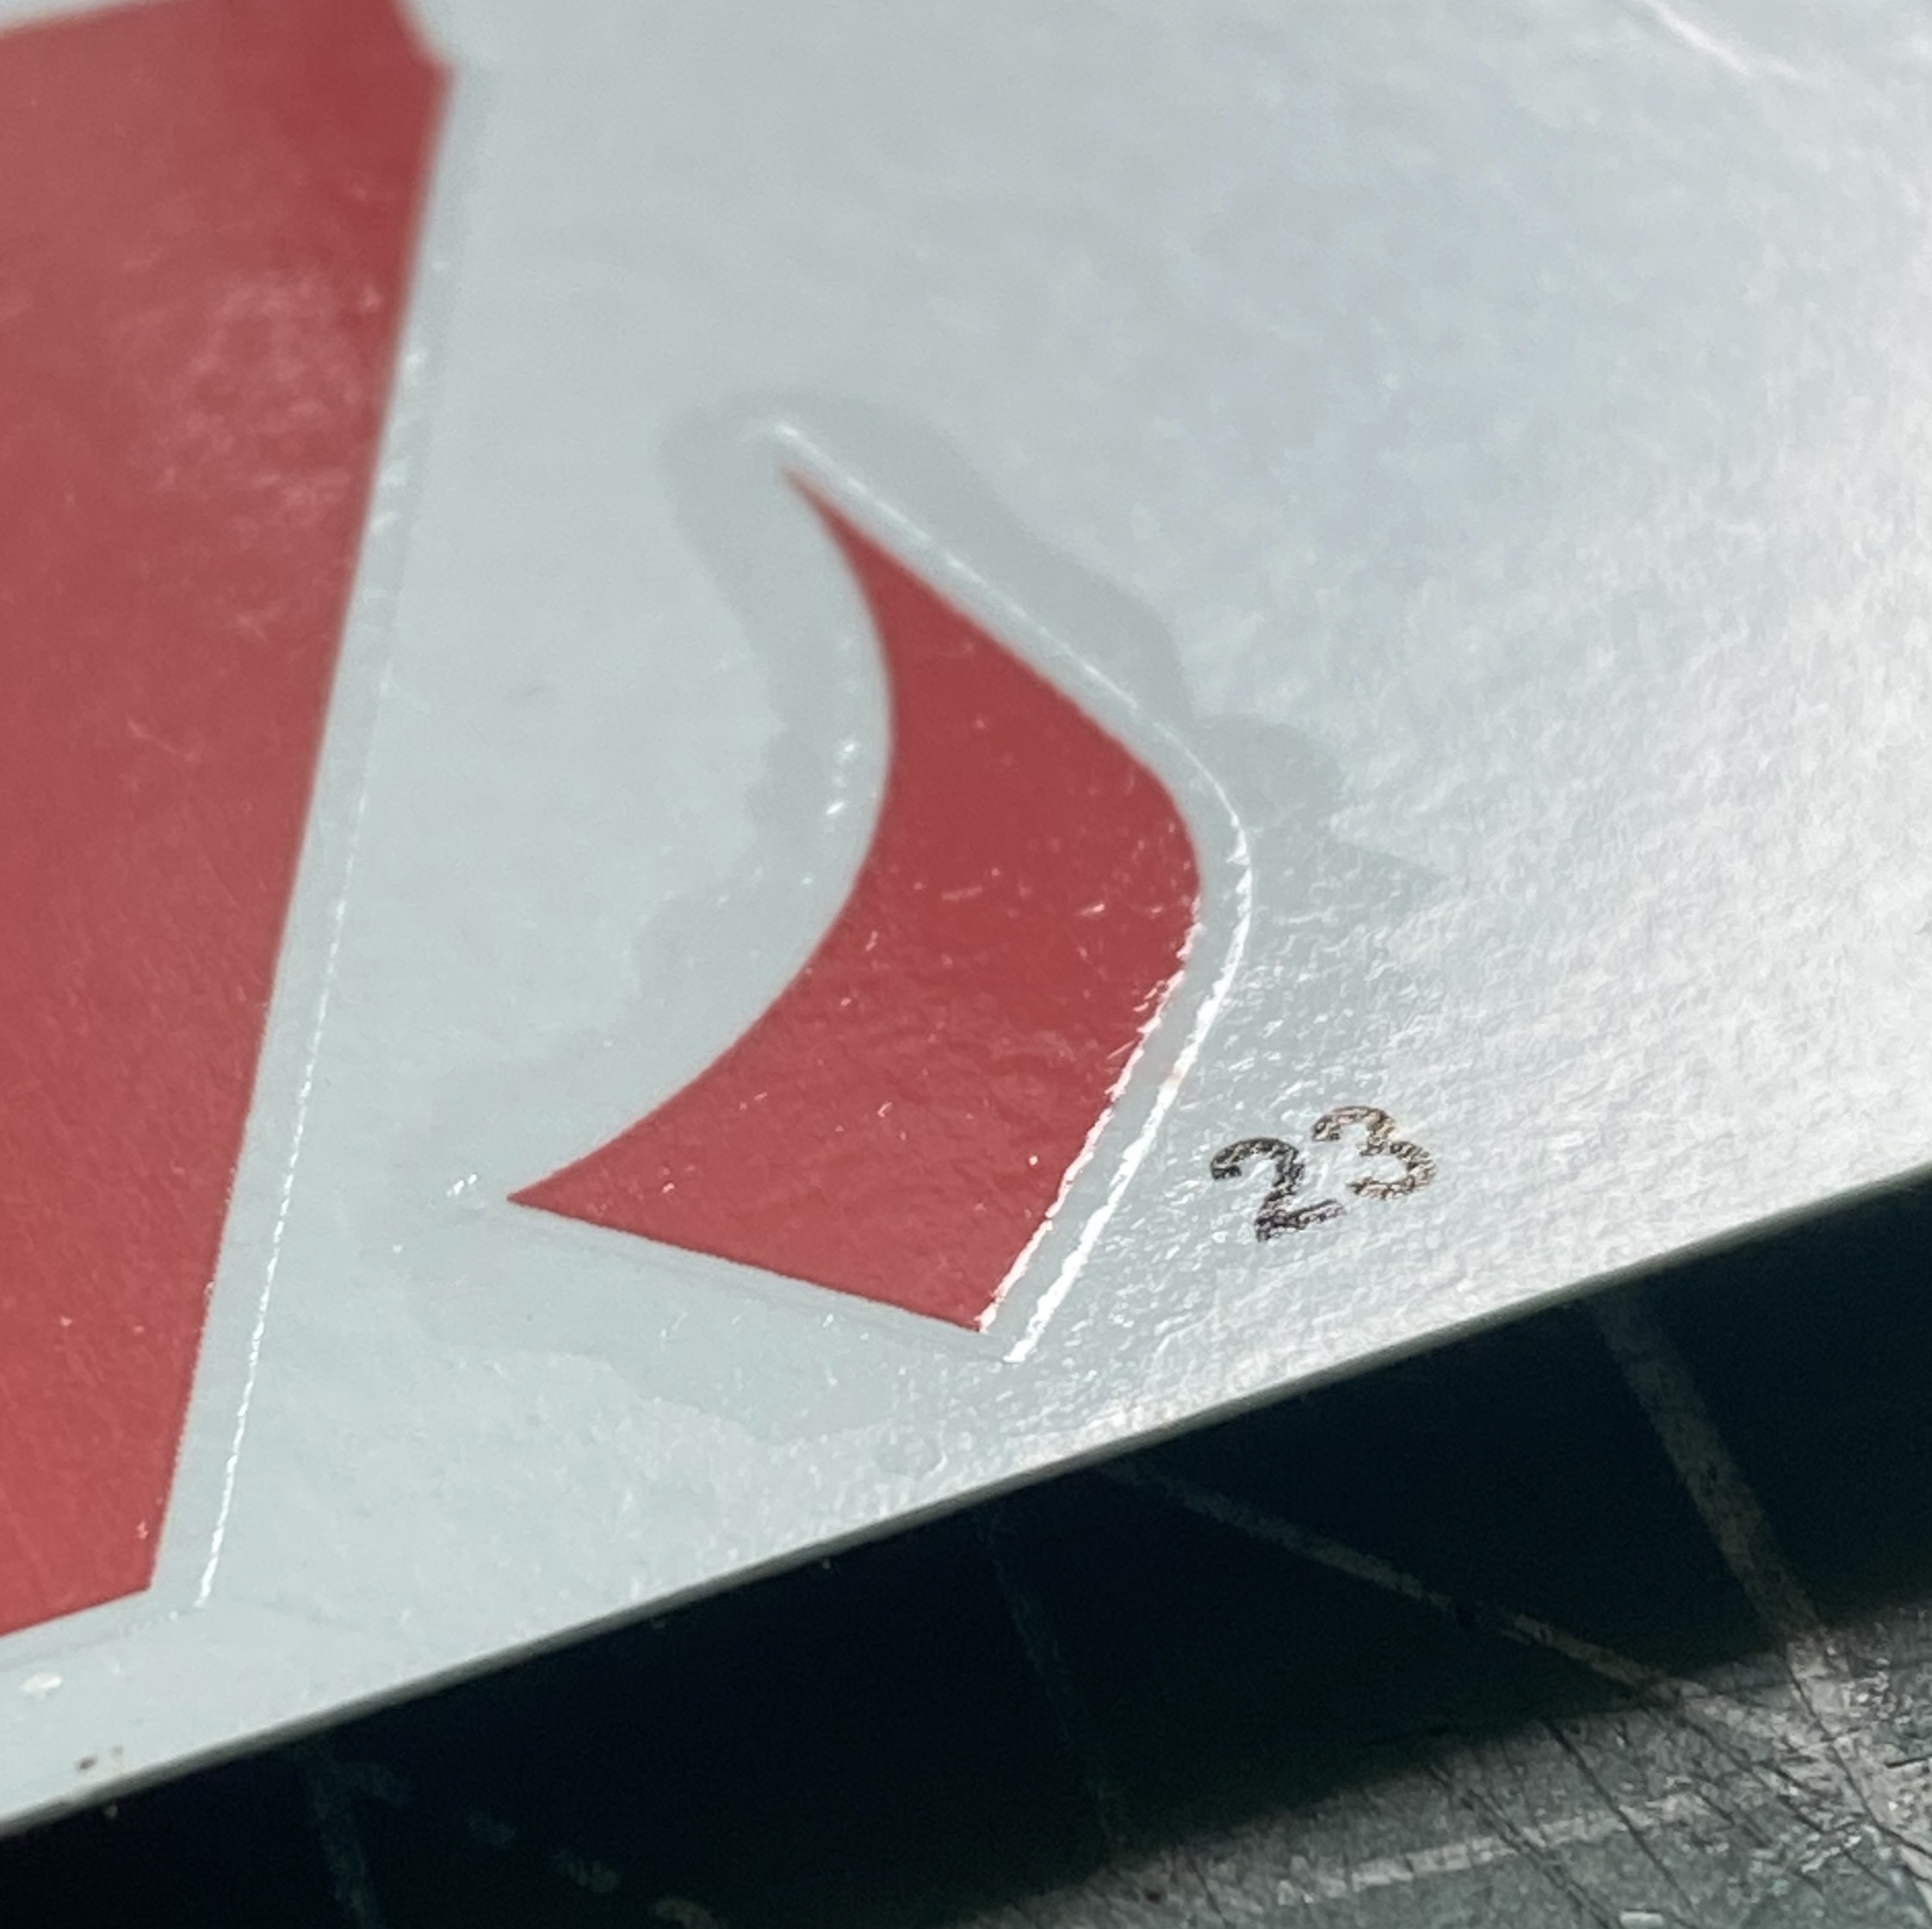
I also wanted to see how decal solvent affects this added film so when I put the sacrifice down, I made sure one area of it spanned a panel line:
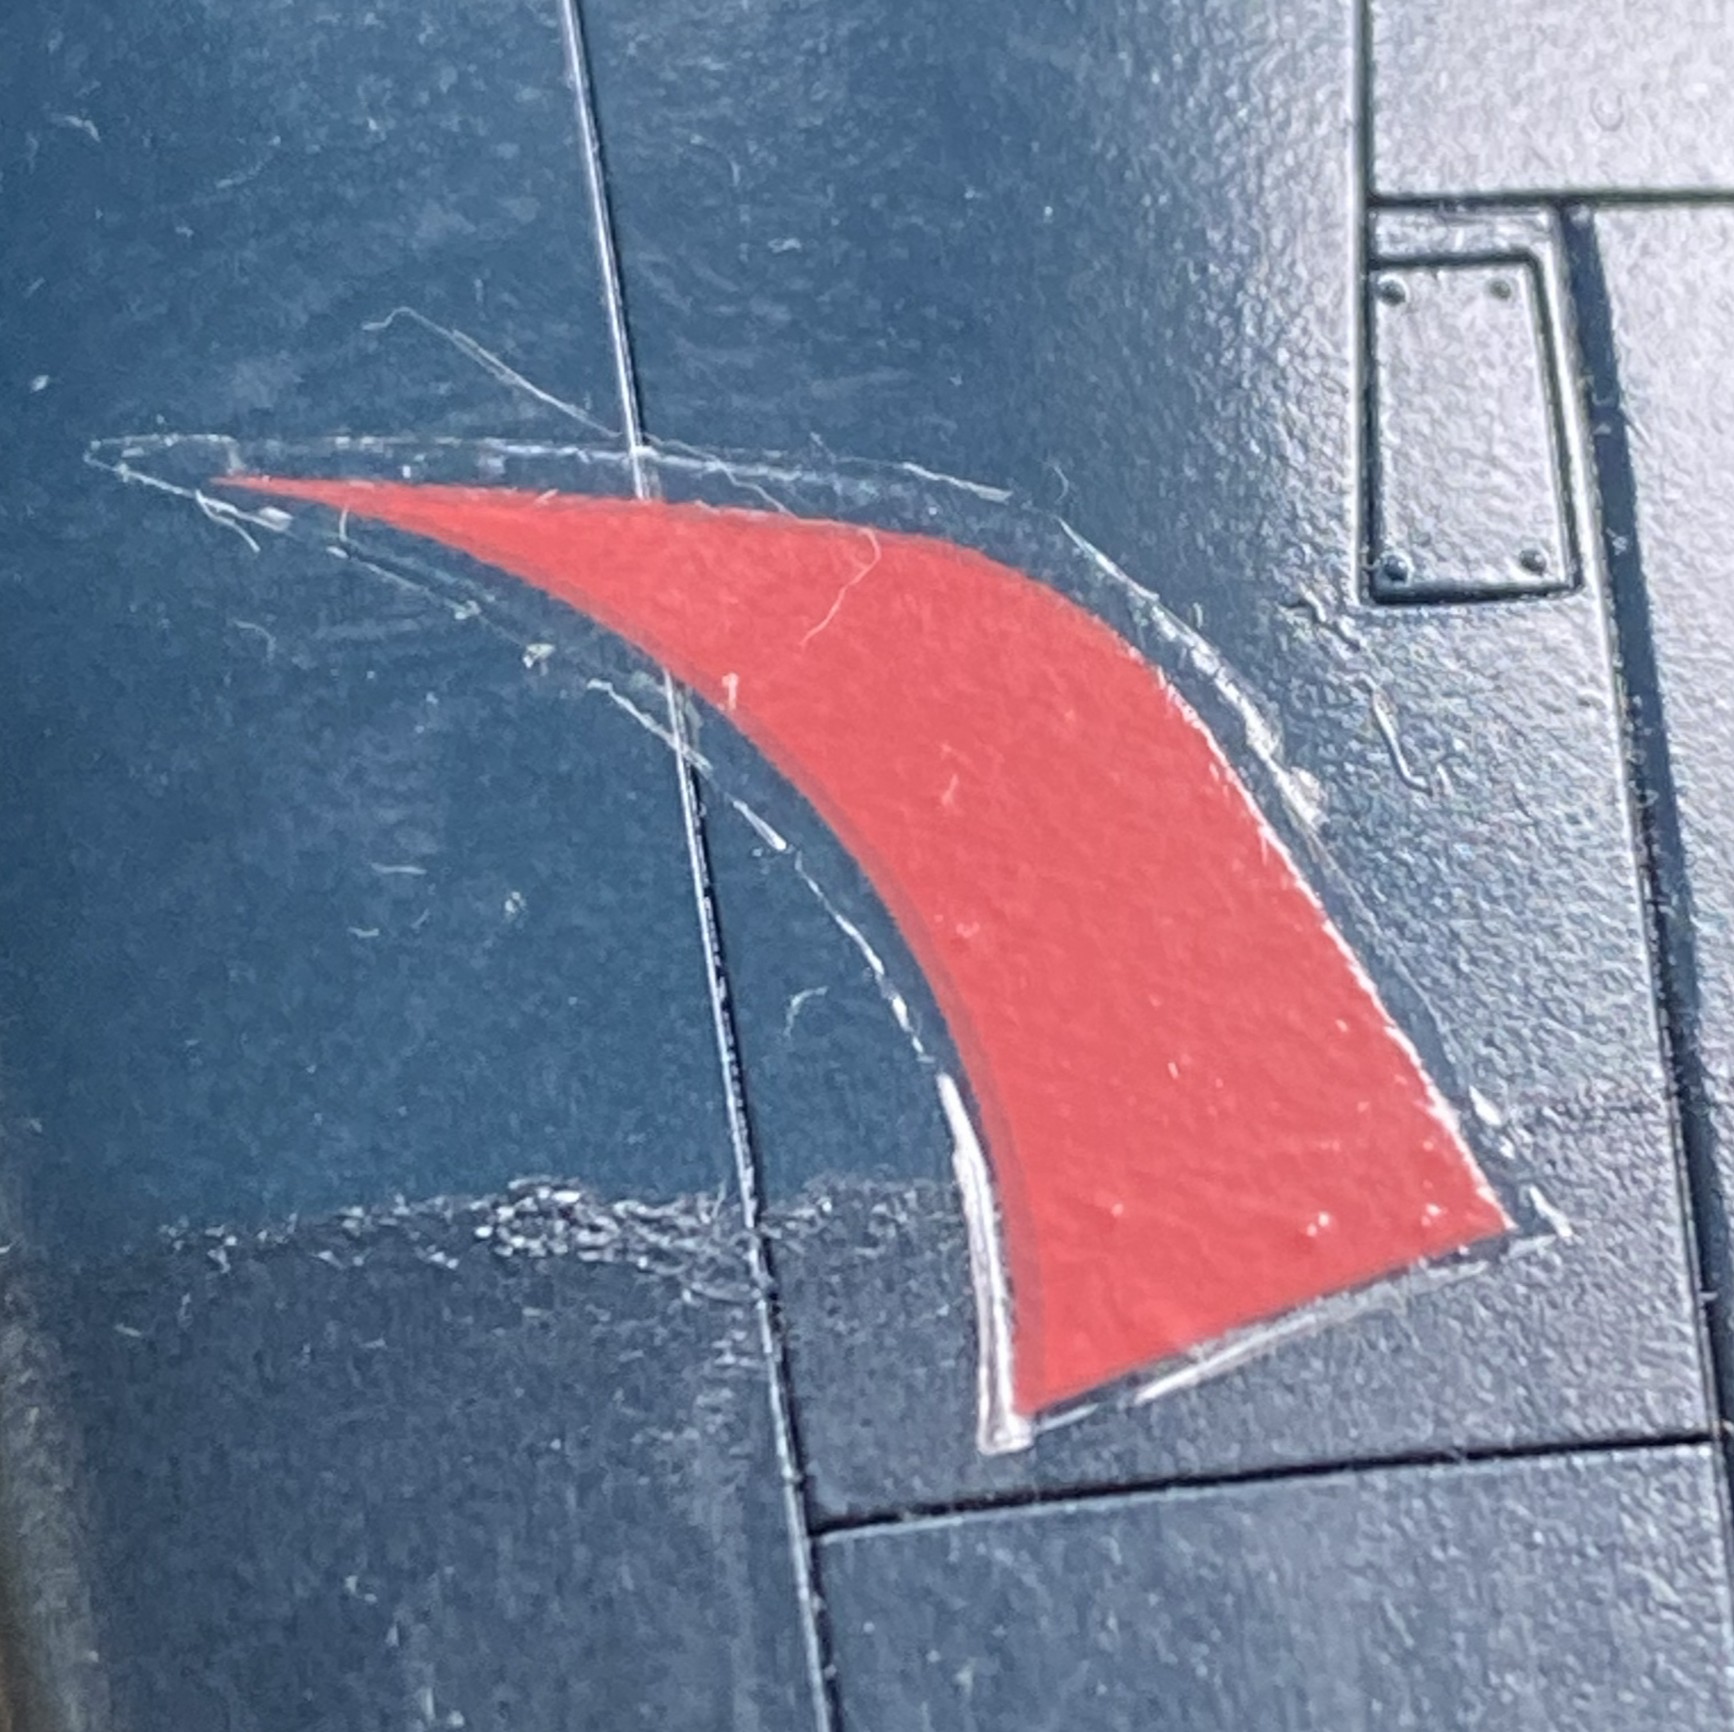

Neither MicroSol nor Solvaset had any affect. If you need to go this route and must put a reinforced decal over a panel line, you can use a sharp blade to make a cut over the panel line.
With all decal-base trepidation calmed, next month the decals go on.
