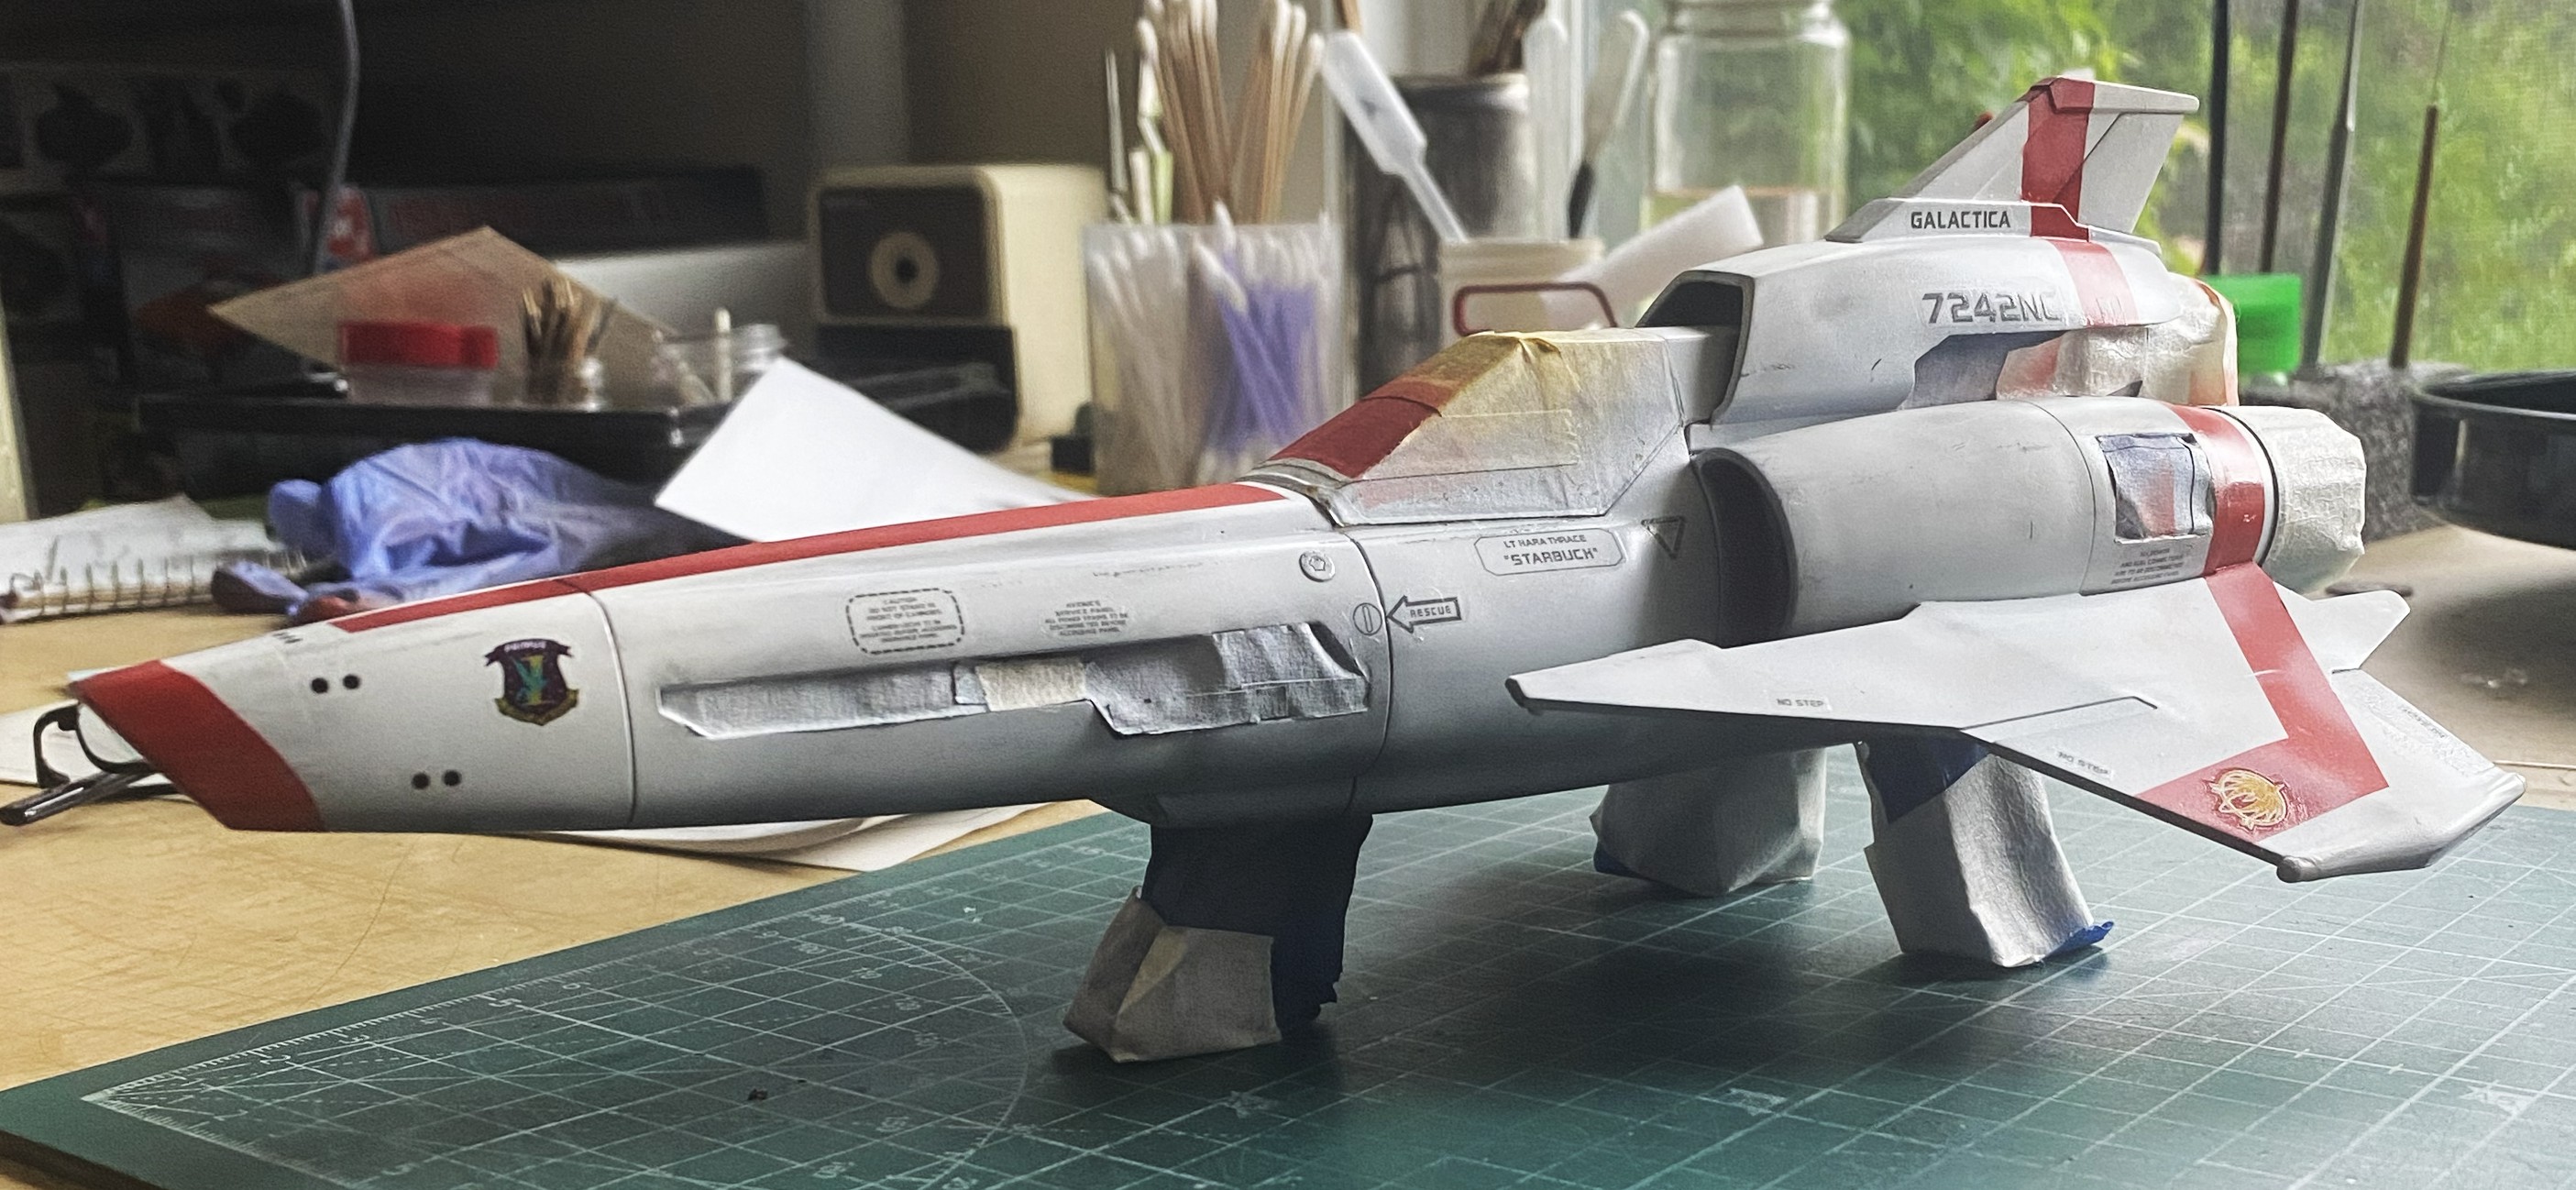
I suspect that I understand wimmen (not at all) better than I do decals (so beyond not at all). Yes, the premise isn’t that complicated and there are those decal producers (whom I wished worked for Tamiya) that clearly understand the whole process (yeah, I’m looking at you, Cartograph!) (and THANK YOU!!). It’s when the adhesive meets the (clear gloss) paint that the results too frequently end up in the what-the-FUCK-just-happened category (my build of the Blackbird being the most egregious example of that category). I managed to spin myself up so much that I forgot to photograph the “process” (calling my decaling “a process” is really quite funny). I did manage one photo and here it is:
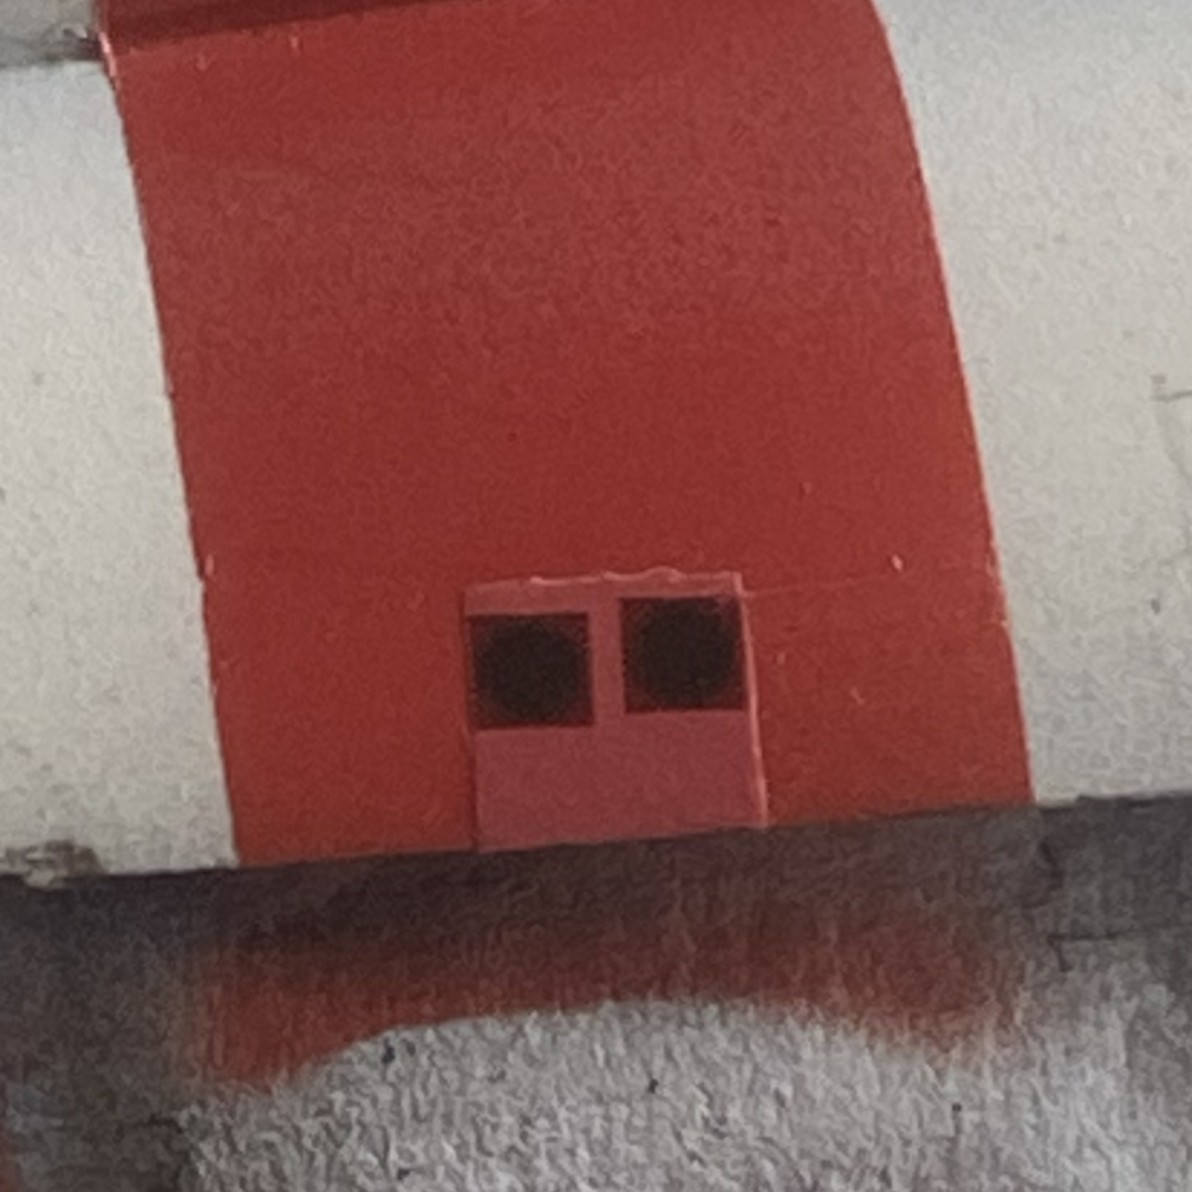
And I certainly hope the colors match because I noted on one decal that the manufacturer had placed OMS (Orbital Maneuvering System) thrusters on a stripe decal. I cut that section from the decal and added to where it’s supposed to be:
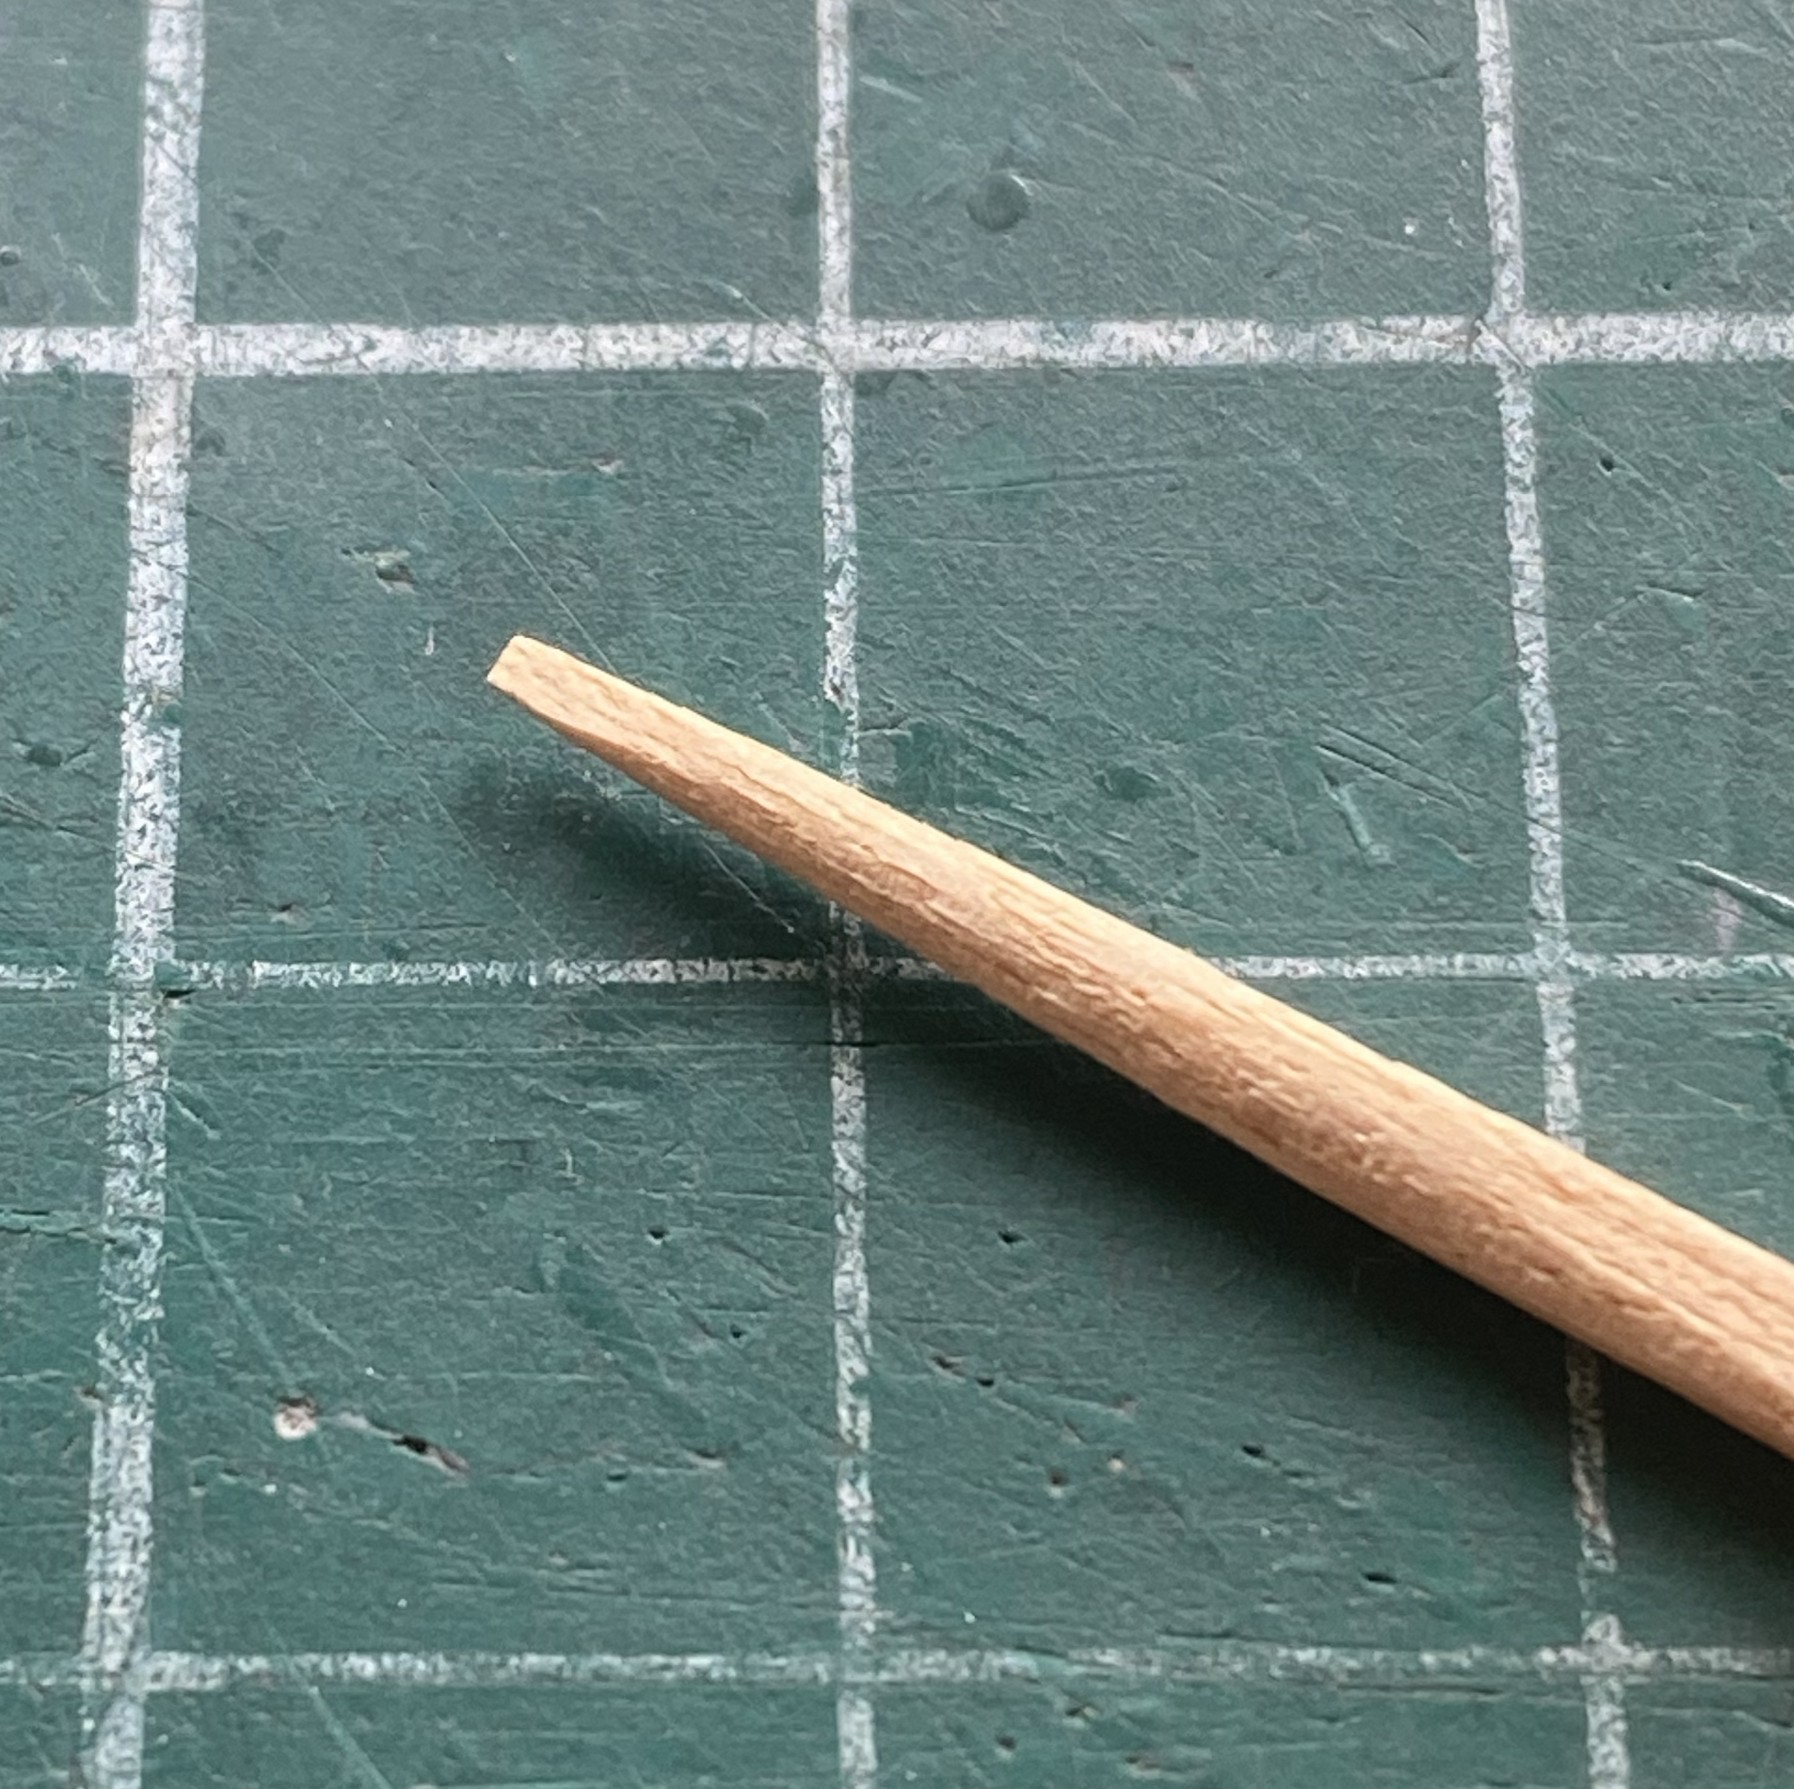
At this point, I realized that the masking on the canopy had been there for months. Masking tape has an annoying property of the paper of the tape separating from the adhesive. Removing tape like that generally leaves a lot of adhesive behind and for removal, I use lighter fluid. This time I’d rather not, and since I was done painting that area, there was no reason for the mask to be there anymore, so I removed the masking. During masking, I’d manage to miss covering one small section that had to be covered. I didn’t realize that until later. [Sidebar: I use acrylic paint, preferably Tamiya’s, for several reasons and one of those reasons is that when something like this happens, I can use a modified toothpick to scrape away the offending paint.] Time to modify a toothpick:
With a nice sharp edge, the paint came off (mostly, which is good enough):
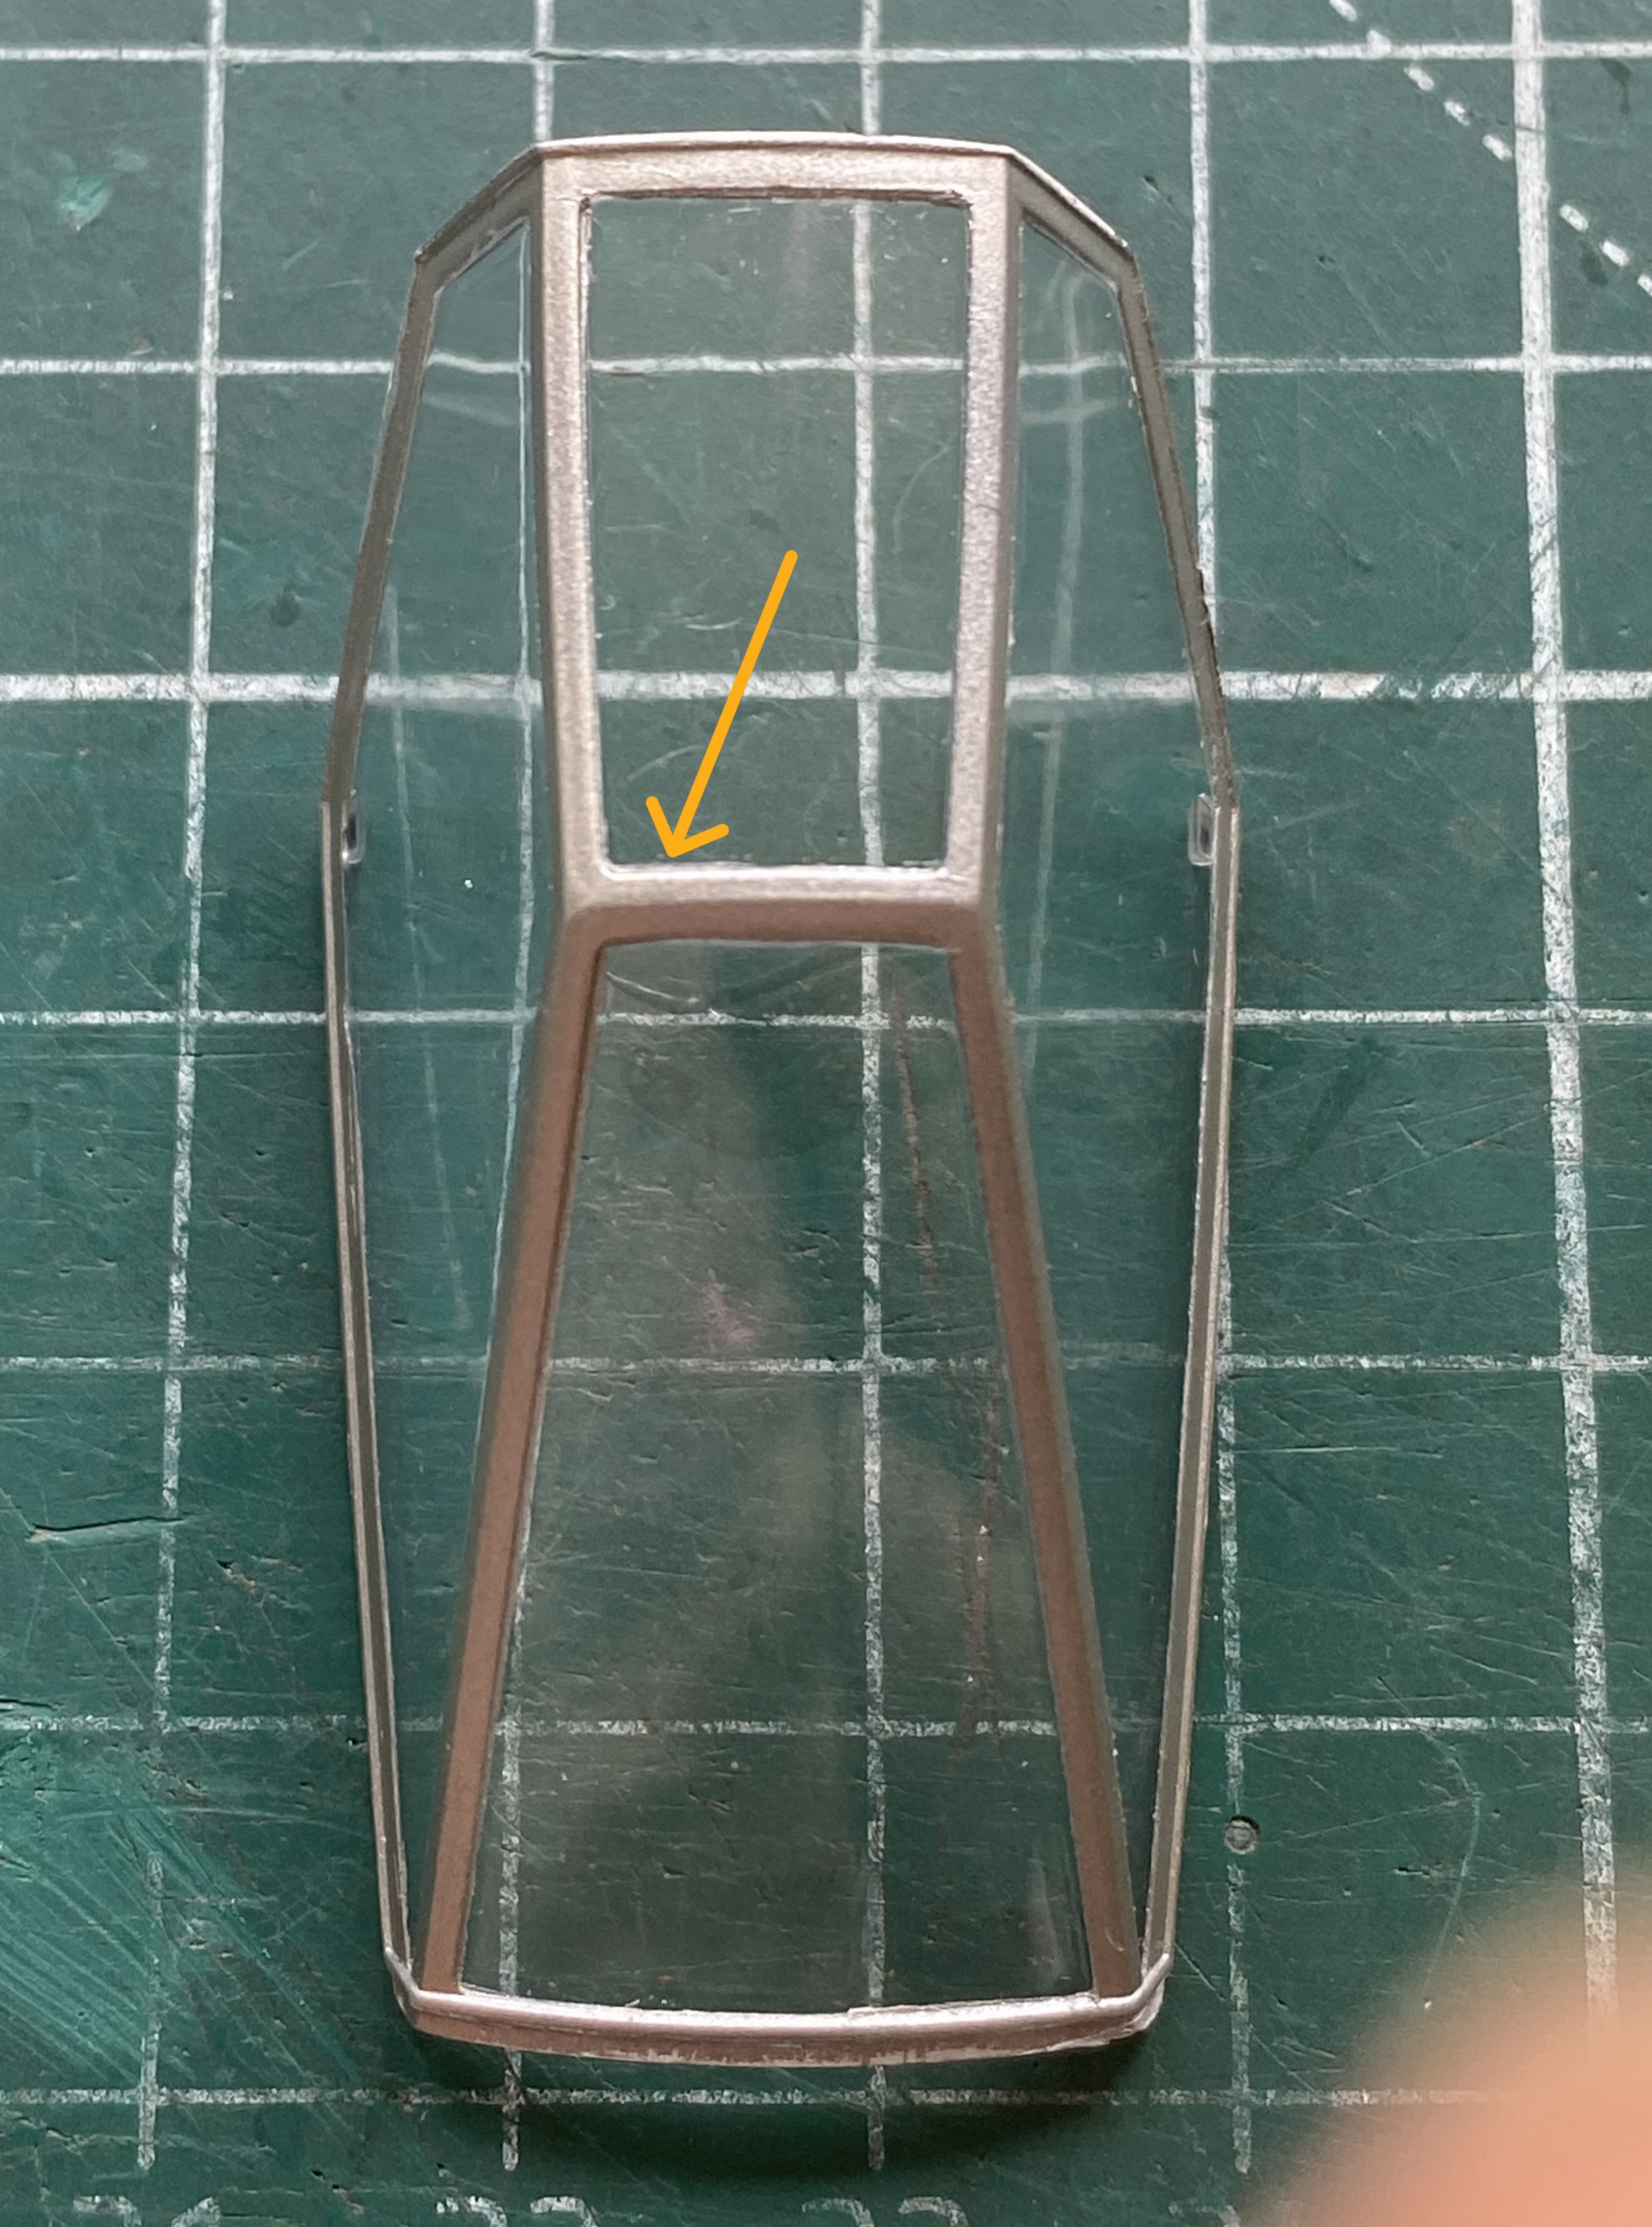
As stated, good enough, and I got to this before the adhesive started separating from the paper:
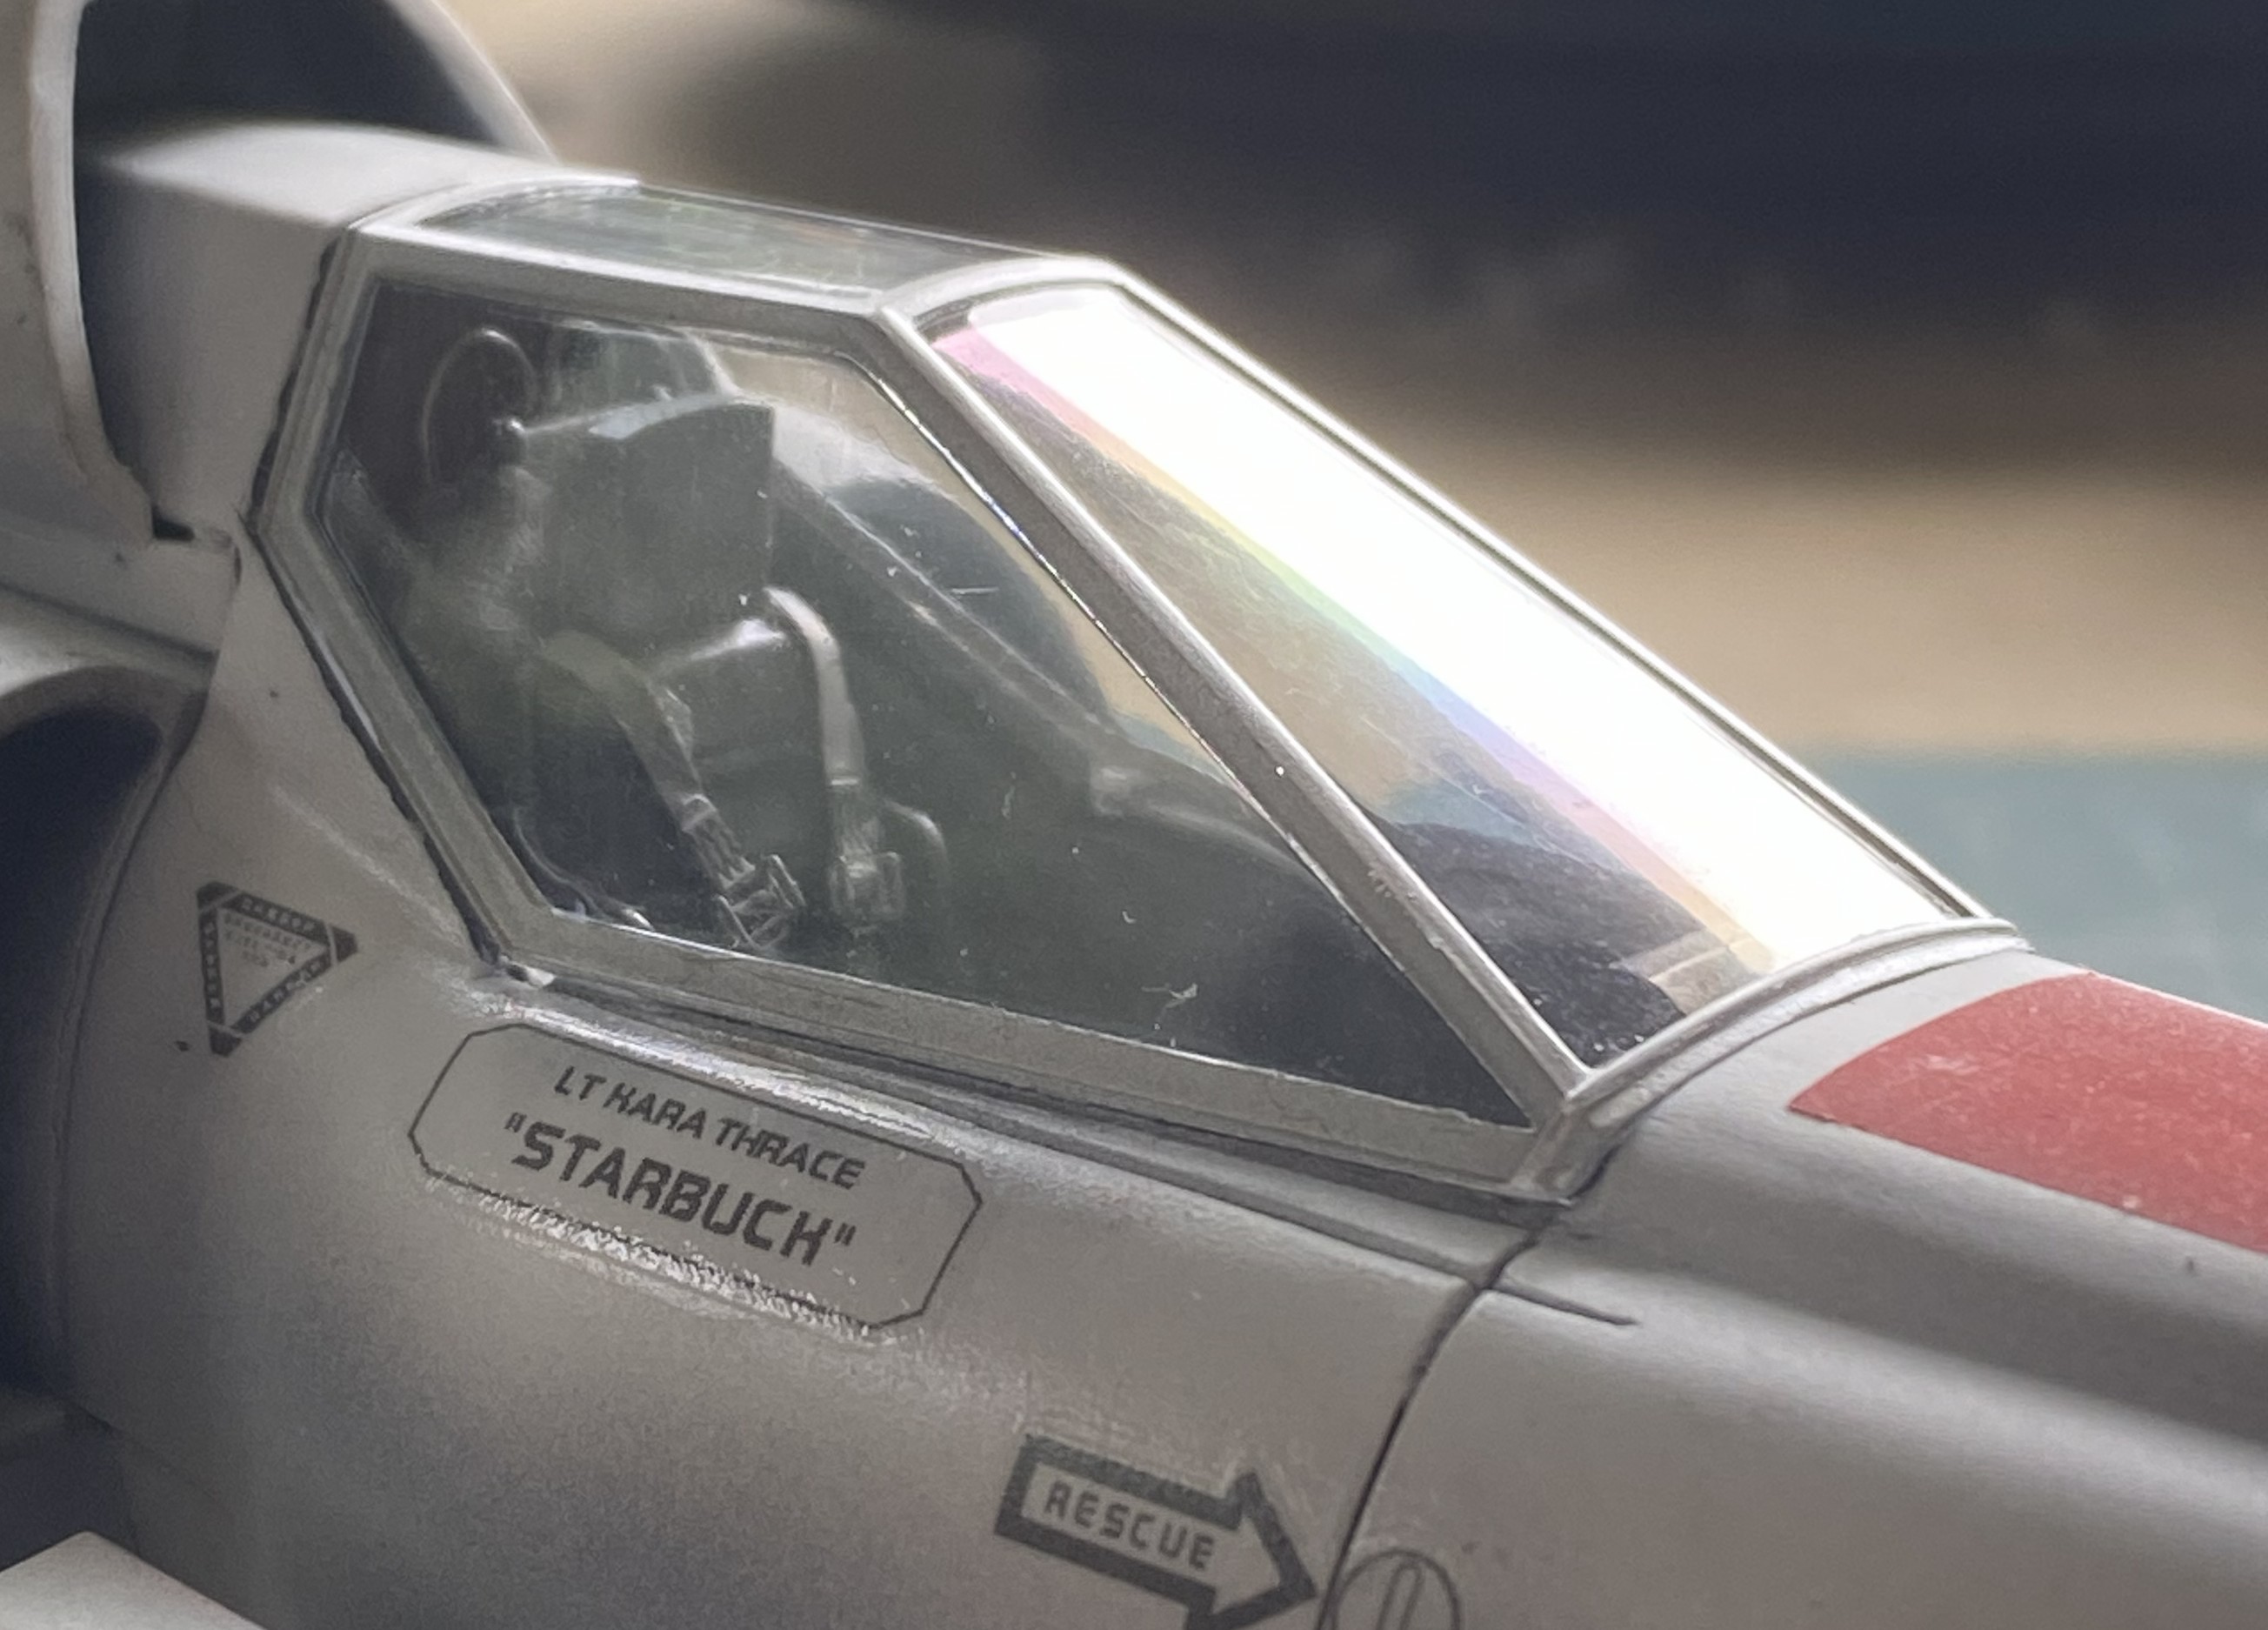
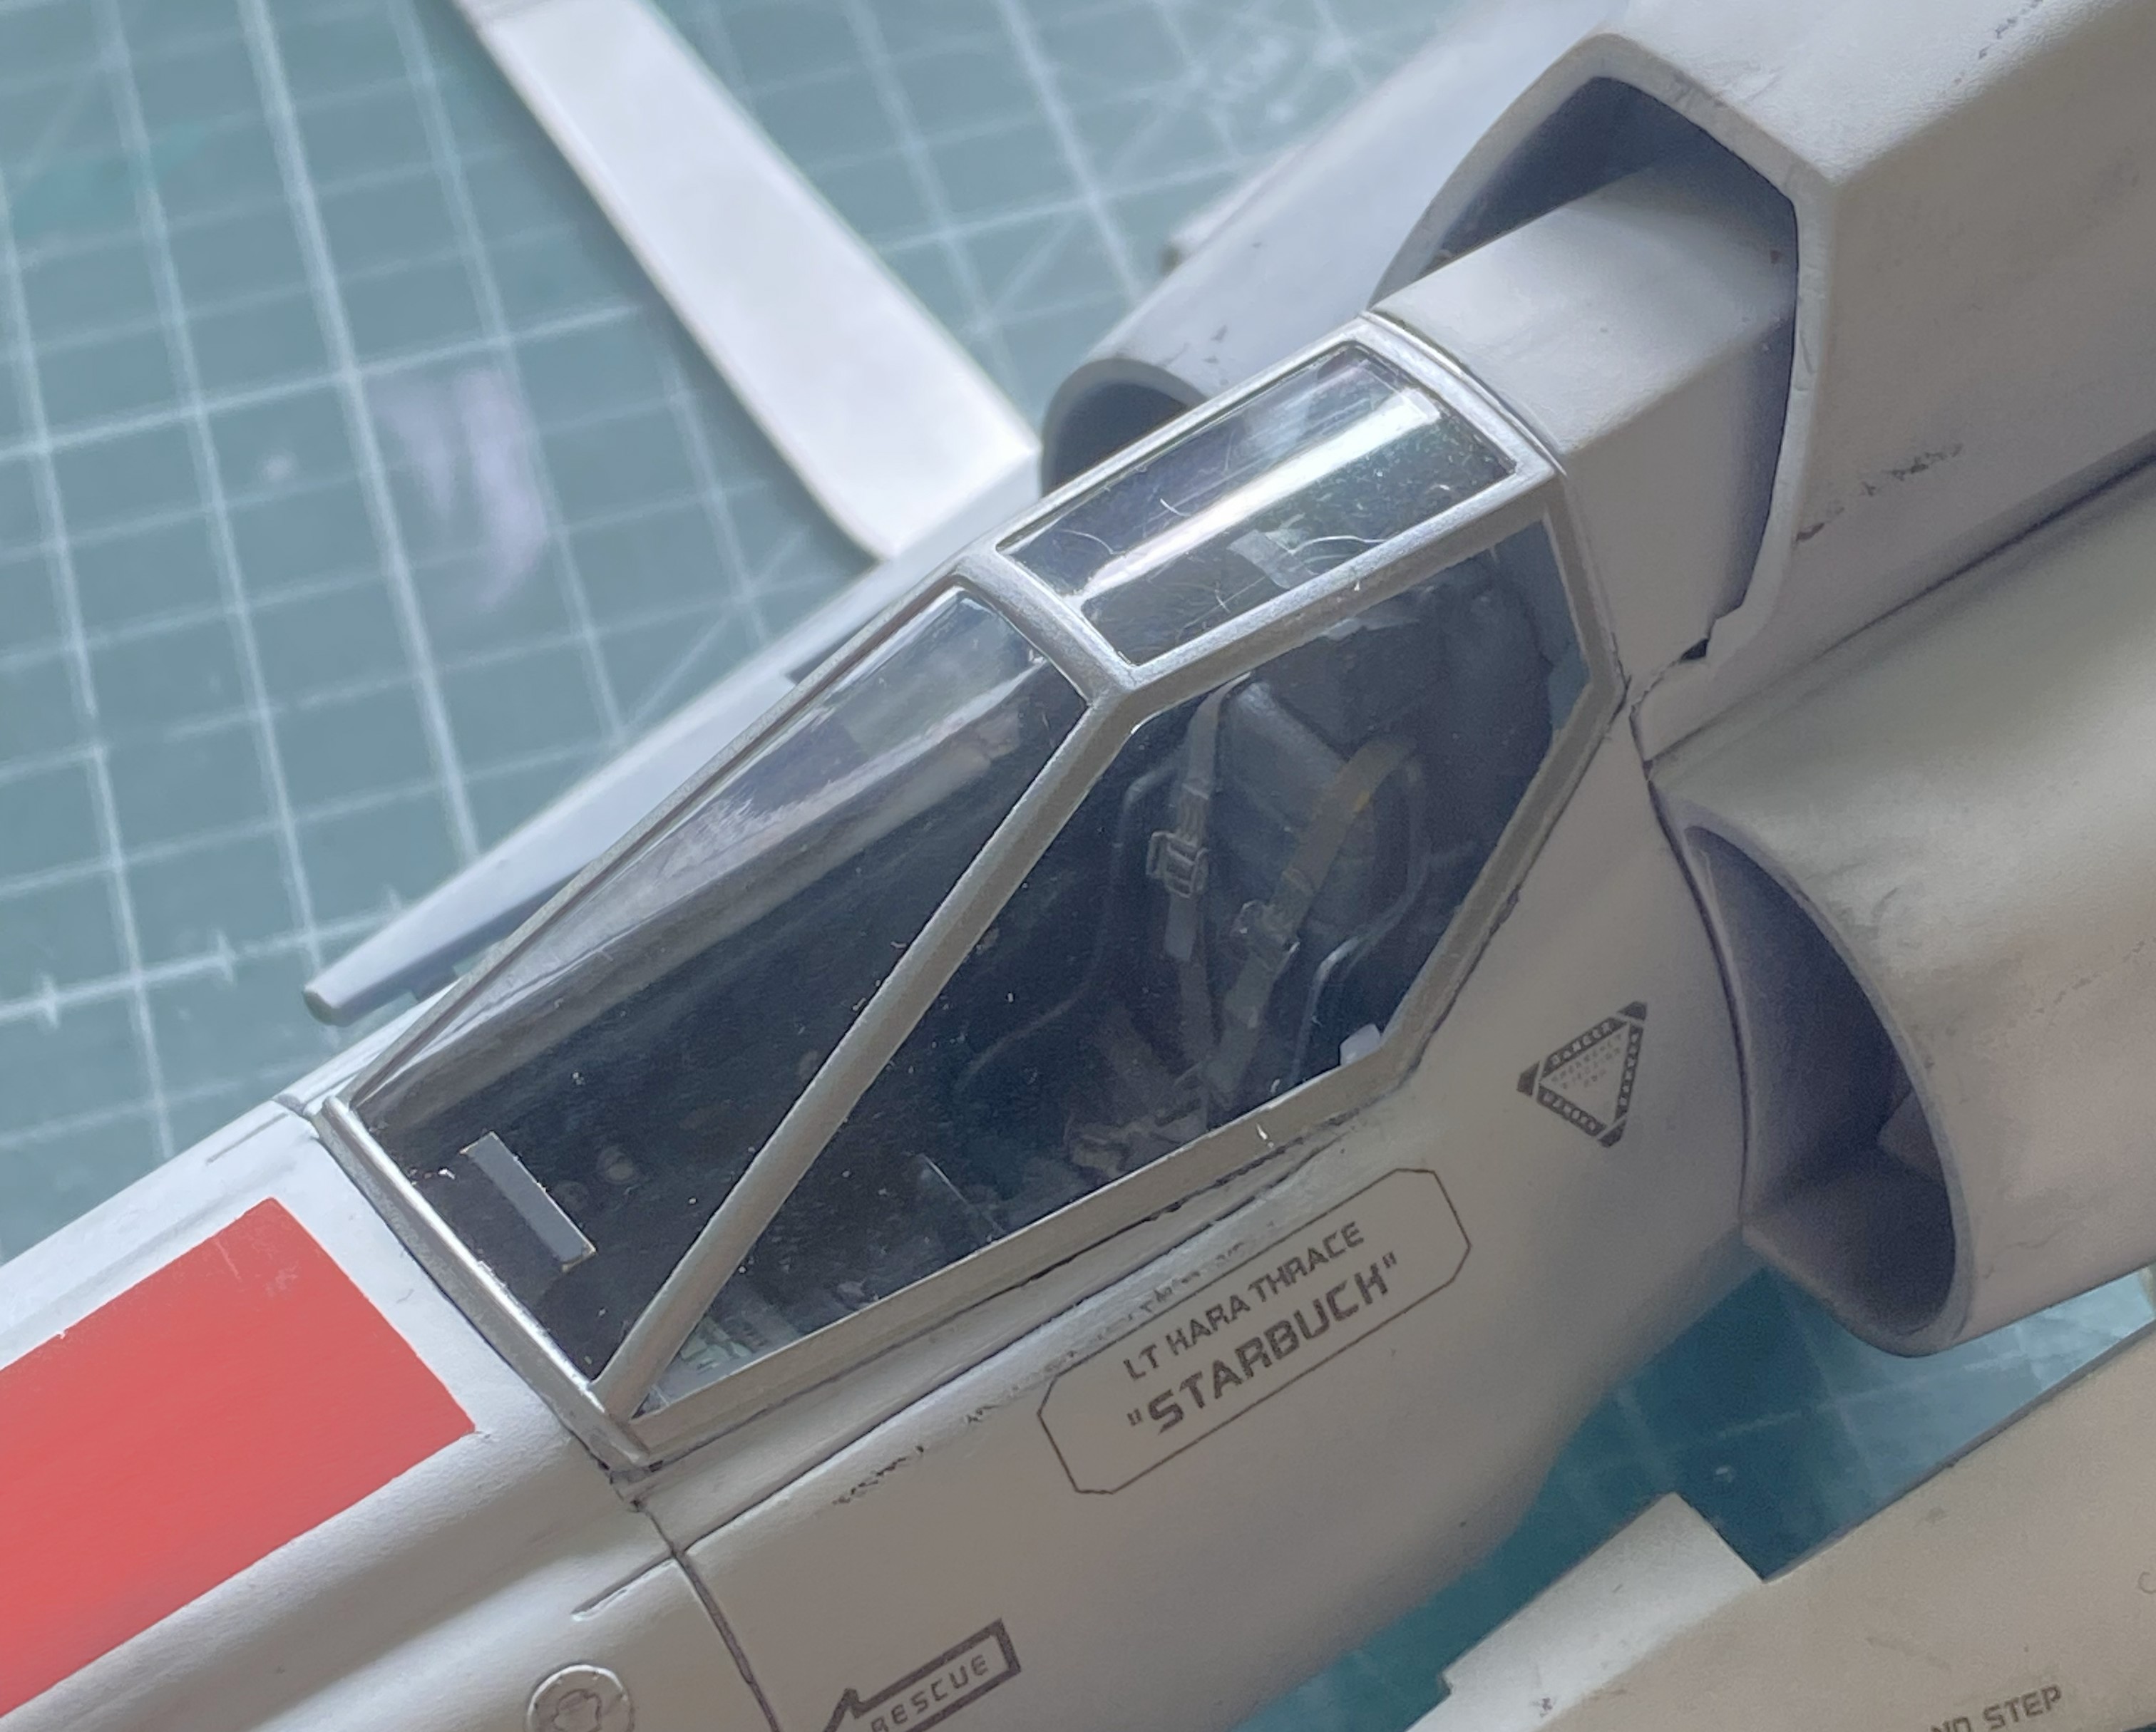

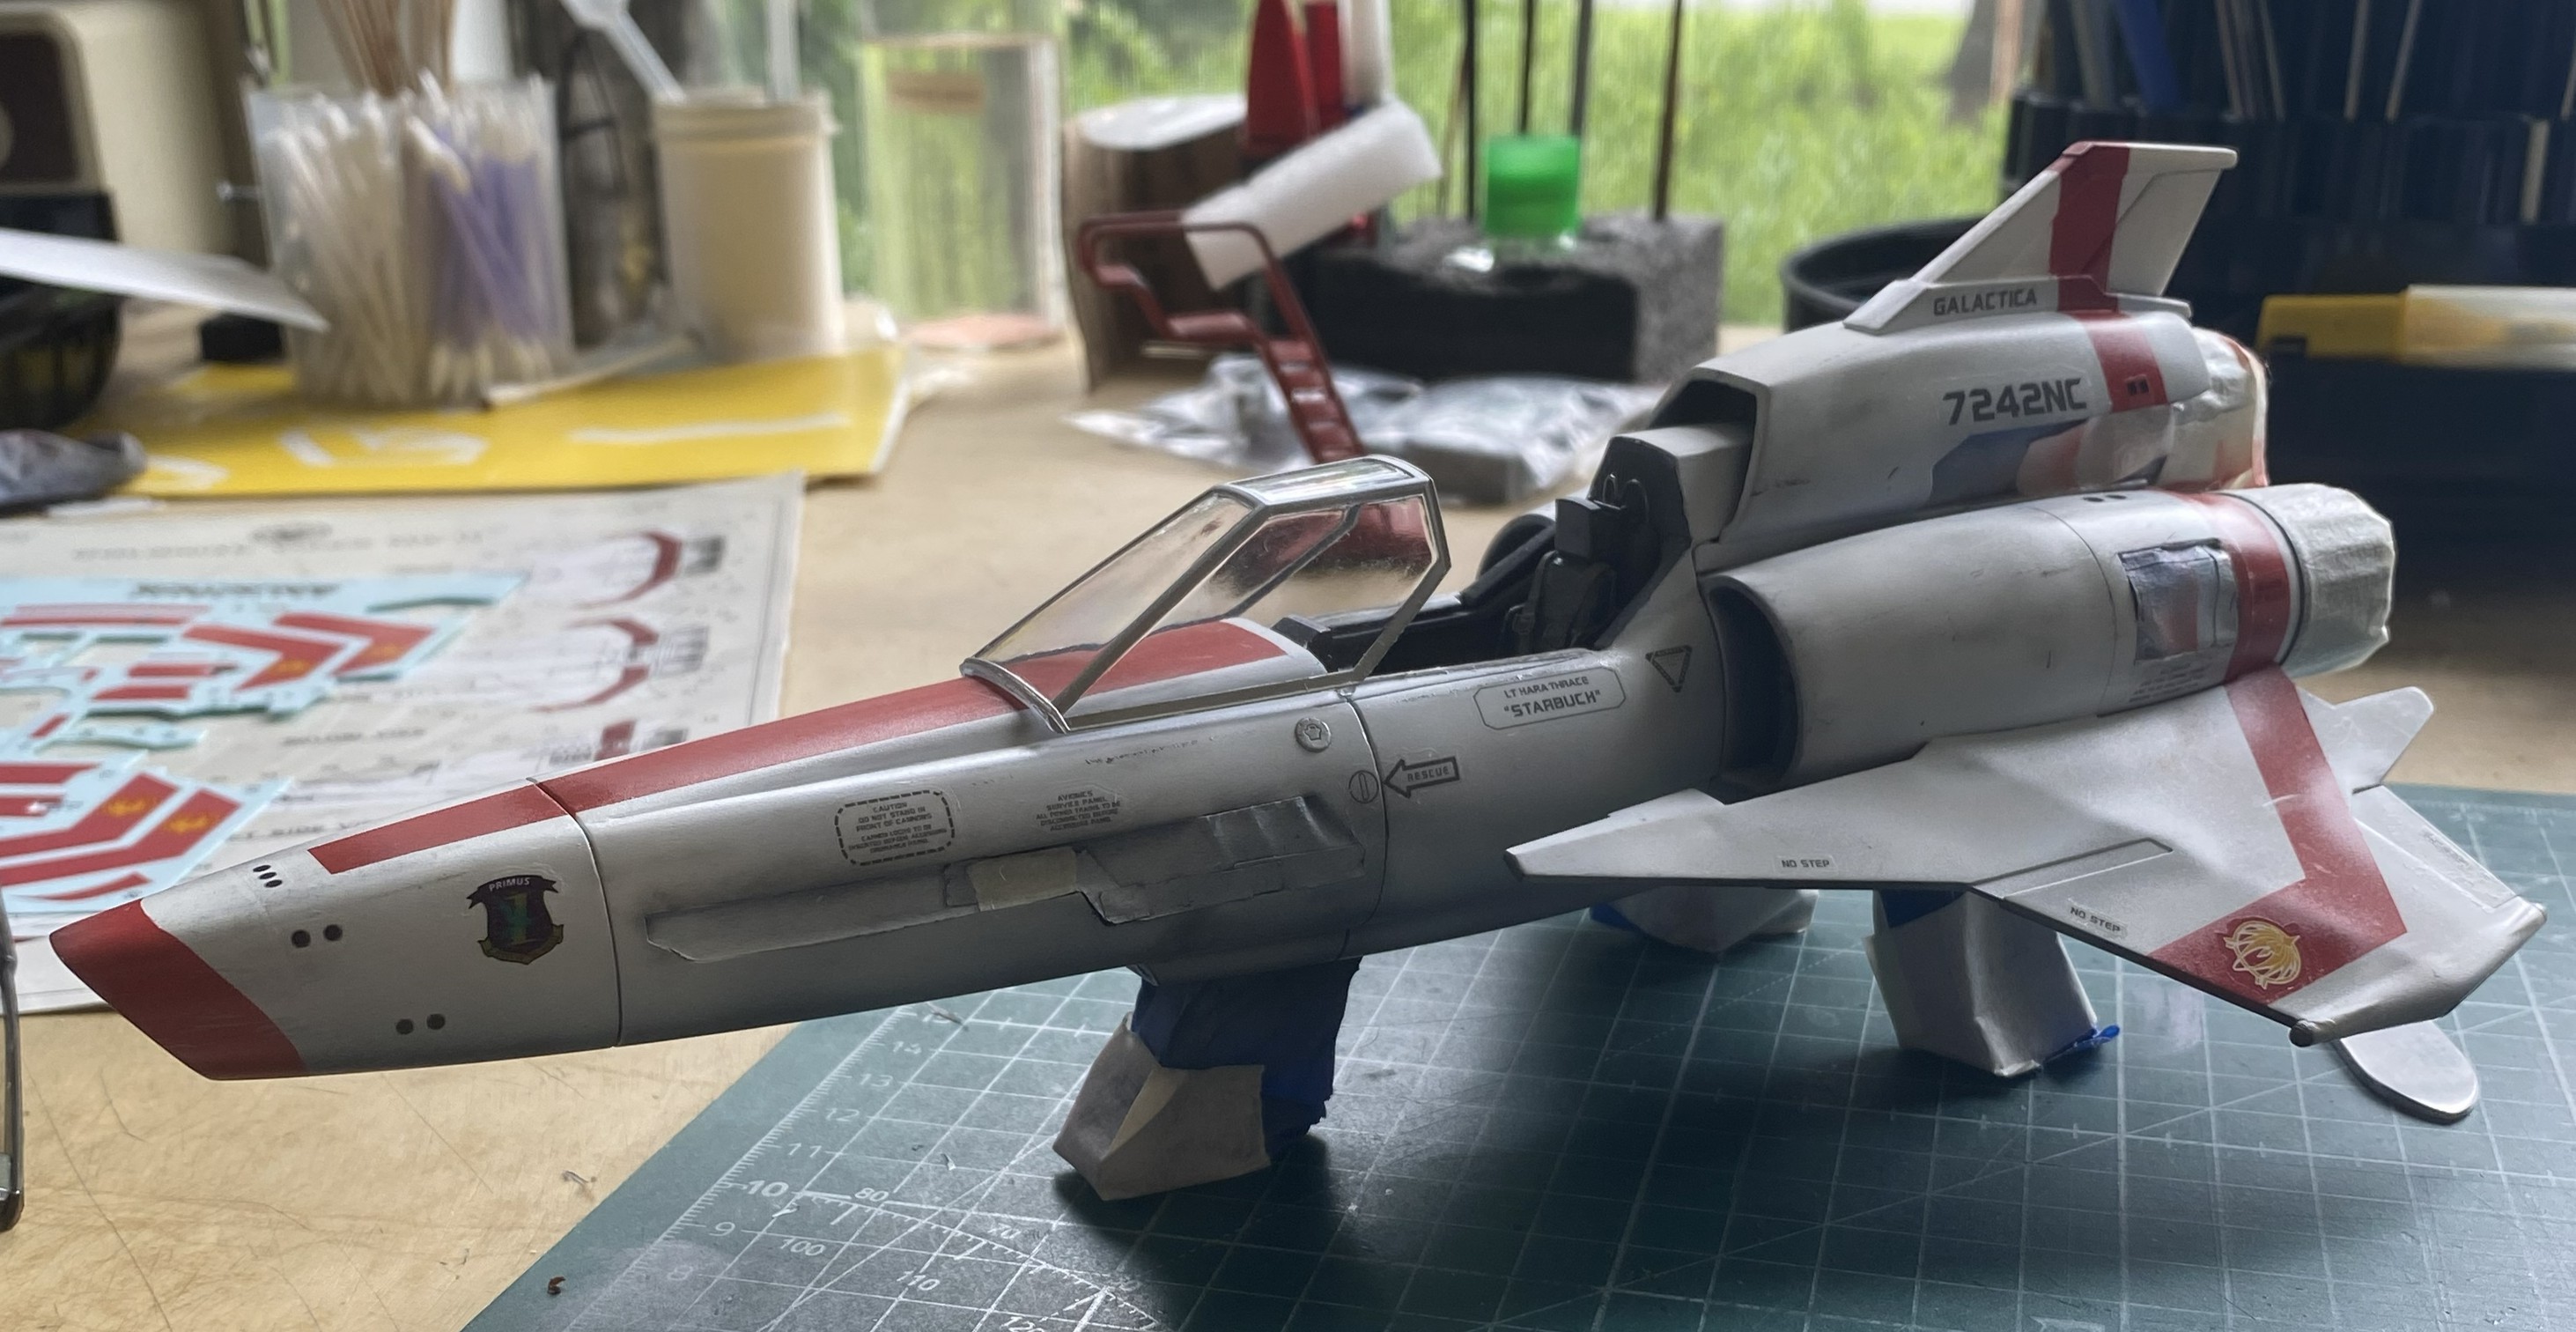
At this point I decided to remove all the masking. Yes, there will be additional shots of clear gloss and semi-gloss to make this thing looked used, rode hard, and put away wet with the saddle still on, but this is the essential paint/stain/wear results:
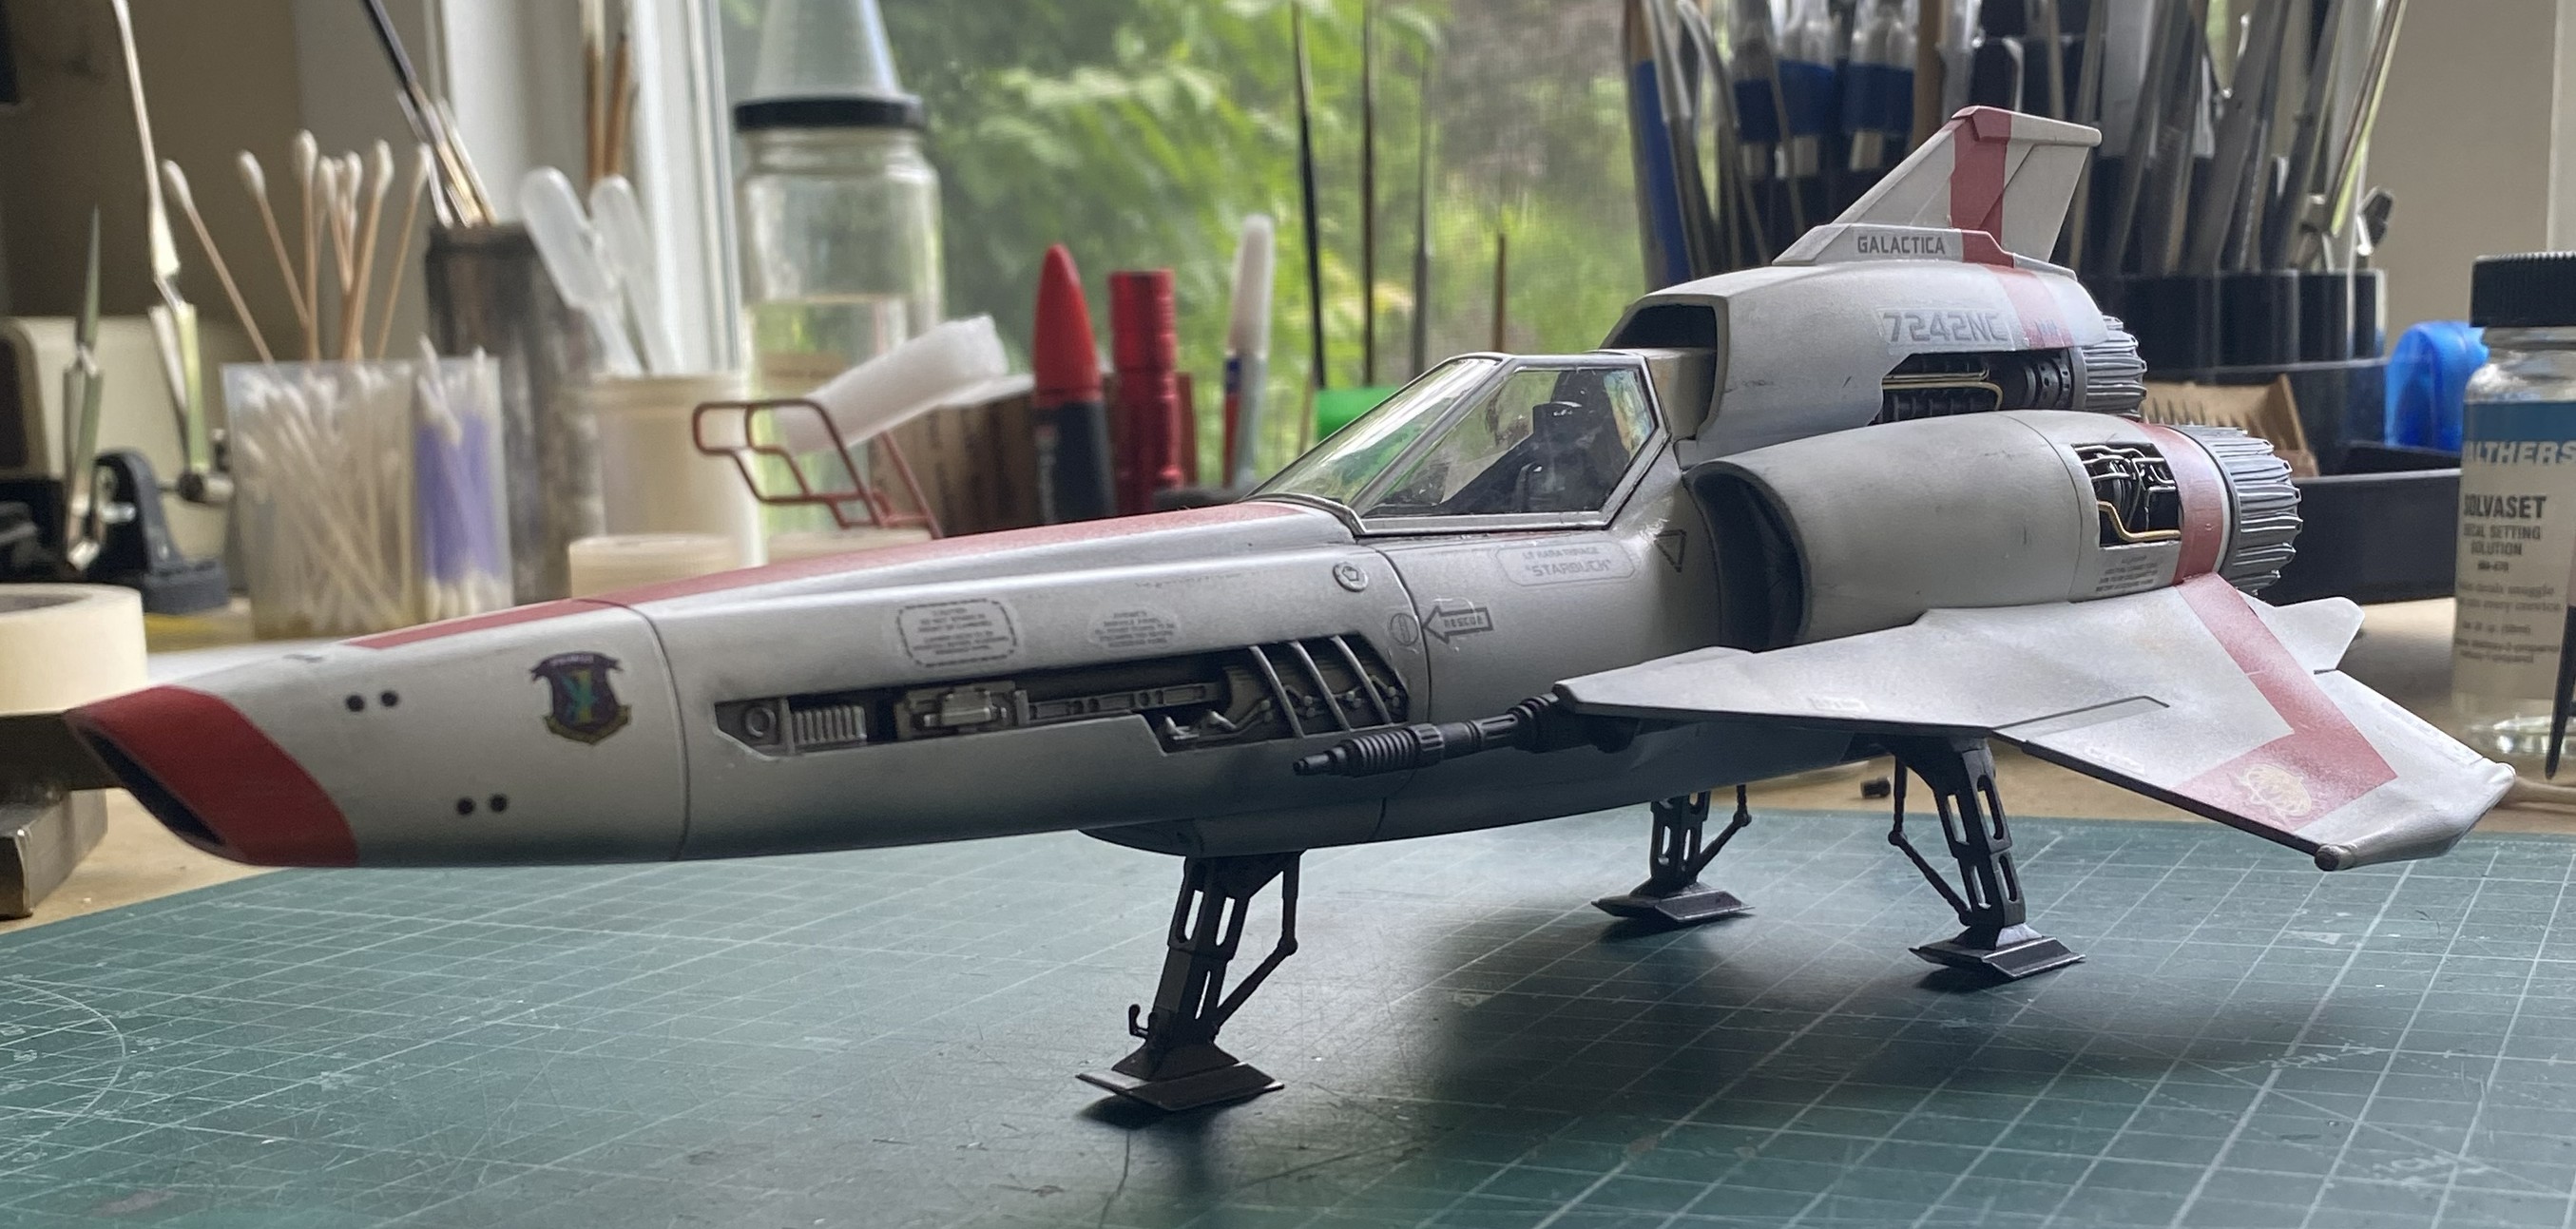
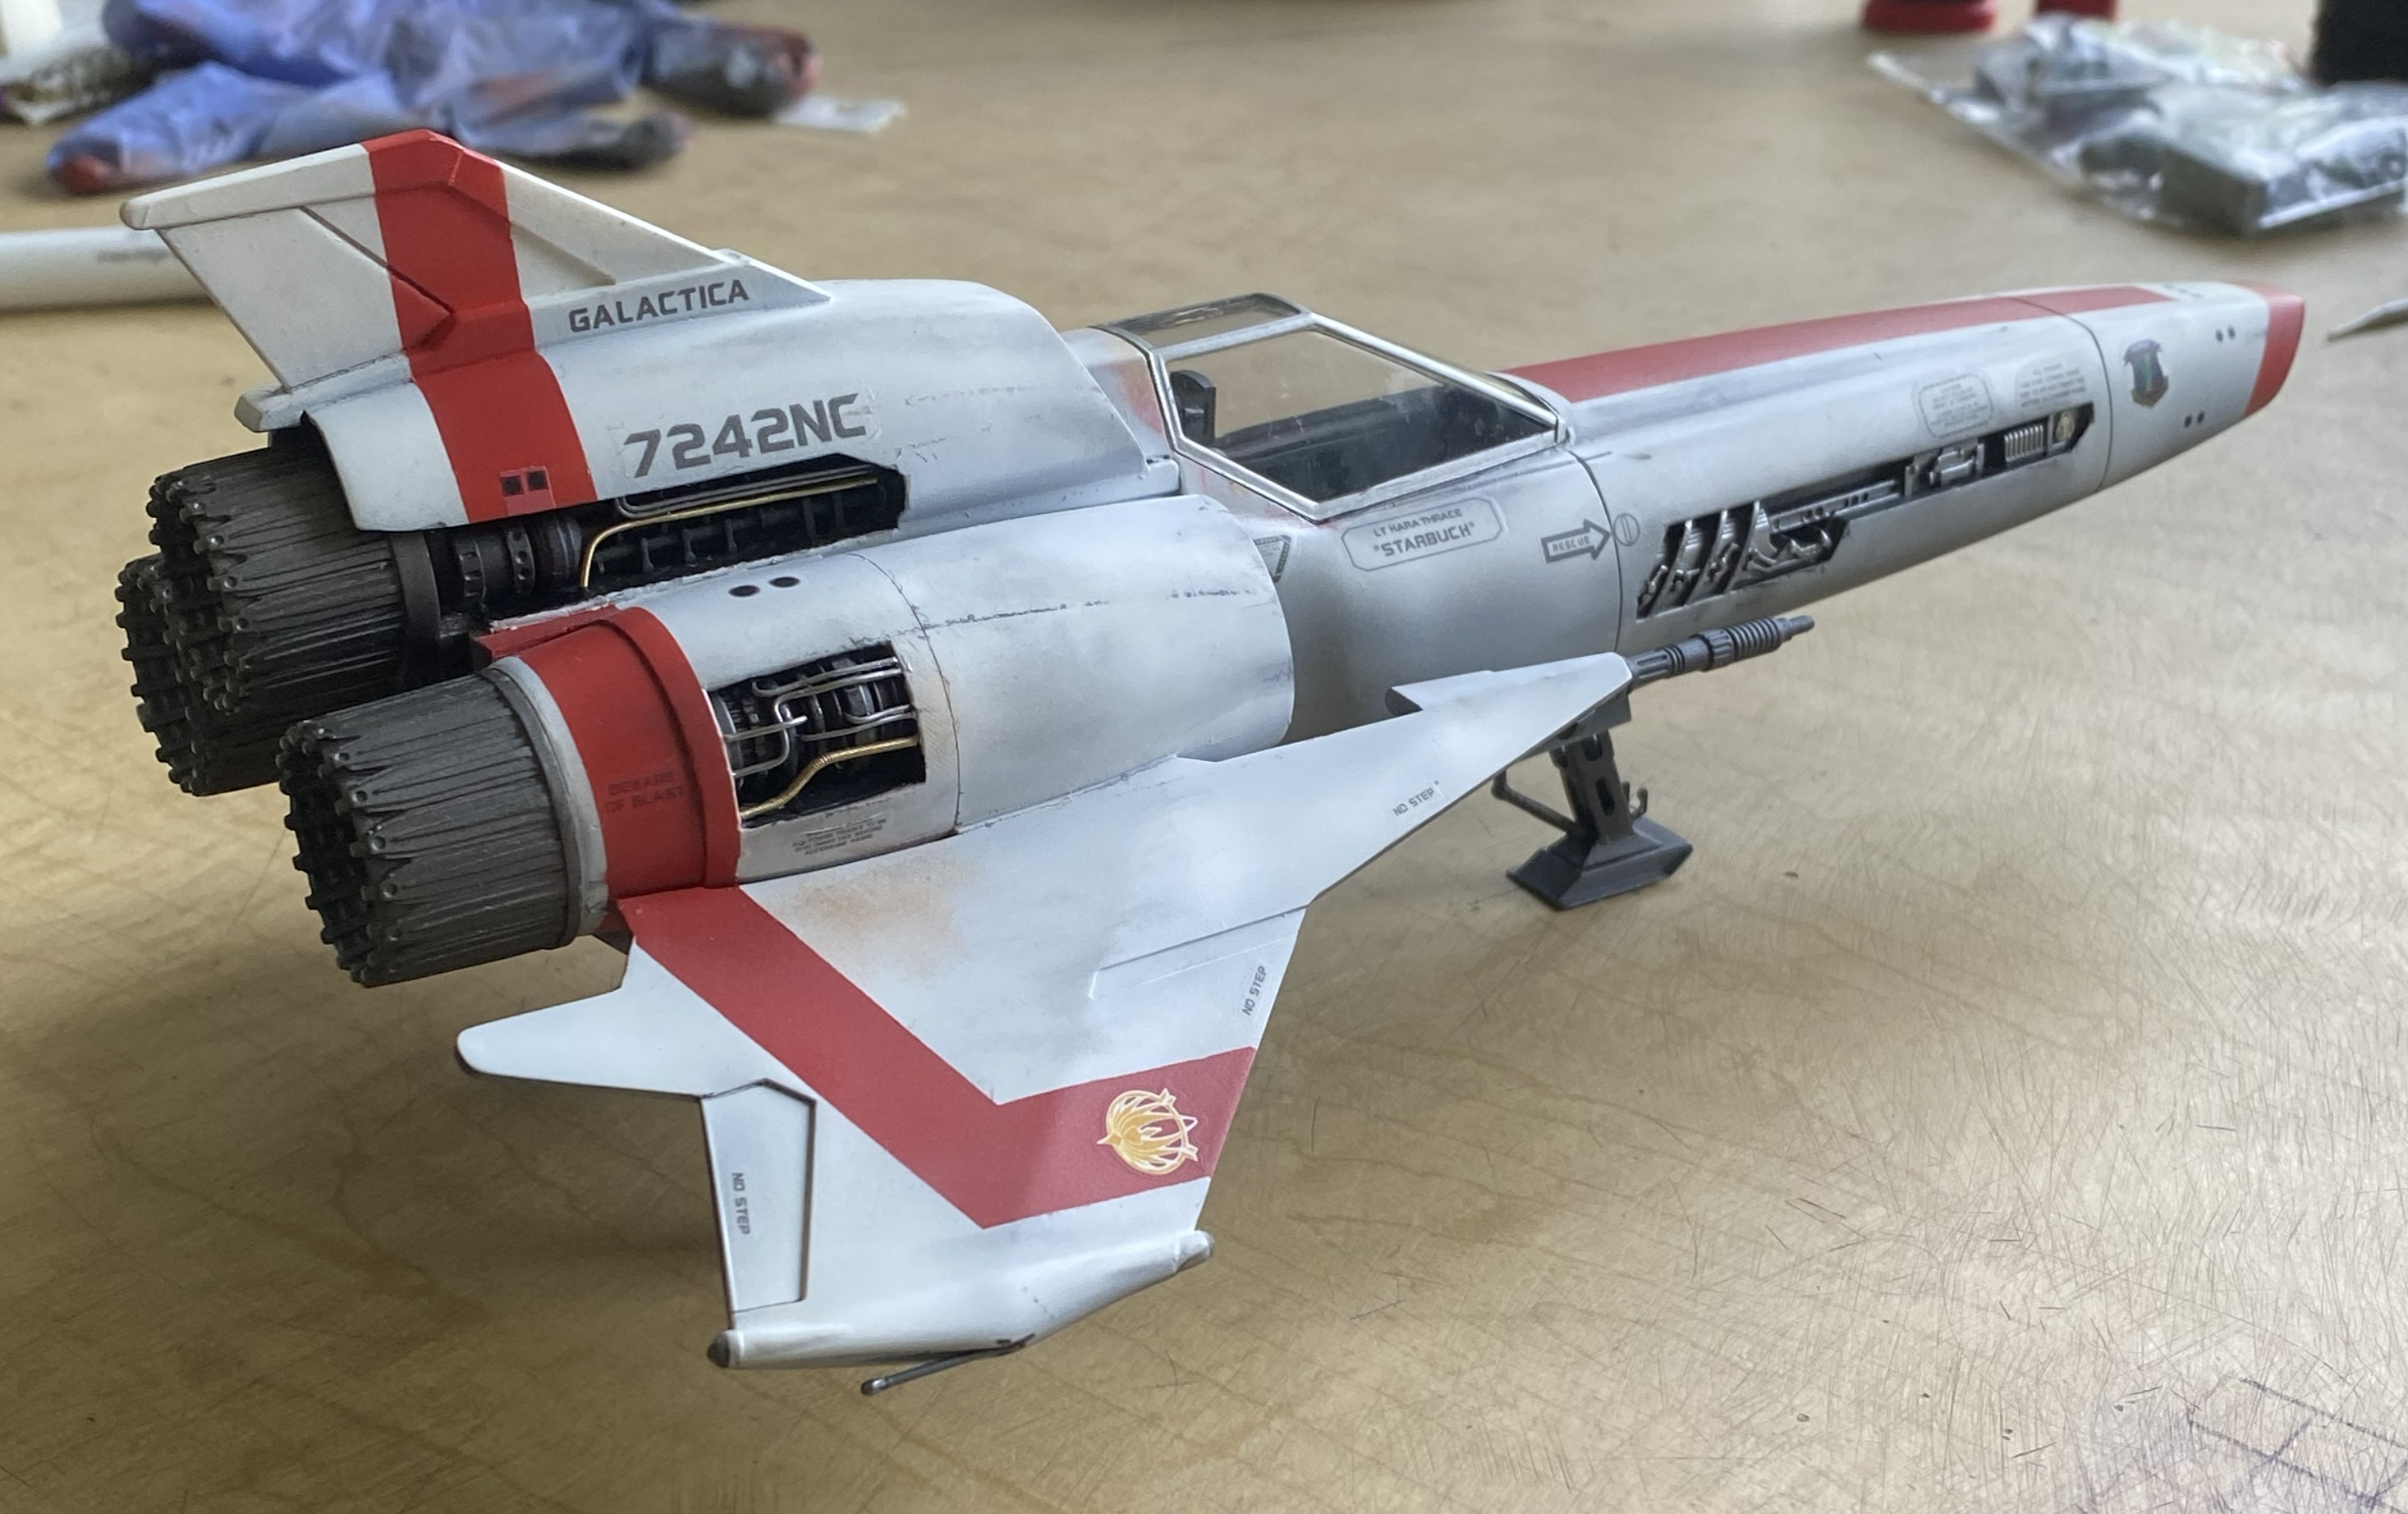
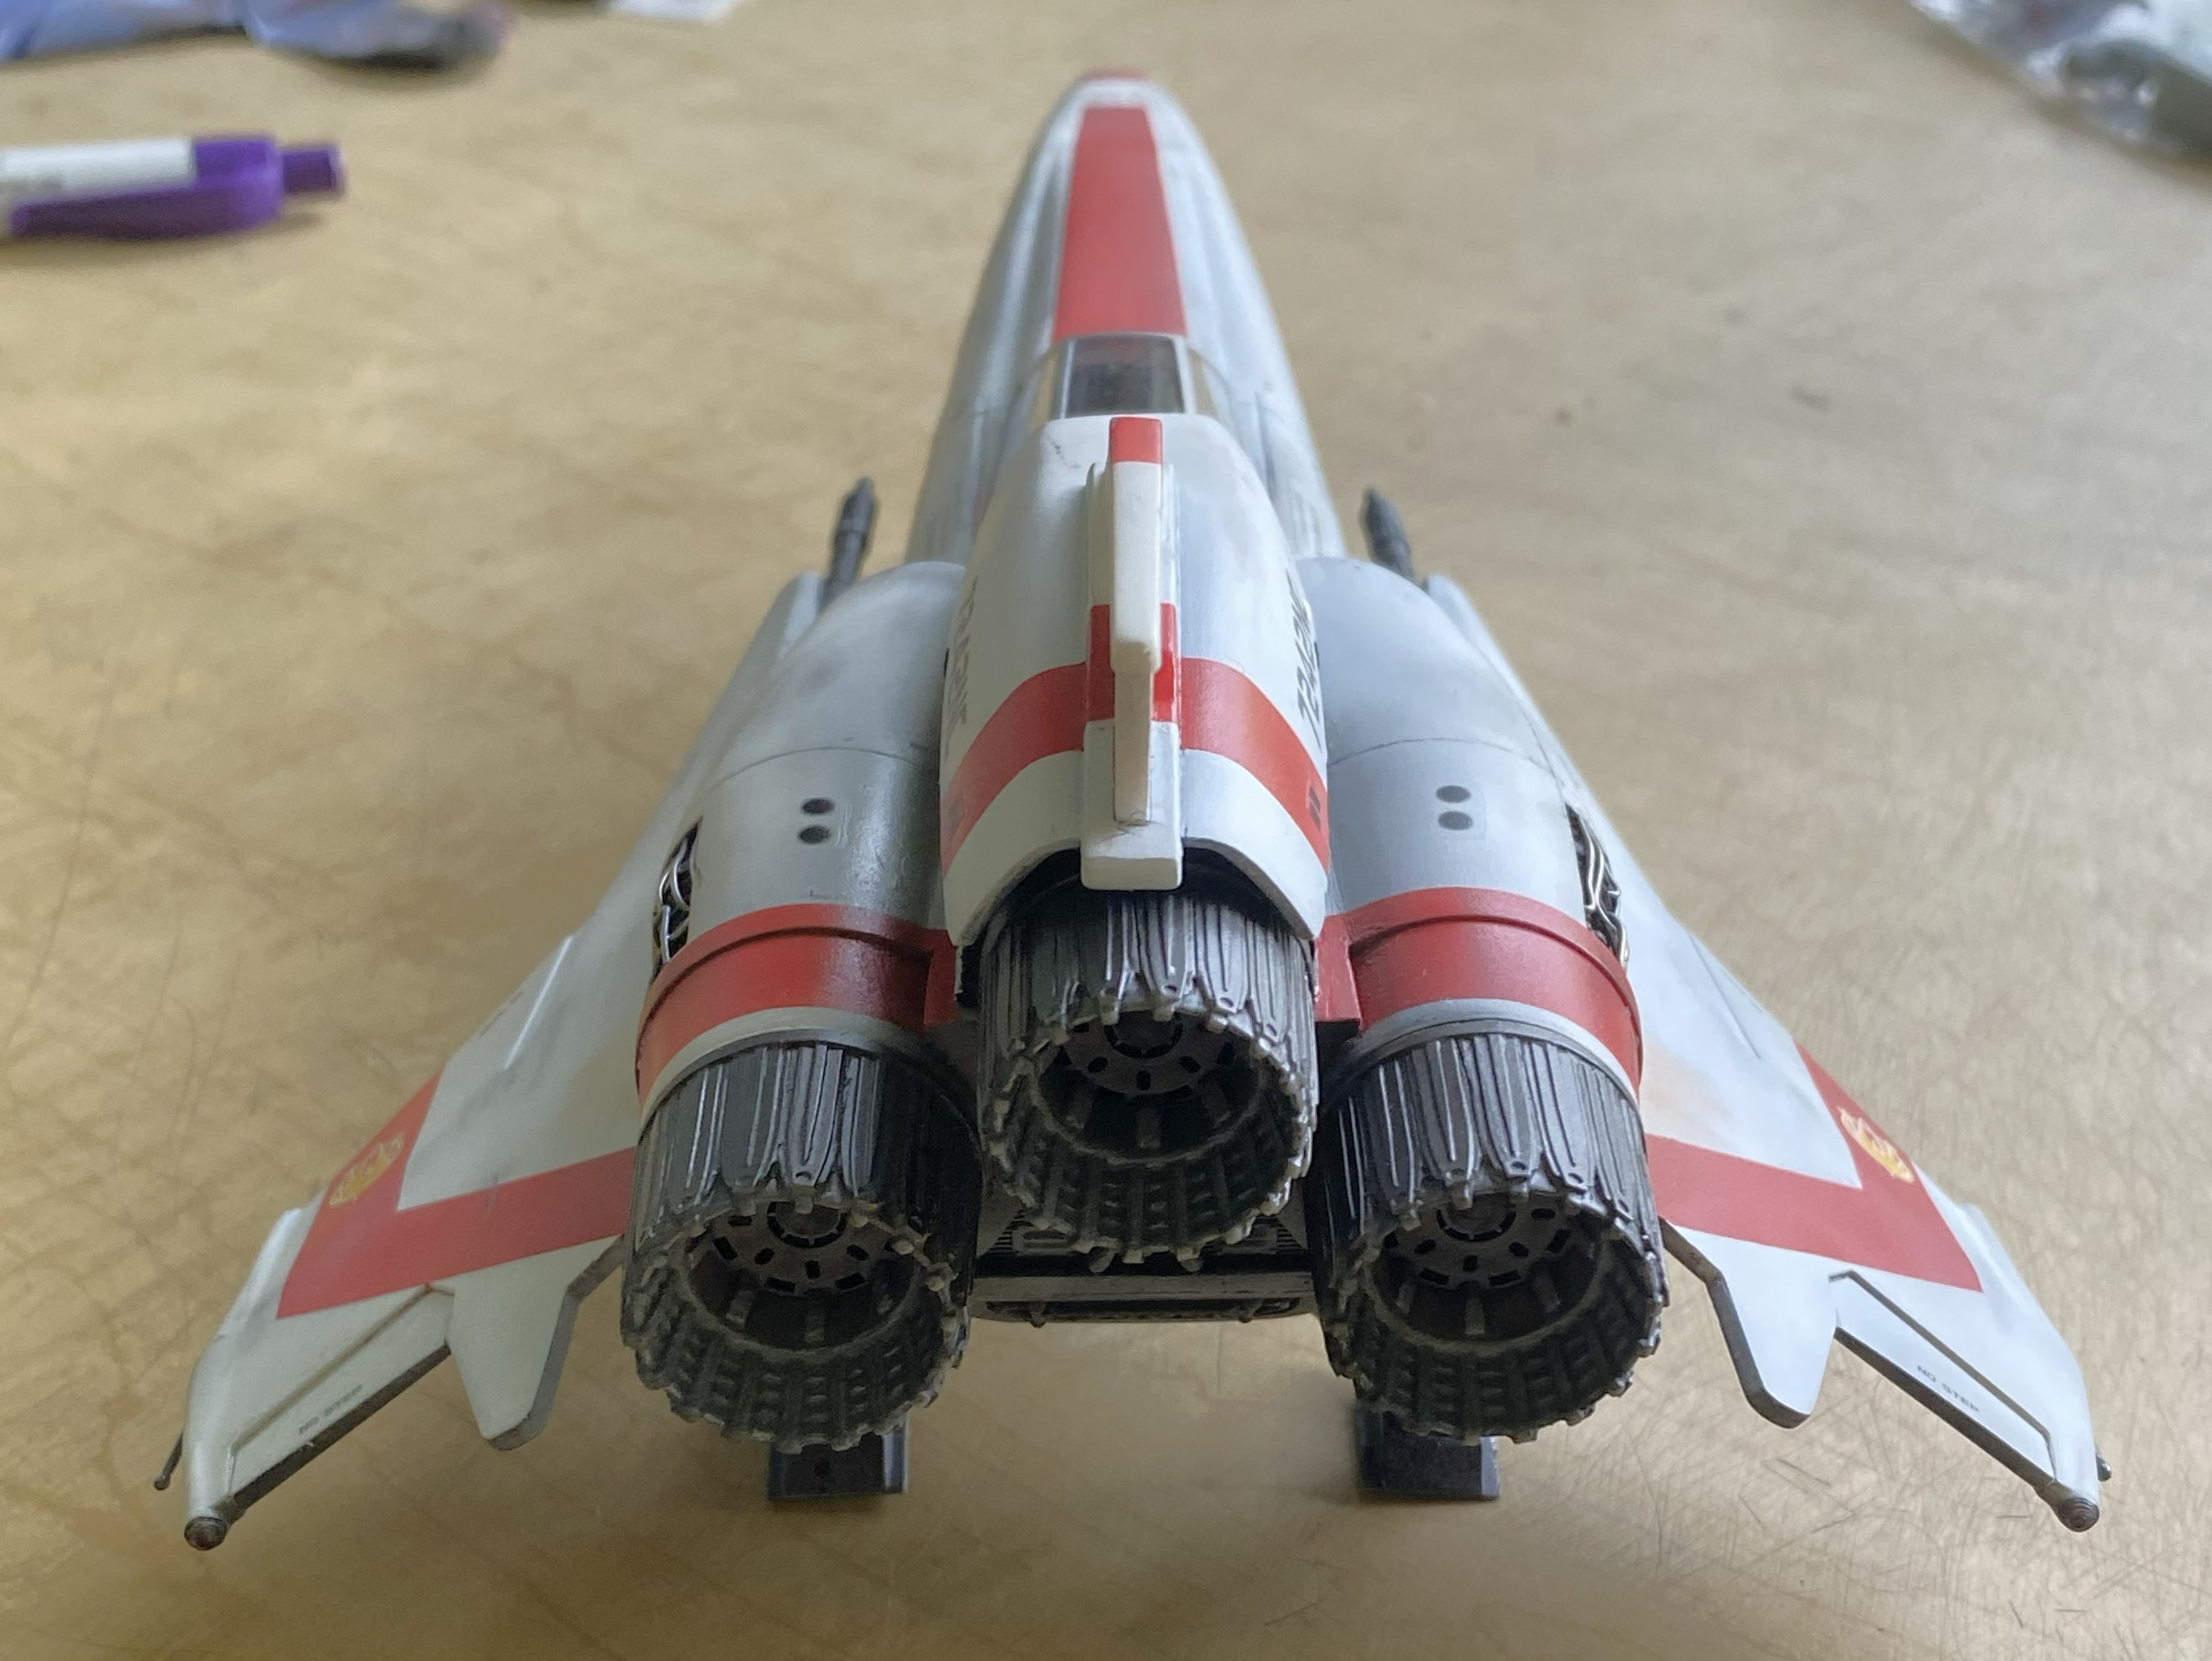
Some touch-ups of paint need attending to, but that’s typical (for me, anyway). Overall, I like how it presents.
Speaking of how it presents, I wanted a case to keep dust off it as much as something unsealed can. If you’ve priced “display cases,” you’ve probably noticed that some of them cost more than what you hang your license plates from. Since I am not a museum (though sometimes I feel like an exhibit at one…you know the “Dawn of Man” display), I require neither that level of quality OR that level of pricing. (I just want to keep dust off m’damned models!) Trumpeter (of model fame) has a line, Master Tools (don’t go there) and part of that line is a very reasonably priced line of styrene display cases. Most of the time I used their #09808 (276mm deep, 316mm wide, 136mm tall) for most things because most things I build fit that size. For this build, I used their #09815 (186mm deep, 365mm wide, 121mm tall) which is about as close to perfect as I’m going to get off the shelf (or want to pay for):
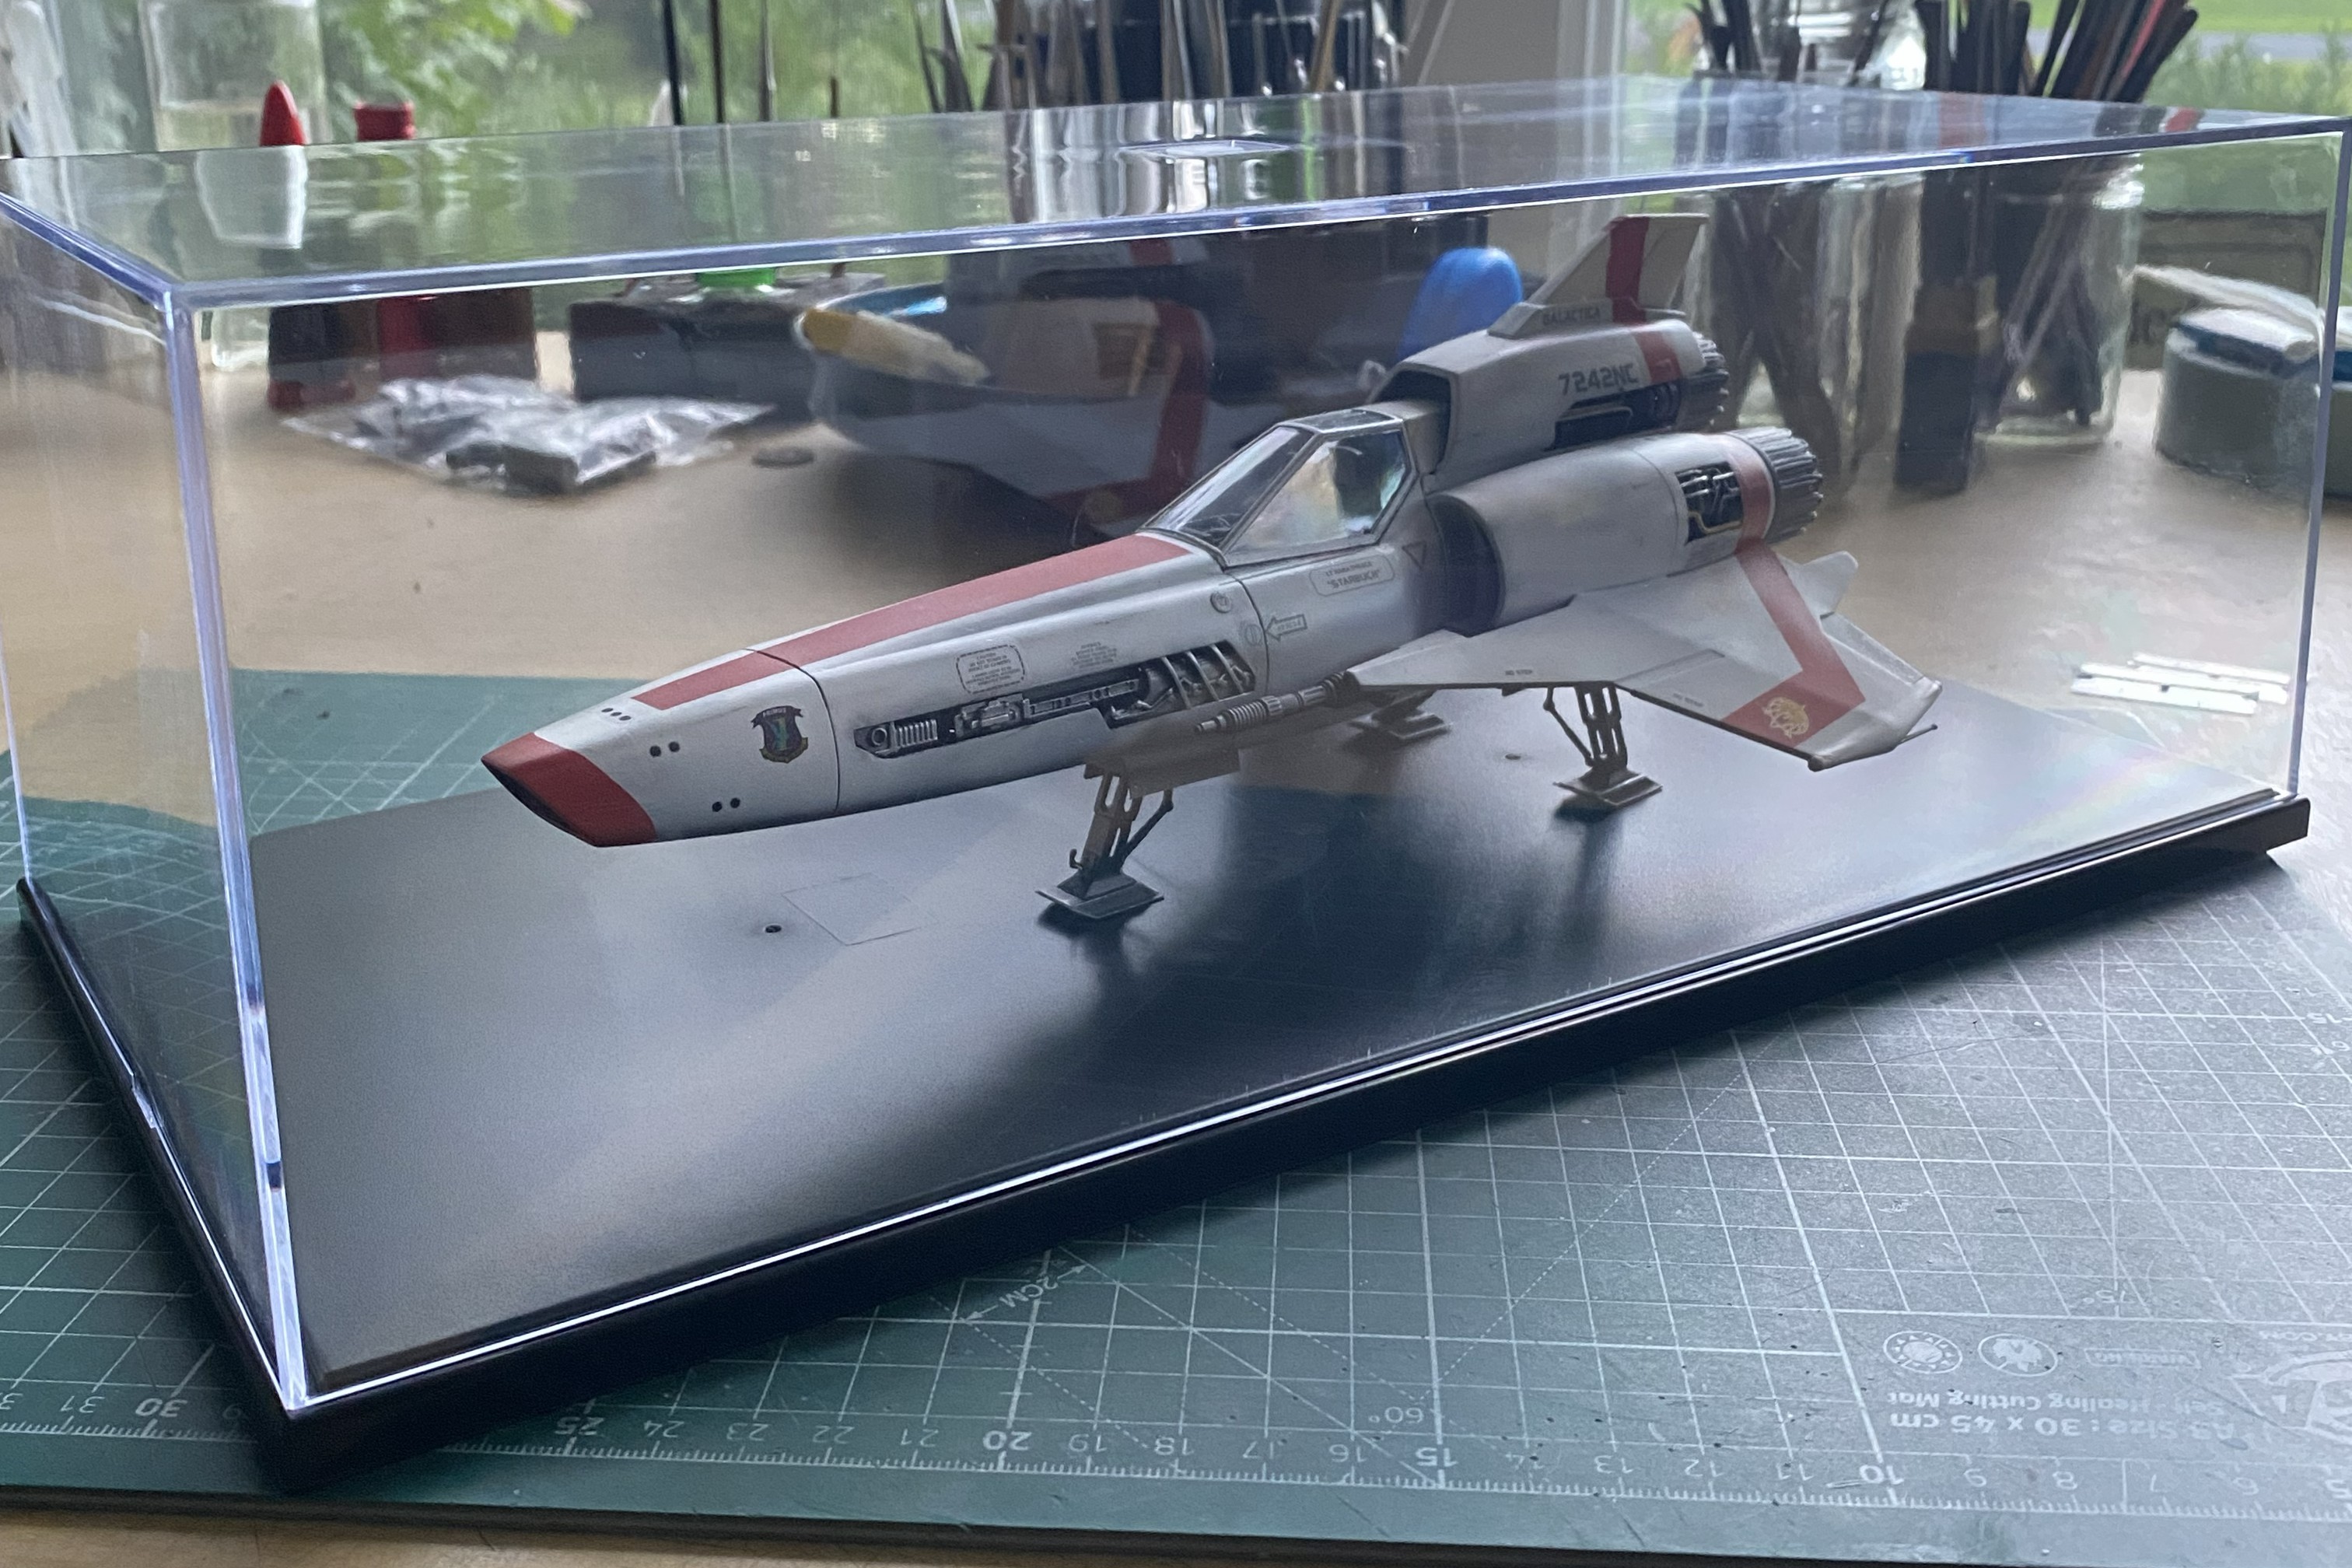
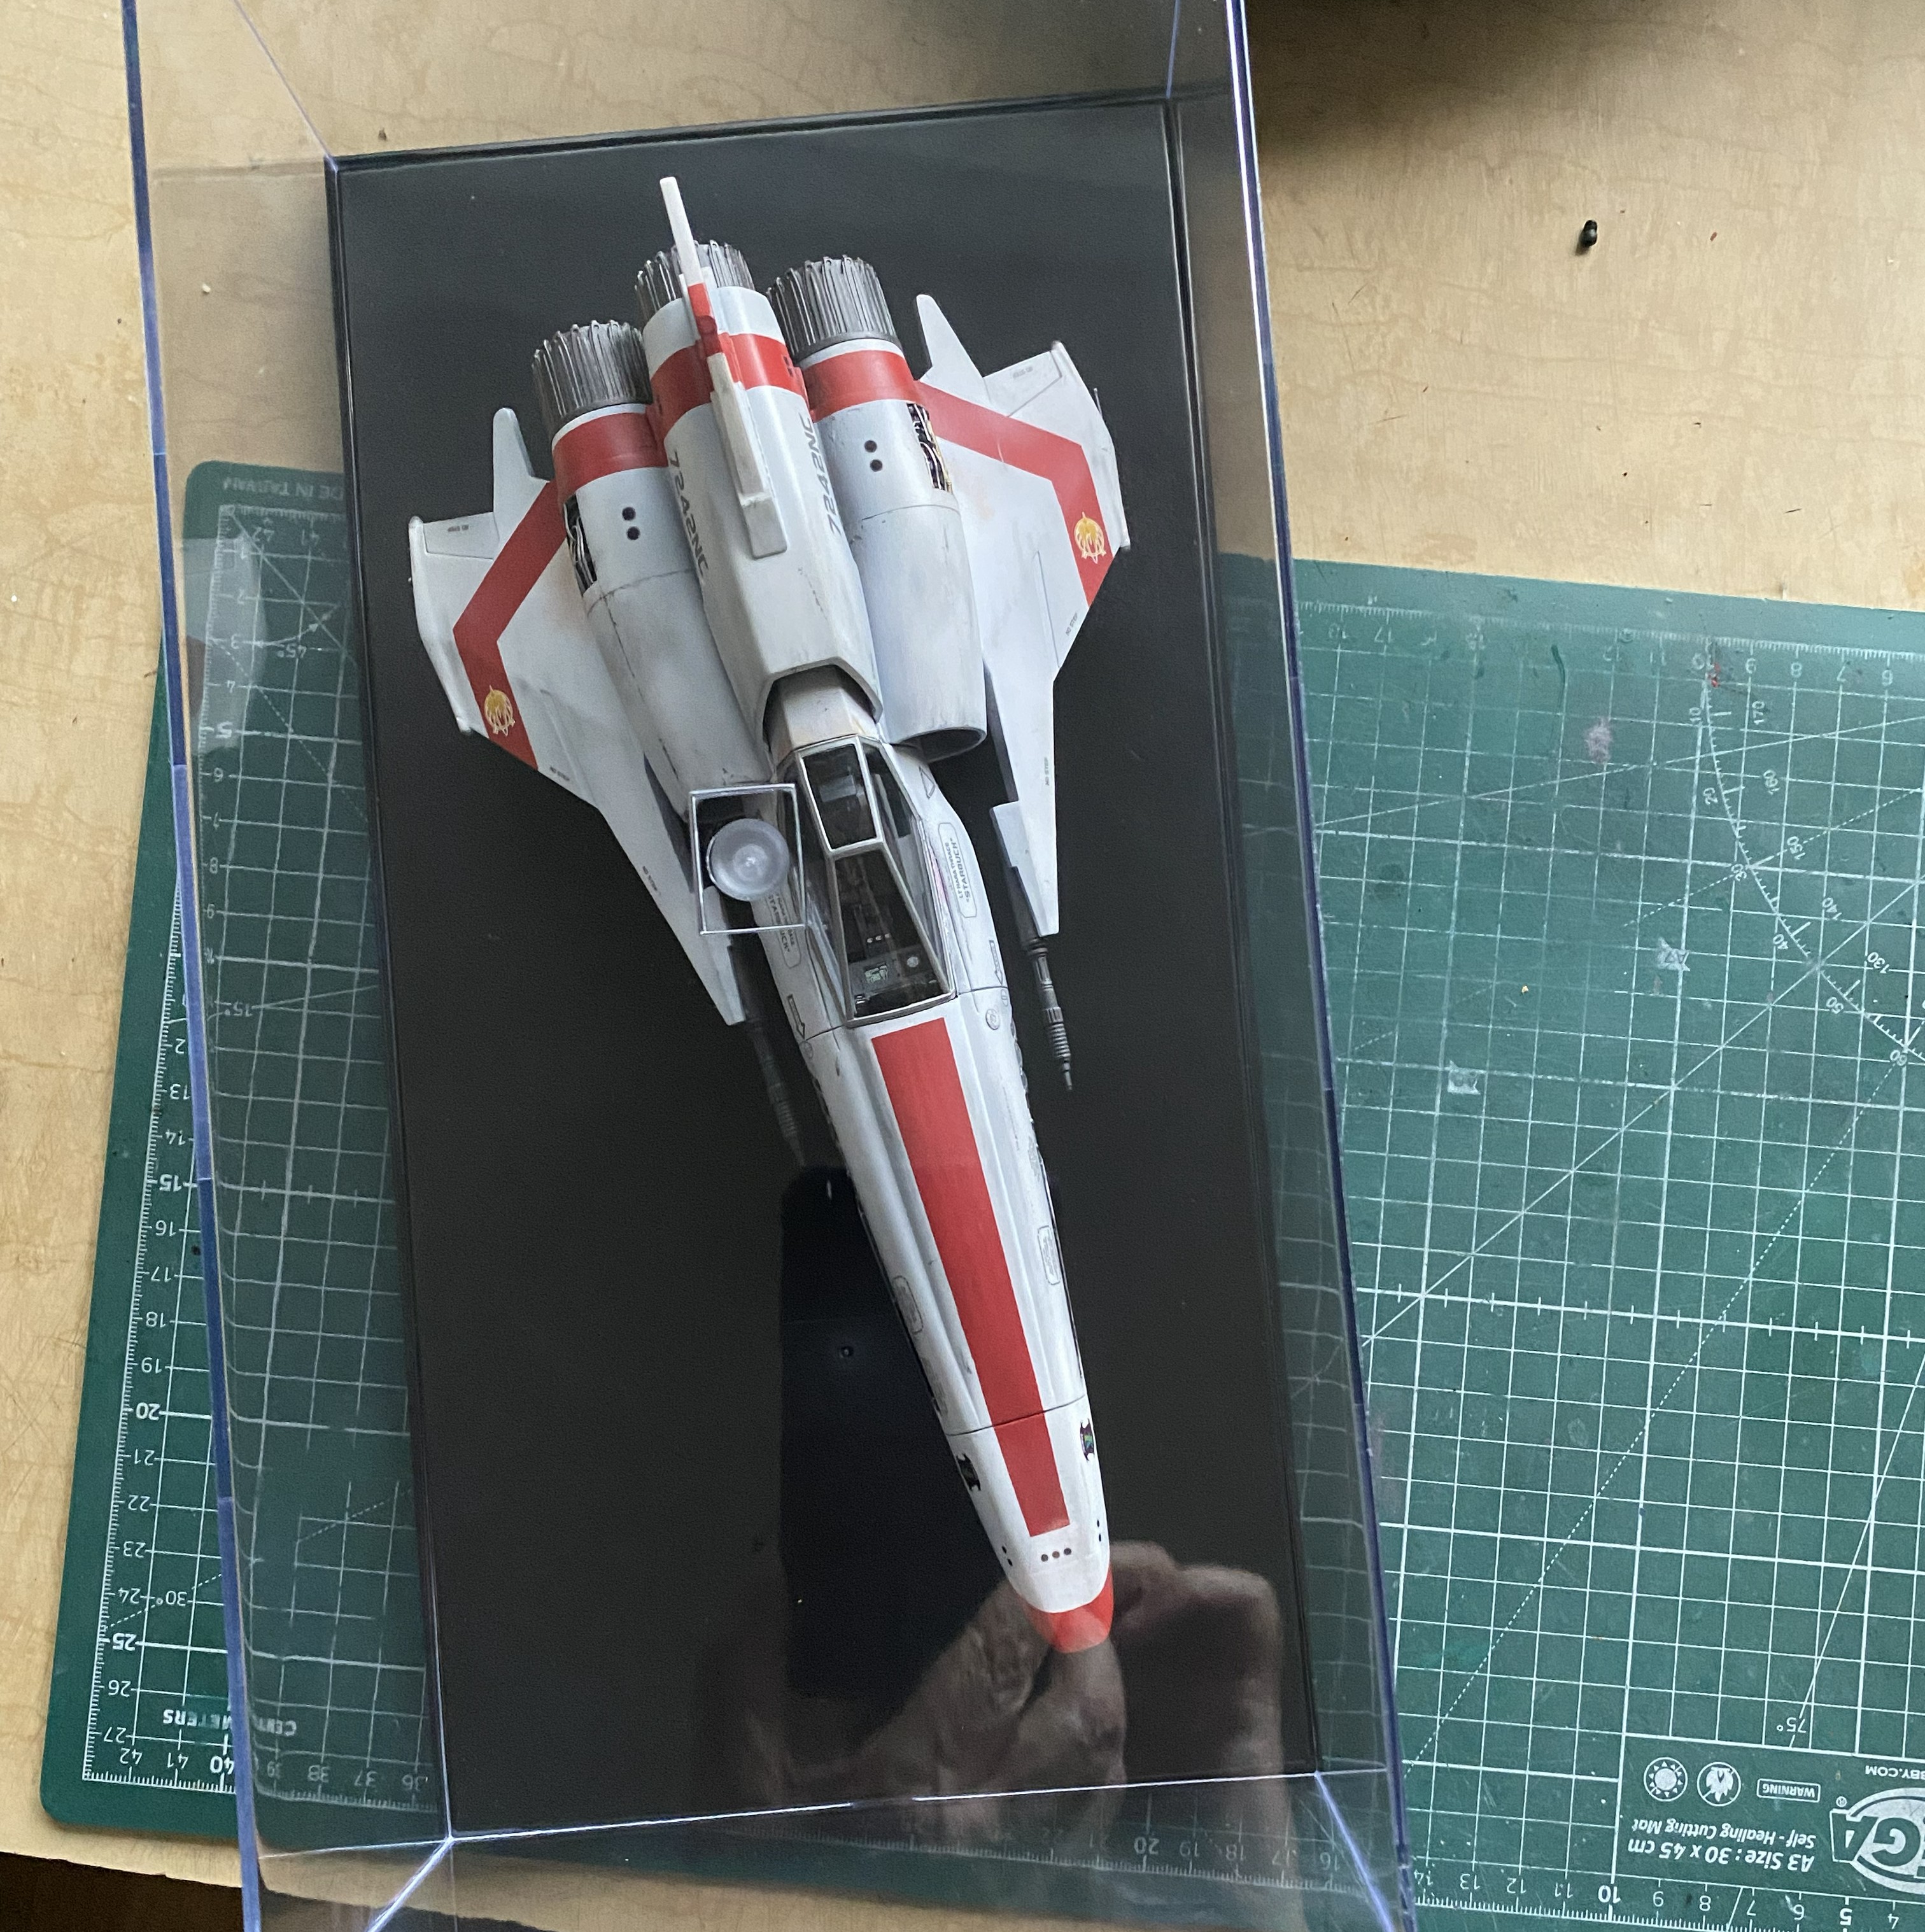
Yes, I could just leave it as it is. My initial intent was to recreate a small section of the hangar bay in the case. While blocking things out, I realized that doing so would block off too much of the model and, the sin of sins, clutter things up needlessly. Then I thought that I’d glue down a sheet of styrene to act as the floor, but wait…isn’t this base already styrene? Well, yes it is. What would I need to do to use the base as, well, the base? Simple. Sand off the pebbled texture! So I did. I started with 220 grit and worked it up to and including 5000 grit:
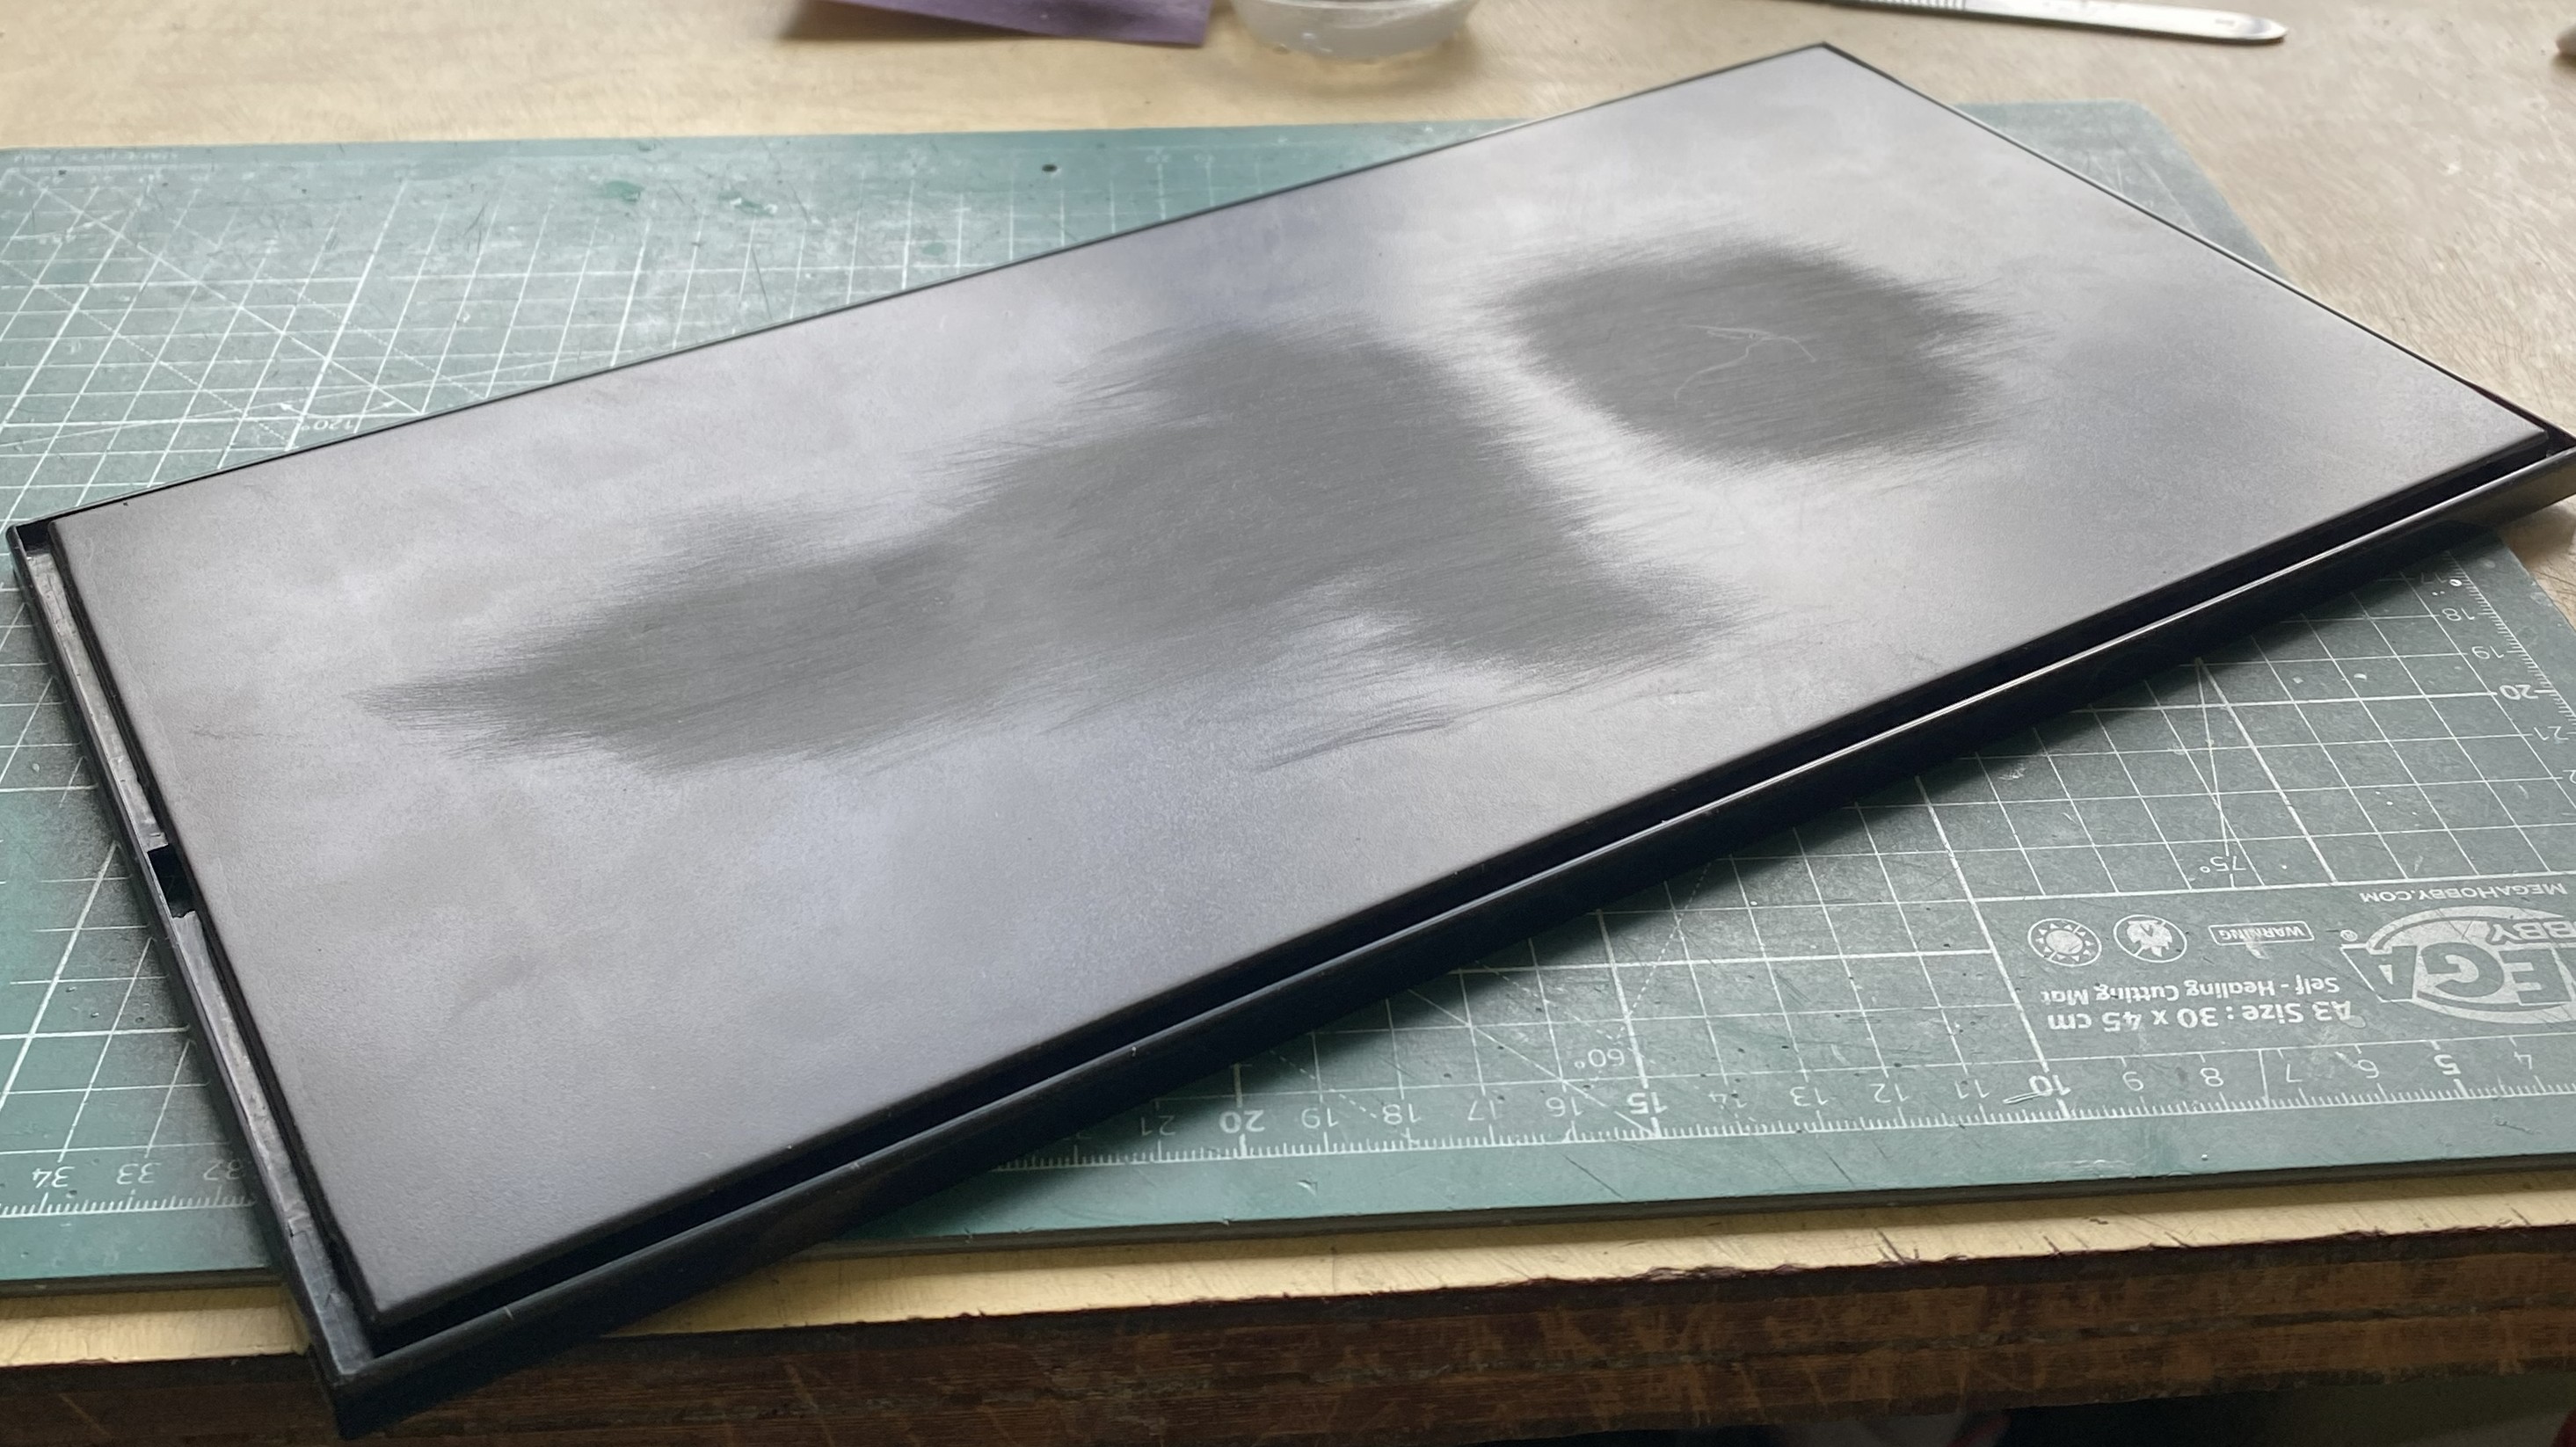
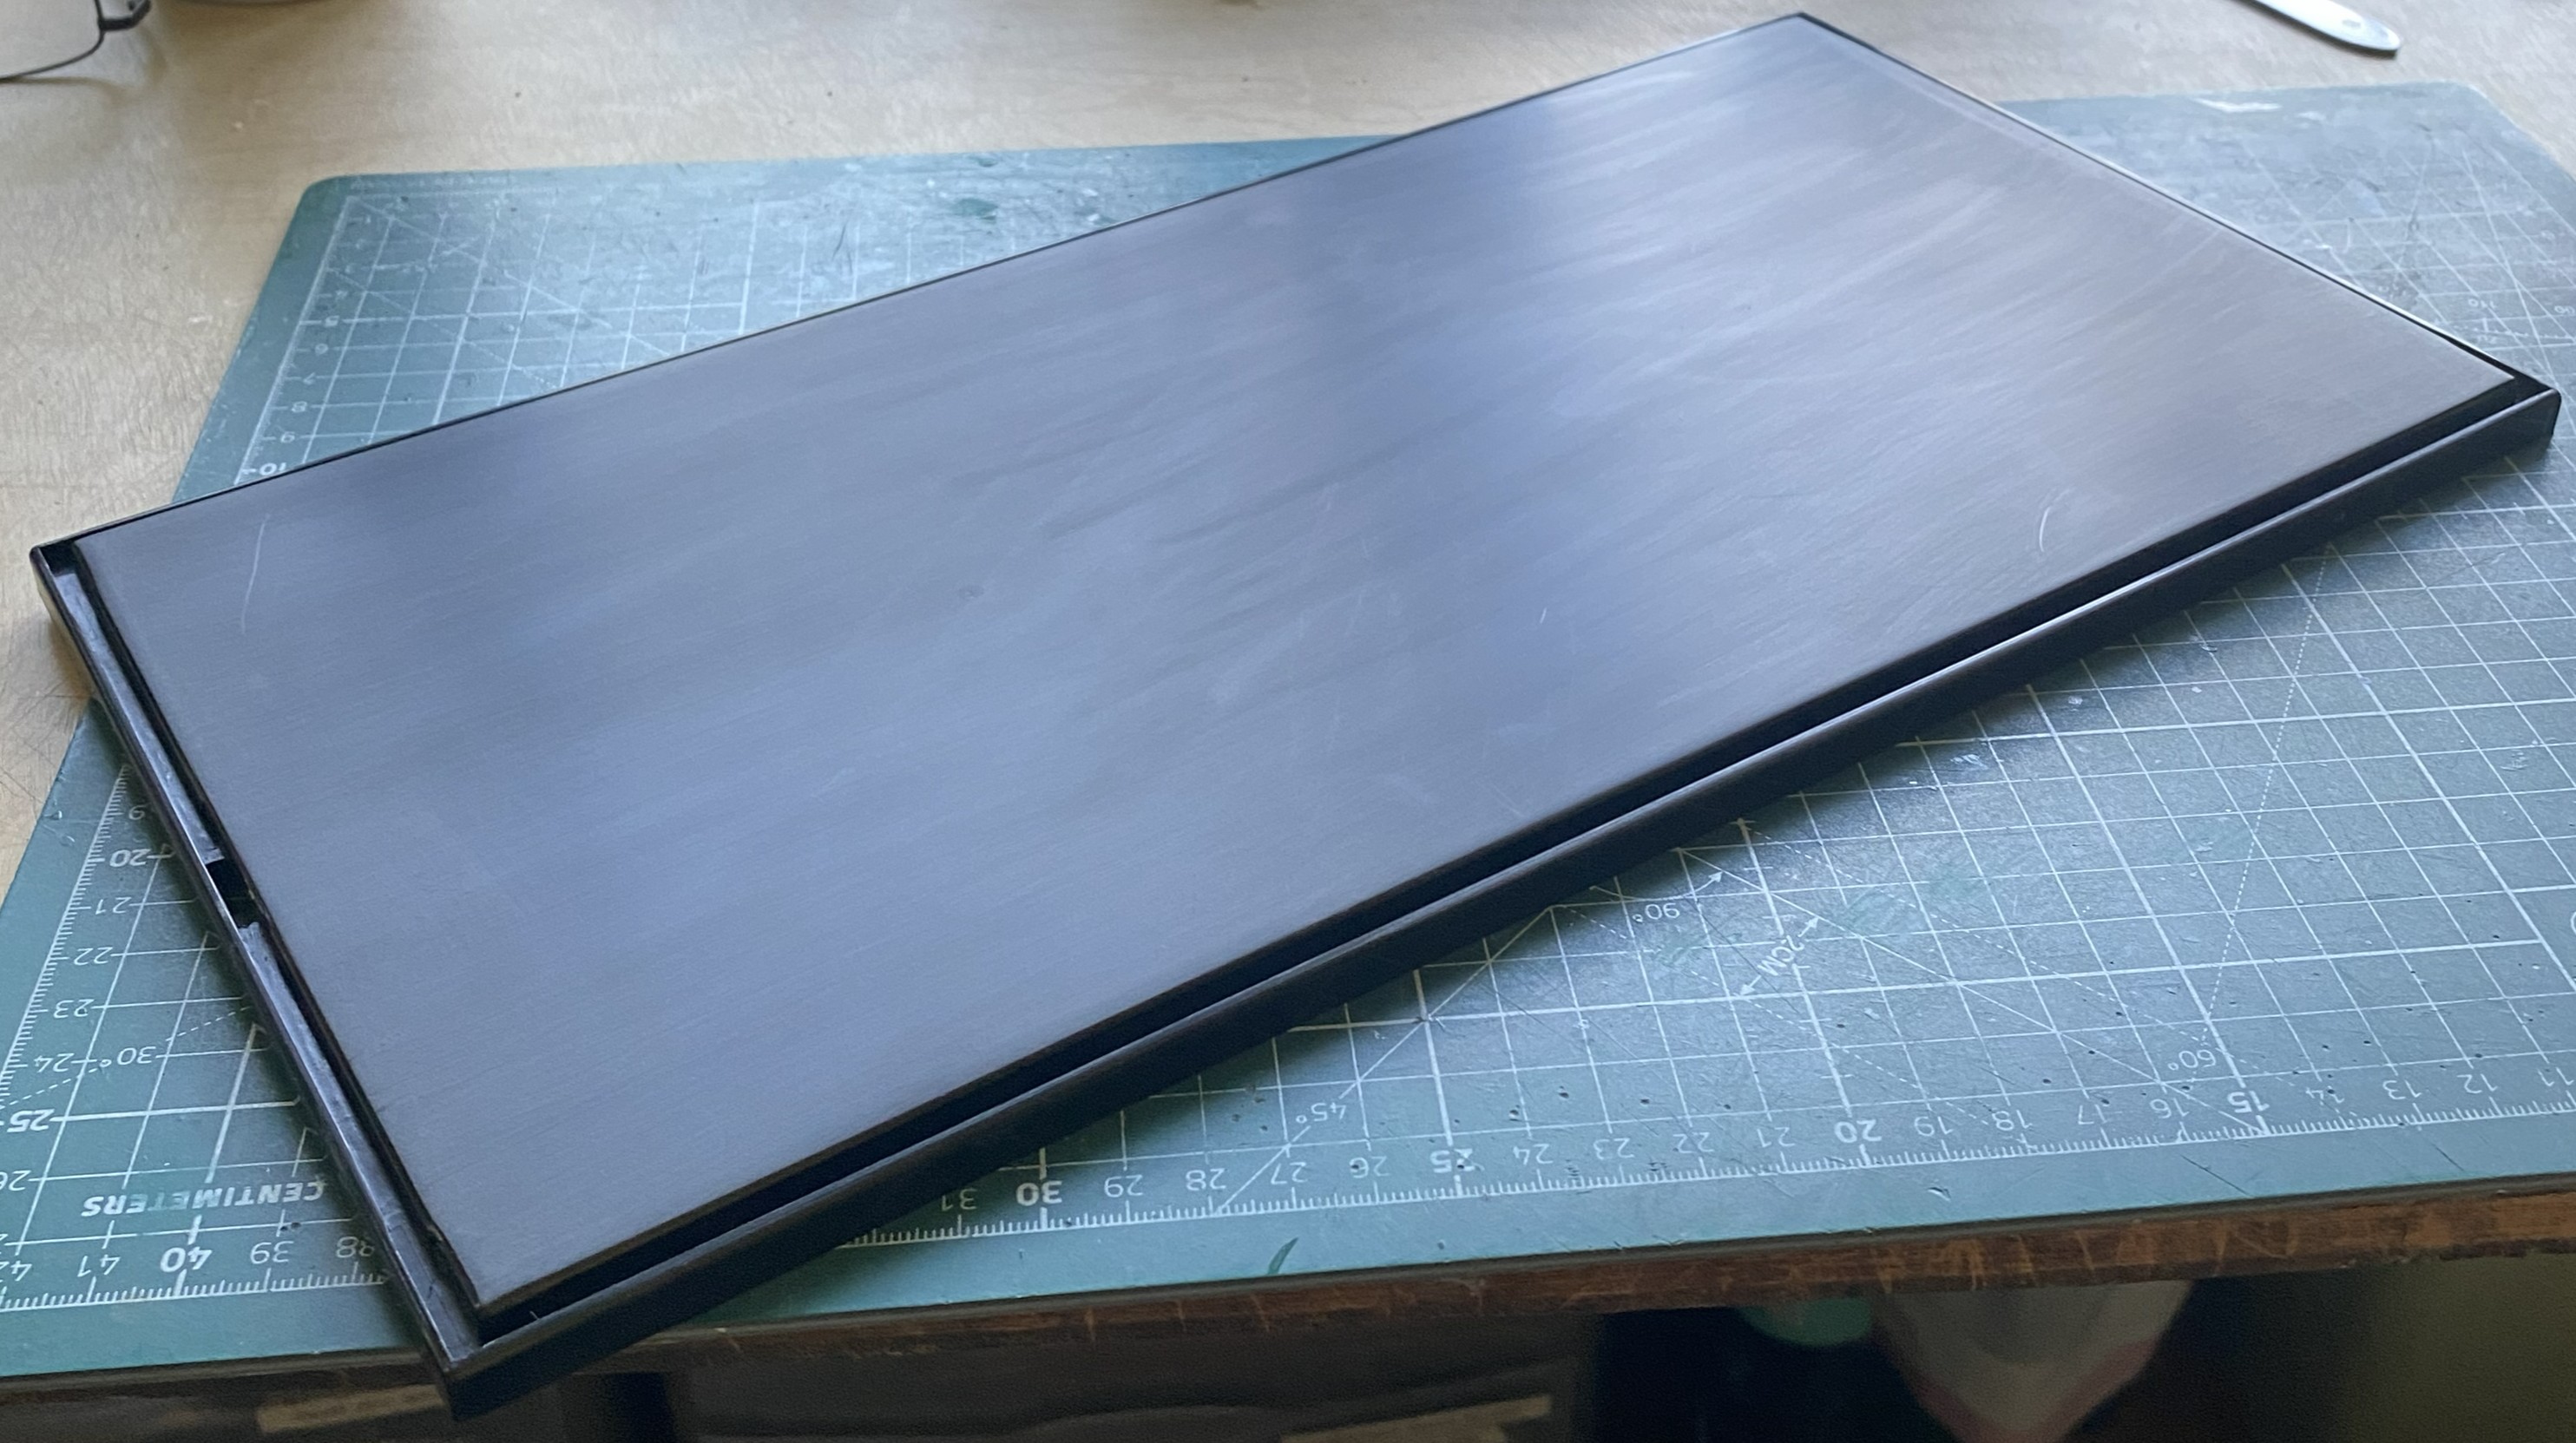
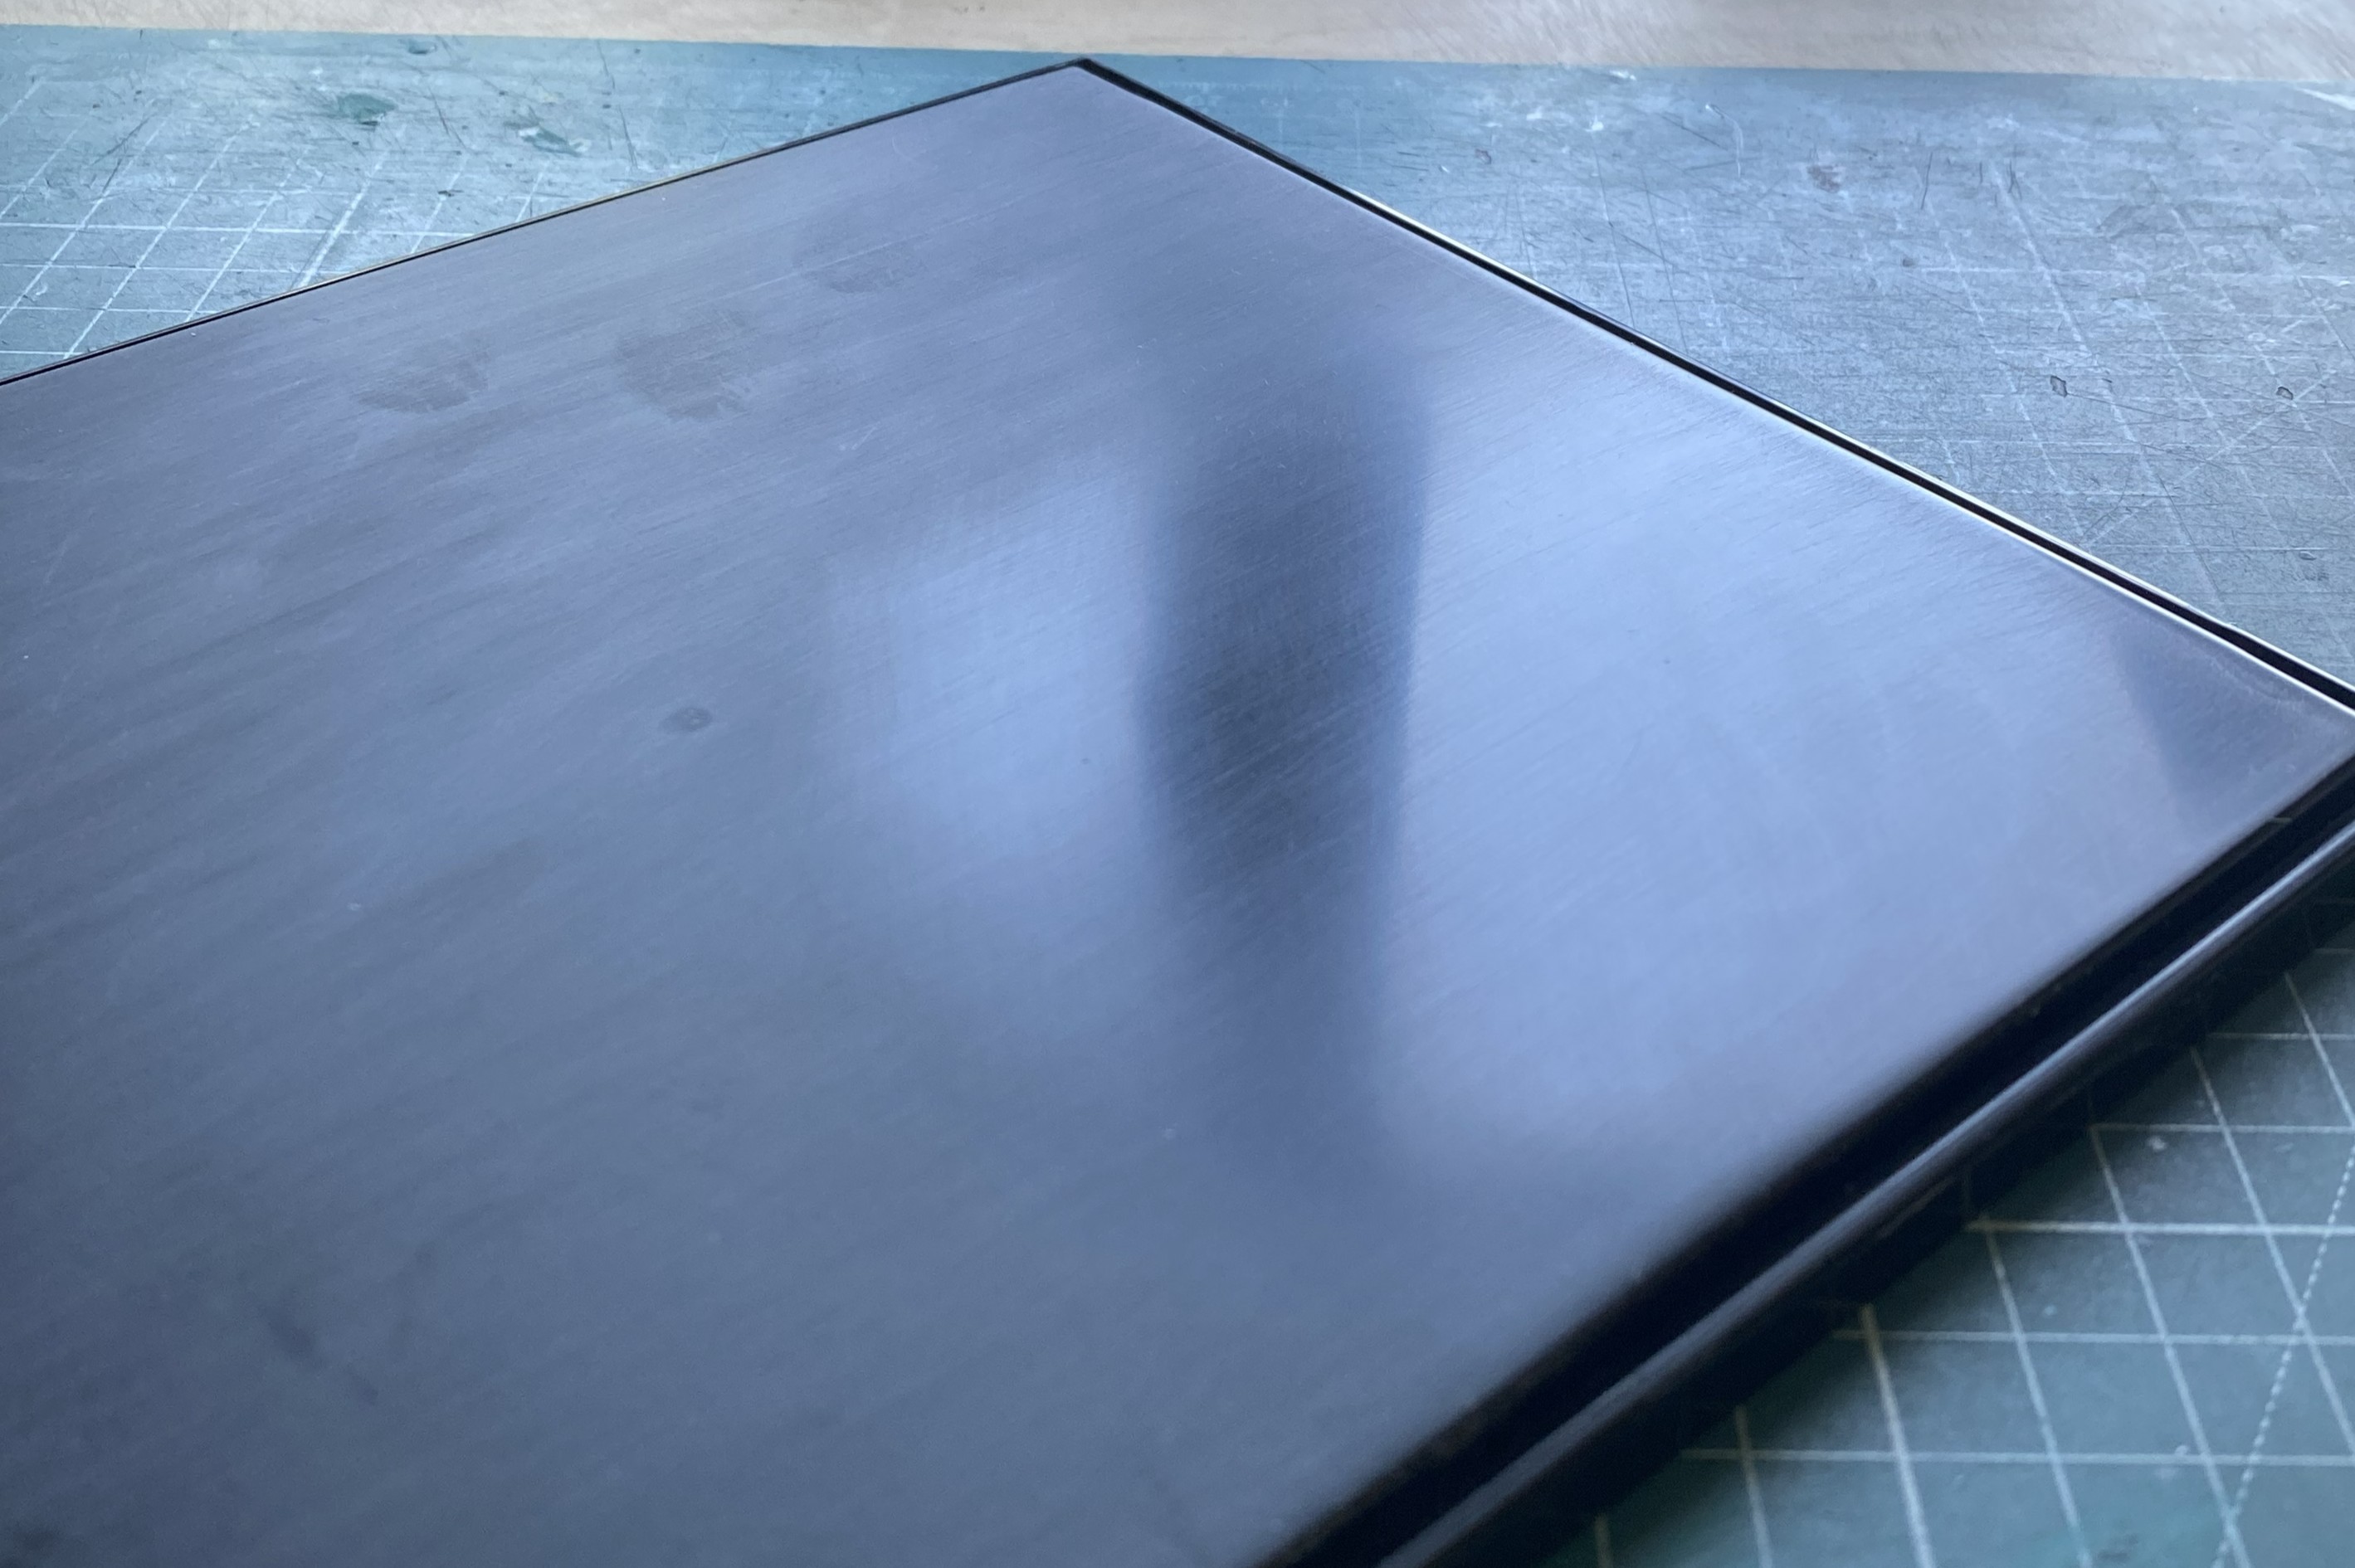
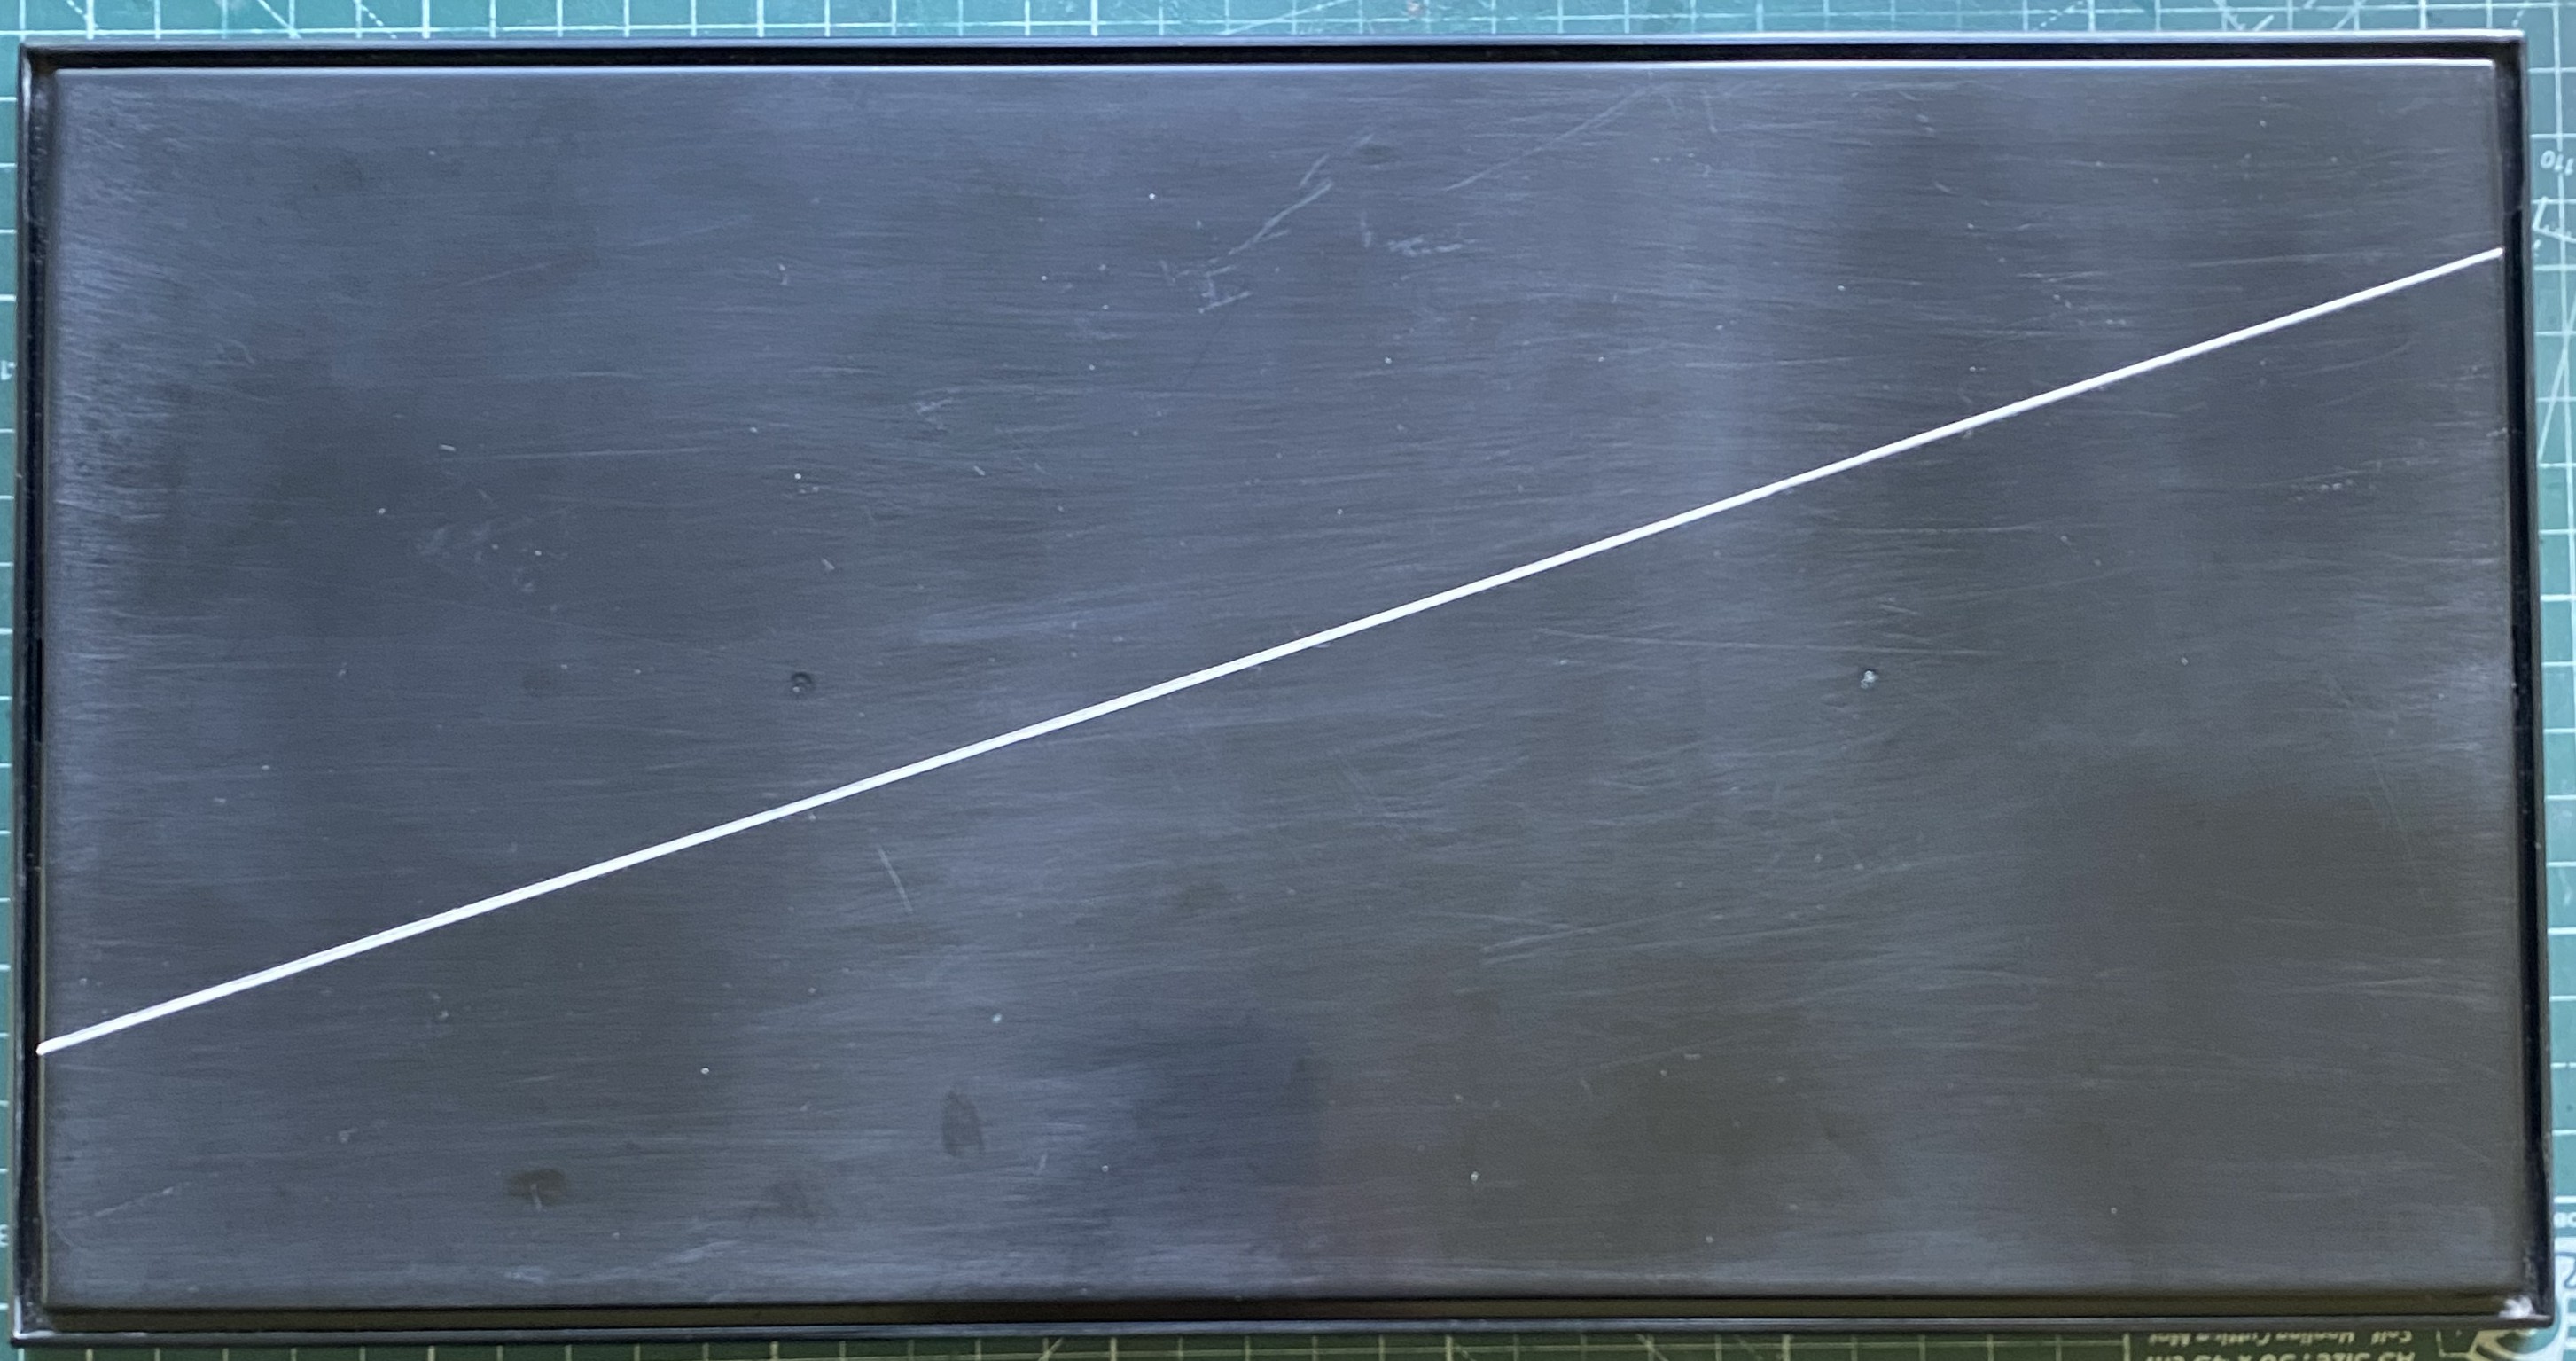
Since I’m not trying to replicate a glassy surface, I had to remind myself of that and not go for a mirror finish. This is supposed to be the deck of a warship. Then I realized that none of my references showed one deck plate. Not. One. Oh…right! This was shot on a sound stage with a smooth cement floor. Nah. Ain’t doing that. There should be deck plates for things like repairing the deck, repairing what’s under the deck, looking for a lost contact lens, y’know, all the stuff that normally happens on a warship. In space. So cue the deck plates. Pity that I don’t have something black…oh…wait. It so happens that I do. Right. Masking tape.
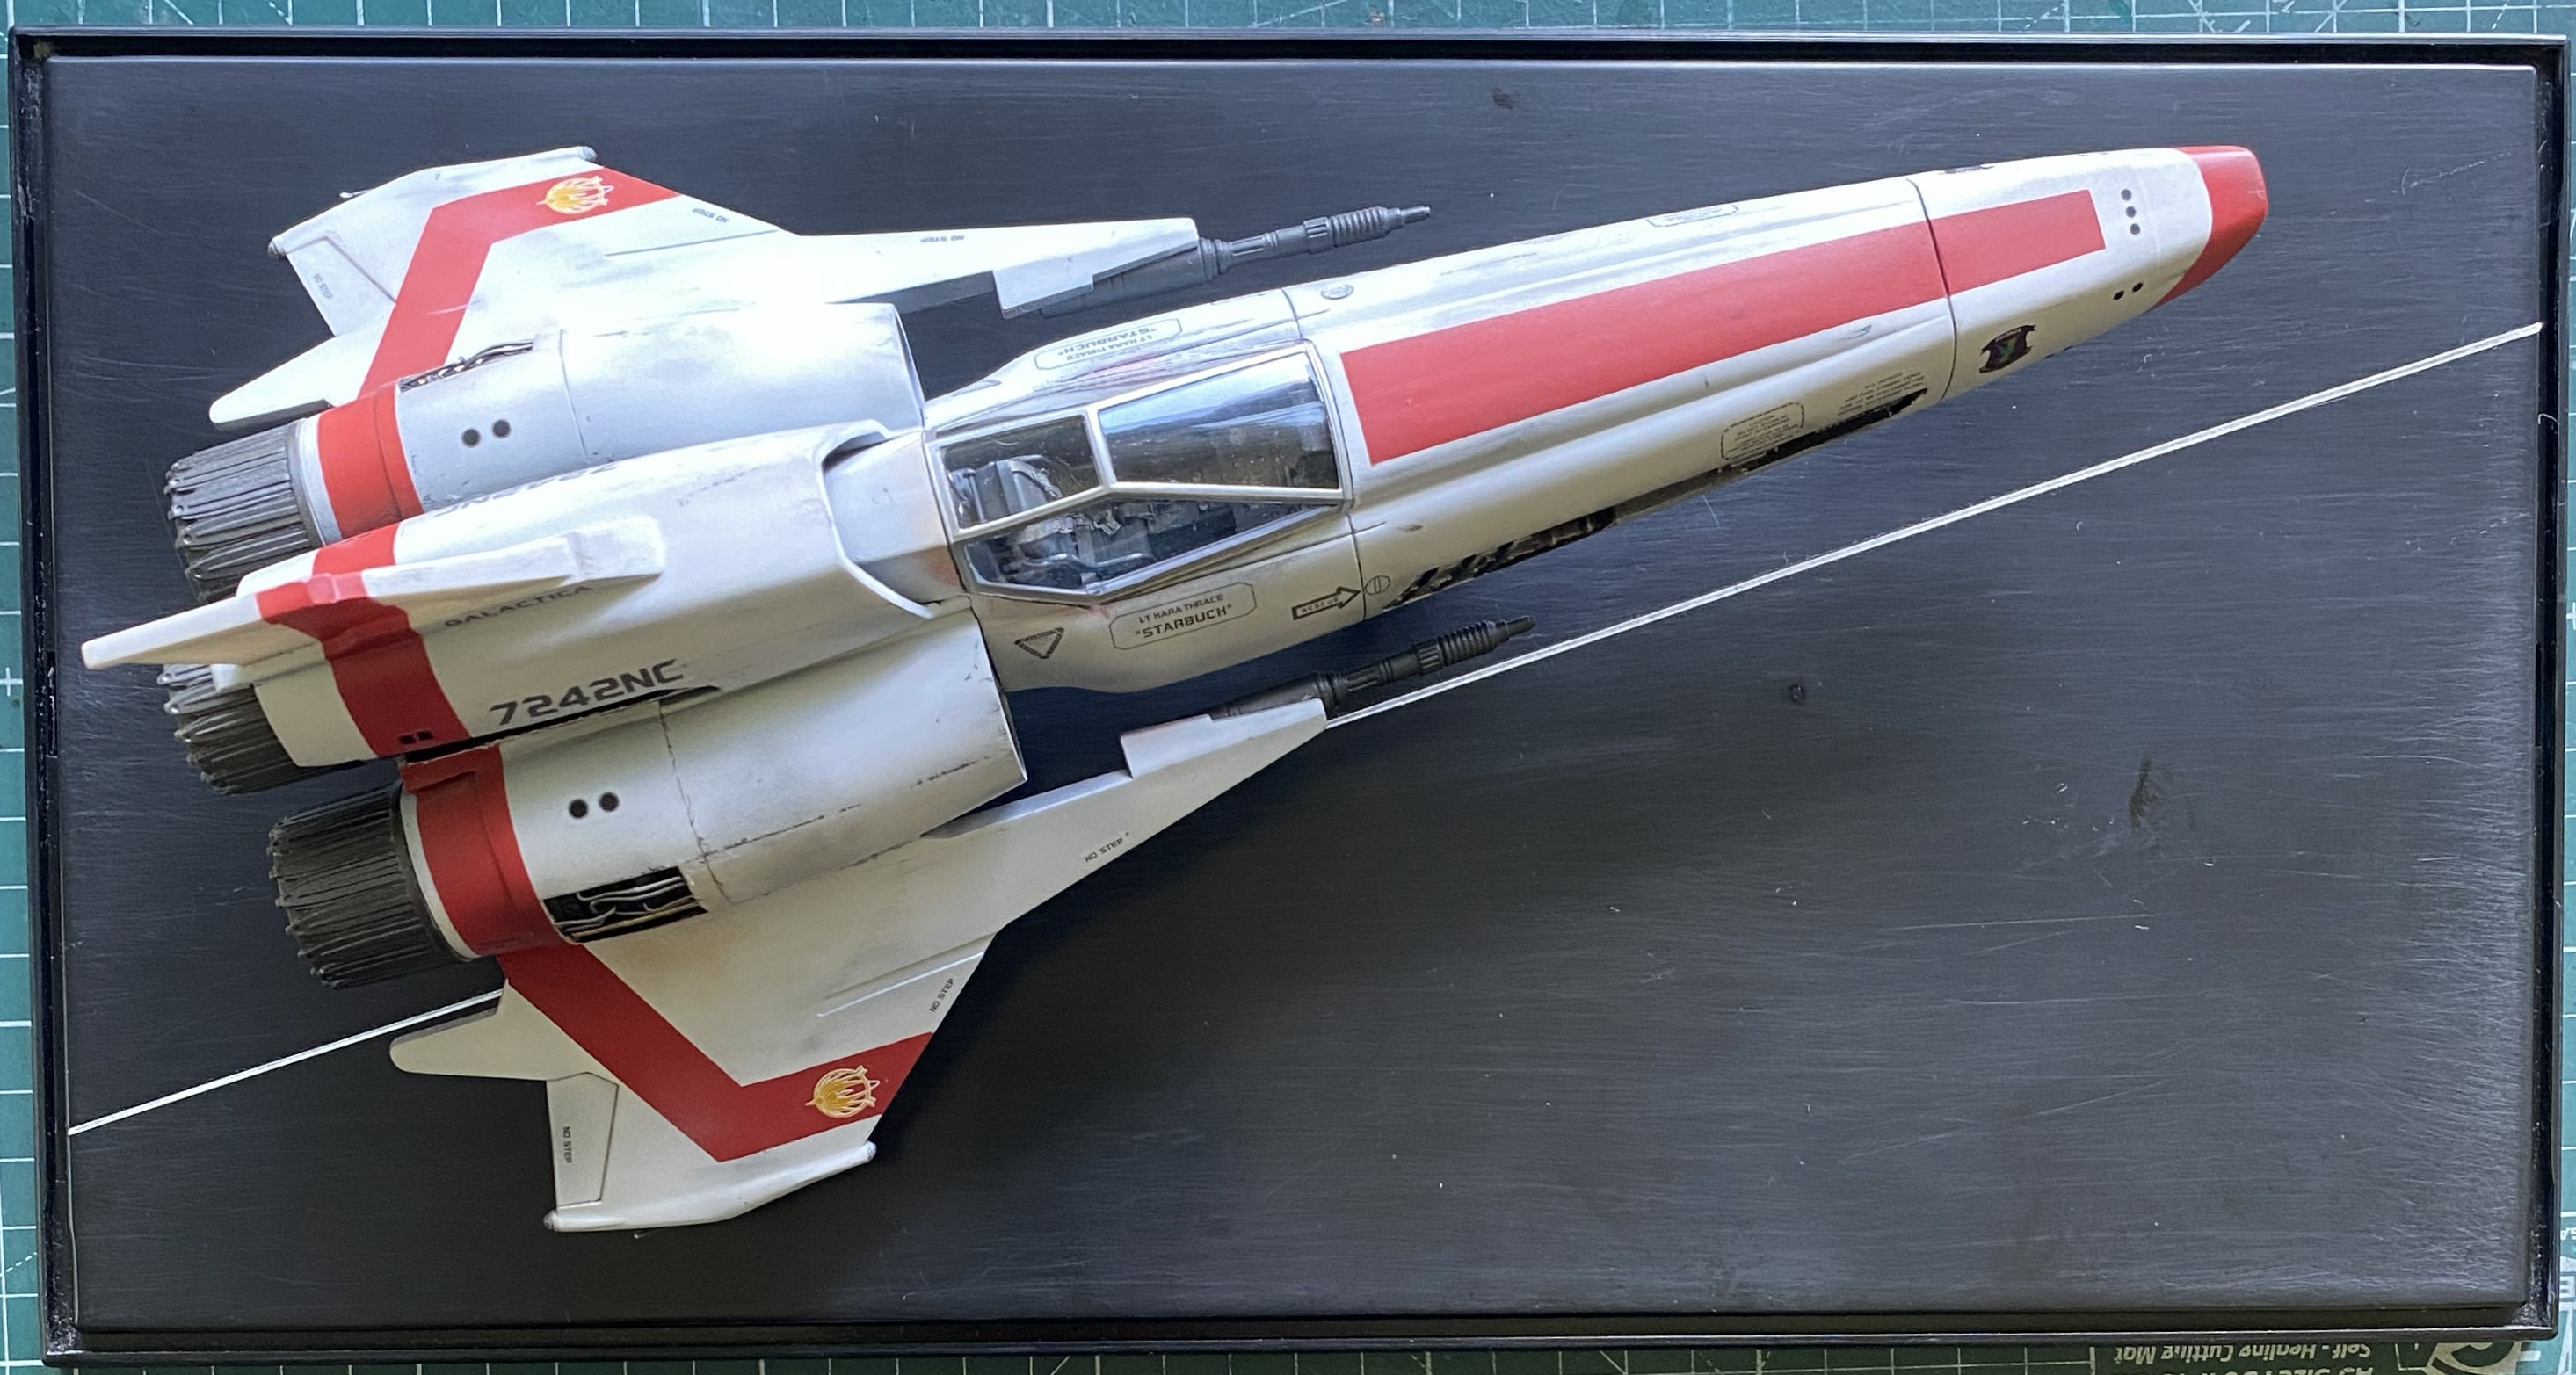
I wanted something a bit more visually stimulating. Rather than center the focus of the display or have it align with the sides, I went for something more visually interesting:
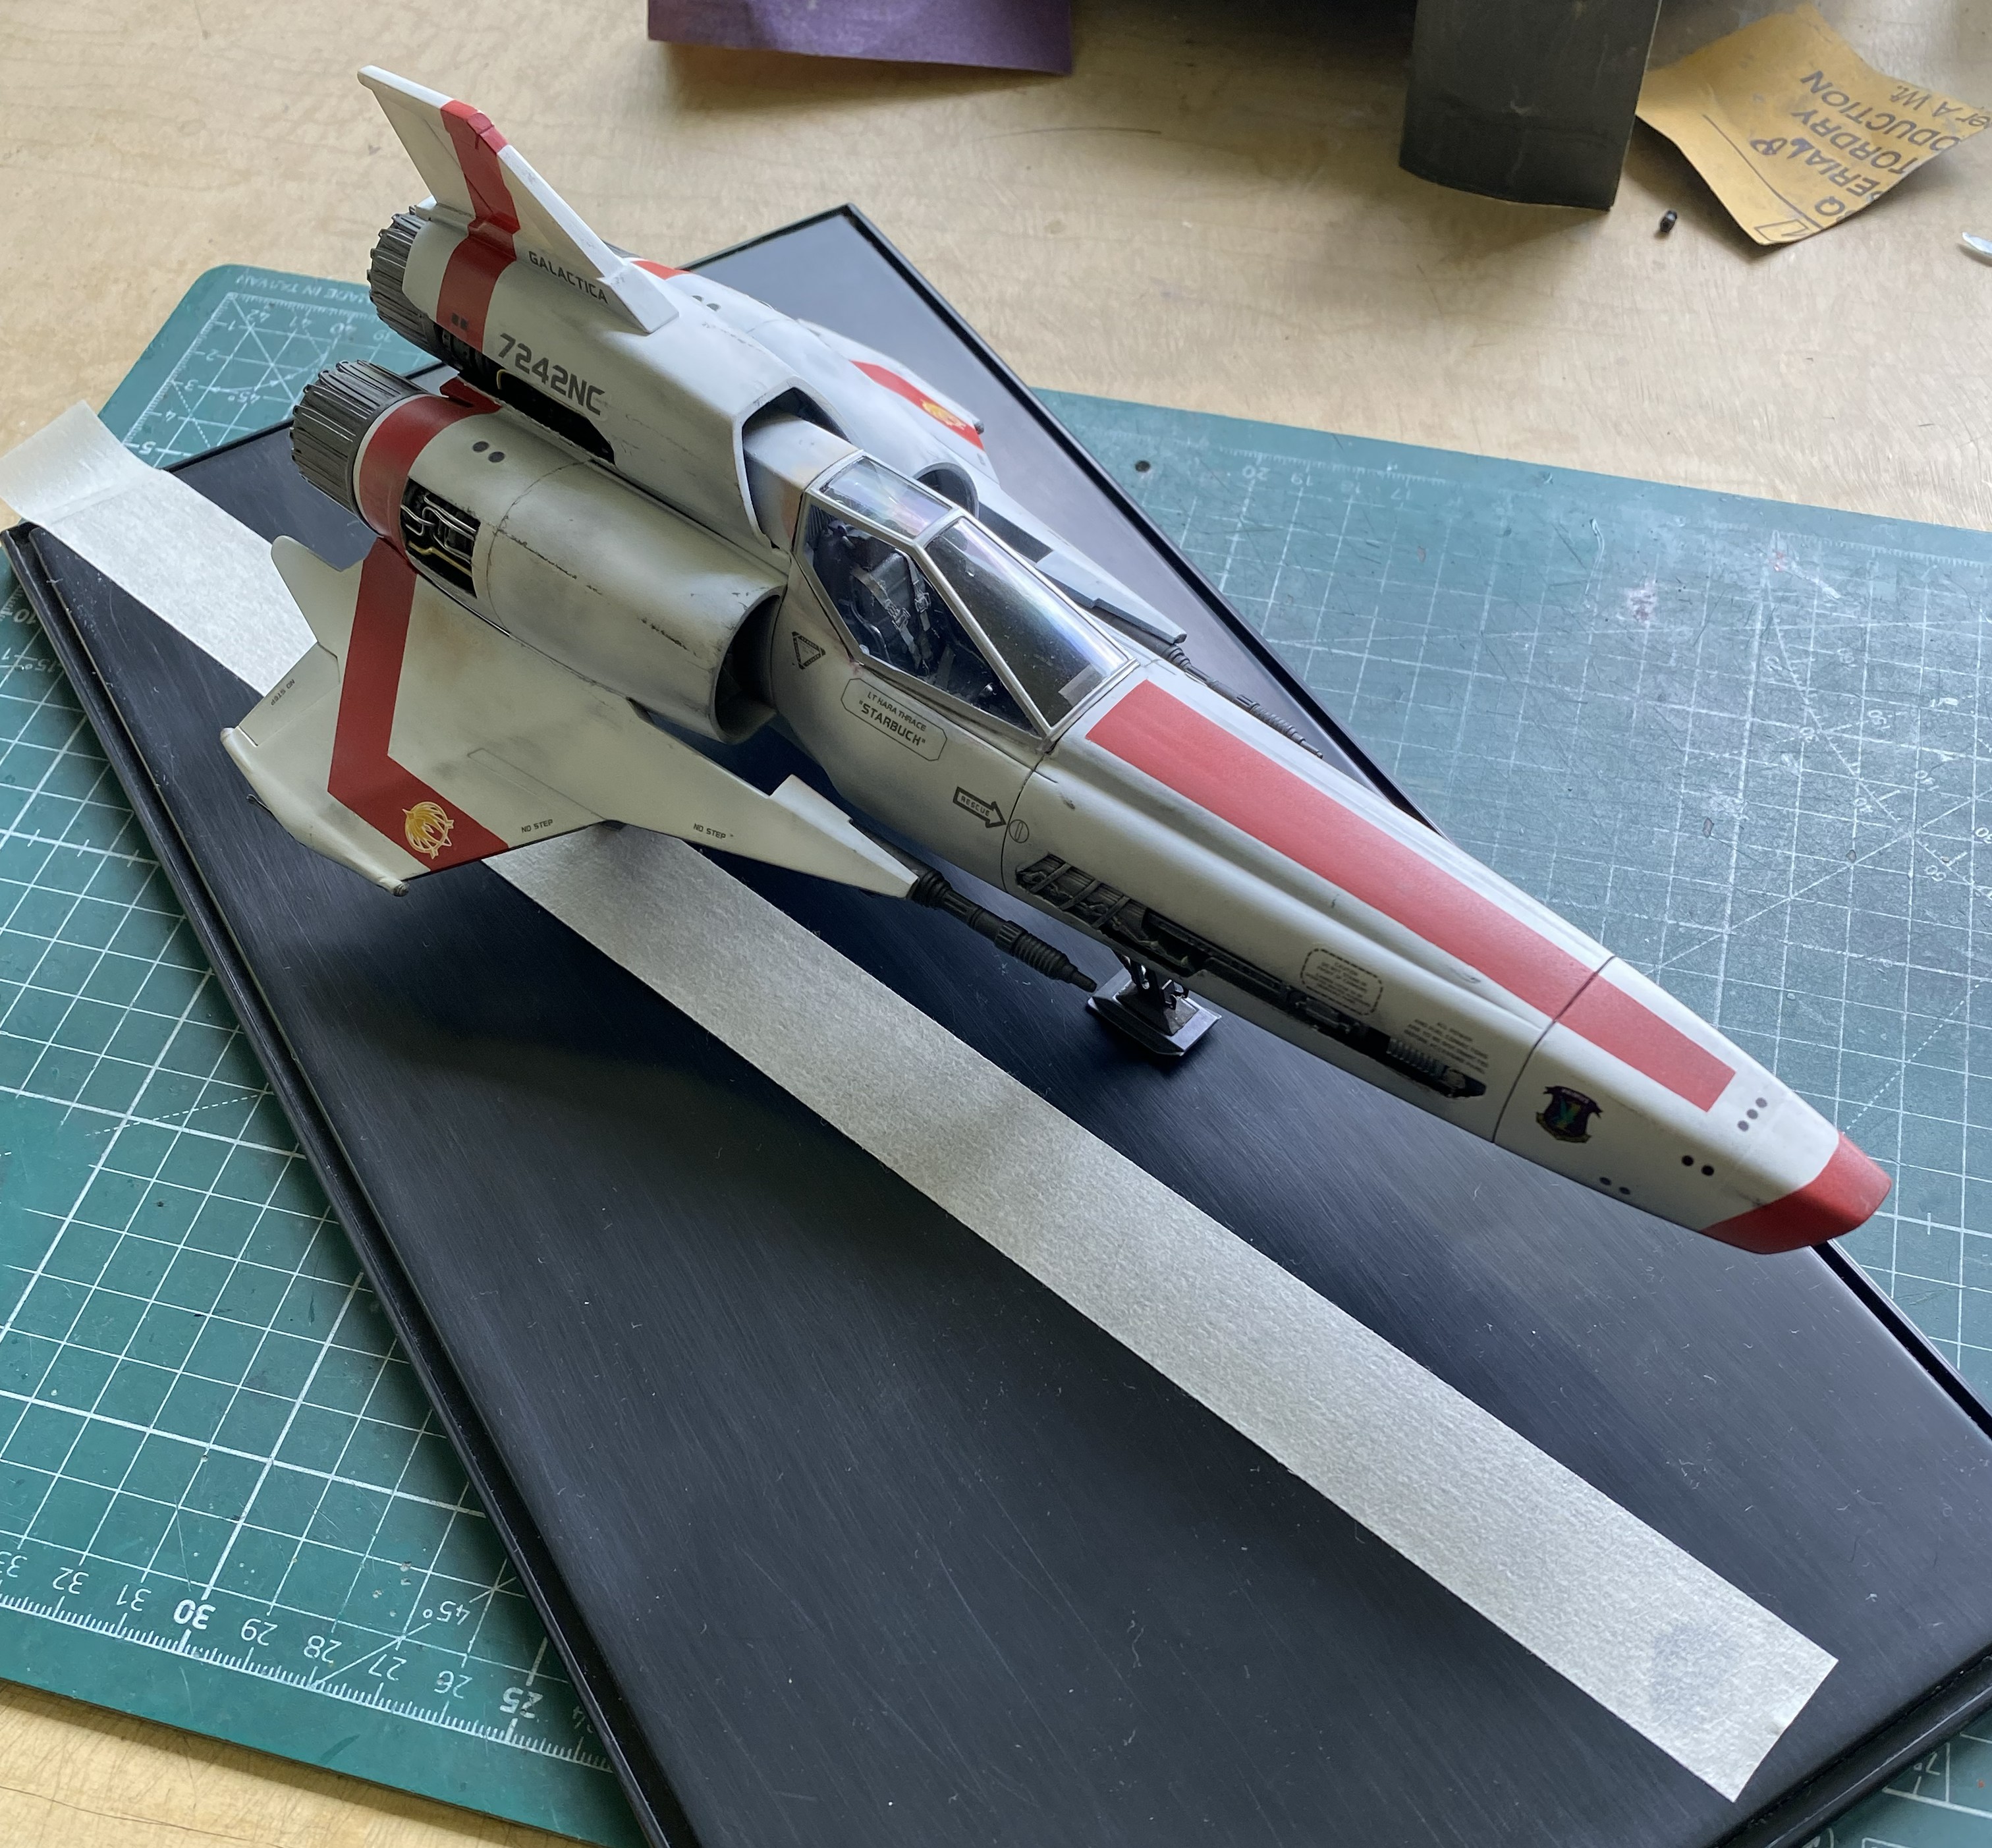
I moved the Viper as far back and as close to the side of the dust cover without putting the model at risk. The tape (shown above) was aligned parallel with the centerline of the Viper and served as the alignment reference for what came next.. Next I had to cut some annoyingly thin tape. Often. It kept tearing:
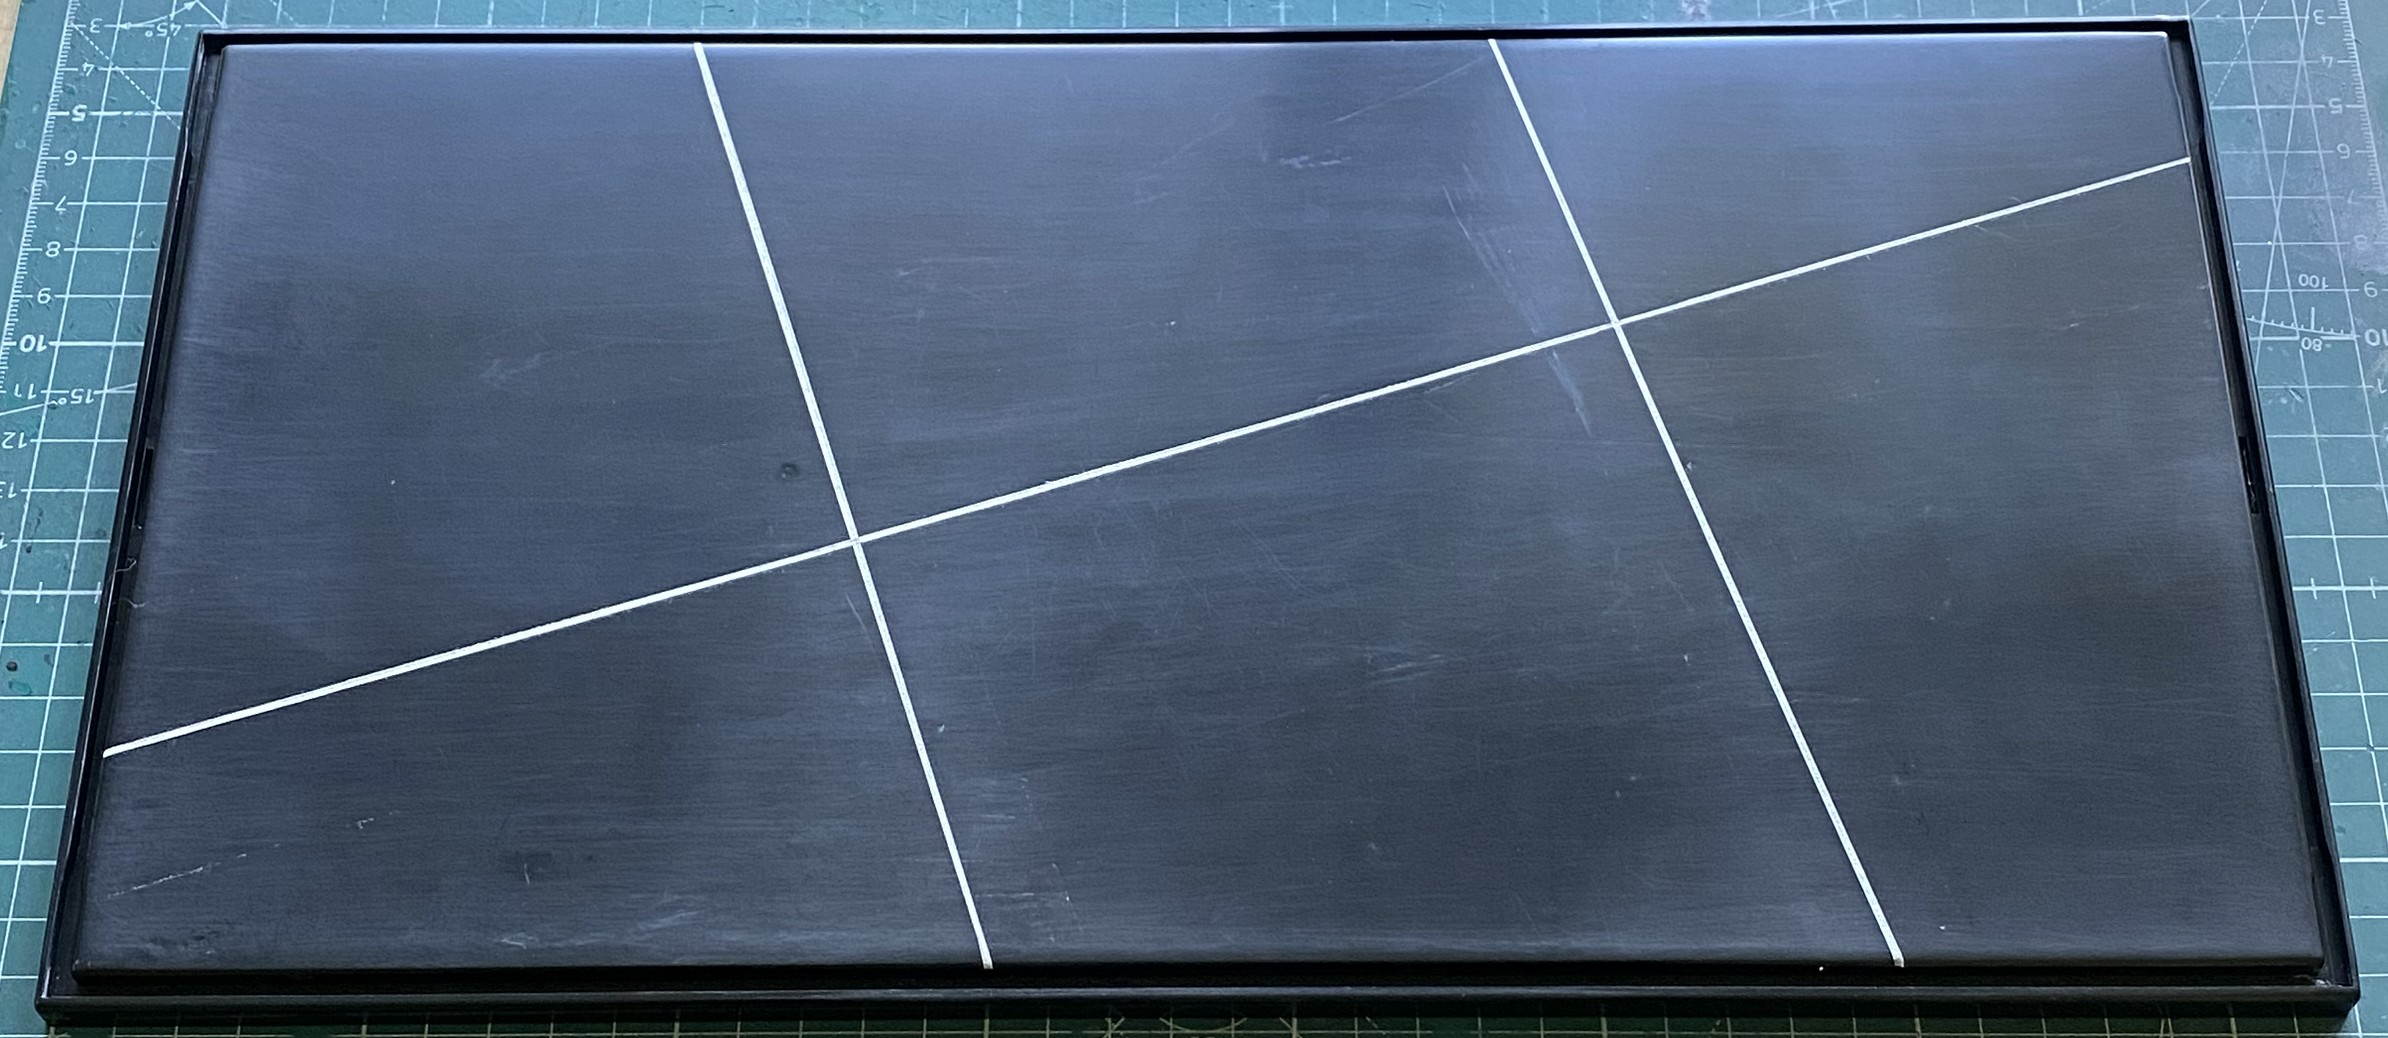
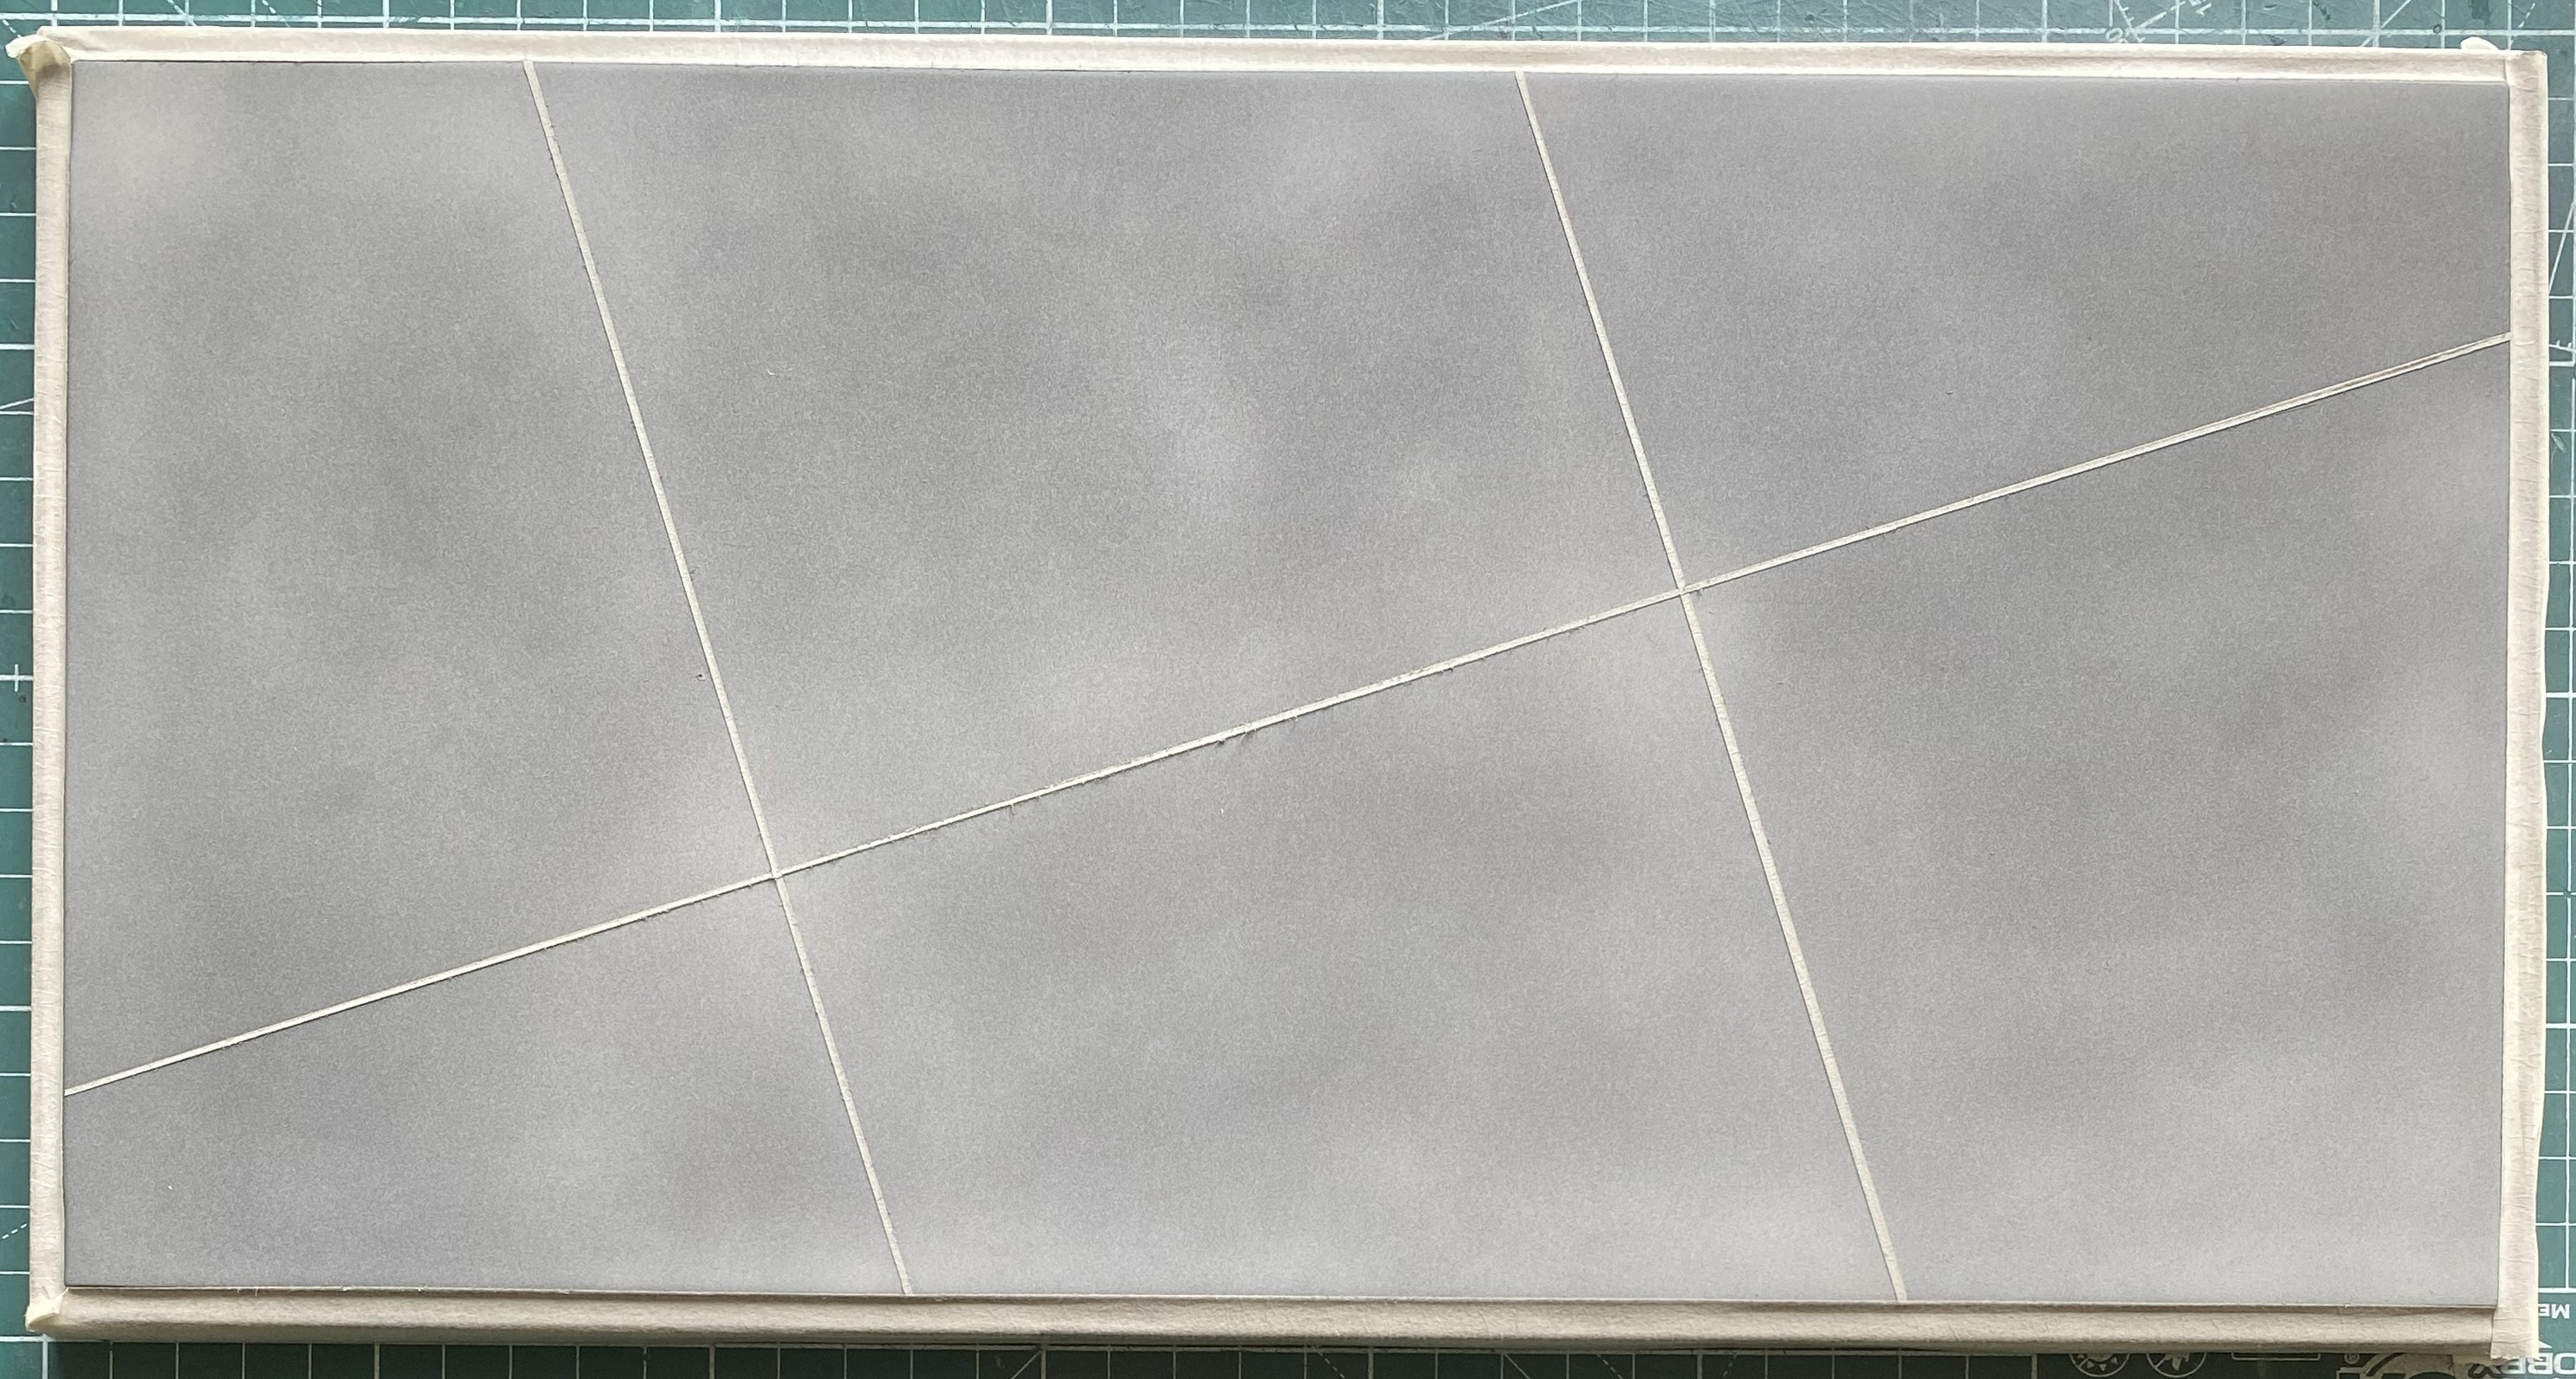
With the seams masked, I started tossing Tamiya XF-2 Flat White.
Back when I was young (the rocks were still soft and dirt was a pale grayish color), and before my absolutely lousy color-vision was pointed out to me, I painted with oil pigments. I started dark, the darkest value of the work, and then brought in the light (various techniques for that), which also delineated shapes and textures. I understand the process and, though I may be fooling myself, I believe I have a decent grasp of how it works and how to work it.
With that experience, when I paint a model, I establish the darkest color value for the model, which is also generally Tamiya XF-1 Flat Black, and I do the whole model in black. Then I establish a generic light source in my mind, usually overhead unless I have a specific purpose for more dramatic lighting. Then I do many multiples of color passes to bring the highlights out, refine shapes, and so on. This time I don’t have to do that because the surface itself is black. Instead, I went for a more mottled effect:
There are markings painted on the deck for taxiways and parking location. They’re mostly red. Damn…I wish I had a custom-mixed red paint… And I do! I used the paint that I’d mixed (with very patient and appreciated help for those with proper color-vision who provided the help I needed) for those markings.
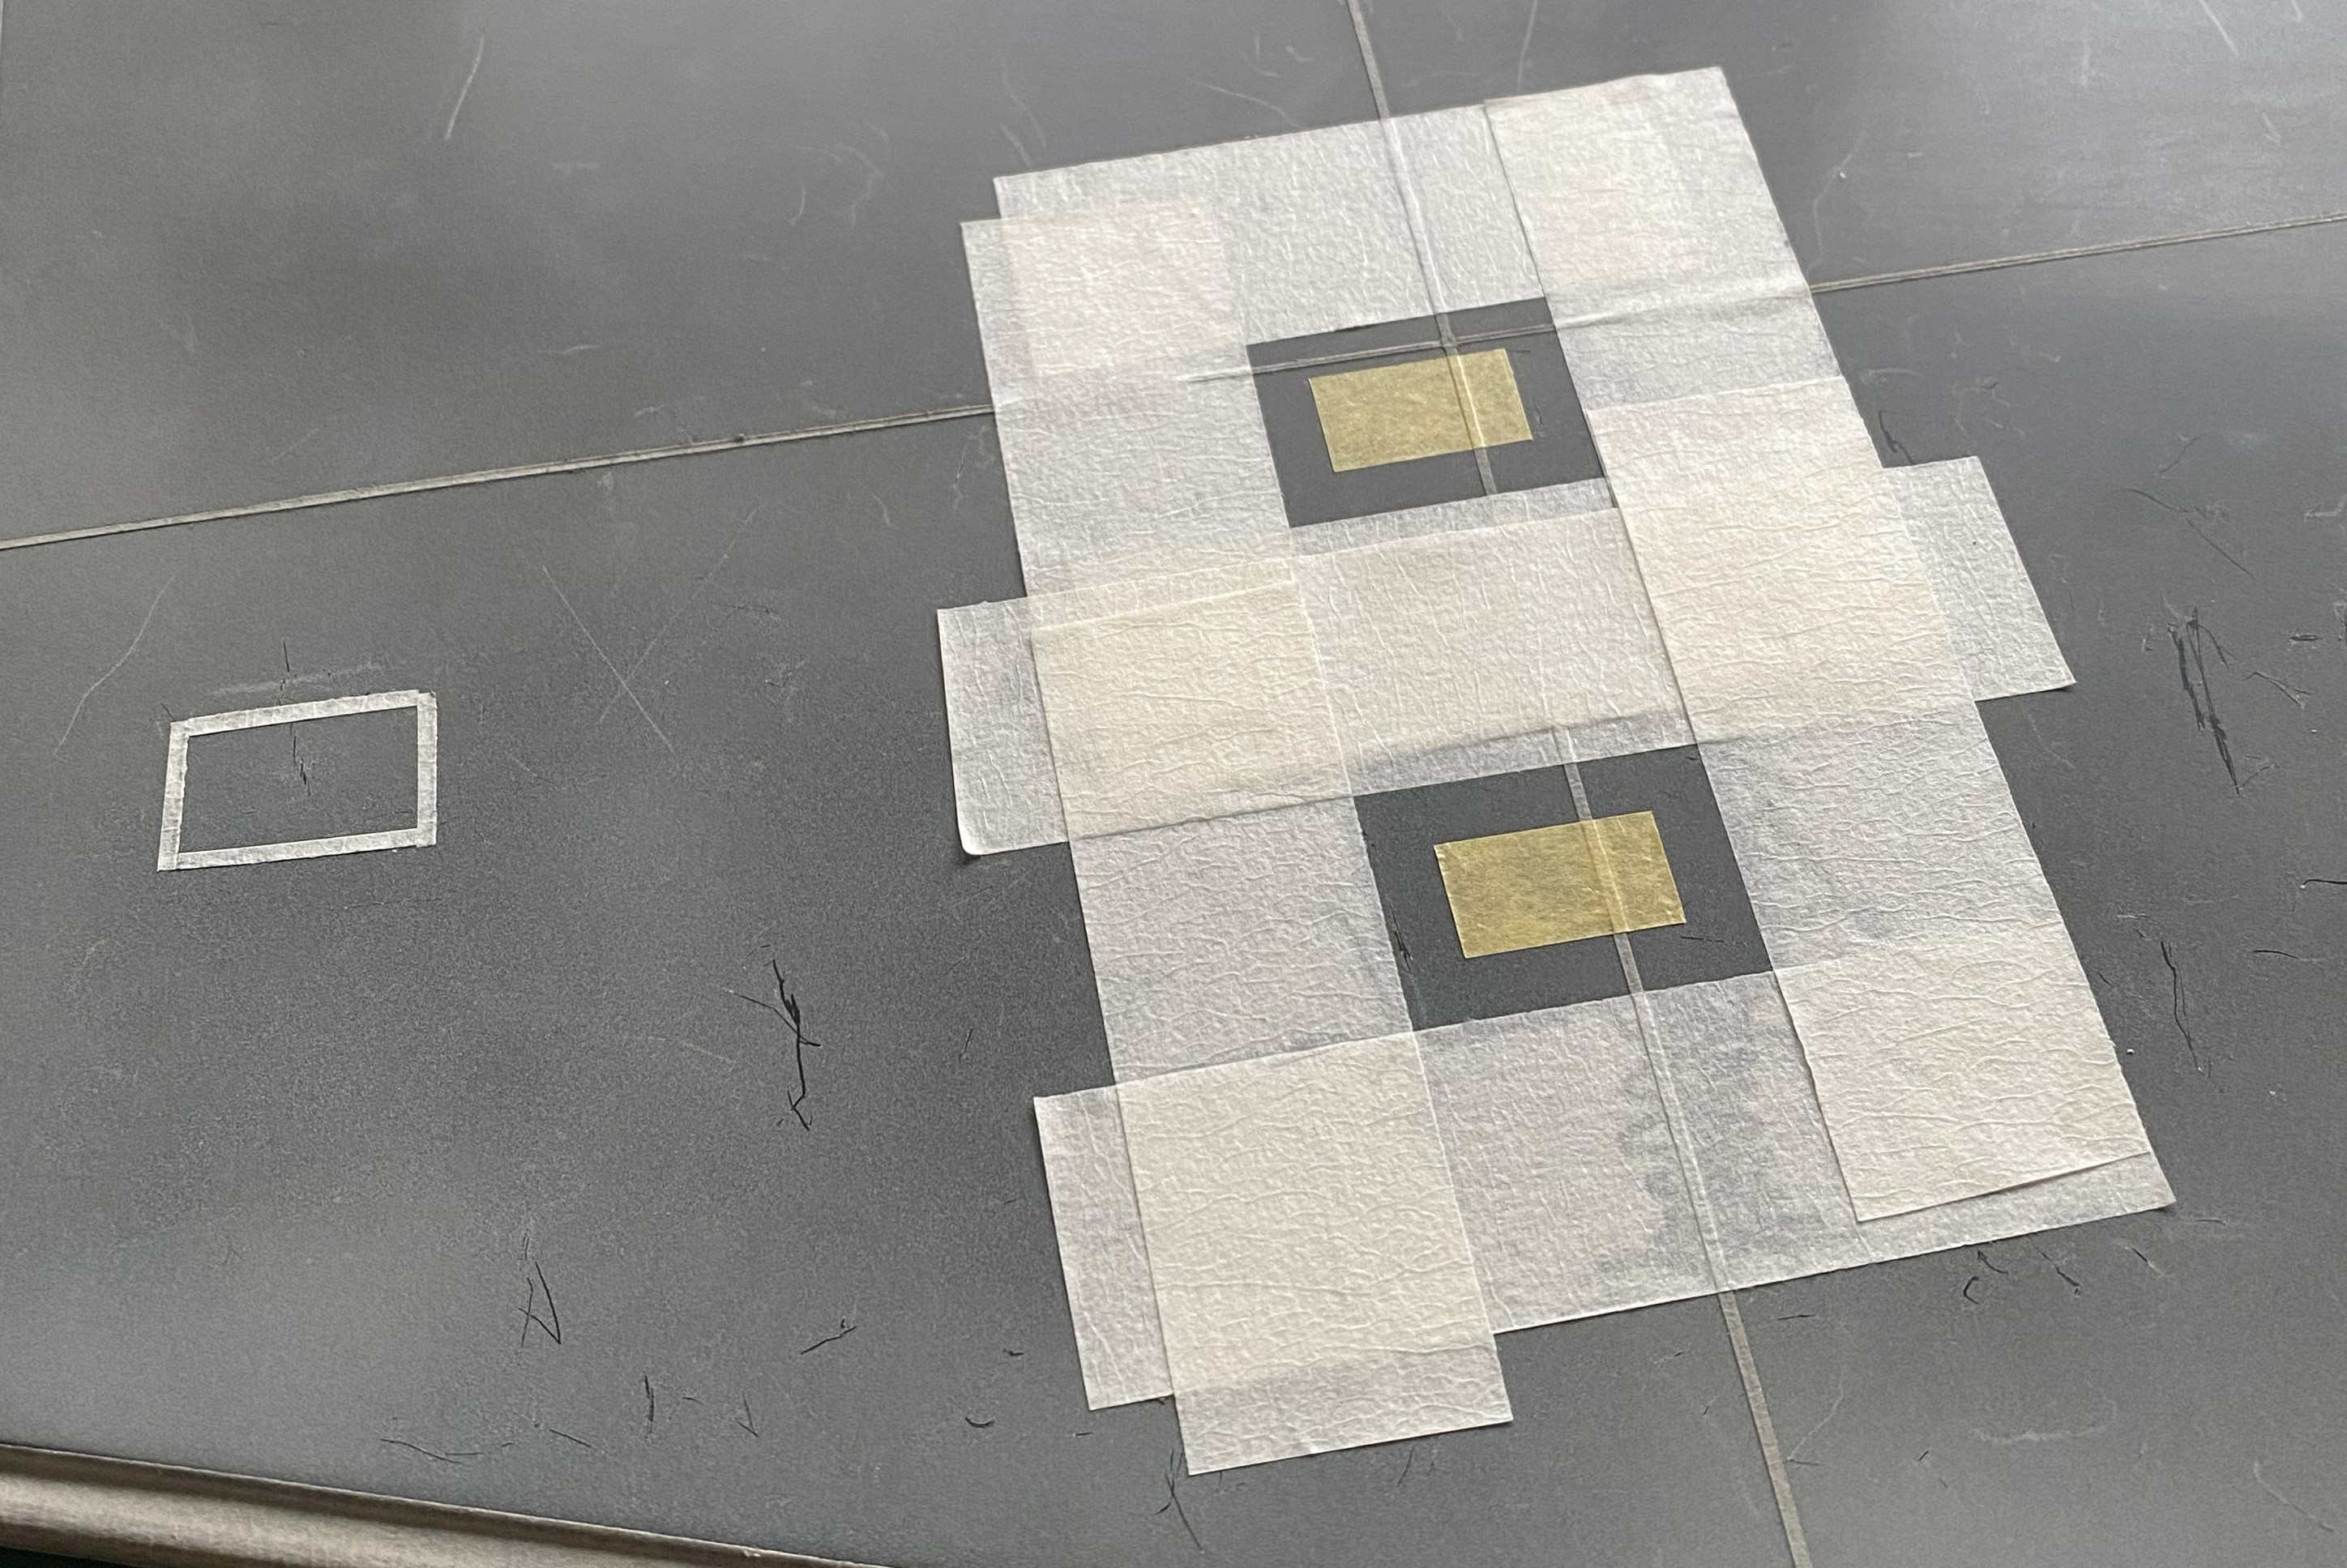
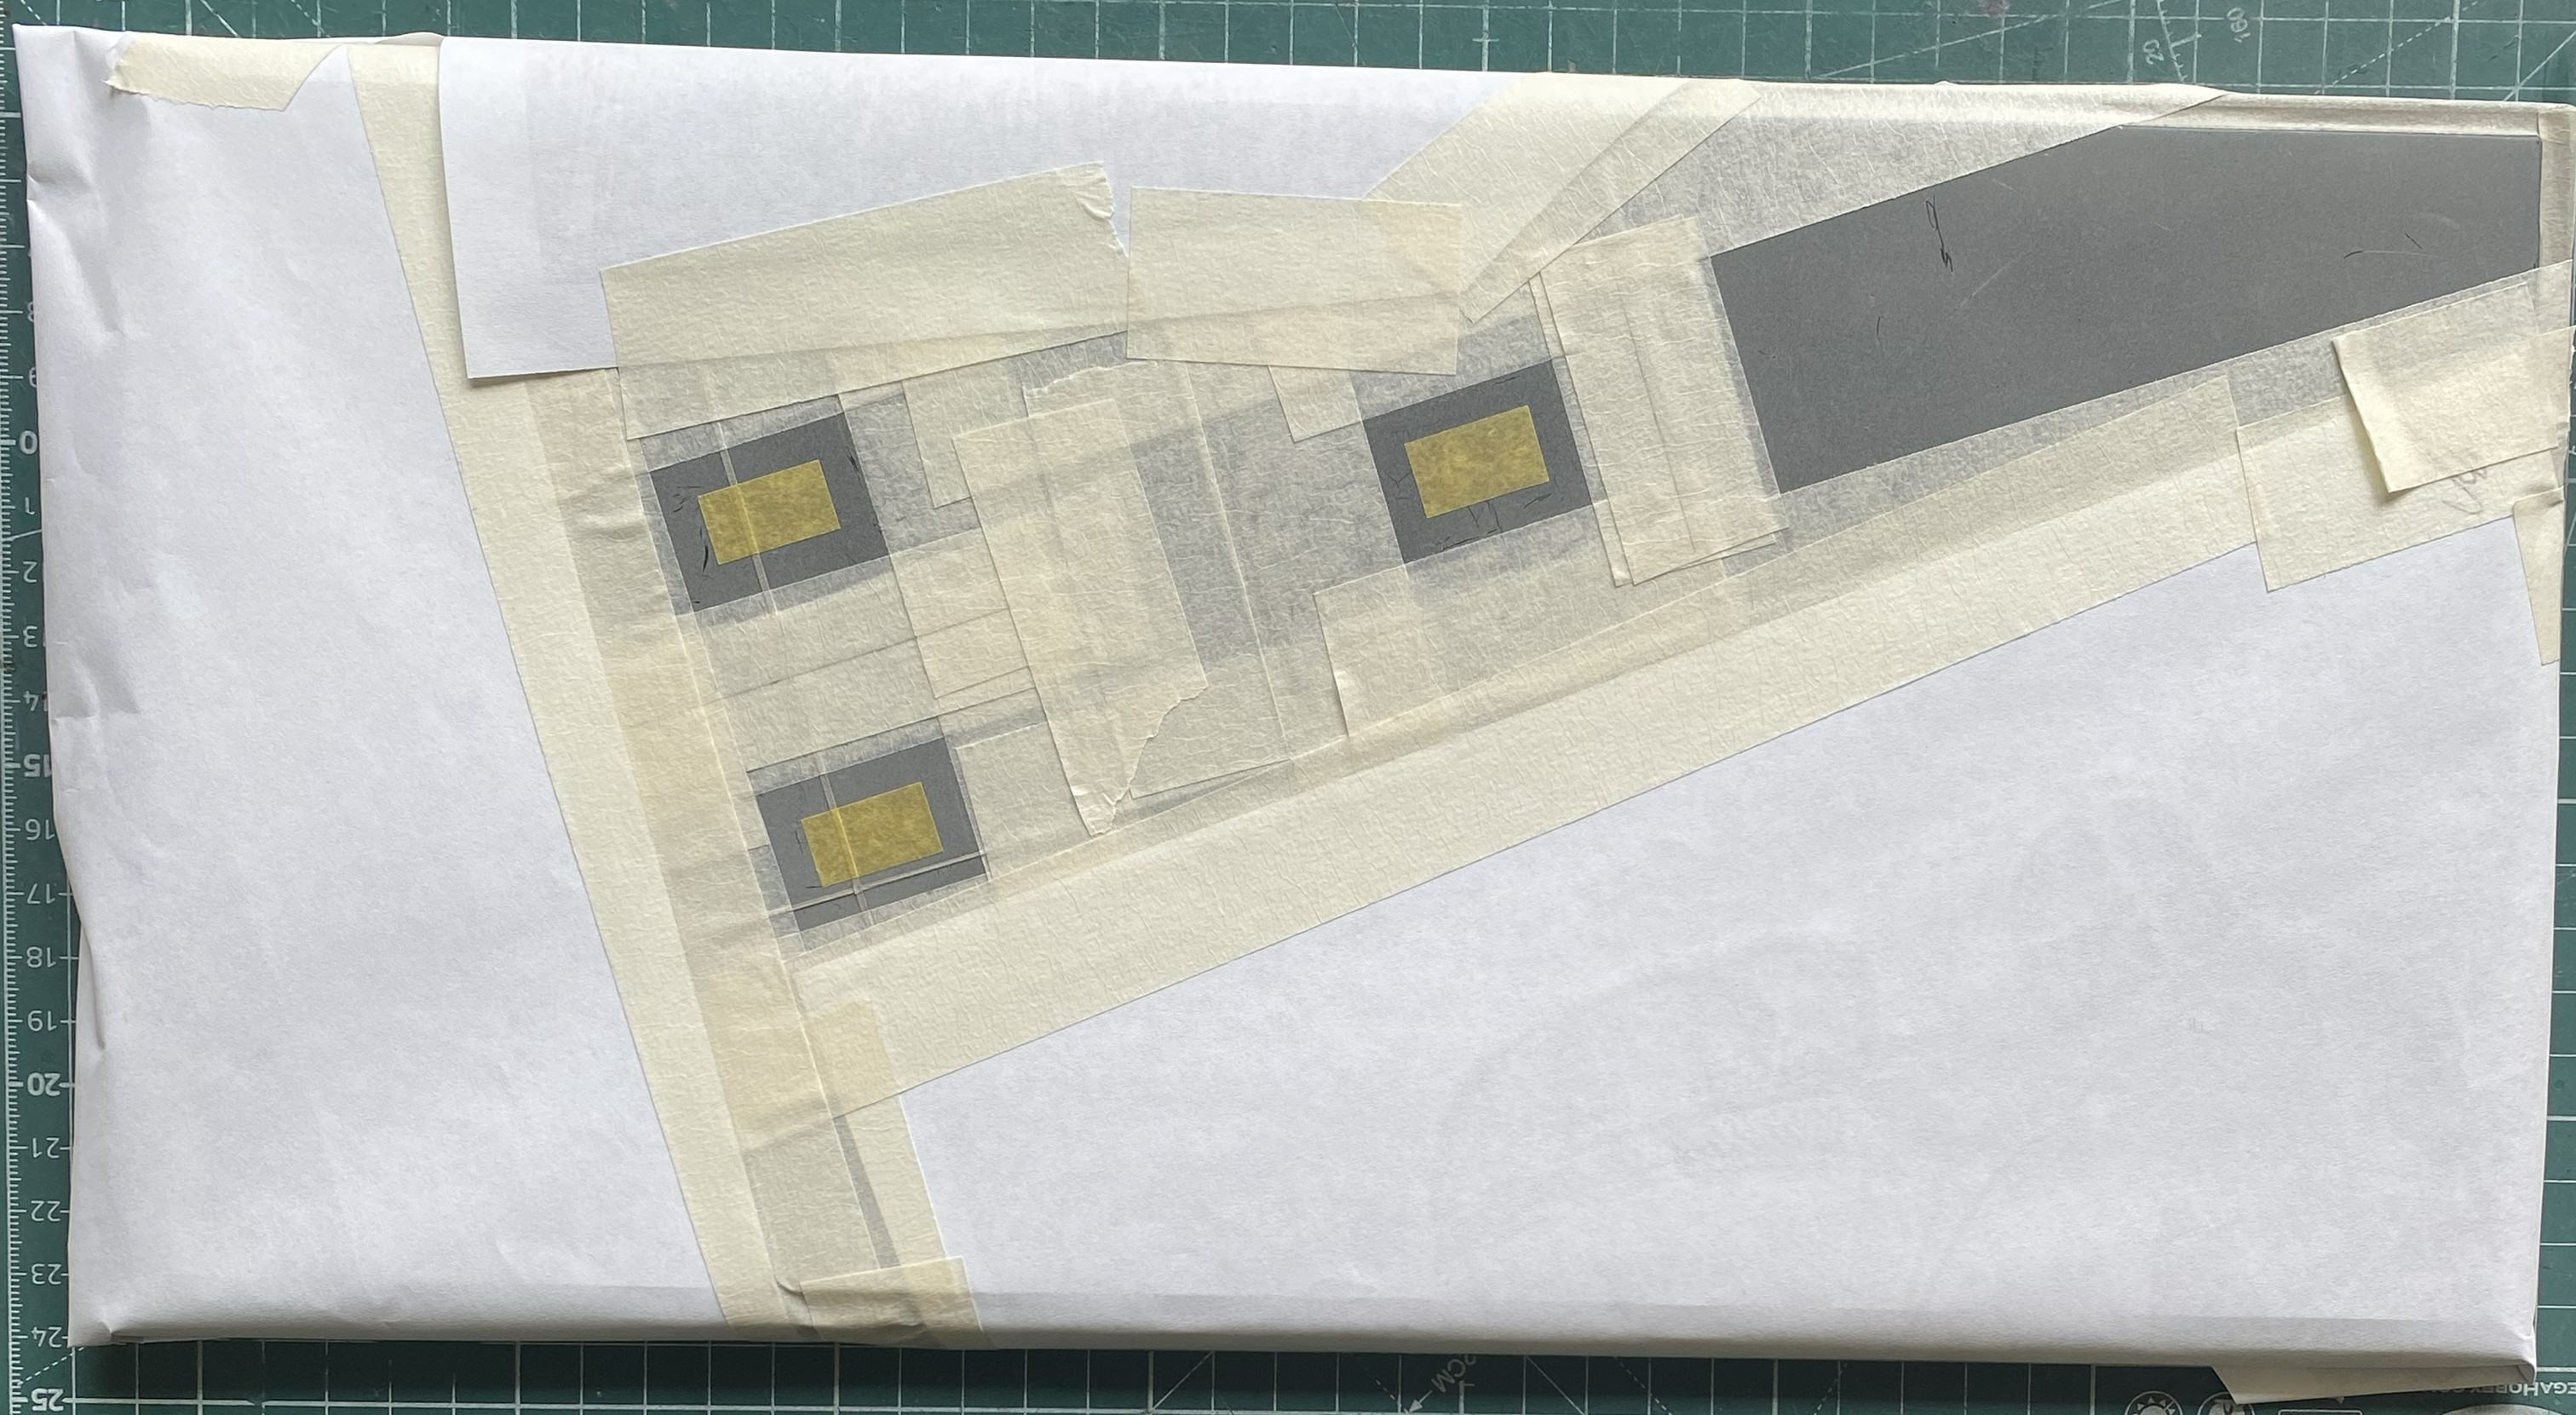
I started by masking the parking indicators and taxiway:
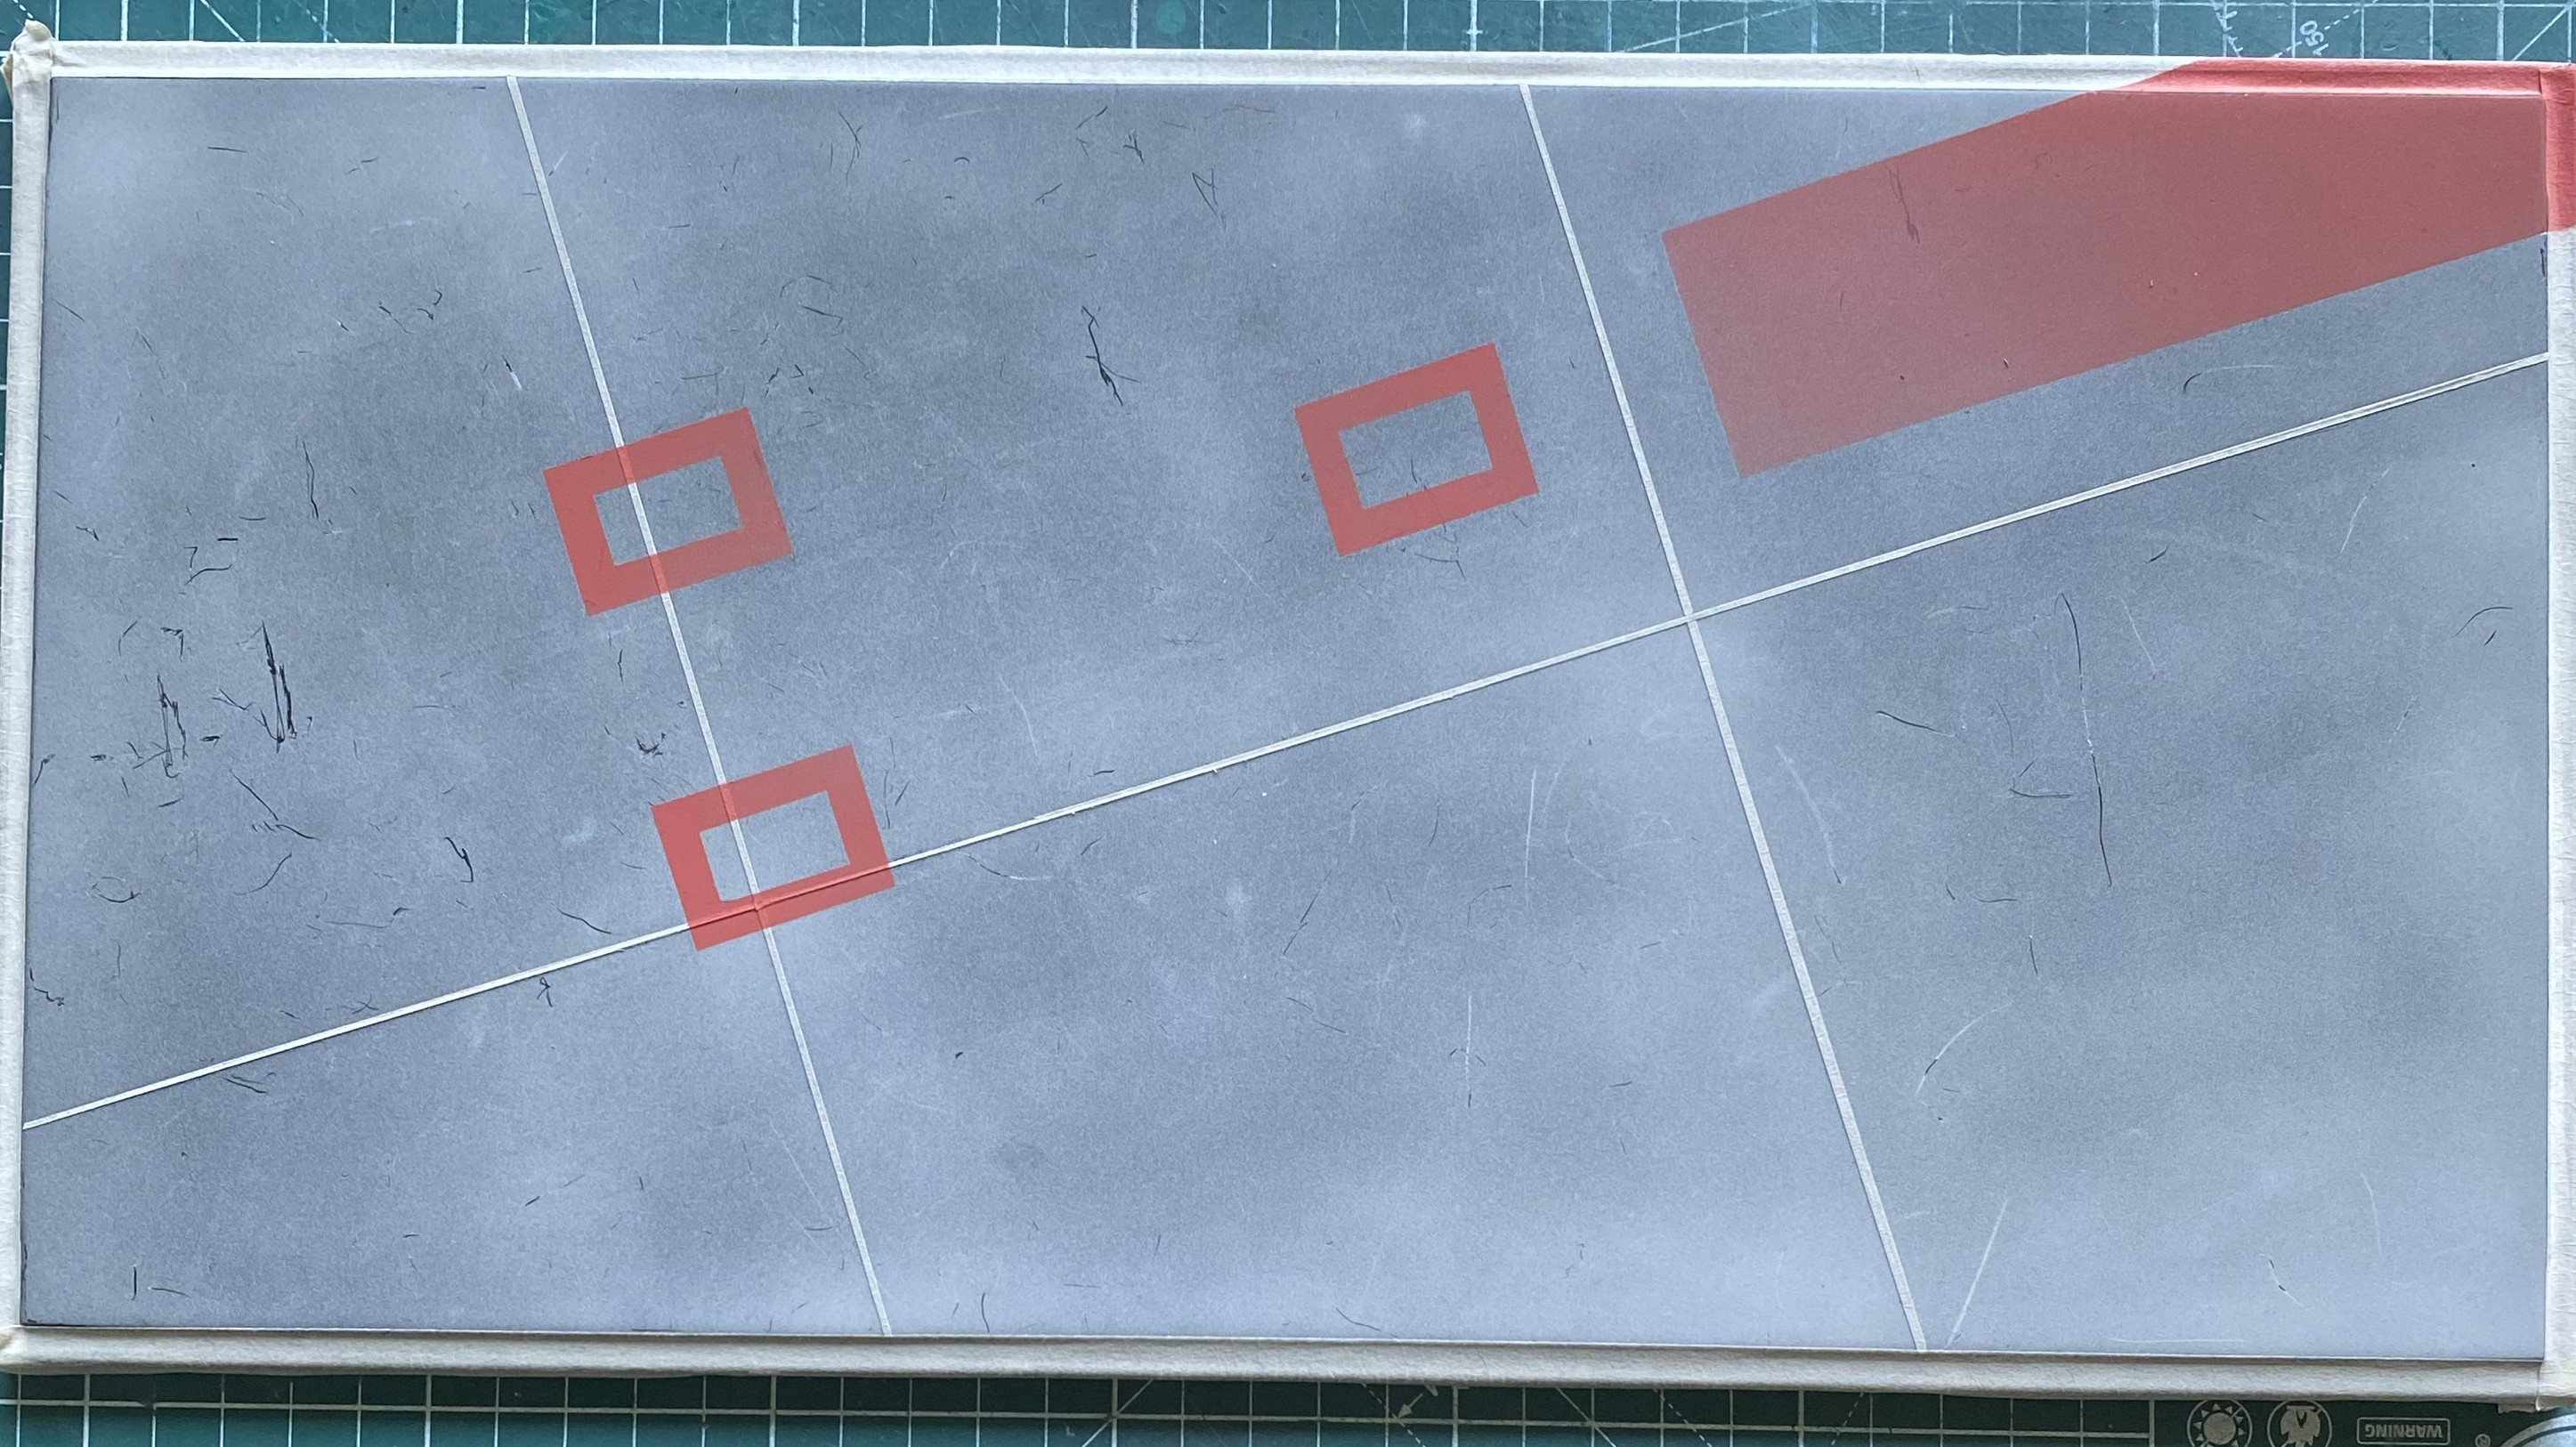
I used my BSG Viper Red mix to paint these areas:
The taxiways have an orange stripe around them. I used Tamiya XF7-Red (1 part), XF-6 Orange (3 parts), and XF2-Flat White (1 part). Once satisfied with the color, I masked off the taxiway and tossed this paint mix at it:
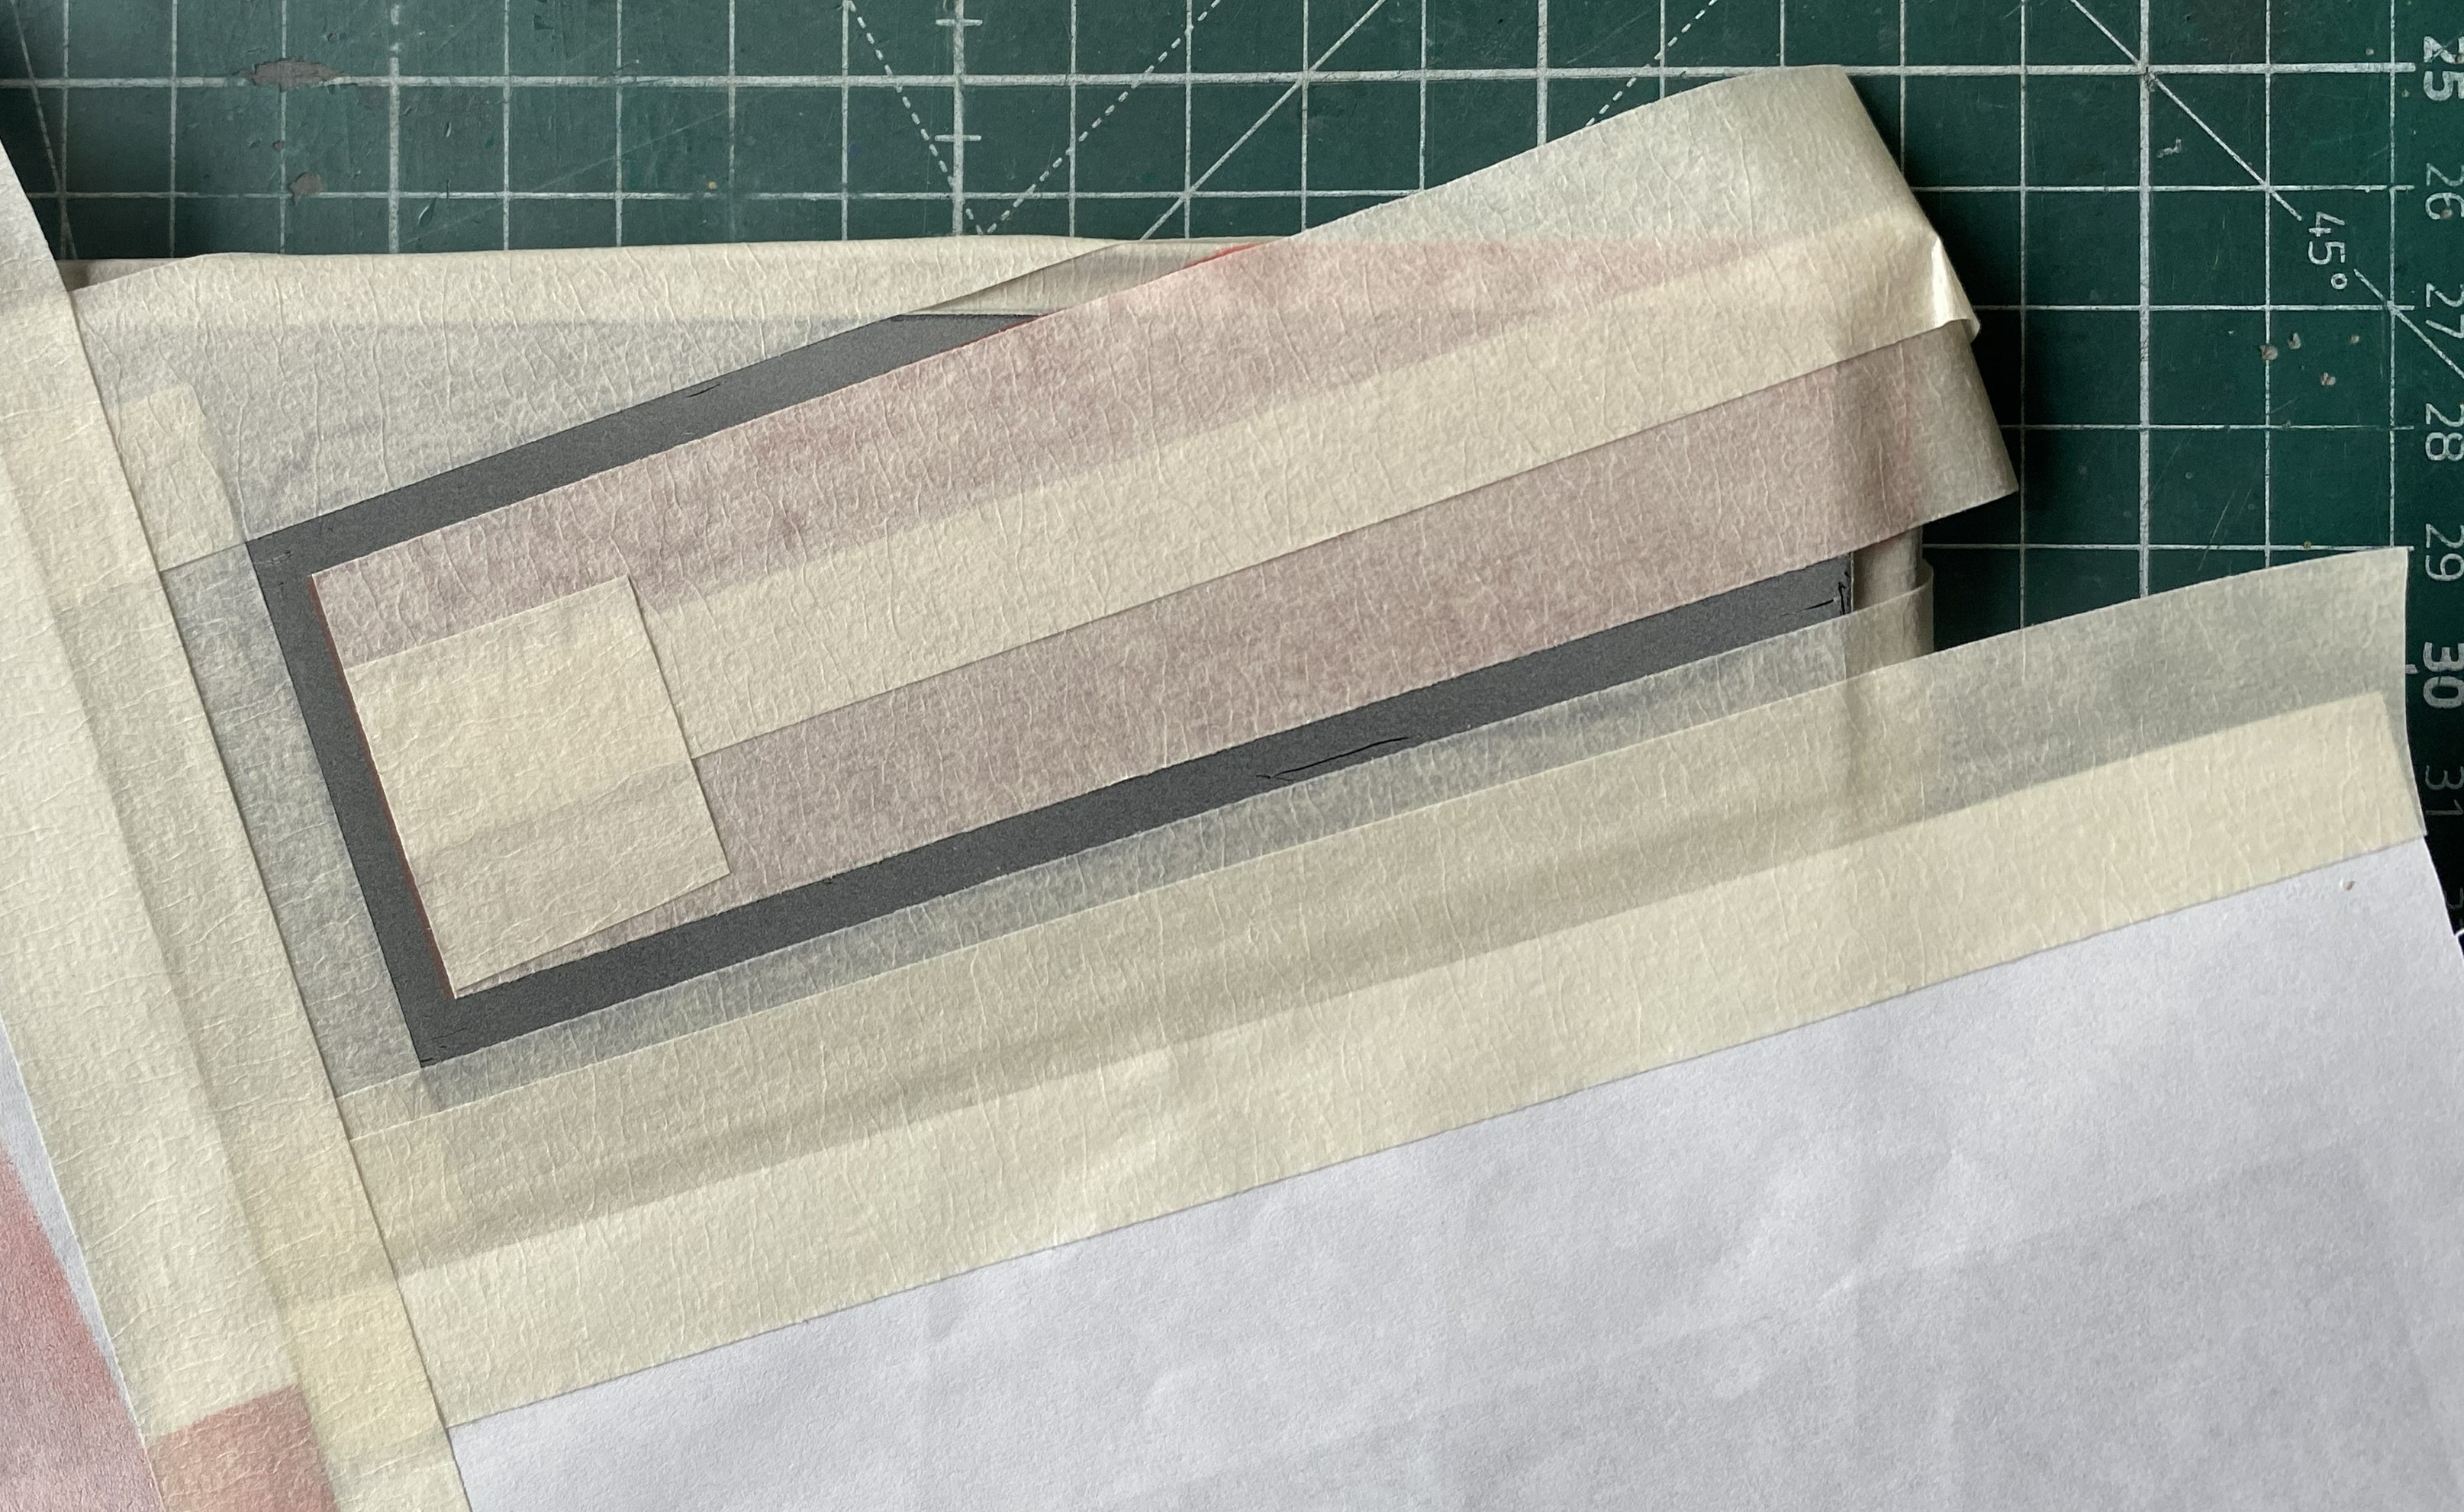
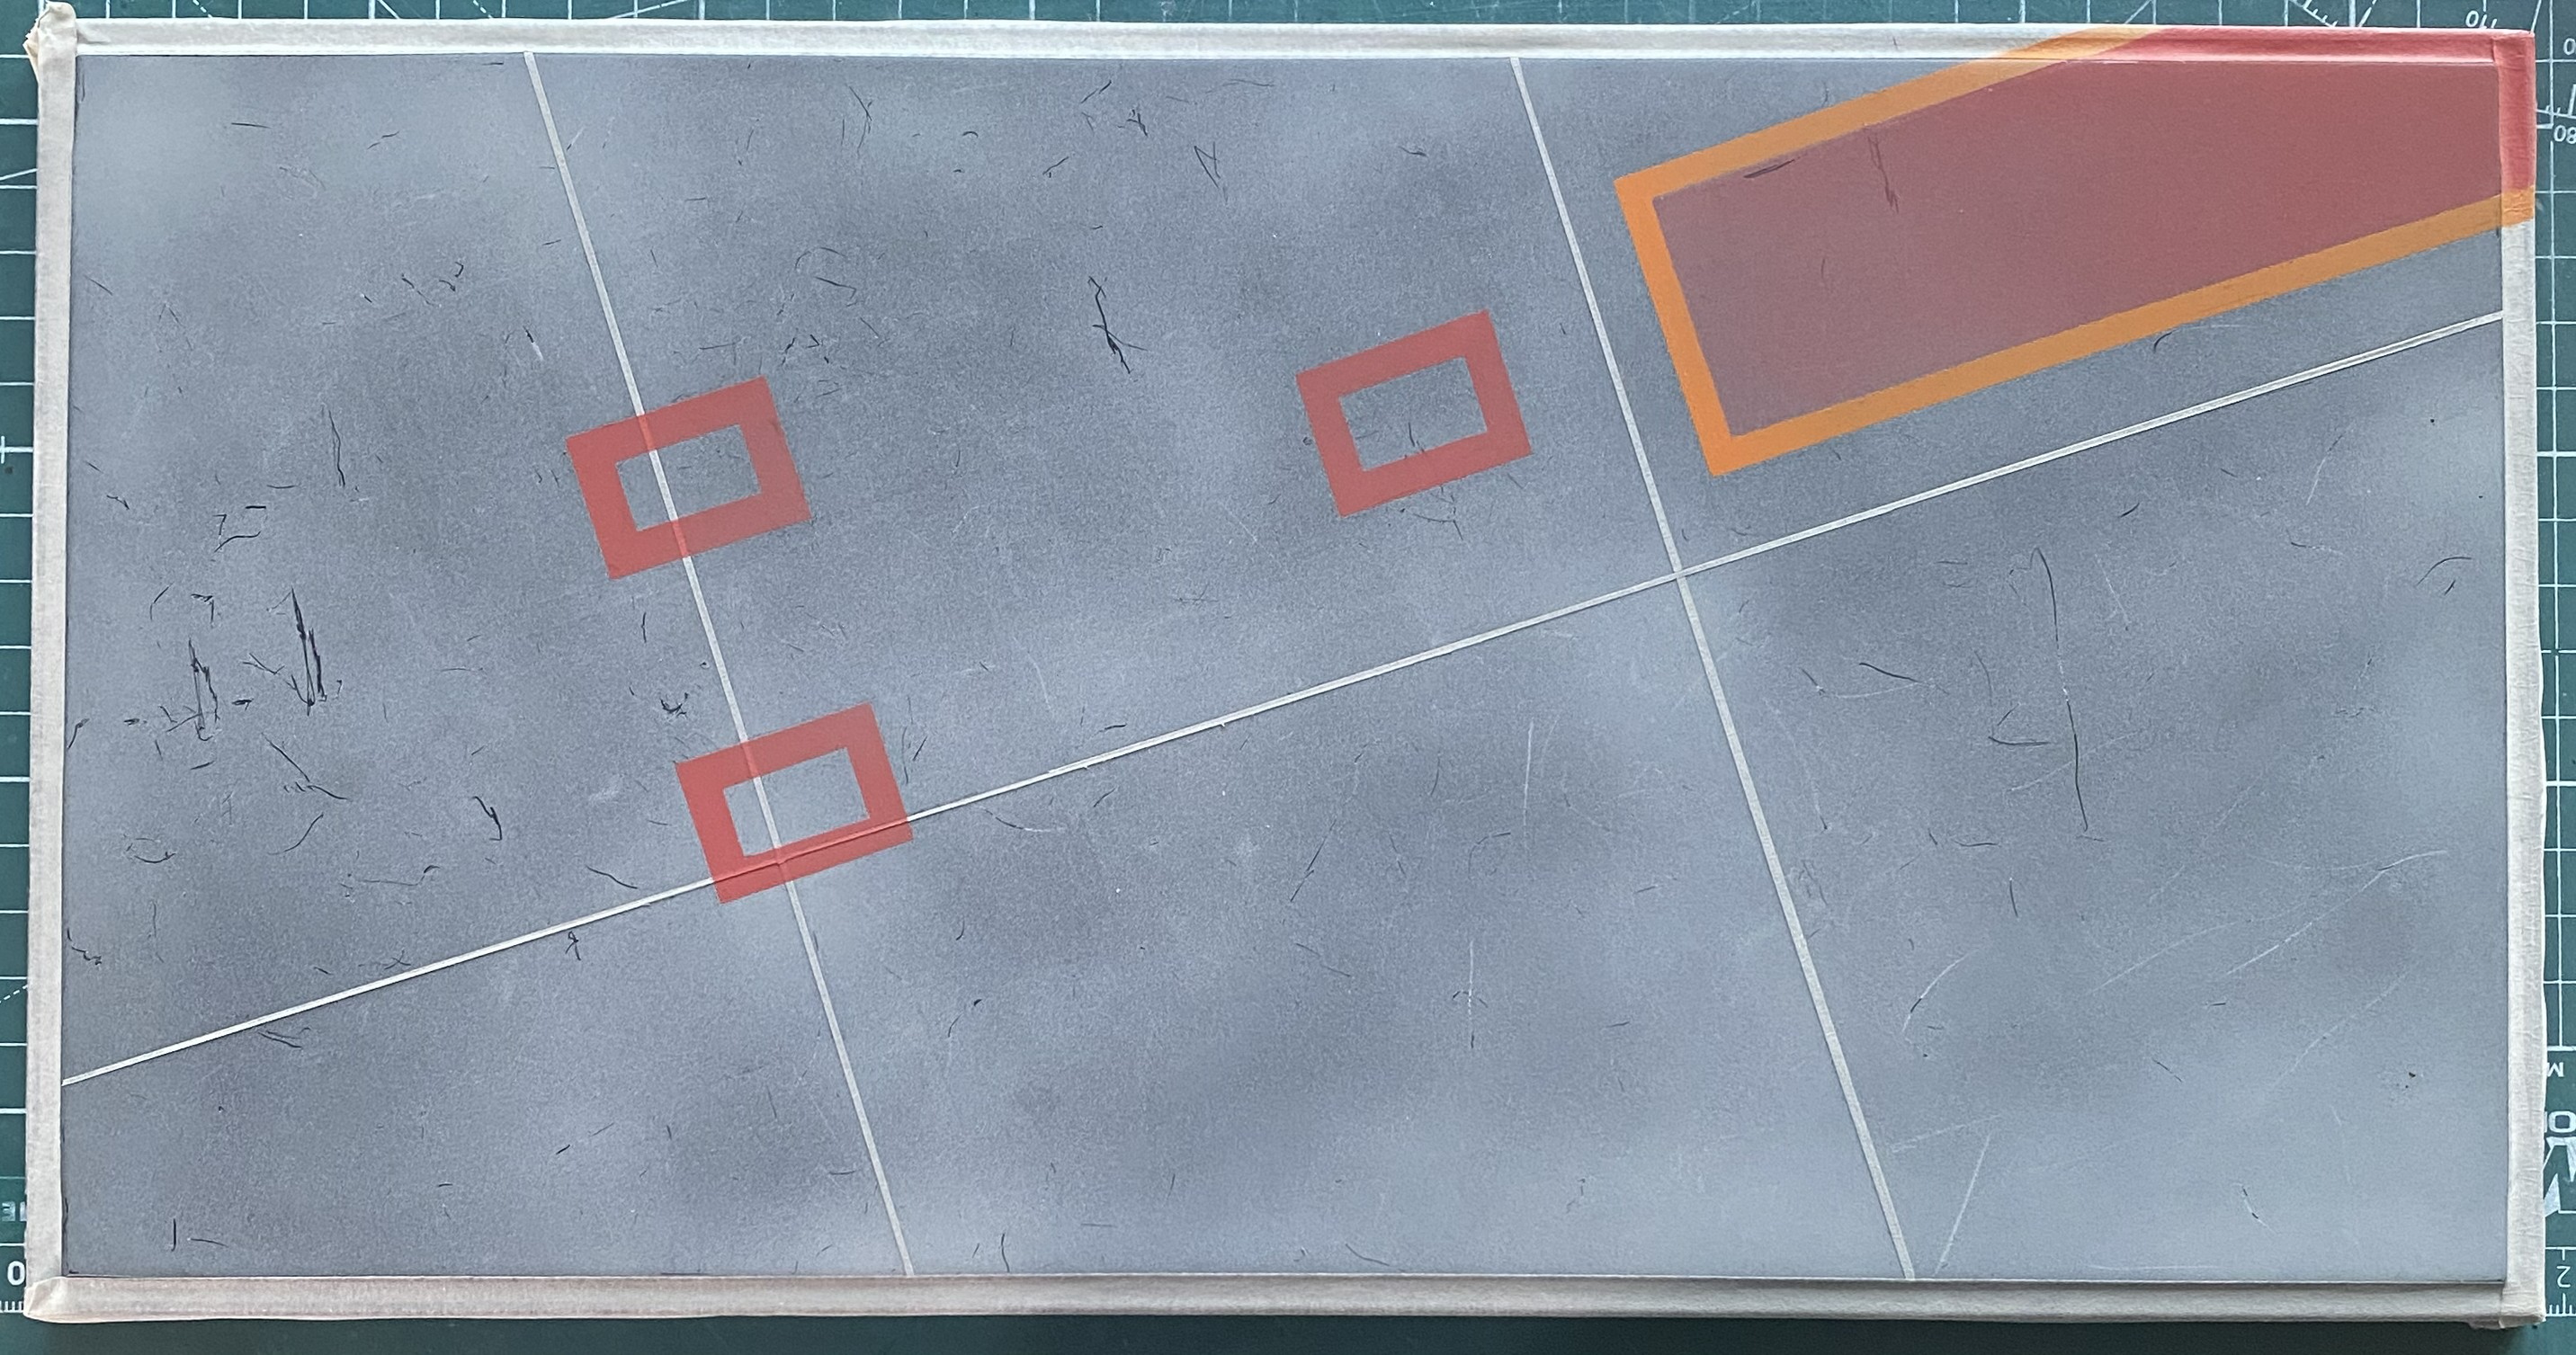
Handling freshly painted acrylic paint (particularly Tamiya’s line) almost always leaves marks. The scuff marks shown in the above photo were caused by varied tools used to align the masking. My initial notion was to touch them up with more flat white. Then I realized that serendipity helped me. The scuffs from the masking process look the part, particularly the rear, so I left them as is. That the scrape marks are actually random (something that my detail-oriented brain always has to watch out for!) is another serendipitous event.
Can’t have a parking area for an abused warbird without stains. In a perfect world, that which is supposed to stay inside would in fact stay inside. Not a perfect world. I used oil paint thinned with this stuff:
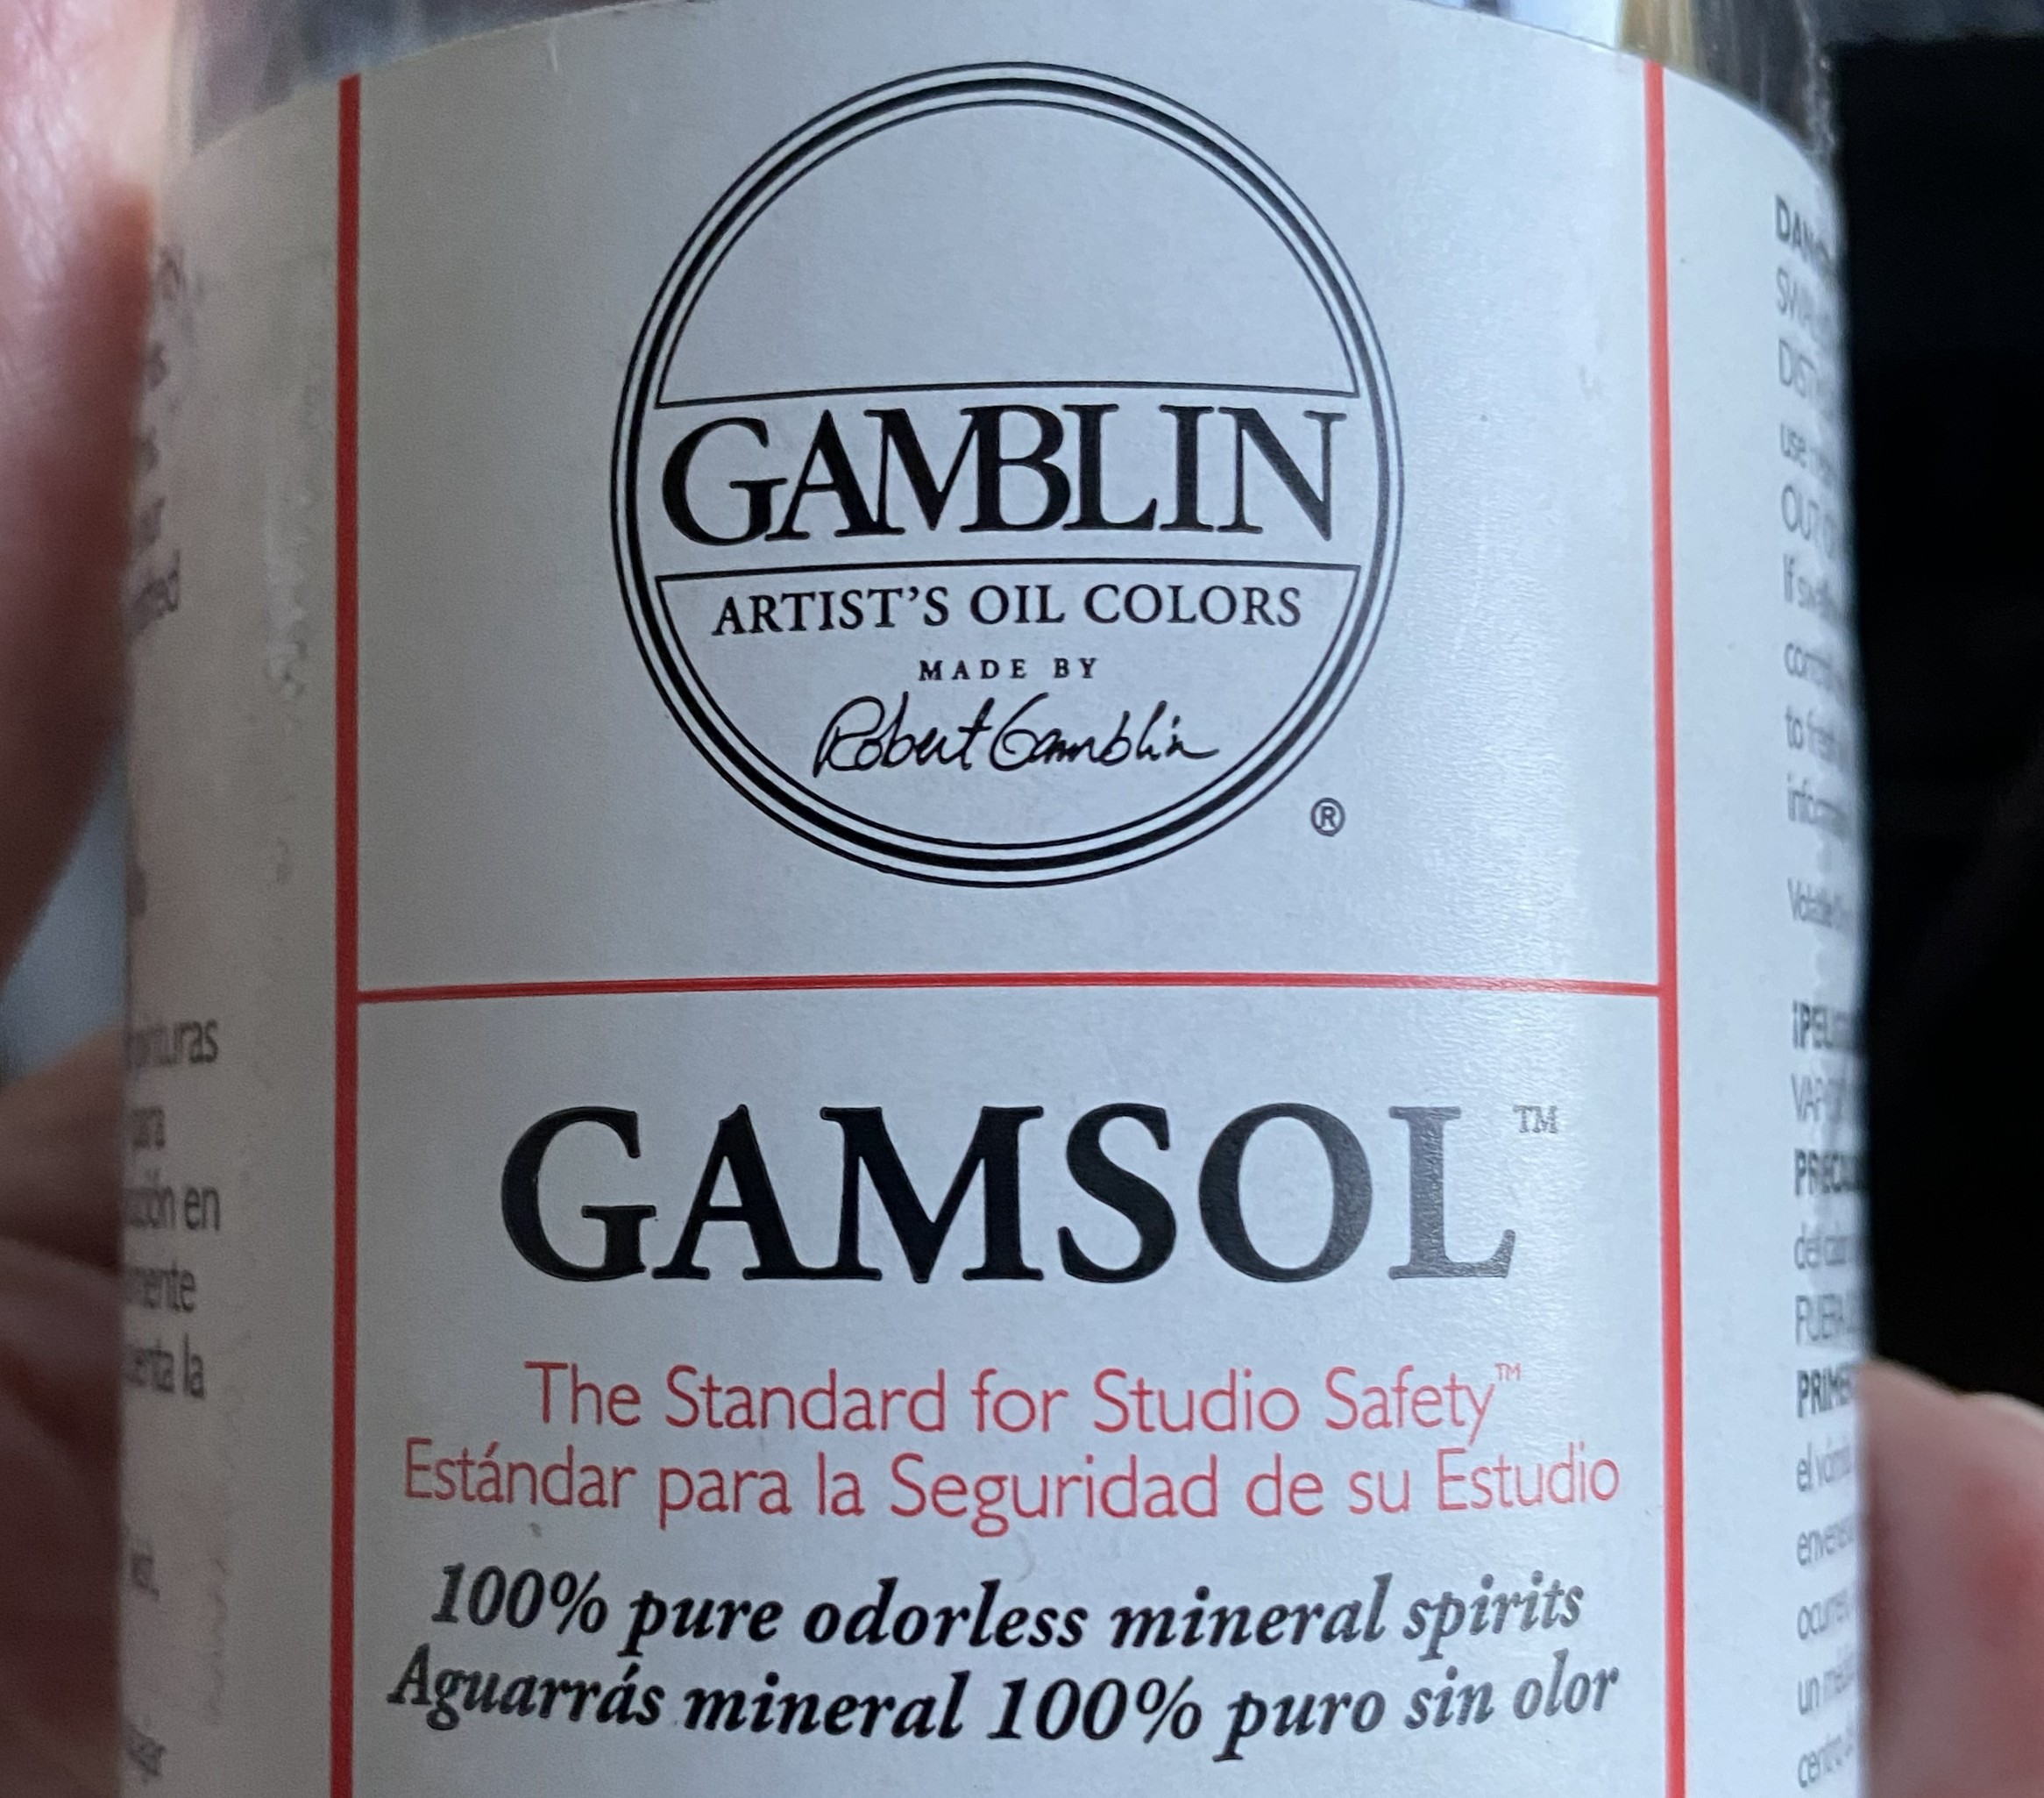
Typically I don’t use turpentine. The roommate hates the smell (this is also why I try to wash my socks and knickers regularly) so I’ve been using Turpenoid instead. I use oil in washes because I like the color options (and no, I’m not immune to the irony of that comment). A couple of years ago, I was told by a friend that Gamsol works well also and I’ve had a bottle of it on my chemicals shelf for just about as long, I’d just never used it (laundry frequency aside, I am a creature of habit like most Homo Sapiens seem to be) before this build. I mention this because using Turpenoid and oil paint as a wash require a minimum of three days to dry. To get what I want, I’ve waited longer than 72 hours for what I want so I didn’t spin up over the drying time. It is what it is and there it is. And then I used Gamsol. Oh my! Three hours is all it took to dry.
The first decision prior to mixing stains was what color is the fuel and what color is the hydraulic oil? For fuel stains, I used a mix of Cadmium Red and Burnt Sienna (which sounds like someone I dated when I was in my 20s). I can’t offer you the formula because, well, let’s see. Mixing a red (which I usually see as brown) with sienna (which is brownish) was largely a function of prayer (if the Big Architect really is omniscient, It knew I was lying like all the other times I’ve invoked Divine Assistance). But I knew it would have a reddish tint! For hydraulic fluid I used a mixture of Cadmium Yellow and Raw Sienna. For lubricant stains I used Ivory Black. This is what it looked like when everything was still wet:
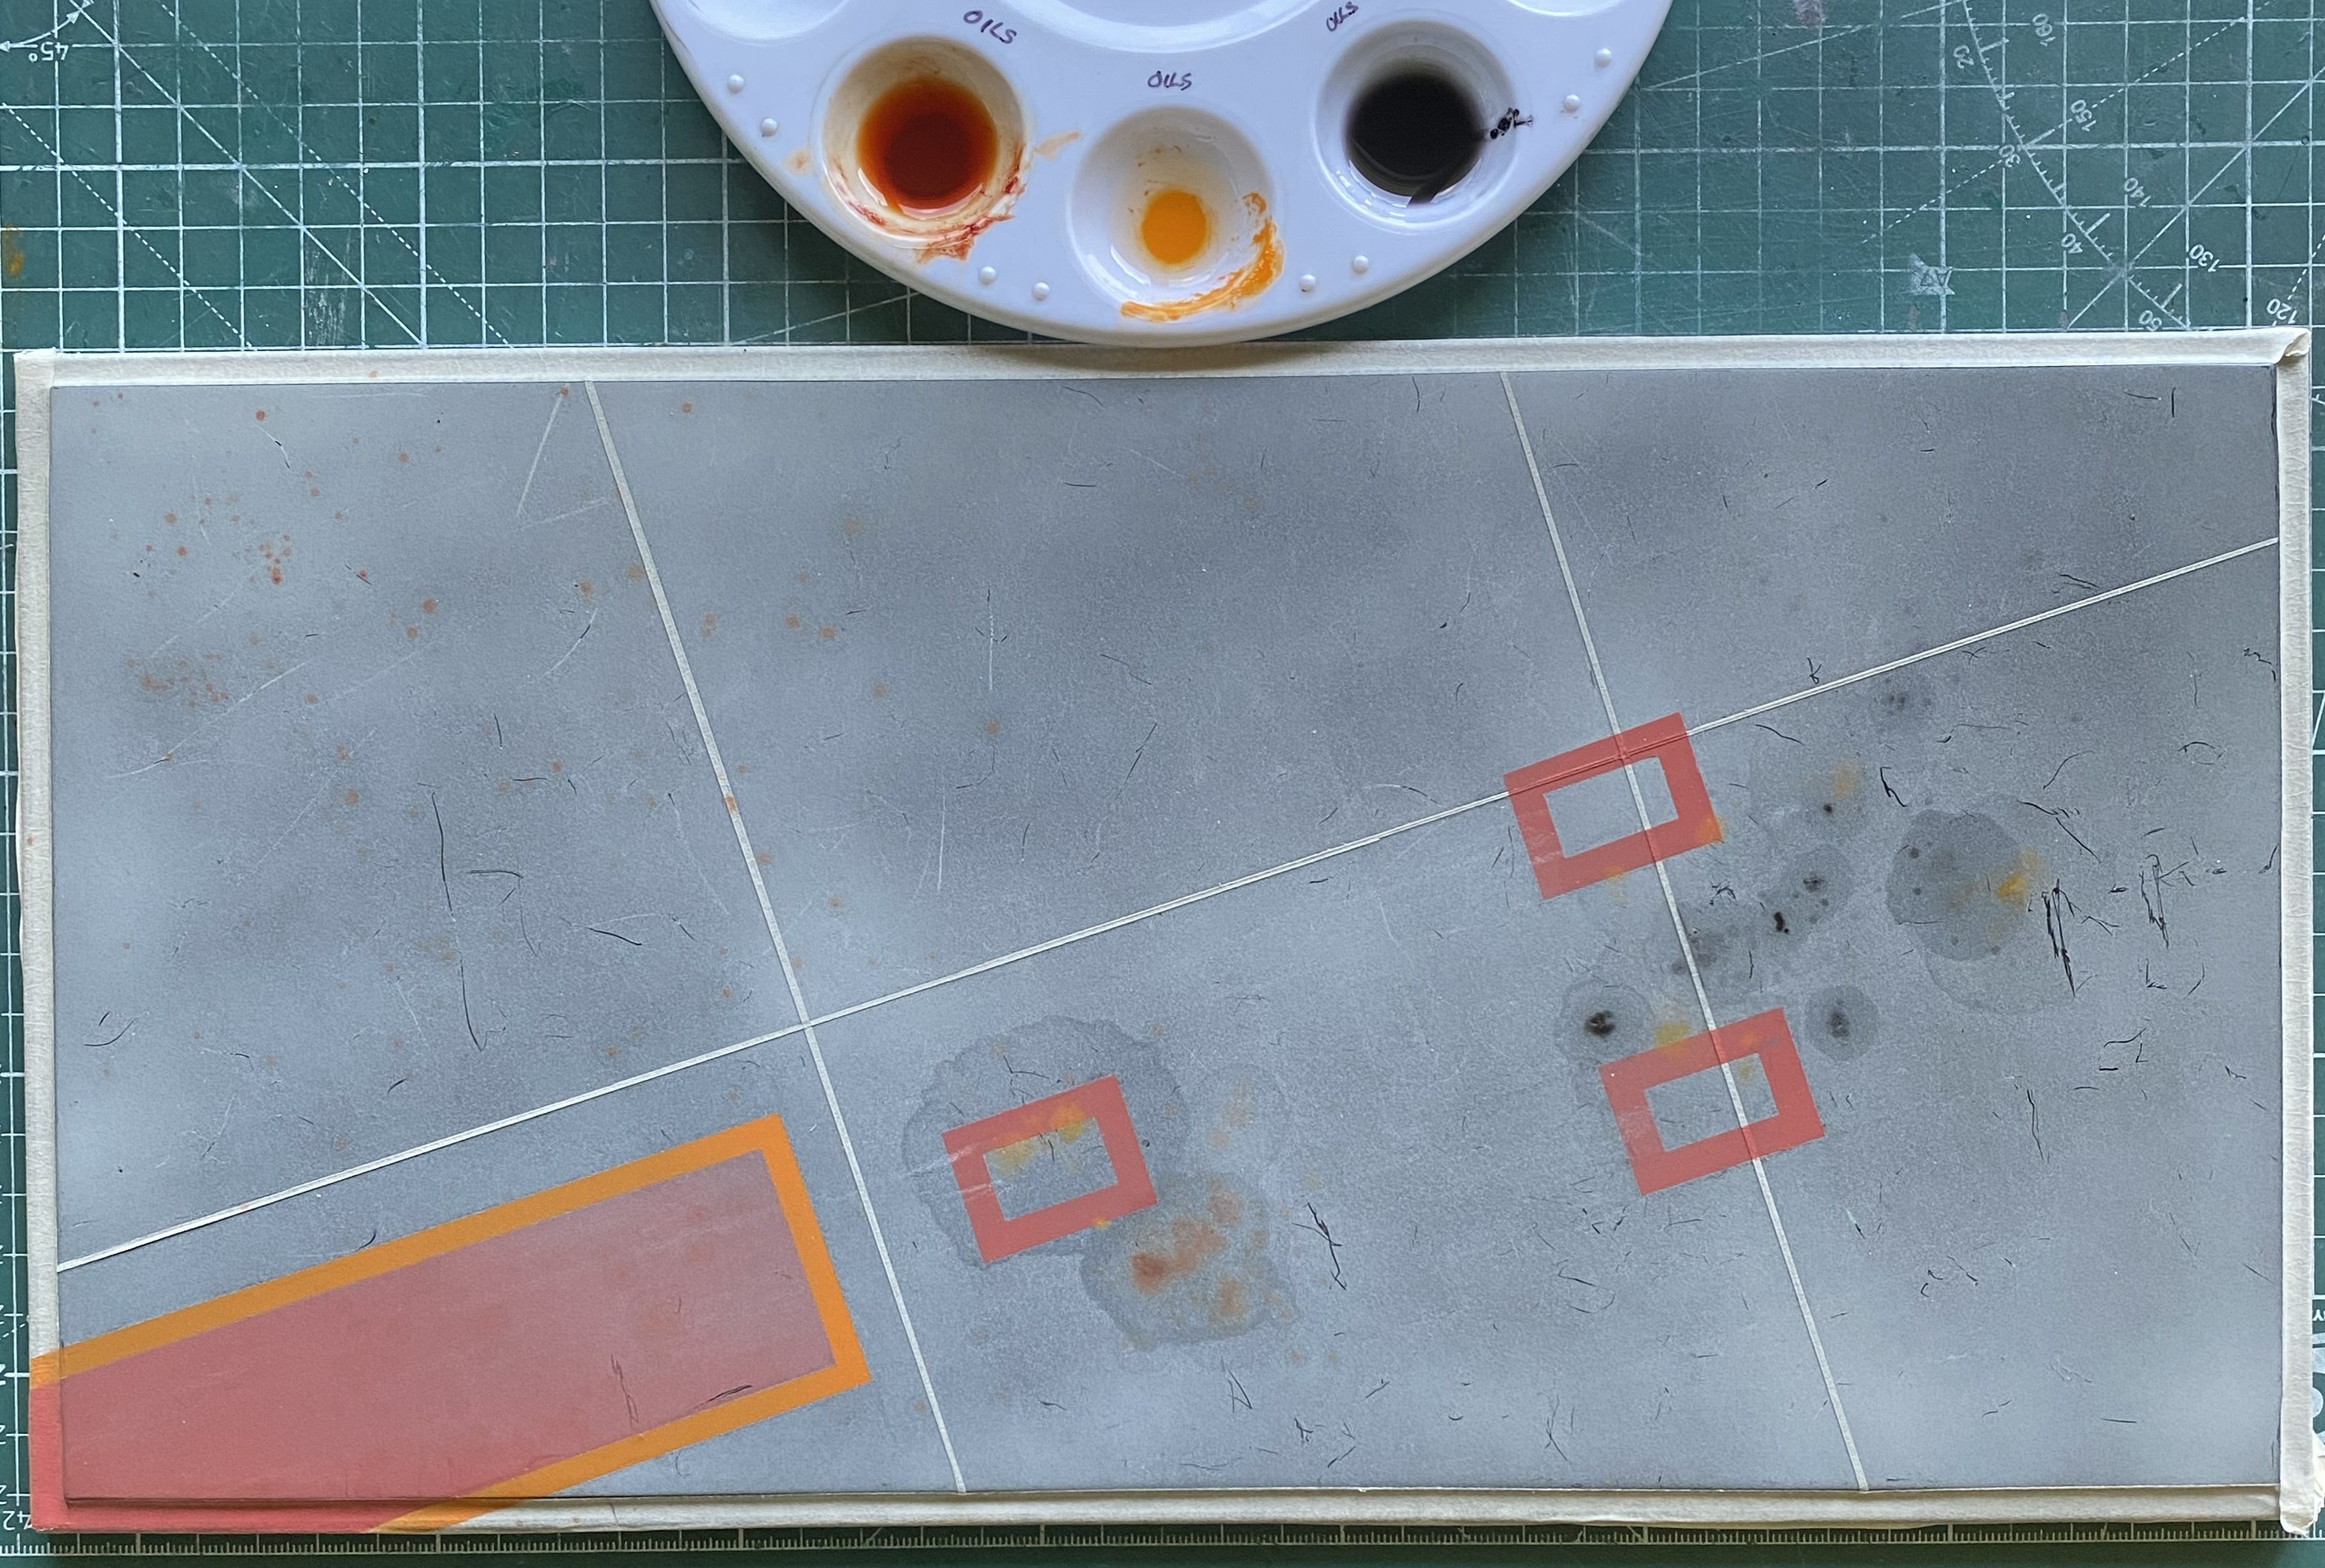
I tested the stains to see how well they’d adhered about three hours later, which was when I found out all the stains had dried:
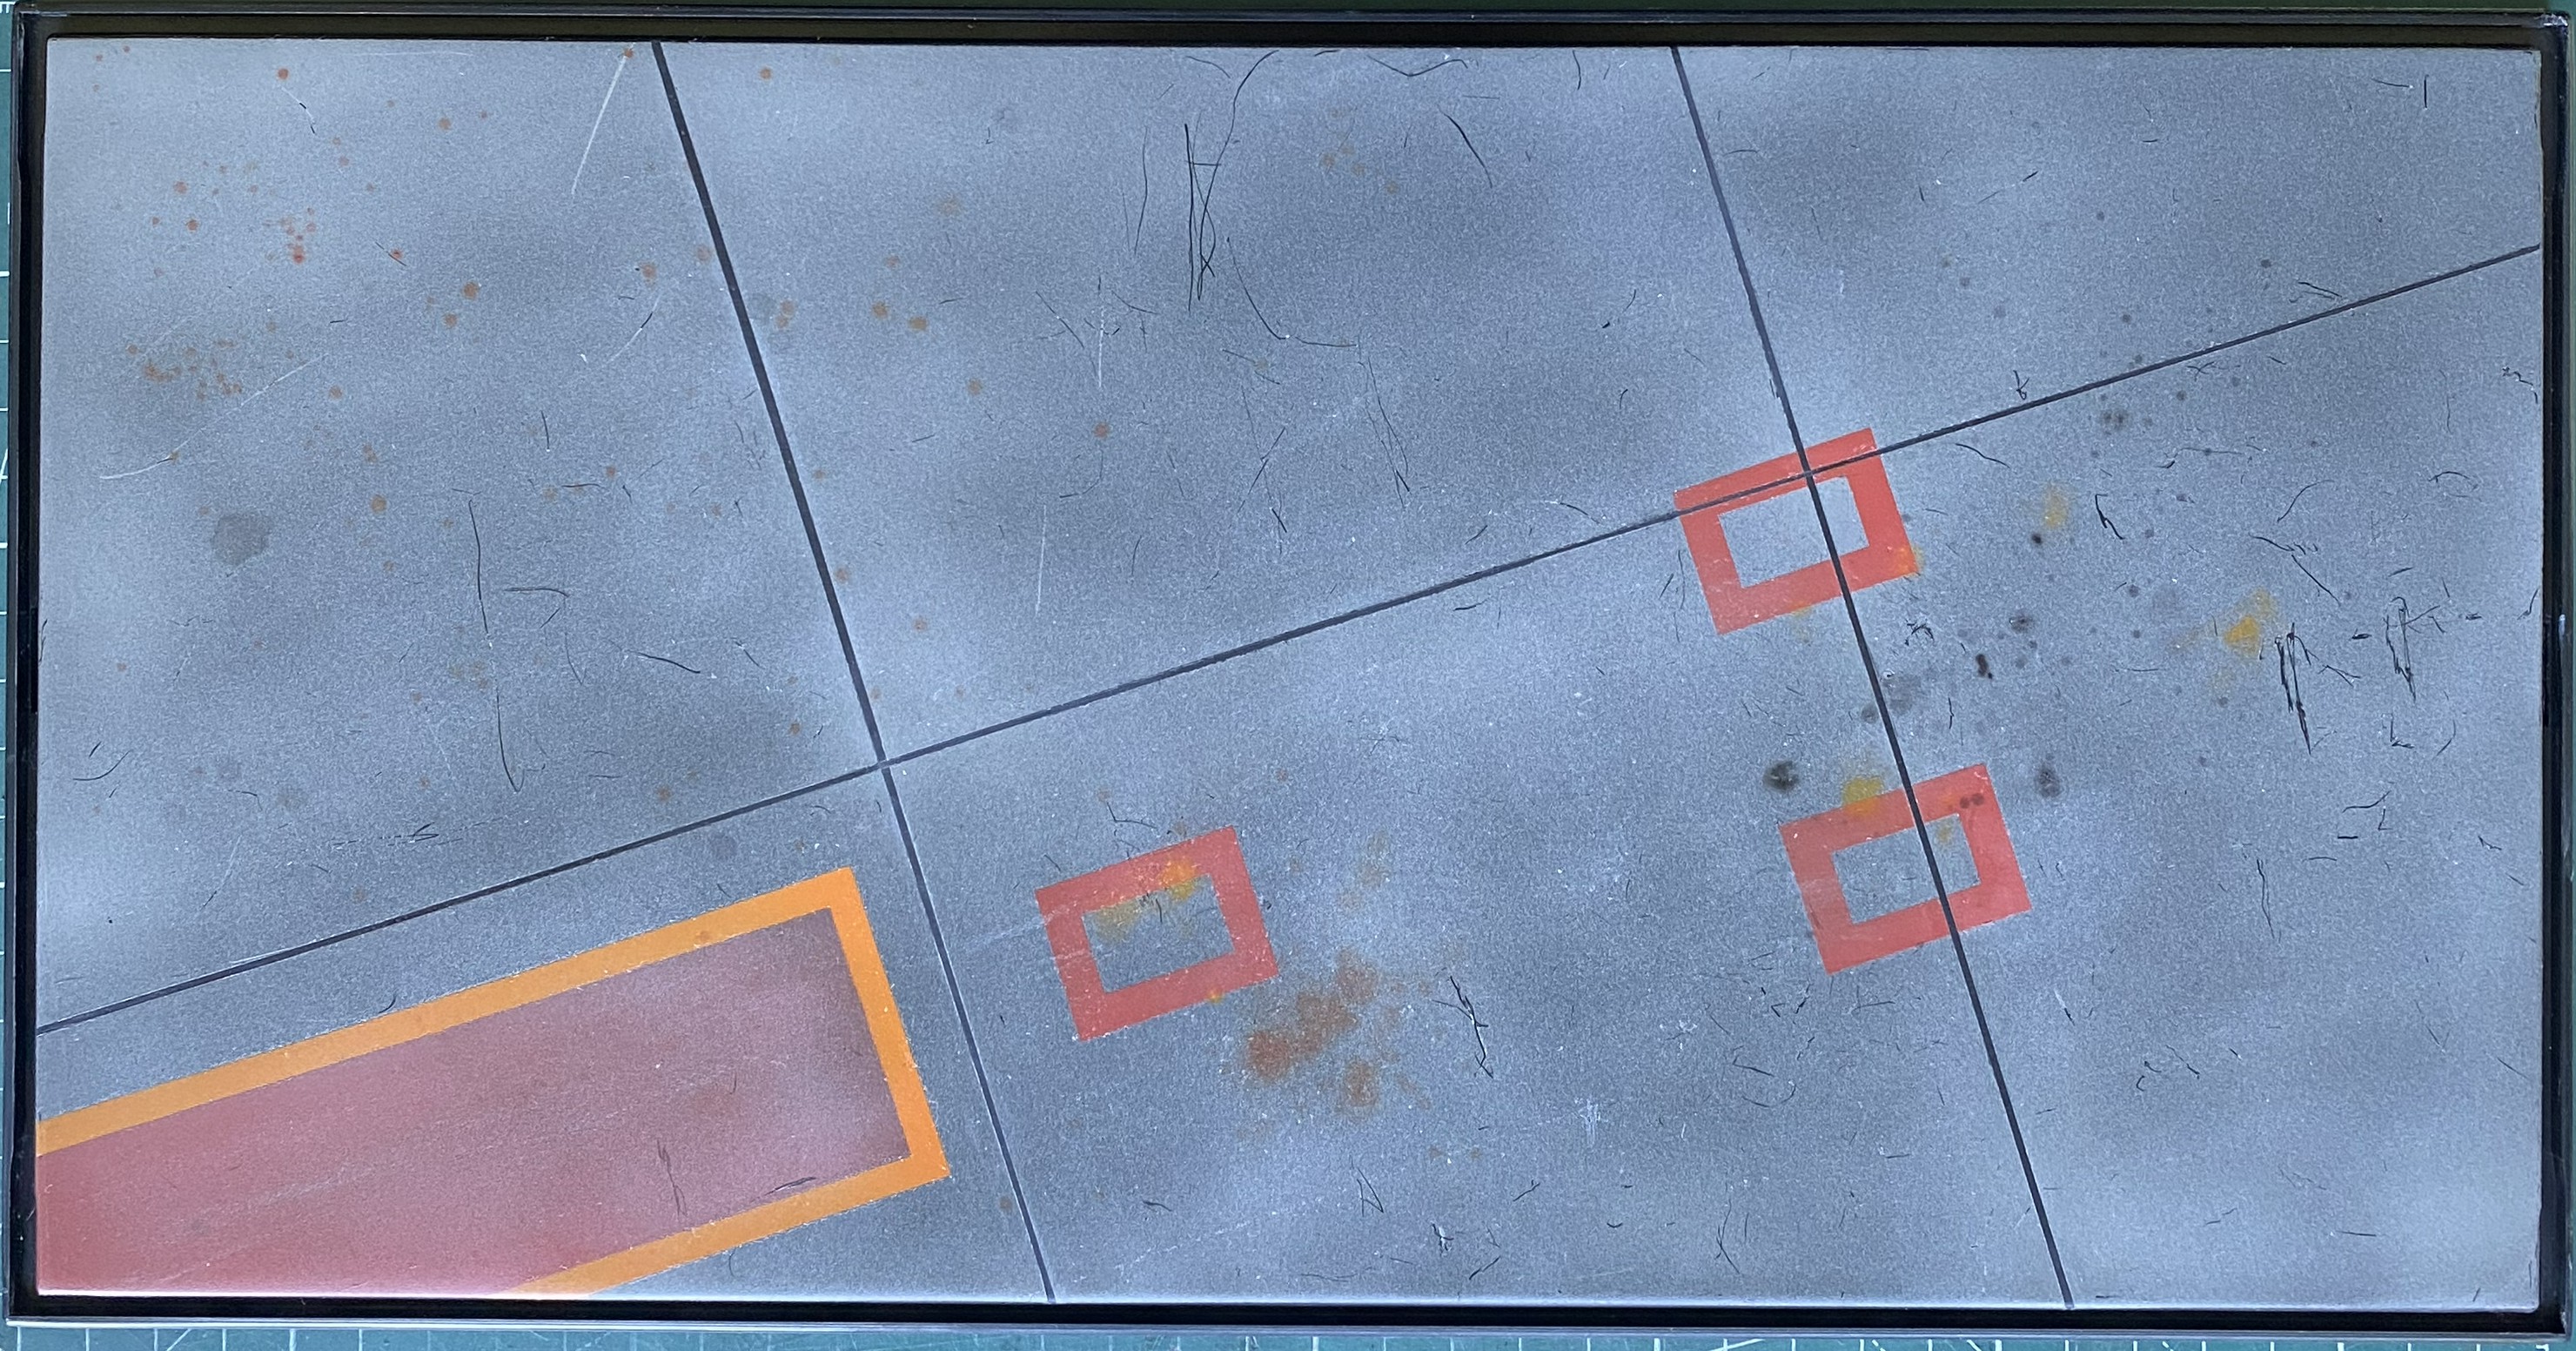
The camera didn’t pick it up but there are very faint “blossoms” of thinner around the major stains that helps sell the illusion:
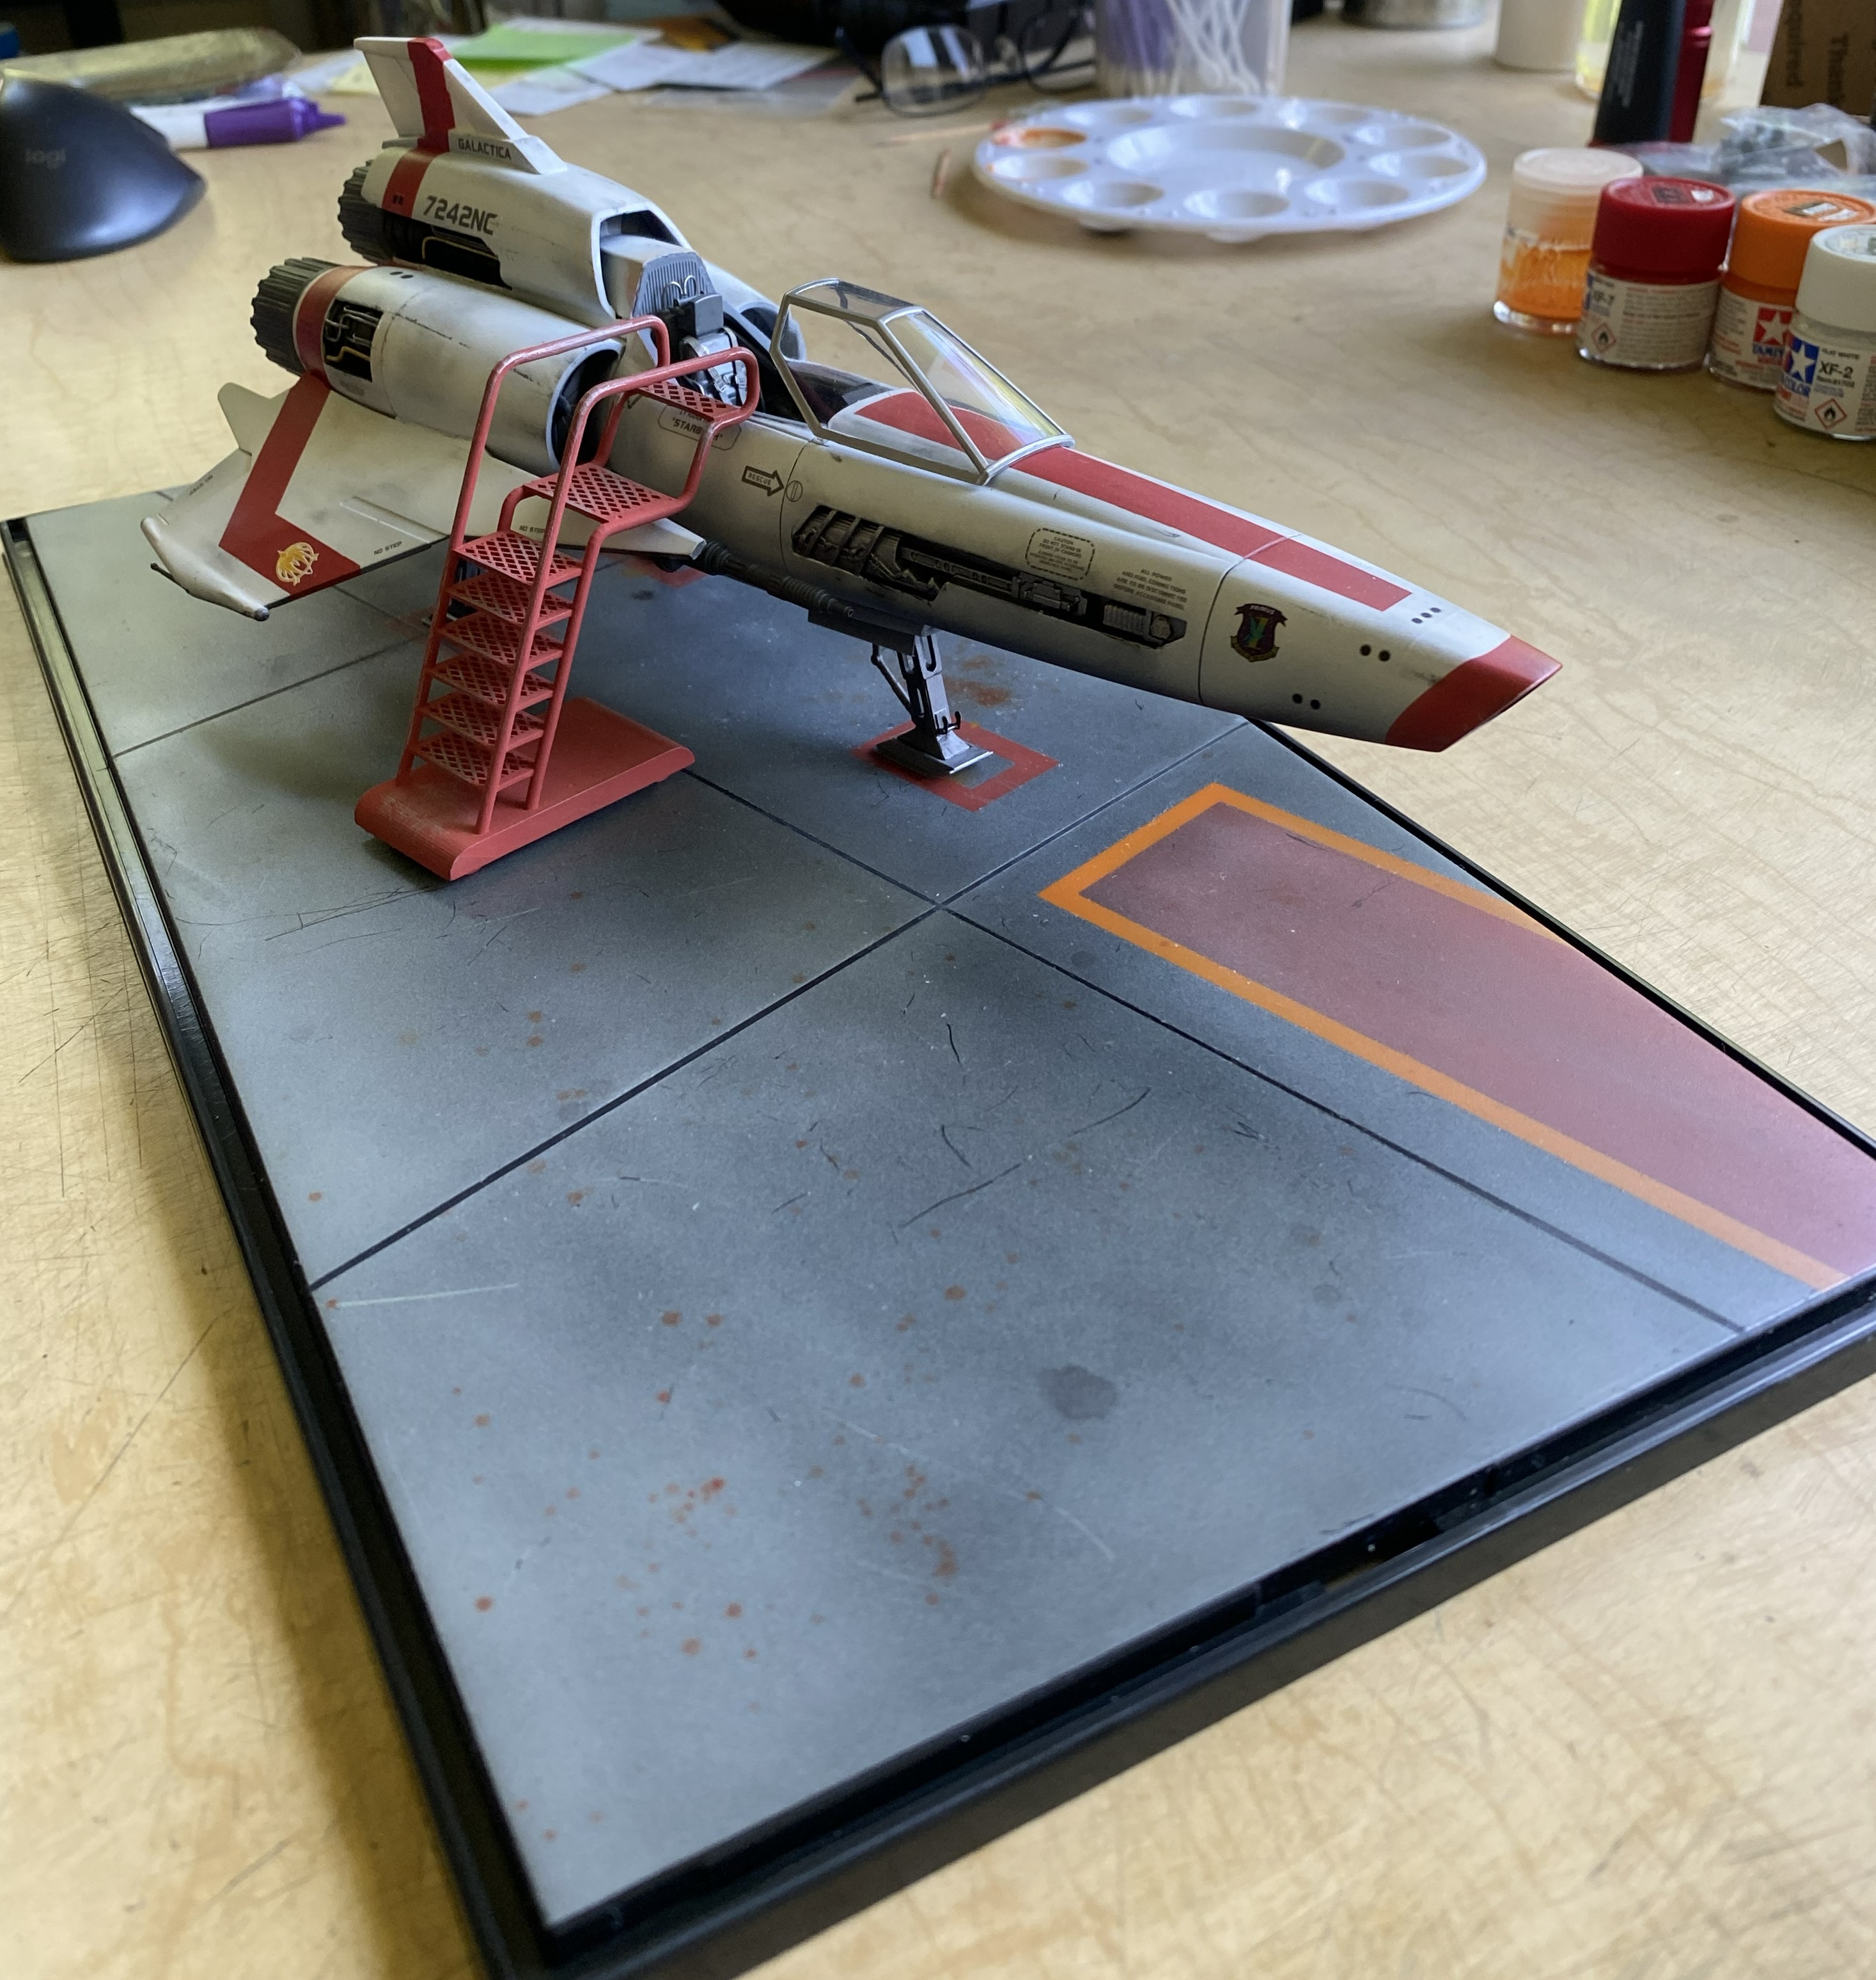
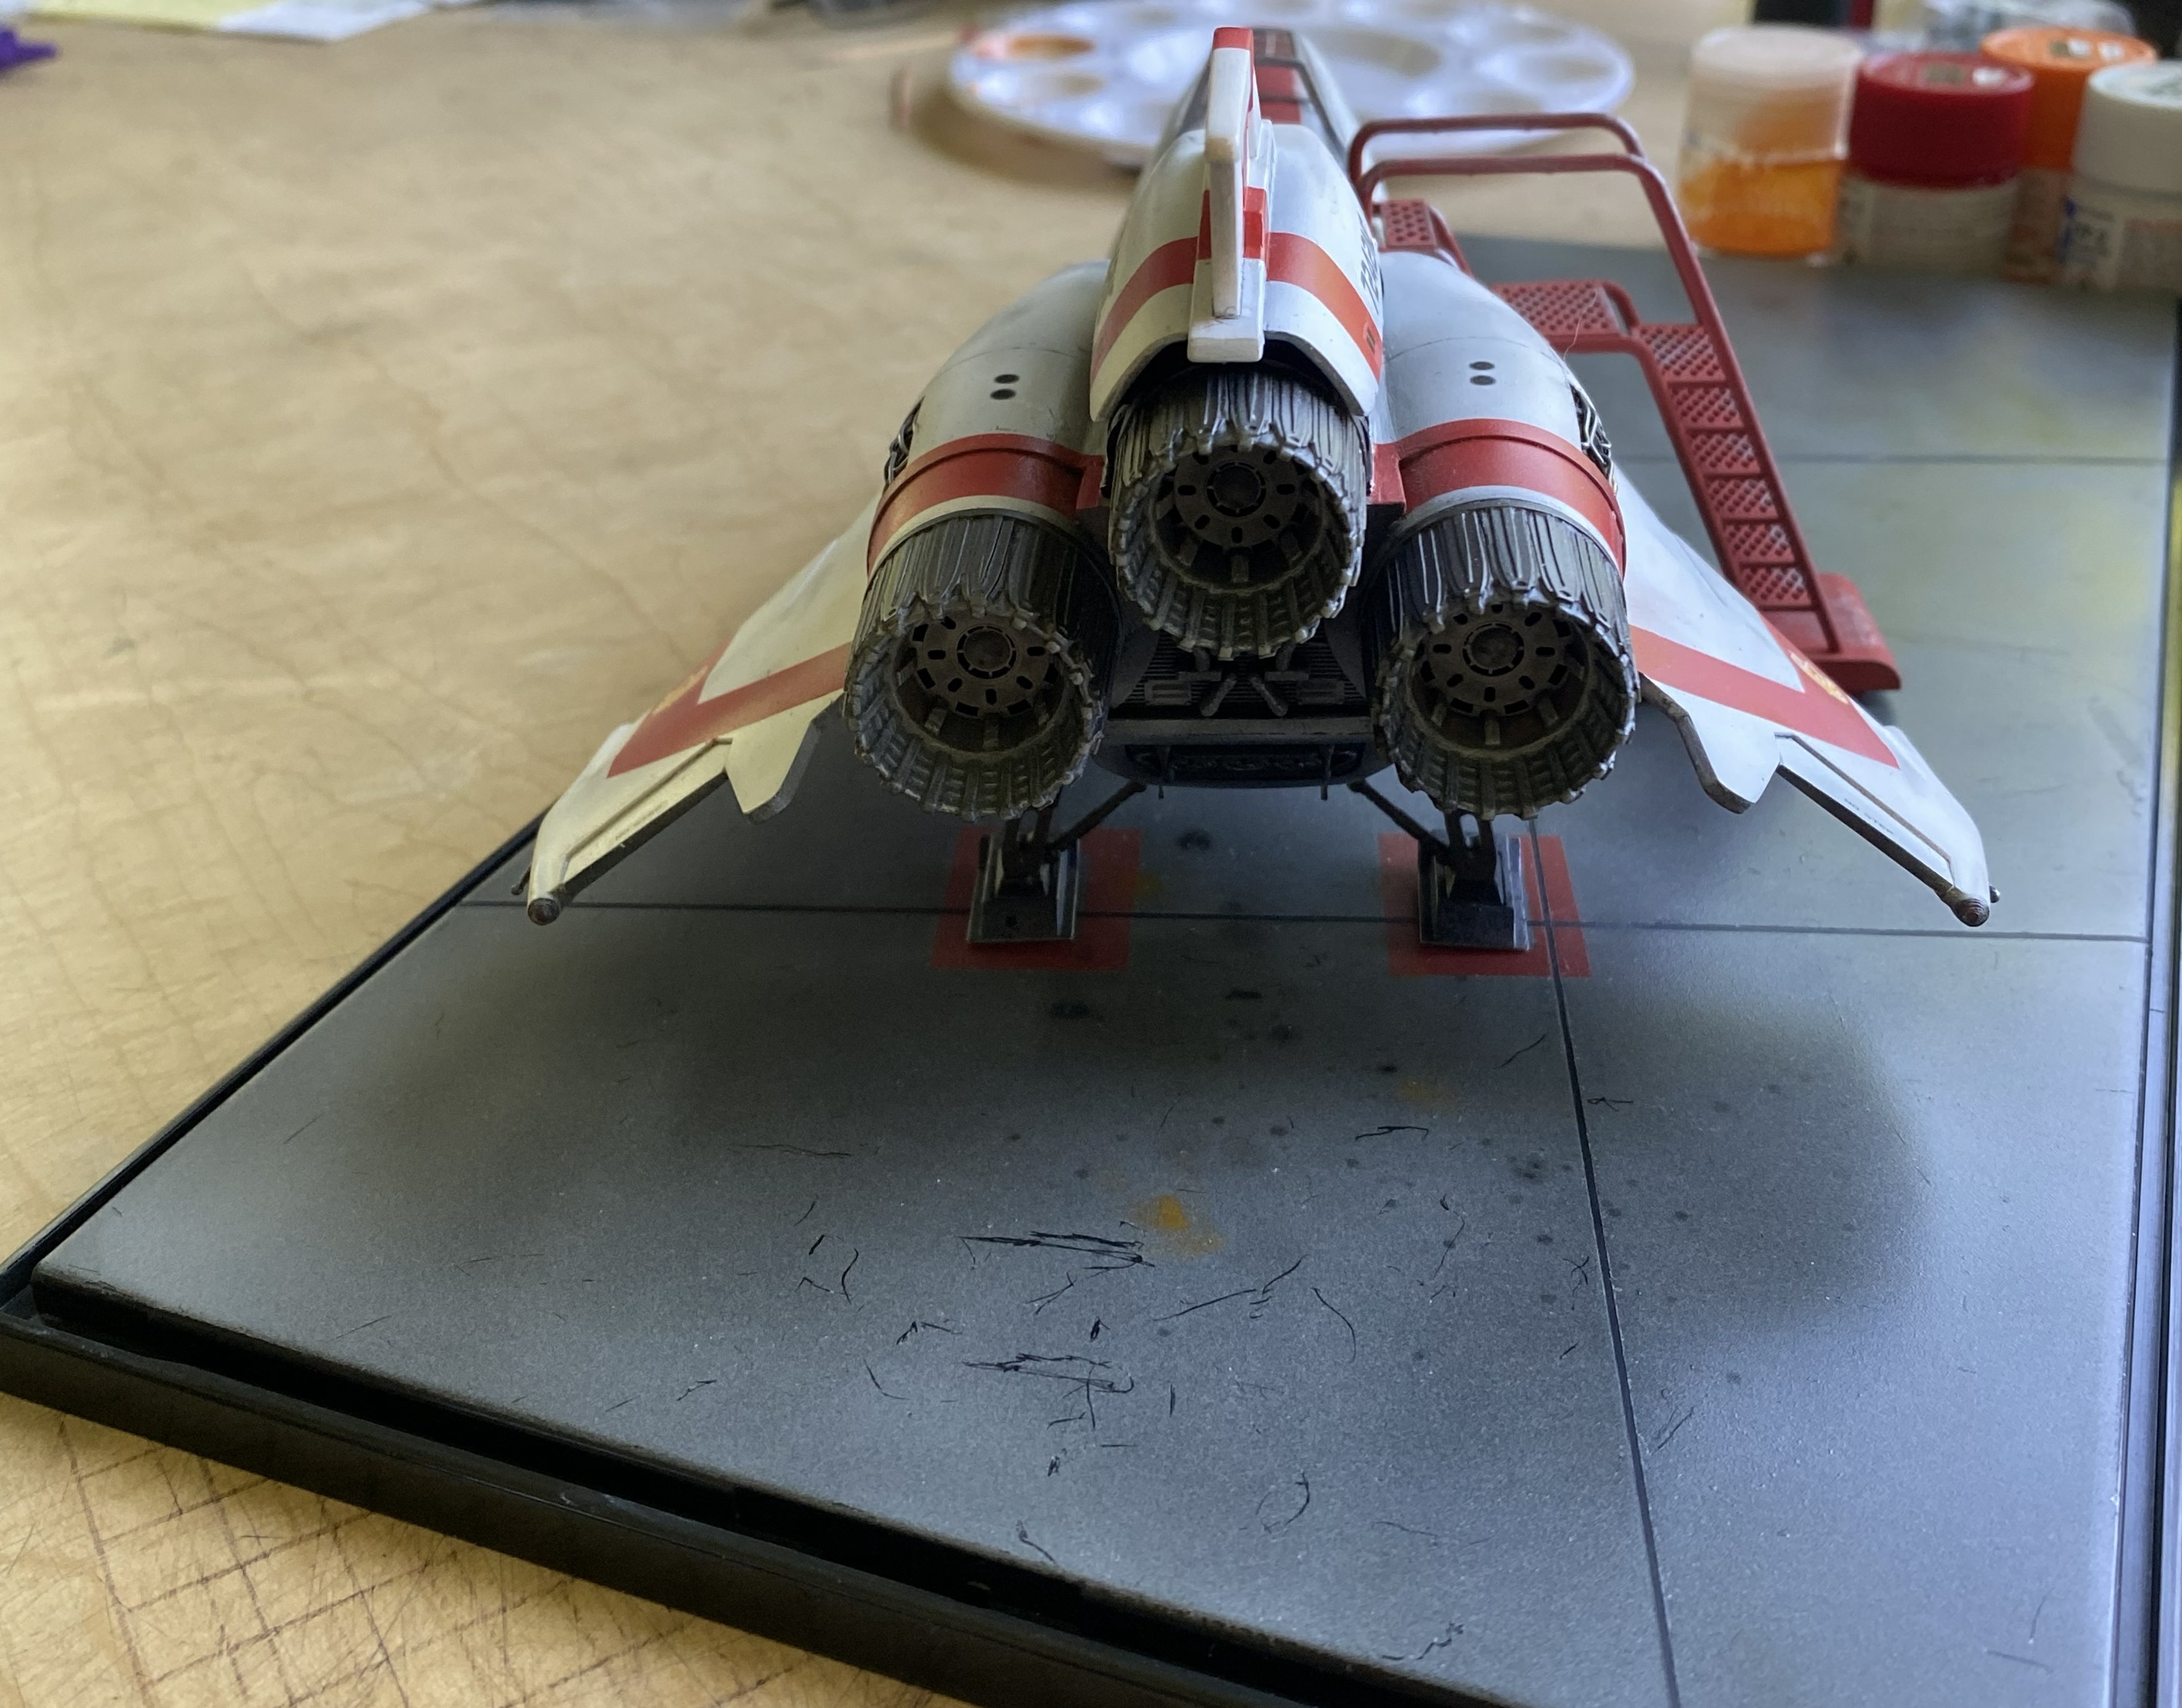
I like the stains and wear effects.
Next month I want to wear and stain the boarding ladder and then do the figure. I hate doing figures…
 Scale Modeling Mania
I really love the information on how you transformed the base. The detail and information are greatly appreciated. I also love how you talk about your art journey and the details you go into on your process. Fabulous!
LikeLike