Before I get started working on the figure, there were some things (anything) to finish before I descended into my own personal hell (figures), so taking whatever dodge I could find before that descent seemed “reasonable.”
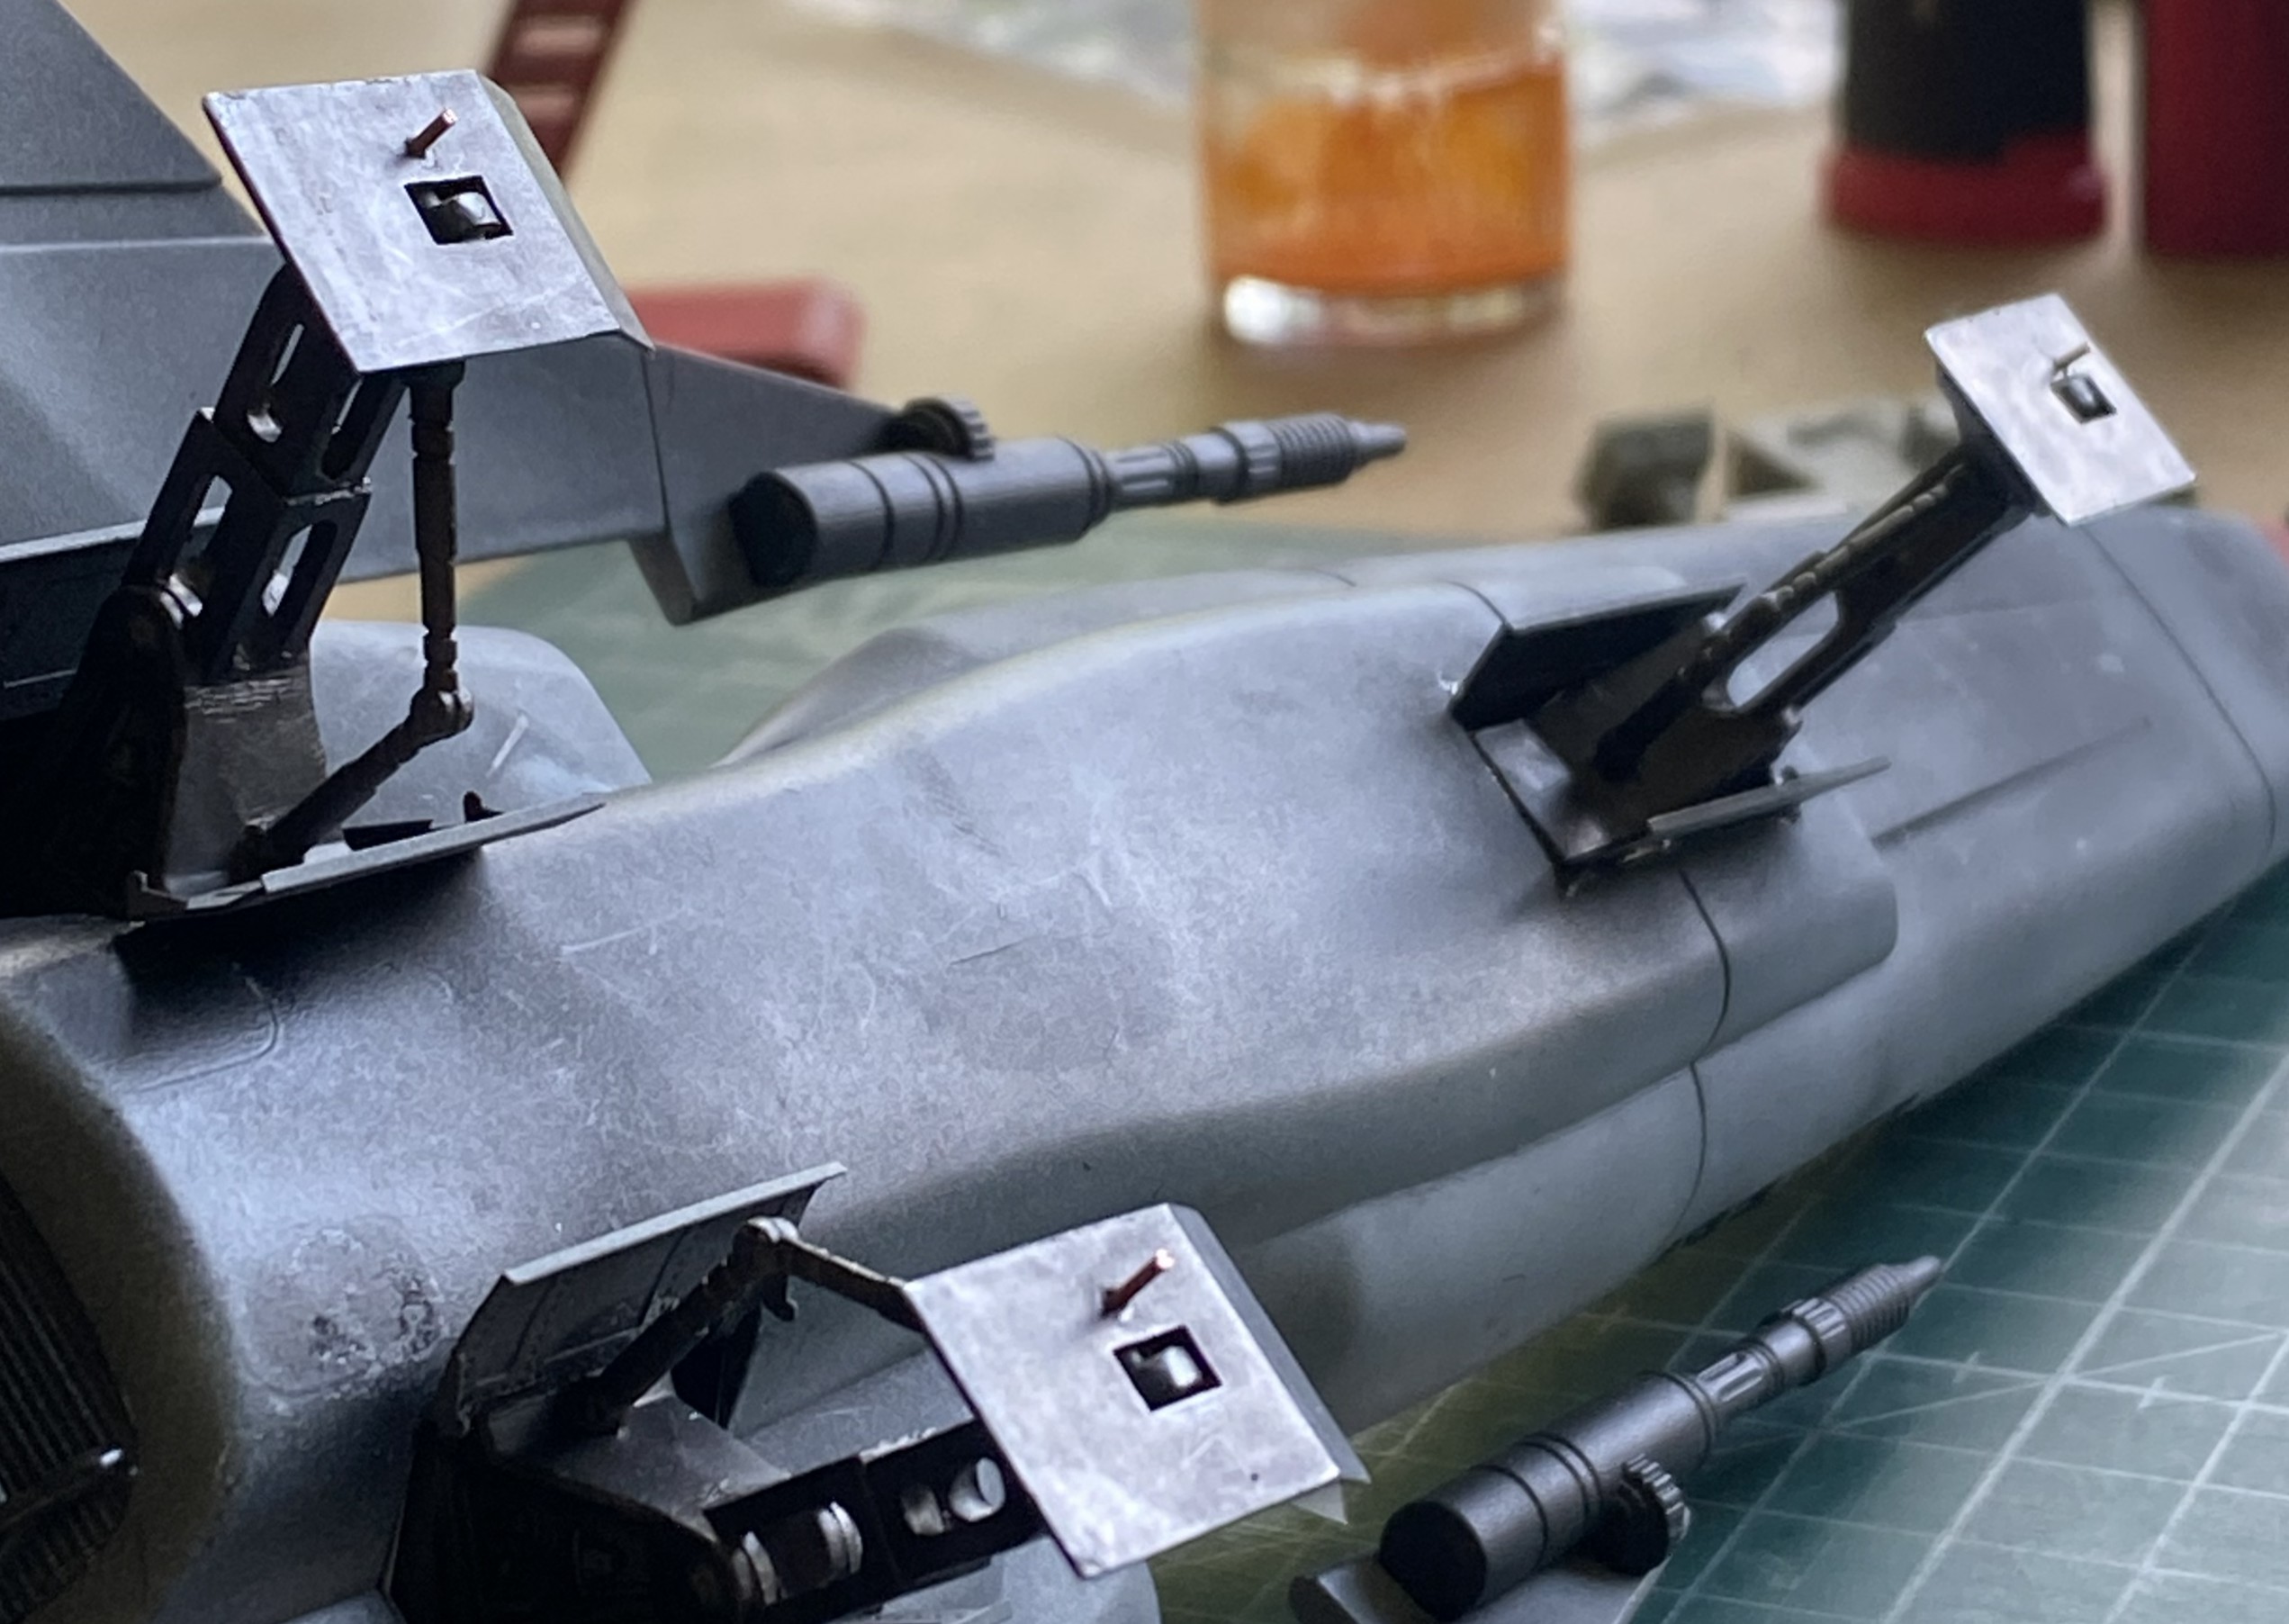
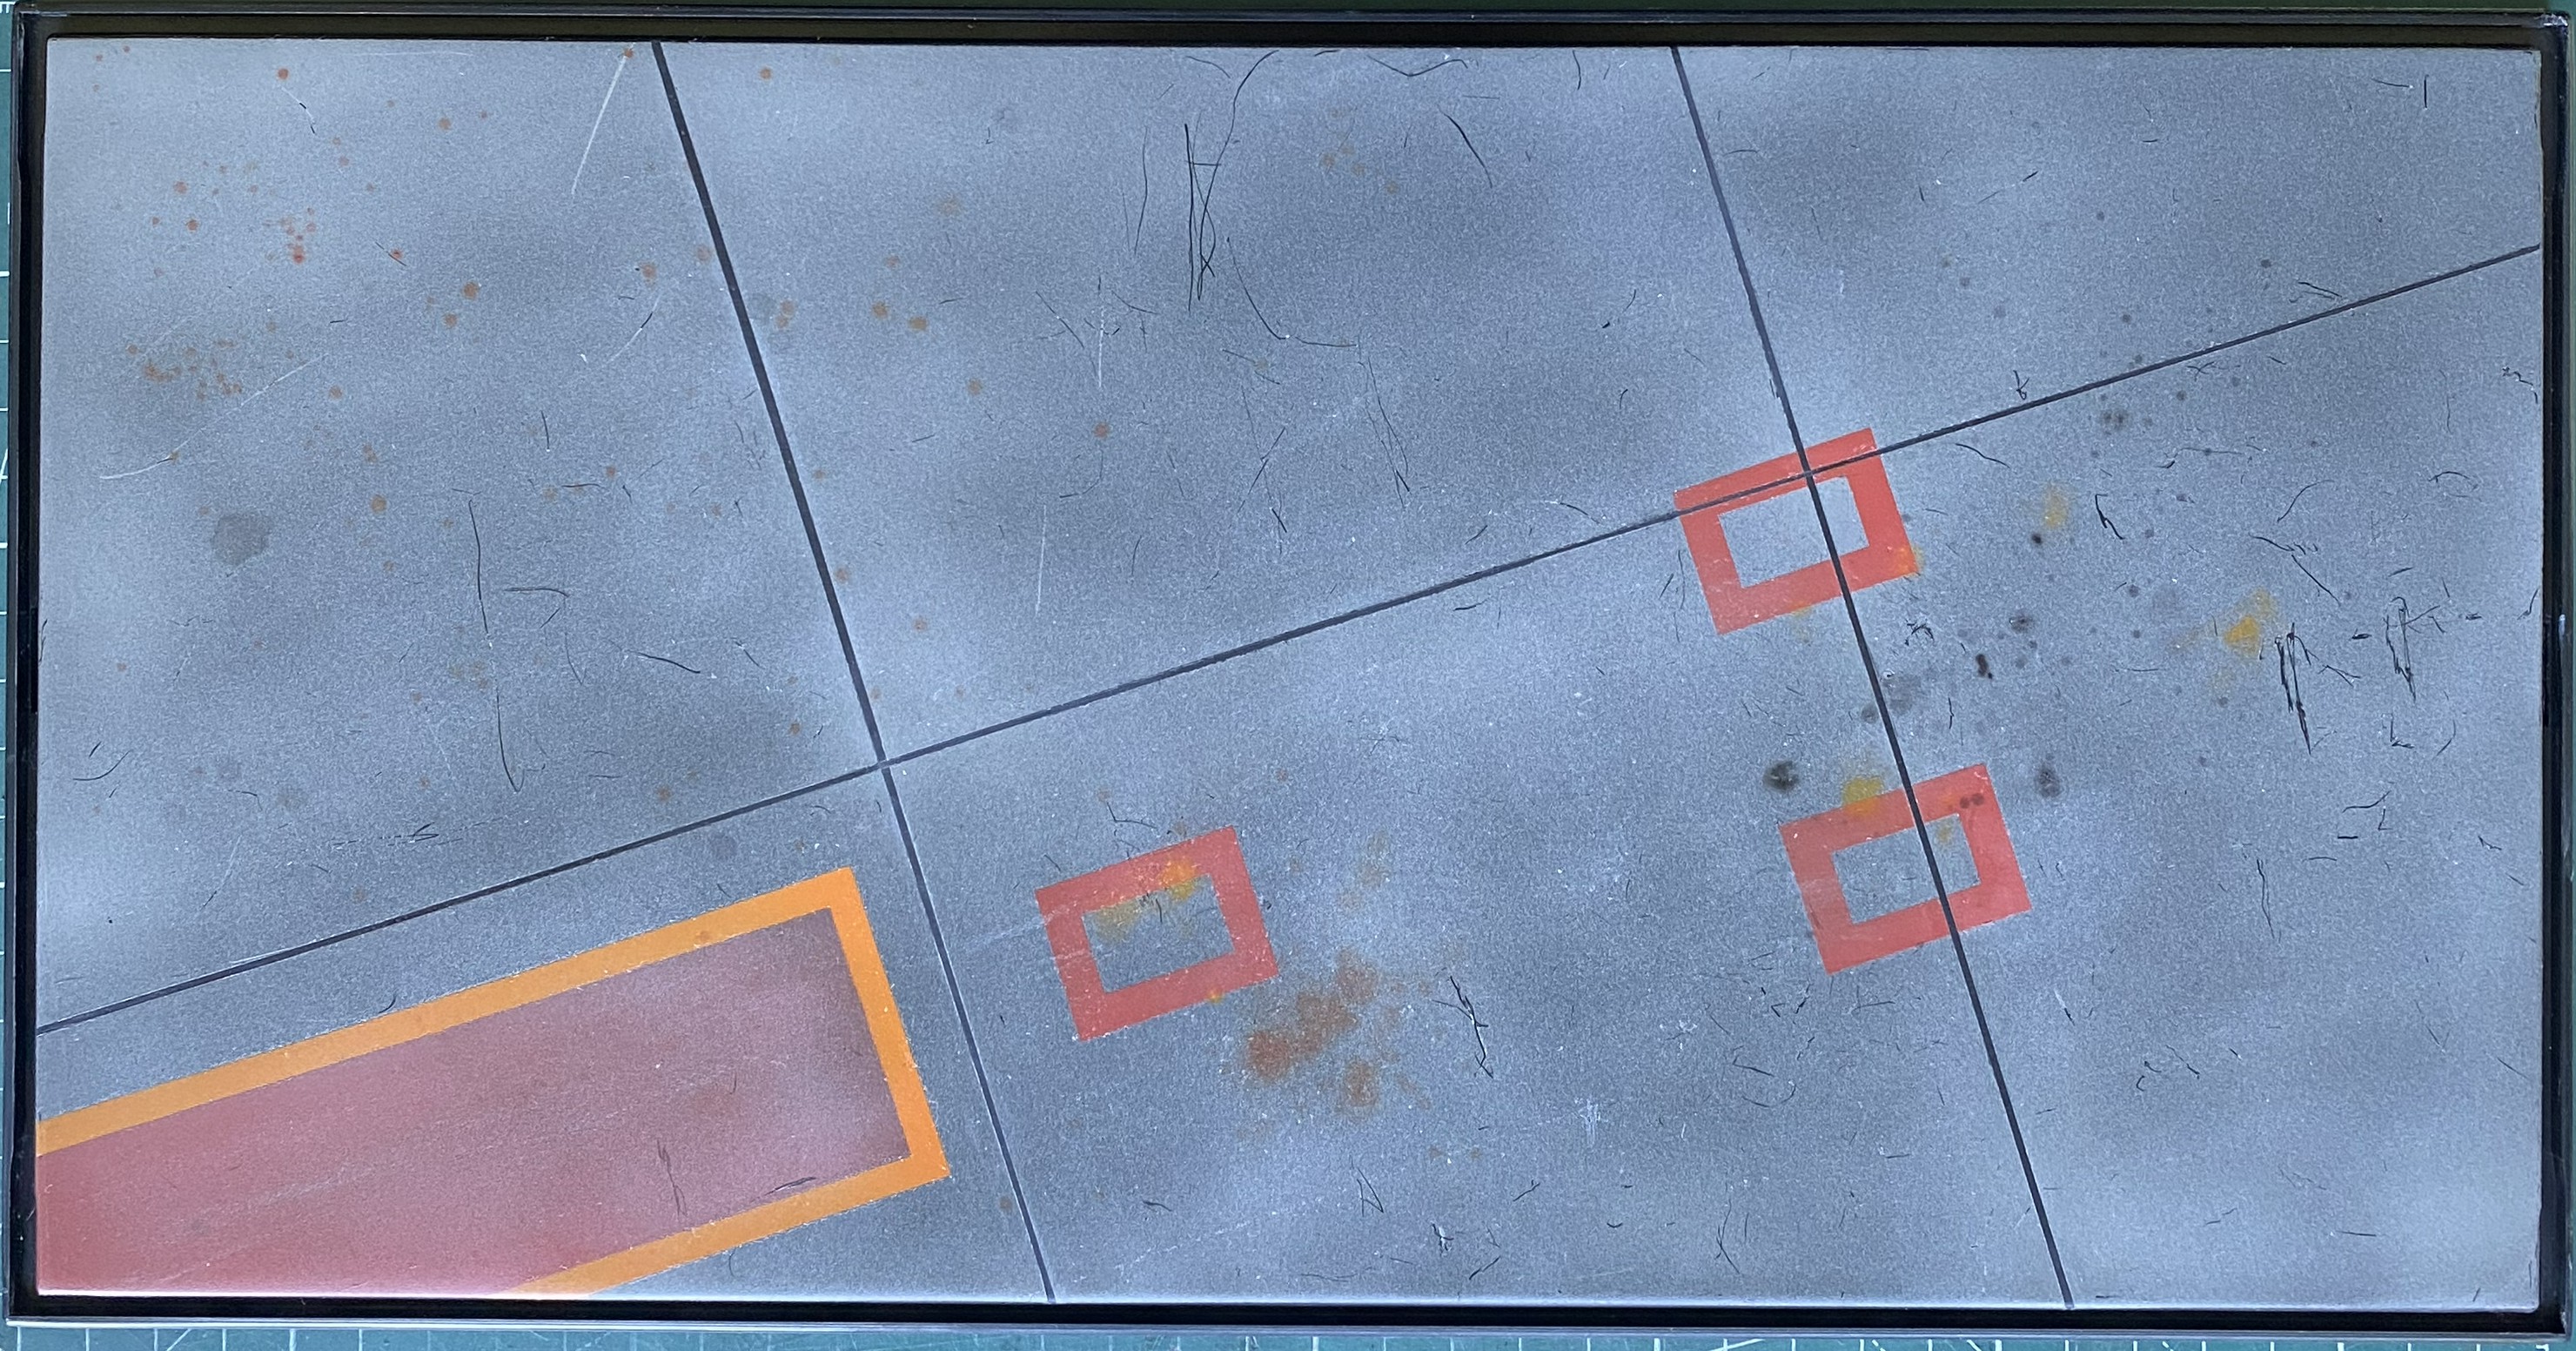
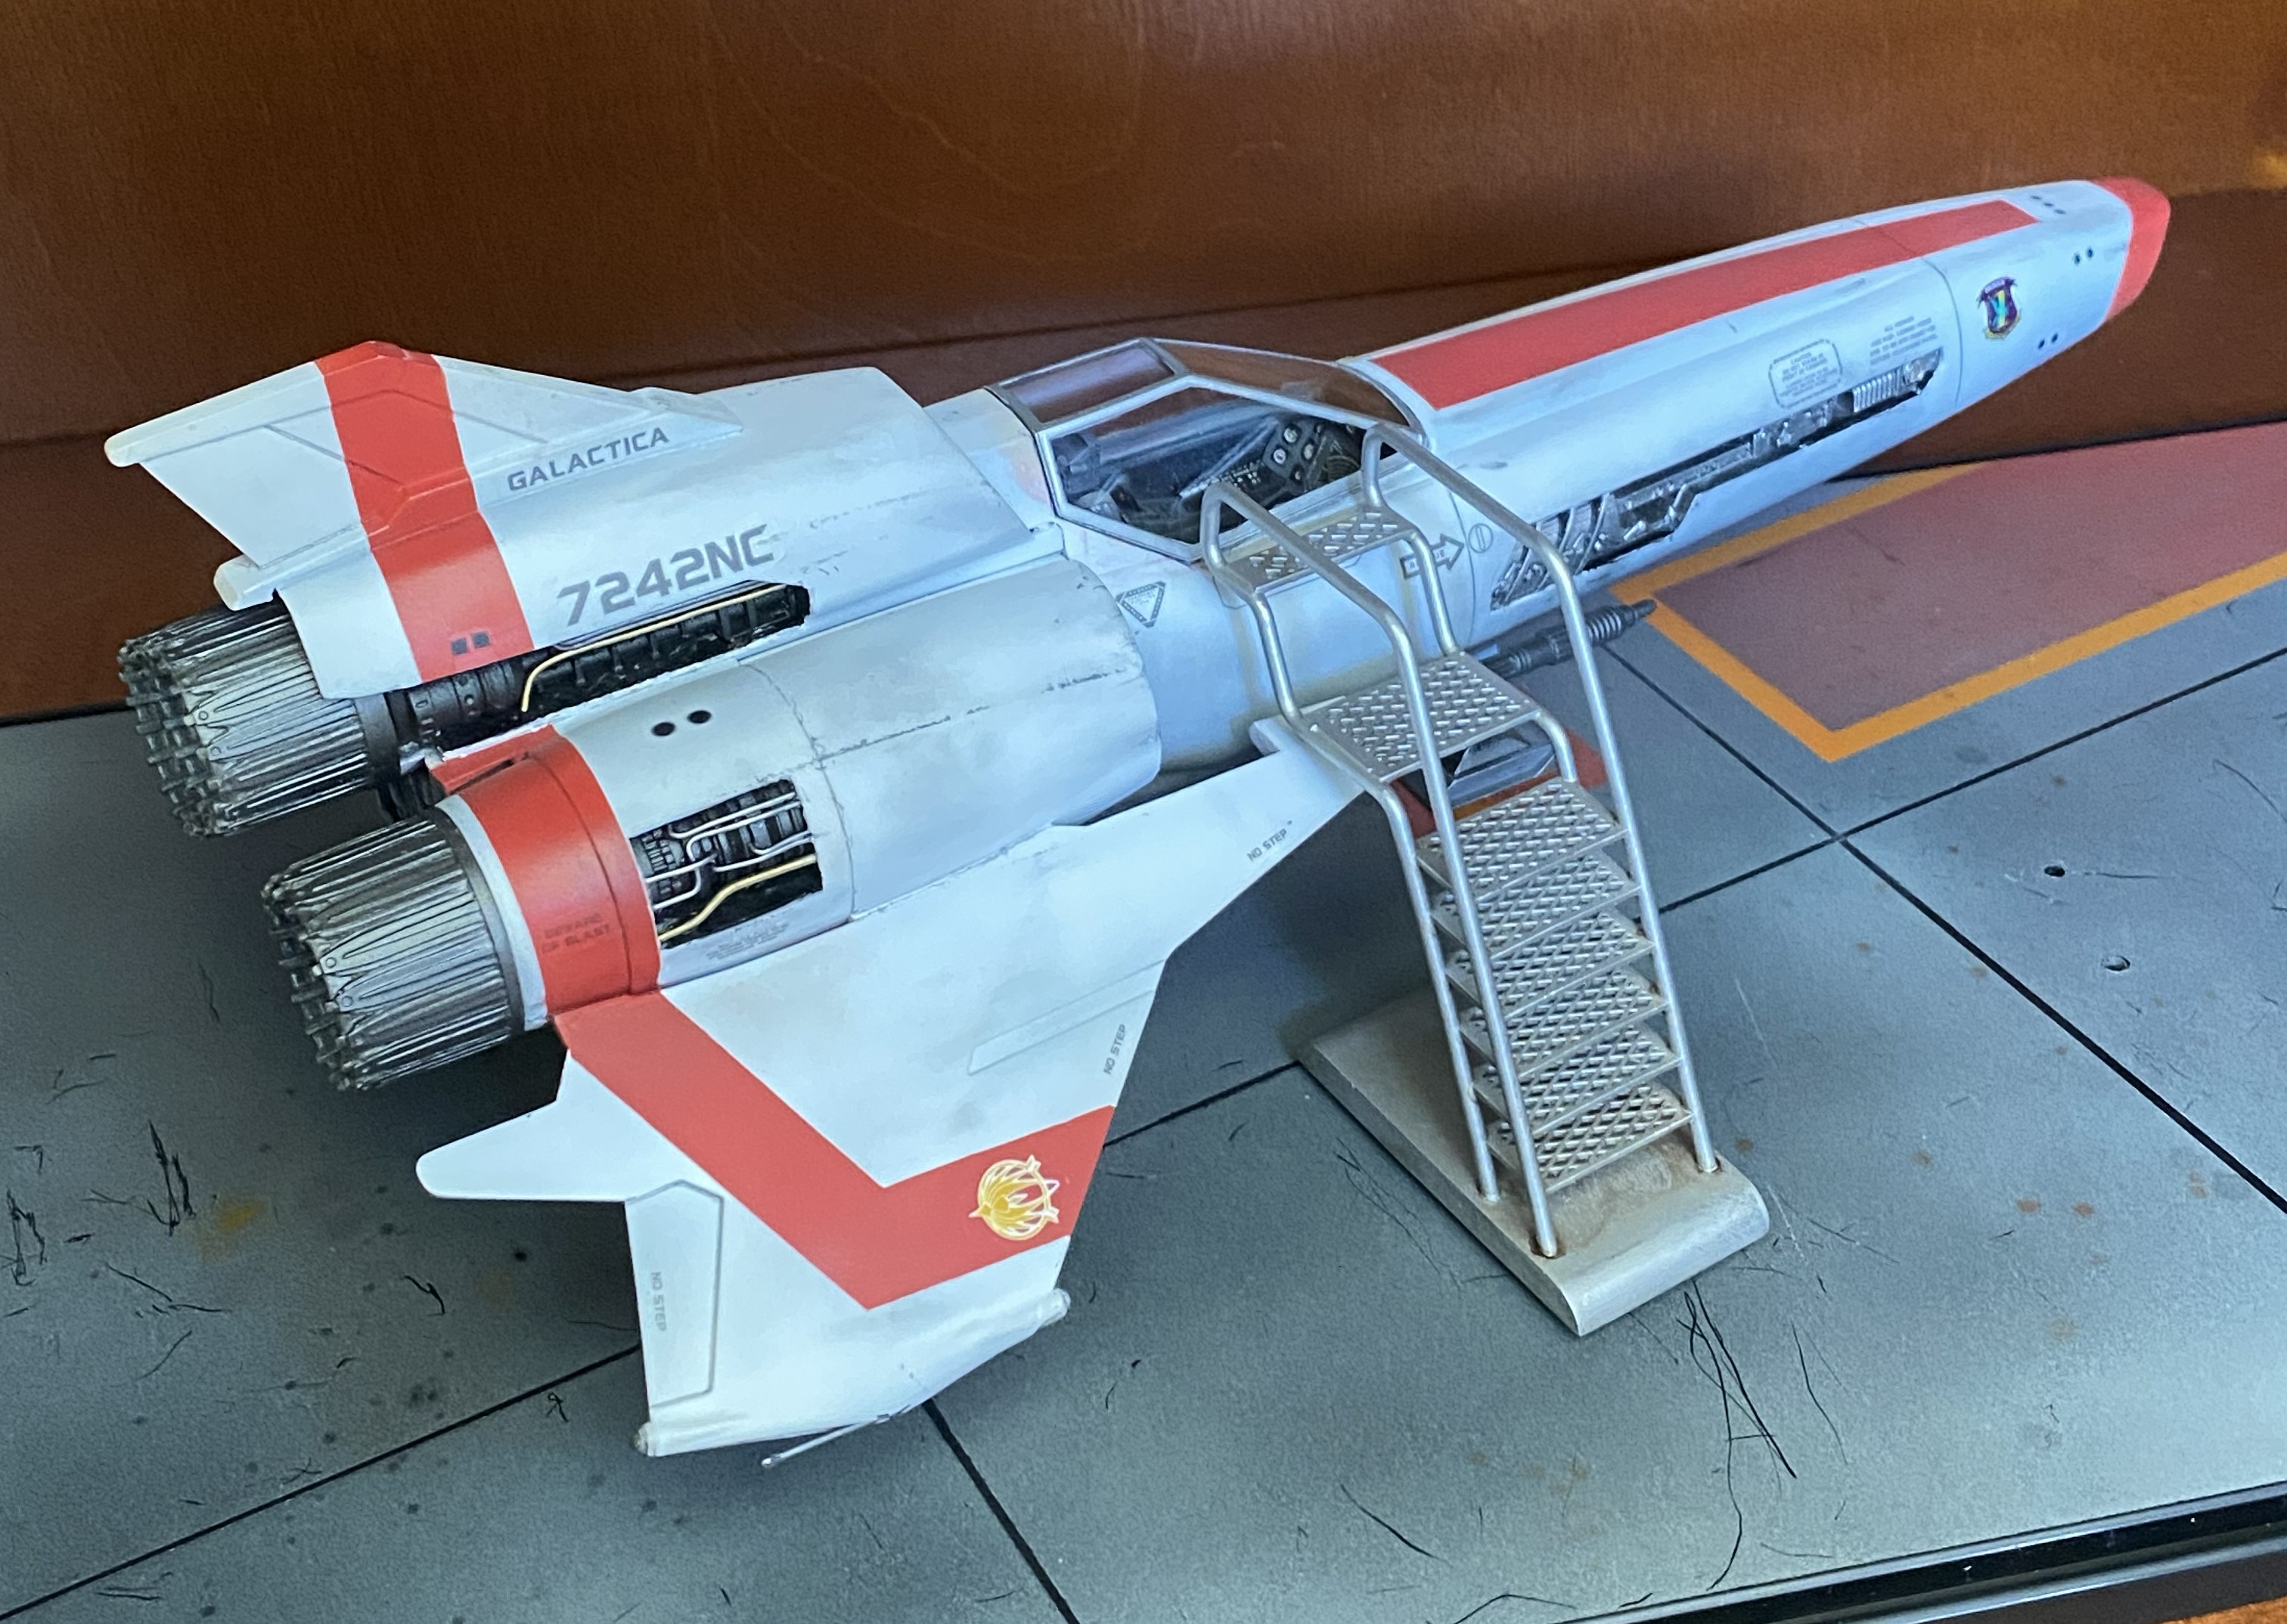
I finished the Viper and base by adding pins under the landing gear and drilling the base to accept them. The intent was not to affix the Viper to the base (not entirely sure the landing gear is sturdy enough for that), instead I wanted to make the model and case “bump resistant.” Having the model sliding around for (hopefully) years on that base would wear away the paint, which I’d rather not have happen:
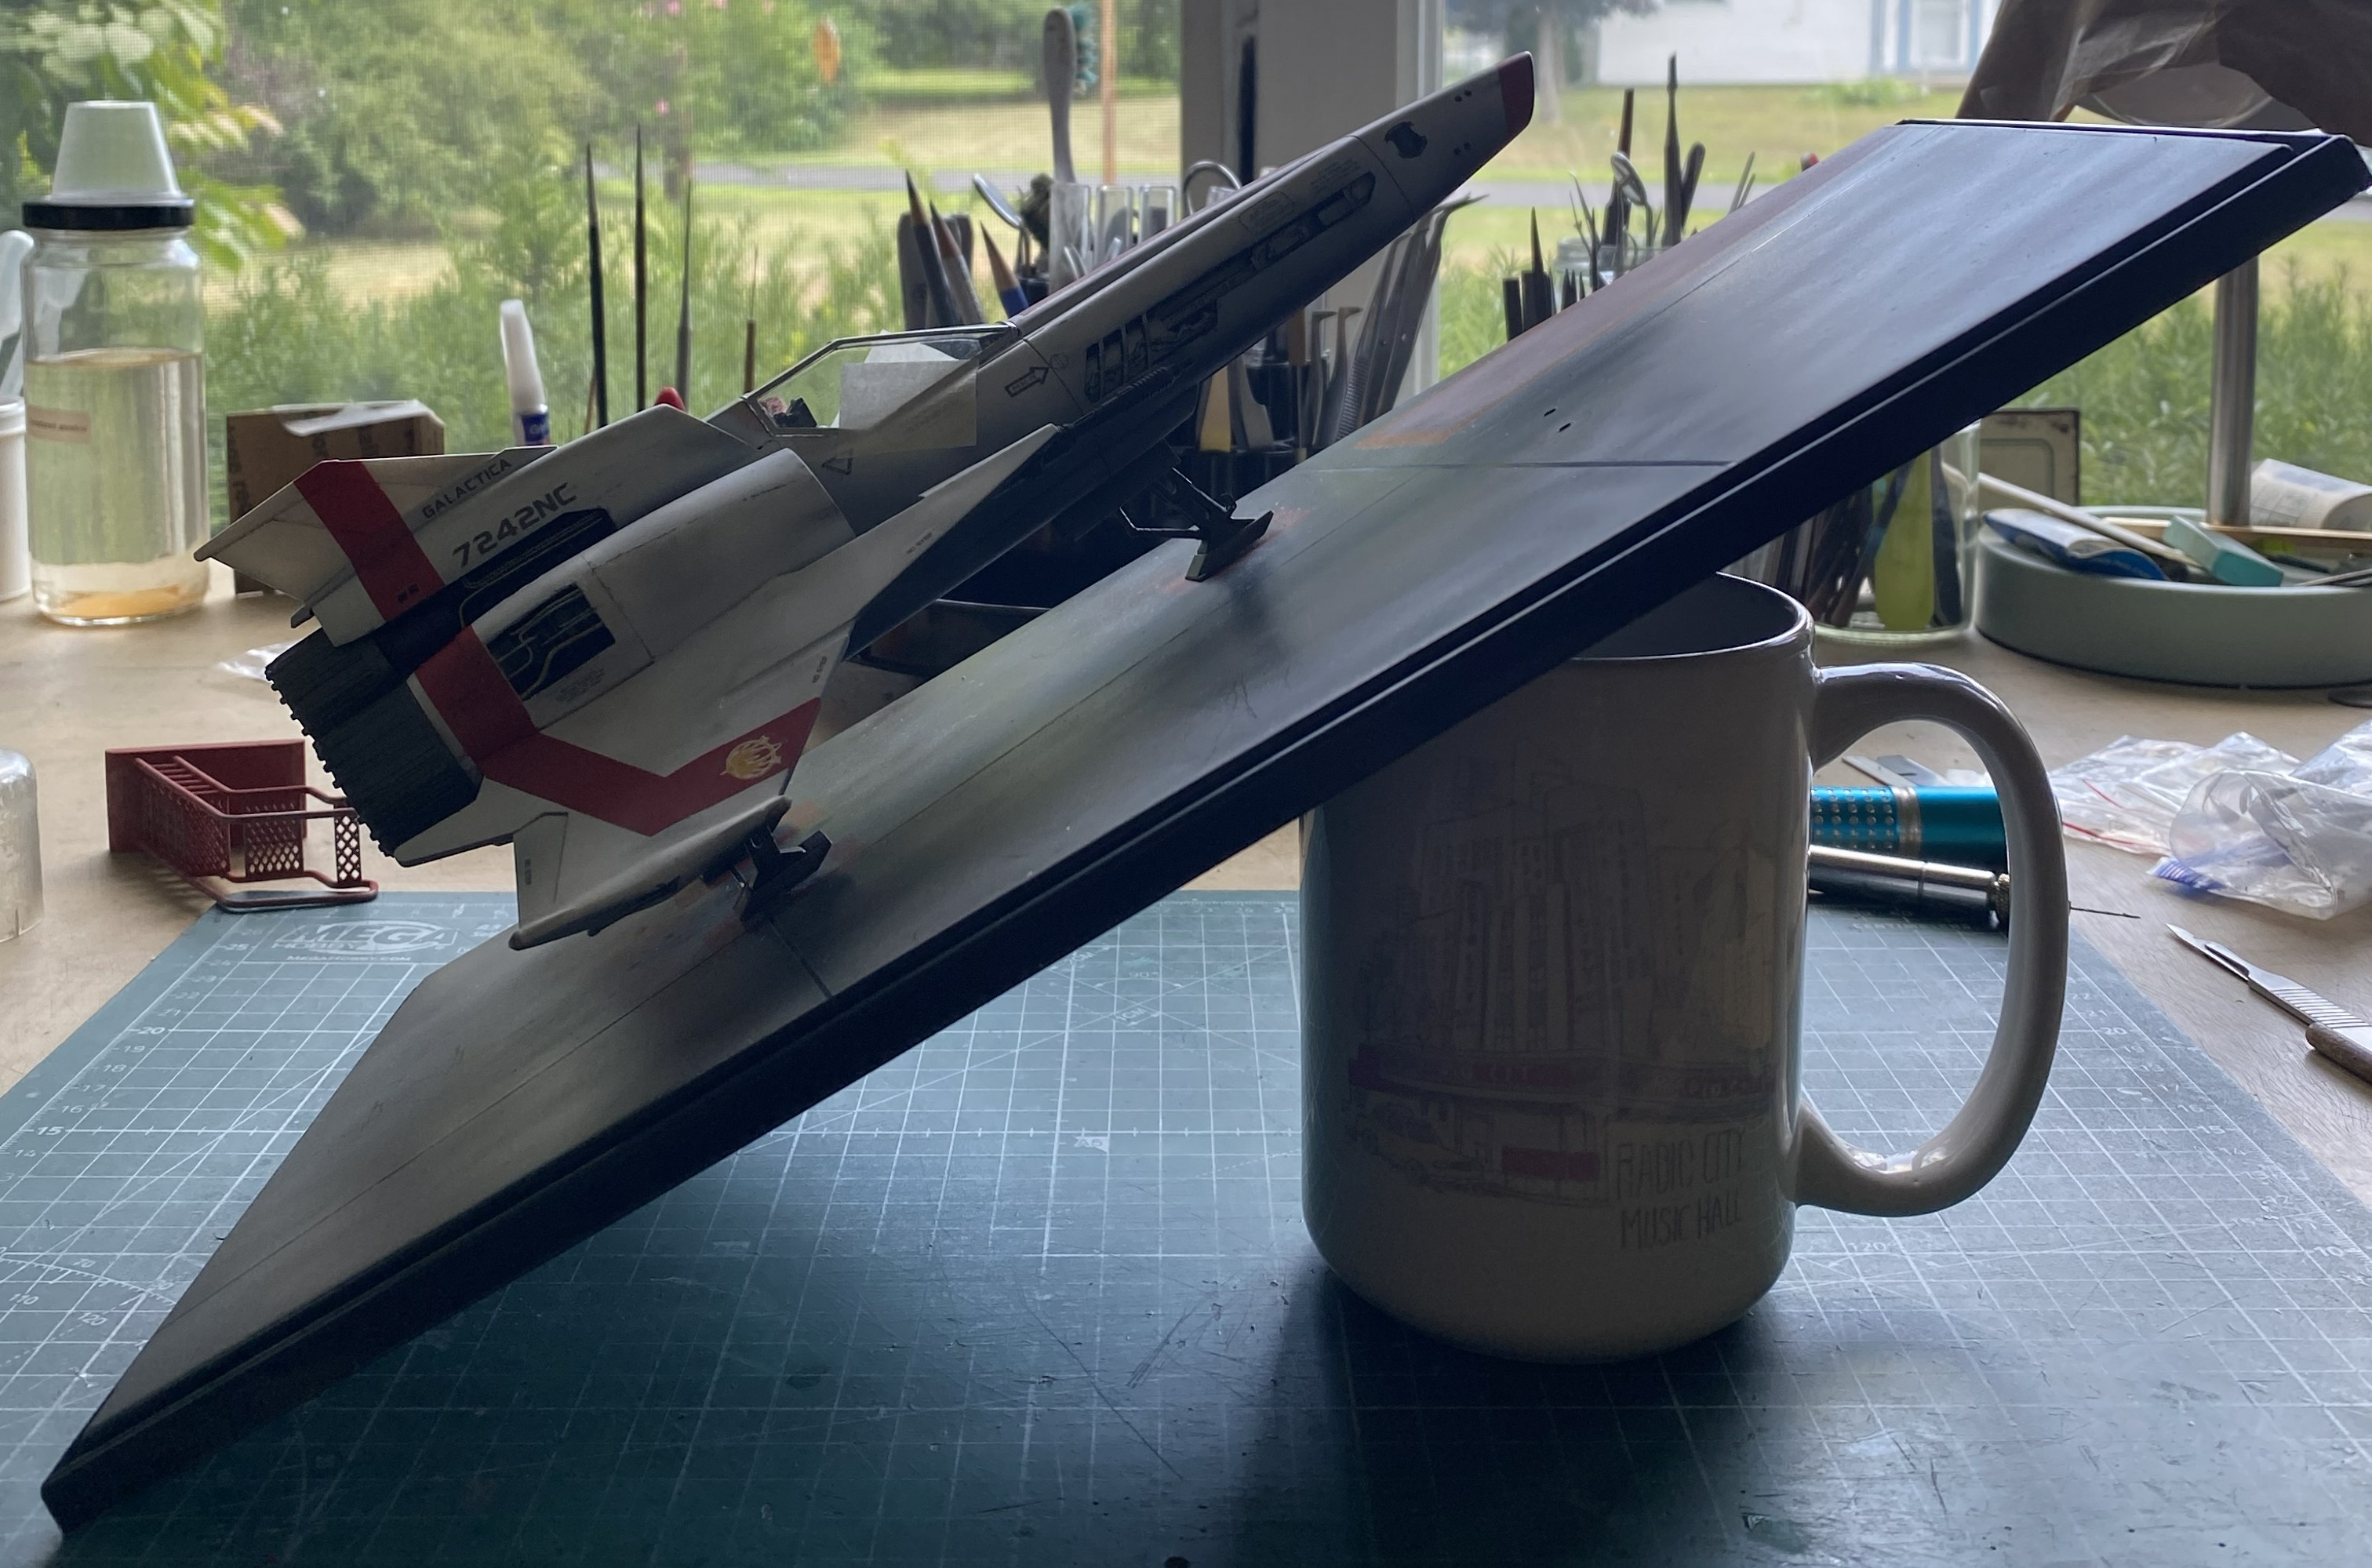
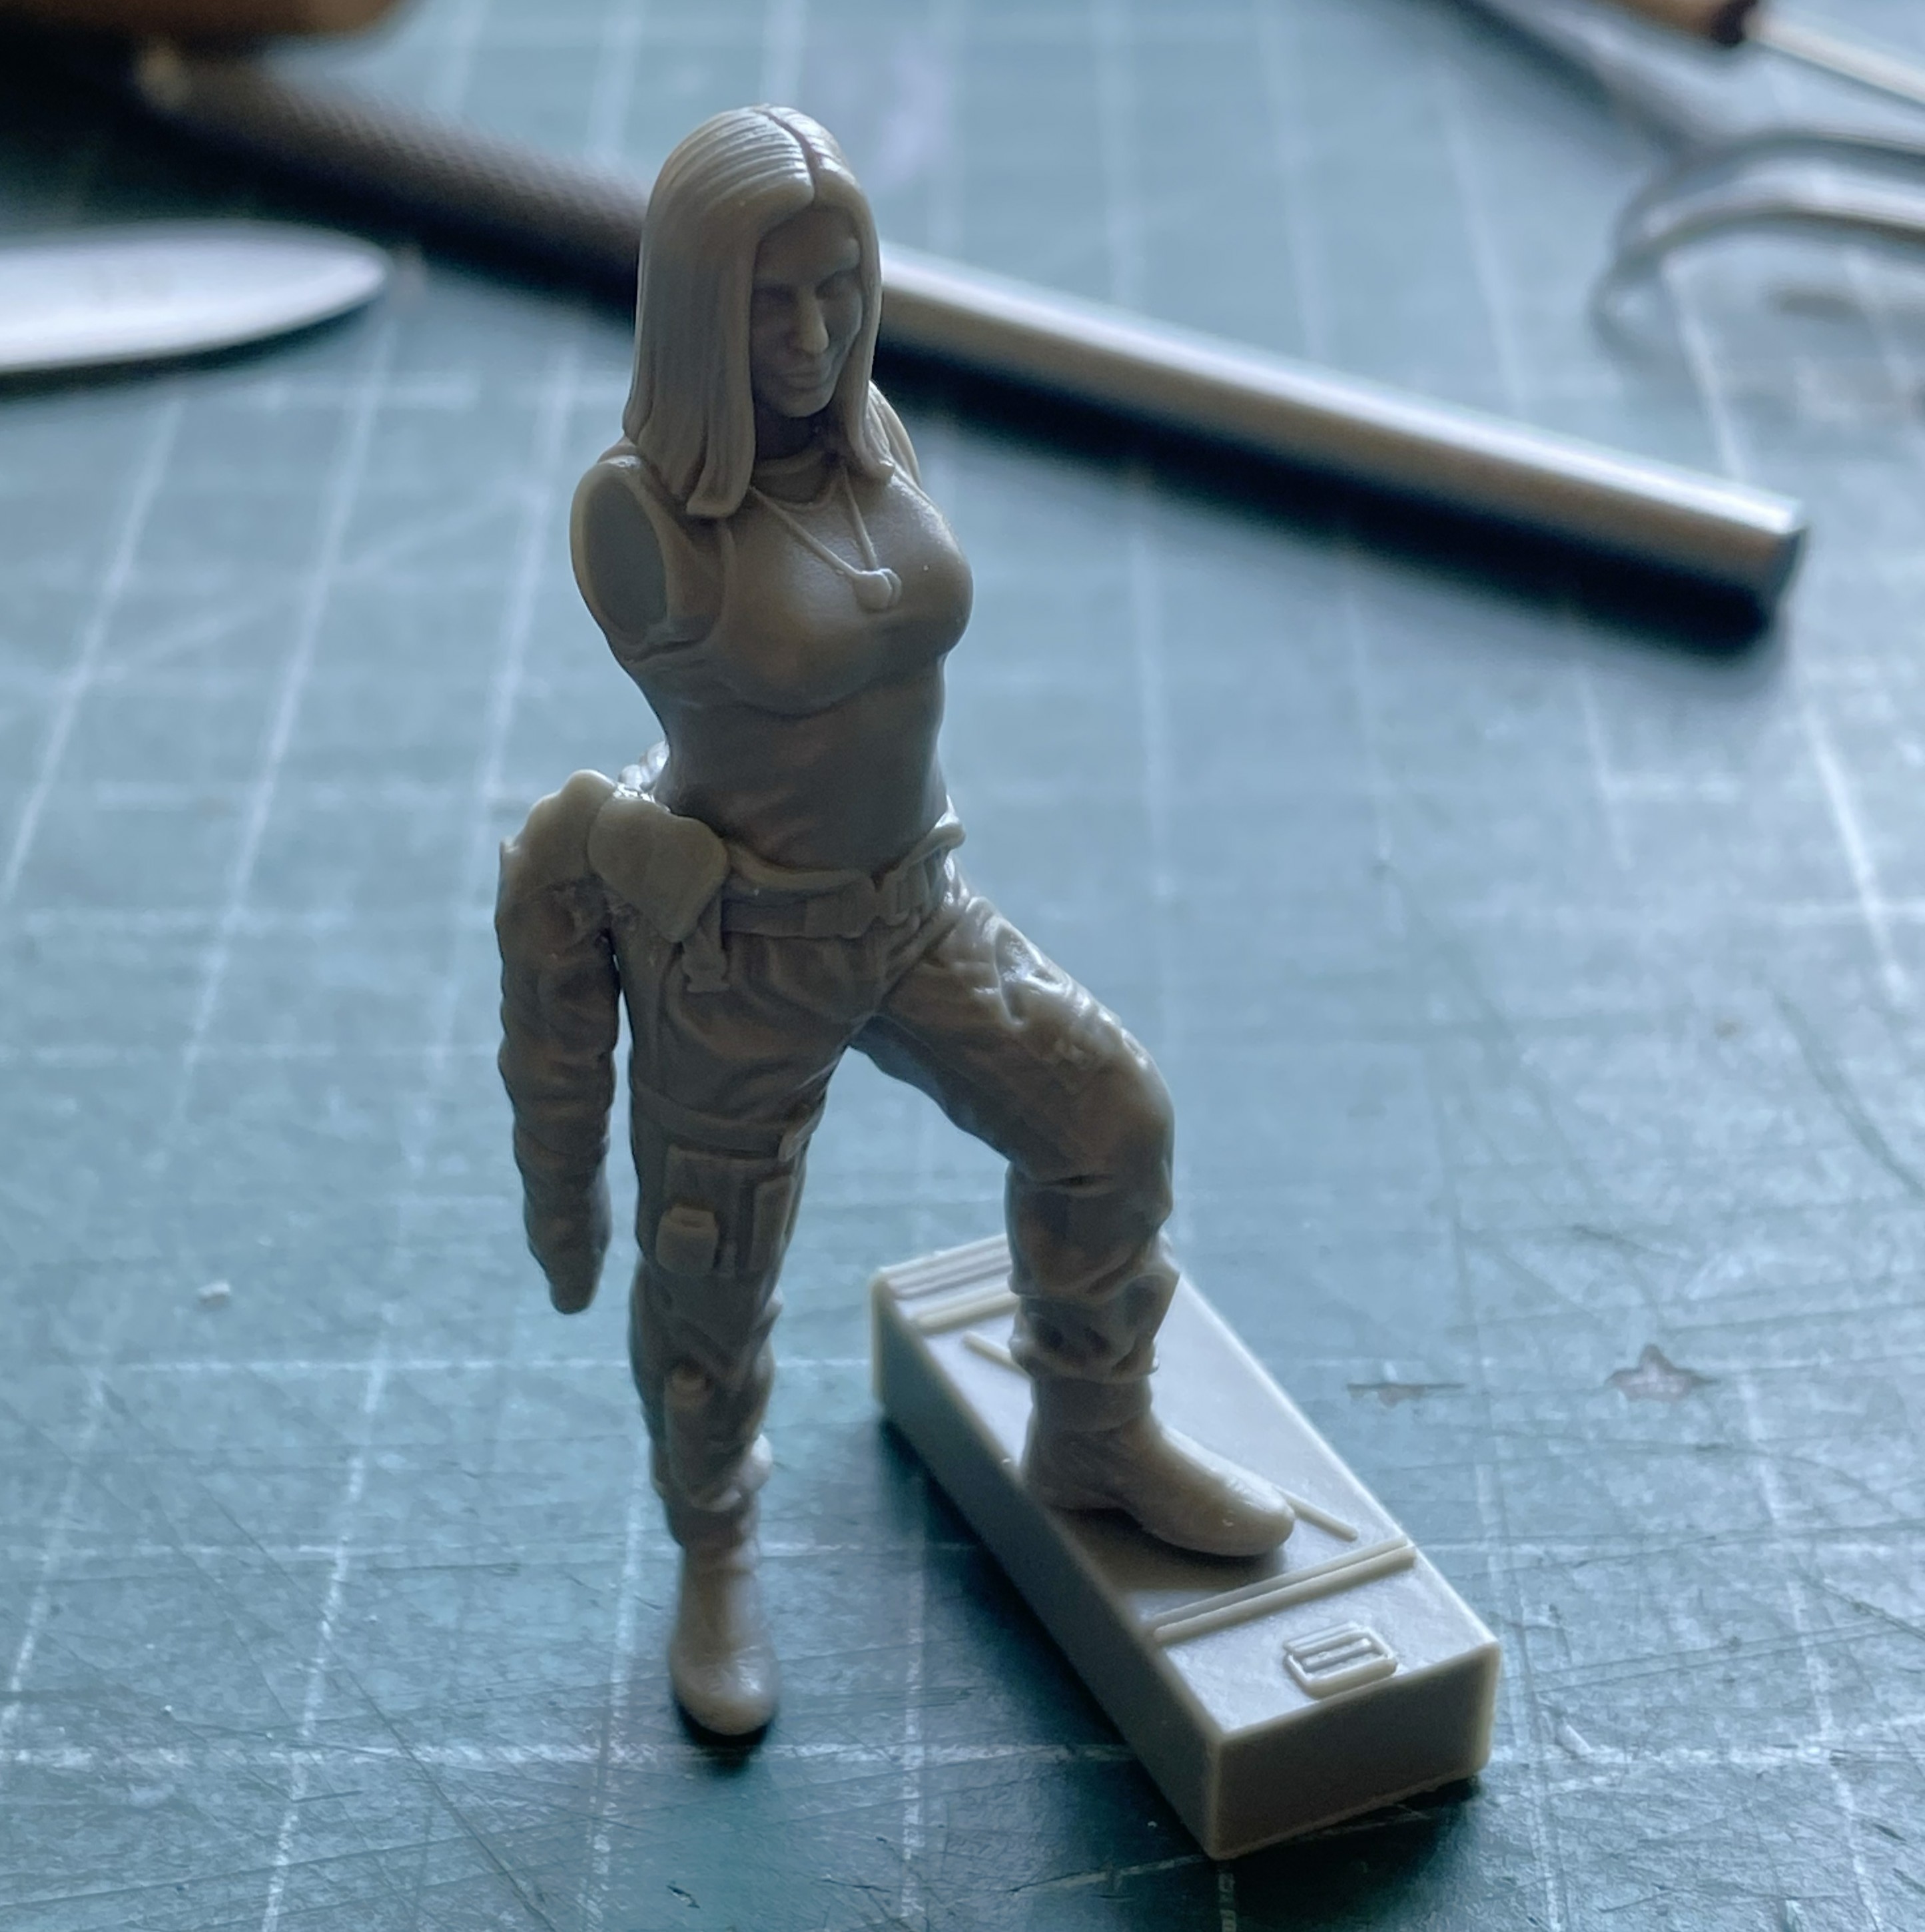
The intent to keep things located extends to the figure and ammunition box, but not to the access ladder (the one pose option, where to put the ladder). At the angle shown below, this model would slide off its base:
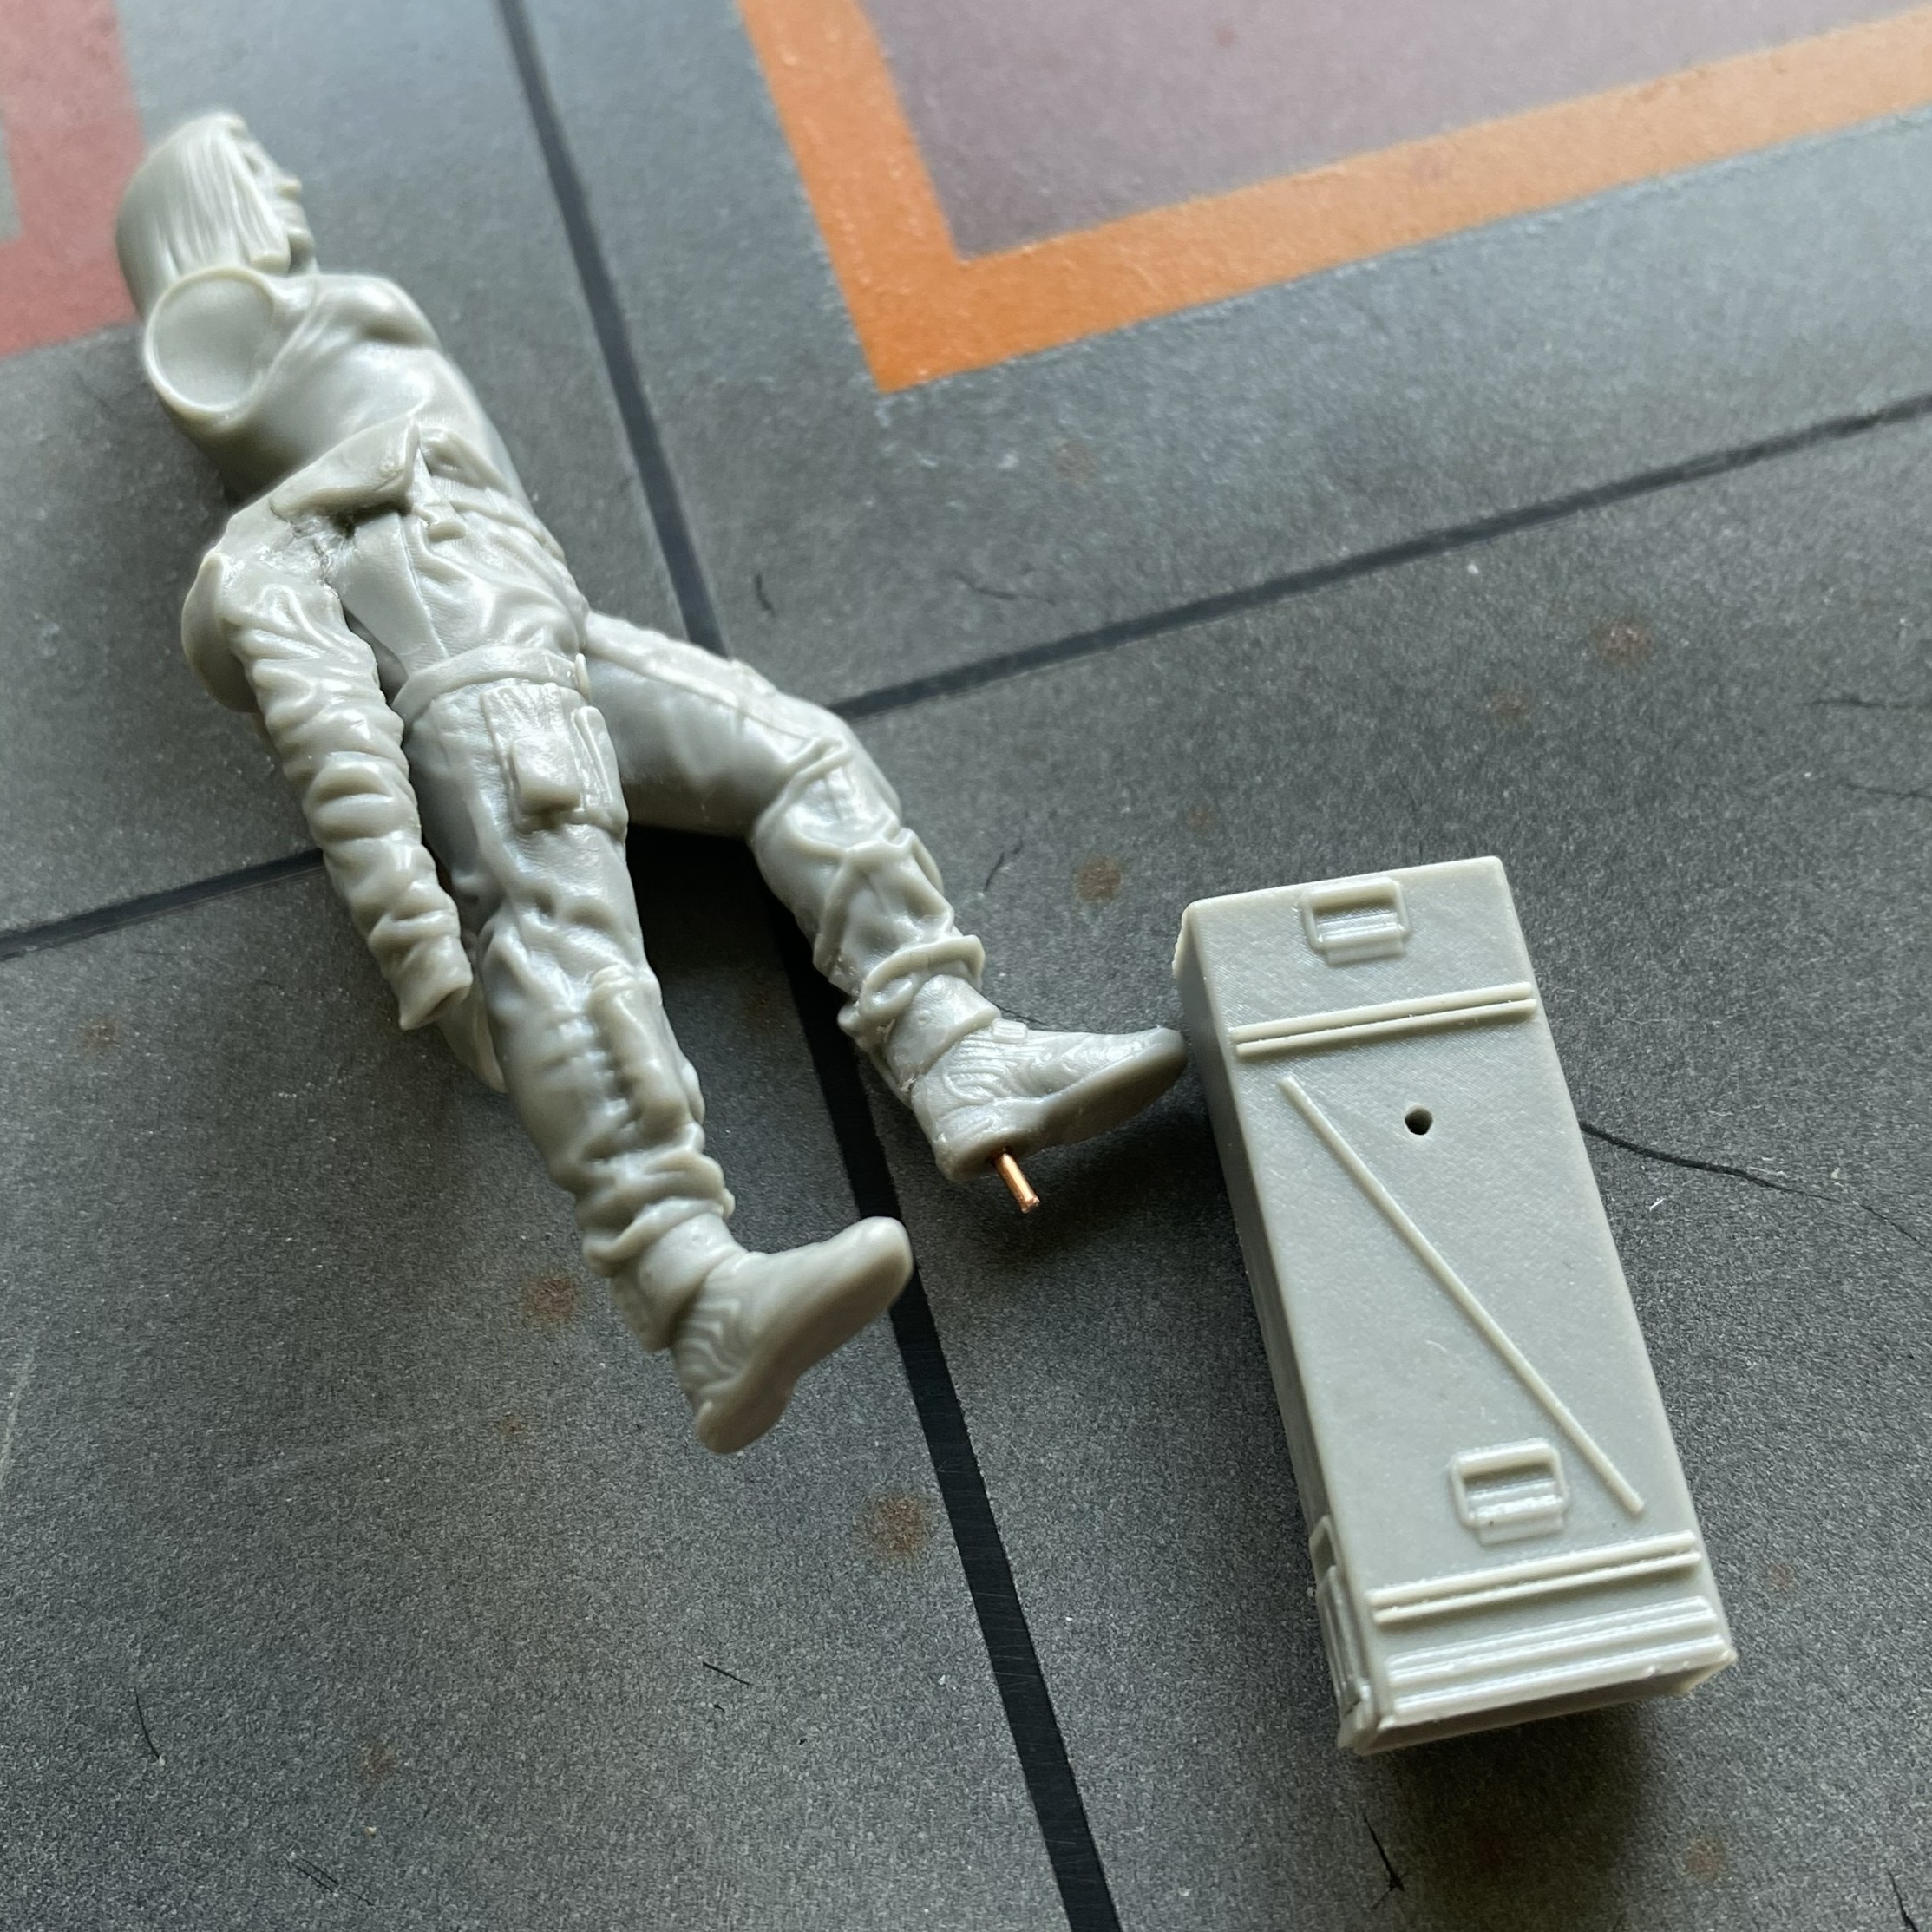
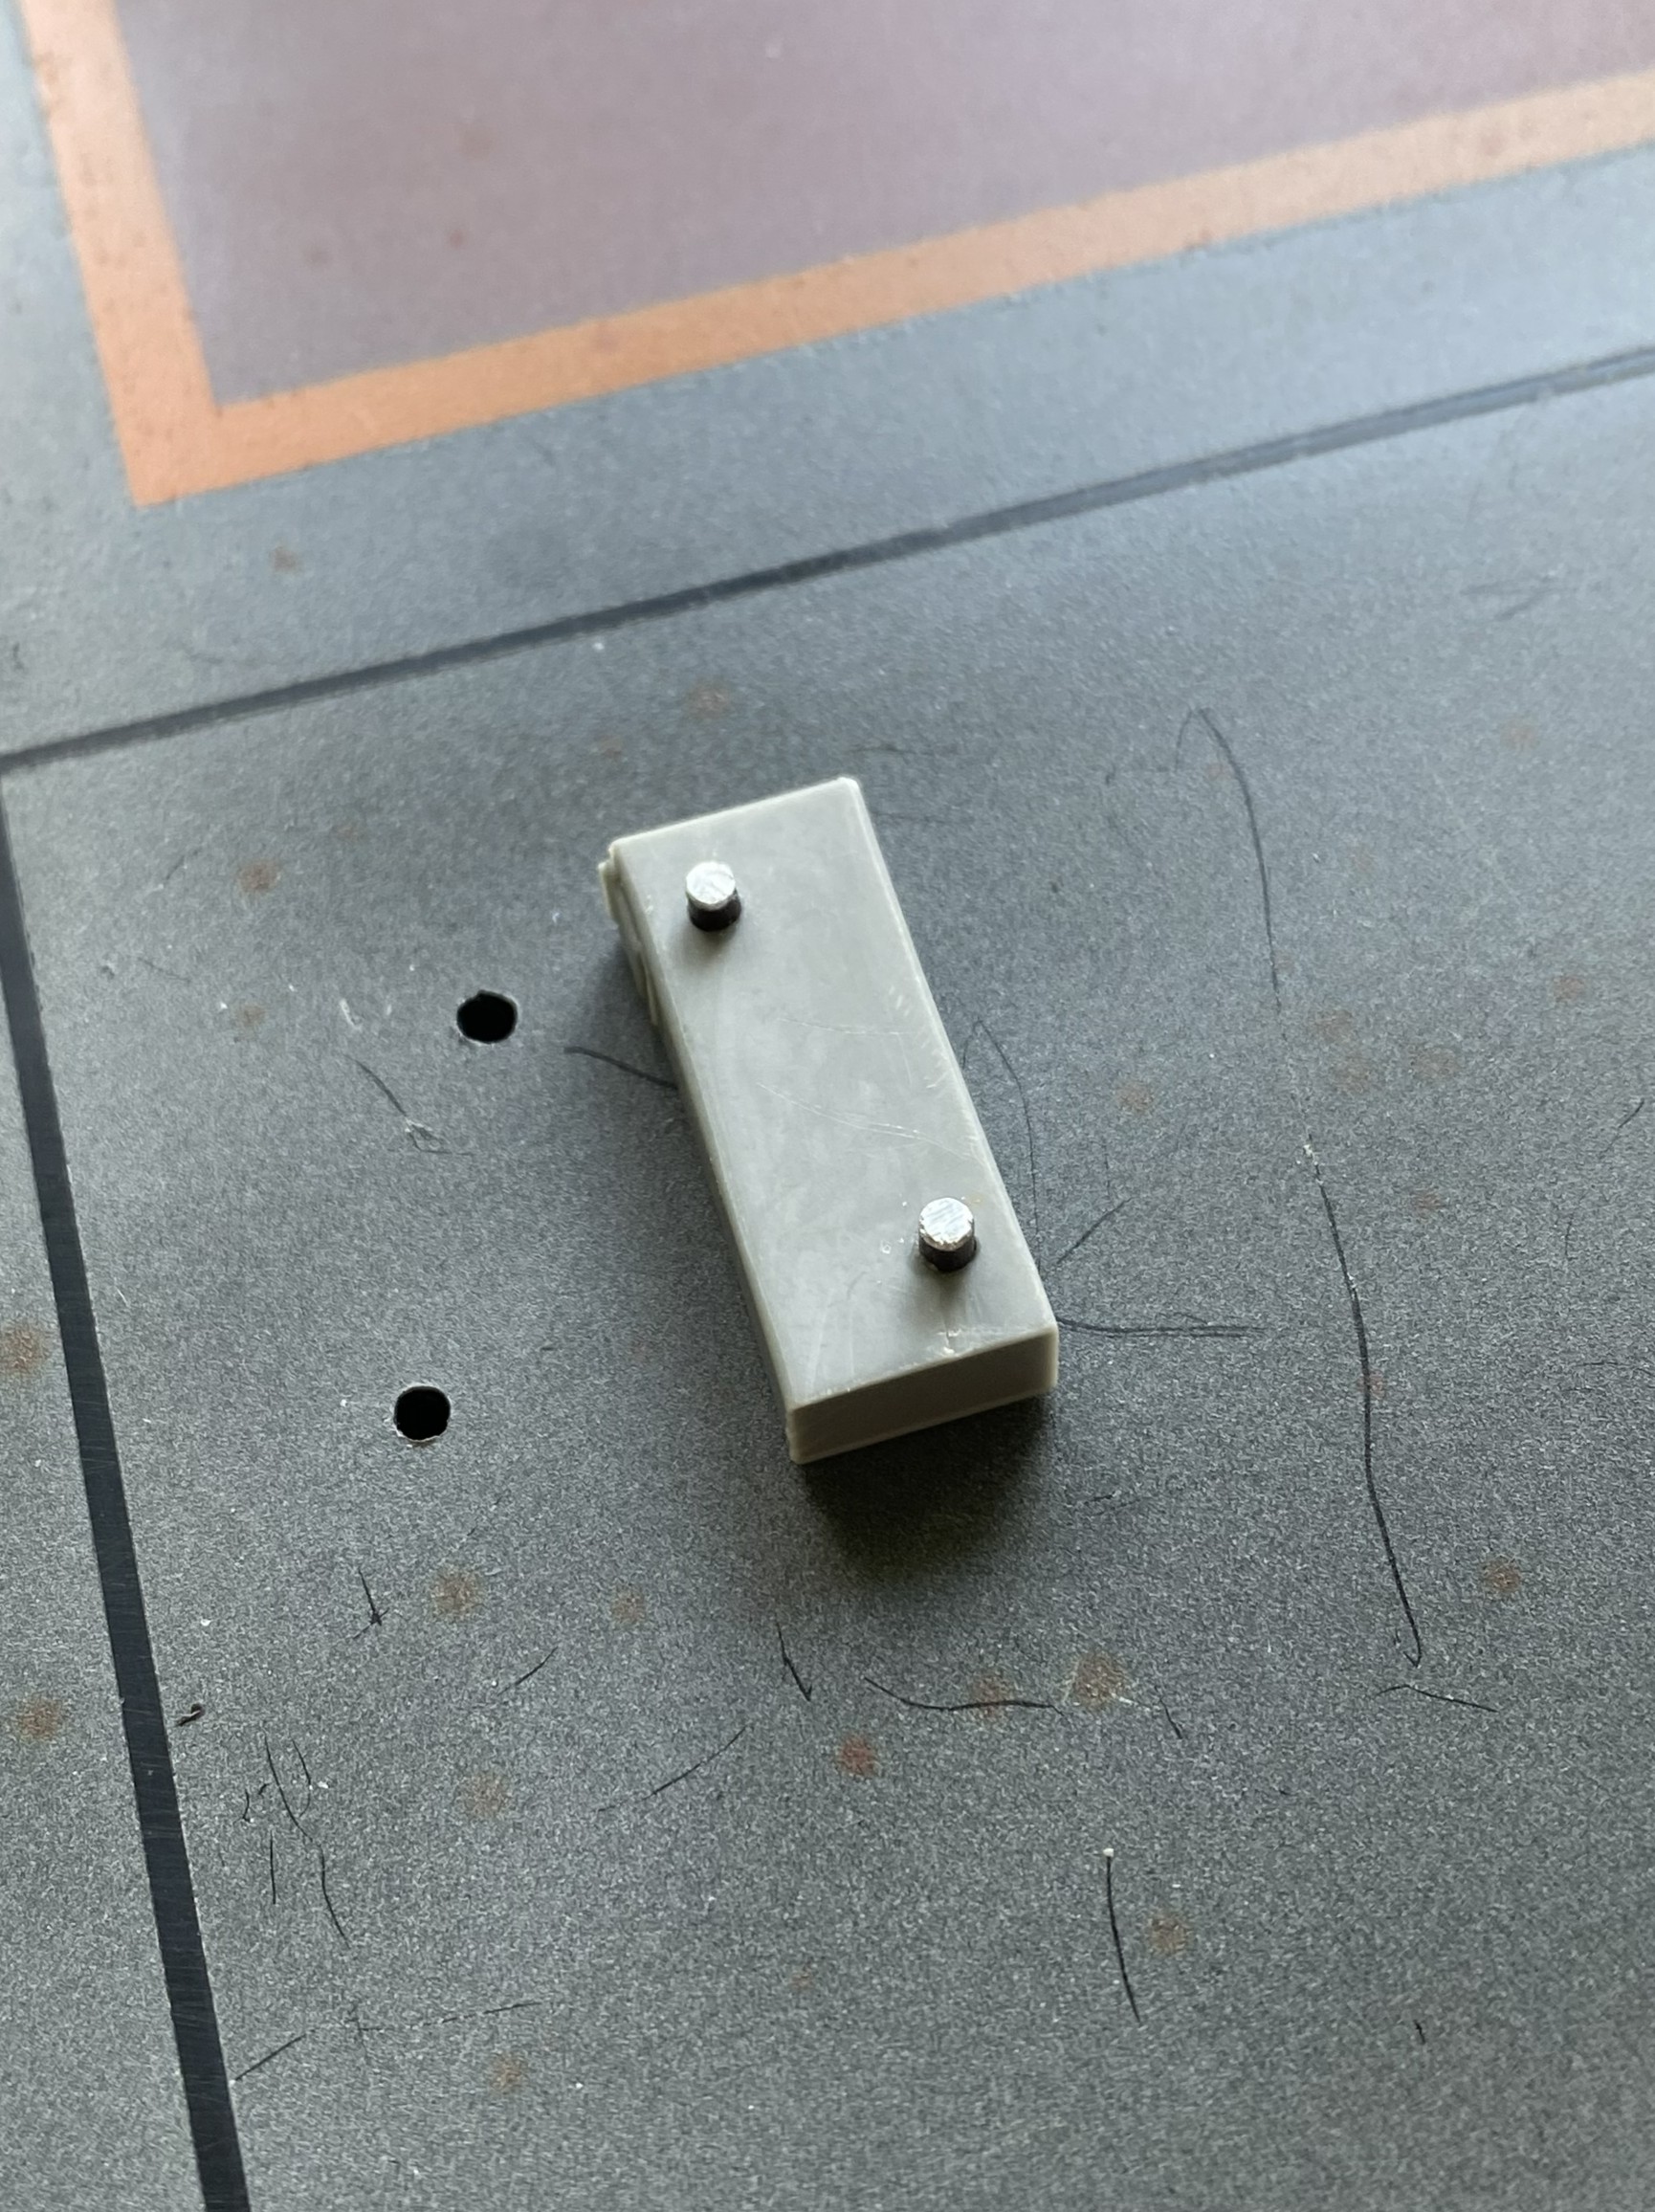
While in “pinning mode,” I decided where to put the ammo can and figure and then added pins (these will probably not be glued to the base, but that decision is for later):
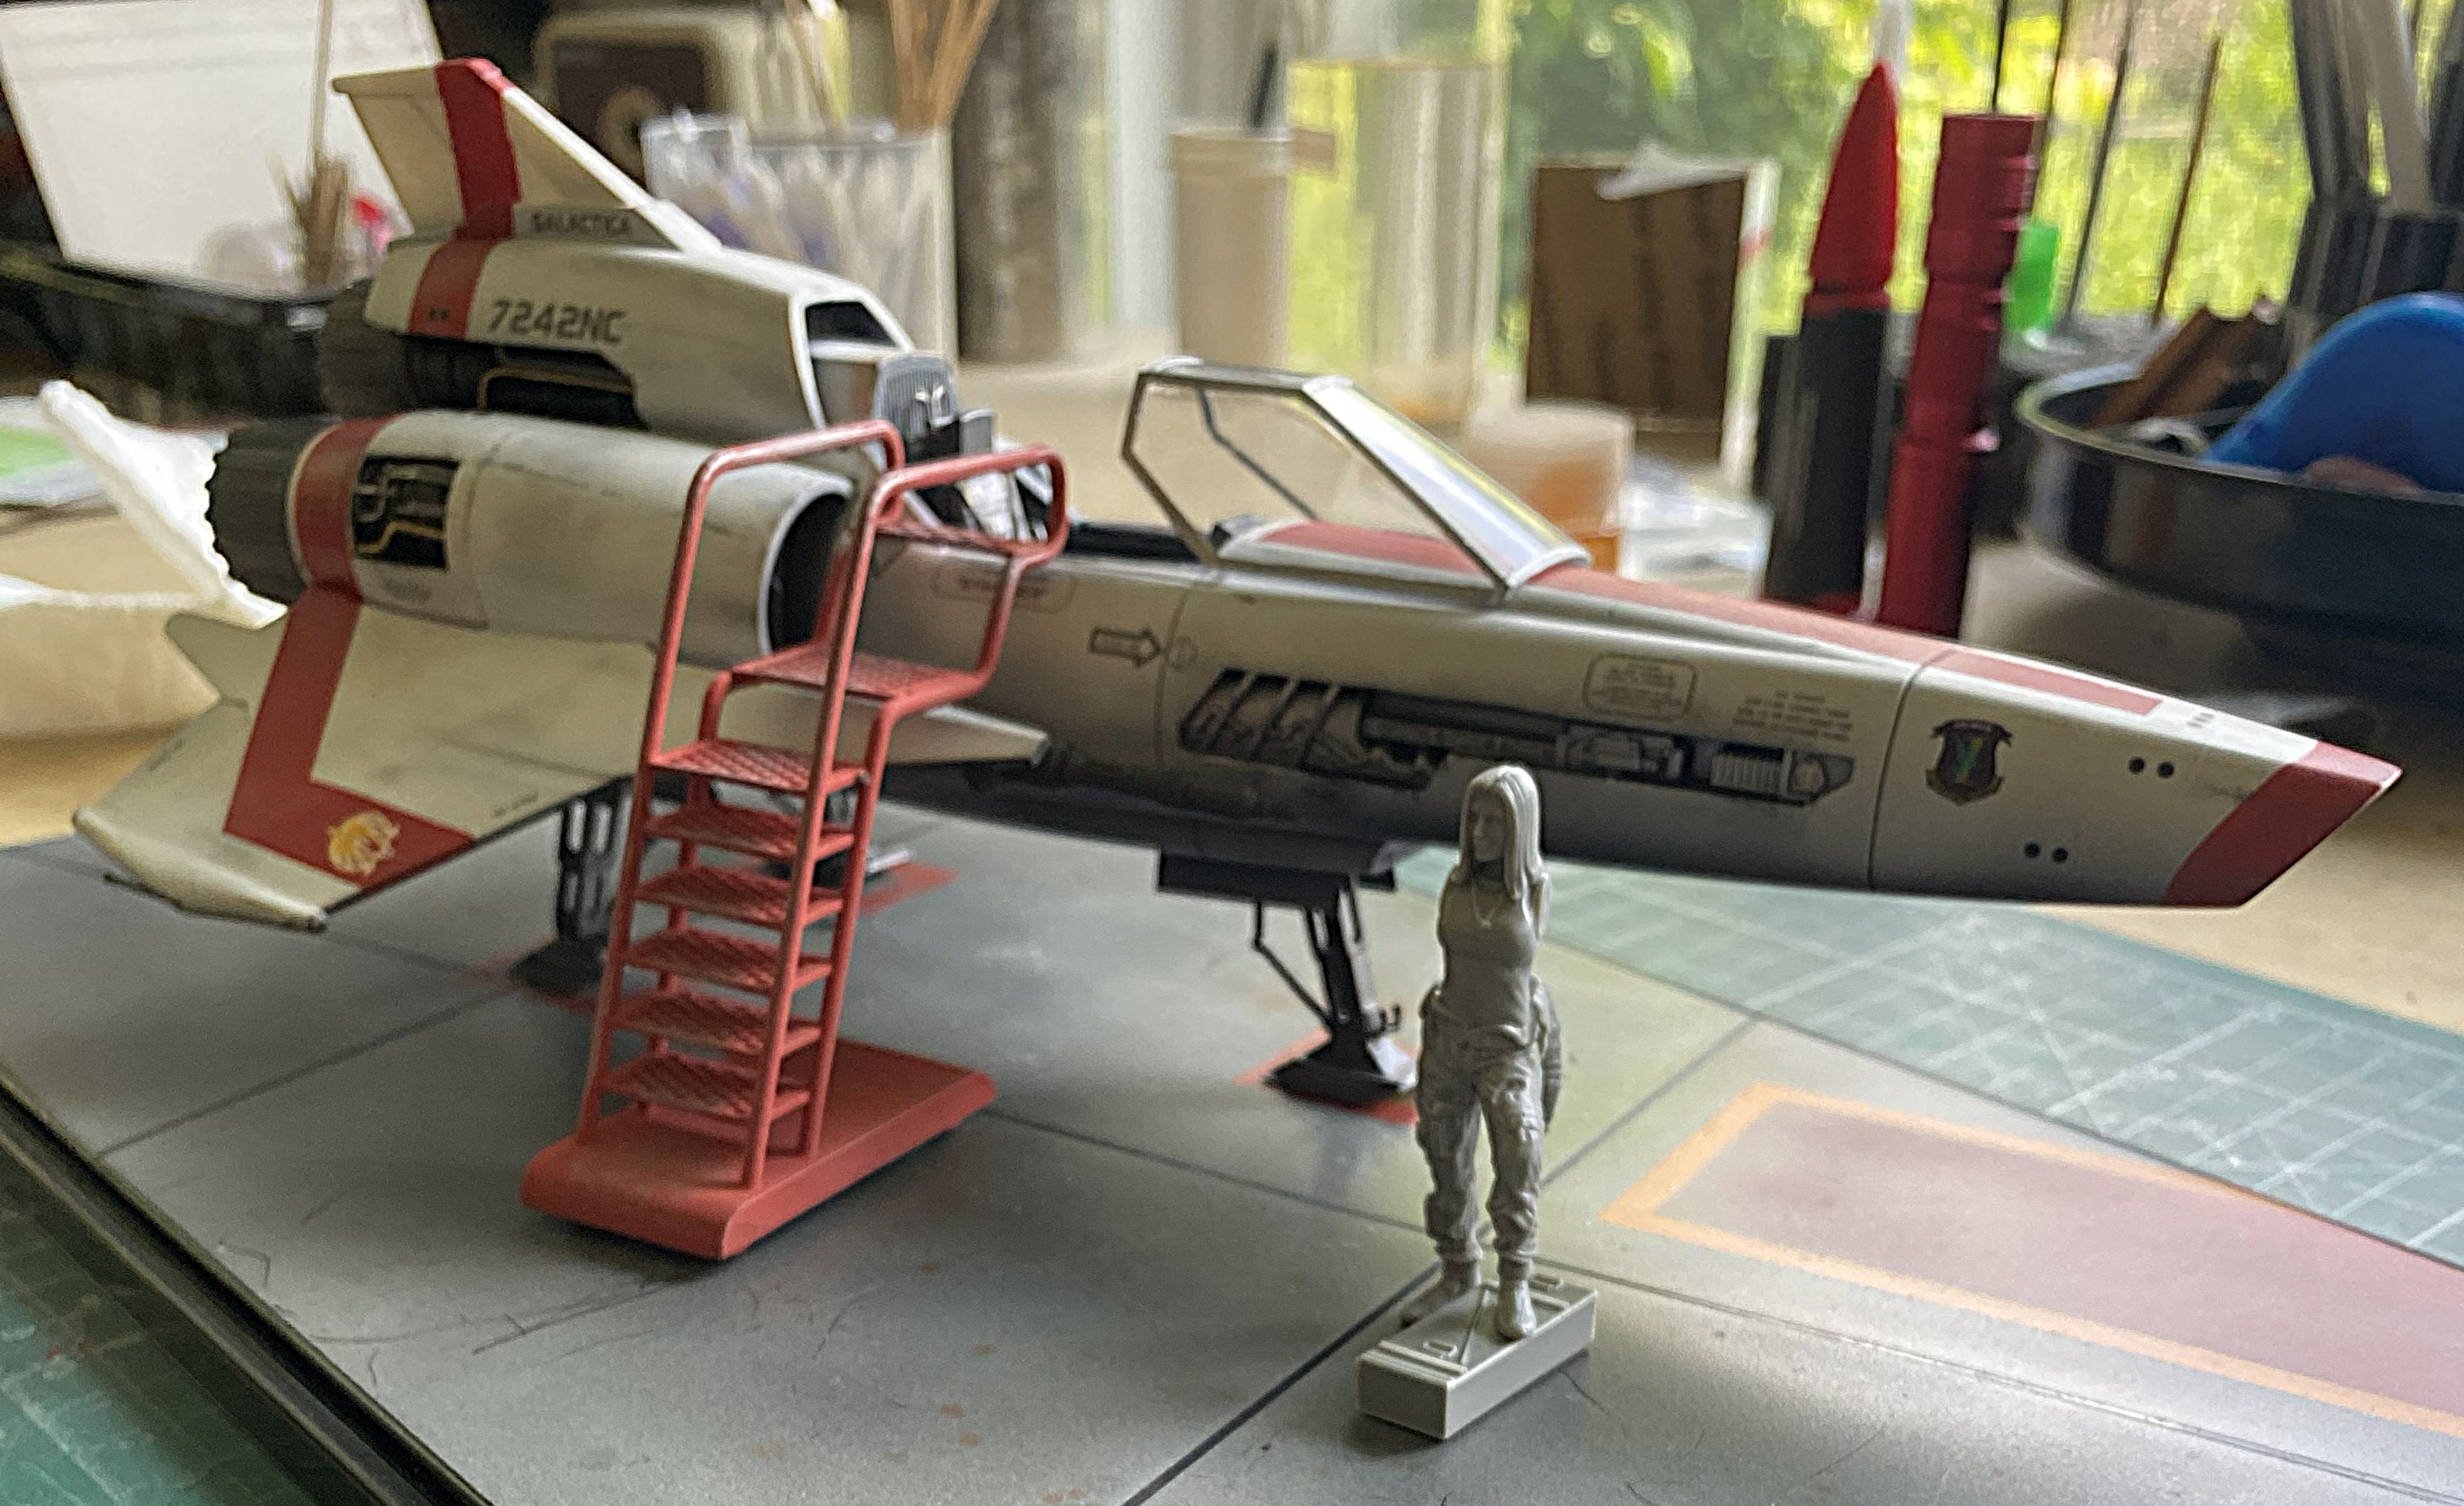
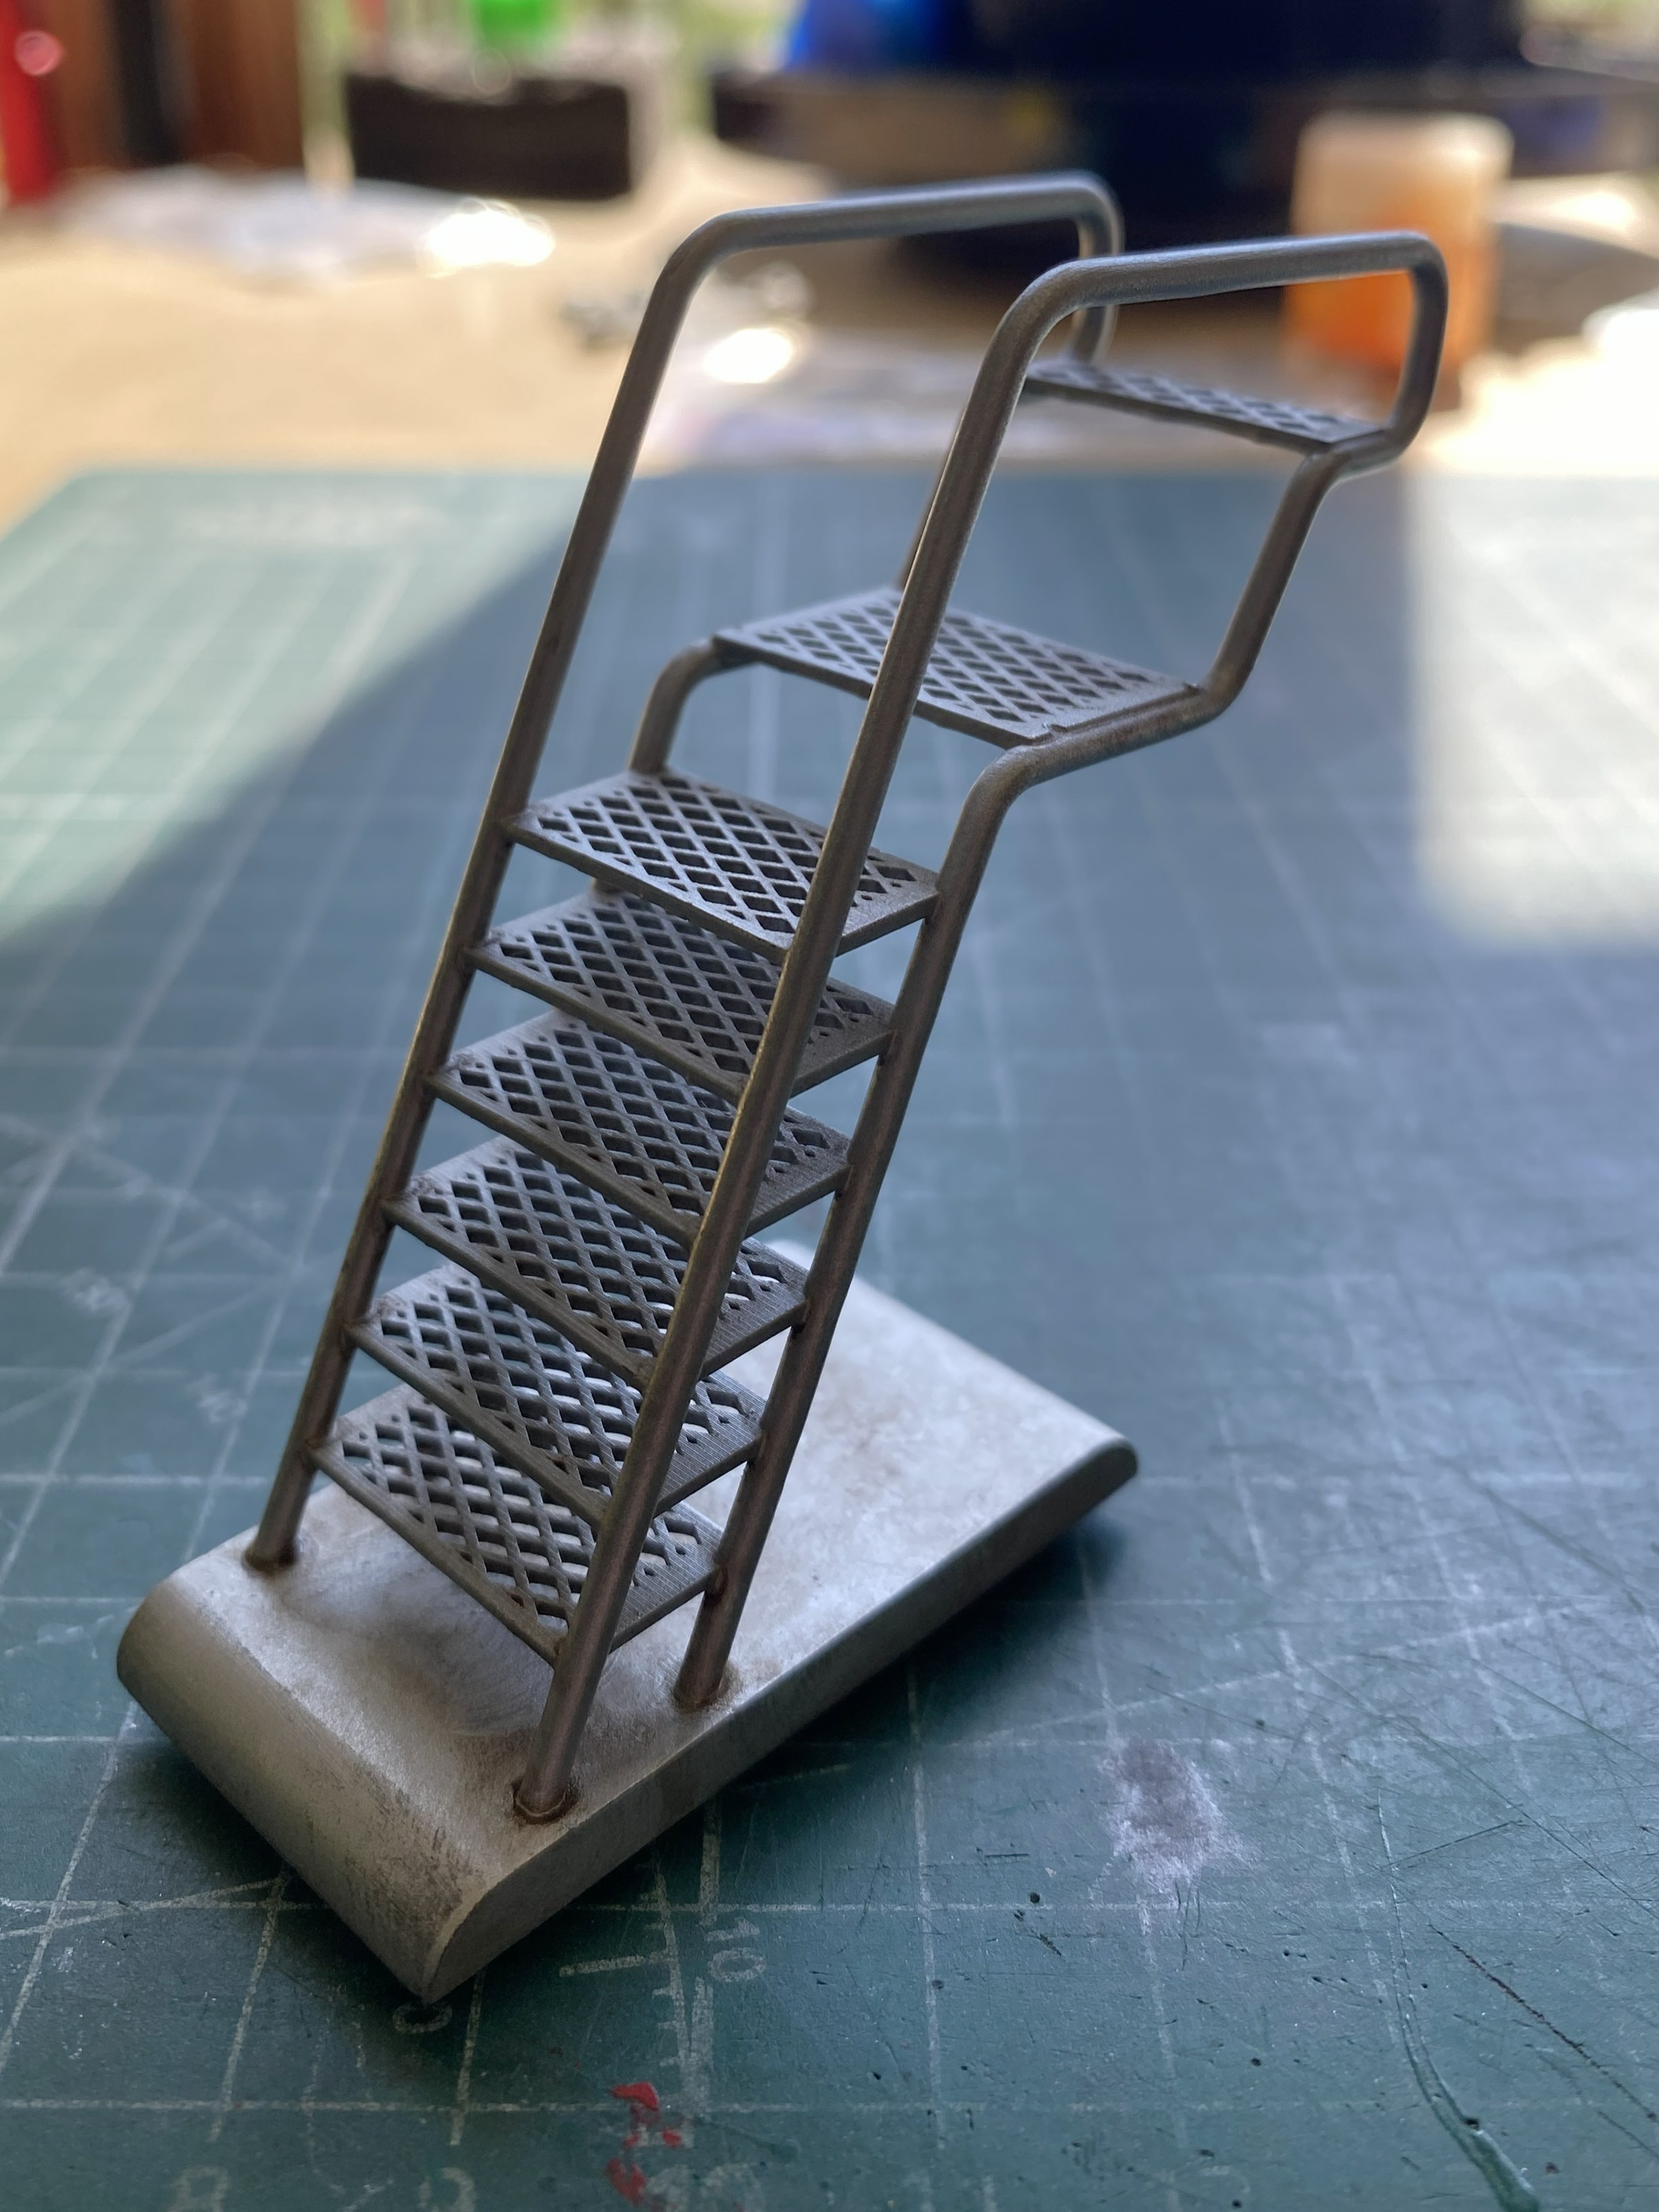
Keeping with my theme of I’ll-do-anything-instead-of-paint-the-figure, I repainted the access ladder. Mistakenly, I’d assumed that the support equipment would be the same color as the markings on the deck and Viper. Then I looked at references and saw that those ladders were natural (or so they appeared to my color-defective eyes) aluminum. I stripped the red off, did my due diligence by working the surfaces of the ladder’s railings to remove marks from the 3D print (which, you’ve correctly concluded I should have done before painting it red). Once done, I shot it with a mix of Tamiya XF-16 Flat Aluminum (4 parts) and XF-1 Flat Black (1 part) thinned one-third:
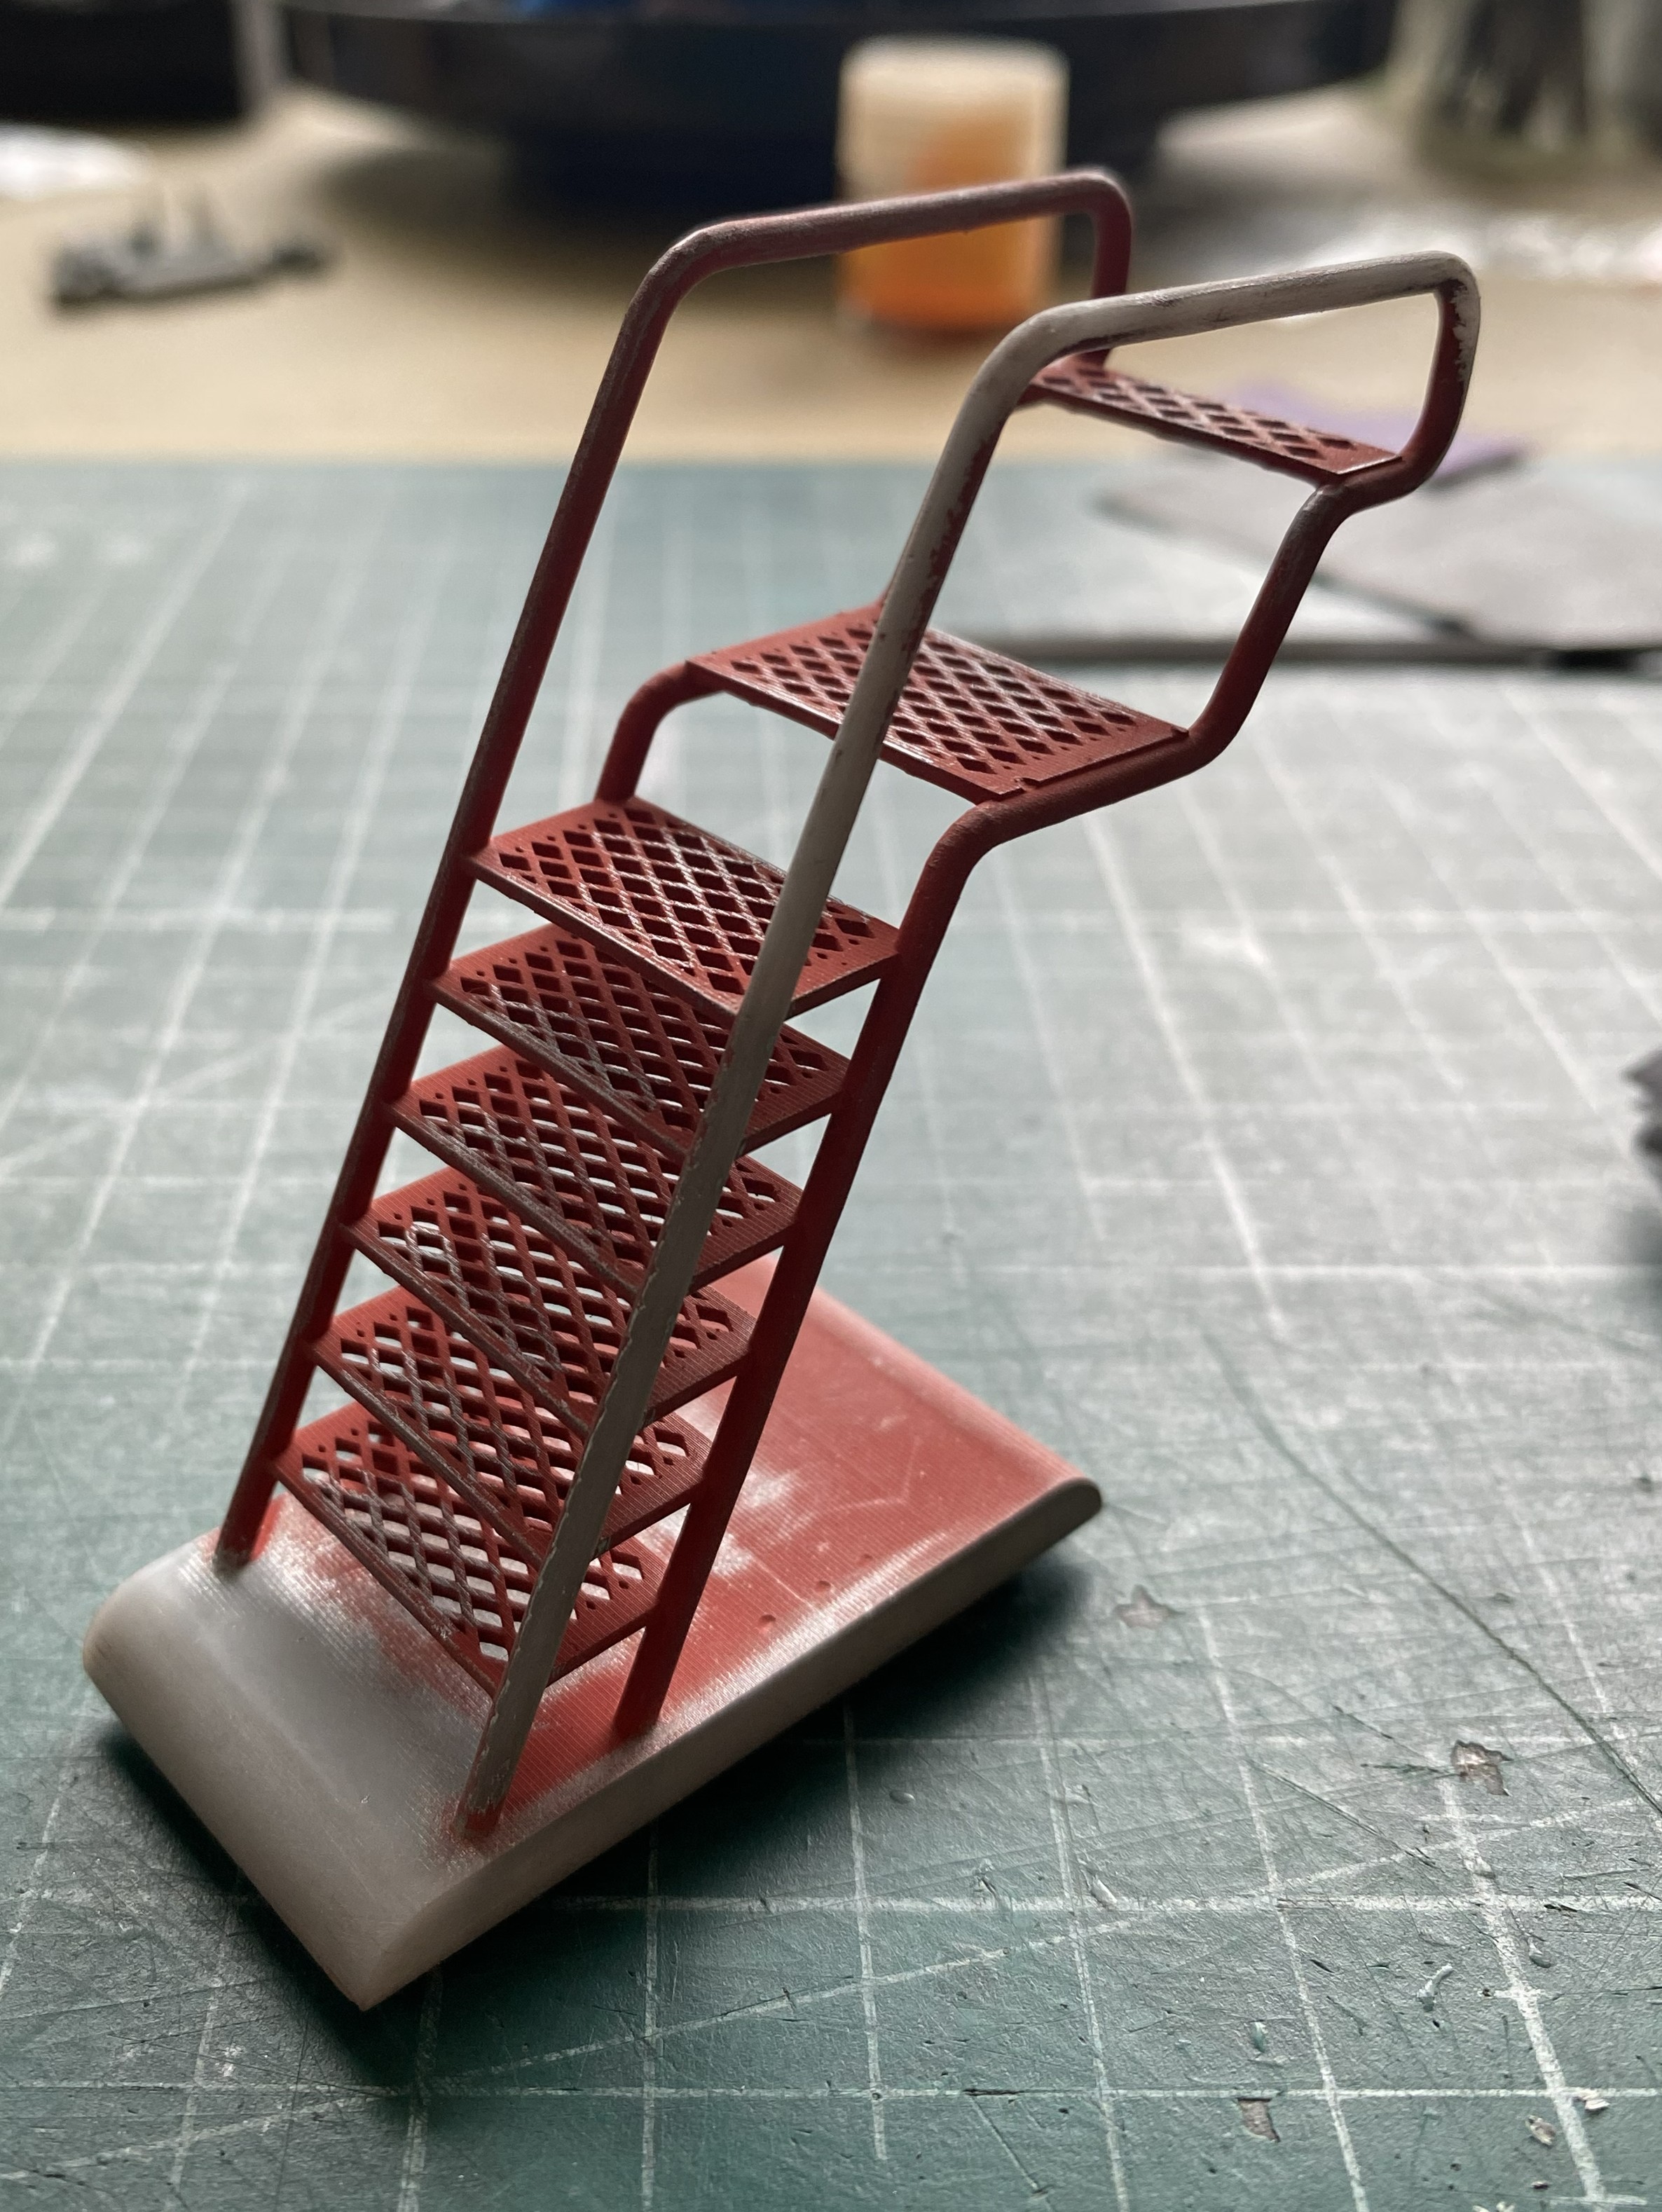
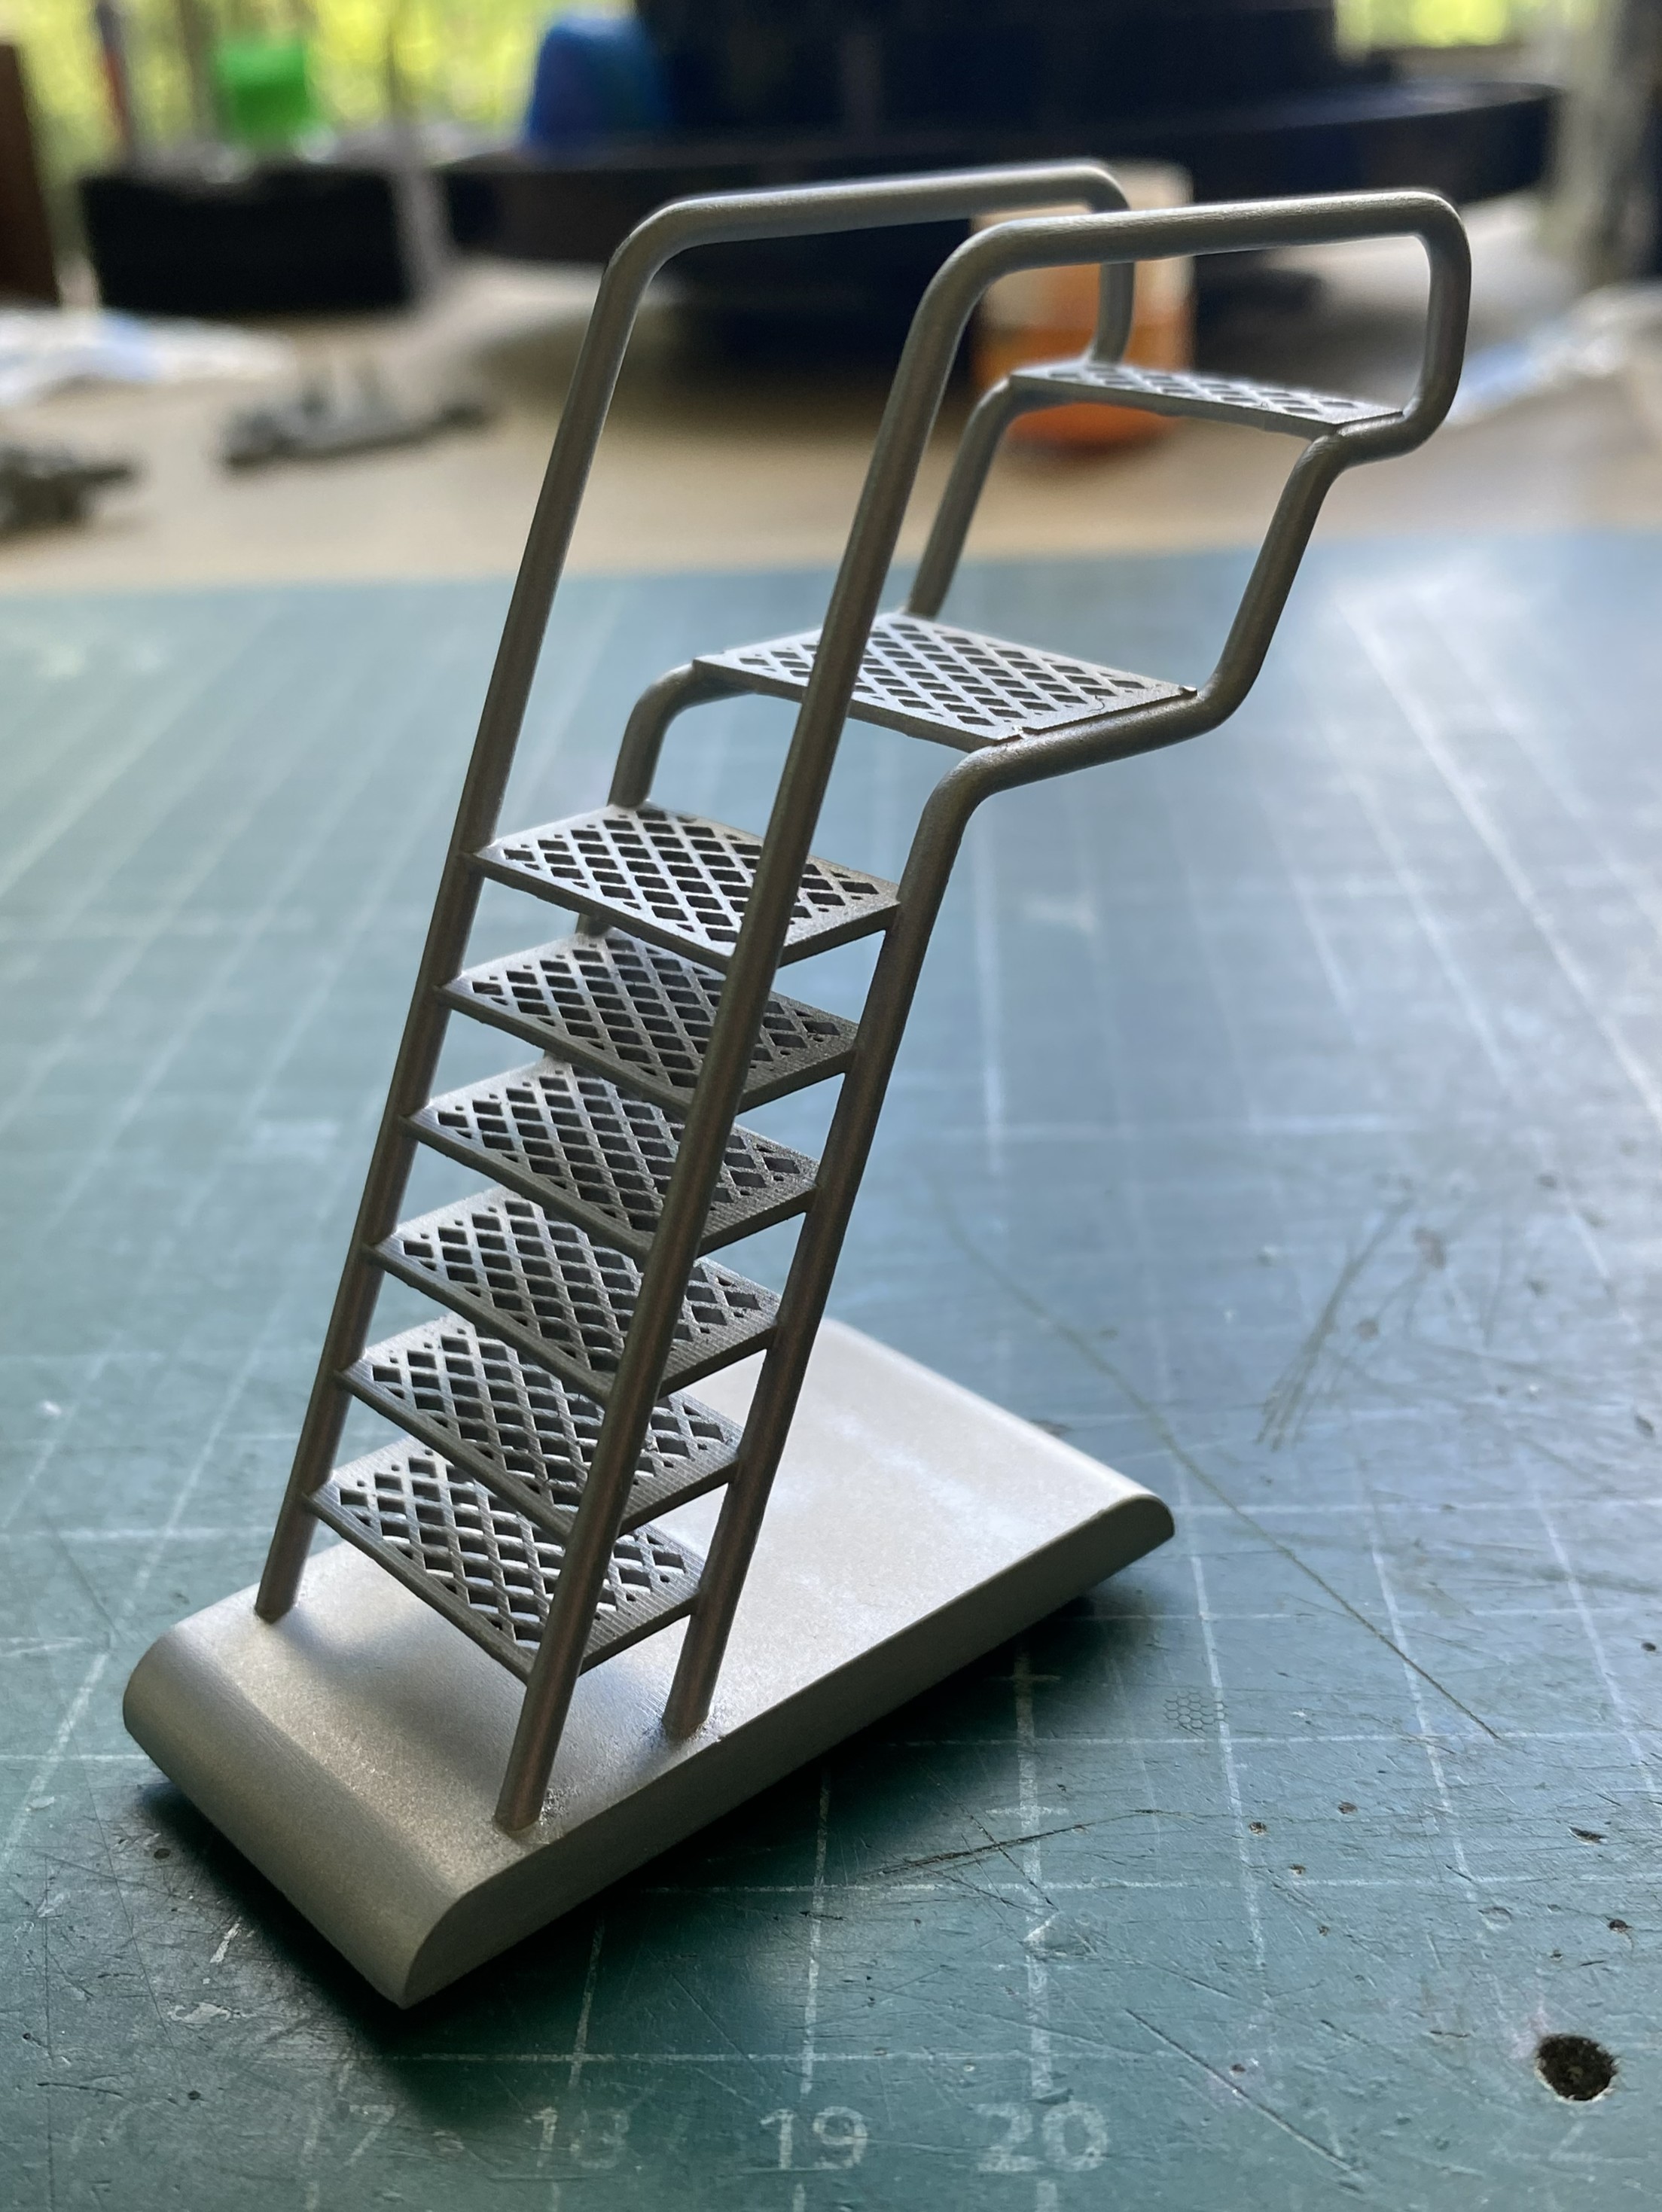
After the paint set up, I did a bit of wear marks and used oils (Burnt Umber and Black mixed) and gave it a wash, which toned down the brightness of the metal paint:
Having reached the point where there is nothing left to do but start work on the figure…fine.
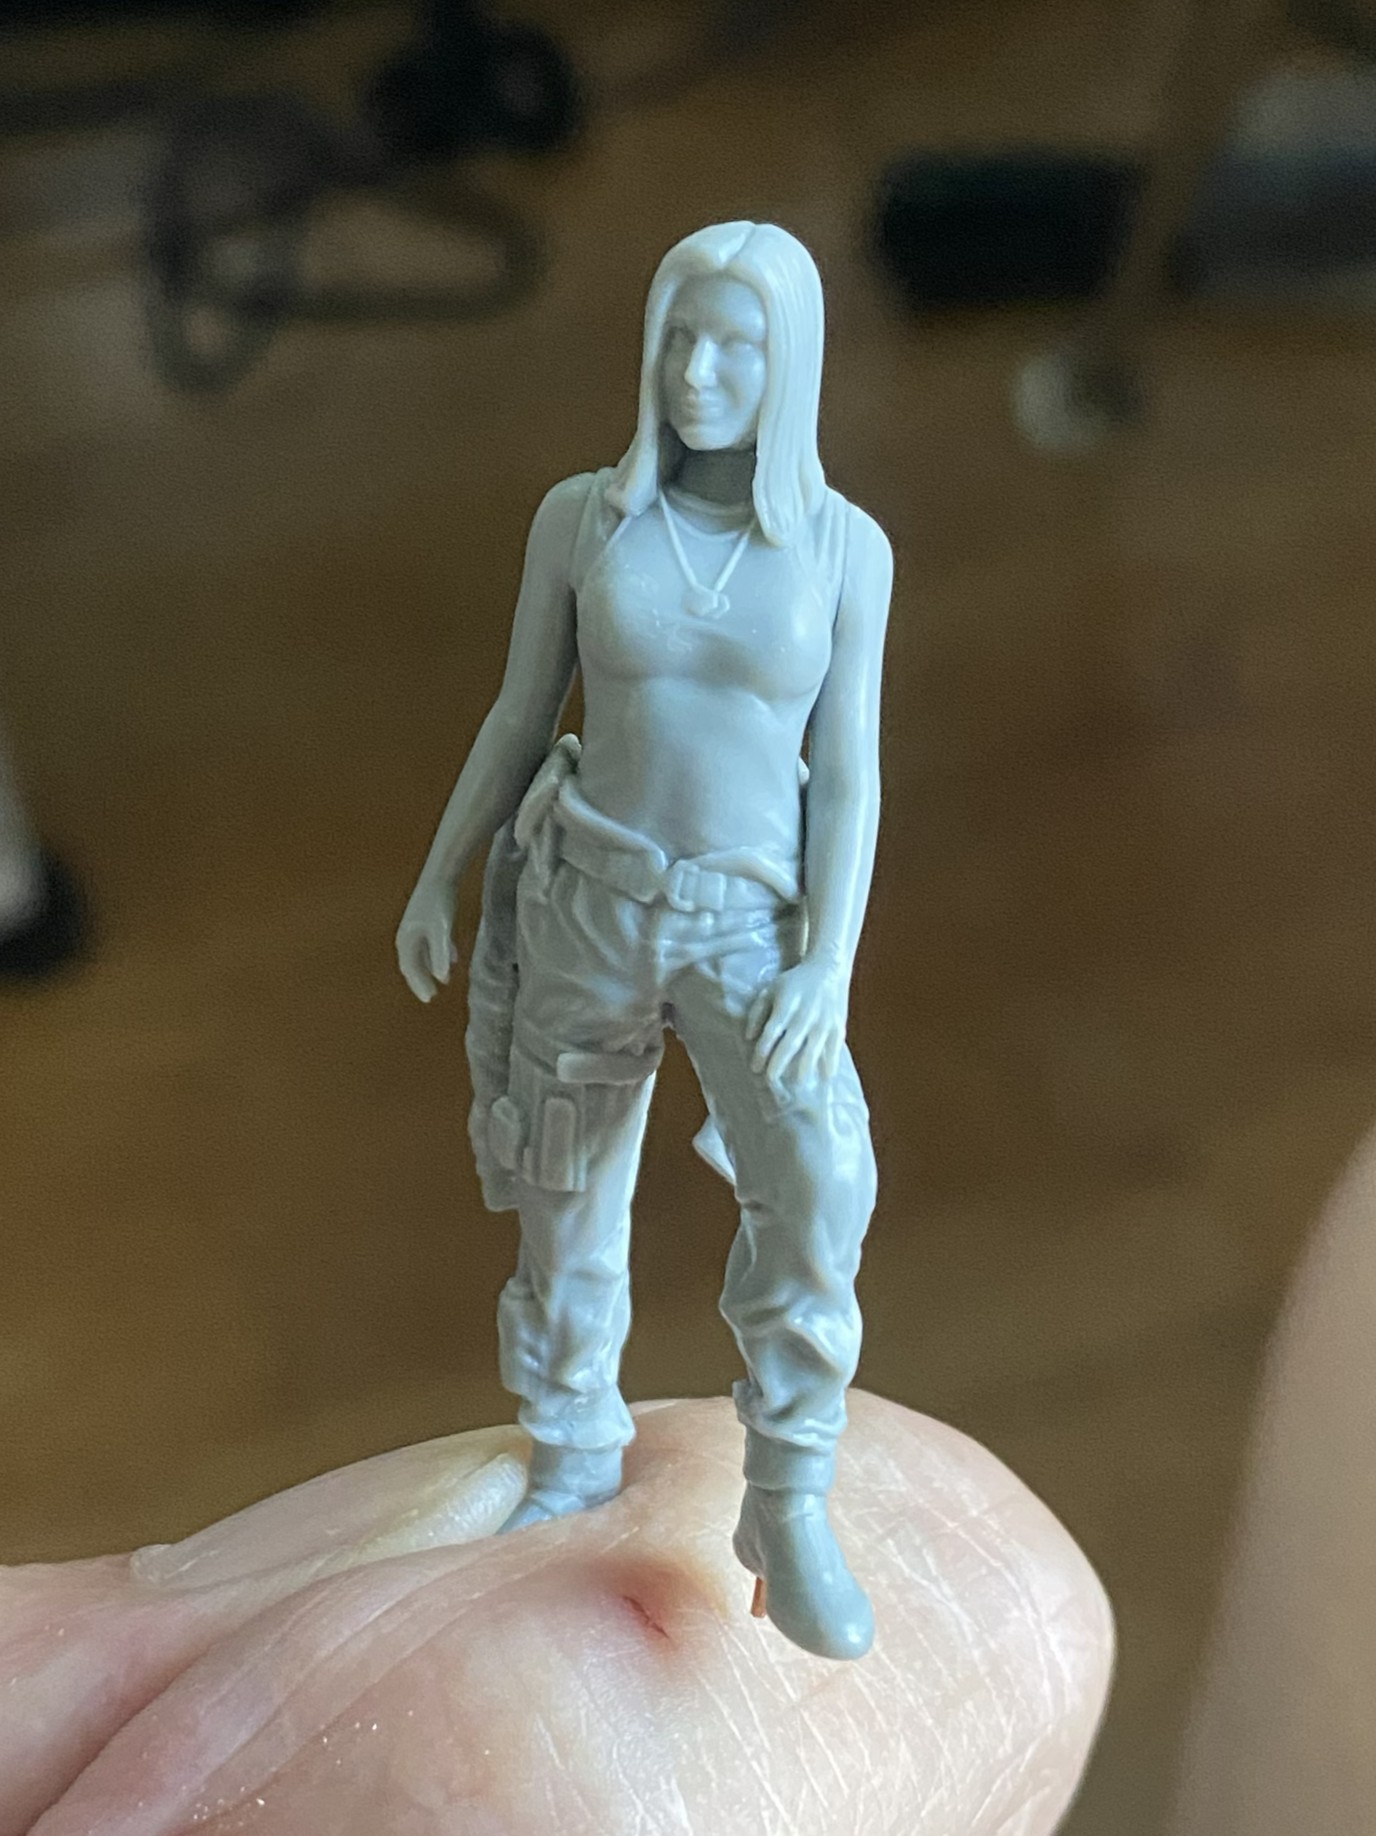
The figure seems to be a 3D print that served as the master for the mold and is nicely done. The assembly used a combination of CA (towards the center of the contact areas for strength) and UV-setting resin (at the surface because it’s easier to work than CA). The pistol is just dry-fit to see how well it fits. And it does fit nicely:
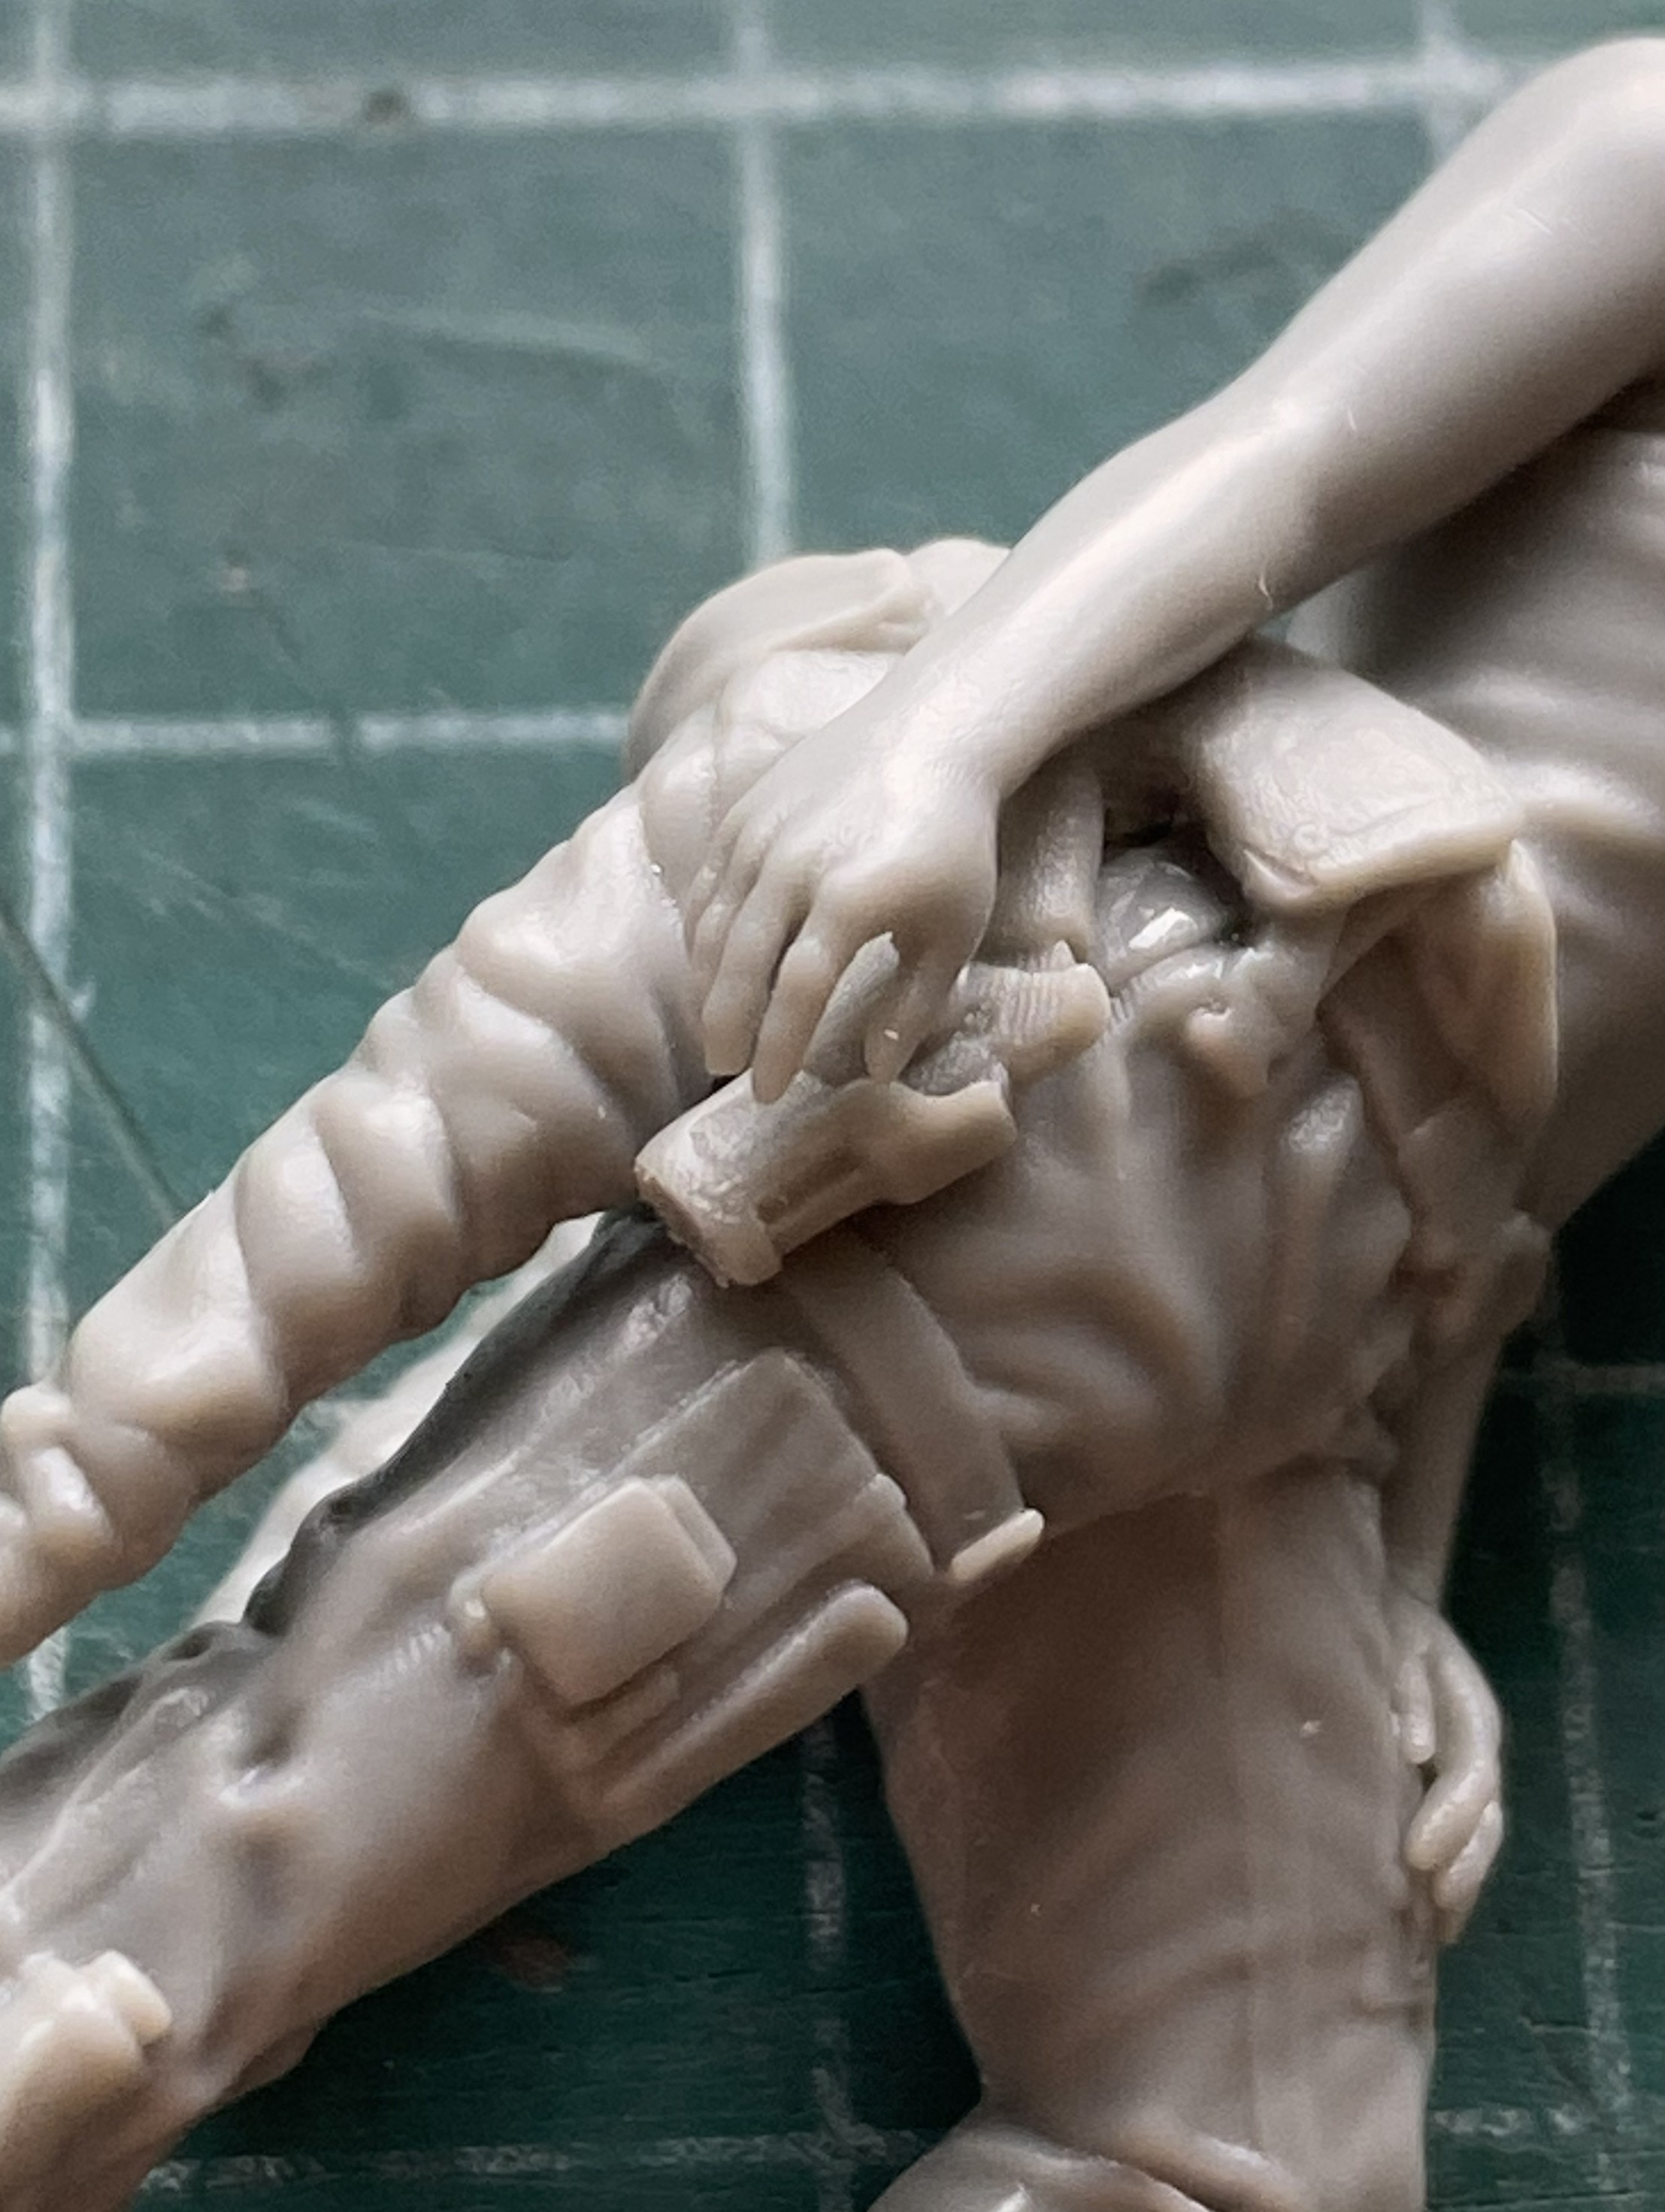
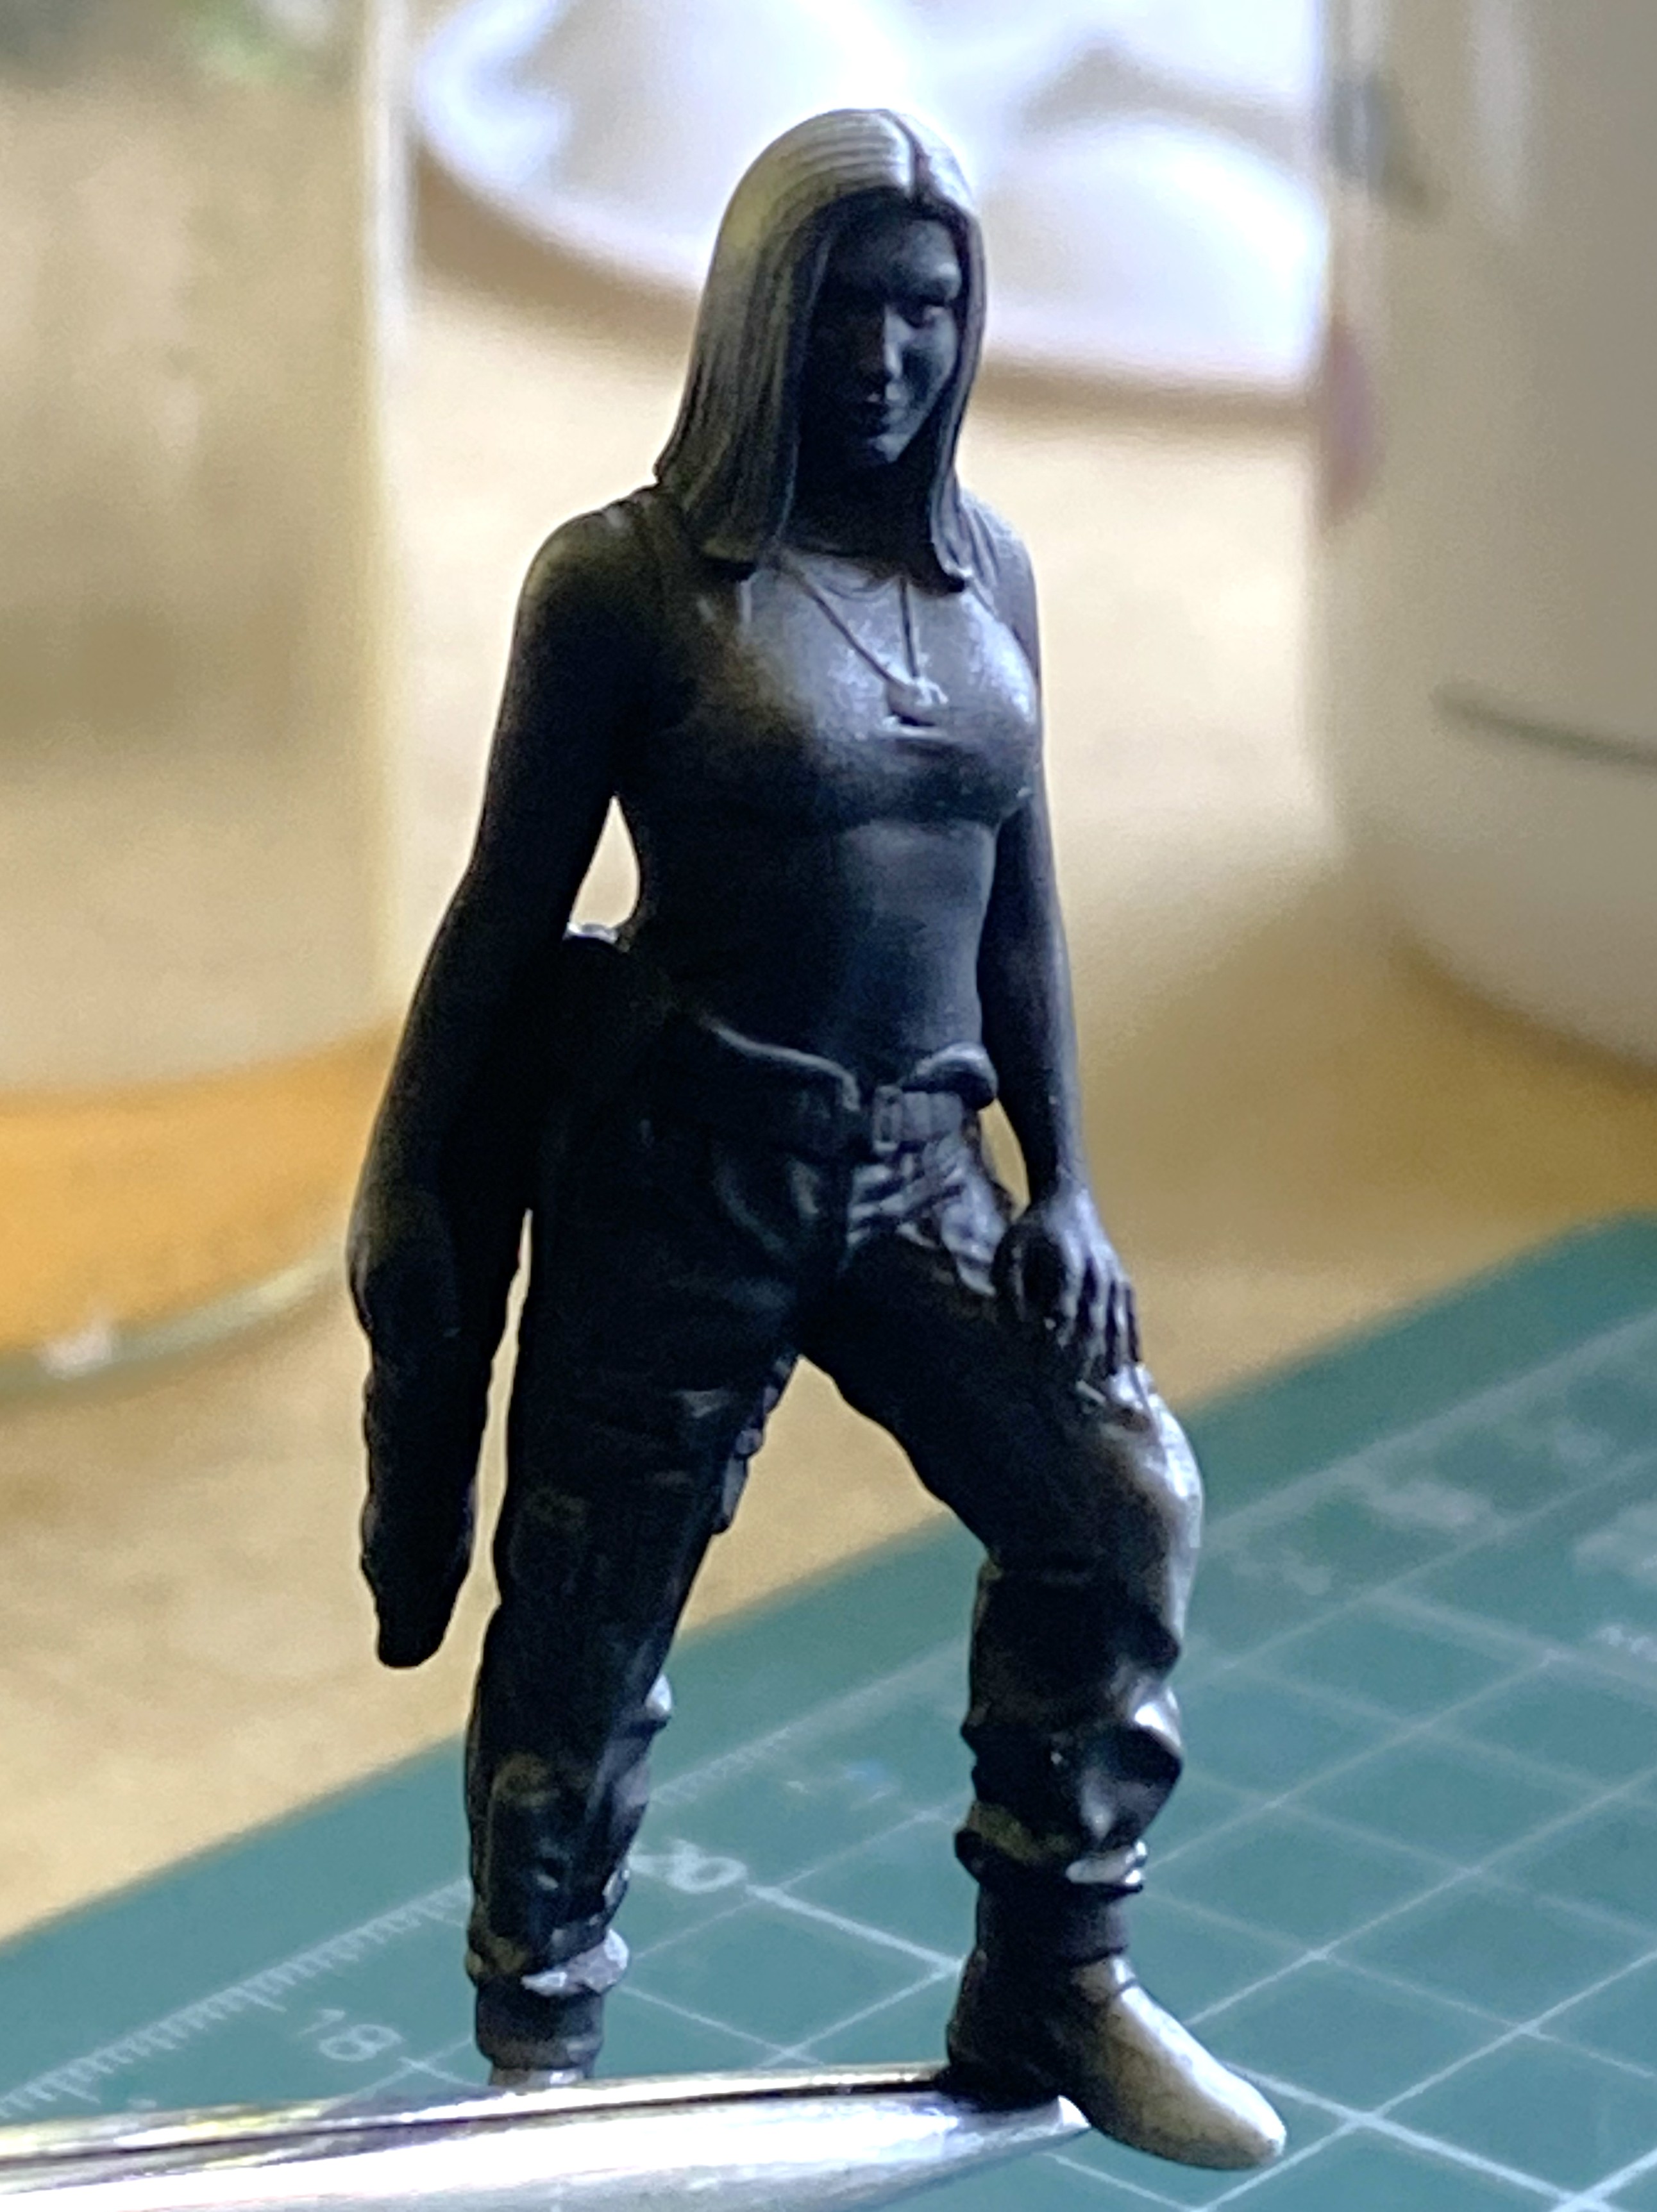
My first nightmare with the figure started where most of my paint jobs start (The nightmare is mine, the figure itself is quite fine). I used to call this “pre-shading” but that term has (once again) been supplanted by something less precise. This is now called “black-basing”. (If that sentence doesn’t explain the effects of light, I’m not interested in explaining this further.):
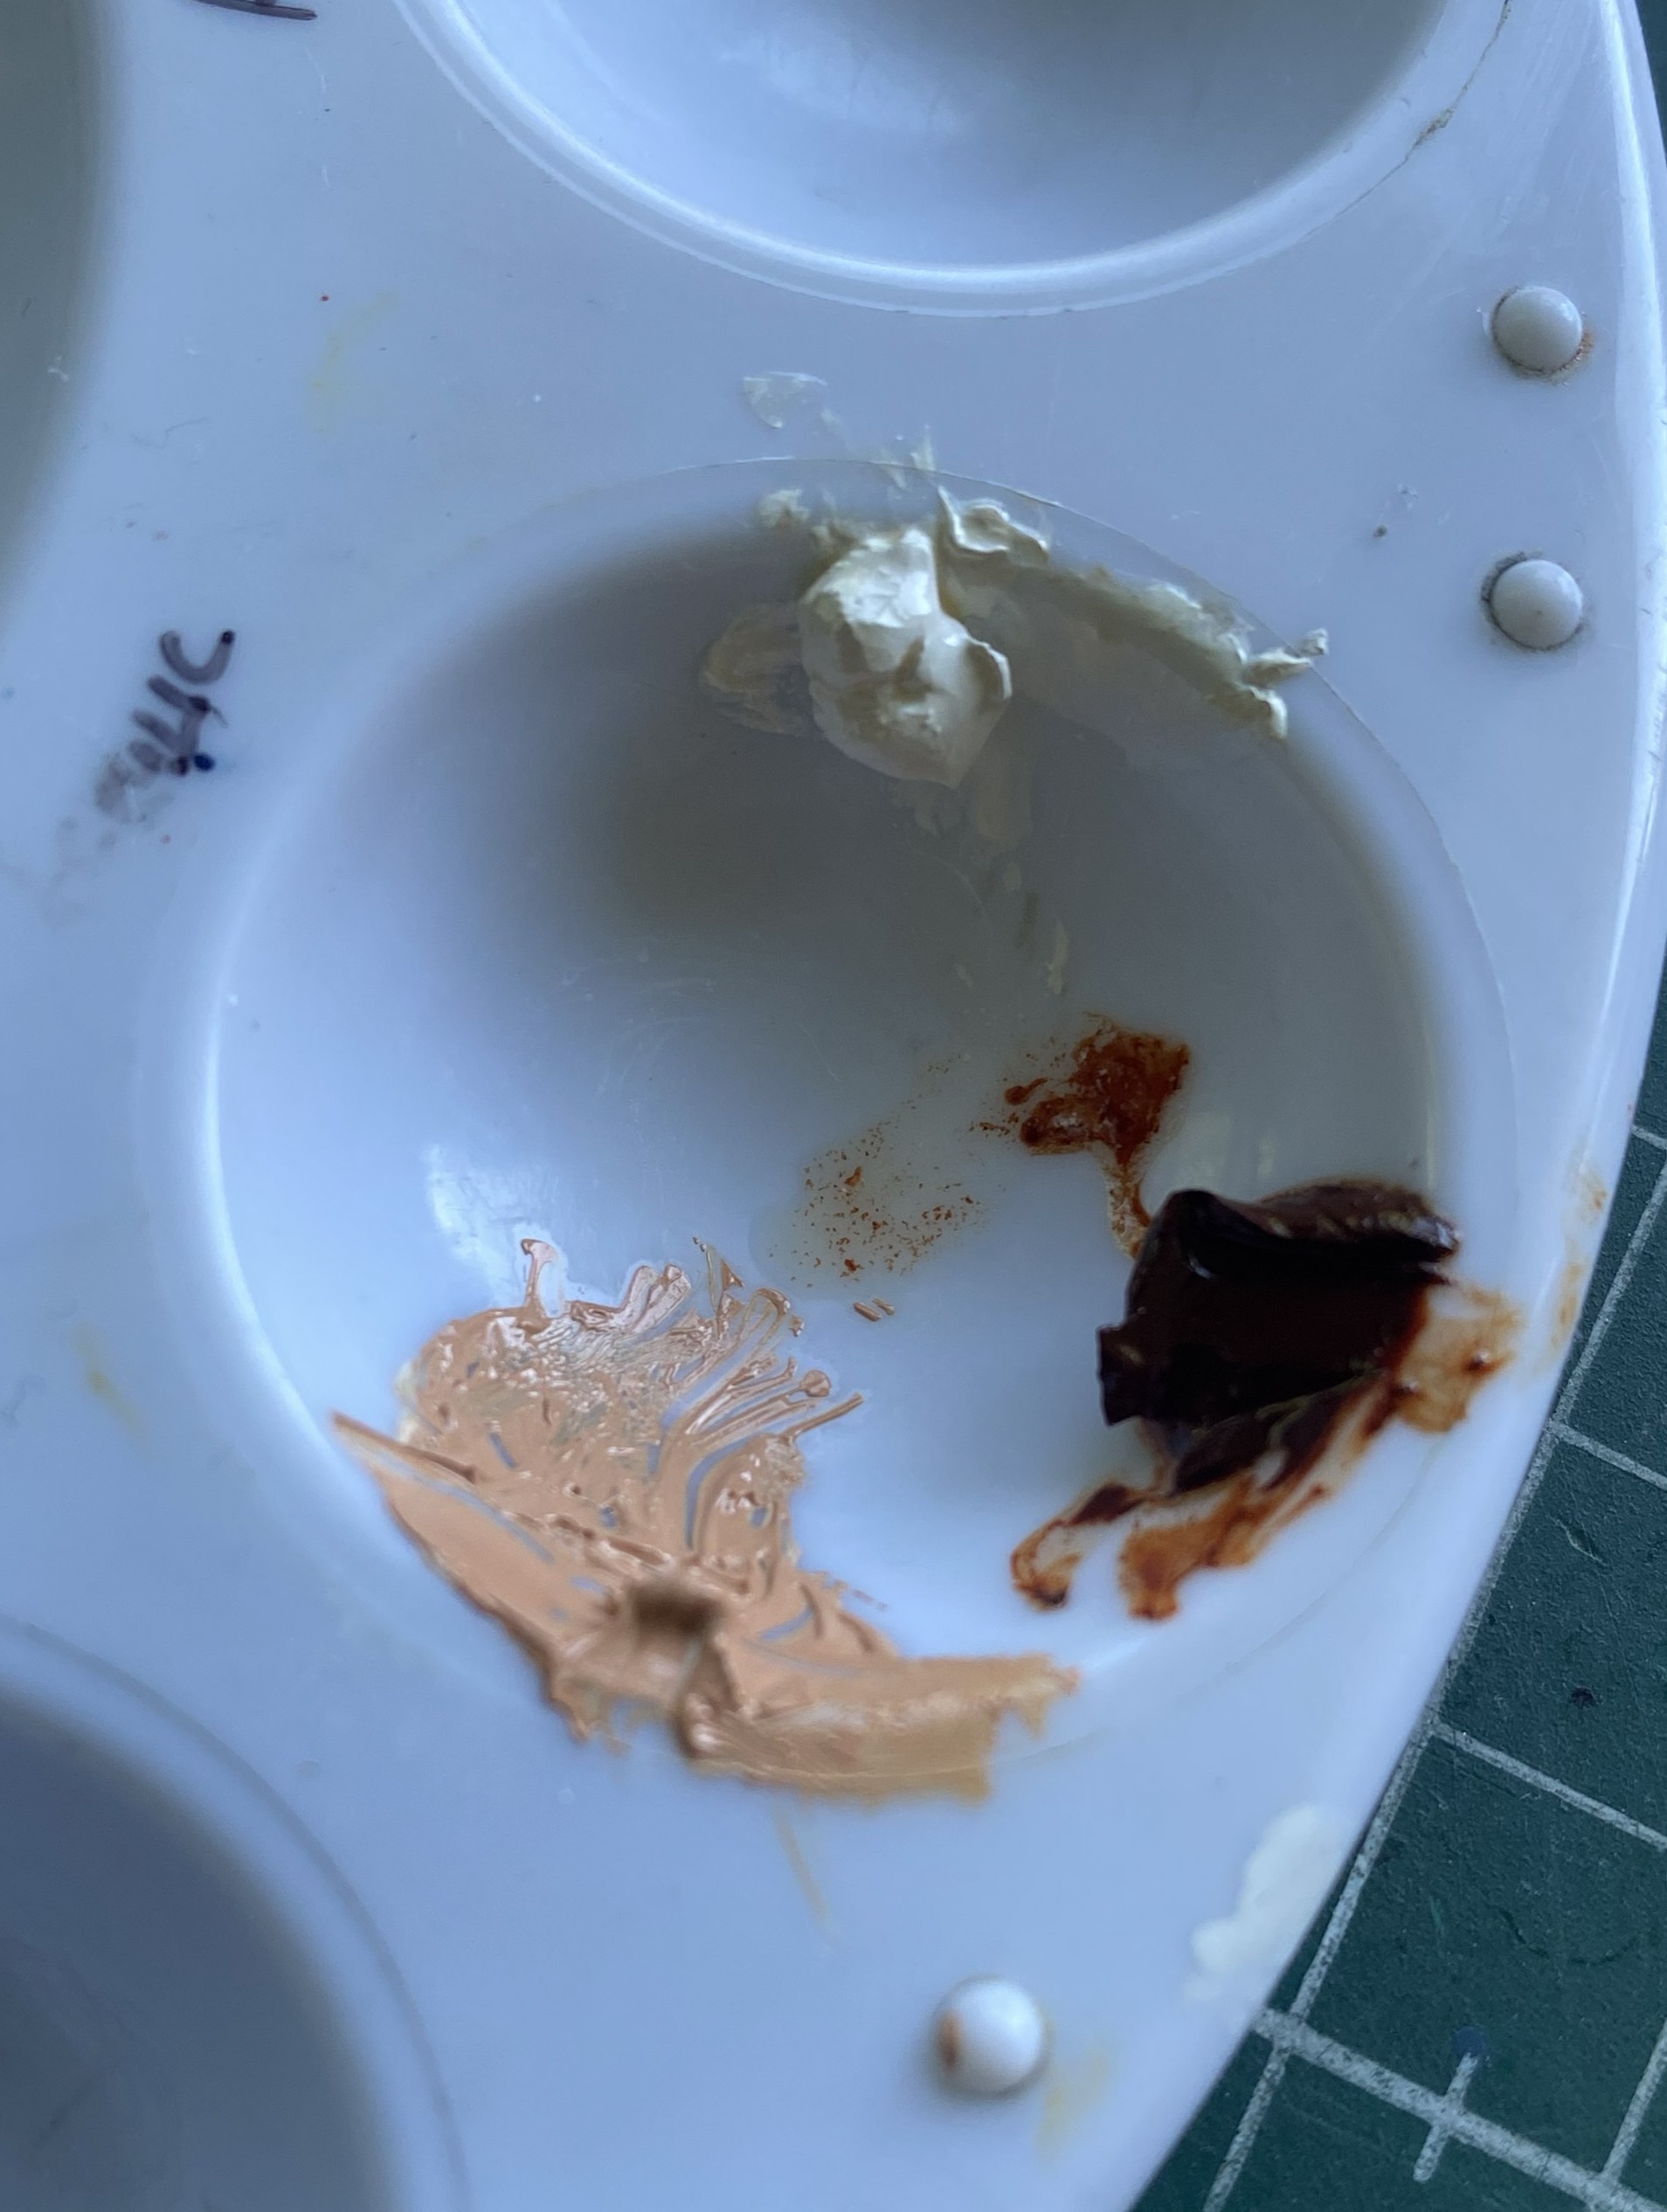
Keeping in mind (like I could ever bleeding forget it) that my color-vision bites the short curlies, I decided to use oils because not only do I know how to use them, they can be blended quite realistically. I used burnt sienna and white:
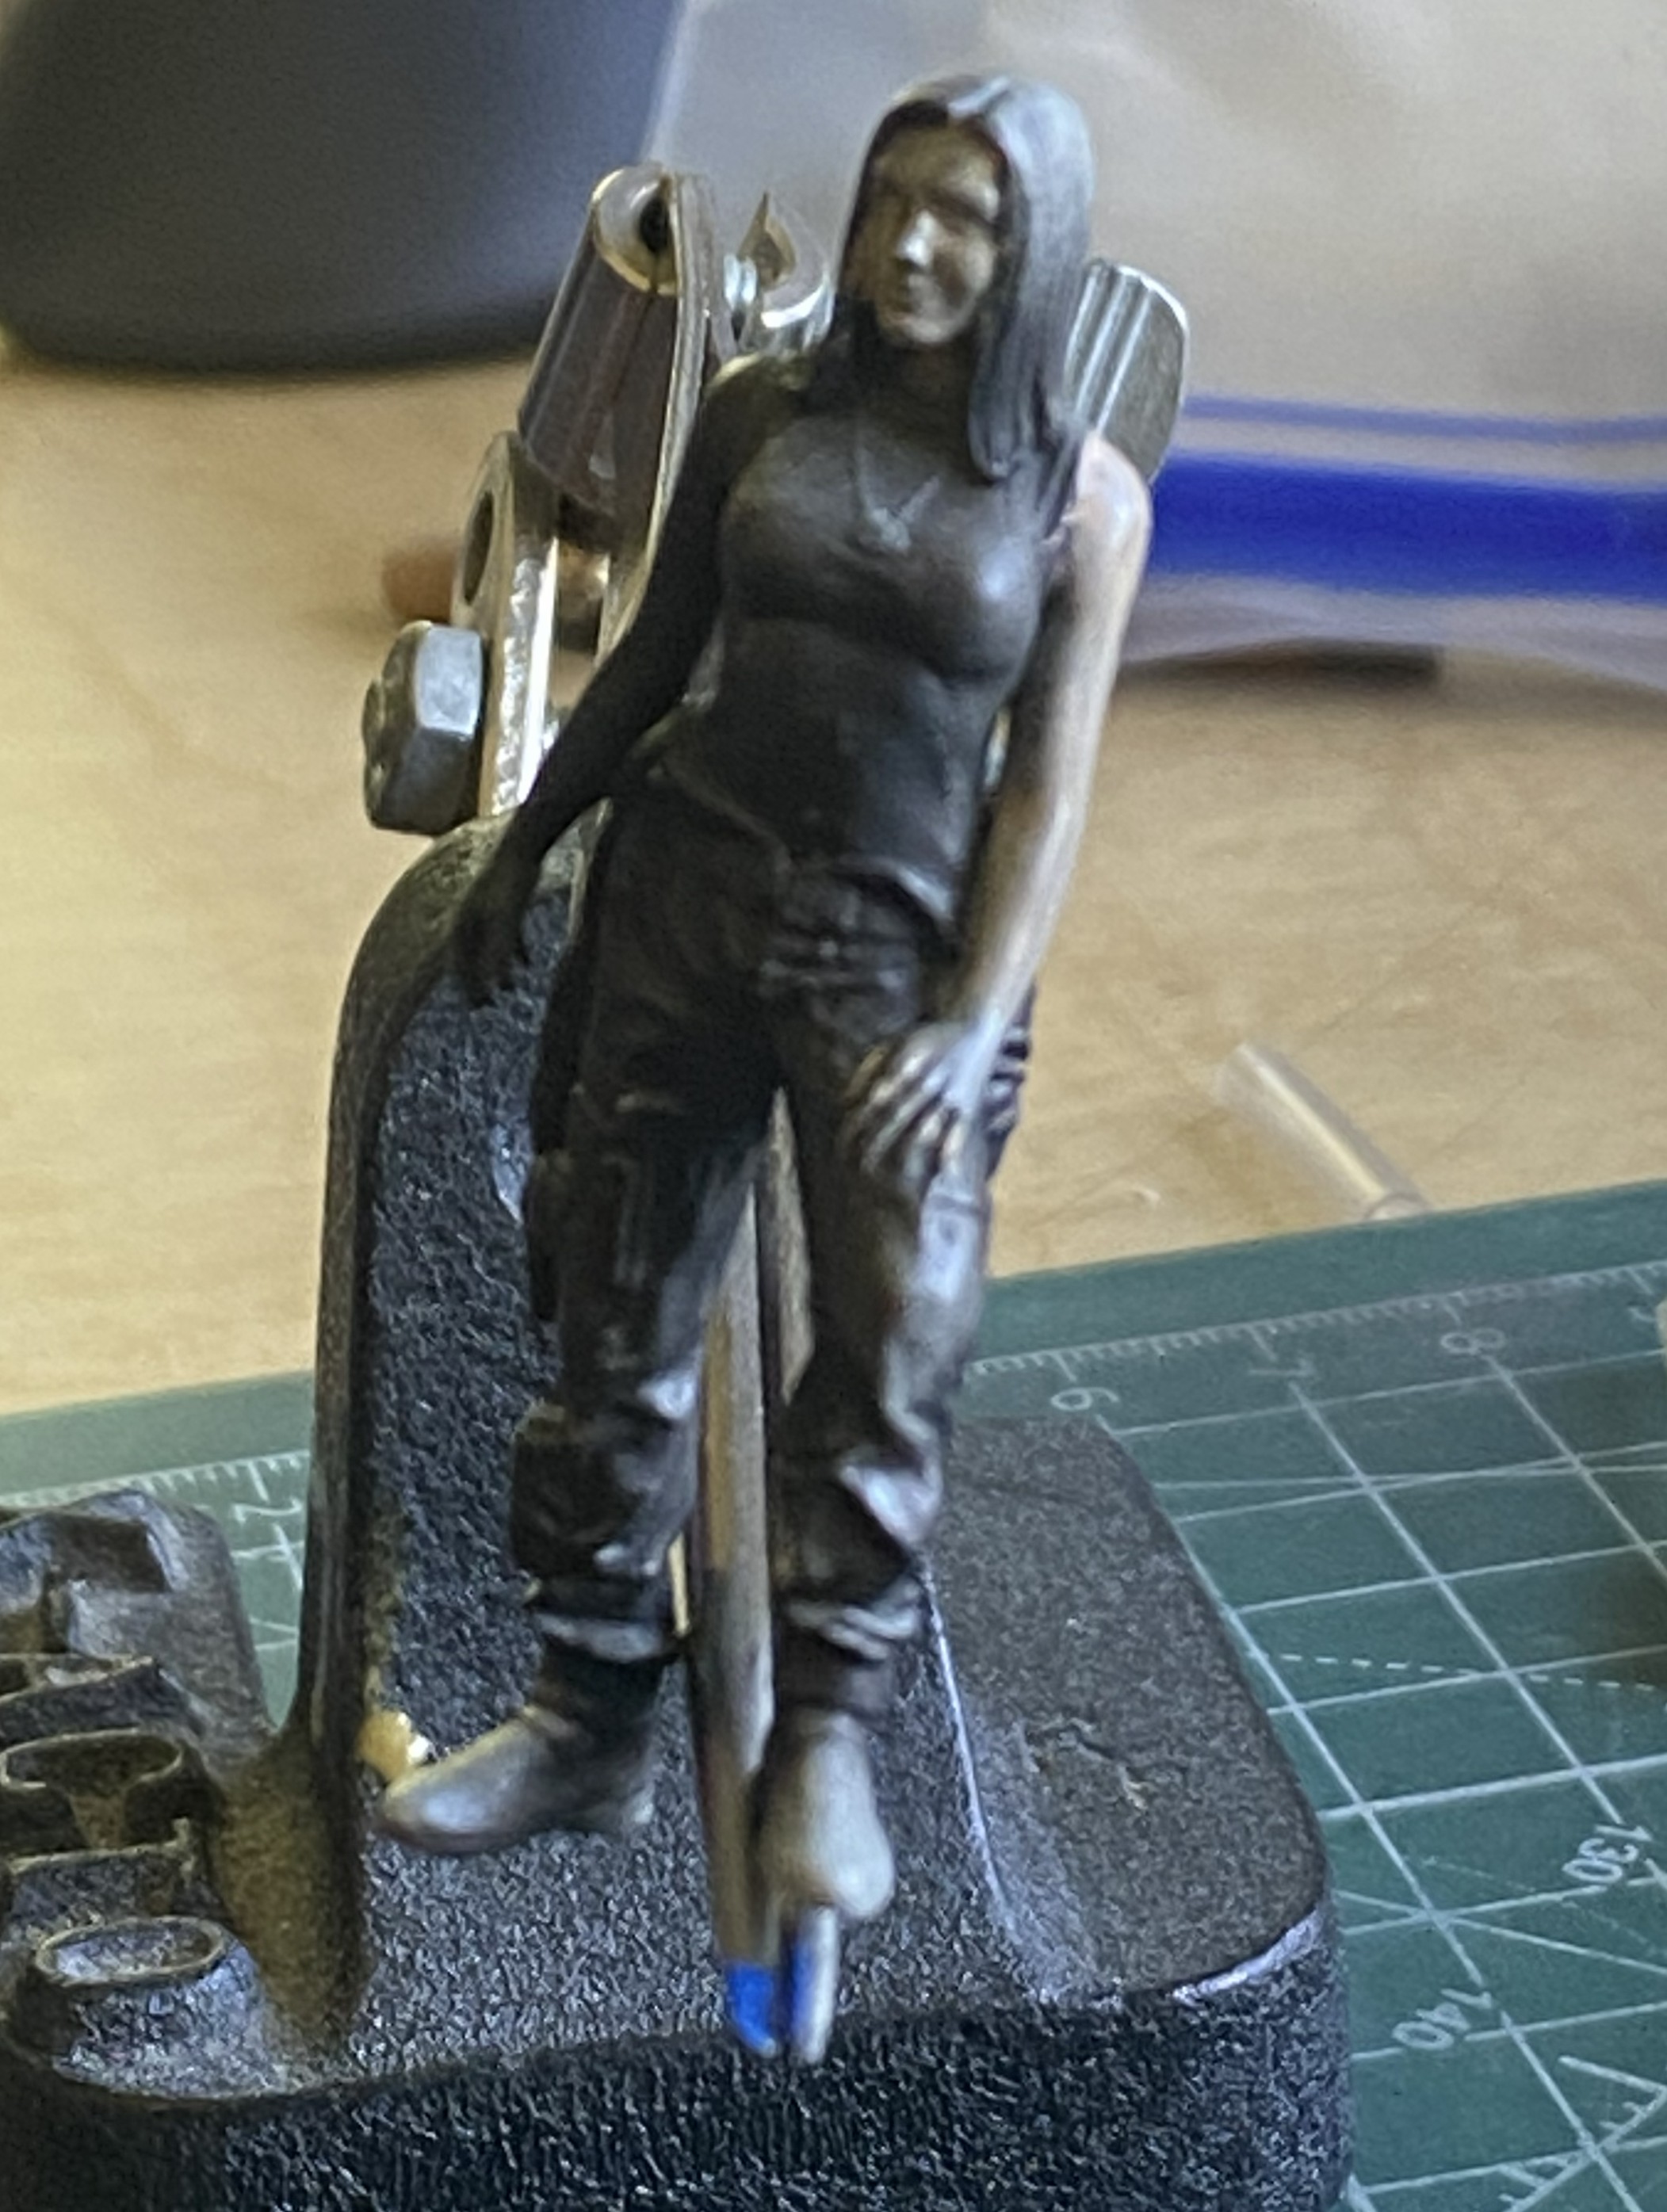
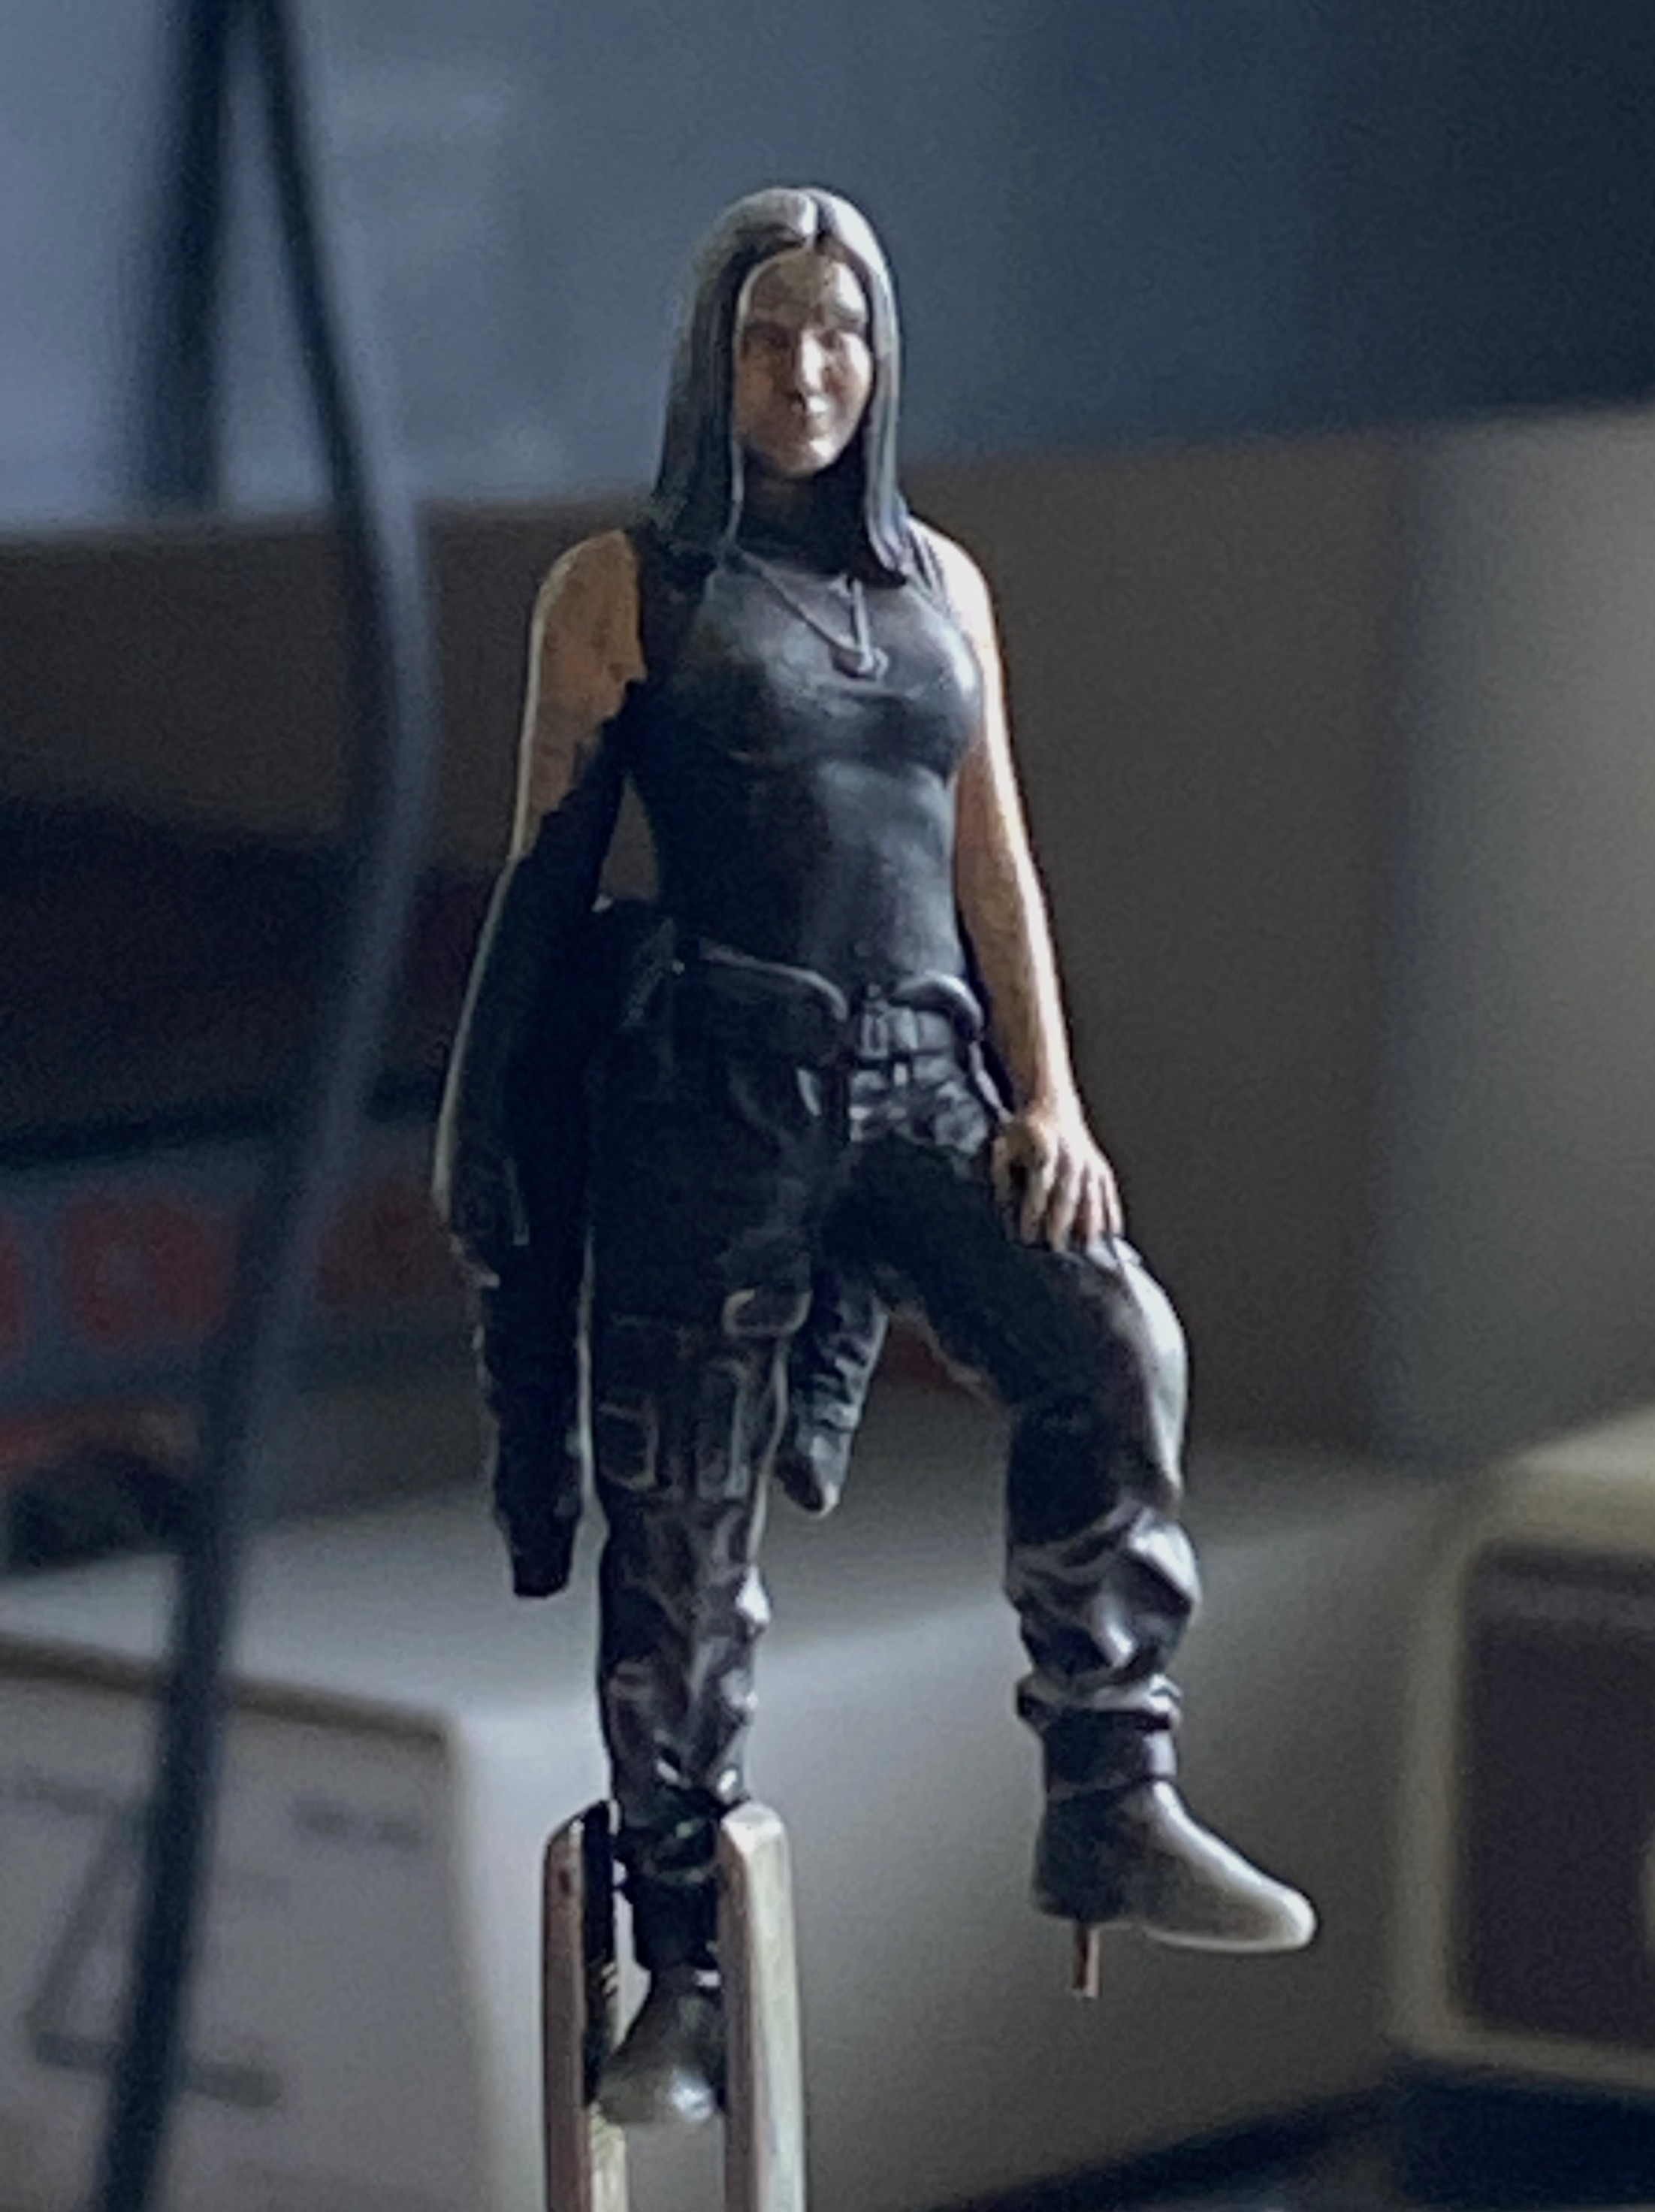
As laid down, the paint doesn’t blend all that well. Very small areas and too wet; blending attempts merely lift the paint off. I reapplied the paint and let it sit. There’s a “window” I was looking for. Seemingly dry to the lightest of touches, yet still wet enough be moved without lifting it. I waited a week and tested its state daily. One day I went to bed and the paint was still too wet, but getting closer. Then I woke up and (after coffee) tested it. Too dry and it wouldn’t move.
::facepalm::
I’m not at all interested in trying the oils again. I’ve already burned up a week for no effect.
So I stripped it back to resin:
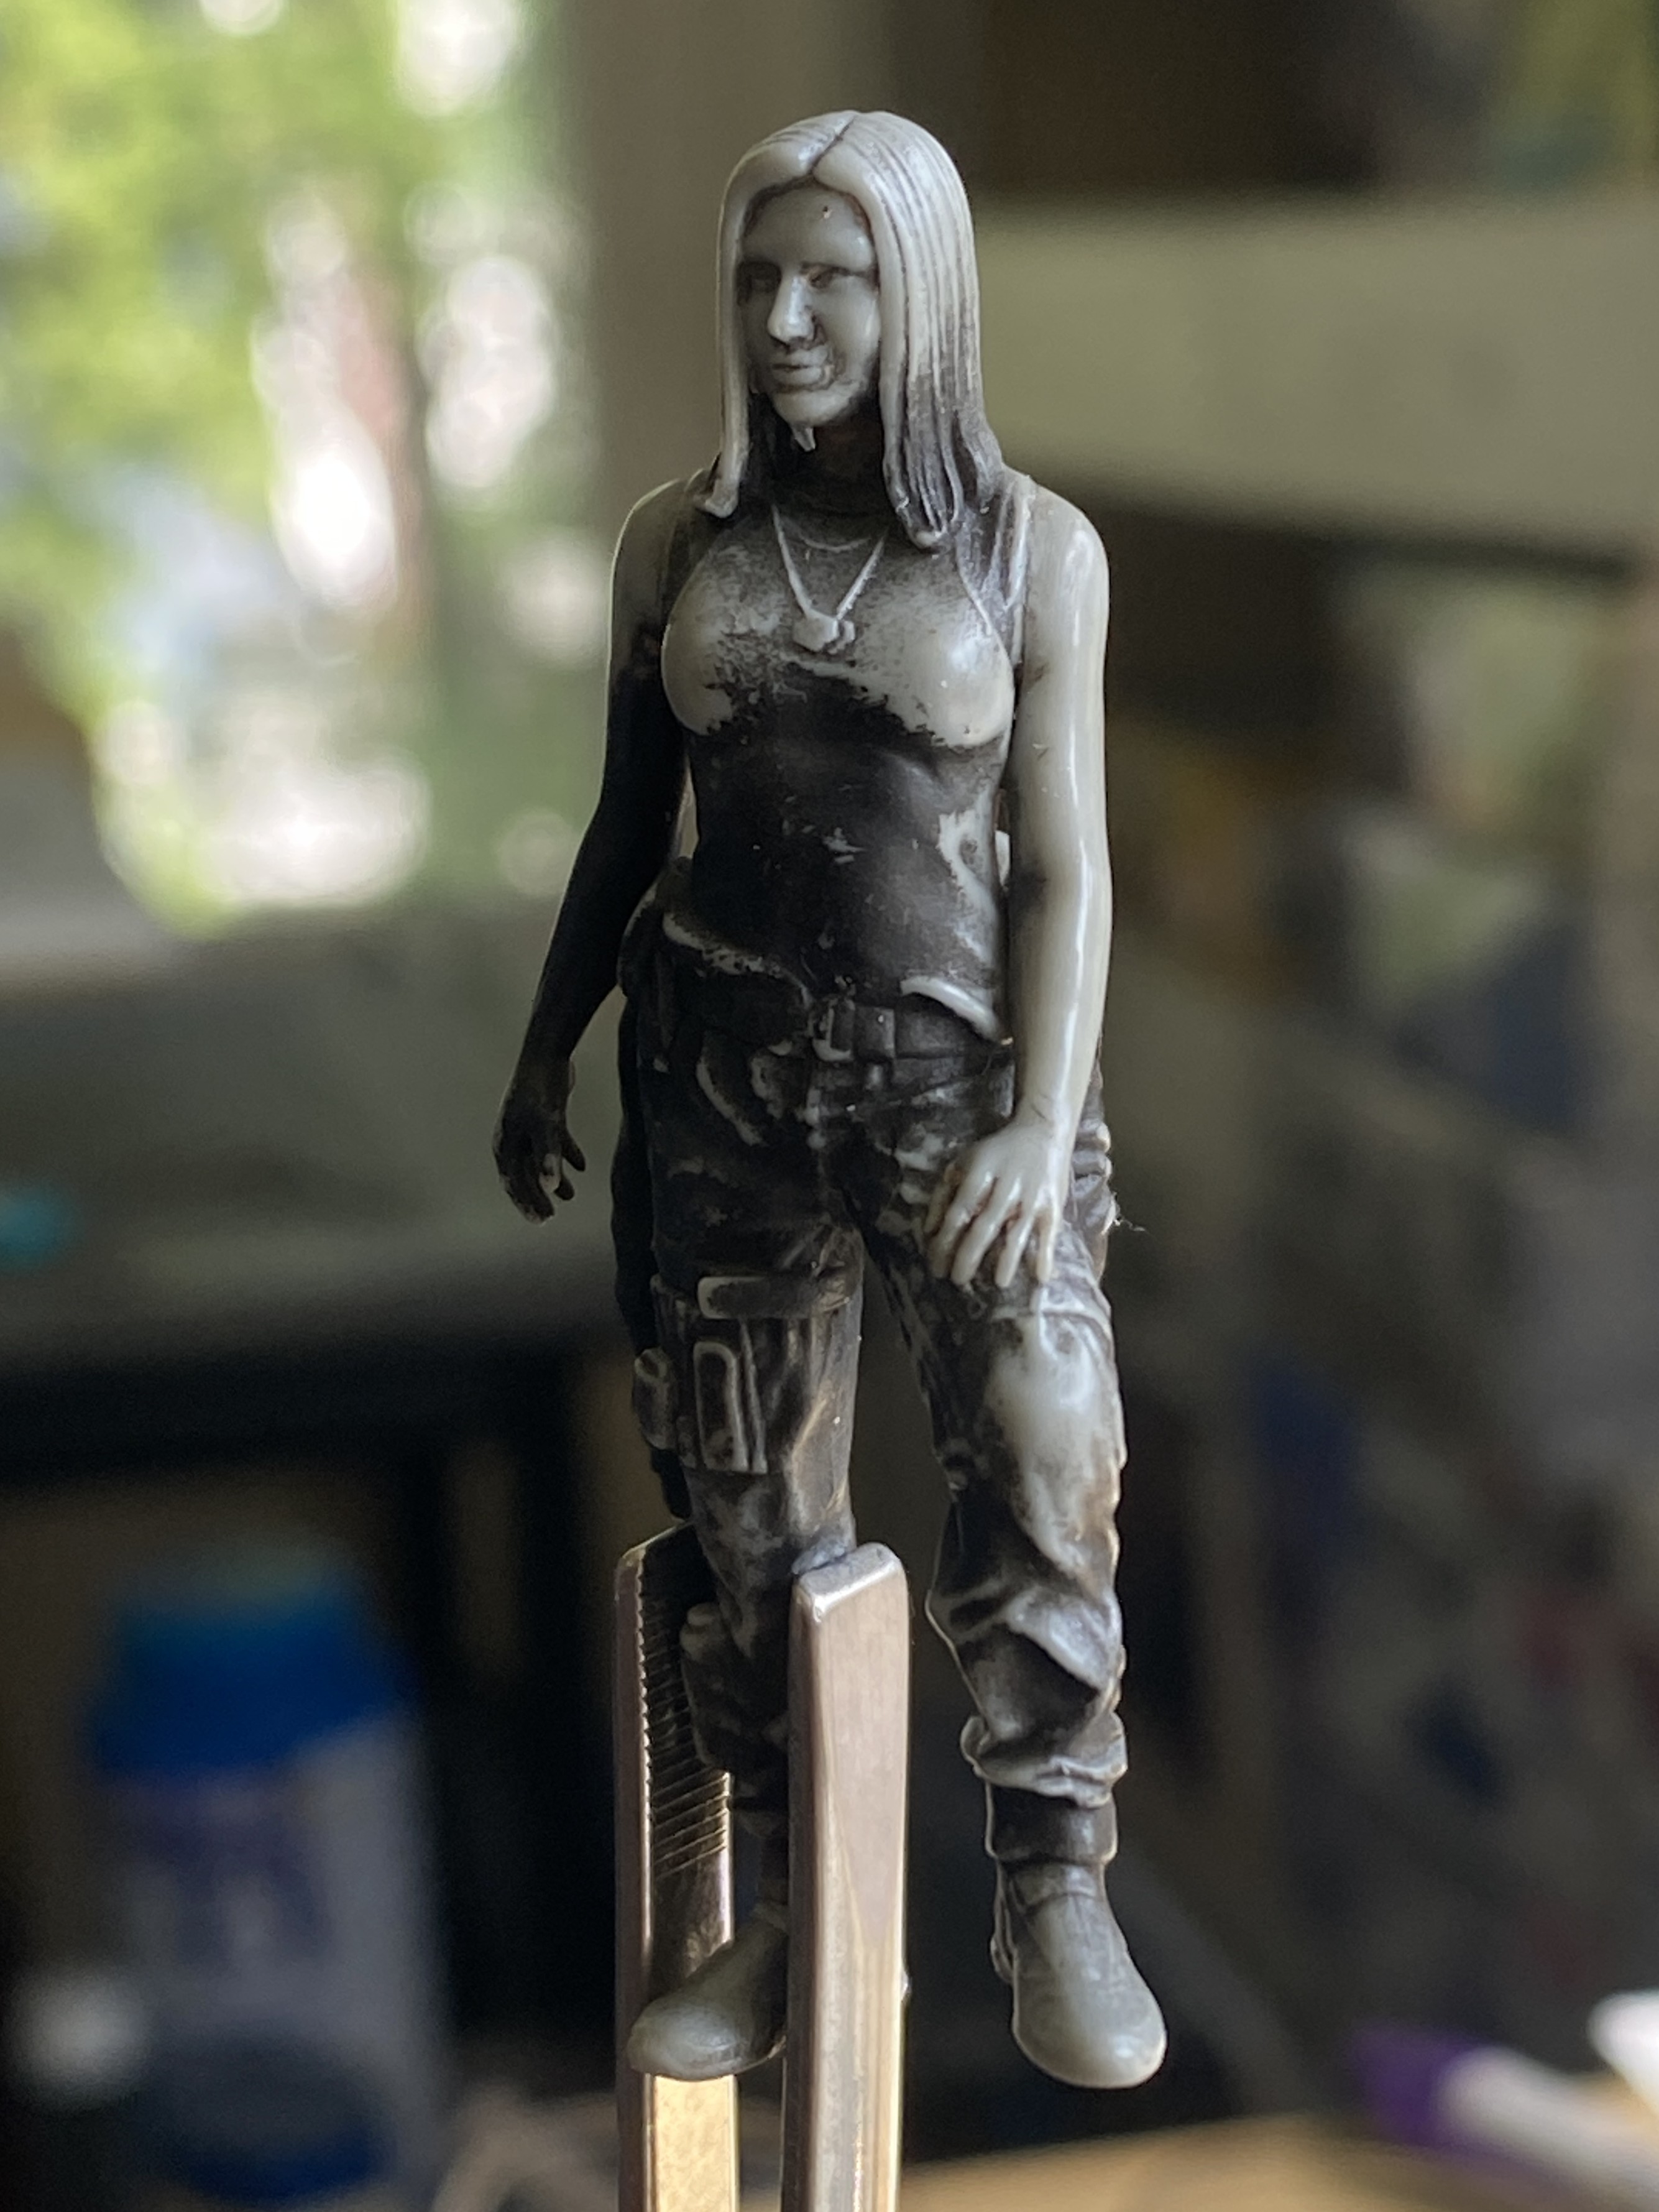
Next try used Tamiya paint. XF-64 Red Brown (1 part), XF-3 Yellow (1 part) and X-2 Gloss White (5 parts) (it looks better than it presents):
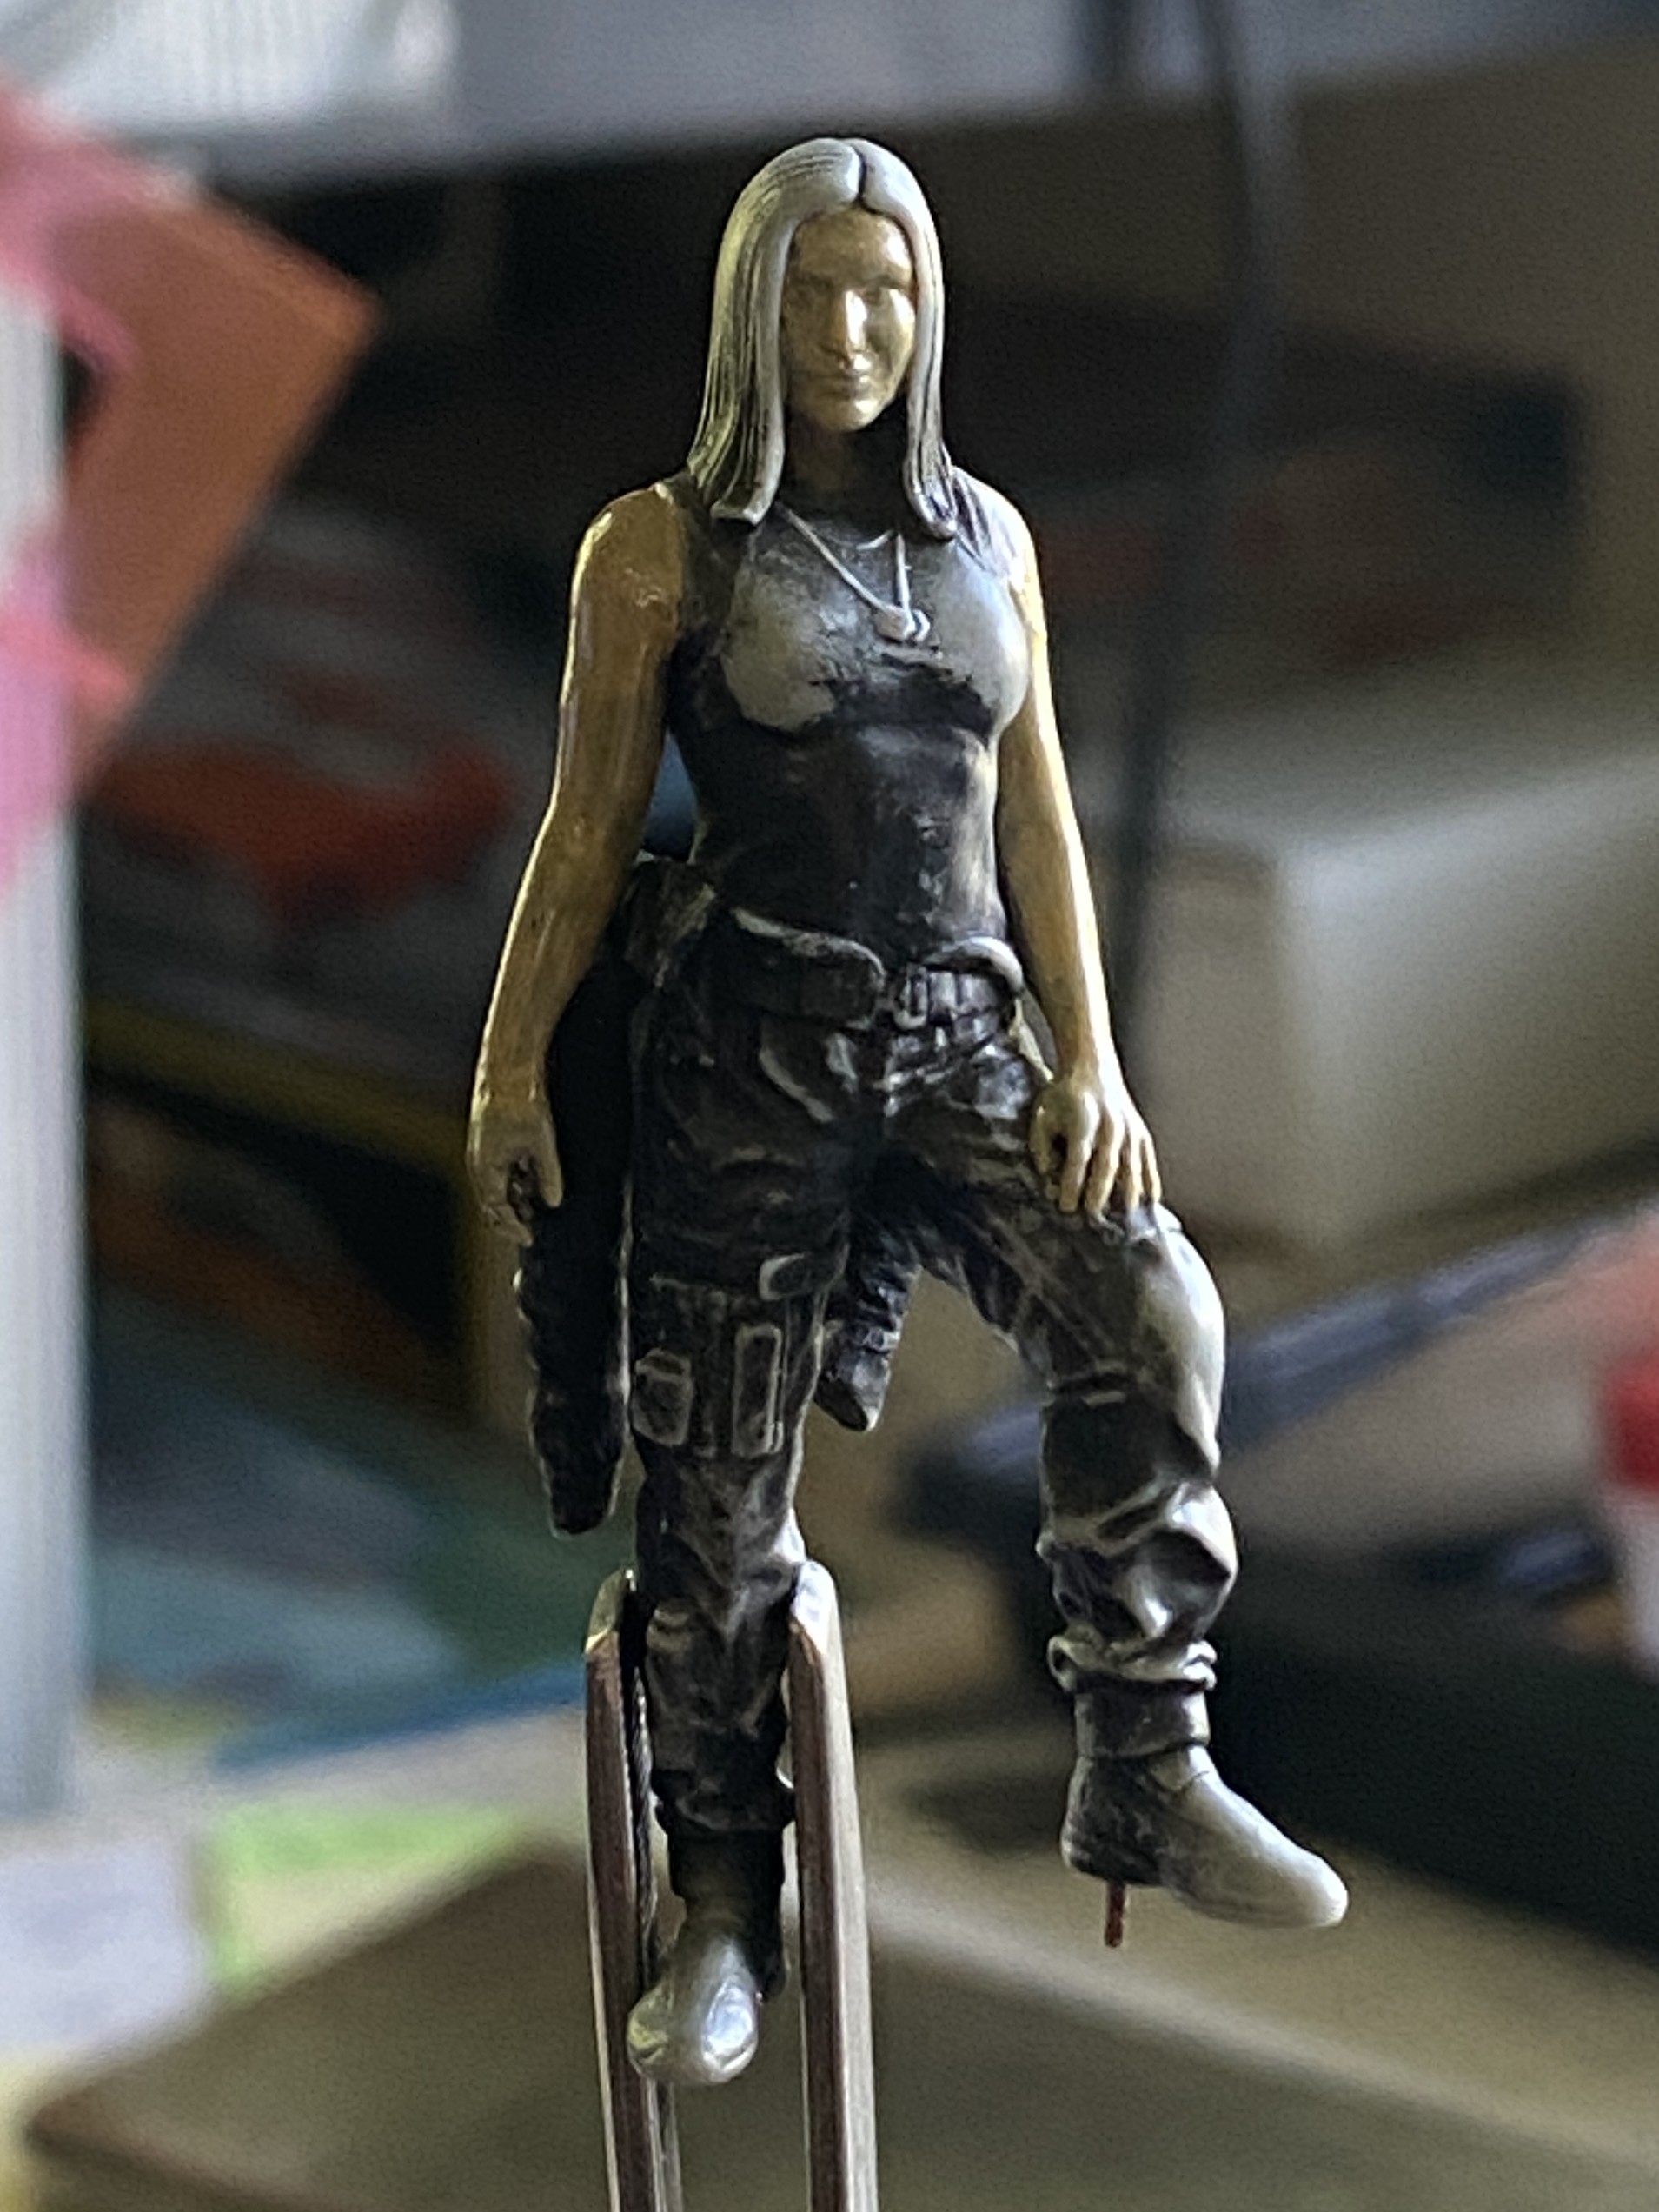
Then a wash of Burnt Umber:
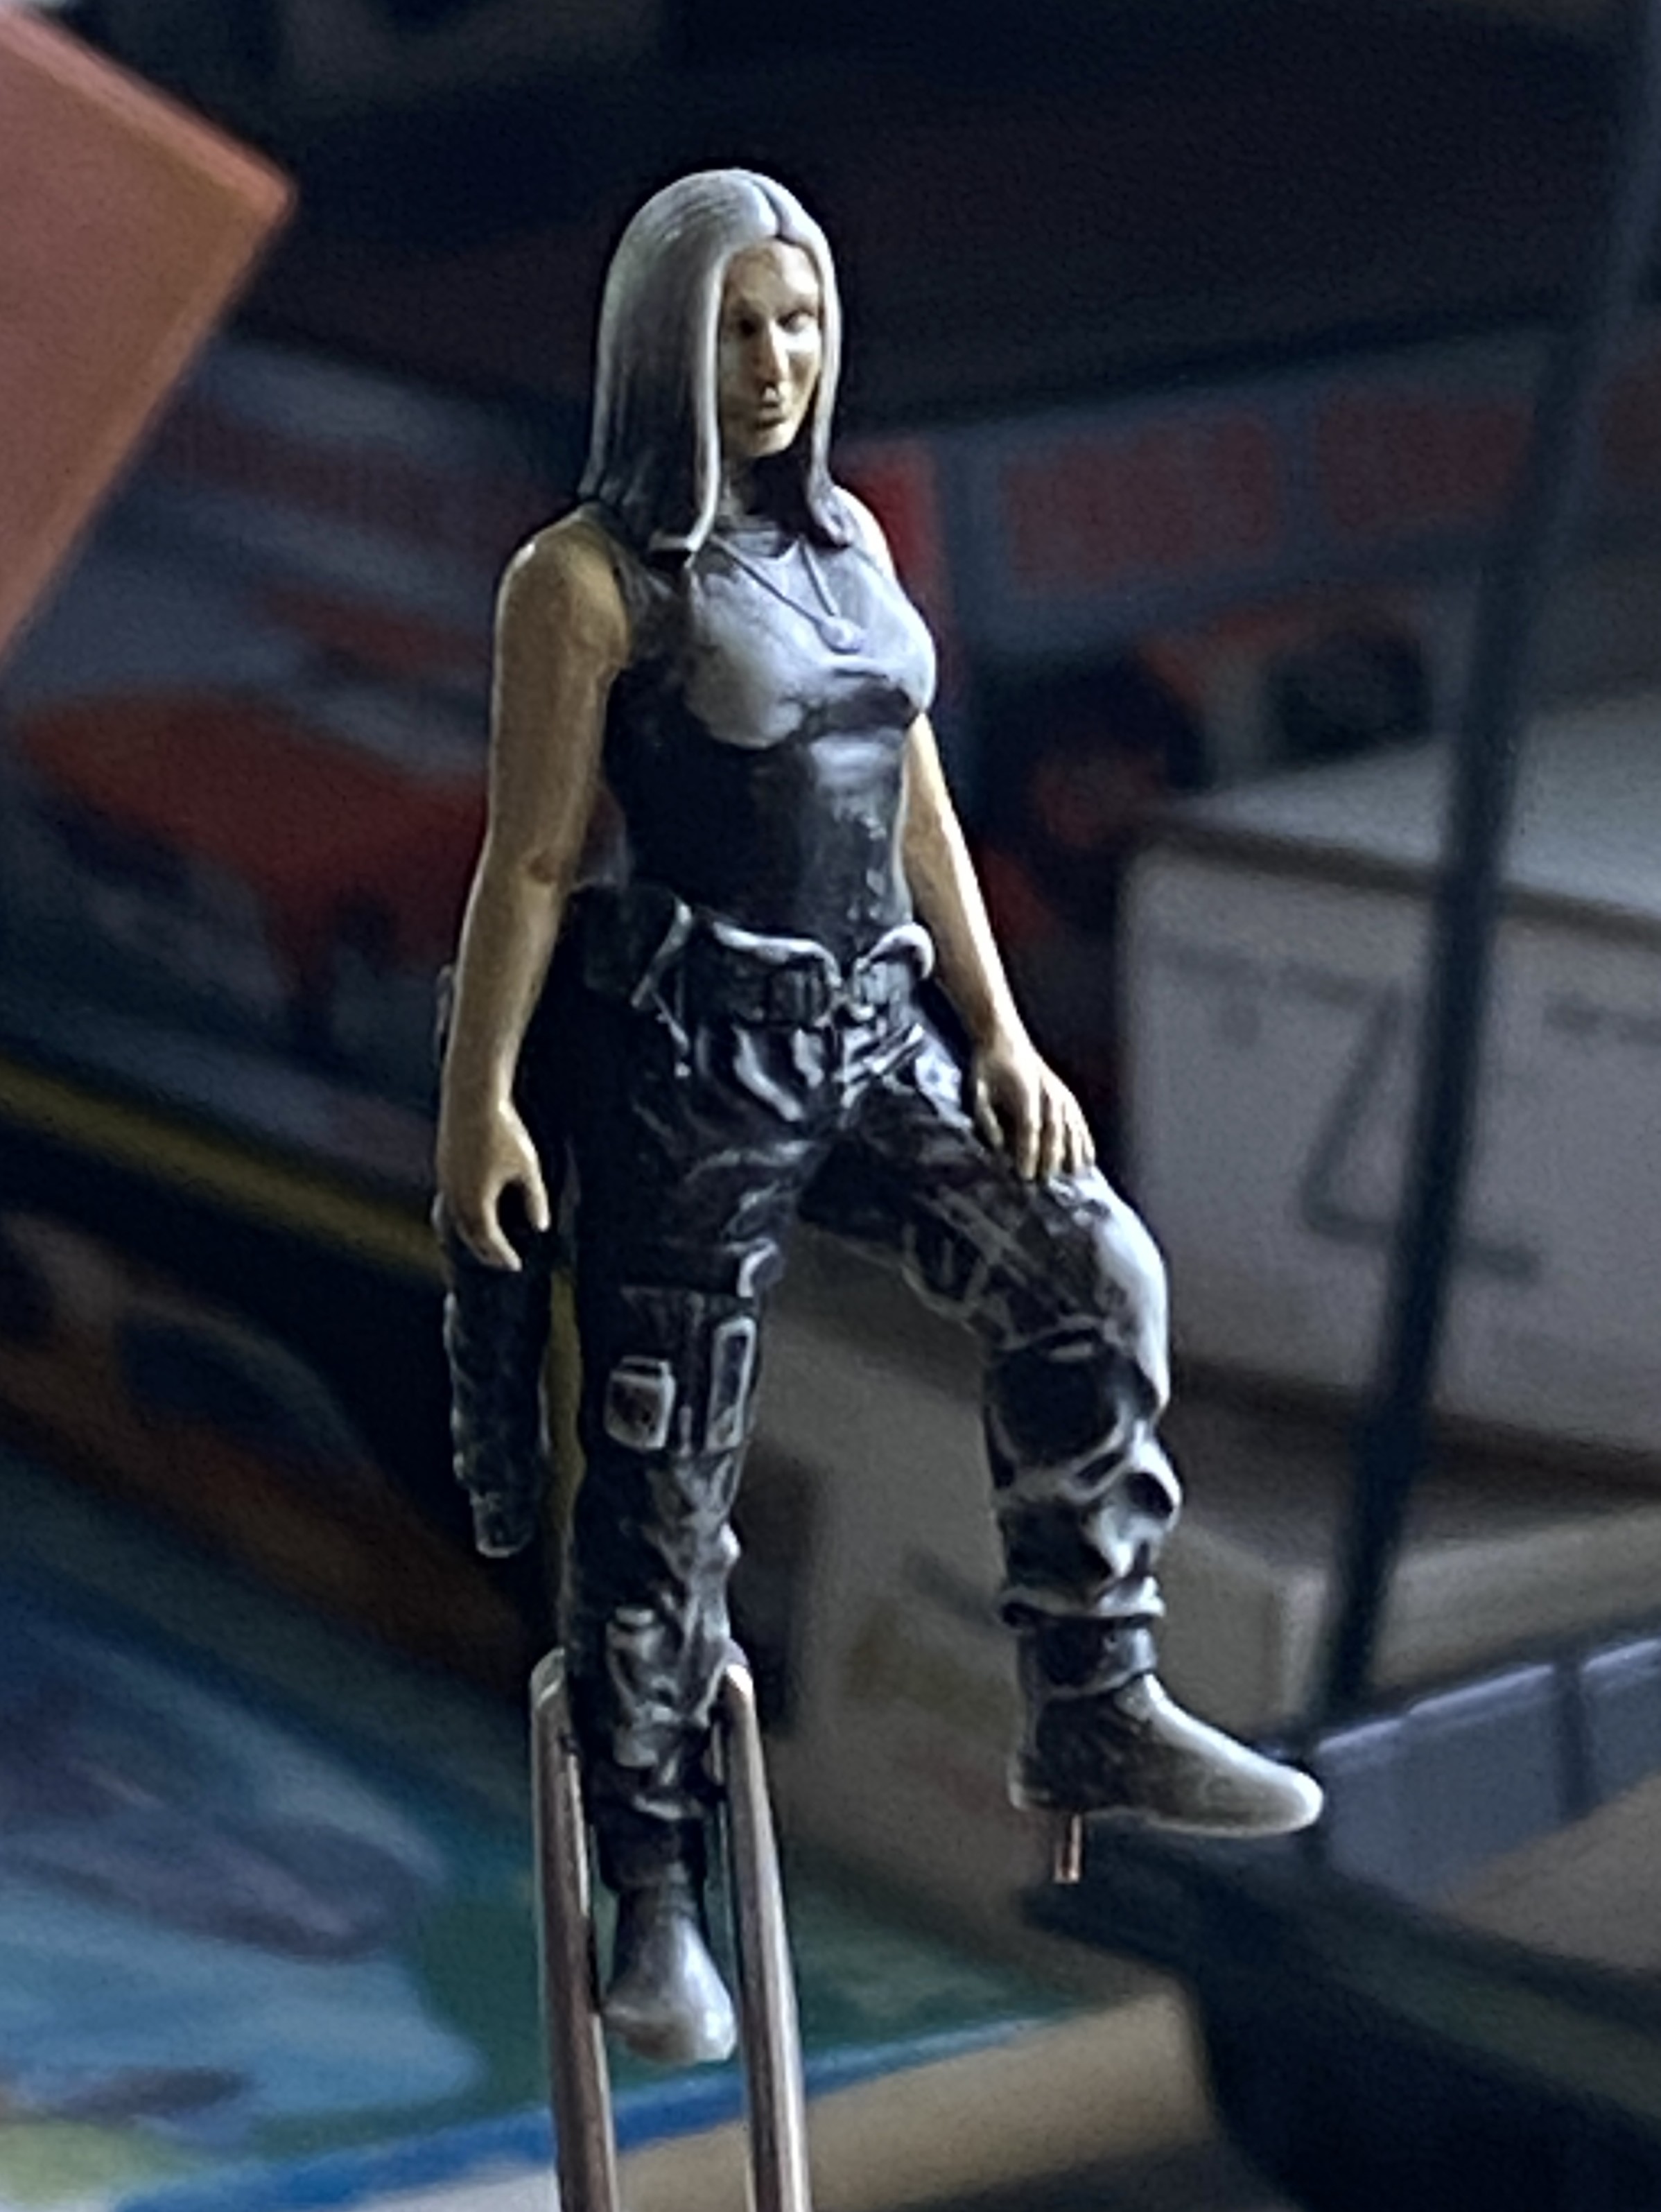
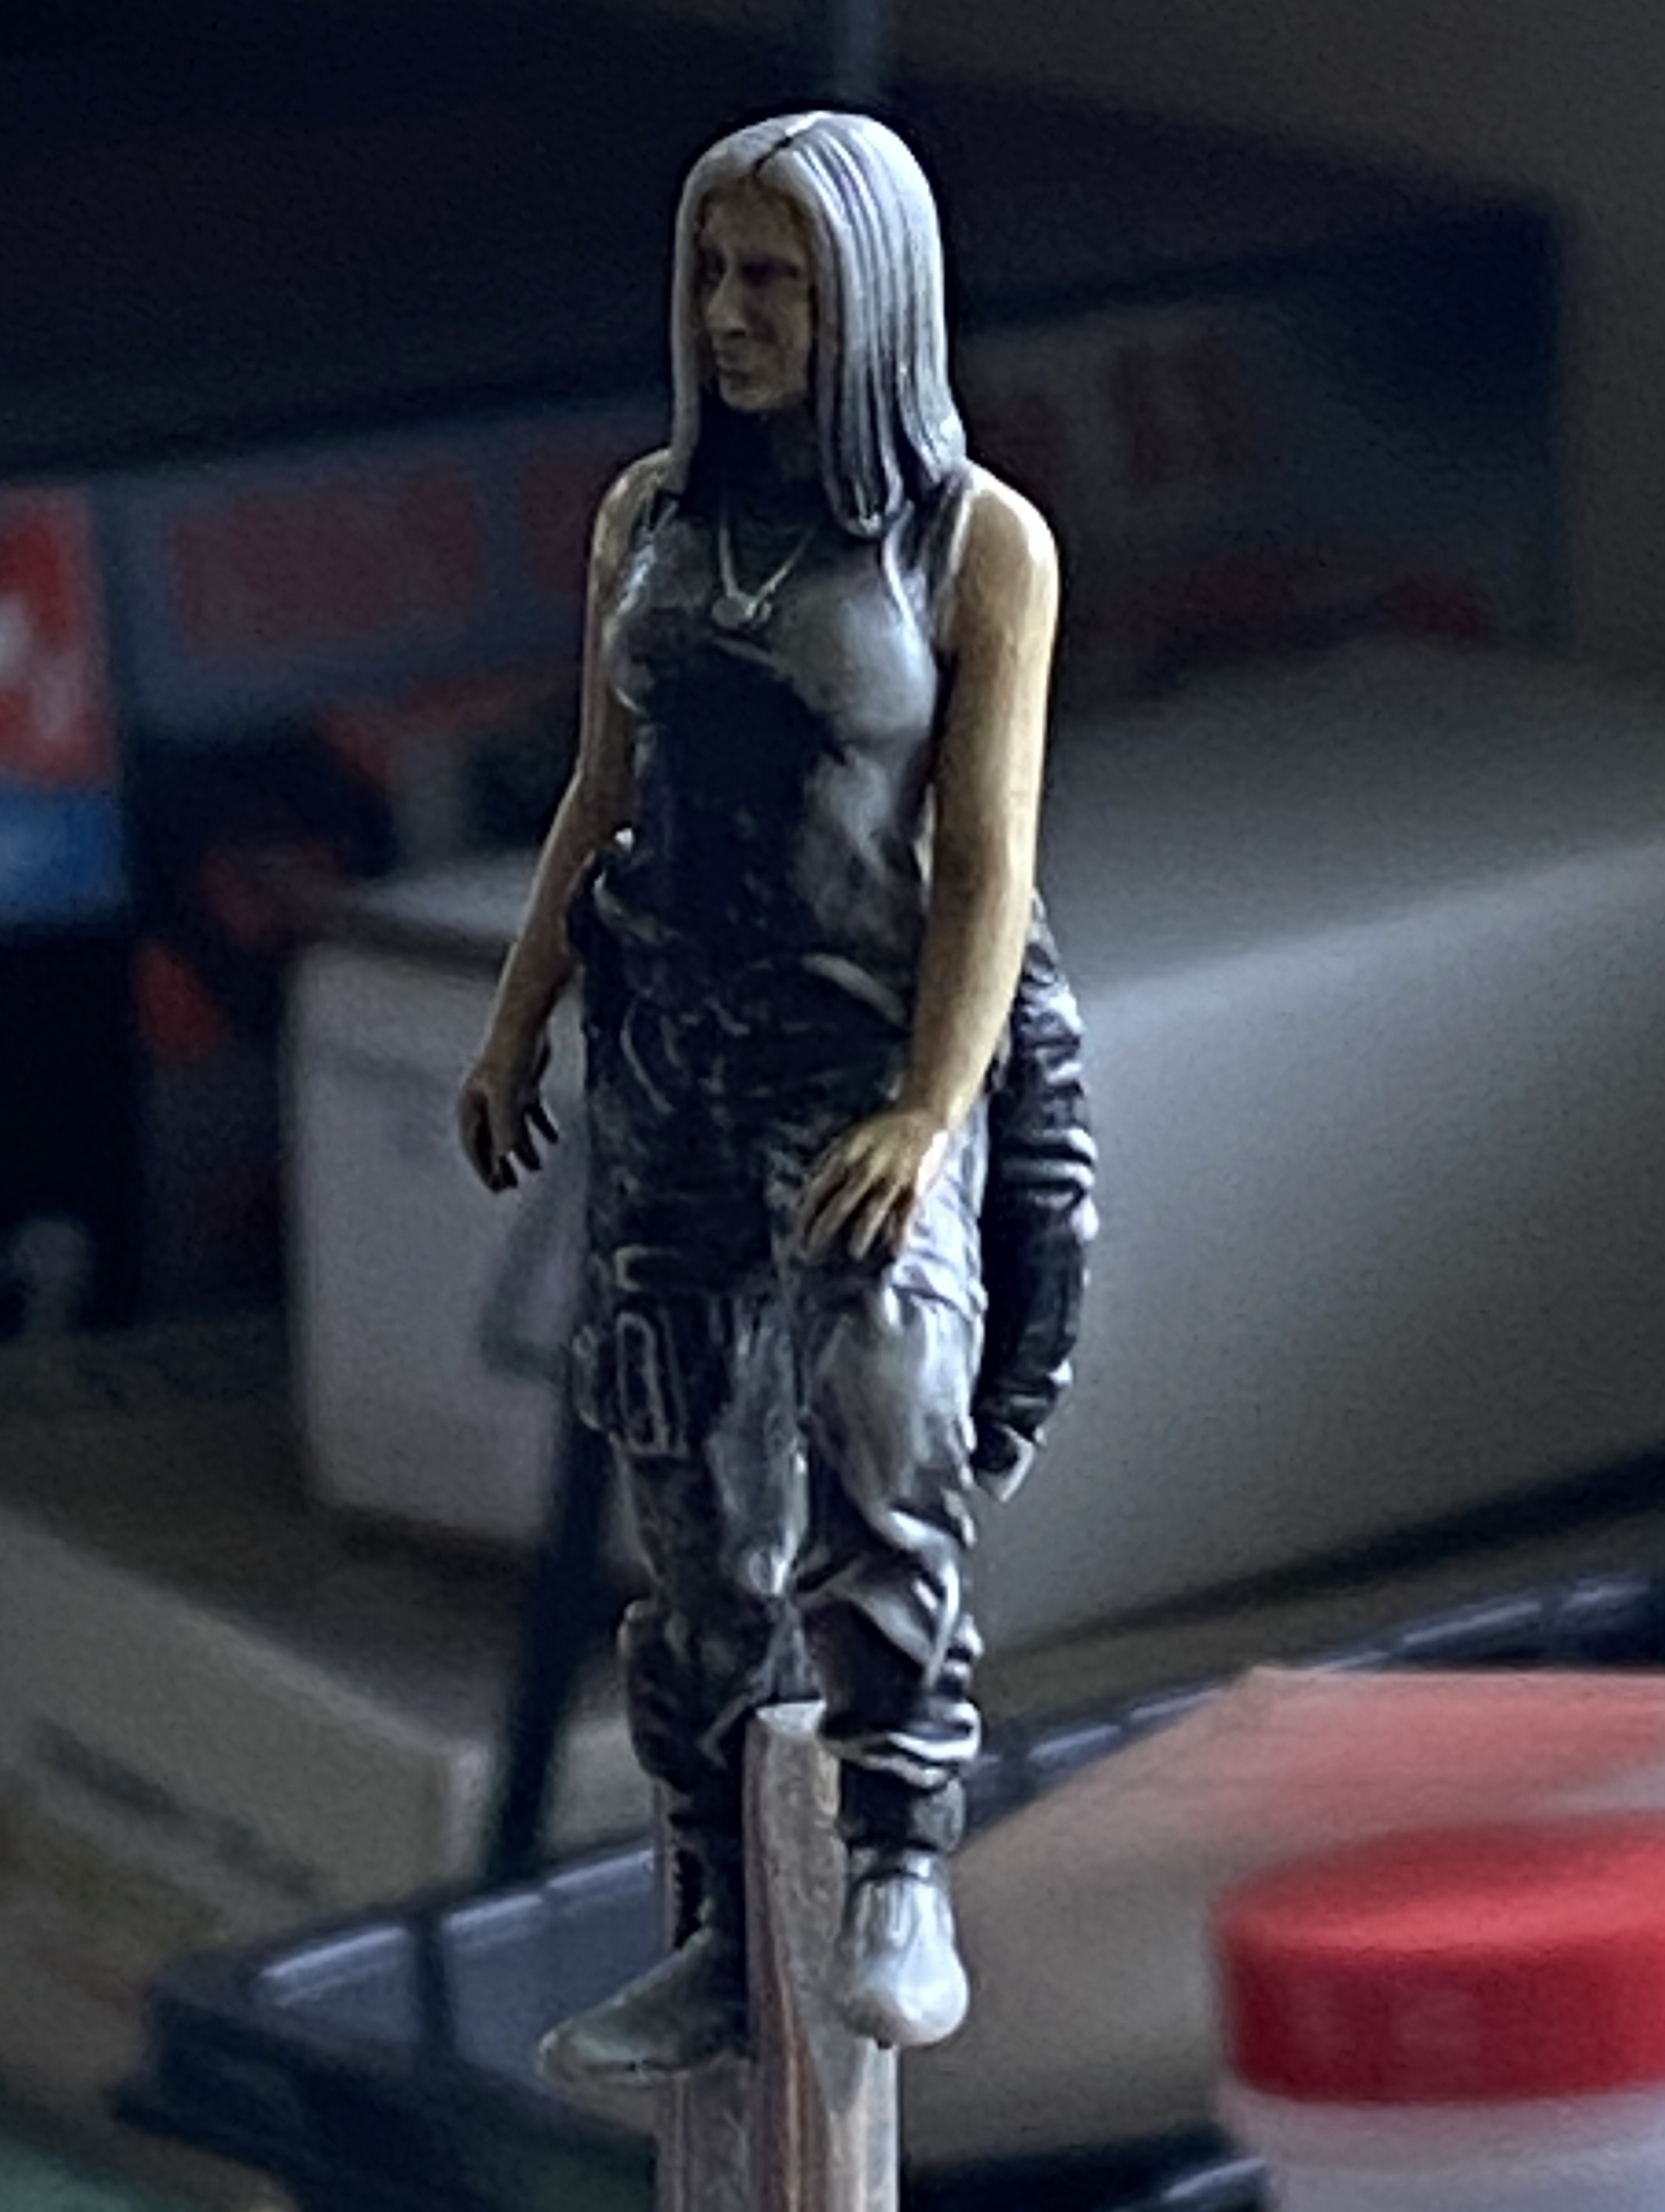
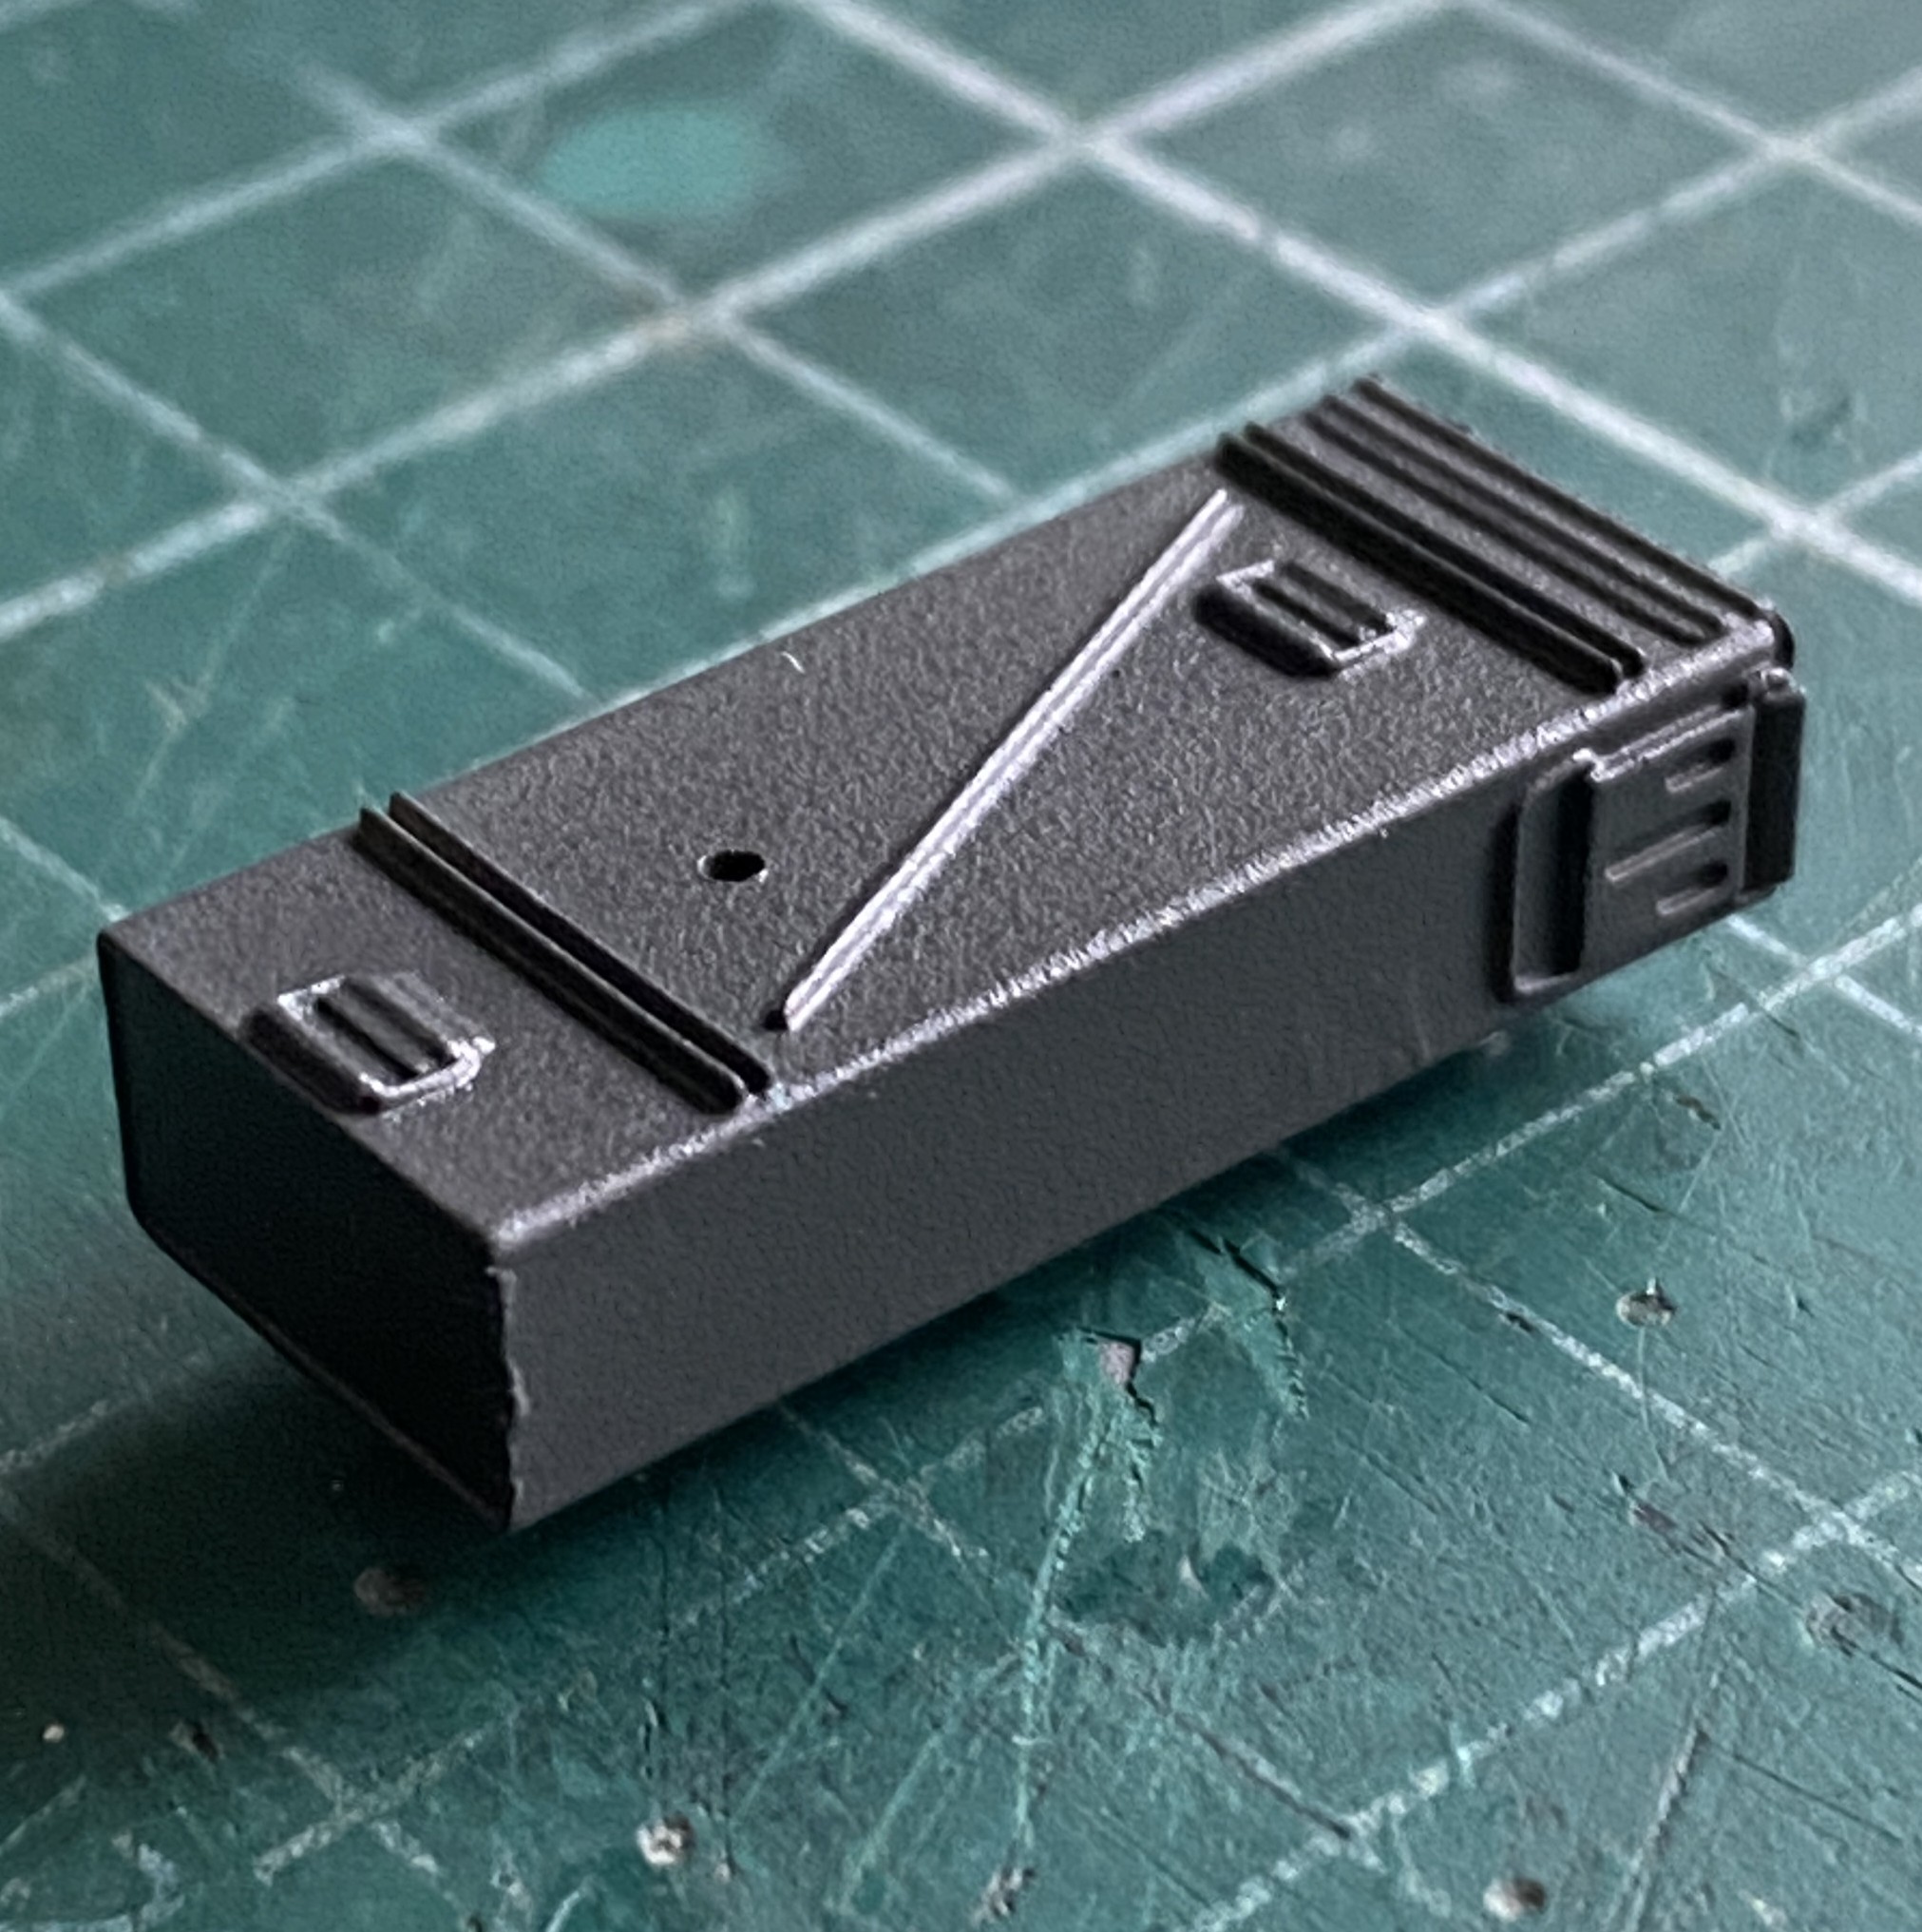
While that was sitting, I threw some of my custom “gunmetal” paint (X-18 Semi Gloss Black, 5 parts; XF-20 Medium Gray, 4 parts) at the ammo can:
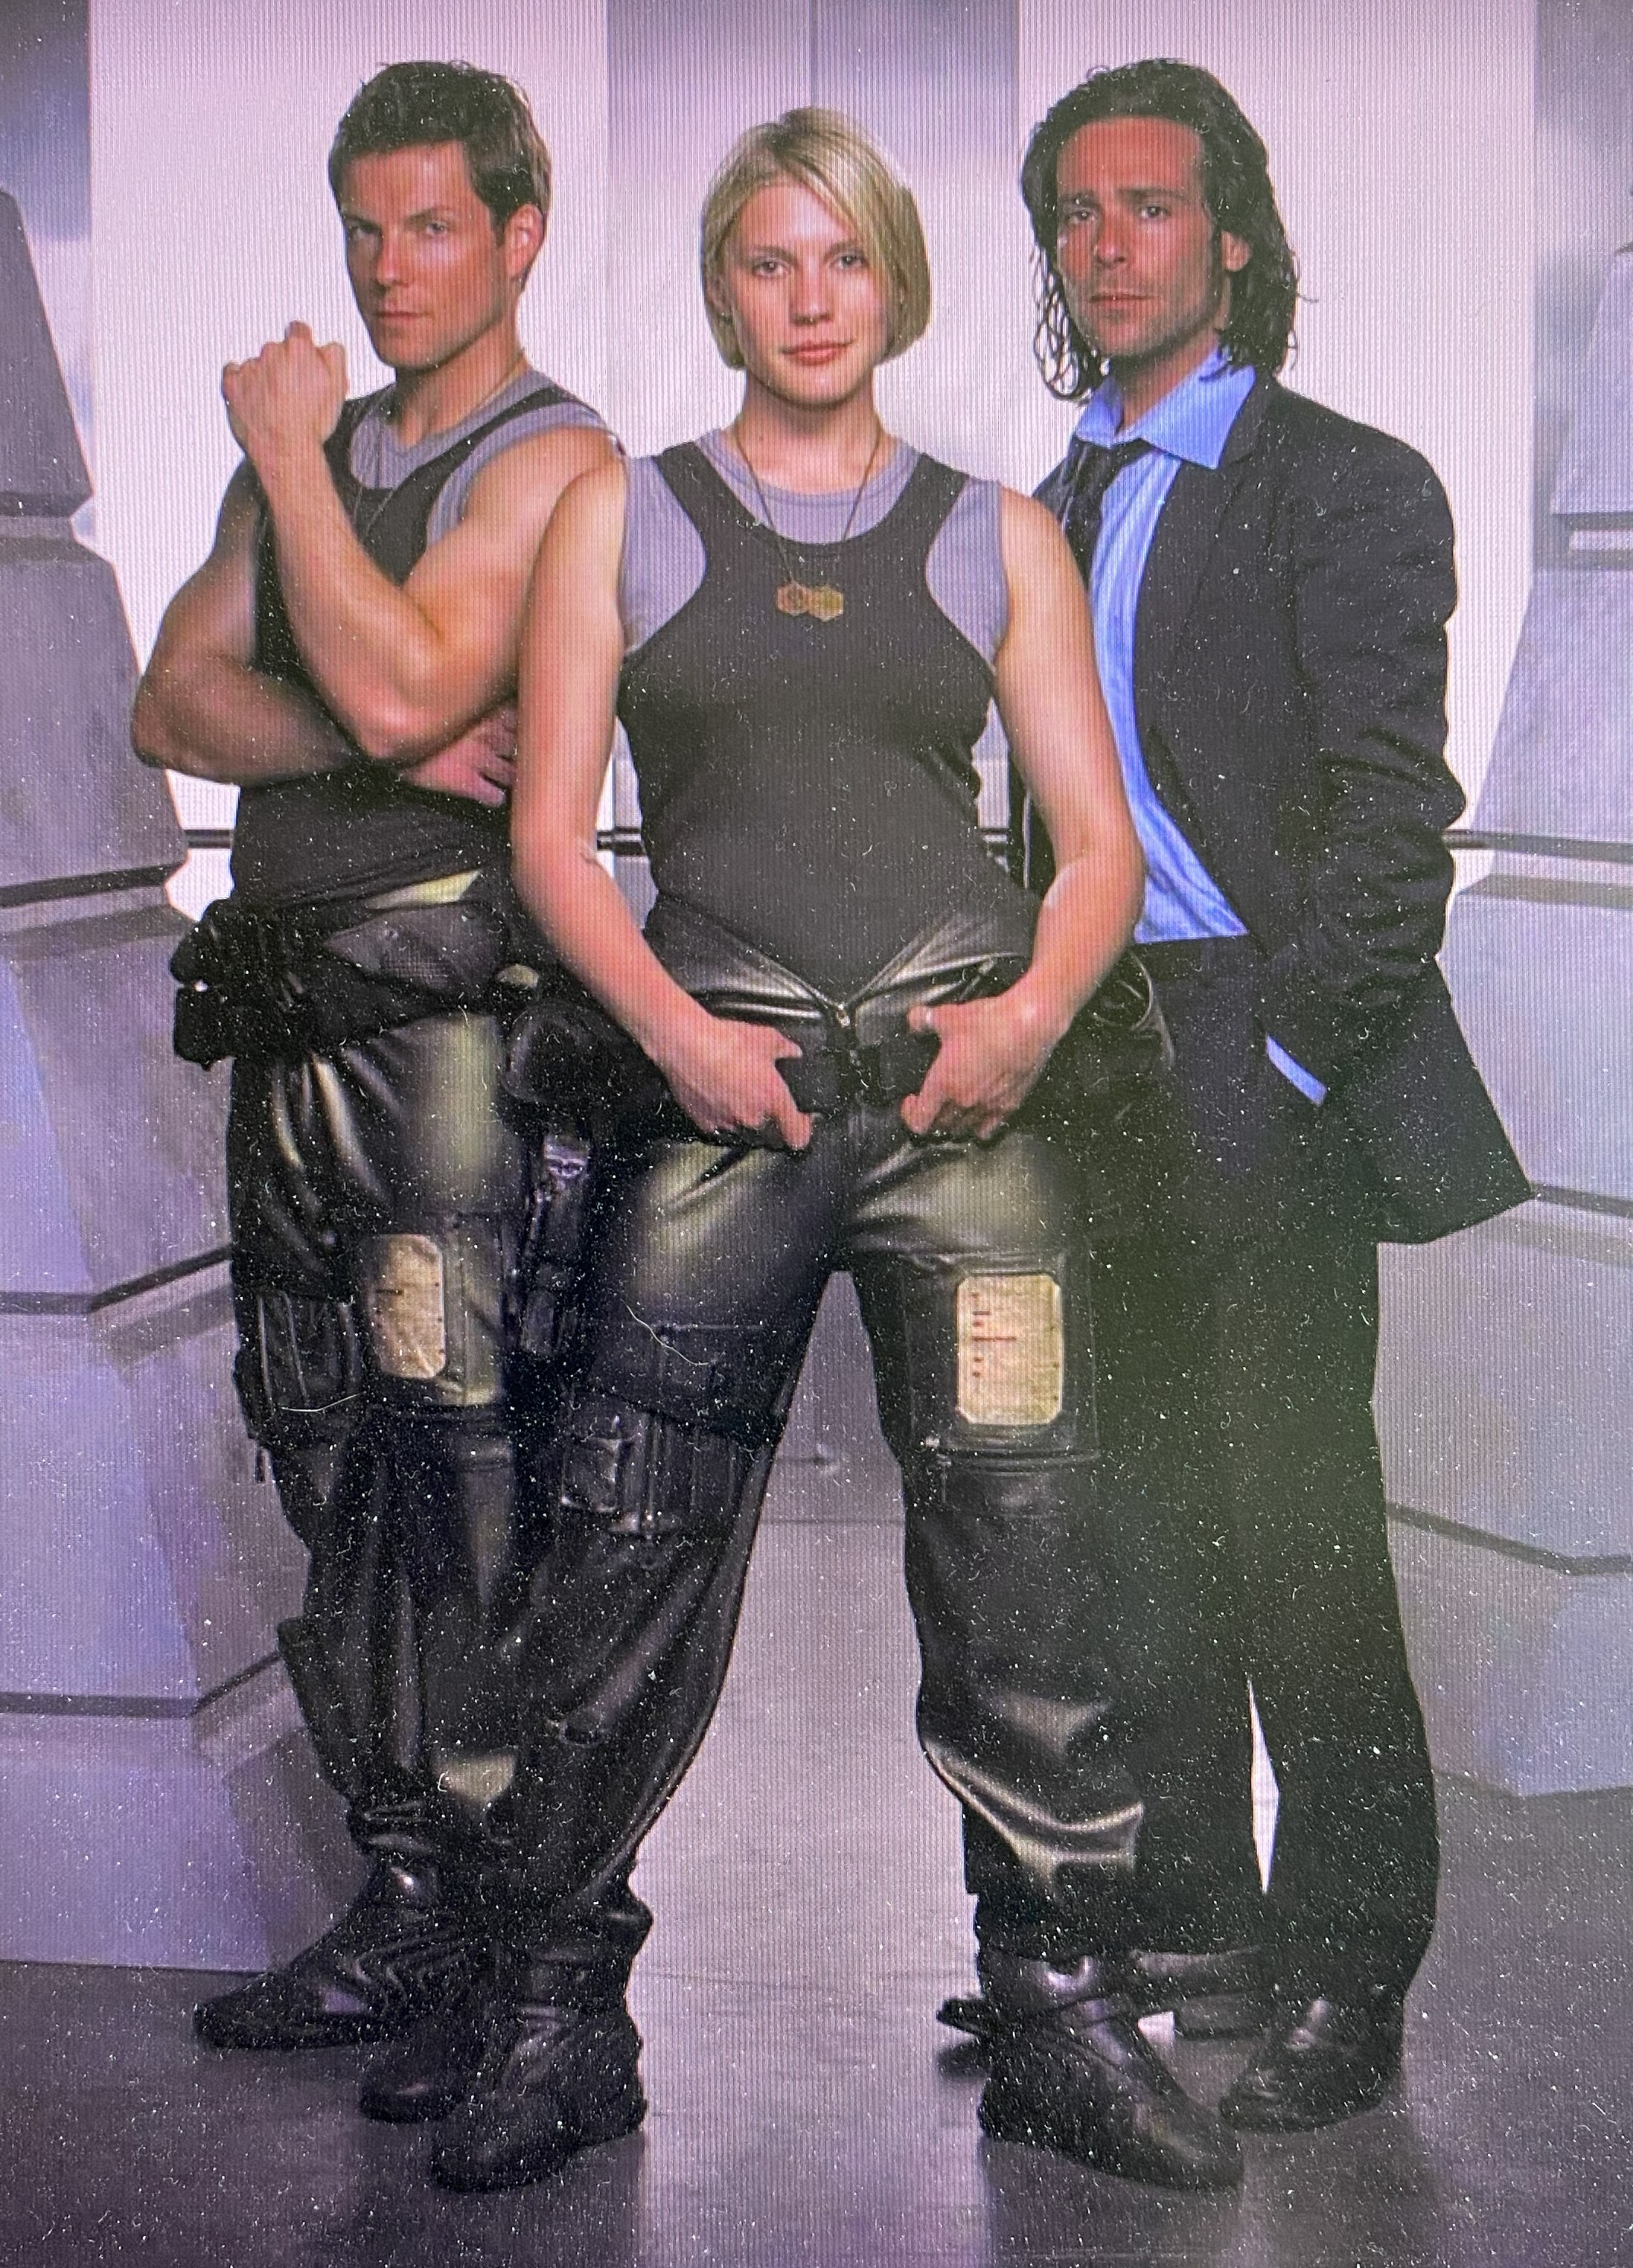
While I’m sitting here deciding if the skin tones/wash is acceptable to me, my next color-related challenge is getting the color of the flight-suit correct(ish):
It’s obvious to me that I’m going to need to have something to practice on. I went into my stash of spare armor parts and tossed together this painting mule:
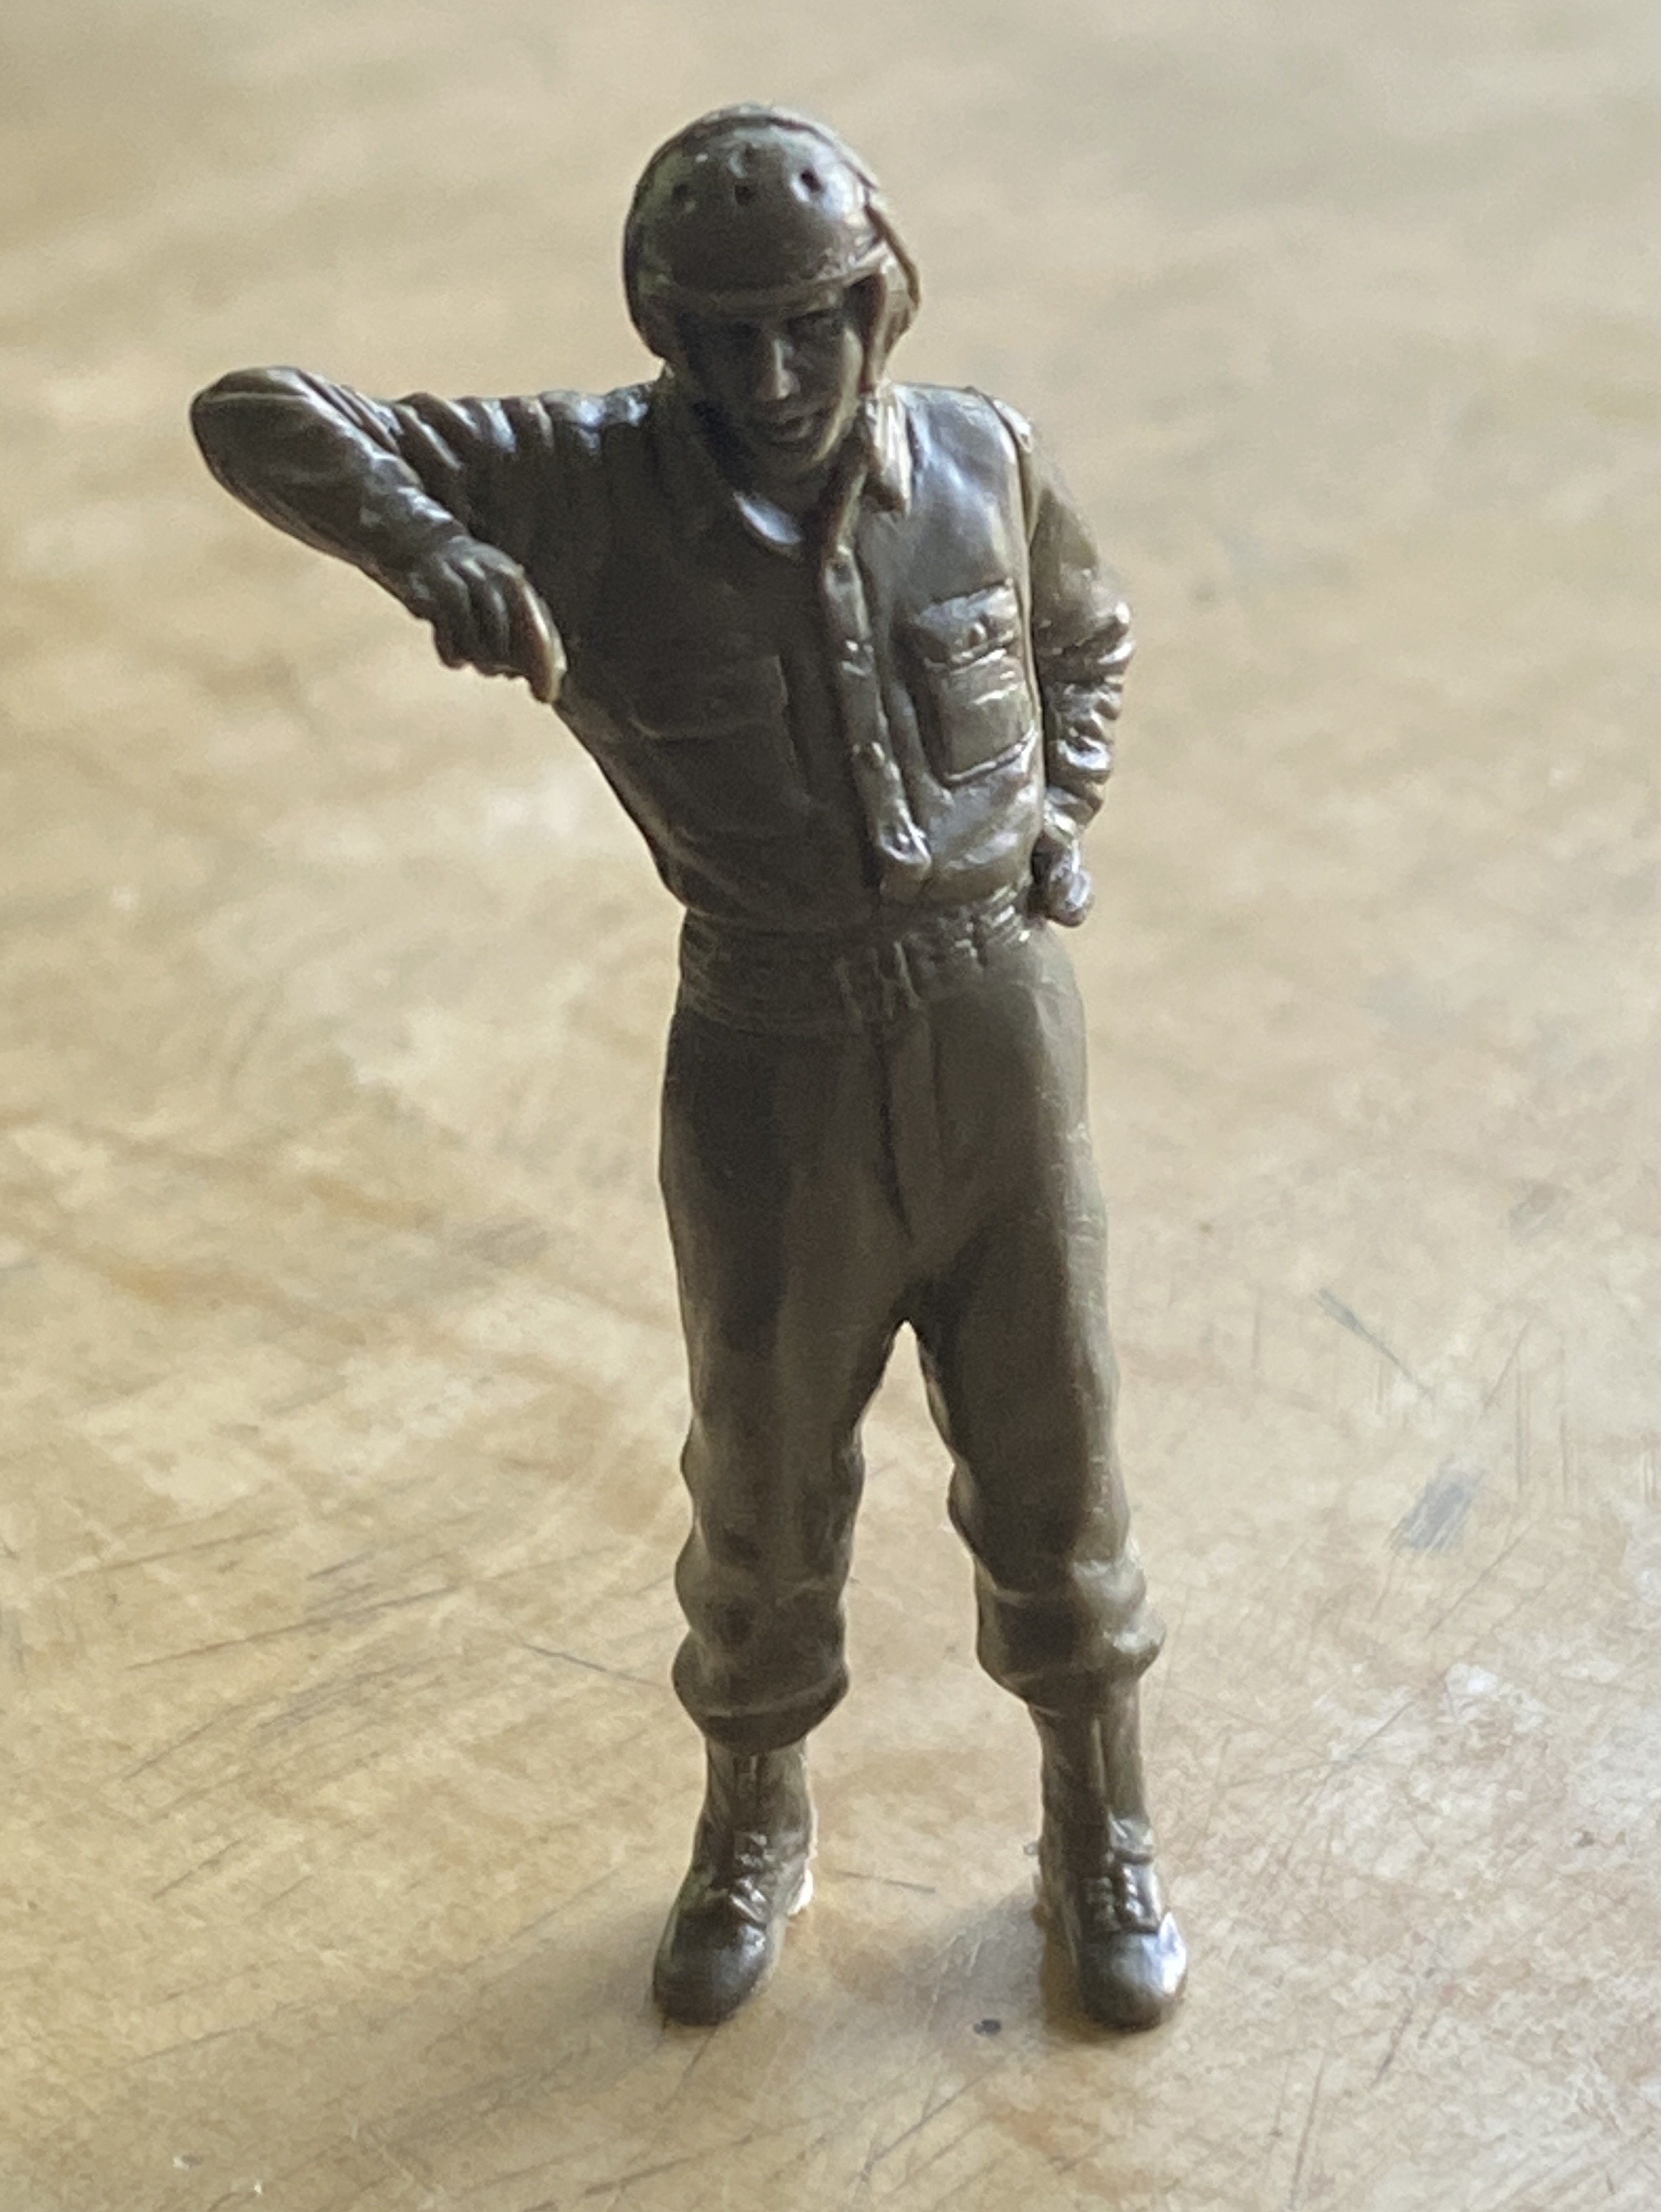
Or it’s a crash-test dummy.


Your process is similar to mine in painting. I love seeing this.
LikeLiked by 1 person
Damn. Have you considered seeking professional help for that?
LikeLike