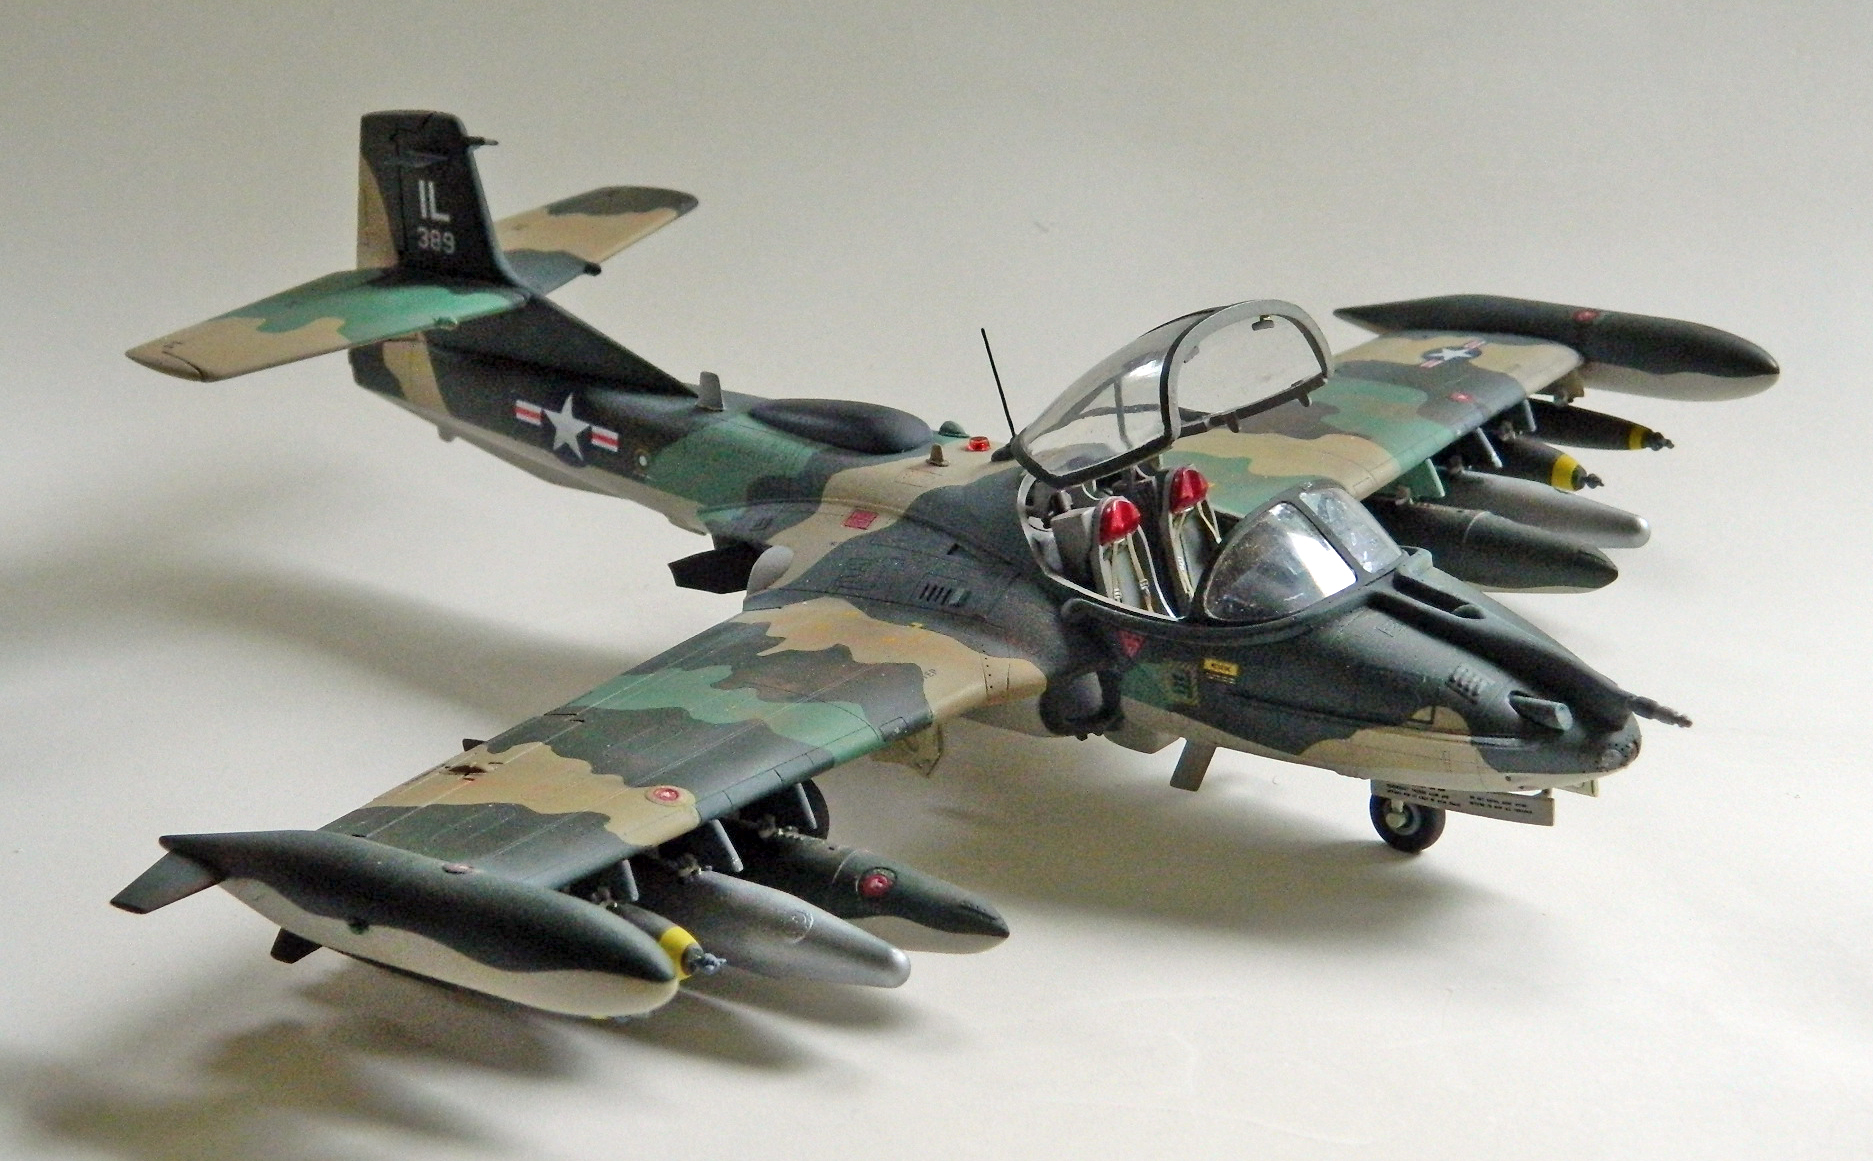
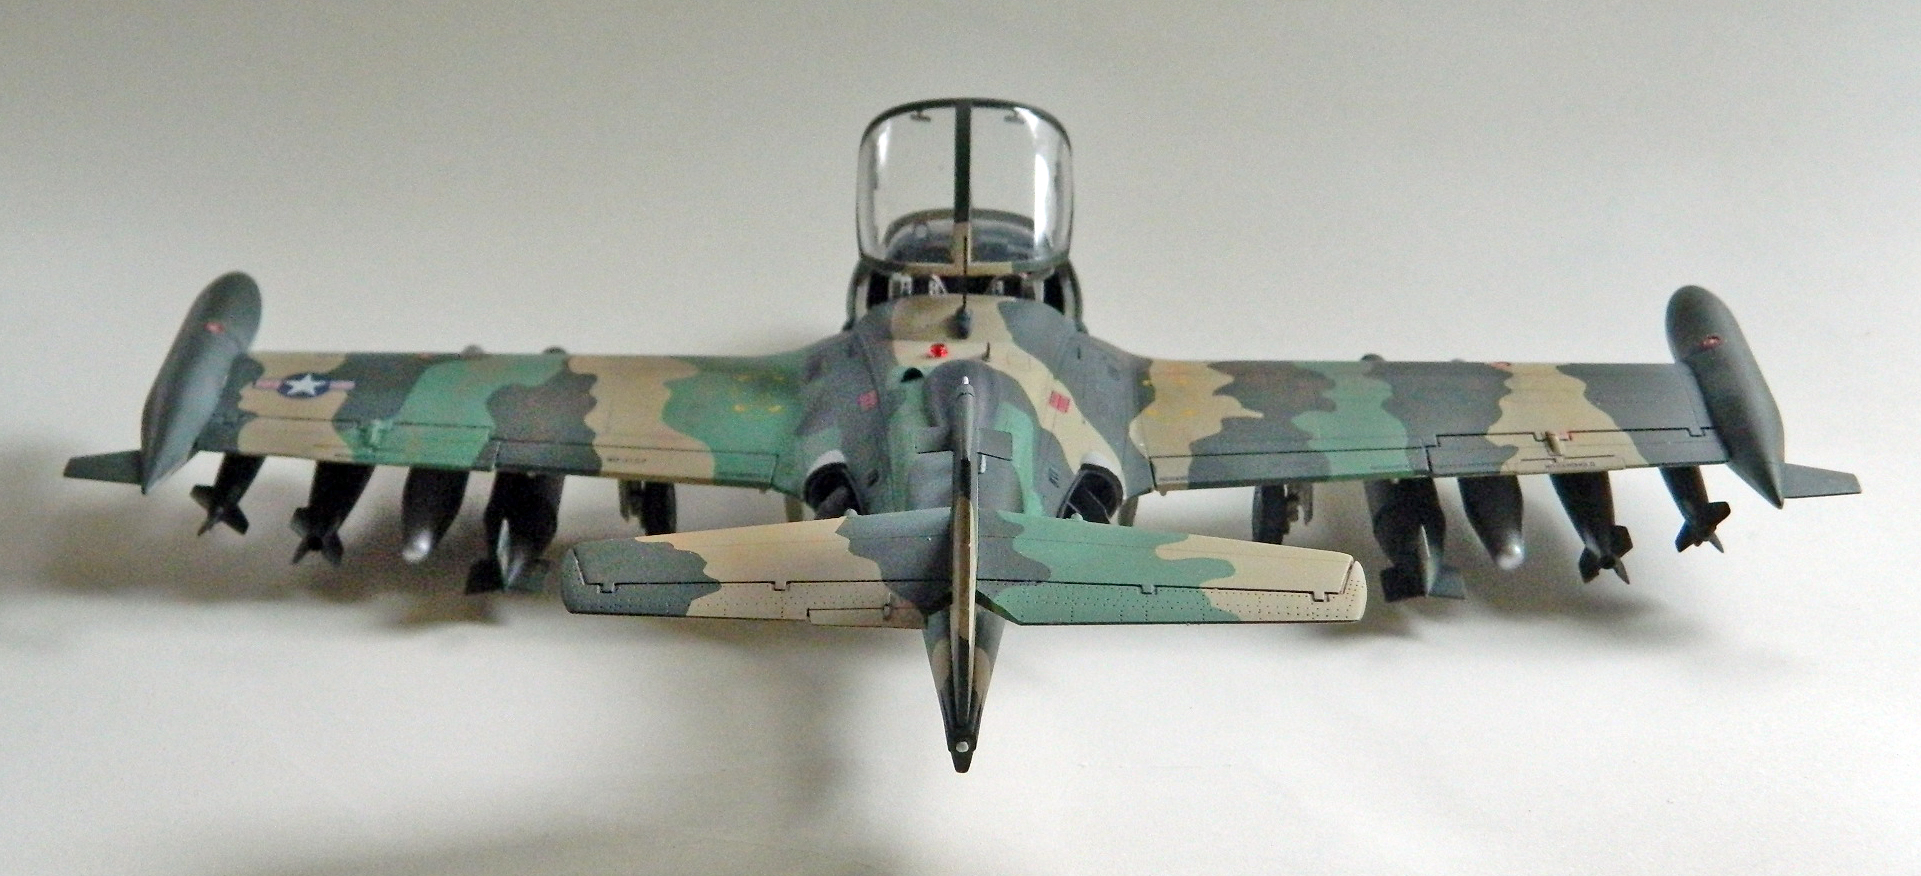
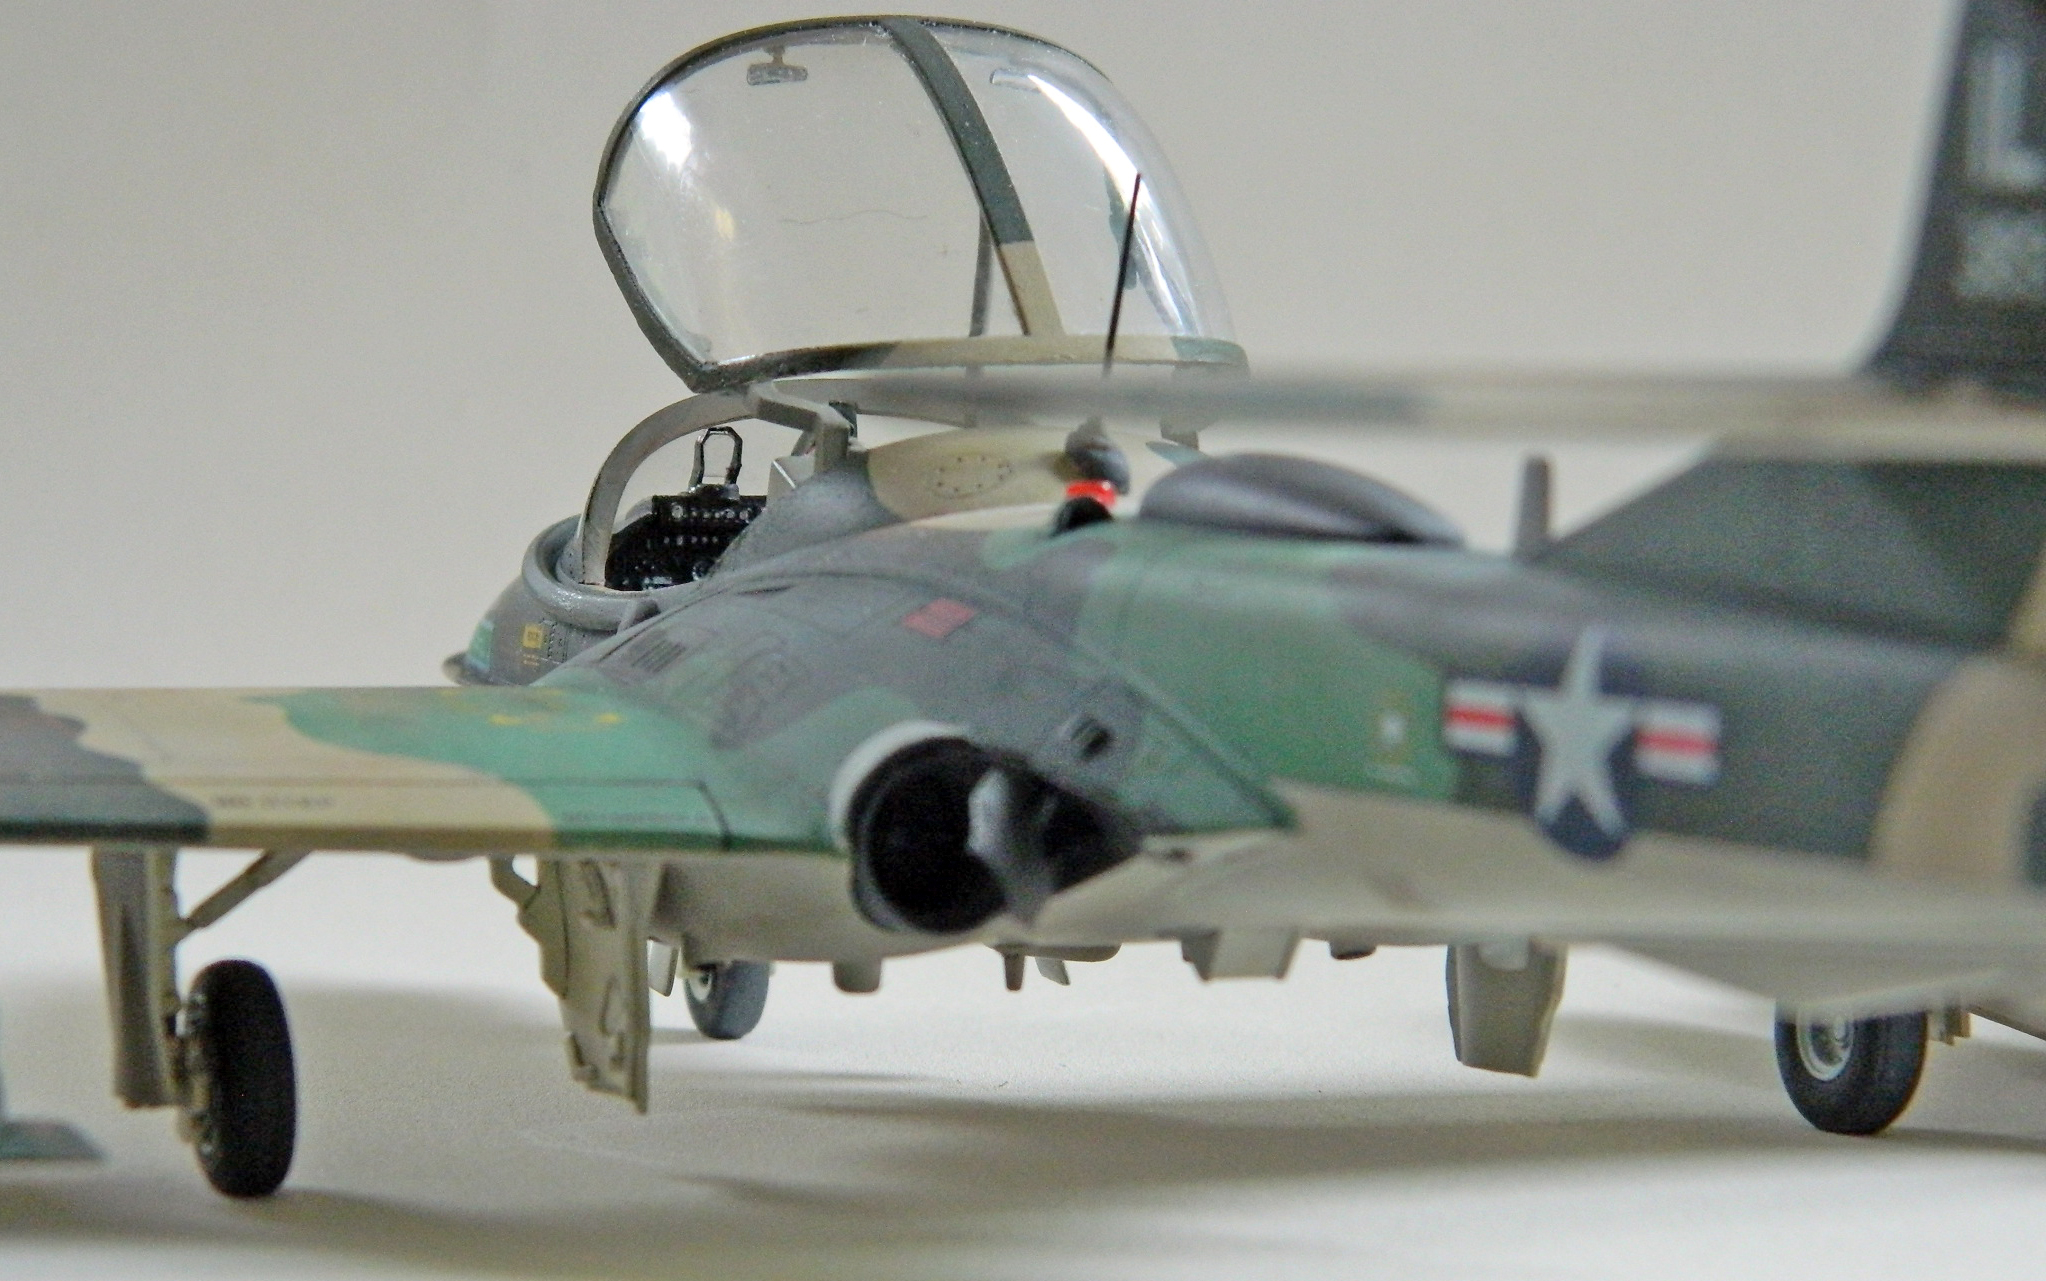
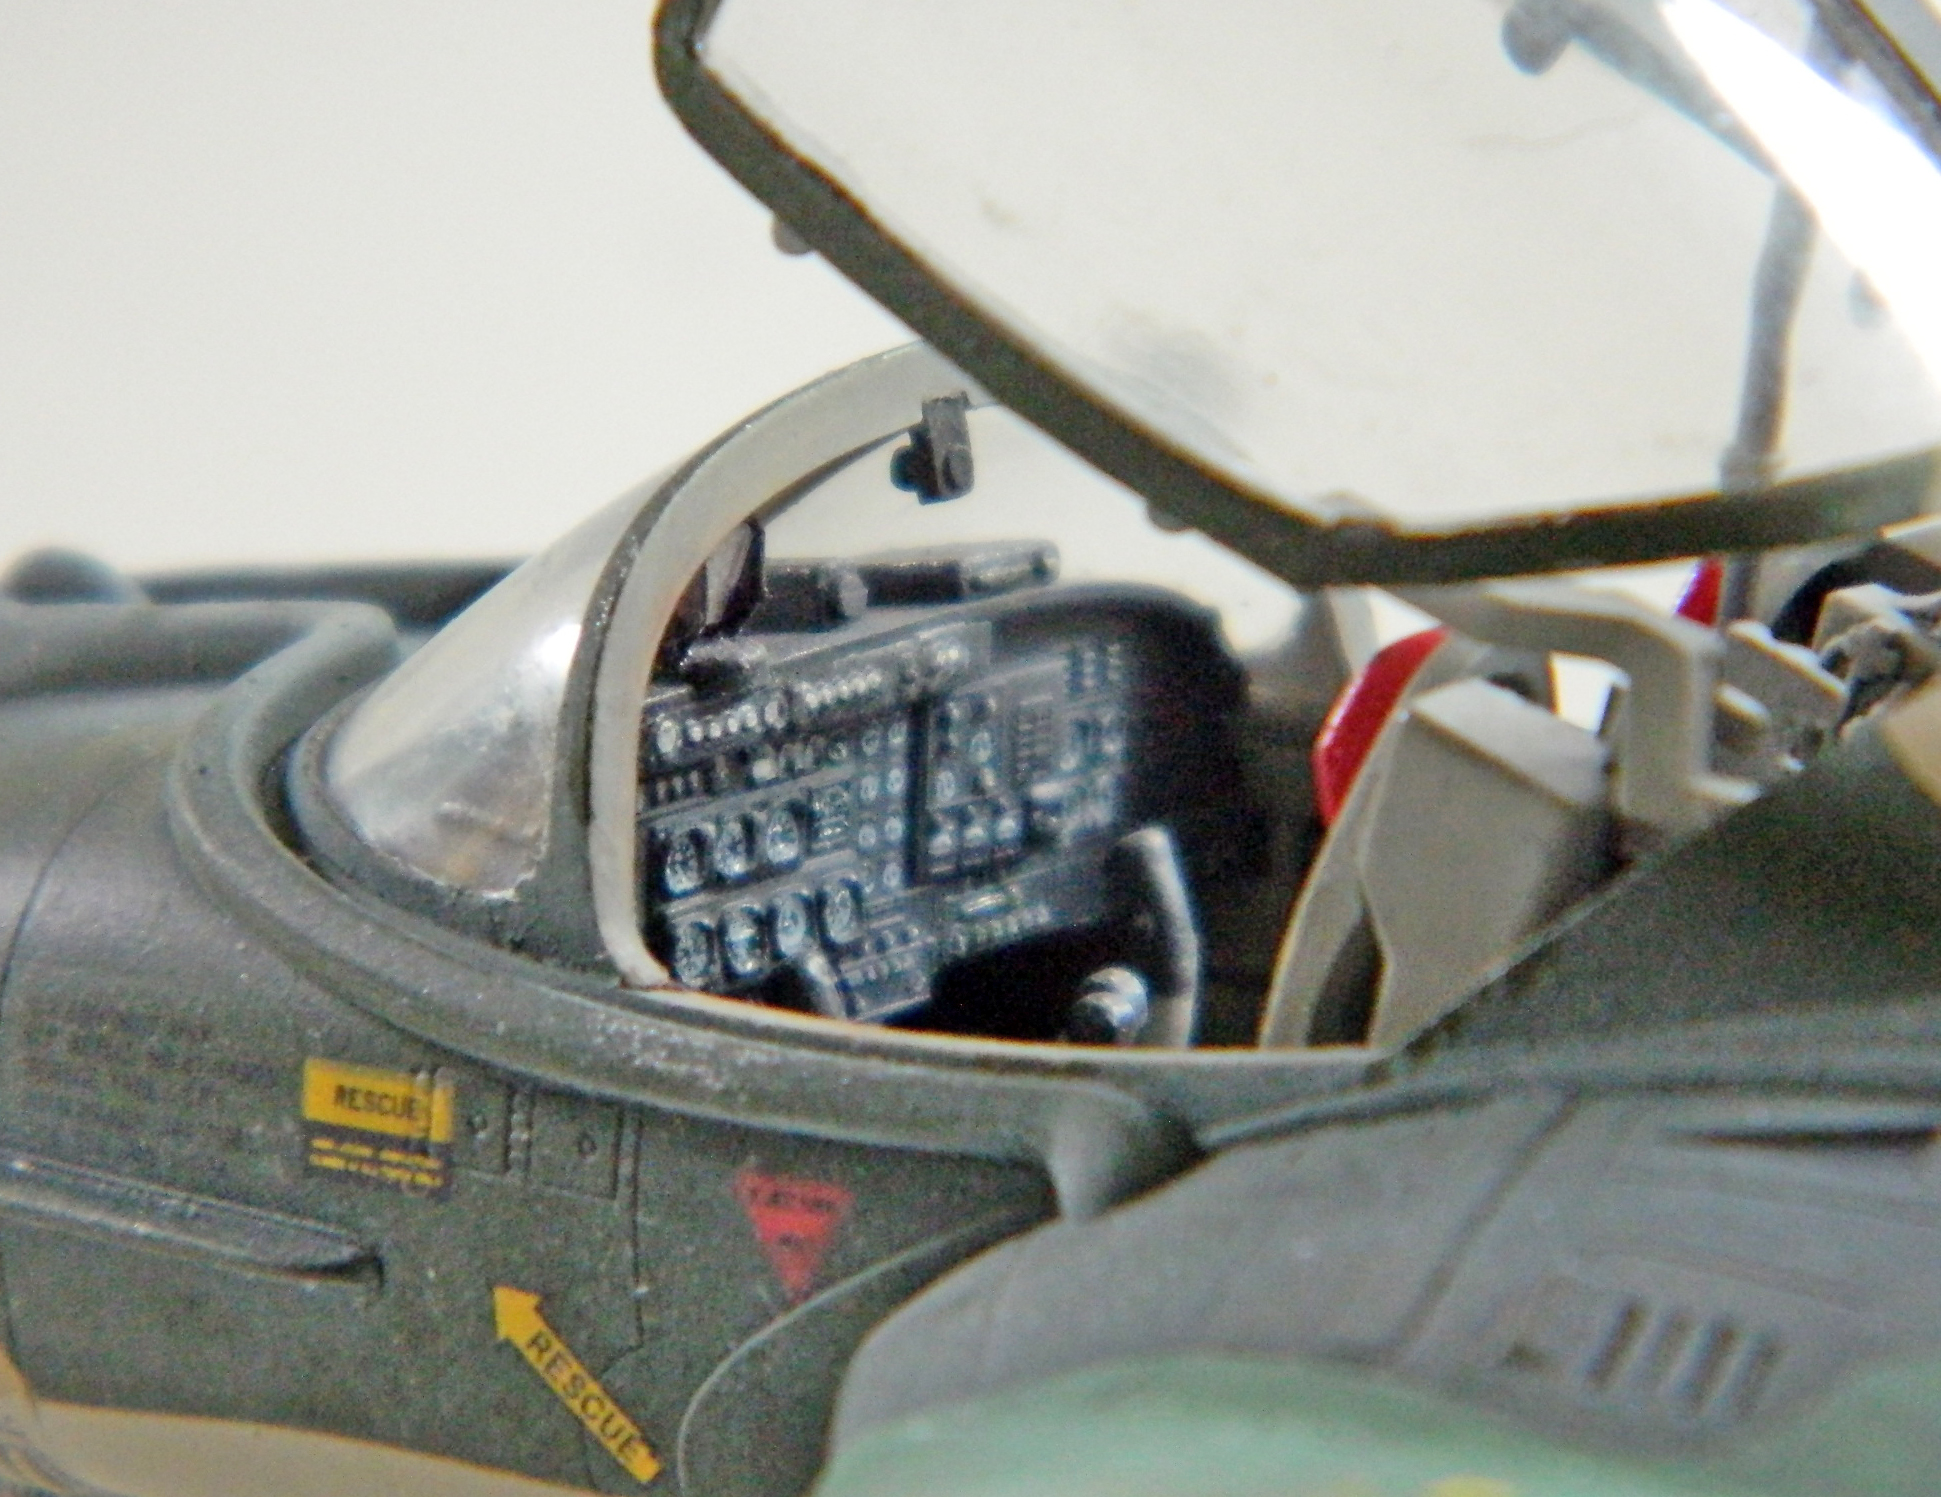
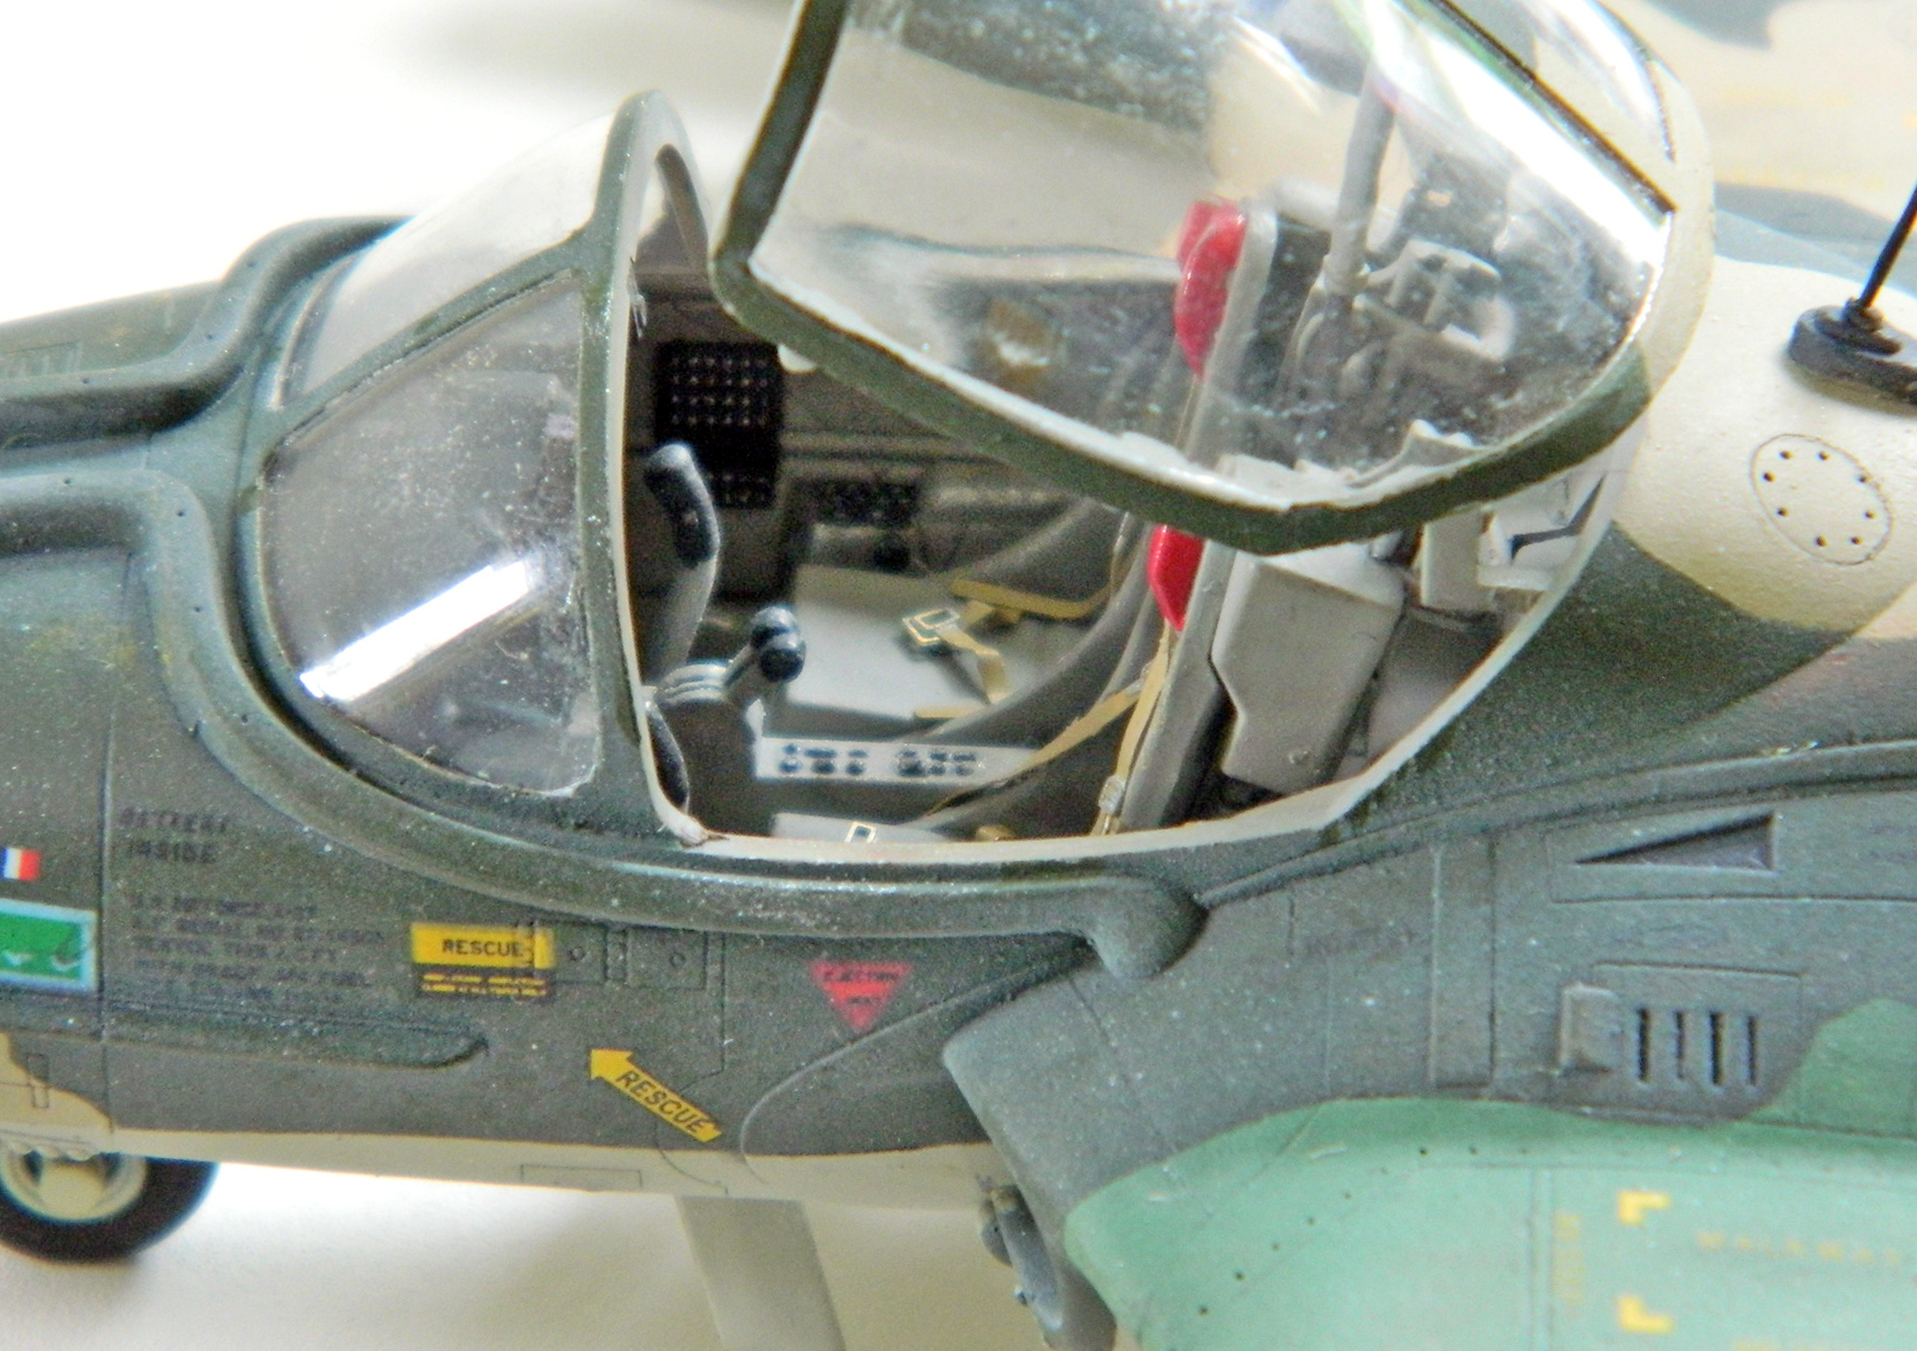
Total time building 153 hours (that’s about 6.375 24 hour days, 3.825 work weeks).
Begin date May 1, 2017; end date June 30, 2017.
Vendors:
Trumpeter
Kit #02889 1/48 scale
I like pre-shading things. It helps to make the view deeper and more realistic (I could go on about that; if you’ve any interest, drop me a note and I will). Pre-shading starts with painting the parts and assemblies flat black:

With the flat black “shadow” layer down, the color (in this case medium gray) gets misted over the surface. The objective is to not get complete coverage but to have the more recessed areas more black than gray and then establish a gradient from the darkest surfaces that don’t get as much light to the lightest surfaces that get the most light, being more gray than black. In the following photo, the shaded areas are not due to light but to the flat black base coat that wasn’t totally covered by gray. The masked areas are intended to stay black:

With the base coats down, the next step is to pick out the details with contrasting colors, some of which was done with paint and the really fine detail work was done with a white-colored pencil (SUCH a handy tool, that!):
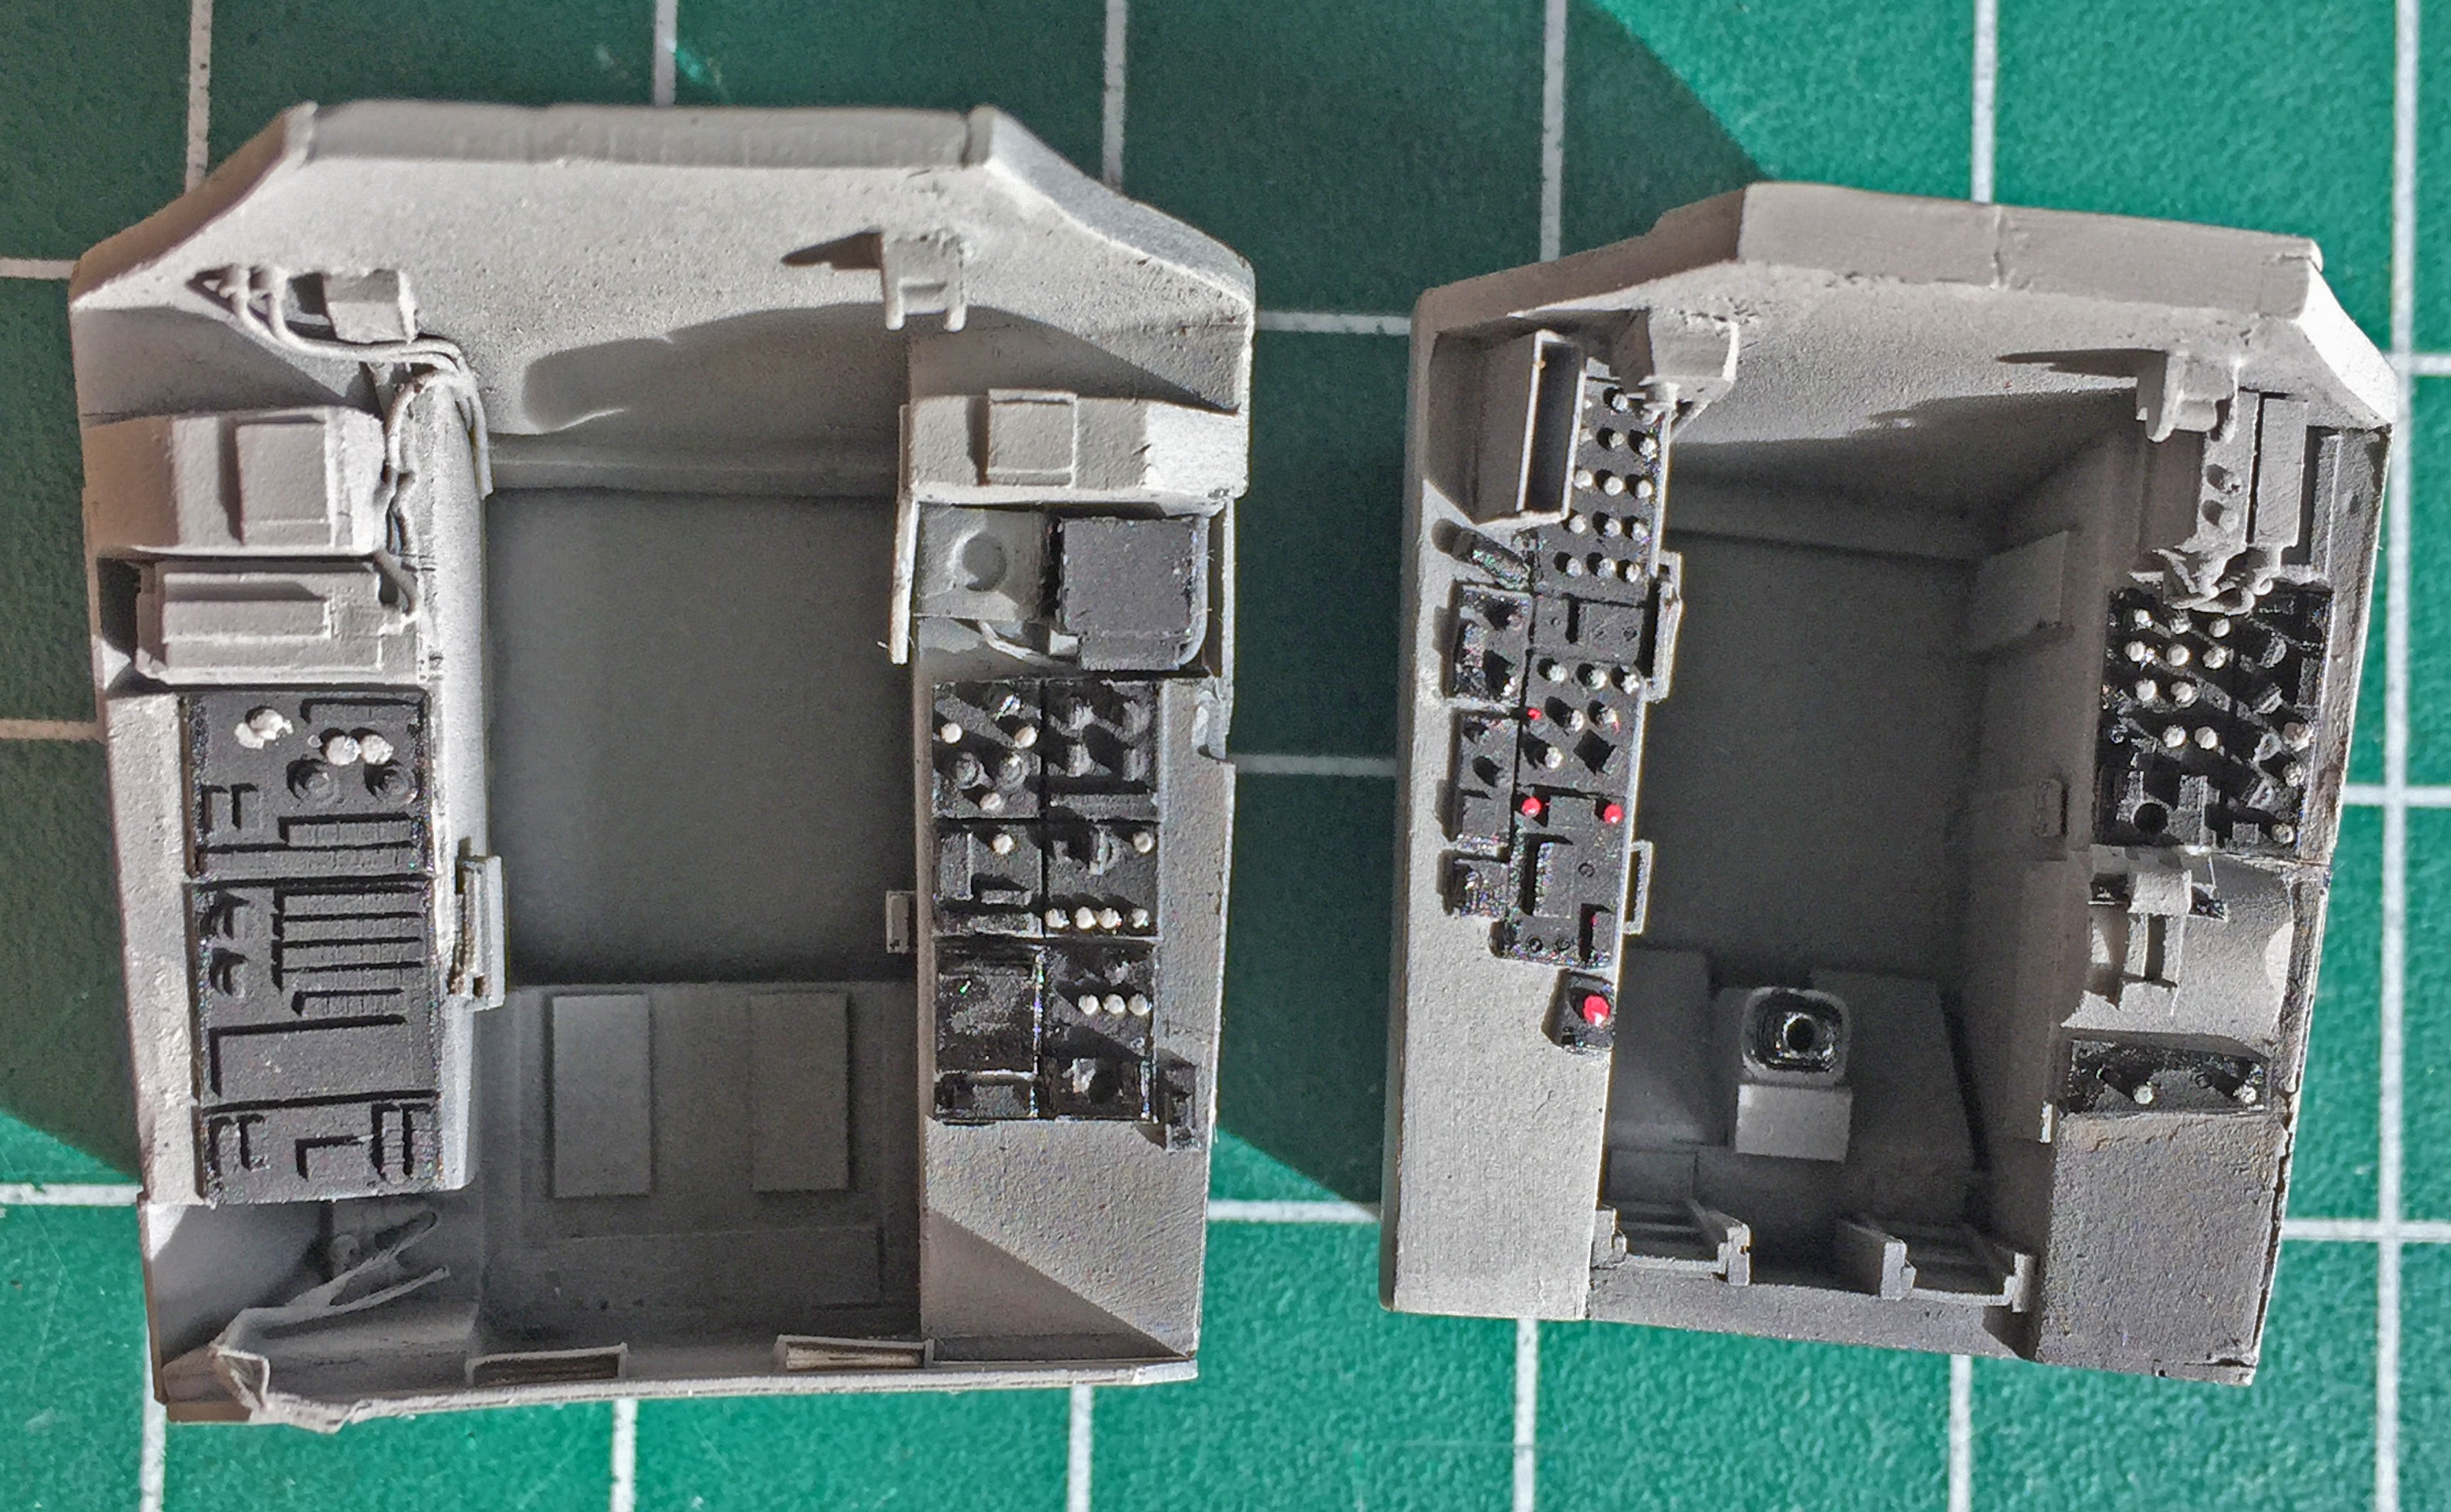
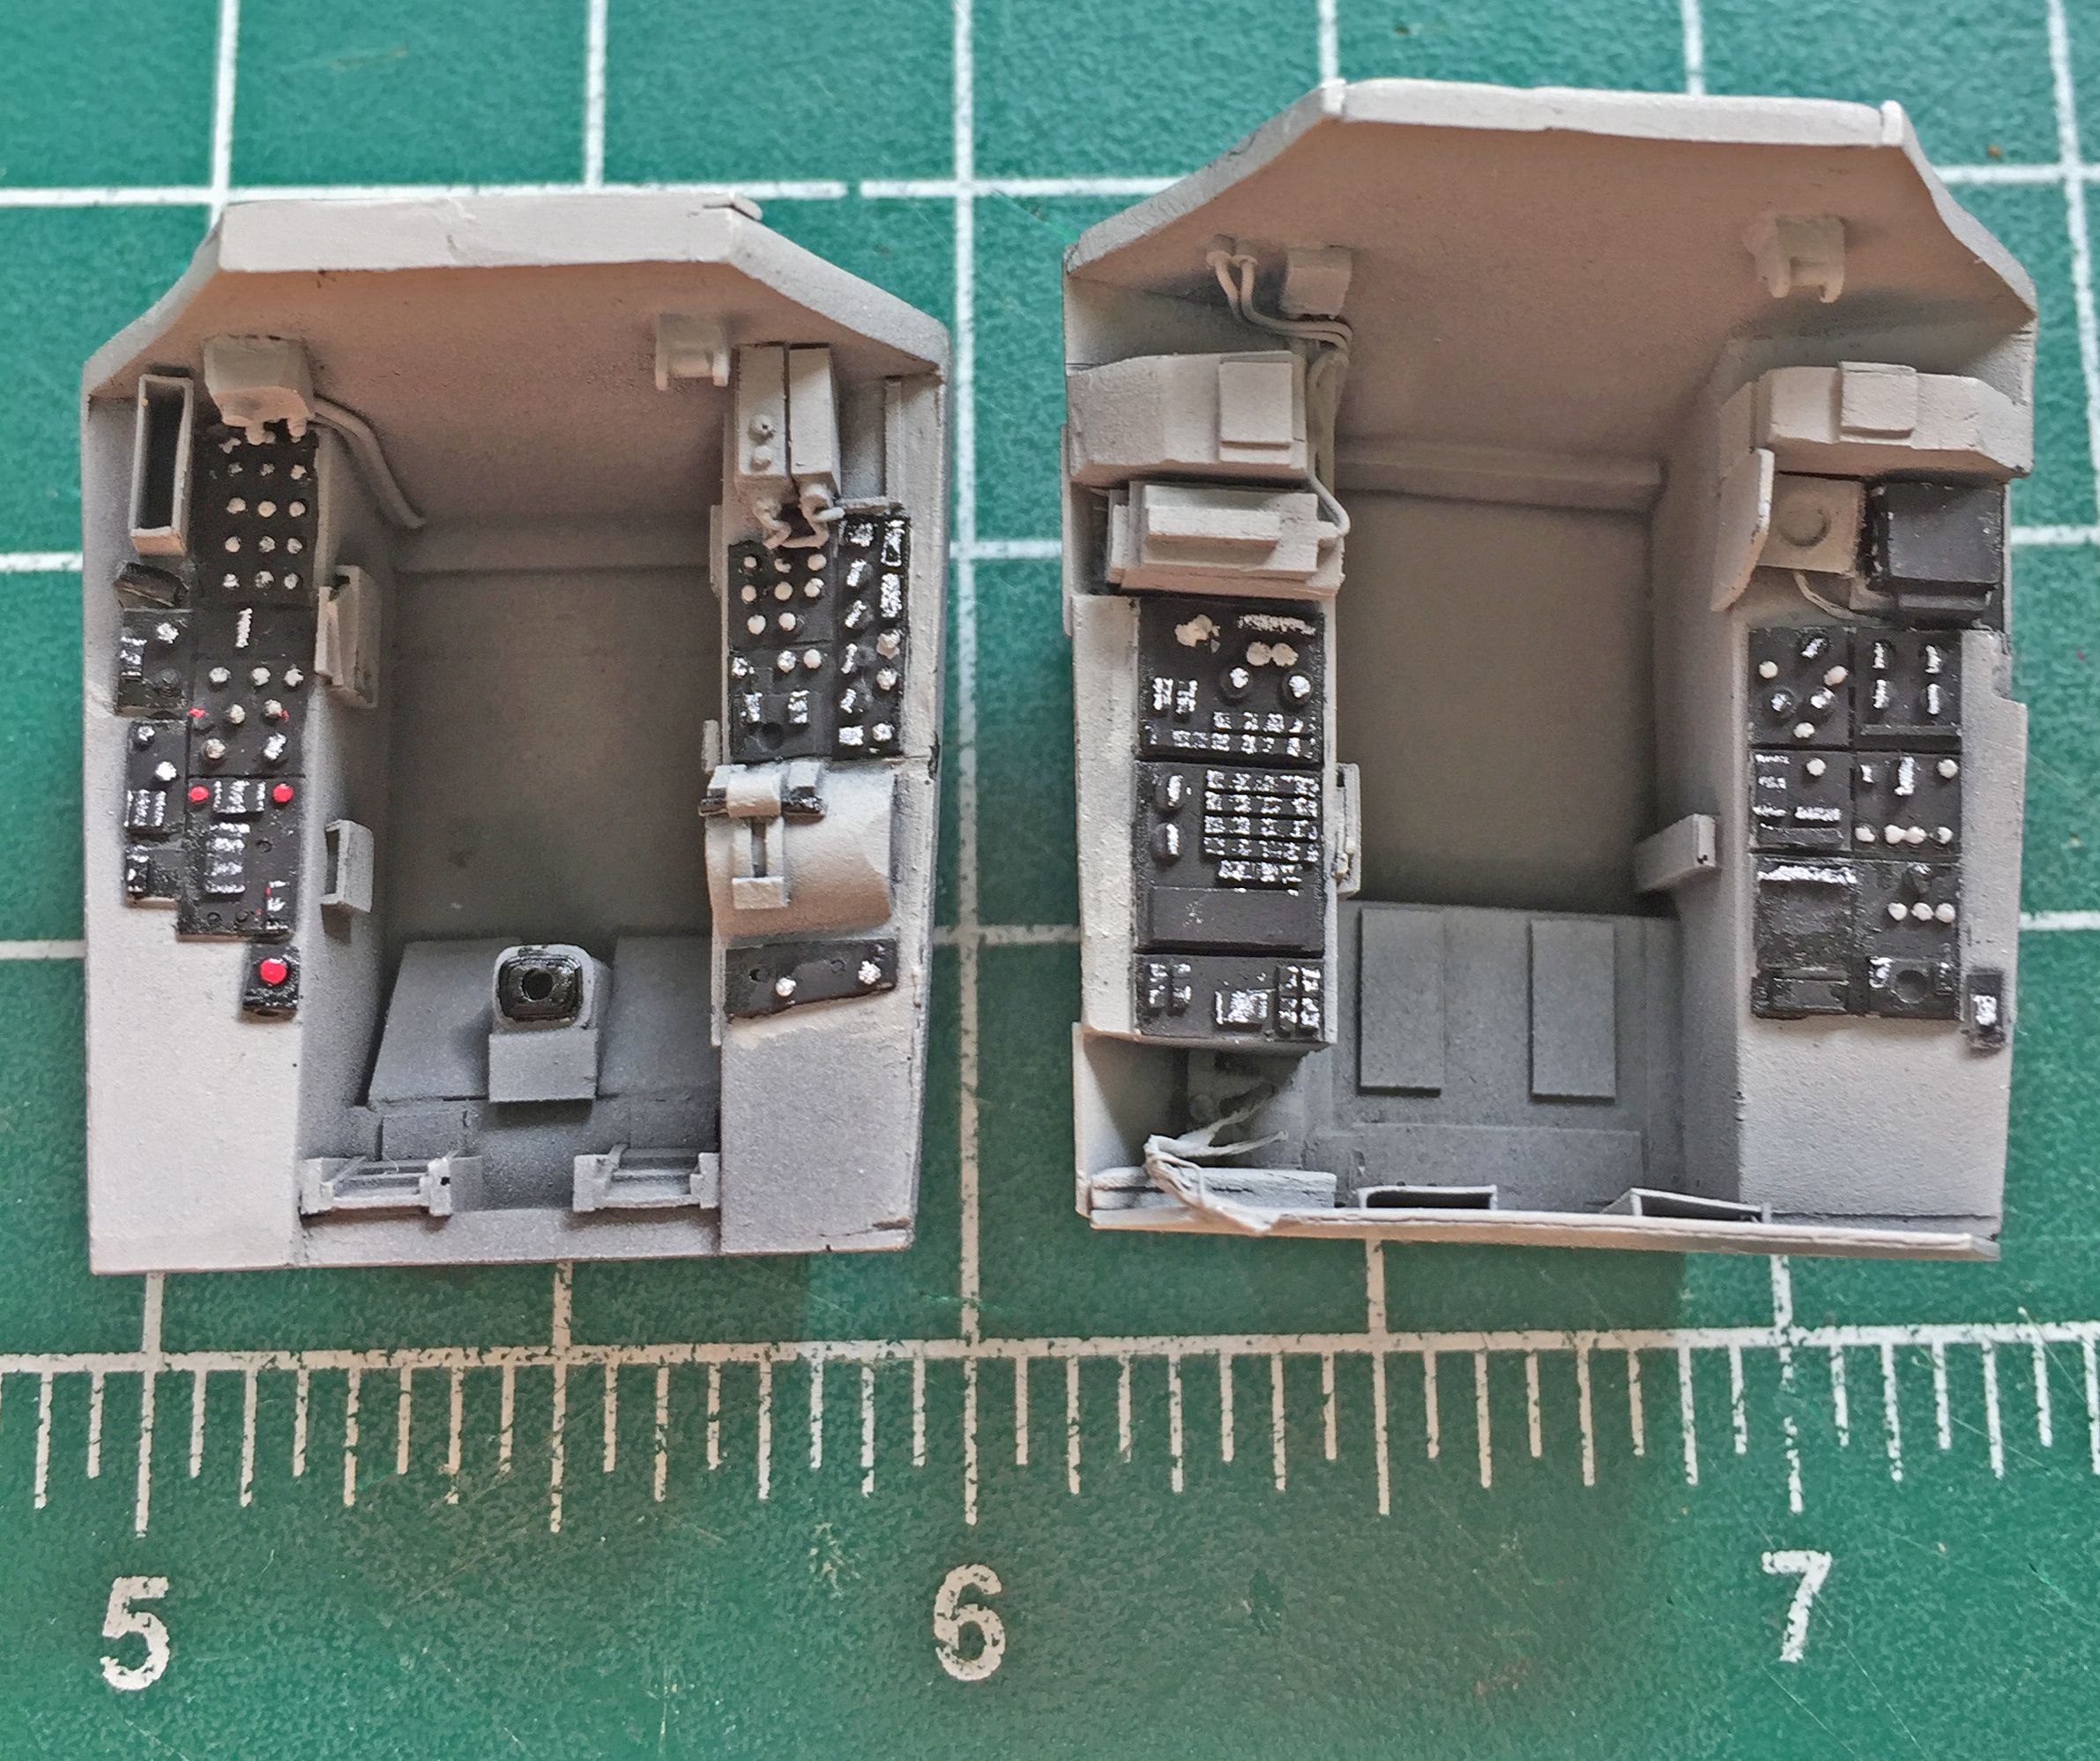
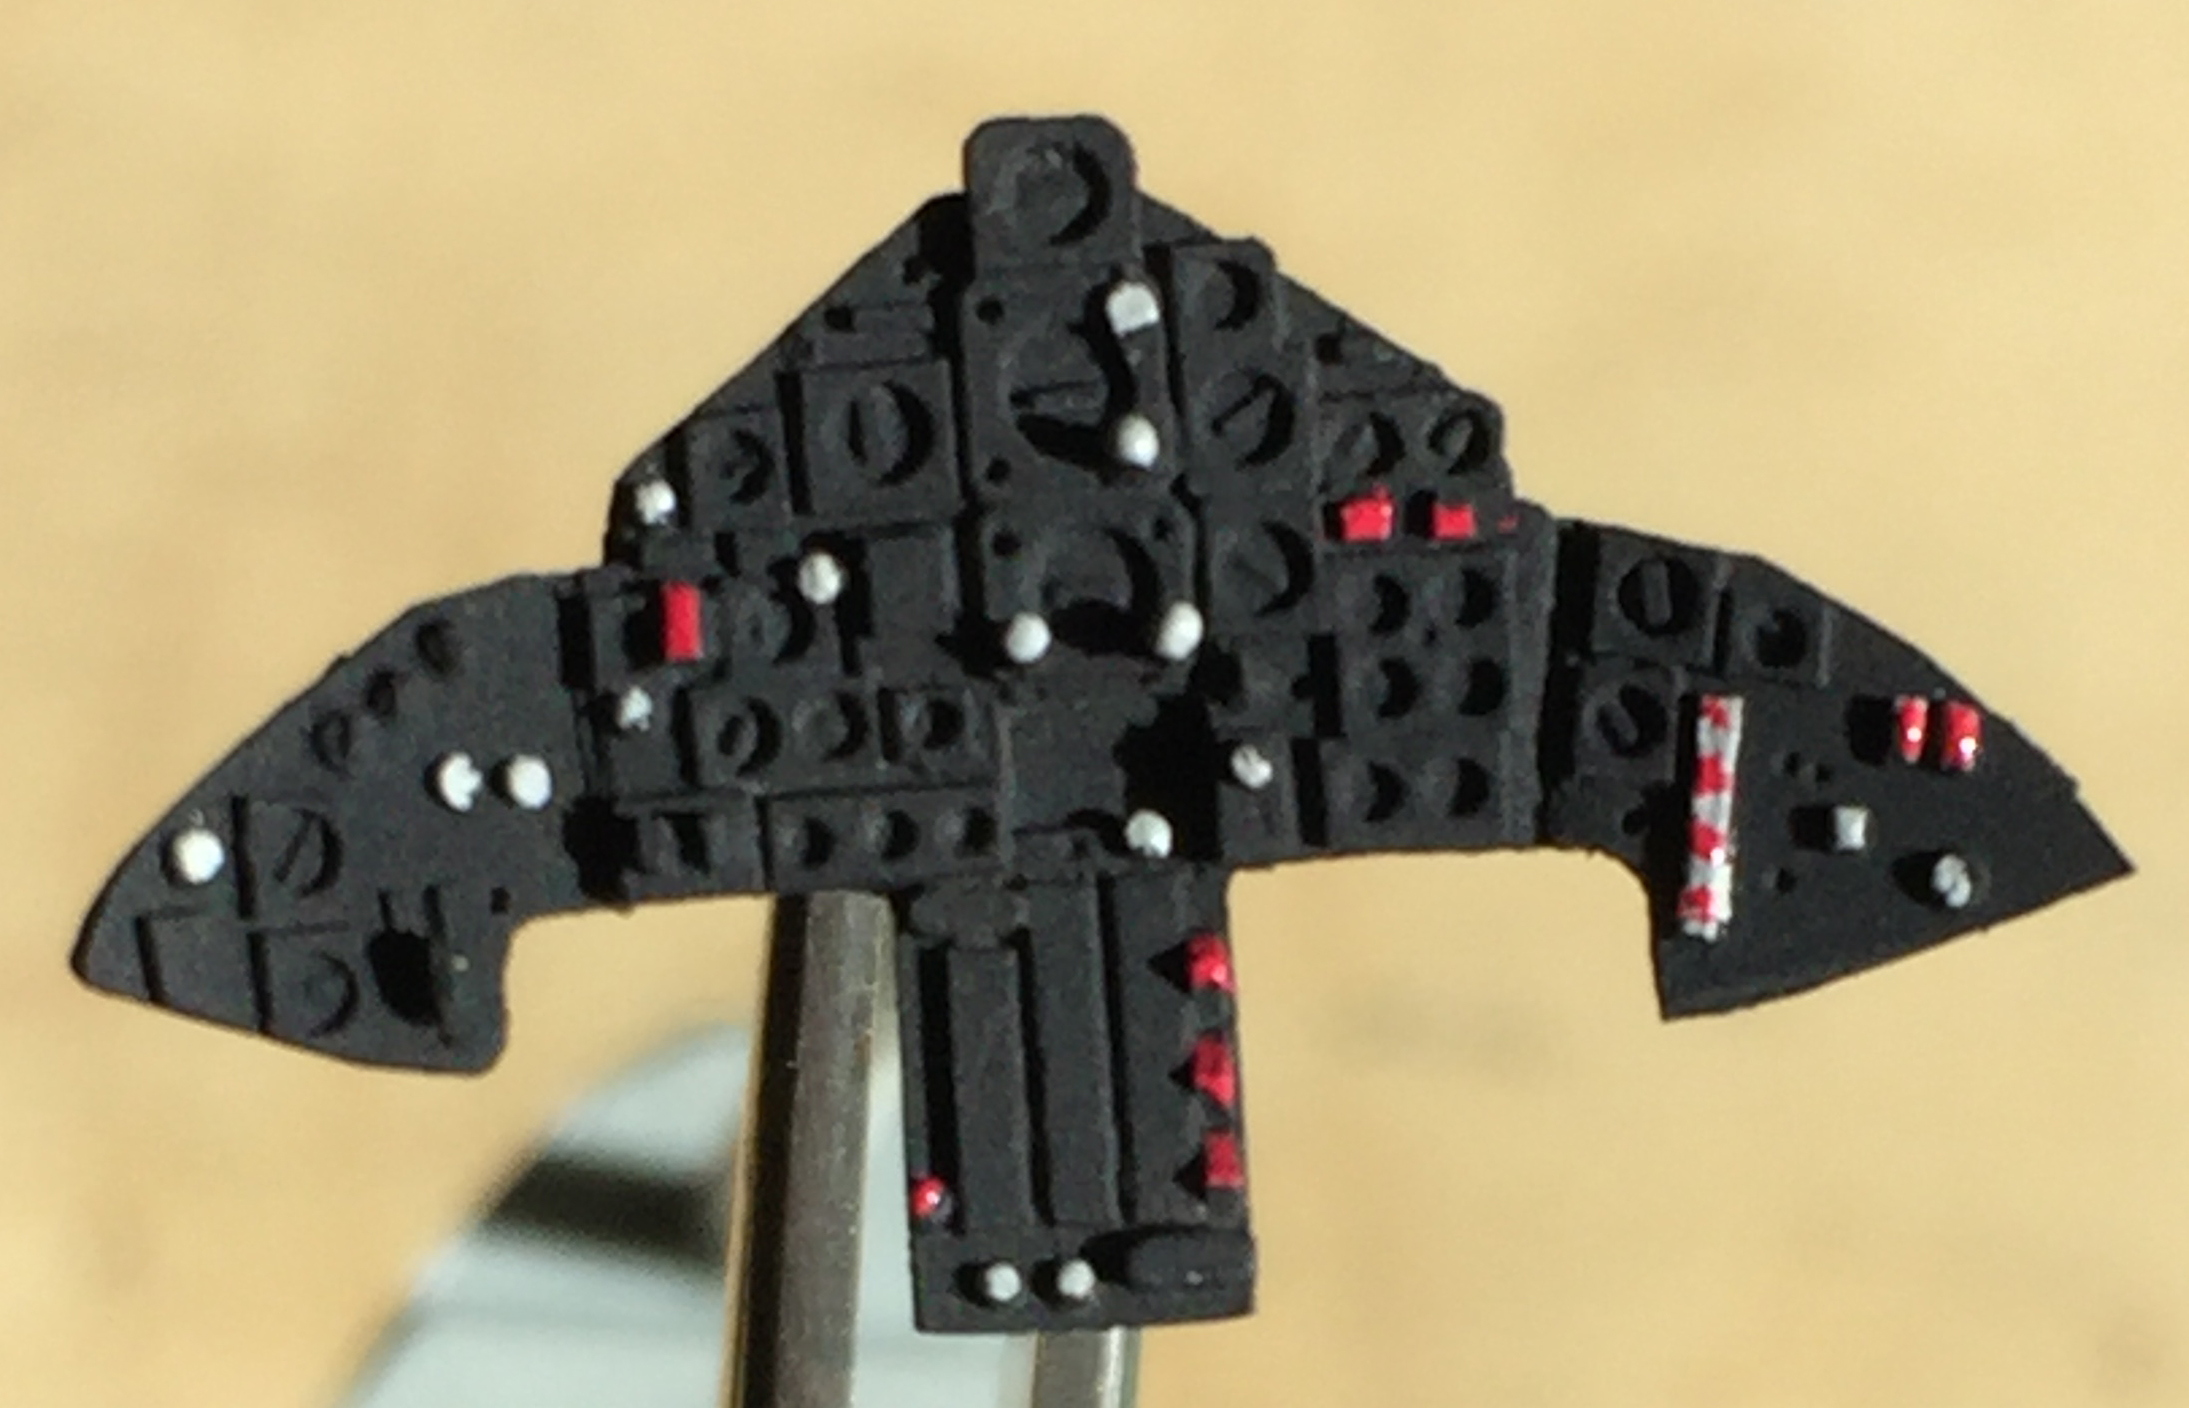


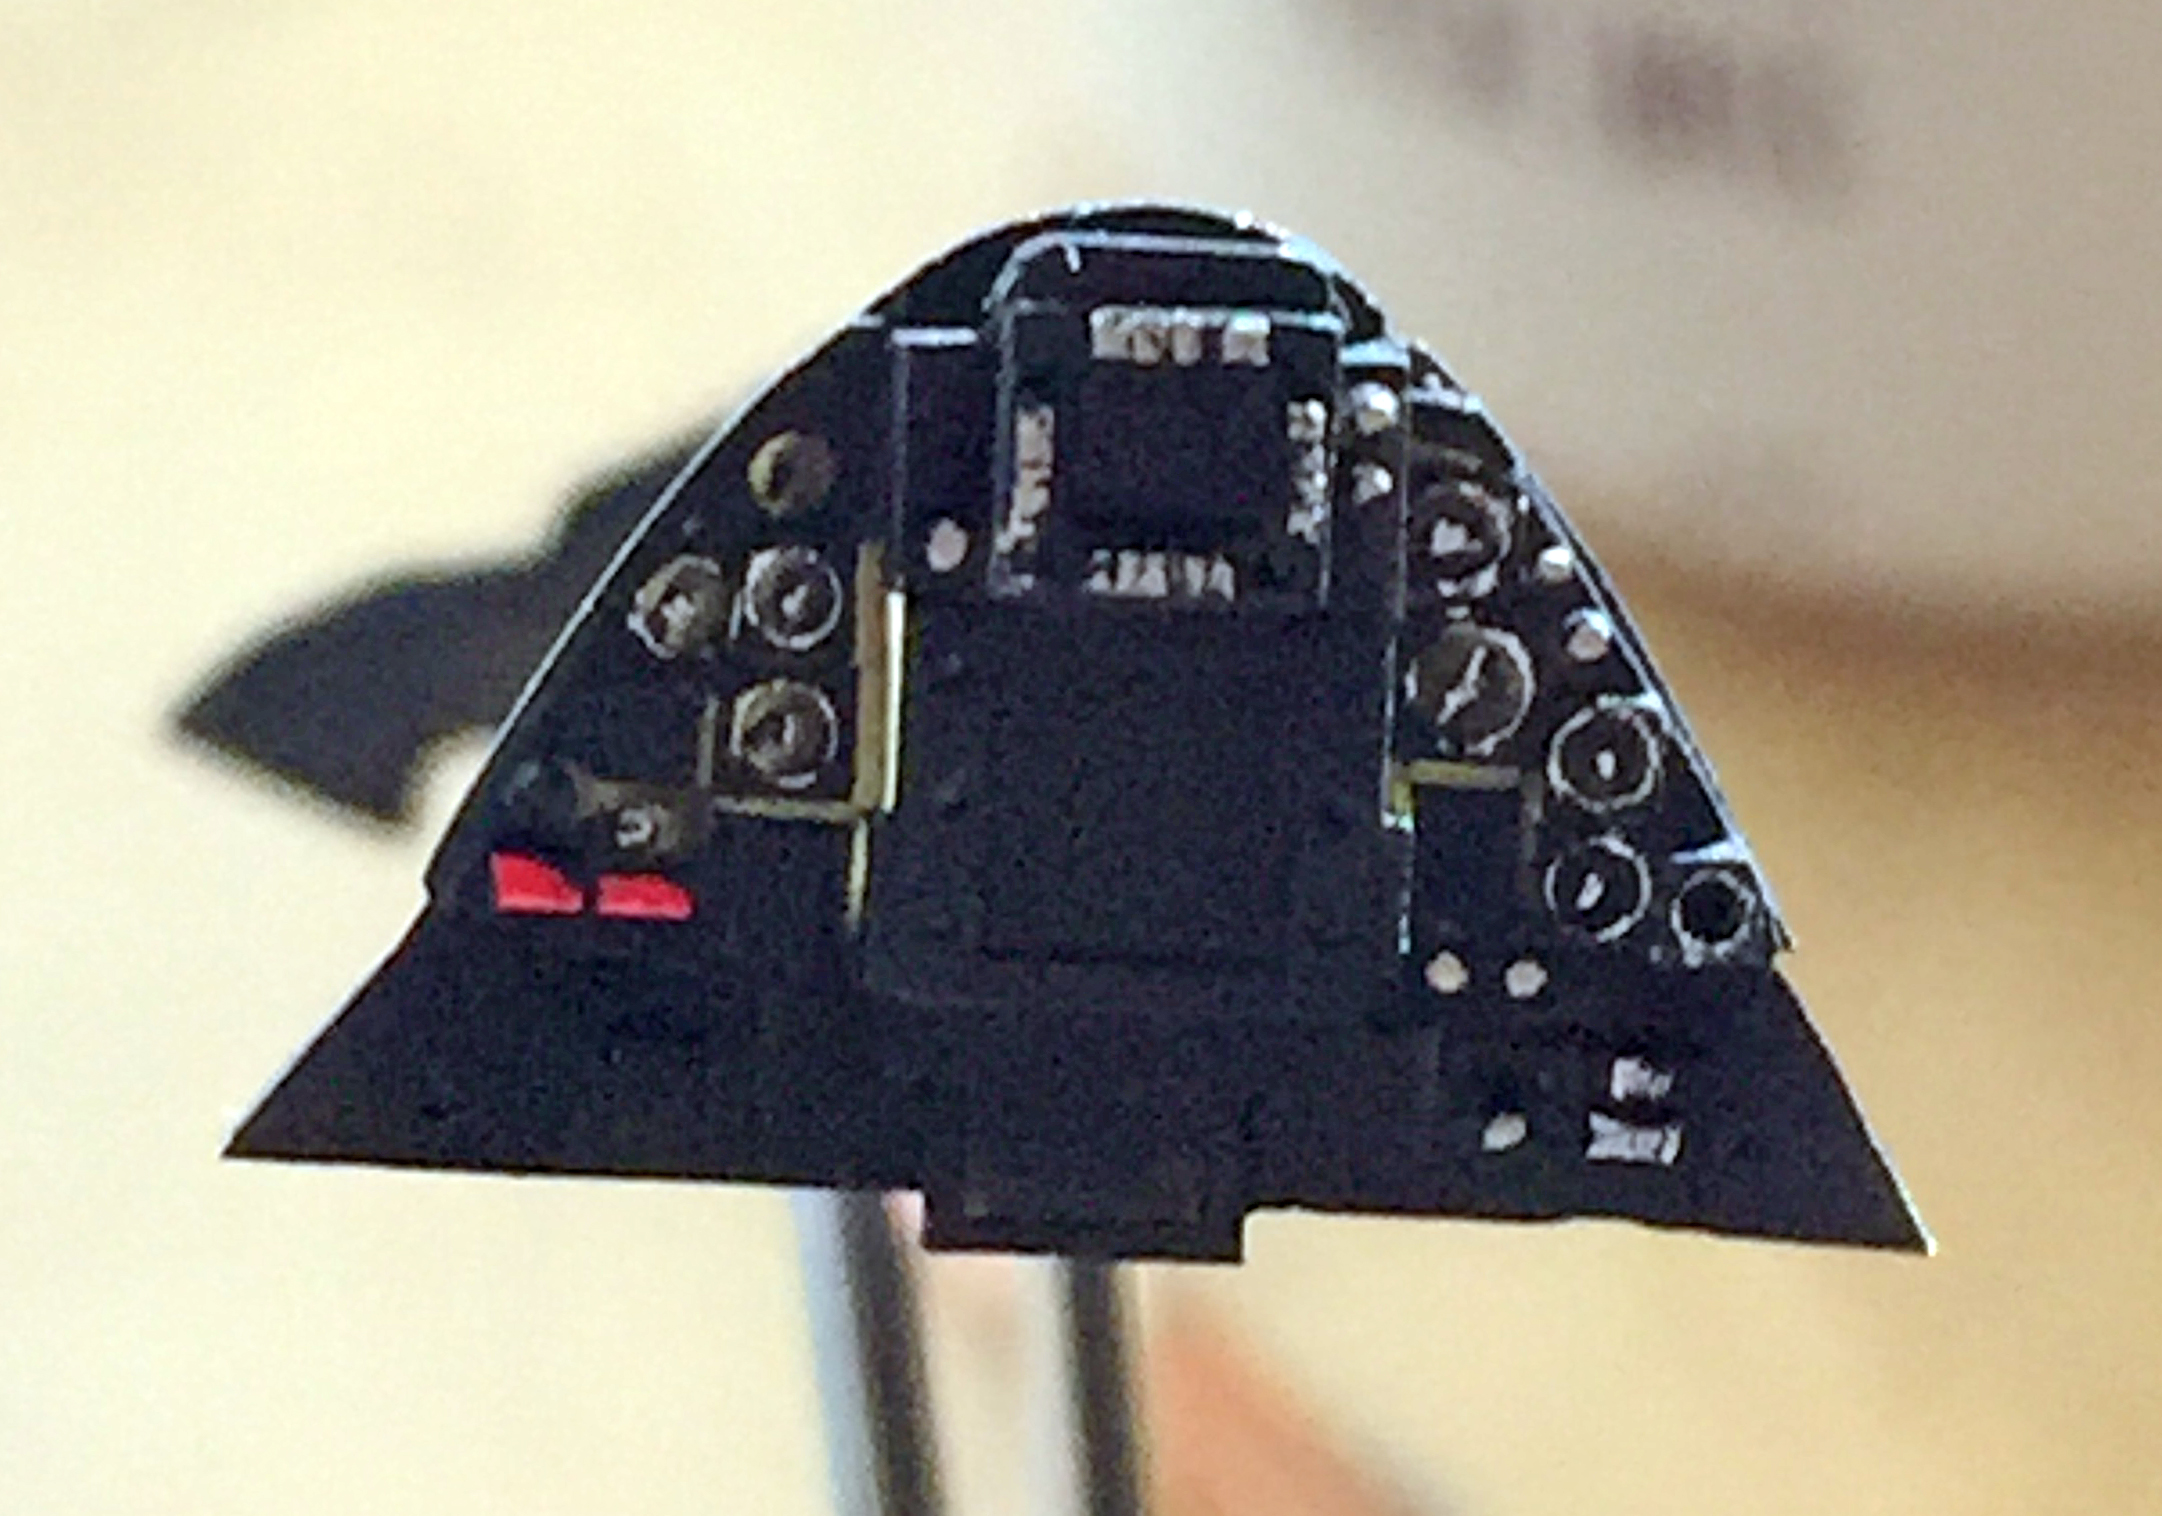
With the basics done, it was time to do the really fine stuff. For the pilot’s panel that meant I put a drop of clear gloss on each instrument. For the RSO’s panel, I glued the film I used for the CRT screens into place using diluted white glue (the pilot’s panel also has a small CRT screen under the three center gauges but it’s almost impossible to see) (almost):
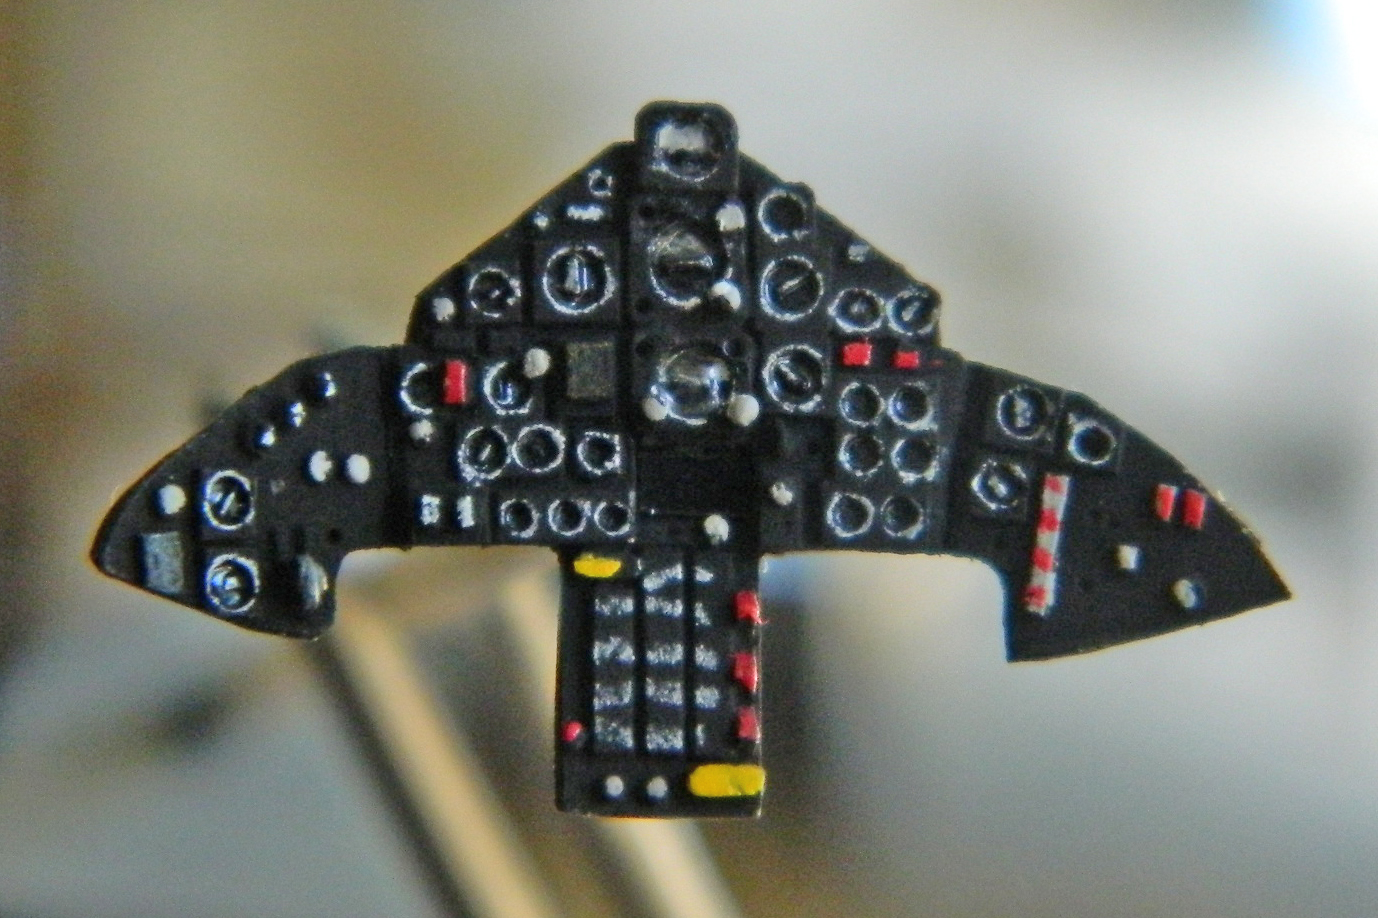

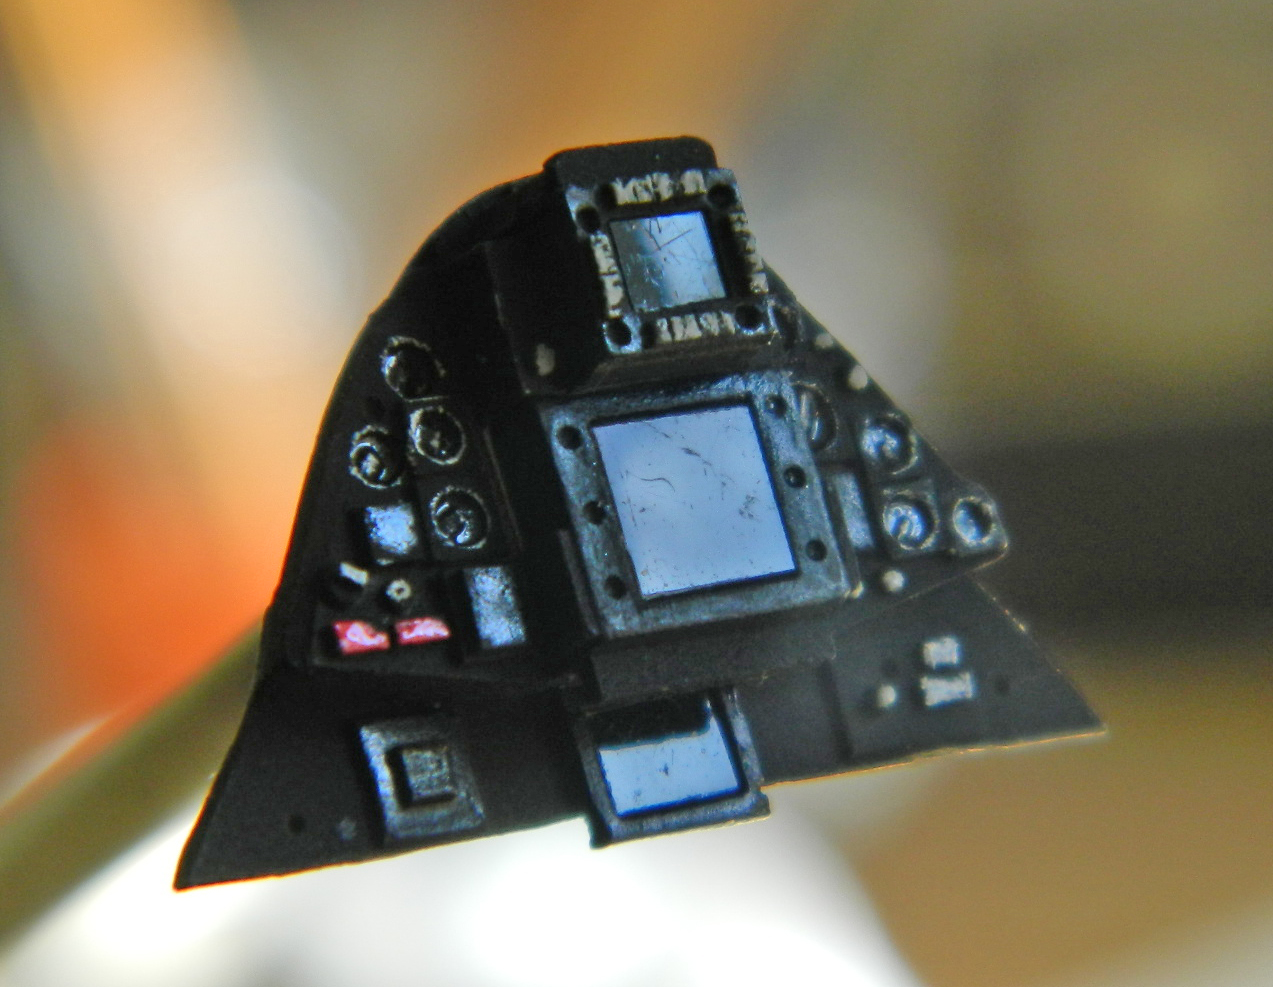

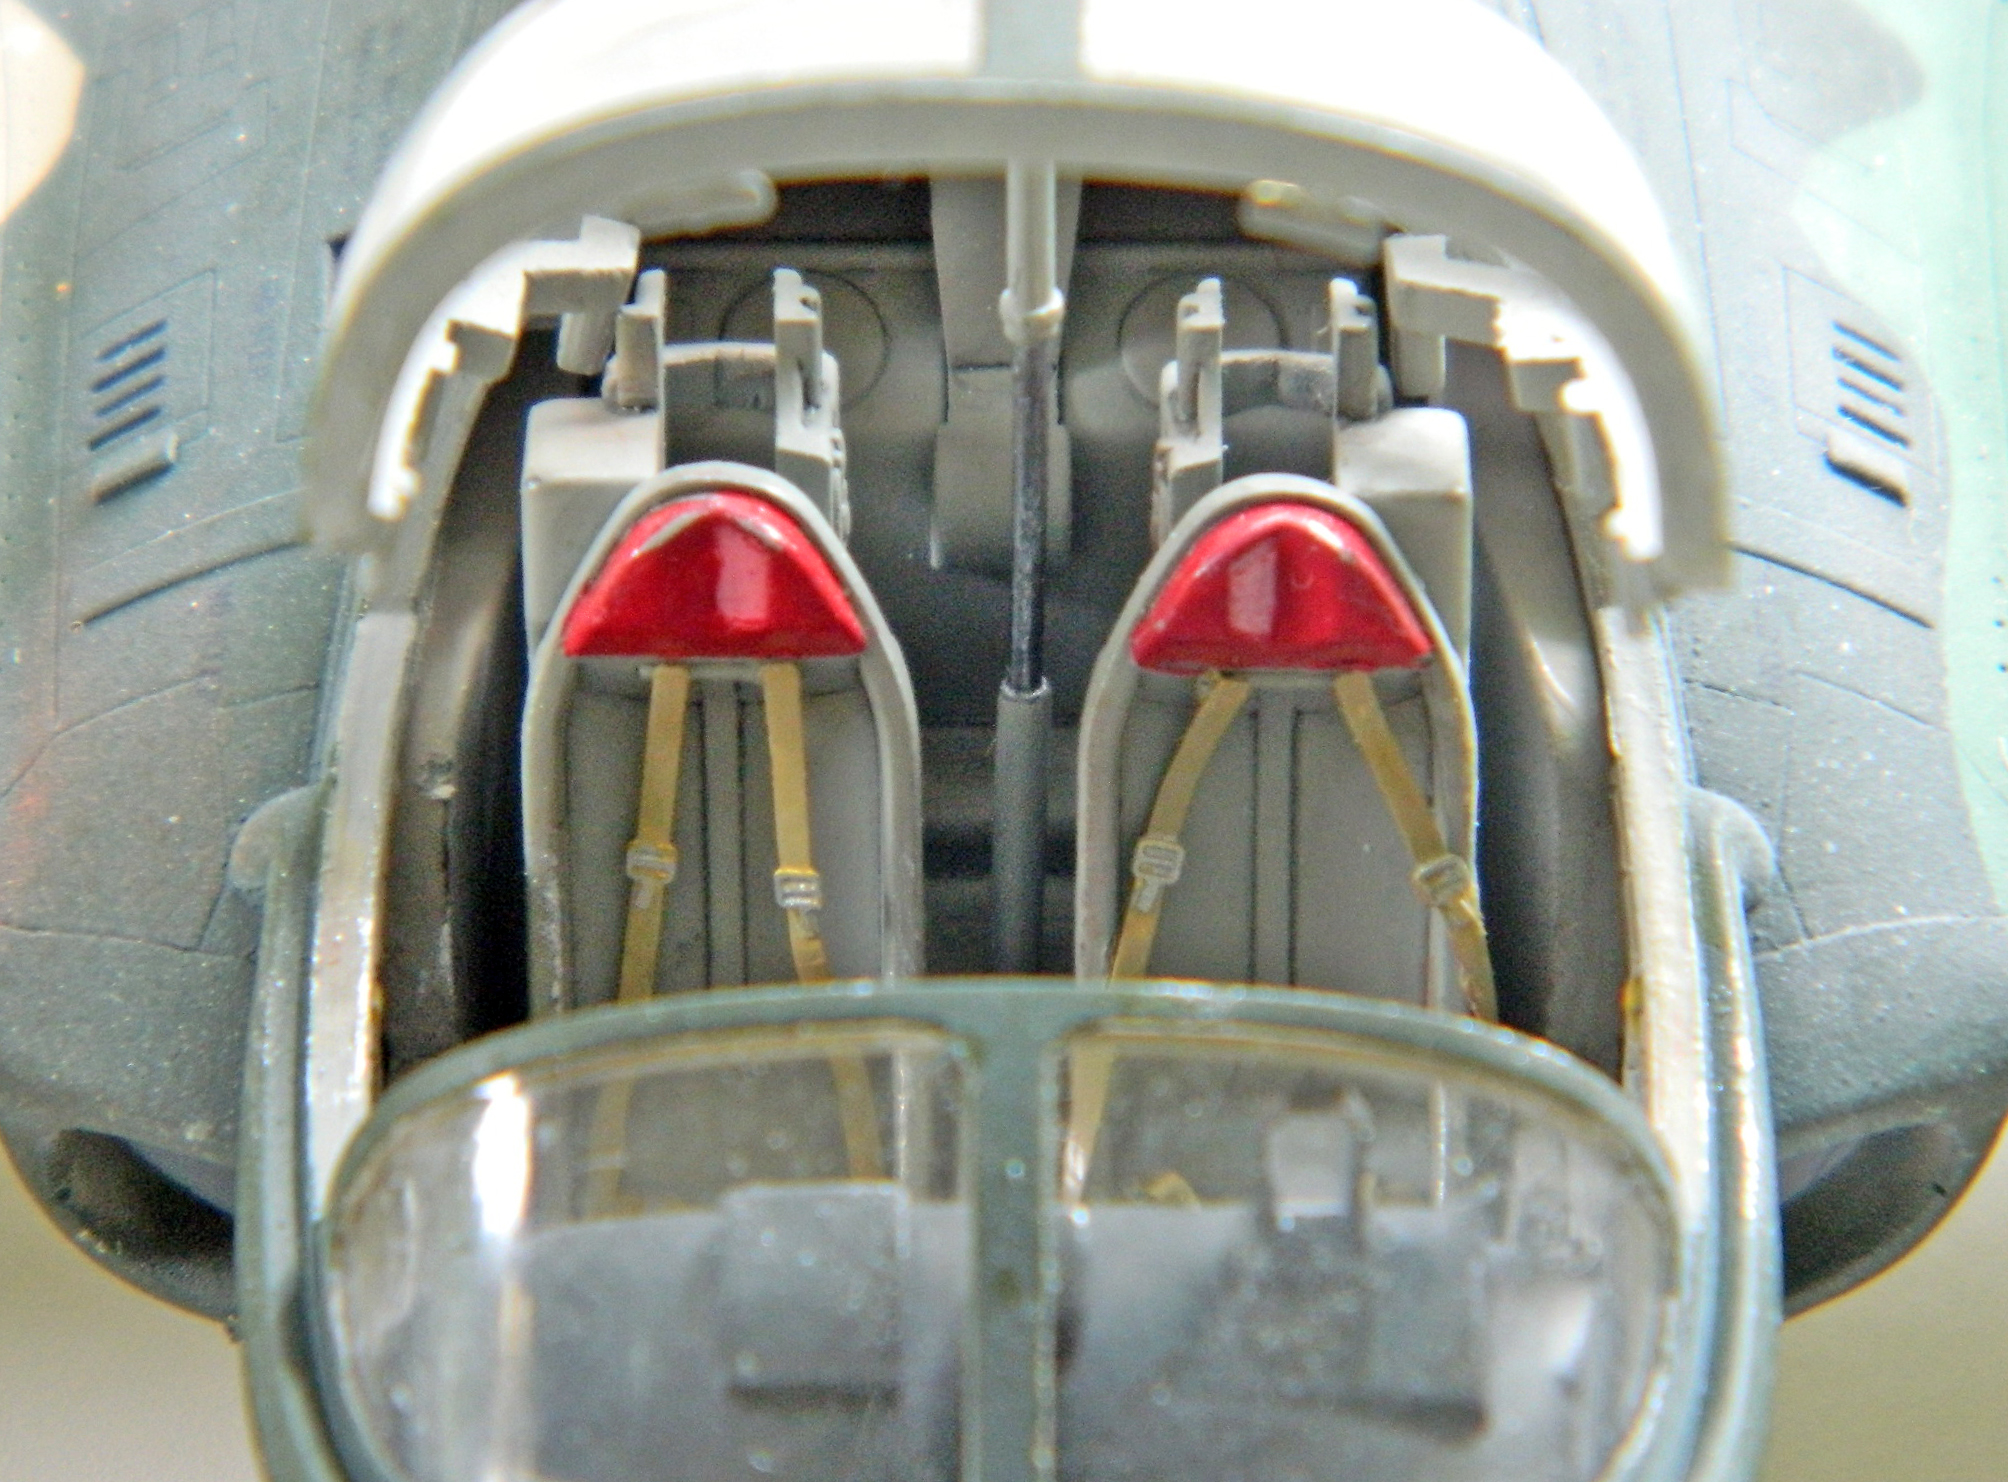
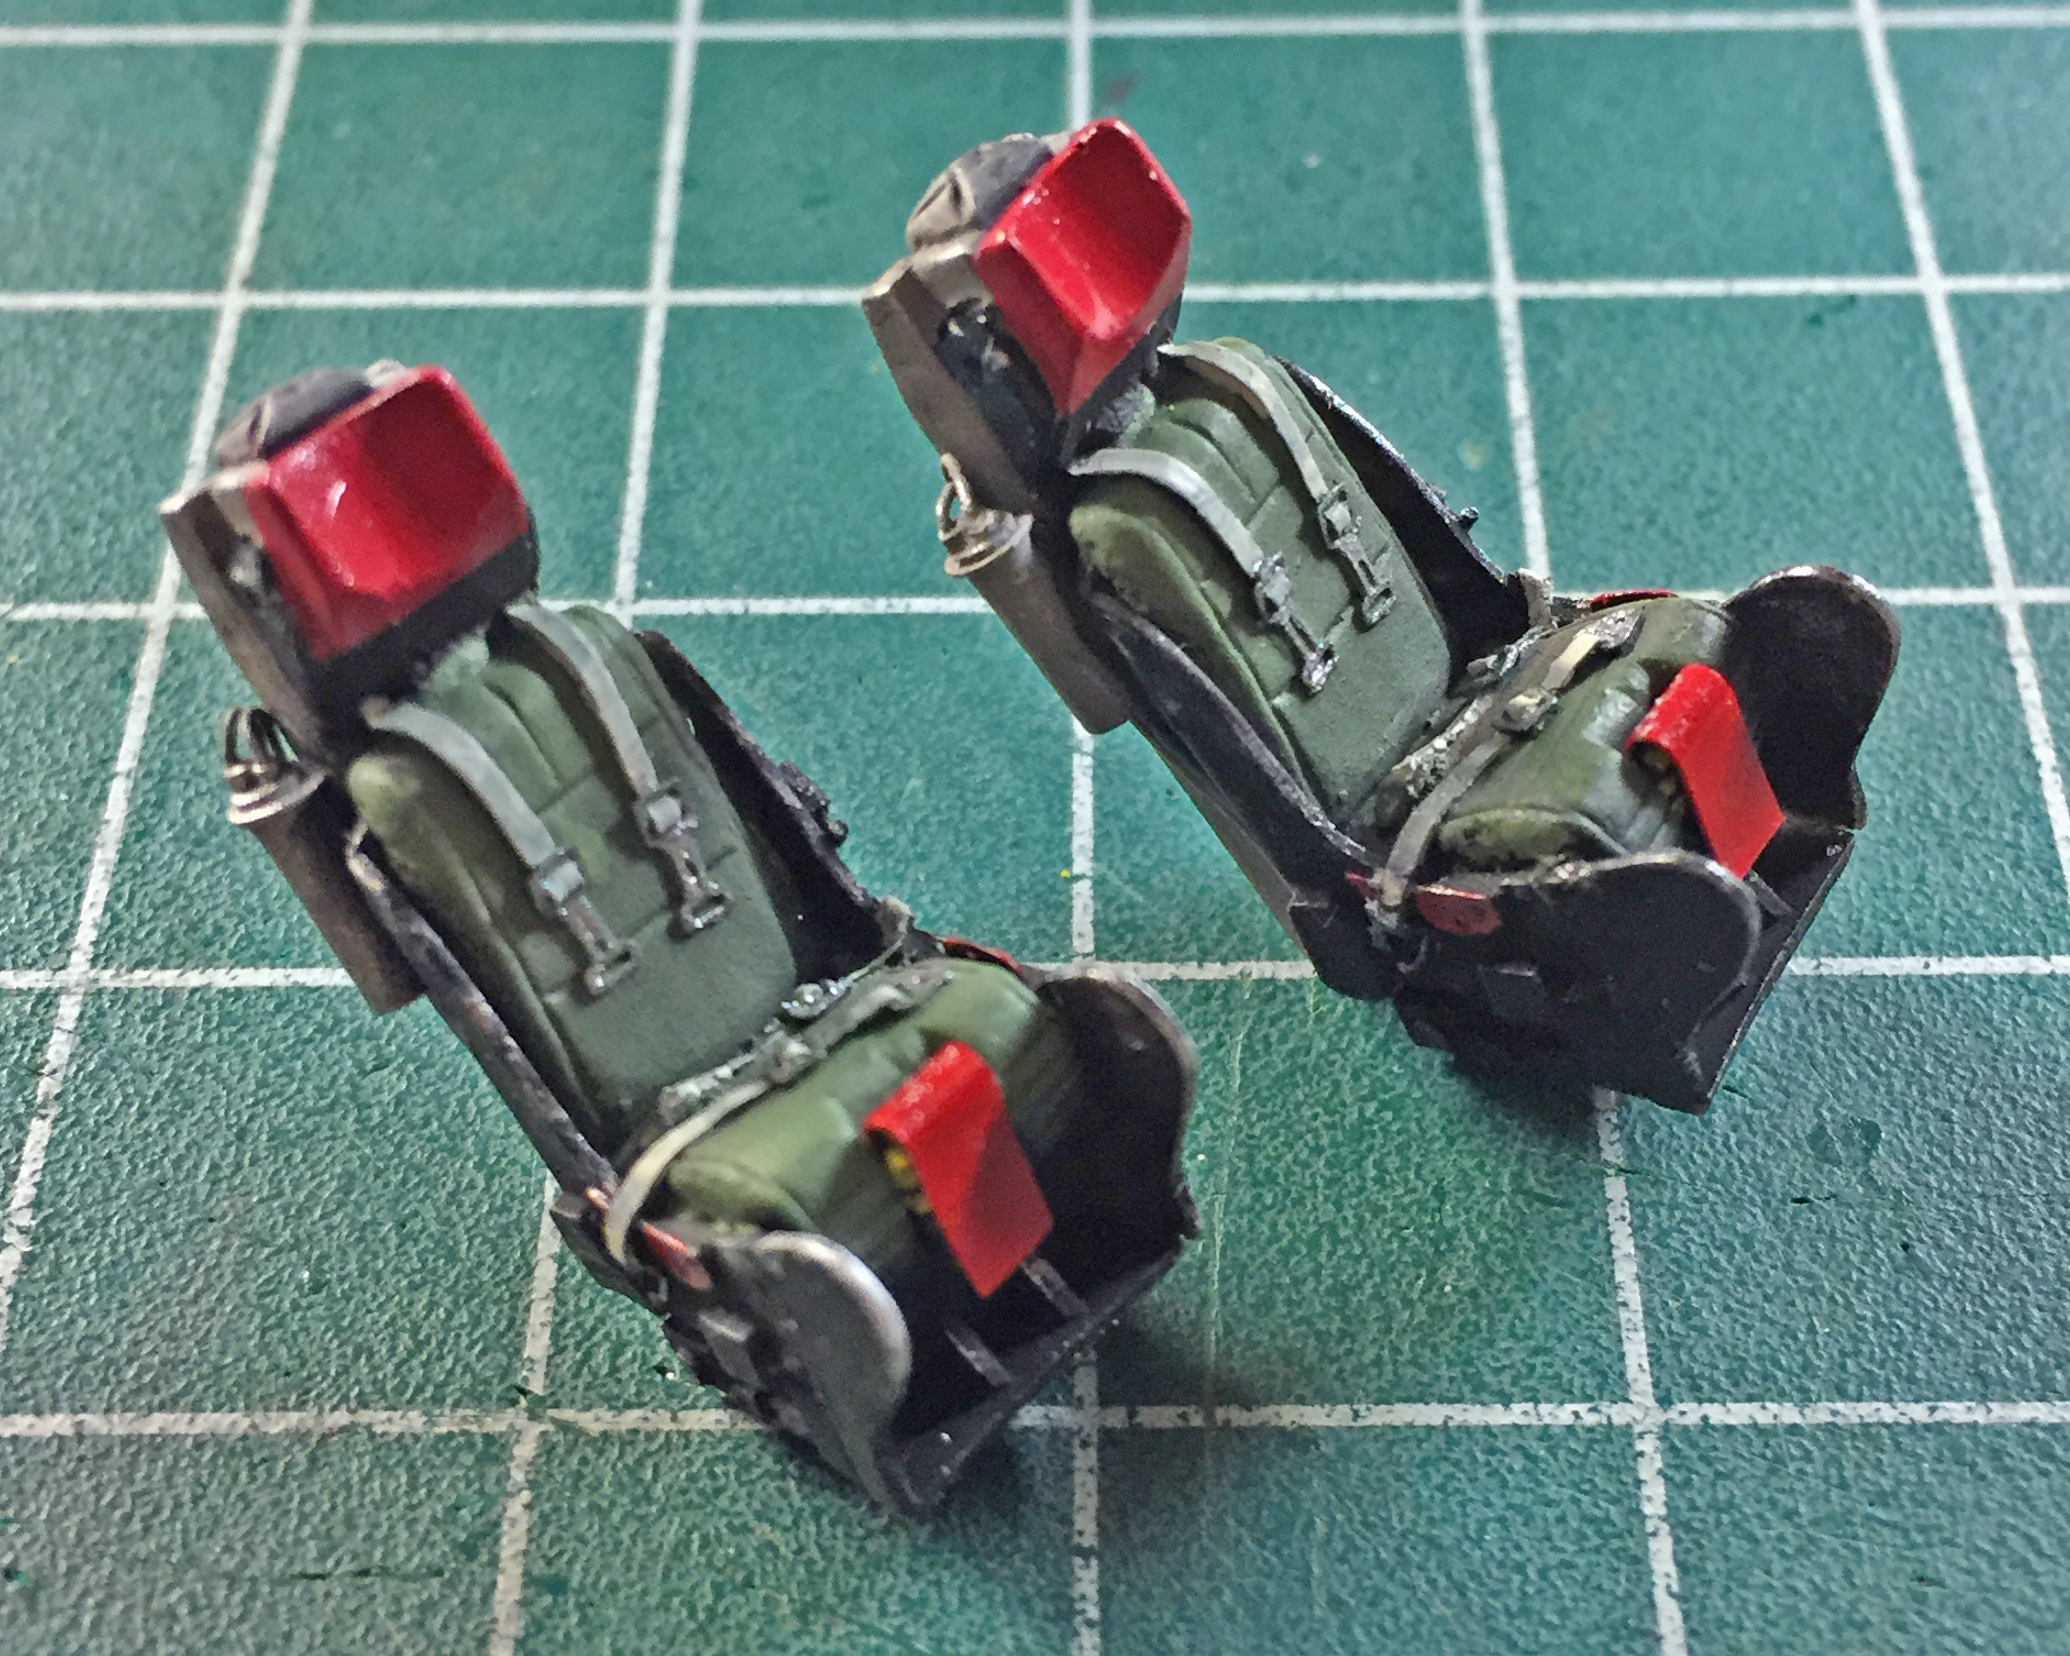
The ejection seats get several different colors added (the green was misted over the flat black in the same manner the gray was done on the tubs). Red was used on headrests and ejection seat trigger covers, and aged white was used on the harnesses (as well as the “papers” in the in the trays in the cockpit tubs). Once that was done I used flat aluminum paint on the harness latches and to add chips and wear marks:
While I was in the mind of chipping and wear (really, because I had silver on the brush), I added the pilot’s joystick and then wear to the cockpit tubs (as well as painting a few of the details):


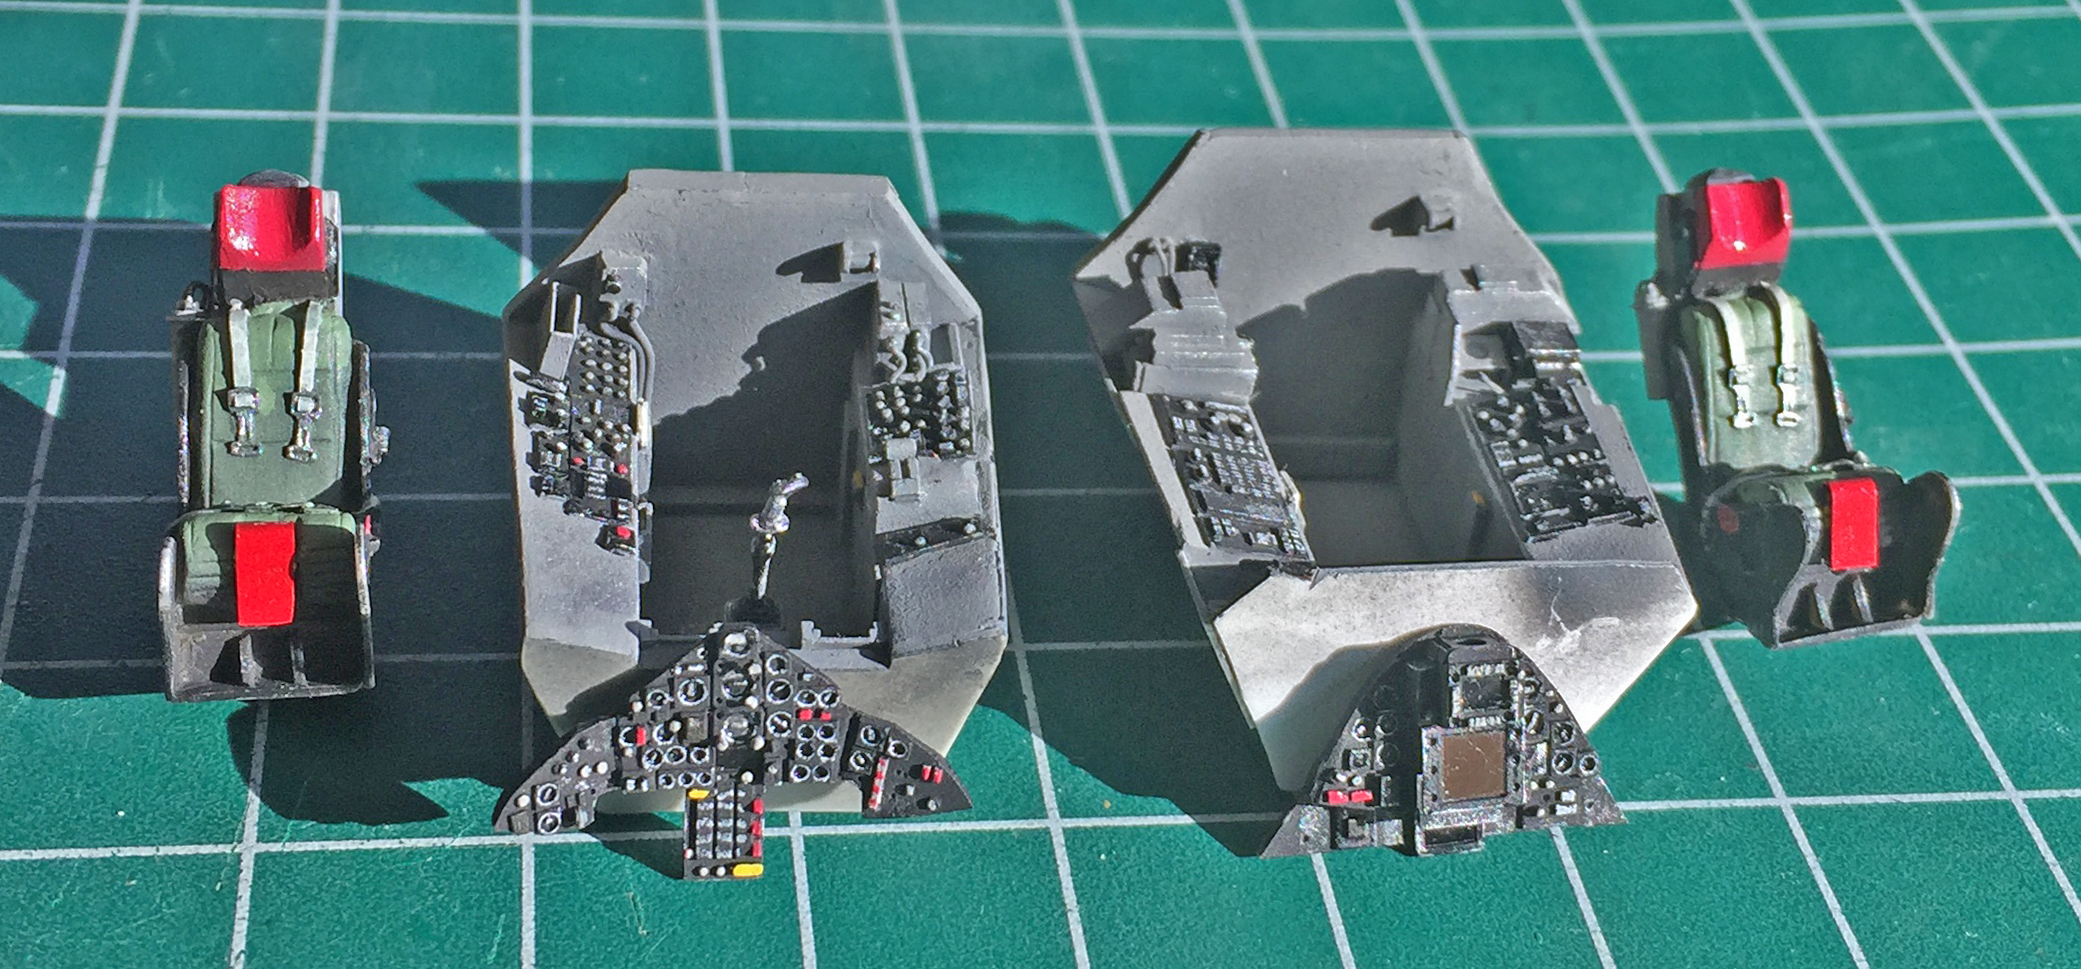
Nothing left now but to start putting things together. I glued the seats into the tubs using Contact cement. Normally I glue resin to resin with CA but there would be some positioning required that CA wouldn’t allow me the time to do. Being resin, the Contact cement wouldn’t attack the material the way it does styrene. Once assembled, I added generic use-dirt with pastels (no relation to sleep-dirt…the latter being more crusty in my experience) (unless it’s gooey):

Time to attach these assemblies to the fuselage part. I added the instrument panels first, then the tubs, and then the windscreen:


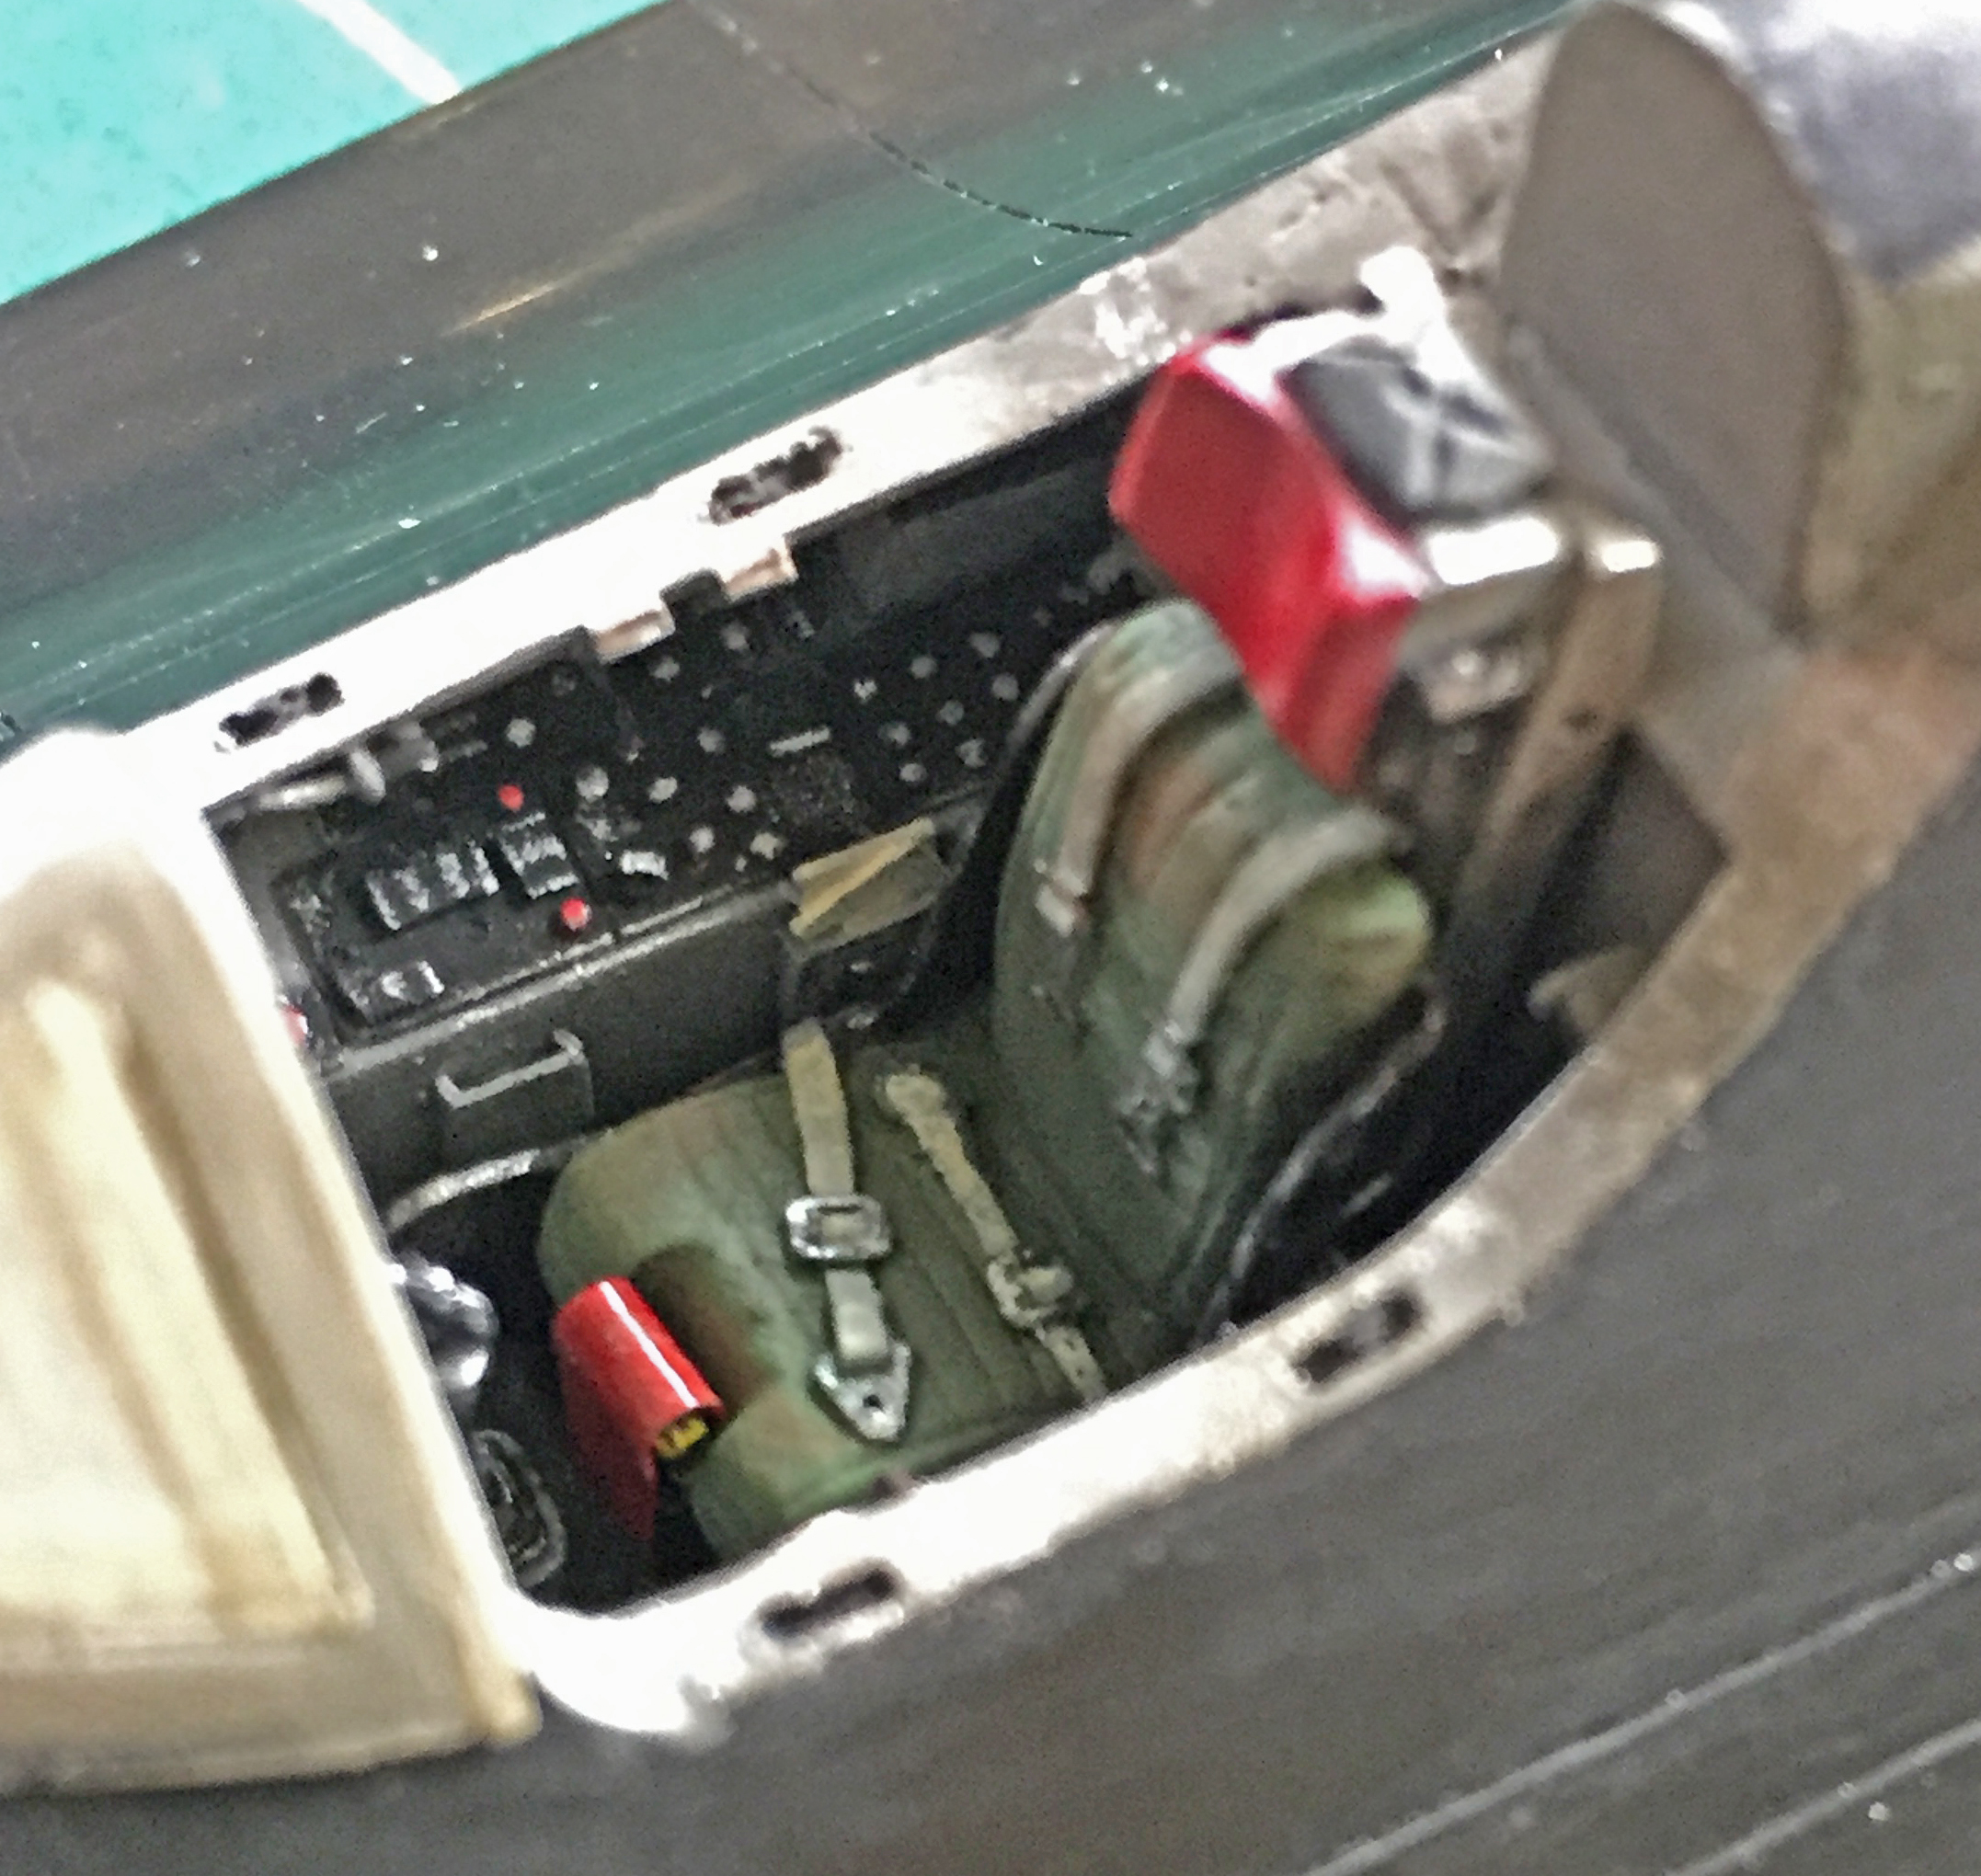
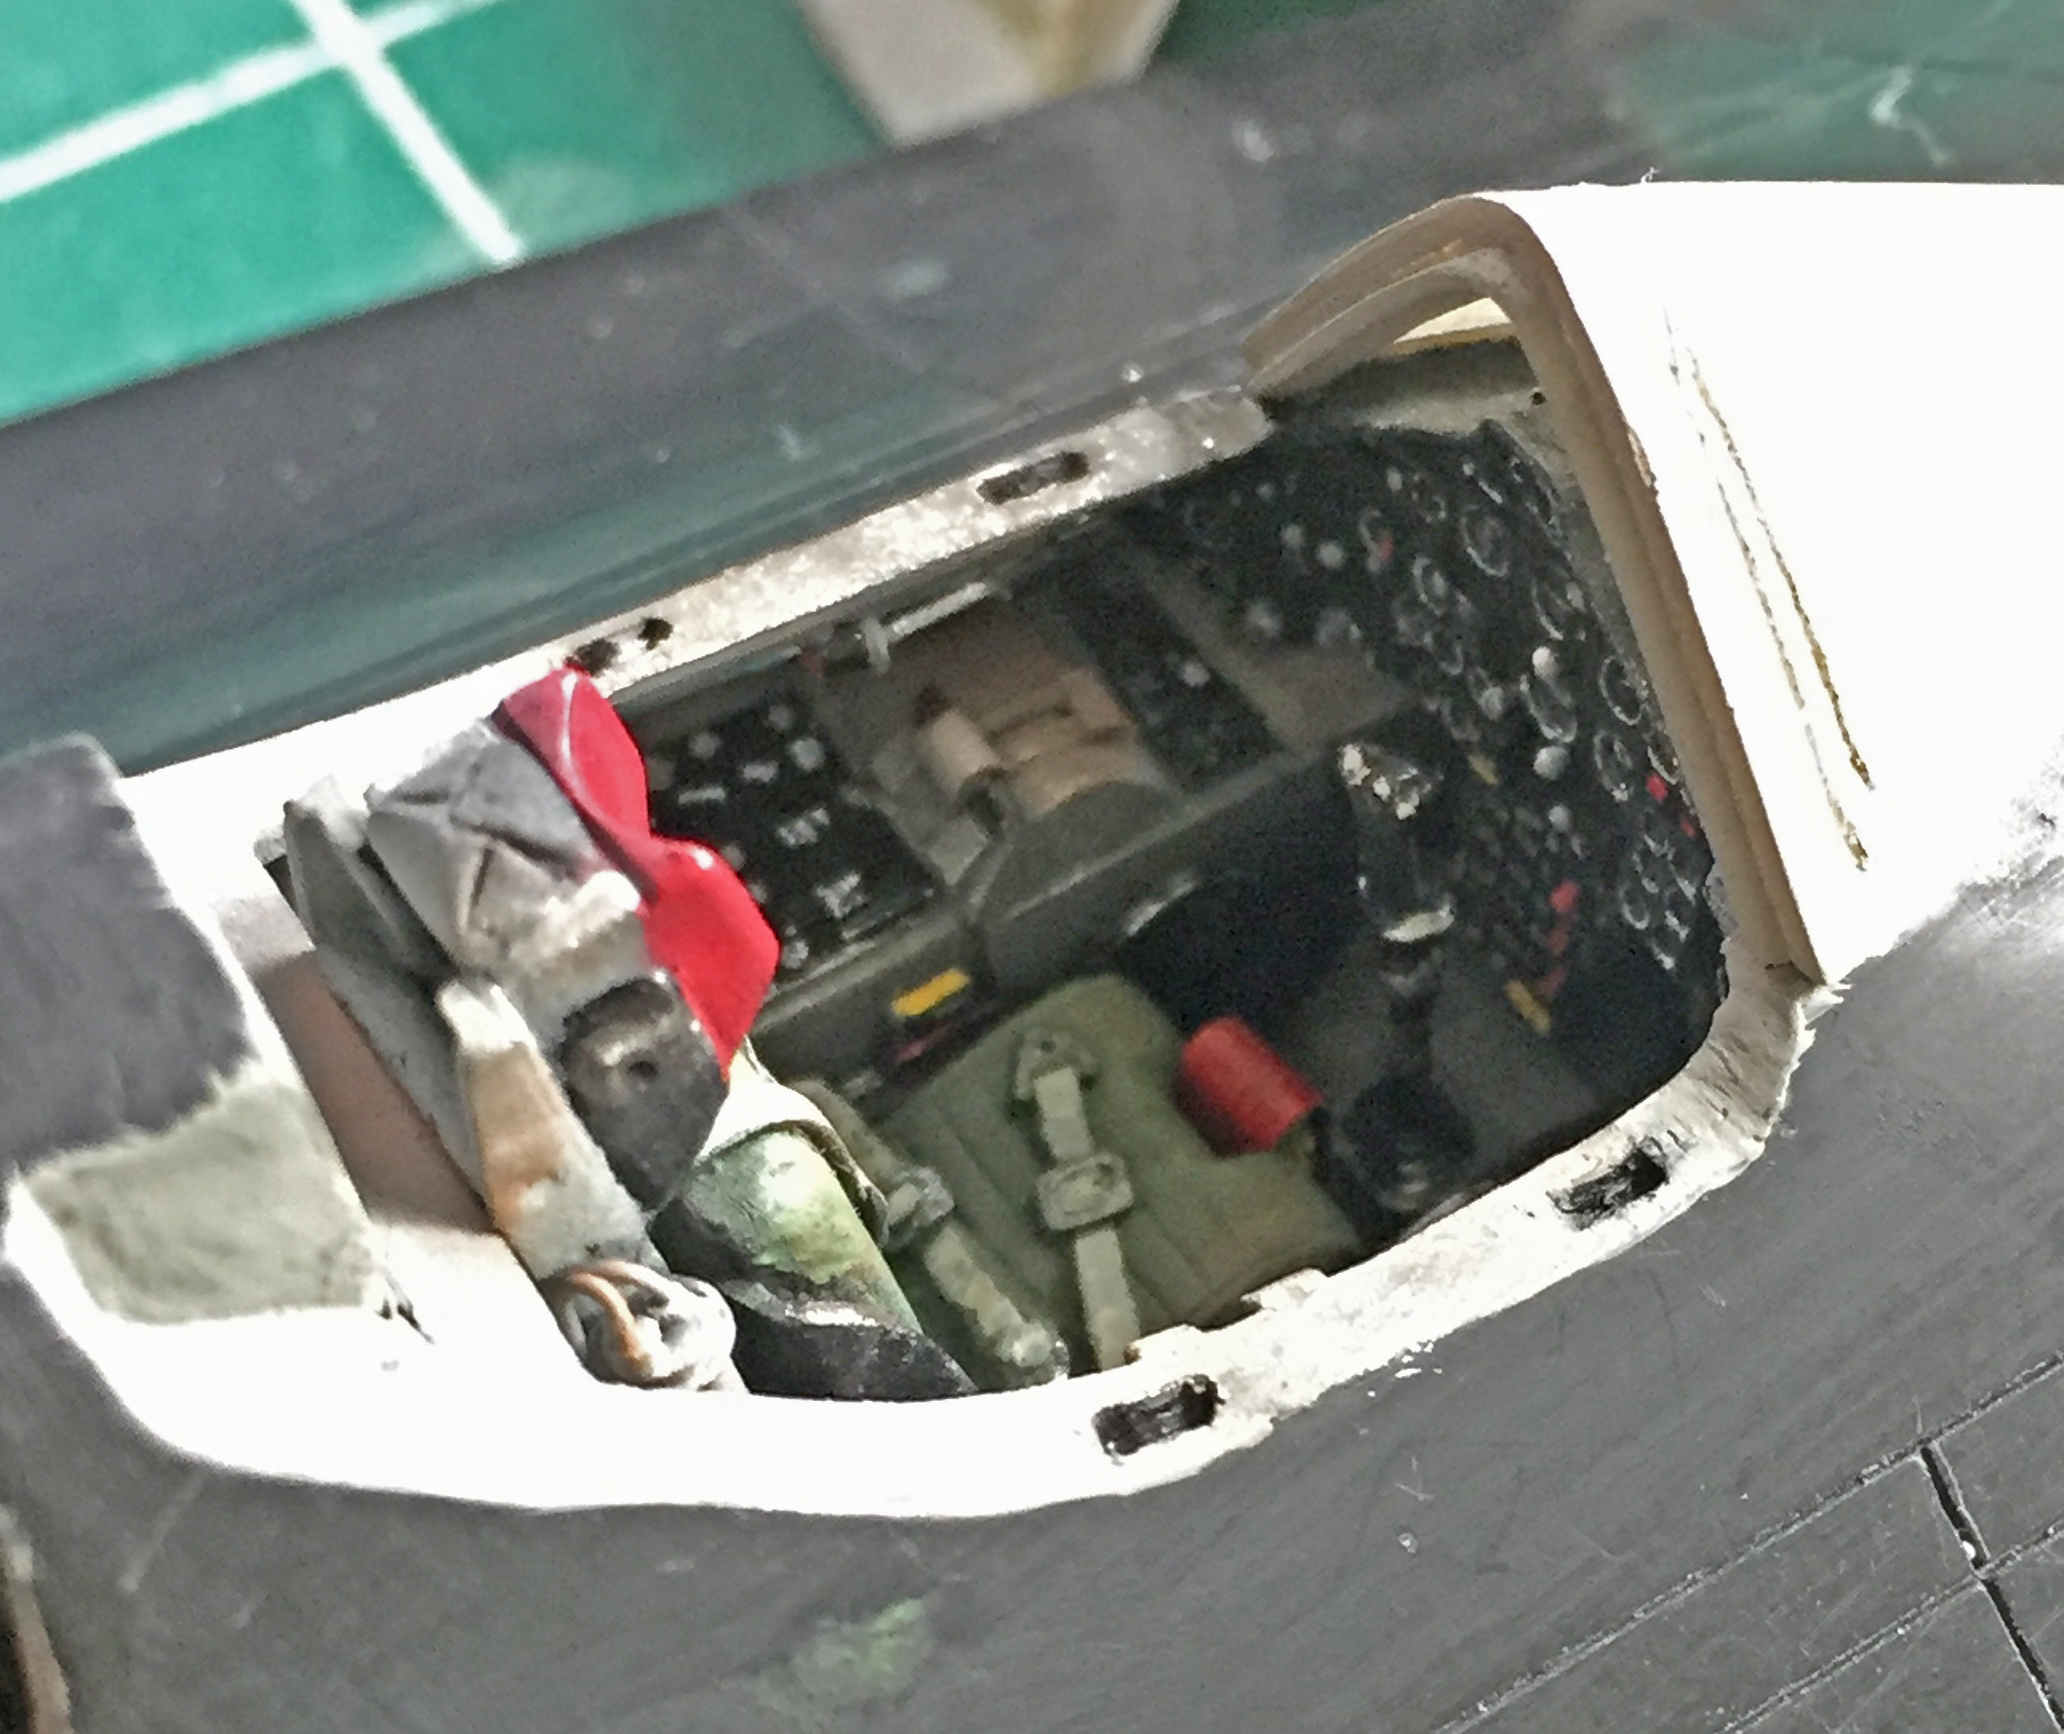


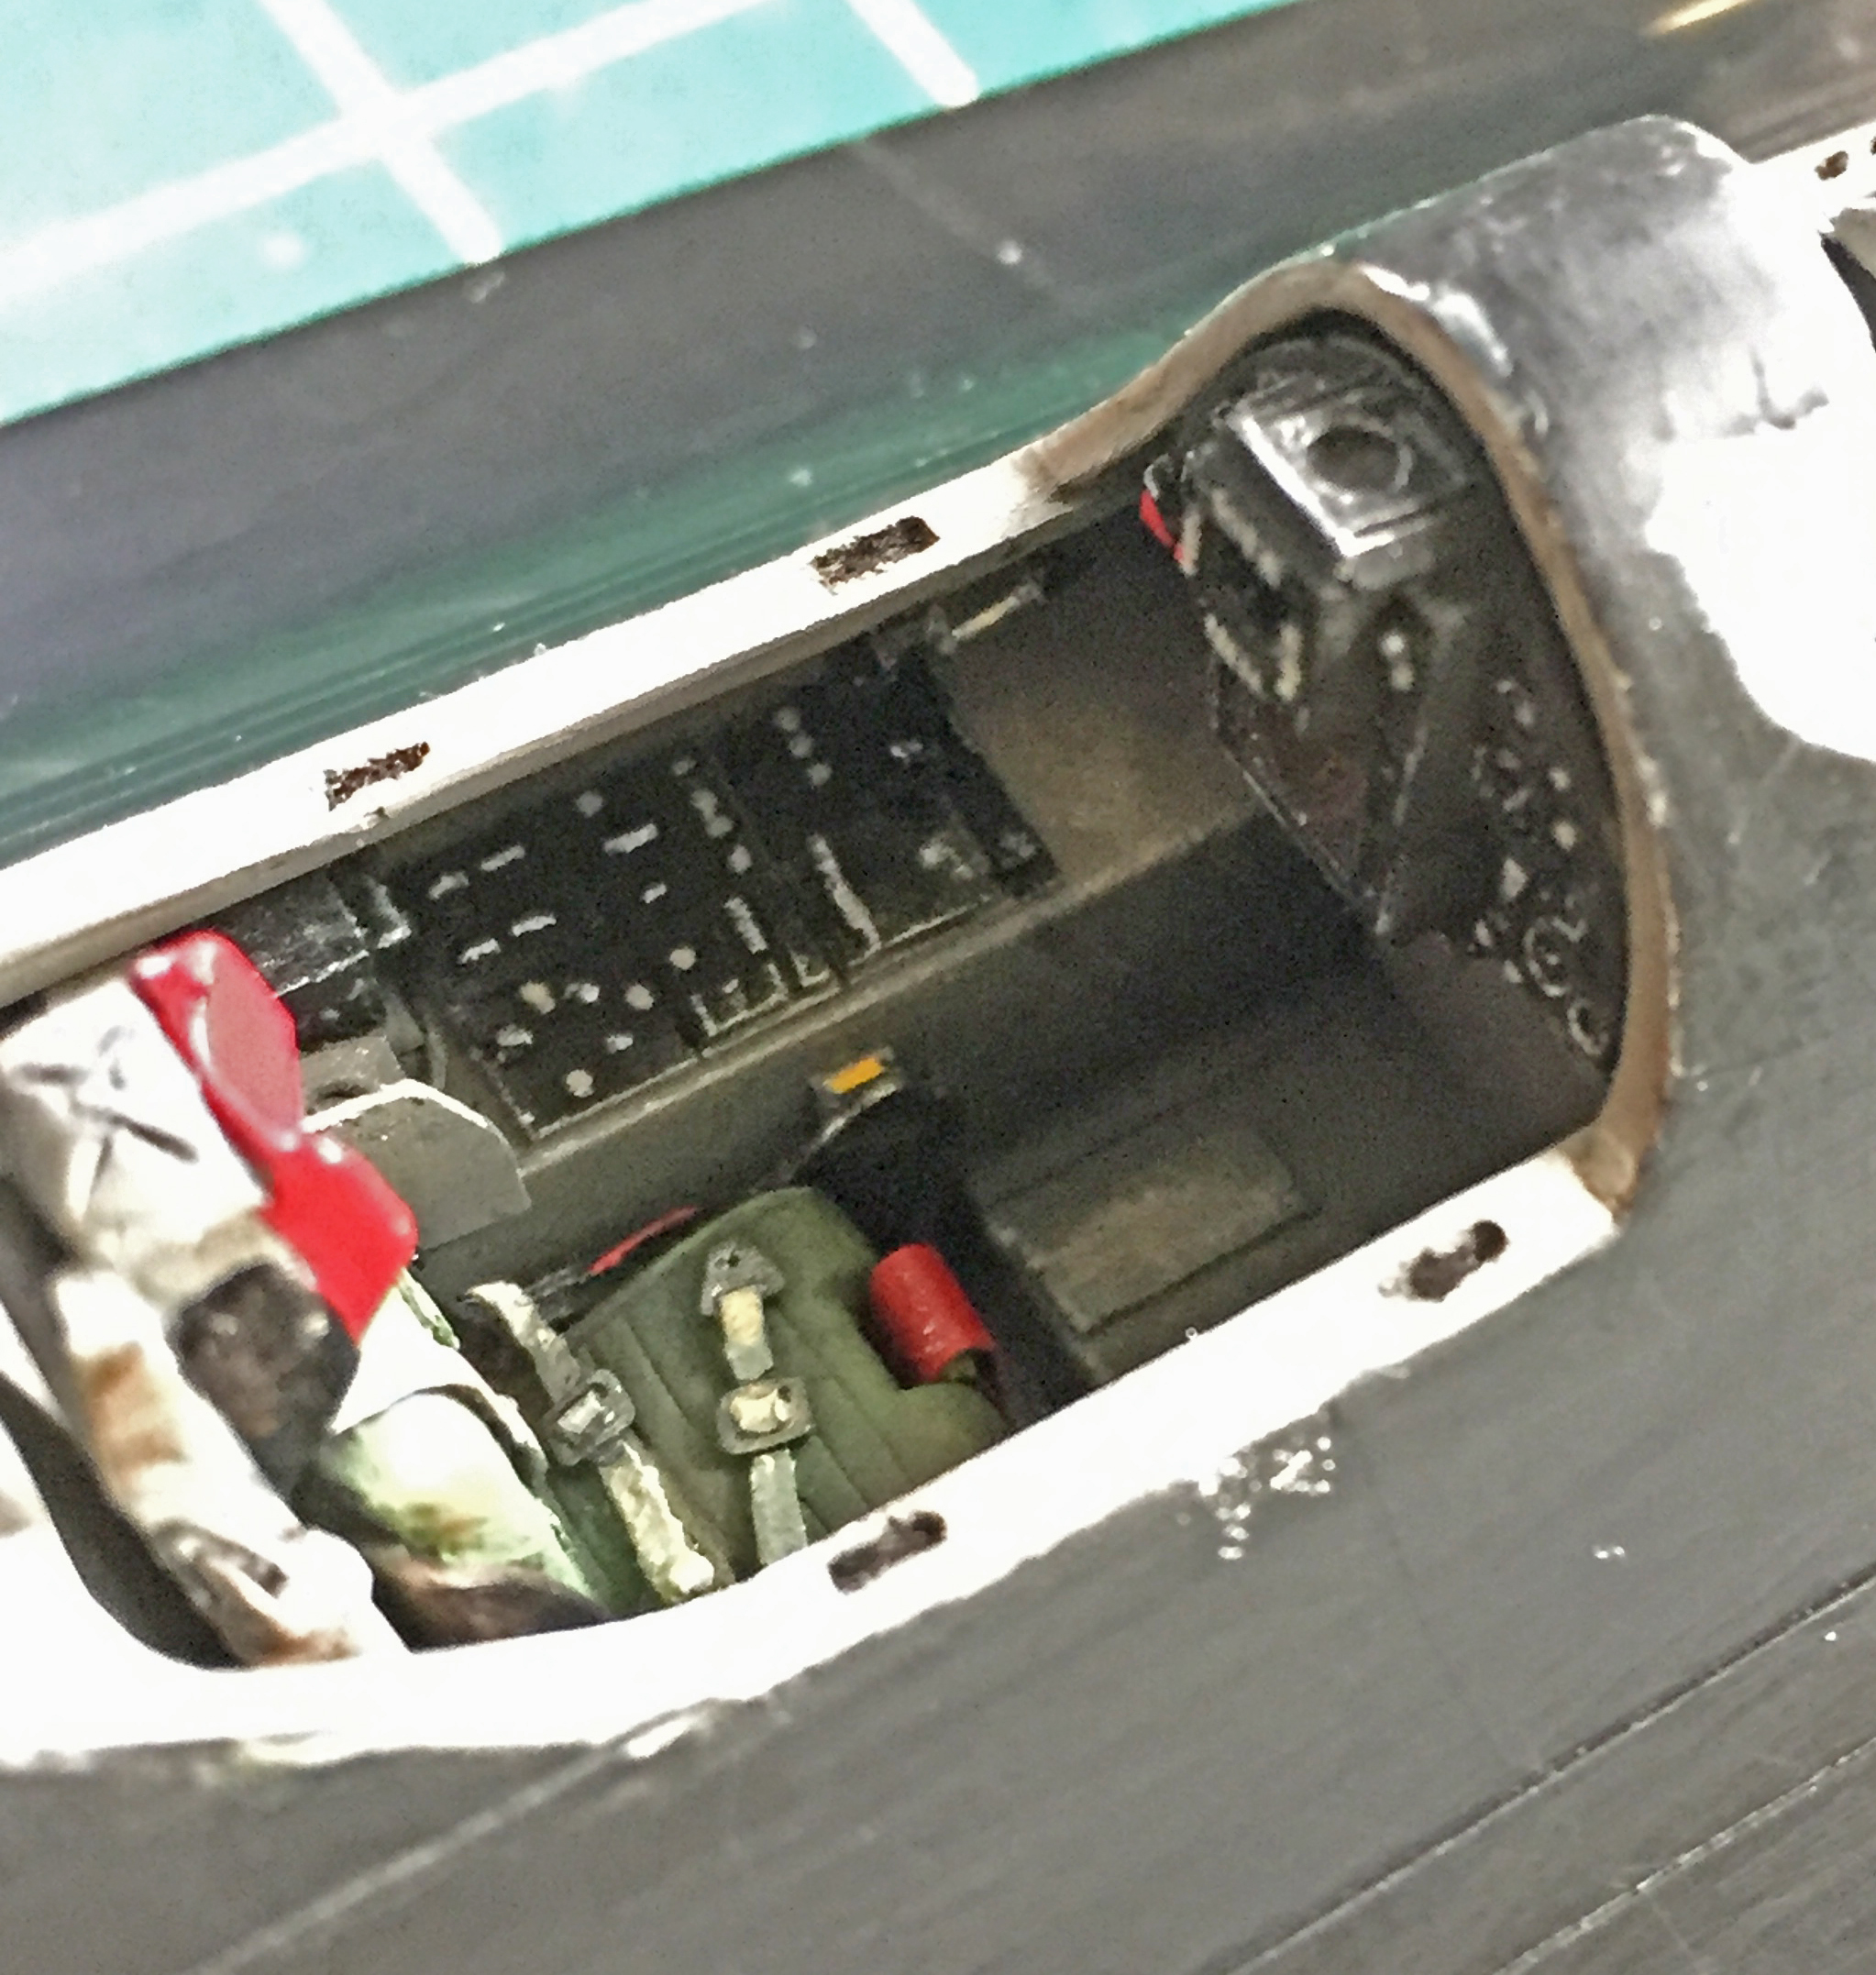
The windscreen was just slightly wider than the area it mounts to, due possibly to all the sanding I’ve already done on the fuselage. Regardless of why it’s larger, larger it is and putty was needed to make things fit:
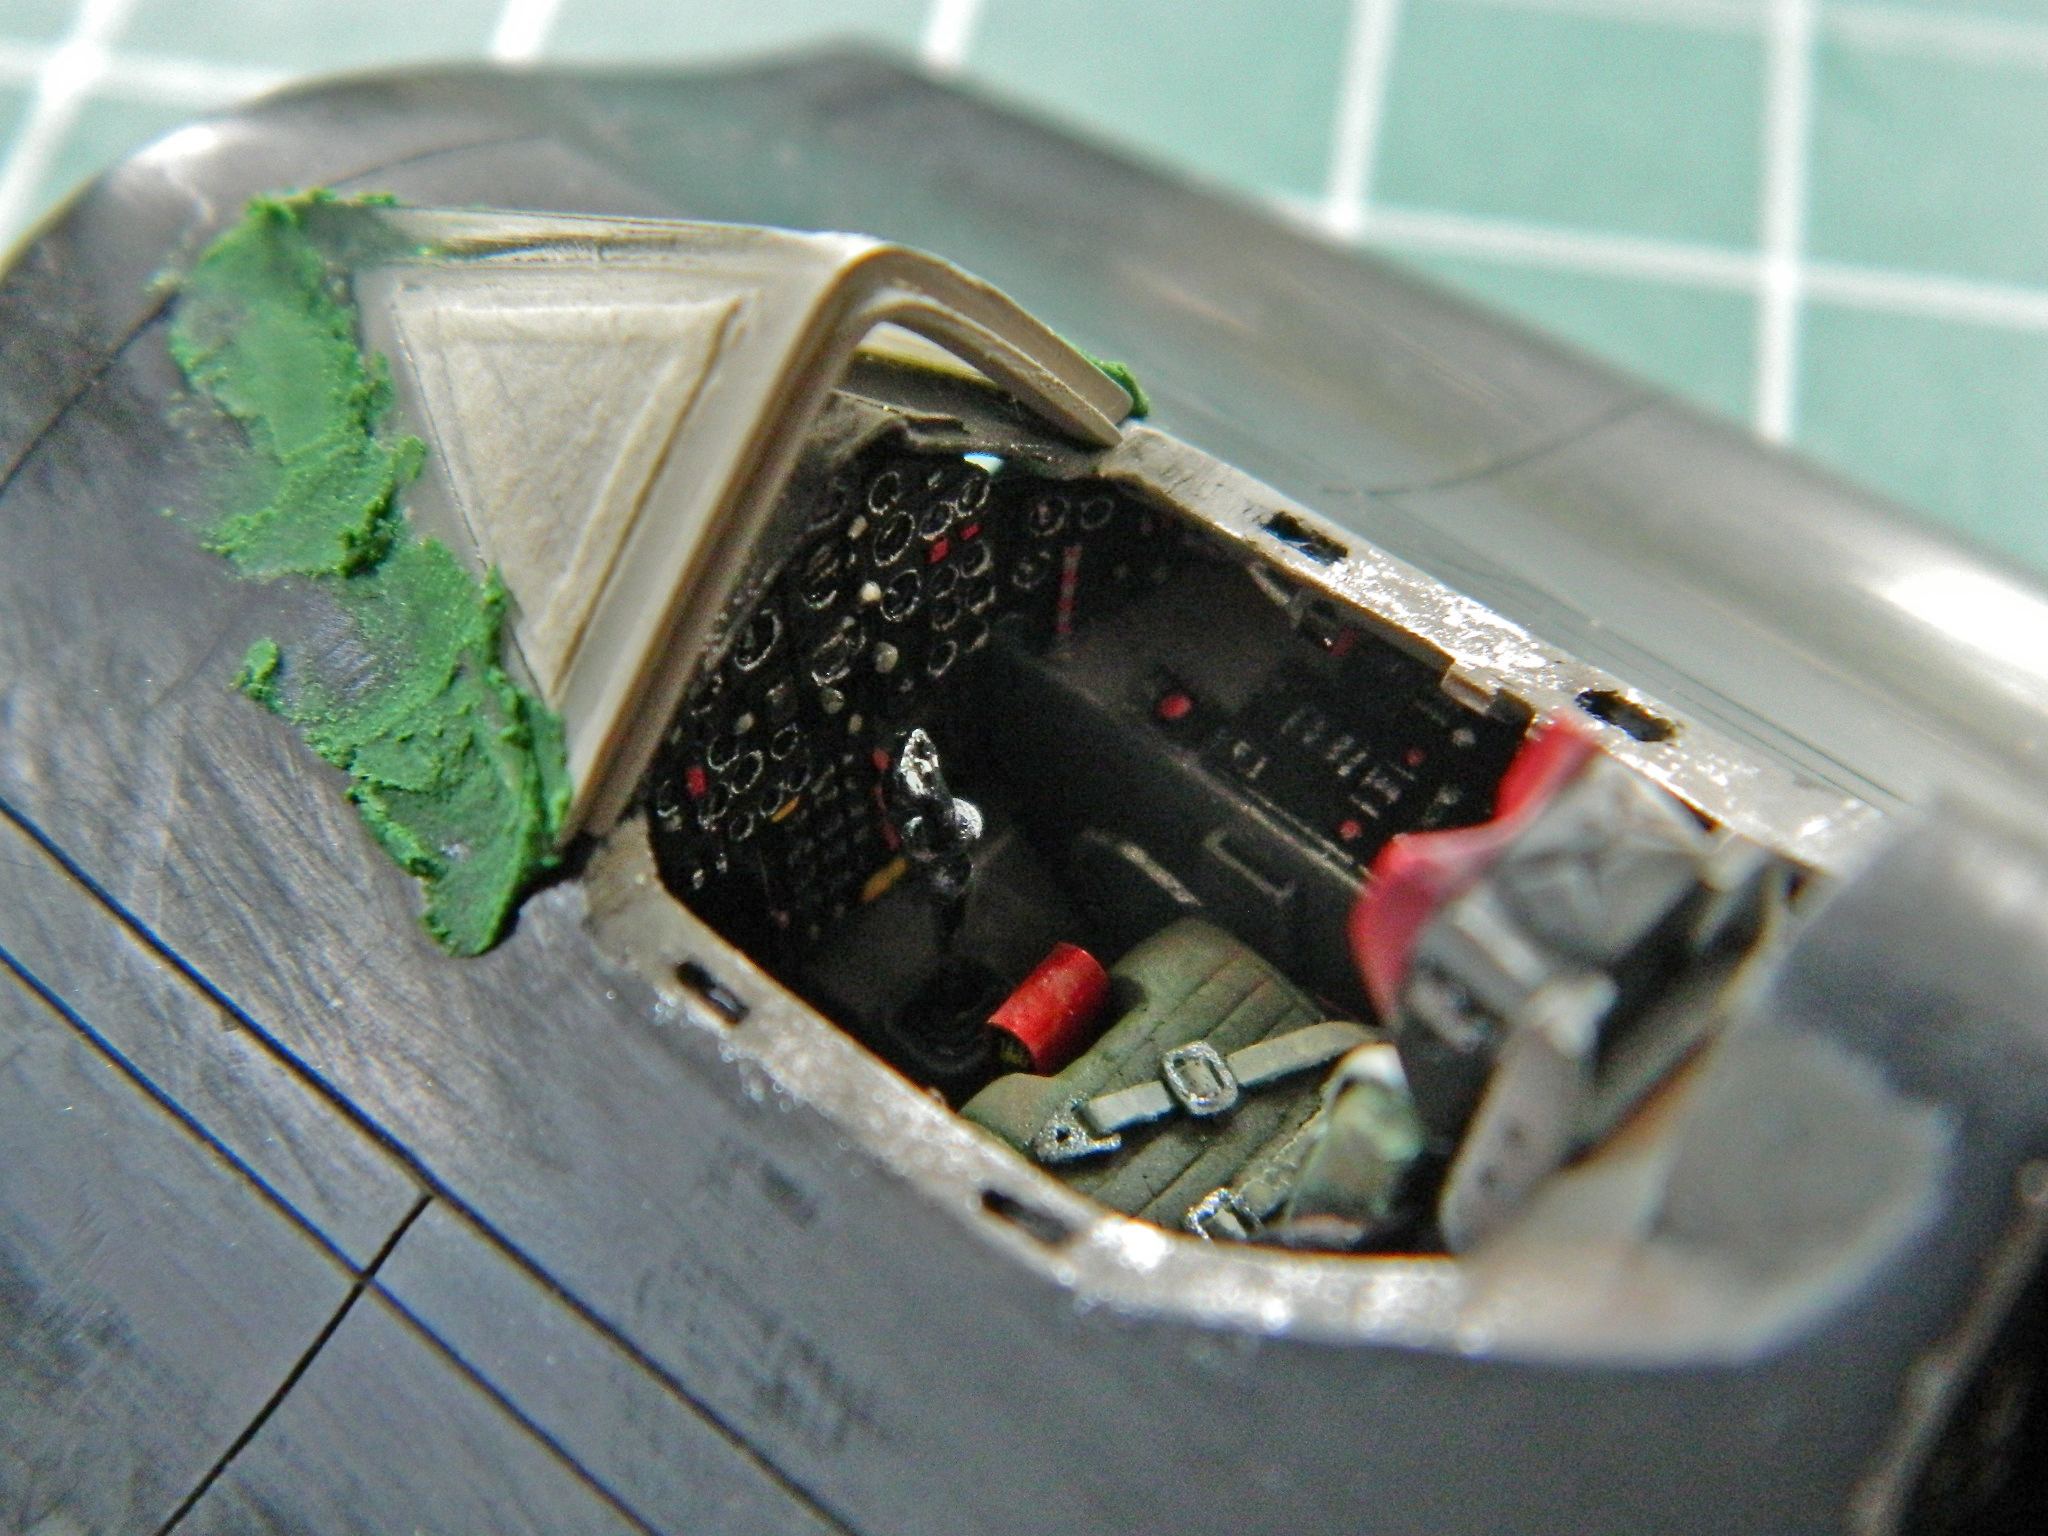

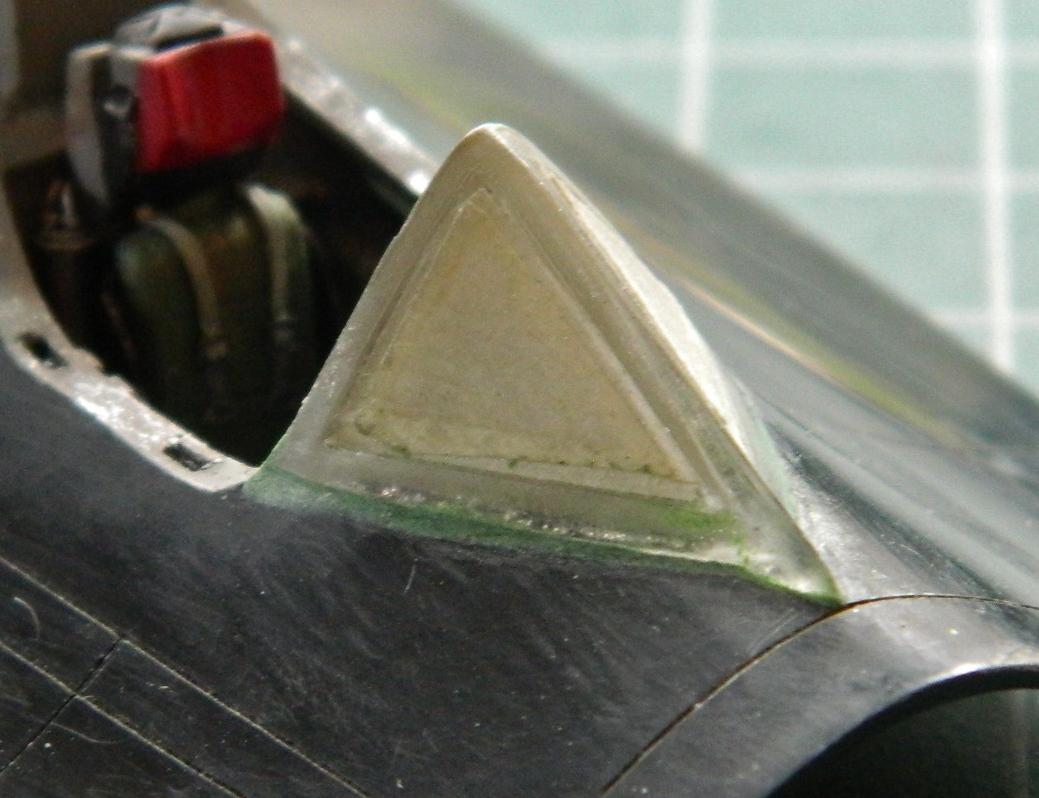

And with that, the cockpits are mostly done. There are a few minor details to add but those will come later. The cockpits will be held in place with white glue to seal the cockpits from the intrusion of paint:
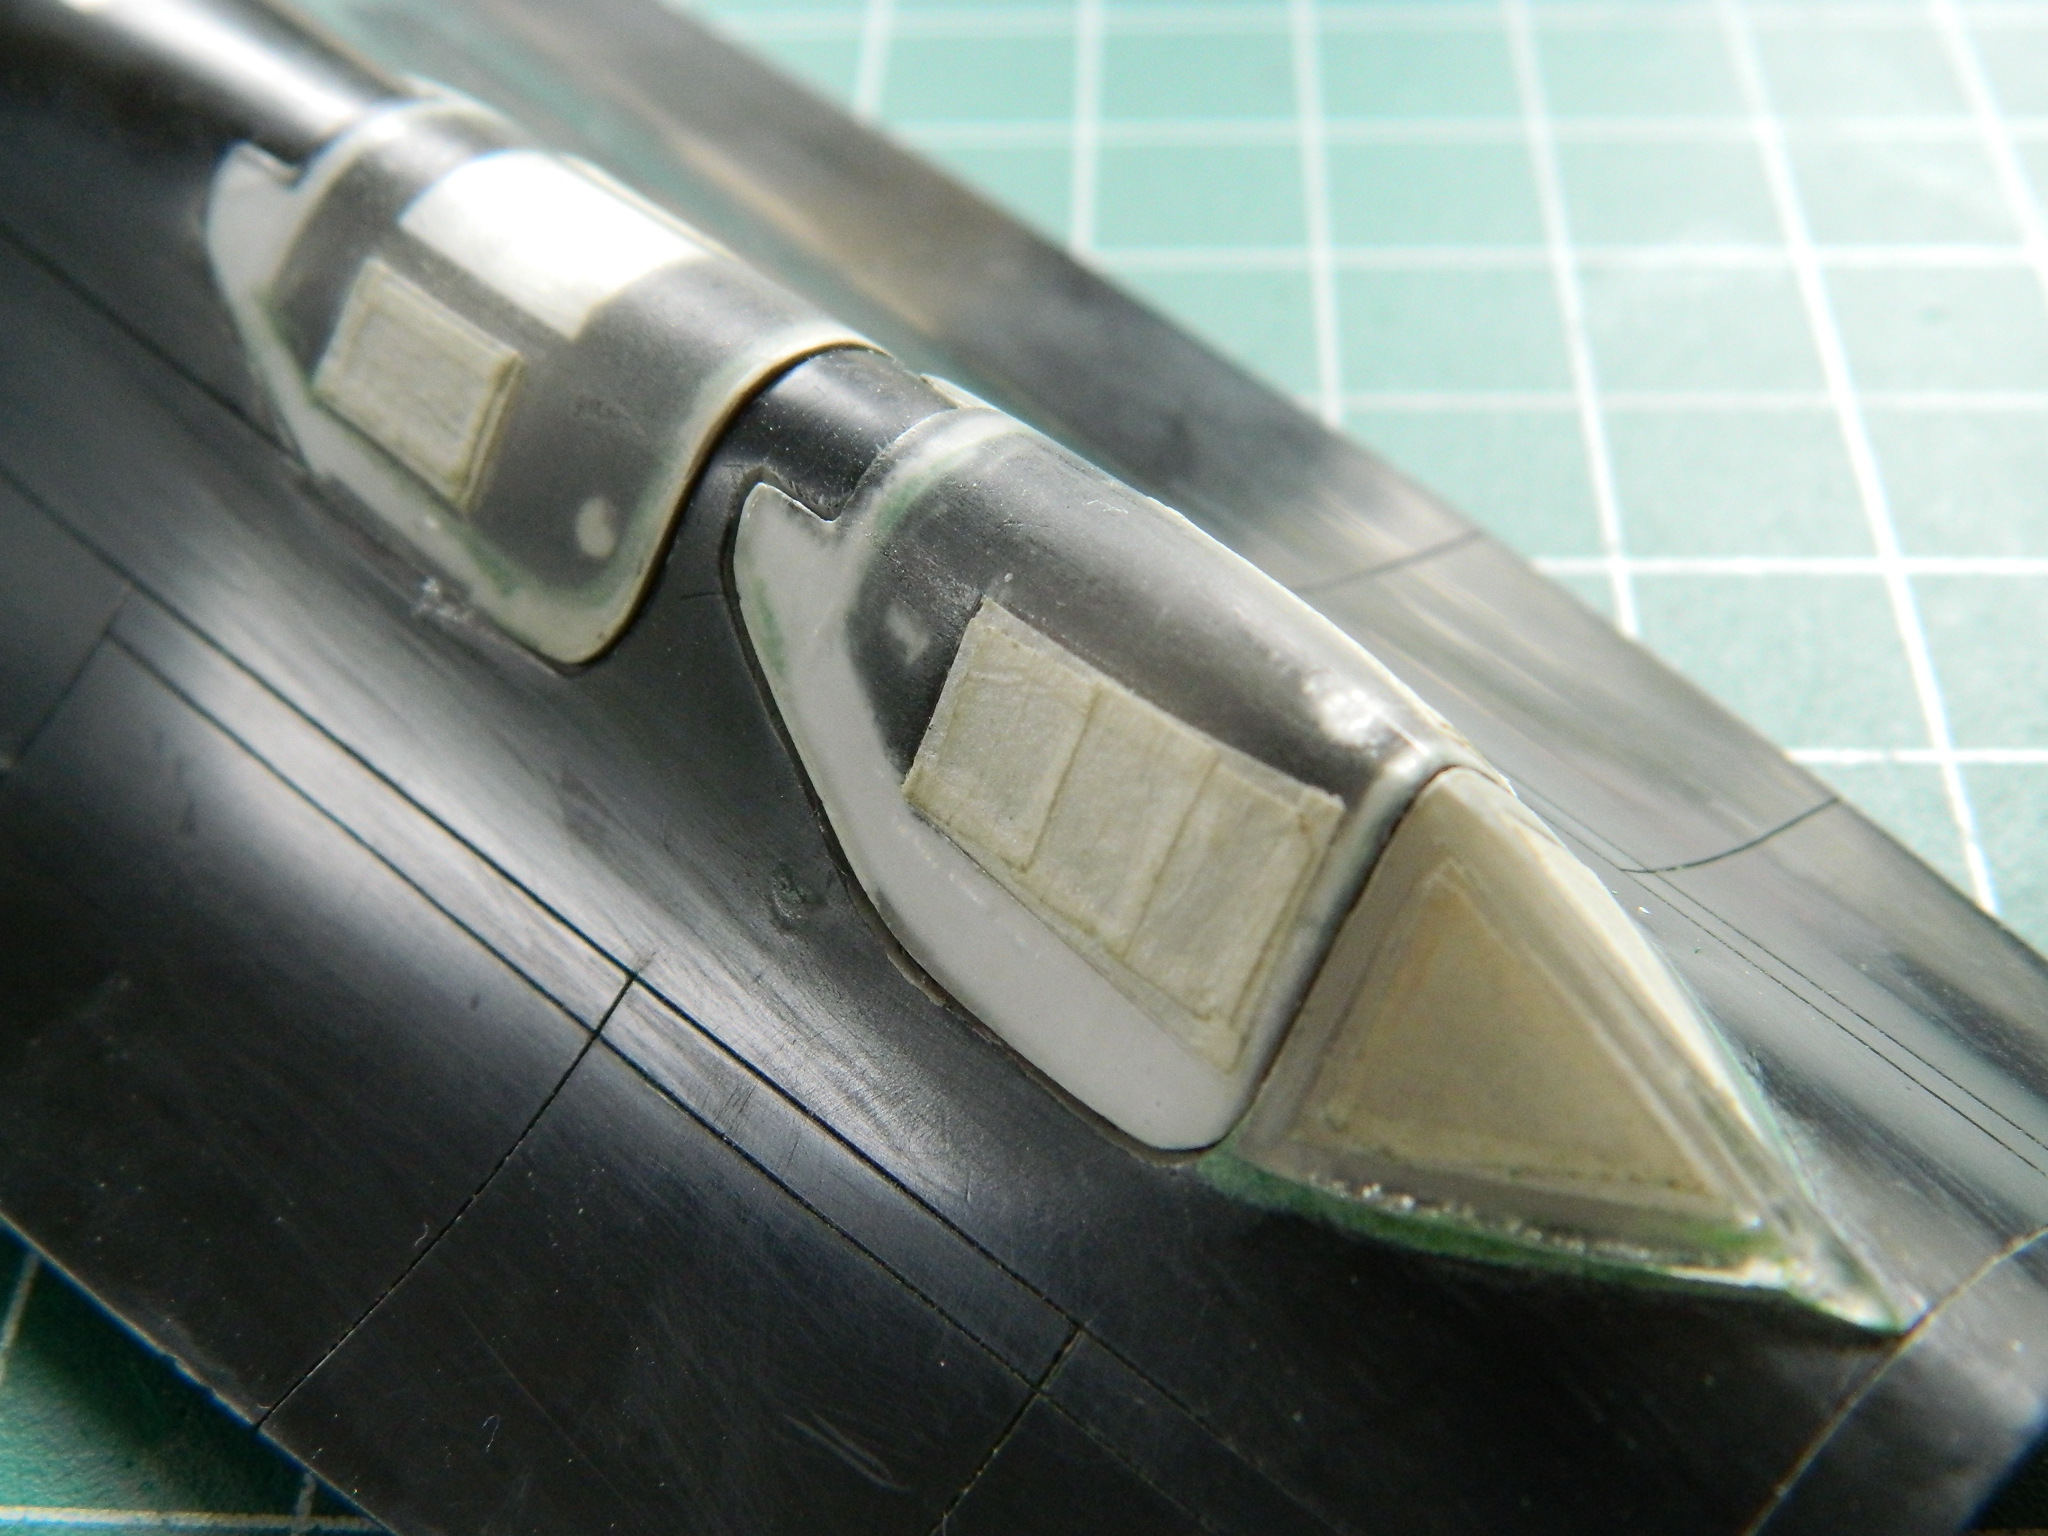
Whew. I think I now have the canopies and cockpits done. SO much work has been done on both the canopies that substantial care (and reconstruction) was required.
After adding the styrene to put back what I had removed, shaping them was the next step:
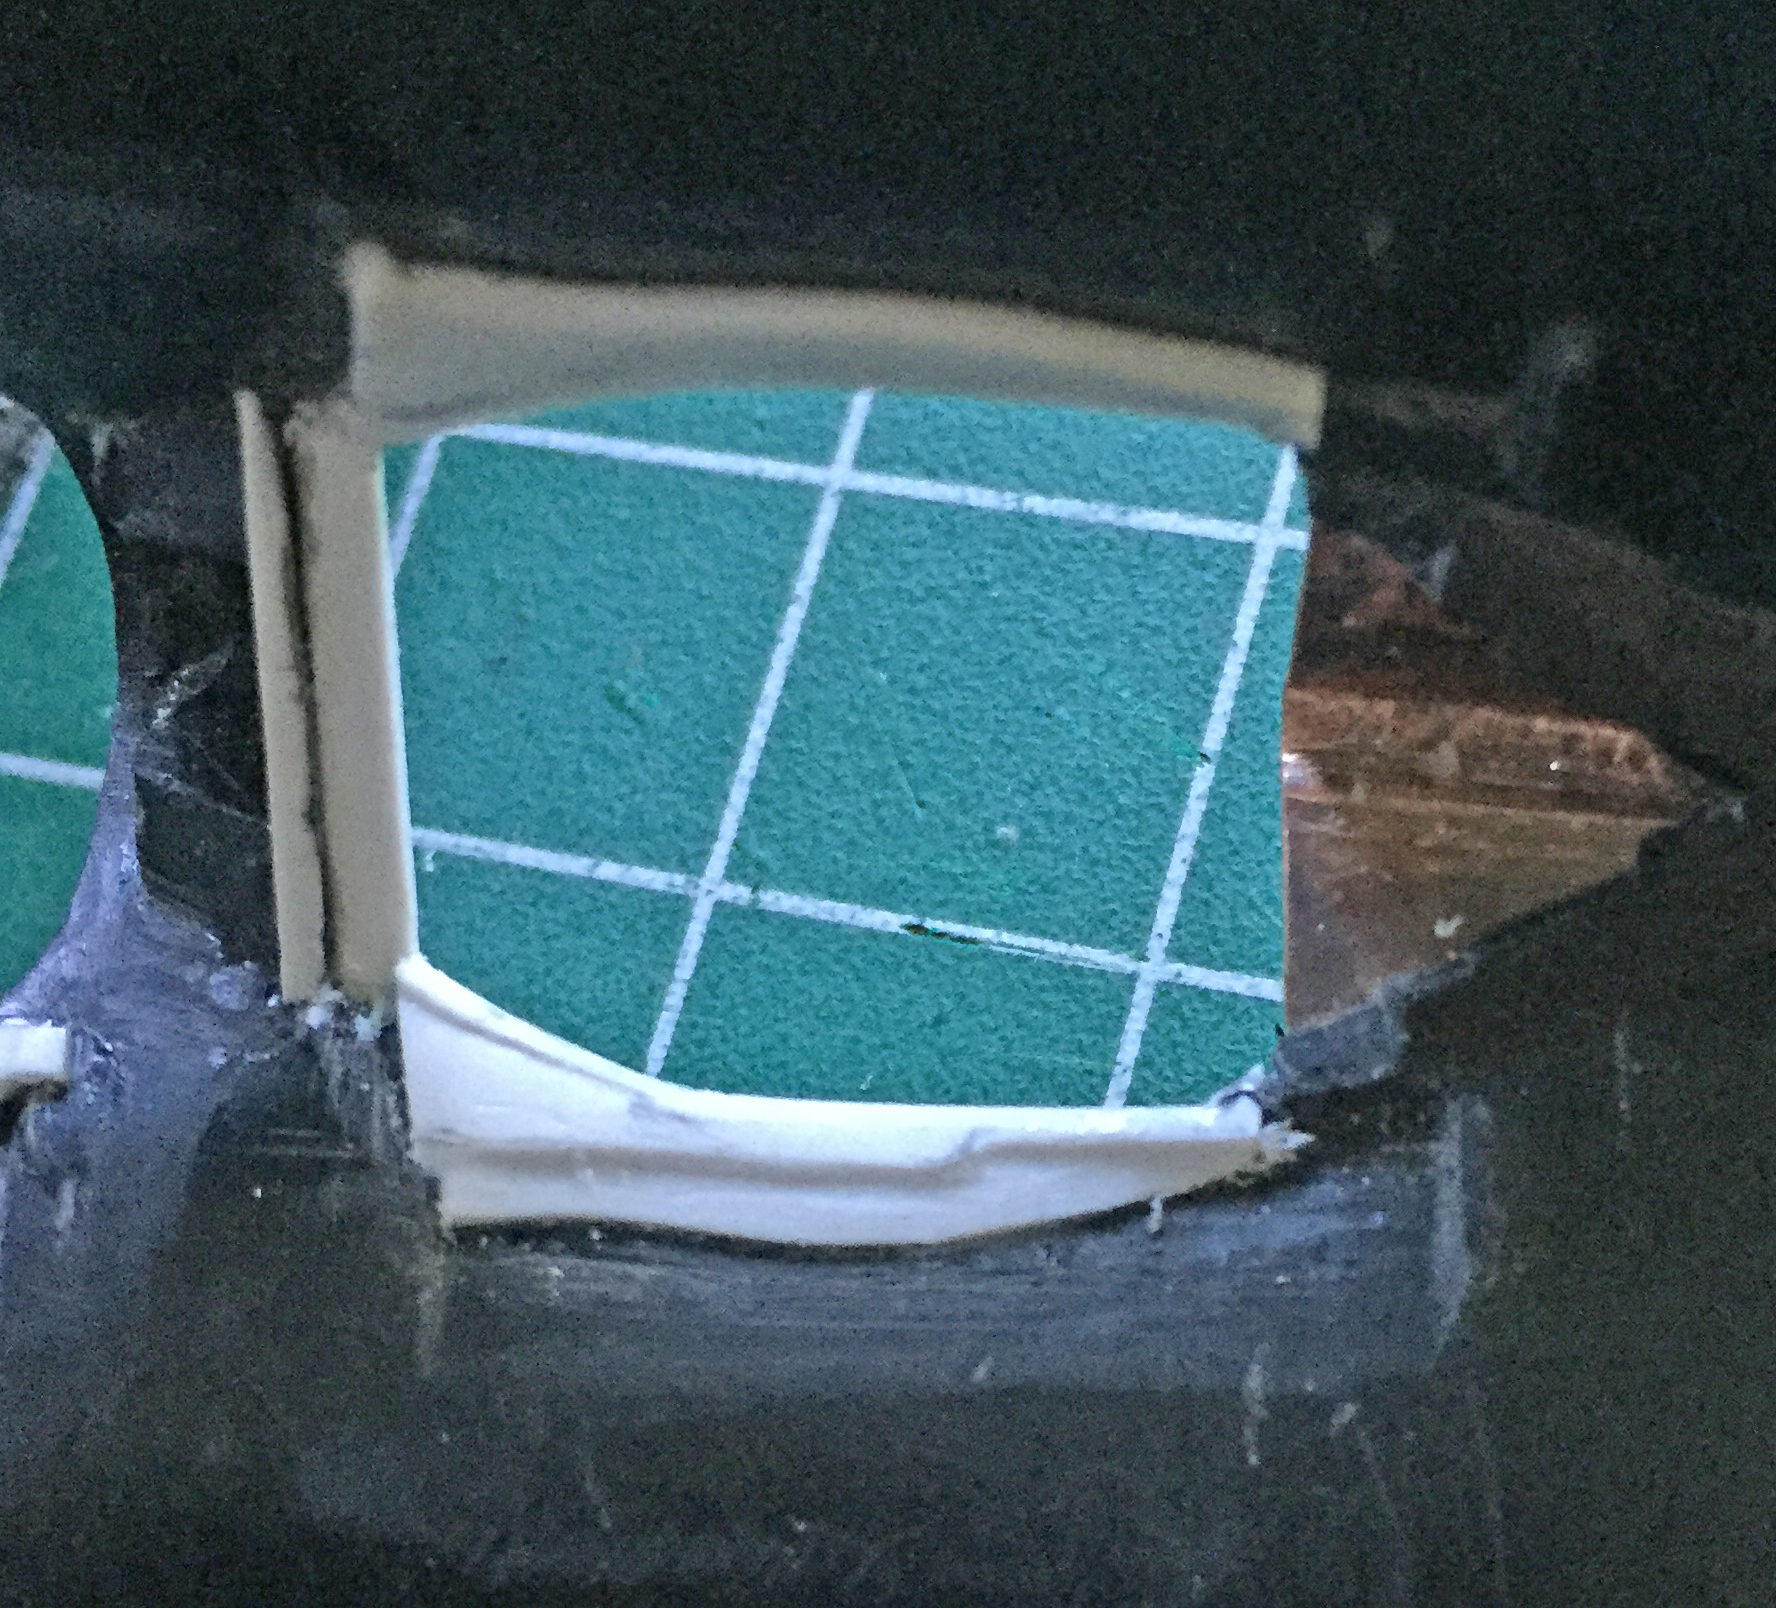
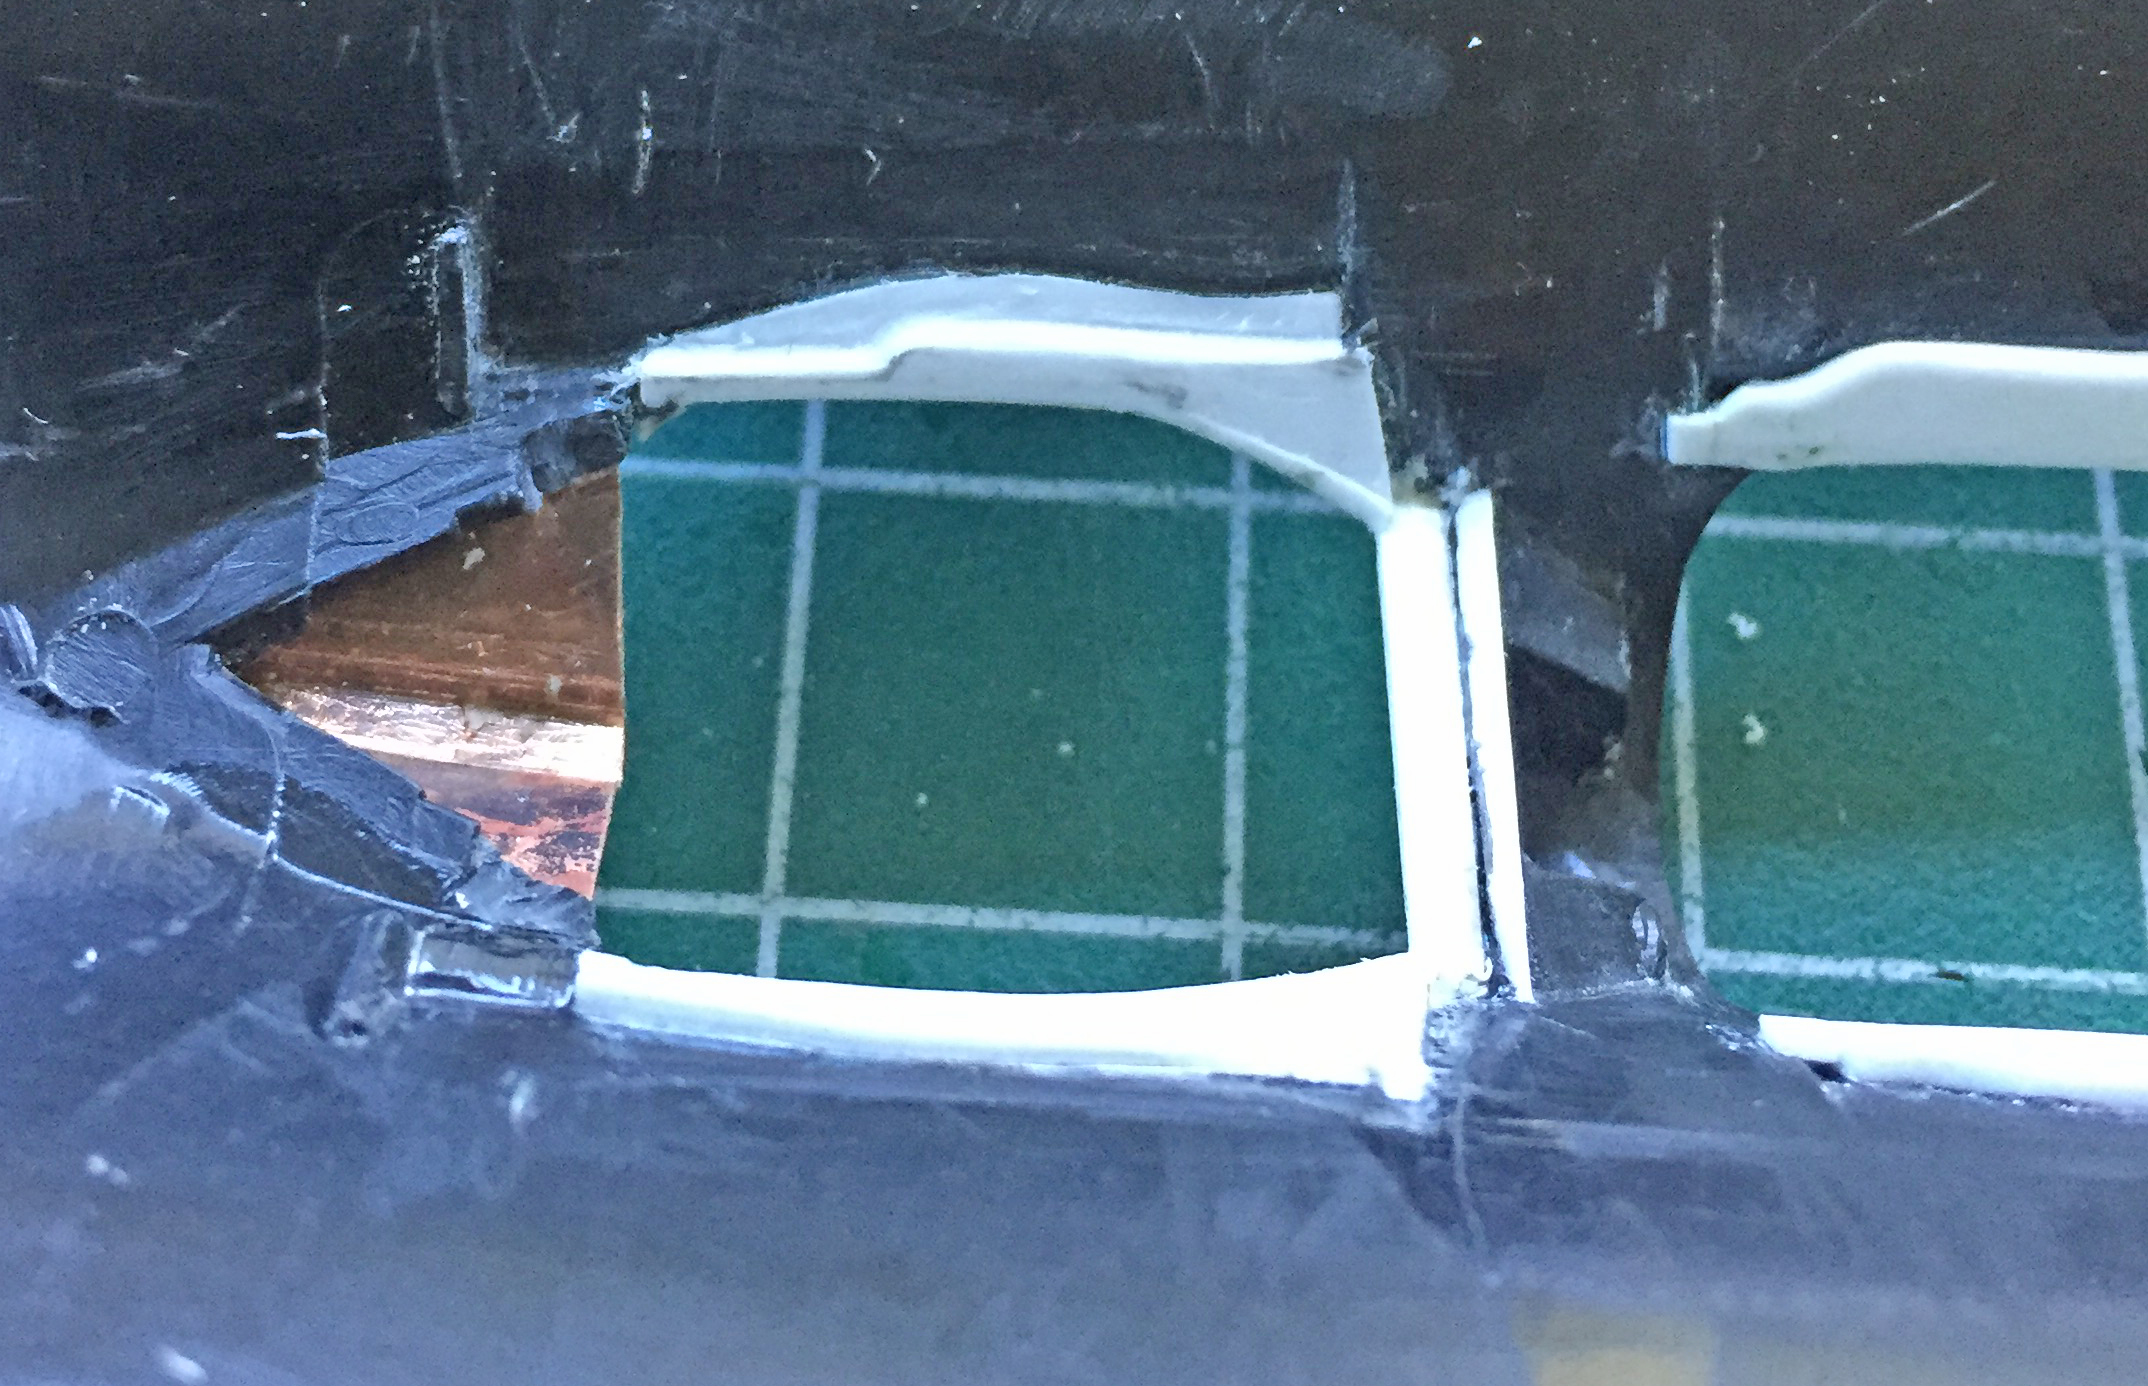
Then putty was added to blend in the additions:
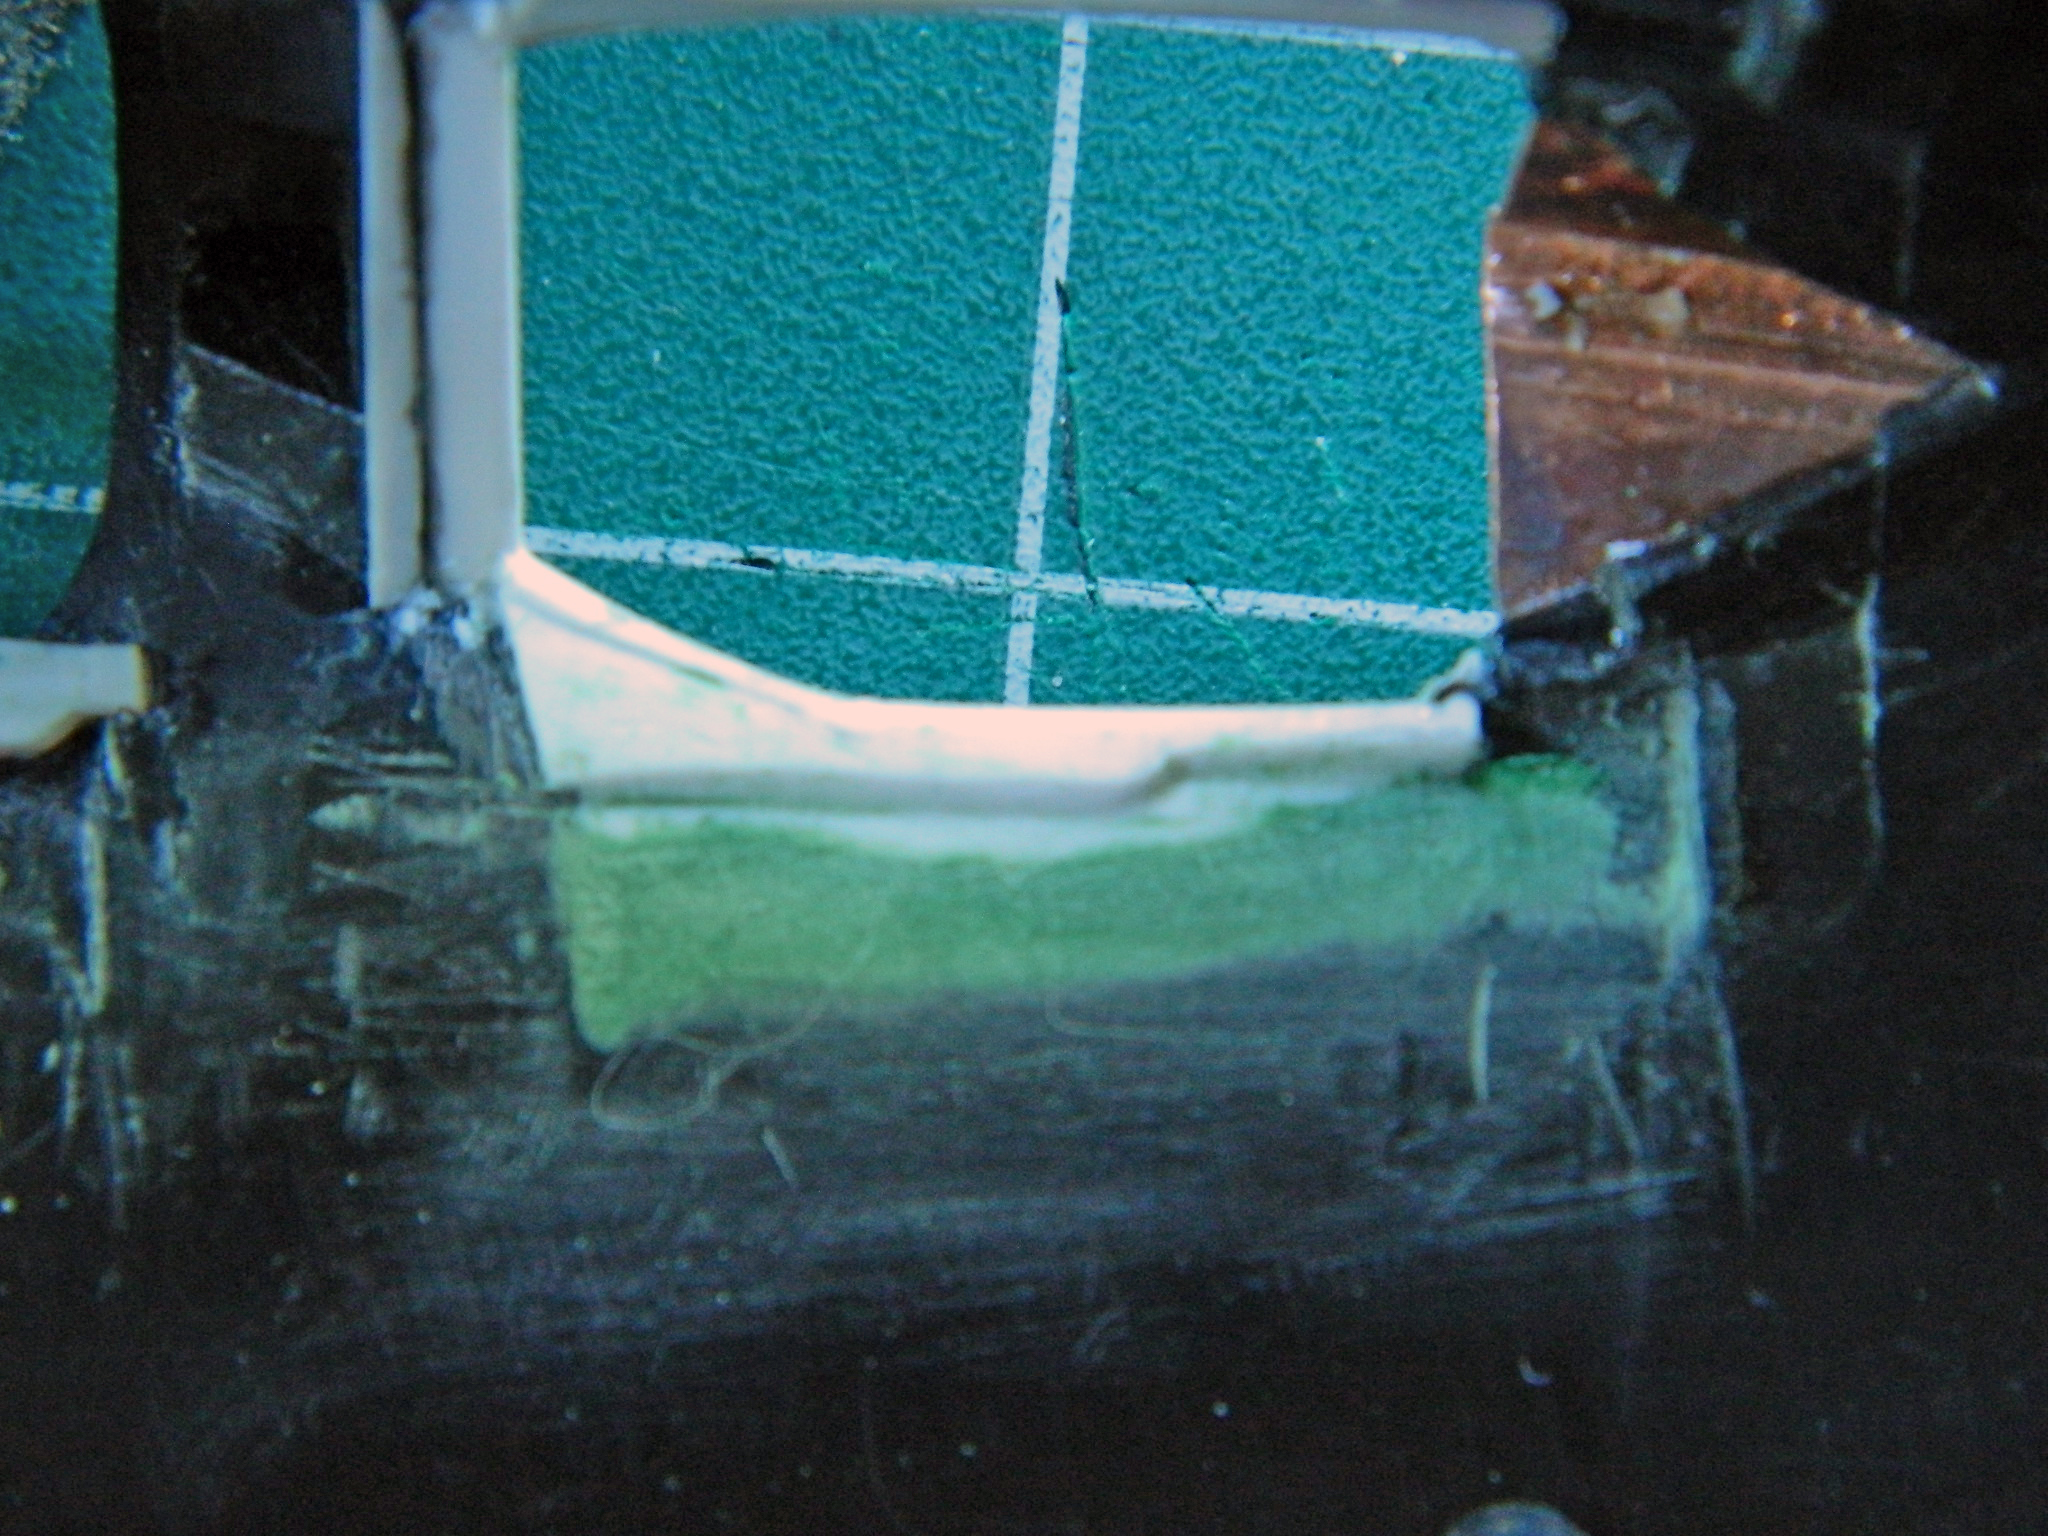
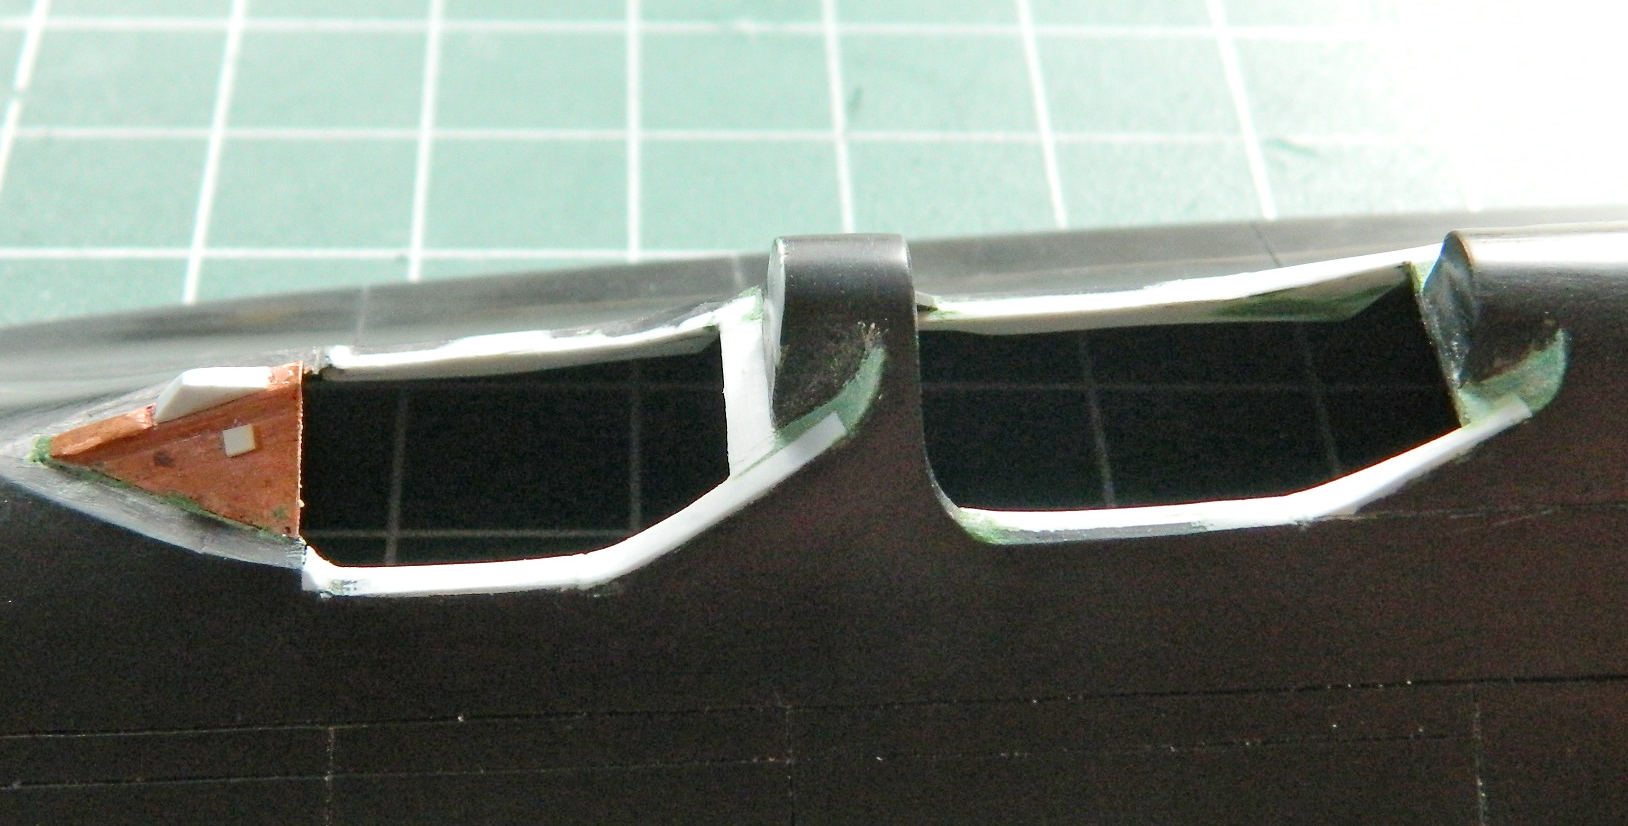
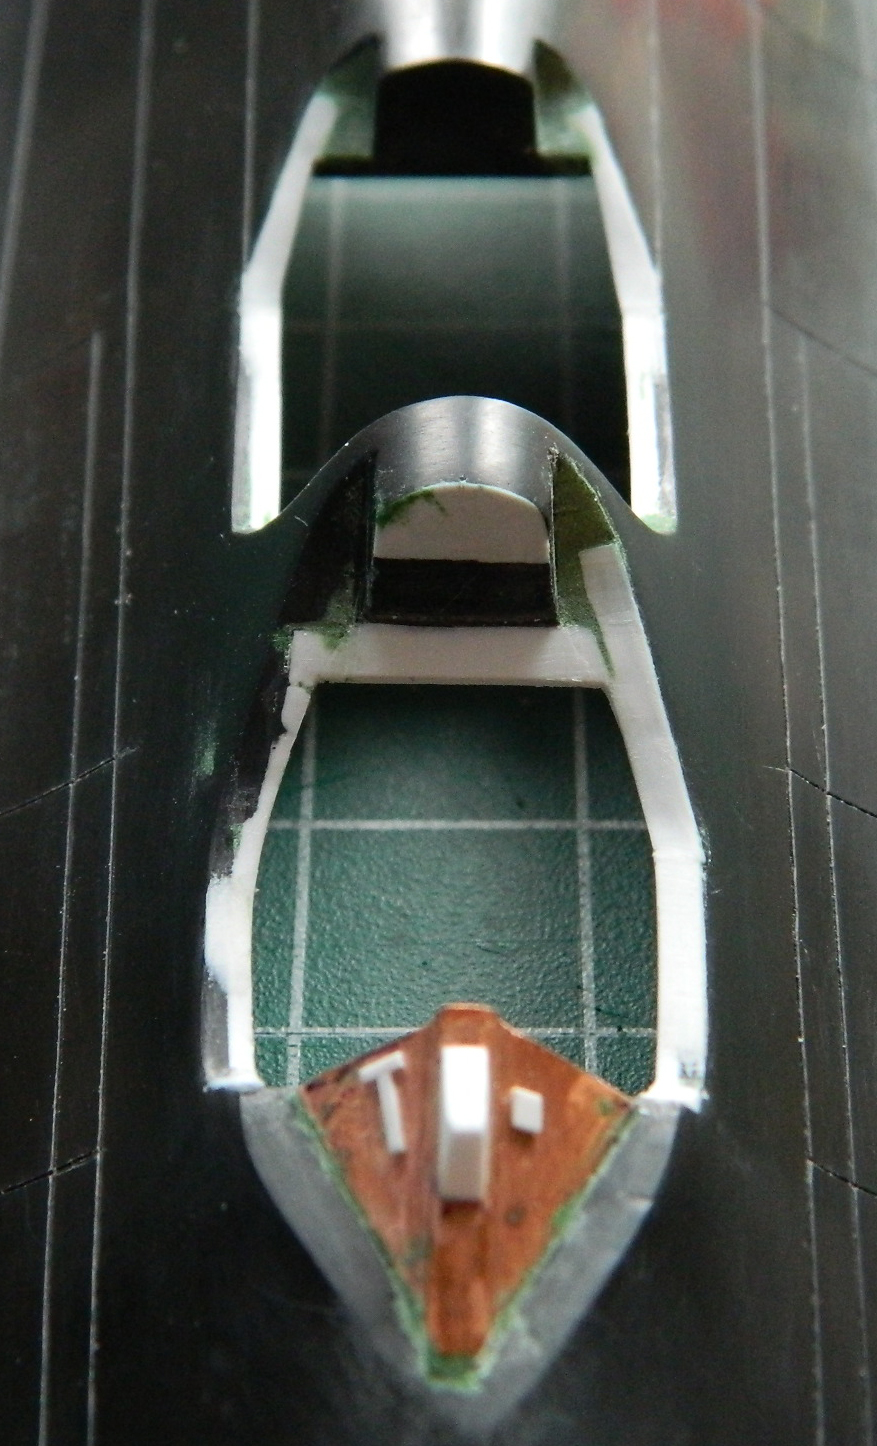
Then details were added (the RSO’s cockpit was much simpler to shape than the pilot’s):
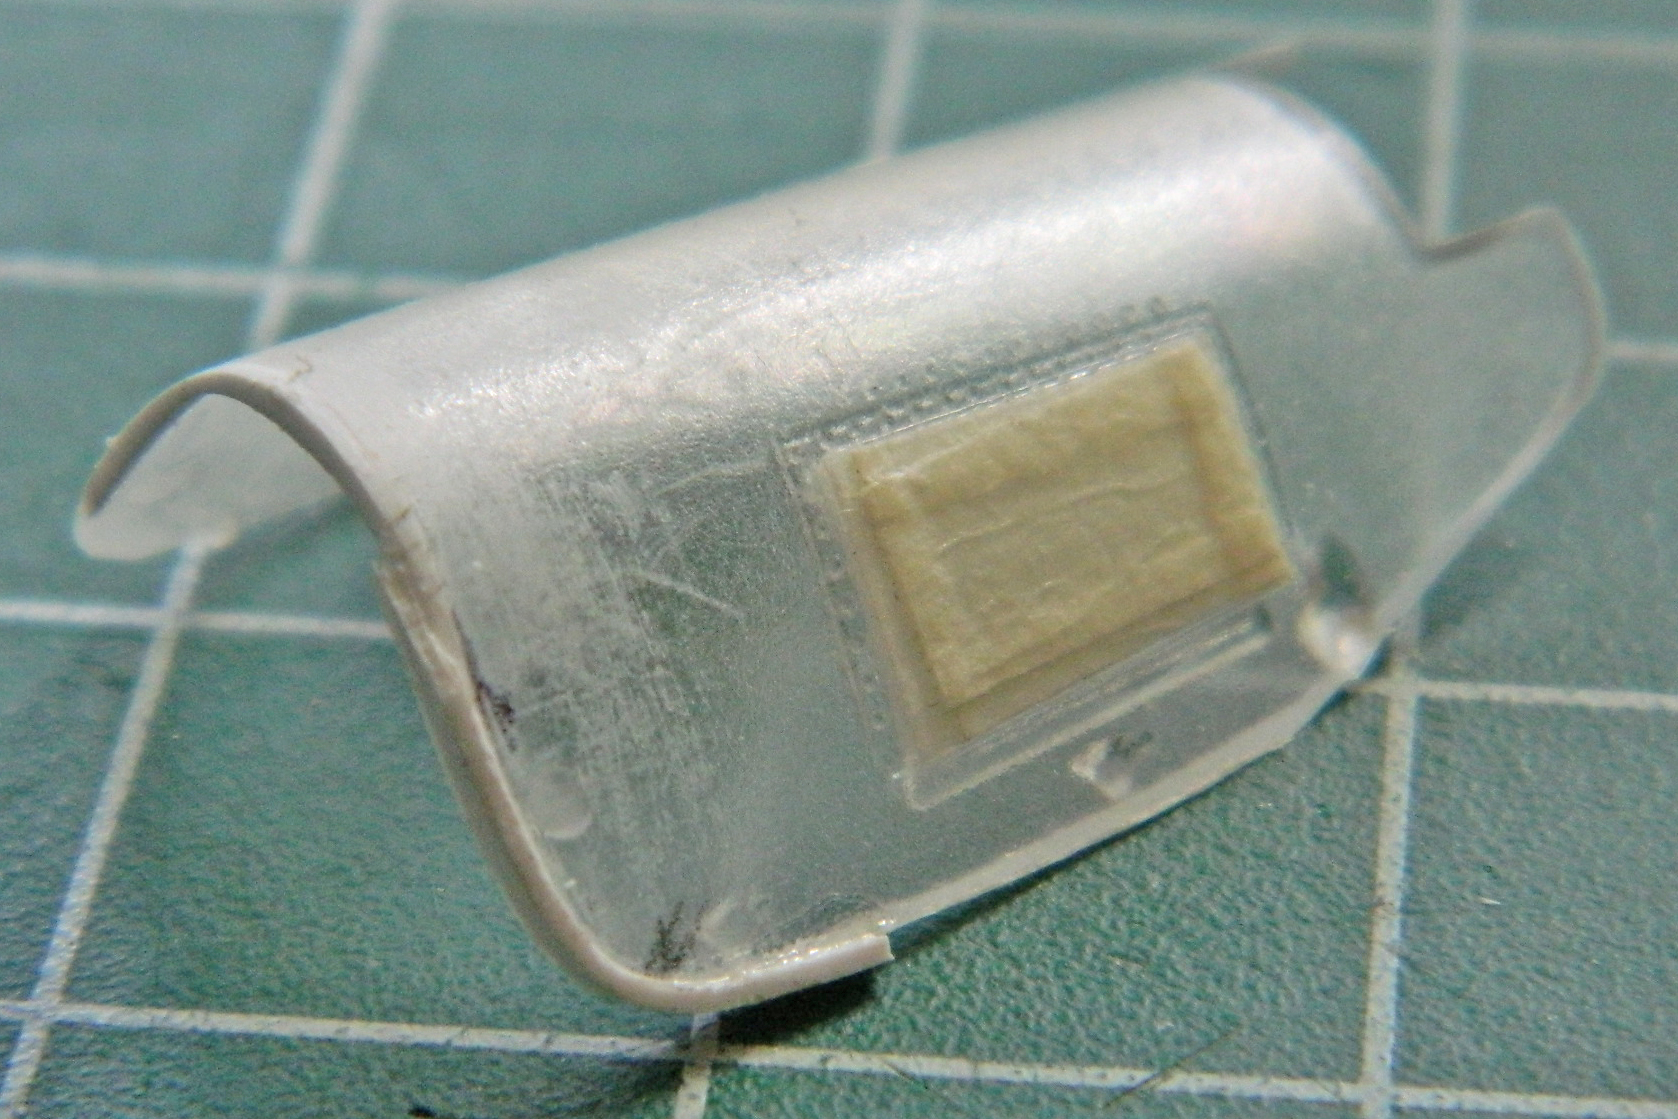
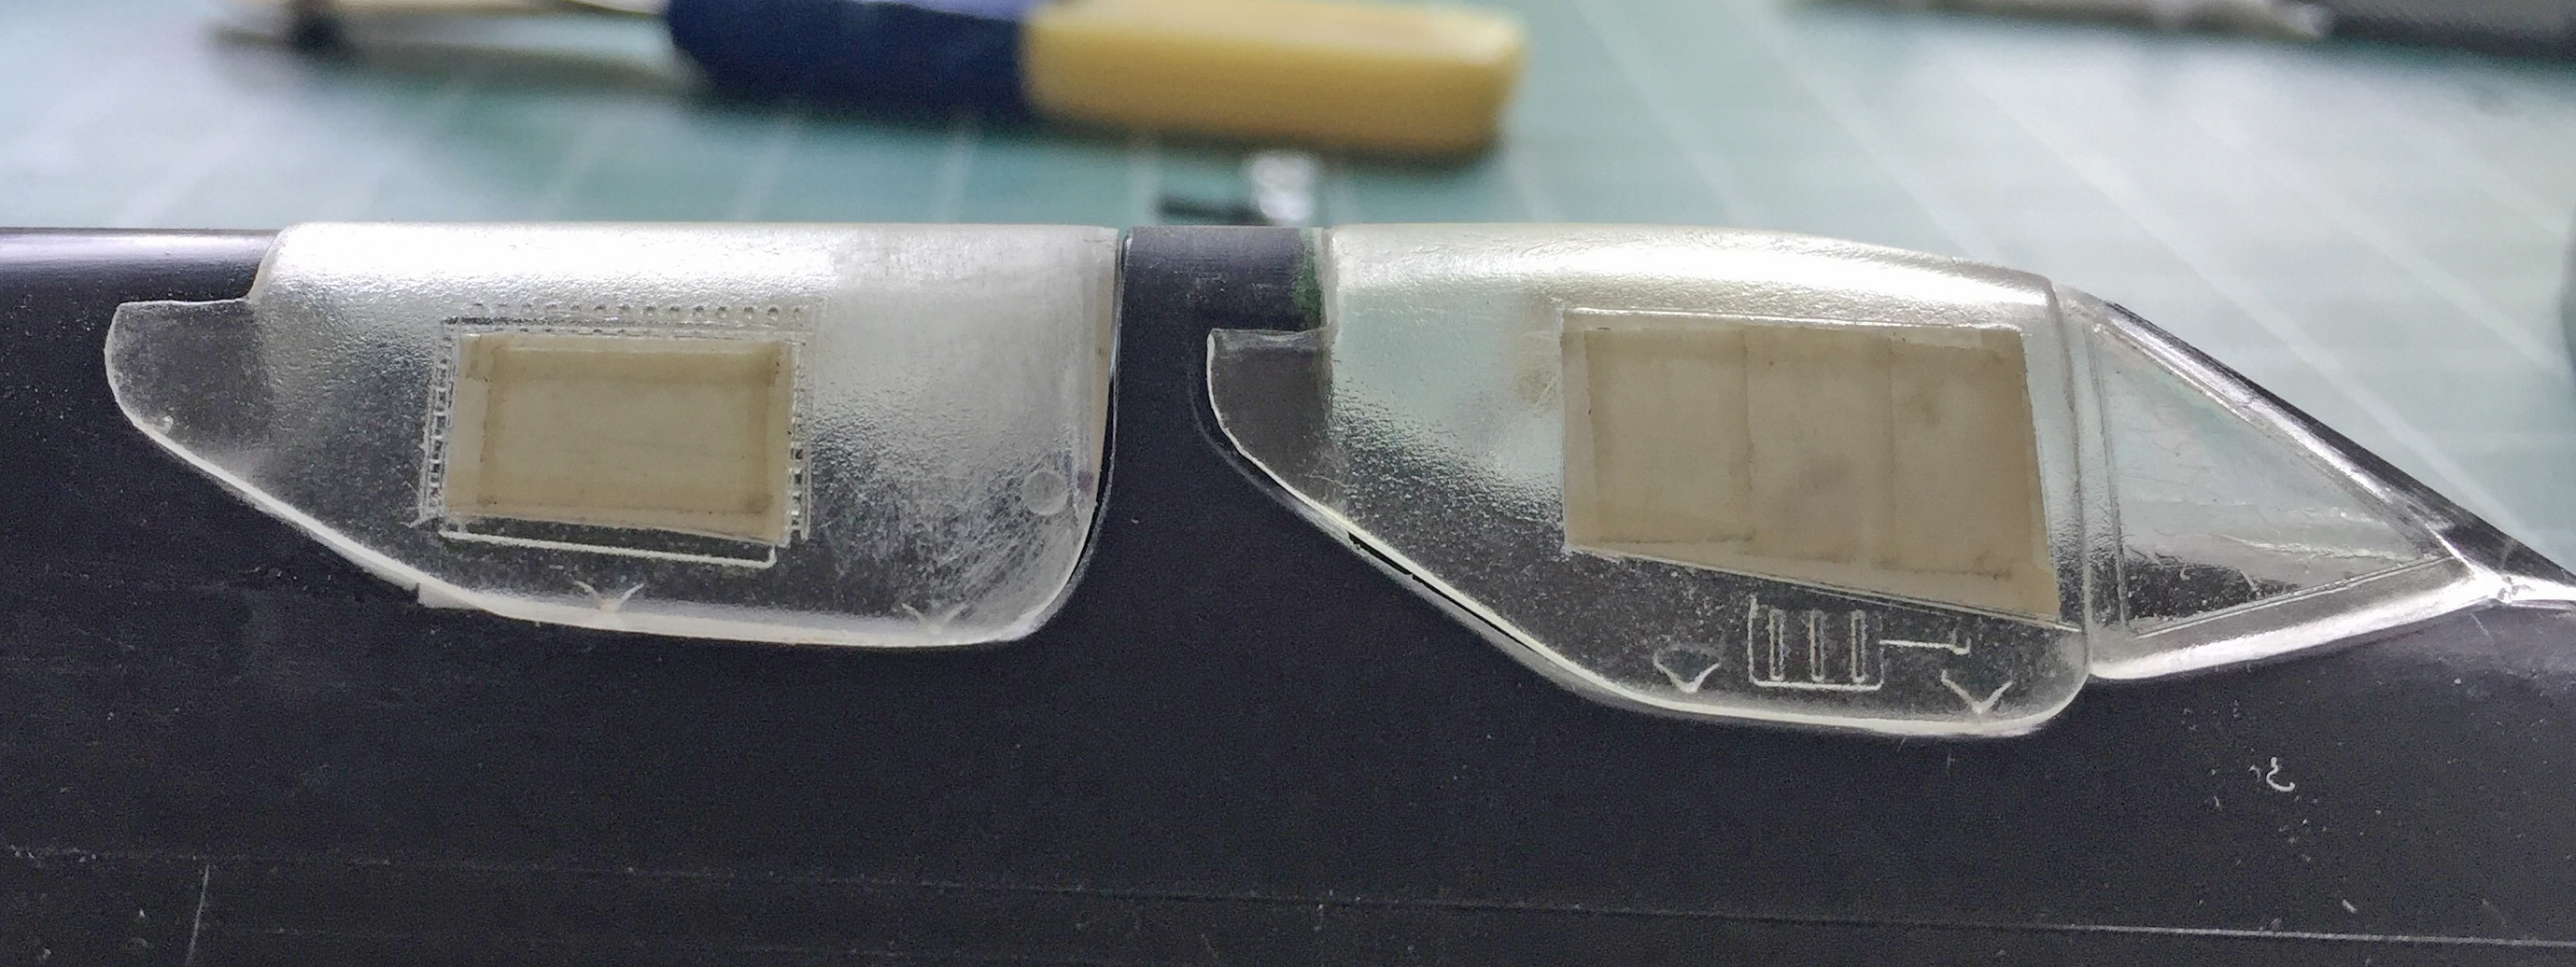
One of the (many) tips I ran across many years ago was a nifty one for replicating the screens used in “glass cockpits,” where the use of analog gauges have been replaced by MFDs (Multi-function Displays); in this case due to the technology extant at time of production, they were CRTs (cathode ray tubes like TVs used to have). To replicate the face of the screen, I cut the exposed section of filmstrip negatives (used before digital cameras) to shape and insert them where they go:
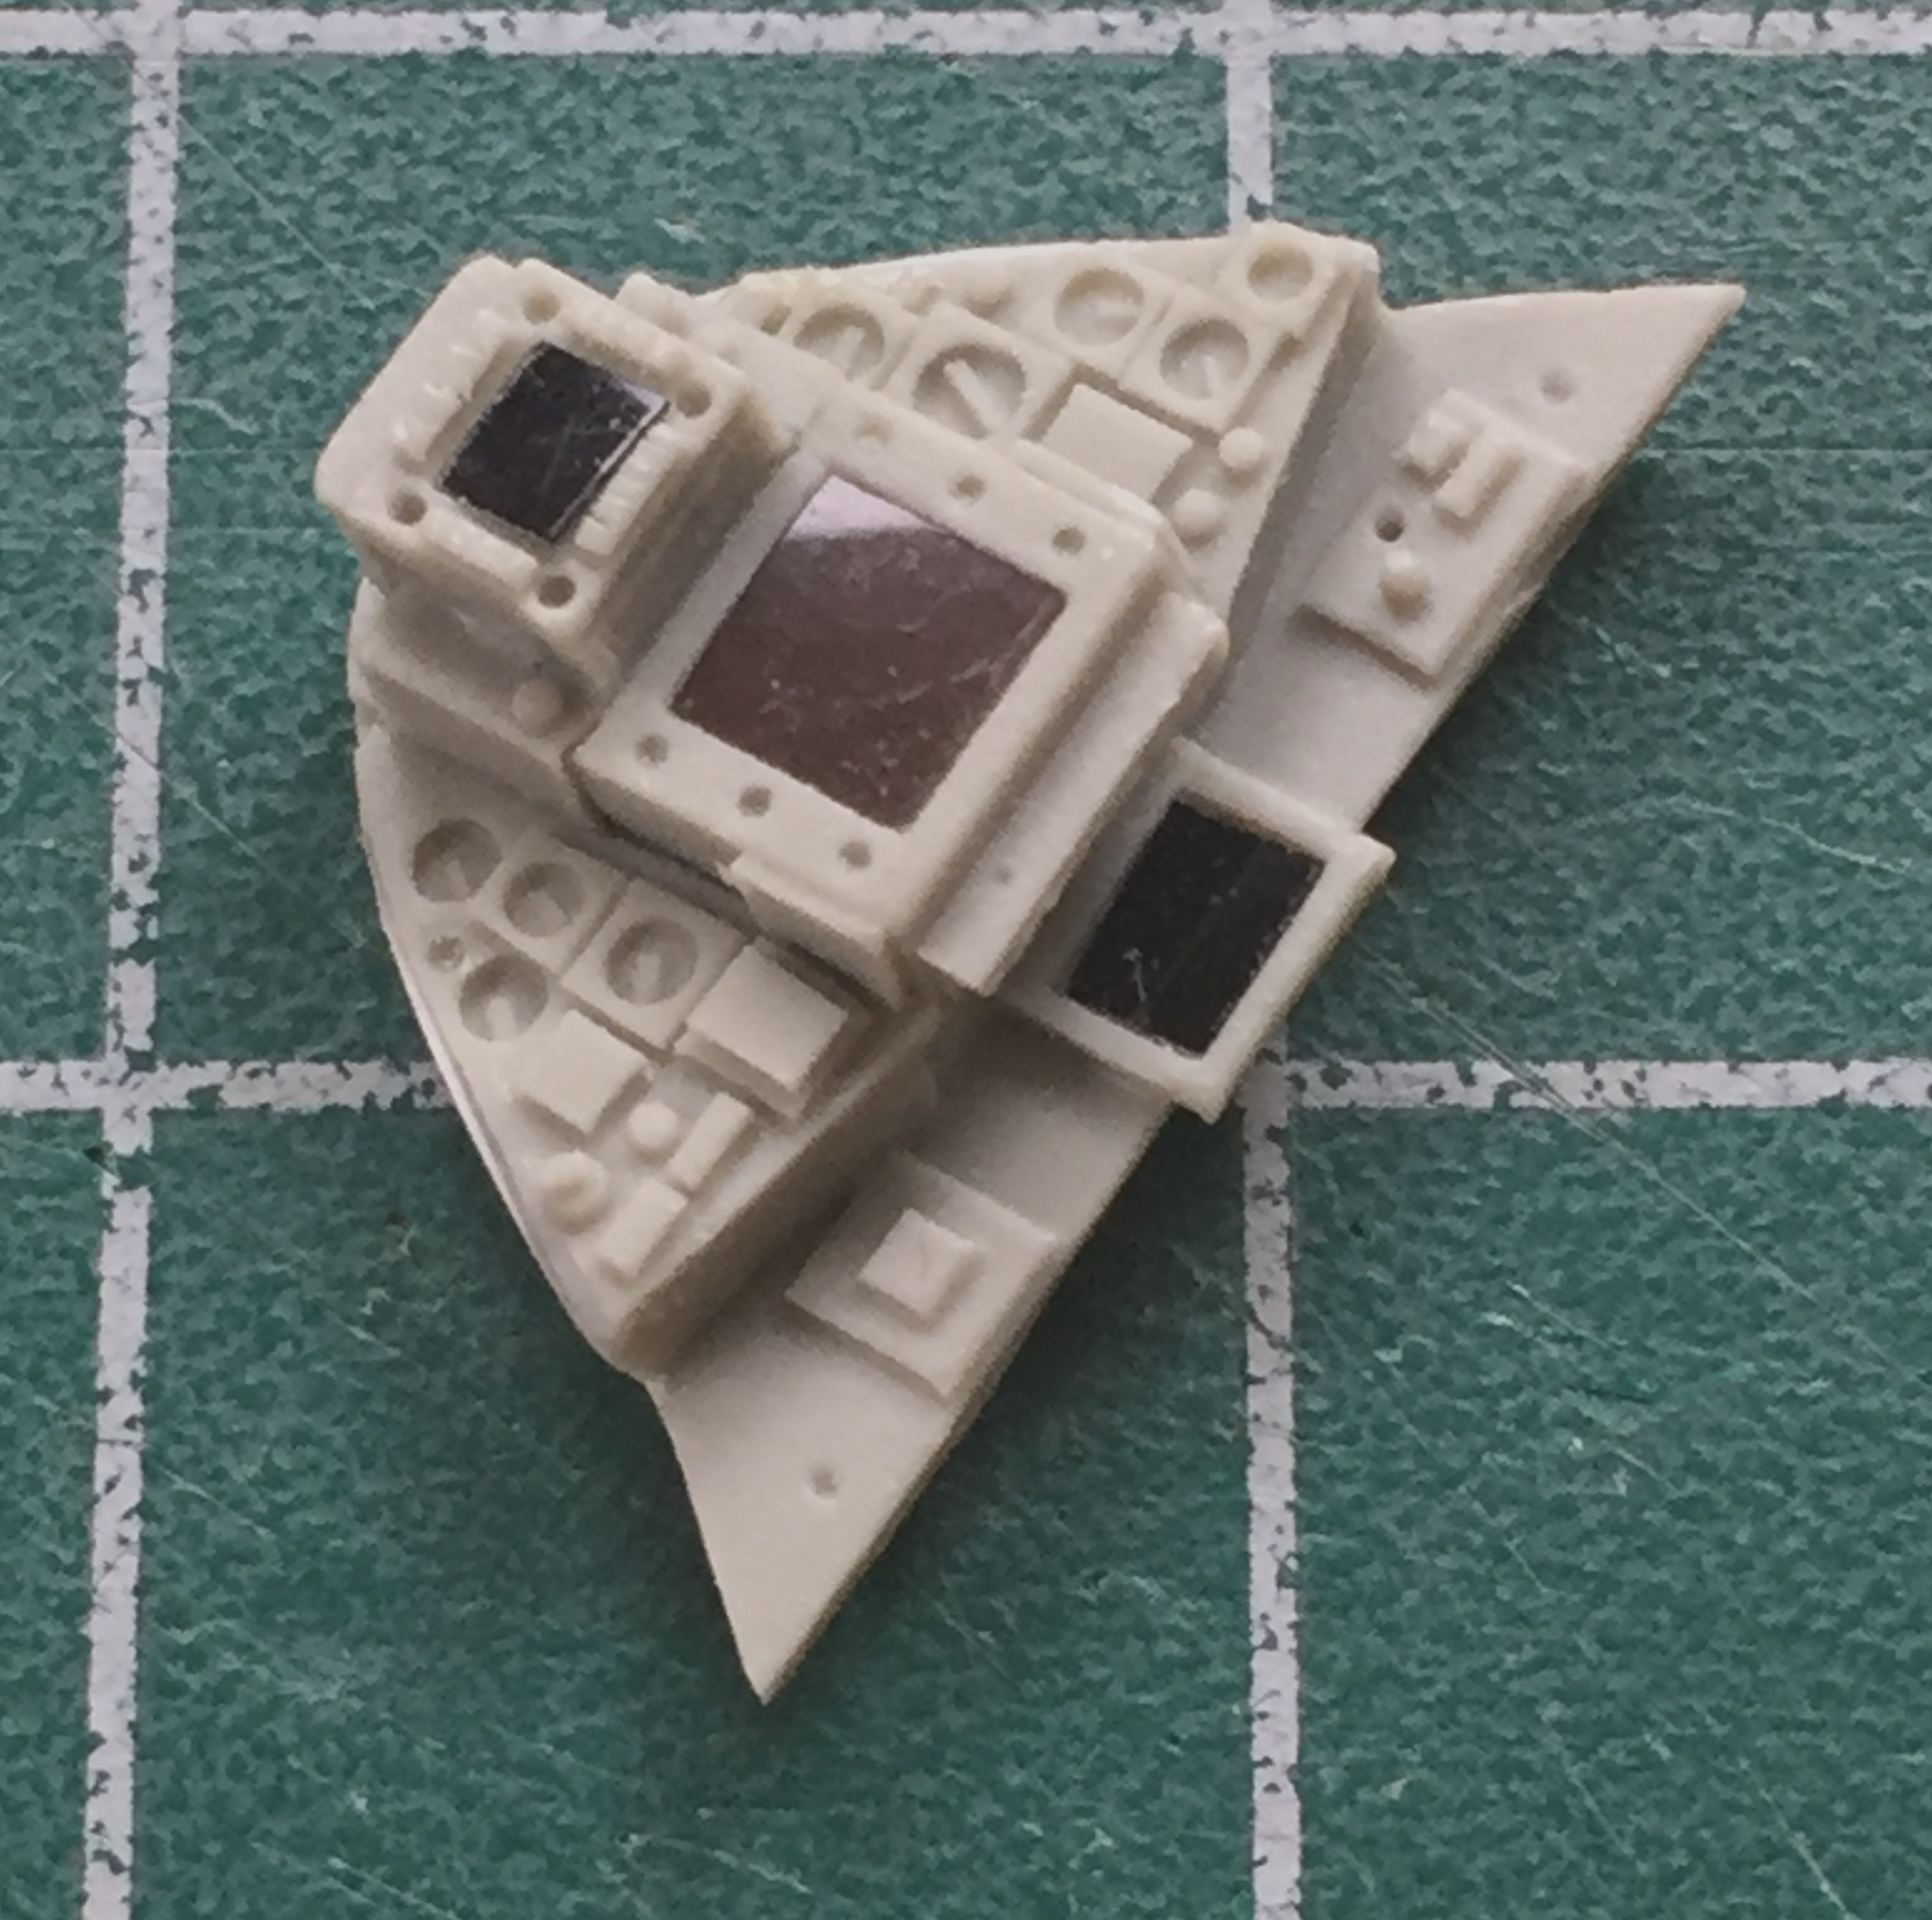
I like the result.
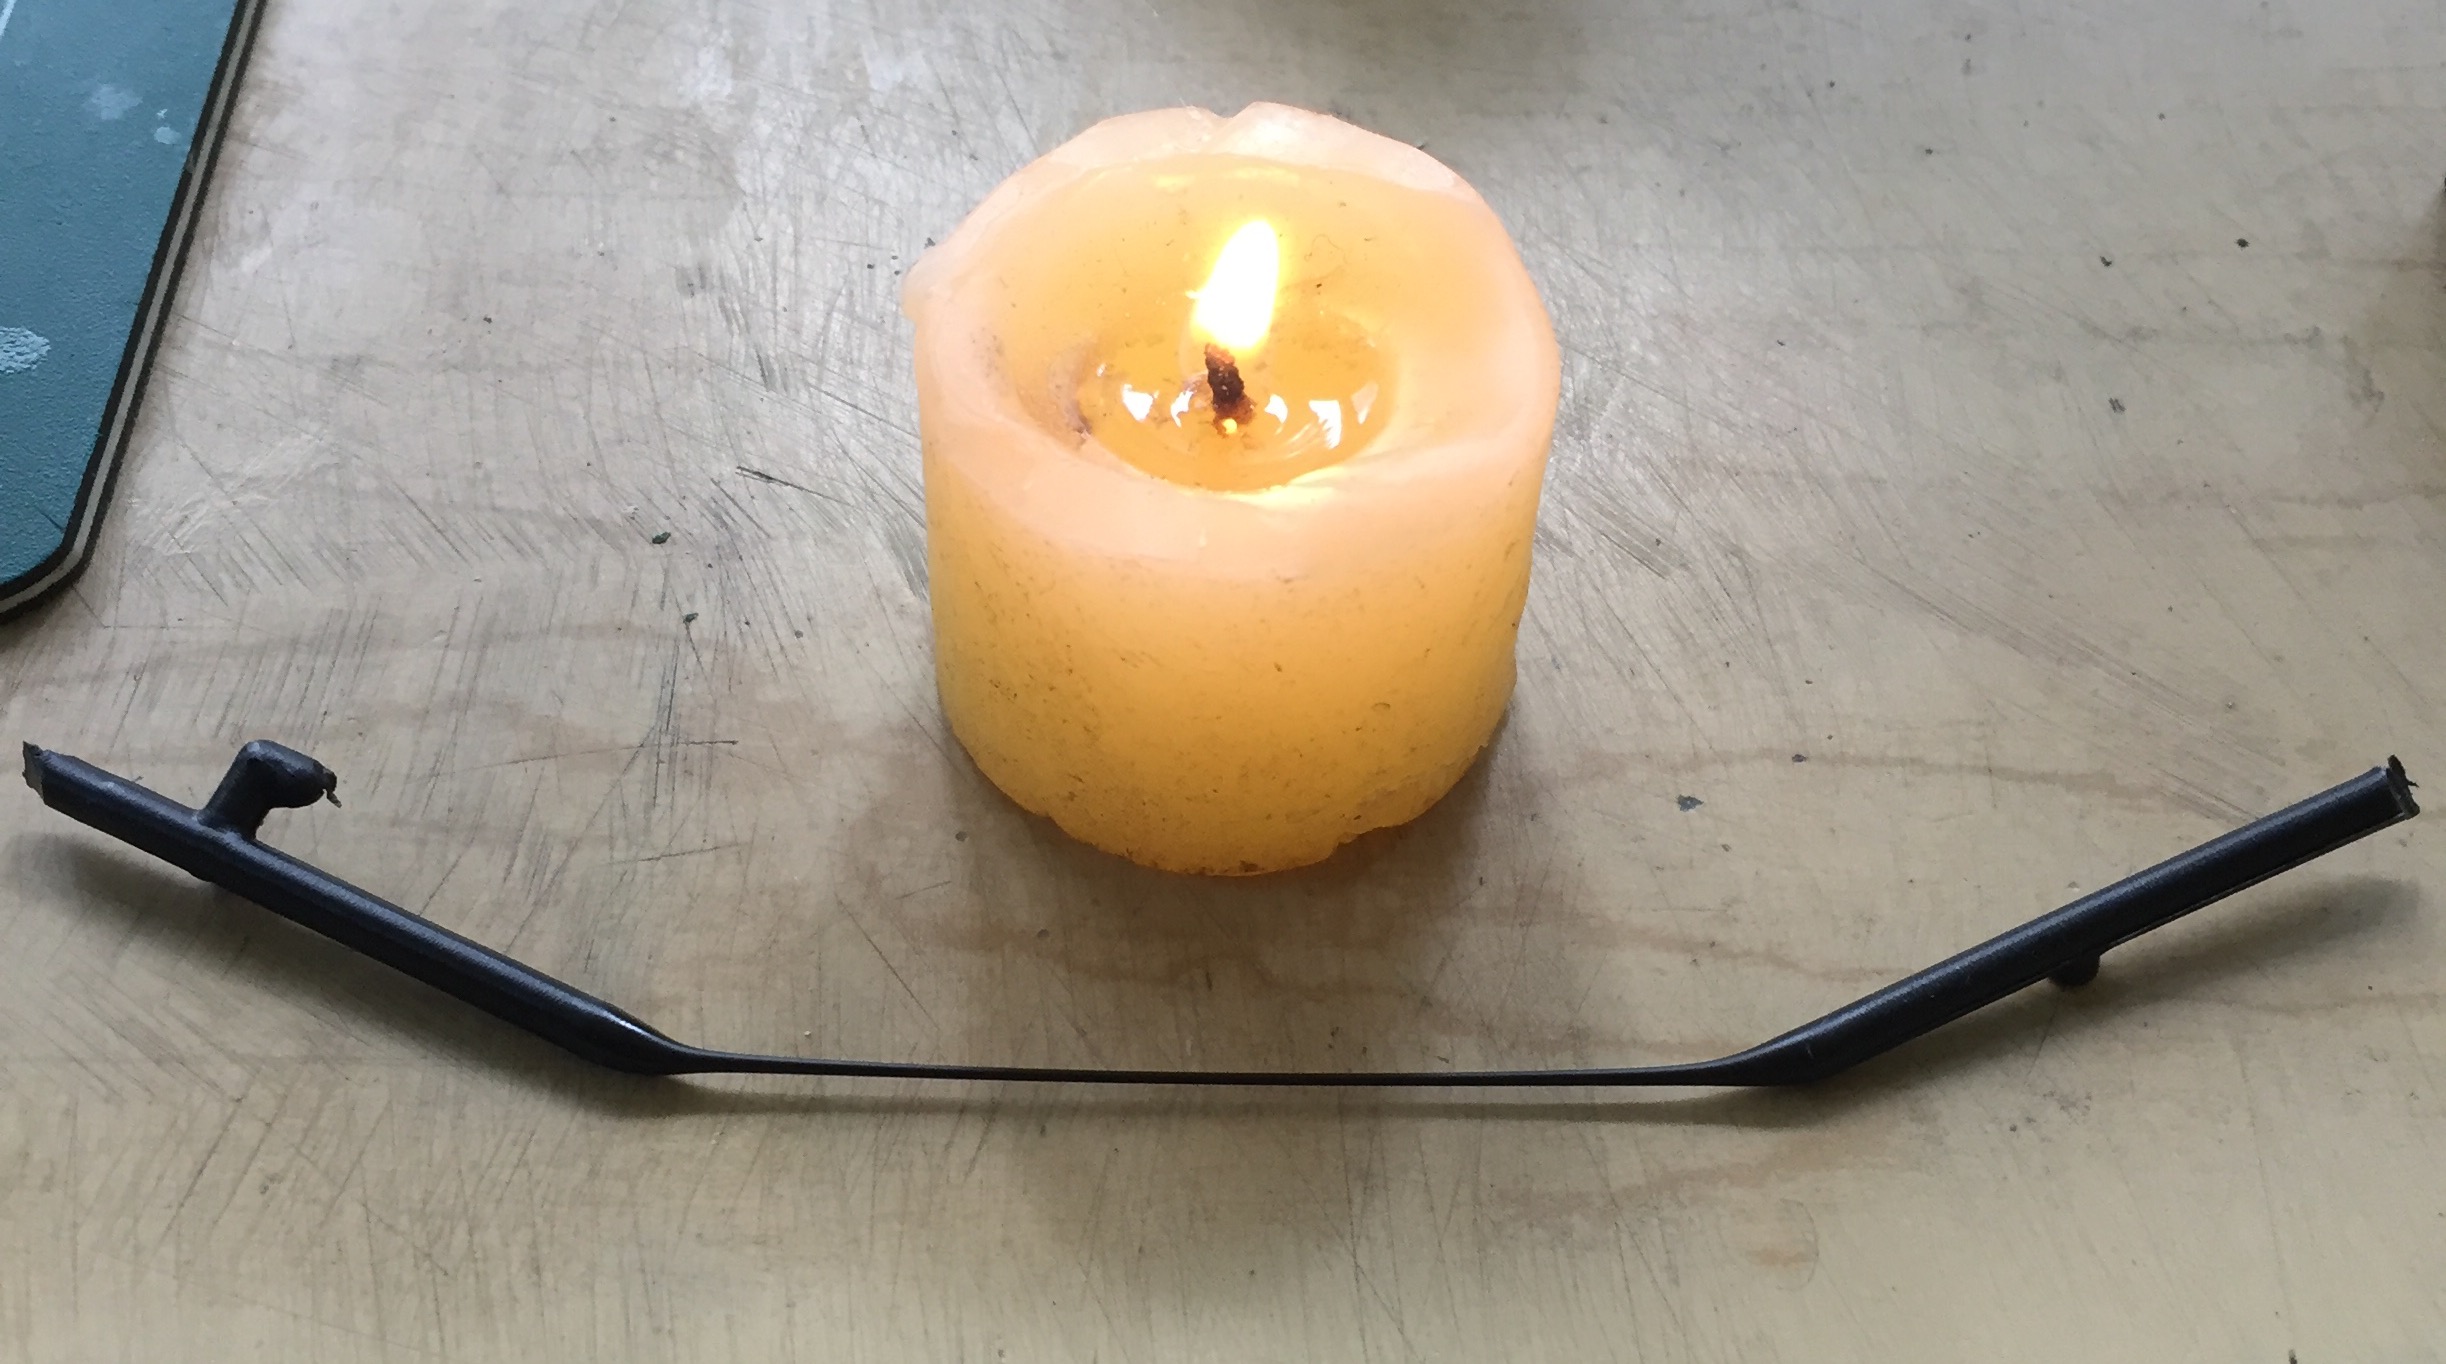
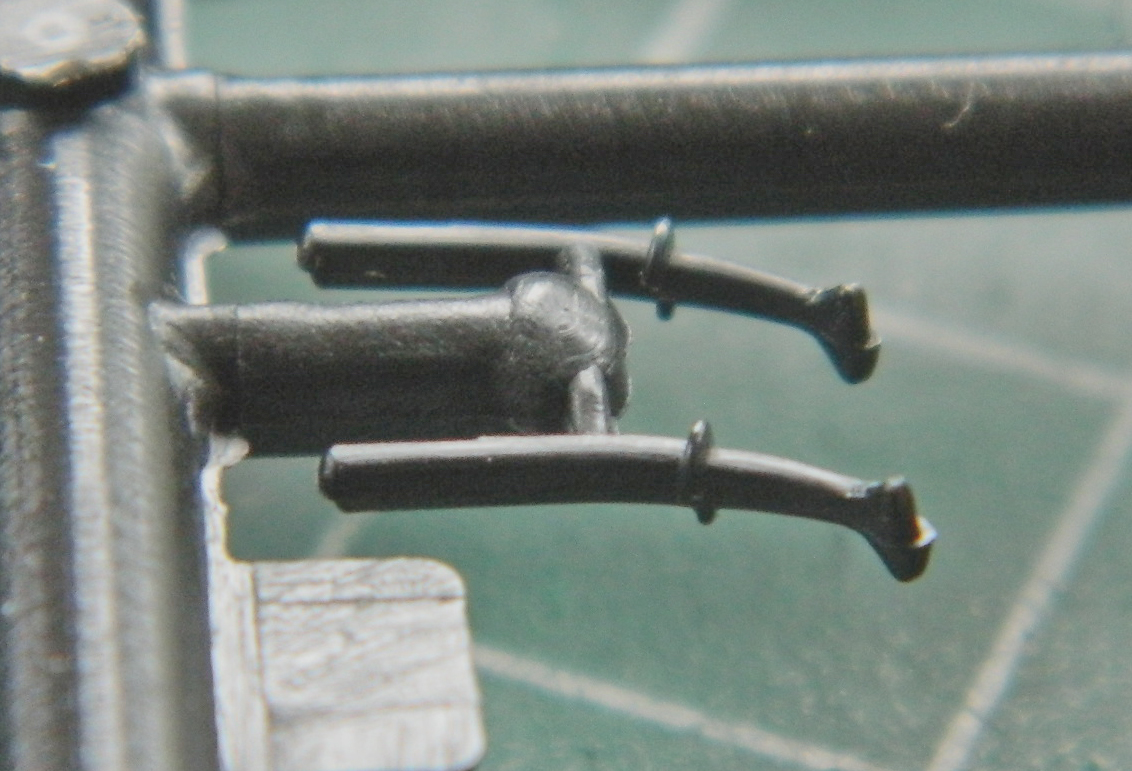
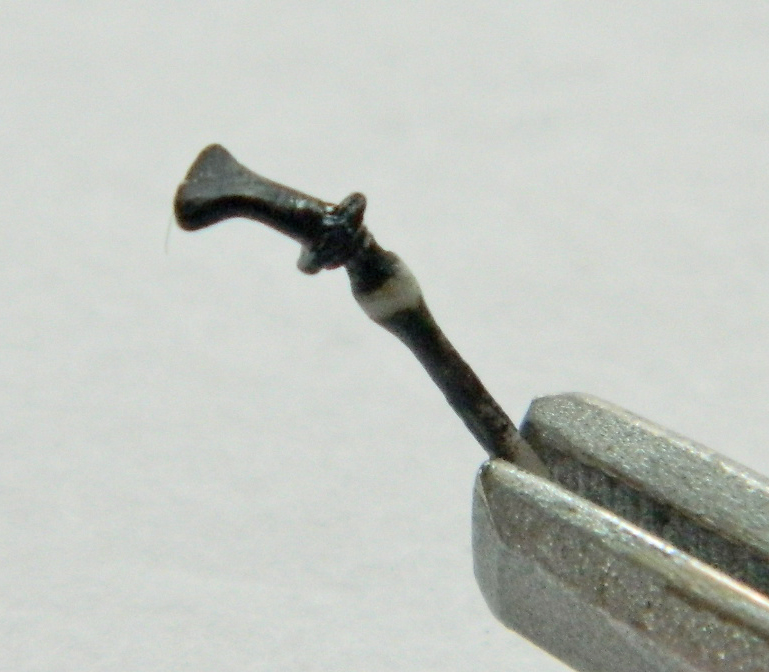
So with the sides of the cockpits done, time to finish up the details inside the canopies. One of those details is where the opening/closing hydraulic cylinders attach. Soldering…very, very, fine soldering was required. I used .010″ (.254mm) shim stock for the L-shaped section and 22awg wire for the support strut:
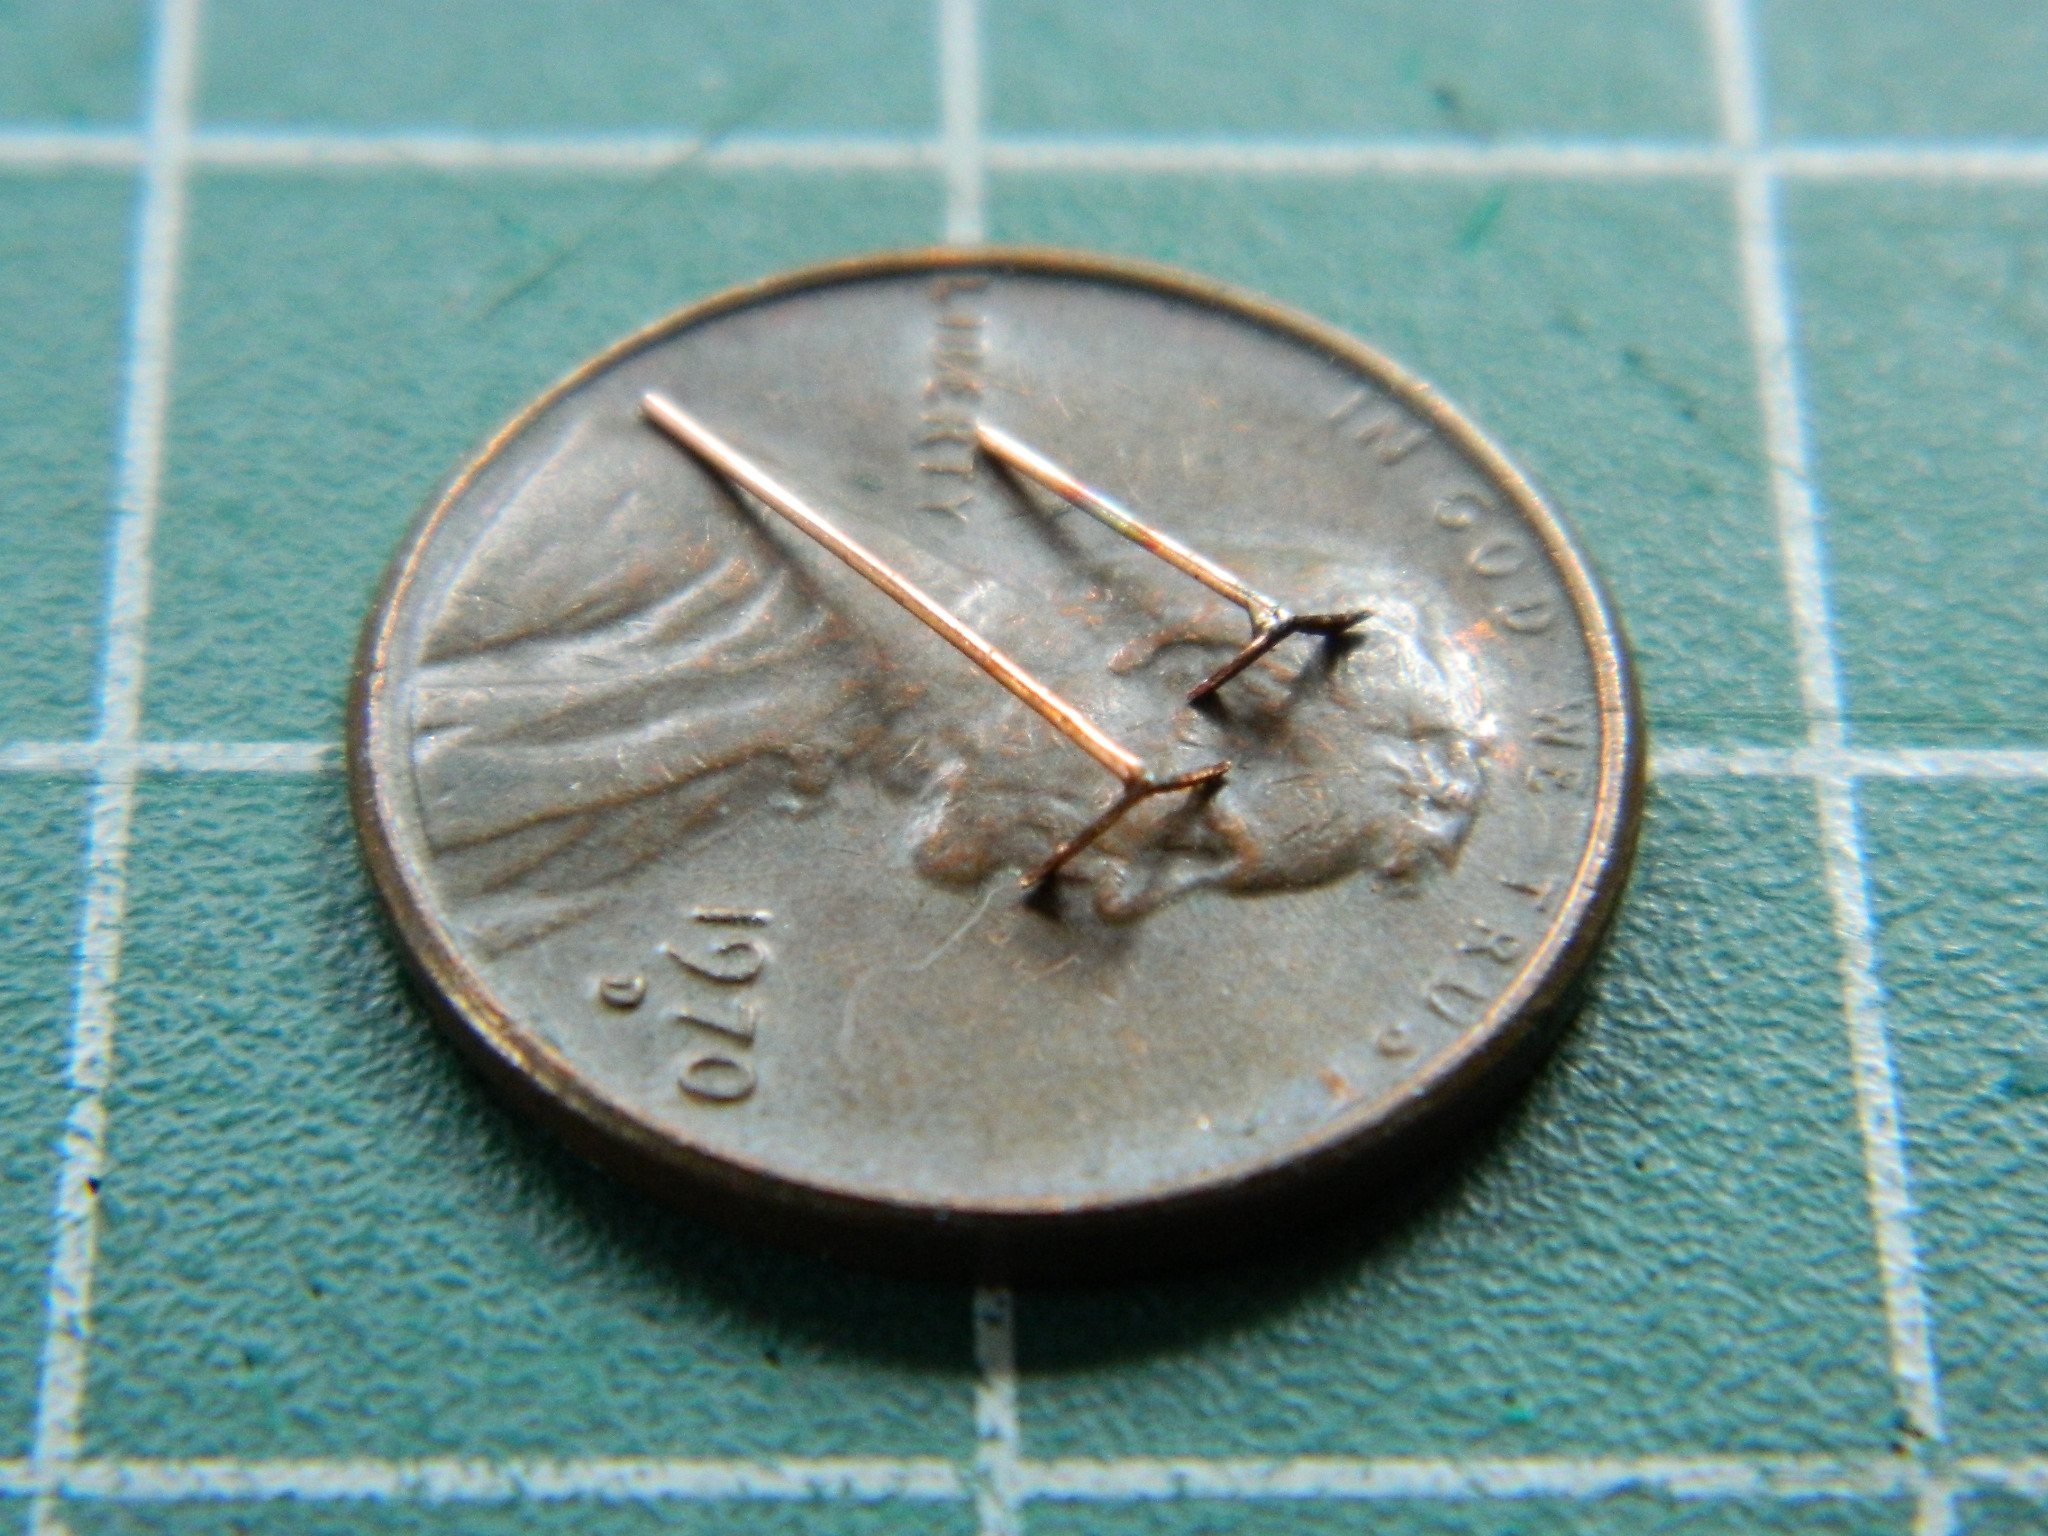
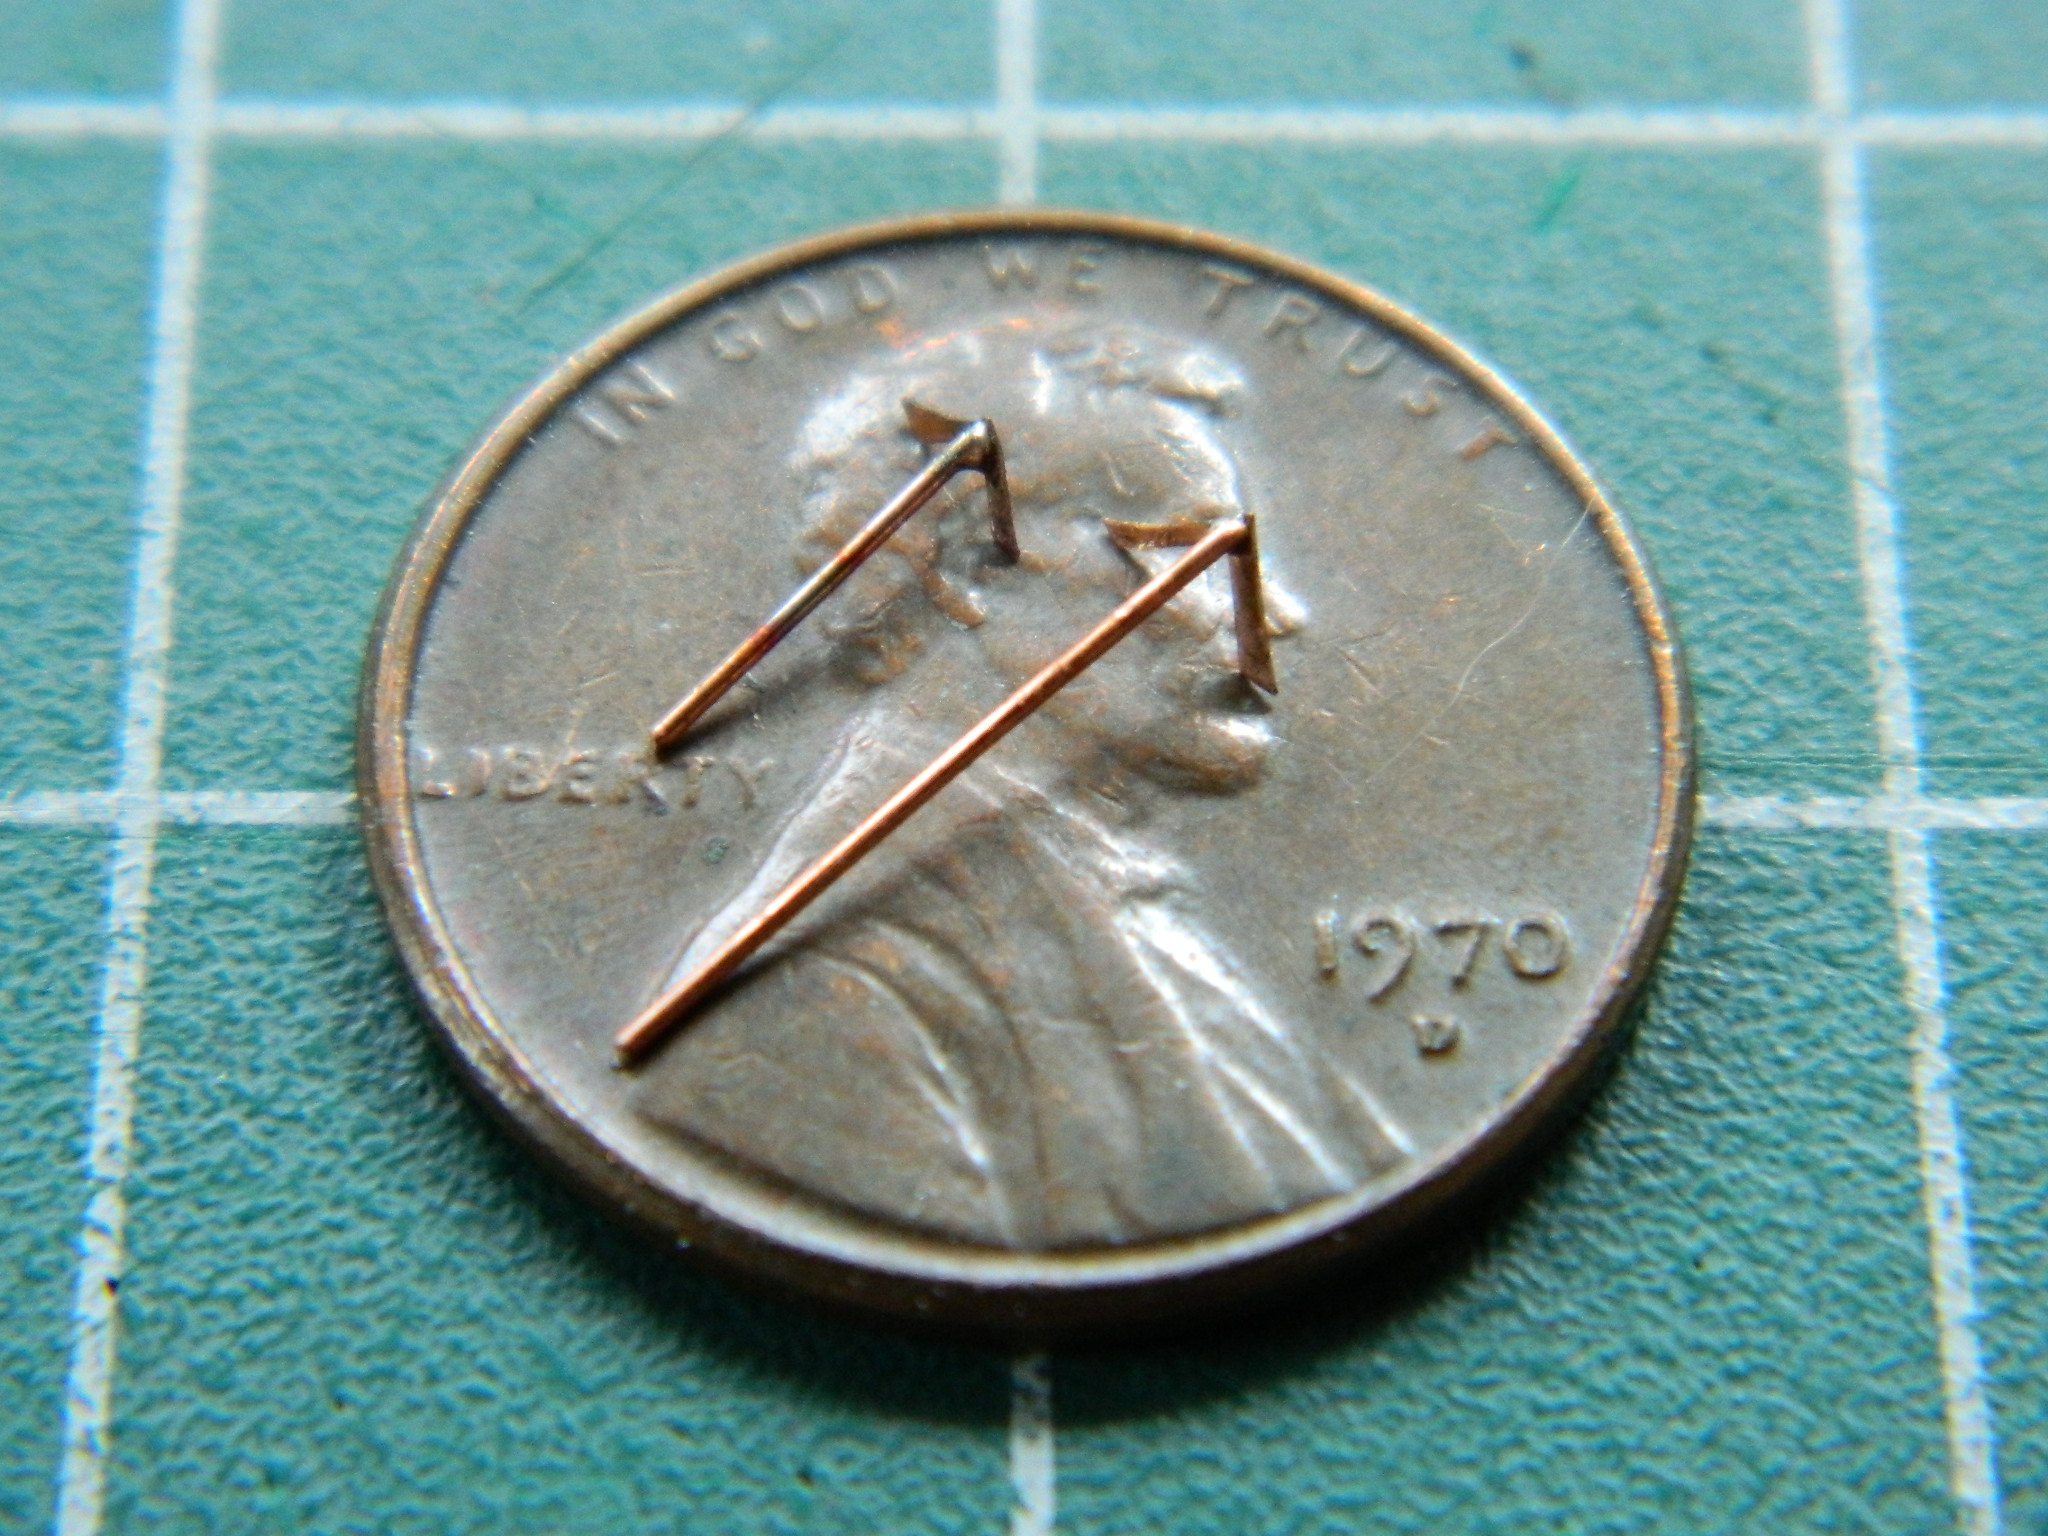
Once those were done, the wire was trimmed to fit and the mounts installed, as were a few other items. These aren’t the last details to add, but the ones still to add have to be added quite near the end of the build (the upper photo is the pilot’s canopy, the RSO’s canopy is below):
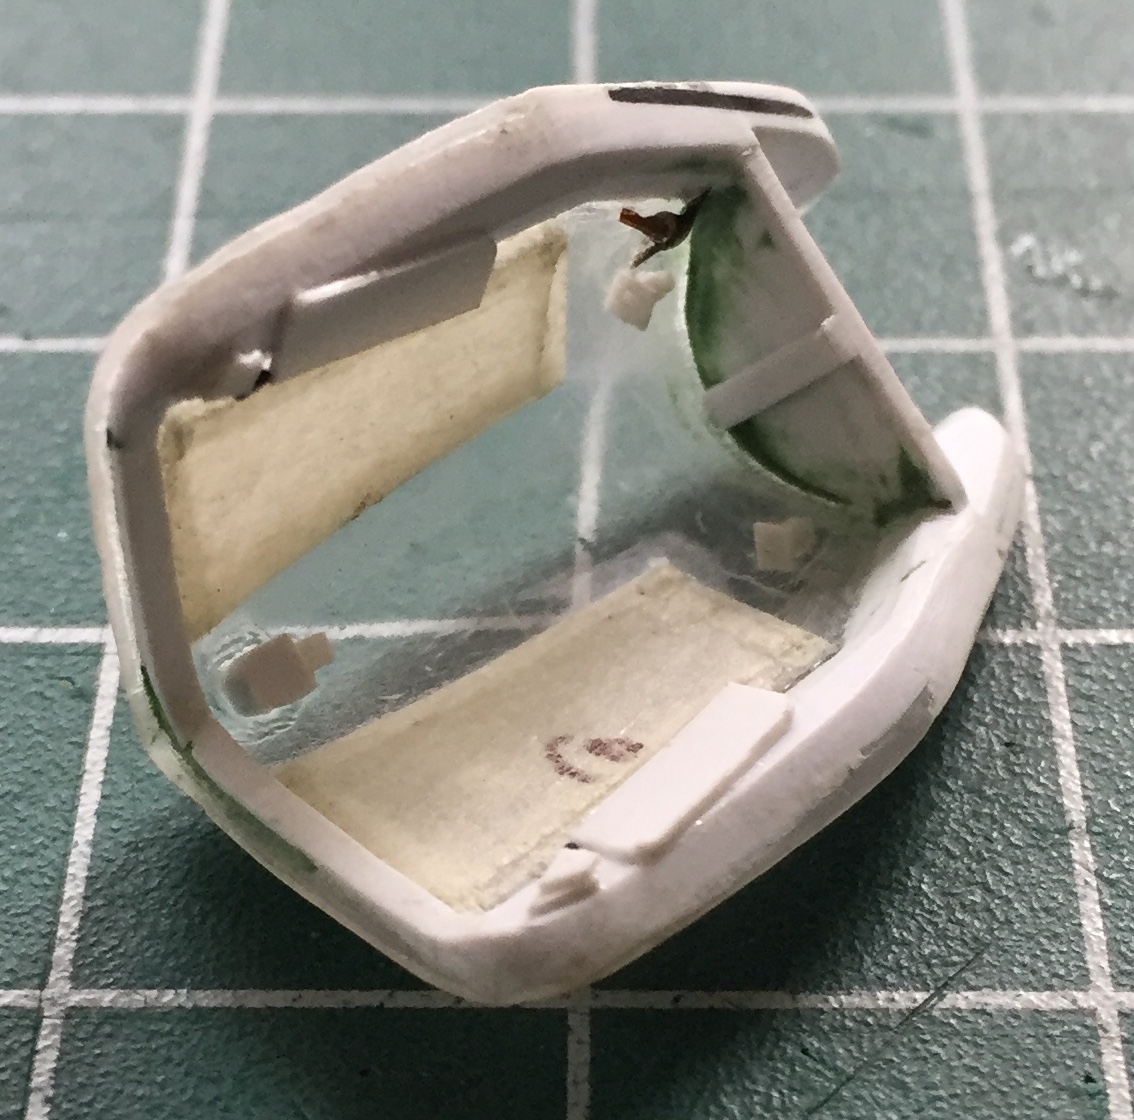
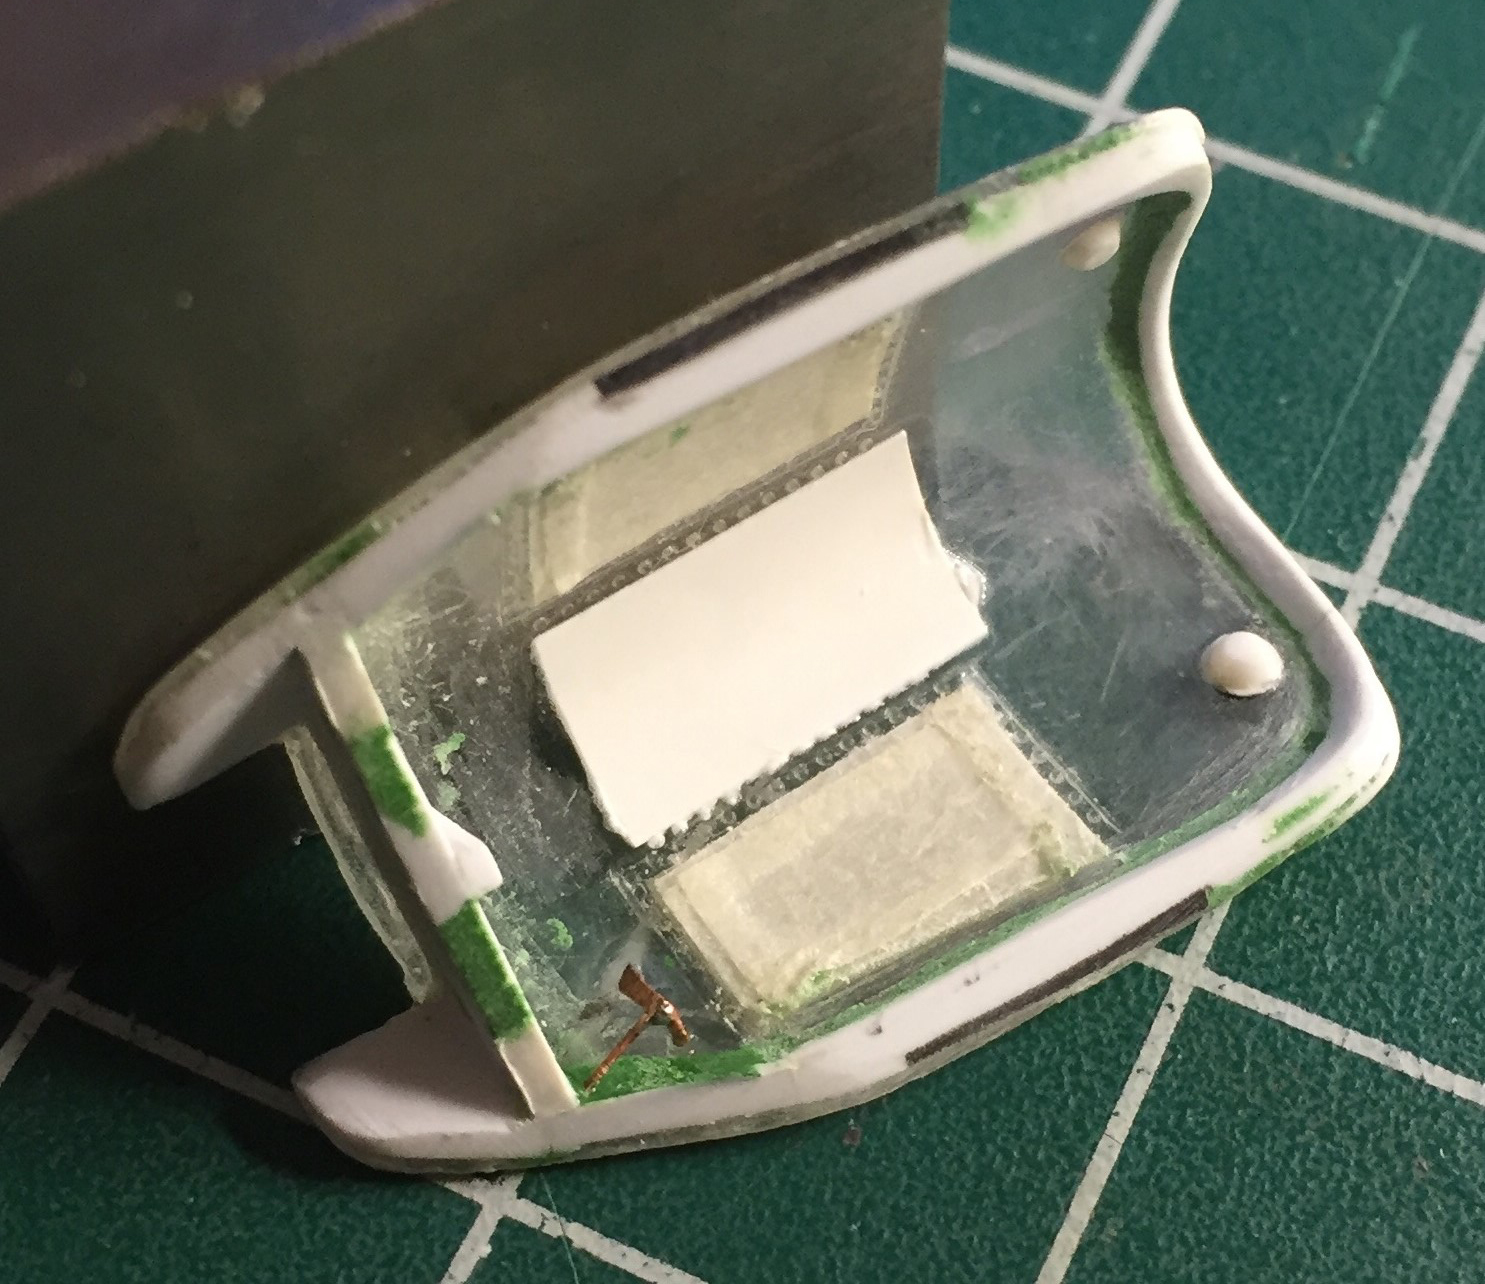
One of the details for the edges of the cockpits are slots where the locking lugs of the canopies insert. Well, it started okay…and then I punched through the plastic. ::sighs:: So I used a small section of stretched sprue to fill that punch-through:
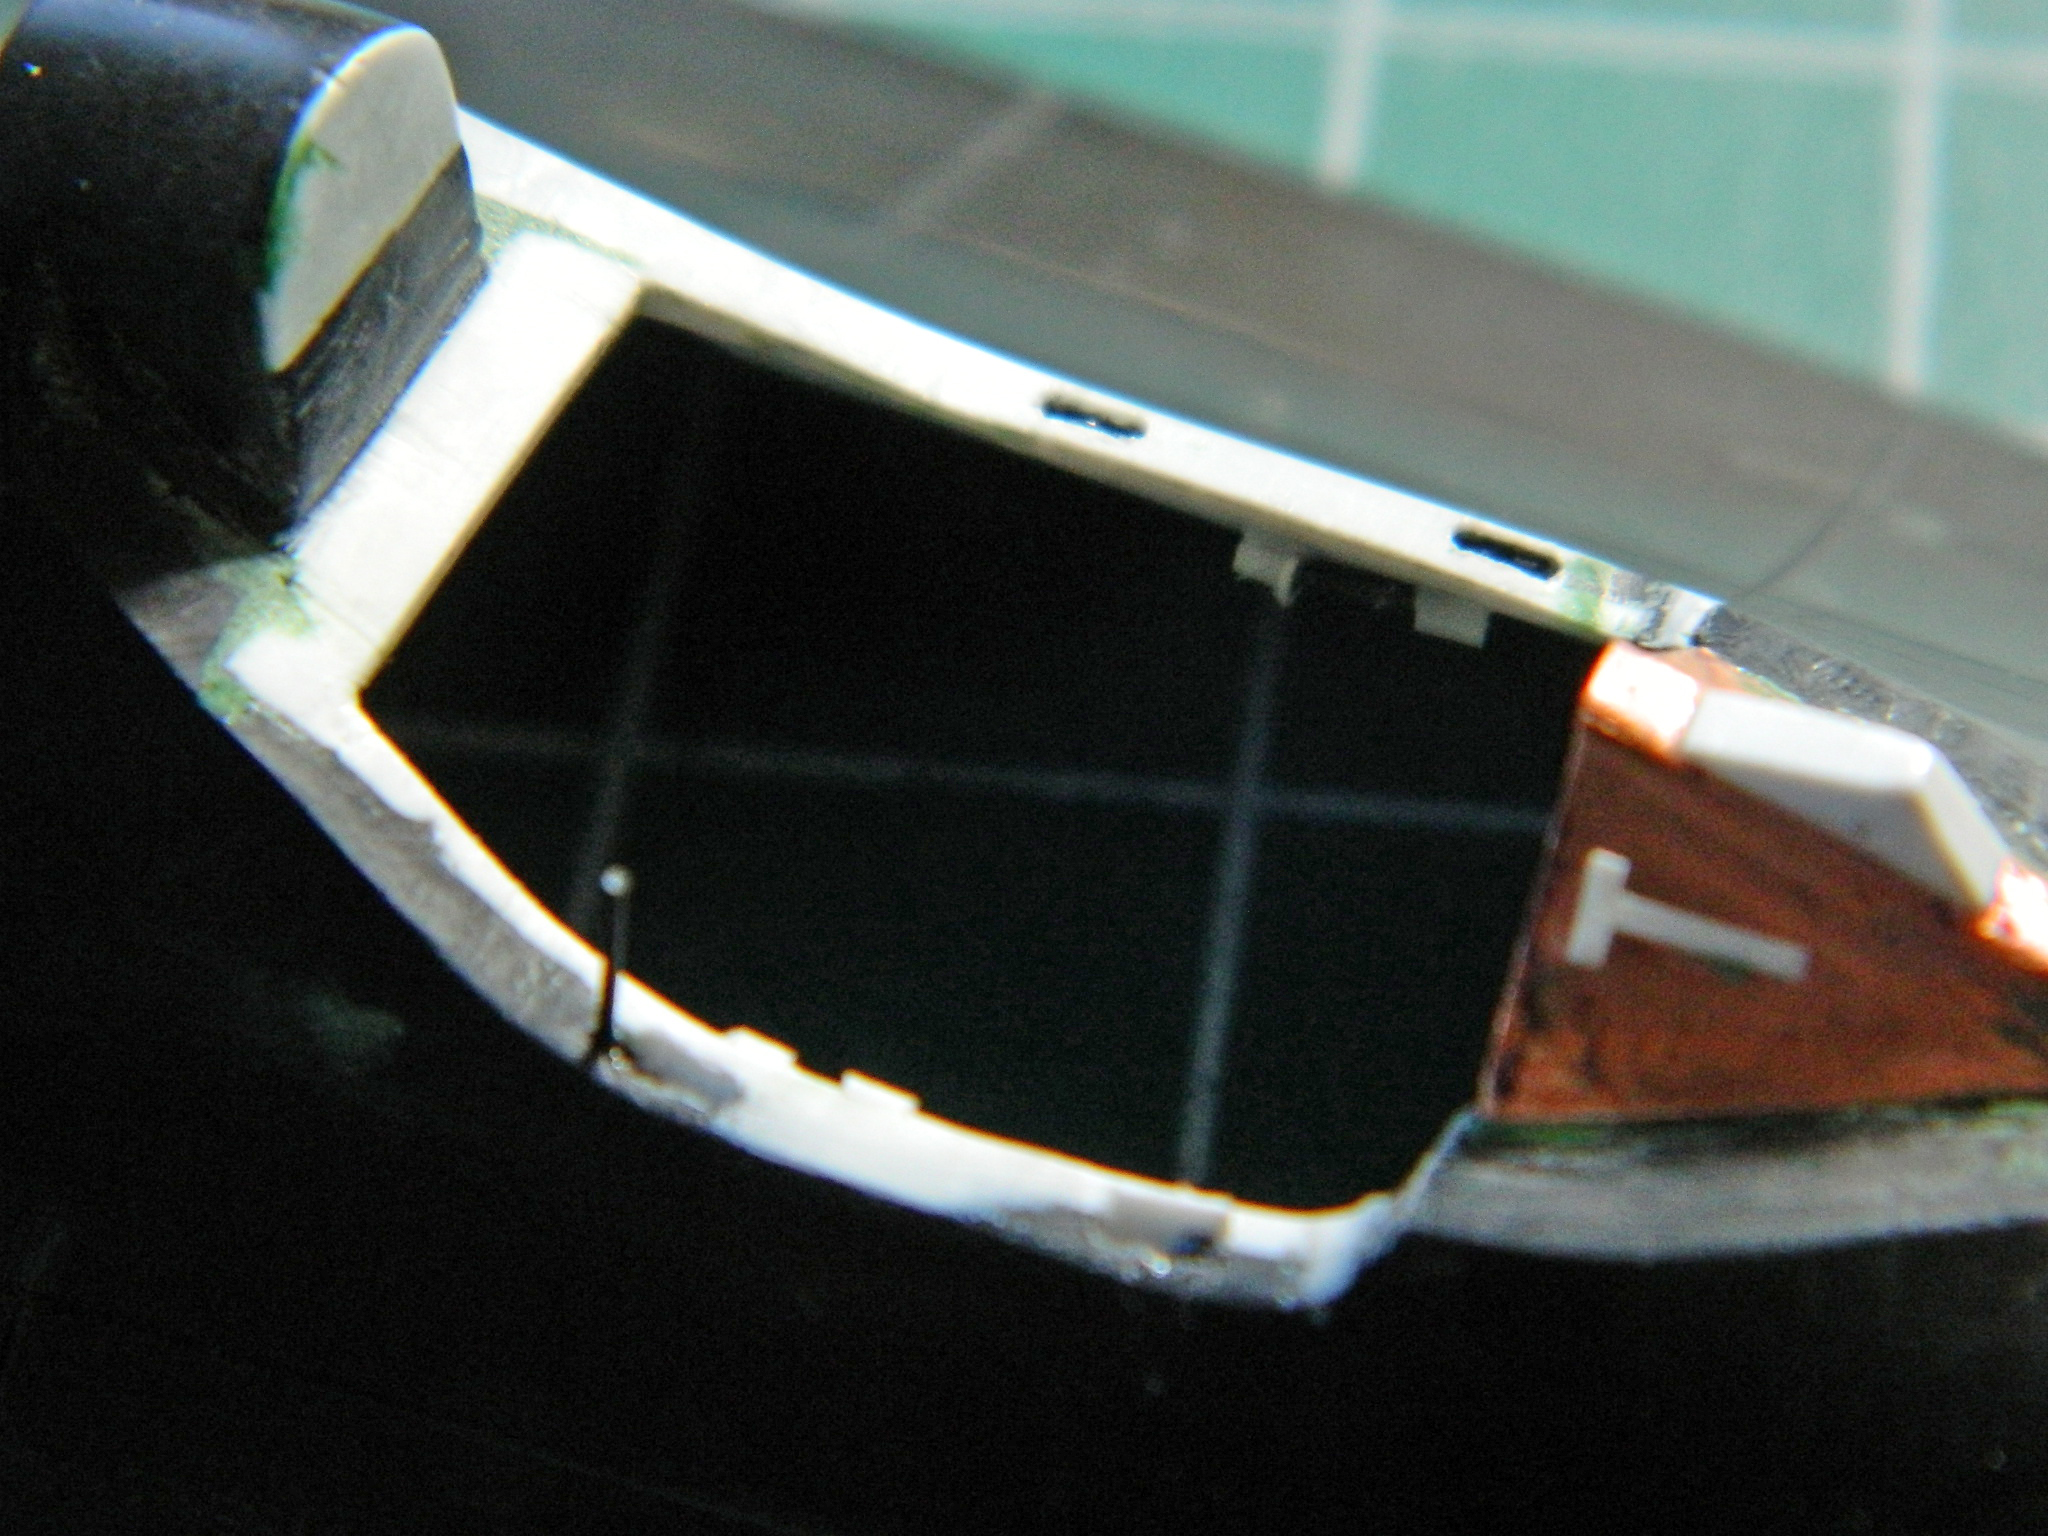
But I got there:
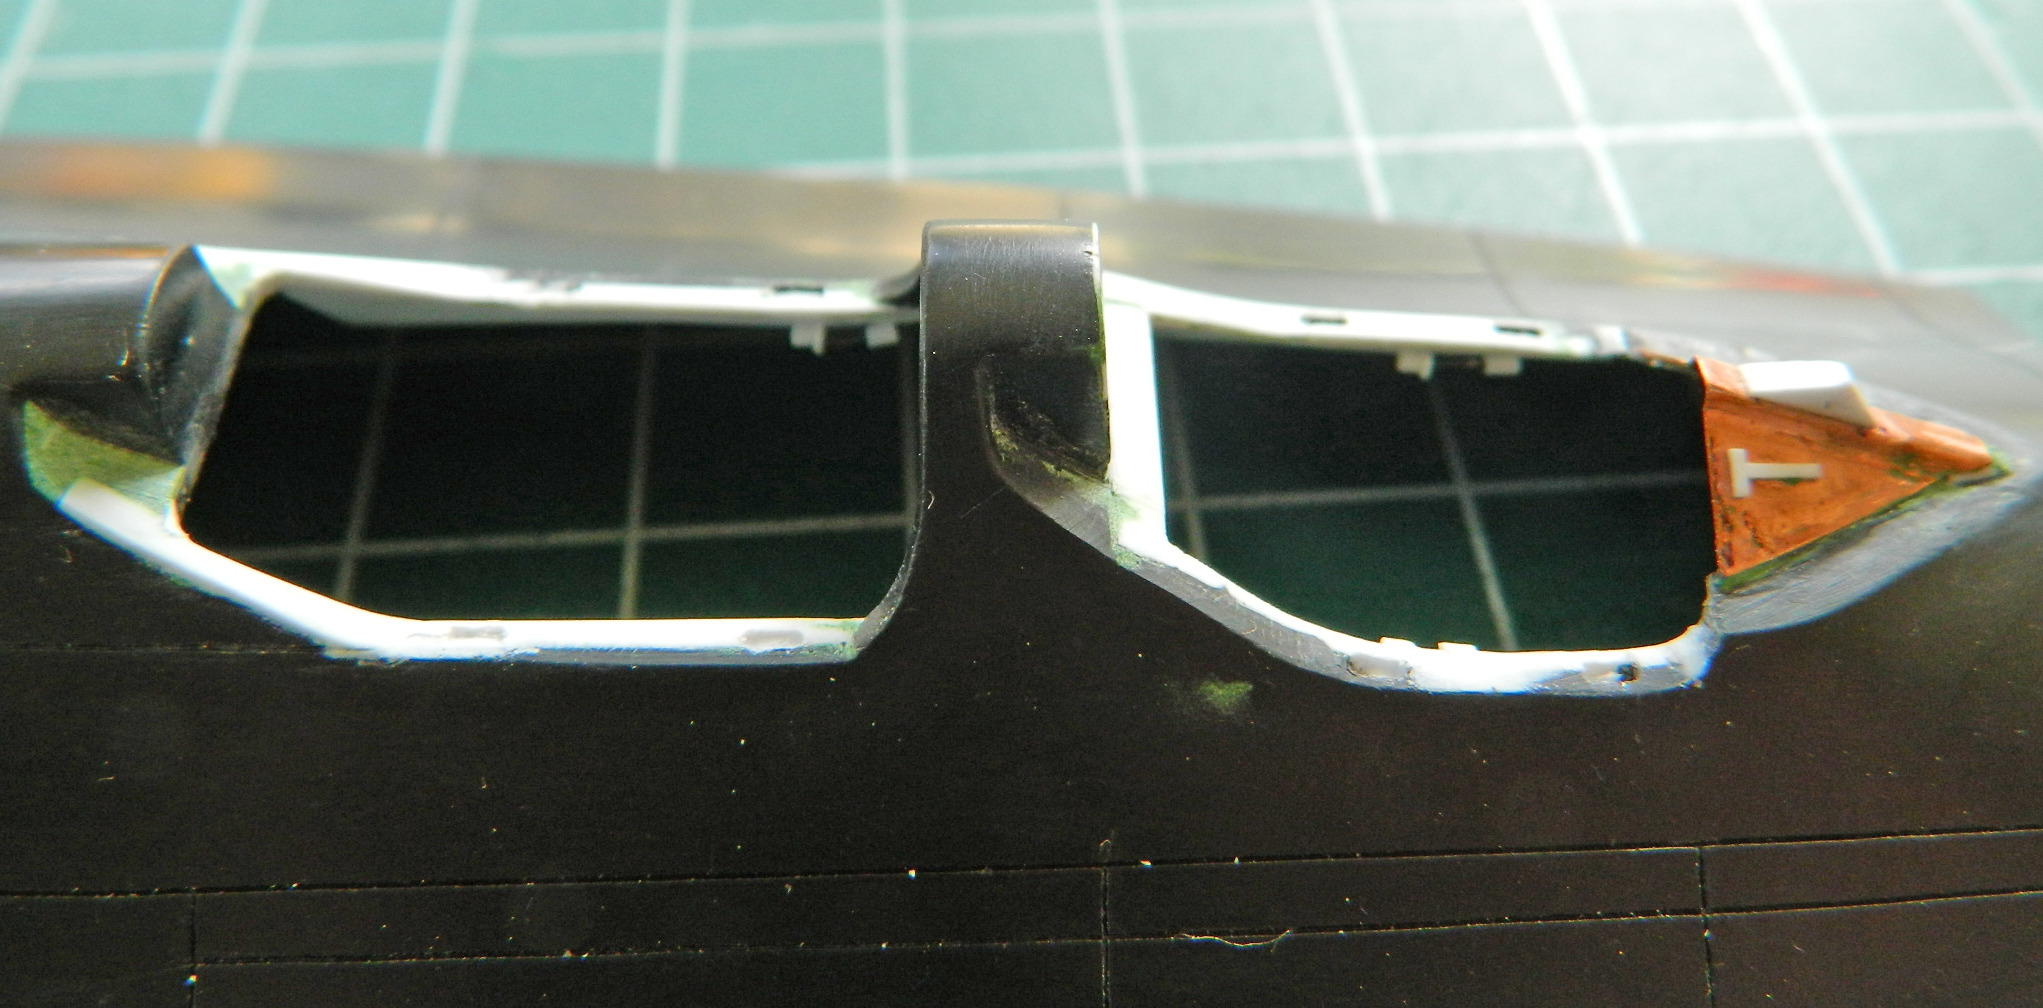

No, I’m not entirely satisfied with the slots. I tried to make the ends of them rounded but several failed attempts to get them all that way showed me the limits of my building skill (again). Pouting, bitching, and stamping my feet, I left them as they are and made a note to not bring them to anyones’ attention (you see how well that worked).
At this point, I walked away for a couple of days. I had spent SO much time in SUCH a small area that my sense of objectivity went to the same place my hair went. (Elsewhere.) When I came back to it with, hopefully, a less subjective eye, I couldn’t think of anything to do next. That’s my version of, “I’m done here.”
Next step, paint all of the cockpit parts:
I will be very happy to work on something else for a while…and there is NO shortage of “something else.”

I don’t know about your experience but I’ve not found any place I can go to learn how to model; maybe these schools exist, maybe not. Dunno. But since I dunno, that means I’m going to have to teach myself how to build these things.
I’ve met those who are scared to borderline incontinence about learning things…and that’s if there is a school of whatever they’re trying to learn. I would imagine that if they had to teach this new thing to themselves that “borderline” could be removed from the equation. Well, as it turns out, most of what I know is self-taught. (I have other methods for keeping up on my regularity.)
So how does a person teach themselves something they don’t know?
Step one is deciding that they want to learn Something. Maybe that seems simplistic but it really is the first step because without it nothing else is going to happen.
Step two is to find out everything they can about Something…and that turns out to be an ongoing process. Important word that… Process. It appears to me that the culture in America focuses more on product than it does on process. I see that as a foundational error. Without process there is no product. I define and think about “process” as, what it is that I am doing and how I intend to do it. As was stated to me once (actually, it was stated to me A LOT…I’m not a quick starter) back in my white belt days, “Pay attention to what you are doing and how you are doing will take care of itself.”
And then the rest of it is much like swimming. Just jump into the water. Keep in mind that you’re going to jump into the water of your ignorance often. A lot. Frequently. CONTINUOUSLY. (Get the hint?)
My baseline is, “Other people can do [INSERT ACTIVITY HERE], and since we’re all born naked and hairless, why can’t I do it, too?” We aren’t born with any sort of abilities, y’know…
And a sidebar about ignorance, here. You, Dear Reader, are ignorant. I, Demented Author, am ignorant. We is ALL ignorant. We have our field of knowledge, self-taught generalists or long-lines-of-letters-after-our-name specialists. “Ignorant” means we don’t know something and I don’t care how much you know, generally or specifically, there’s a limit to what you know. There has to be. It’s a DAMNED big Universe (and it’s here, too…not just Out There) and we have DAMNED small skulls so there’s NO WAY any significant amount of what’s Out There will ever, ever, fit into our small noggins. On this side of the marker of our knowledge, we’re not ignorant. On the other side of that marker we are. So no matter how much you know about how many things, at some point you’ll encounter your ignorance. End of sidebar.
So if you take ignorance and divide it by process, the possibility for learning something new can occur. You have to multiply the result of that division with effort. Doing so increases the possibility for learning something and by so doing raises the likelihood of getting something useful out of it all.
And now we’re back to learning how to model.
Process is individual and any process that works is a good process…and it all starts with an Idea.
“Idea” is what you want to do. As in, “I really like the F-5 Tiger II and I want to build one.” There’s your idea. The next step is to figure out how and come up with a method. “How can I turn this box of parts into a completed model of the F-5?” How is the operant word and the place where ignorance/process/effort combine to produce a result. So your experiments to come up with a workable “how” are where your experience comes from. The more experience you have, the more you know, and ignorance diminishes.
Now that I’ve gotten all left-brain with this, it simply (can I do anything simply?!) means you’re going to make mistakes. You’re always going to make mistakes. Mistakes are the process in action. When I draw, my eraser is used at least as much as my pencil is.
So. Y’wanna start modeling? Keep in mind that even ladders have rungs on the bottom and they’re on the bottom for a reason. One has to start at a level that is attainable (just because you bought your first guitar and guitar lesson, doesn’t mean you’re going to play like Steve Vai tomorrow). So buy a kit that interests you. That interest will help you continue the process. Follow the directions and build the best kit you can build. Accept that you will make mistakes. How you deal with those mistakes will start creating the foundation for your modeling skills down the road. No matter how many years you model, no matter what lofty heights your skills attain, mistakes will always be made.
Trust me…perfection eludes us all. Sure…it’s okay to aim for perfection, but don’t let that drive the bus. Do you deal well with disappointment(s)? (I don’t, which is why my goal is to achieve a 90-95% accuracy in my builds. Not quite perfect but close enough that I’m usually the only observer of the finished item that notices it, they, ain’t perfect.) If you don’t, set your sights below perfection.
The best (and most important) part of being “good” is knowing when to quit.
With all that said, how do you, Dear Reader, learn how to teach yourself?
Start simple and easy. Build a kit, I don’t care of what, that by the time you’re finished with it doesn’t have any glue smears, no visible seams, a decent paint job devoid of runs and other errors, and decals that look like paint instead of something stuck onto the surface. If you haven’t done this before, those are all lofty enough goals for now. Once you can produce a clean model at will and every time you try, your next question is this:
Do I want more?
If the answer is “no,” then congratulations! This is A HOBBY and if that level of building pleases you, who else are you trying to please? You bought the thing, the tools, the materials, made a space to build in, and spent the time. Pleases you? EXCELLENT. Welcome to a very enjoyable hobby!
If the answer is “yes,” then how much more do you want? Did you happen to notice that the grab handles on the engine covers of an M-4 aren’t little molded on fins but are actually grab handles? Does that bother you and you want to change it? Excellent! Uhm…how do you do that?
“How do I do that?” is my FAVORITE question in modeling! It means that I don’t accept what I already have and want to change it, but I don’t know how to change it. “How do I do that?” is the mantra of the self-taught because, in order to answer it, the self-taught have to learn something new.
Learn something new. LOVE that phrase! I’m not an expert builder; I don’t get paid for it and it’s not my livelihood. I’m a hobbyist. But I have managed to decrease my ignorance on the matter (a process I’m not done with, FYI). There are things I really like to build. If I’m going to build it, I want it to fall within that 90-95% accuracy window. That means I gotta do research (and count yourself lucky, as I count myself, that the Interweb exists because in The Old Days research meant living in libraries and/or buying lots of books on the subject being researched) and that always teaches me something new. Do I want to correct what the kit got wrong? Do I want to put in what the kit left out? Do I want to build a specific variant of something that there’s no specific kit of? Do I want to build a kit of a new thing, a worn thing, a worn out thing, a destroyed thing? Answering these questions starts to narrow my focus to a specific result. (And it helps me fill up LOTS of disk space on my computer(s).) Answering these questions teaches me many, MANY, new things just in the process of answering the questions.
Once I have a picture in my mind of what my goal is, I have to figure out how to get there from here…and that’s usually not possible. Before I can, say, add dust to the top surfaces of a worn M-4, I have to add wear and stains. Before I can add wear and stains, I have to have a coat of matte clear to work on. Before I can lay down a coat of matte clear, I have to add decals. Before I can add decals, I have to have a coat of gloss clear (or its equivalent) to lay them onto. Before I can do that, I have to have the color coat laid down. Before I can do that…
You get the picture.
I keep building the model backward until I get to the point where I realize, “I can do that now.” What I’ve done in addition to setting a more accurate goal than merely, “I want to model an M-4 of the North African campaign that’s seen some use and action.” is to lay out the overall progress of the build, the steps I have to take, to get from this pile of parts to a finished and worn M-4 of the North African campaign.
Keep in mind that each step, regardless of what you’re building, has little surprises along the way. You’re going to have to figure out a solution to each of these surprises (and some of them ain’t gonna be “little”) if you want that picture in your head to be something sitting on your shelf (that you hope the cat doesn’t knock off).
It’s a rare problem that doesn’t have multiple solutions. The “right” solution is the one you can get to work the way you want it to (within whatever parameters of accuracy that you build to).
So the tagline I use when people ask me how I’ve learned to do this stuff is short and accurate. “I rarely start a build I know how to finish.”
Before I close this overlong tome I want to talk about AMS. “AMS” can stand for “Advanced Modeler Syndrome” and/or “After-Market Syndrome.” I’ve talked to people who liked my build until I told them I used an after-market set here, there, or wherever the intercourse I wanted to. The nose goes up slightly, the expression disdainful of varying degrees, and generally I hear, “Oh,” before they walk away in search of something more…I dunno…pure, I guess?
“Pure” my ass. Y’want “pure?” Then don’t start with a kit. Start with a pile of plastic (or whatever) and scratch-build the whole sodding thing; every damned part. There are those who do that and I admire (and am often in awe of) their skills and abilities. Sincerely. But that’s their hobby, it’s not mine. I bought a box of parts. I left out the parts that I decided won’t work for my goal. I fixed the parts that I decided are inaccurate for my goal. I bought parts that I decided I needed to so that what I have when I’m done (and at risk later on of being modified by the cat) matches to within 90-95% of what is in my head…which is my goal.
Stated a bit more directly, this is your hobby. Have at it to whatever level pleases you and get there by whatever means and methods please you. Nobody’s buying the damned thing for you, nobody’s building the damned thing for you, so do what you want in the manner you want and anyone who doesn’t like it is welcome to attempt an aerial intercourse through a rolling confection.
When someone looks at one of my finished models (and frequently during the build process) the phrase I hear most often is, “I don’t have the patience for that.” My standard reply is, “It only requires patience if you don’t like what you’re doing.”
Dear Reader, this is supposed to be fun. Go have fun. Send me a photo of what you’ve finished so I can appreciate it, too.
Having decided to scratch-build the sides of the cockpits, I needed to know exactly how the cockpit tubs were going to fit into those spaces and have all the details added so I could get an accurate read on what needed to be where so it would all fit. This is what I started with:
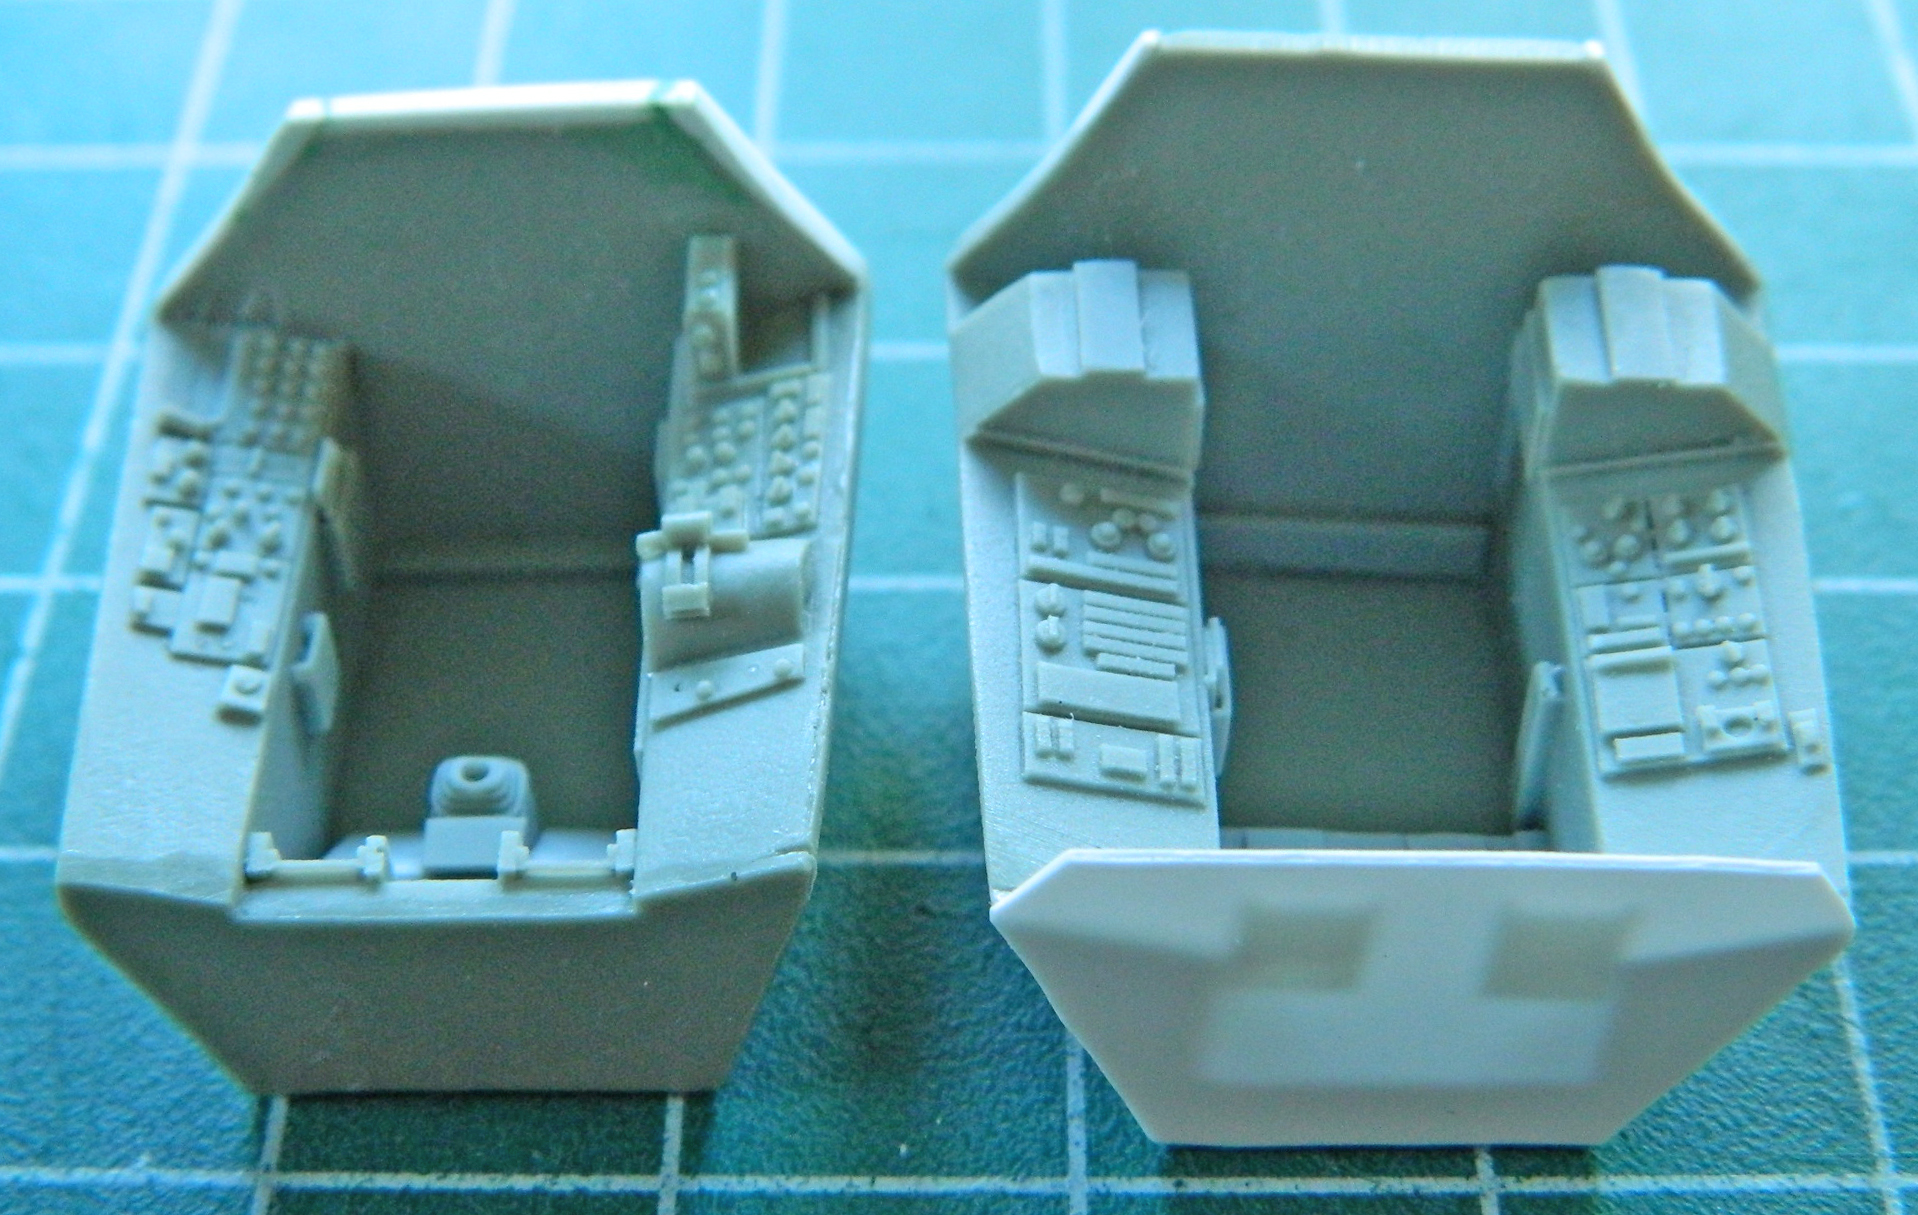
Neither tub is 100% accurate. Unless I wanted to entirely scratch-build these tubs, AND I DO NOT, it will do. Reference photos showed me that this section of the side needed to be removed so I could put less inaccurate stuff in there. First I went at the RSO’s cockpit and made vertical cuts to define the amount of resin that had to go:

Then I hogged it out with my Dremel:

With the bulk of it removed, I refined the shape with a sharp #11 and backed it with a scrap piece of .010″ (.254mm) styrene:

Then I removed the forward section of that pedestal to allow room for the bits that I want to put there:
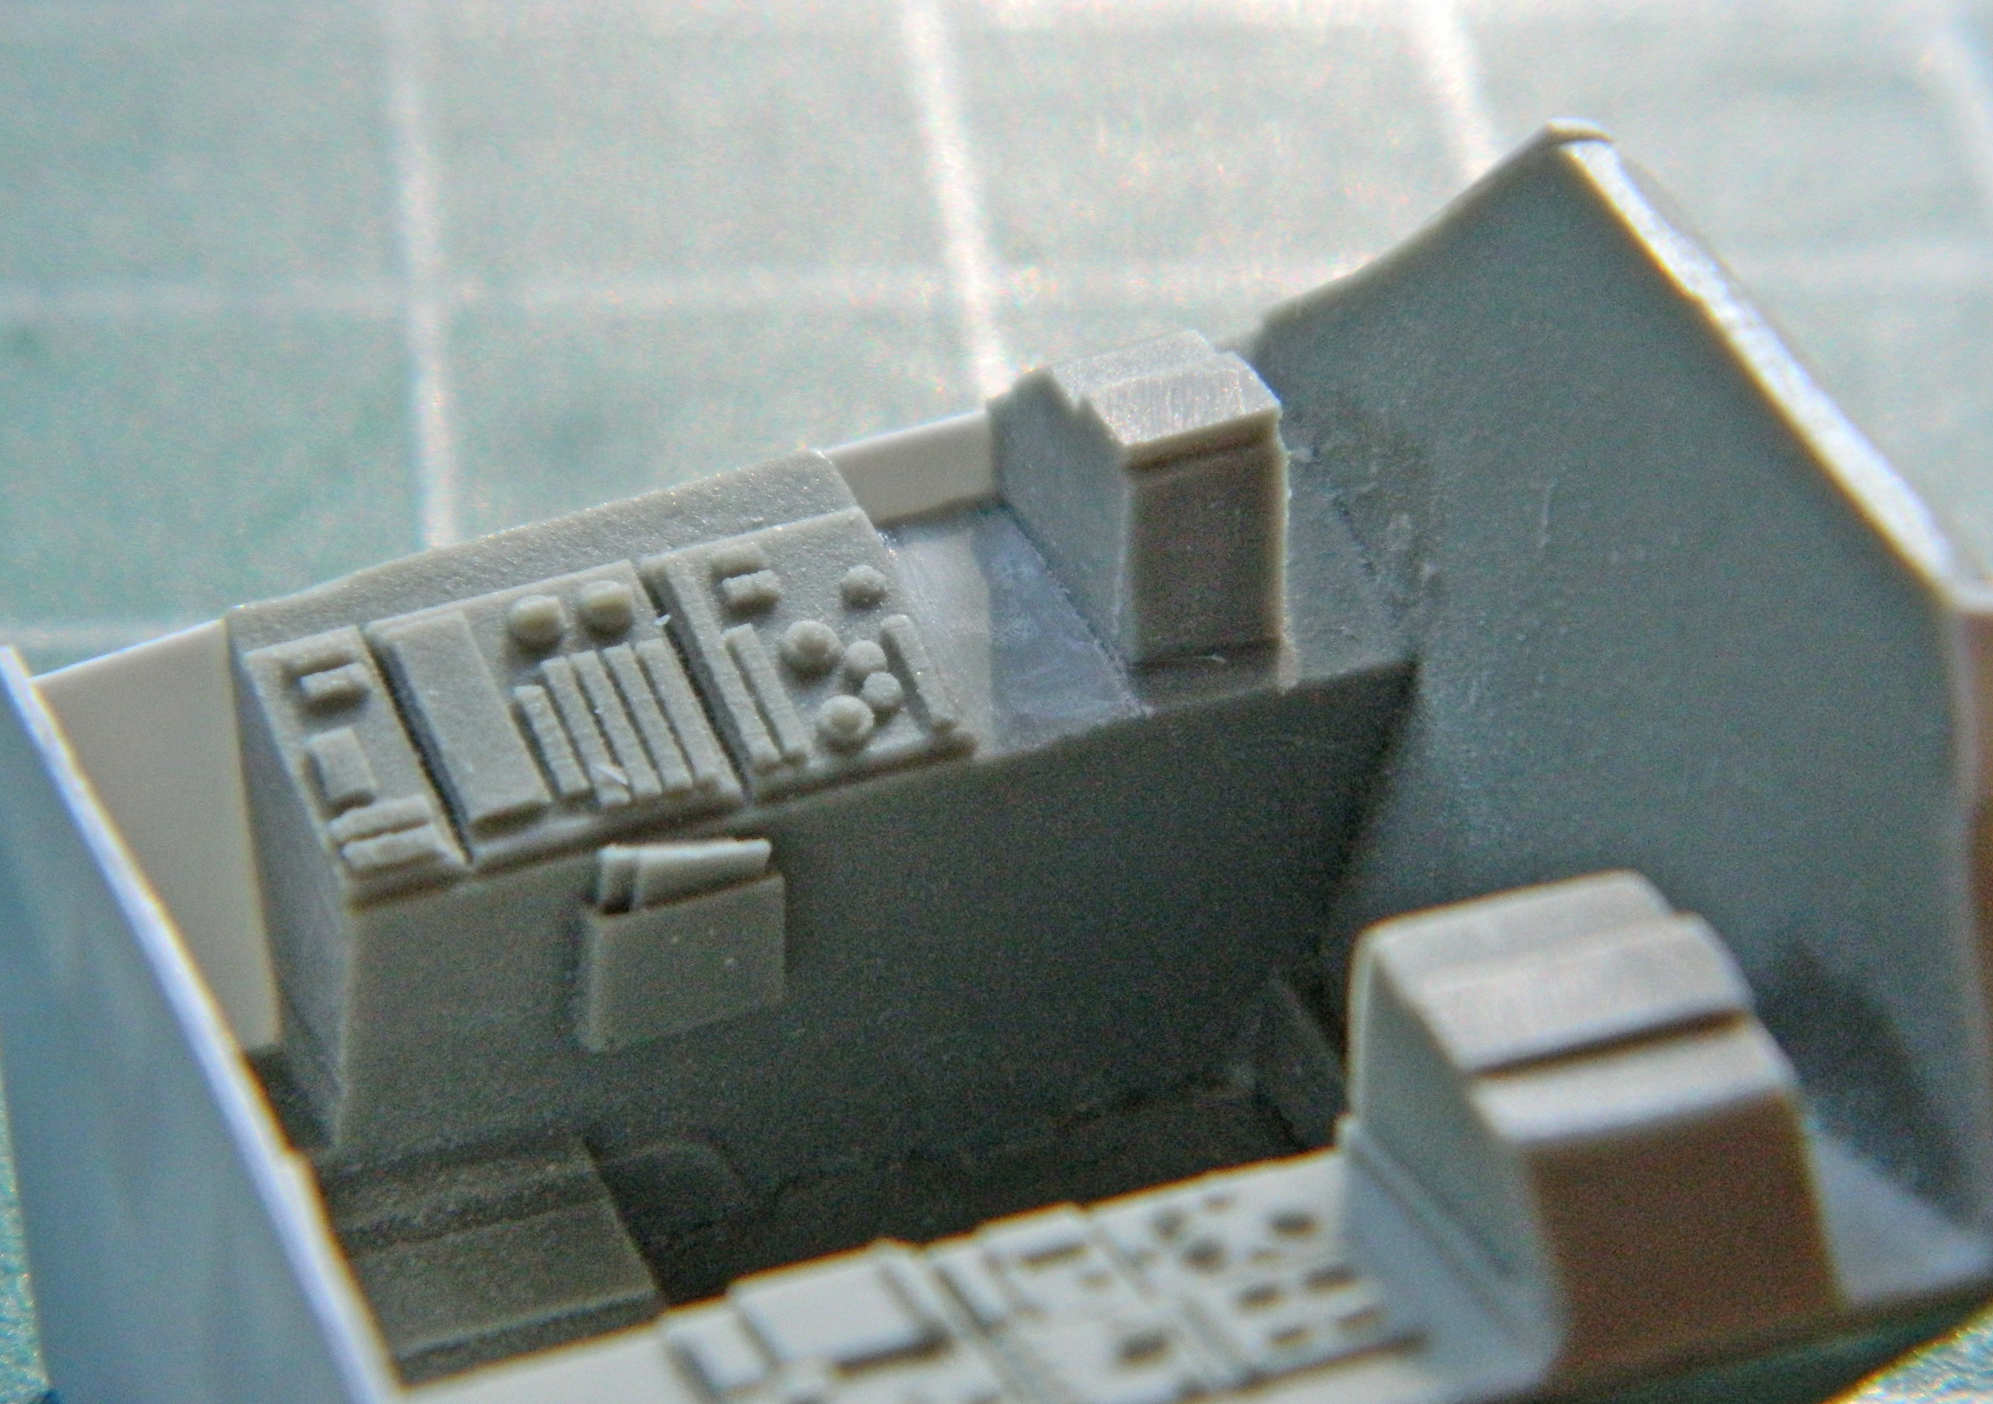
Now that there’s space, time to fill it. Using more scrap styrene I built the stack of Mysterious Bits that go there, detailed them, and then used the aluminum duct tape again to create the housing I needed for the stack:

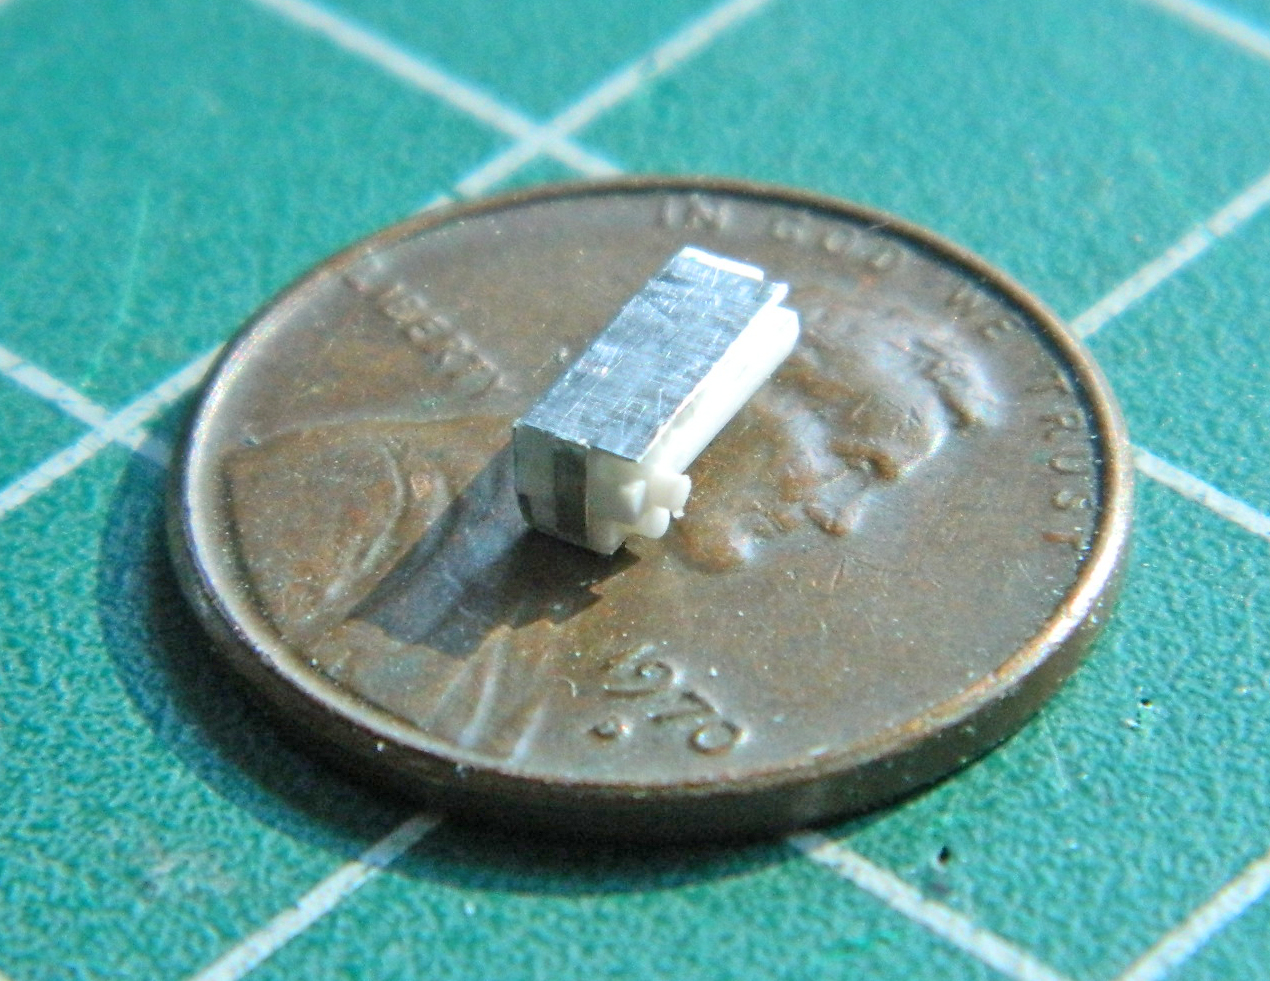
The completed bits get installed and wiring added. For the small part at the lower left I used 40awg wire to create the harness…then cut down the other pedestal to have a place to put more Mysterious Bits:
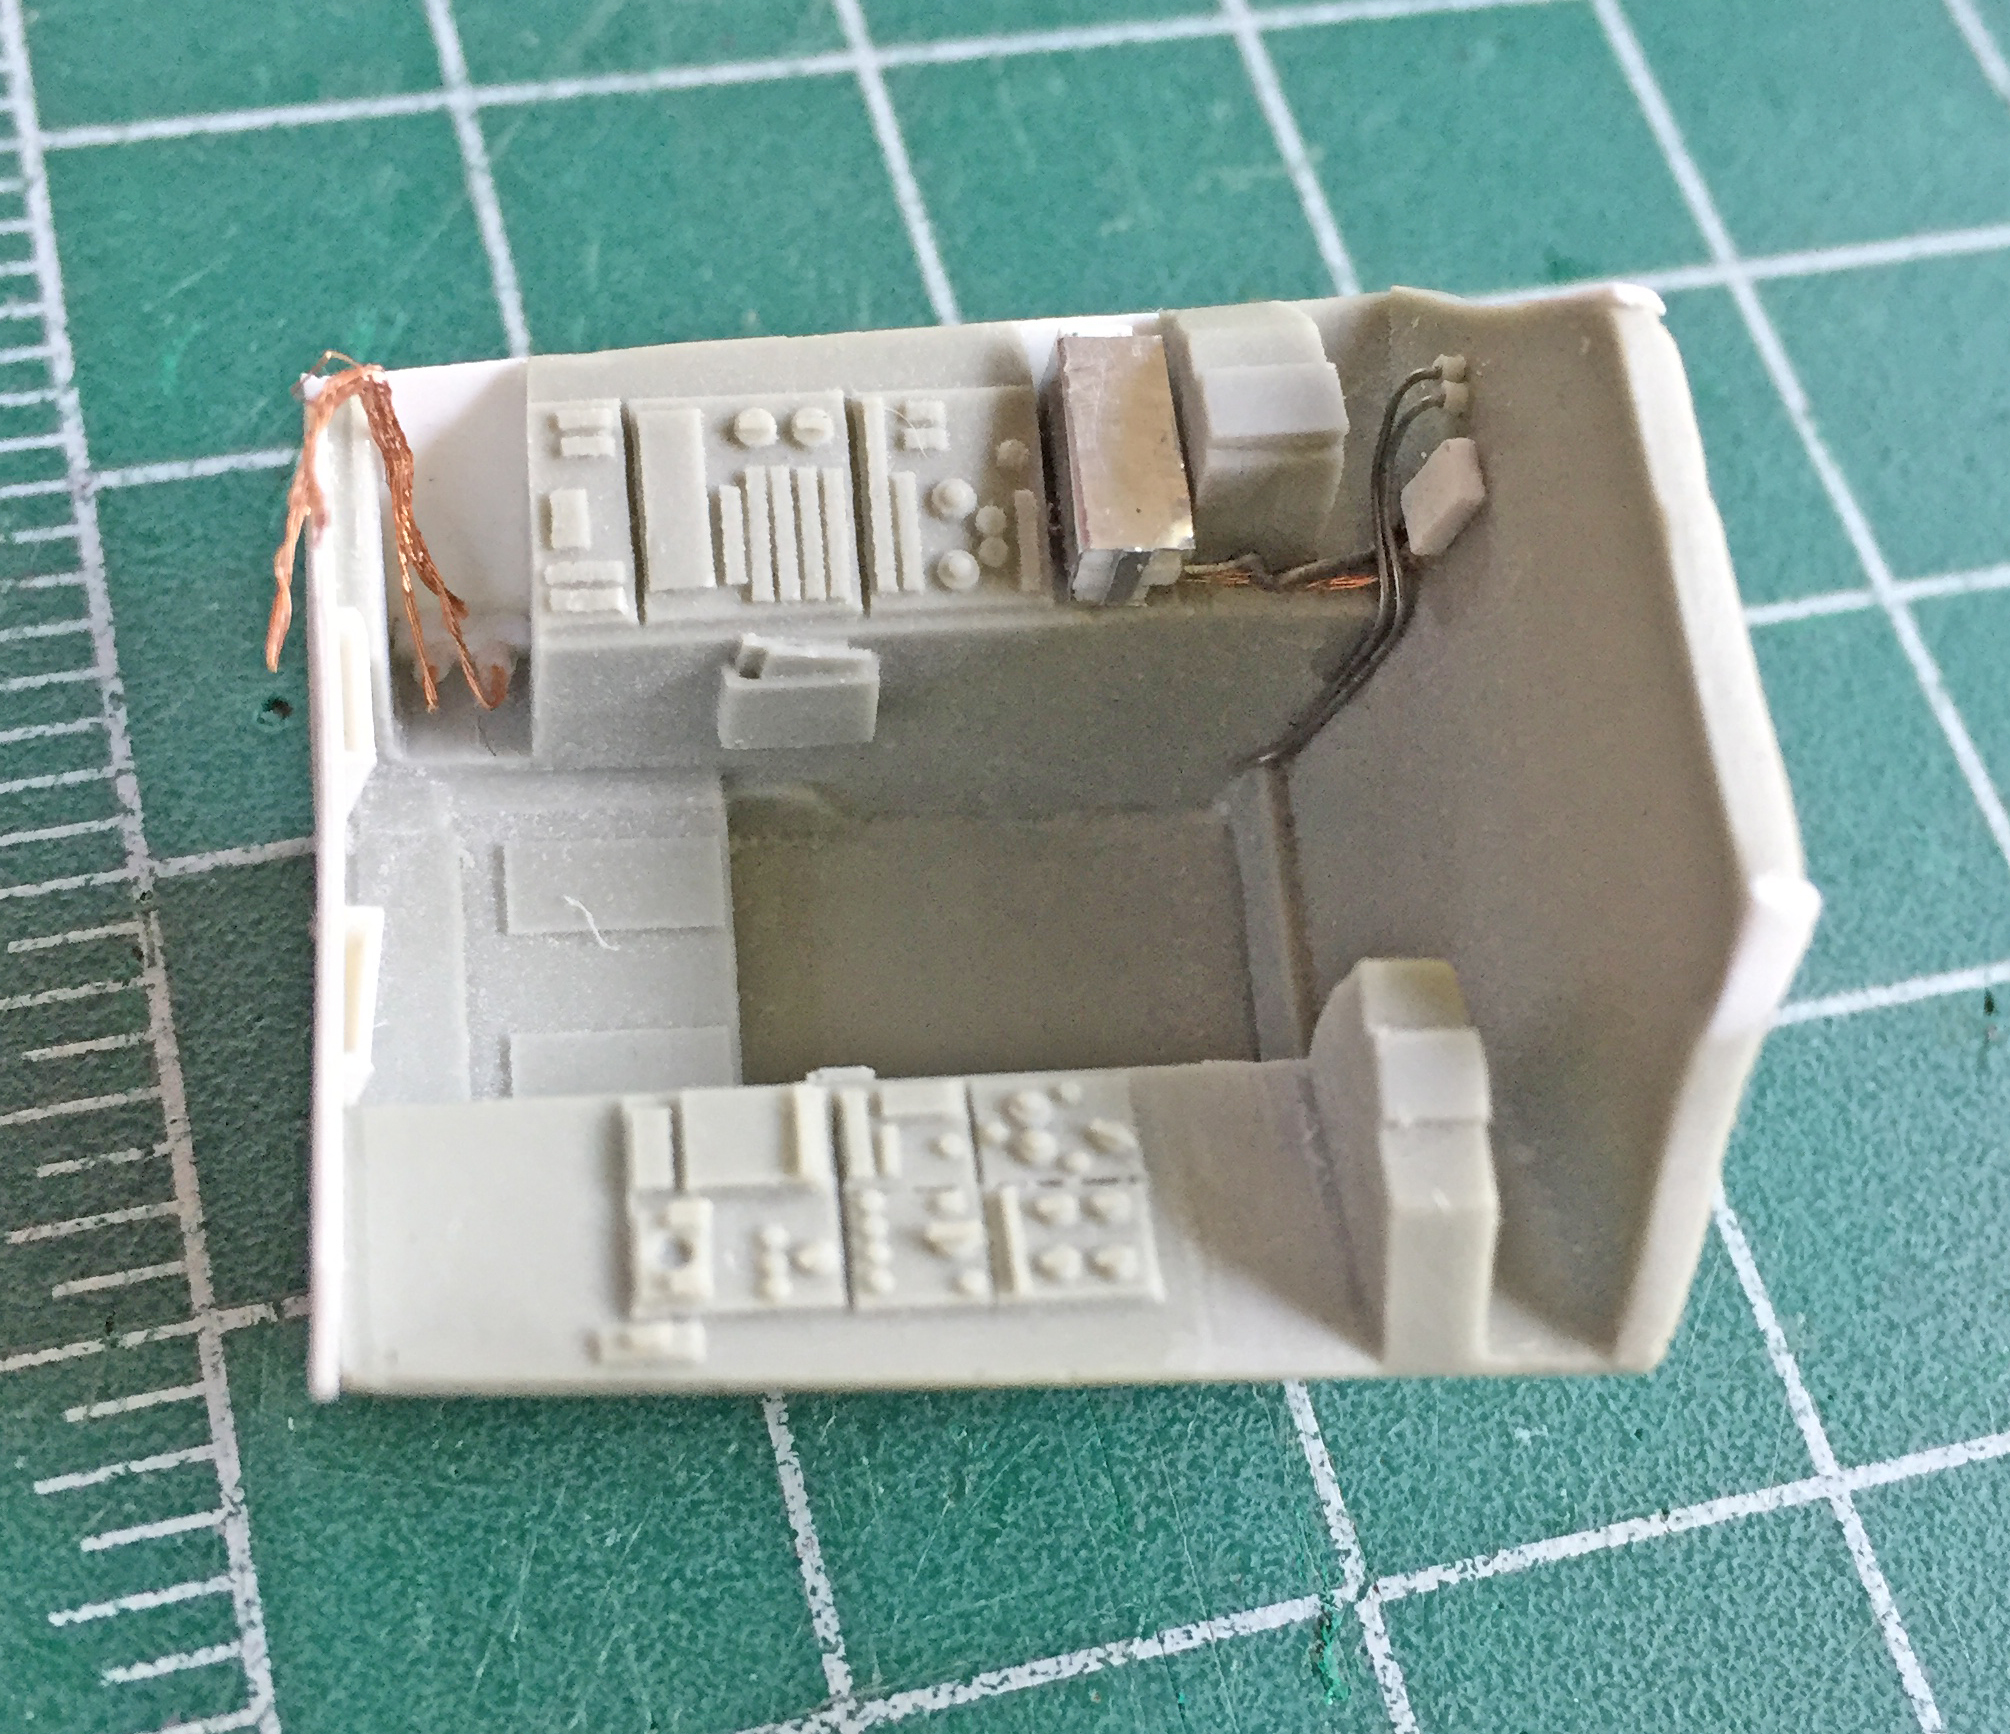
Then the Mysterious Bits were made. I used .010″ (.254mm) copper shim stock to make the housing for the one Mysterious Bit, using the punch/die set to create the round opening at its top and added more 40awg harness:
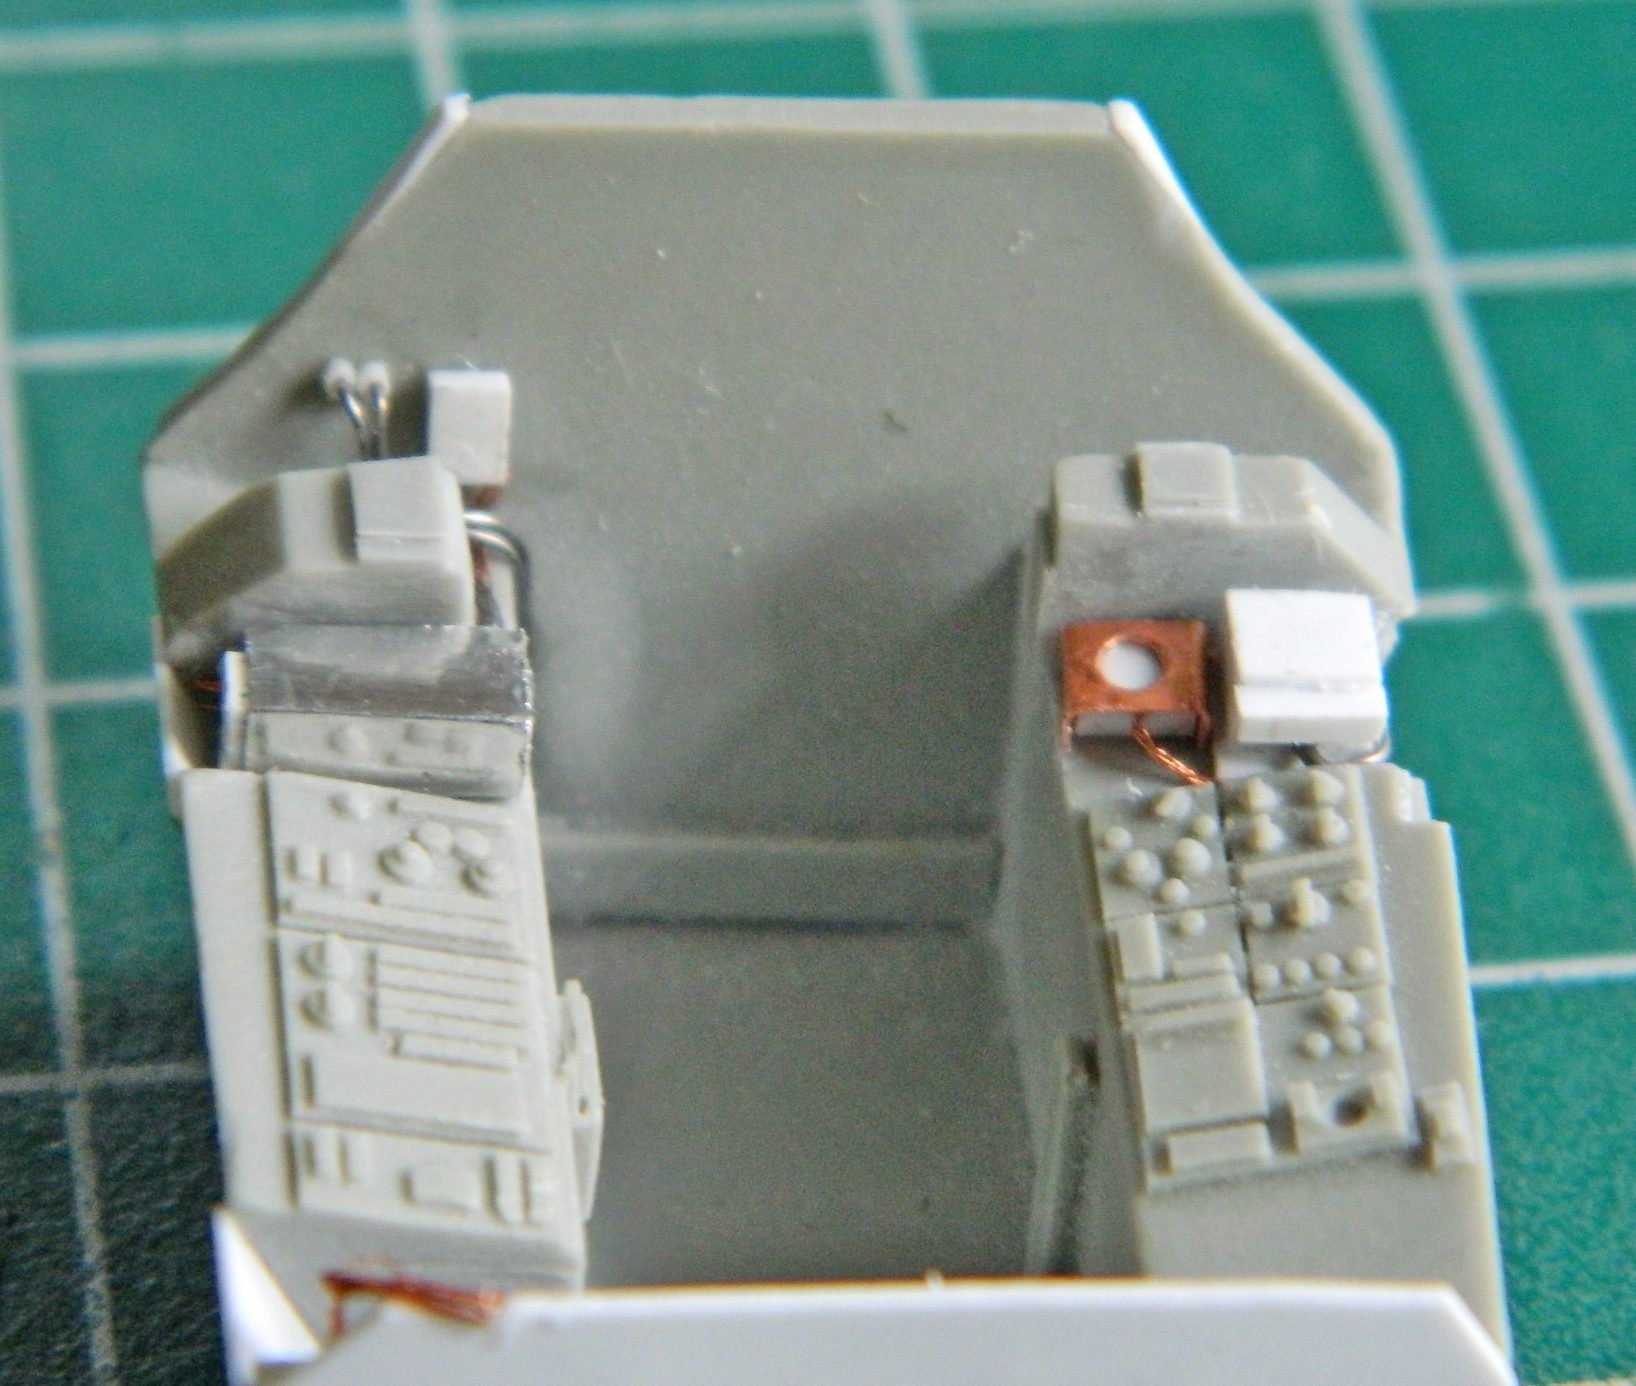
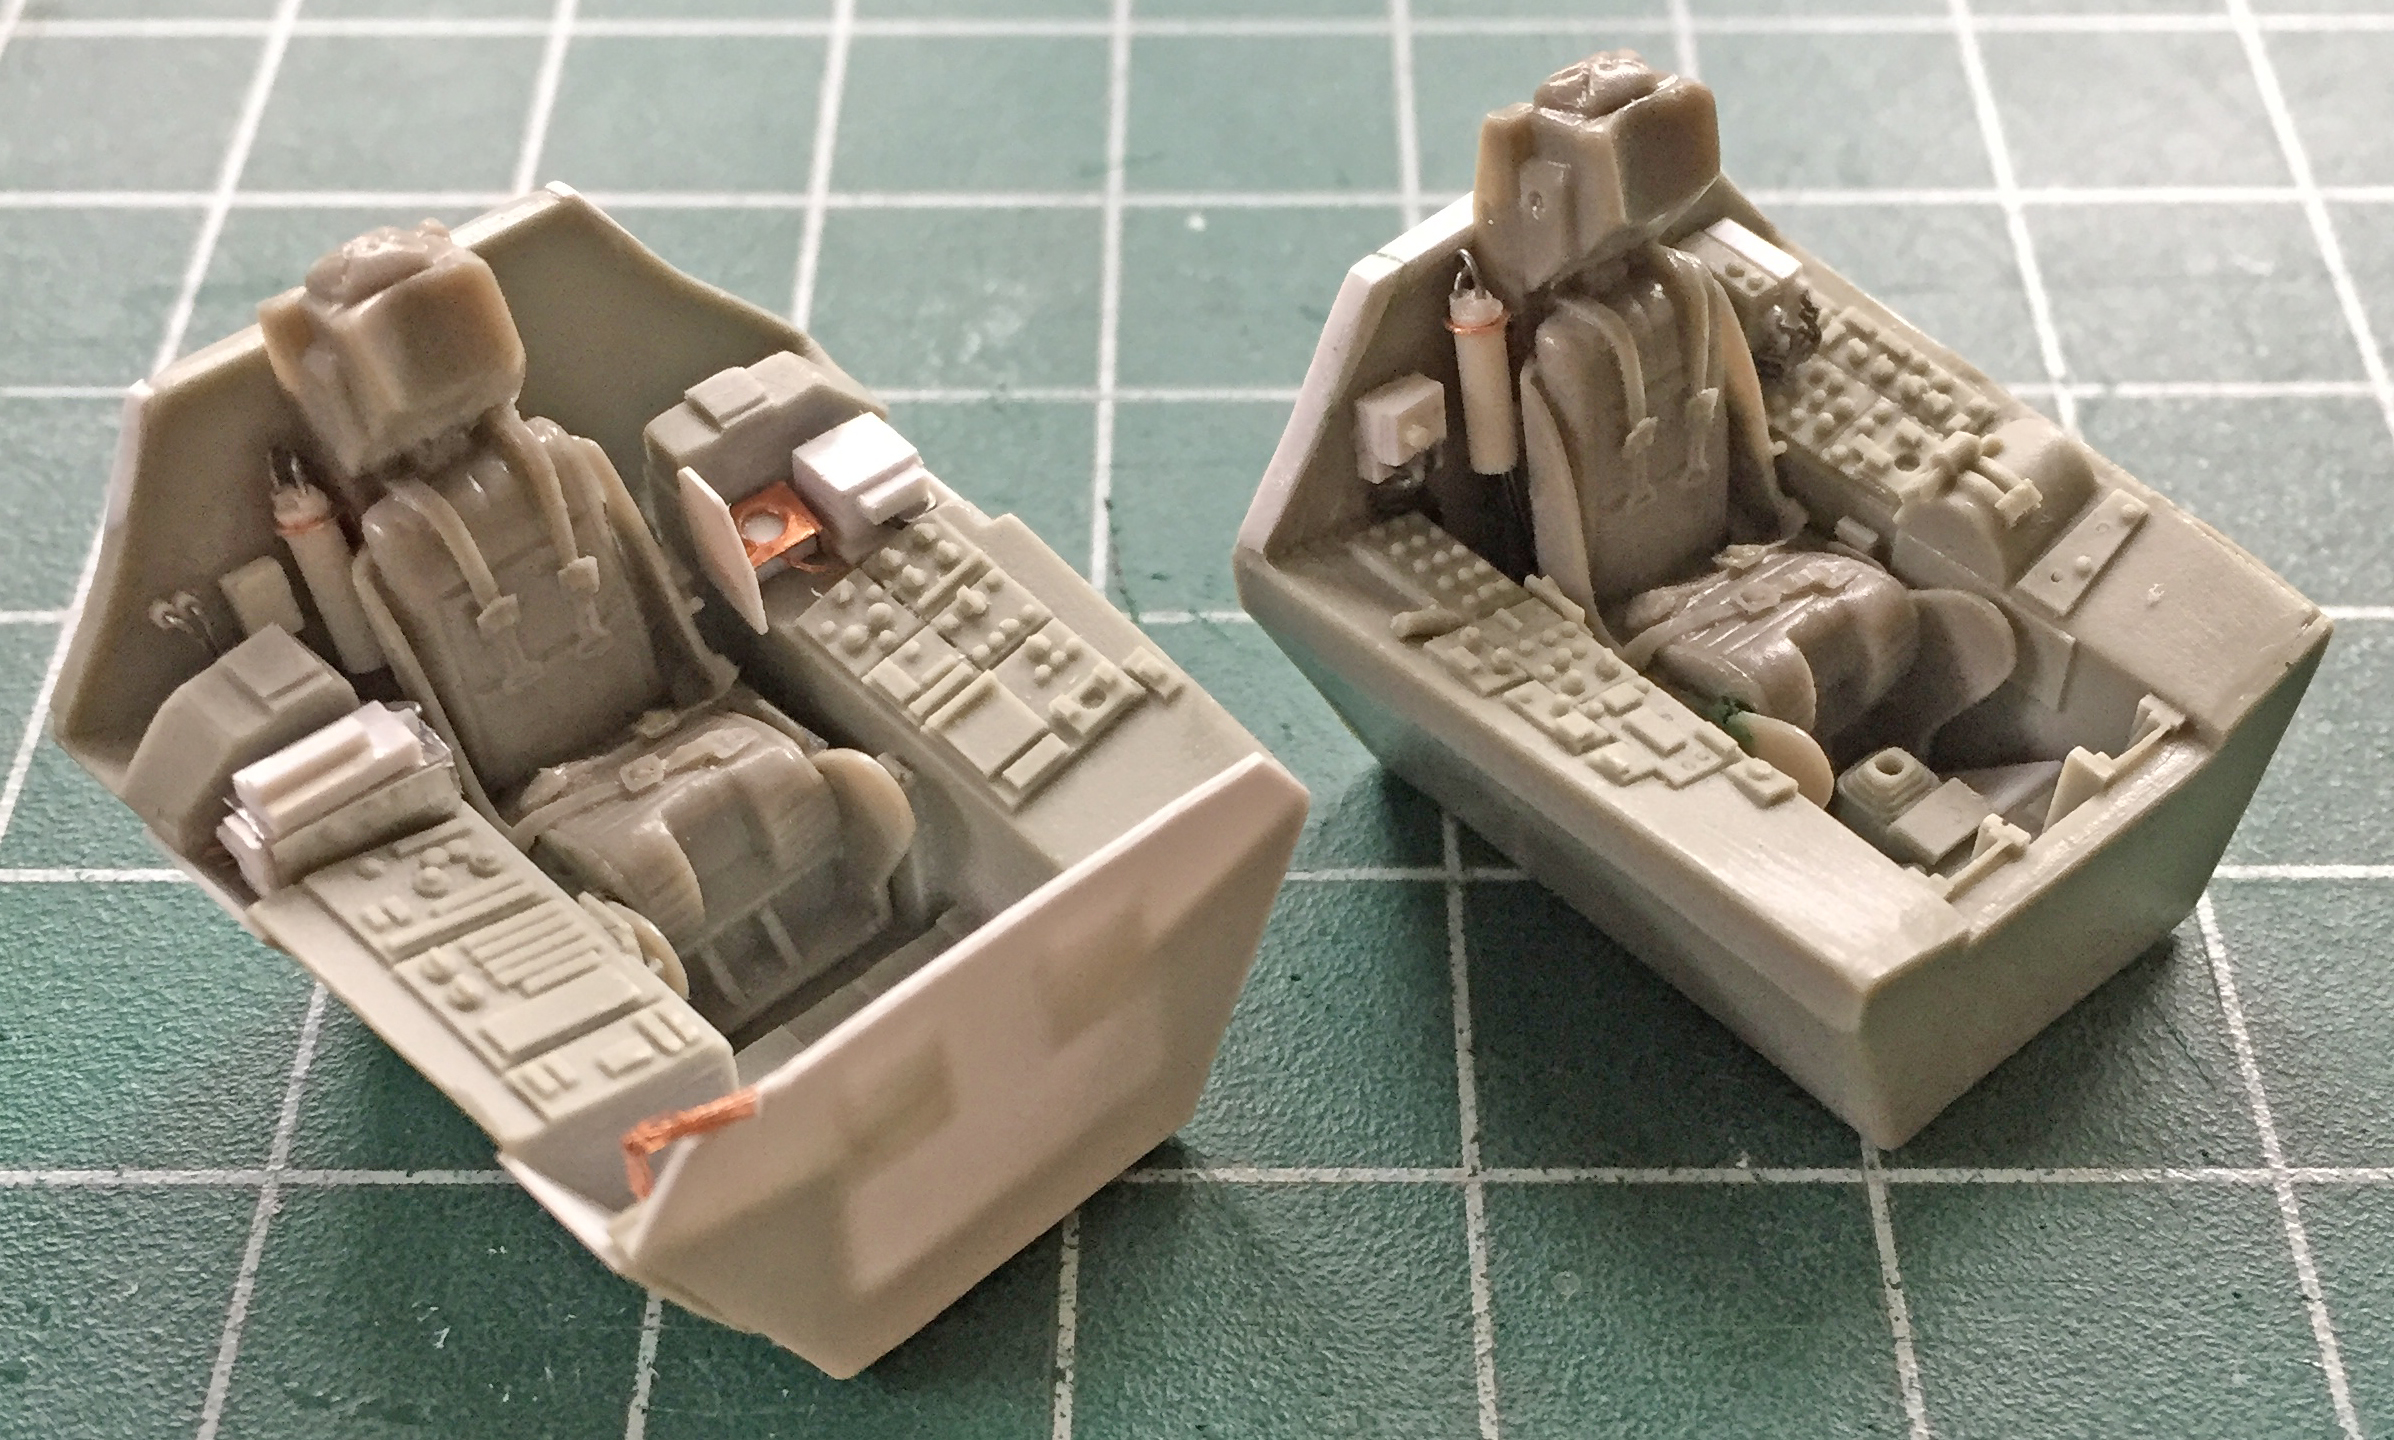
I repeated the process for the pilot’s cockpit…and didn’t take any photos until it was done. There will be a couple of more items added, such as the mount for the canopy opening cylinders, but this is the basic redone cockpit tubs (with the seats just placed in to see how it all fits…and it does) and how it looks:
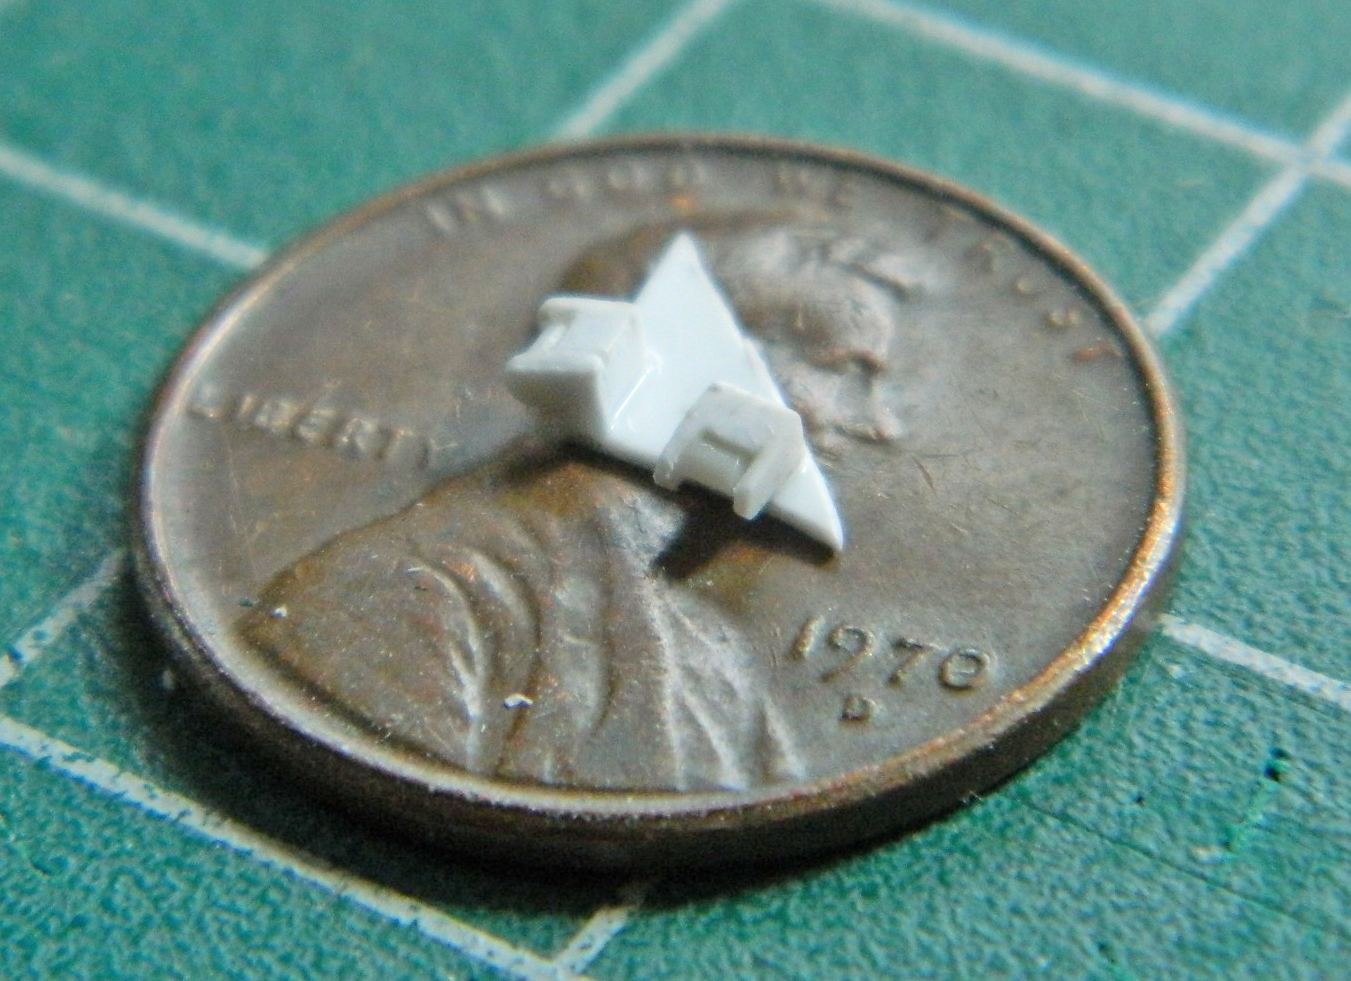
First I did the mounts that go on the rear bulkheads of the cockpits using scrap styrene:
I used .062″ (1.57mm) styrene rod to make the cylinder and .035″ (.890mm) styrene rod to make the rams (the rod that moves in and out of the cylinder). The cylinders are a bit short so that I can adjust them later to fit into the available space. Fitting these things has the potential to be a bitch so I wanted to build in some adjustment. Until all the associated parts are actually mounted, I don’t know exactly how long the finished sub-assemblies will need to be. This started by center-drilling the .062″ (1.57mm) rods to accept the .035″ (.890mm) rods:
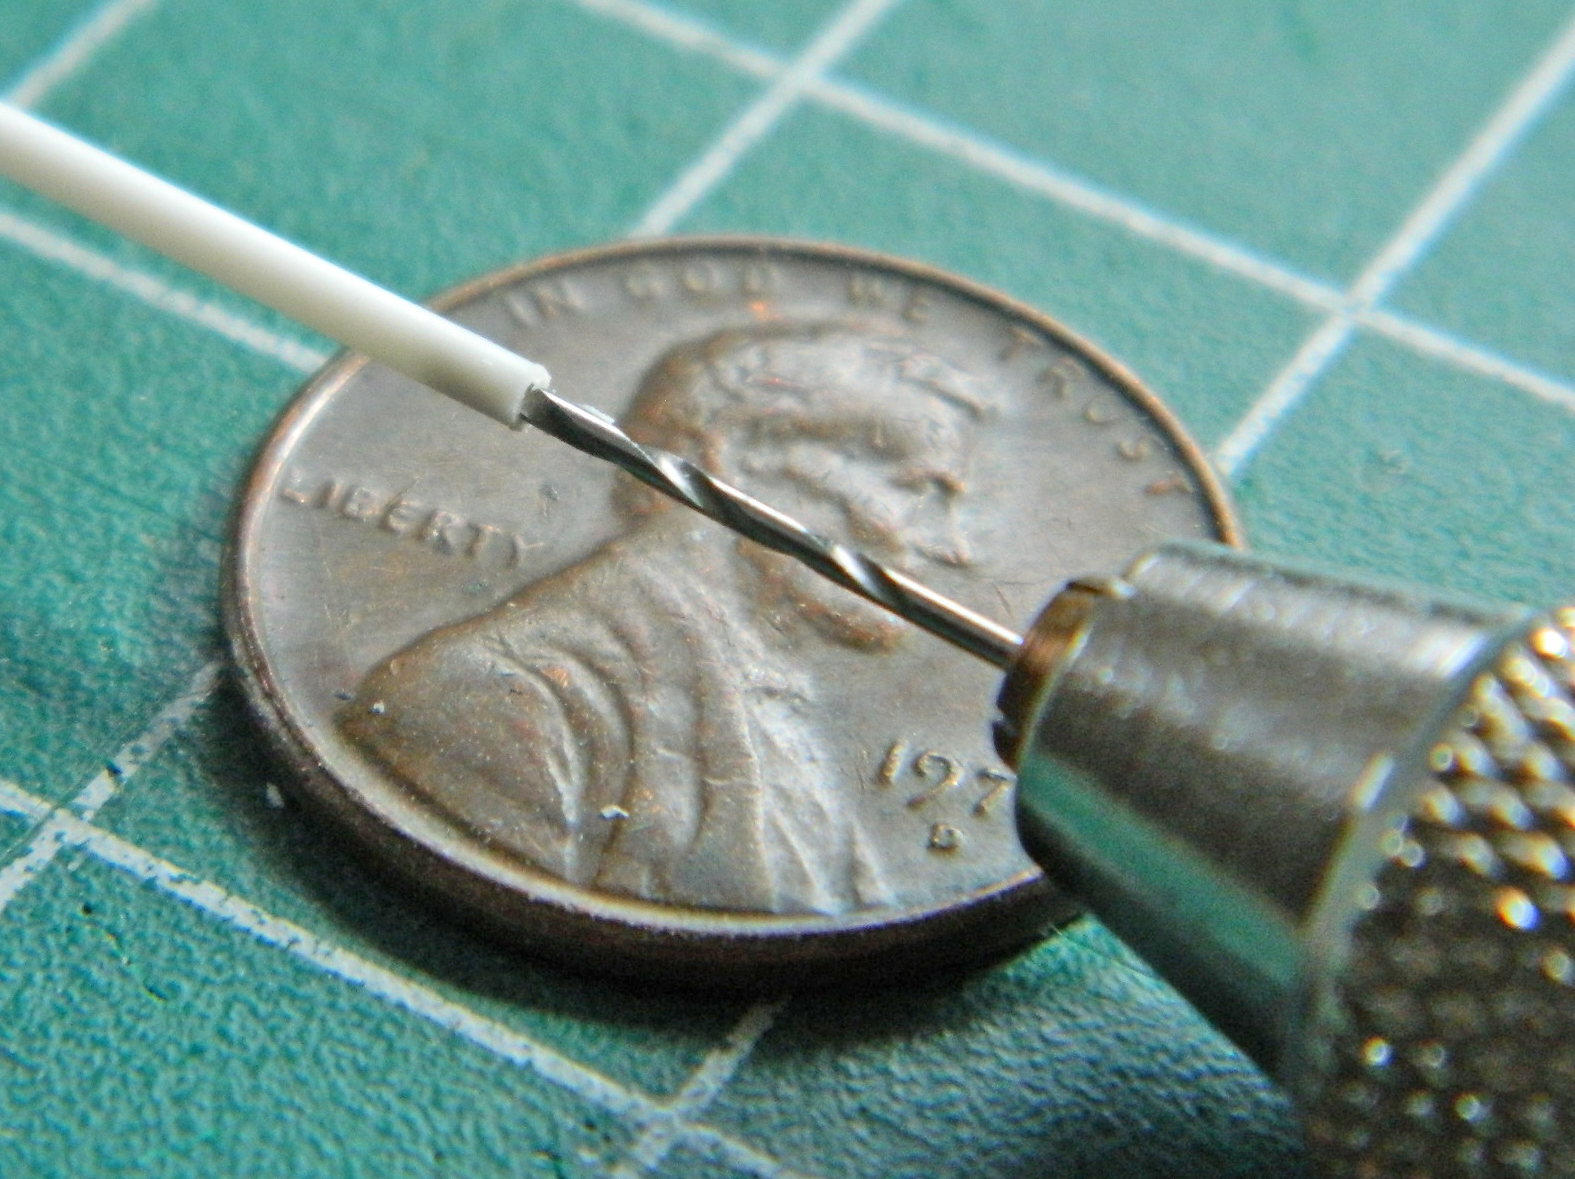
That will enable me to slide the .035″ (.890mm) rods out if the end parts are too short and I can always trim the .035″ (.890mm) rods if they’re too long.
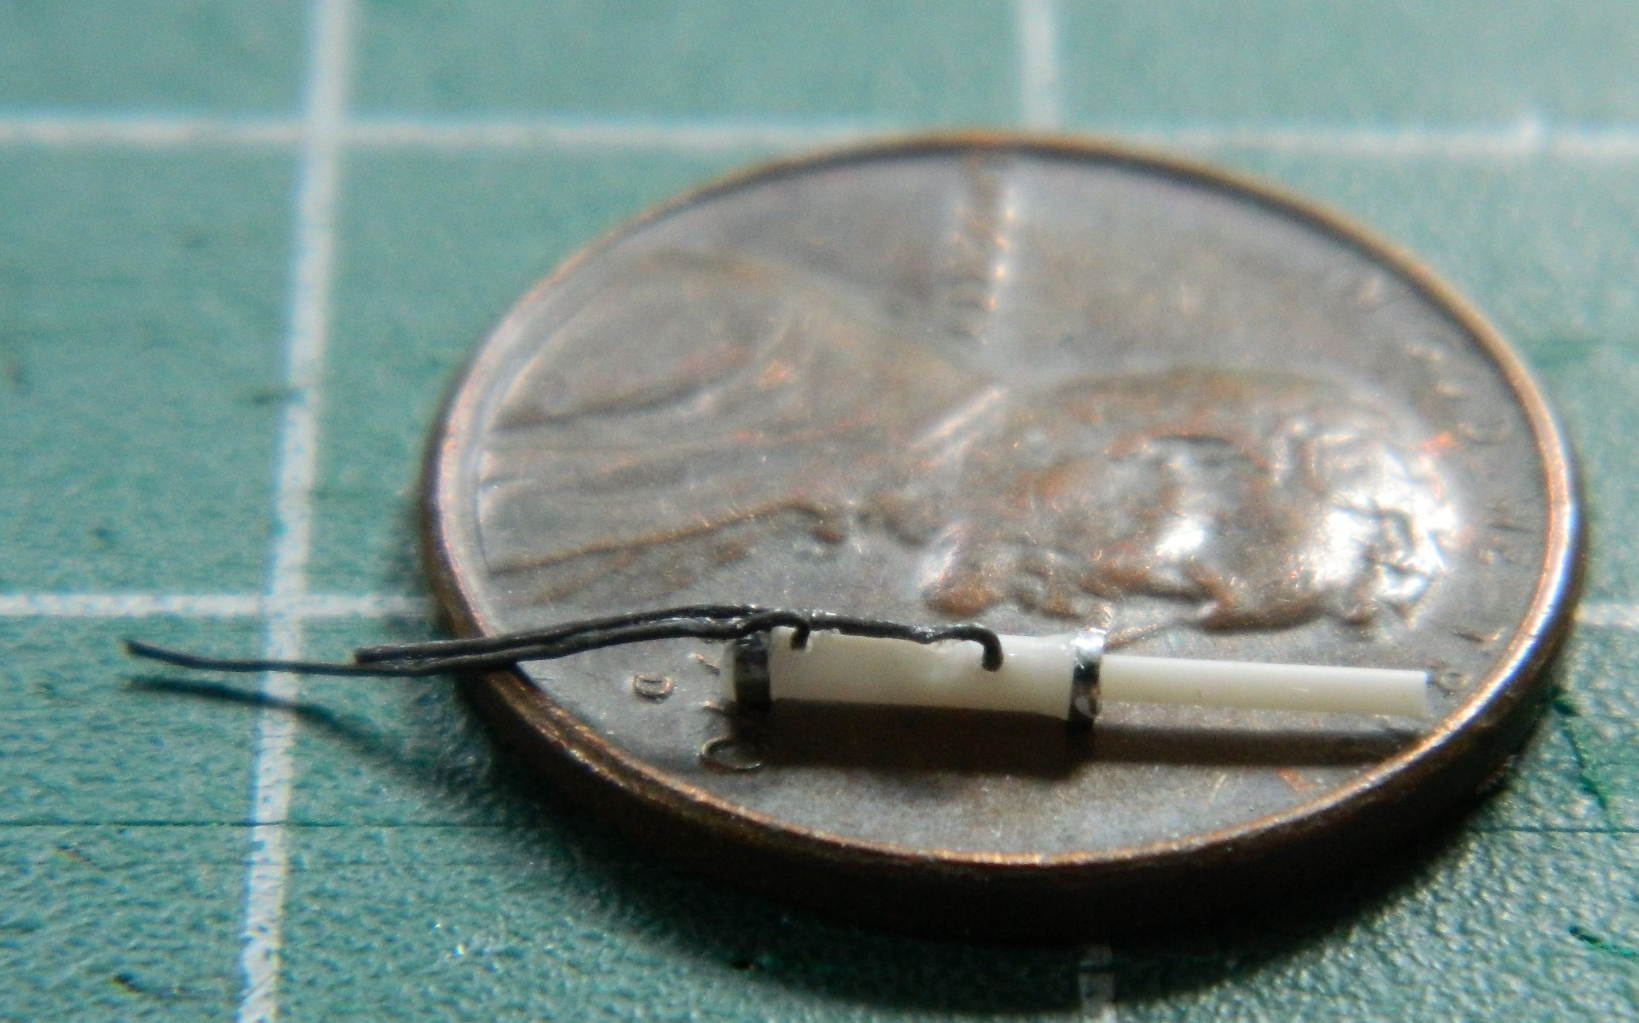
I added the bands using the aluminum duct tape (love that stuff) and .010″ (.254mm) bits of lead wool to replicate the hydraulic lines:
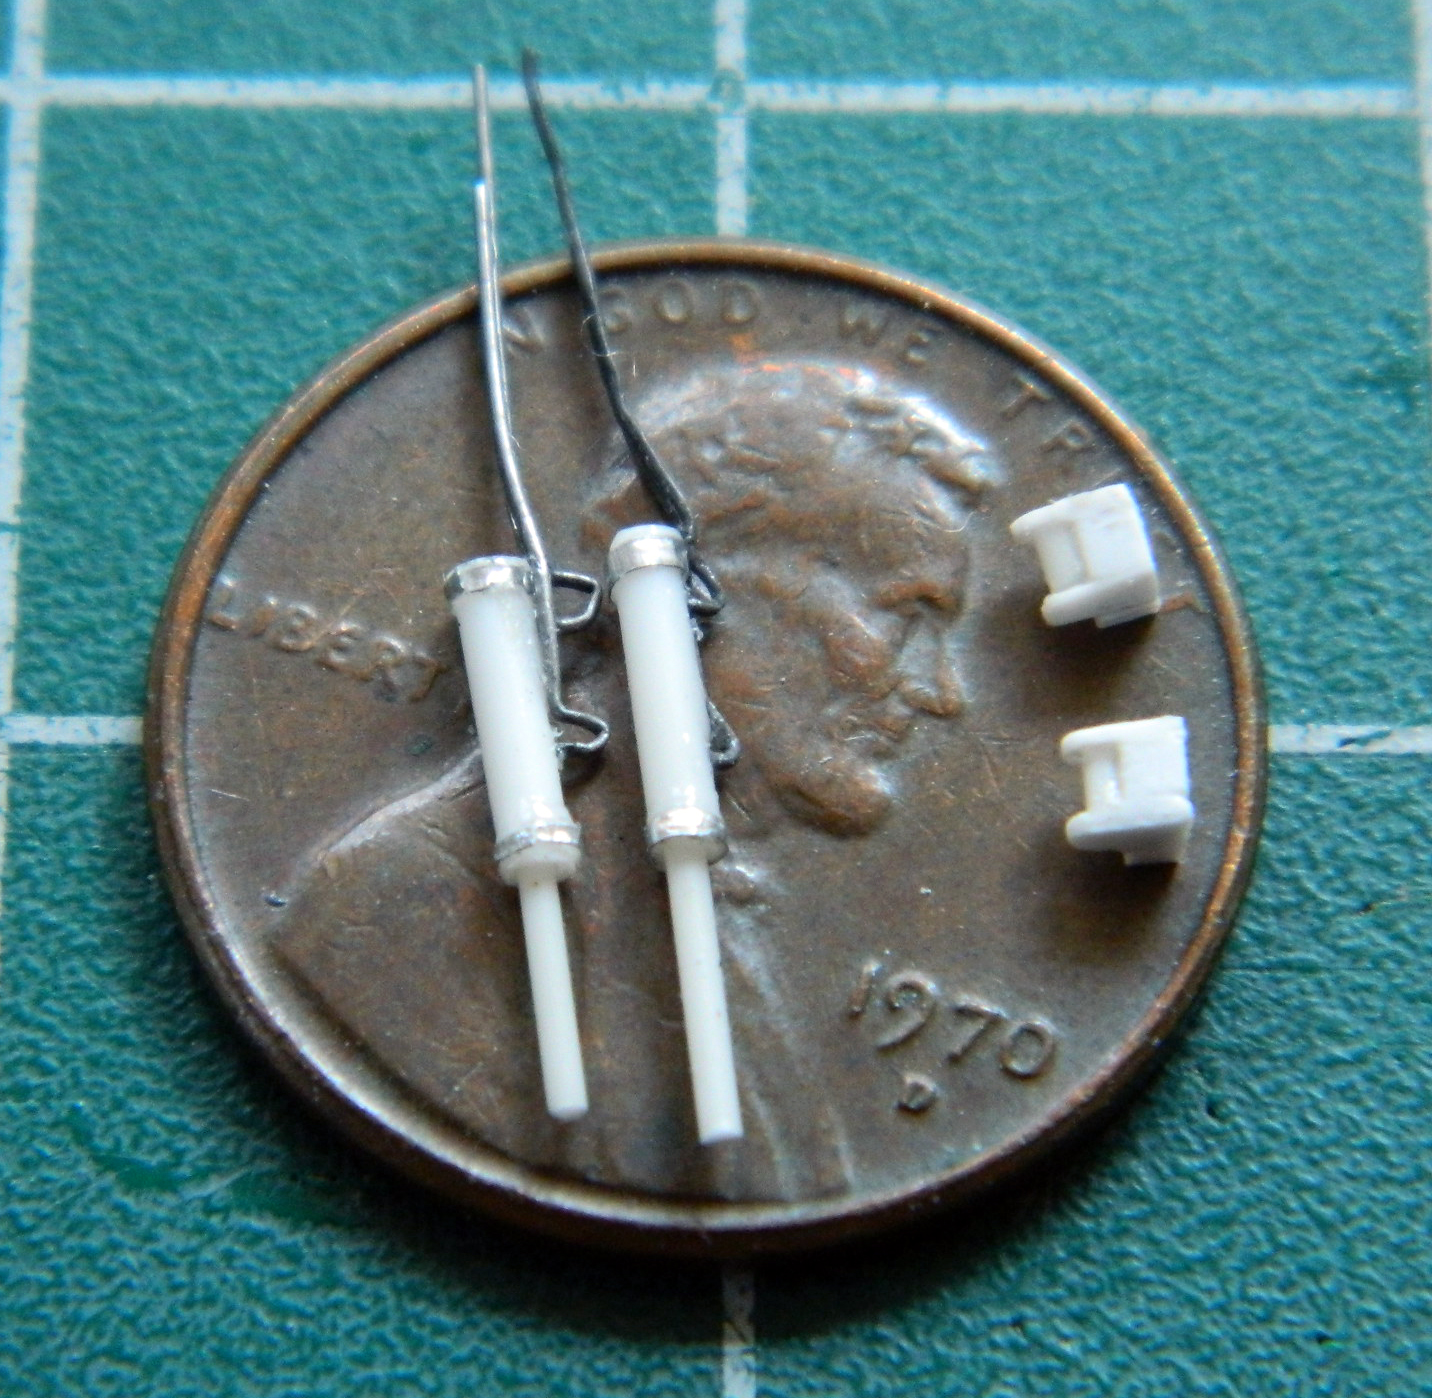
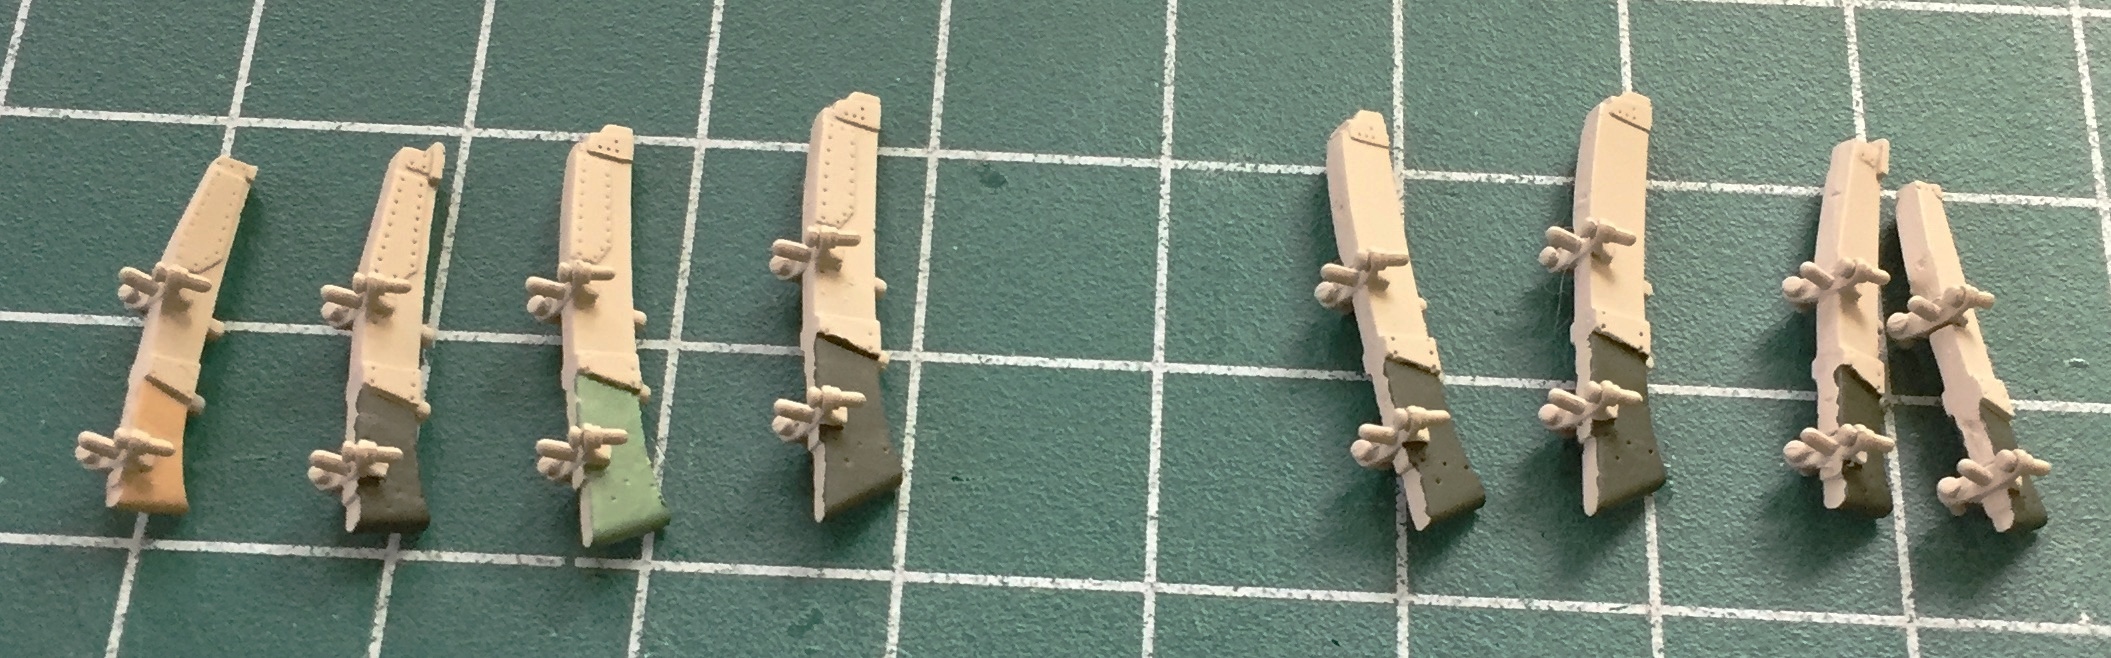
Then I did that all again for the other hydraulic unit and ended up with all of these (on the second unit I used .010″ (.254mm) solder to see which I like better…and the solder is the winner…it’s less fragile than the strand of lead wool is):
Now that I know what will fill the cockpits, it’s time to start by building up the cockpit walls (and I’m not unmindful of the irony of having to put back plastic to the areas I’d carved away to use resin parts I’m no longer using). These are the rough blanks for the RSO’s cockpit:
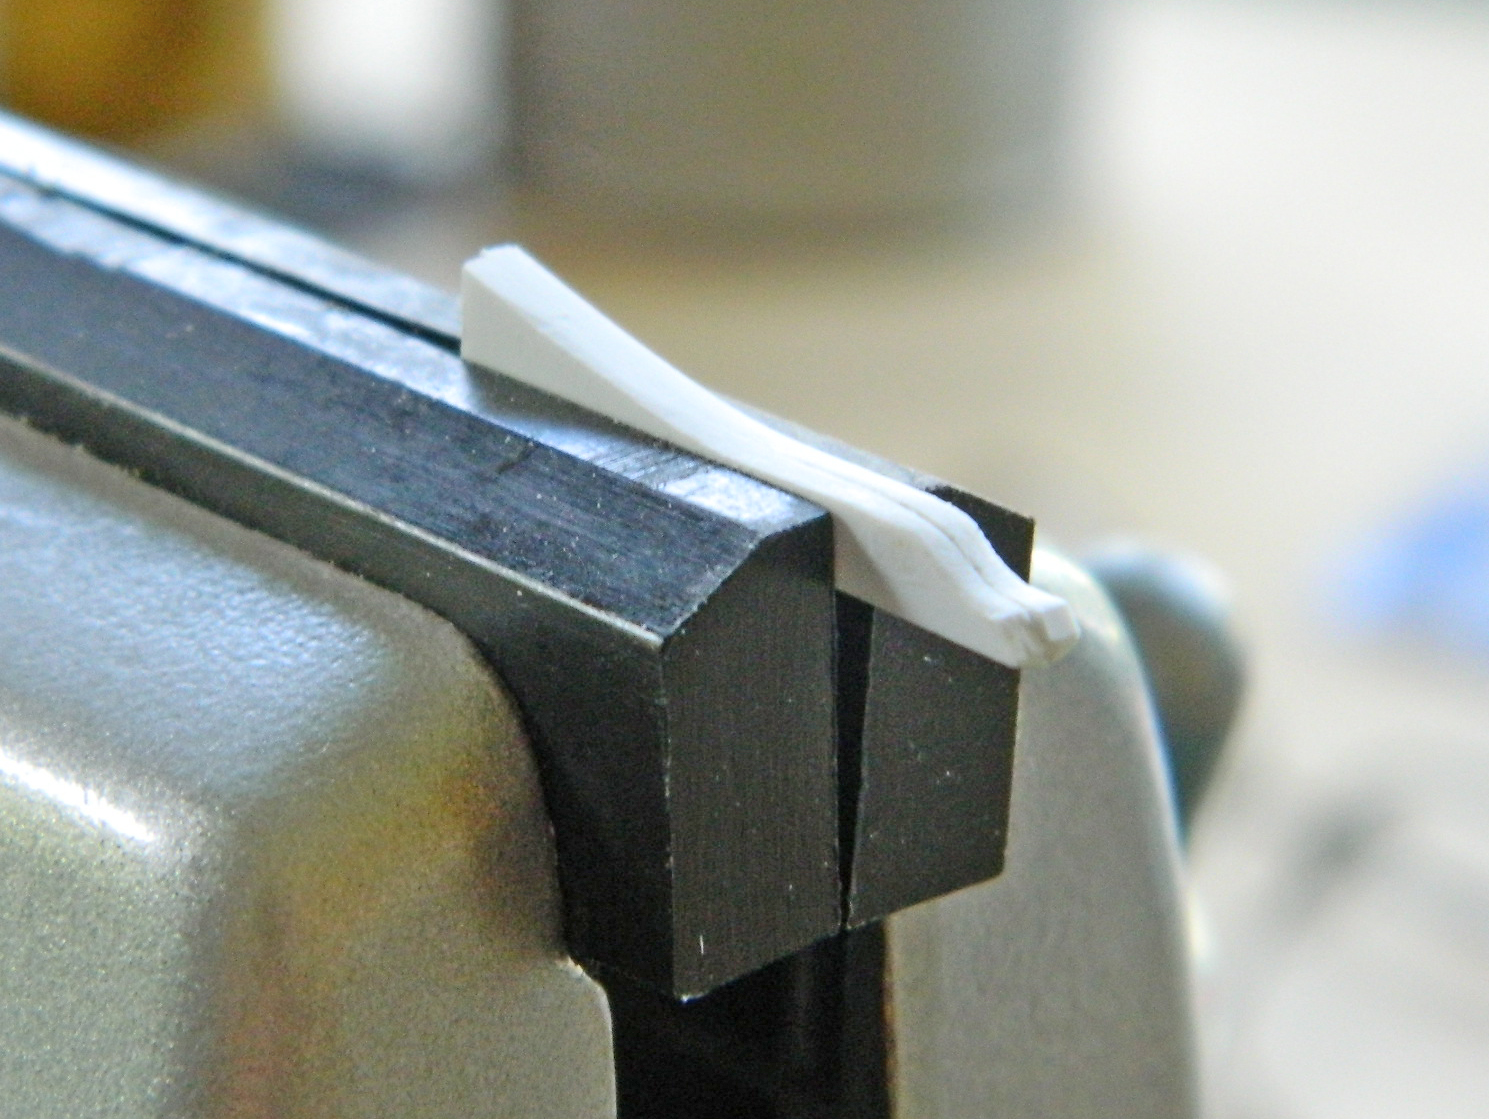
I started this process by making the main body of the side panels, gluing it into position, and then engaging in styrene mosaic to get mass built up in the areas I wanted it, starting with the RSO’s cockpit:
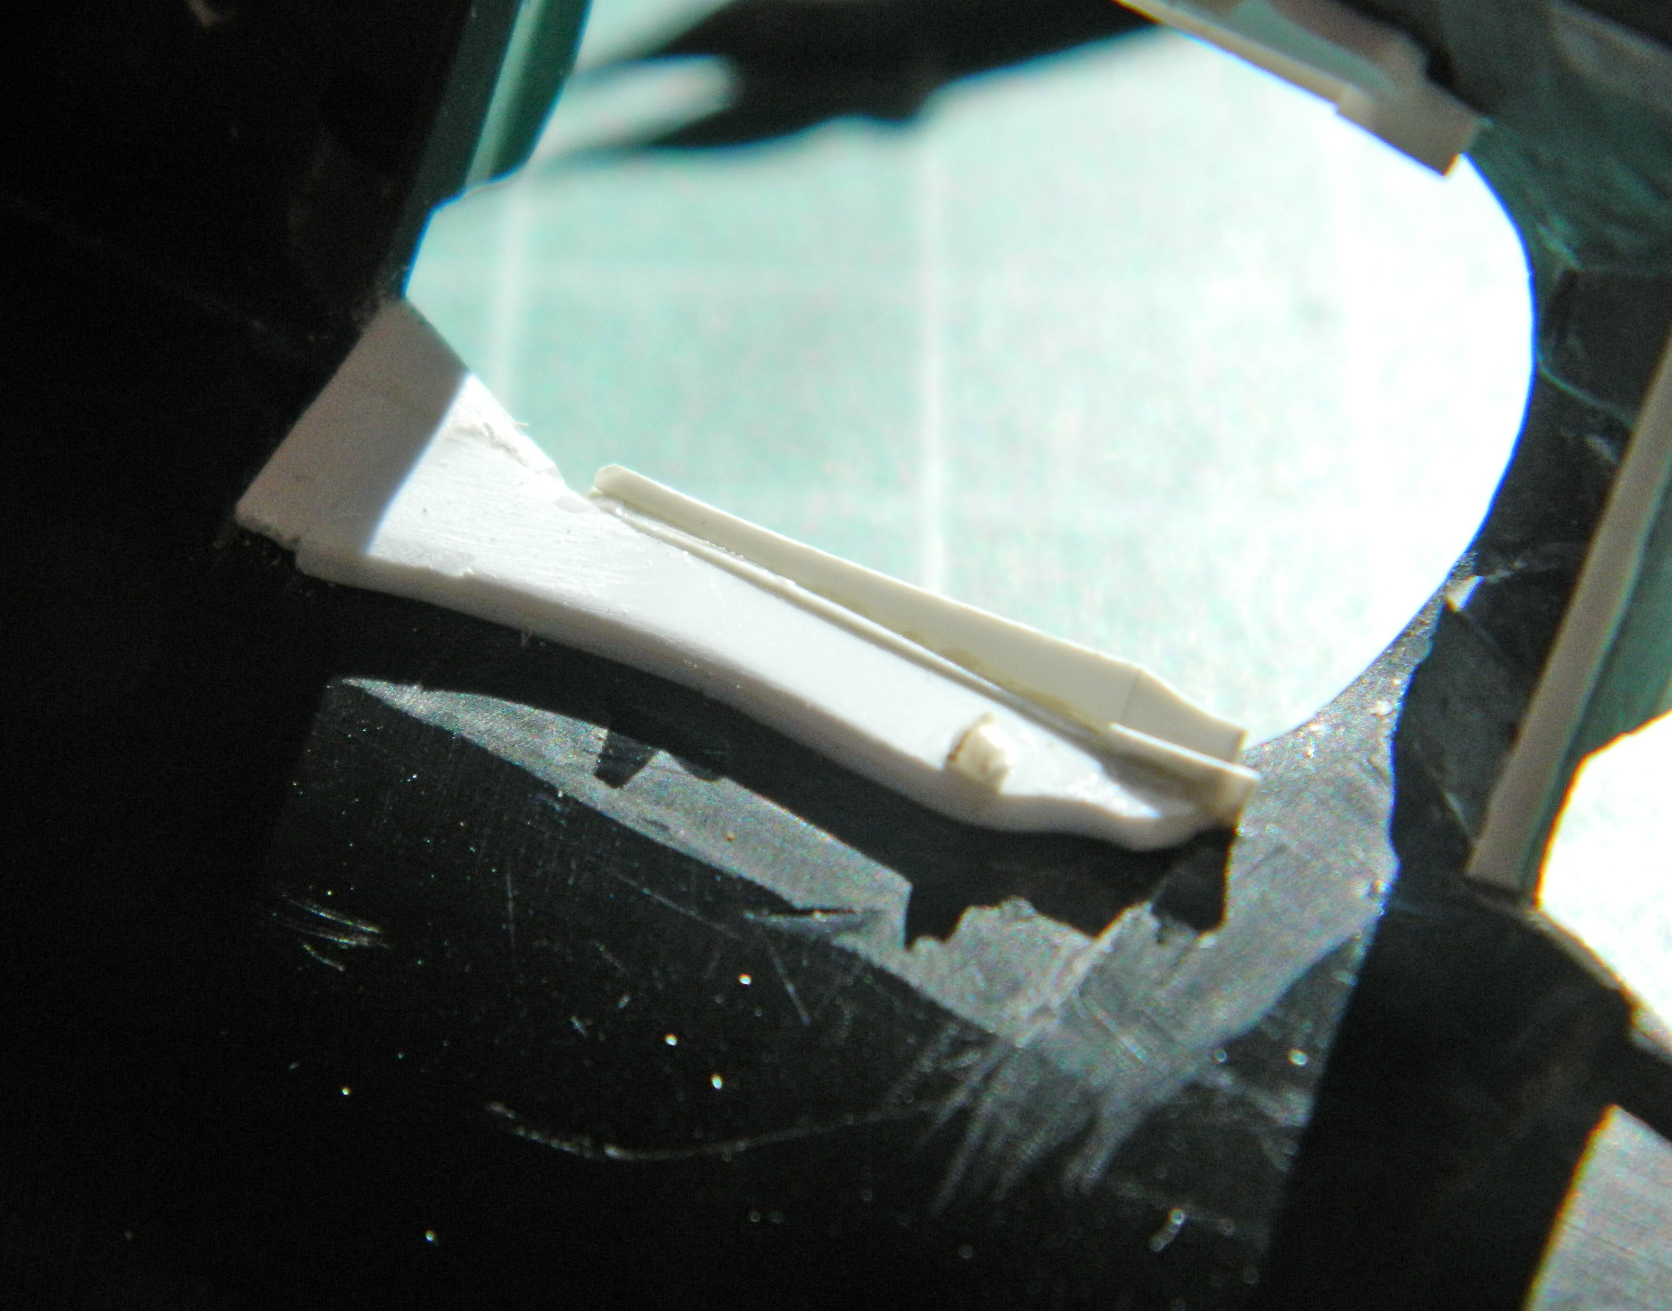

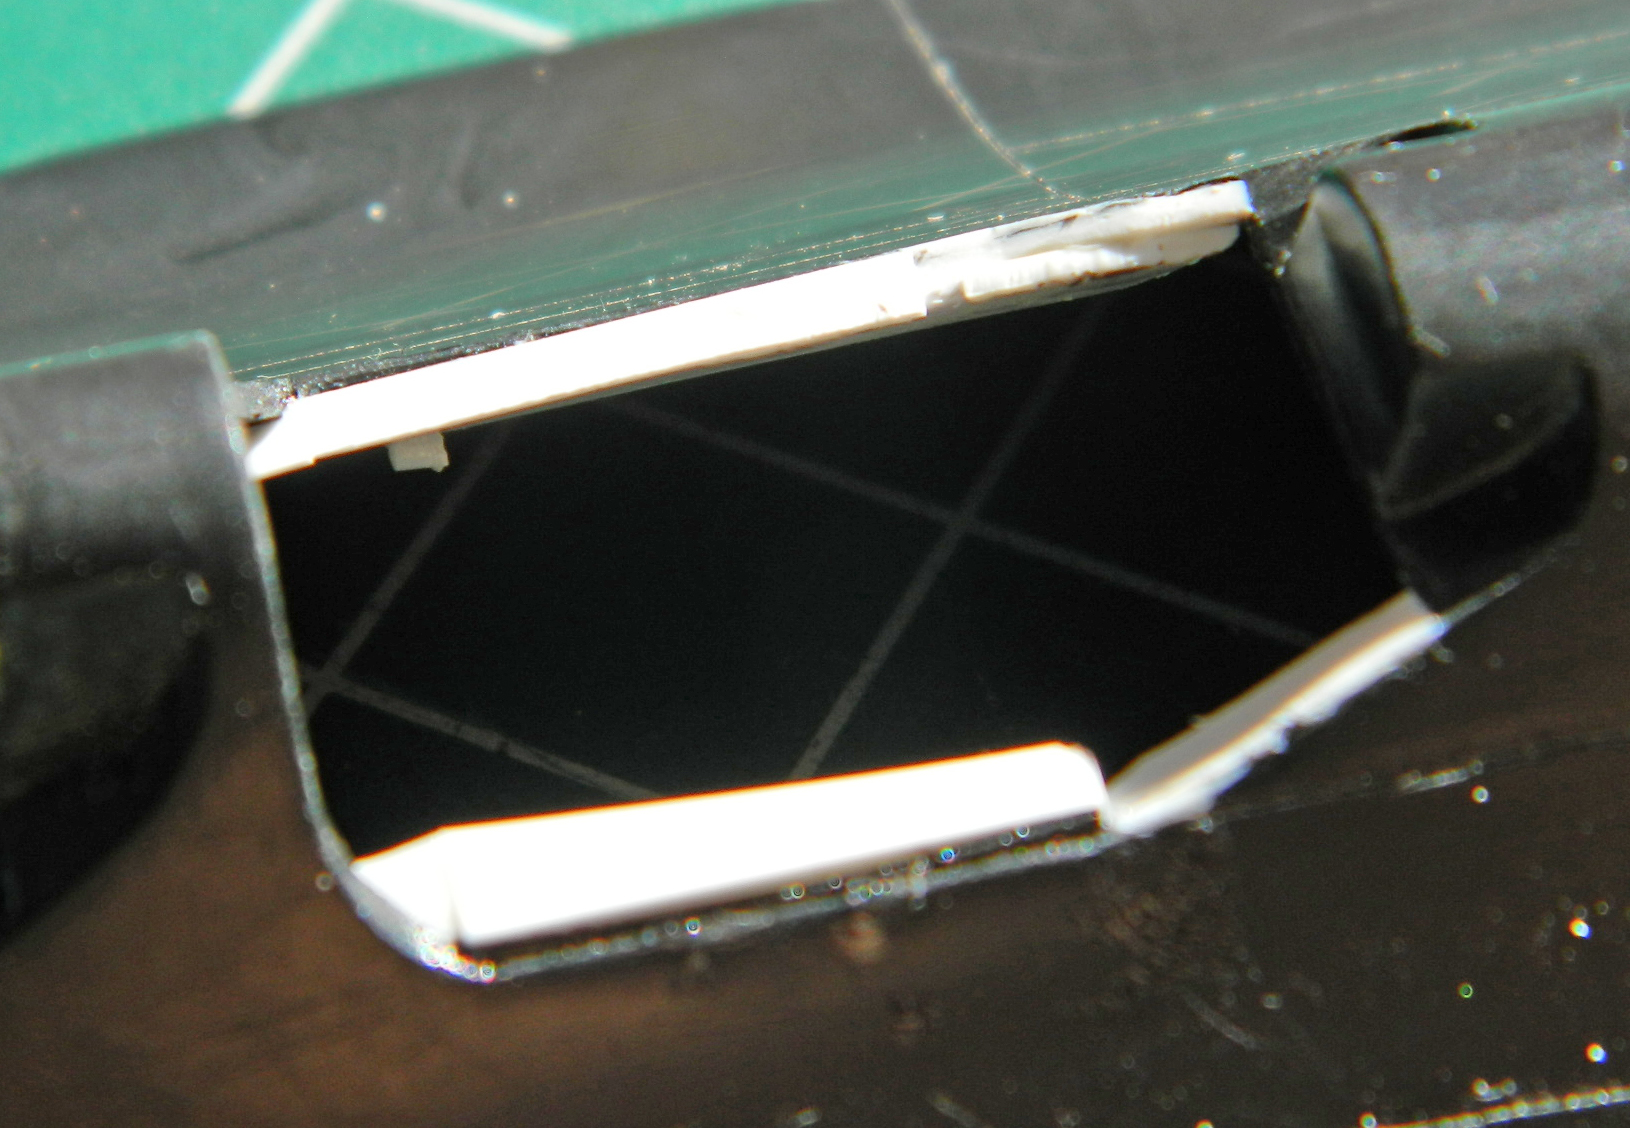
Next ensued much filing, sanding, scraping, and a little bit of putty:
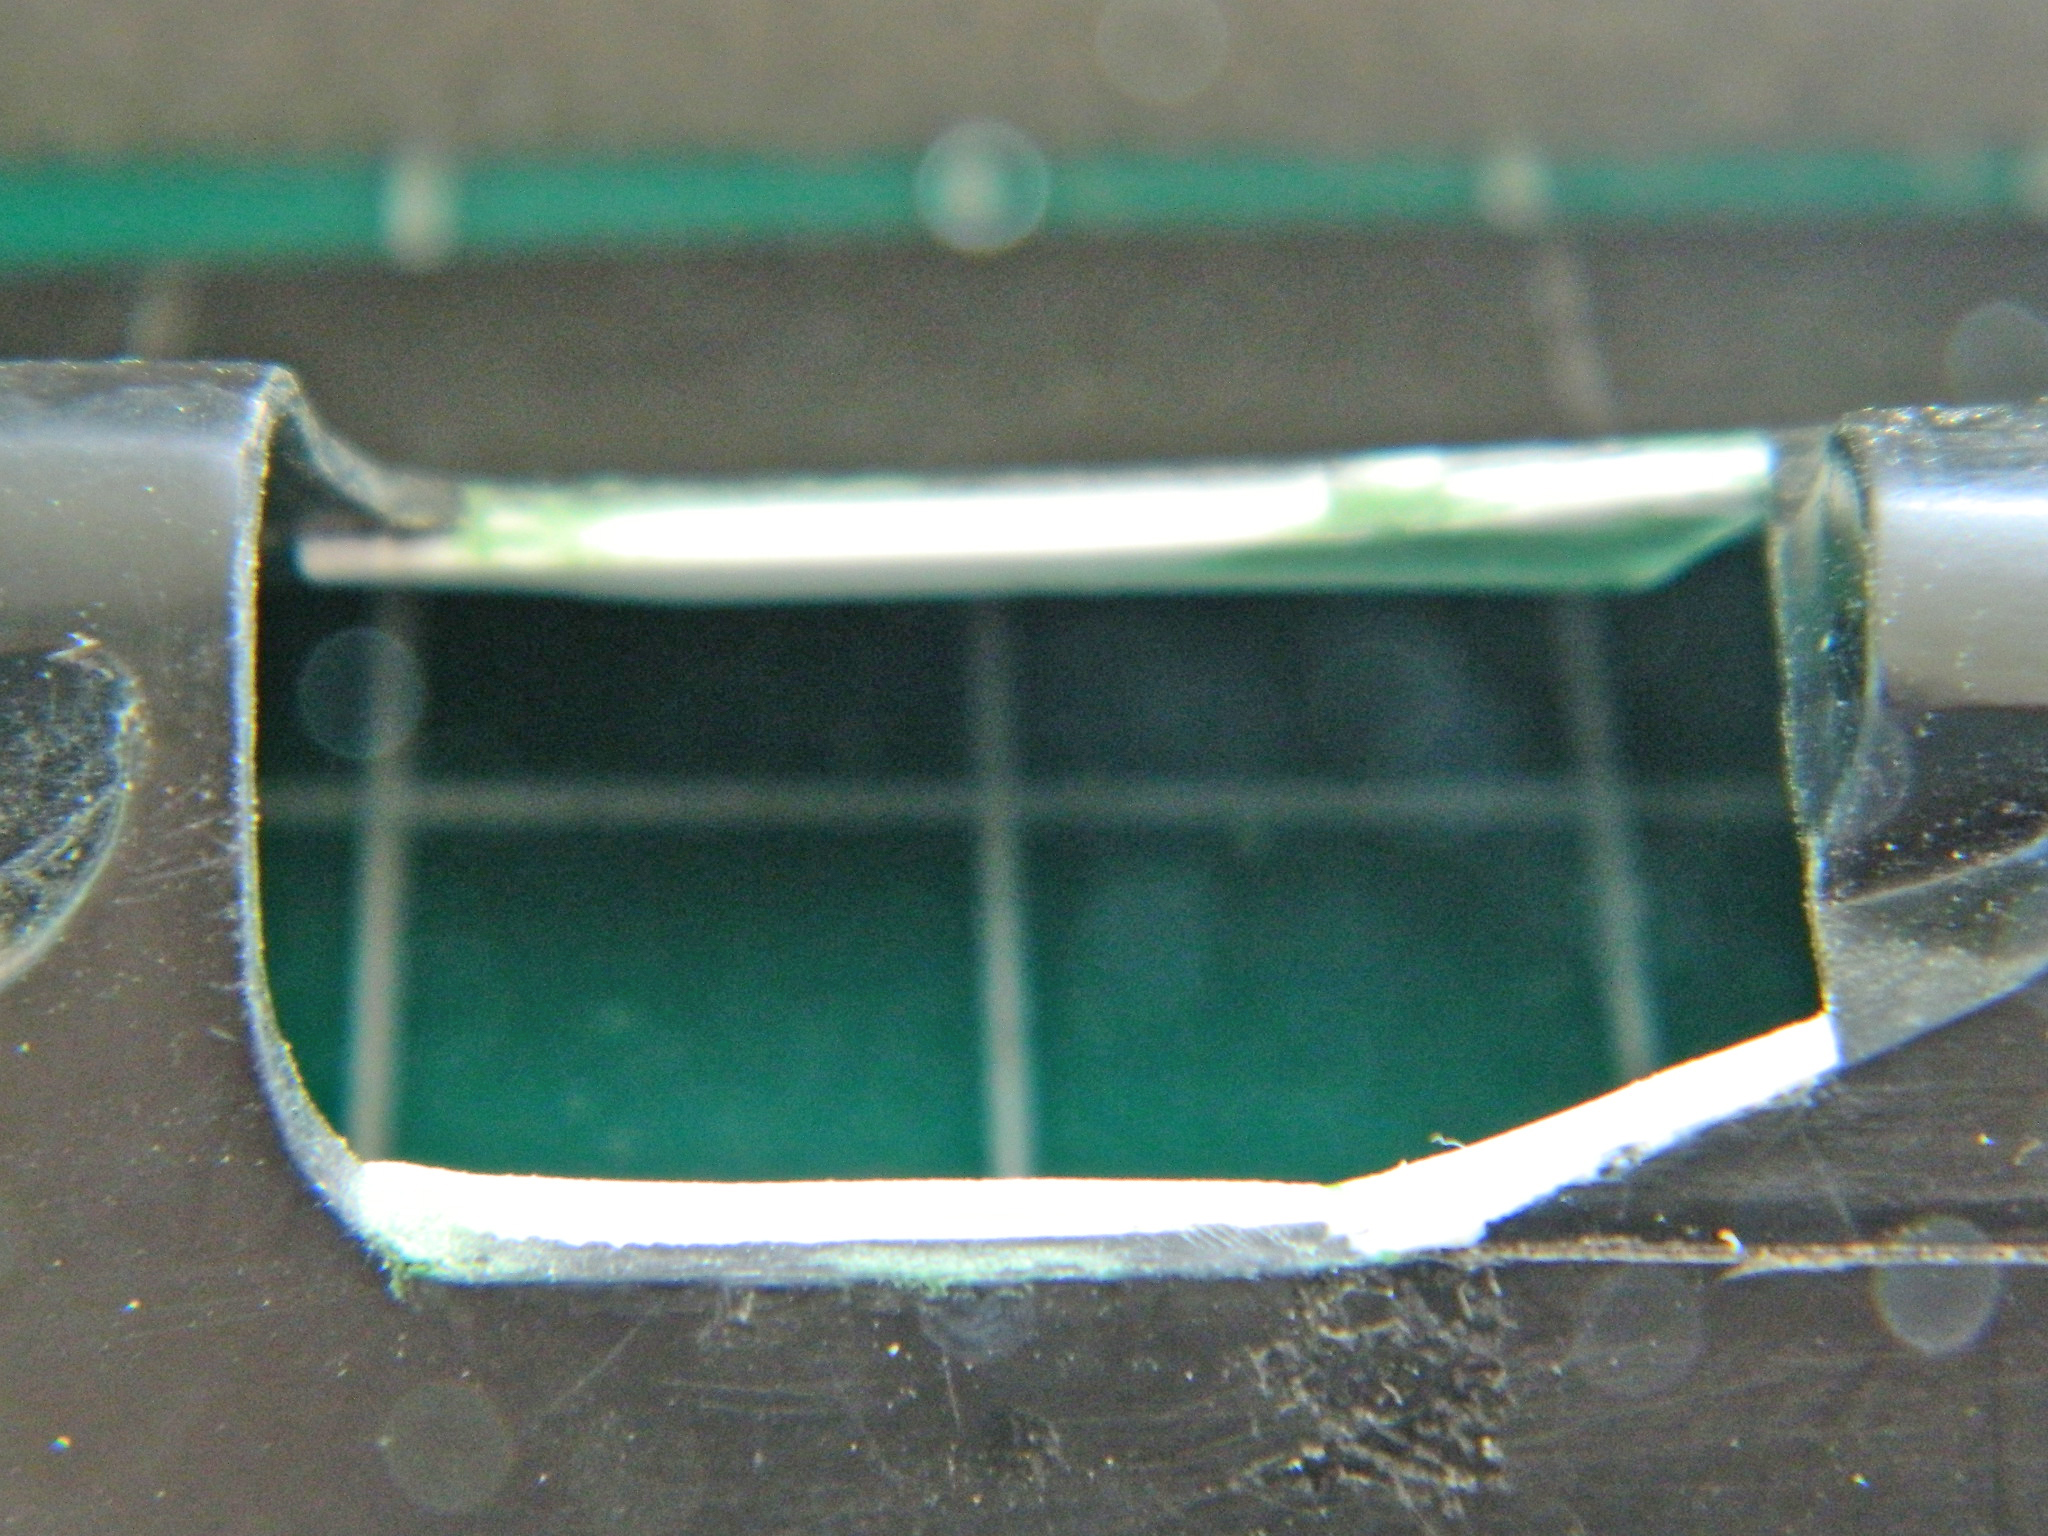

And then I did it again for the pilot’s cockpit:

One of the things I noticed about the True Detail cockpit parts was the “fit” between the pilot’s instrument panel and the coaming that goes over it. In short, they didn’t really fit with each other. At the top of the panel is a gauge with a square bezel and it’s supposed to fit up underneath the coaming…and the resin part does not. I decided to see if I could use the .010″ (.254mm) copper shim stock and make one.
I transferred dimensions from the resin part to the shim stock and roughly cut it out. Because I was going to have to make tight bends in a very small area, I decided to anneal the copper before trying to bend it and thereby remove its resistance to bending. I got it to work:


Satisfied with the result, I added the details with scrap styrene:

With that all done, I decided maybe it was time to see if things fit…and they do. Putty was added at the edges of where the coaming mounts:


Dry-fitting the cockpit tub showed me that I had to add more styrene to replace what I’d already removed. The result isn’t 100% accurate due to the a-bit-too-short overall length of the resin tub but it’s much better than not doing so:
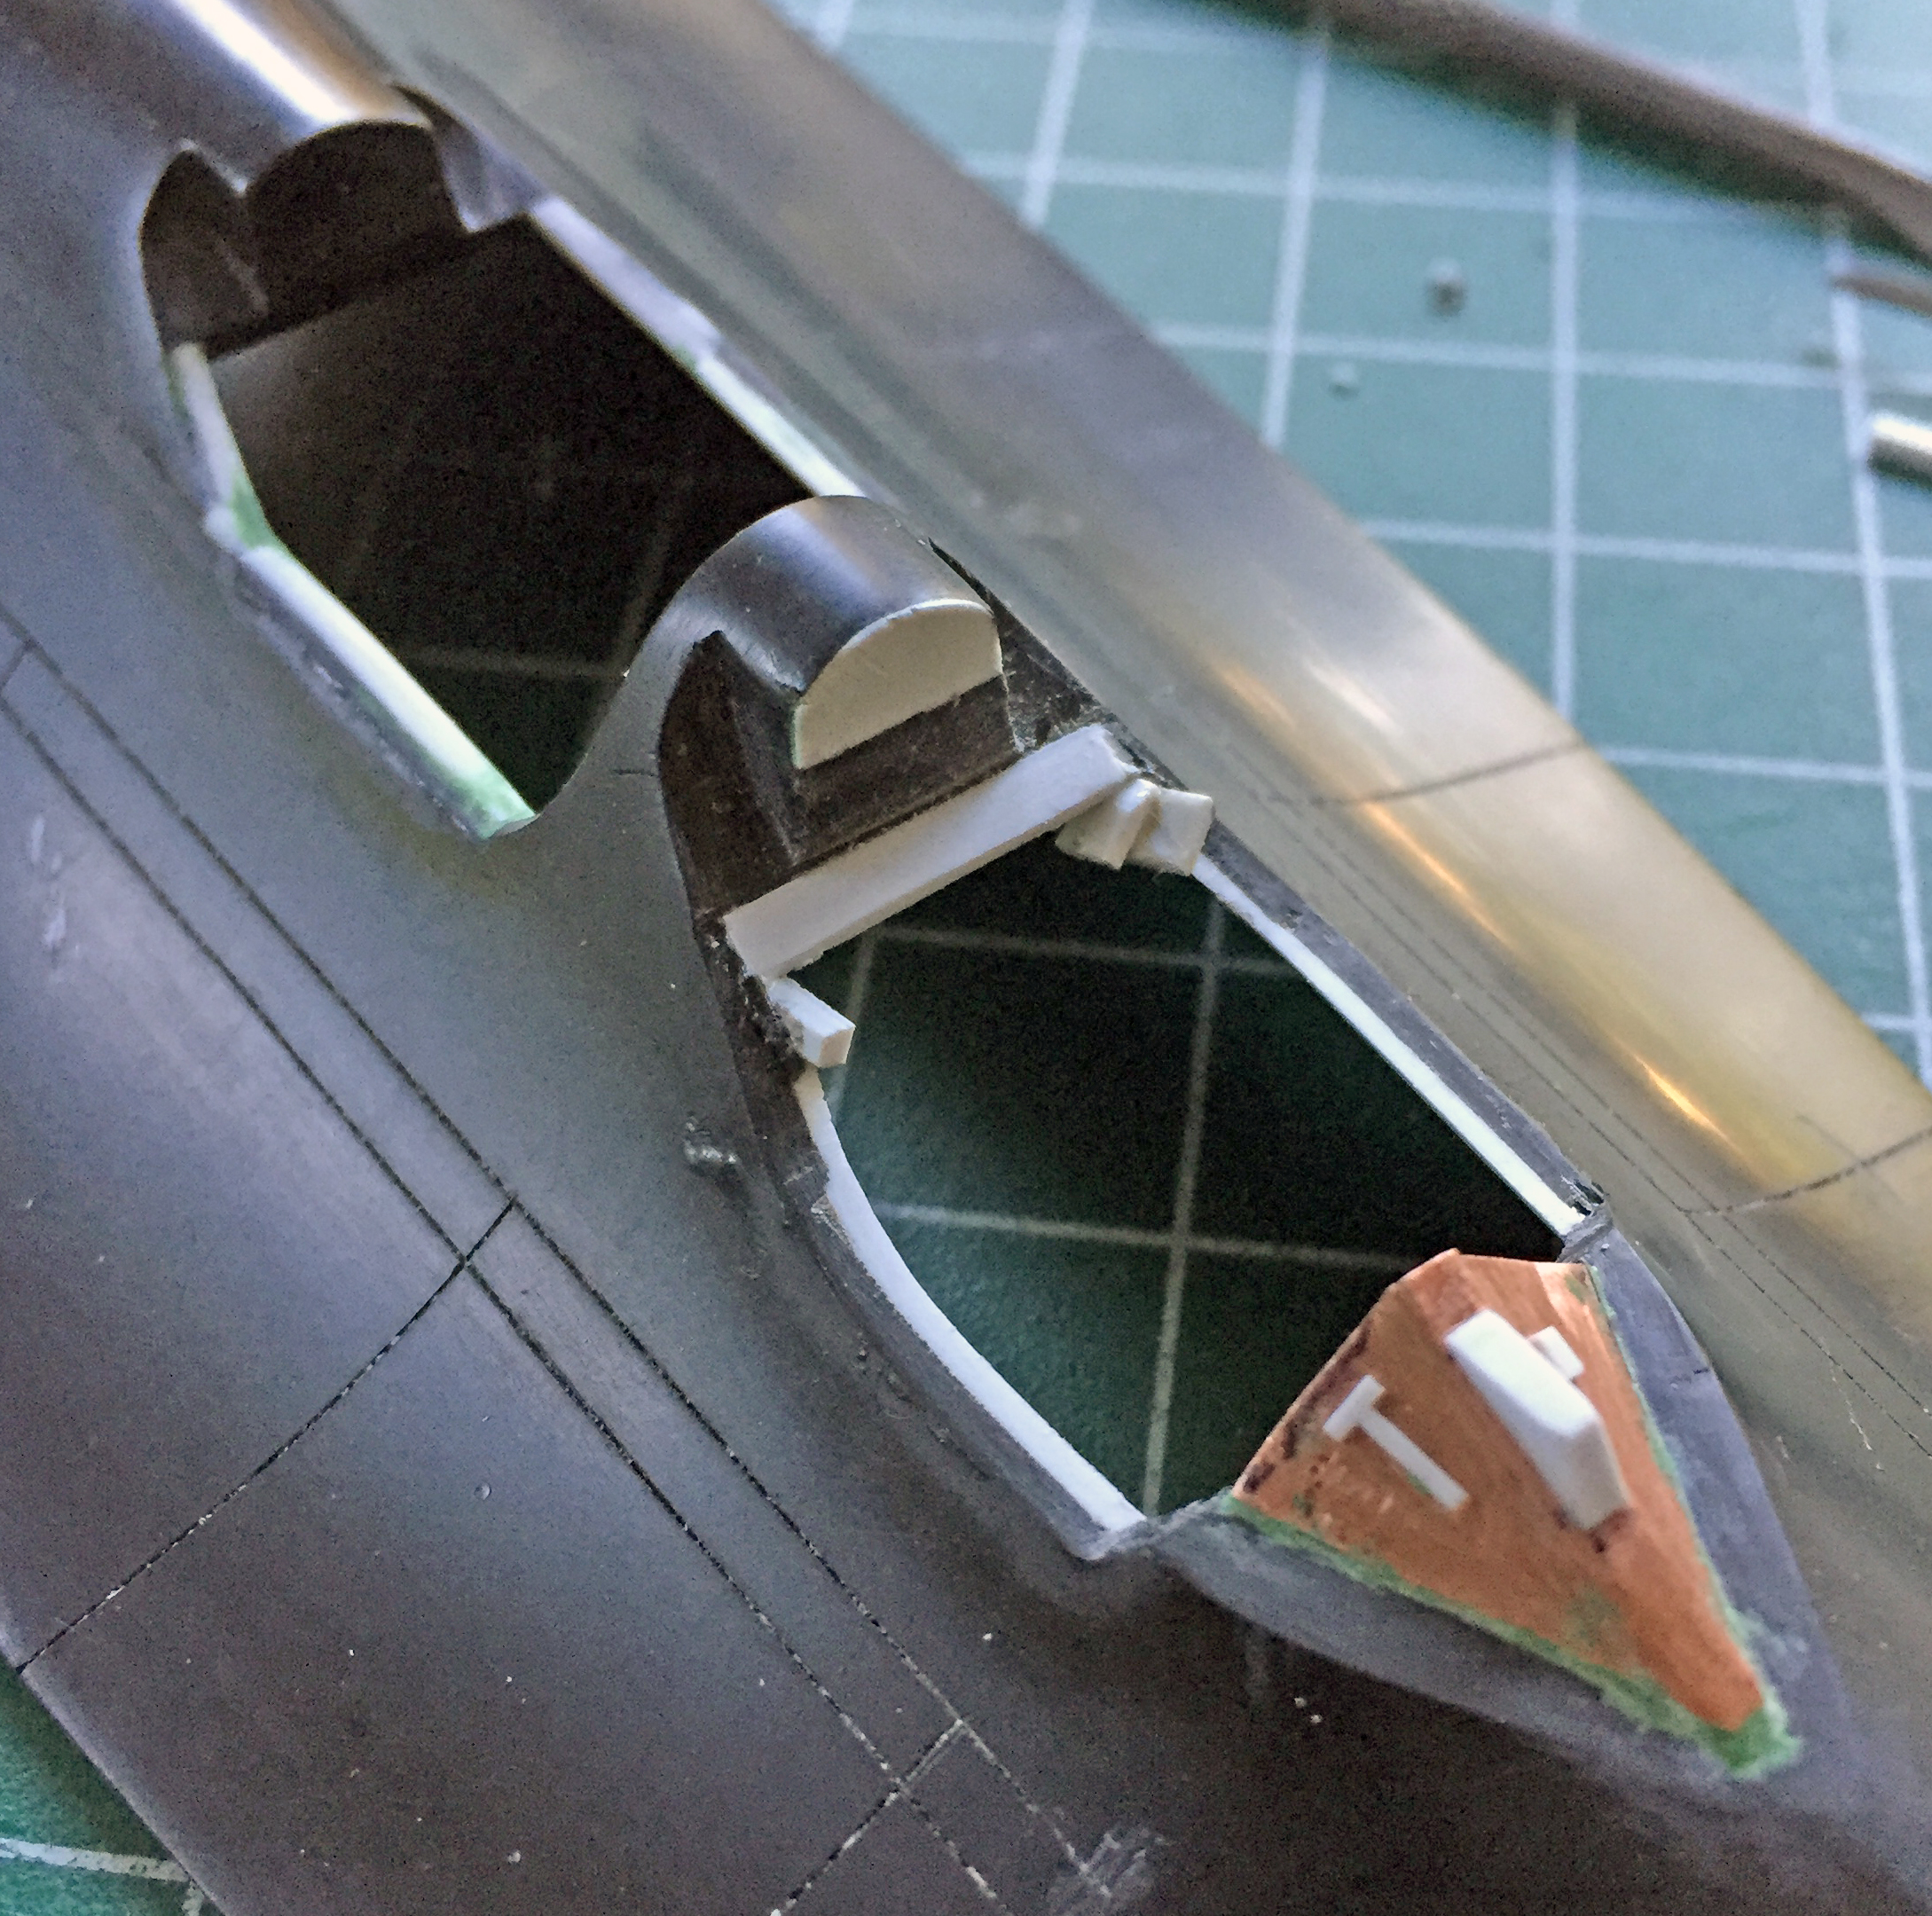
I started by penciling the outline of where the styrene has to be shaped to something less inaccurate:
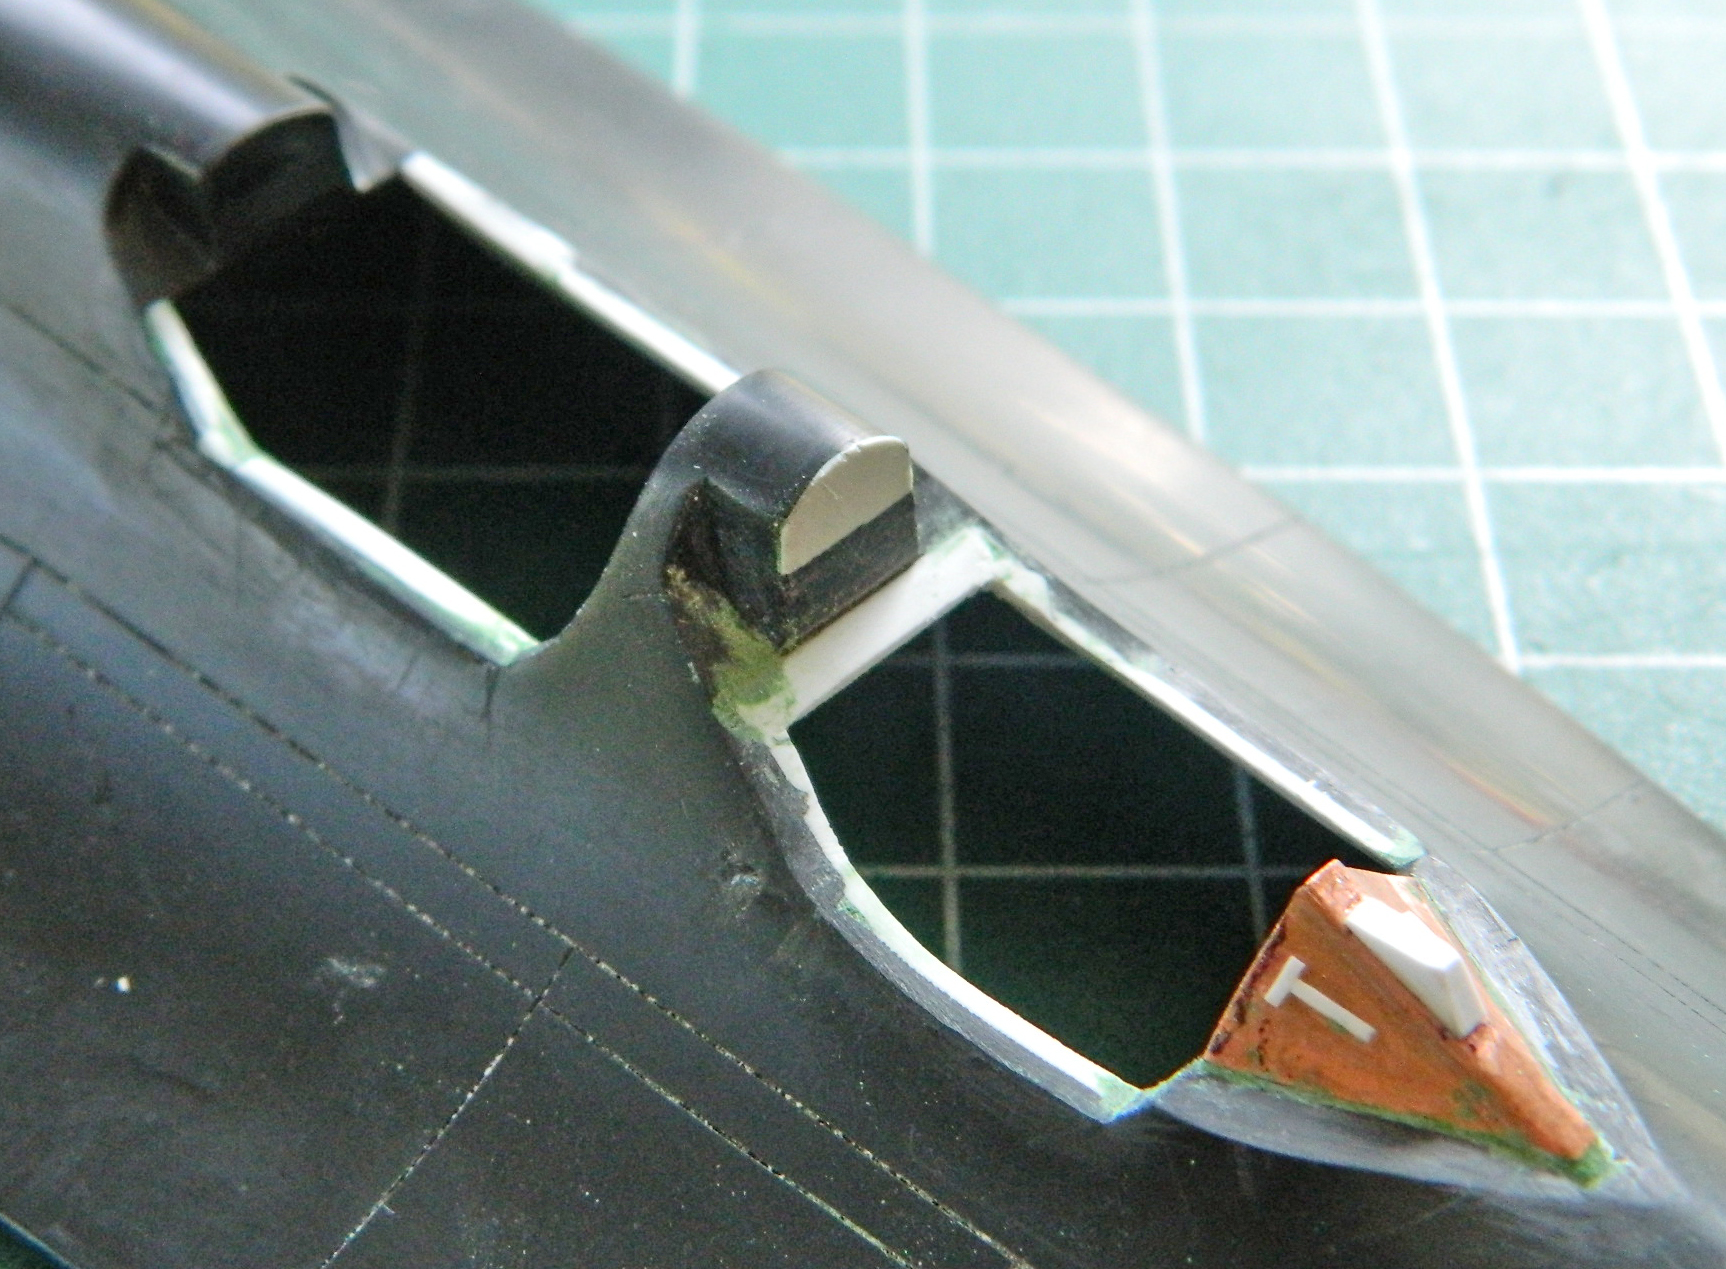
With the styrene mosaic filed/scraped/sanded to dimension, next up is getting the added styrene to its final shape and adding the details needed:
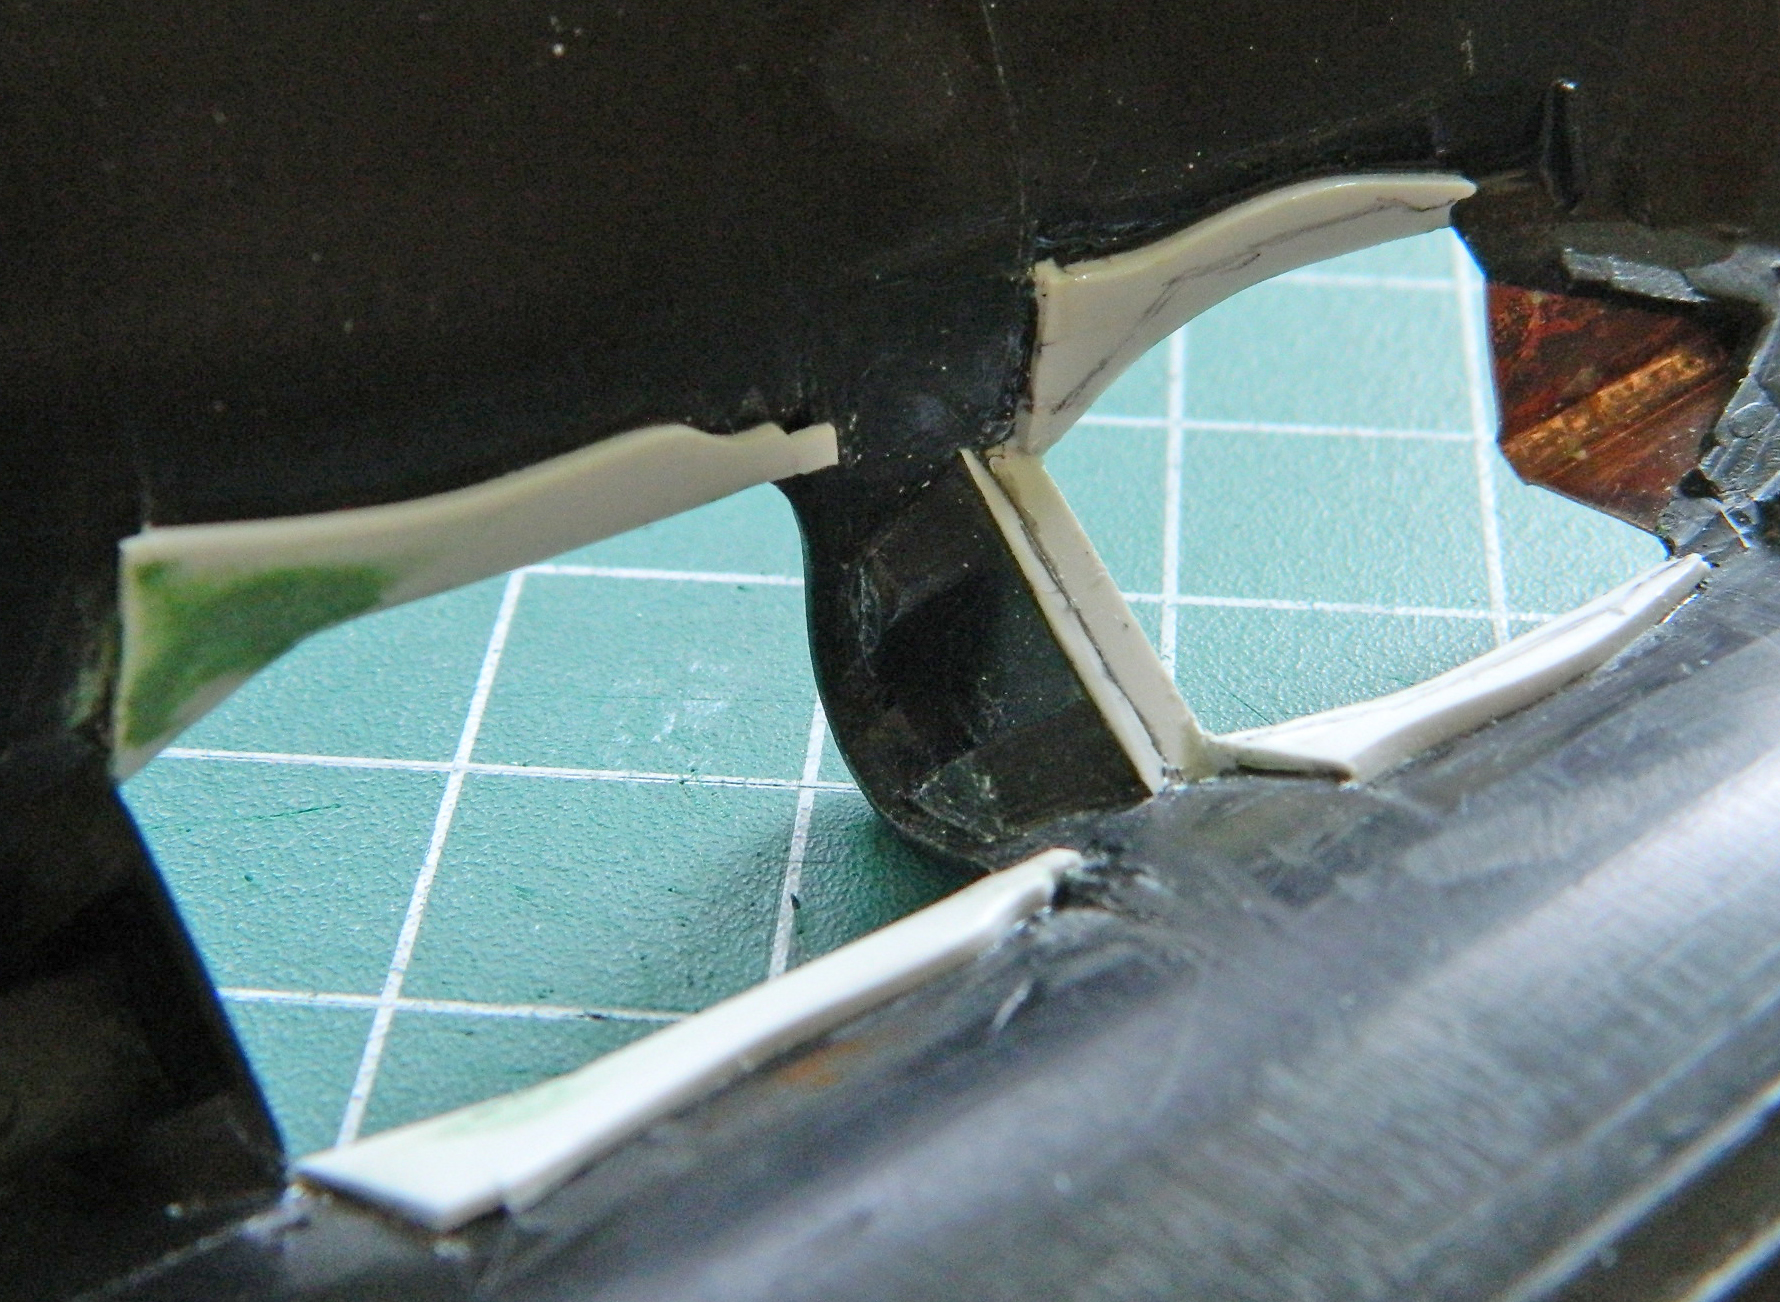
With the (annoying) rear partition in place under both canopies, I started adding the structure, beginning with the rear canopy:

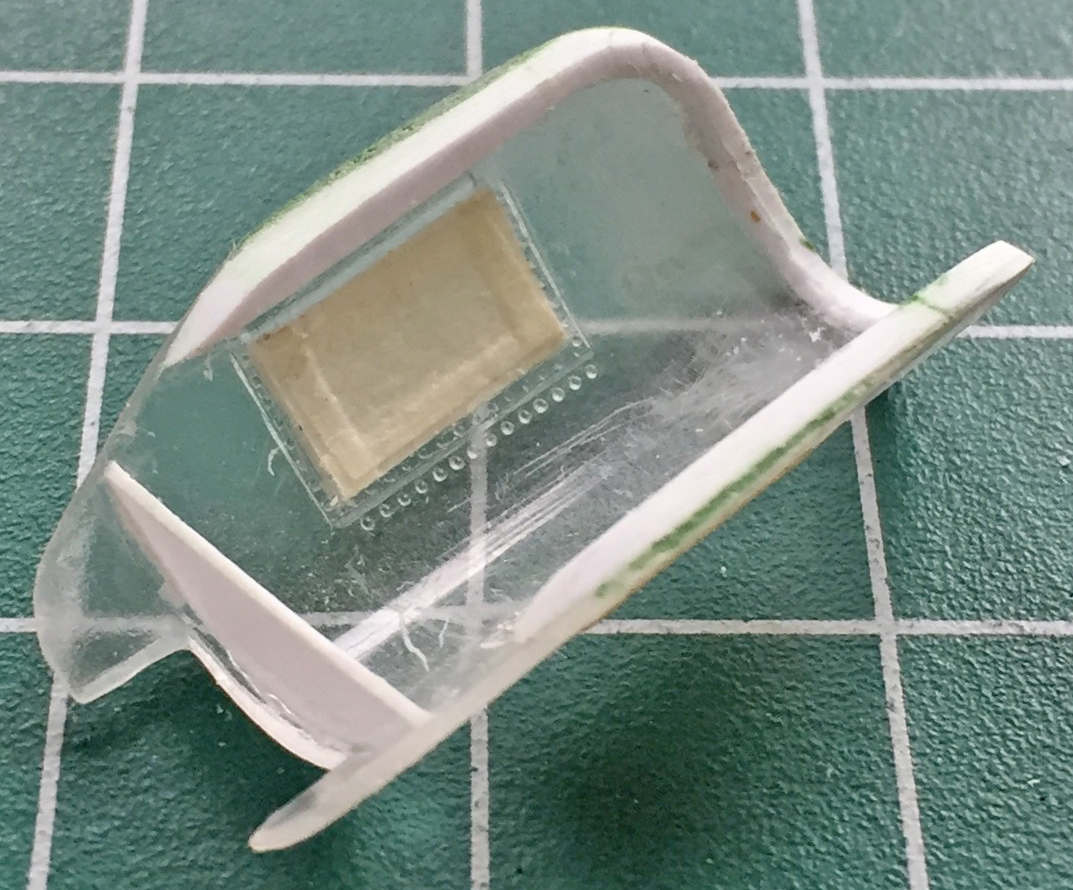
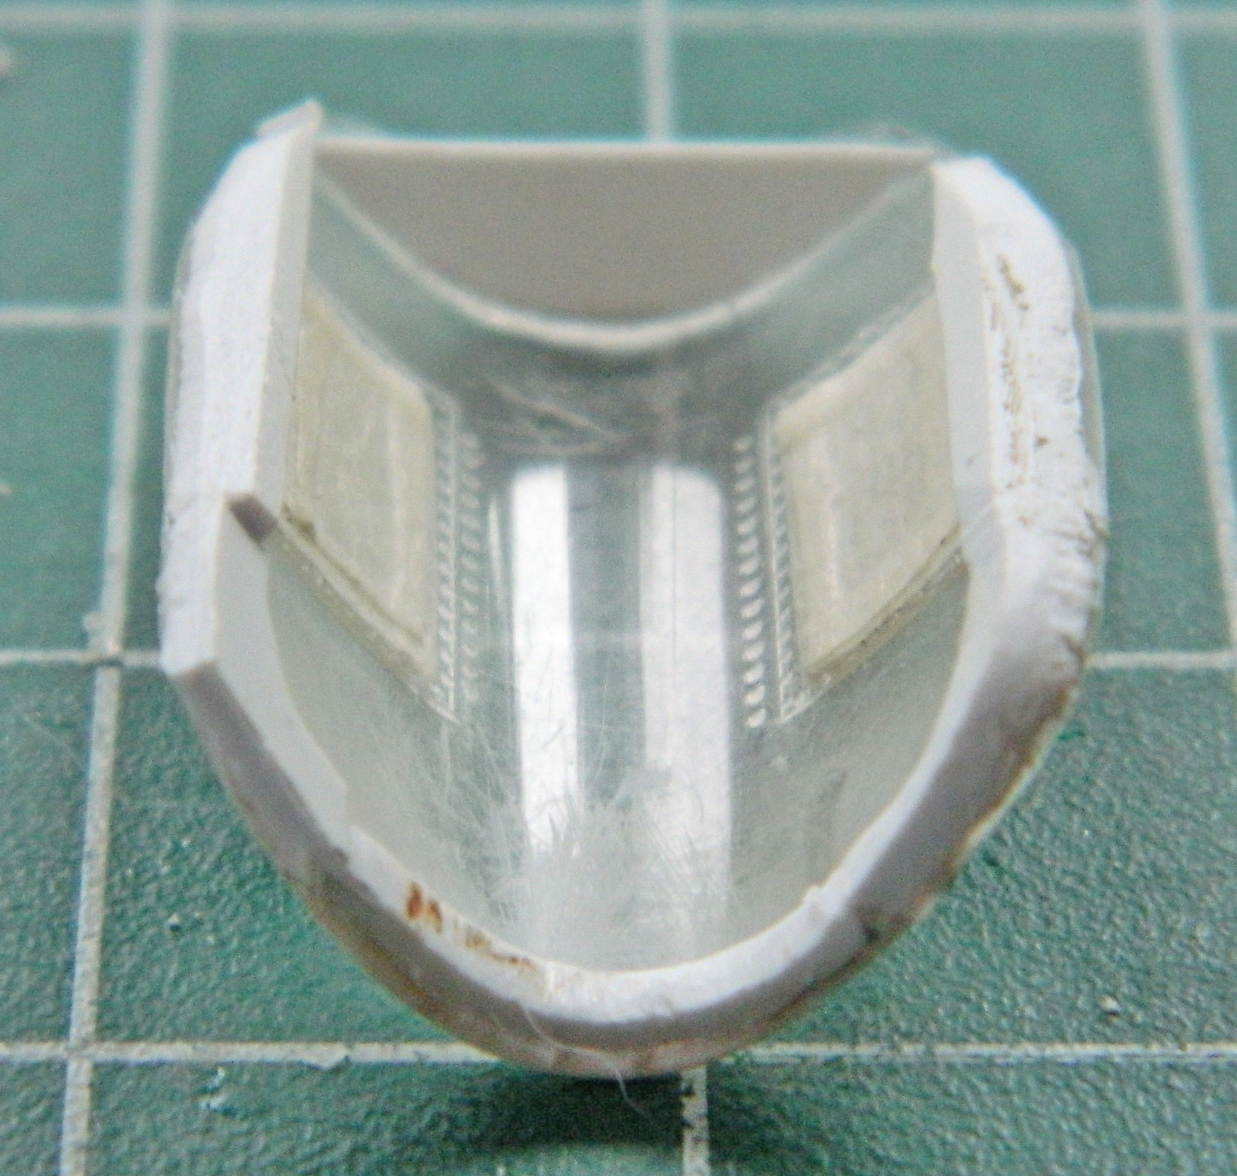
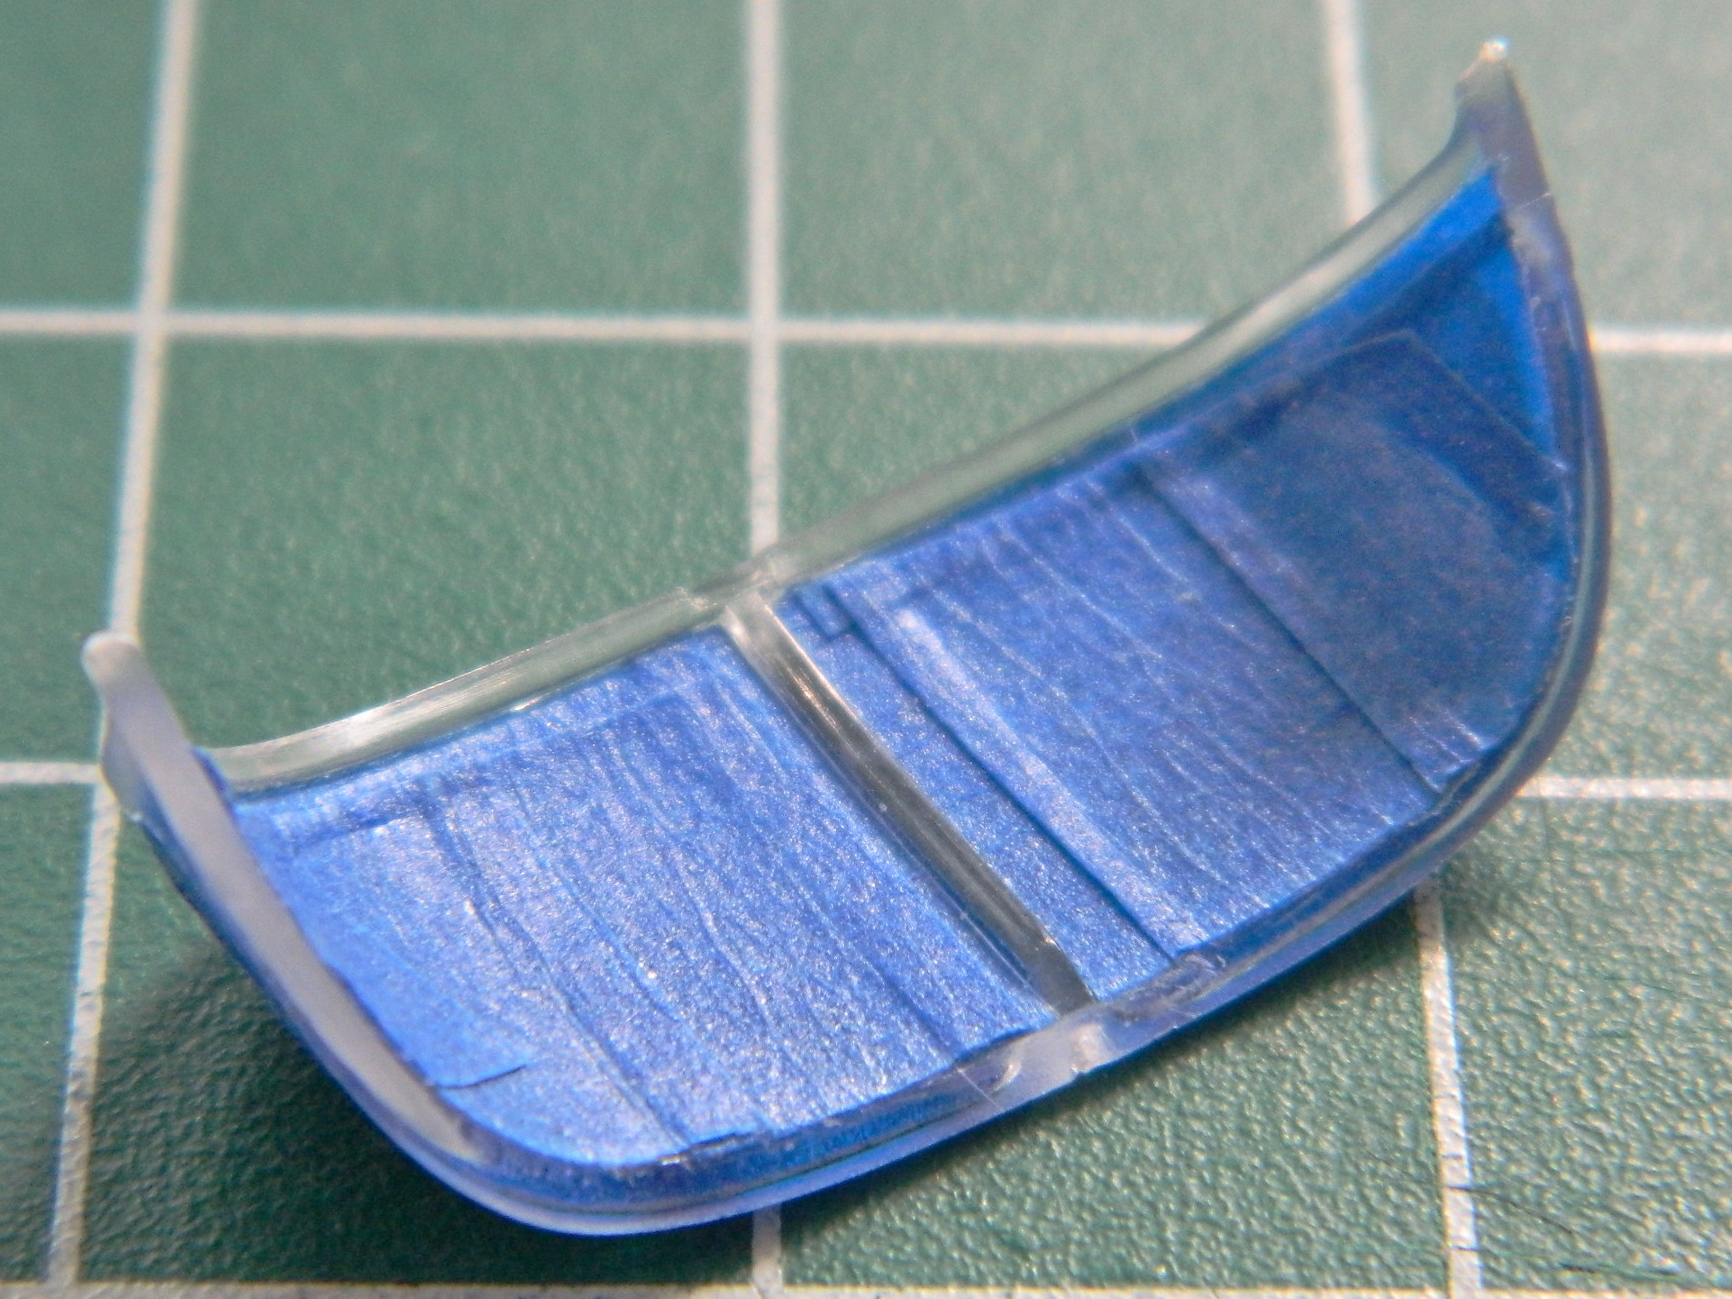
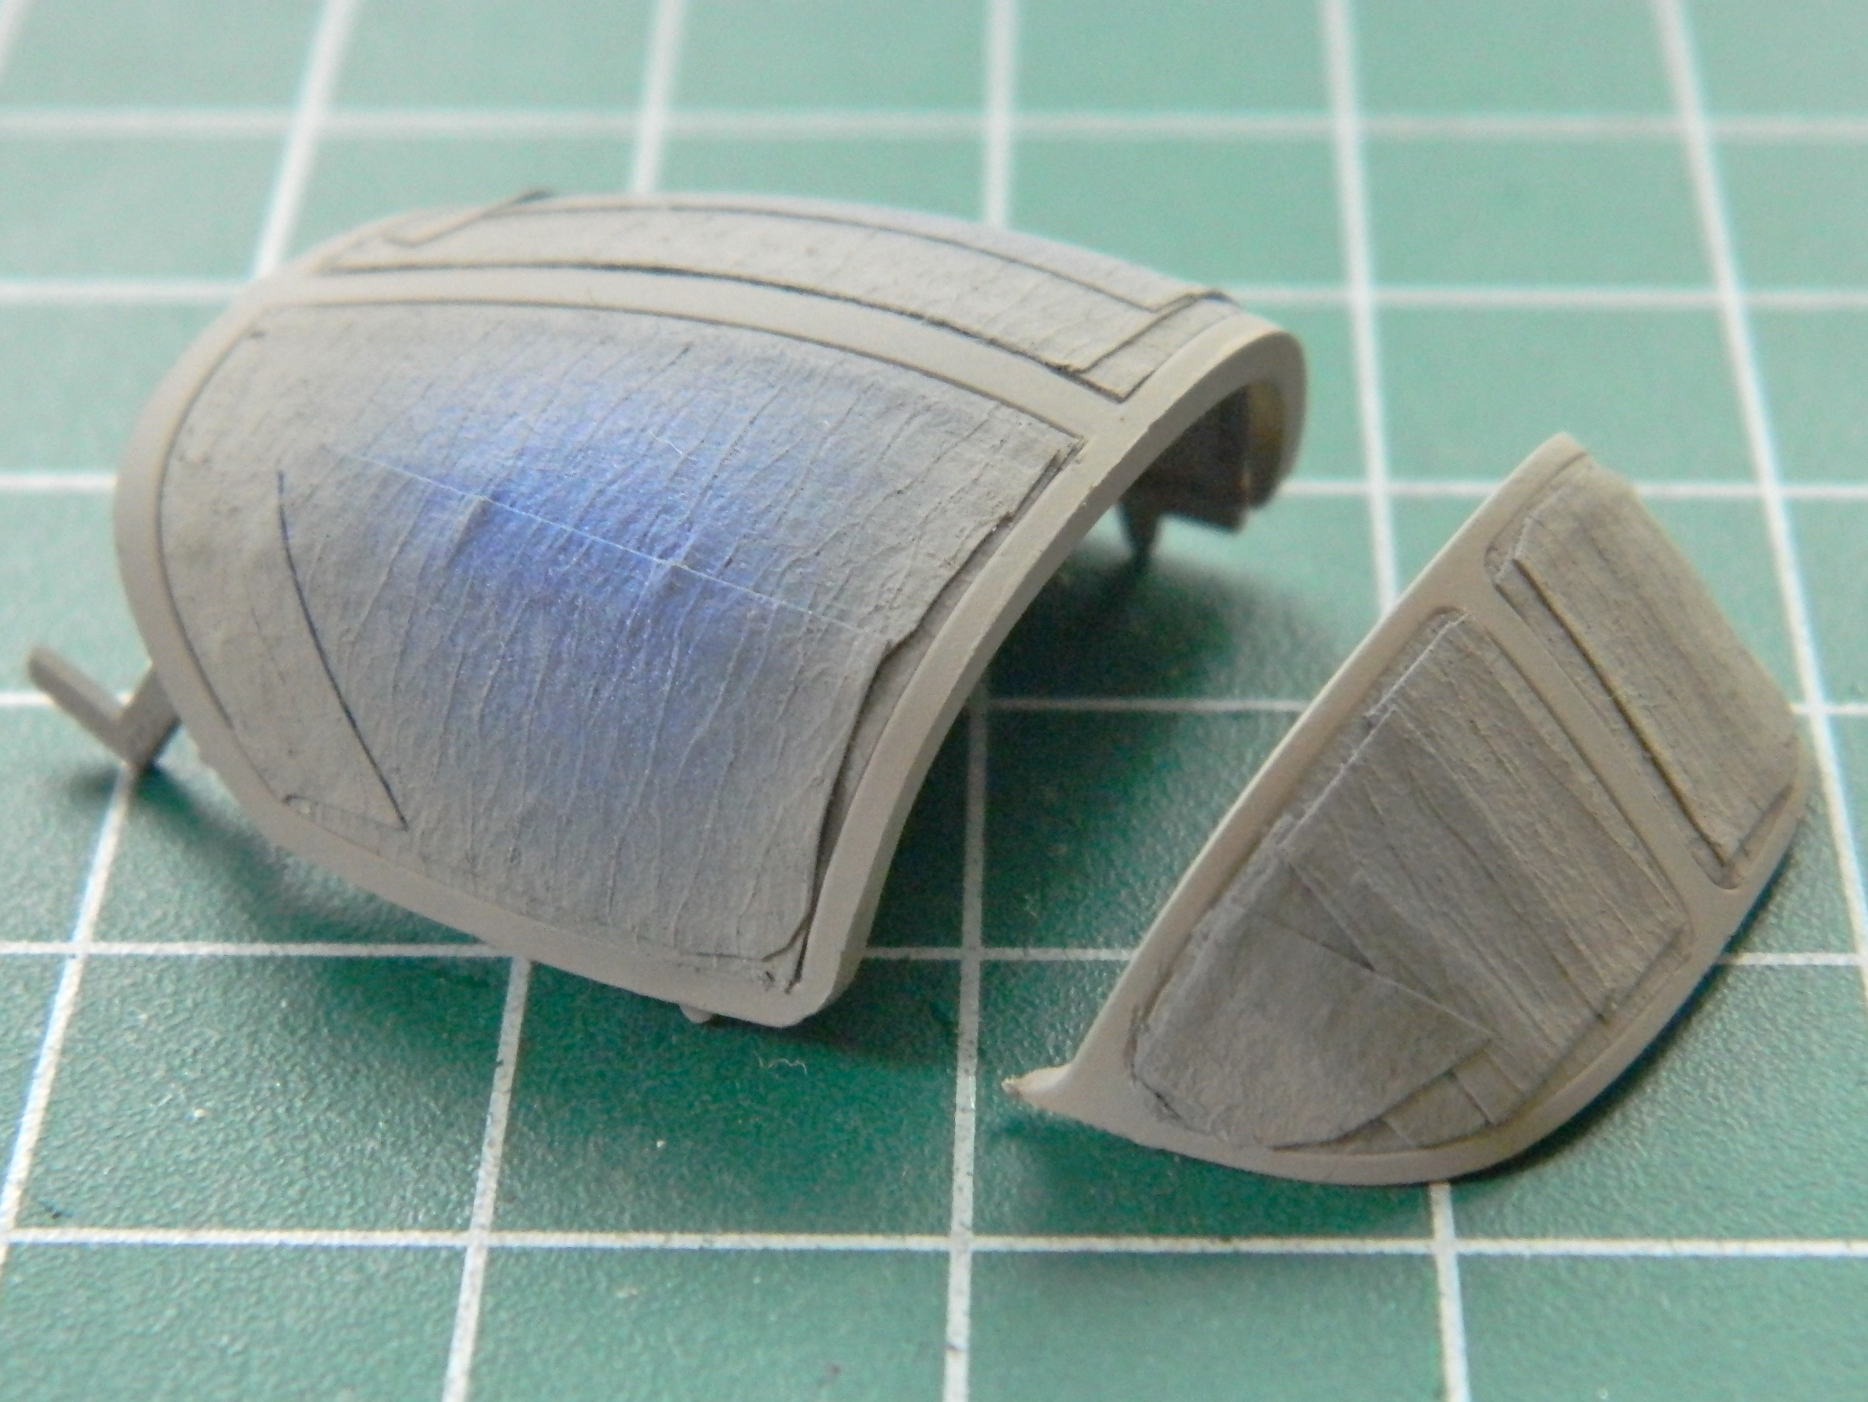
I kept adding plastic until the perimeter inside the canopy was covered, then there was A LOT of shaping to do. I’ve found it easier for me to scrape the plastic I don’t want there than sanding it away. I have much more control of where it comes off and how it comes off. With the basic structure of the canopy’s frame in place, I added putty to enable a smooth curve to replicate the actual framework:
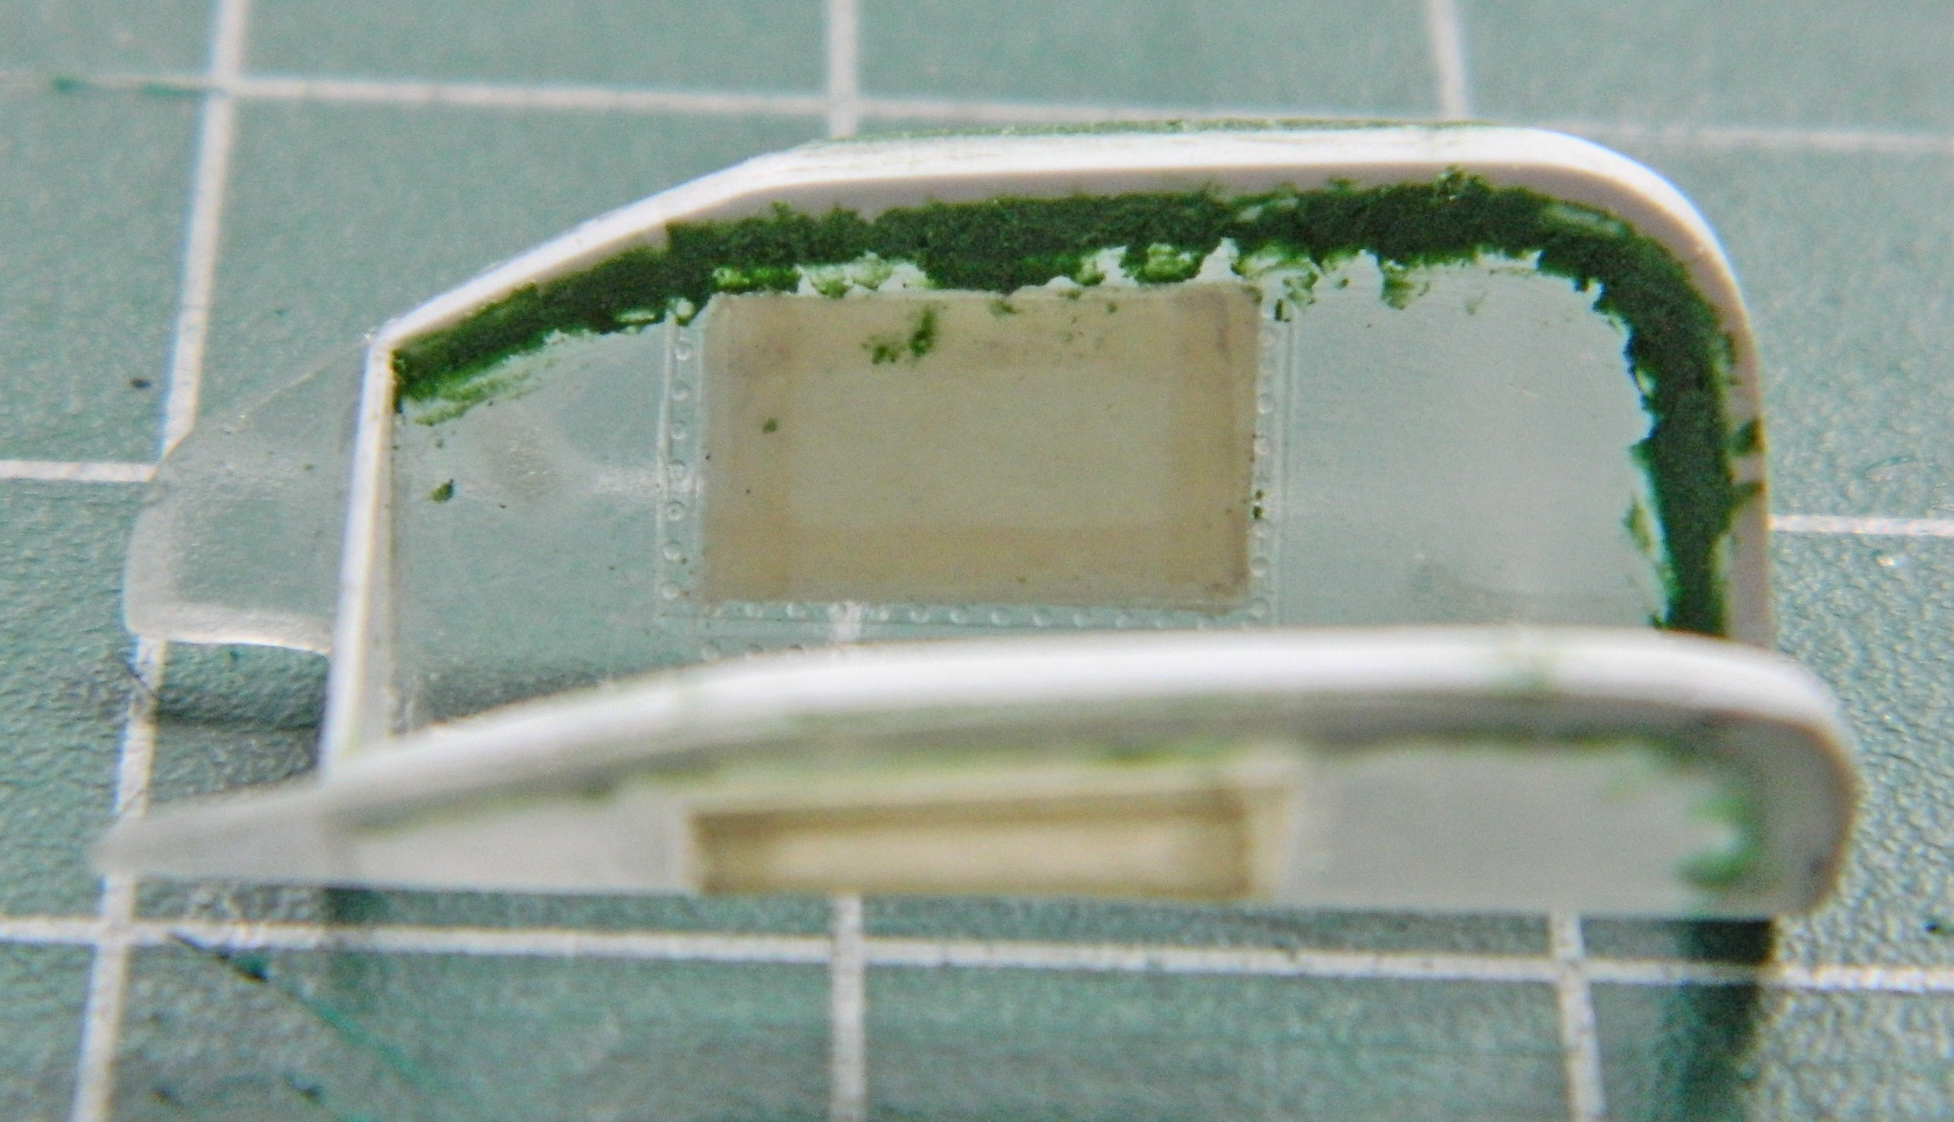
As the putty was curing, I started adding structure inside the front canopy:

And entirely out of sequence, I taped together the major components (which also allowed me to see if the fit of the parts is really as abysmal as its reputation would have it…and oh my isn’t its rep well deserved). I’m building this one for someone who needs its measurements to see where he can put it when it’s (eventually) done. It’s one thing knowing its going to be a big one, it’s another thing seeing how freaking big it’s going to be:

As with the rear canopy, once I’d added the plastic inside the canopy, many hours of scraping ensued. And then I noticed that the rear partition of the canopy was far too thin. ::sigh:: So that means I again get to fit plastic inside a curve (still my favorite) (spits). Once that was done I added more plastic inside the back “wings” on the canopies as the as-molded part was far too thin:
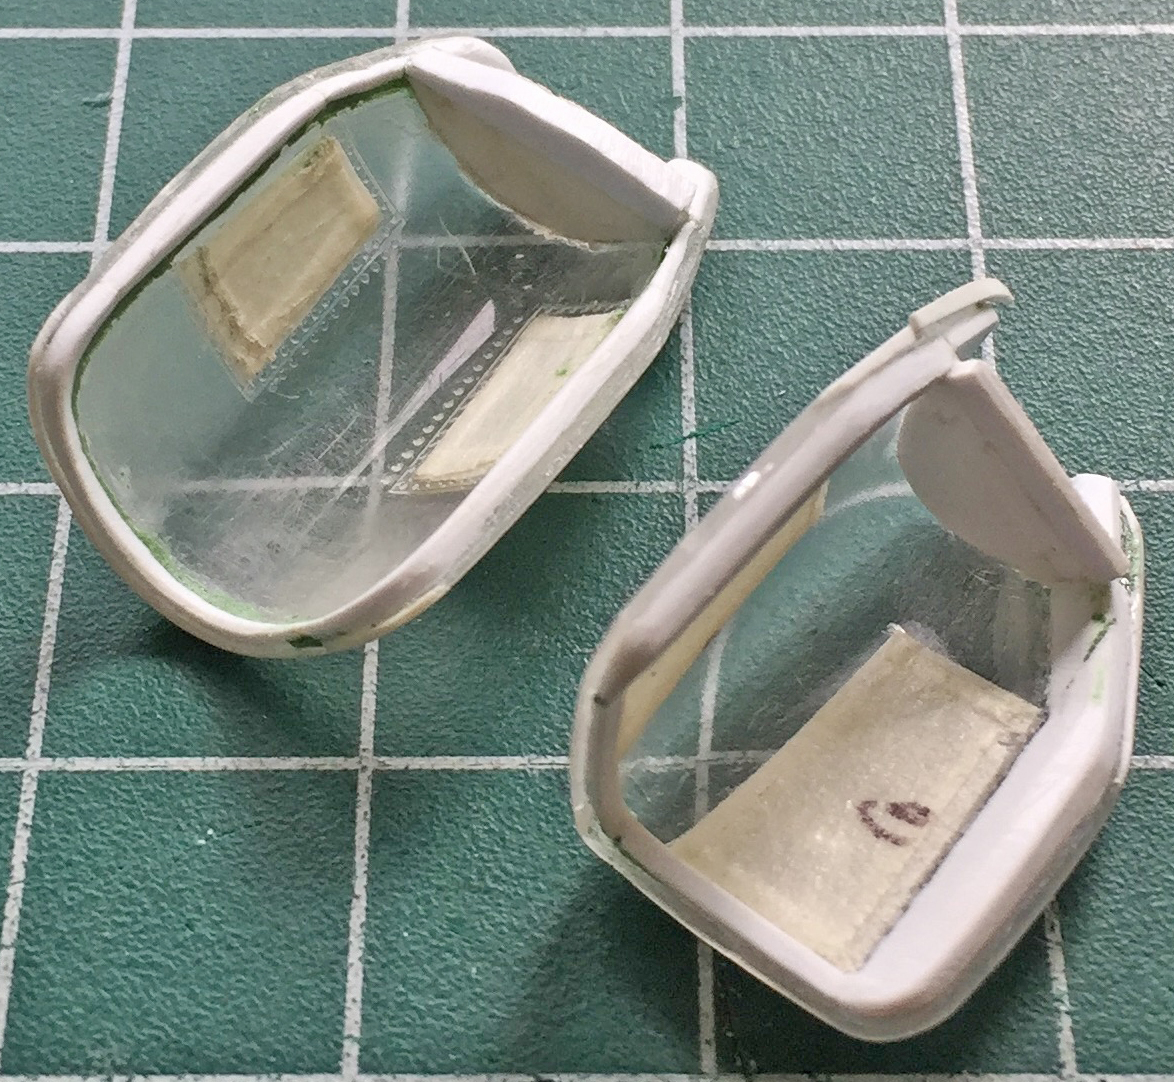
The rear canopy has roll-up glare shields (you and I would call them “shades”). I made a pair of those using .062″ (1.57mm) rod for the body and .005″ (.127mm) sheet for the end plates. These will be installed much later on; if they’re glued in now I won’t be able to get at the tape to remove it. I also added a few more details (with a few more to come) and did both canopies that way (the glare shields in the front canopy are entirely different and will also be done later):

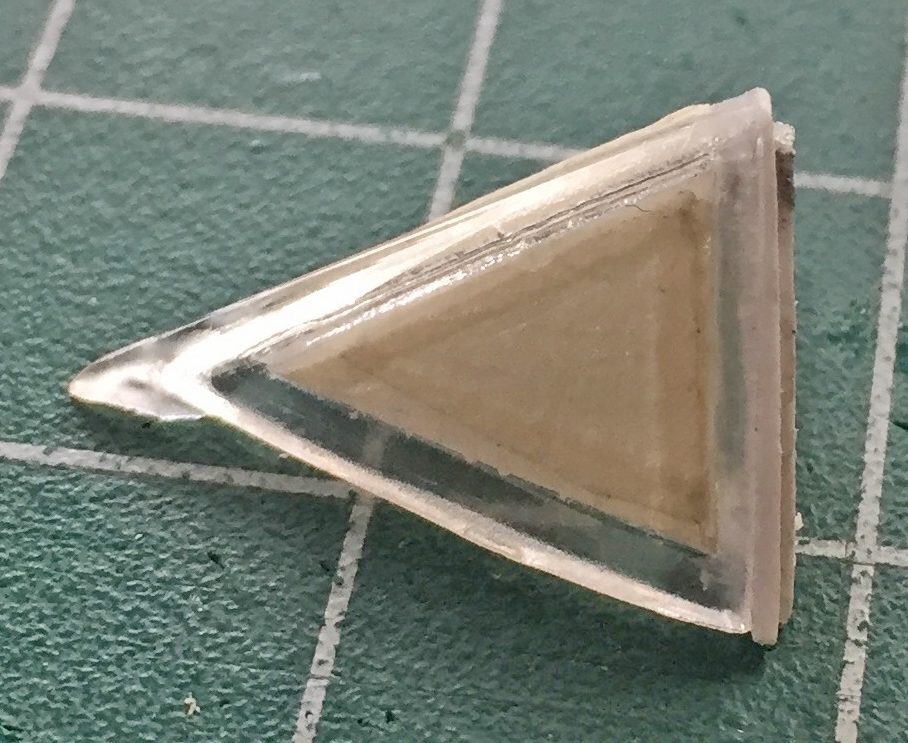
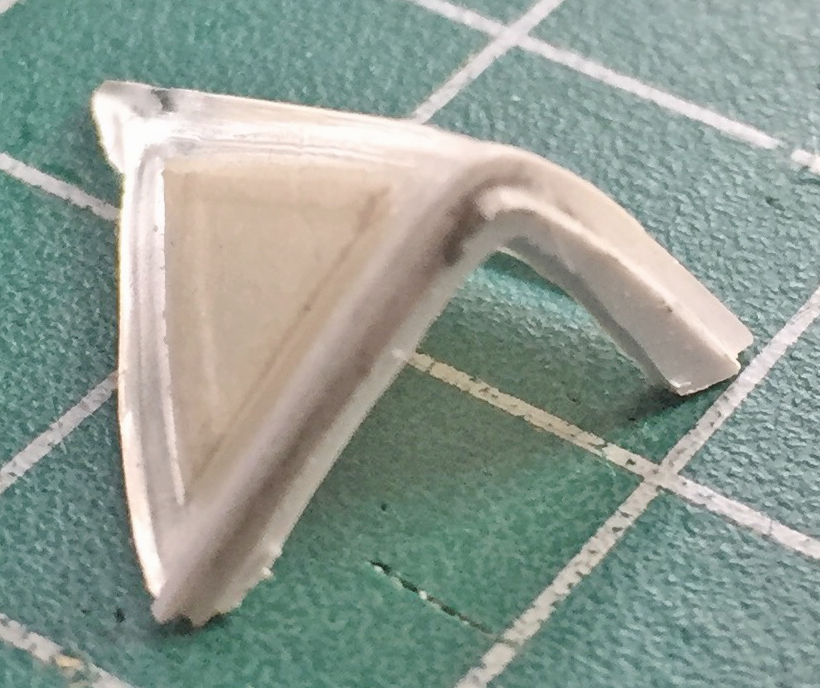
Last was the front windscreen. The sharp tip is a bit too sharp and not correctly shaped. The point of the windscreen stops at the raised line (more about those shortly):

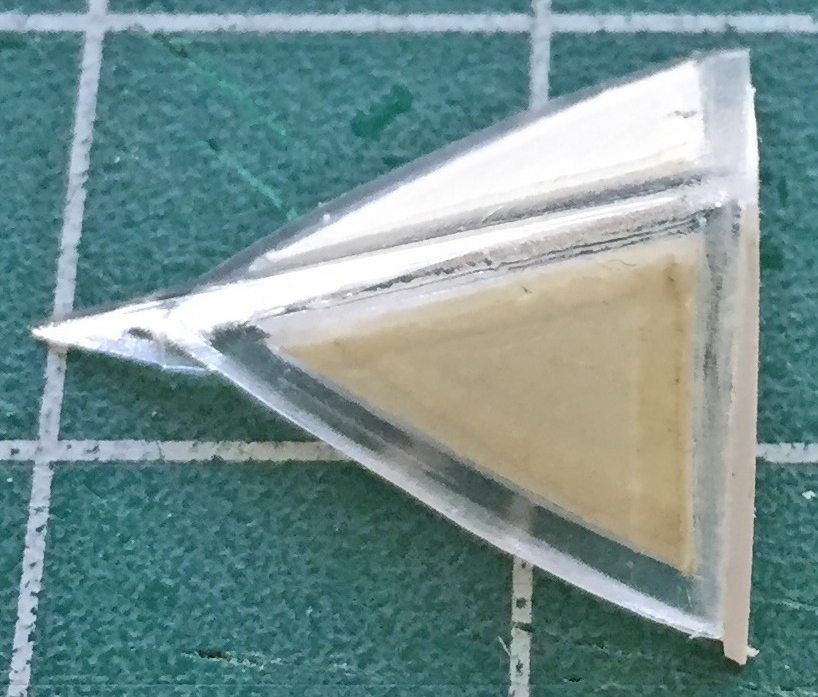
I cut the tip off and reshaped it to fit accurately, then I started on the inner framework of this part:
Yeah, so, the raised panel lines. Back in the mid-60s through the 70s, when the dies were cut it was a lot easier to create raised lines. One simply cuts them into the face of the molds. Recessed panel lines mean that the entire surface of the die that creates the surface shape(s) have to be recessed so that the panel lines can be raised in the mold and thereby create recessed panel lines on the finished part(s). That has to be much easier with CAD/CAM than cutting the dies manually. So all the lines shown below are raised and have to be scribed into the surface:
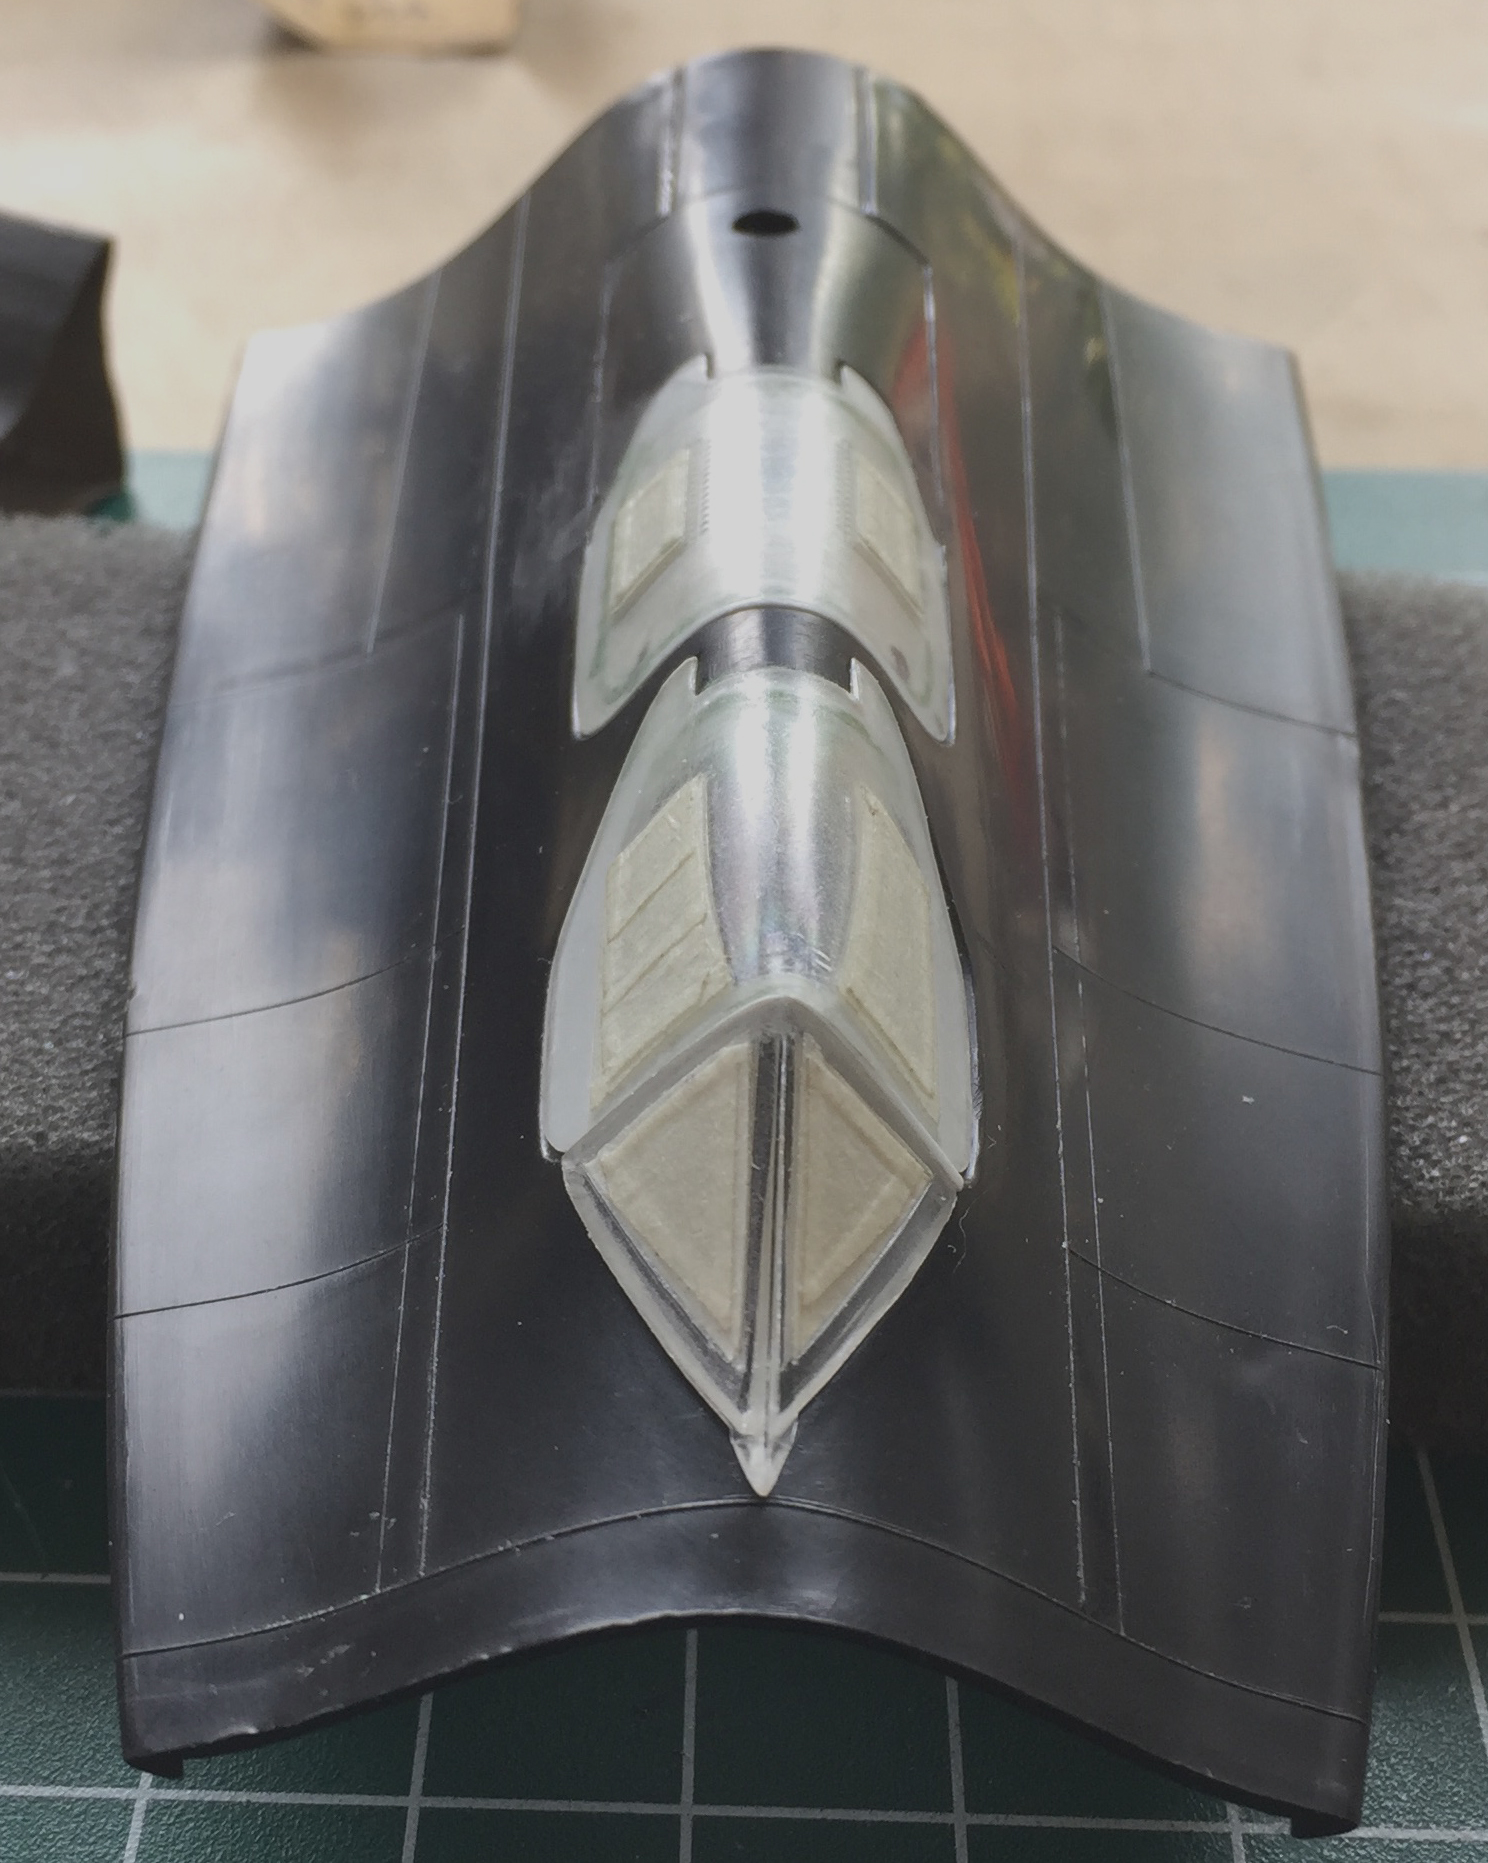
Well, I absosoddinglutely SUCK at inscribing panel lines. TOTALLY SUCK AT IT. I have two different types of scribers, mistakenly figuring that maybe one of the types I can get to freaking work (and now I have even more scribers…so many of them that if I had a wazoo, that’s what I’d be keeping them up into). Uhm…no. I can’t. One little bobble and the line is wrong. I really do not want to ruin whatever other work I’m doing on this build with lousy, irregular, not-quite-straight panel lines. After I screwed up two lines back to back, I stepped away (GLADLY) to reconsider Things…and to let my blood pressure drop back to normal.
Then something novel happened. I had a thought! Once the, well, novelty of that subsided, I decided to try it. (What’s the worst that could happen? I’d screw up a line or two? Already managed that.) What I tried was going back to an old-school technique. Instead of using dedicated panel scribers, I used a needle. AND I used Dymo label tape as my straight edge:
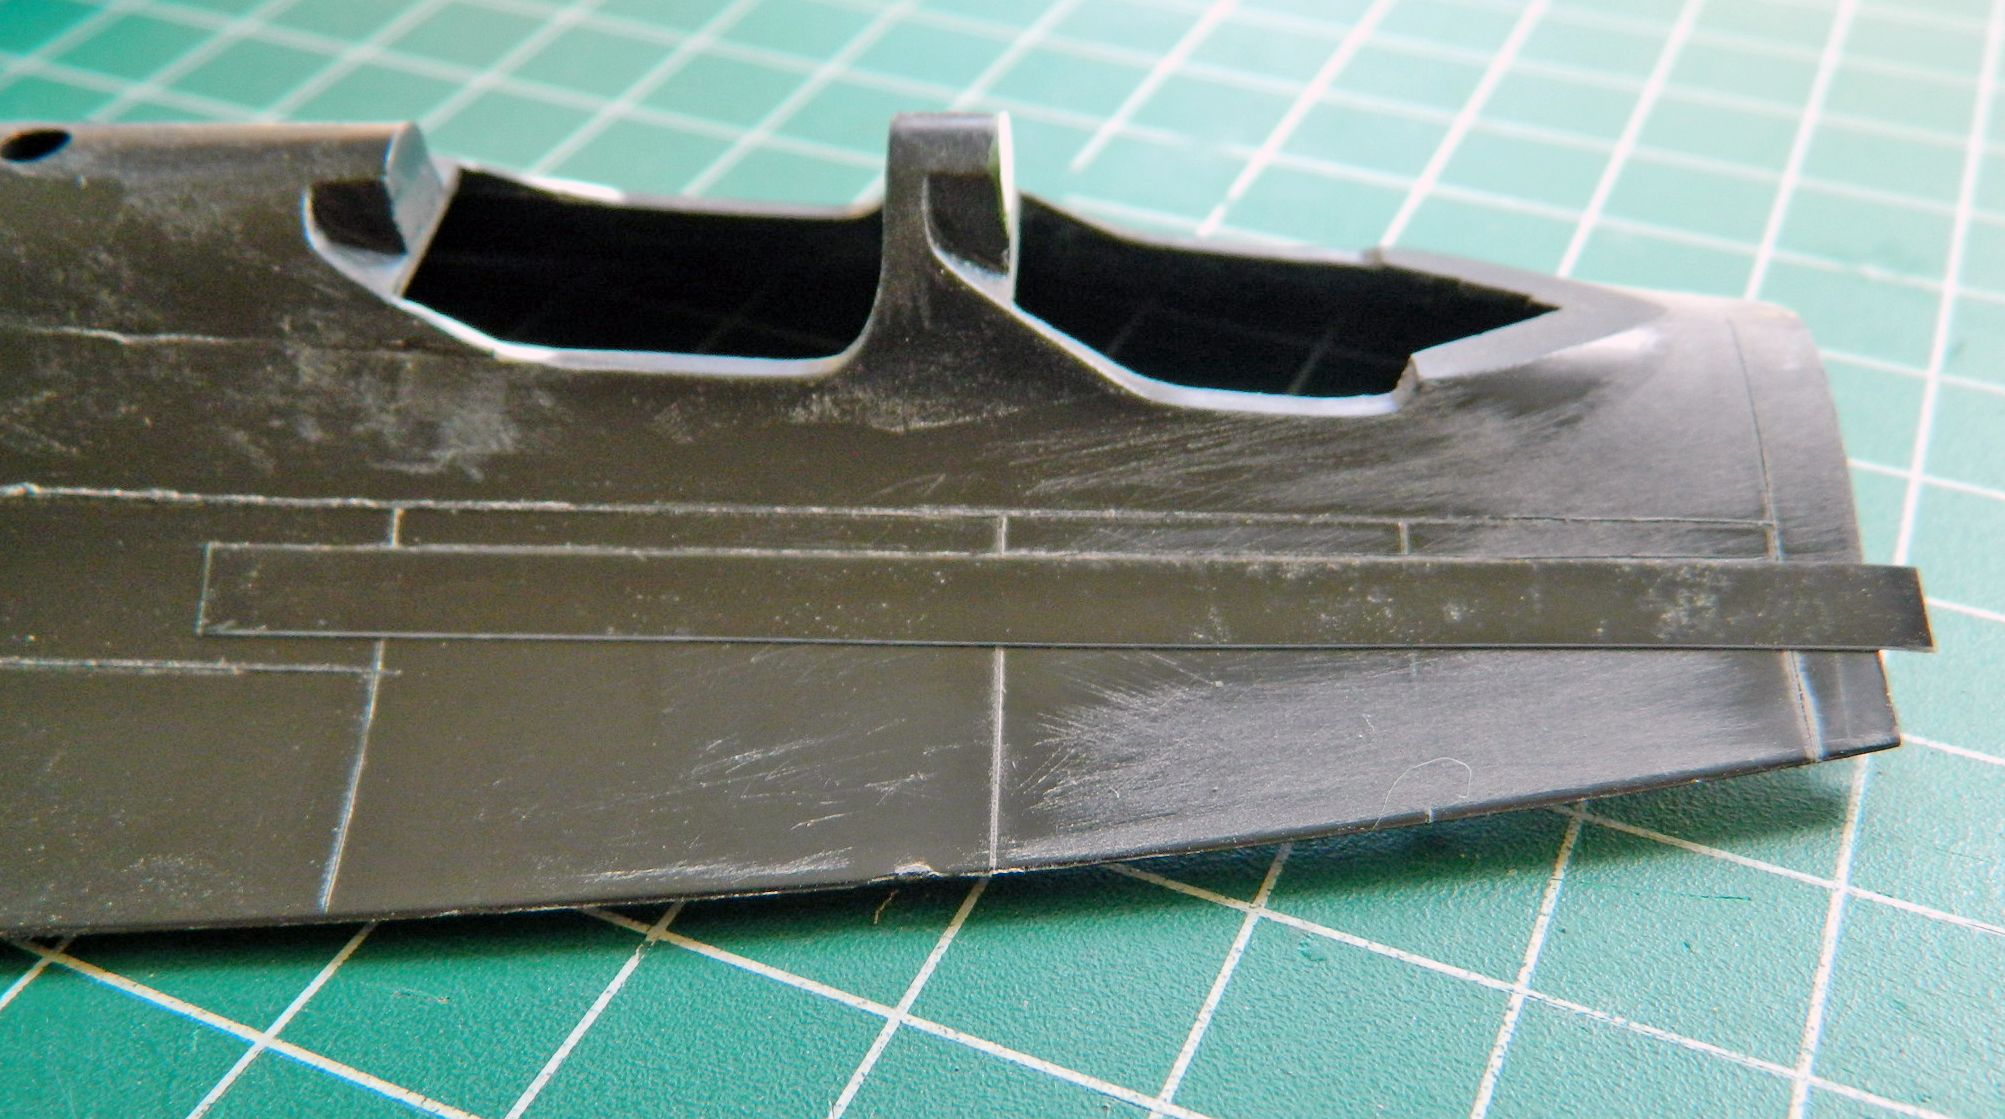
And gawDAM didn’t that work out just fine! The process is to lay the tape right next to the raised line then, holding the needle mostly vertical to the surface, lightly drag it along where the panel line goes. Several drags of the needle lightly result in a much better outcome than trying to do it in a pass or two…and if (when) the (old) hand bobbles, a light line is easier to sand out:
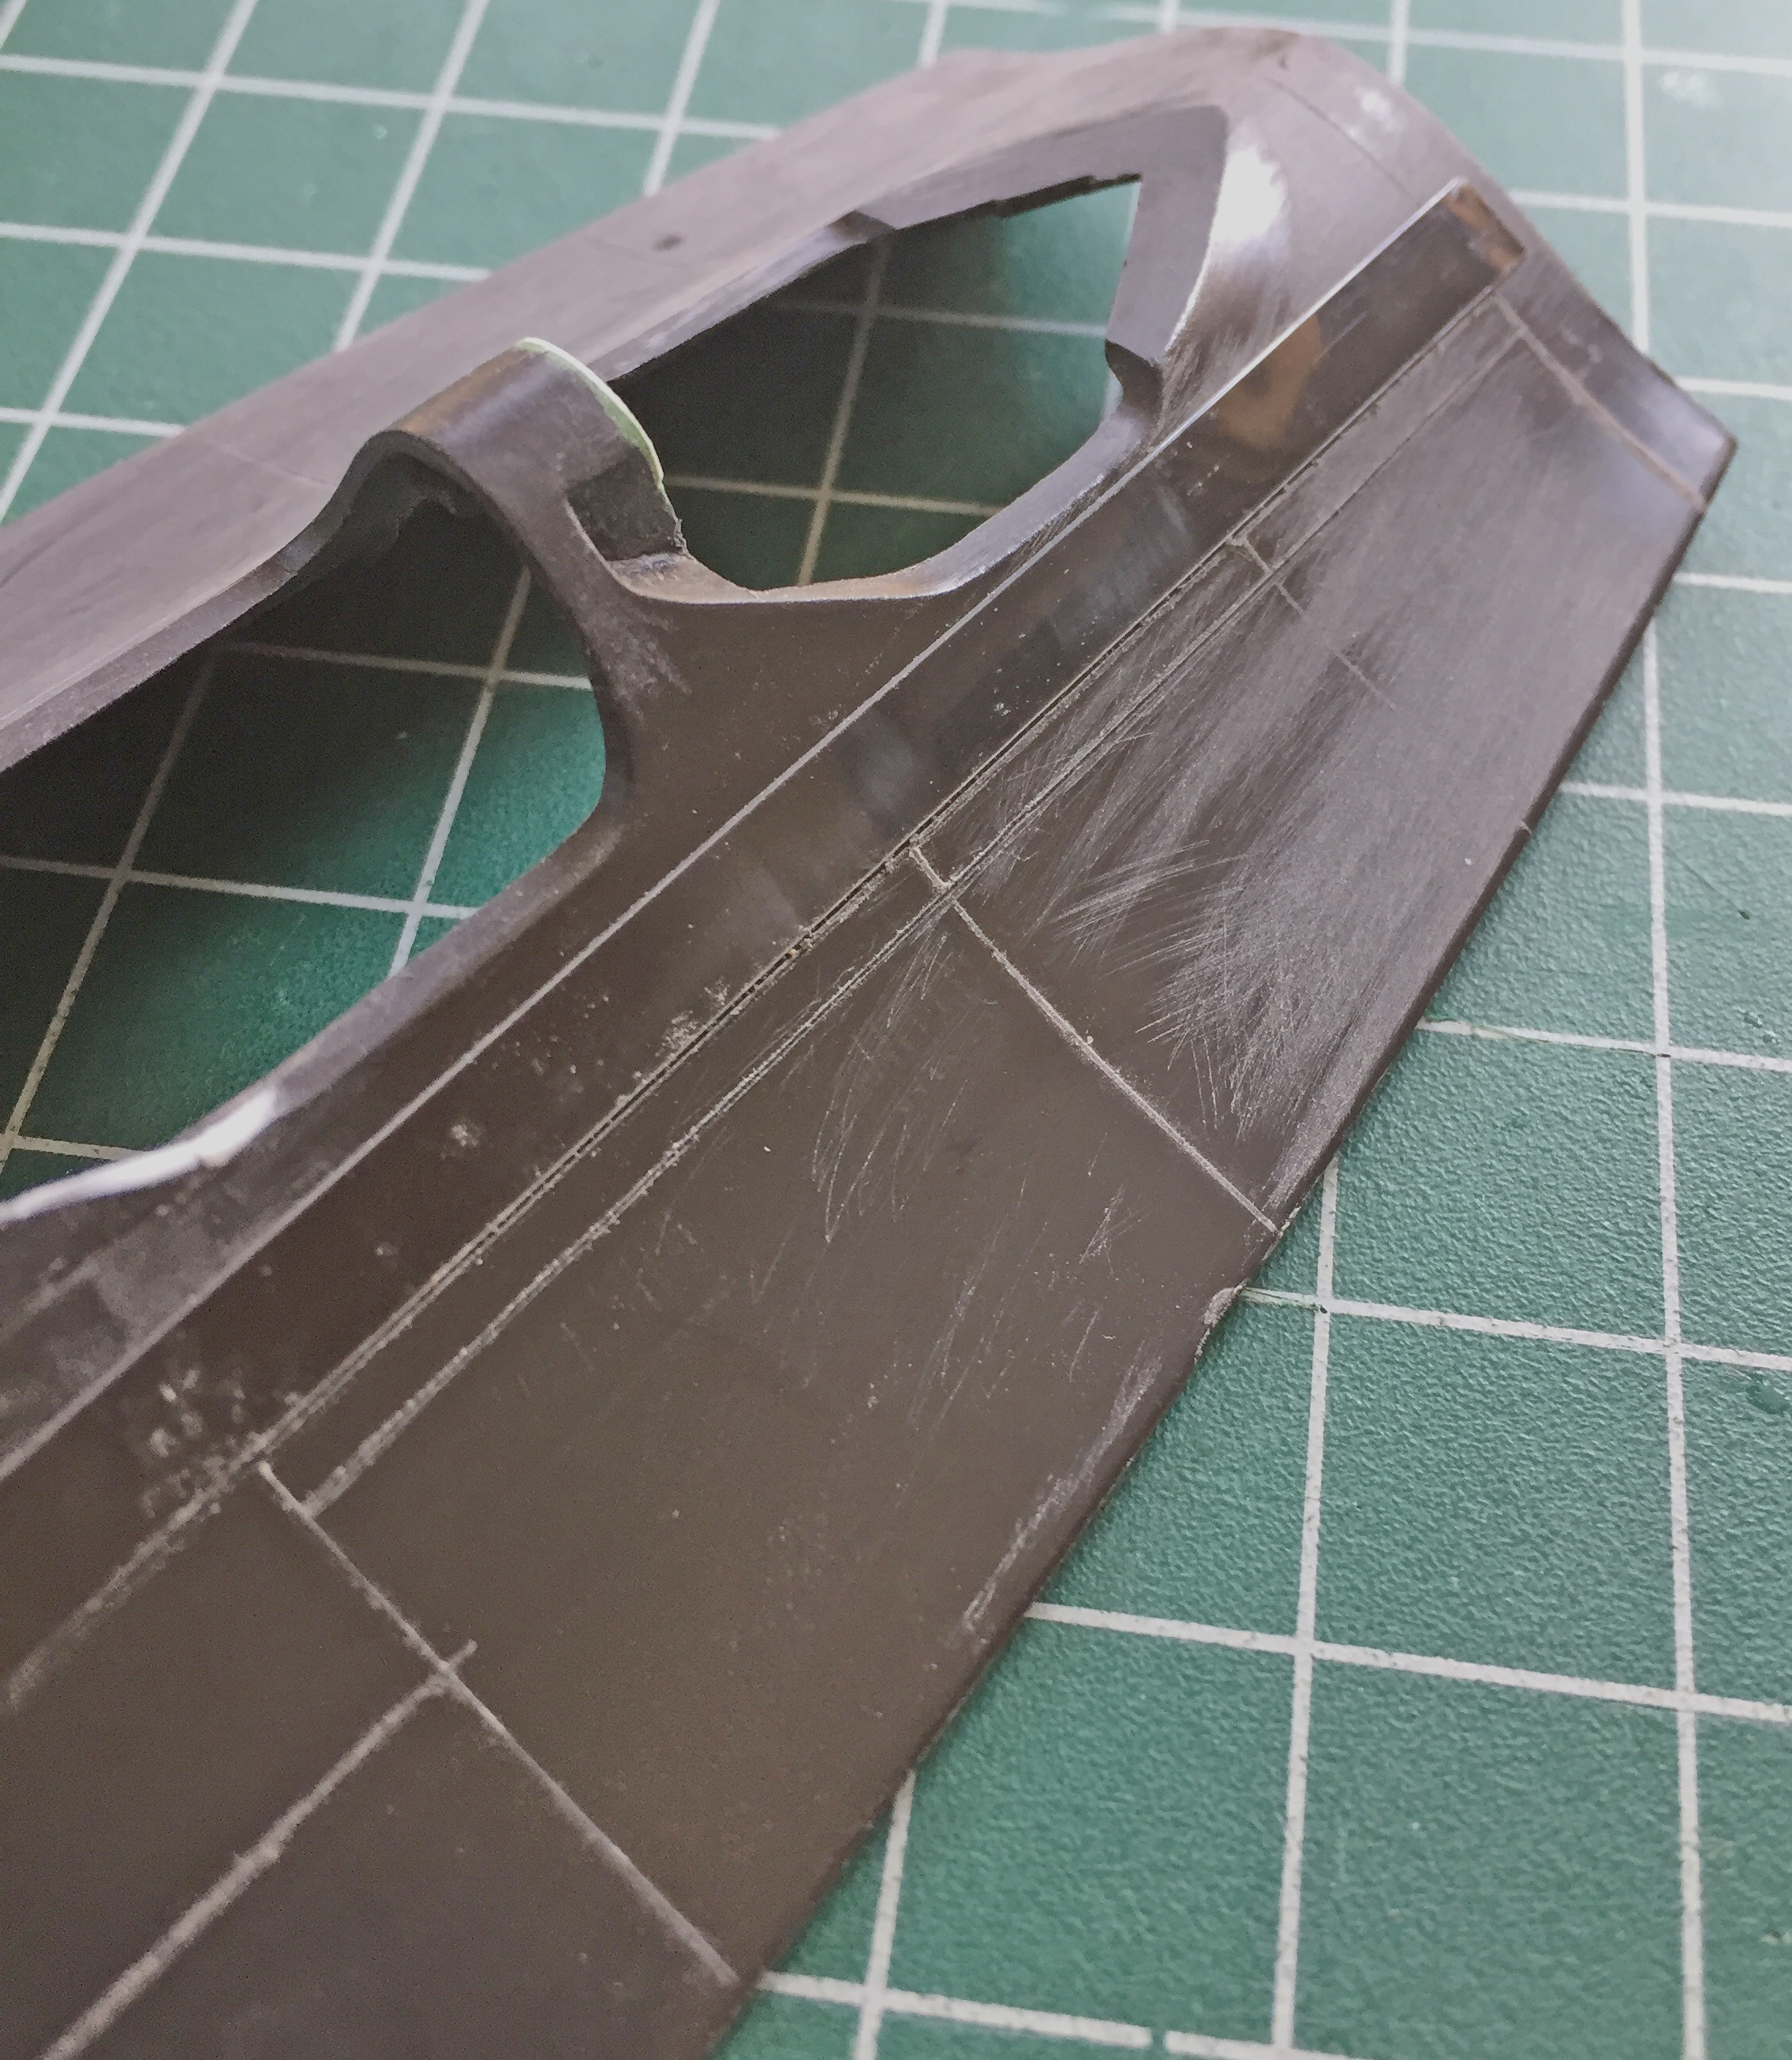

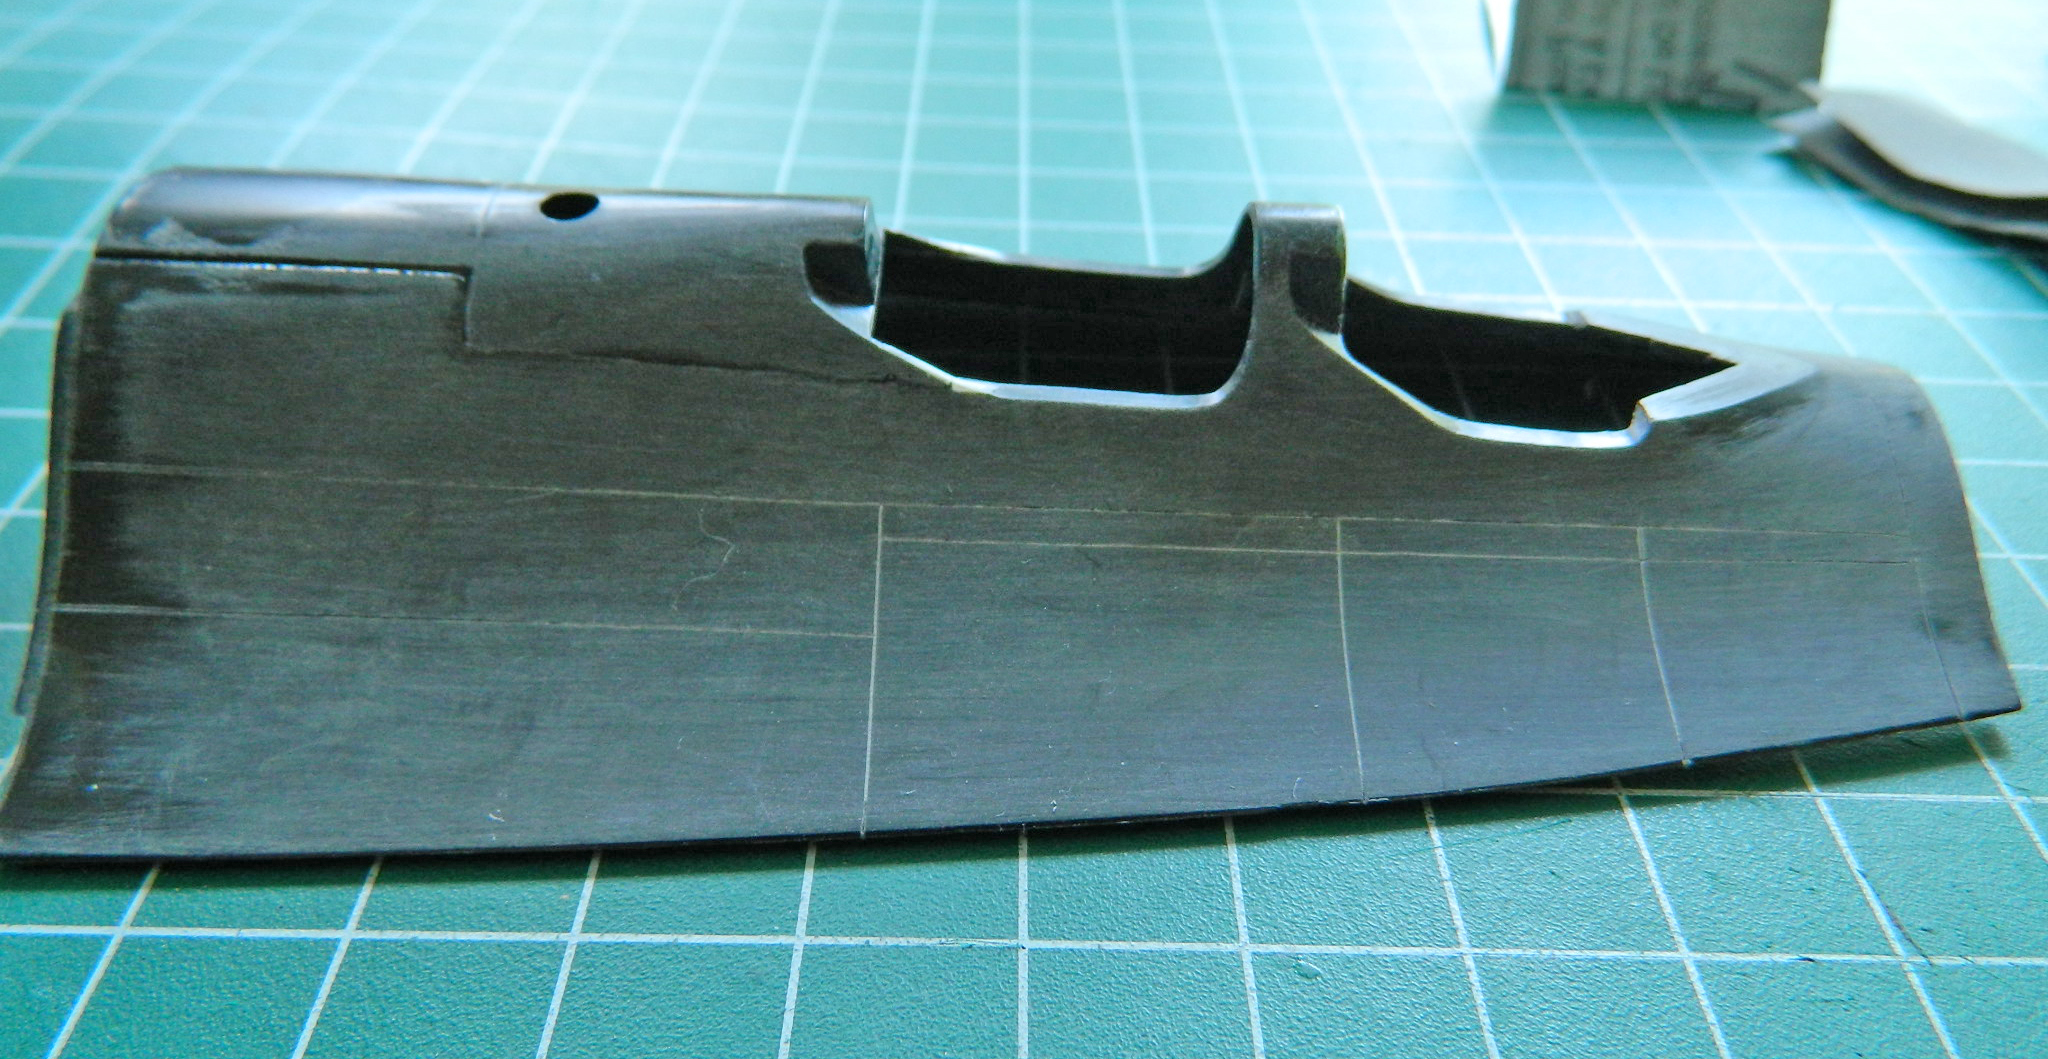

Then I had to fix the two uneven lines I’d scribed in. In dealing with plastic and putty, their physical properties are much different. For all its flexibility, plastic is a solid and putty is not. Even though the particles are small, putty is granular. Dragging a scriber or needle across putty results in it chipping and coming out unevenly. My way around it is to use stretched sprue to fill the lines that don’t pass muster. The sprue is laid along the section to be filled and styrene cement applied. I wait a minute or two and then press the raised sprue down firmly. The dissolved plastic then squidges out and downward, completely filling the space I want to be filled. The real trick to that is to wait until the cemented plastic is totally hardened. Not doing that results in blobs of it either pulling away or not scribing sharply. Each time I fill something this way, at least two hours needs to pass, more if the plastic applied is thicker. (I’ve since modified that procedure. I now let the work sit overnight before I go back at it so that the glue has cured totally.)
Once the cement had set, I re-scribed the filled areas and then sanded the surface progressively through 320, 400, 600, 1200, and 2000 grit paper. Use wet/dry paper wet. It keeps the dust down. The needle worked great. The lines are uniform in width and depth:

This is one of the better fitting panels I’ve encountered so far. No, I’m not being sarcastic (for a change…don’t get used to it). Because of the depth and width of the poor fit and the fact that these areas would get scribed, I decided I’d also fill these sections with stretched sprue:



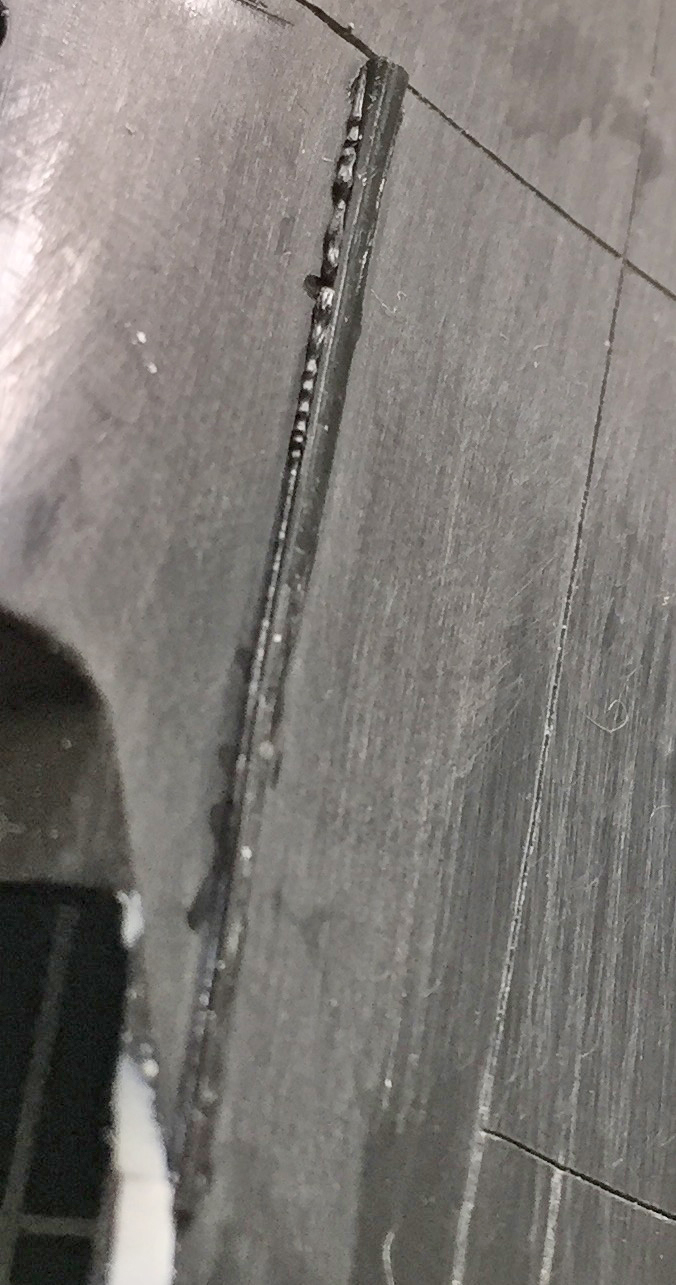
It turned out that because of the thickness of the applied sprue I had to wait overnight to remove the excess (and then go back and add more sprue in the section I dug out improperly because I only waited a couple of hours) and scribe the panel lines.
I added the cockpit sills from the AM resin detail set:
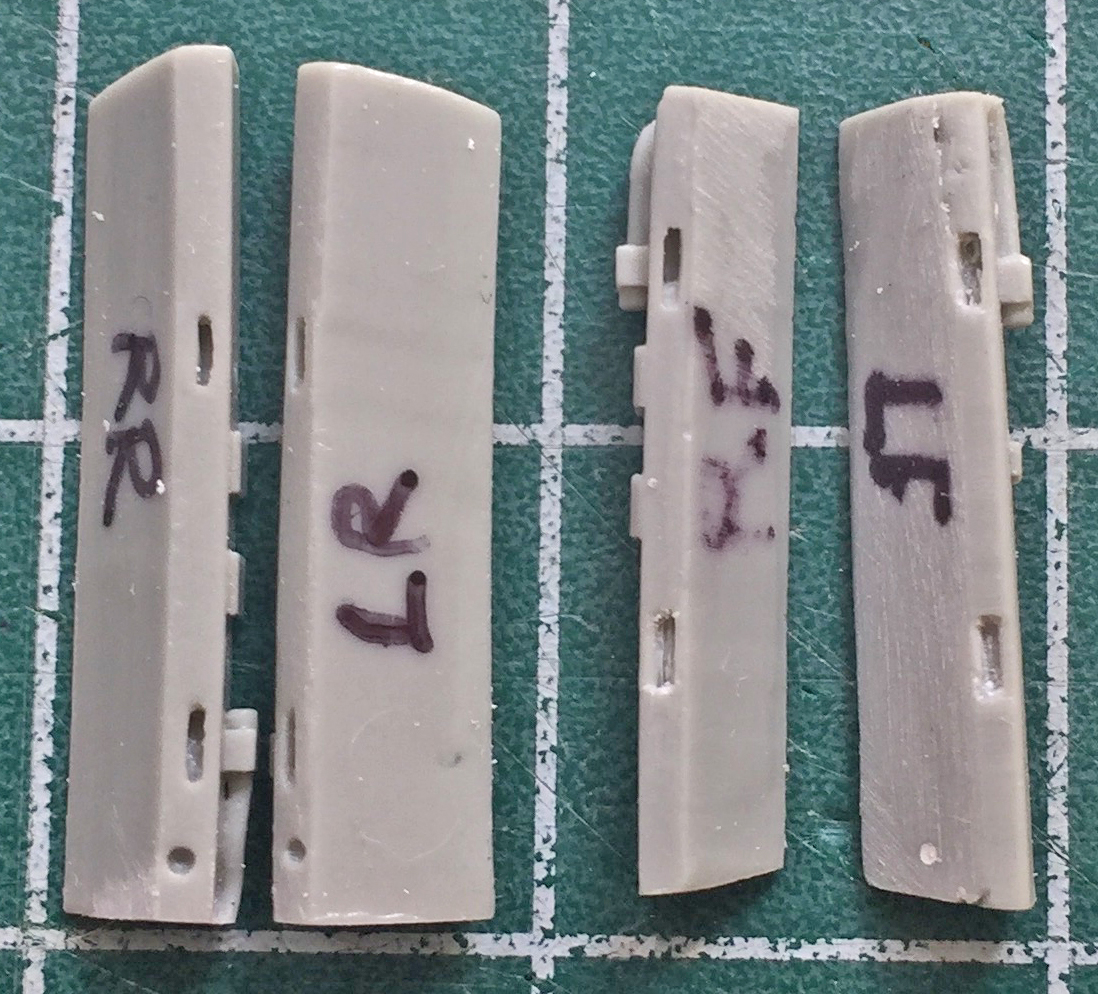

It’s common for resin parts to require fitting. If I just glued them in the result would have been cockpit sills that were far too thick:
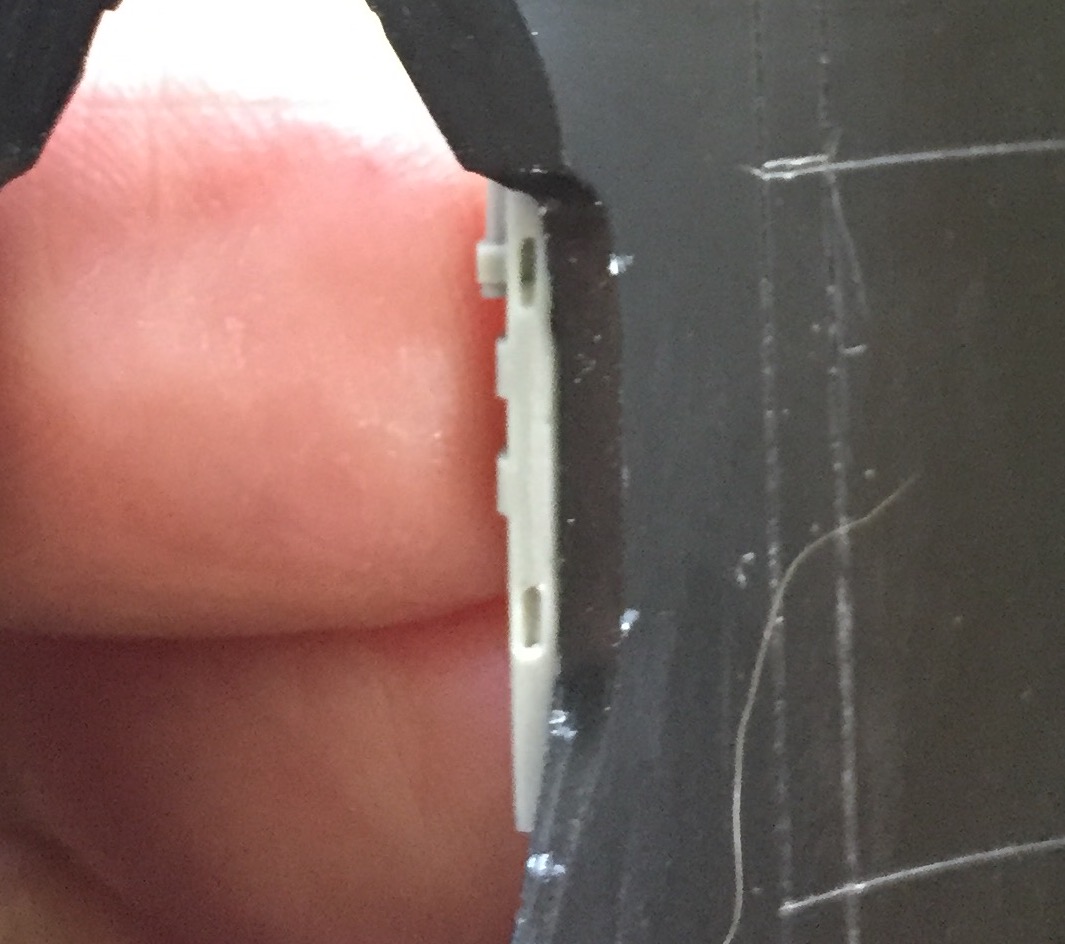
First I thinned the sills by scraping:

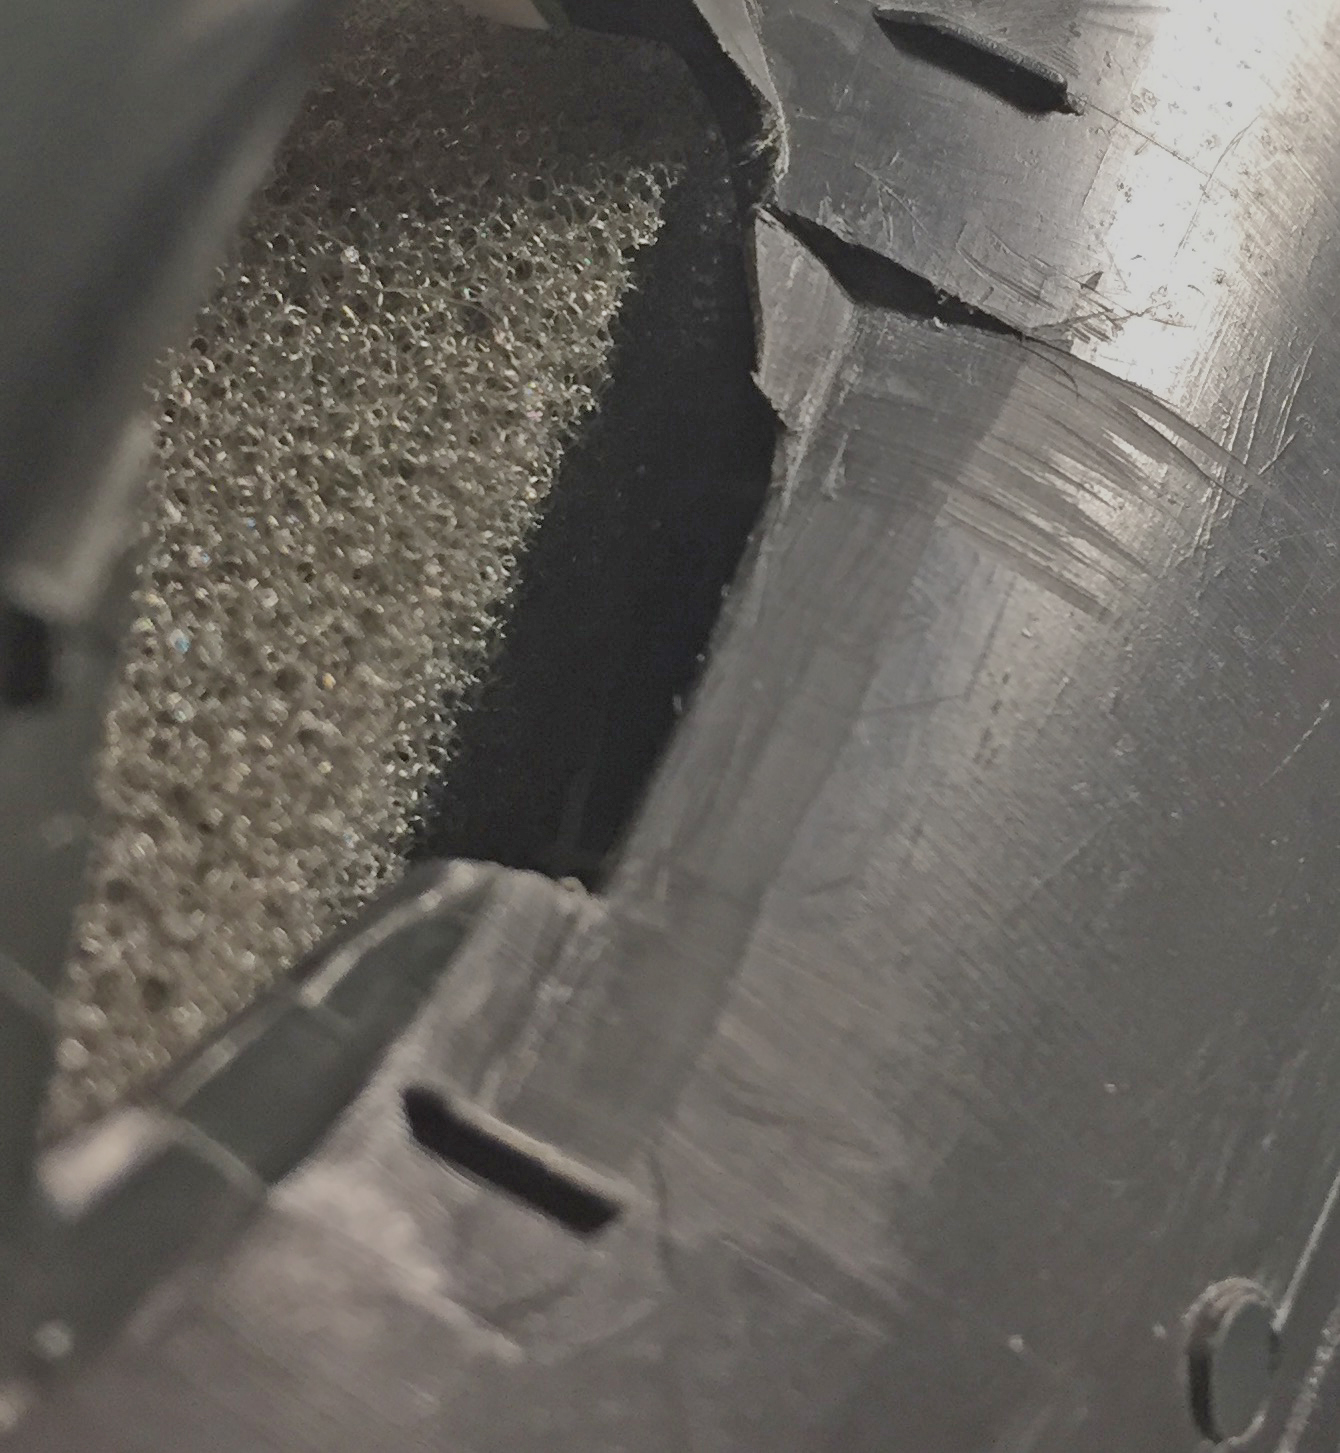
Then I had to “socket” the resin parts because though that above photo looks like it’s thin, it’s only the edge that is. Behind that edge the plastic is thick:
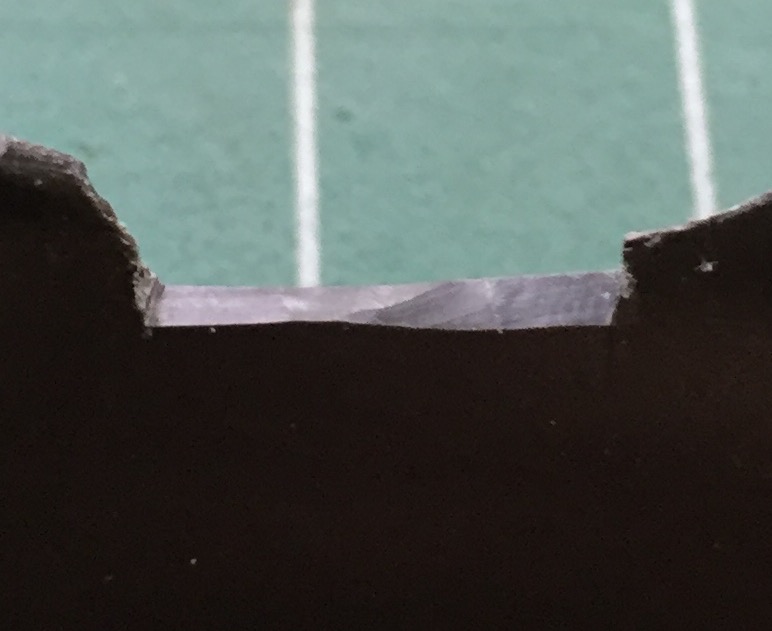
There was a lot of cutting scraping required to get the resin sills to (relatively) fit:
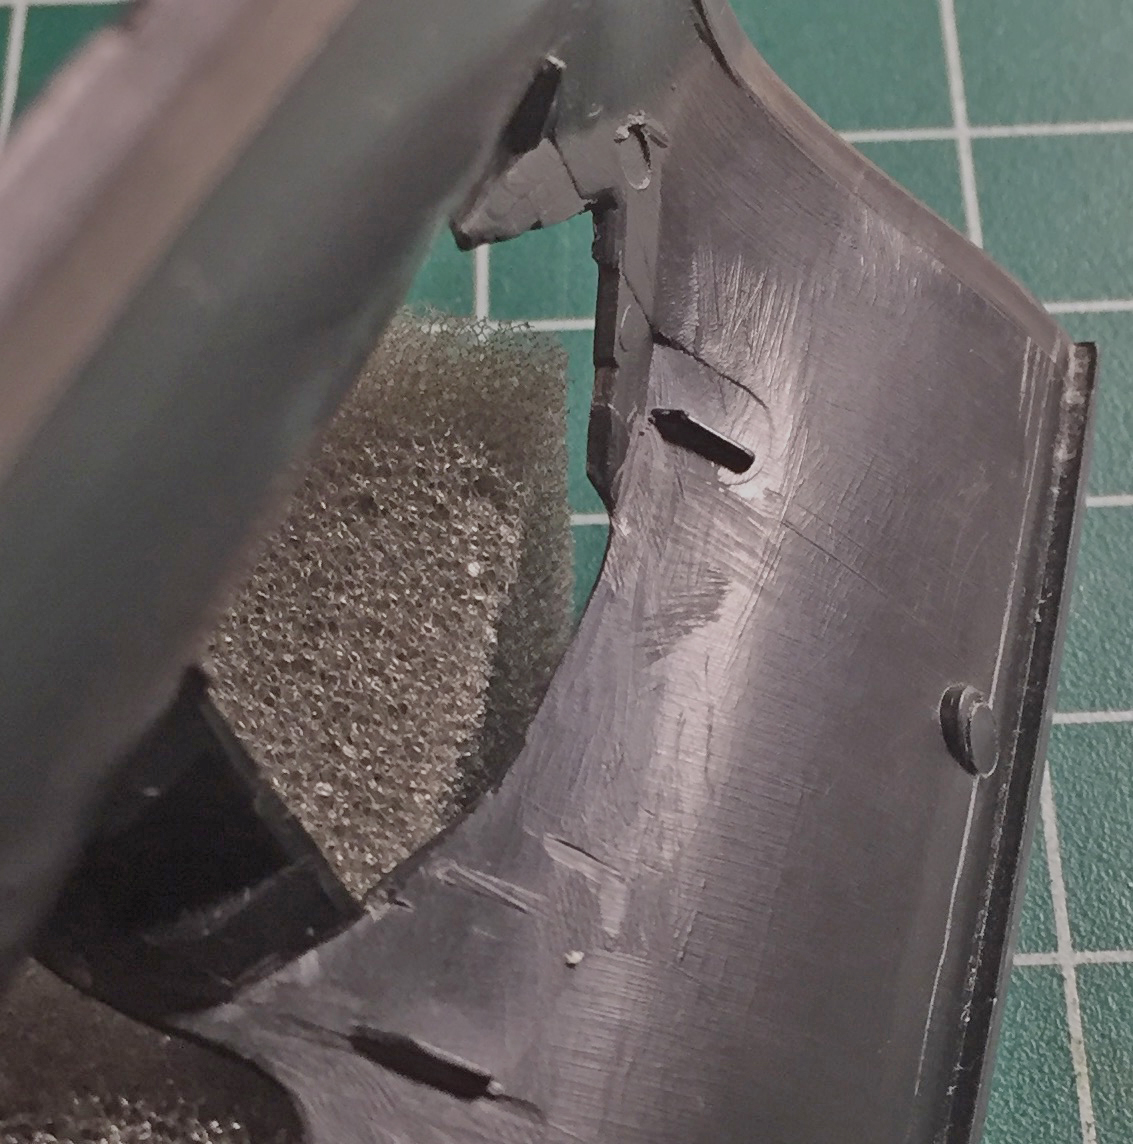
There was even more scraping and cutting to get the sills to nestle into position but the end result seemed to work (more on that later, too):
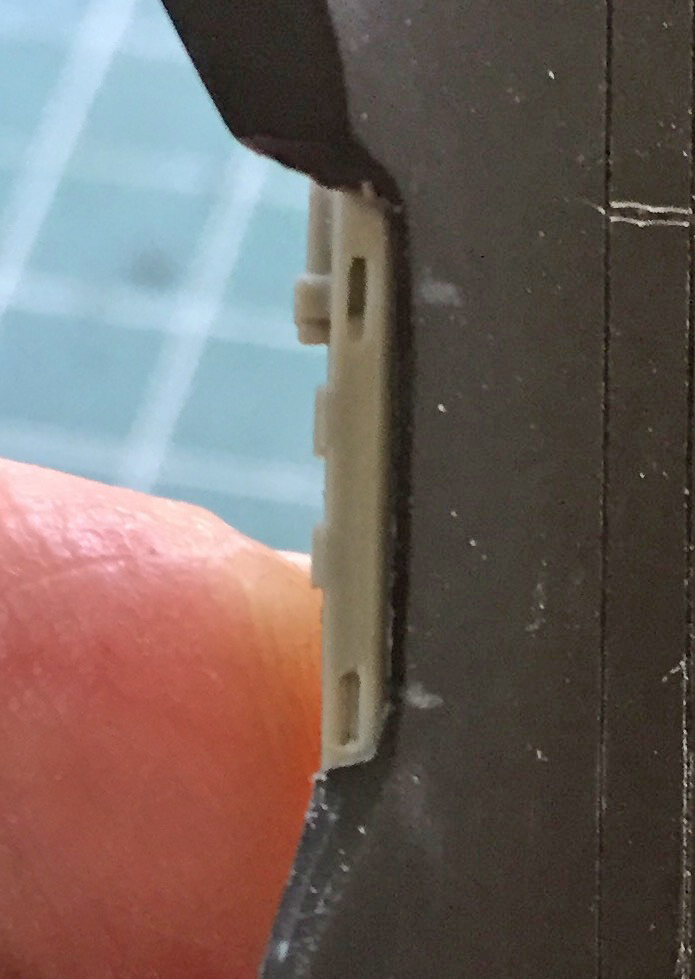
Having gotten all four sills to (relatively) fit, they were glued into position. There was a small gap at the edges of all the sills where they (relatively) met the side of the cockpits. That gap would need to be filled.
Some resin will bond with putty and some won’t. This formulation of resin just shrugged off the putty so that meant I’d have to find some other way of filling that gap. I tried gap-filling superglue. That stuff stays gooey for a long time so after it was applied I let it sit overnight…and then I tried to file it down. Tried to. I suppose I could have gotten it to work but it was a STONE BITCH to do and I simply did not like how it turned out. In order to get that gap completely gone, I would probably have to spend a week just on the sills. Oh. And another problem. The edges of the cockpit where they curve upwards was not working well with the superglue. There’s no seam there and no matter what I tried (short of spending a week on it) the seam was still visible.
And then I tried fitting the cockpit parts. In short, I had to remove substantial areas of resin so that the cockpits would fit, albeit poorly:
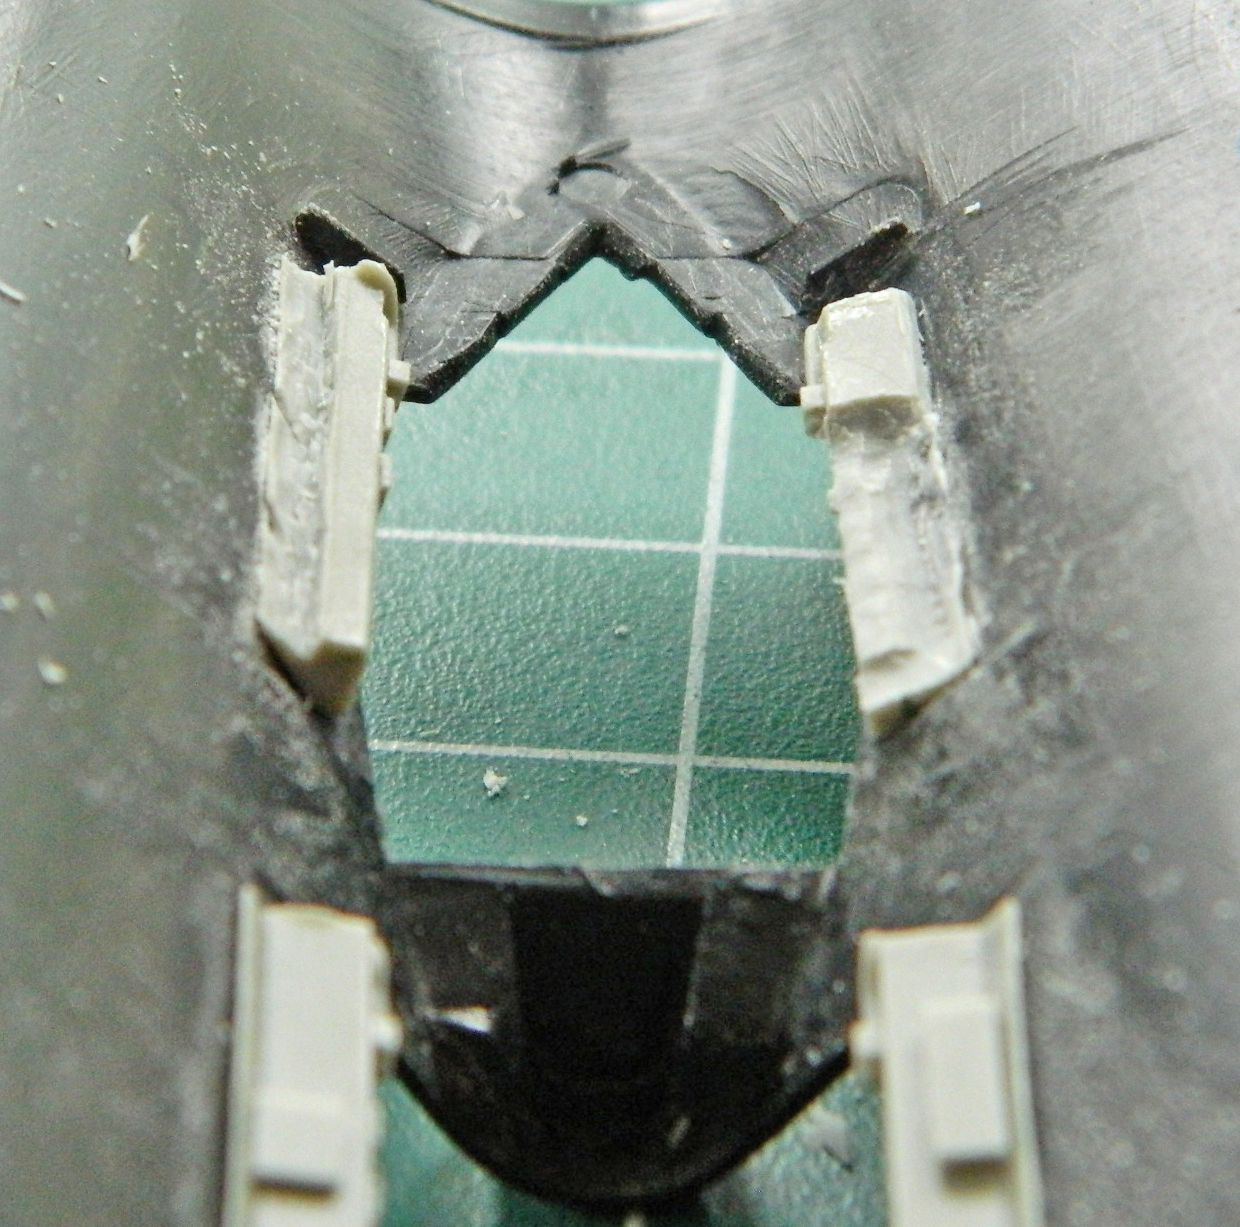
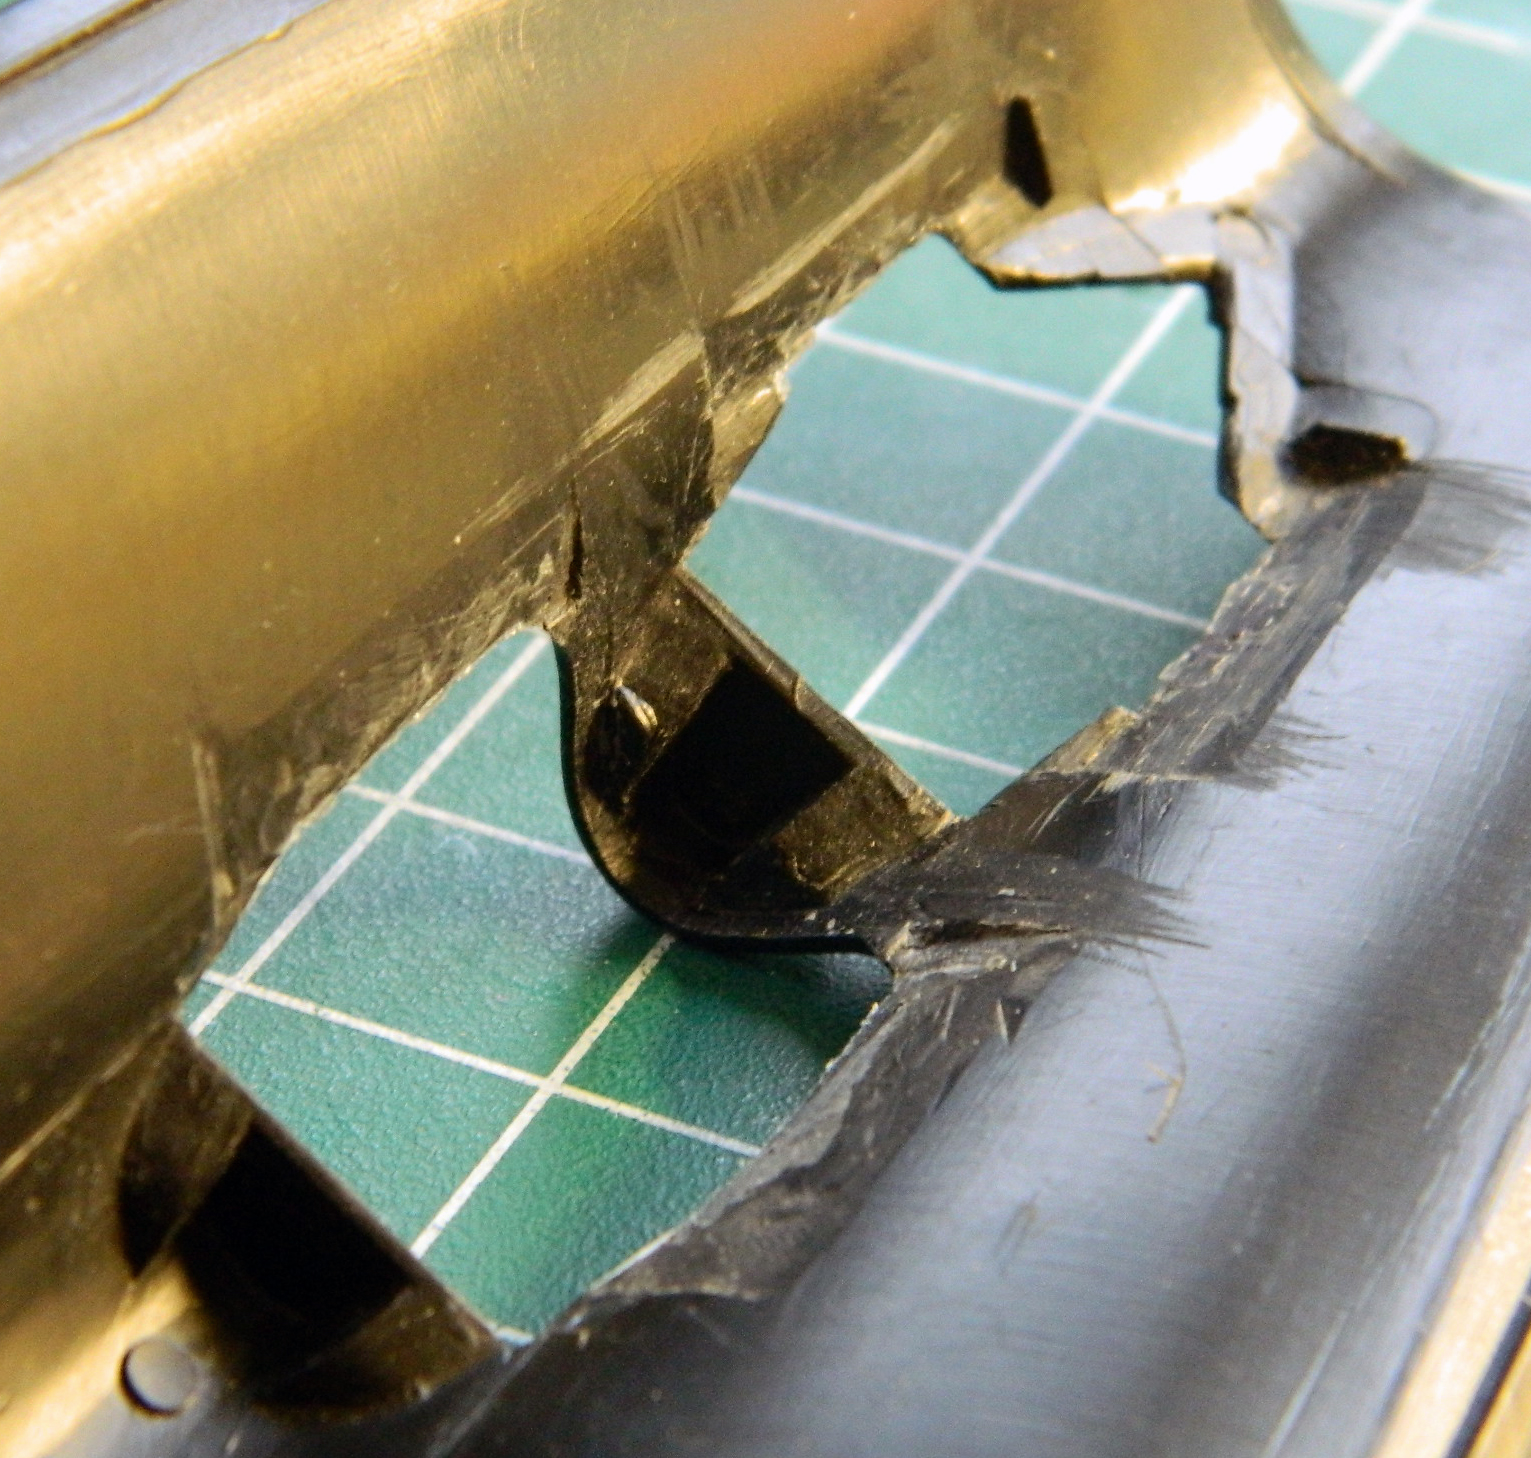
I decided there had to be a better way and as soon as I postulated that, I figured out a better way. Remove the resin sills entirely and scratch-build the things! That would solve all the blending problems. Using styrene would allow the putty to be effectively used and make blending the sills with the curved sections MUCH easier.
So I popped them out:
Since I was getting the cockpits ready for paint, I added the very small buttons and trigger to the joystick using stretched sprue and a small piece of .005″ (.127mm) for the trigger (can’t see it in these photos):
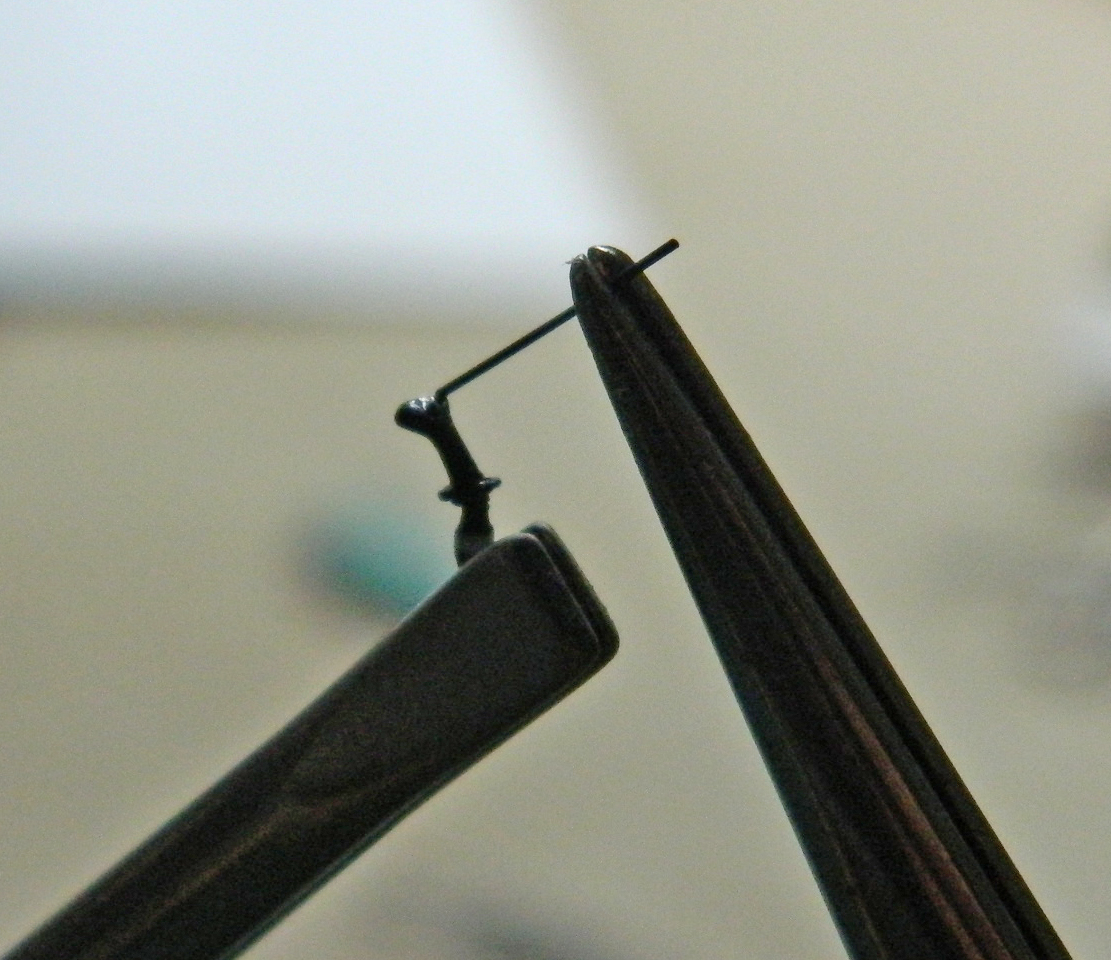

And right after these photos were taken of the joystick, during the final trimming of the buttons I managed to snap the grip off the stick. I reattached it and the glue is curing now.
::sigh::
My usual procedure is to start with the cockpit first so I turned my efforts in that direction.
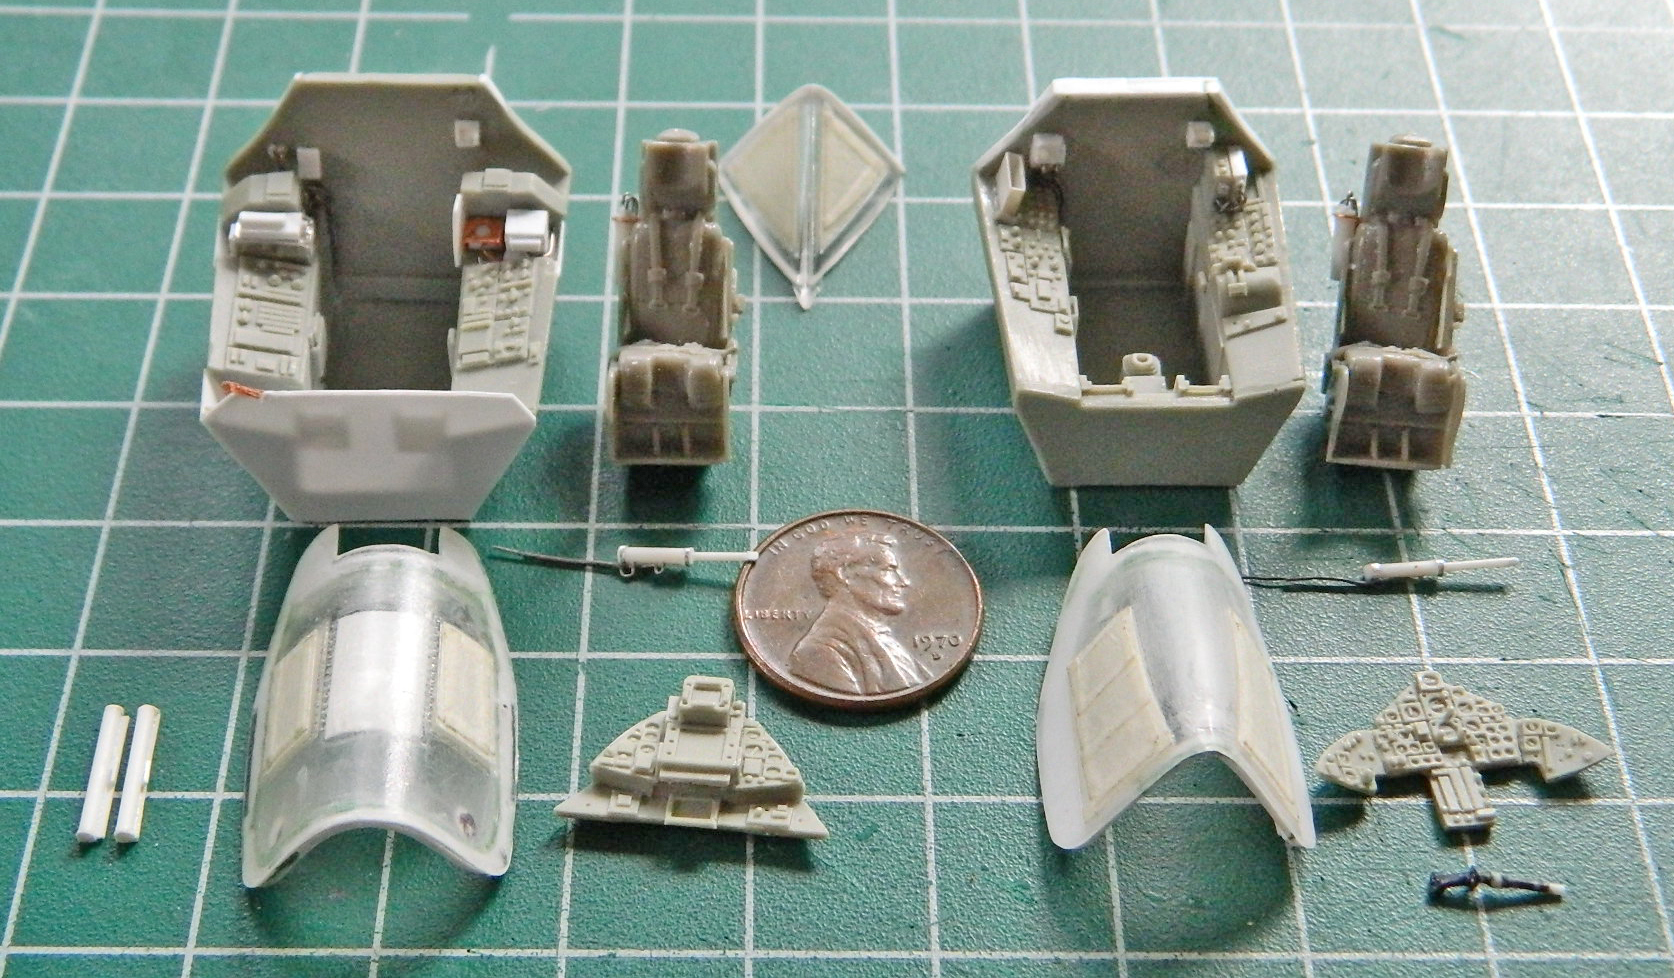
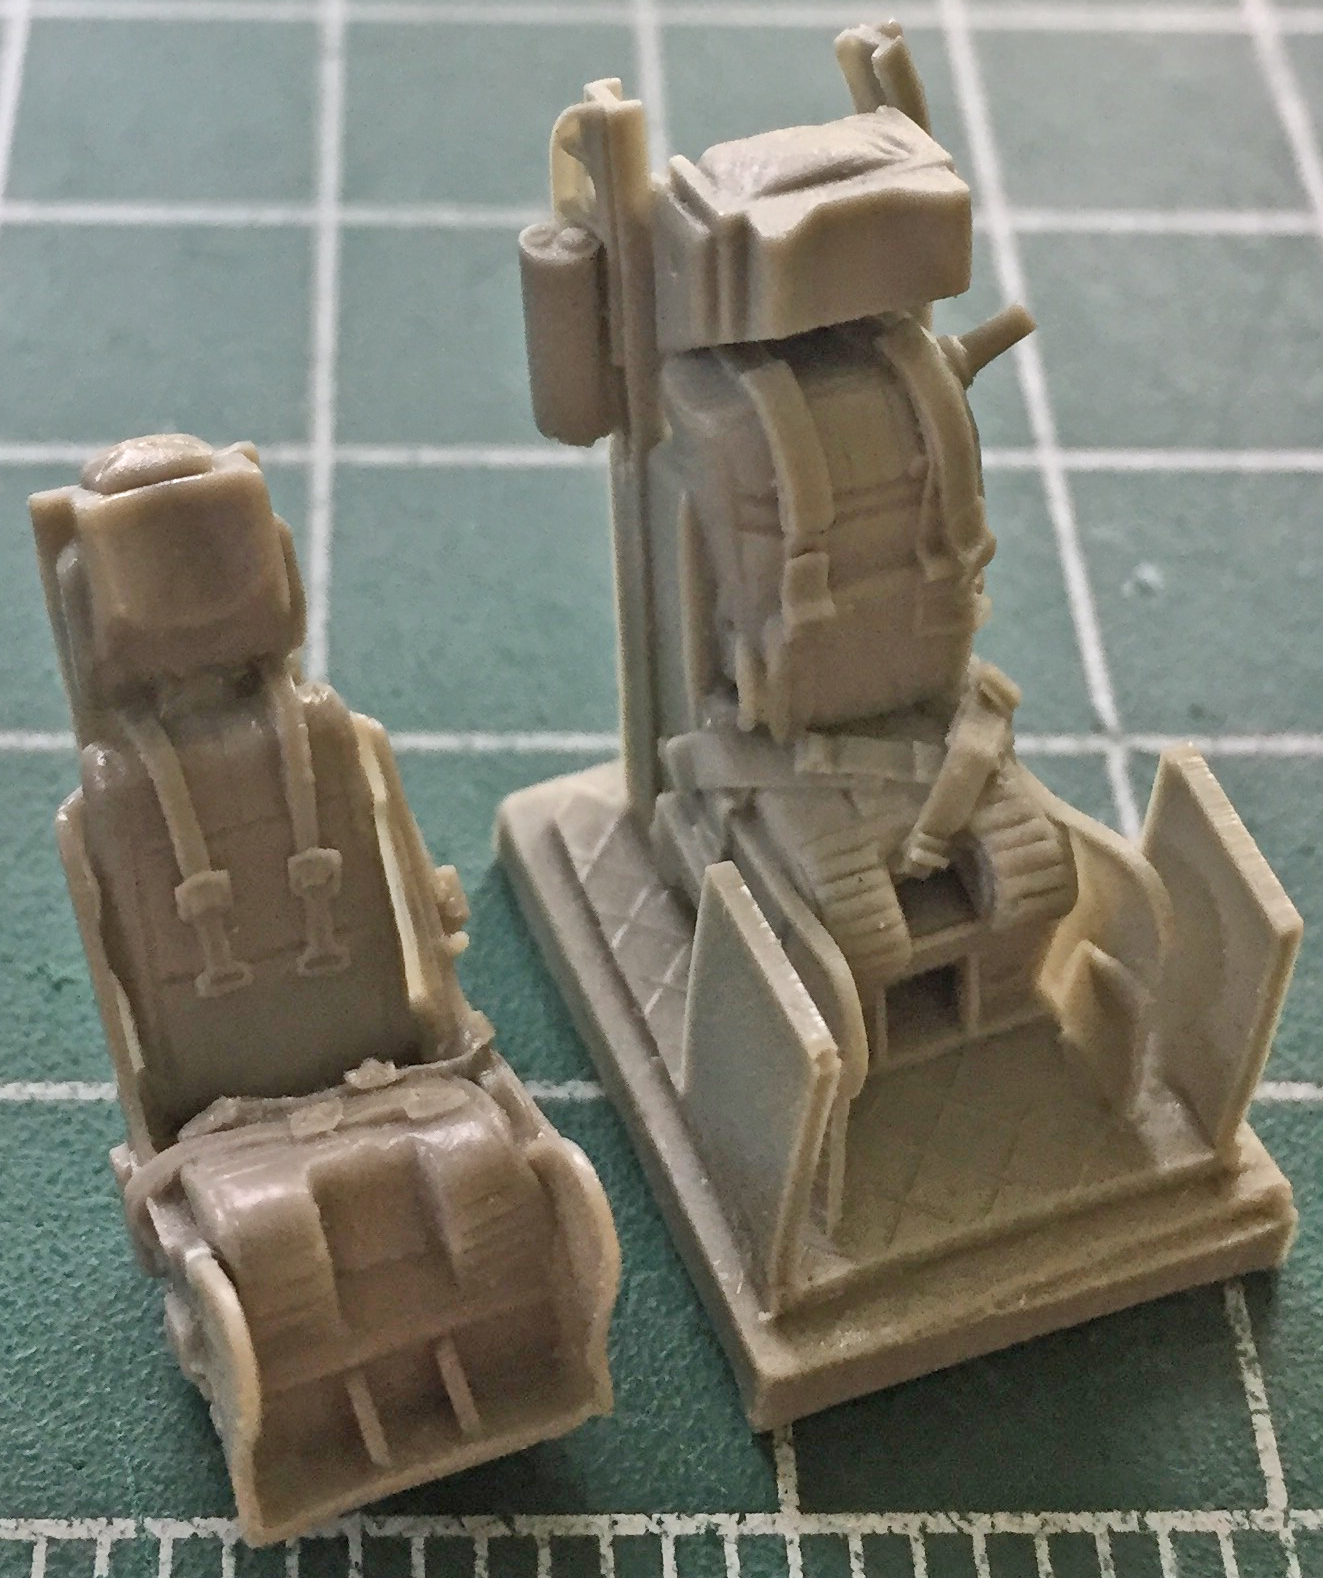
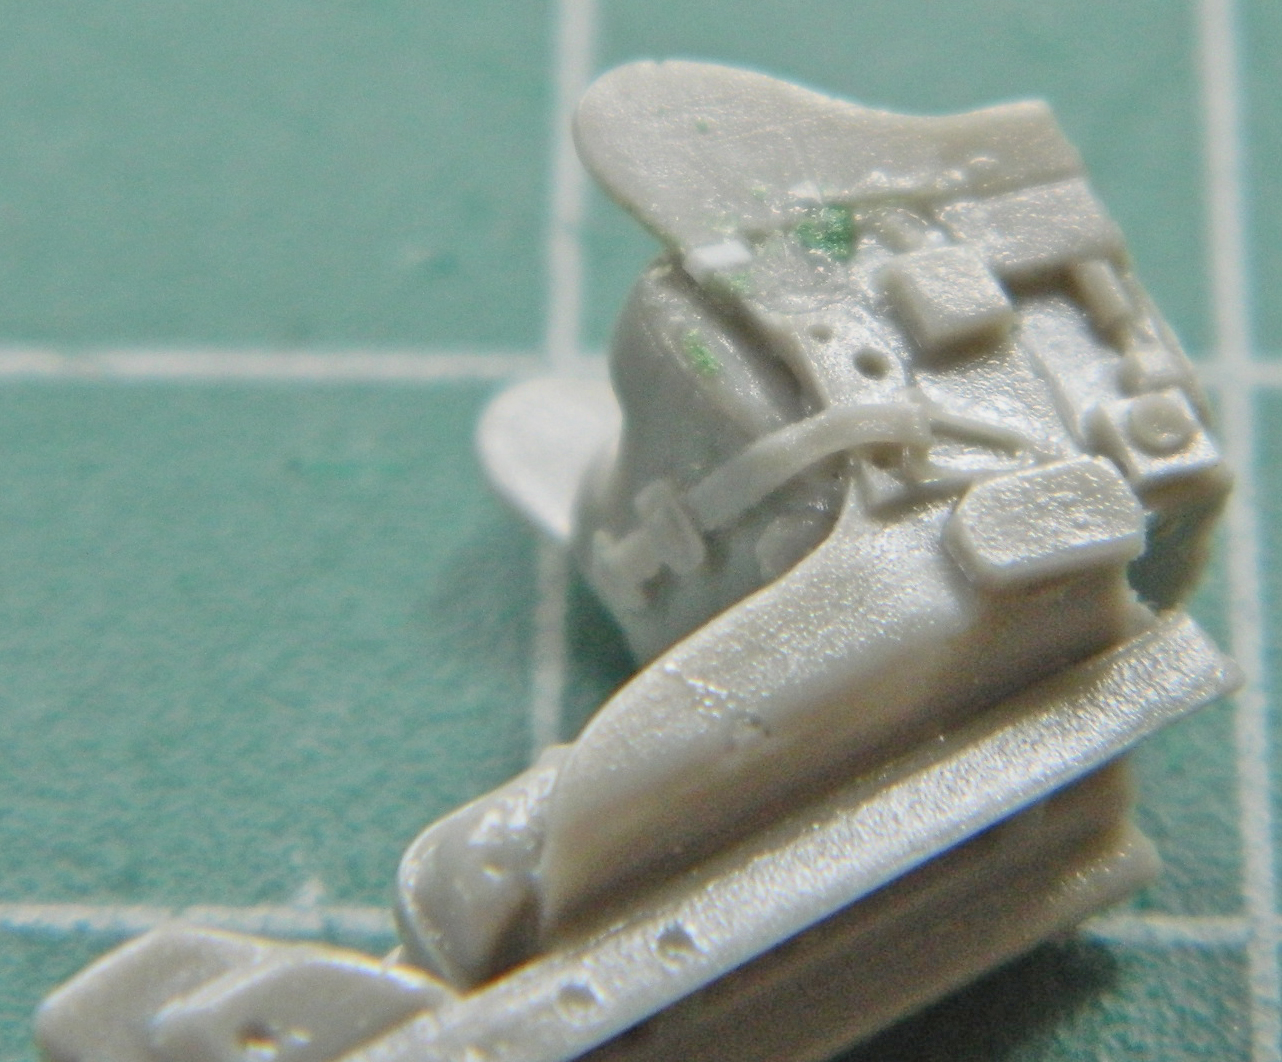
I had purchased a cockpit detail set from True Details and, totally forgetting that I had, also purchased a pair of ejection seats from Pavla Models out of the Czech Republic. My oversight ended up offering me more options. Neither of the ejections seat sets was 100% accurate, each had something the other lacked. My choice became, which of the seats’ errors/omissions would be easiest to fix? As it turned out, I’m going to use the Pavla seats (the one on the left; part of what makes them look SO different in the photo is that the True Detail seat is still attached to the pouring block and the Pavla seat isn’t):
There are almost always casting flaws…it’s just the nature of the process. In this case, where the wings on the lower front portion of the seat attached were a bit off. It wasn’t well attached to the seat, as you can see by the gap:
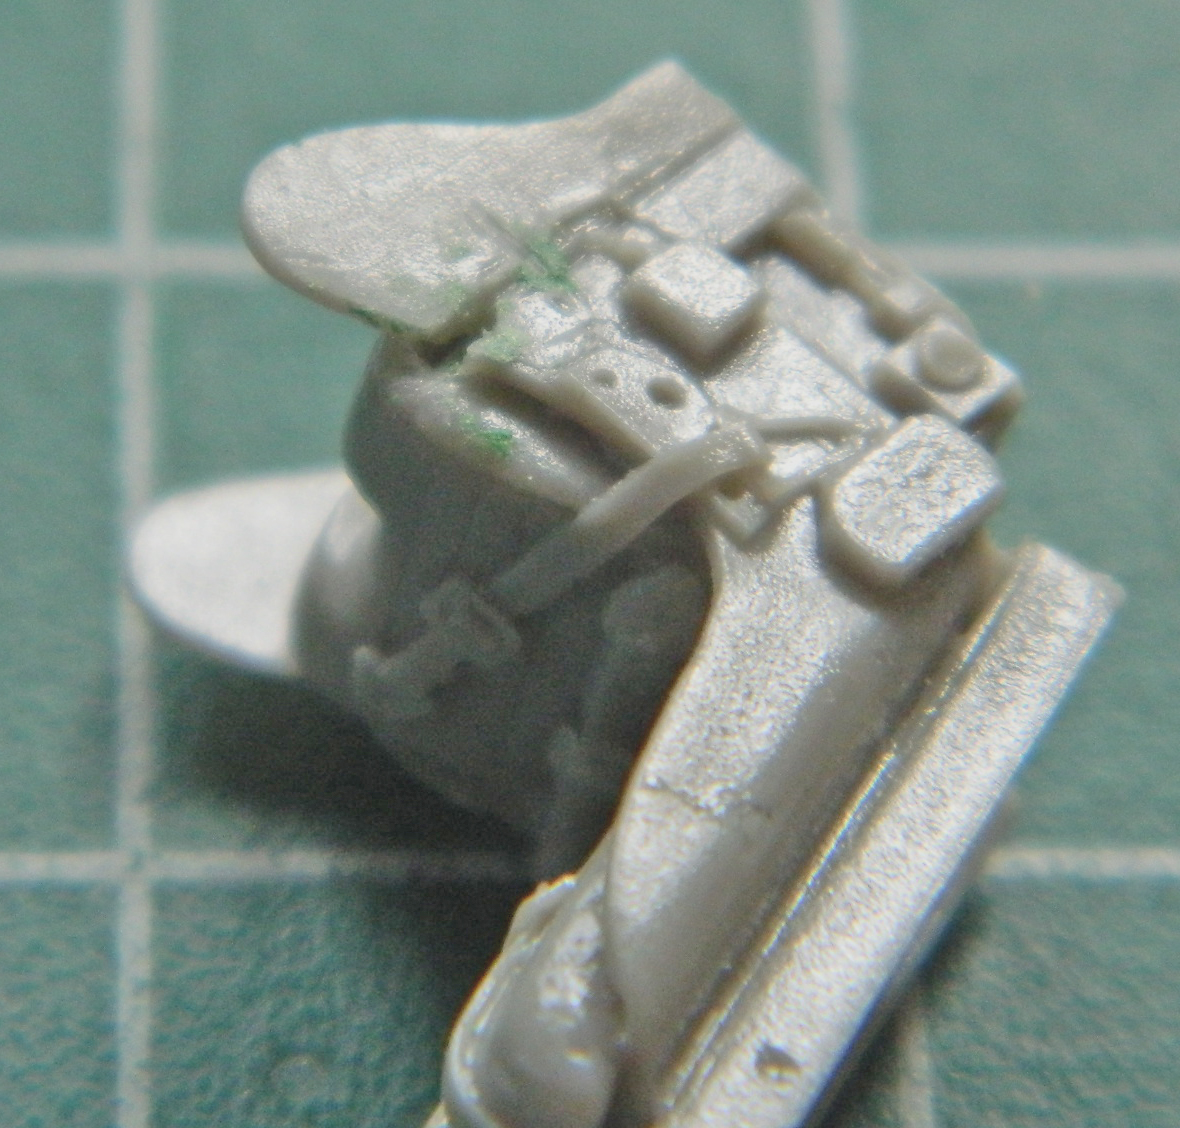
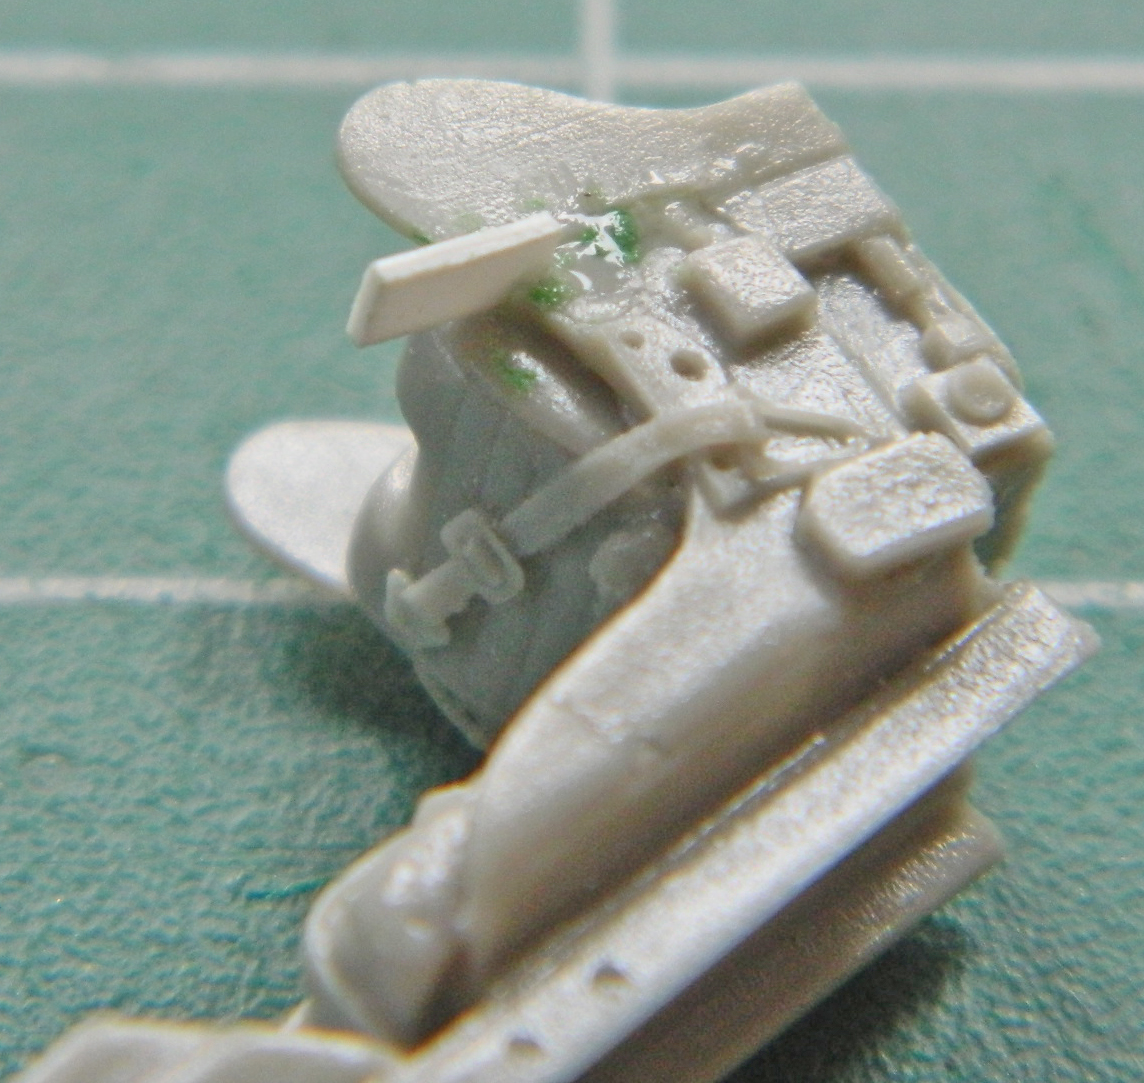
The seam where the wing attaches isn’t supposed to be there, either, but once the seats are installed in the cockpit tubs, those seams won’t be visible…but the gap at the top will be. I tried putty to see if it would adhere to this particular resin and it doesn’t. That meant I had to fill the gap with styrene and finish it to invisibility…so I did:
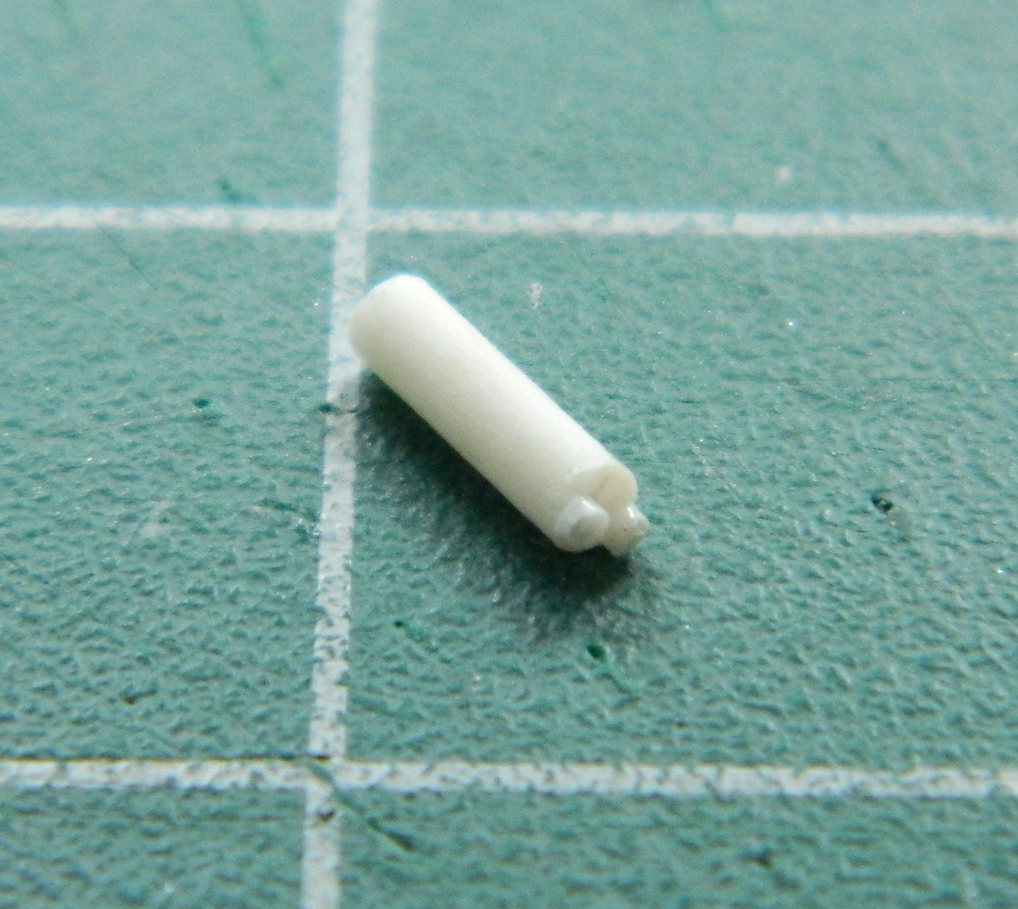
One the side near the top there is a cylindrical “thing” with two lines coming out of it. I used 1/16″ (.062″) (1.58mm) styrene rod for the body and .025″ (.635mm) styrene rod for the fittings. I used the True Details seat to determine the length of the body and then used locking tweezers on stands to align the rods and glued two pieces on:
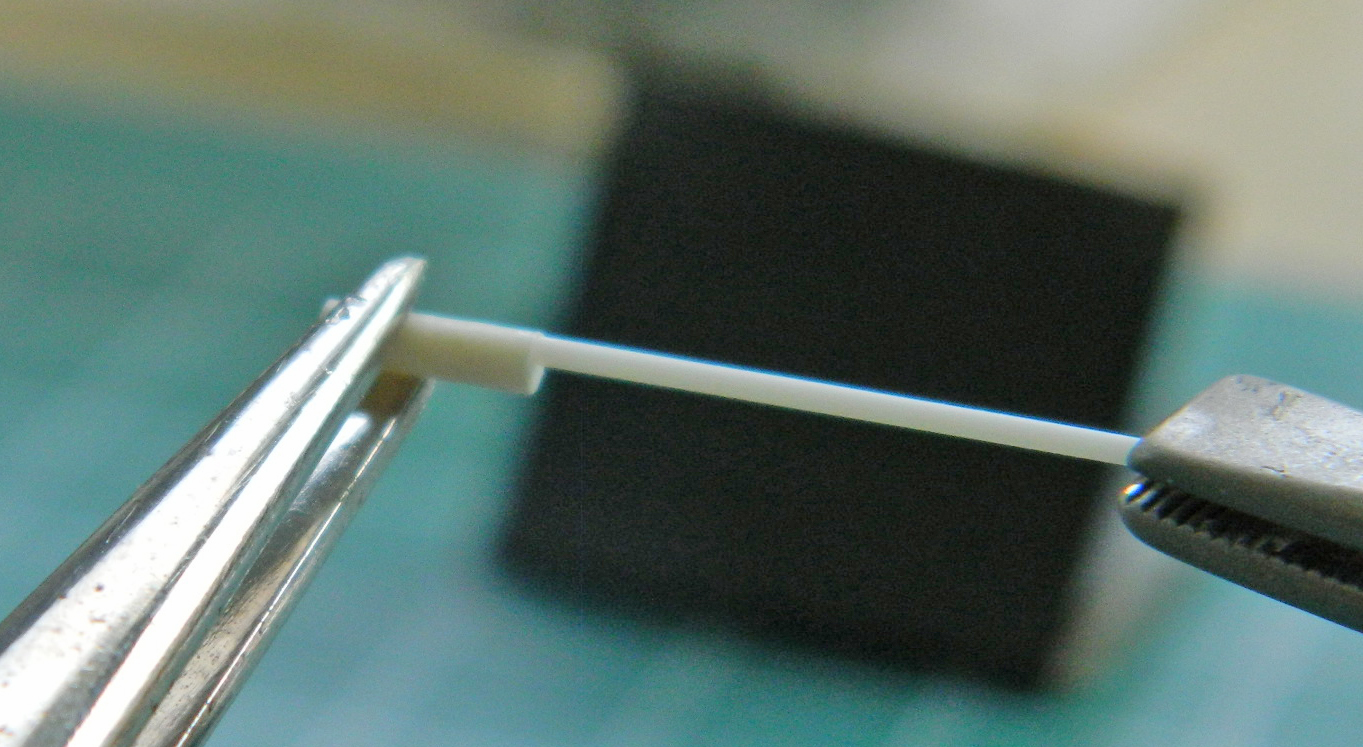
Once the glue had set, I trimmed the .025″ (.625mm) rods and center drilled them with a .0135″ (.343mm) bit:
These cylinders aren’t just stuck to the frame of the seats, they have mounting brackets. I made them from .005″ (.127mm) copper shim stock and used the punch and die set to start the holes and a fine (very fine) rat-tail file to open the holes to the appropriate diameter. Tip: punch/drill the hole first, then cut to approximate size and use a file to bring the dimensions down to size:
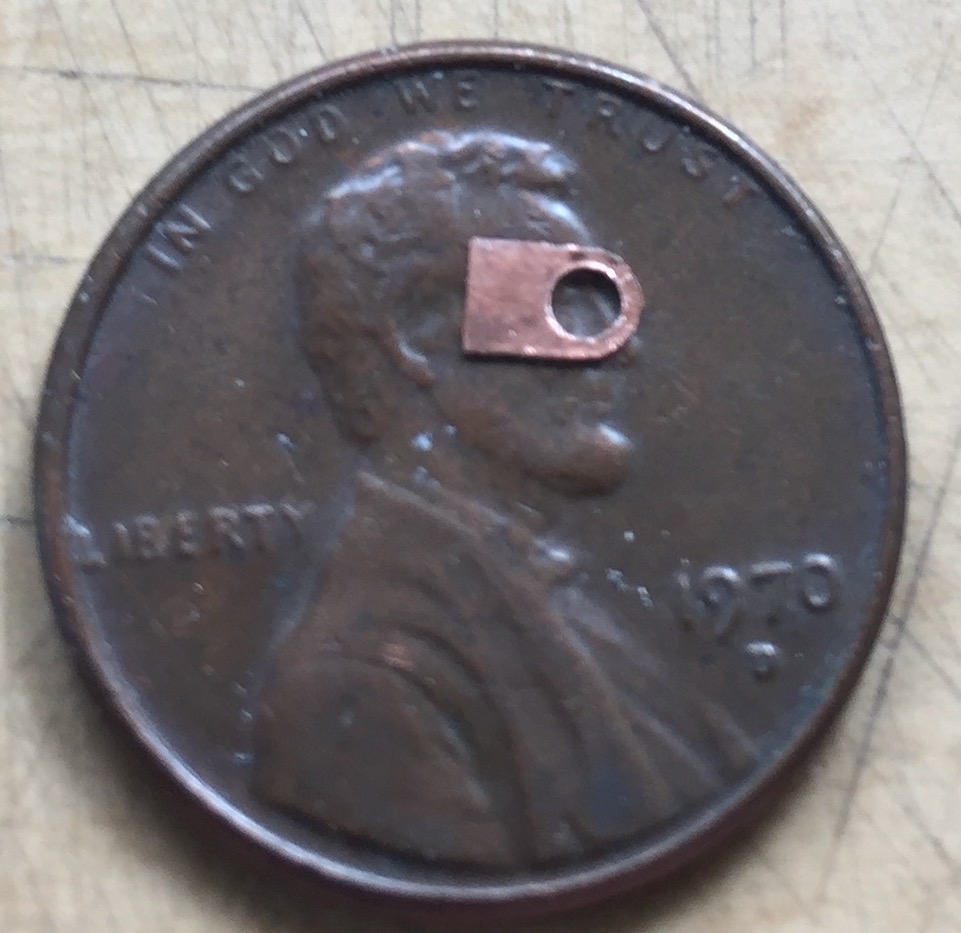
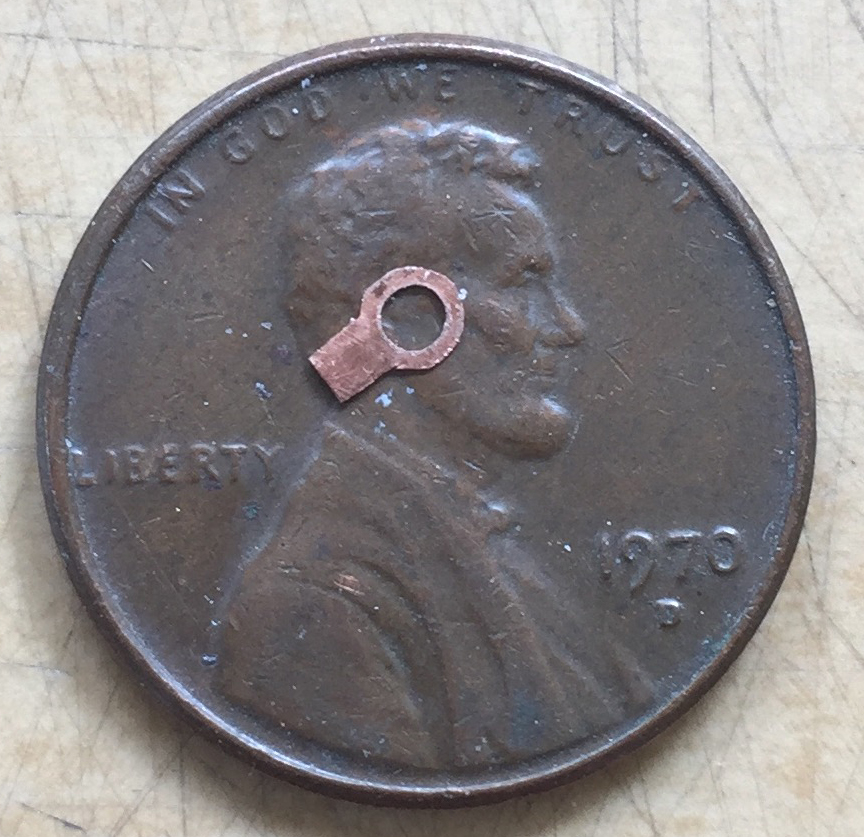
The flange is a little too large. I fixed that by holding the body of the bracket in the nose of small pliers and filed away the excess…and forgot to take pictures. (Perfection still eludes me.) With everything to their final size, I slid the bracket over the cylinder, glued it in place, and bent the mounting tab parallel to the cylinder’s body:
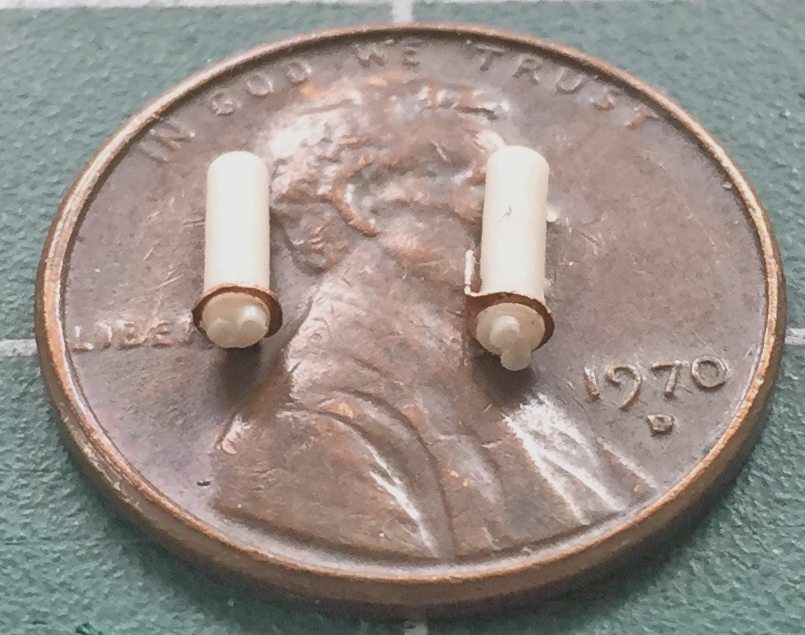
Even though once these parts are mounted in place and very unlikely to ever be stressed, “very unlikely” doesn’t even rhyme with “won’t ever.” I mean, it’s only .005″ (.127mm) copper! So I took a piece of .010″ (.254mm) styrene scrap and added additional support at the bottom of the cylinder:

Once glued in place, the .010″ (.254mm) styrene support isn’t easily visible and paint should make it even less visible. I didn’t use the True Detail seats to determine the location of these parts, I used reference photos. Once glued into position, I added .010″ (.254mm) solder lines, routed them down behind the seats, and ended up with two of this:

ONLY THEN did it occur to me that maybe I should perhaps check to see if the nose wheel bay EVEN FREAKING FIT into the fuselage! So I used white glue to hold the bay’s box in position and used the under fuselage section to see if maybe IT WOULD FREAKING FIT. In so doing, the first thing I noticed is the gap I’m going to have to deal with during assembly (that, of course, is on both sides and I sincerely doubt it’s the only gap):

I’ll pay the toll on that bridge when I get there. The reason I’m doing this is to see if the sodding box fits inside the fuselage…and I got lucky. It does:
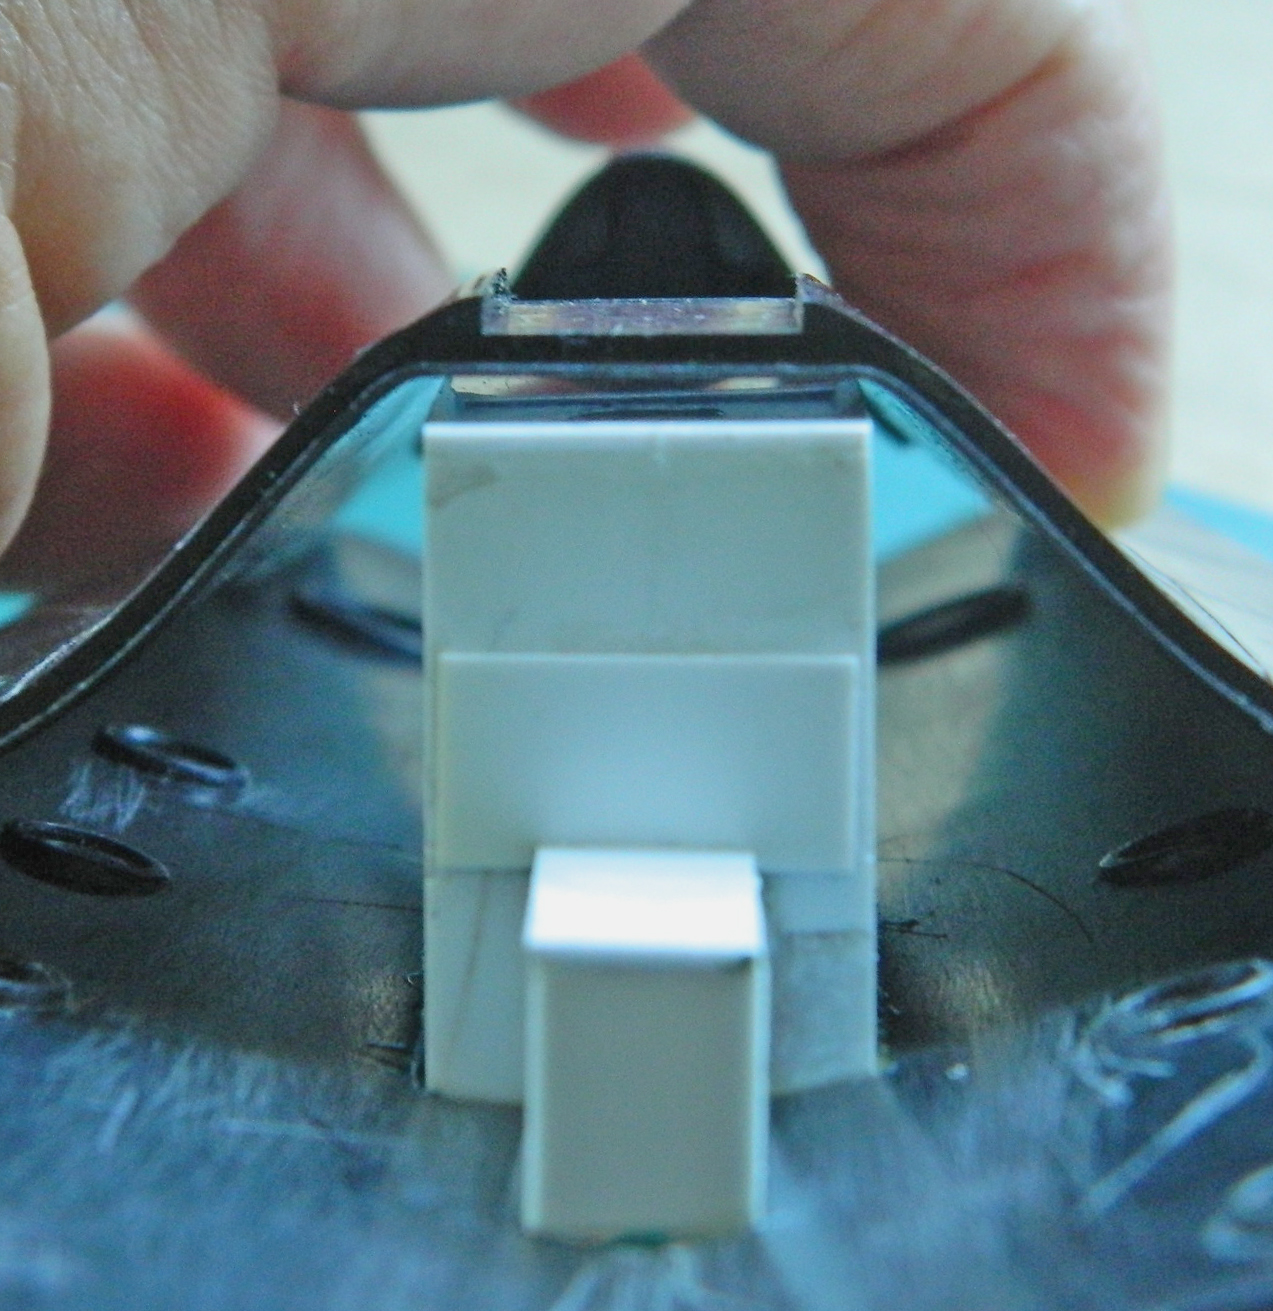
Okay…dodged that falling piano! So while I’m here, let’s see if the resin cockpit tubs FREAKING FIT:
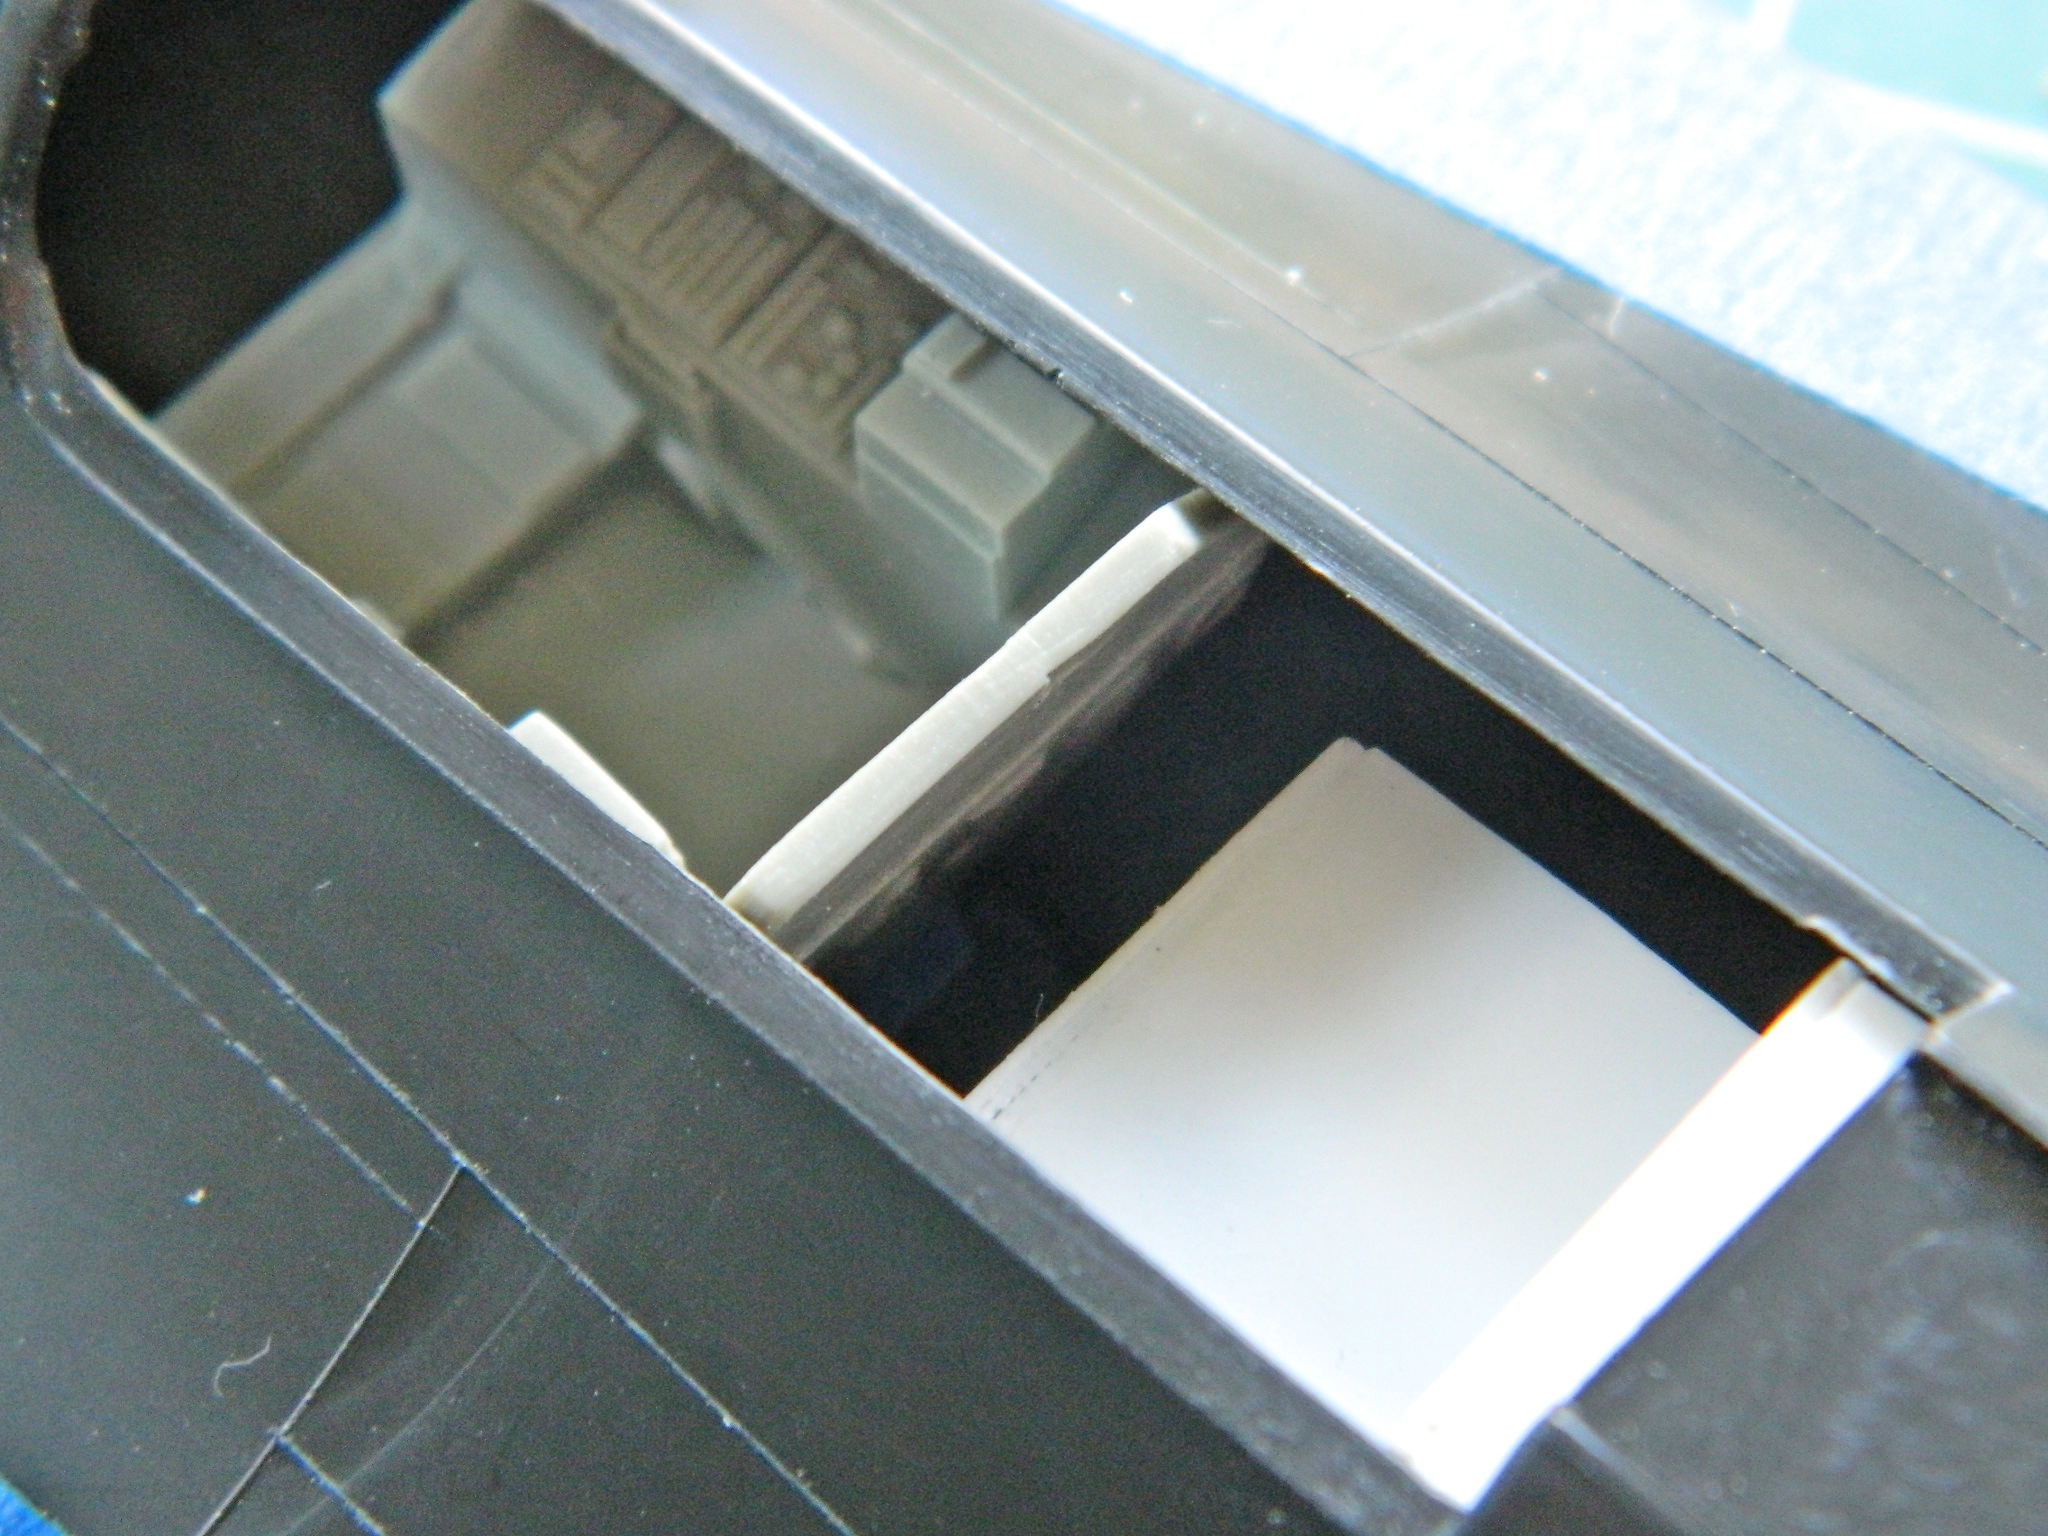
Whew…two for two.
Okay, since that fits, I checked the fit of the fuselage top behind the rear cockpit…and noticed that the fit problems seem to be consistent (and note the depression in the surface of the fuselage at the upper right…there’s several places where this happens and they’ll get filled with putty):
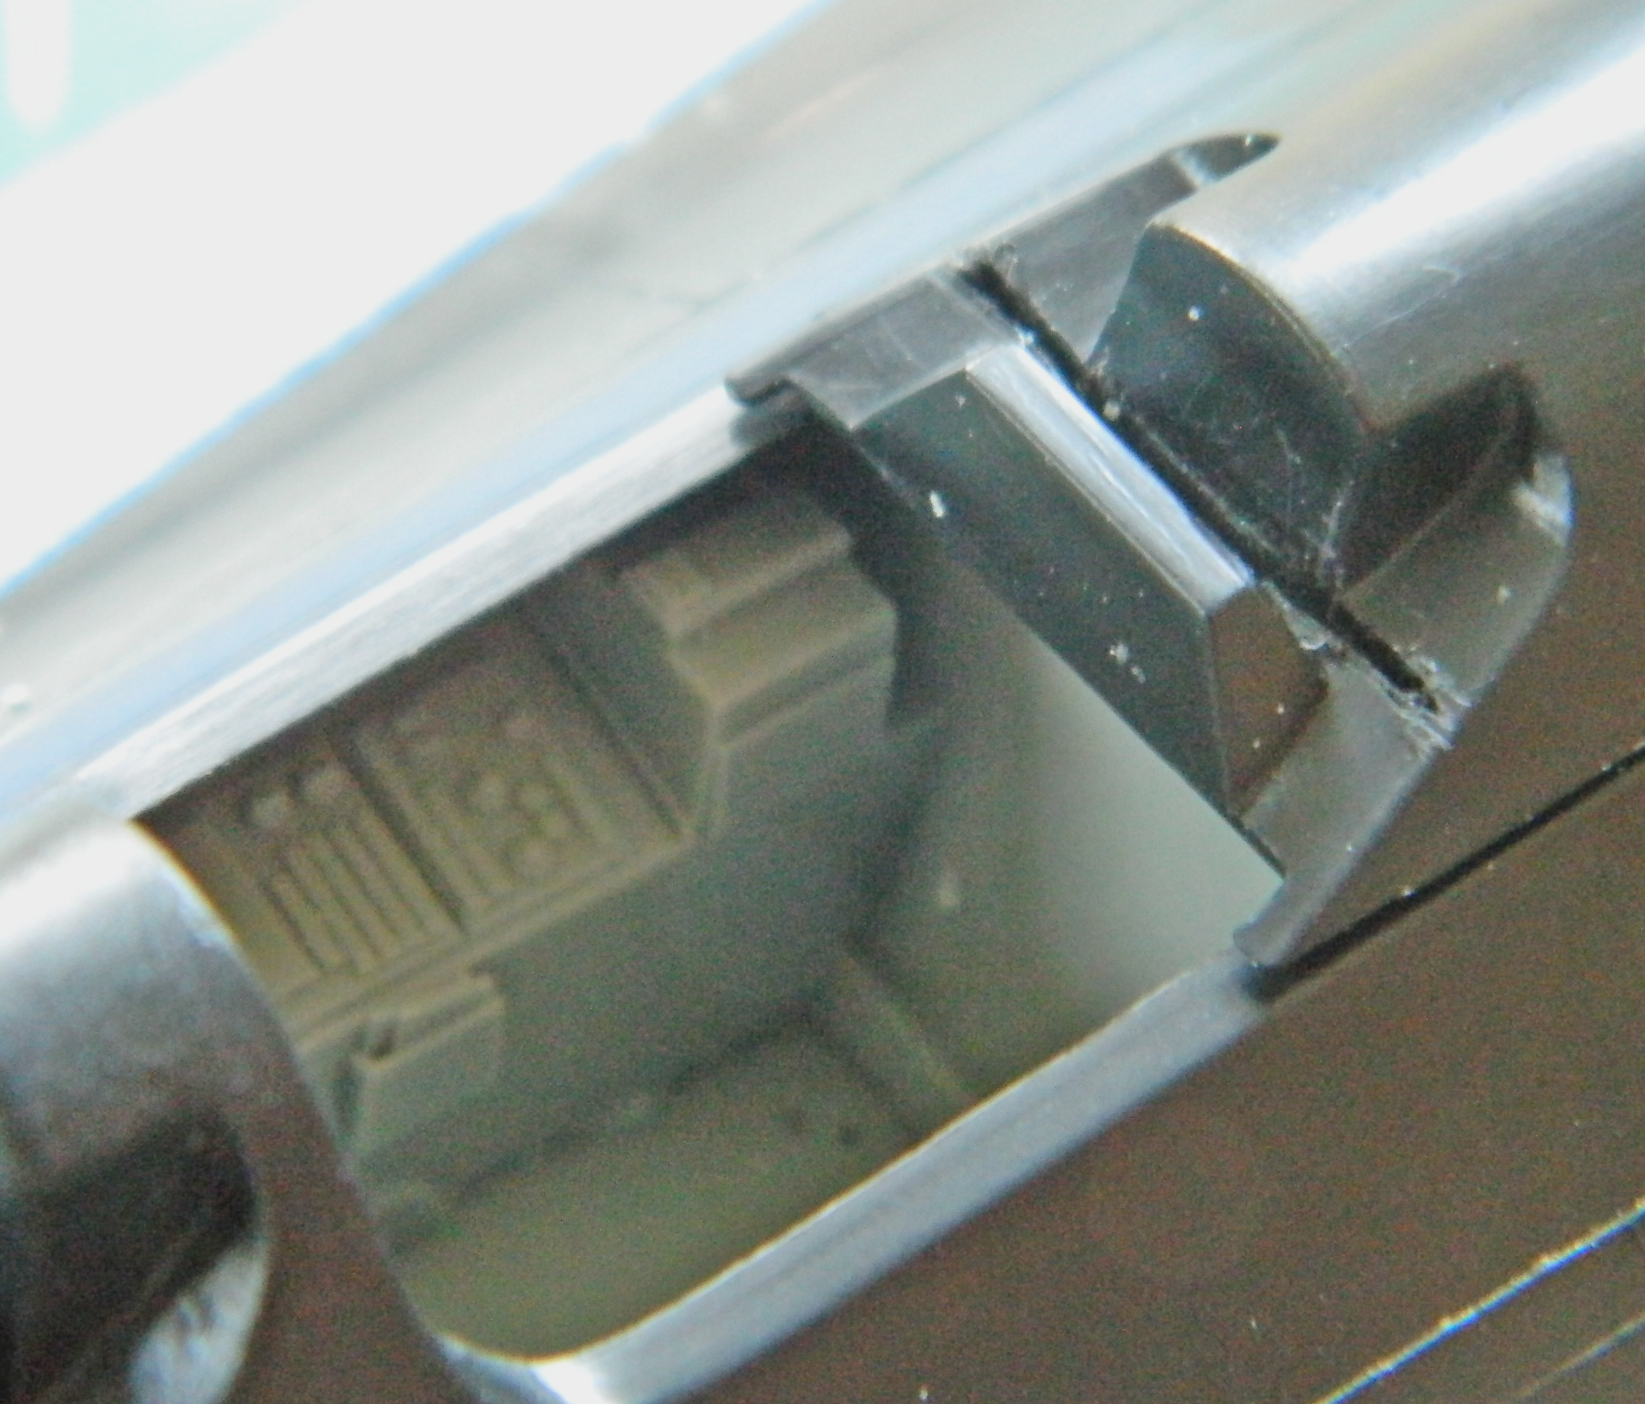
I knew I was going to have to trim the kit’s rear cockpit opening back a bit to fit the cockpit tub (you can see in the next photo where I have already started cutting it away) (and if you look at the above photo, it’s already been removed):
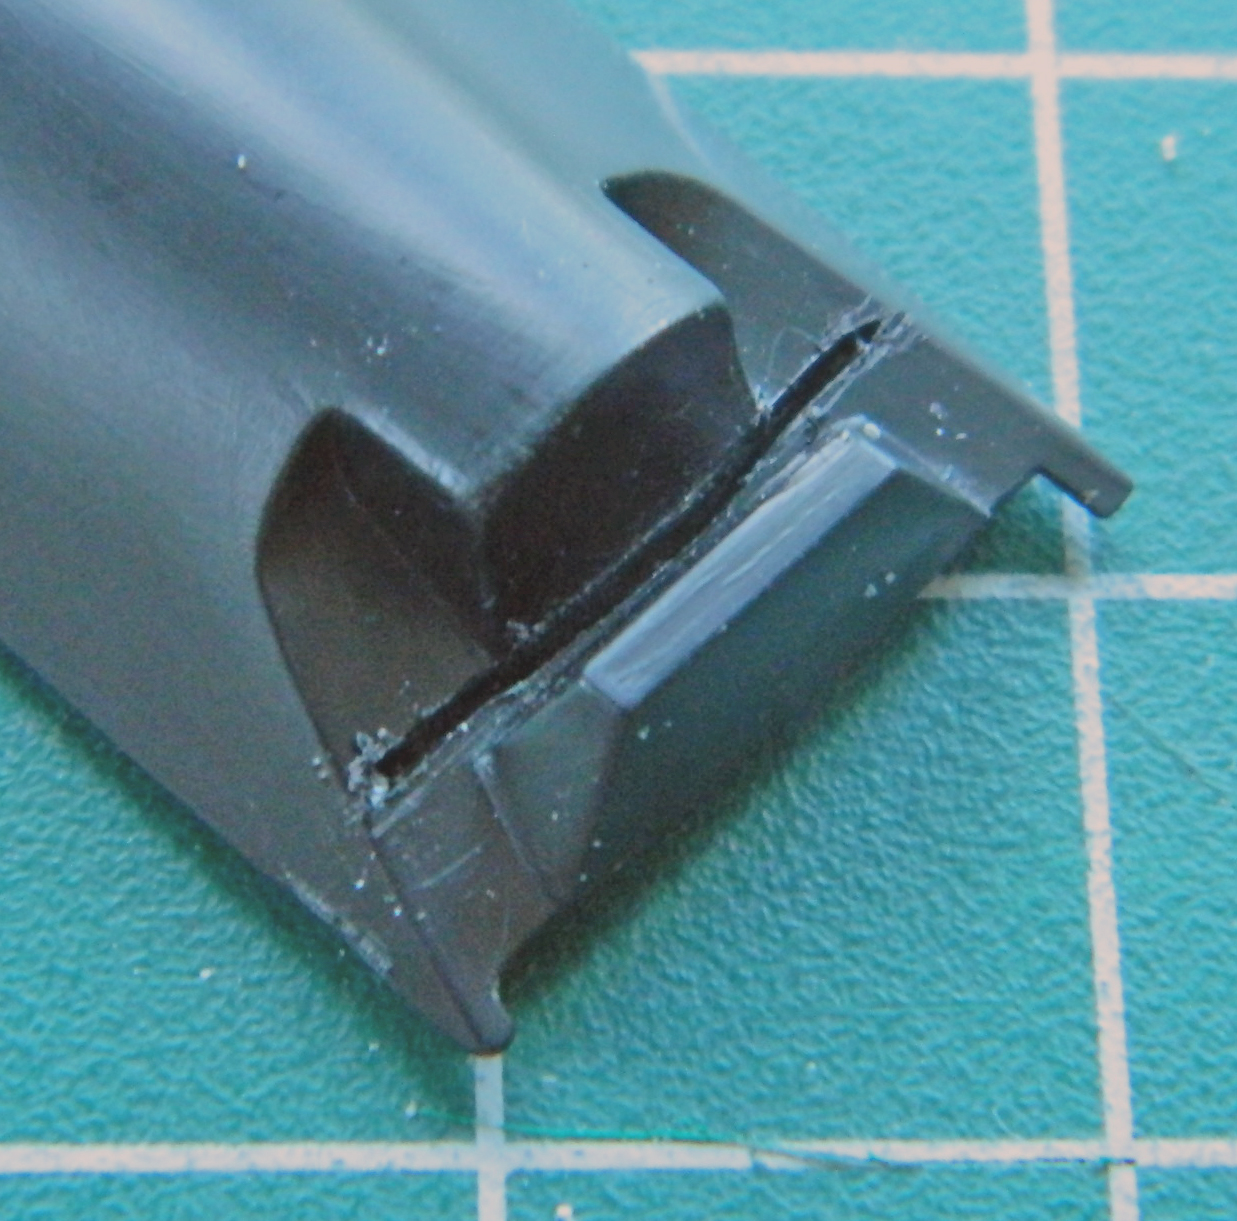
I treated the front cockpit the same way.
I checked the fit of the RSO’s instrument panel and saw that I needed to trim the plastic so that the panel fit better…or at all:

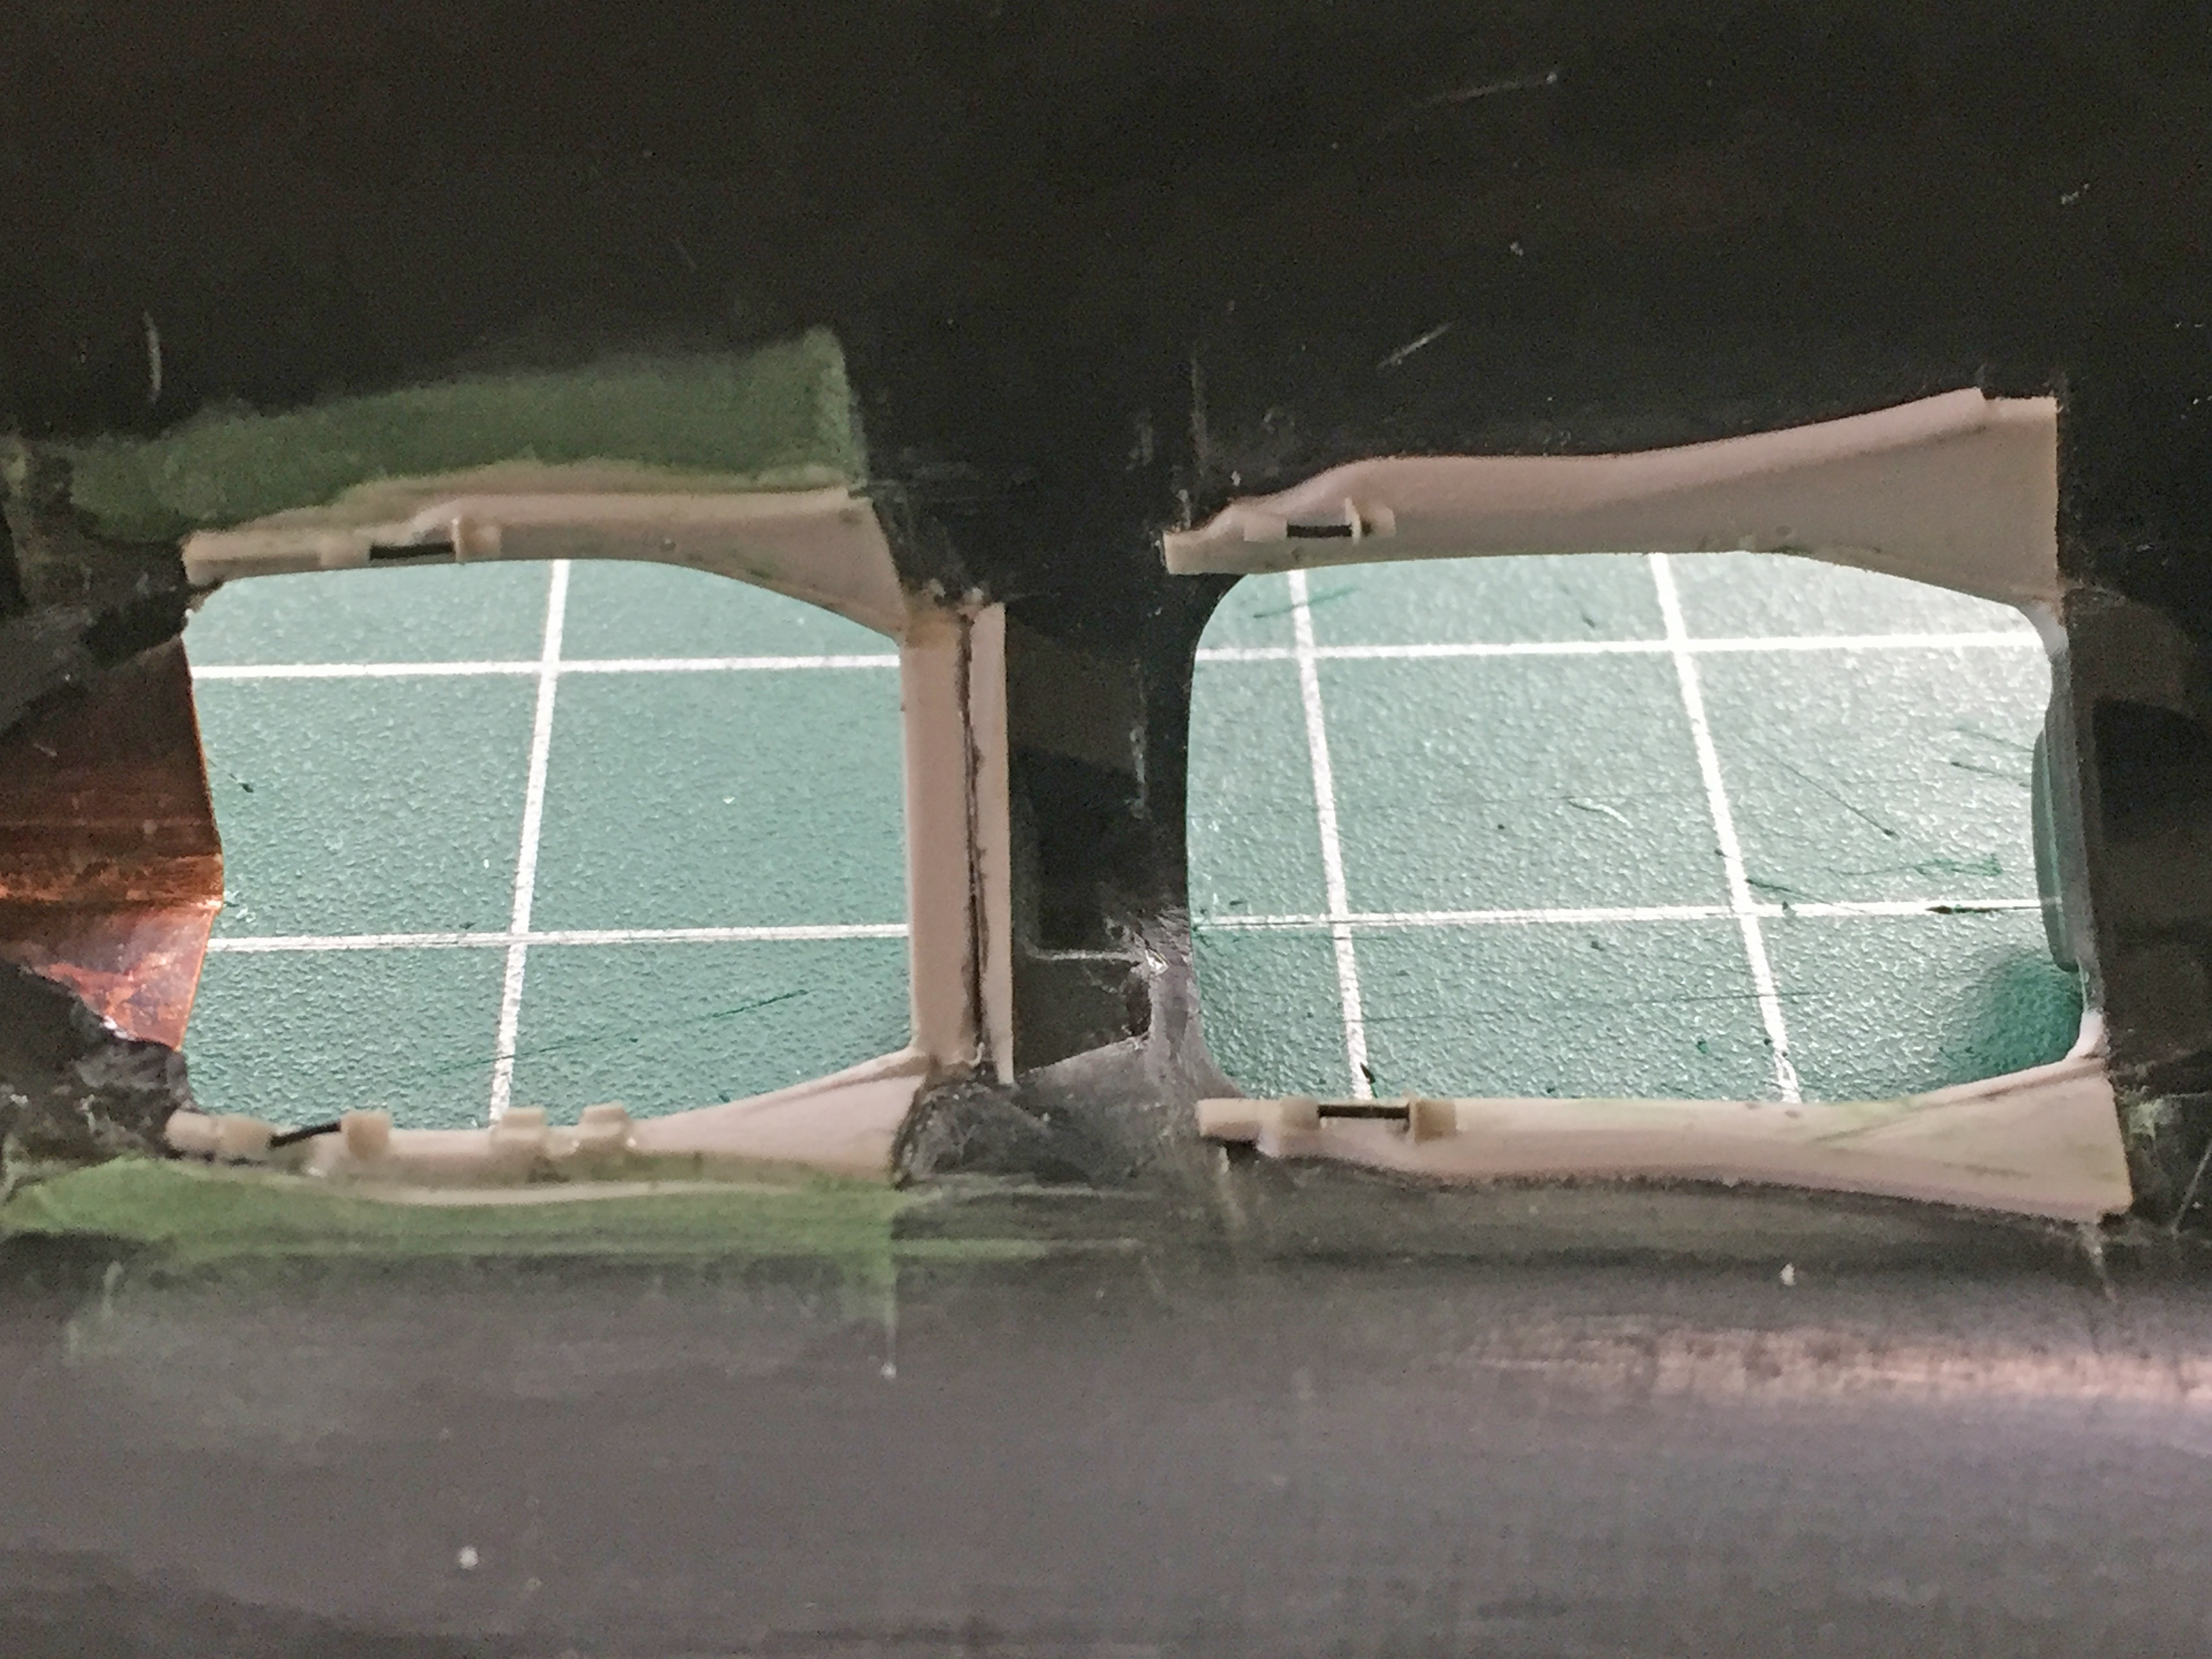
While I was checking fit, and not remotely expecting that anything would fit, I checked how the canopies fit the fuselage. They don’t very well:


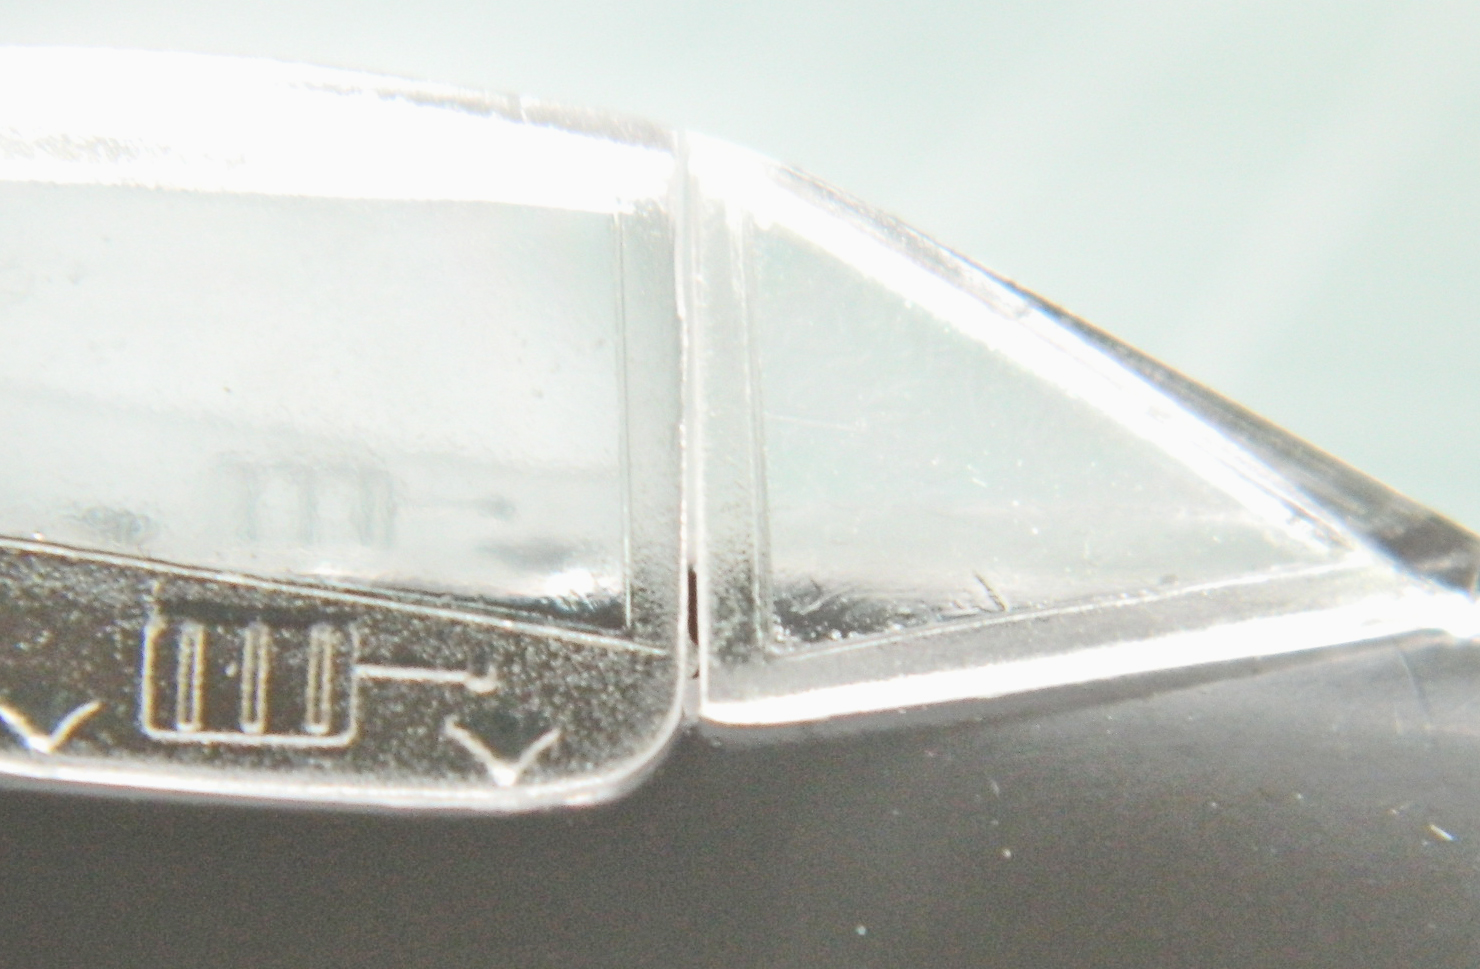
Even though the model with be displayed with the canopies open and fit isn’t really critical, I will be using the canopies to mask the cockpits when it comes time to throw paint onto this thing. I’ve learned that using large globs of white glue to seal things doesn’t do good things for the final paint job when they’re removed. It will take too much paint away with it. It makes more sense to put the time/effort into a good fit at the front of the job rather than try to recover a paint job at the back of the job.
So I added plastic to the fuselage and fiddled and sanded until the fit was better. I also added .020″ (.508mm) plastic to the canopies because the gap was SO large (I also added plastic to the fuselage and puttied the back of the area to sharpen the edge of the fuselage):

Yes…there are still gaps. If I were going to pose the canopies closed, I would have spent more time making the fit tighter. But I’m not and these gaps should easily fill with white glue and not rape the paint (too much) when they’re removed (the areas that have to remain clear were masked off to protect the surfaces from scratches):
Keeping with the cockpits, I checked the kit’s pilot’s joystick against references:
The ridge to the right isn’t supposed to be there; the mold was misaligned. The shaft of the joystick is too large, the grip area is too long, and there is a bulge just below the hand rest that’s missing. I started by taking out the misaligned parting lines:

The only thing left to do is to add the four buttons (three on the top facing the pilot, one on the other side), but I’ll do that when next I’m in the mood for extremely tiny things (right after my medications are adjusted). The grip has been shortened, the bulge added, and the main shaft replaced with styrene rod:
The rudder pedals are elevated onto a platform. References show that there are ramps in front of the platform that the resin part doesn’t have. Now it does:

There are pronounced structures inside the canopies that the kit’s parts don’t have. They’re necessary to have them so that started with a job that I REALLY can’t stand…putting a bulkhead inside a curve. Tedious. Tedious. Tedious. But they’re not going to add themselves, so:
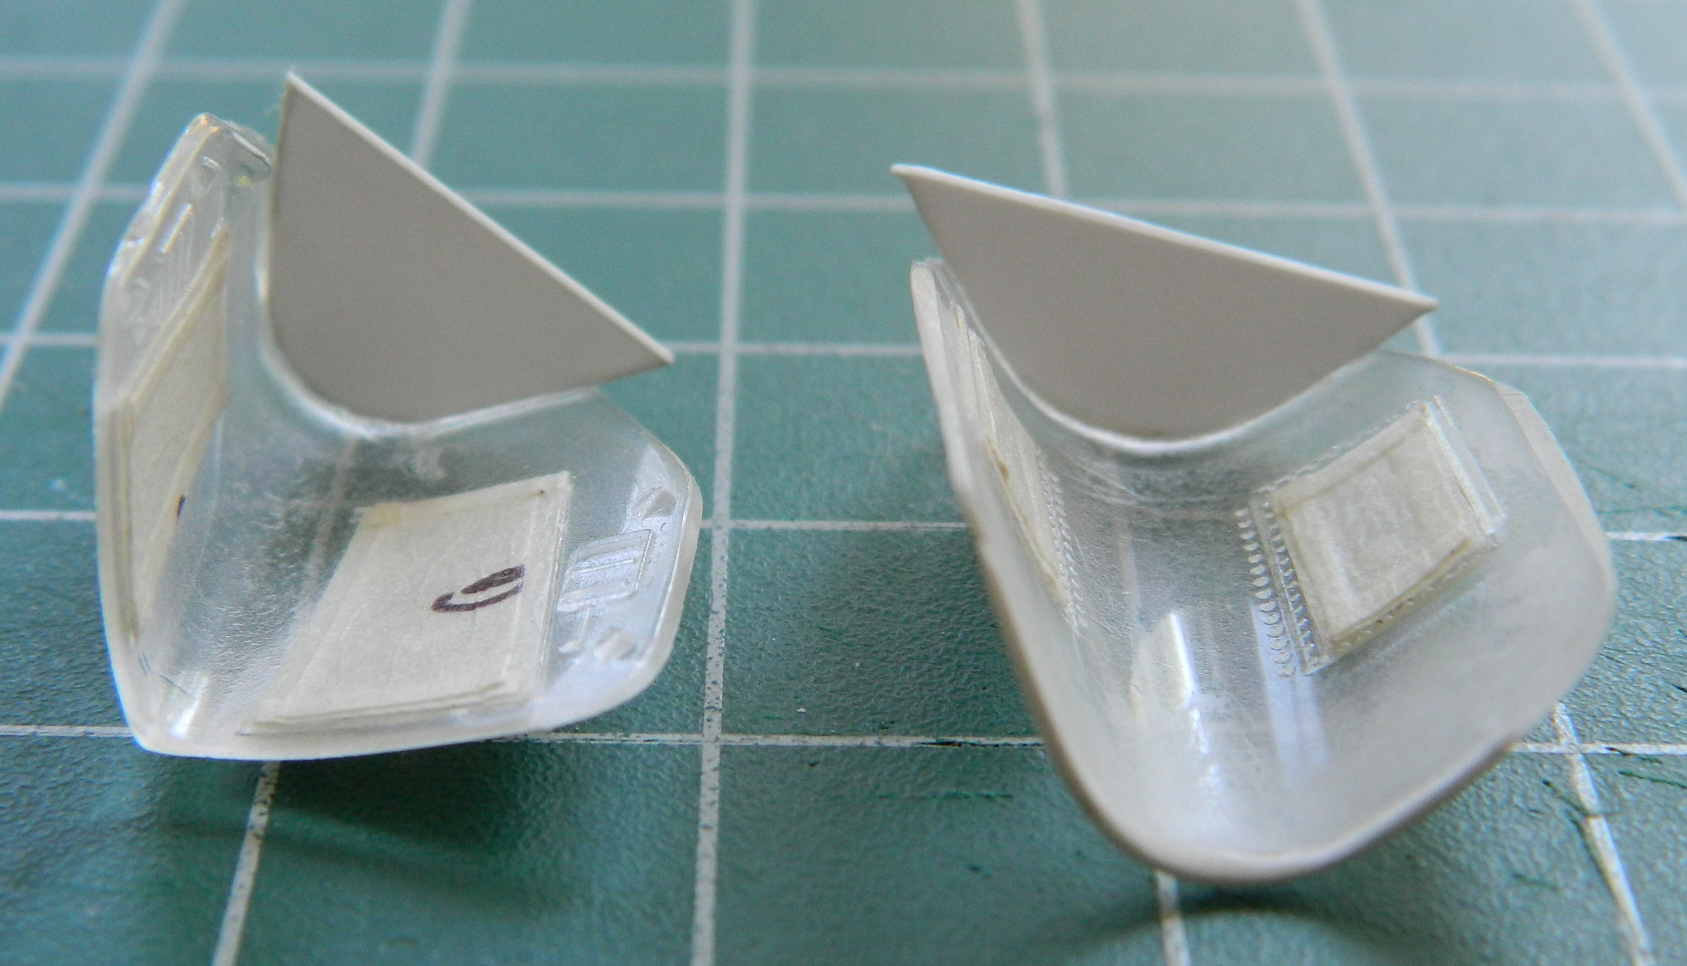
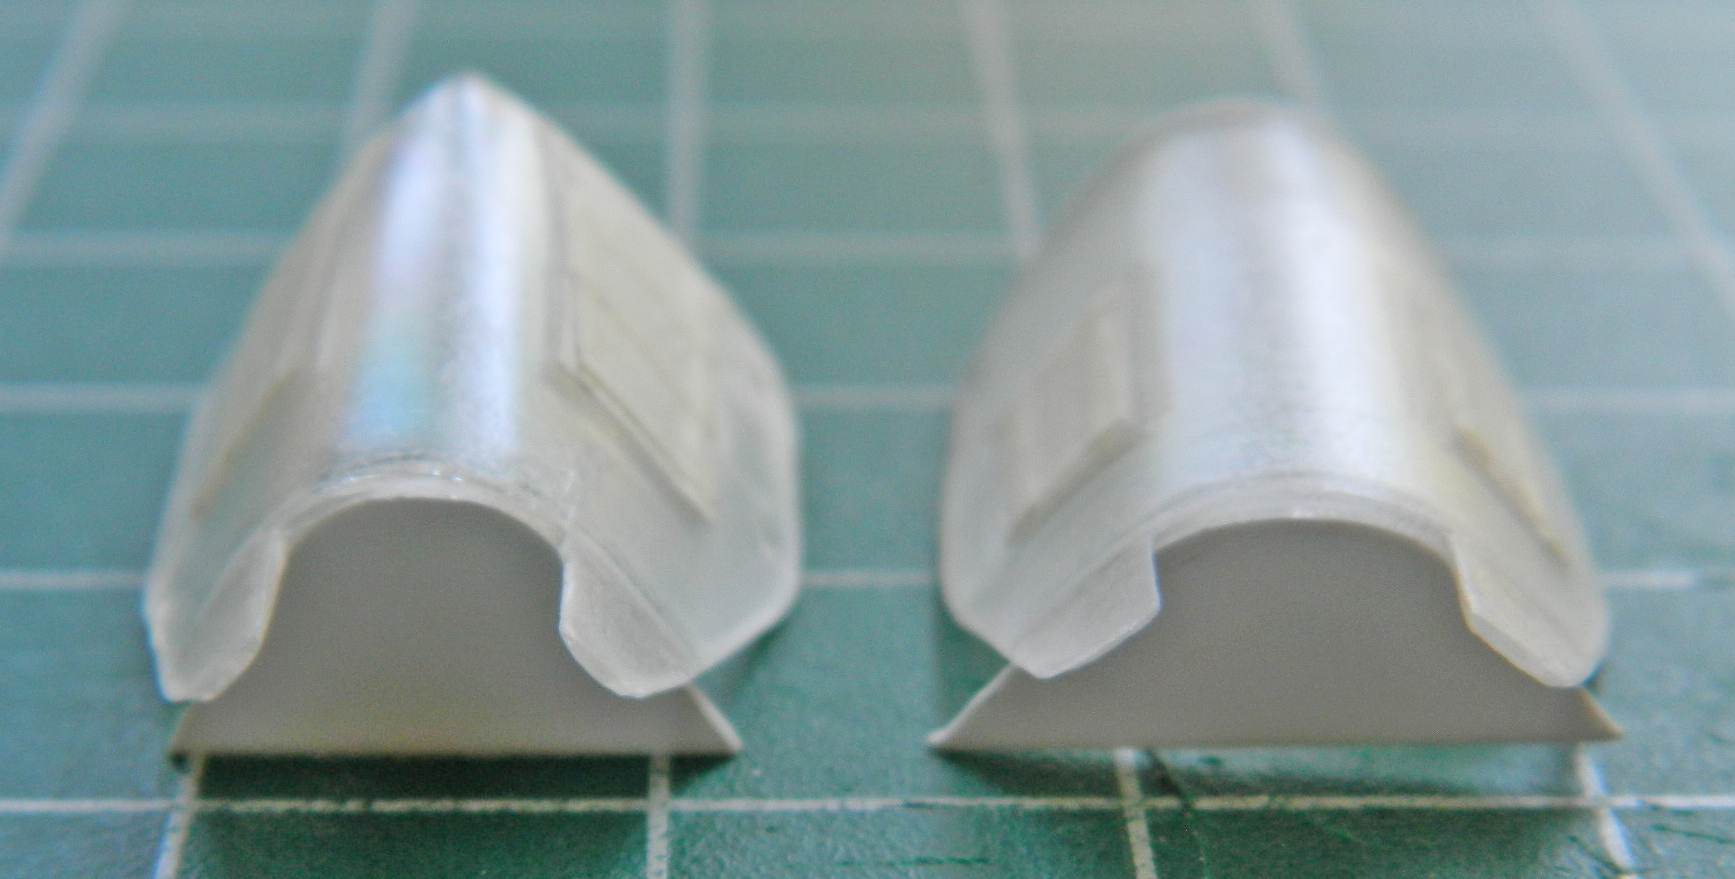
Once the glue cured overnight I removed the sections of the bulkheads that extend below the canopies’ edges.
The next trick is to add all the structure inside the canopies…
Entropy never sleeps…nor does Loki and Eris. Instead of going to Robins, GA, to see the Blackbird that’s on display there, that money went into my car to counter the effects of entropy. So I’m going to have to work with what references I have and can find to add the details to the landing gear bays. I decided to continue the build while the BitB work on the gear bay problem(s).
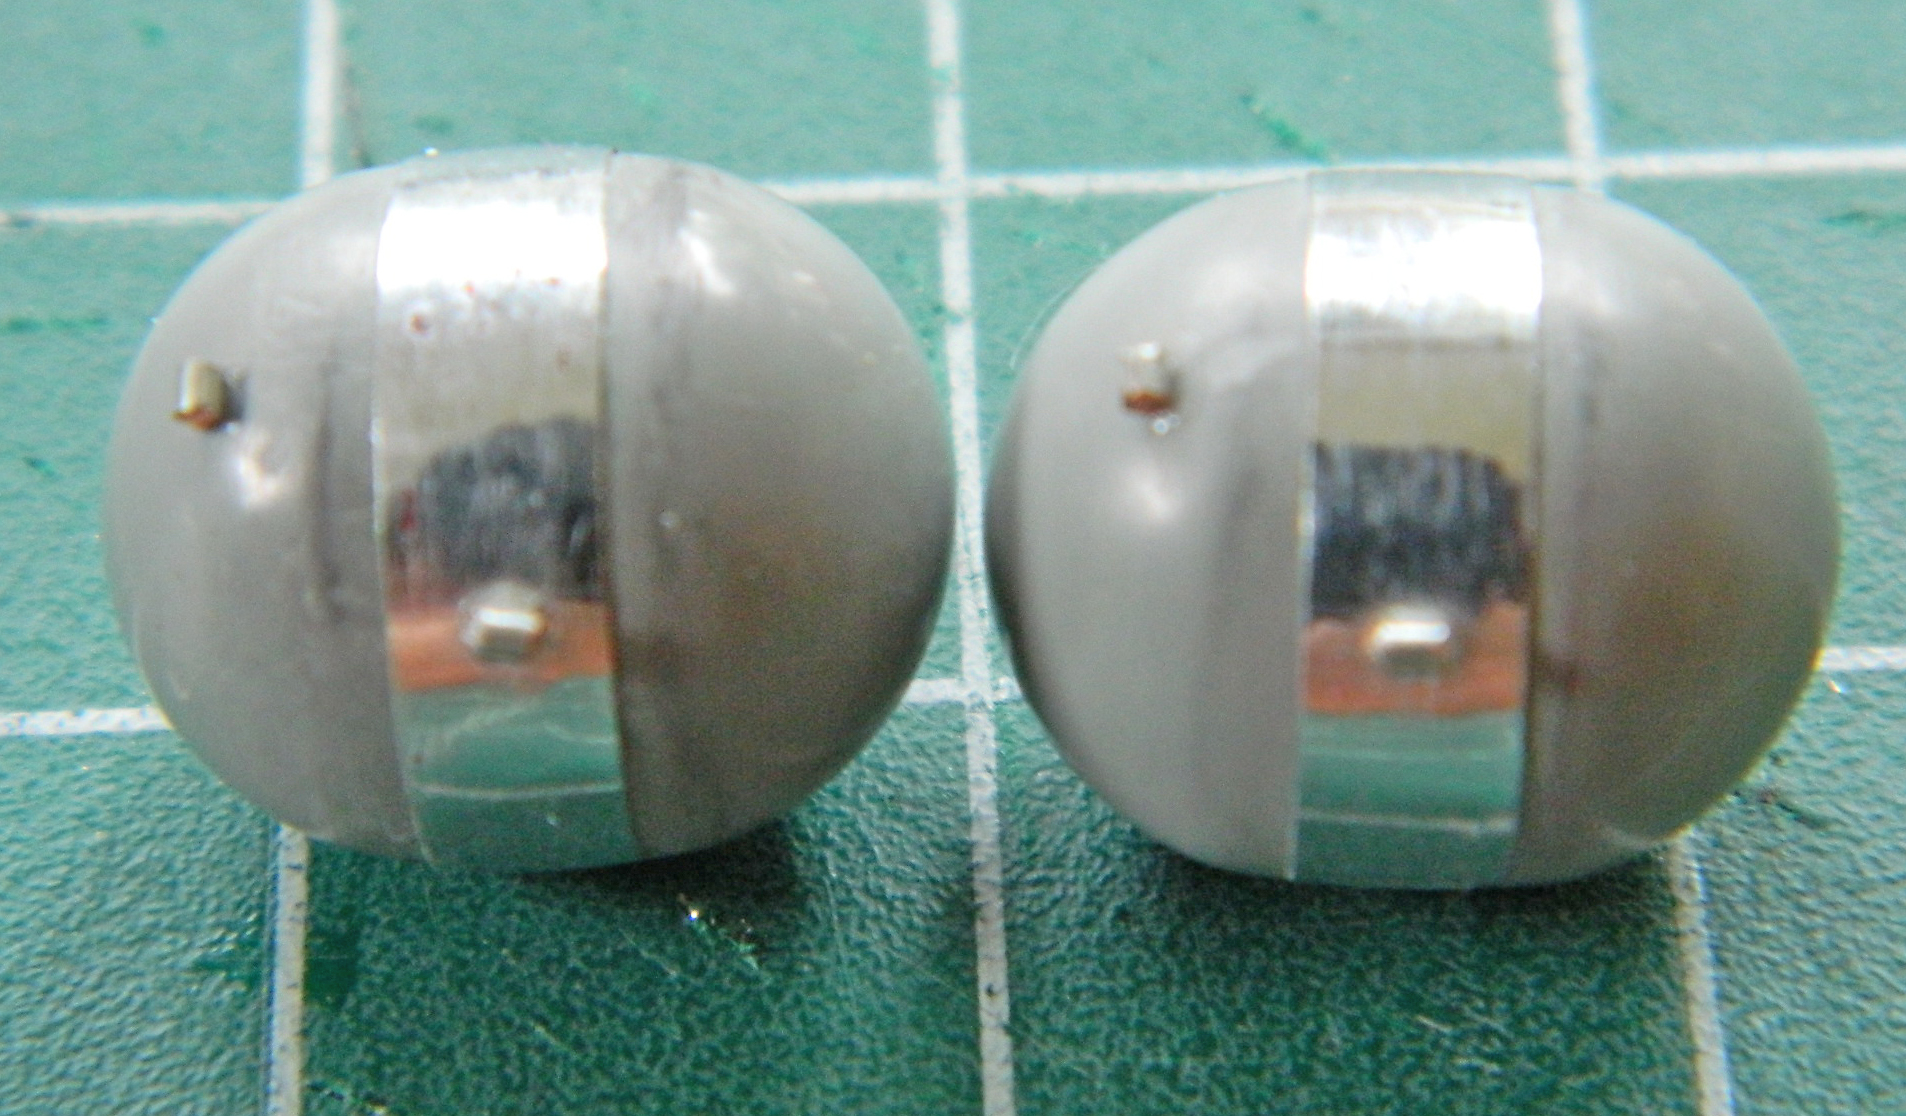
Tucked up at the top of the nose gear bay are two liquid nitrogen tanks (used for cooling…heat and how to deal with it was one of the major driving parameters of the SR-71’s design). They’re not precisely round. I went to one of the spares boxes which in this case was the 1/24 scale Gemini for the round parts. To elongate them, I sanded off the locating pins, measured the width of the gear bay and compared it to the width of the two round parts and added the difference with flat stock:
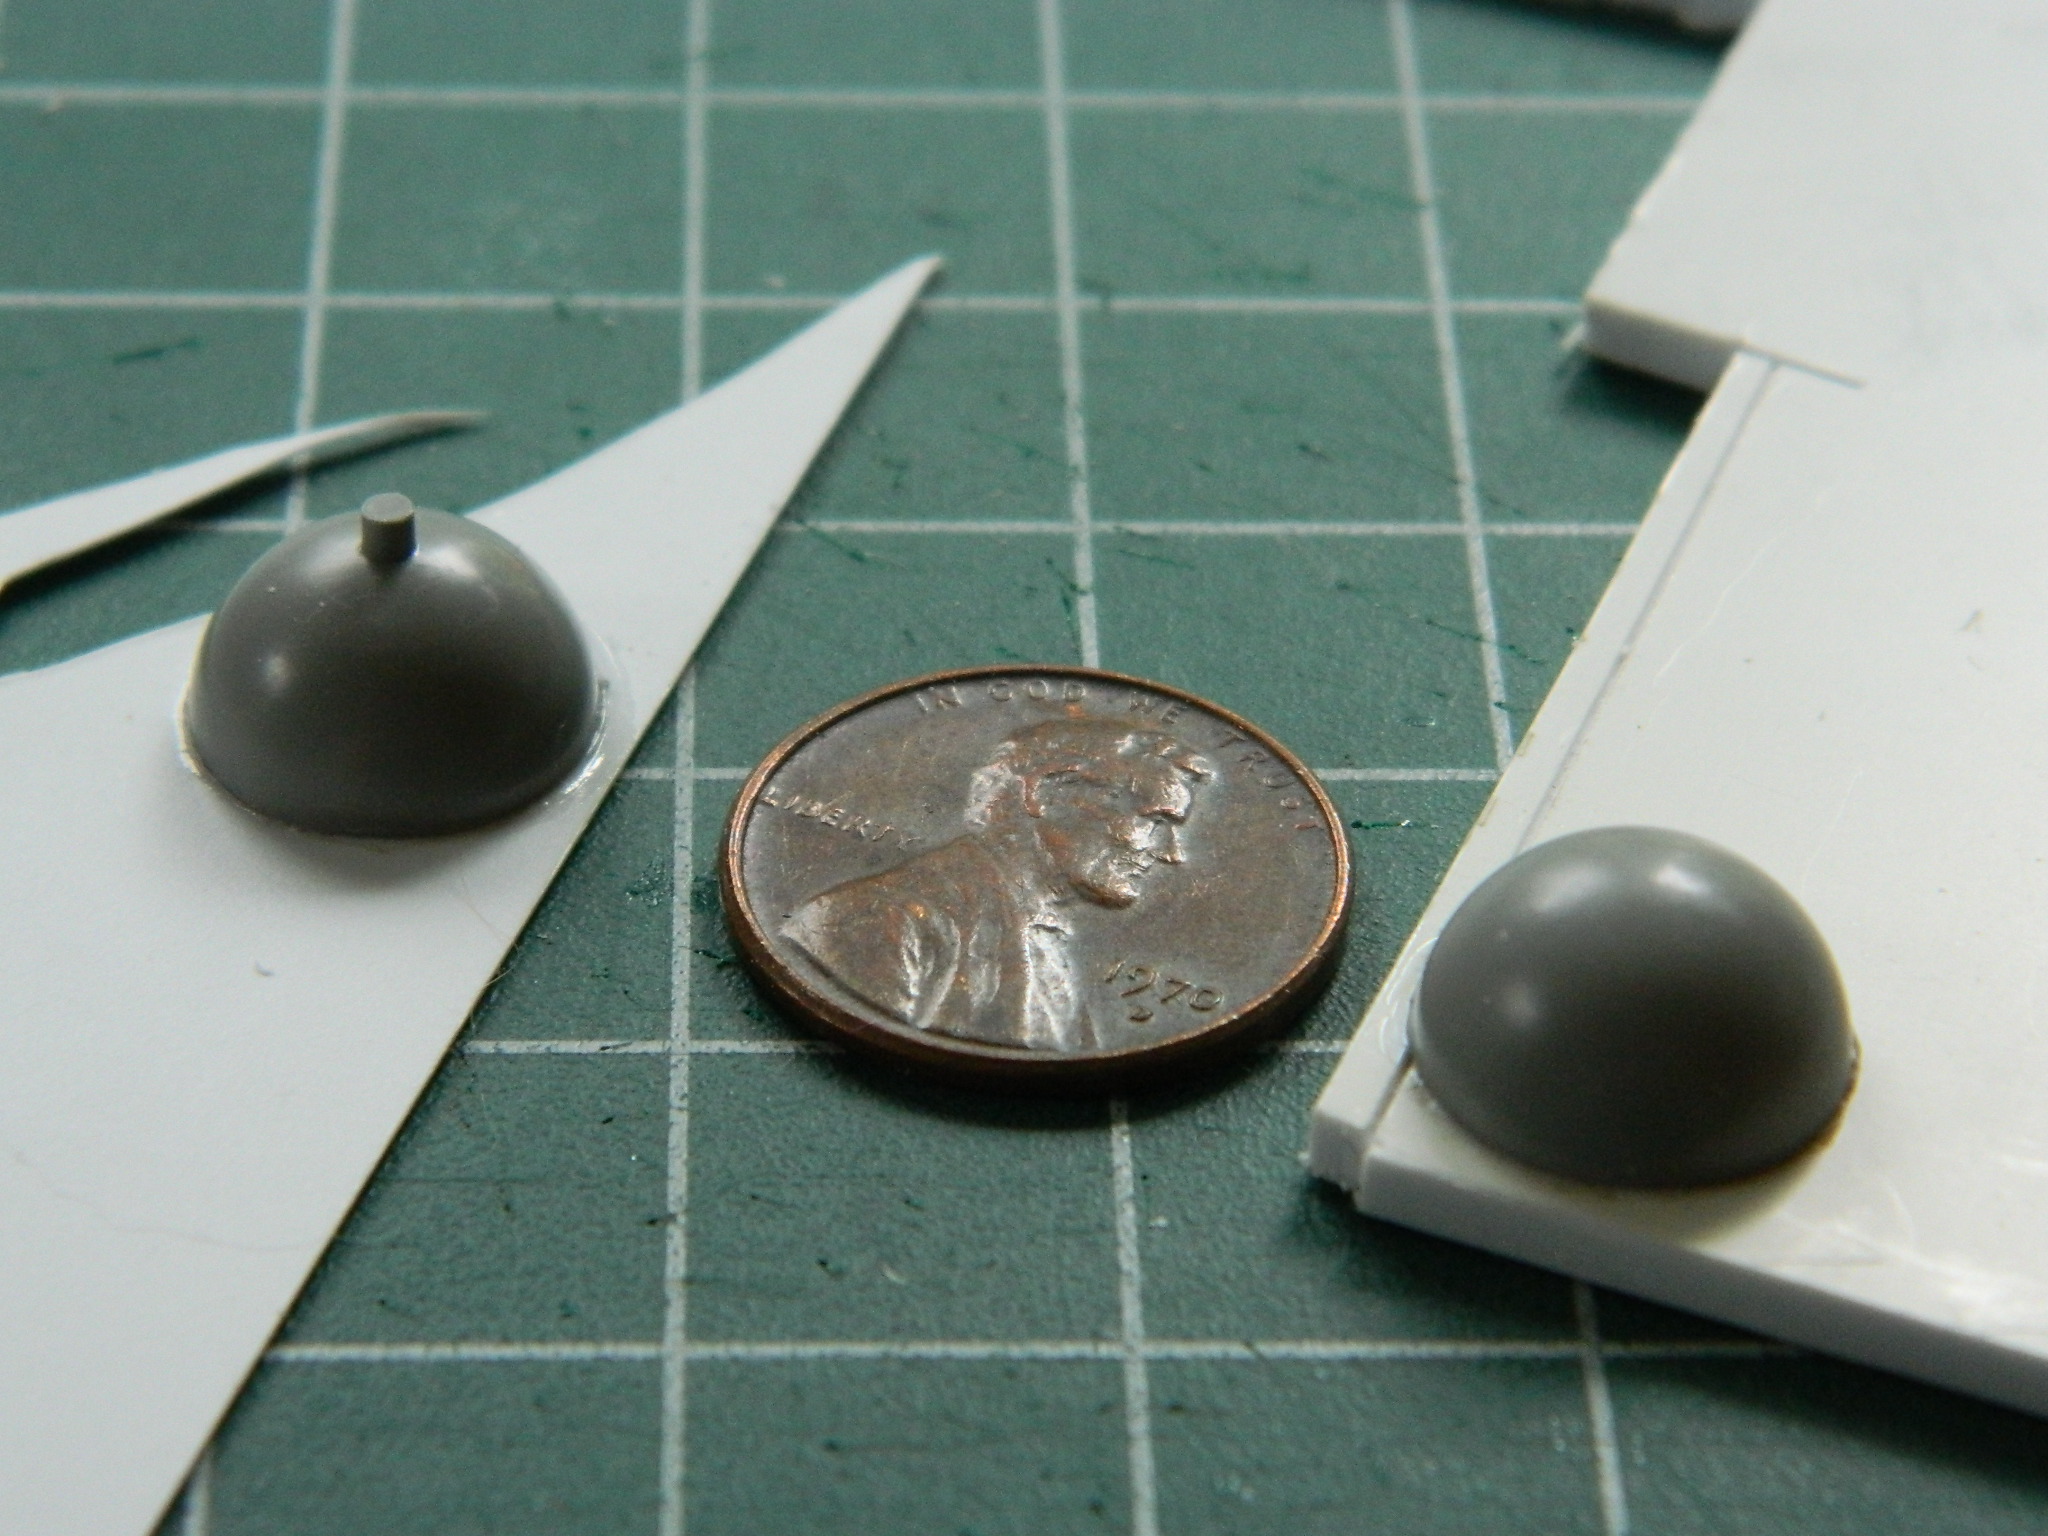
Then I glued the two halves together and removed the mounting pins and excess from the additions. Since there are two nitrogen tanks, this was done twice:

There is a band around the center of the tank that I replicated using high-temperature duct tape which is a heavy gauge, adhesive-backed, aluminum foil:
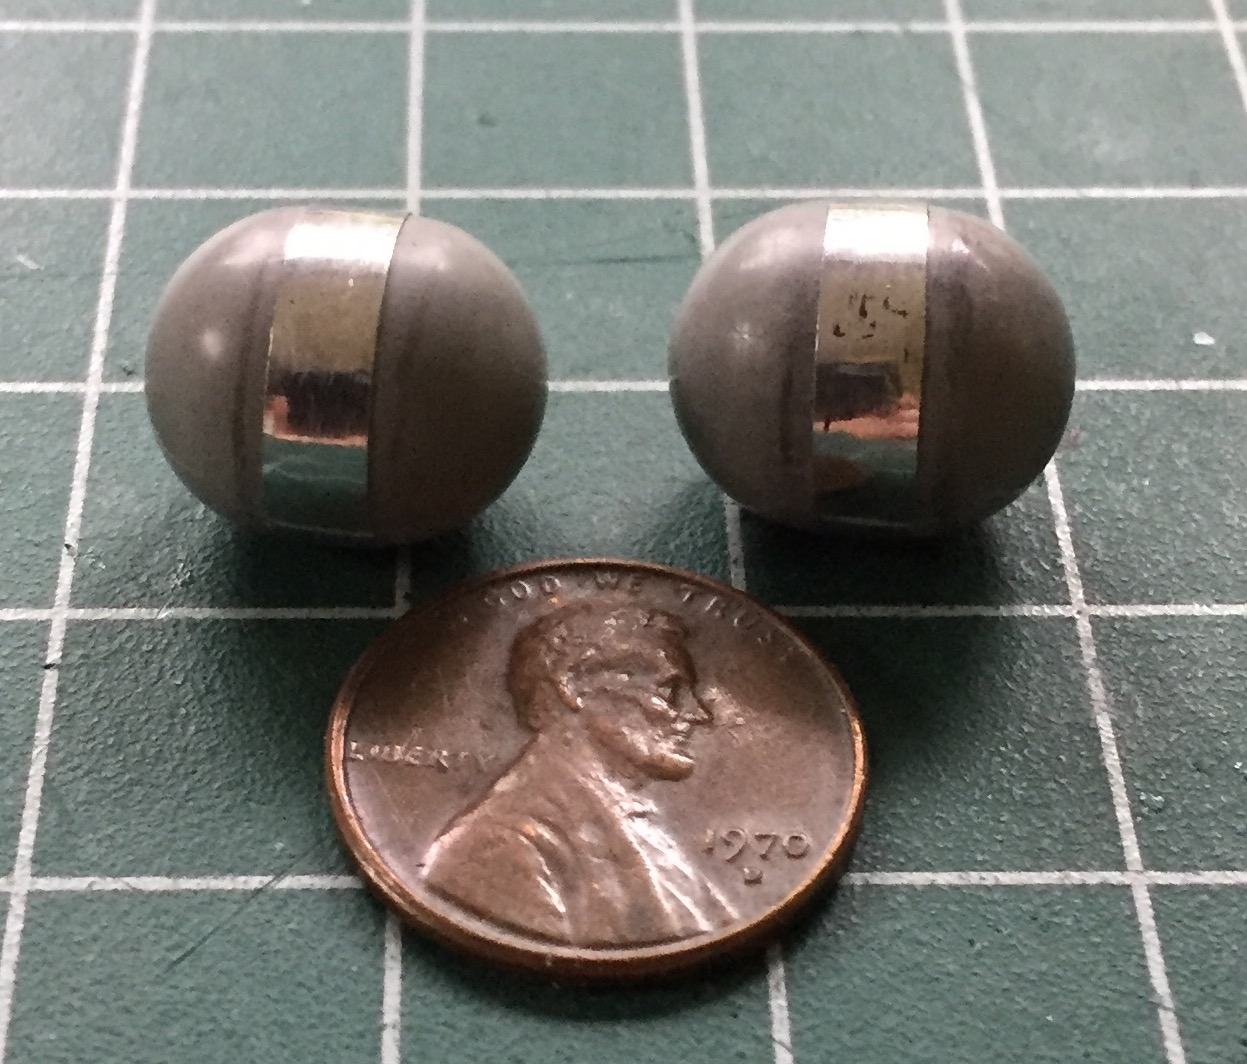
I added the tanks’ access lines’ terminus using 22awg copper wire and set the assemblies aside for now:
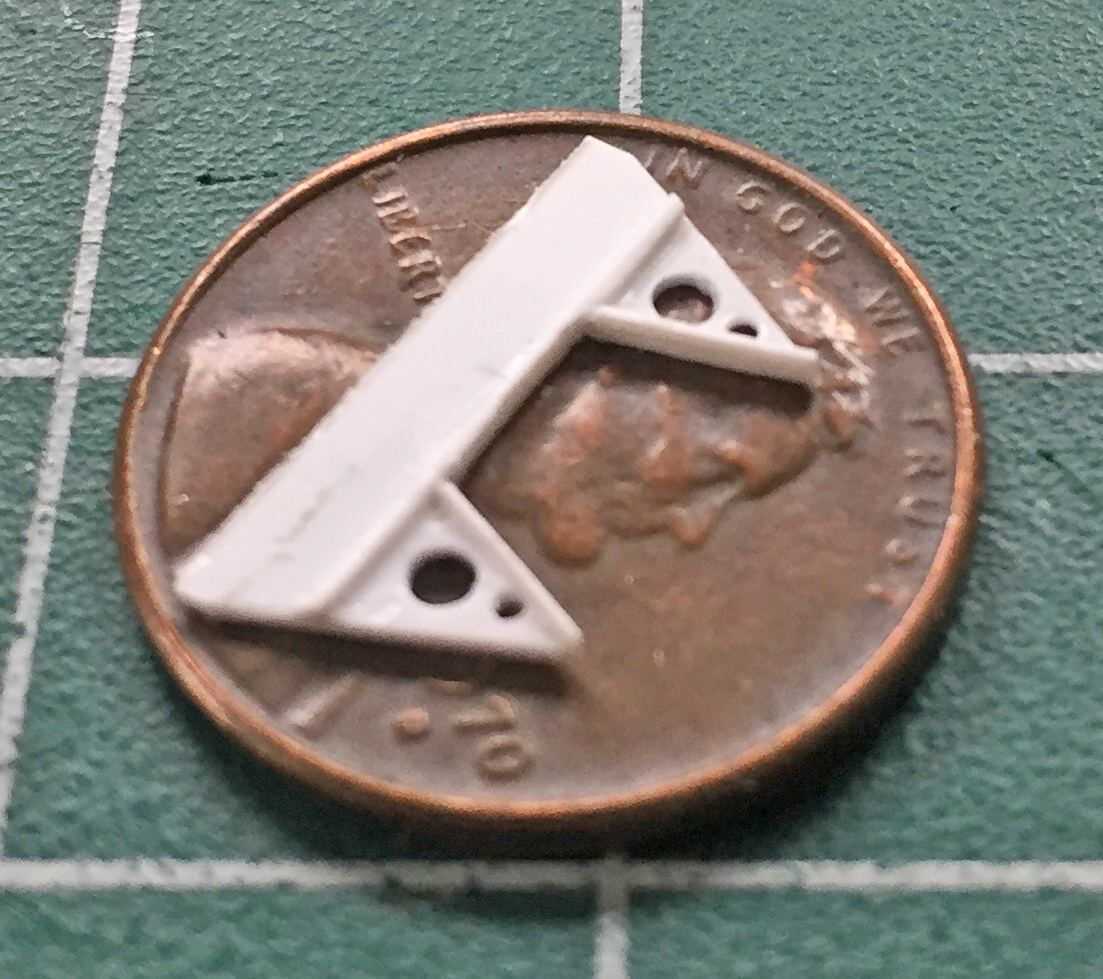
I used .010″ (.254mm) styrene sheet to fabricate mounting structure and used the punch and die set to create most of the lightening holes (drills did the holes I didn’t have a punch for), then started gluing the parts together, adding putty to make the joints disappear:


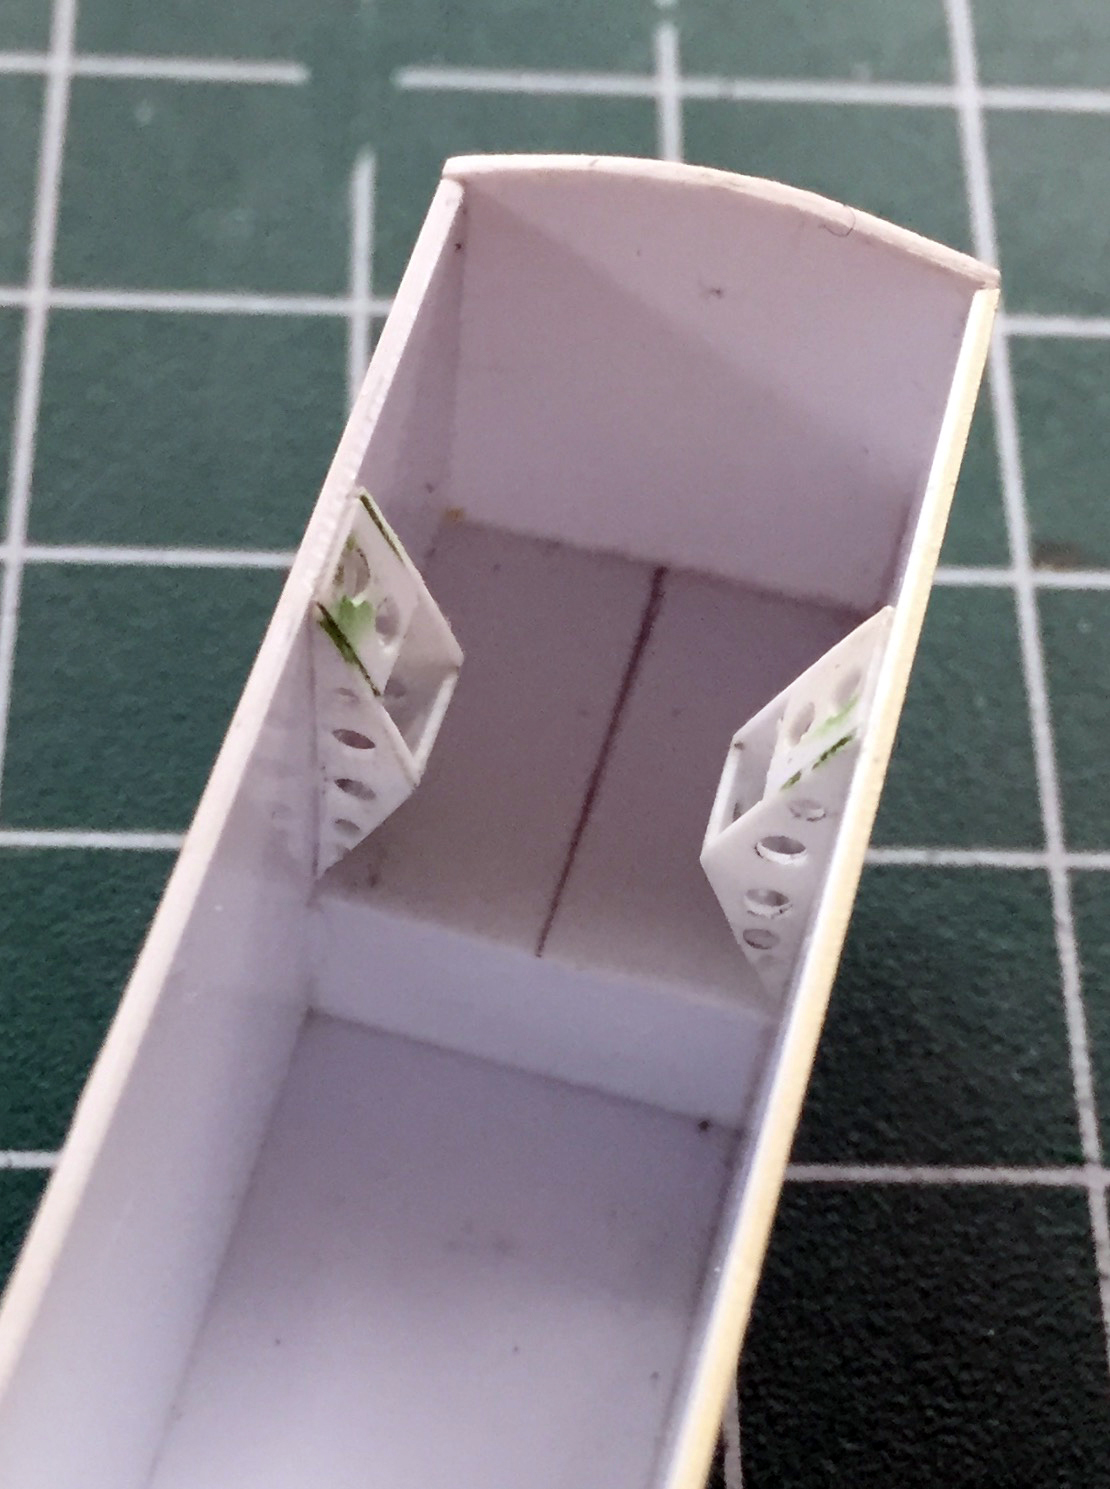
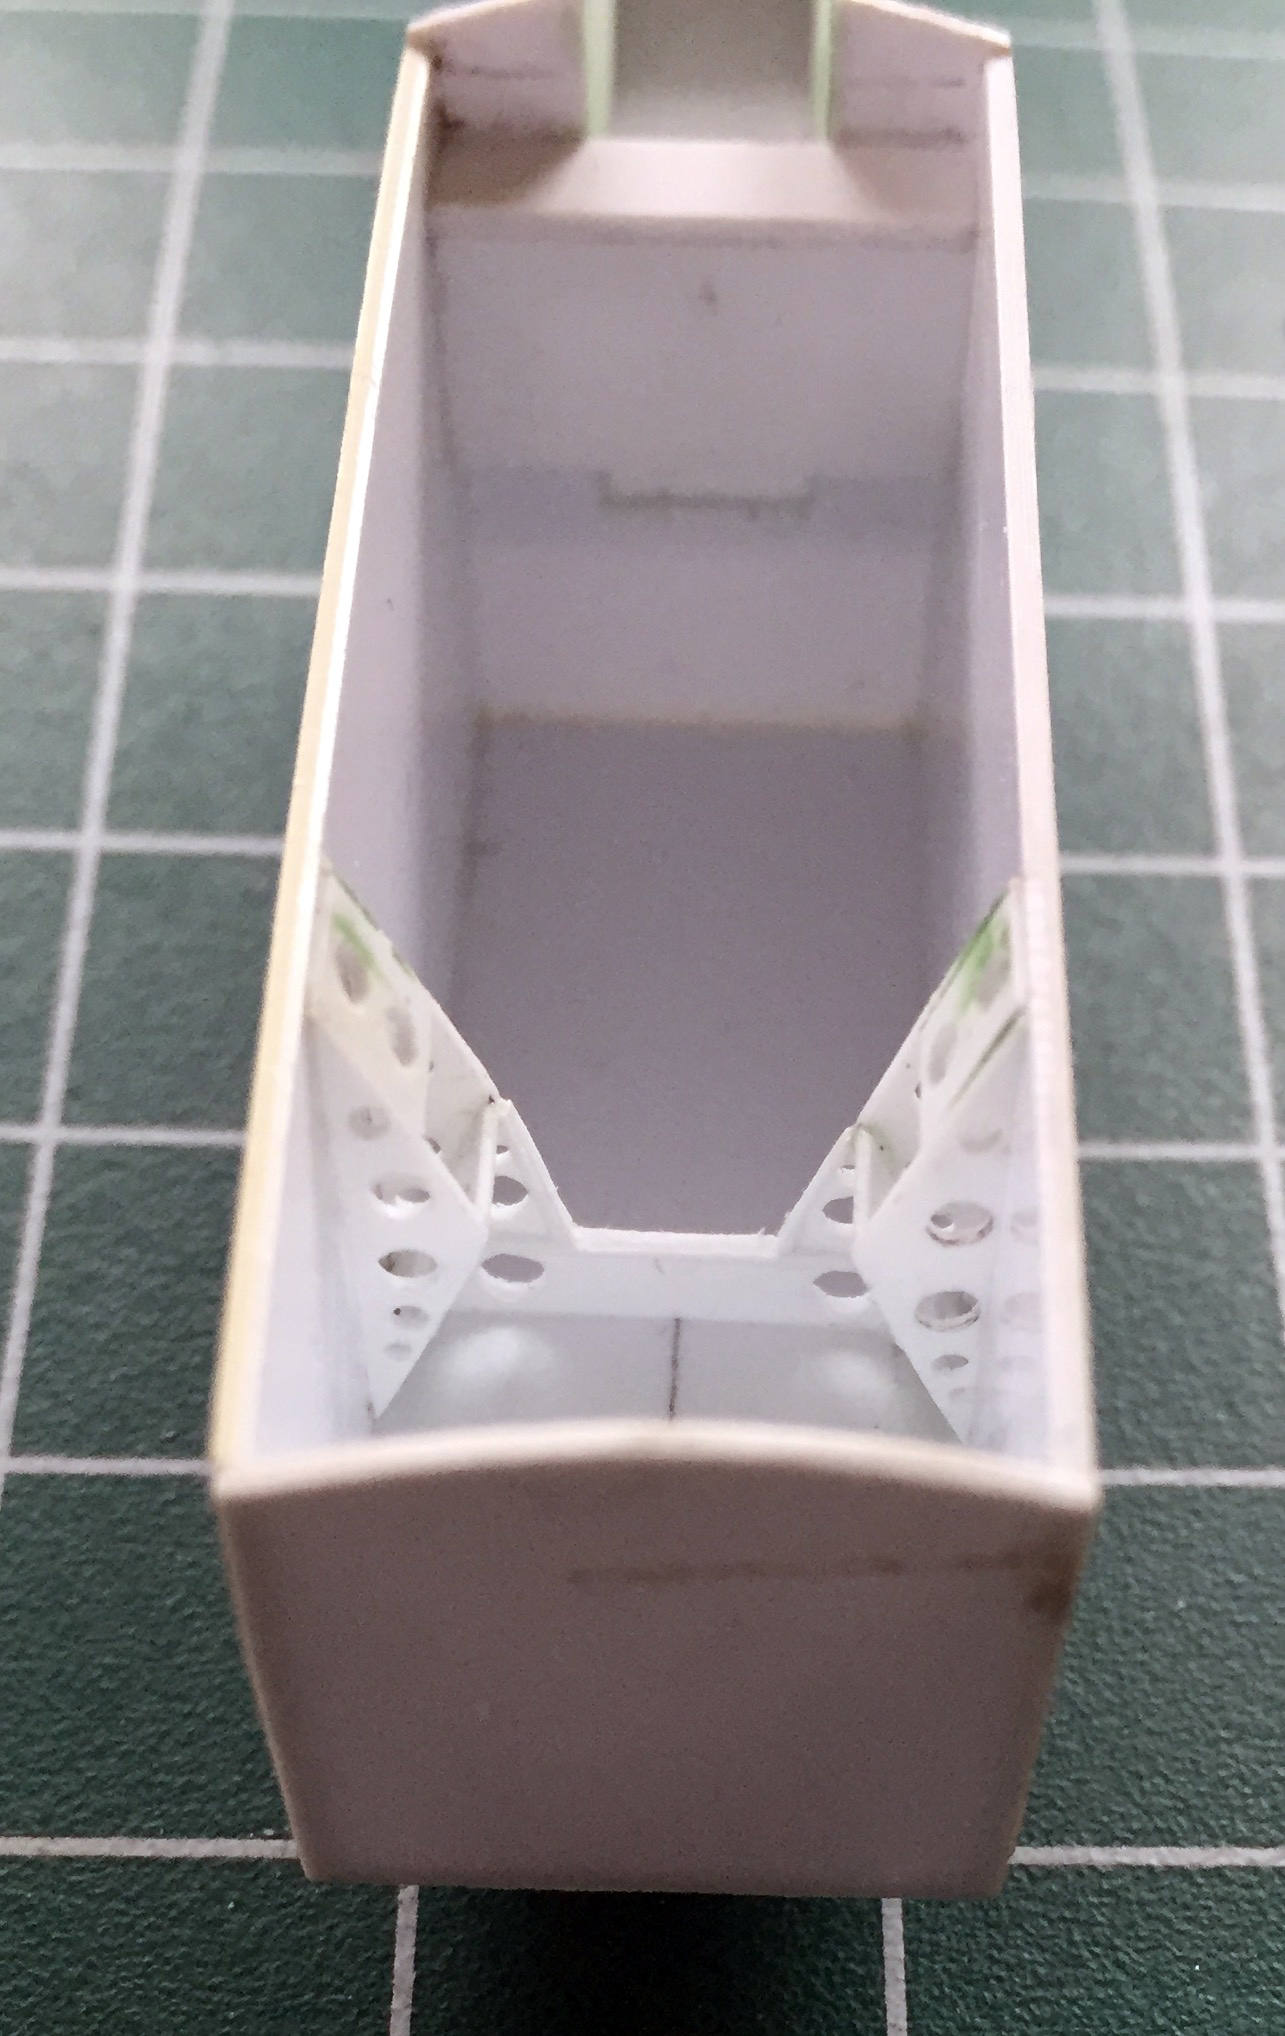
The structure was added to the landing gear bay:

My initial plan (which rarely survives first contact with the work) was to use metal landing gear struts to better support the weight of what is (or will become…there’s that plan again) a large model. In looking at the metal parts, I see that they were produced by taking molds and making castings of the kit parts:

Okay, that’s fine as far as it goes but I’m taking this build as far as I can. The modifications I want to make to the nose gear strut will be easier on me if I do that part all in plastic. My thought (accurate or not) is that gluing the modifications to the strut will result in a stronger bond as the styrene cement melts the parts being joined together and superglue, which is what I’d have to use if I was going to use the metal part, would probably not be as strong (I still intend to make the main gear struts, which will support most of the completed model’s weight, from metal, but instead of using the parts I’d purchased, I’m going to scratch build them from brass or copper stock.):
With that decision made, as you can see in the above photo I cut off the extension strut so that I could more easily access the parting lines (they’re not well aligned as the next photo shows):
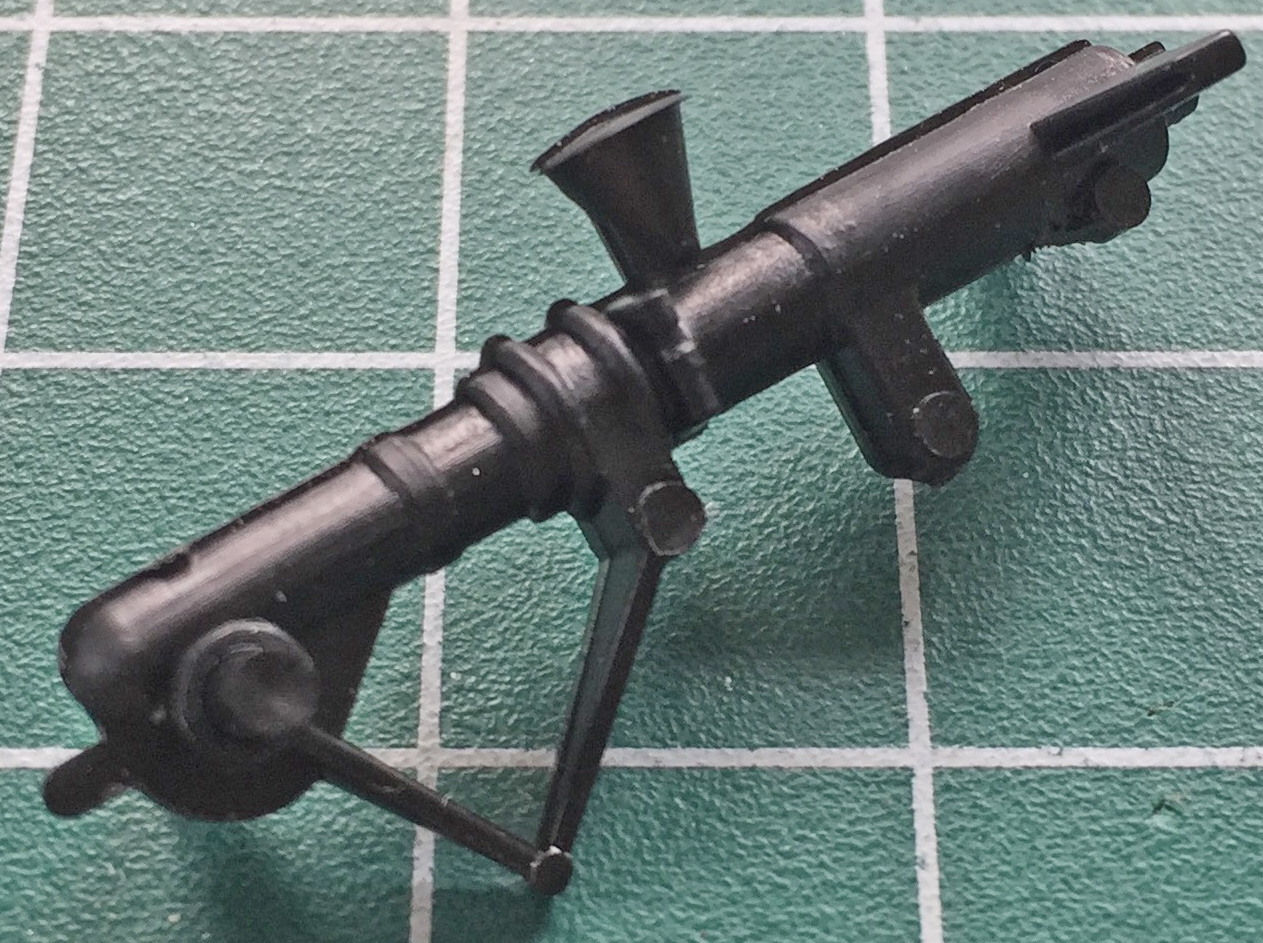
I also have a peculiarity (one of many); I don’t like trying to replicate clear parts using opaque paint. The conical structure in the above photo is one (of two…I have to make the other one) of the landing lights on the nose gear strut and as it is with lights, the lens is supposed to be clear. That means I gotta make the lights (I’ll try turning down clear acrylic rod for that/those) and the molded on “light” has to come off:
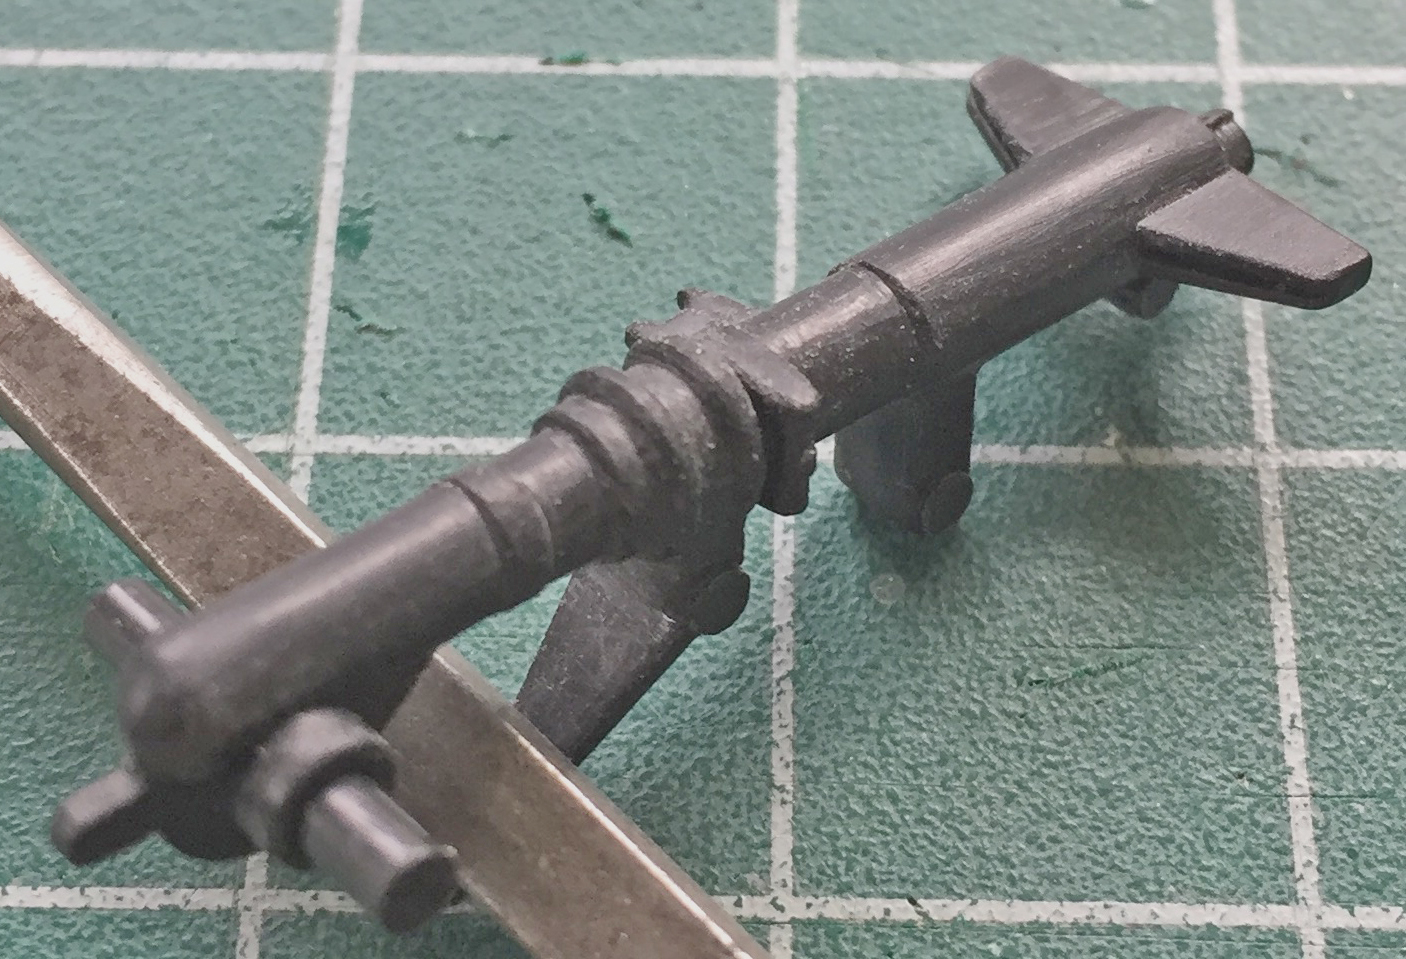
And while the BitB work on how I’m going to work the details inside the landing gear bays, I stop working on the nose gear parts and turn my efforts elsewhere. There’s no shortage of “elsewhere”…
I’m doing something a little different with this build; it’s a favor for a friend (who is due so much more). It’s also of a specific aircraft.
While I was planning this one in my head, I wanted to do a special aircraft (as if the SR-71 isn’t “special” because it exists). The last flight of a Blackbird in the Air Force inventory happened March 6, 1998. On that flight it broke four speed records over a measured distance (which are yet unbroken). The last AF Blackbird flight, tail number 972, was from Beale AFB, CA to Dulles International Airport, DC. Upon its arrival it was given to the Smithsonian National Air/Space Museum (NASM). It was refurbished and in 2003 (I think…I may have that incorrectly) placed in the new adjunct facility in VA, the Udvar-Hazy Center where it is presently displayed.
I’m going to model this specific aircraft as it’s displayed at the NASM and that all starts with the kit:

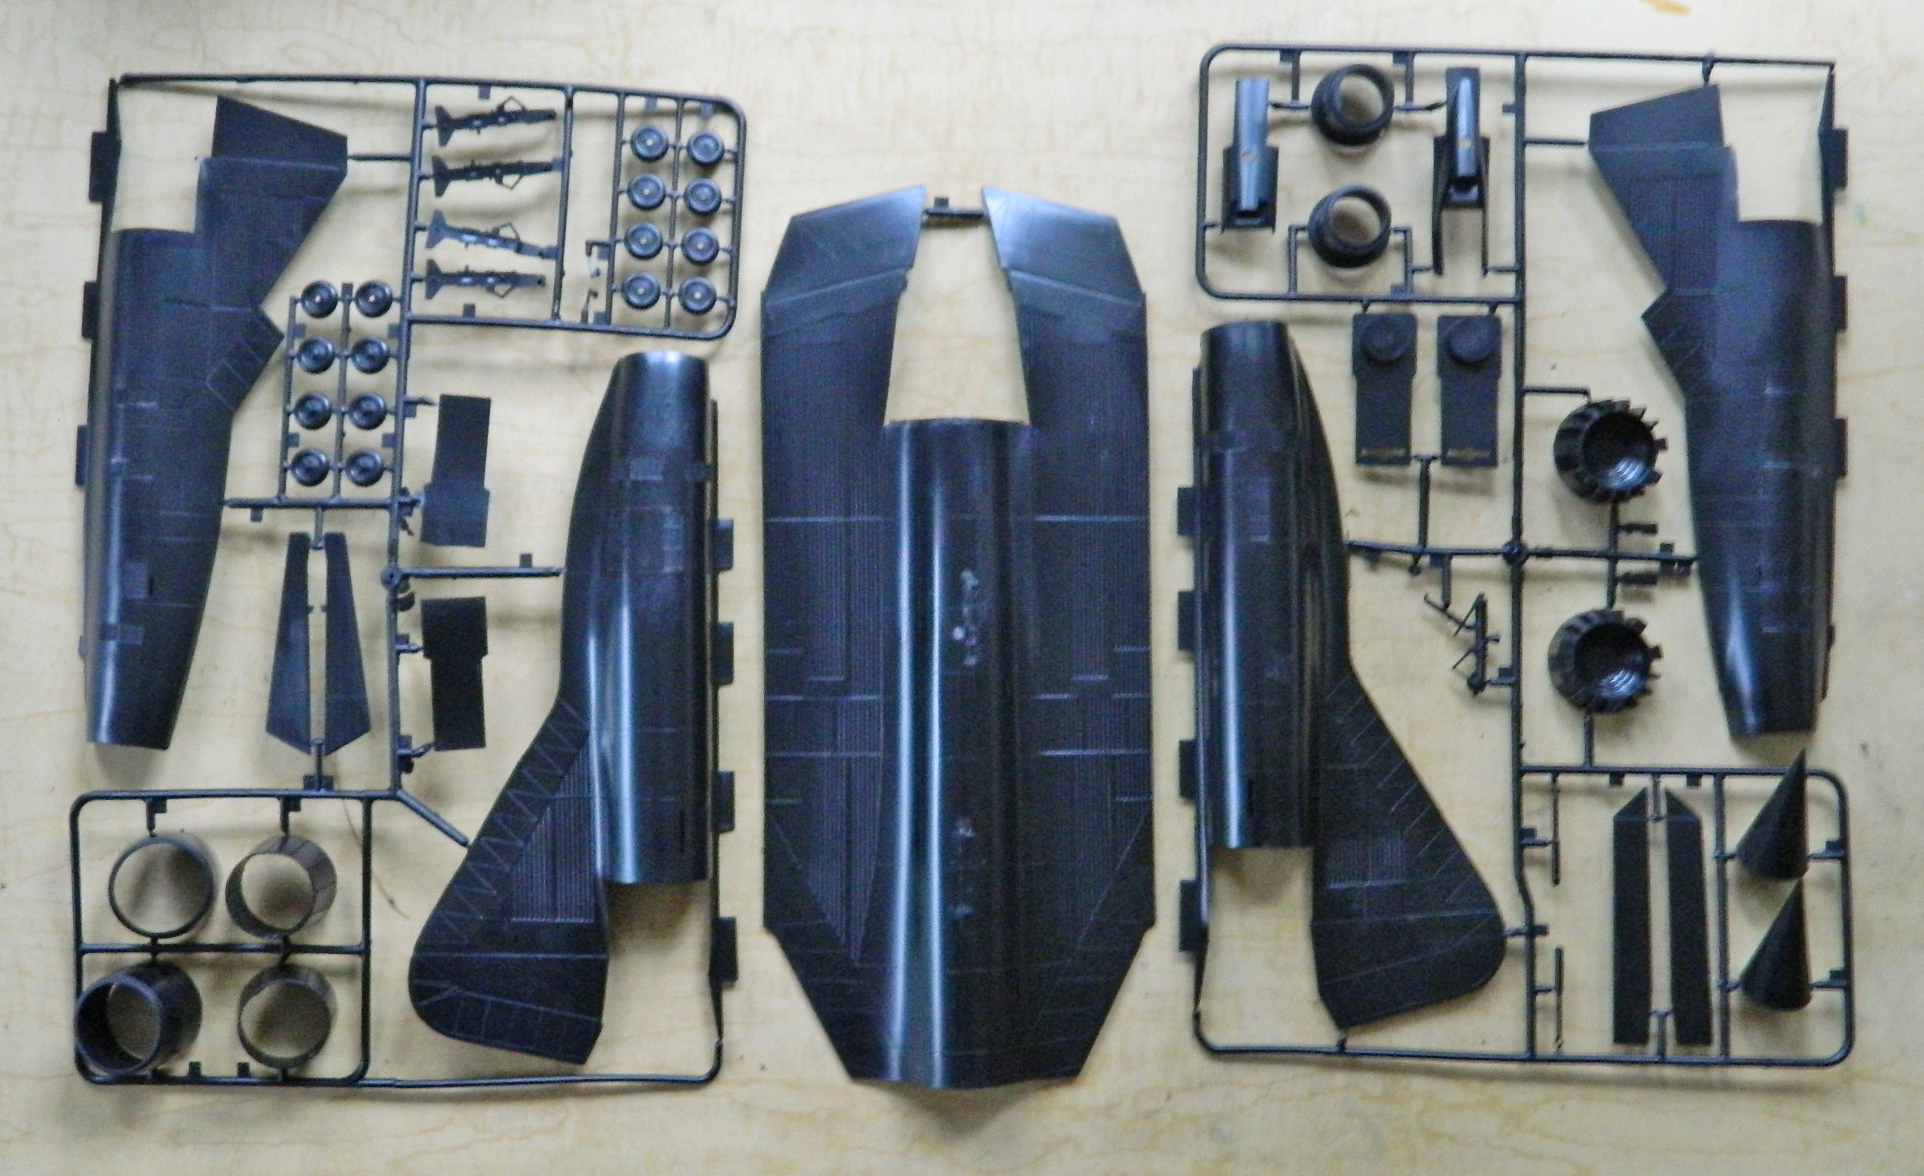
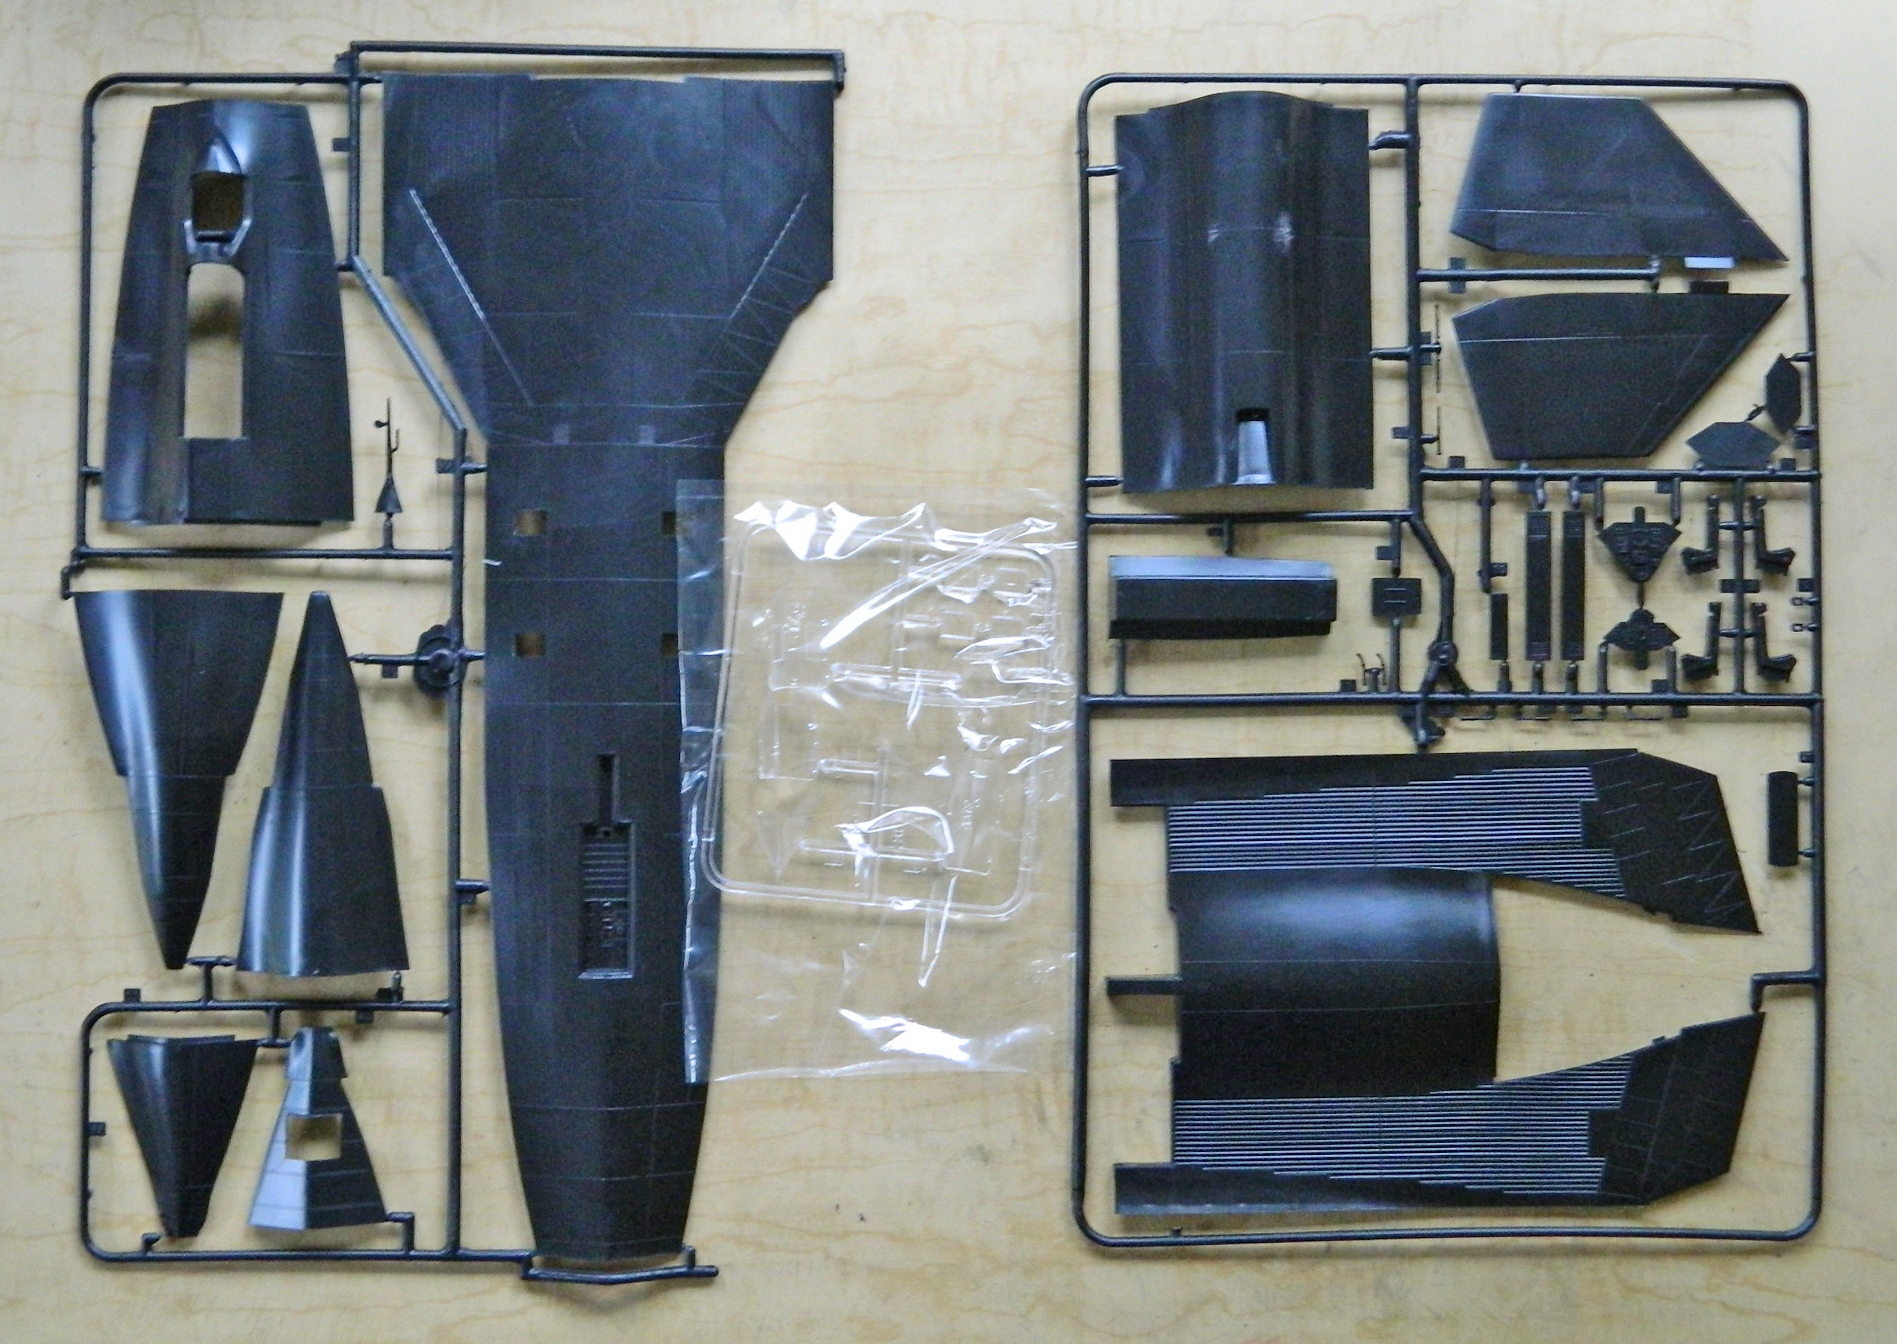
The AM parts I’ll be using are these:
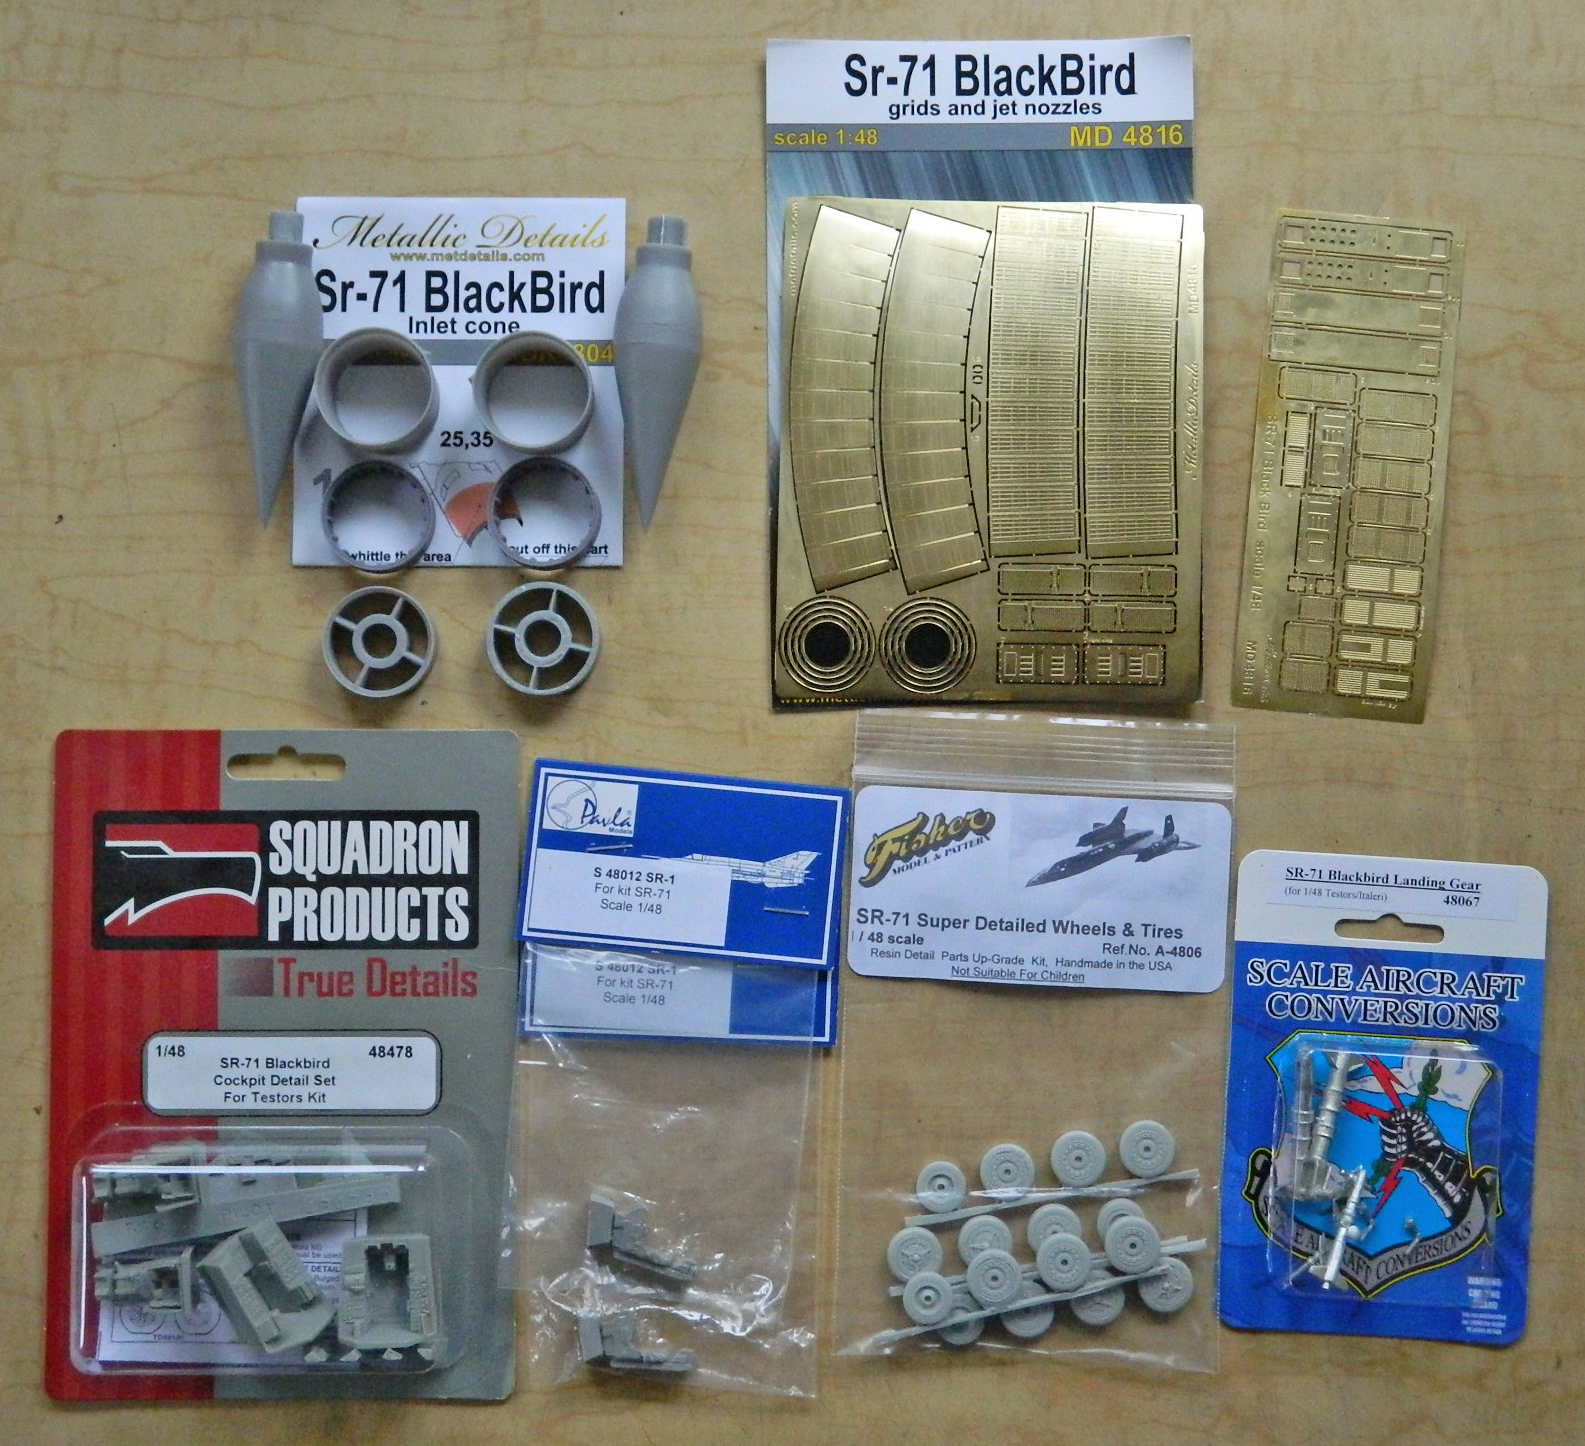
My usual method is to start with the cockpit so I can join fuselage halves and go from there. This time I’m going to start with the landing gear bays. These will be scratch-built so with that amount of work ahead of me, I wanted to do them while I was still fresh (I’m told I’m always fresh) and my enthusiasm is high.
Step one was to remove the molded-in nose gear bay “detail” (top photo is what the kit provided):
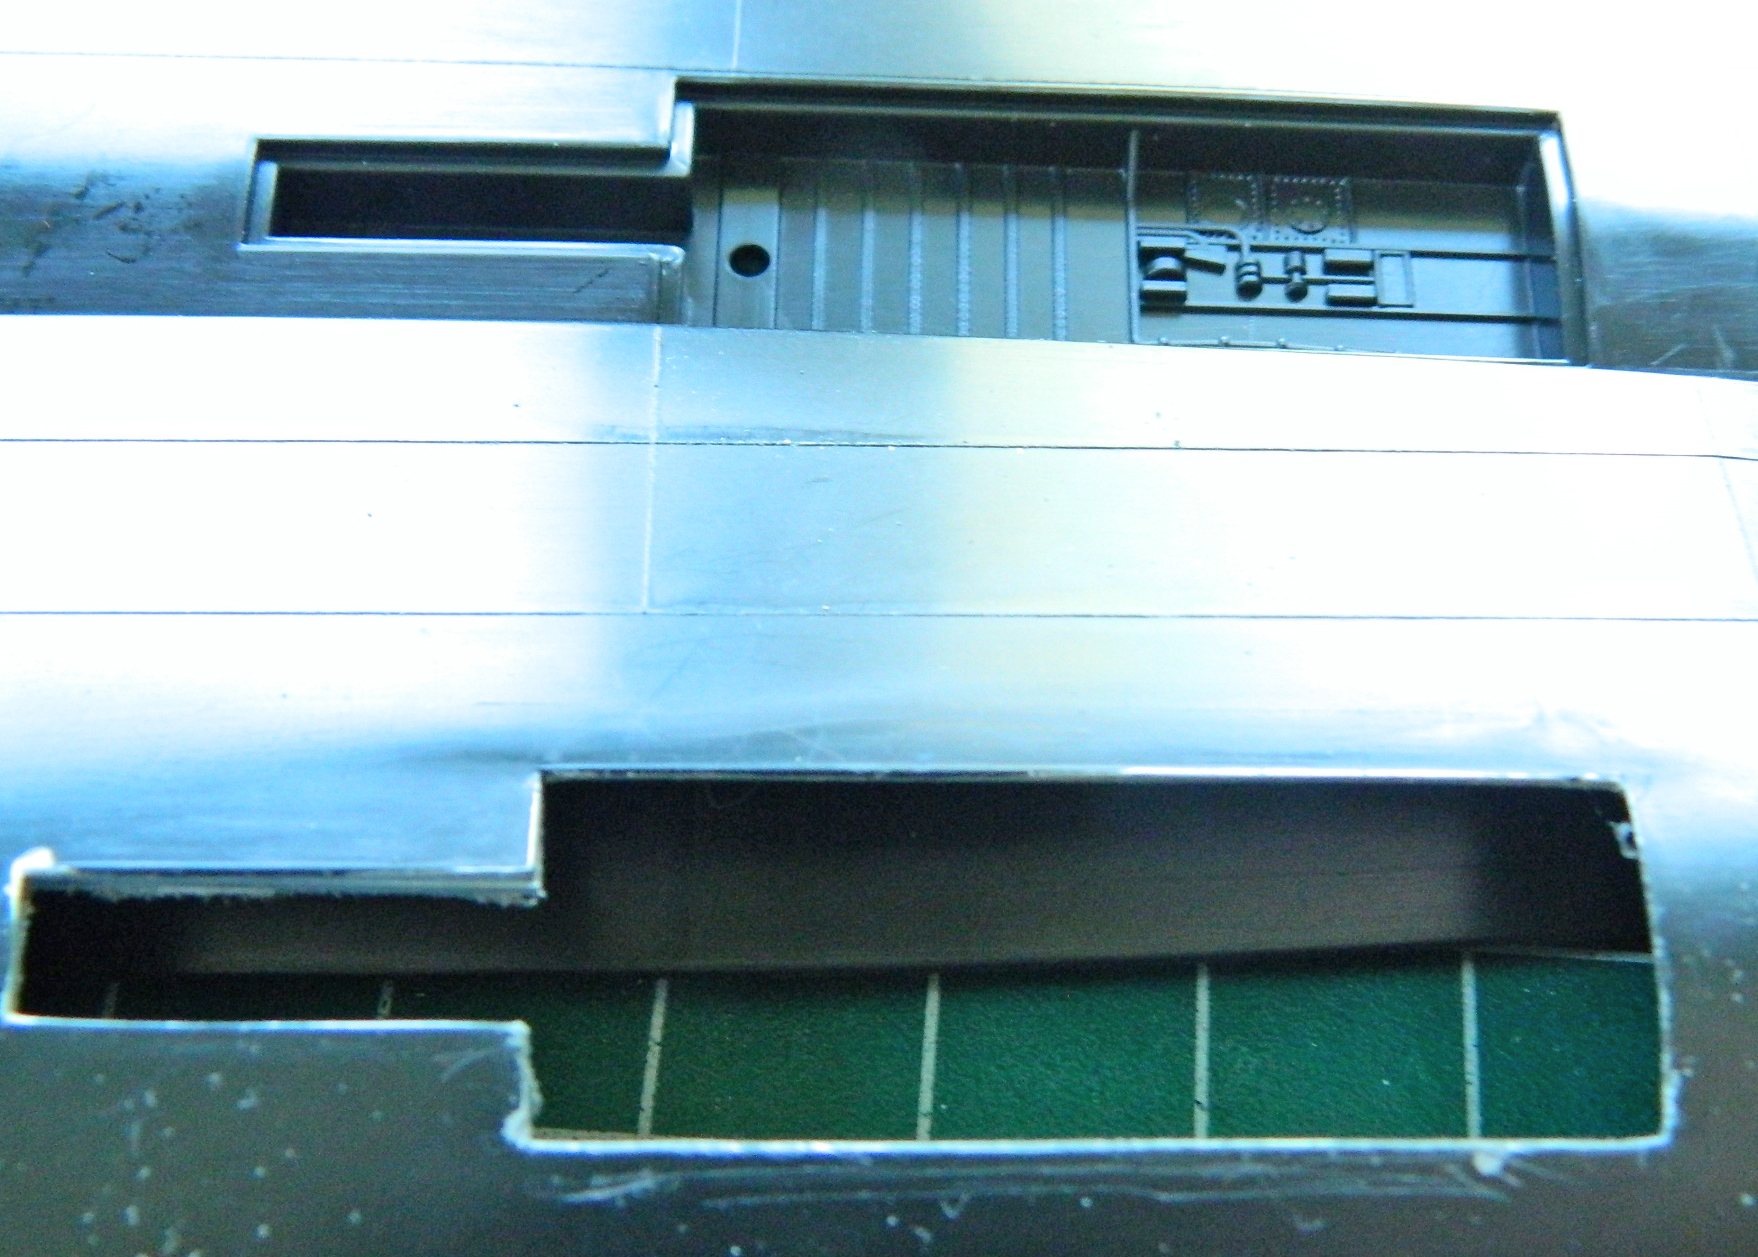
Then start dimensioning things…and here is where I made my first mistake. I used dimensions provided by someone else…a mistake I won’t make again. But at this point I thought the dimensions were accurate so…:

It wasn’t until I had the box about two-thirds constructed, enough to dry-fit, before I realized the provided dimensions were wrong:
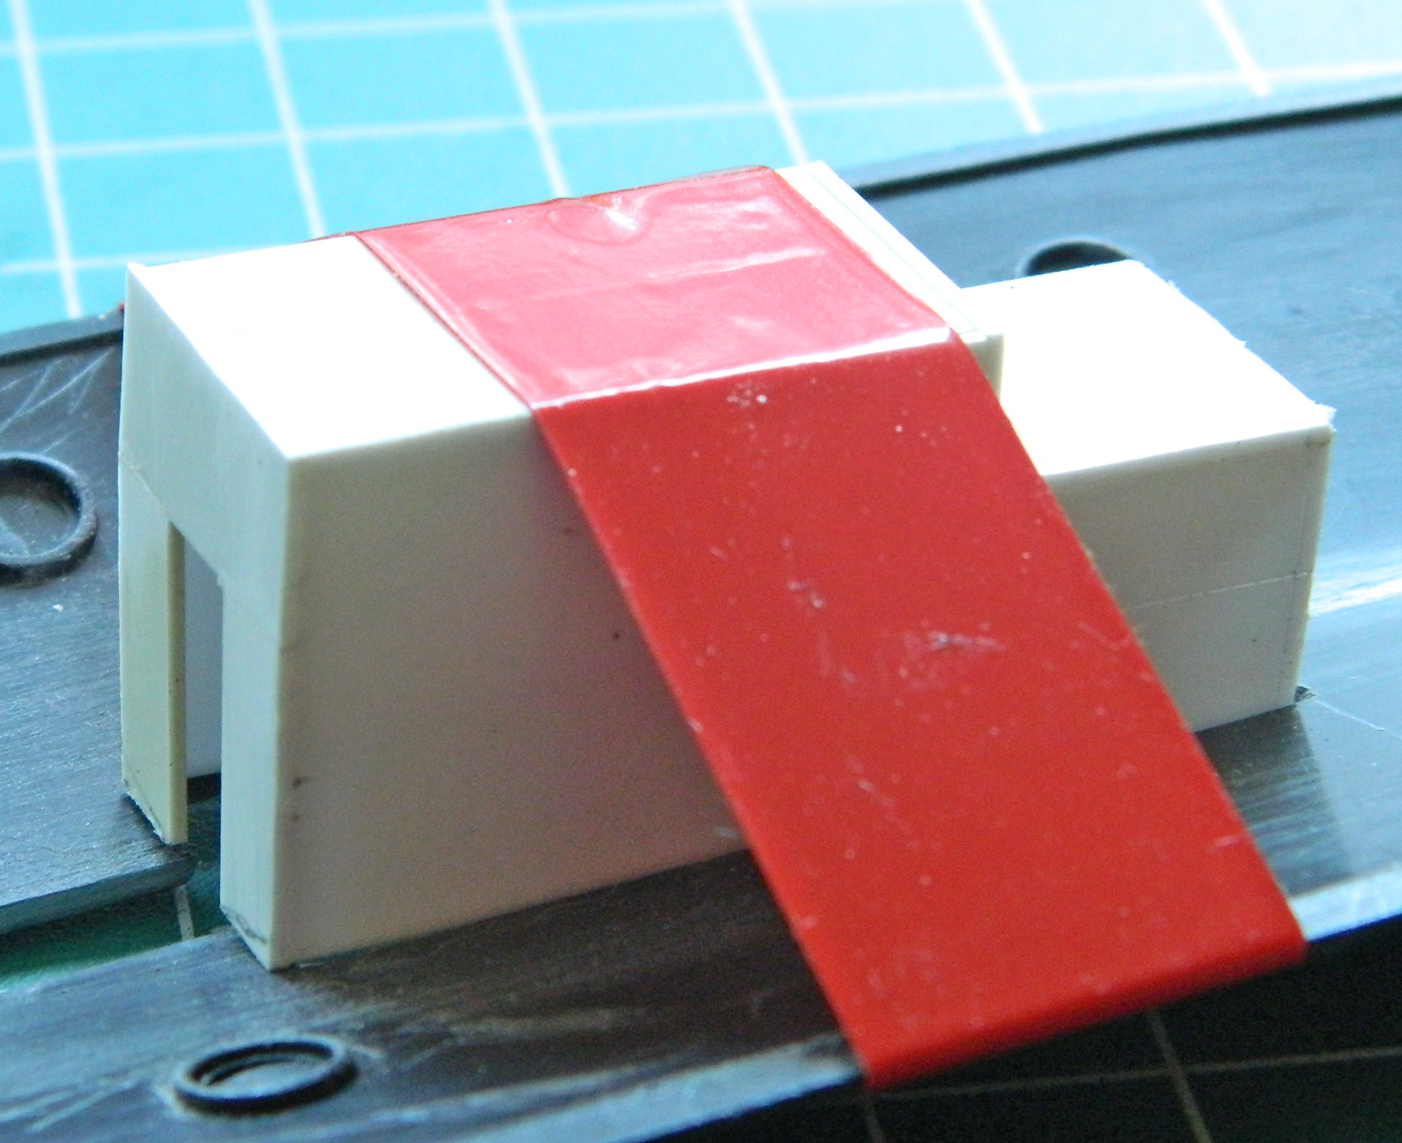
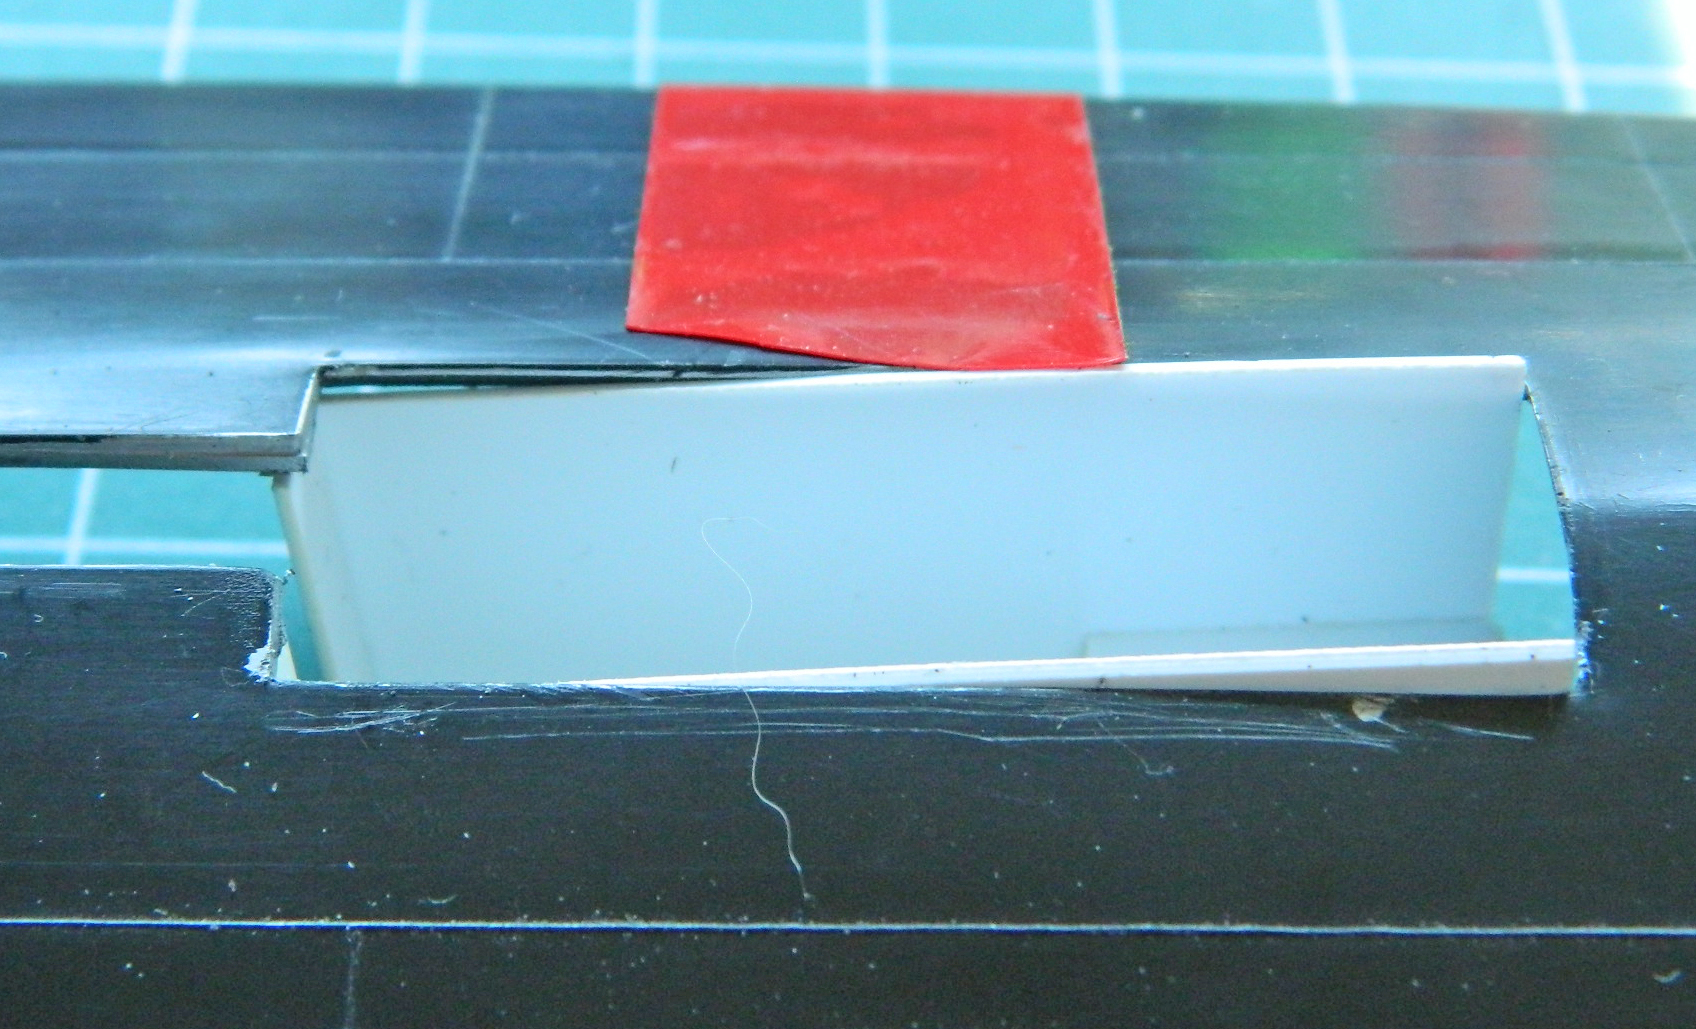
That got tossed in the scrap bin. Before I started cutting plastic (.030″ [.762mm]) again, I decided to create a socket for the new box to settle into. This is going to be a big model with some heft and I wanted to increase the surface area the glue would bond with:
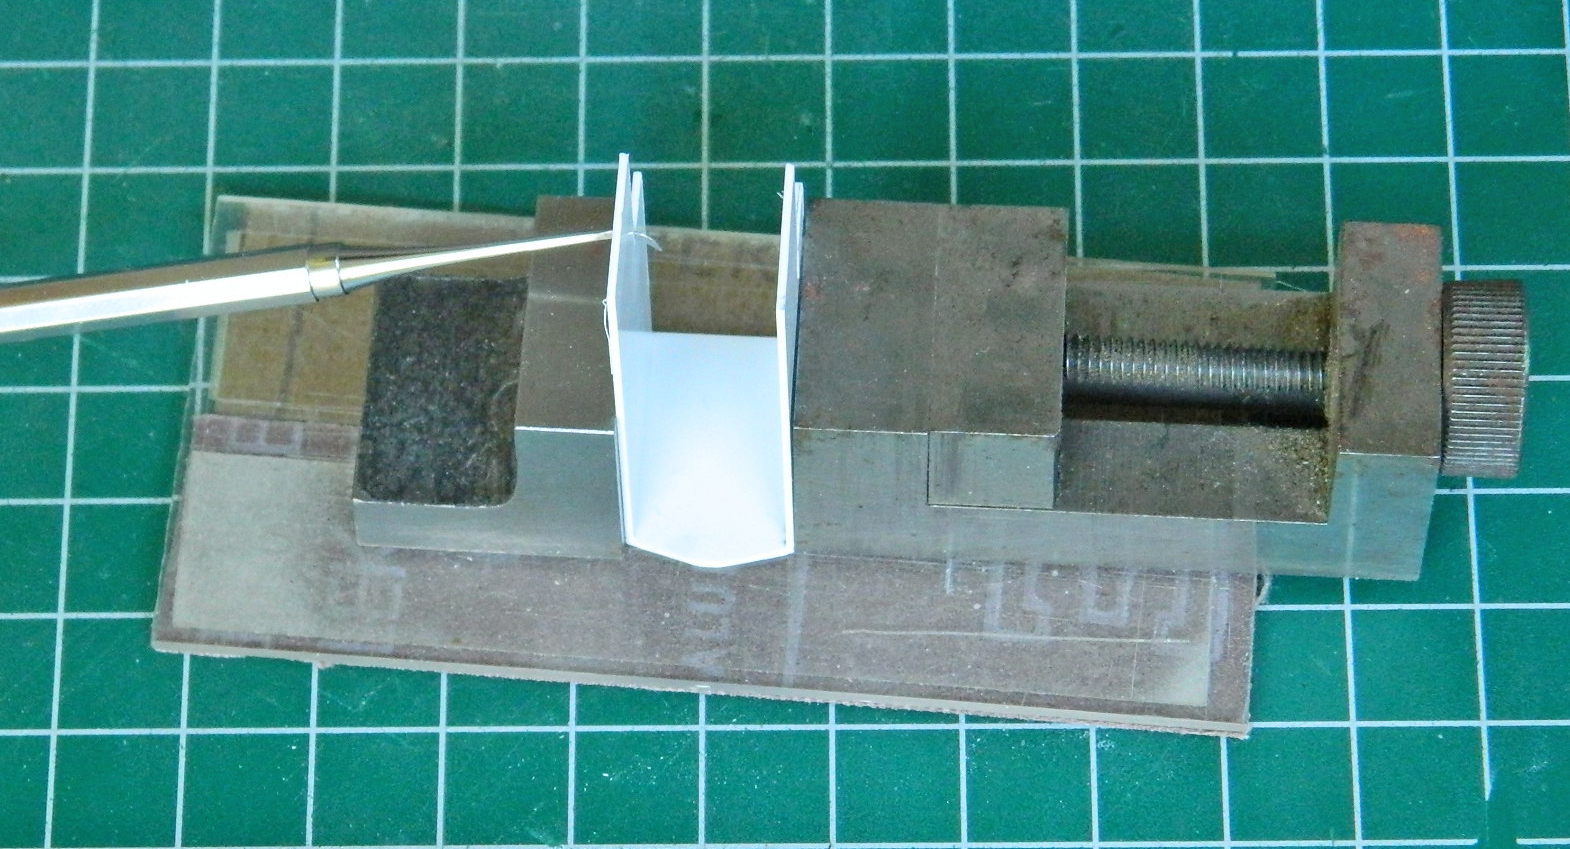
Then I used the opening to create the shape of the vertical bulkhead in the front, cut the side panels, and glued them together:
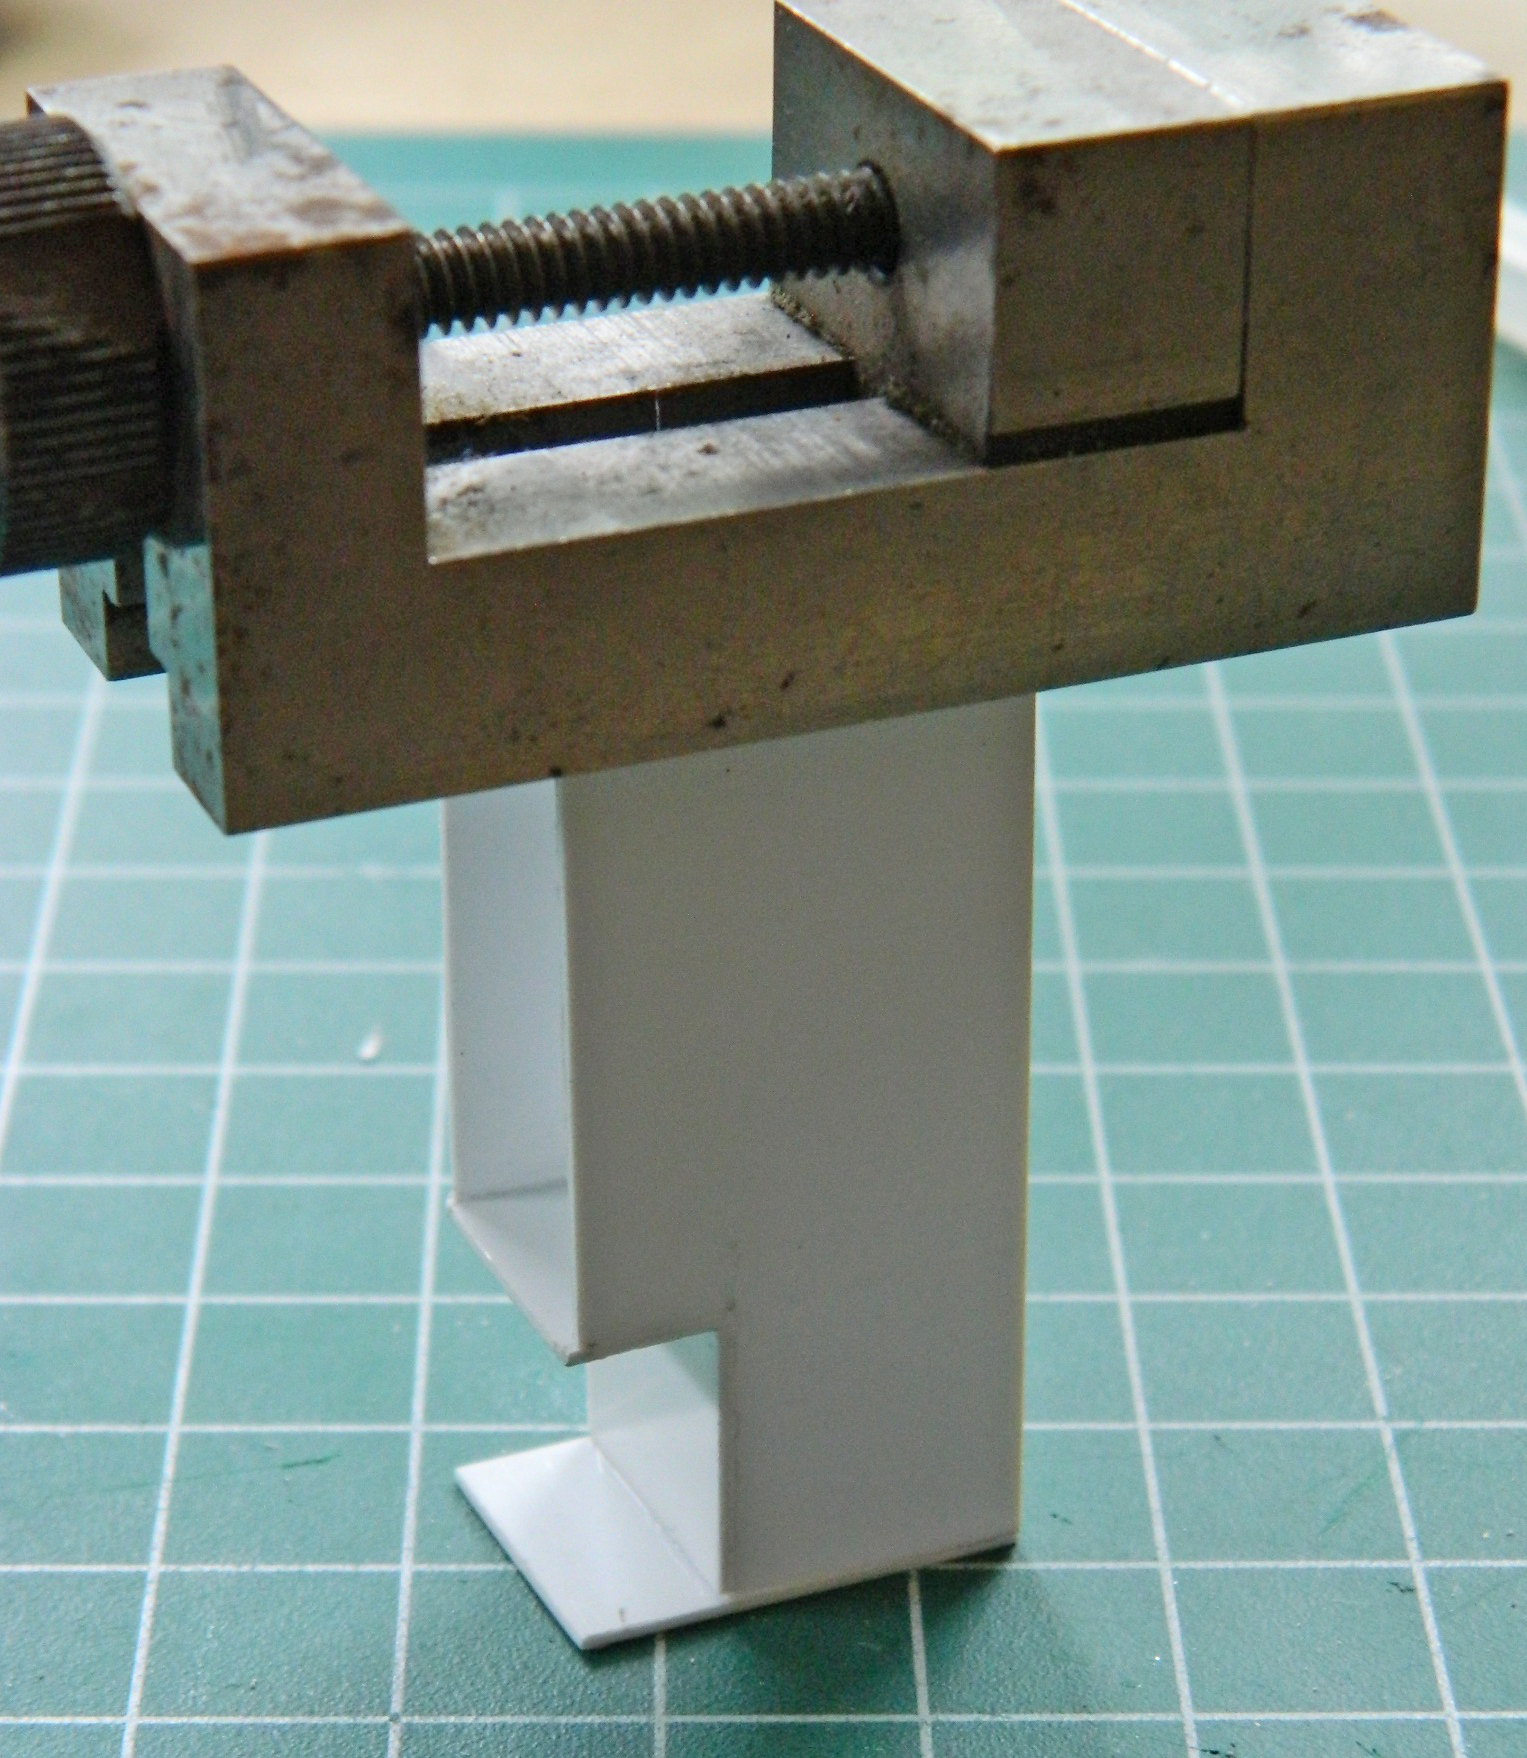
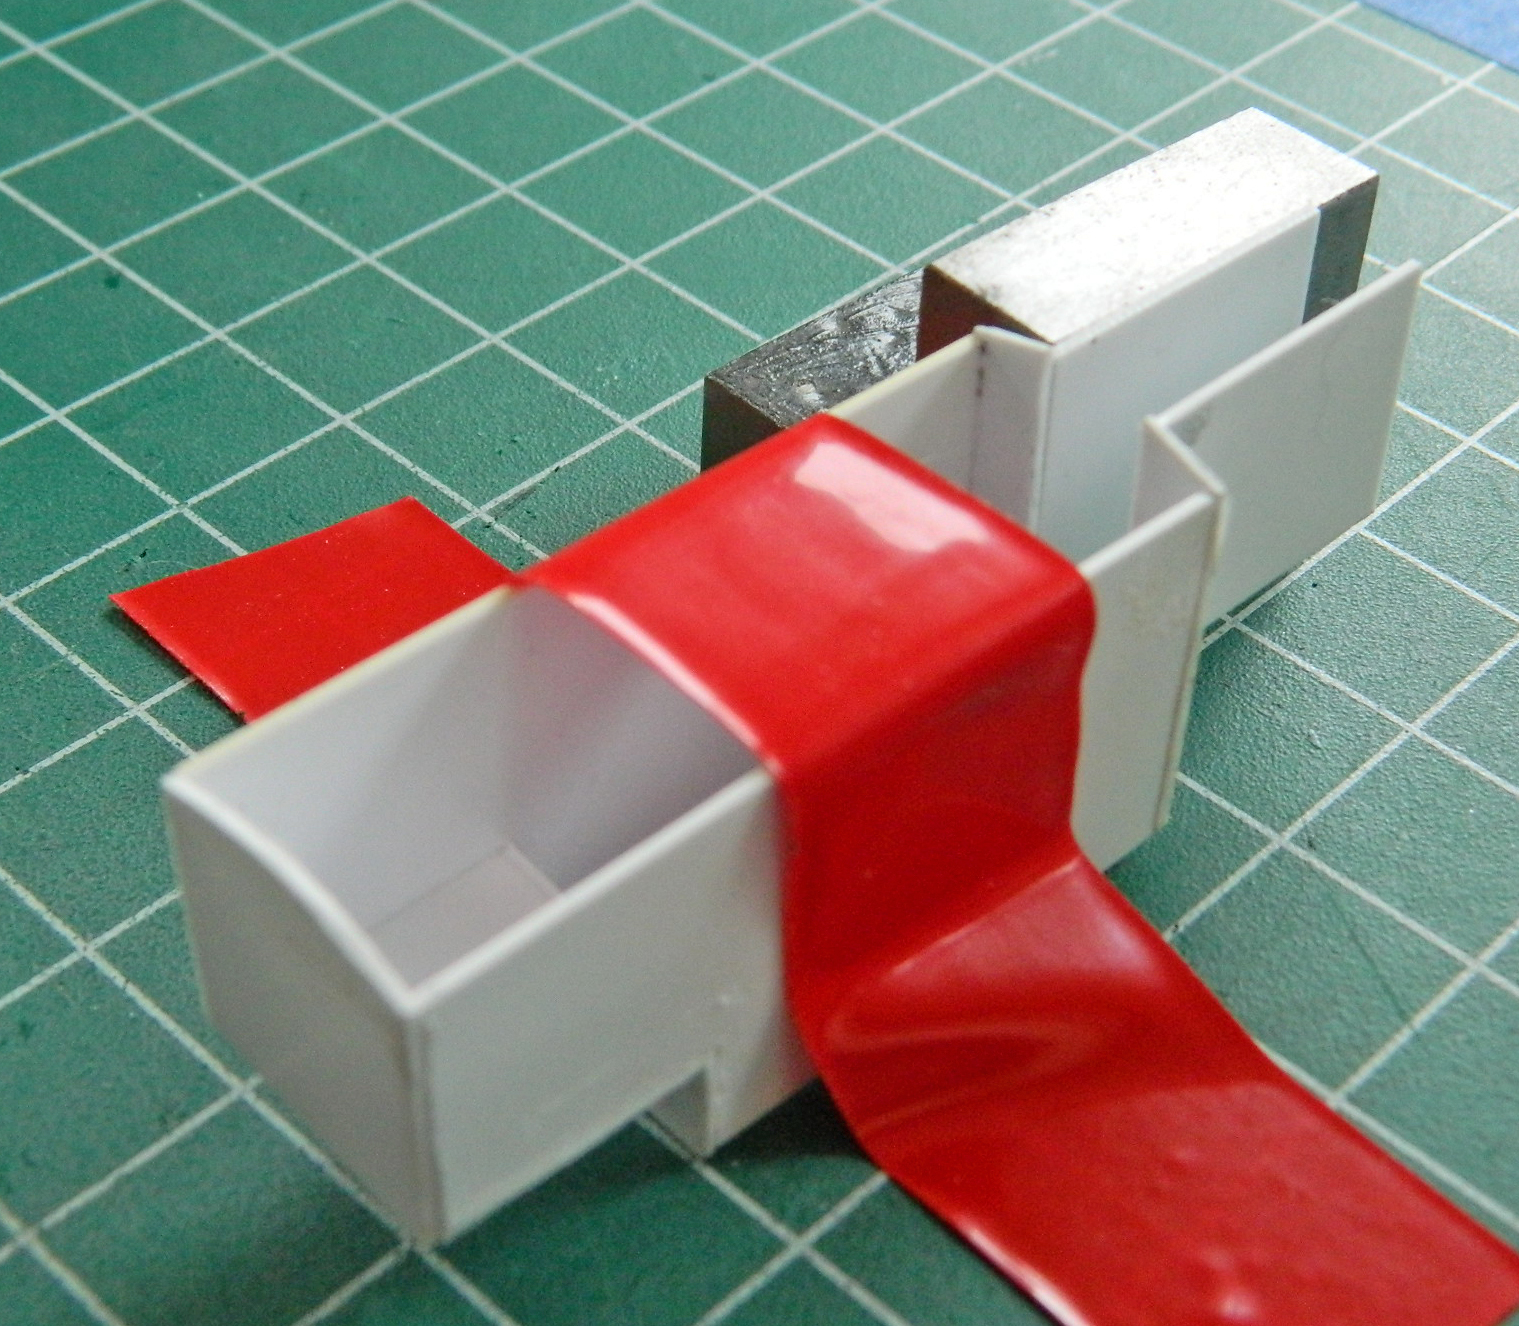
Dry-fitting shows a good fit:
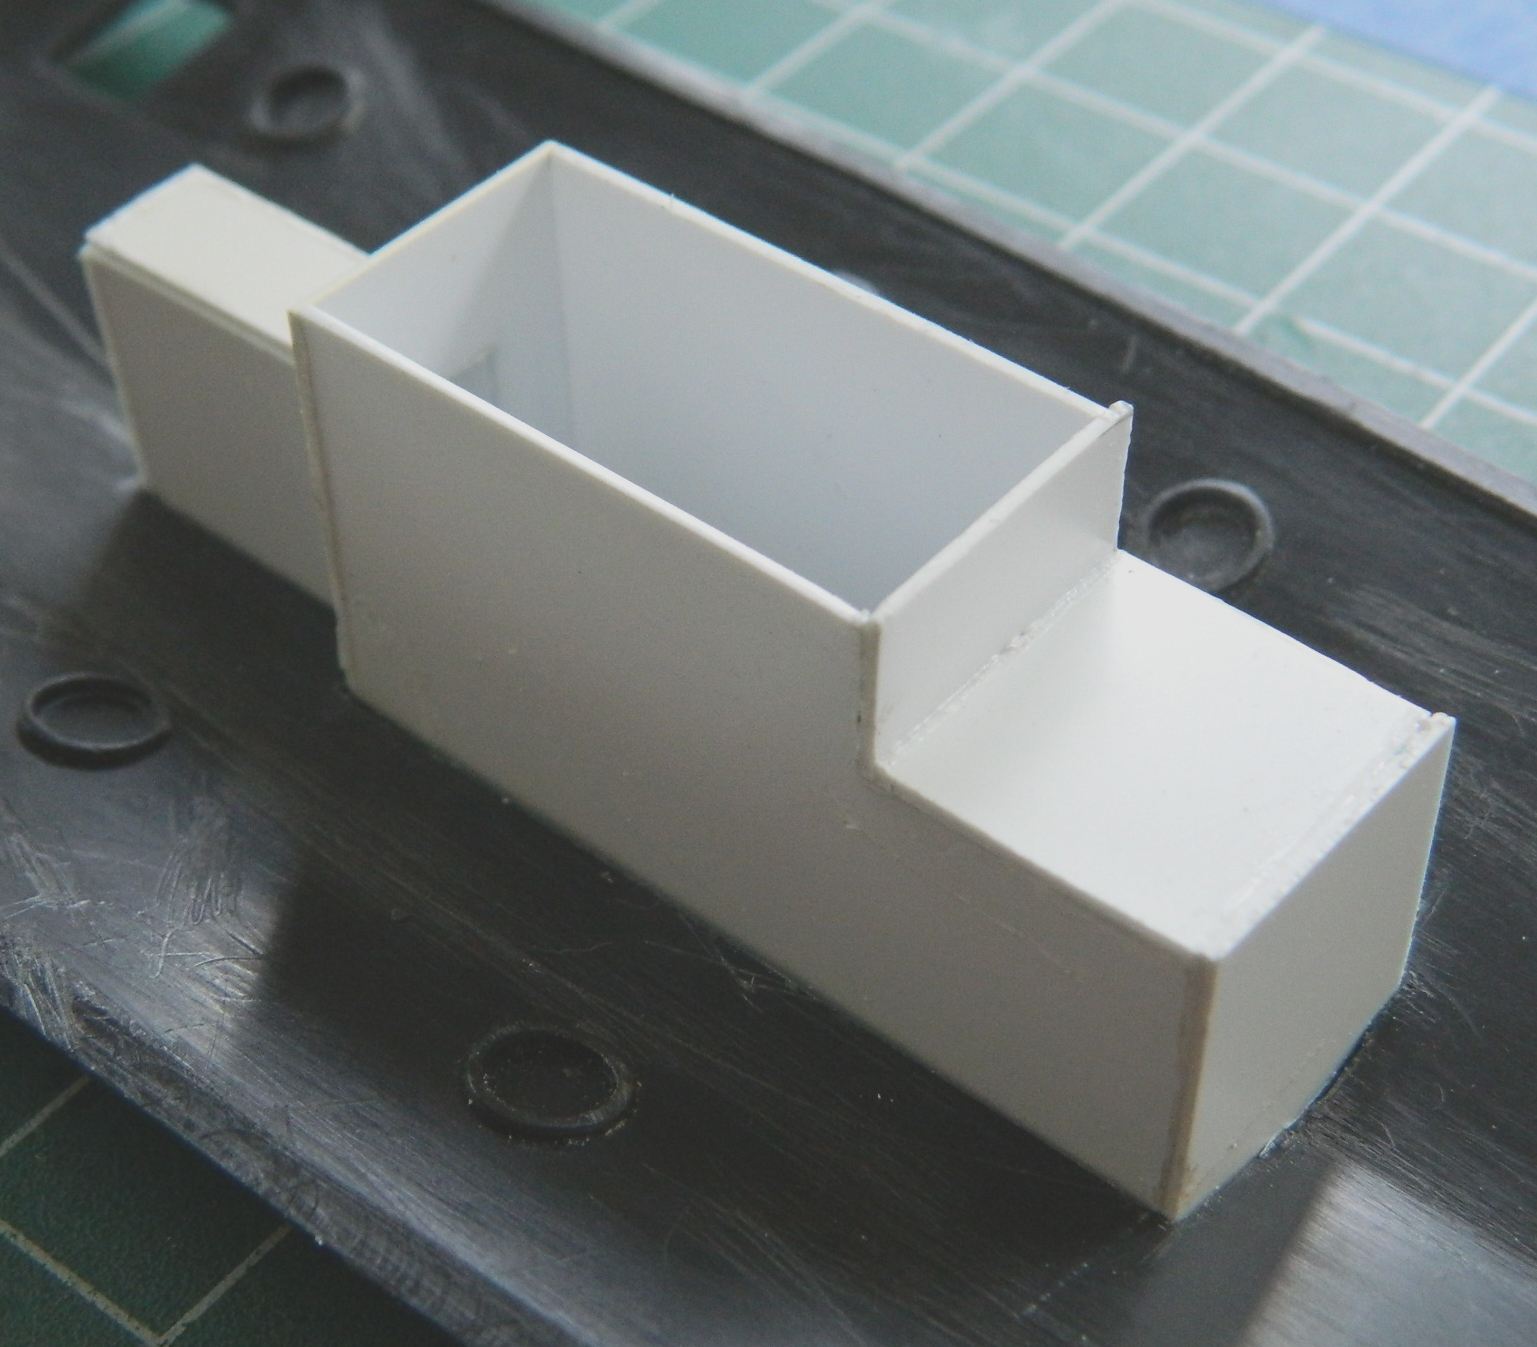
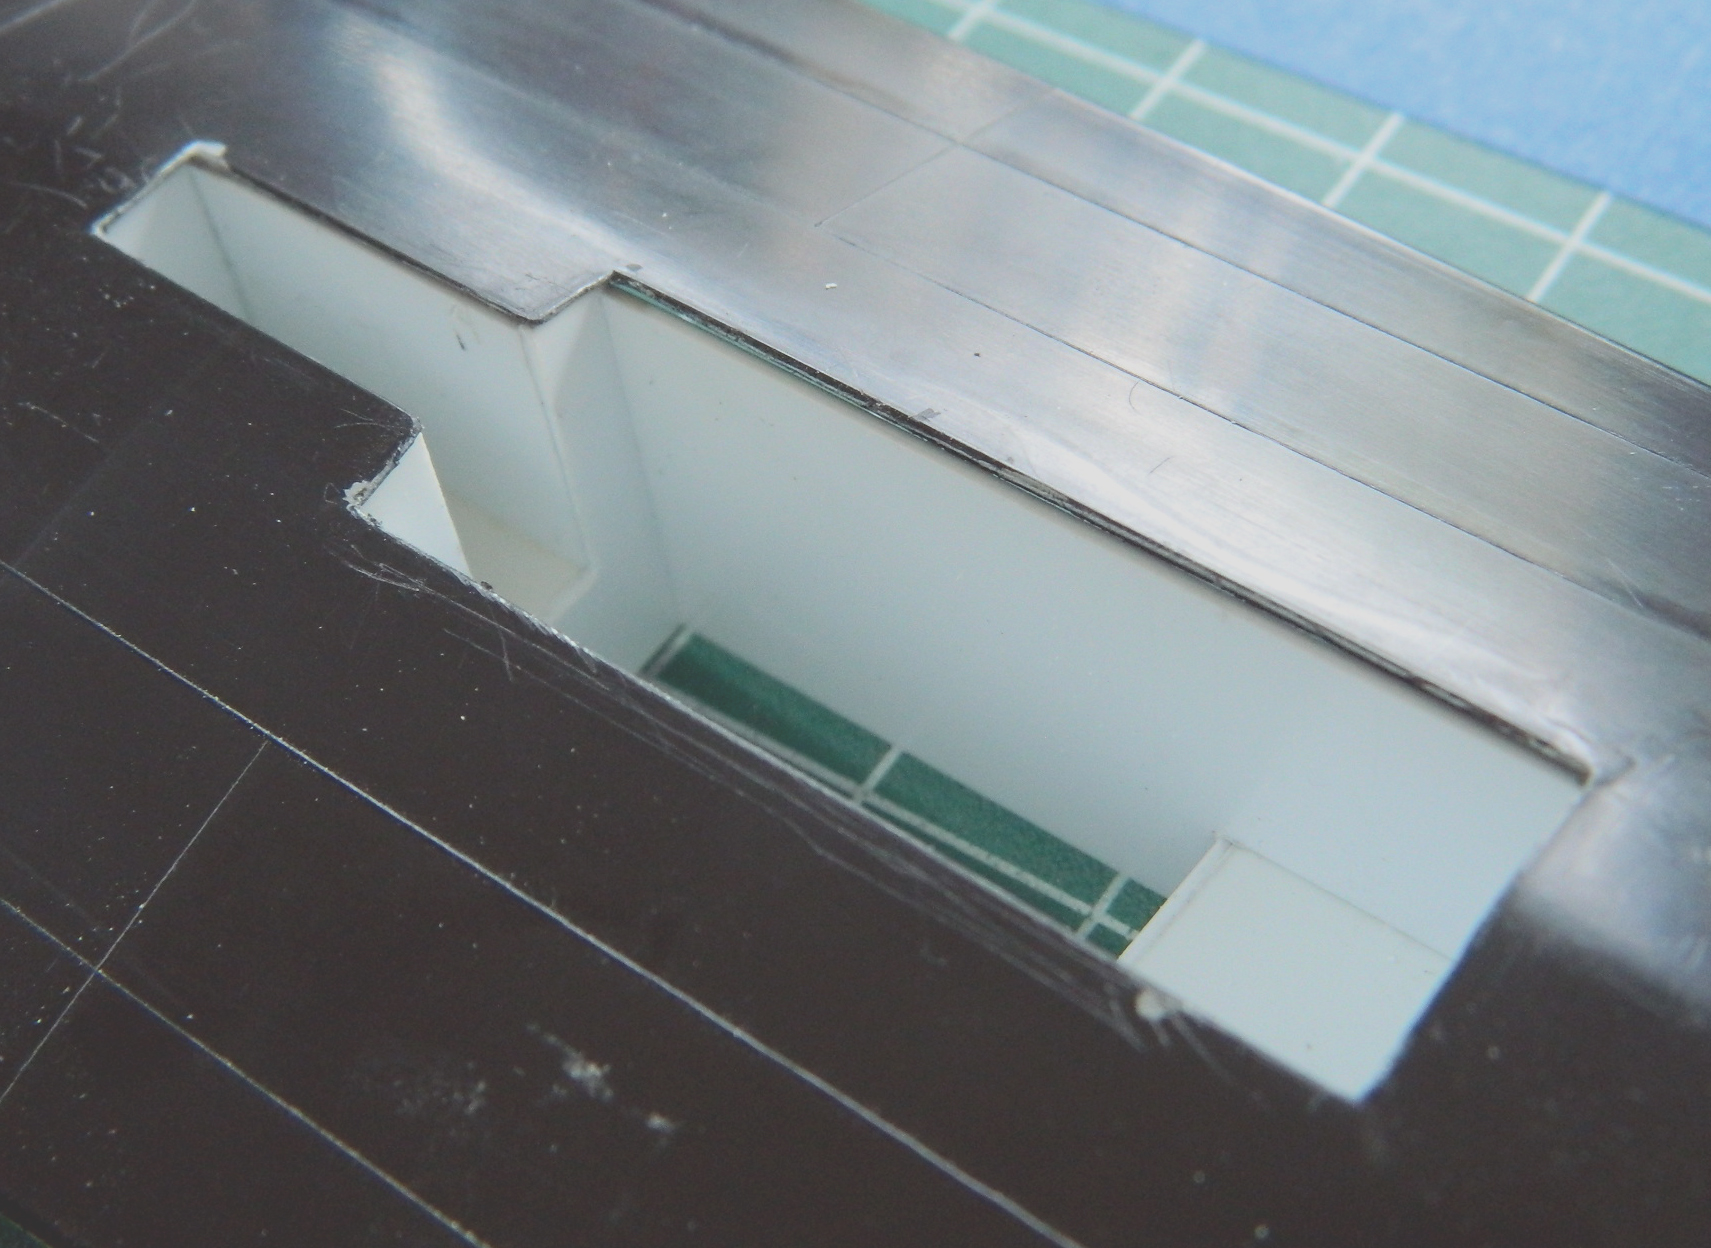
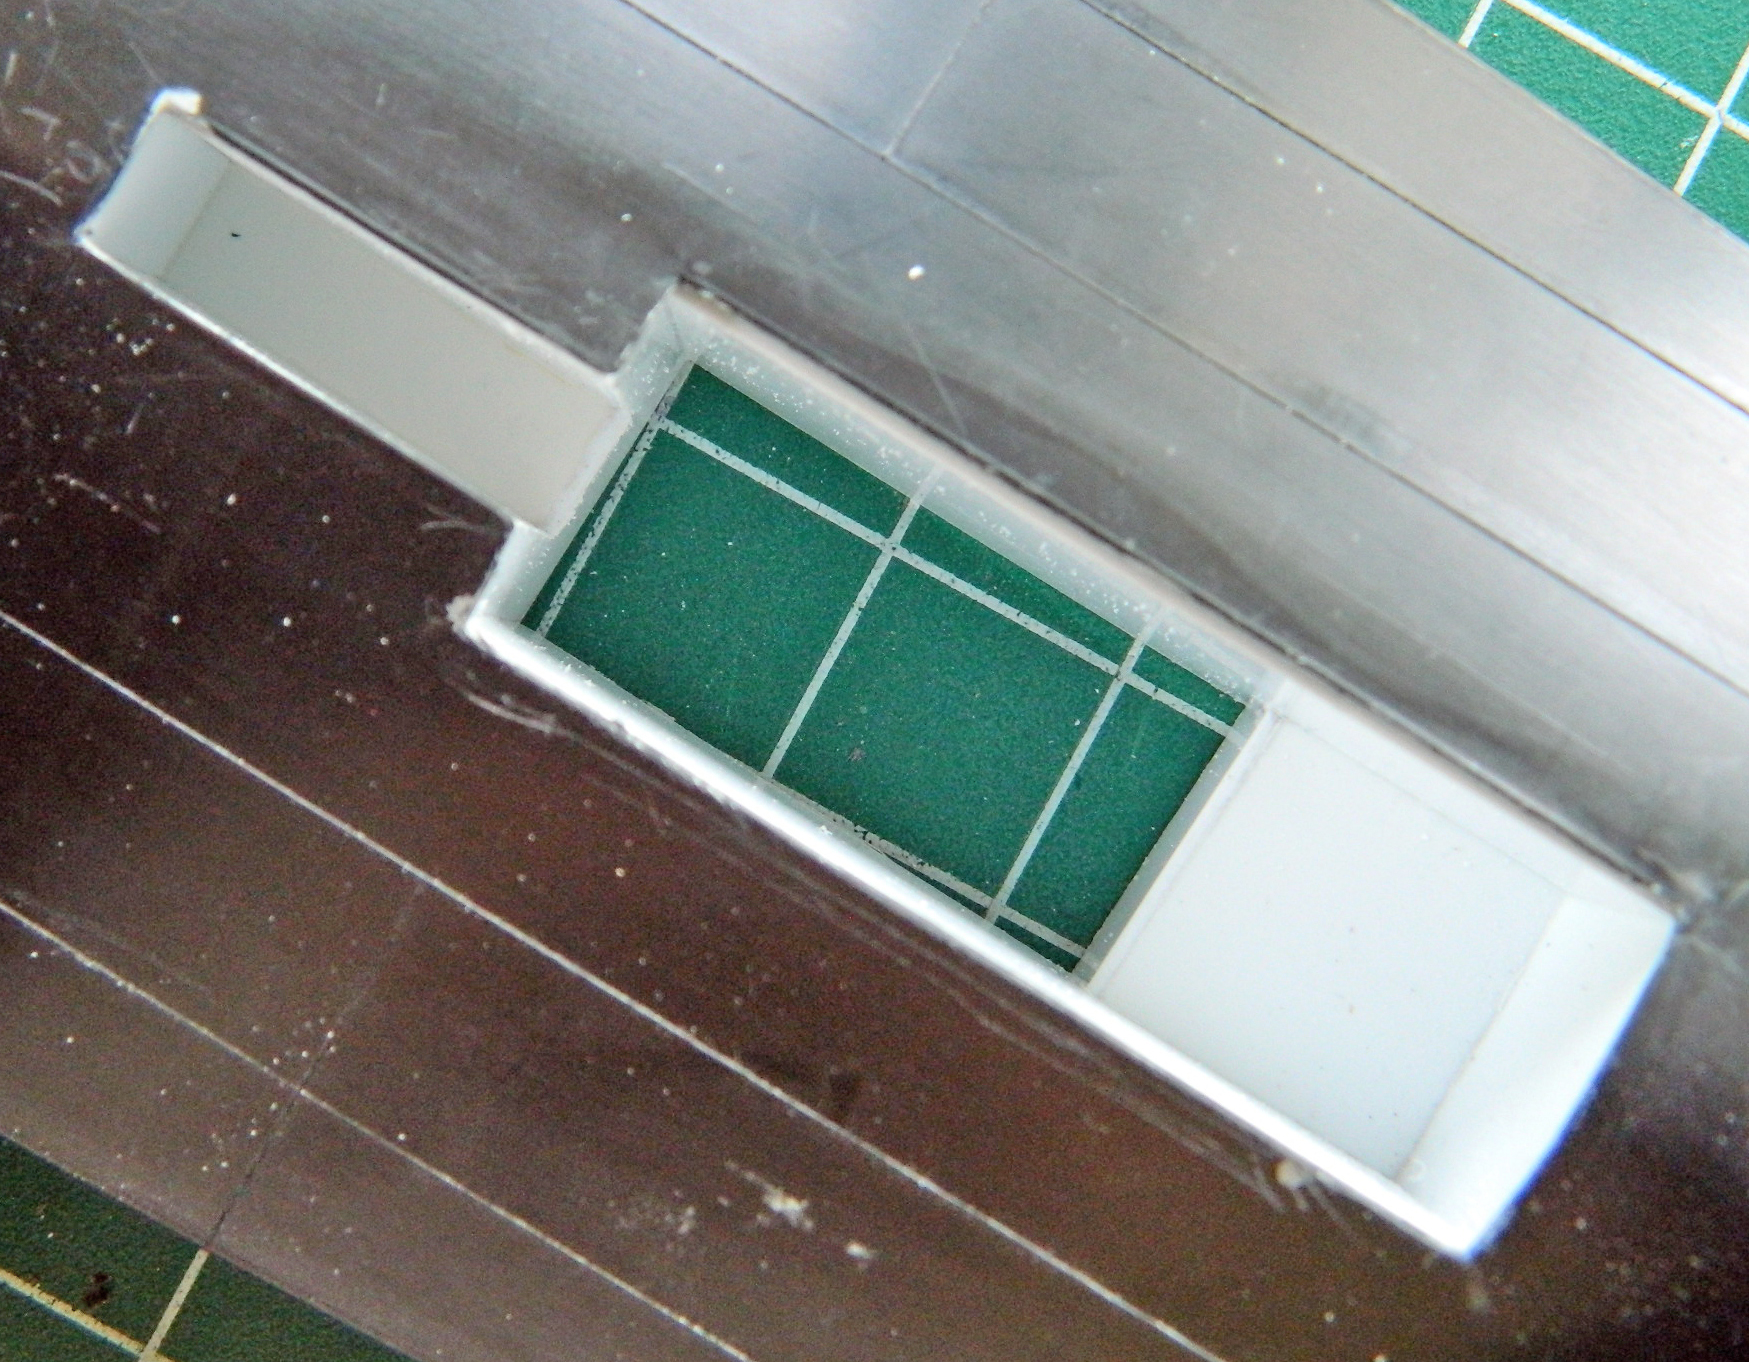
And then I noticed I’d gotten one of the dimensions incorrect. So I had to remove a section from the rear of the bay and rework it slightly:

Once that was done, a few more bits added and now the basic box is done:
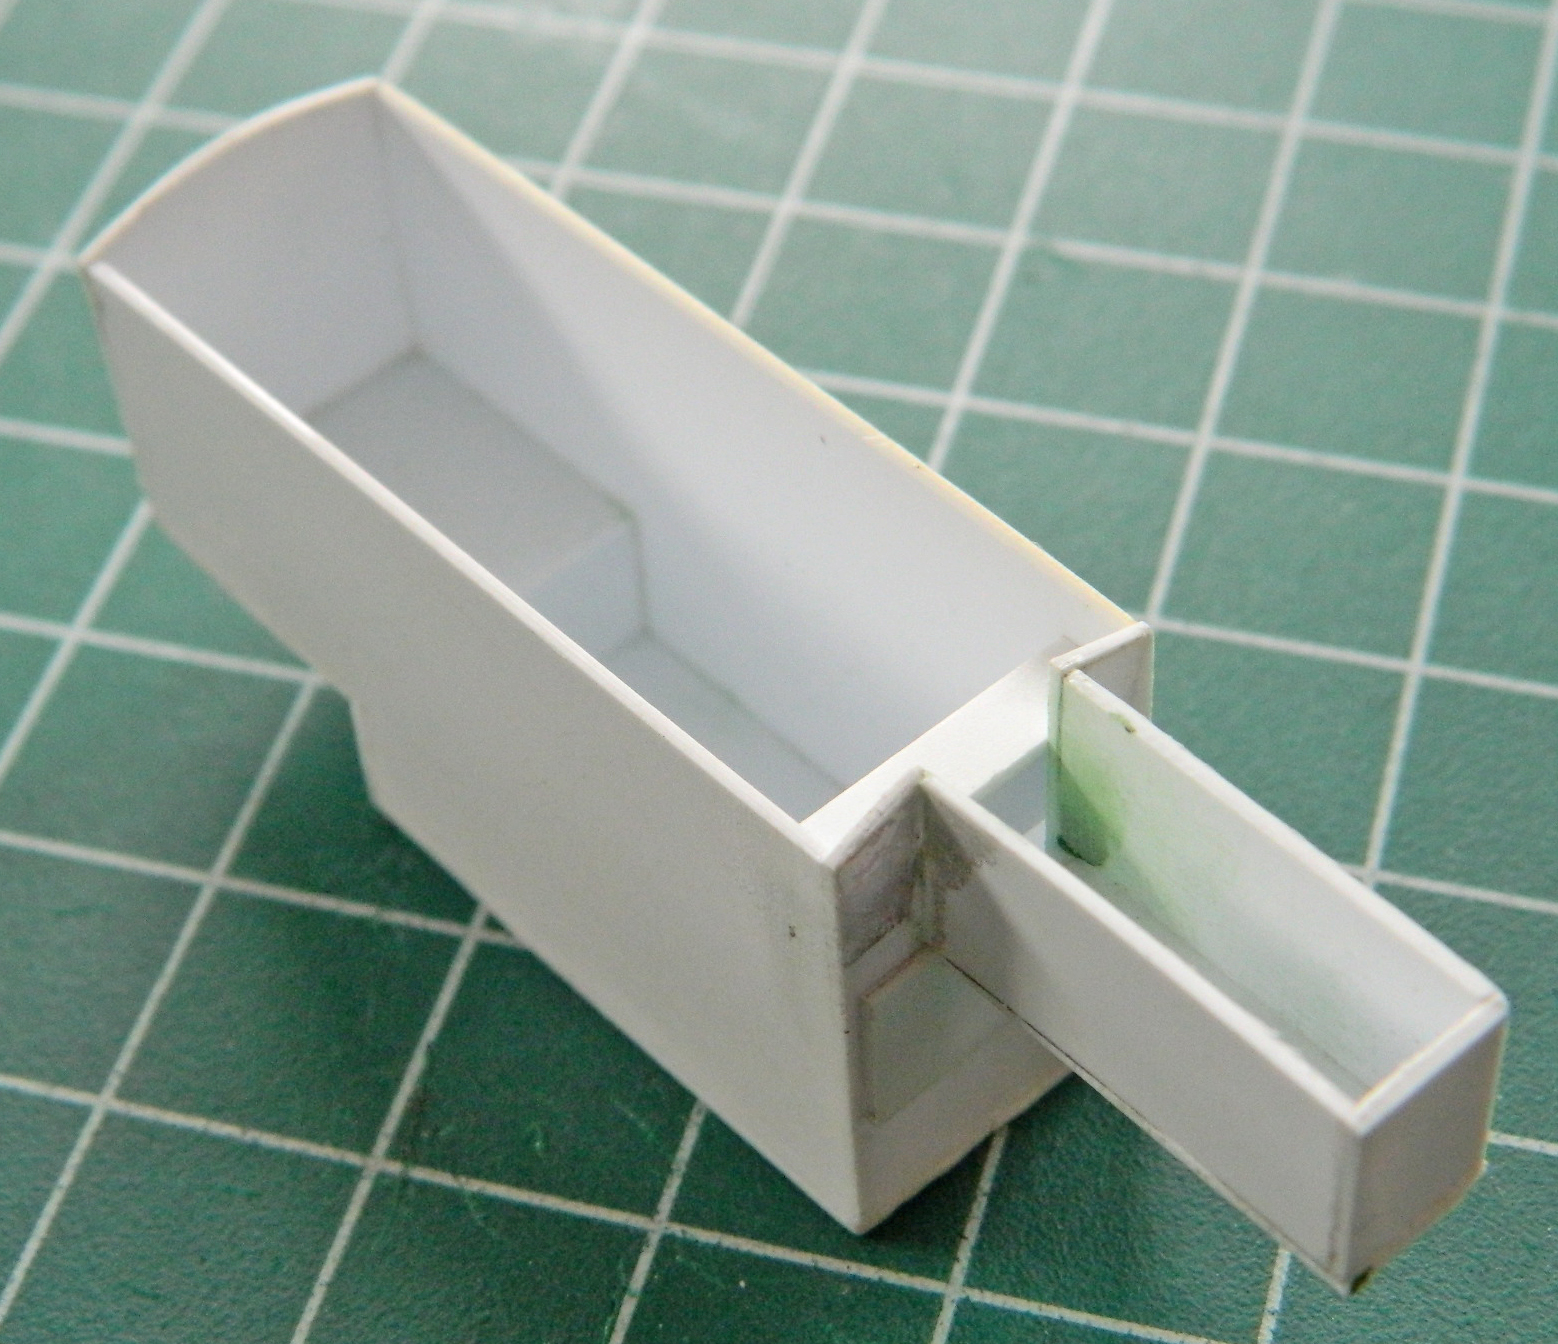
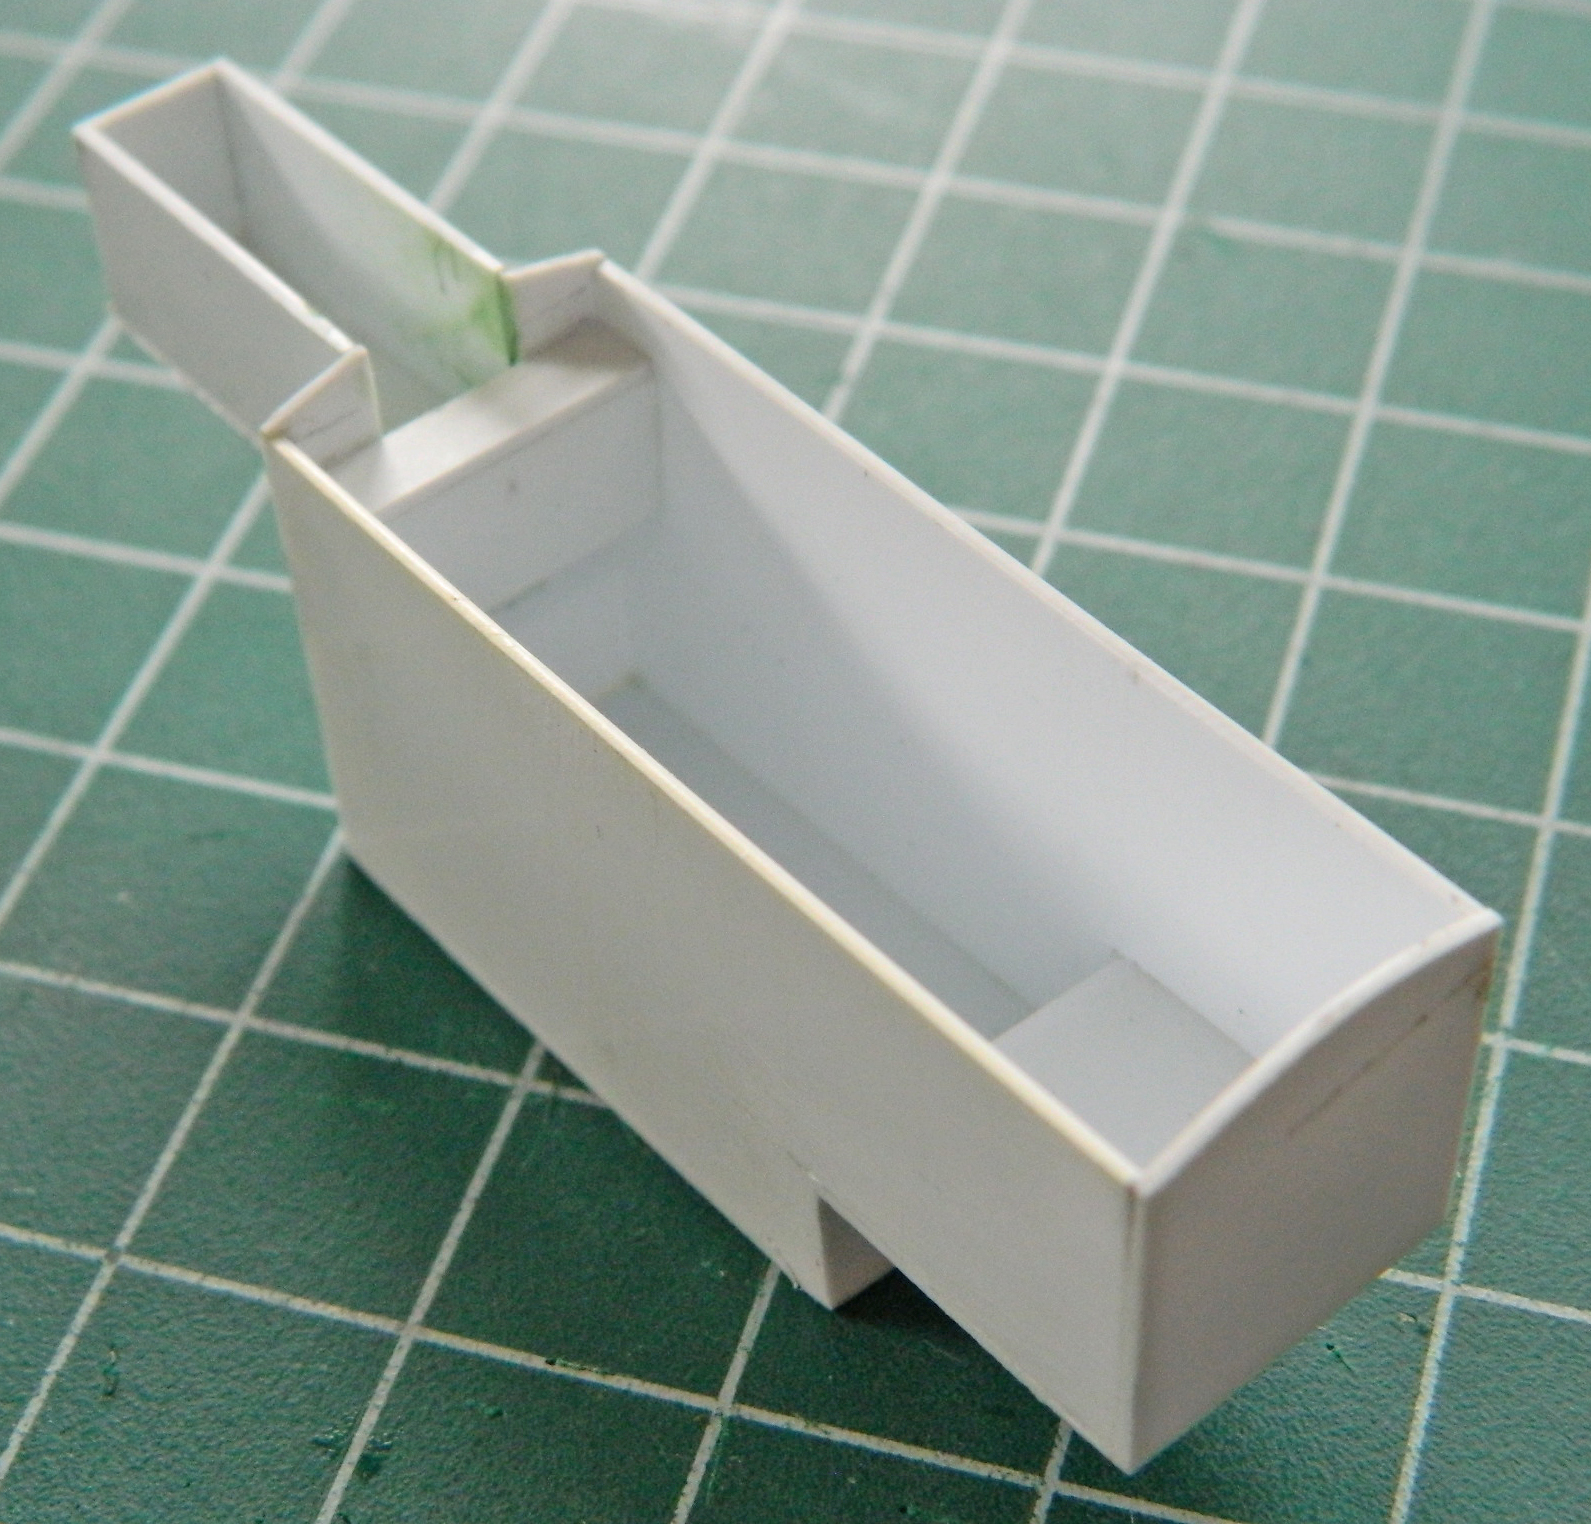
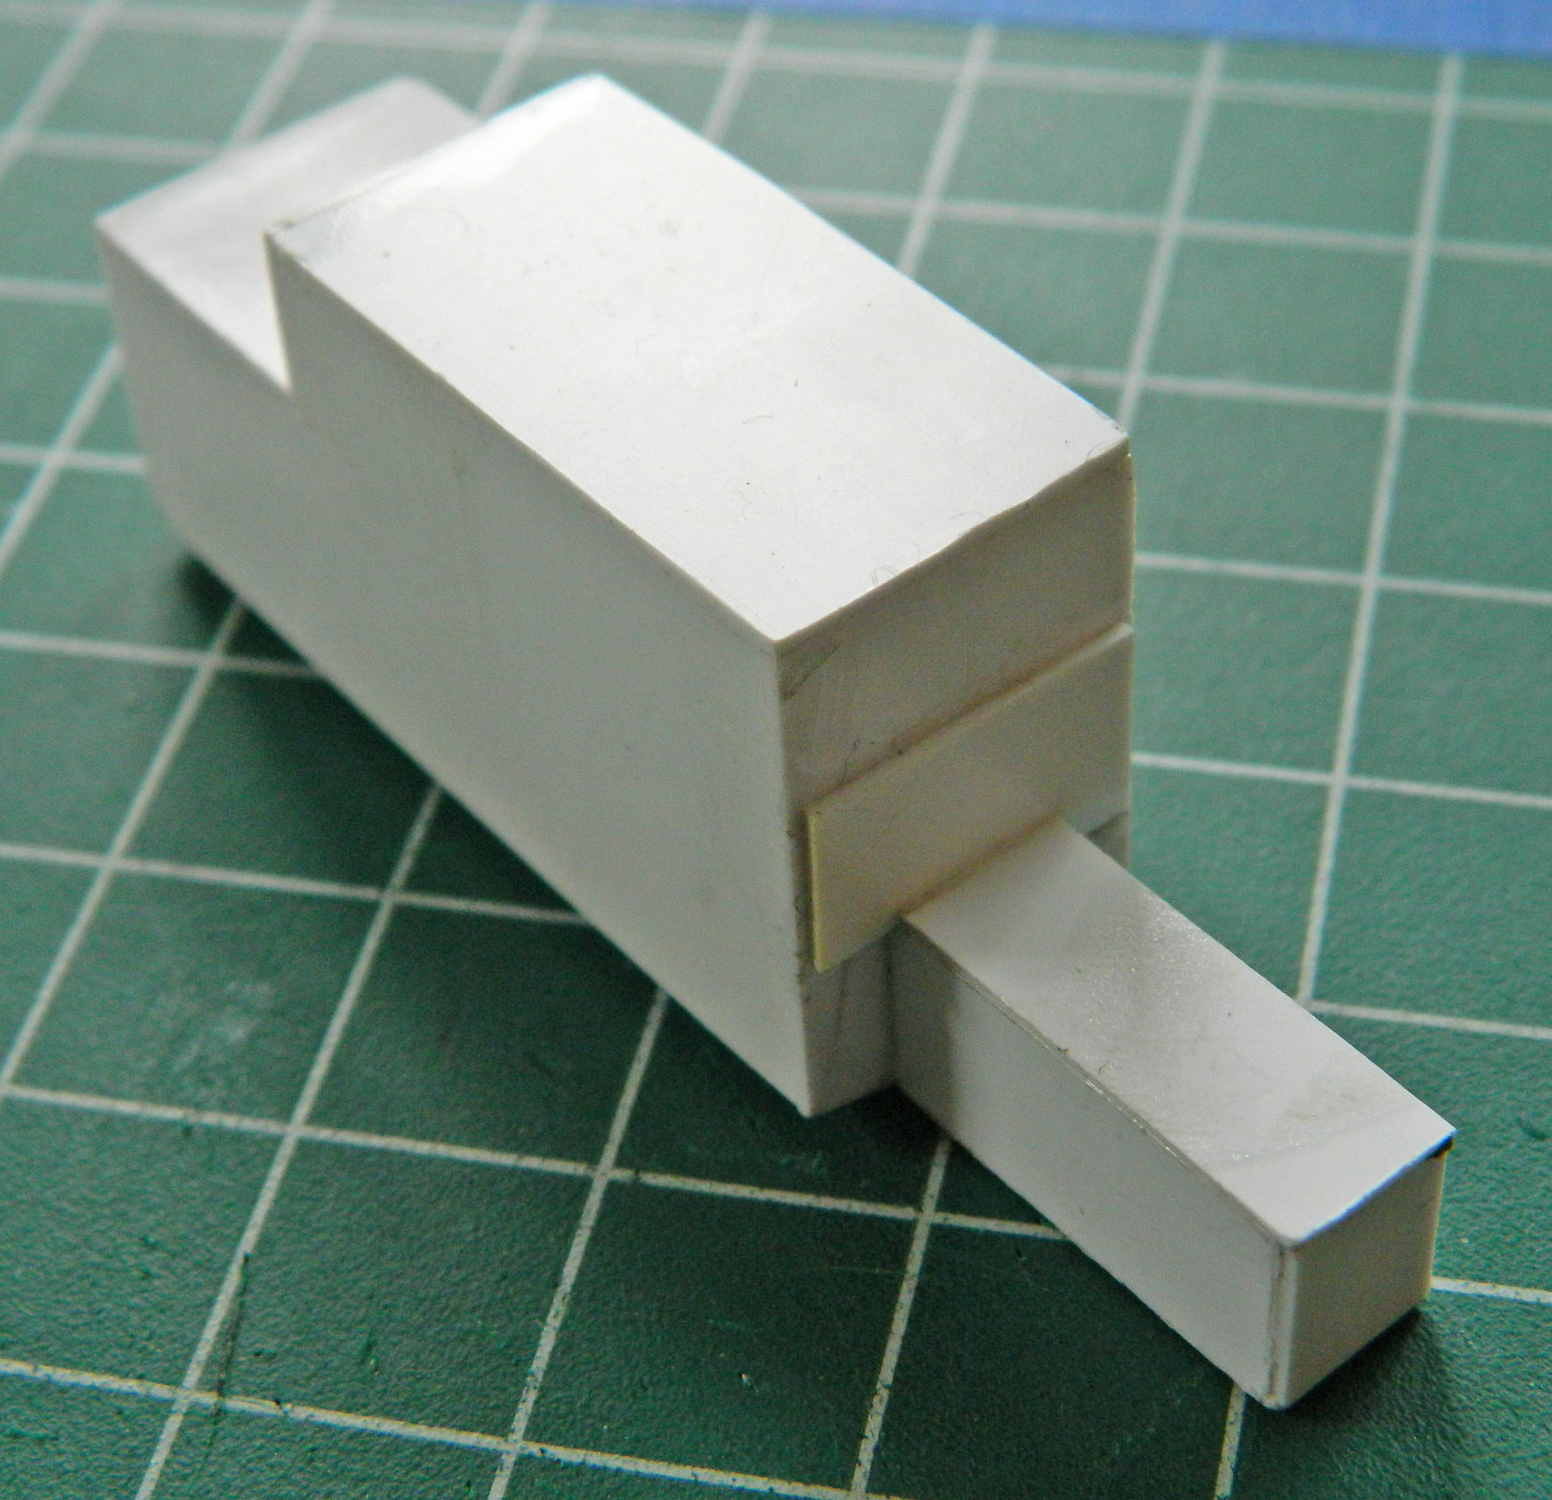

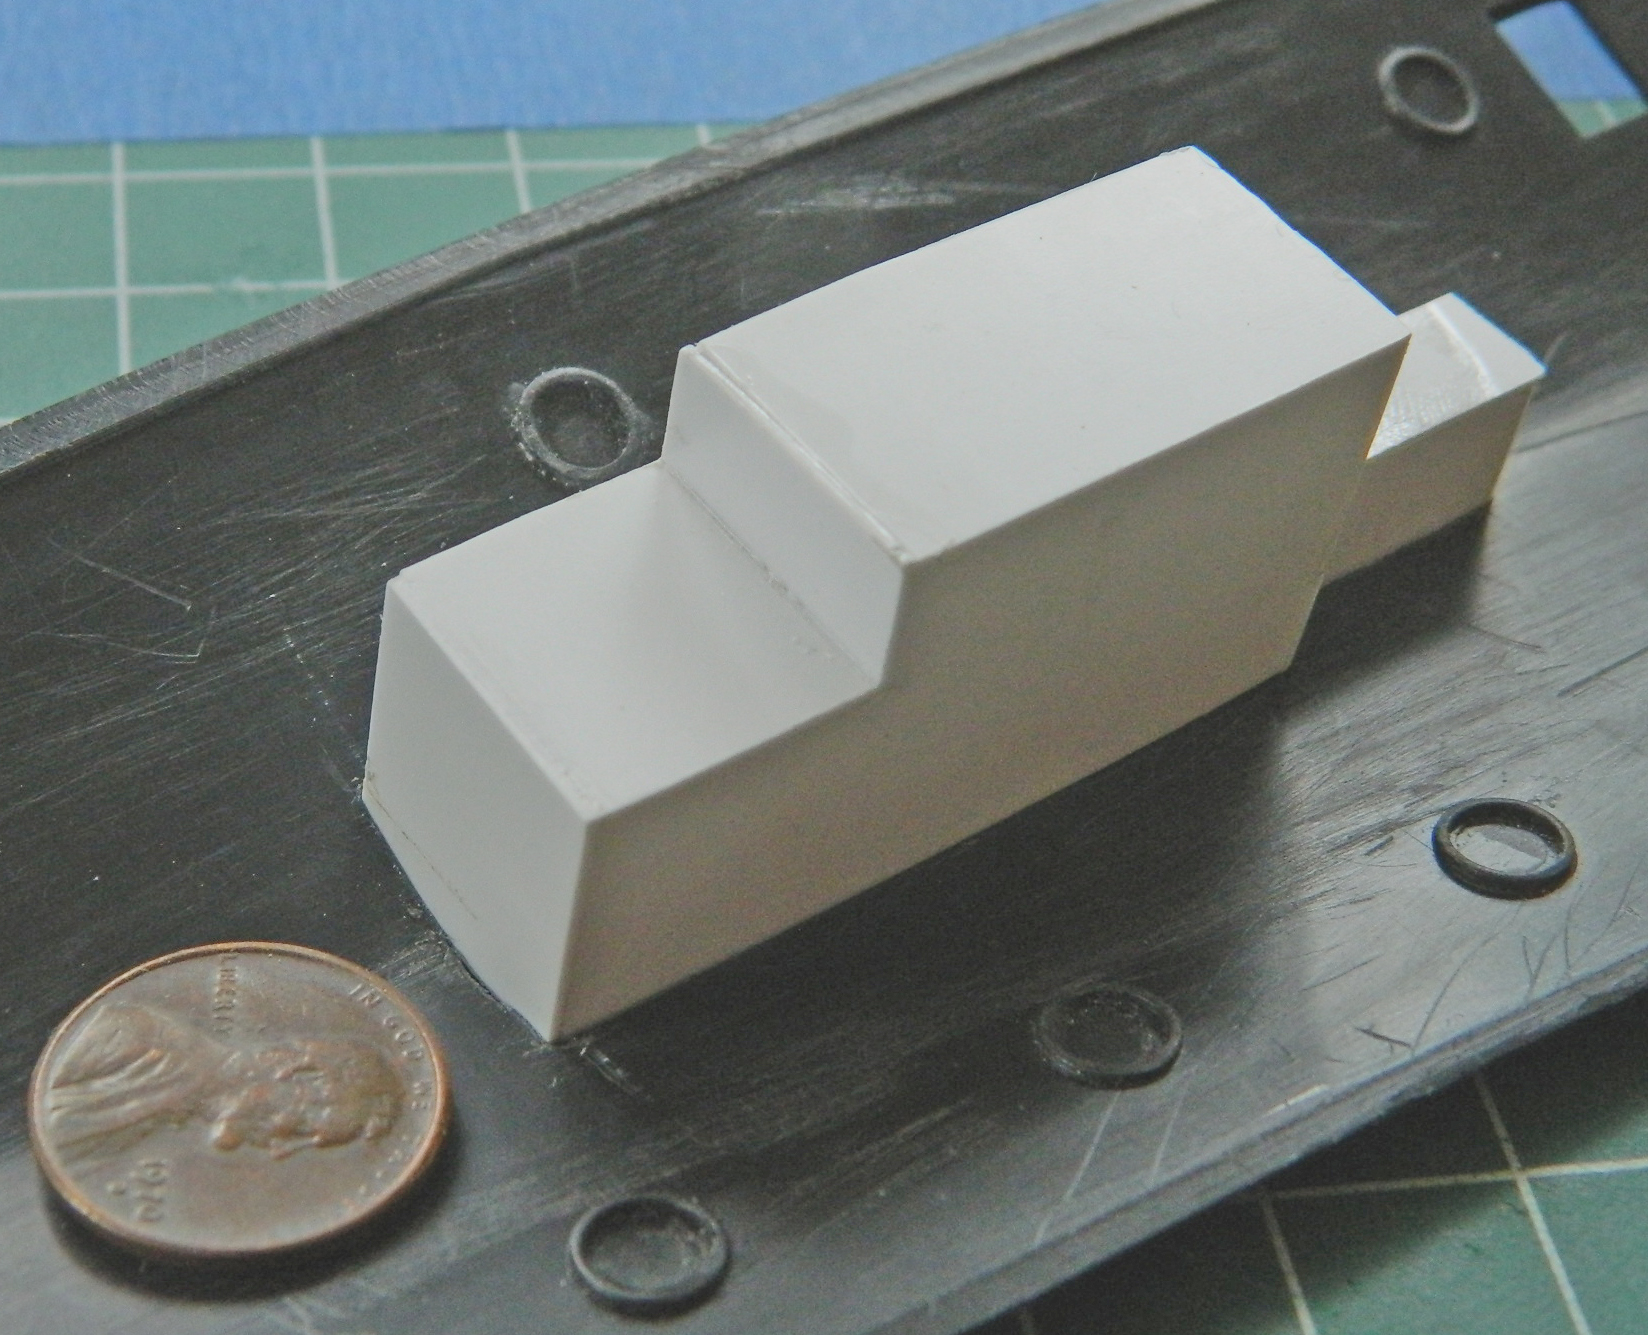
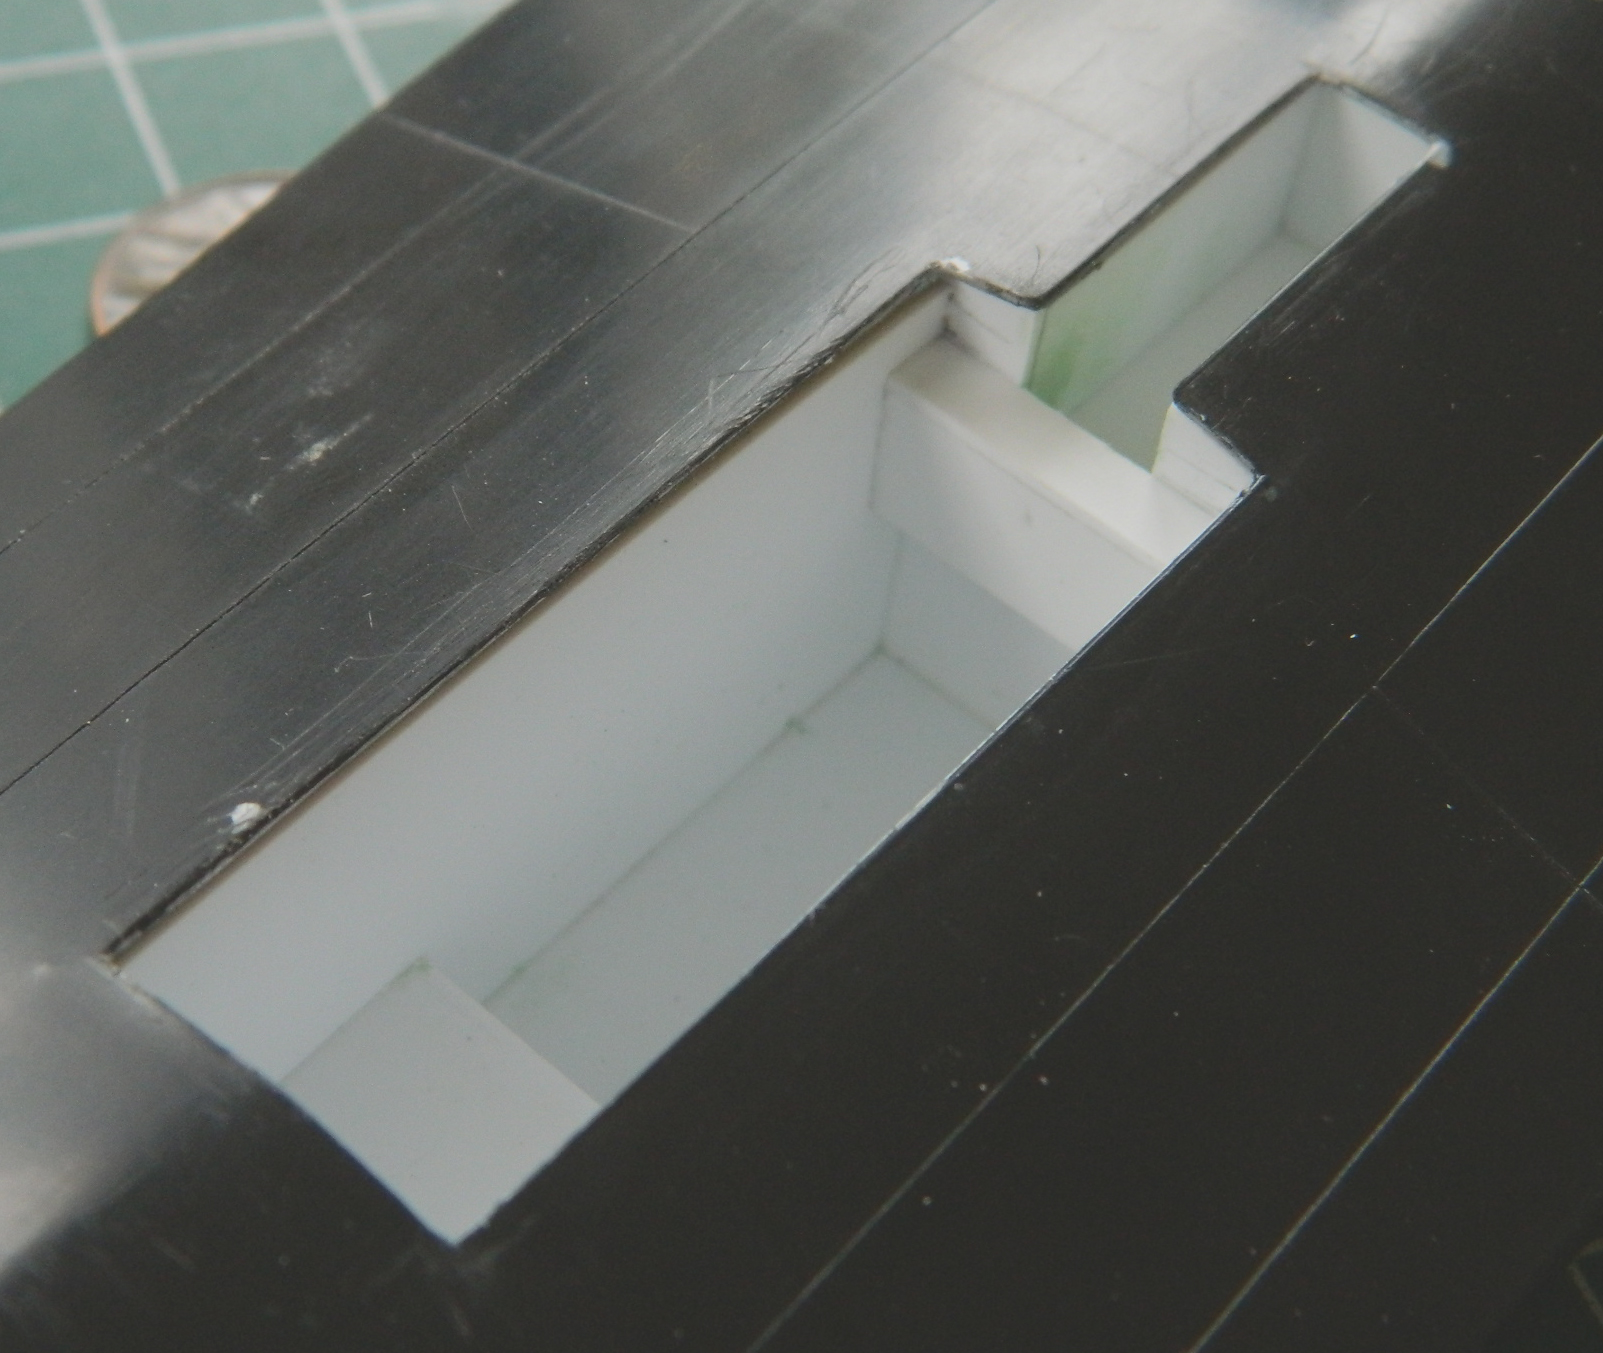
With the basic box of the landing gear bay built, it’s now time to fill that box.
An aircraft that isn’t really in a class by itself; it was a reconnaissance platform like other reconnaissance platforms, yet it certainly was unlike anything before it or since (I assume, lacking the security clearance to know that). It’s also the fastest thing with wings that takes off and lands with a human crew aboard (that we know of, anyway…there are rumors…and the SR-72), setting its (official) absolute speed record July 1976 of 2193.13 mph (though there have been rumors that the Air Force unofficially clocked it at 2242.48 mph…and the A-12, the CIA’s version which preceded the SR-71 is supposed to have been even faster) . Depending on which source one reads, the Blackbird made it across the Atlantic in just under two hours (3,461.53 statute miles in 1 hour, 54 minutes, 56.4 seconds at an average speed of 1,806.95 mph) and from California to DC in just under over an hour (1 hour, 17 minutes, 53.69 seconds at an average speed of 2,124.51 mph).
Designed and built by Kelly Johnson’s team at the famed Skunk Works at Lockheed, its first test flight was in late 1966, (though its close cousin, the A-12 from which the SR-71 descended, had been flying since 1962). Thirty-two ’71s were built of which twenty-nine were SR-71As and two SR-71Bs (the only dual-control Blackbirds built and intended for training; one SR-71C was built from a crashed 71A to replace one of the 71Bs that crashed). In late 1989, early 1990, DC politics spelled out the retirement of the Blackbird, but Bosnia (not to mention the Middle East and North Korea) resulted in that decision being re-examined in light of the tactical situation (and not who was doing whom) and its service life was extended. Its last flight on the Air Force inventory was 1990. Typical of its performance history, the last flight of the last in-service Blackbird, tail number 972 flown by Lt. Col. Ed Yielding and his RSO (Reconnaissance Systems Operator) Lt. Col. Joe Vida, took place on March 6, 1990, with a cross-country dash from Beale AFB to Dulles International in DC and broke four speed-over-distance records. These records still stand.
During its twenty-five years of service, it’s rumored that over four thousand surface-to-air missiles were shot at it without a hit. No Blackbird was lost on a mission, twelve being lost in non-mission accidents, with one fatality.
The technology to build the Blackbird didn’t exist until Lockheed invented it. Its shape was intended to make the aircraft difficult to see with radar. Its published service ceiling (how high it can fly) is 85,000 feet and the top speed admitted to is Mach 3.2+. Because of the environment of the extreme altitudes it operated at, the crew’s flight suits looked like astronaut suits (no surprise considering they were based on the flight suits used by the Gemini program).
Upon its arrival at Dulles, #972 was turned over to the Smithsonian Air-Space Museum where it is presently displayed at the NASM’s facility in Virginia.
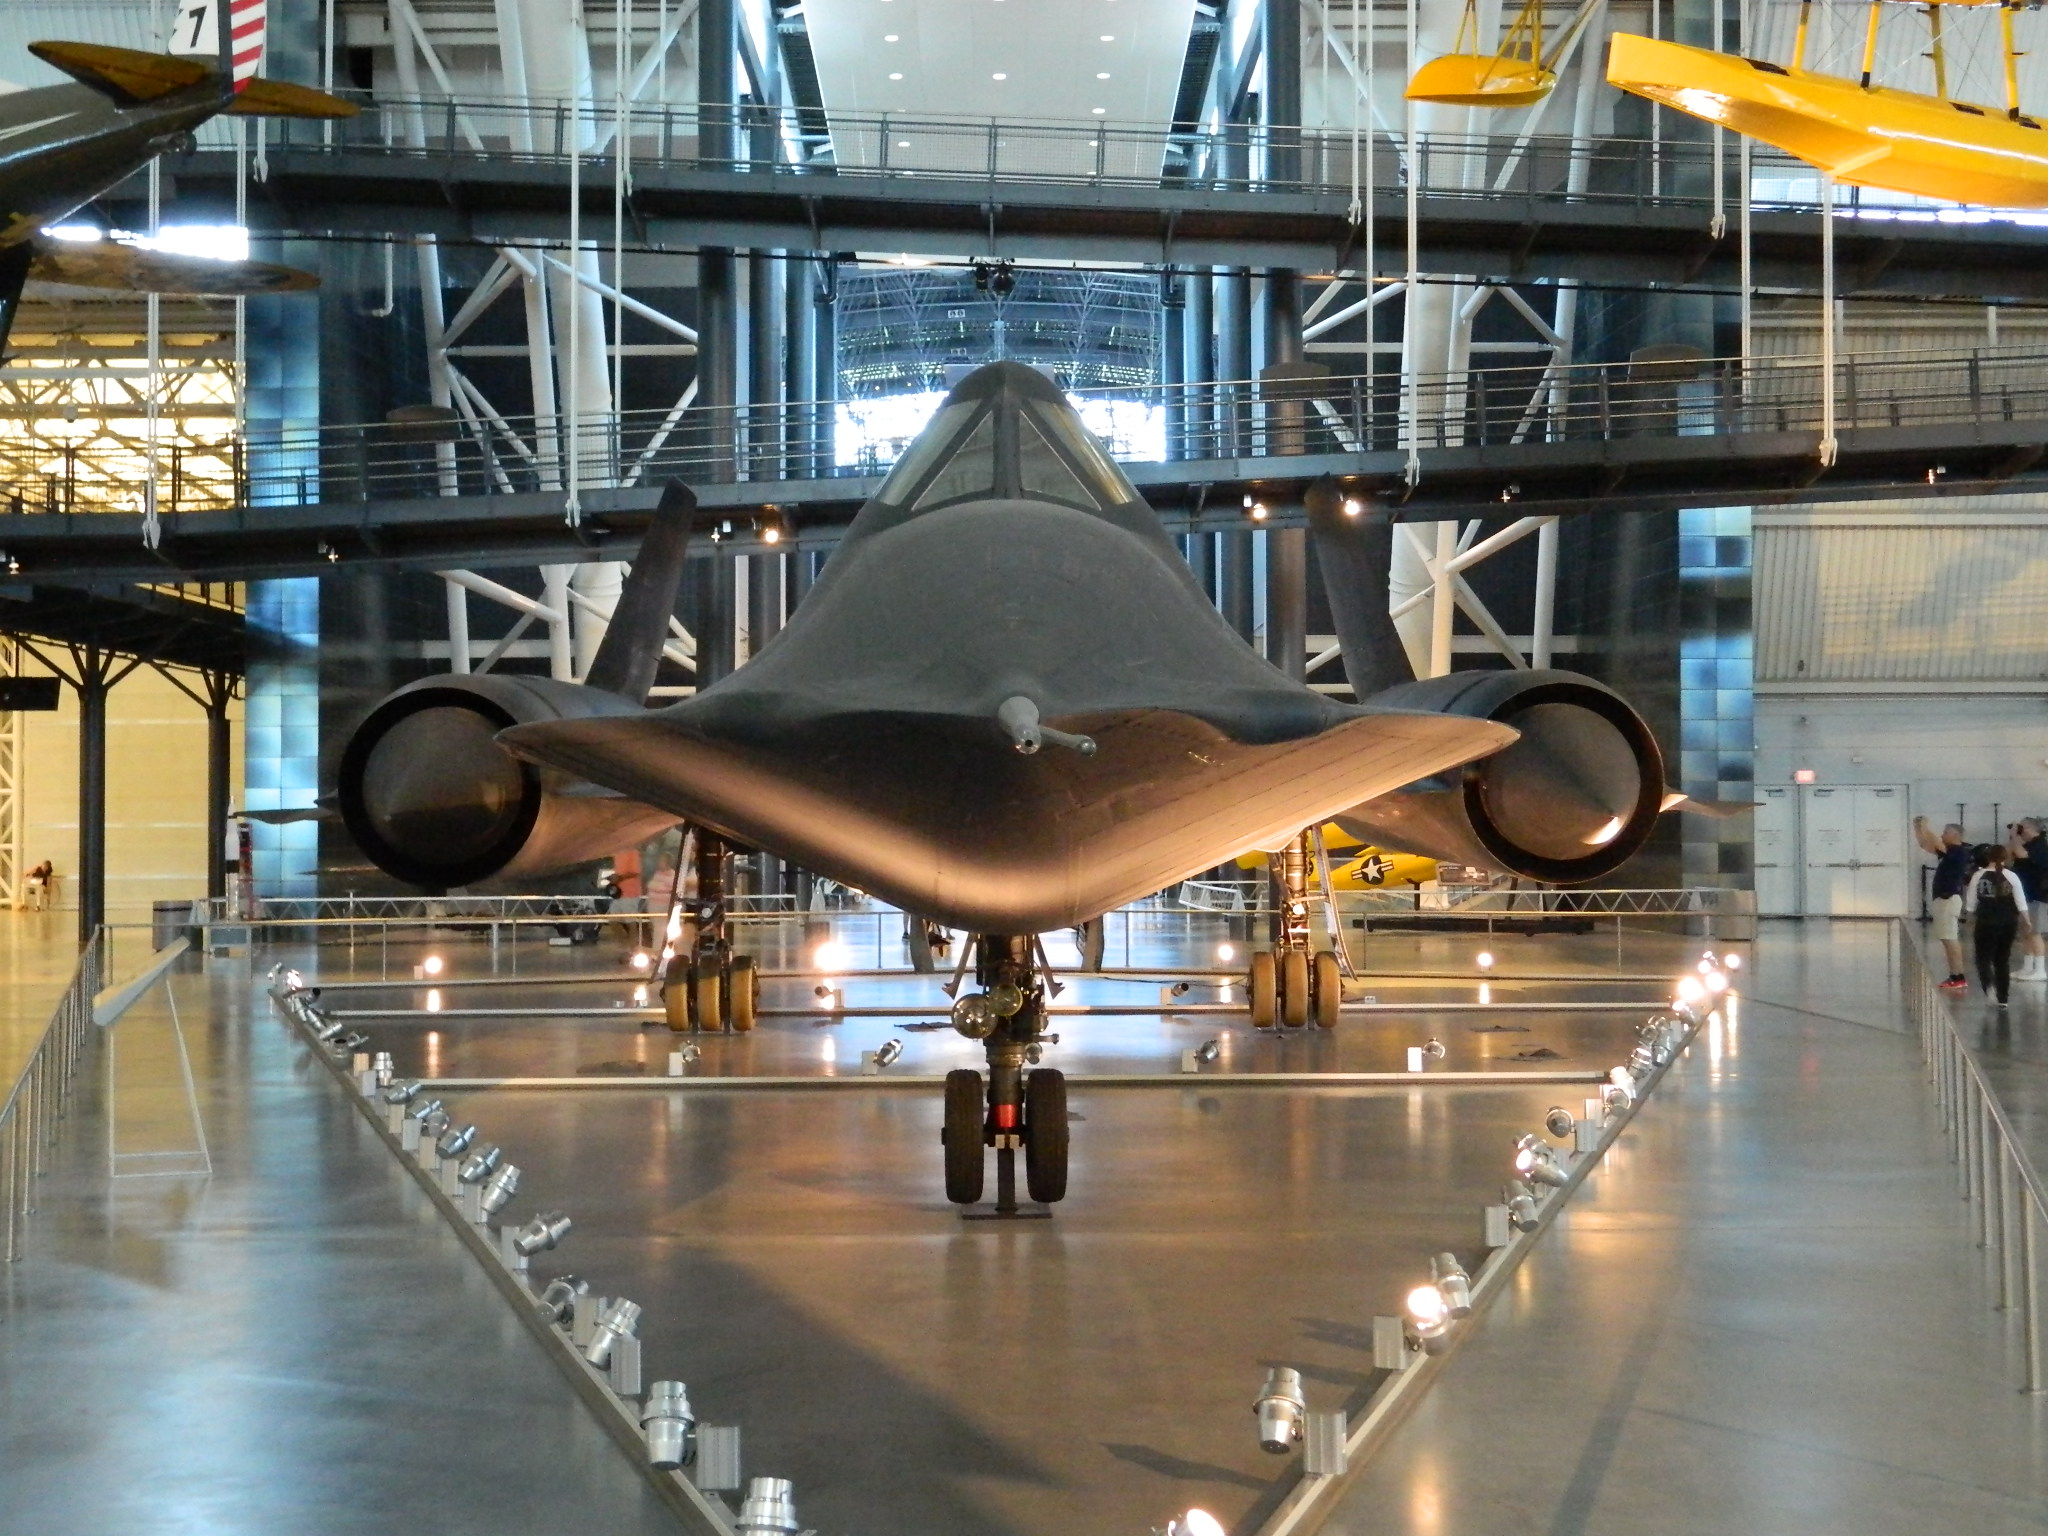
Tail number 61-7972 displayed at Steven F. Udvar-Hazy Center, Washington Dulles International Airport, Chantilly, Virginia

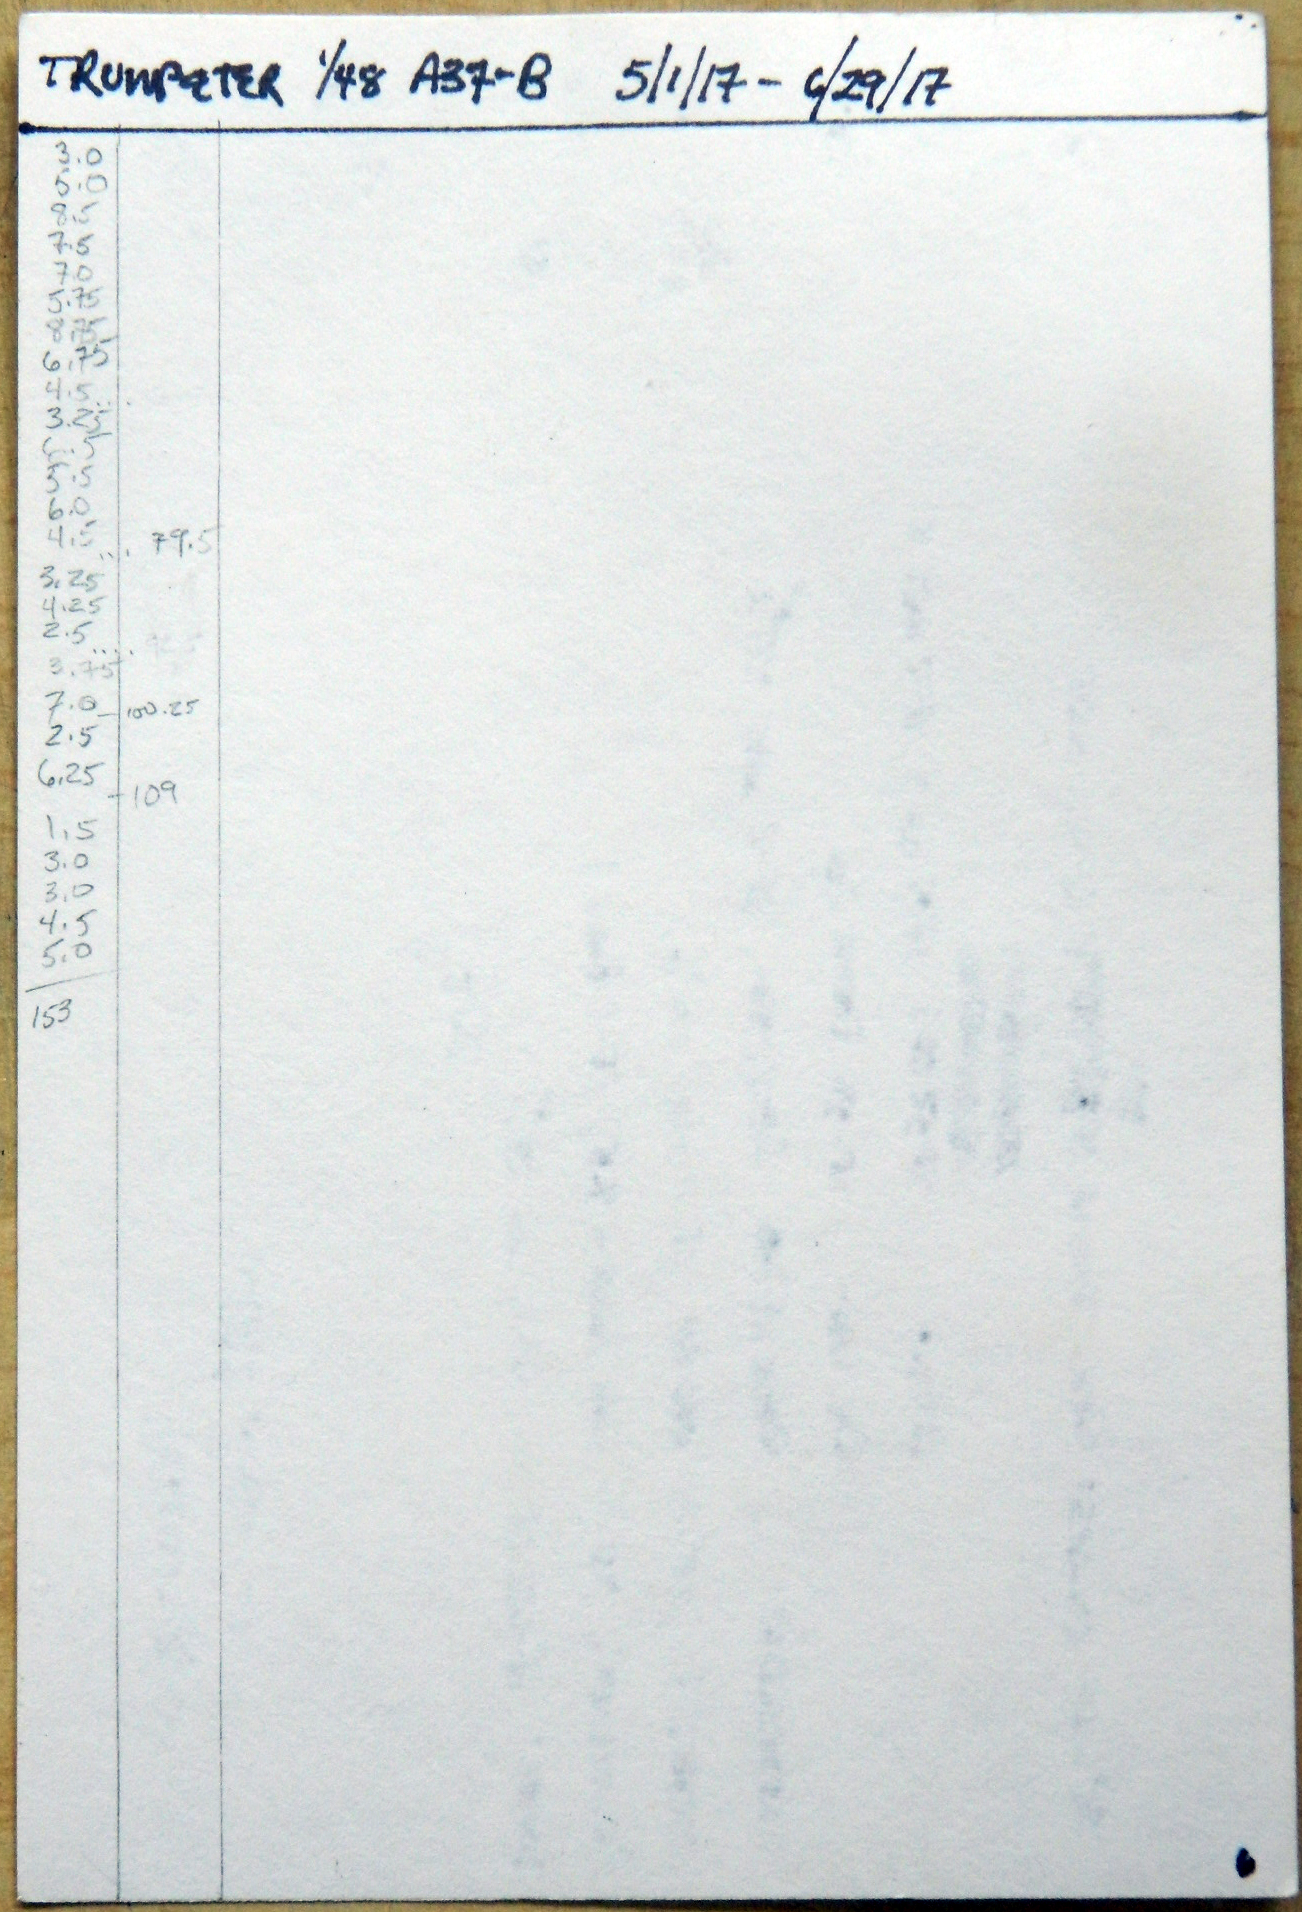
Total time building 153 hours (that’s about 6.375 24 hour days, 3.825 work weeks).
Begin date May 1, 2017; end date June 30, 2017.
Vendors:
Trumpeter
Kit #02889 1/48 scale
Built out-of-box, no aftermarket parts or decals
My Opinion
The molds for this model were cut about 2015 meaning it probably utilizes modern CAD-CAM tooling. Overall the fit of these parts was excellent. As ever, dry-fit the parts before gluing. There aren’t many places where fit needs to be adjusted, but they are there.
You’re going to need nose weight(s) to keep this thing from being like me…a tail-sitter. I used two .44 caliber lead balls delicately and gently coaxed into shapes that will fit using a jeweler’s anvil and a hammer. (Yes…that’s sarcasm.)
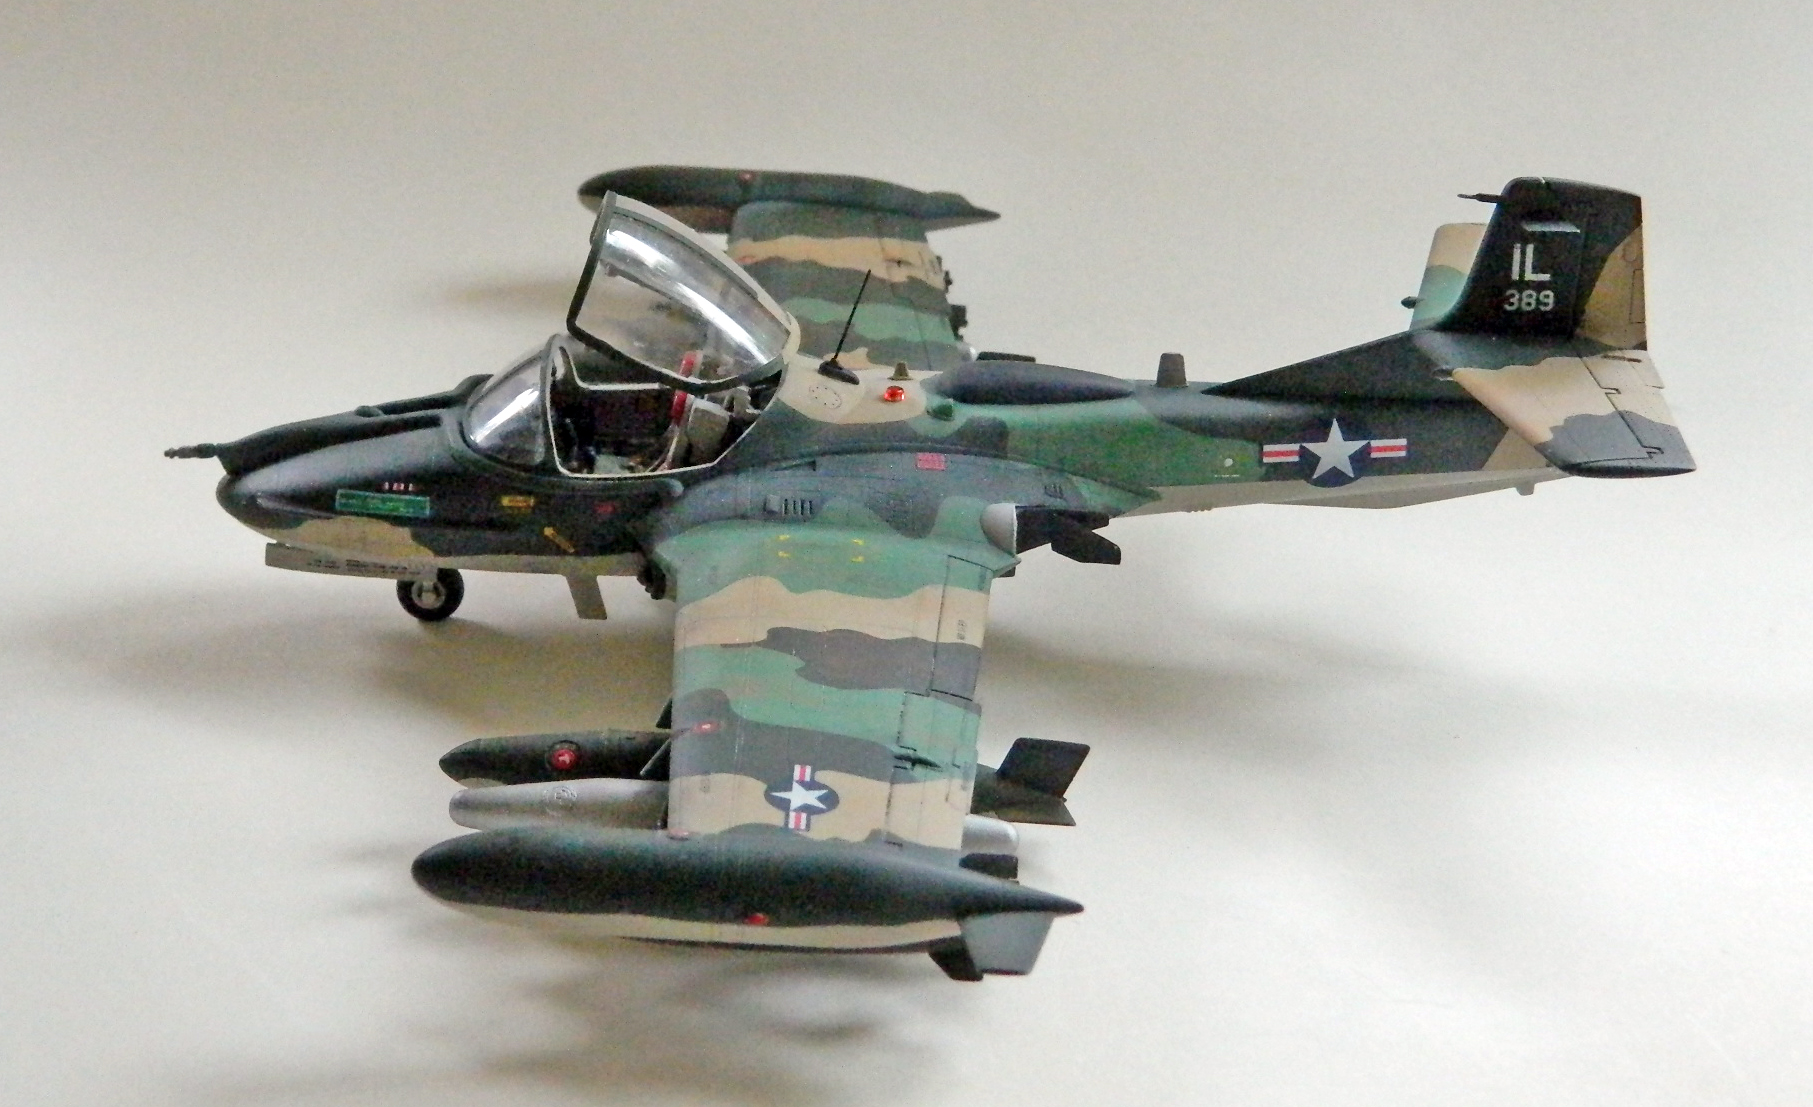
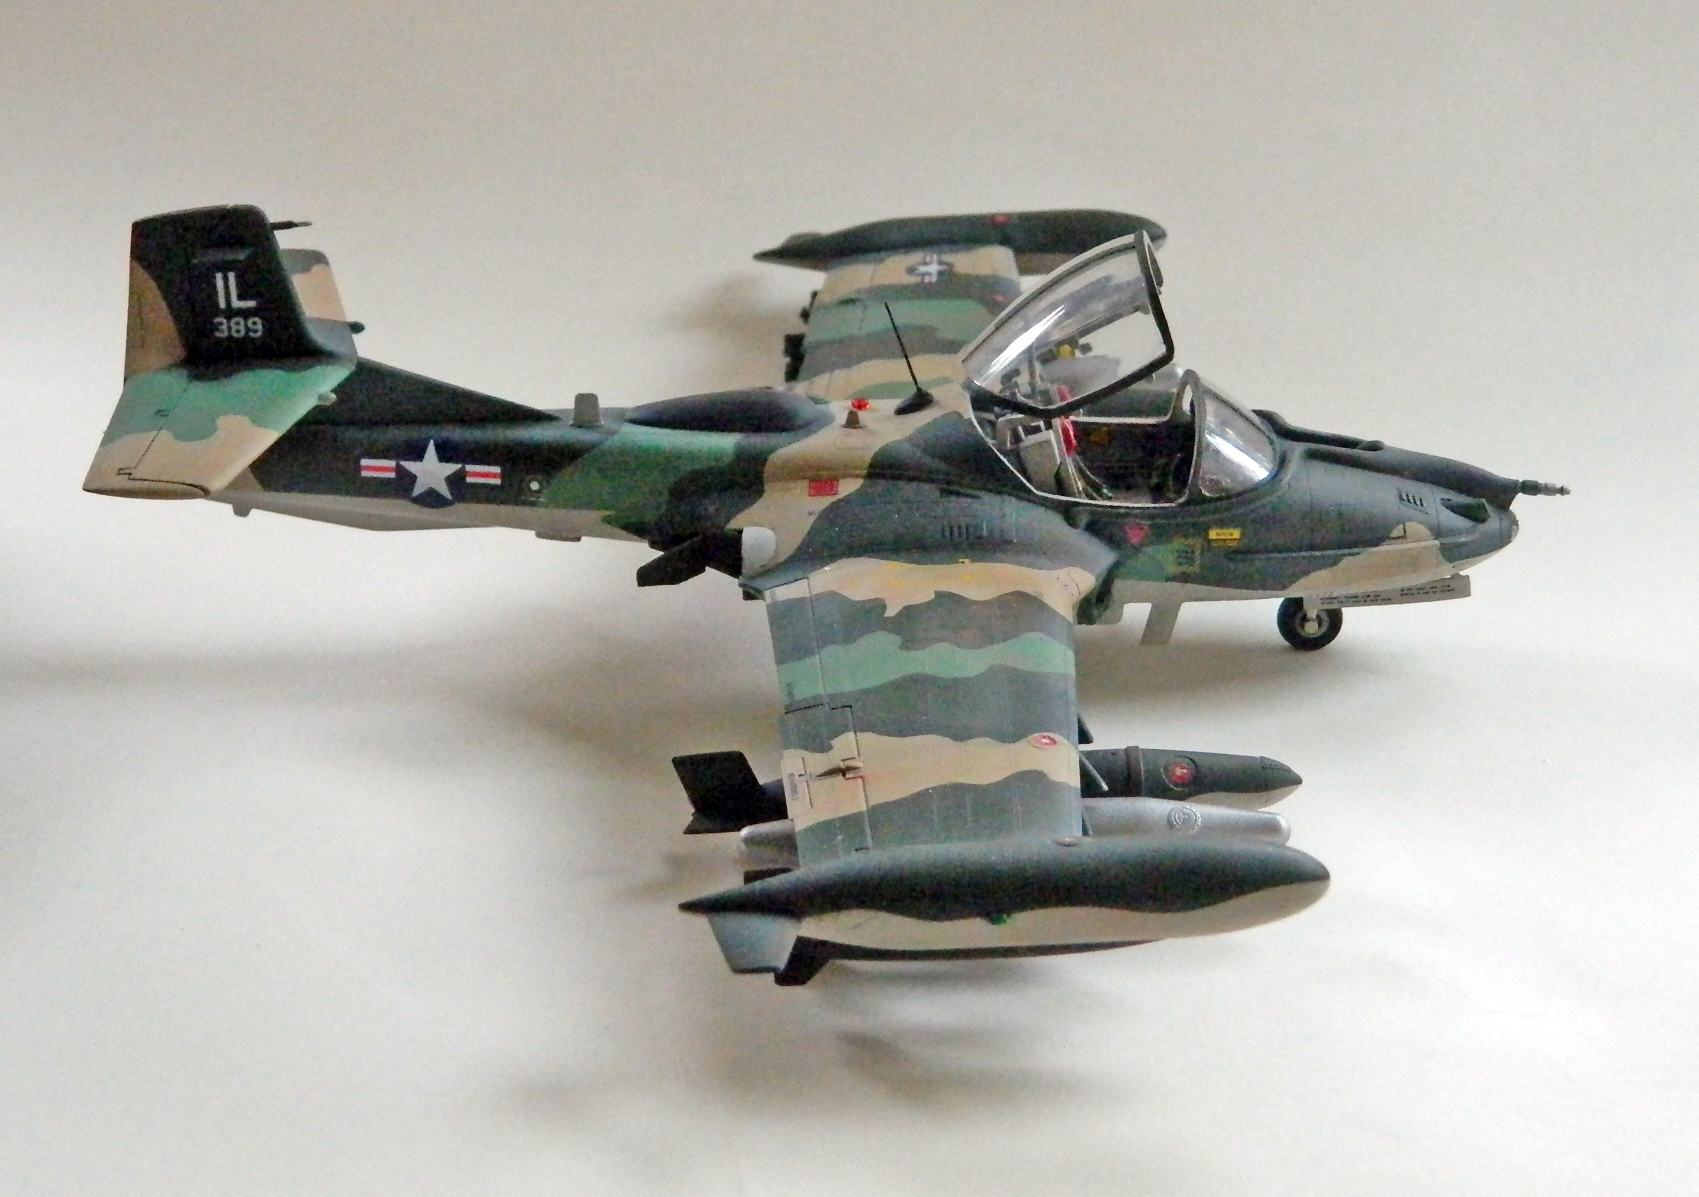
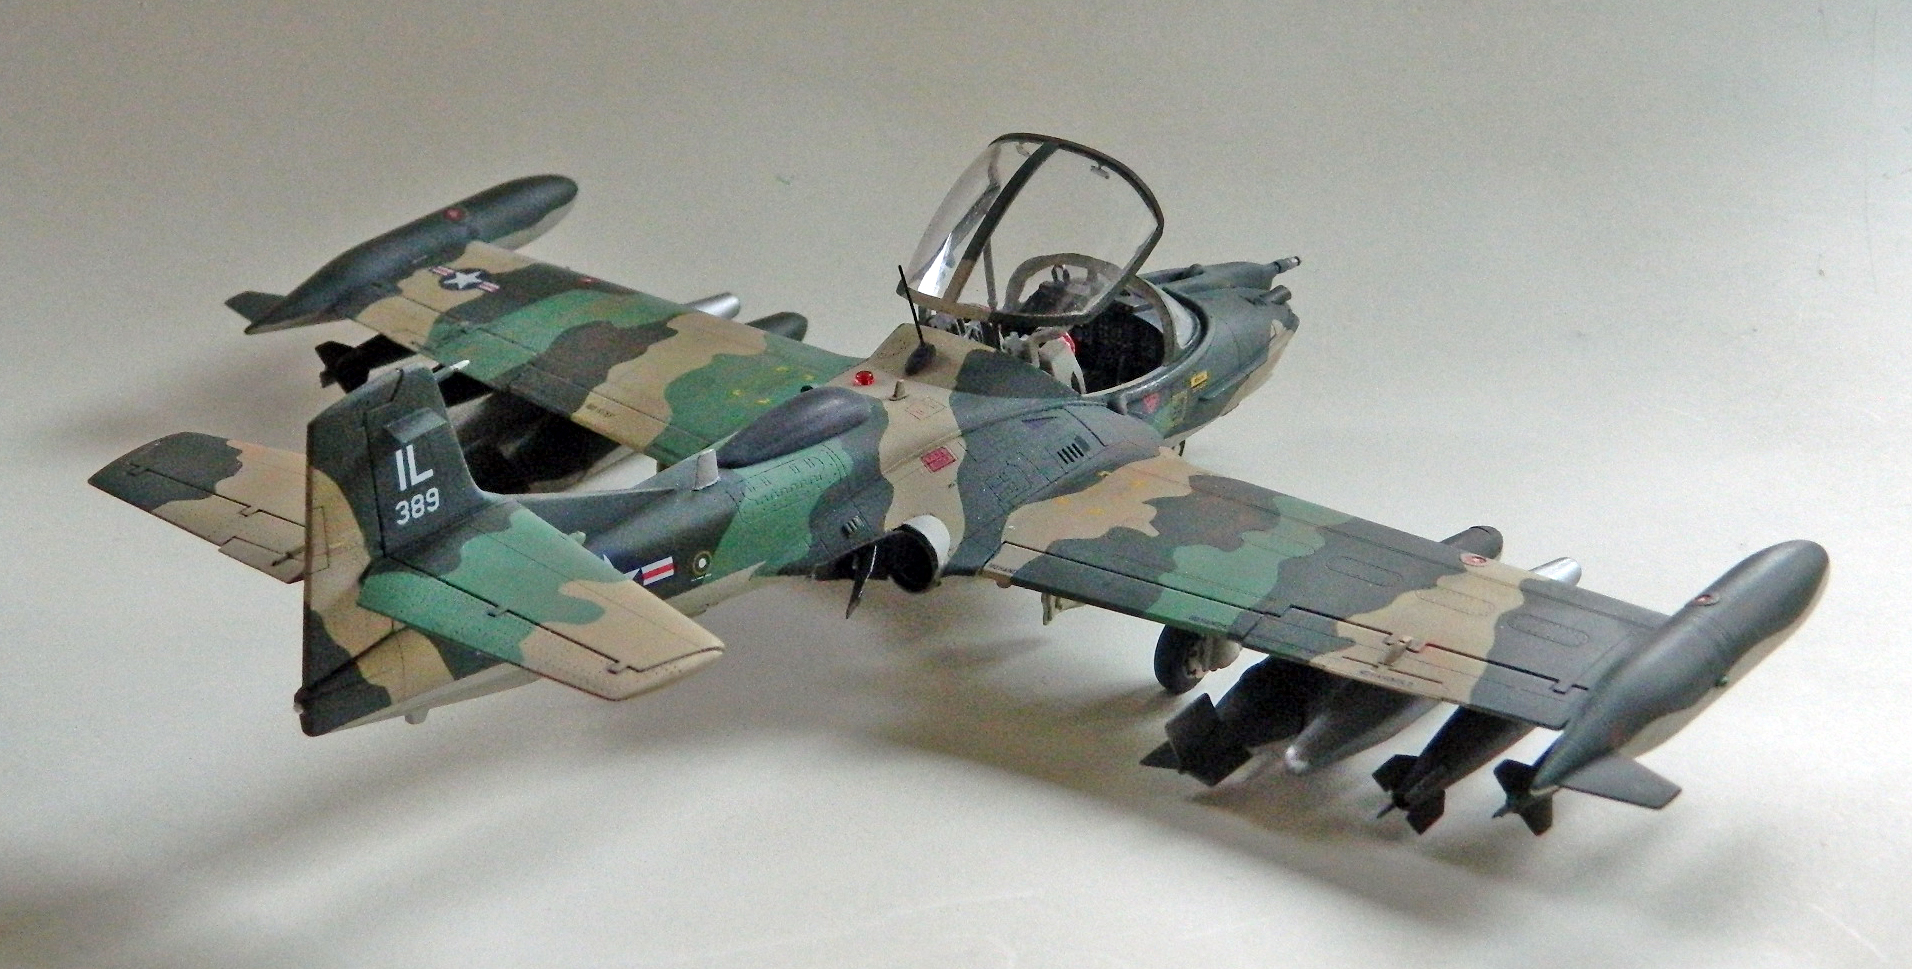
The kit’s decals can model one of three A-37Bs; Chile, Grupo 12,FACH, J-632, South Vietnam, 516th Fighter Squadron, 41st Tactical Wing, 1st Air Division, 68-7912, or USAF, 182nd Tactical Fighter Group, South Vietnam, 69-389. I chose the USAF bird. And while I’m on the subject of decals…
The decal for the data plate painted on the left side of the fuselage is wrong. It’s for an A-37A, tail number 67-1505. I put the decal on anyway; one really must look at it under very bright light with magnification to see it’s wrong.
The decals were interesting. The did not want to come off the paper (I tore one finding that out, in my ham-handed way) until they’d been soaked long enough to NOT WANT TO STAY ON THE PAPER and just floated off into the water. I’m still not exactly certain how I managed to fish it out (that’s the easy part…tweezers) and get it onto the model (that was the hard part involving needles to lift and unfold the decal, much cursing, water, more cursing, and at one point I almost resorted to prayer [saw no reason to get struck by lightning so I didn’t]). Once onto the model, blotting with a cotton swab just about made the carrier film disappear. A coating of Solvaset did make the carrier film disappear. The flat coat went down and the decals look like paint.
On the painting and marking guide there were a couple of inaccuracies. The inverted red triangle, “Ejection Seat” is only called for on the left side and it should be on both (not to worry, there’s two on the sheet). The “Armament Bay” decal is called for on the left side of the nose. The gun is on the right side of the nose and the decal goes there.
An error on the painting and marking guide is the color call-out for the right marker light on the wingtip fuel tank. The guide calls for that to be blue (and I even found one photo where it looks blue) but it’s supposed to be green. (Red – left, right – green.) So as ever, check your references…where they’re not incorrect. (What…you thought Catch-22 has gone away?!)
Another interesting omission is in the instructions. There’s a pitot tube near the top of the vertical stabilizer. It’s shown on the box art and the painting and marking sheet. There’s even a socket for it mostly molded into the fuselage halves…but it doesn’t go all the way through to the surface. AND the part is provided. So drill out the mounting socket for it. BUT. DON’T GLUE IT IN PLACE!! I broke that bastid off at least two dozen times. (Yes, it took me at least twenty four times to realize…hey…maybe I should just leave this thing off until I’m done?) (Yes, I’m quick like that.) My suggestion is to not glue it in place but make it removable (which is what I did with the dorsal whip antenna…which wasn’t supplied with the kit – I made mine out of stretched sprue). I should have also done that with the nose-mounted refueling probe. That bastid only broke off a dozen times.
After building old “classics”, the ones that don’t really fit, doing a modern kit was a nice change and it displays nicely. I recommend this one to y’all.
With the decals successfully done, there are a few more things to do before I call it complete. The most obvious is the coat of matte clear but there’s a bunch of final assembly chores still to do.
It starts with the dorsal and ventral marker lights. The kit parts are molded clear (with light bulb voids molded in!) and they have to be red. I used Tamiya’s X-27 Clear Red. These weren’t as difficult to do as I thought they’d be (due to their small size and the need for them to be clear no matter what I did to remove the sprue attachment points). They were clipped from the sprue and trimmed toothpicks were jammed into the void molded in for the “bulb.” Having a handle on things made the work much easier (doesn’t it always?). Once the attachment points were sanded down, I used progressively finer sandpaper and sanding films and plastic polish to restore transparency to the parts. Since the parts were still on toothpicks, rather than brush or spray the clear red on, I just dipped them into the jar of paint and set them aside to dry:

At this point I applied (or tried to, anyway) a coat of clear matte overall on both the model and the ordinance (I didn’t flat coat the napalm tanks; I liked the luster of the bare aluminum paint as is and it contrasts well to all the matte finishes around them). There’s a problem with my airbrush that’s just getting more pronounced. The spray of paint is intermittent. I’ve tried cleaning it with a (brand new) ultrasonic cleaner and though much cleaner inside now, it didn’t solve the problem. That resulted in an uneven “coat” and needed to be shot twice:

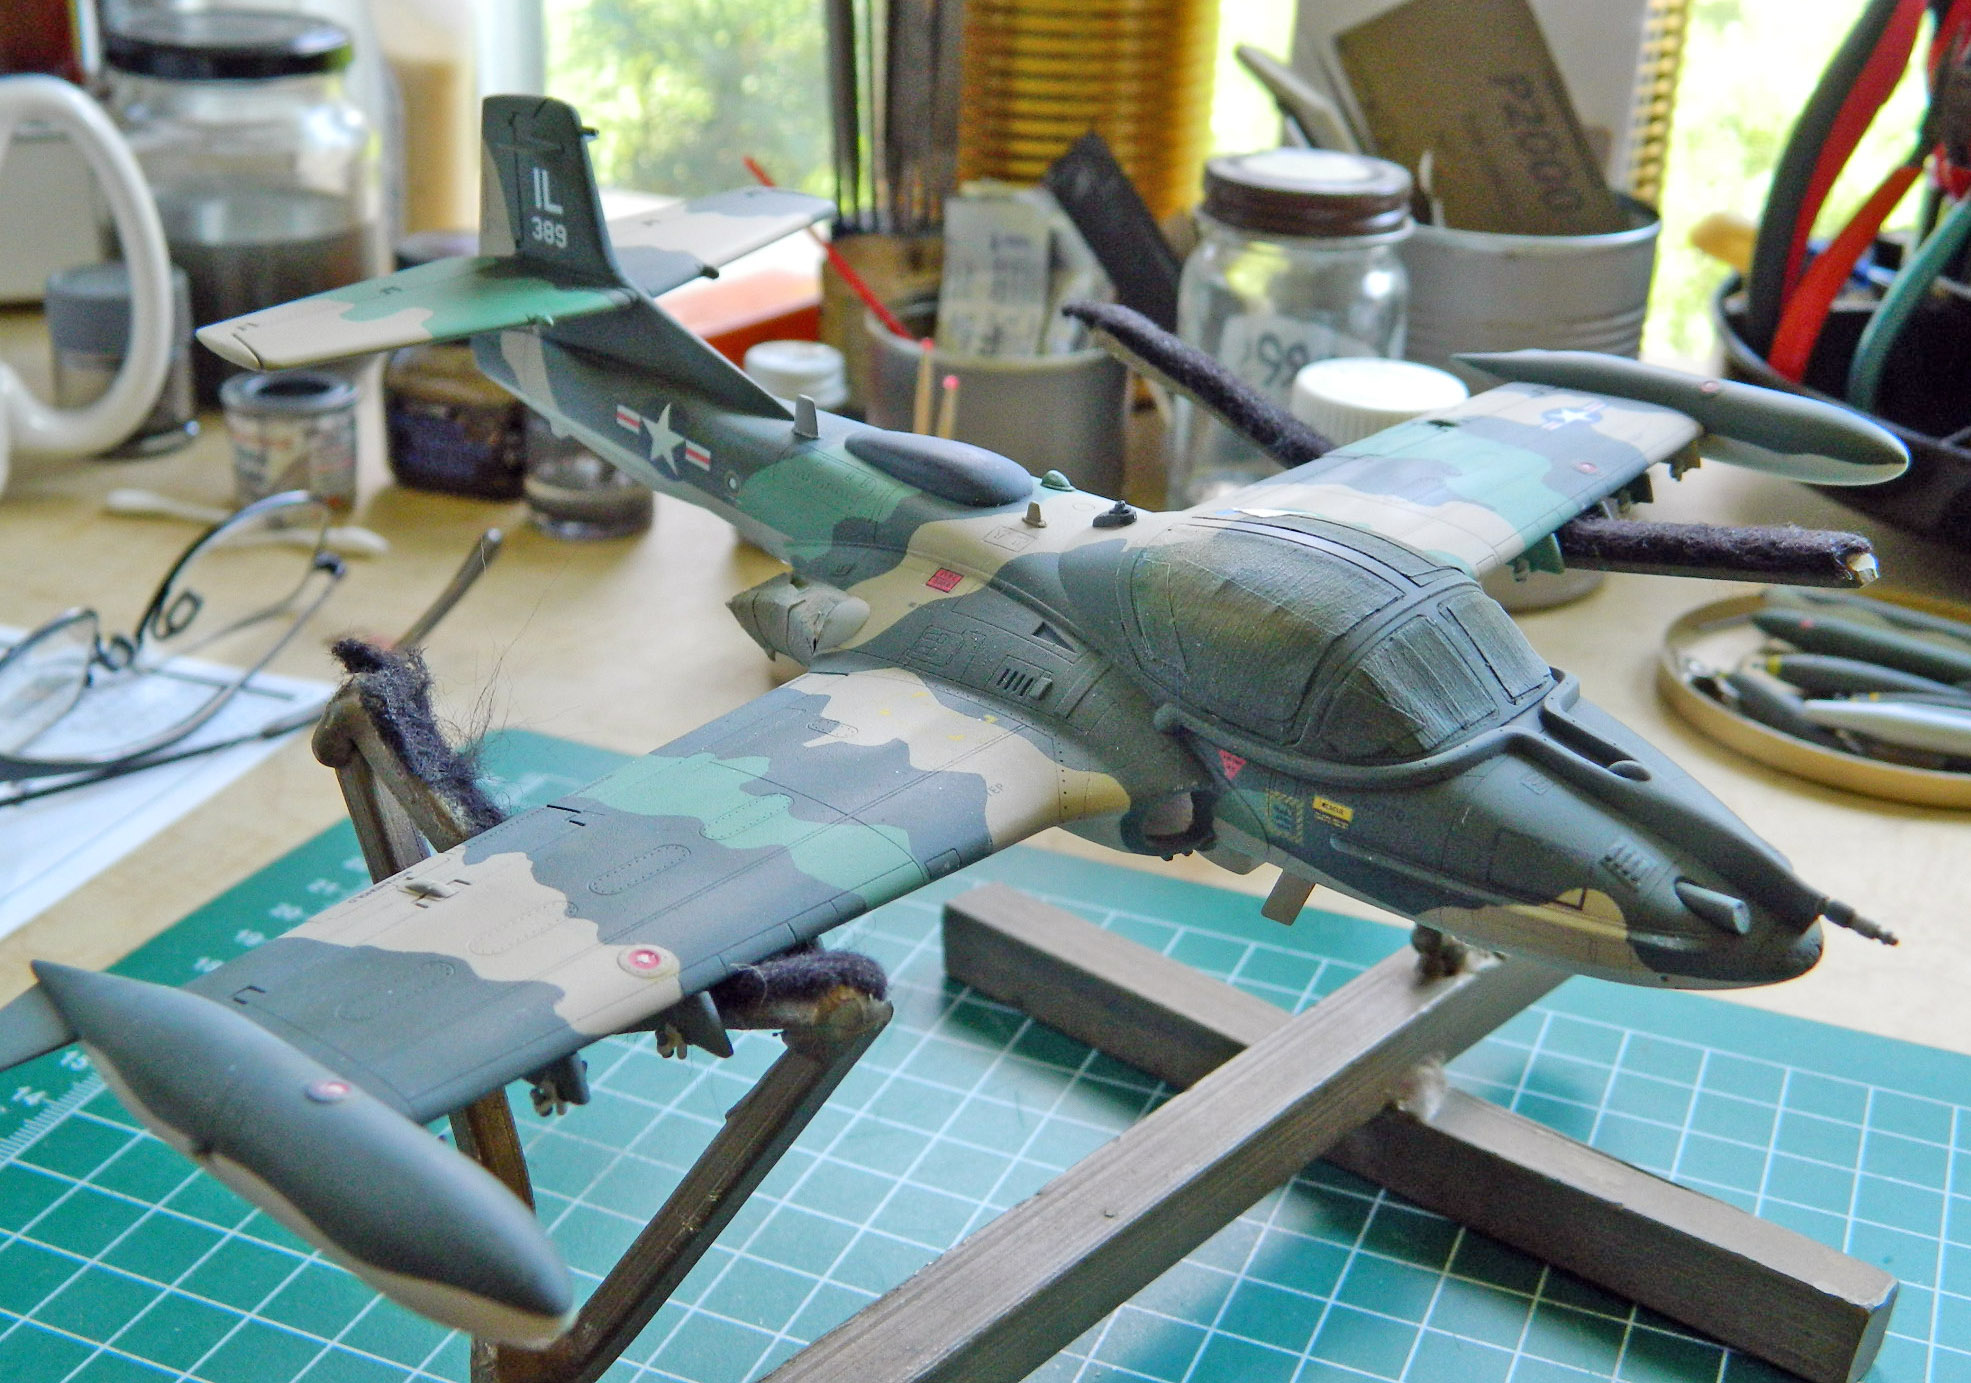

While that was all setting up, it’s time to put the landing gear on. I’d painted the oleo-struts “steel” (Humbrol #27003 again), masked those sections, and did the color, clear coat, wash, and flat coat. Time to take the masking off and put the nose wheel on:

I also removed the paint from the under-wing landing lights:
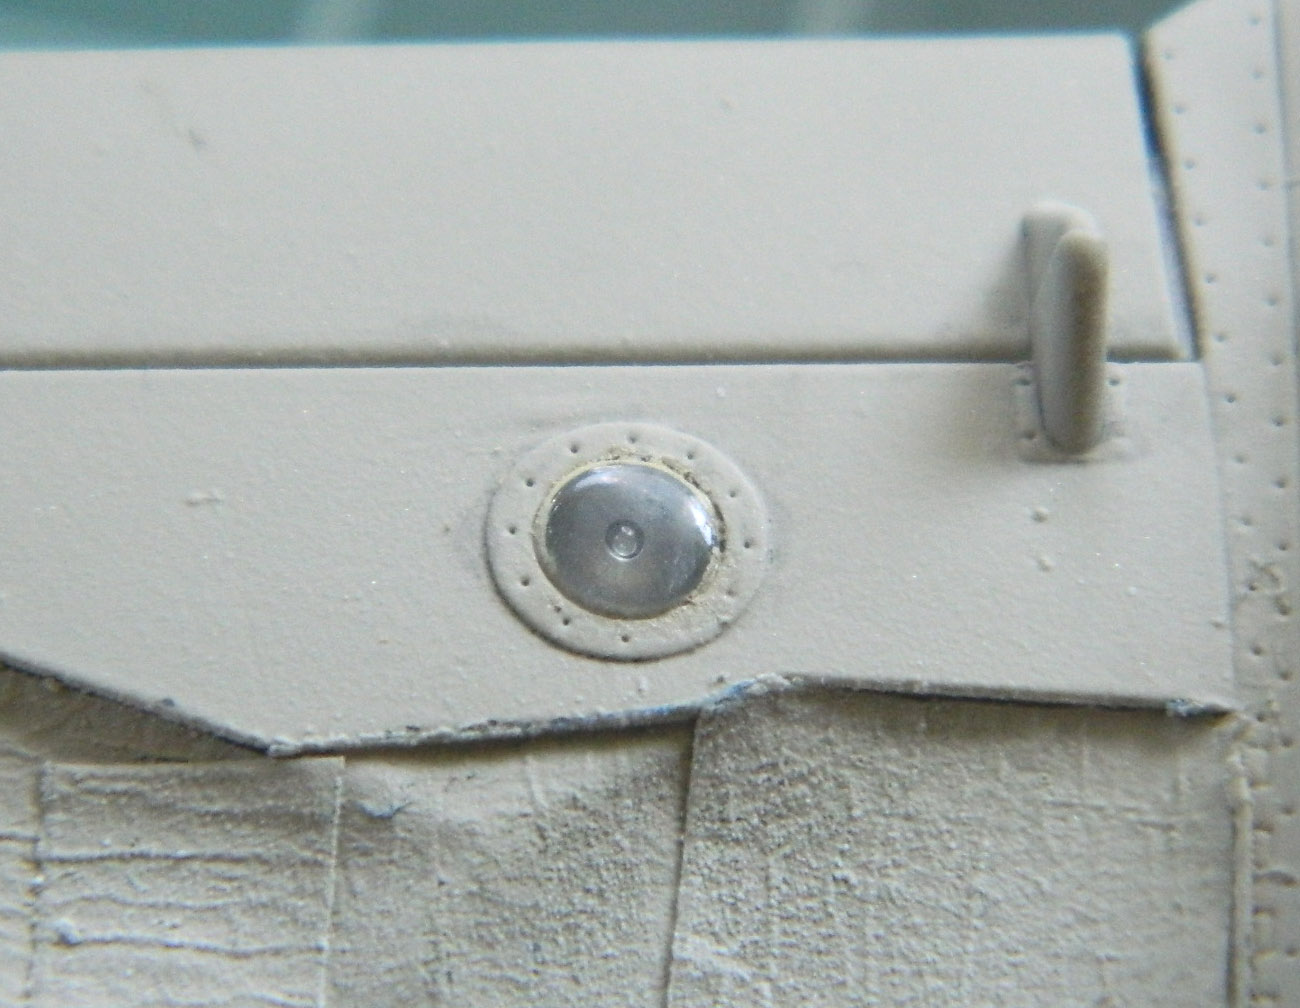
With the two coats of matte clear dry, I removed the masking from the windscreen and canopy and did the touch-ups necessary when the white glue I’d used to seal the canopy to the fuselage was removed. Then it was time to mount the landing gear to the model. The masking was removed from the gear bays and minor paint touch-ups attended to. Once things were aligned and glued, I added the main landing gear tires, aligned them so the flat bottoms were flat on the surface, and glued those in place also. Now it sits nicely on its landing gear:

Landing gear doors go on next (and haven’t those turned out to be VERY DAMNED EASY to knock off the model):

Before I started hanging ordinance and drop tanks from the pylons, I added subtle dirt effects using pastels:

Then the ordinance and drop tanks were attached:
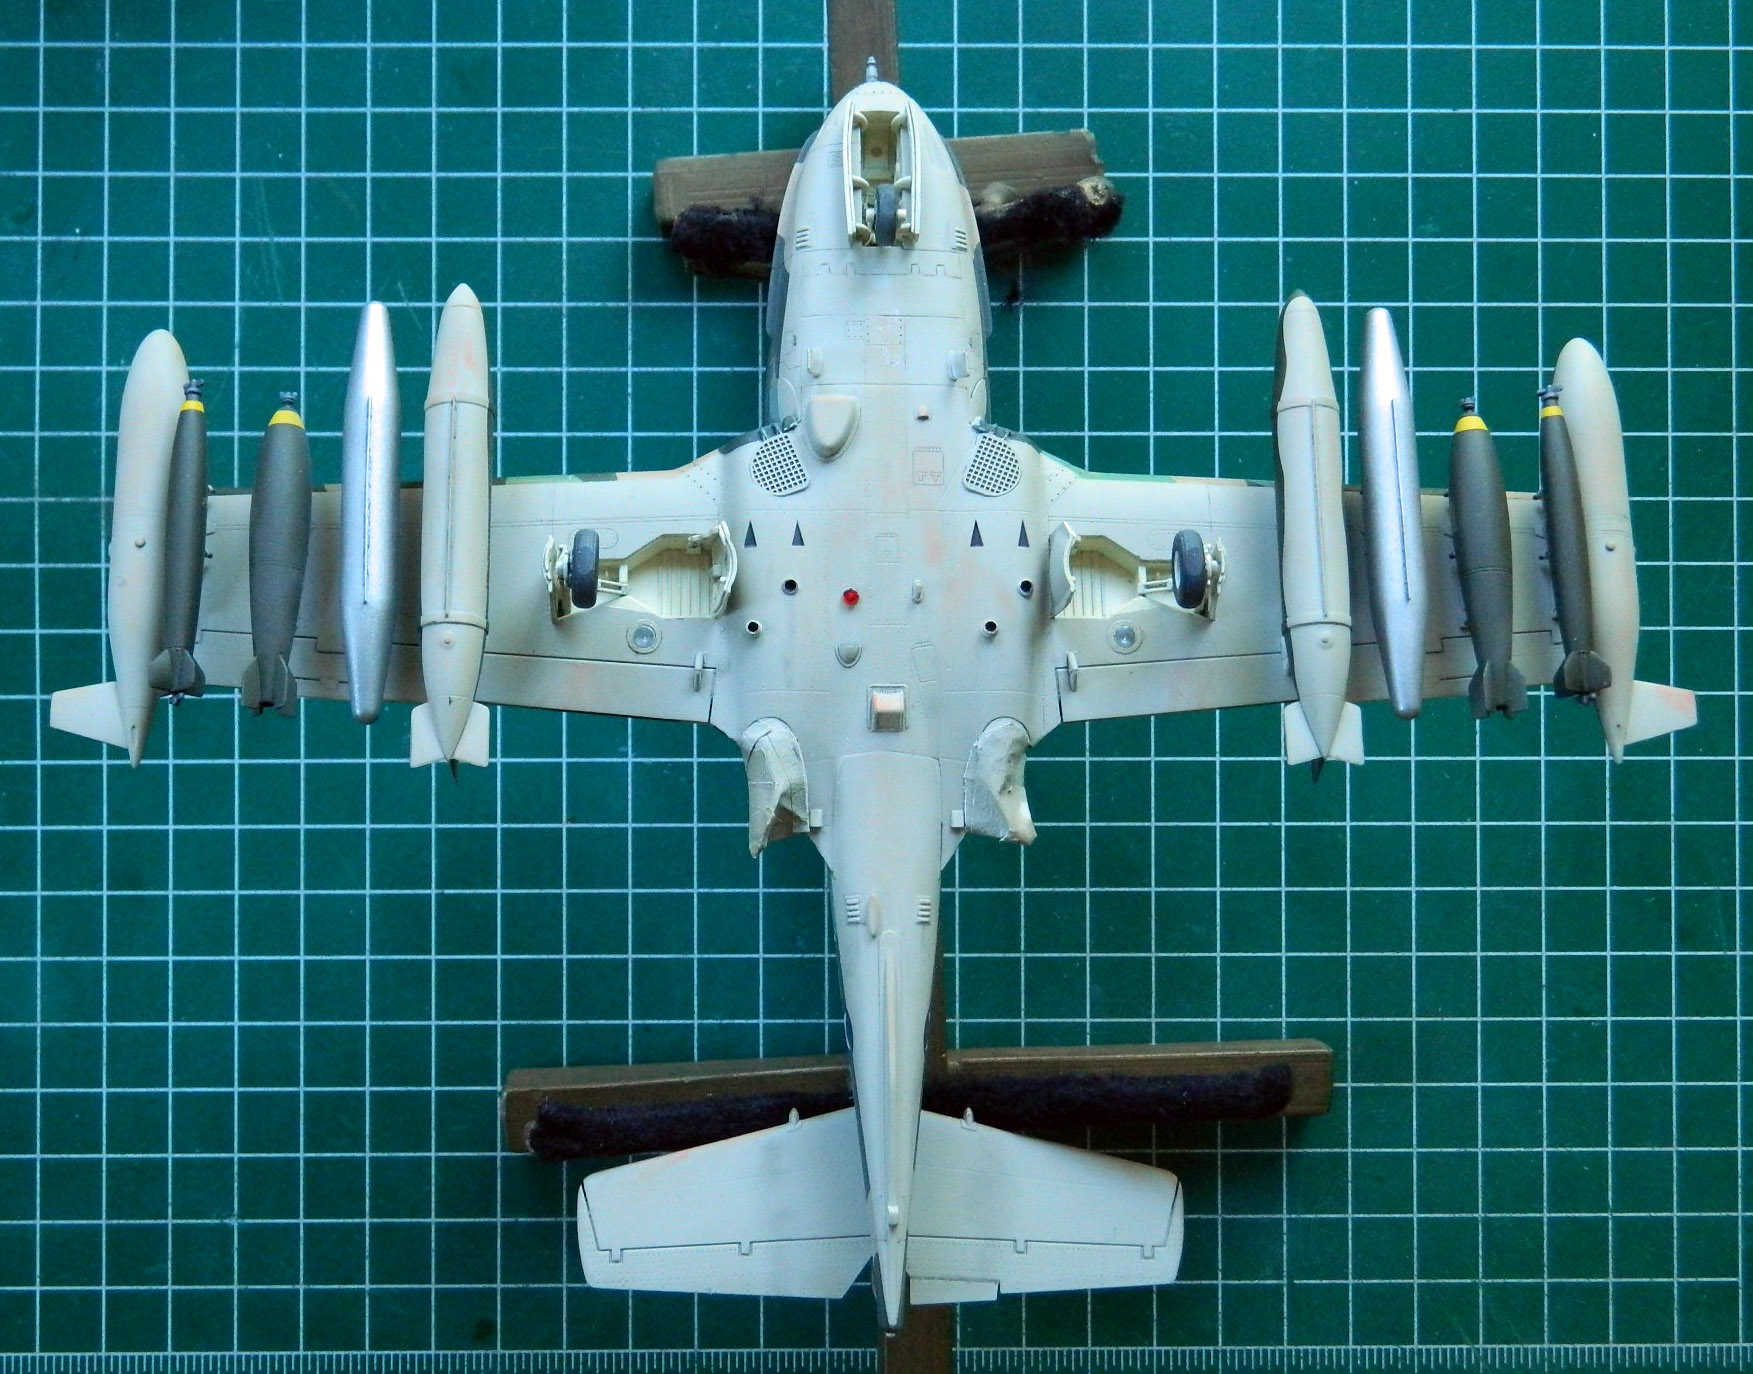
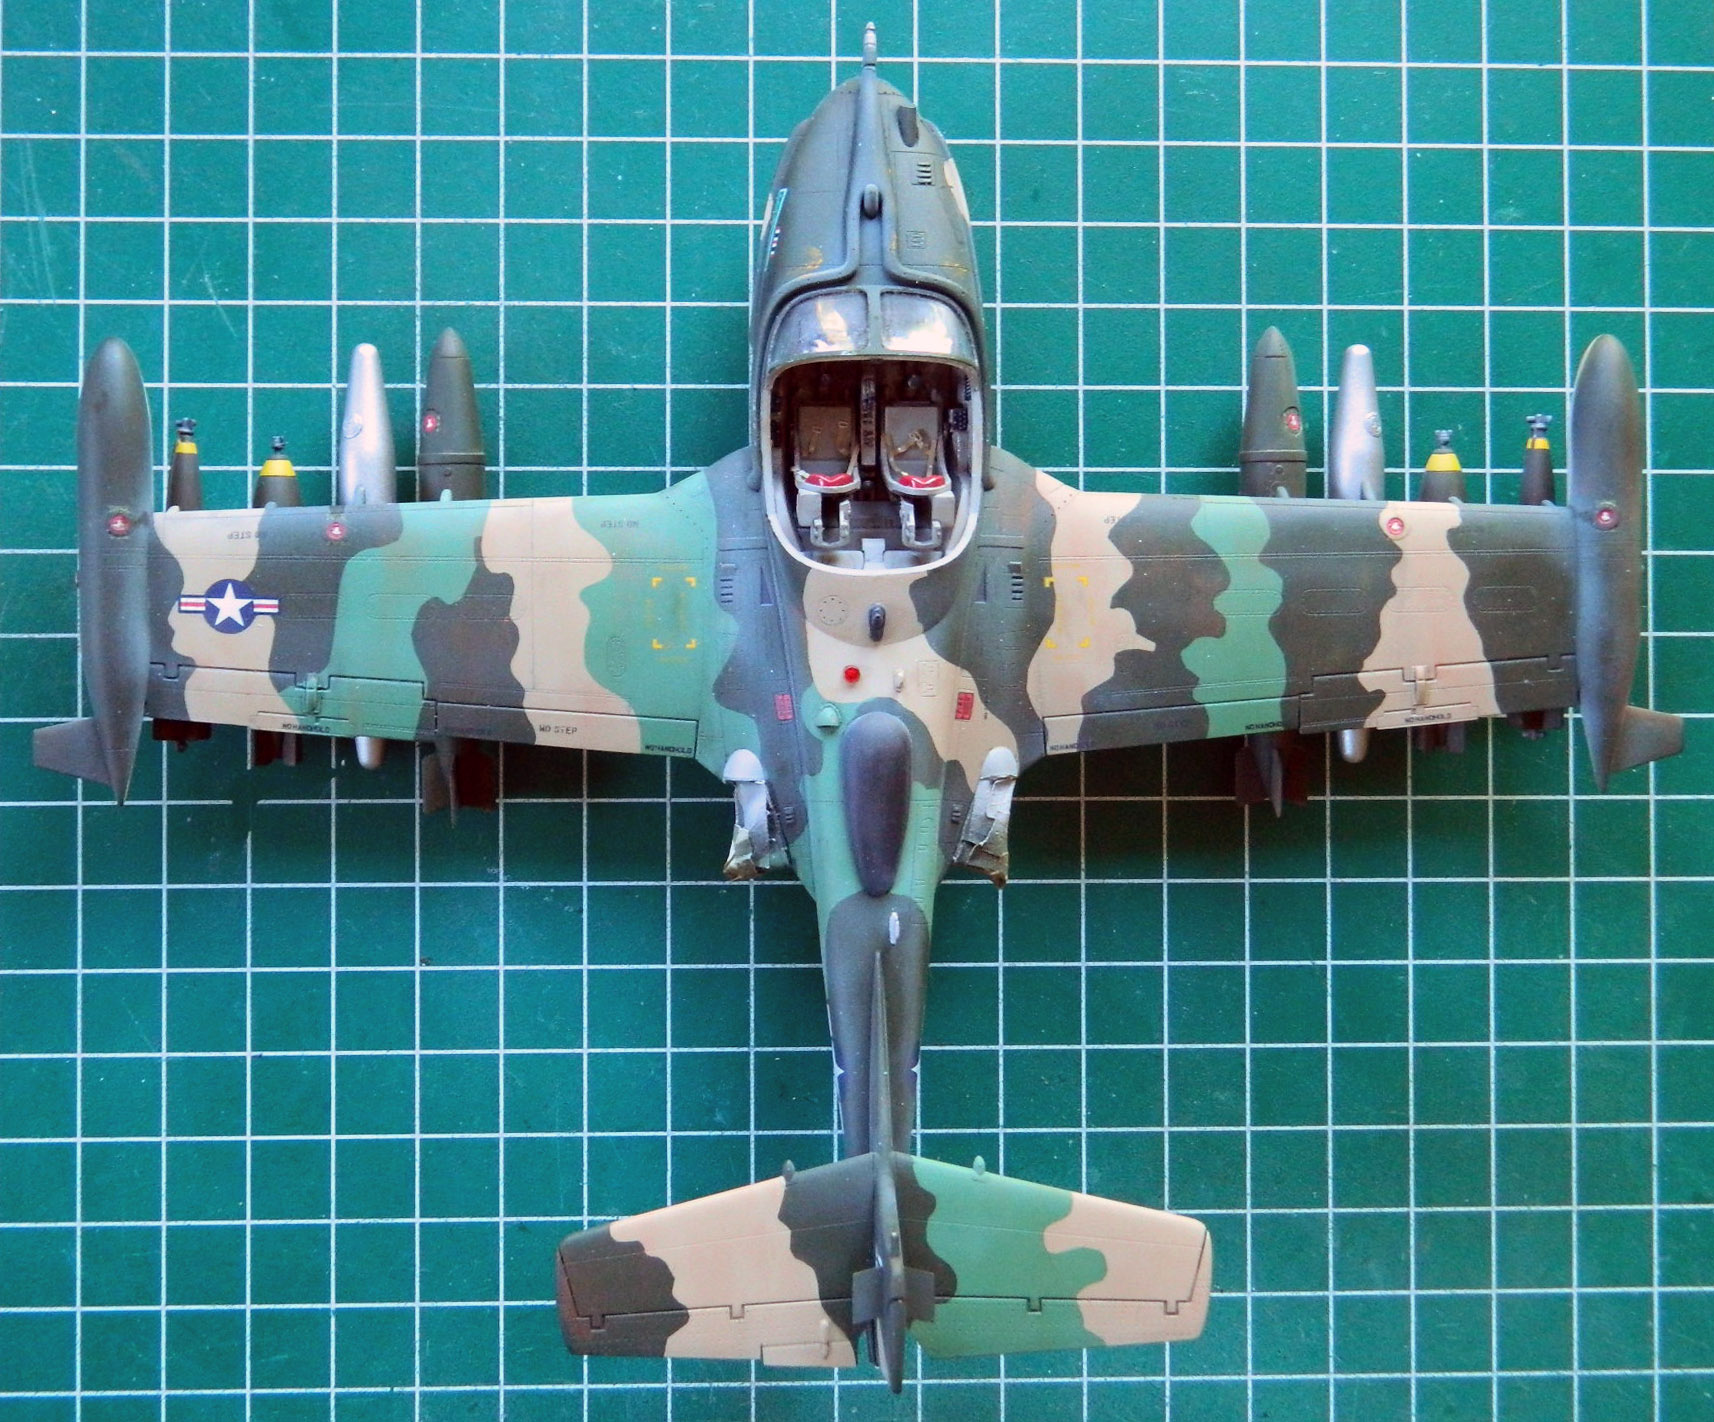

With the dorsal and ventral marker lights dry, it’s time to add them. I painted the bases silver and used a very diluted (and tiny) drop of white glue to attach them:

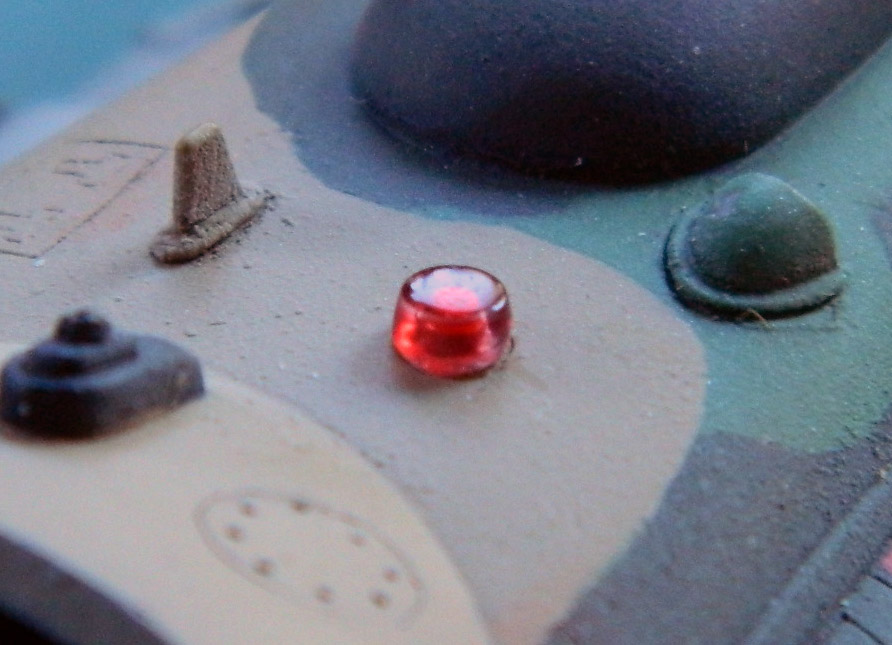
Then it was time to do the really tiny bits. I started with the rear-view mirrors:
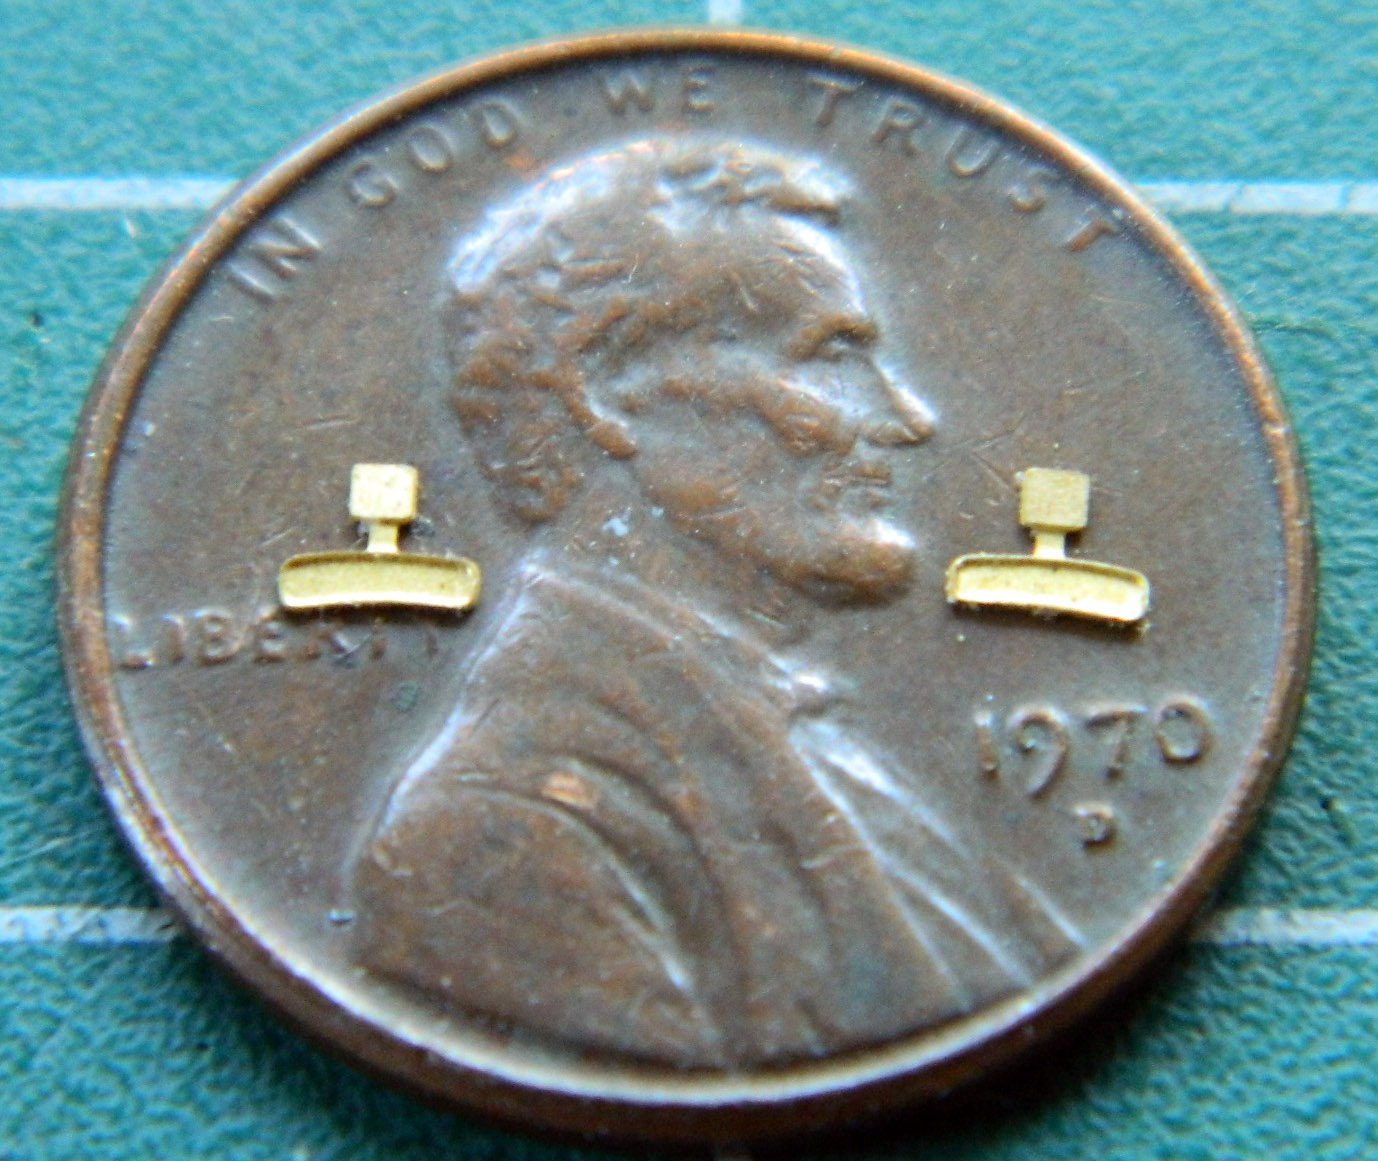
I didn’t even consider painting the reflective surfaces. That looks like what it is. Paint. Instead, I used aluminum foil. I used a TINY drop of superglue on the face and then hammered regular aluminum foil onto them using a rubber eraser and a (oddly enough) hammer:
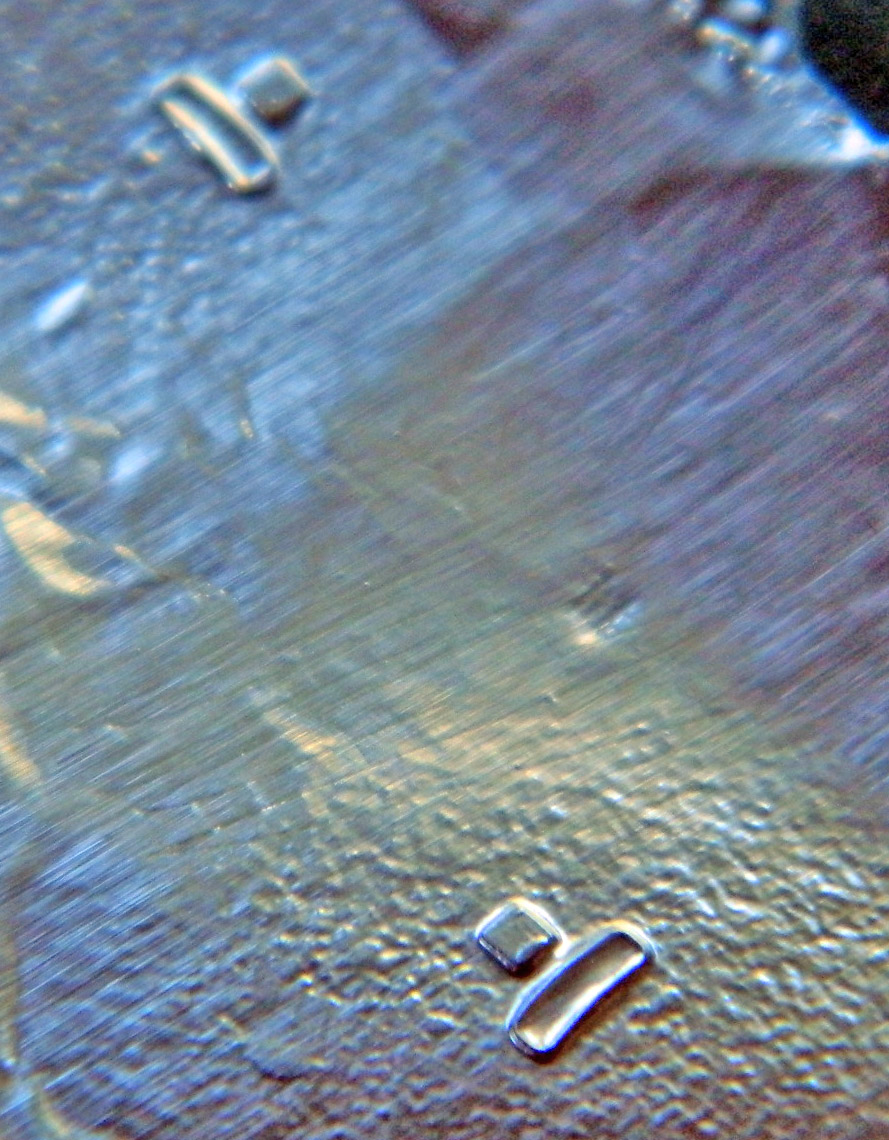
Then I used a sharp razor blade to trim them:

White glue added them to the canopy:
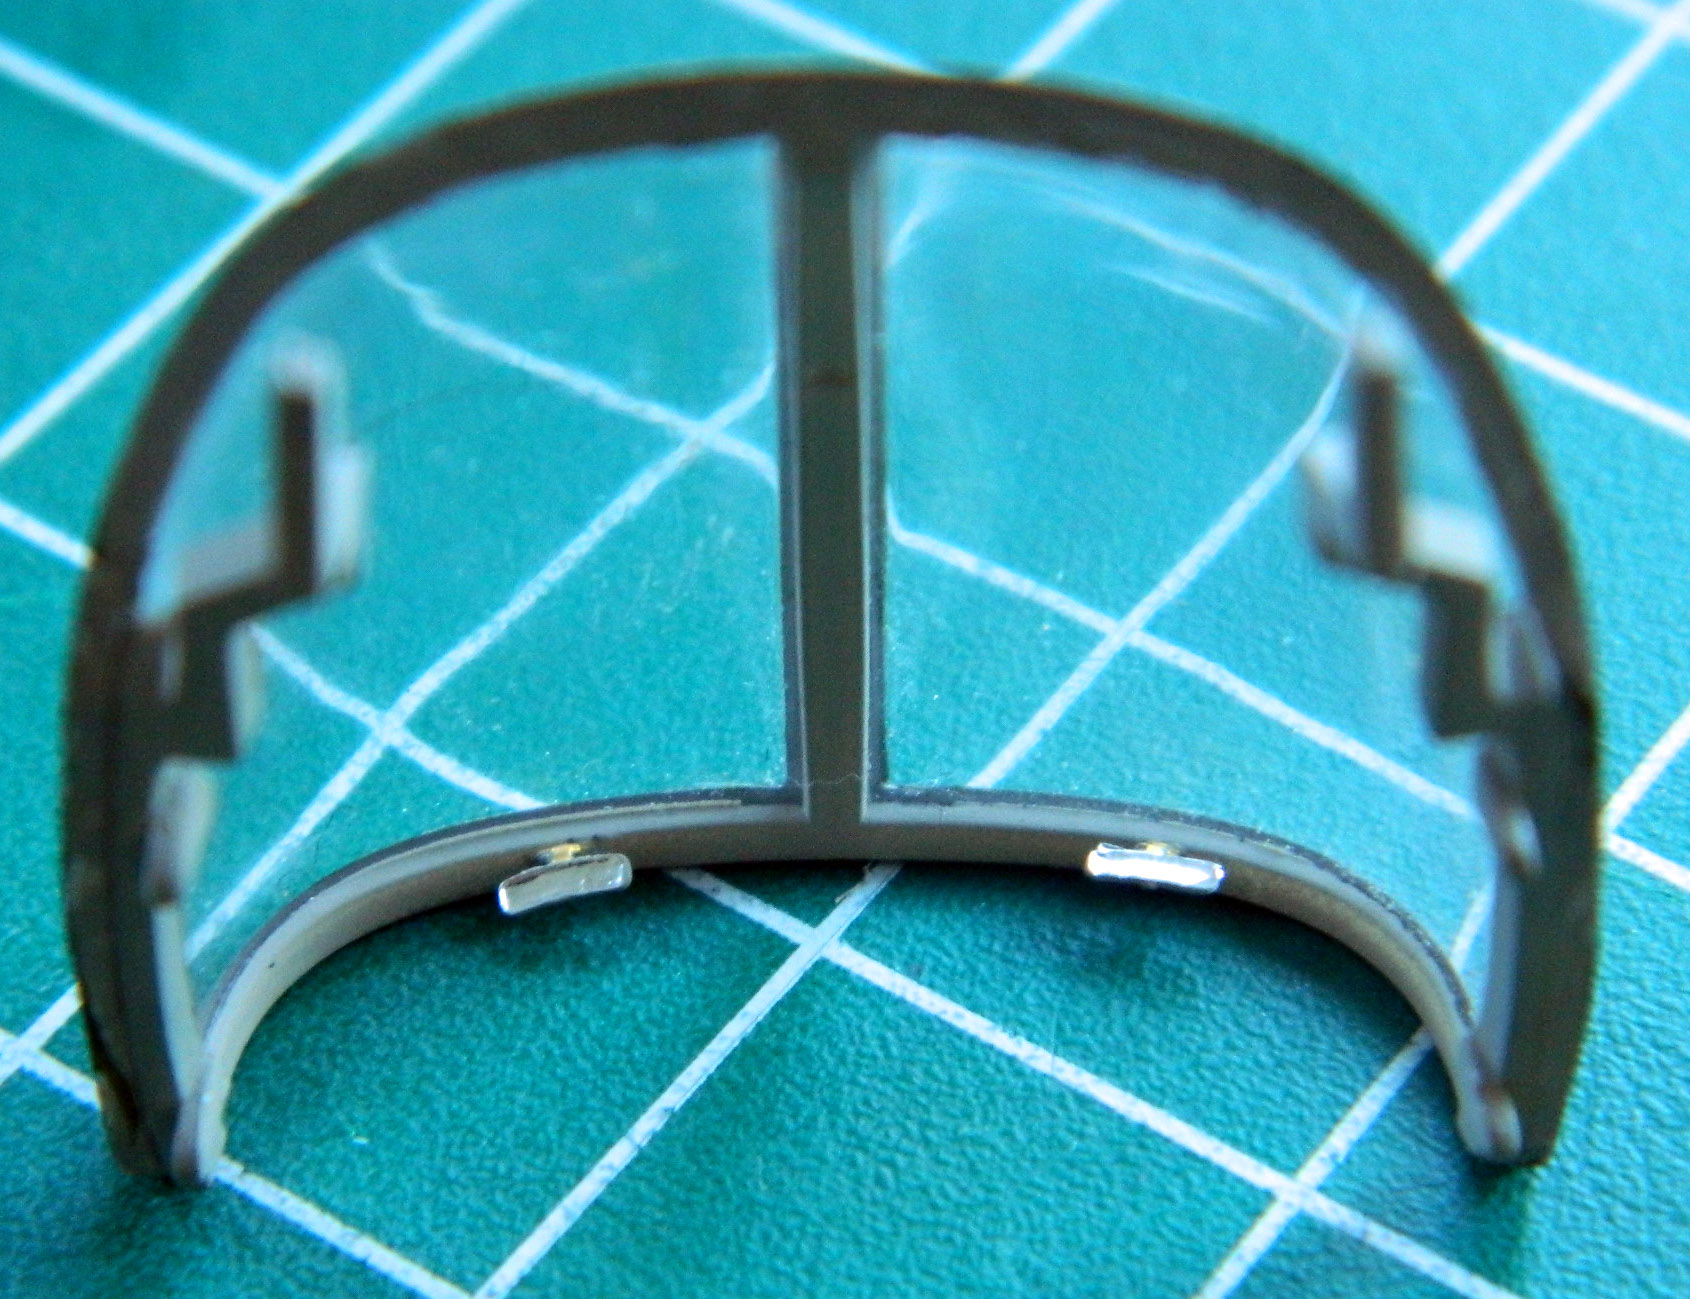
Nothing left to do now but add the canopy to the model:
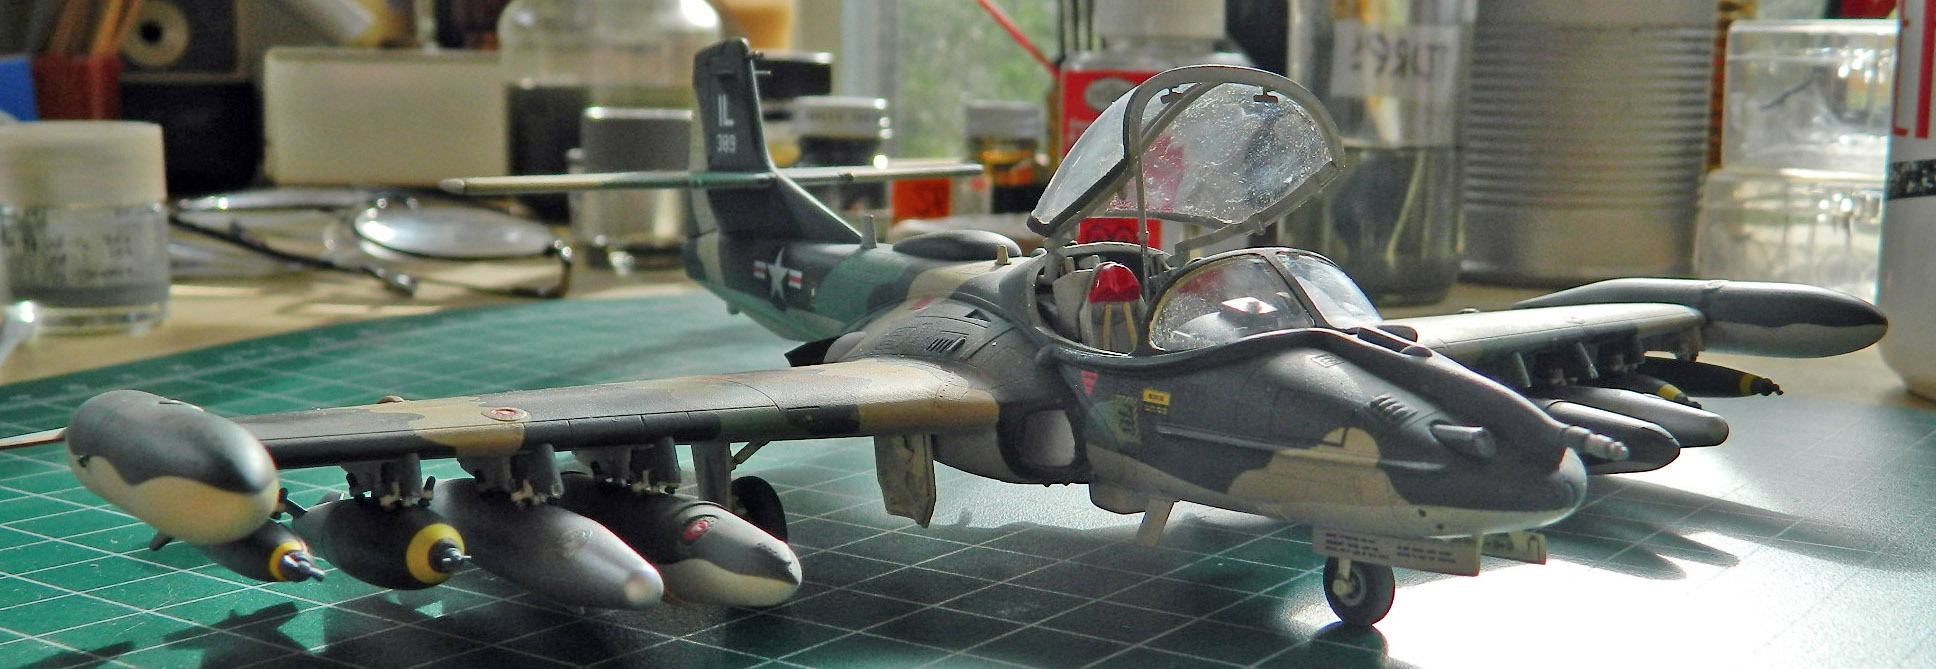
Hmm…y’know, I think this thing is done:

Having finally realized that I’d forgotten to paint the outside of the landing gear doors, I took care of that as well as doing the underside of the drop tanks and add detail paint to the stores pylons:

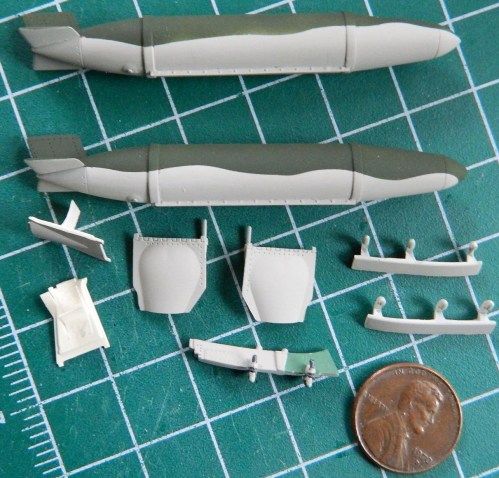
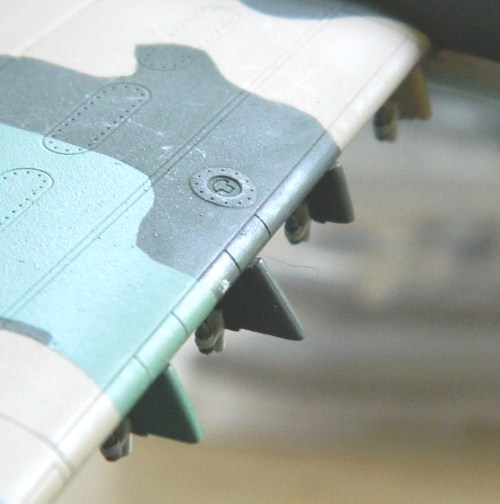
The front of the stores pylons were painted to match the camouflage paint of the wing above it so I did the same:


Setting those aside, it was time to get after something I was pretty sure was going to be annoying (and I was correct), painting the bombs. The first step was painting the arming propellers “steel” using Humbrol #27003:

There are decals for the stripes around the noses of the bombs. Two problems with that. The first is that the color of the decals was too orange. The second being that getting those decals on properly could consume far too many hours. So even realizing that painting and masking these stripes would be annoying, it wasn’t the greatest annoyance possible.
Step one of the stripes was spraying the color (Tamiya XF-3 Flat Yellow with about 10% Tamiya XF-2 Flat White):
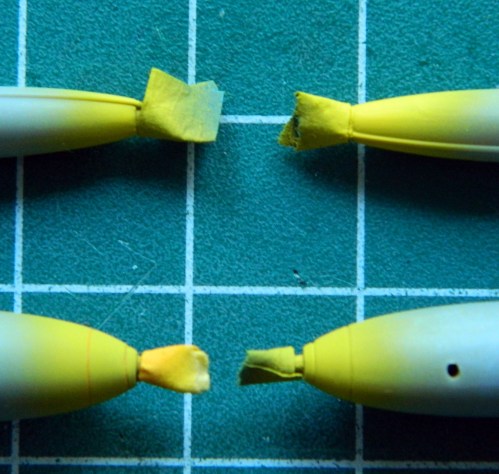
The annoying part is trying to mask off a SMALL compound curve. The least bothersome way I’ve found is thin strips of masking tape to define the edges and then fill the middle with more tape (the prepainted “steel” was encapsulated by tape):


Then the bombs were painted with OD Green (Tamiya XF-62 Olive Drab with 25% Tamiya XF-2 Flat White). Though annoying, the result was worth it (AND the correct color):
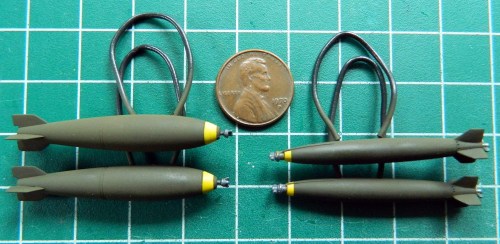
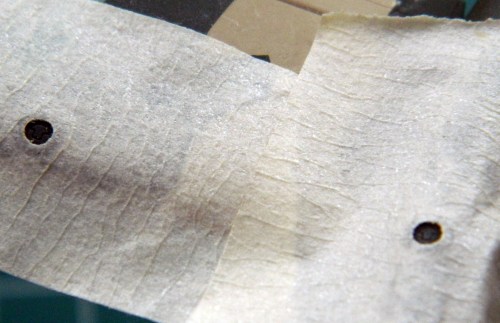
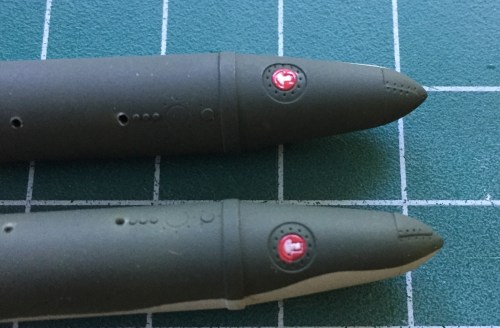
The last thing to paint before shooting clear gloss was the filler caps of the wing and drop tanks. I used the punch and die set to knock out holes of the appropriate diameter from strips of tape to mask them before shooting Tamiya XF-7 Red. Once painted, I used my smallest brush to paint the locking levers white (would that my old hands were more steady, perhaps I would have done a neater job):


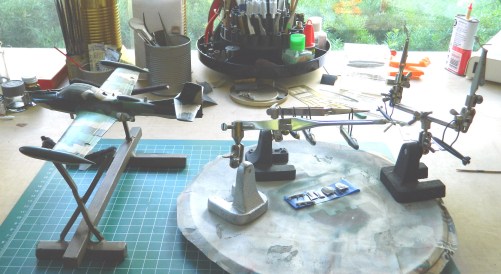
Then I shot everything with Tamiya clear gloss to create a smooth surface for decals to adhere to without silvering (and this time I remembered the sodding landing gear doors). Once again I encountered the problem of what to hold while painting, only this time it was on the model itself. The only solution was to paint the top half, let it set up, and then do the bottom half:
Trumpeter’s decals are “interesting.” They aren’t really all that interested in leaving the backing paper until they’re VERY interested in leaving the backing paper and have to be fished out of the water. Lots of fun doing that without having the damned things fold onto themselves until I figured out that a 30-second soak followed by another 30-45 seconds of the decal out of the water and letting the paper soak worked better. Once off the paper and onto the model, they did snug down nicely. I tried some Solvaset on them and the results were amazing. The carrier film of the decals just about disappeared.
With just the water:

With a puddle of decal solvent over it:
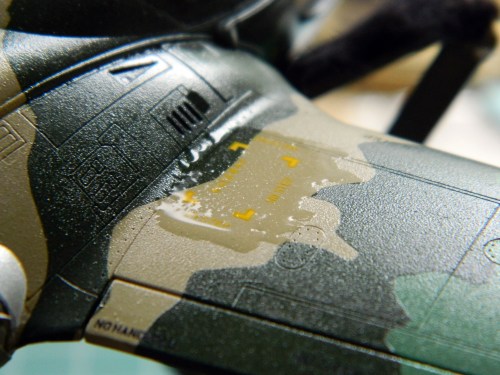
And after the solvent evaporated:
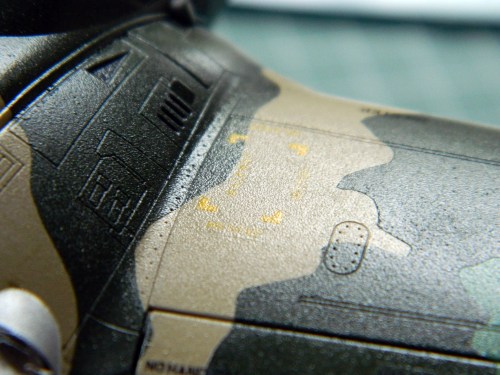
After two painstaking days, all the decals are on. A word about references (again). Check them. Often. The decal call-out sheet wasn’t a hundred percent accurate. One decal (the inverted triangle for the ejection seat warning) was correctly shown on the left side but the right side also got the same type…and that wasn’t on the call-out sheet yet it was on the decal sheet. The decal for the gun’s information was shown on the left side but it should have been (and now is) on the right side:


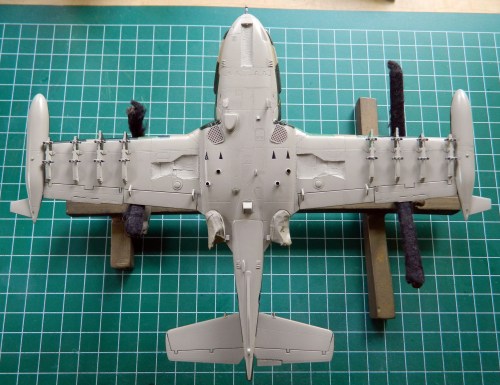
I’m going to let things sit overnight before coating everything with clear flat.
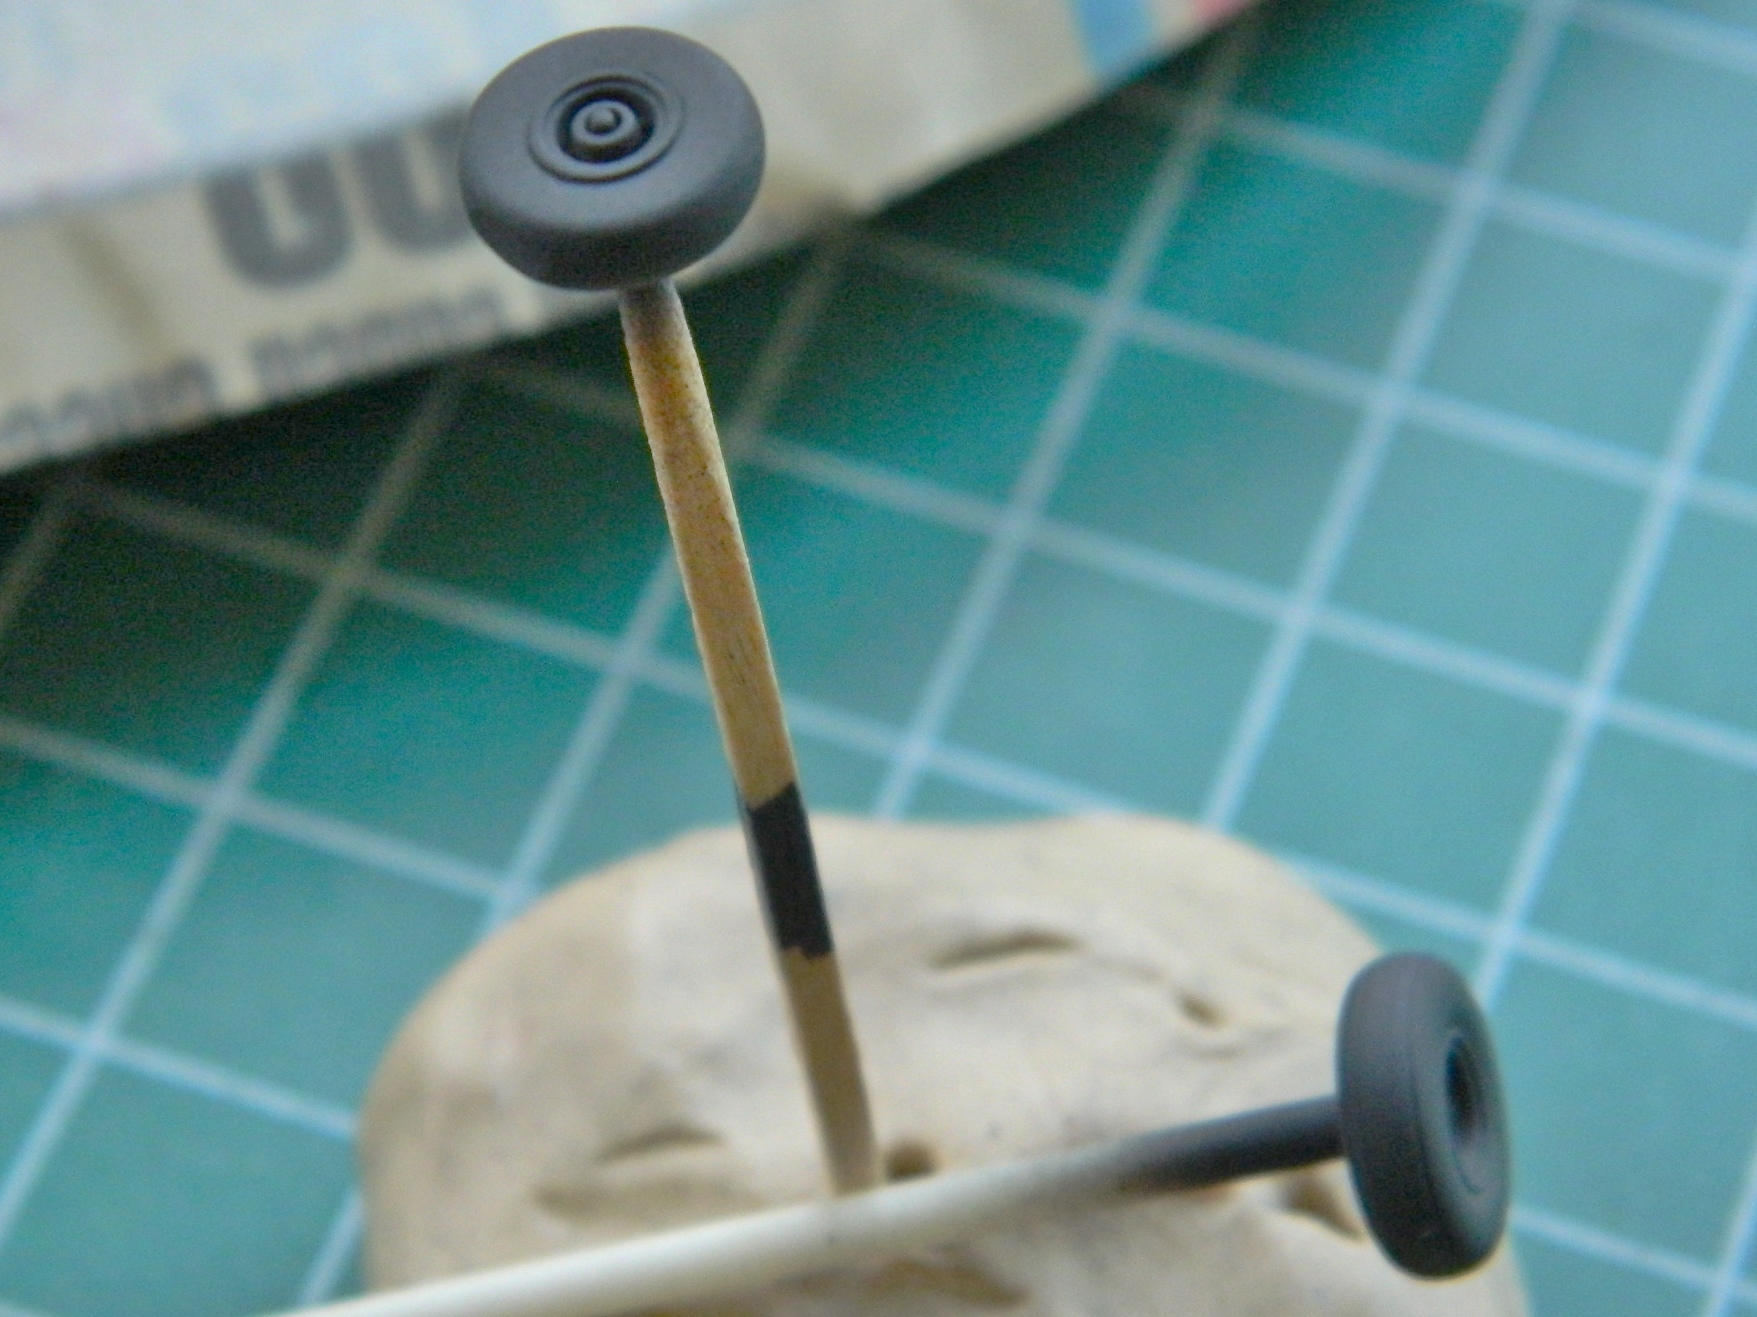
To paint the wheels/tires, I reverse the typical painting procedure where the light color is shot first. I do the entire wheel/tire black, and then use an artist’s circle template as a mask. I find the hole that’s closest to the diameter I need (and I’m constantly surprised how frequently I find the exact size!), center it over the wheel, and shoot the wheel color through it.
Tamiya makes an excellent paint that replicates rubber (XF-85). I’ve used it on other builds and it’s my go-to for “rubber” parts:
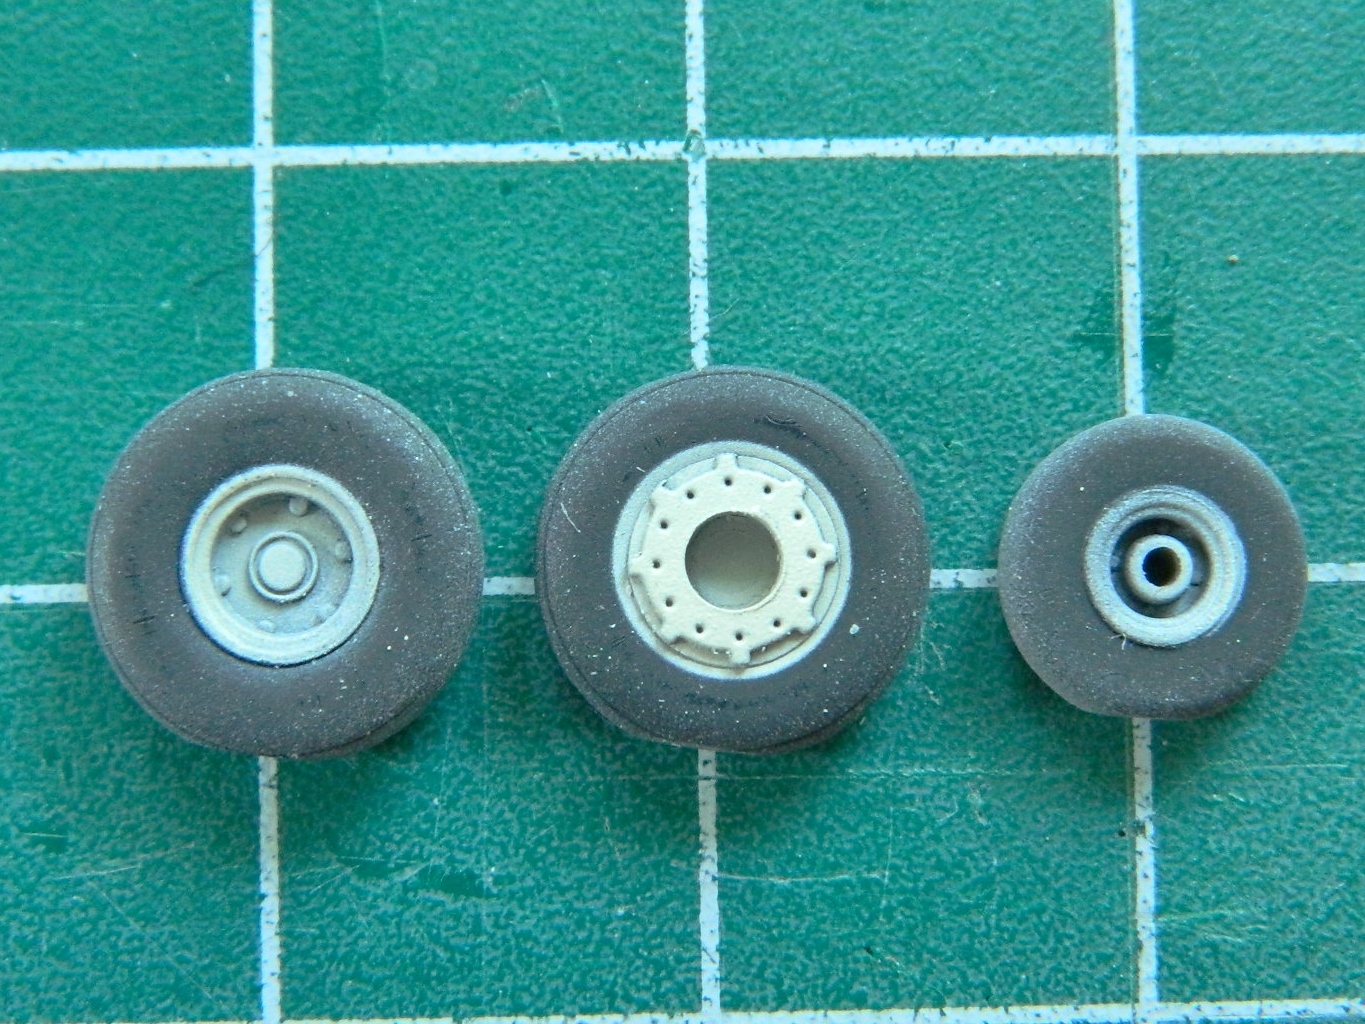
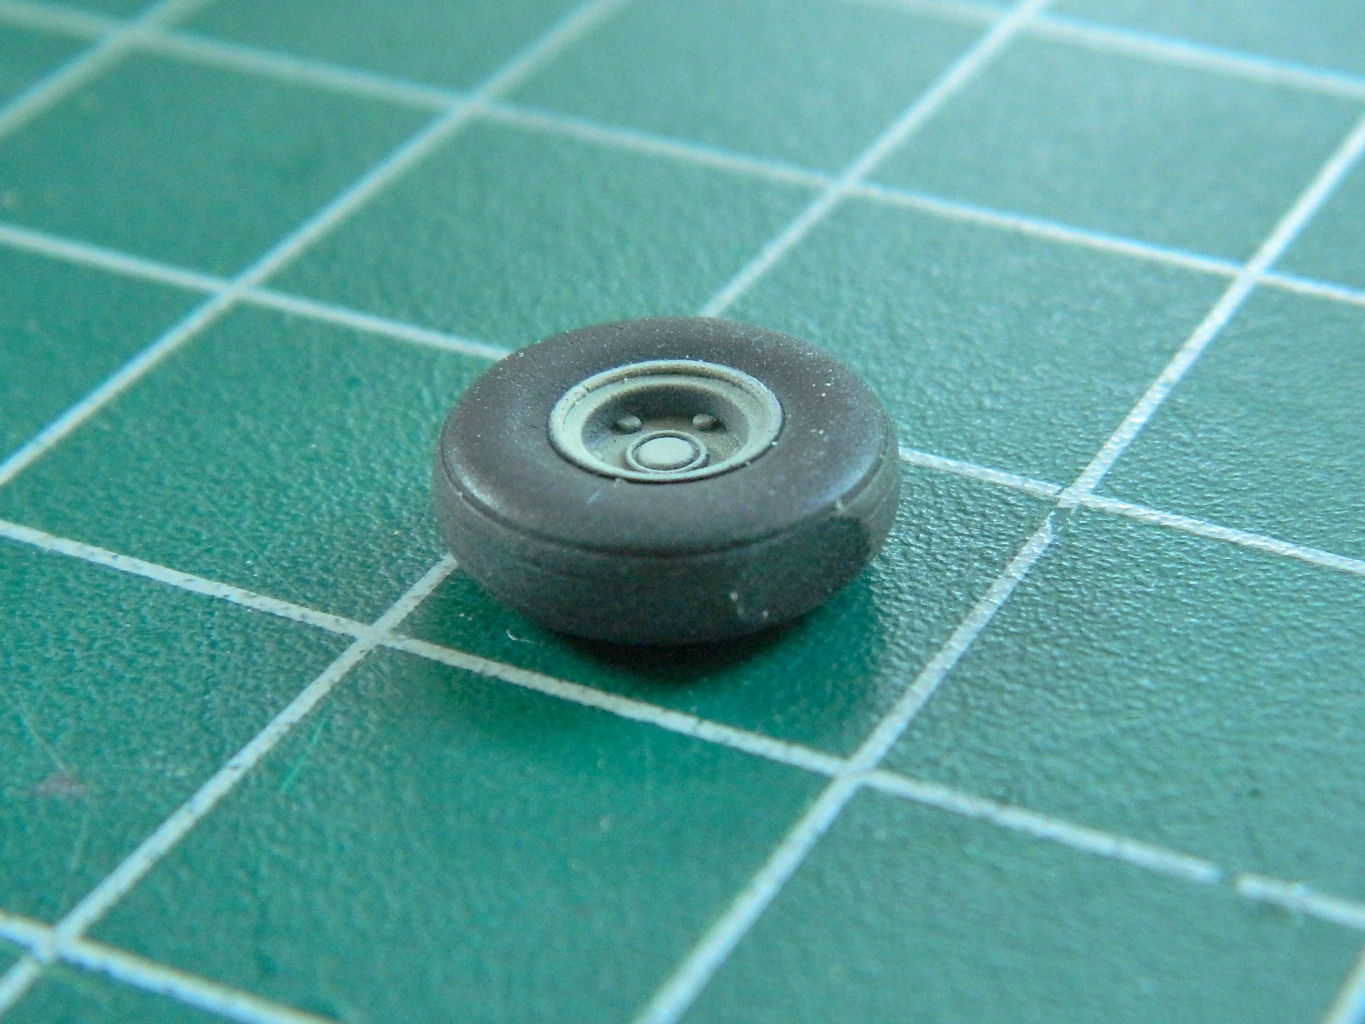
If you look closely at the above photo, you can see where flat spots were filed onto the bottoms of the tires. Unless I do something to replicate the way a tire compresses under load the finished model looks wrong. Here’s a close-up of the nose wheel:
To shoot the undersides of pretty much everything (napalm tanks and bombs excepted), I used Tamiya’s XF-55 Deck Tan color-corrected with 25% XF-2 Flat White:
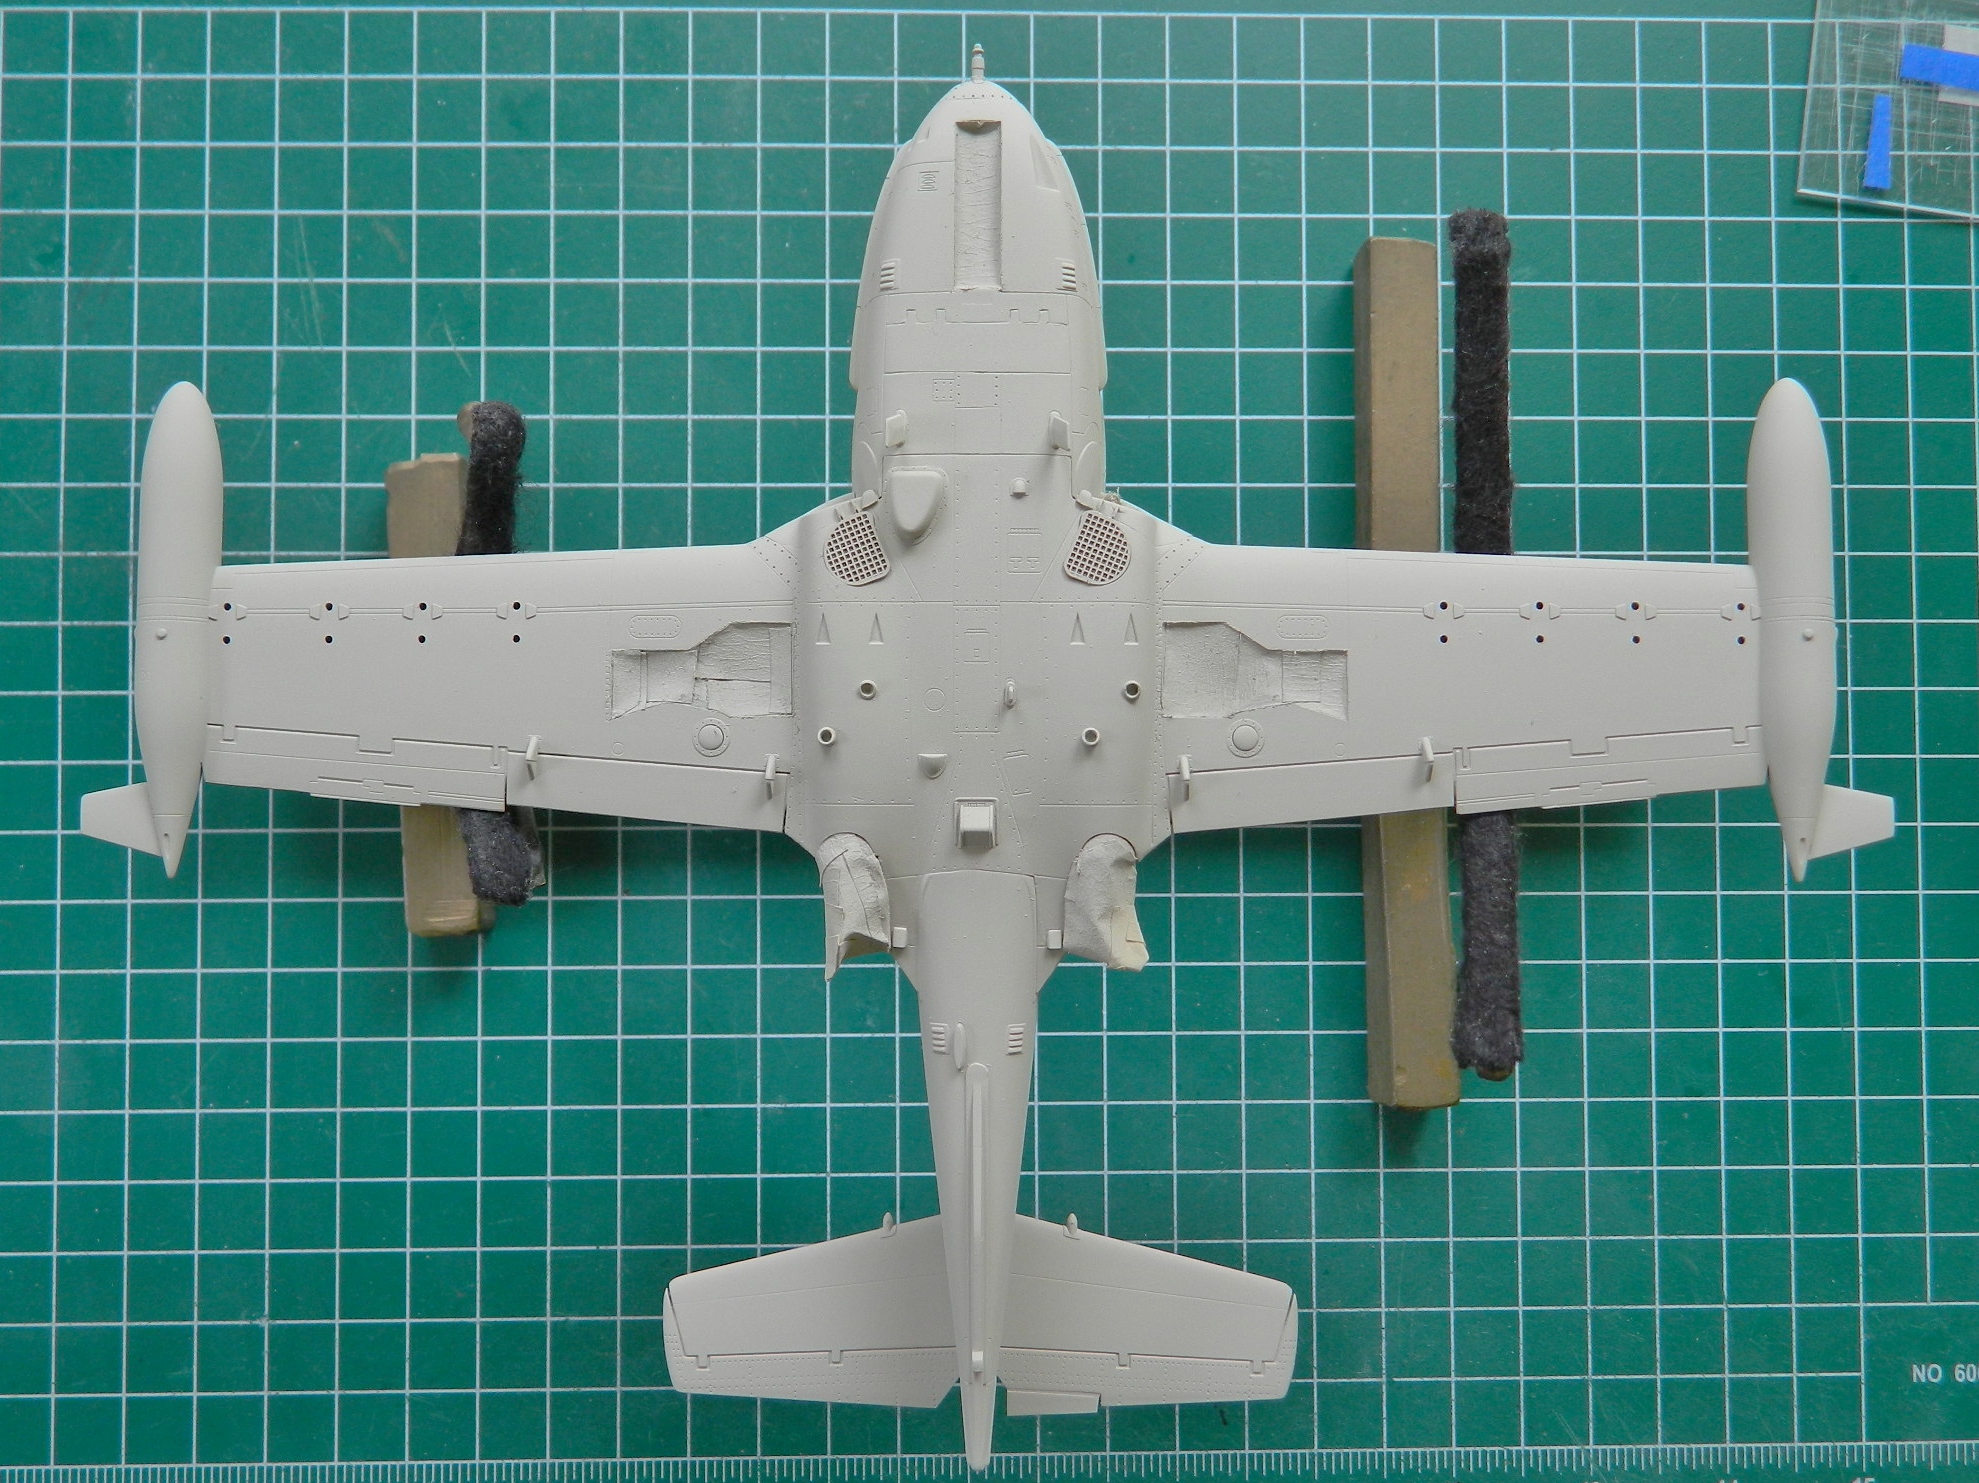

I’ve learned that it’s SO much easier to scrape acrylic paint off a small surface than it is to mask it, so the under-wing lights just got painted over. They won’t be cleaned off until all painting is done:
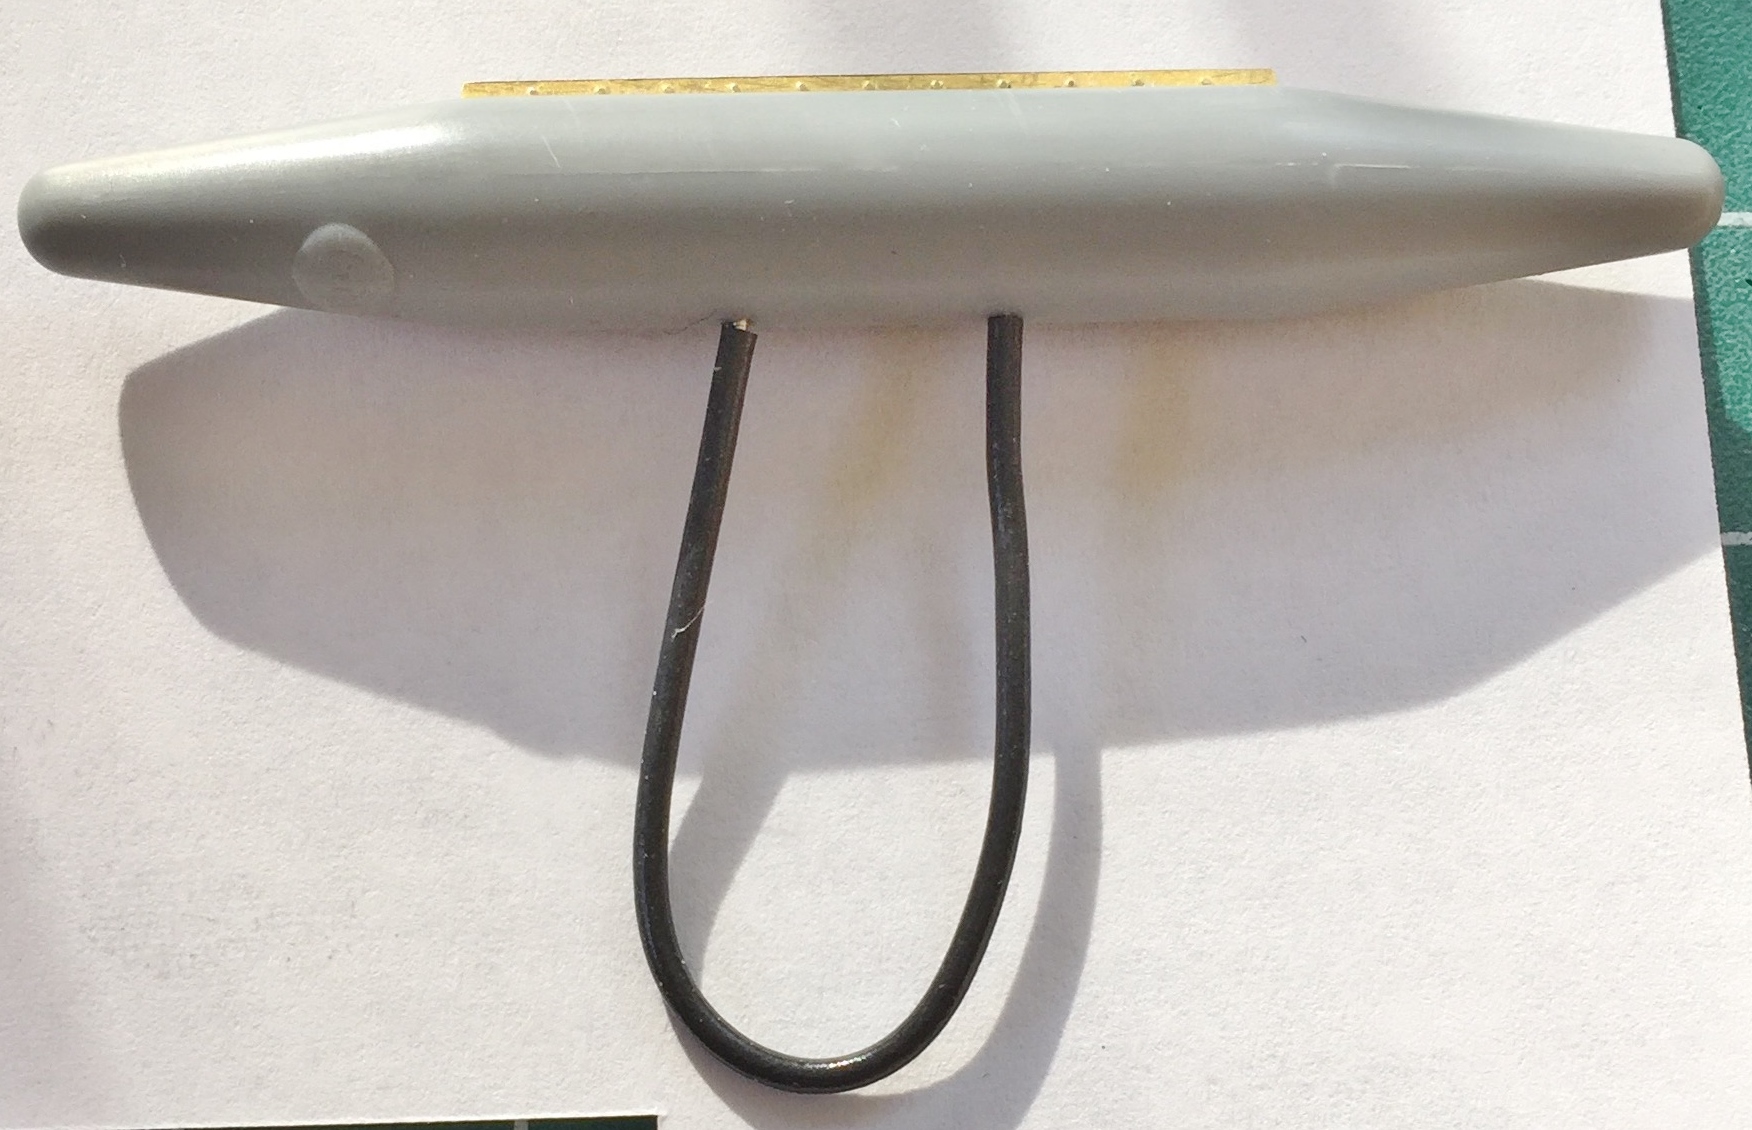
No…this isn’t a homemade IUD. It’s a clever solution to a problem. How do I hold the drop tanks, napalm canisters, and bombs while I paint them:
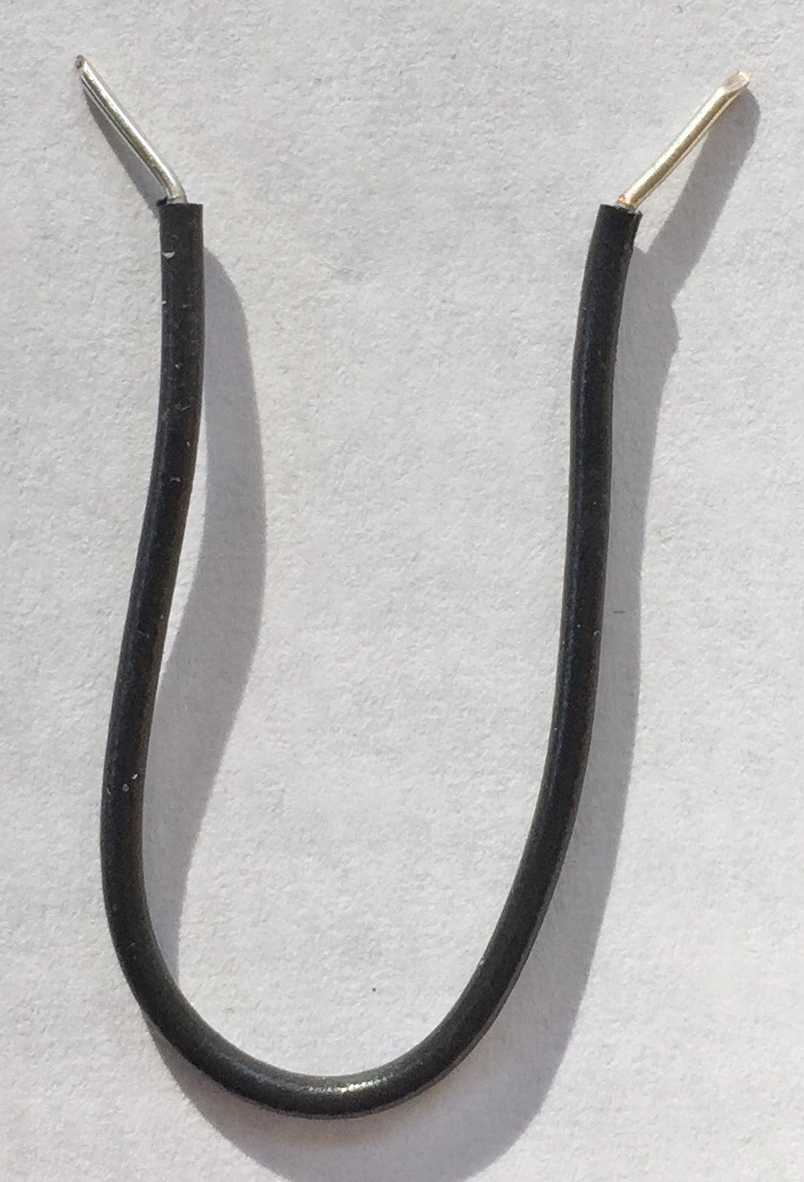
Make a handle (people quickly point out I need to get a grip on things). The bare ends of the wire (22awg) are inserted into the holes used to mount the part to the pylon (turns out I needed to make the bend sharper):
The overall color of the camouflaged paint is tan. So of course I thought simply lightening brown would get me tan. Well…what that got me was this:
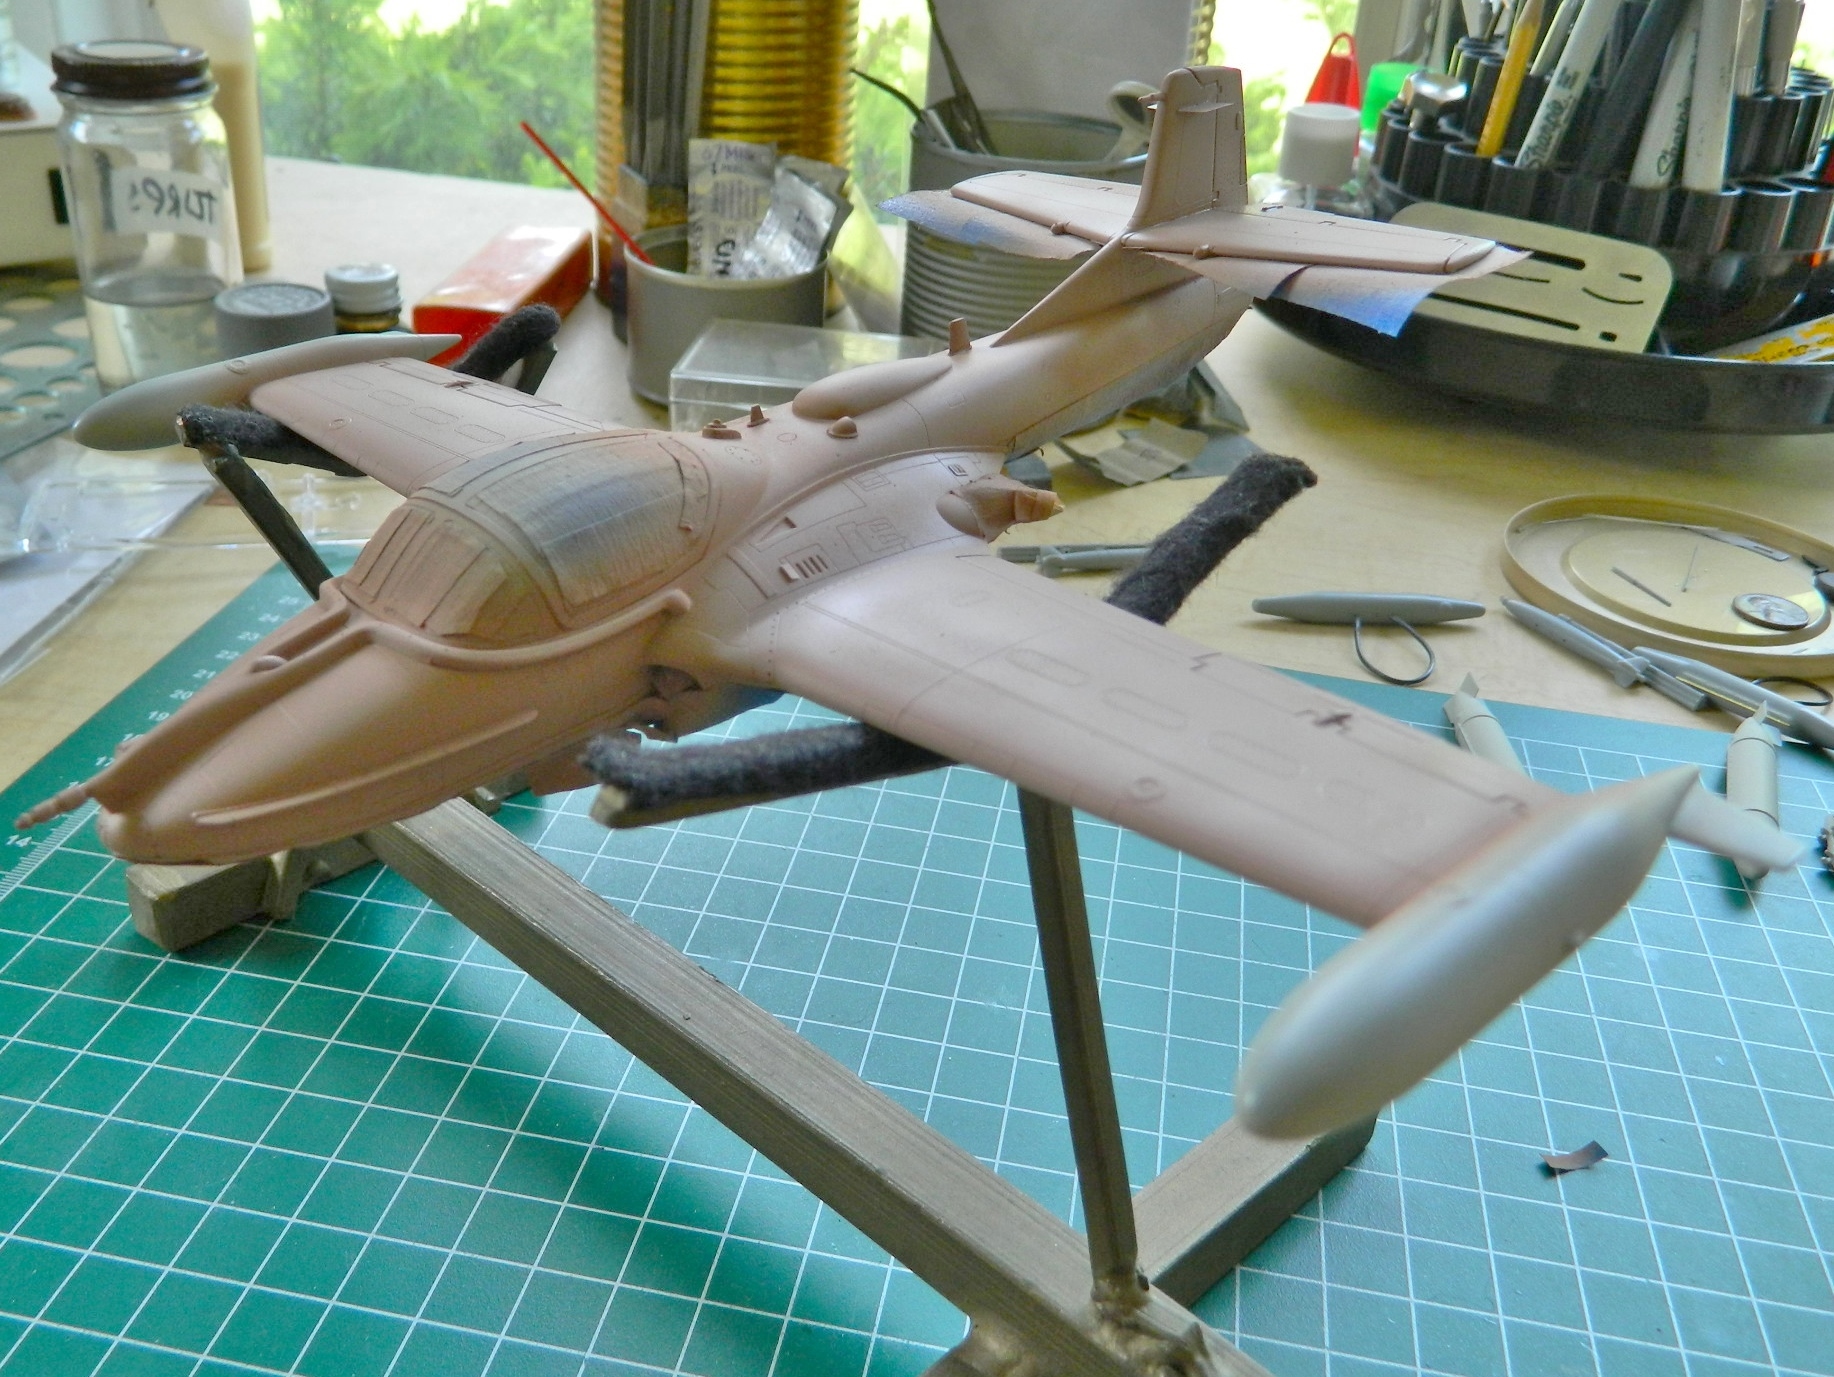

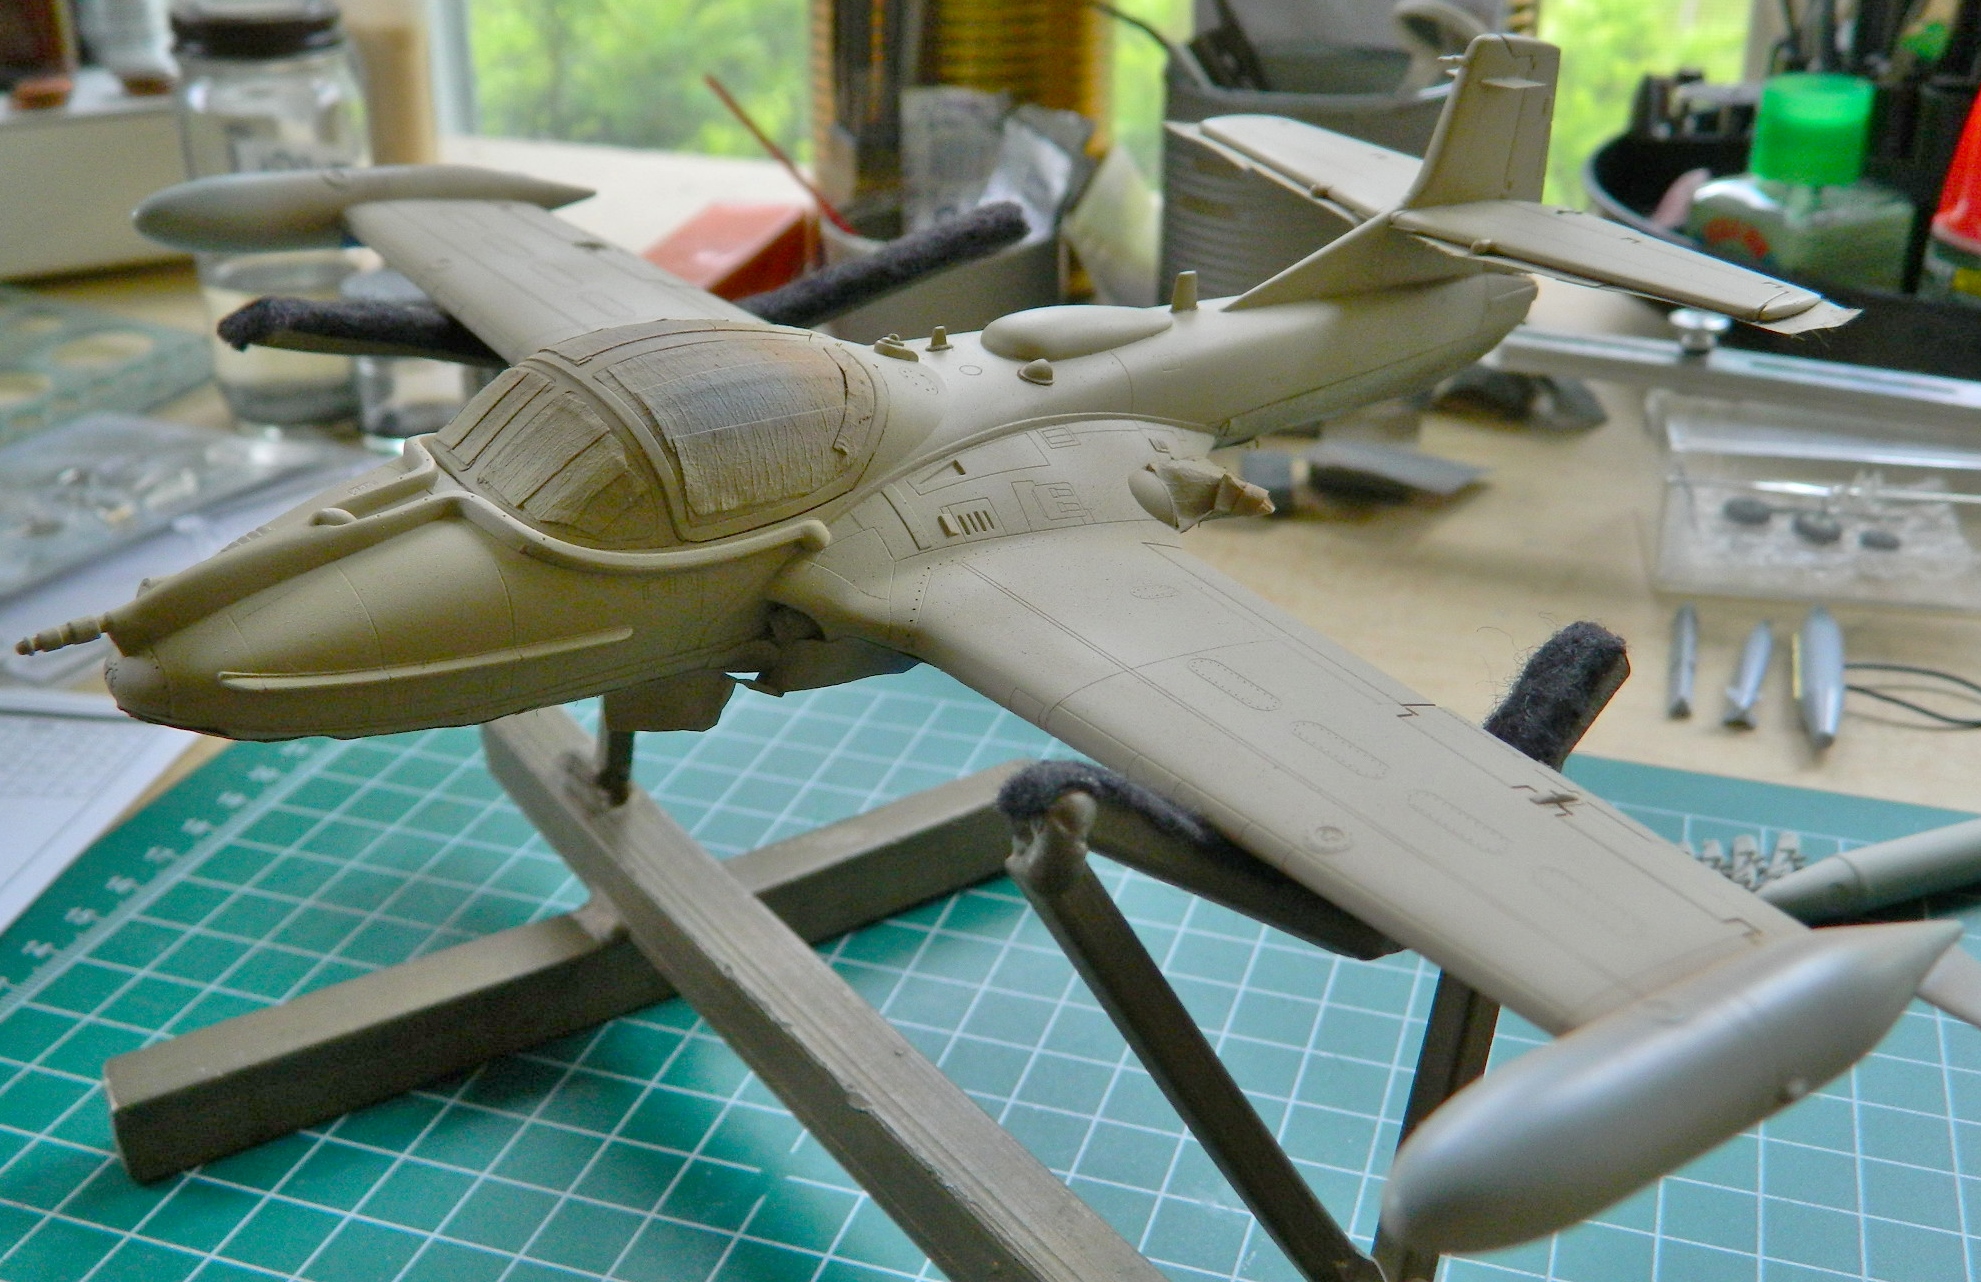
That looks like the aircraft needed sunscreen. I rummaged through my paint stock and ended up using Tamiya’s XF-20 (“Buff”) instead. Looks much better:
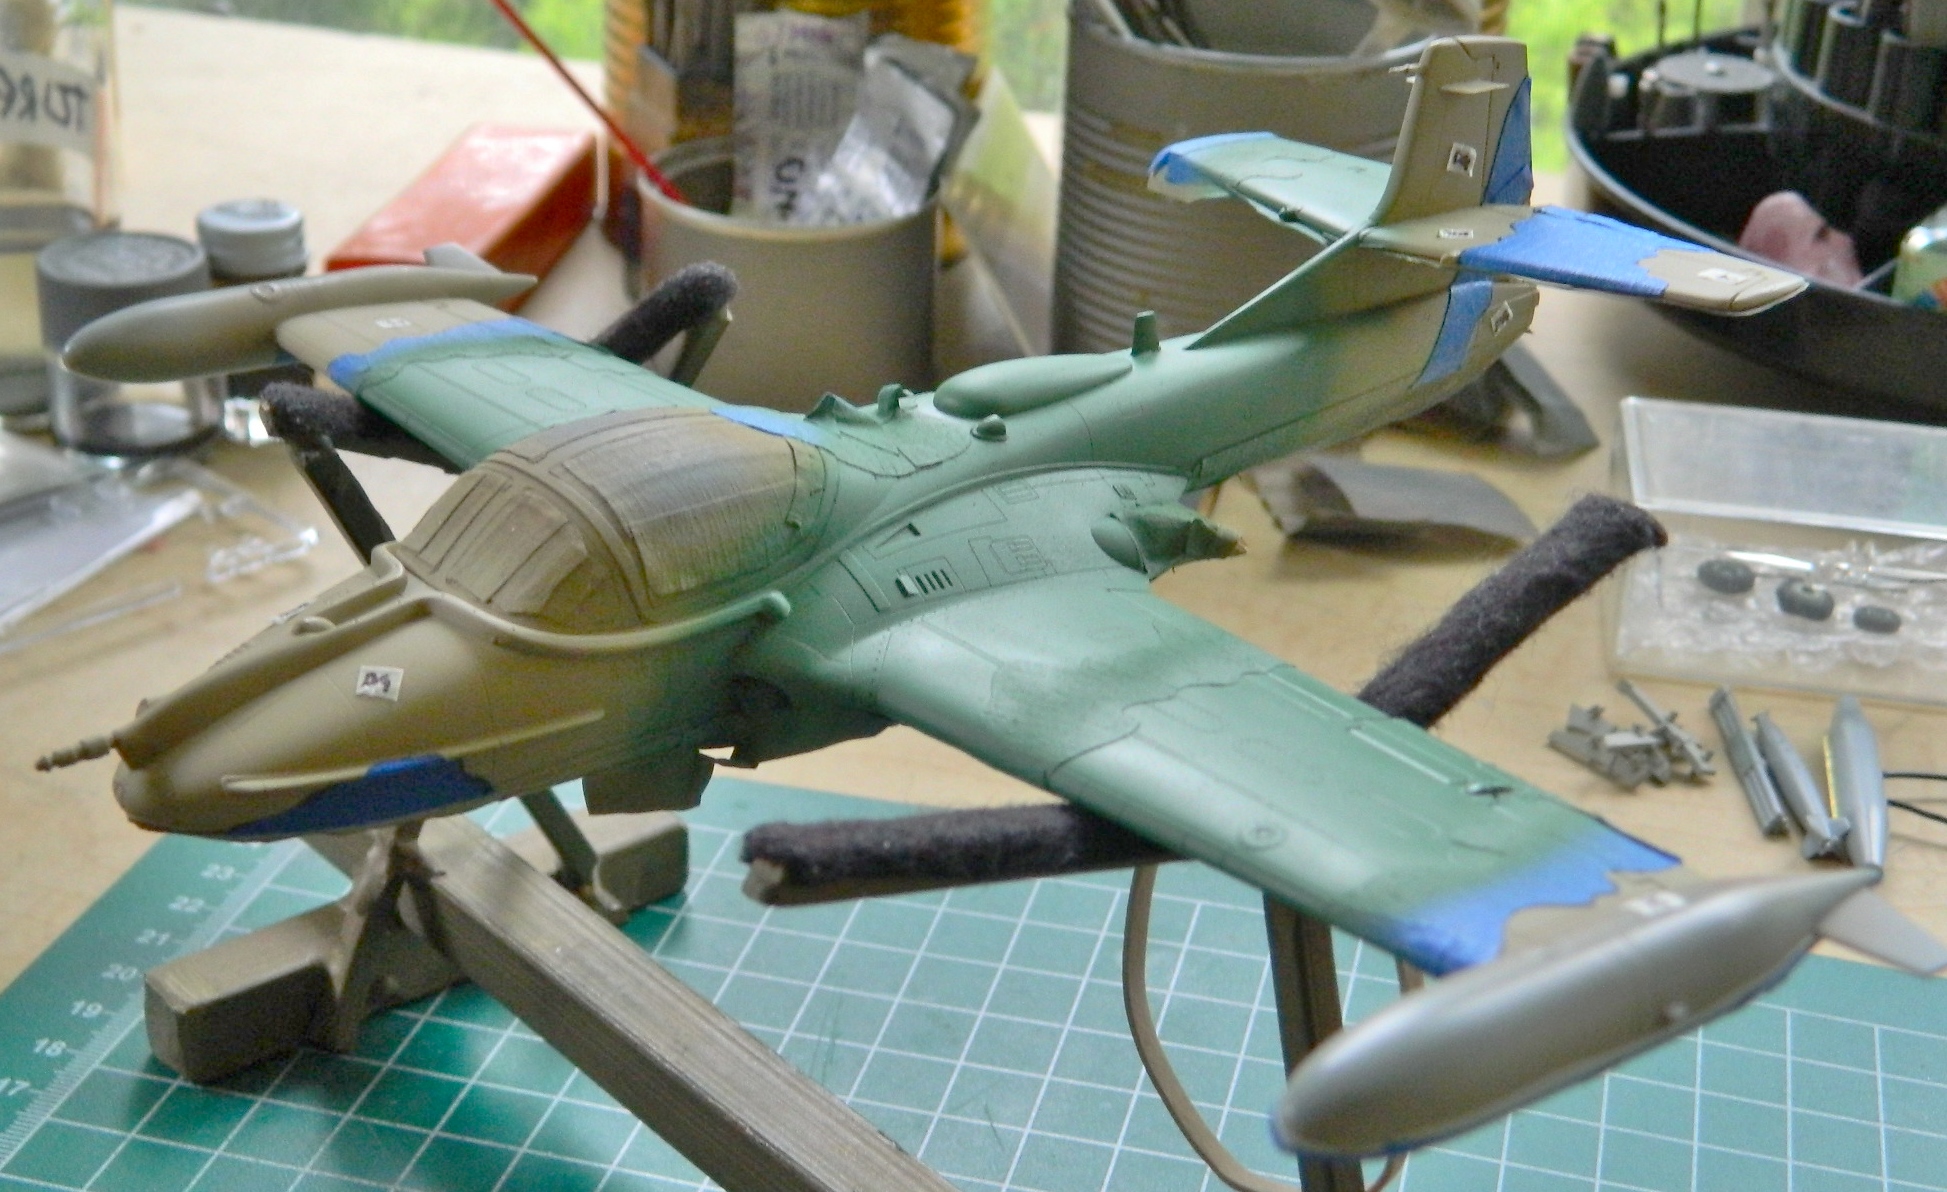
With the overall color down, I started masking it off. All my reference photos show the edges of the colors with sharp demarcations, so that’s what I did also.
The odd green that was used was a mix of Tamiya’s XF-62 Olive Drab (5 parts), XF-5 Green (4 parts), and XF-2 White (8 parts). The masking goes over the areas I want to stay tan and then I shot the areas that will be green (the little tags are painting cues…I’m easily confused):
Leaving the masks down over the tan, I added more masks over the areas I want to stay green:
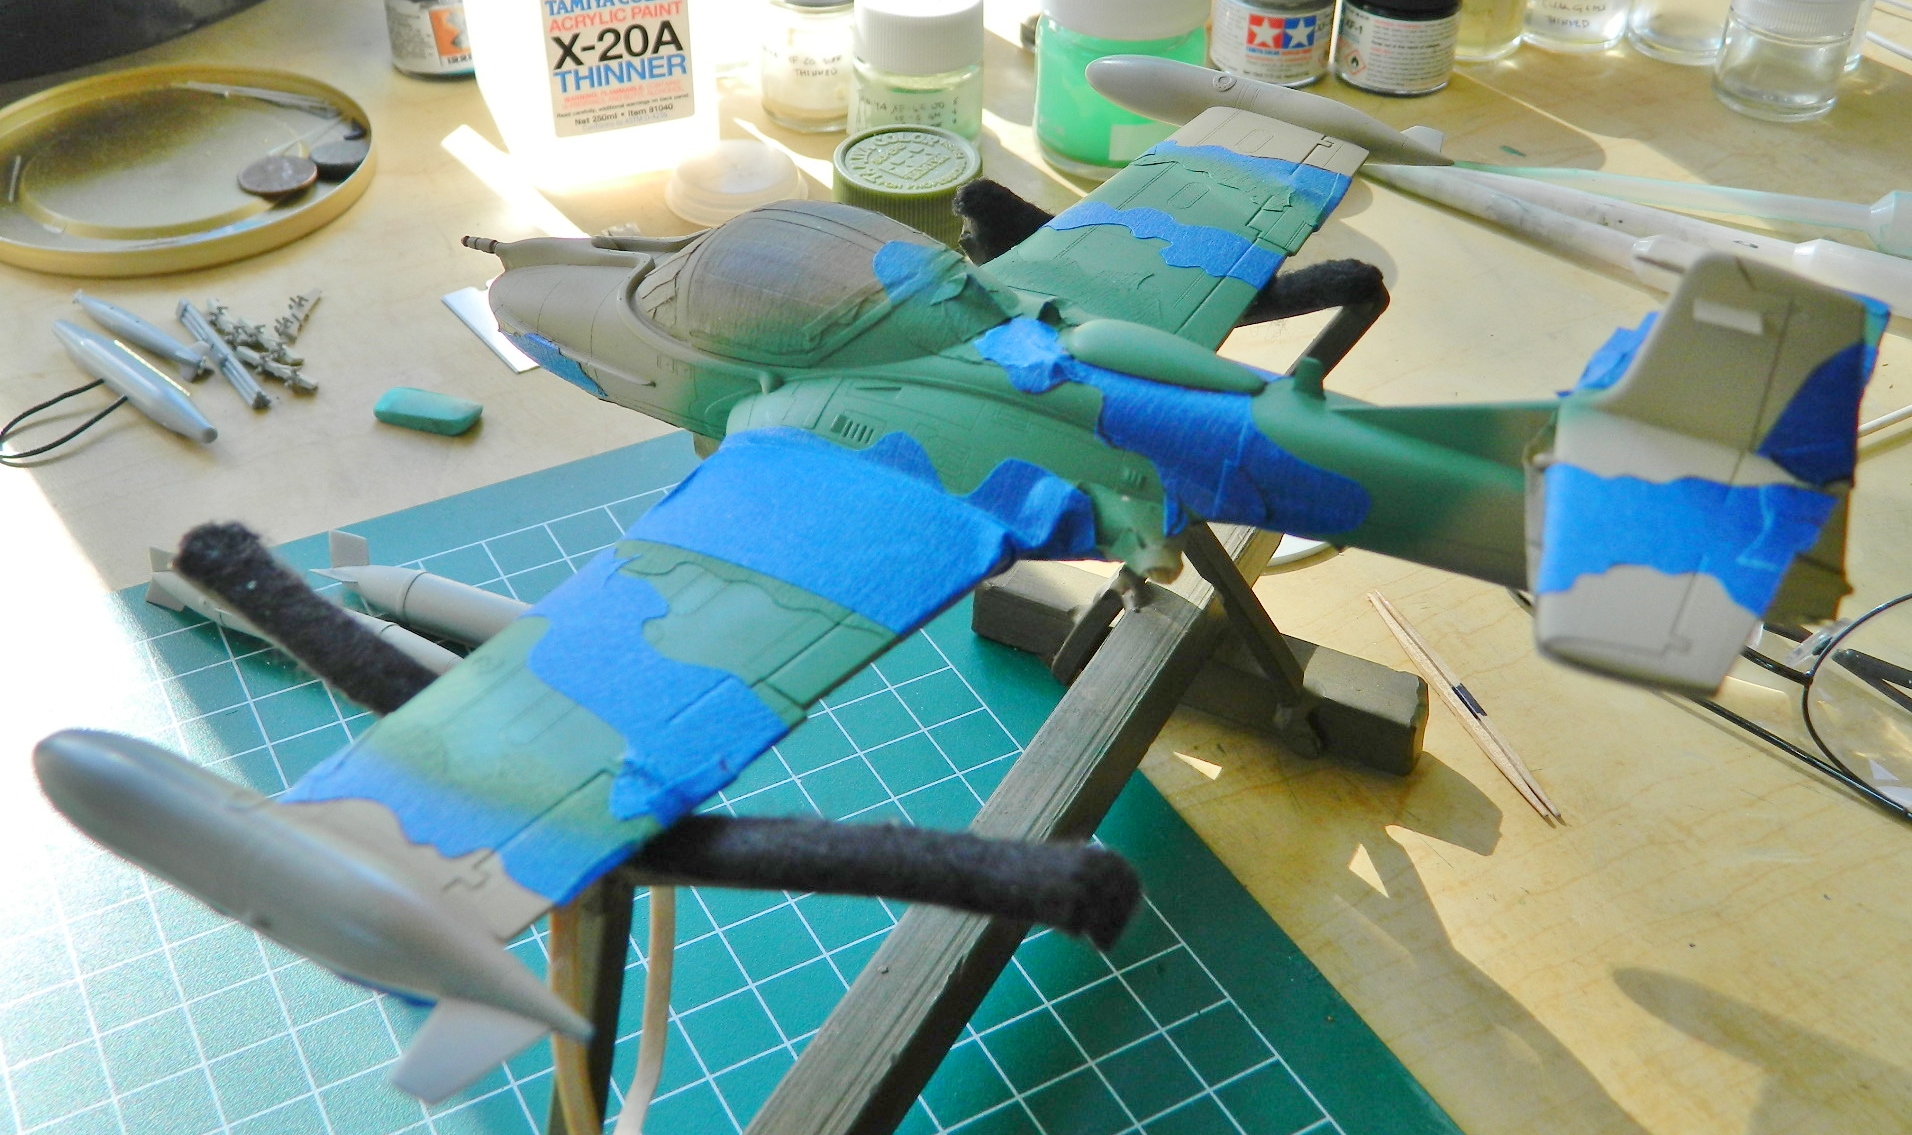
Then it got shot with Tamiya’s XF-58 Forest Green:

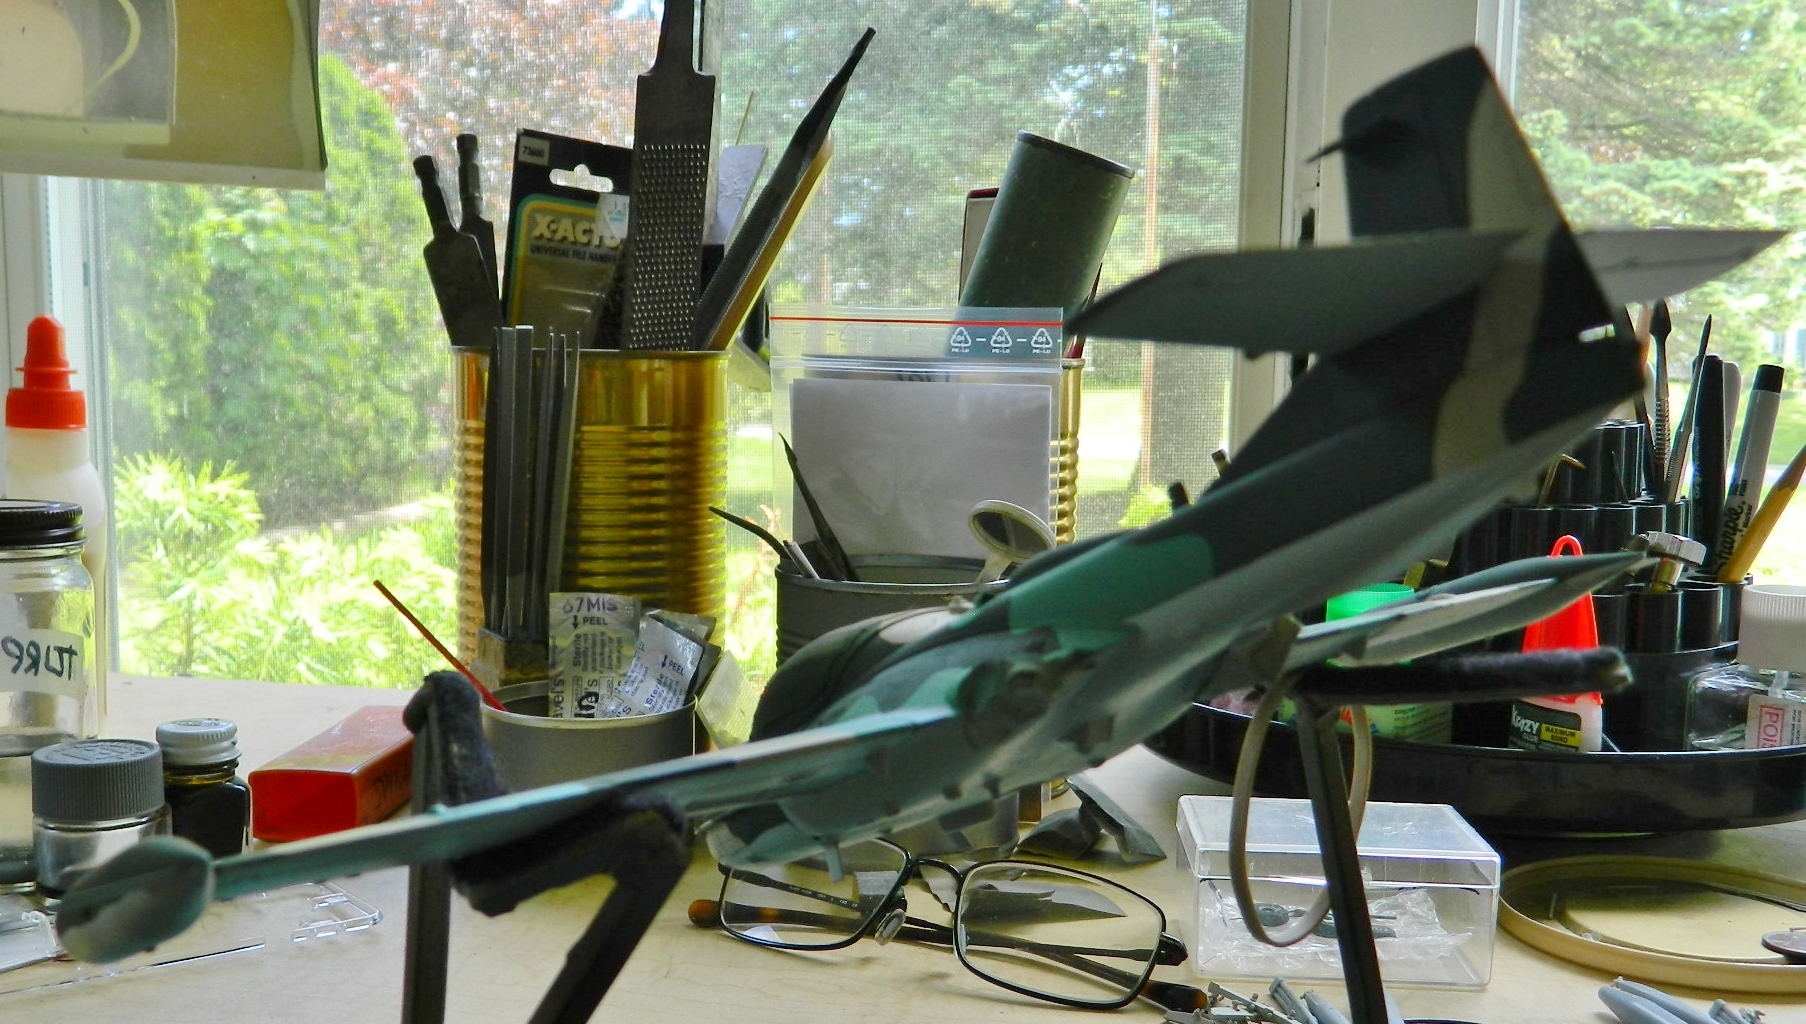
I let the paint set up for a few hours and pulled the tape:




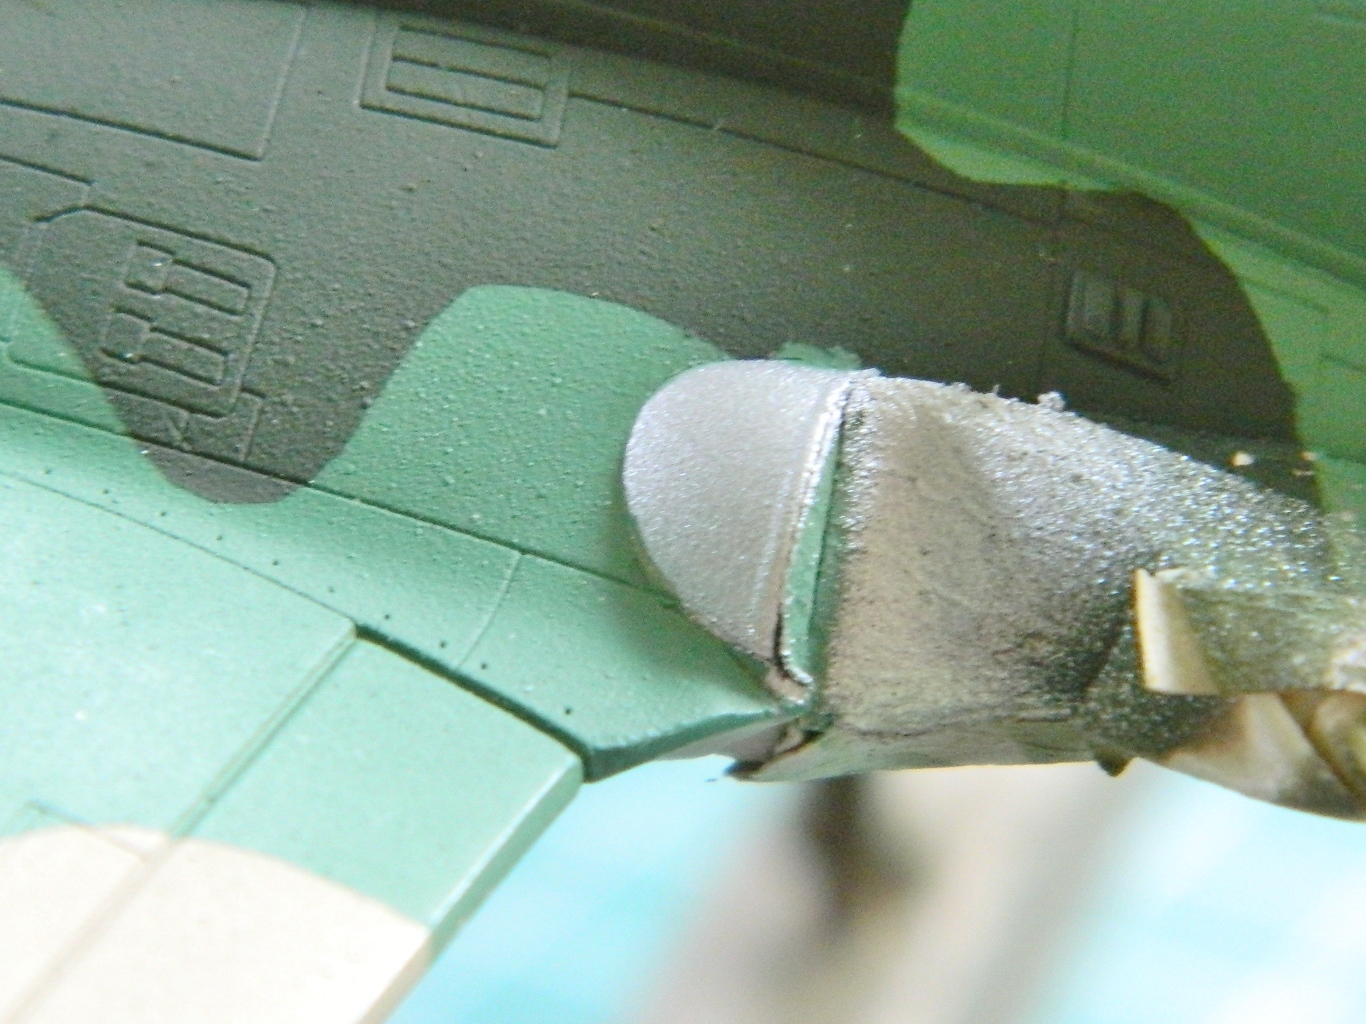
There were a few minor flaws, the largest of which were these two, where the paint pulled up from in front of the port (left…I only used “port” to make myself look more knowledgeable) intake and a gap on the underside where the tape didn’t quite seal around the cylindrical vent:
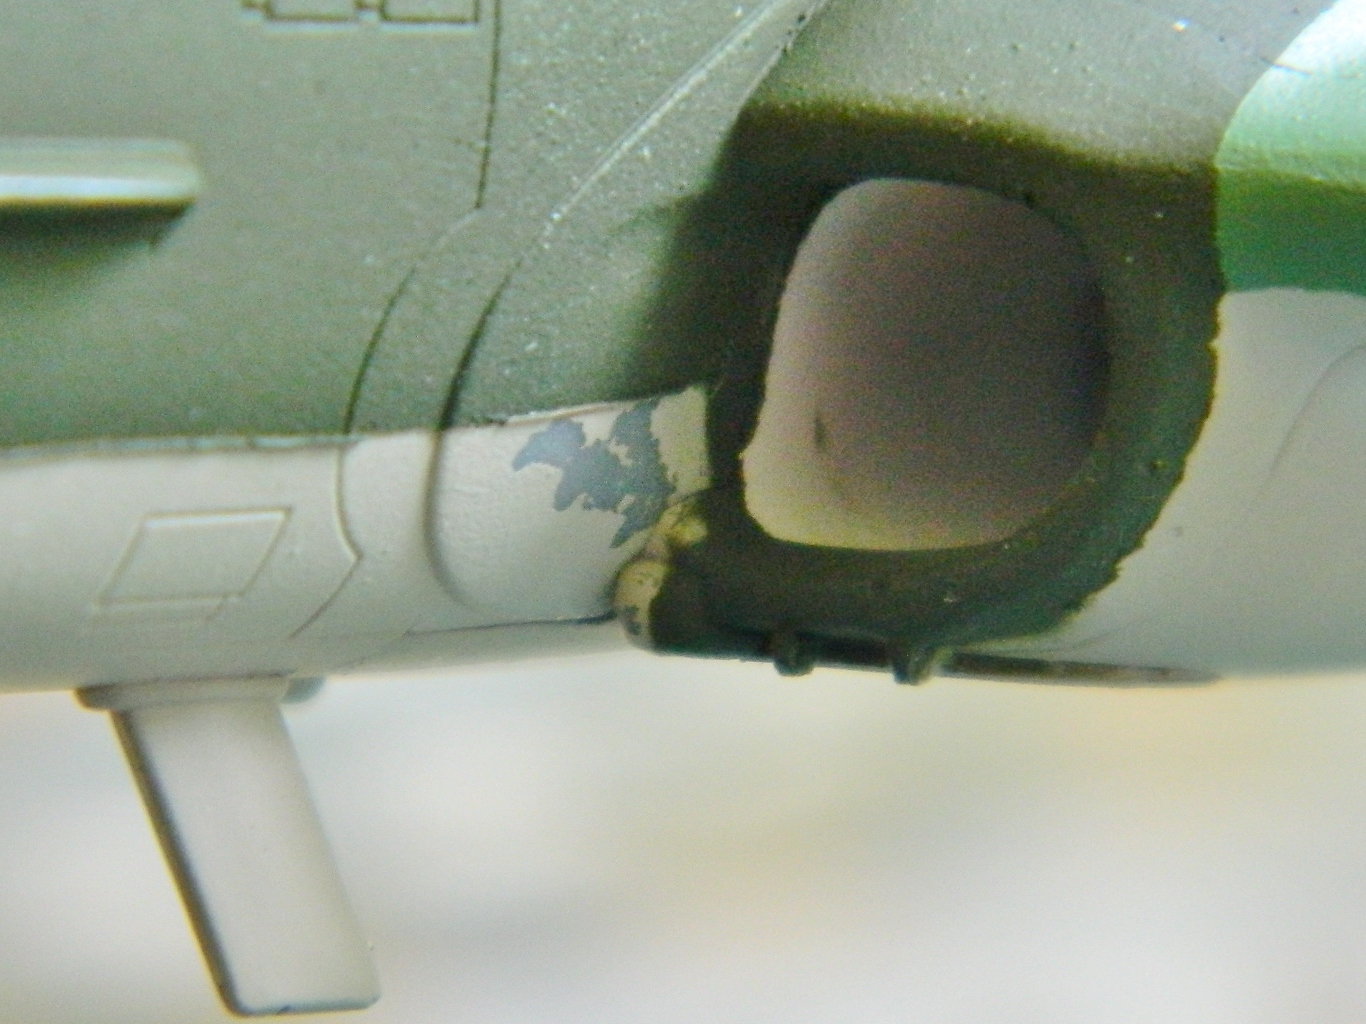

I sanded the peeled area with 2000 grit to get a nice and gentle feathering. If you look at the photo of the intake above, you can see where the green meets the underside color, the line isn’t quite sharp. I masked the green and reshot with the underside color while I was reshooting the area in front of the left (port, if I’m being pretentious) intake and the area where the tape didn’t seal.
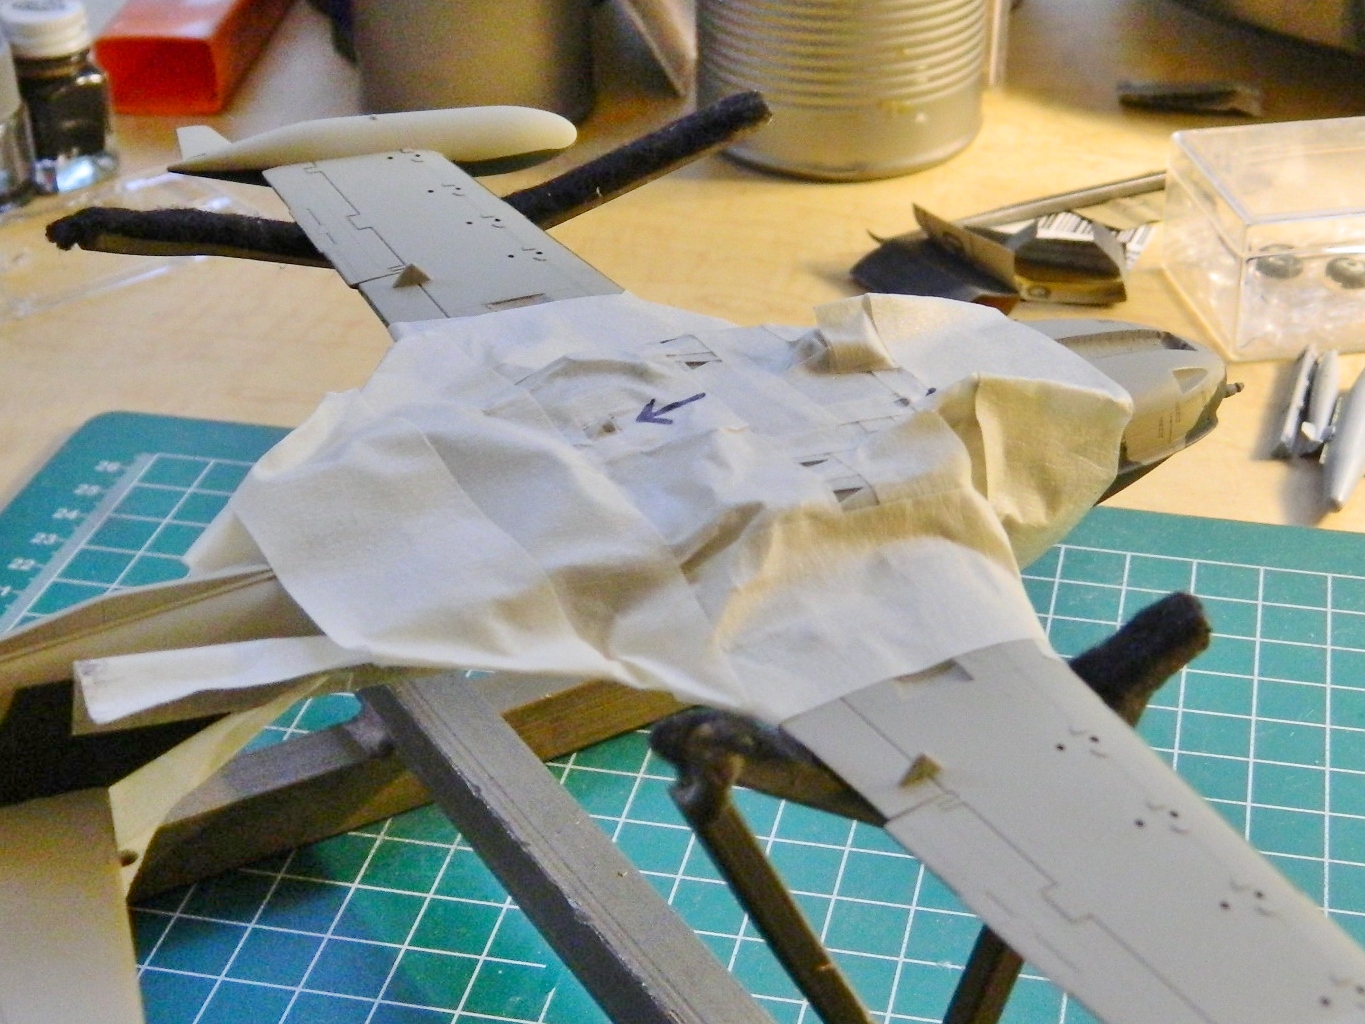
There are areas on both top and bottom that had to be shot flat black, so I started playing tape-Tetris:
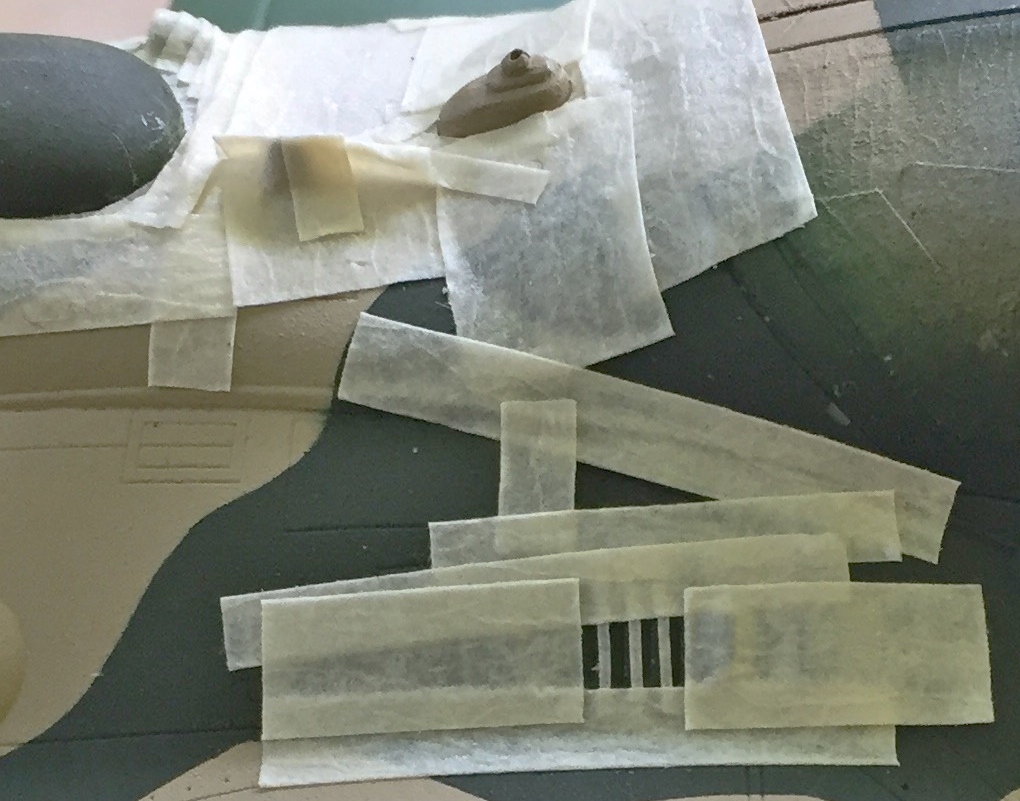
Since that was such fun, I decided to play tape-mummy:

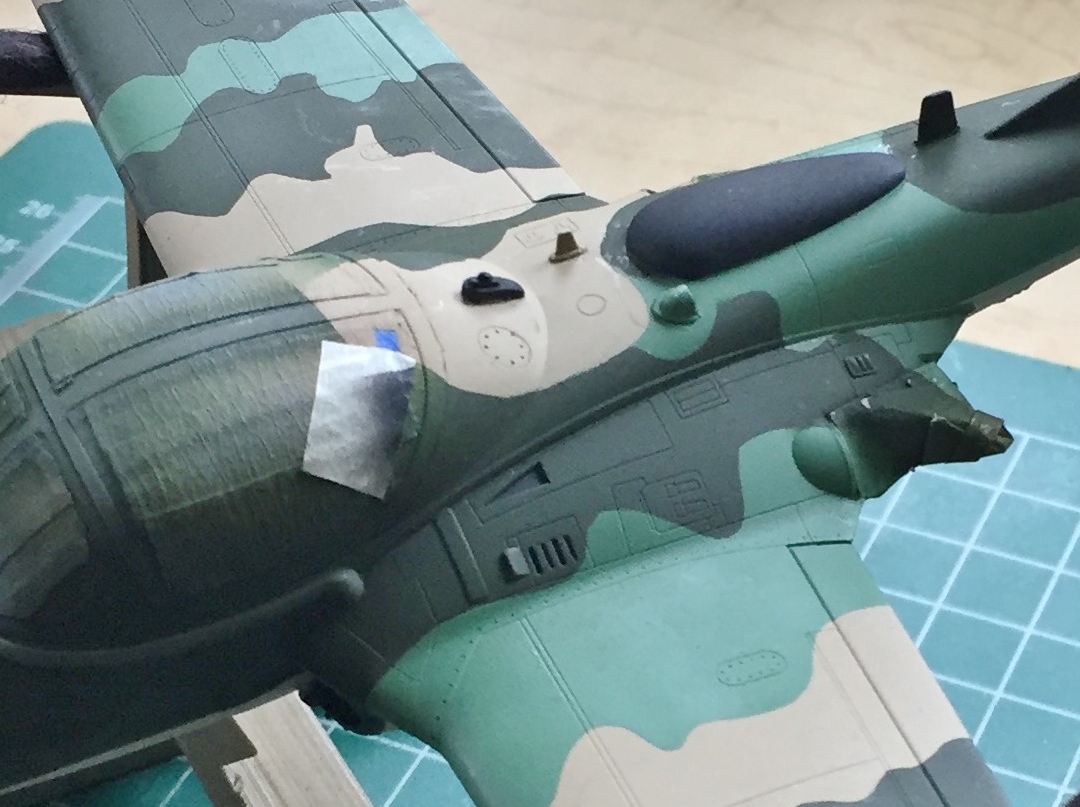
And of course though it looks like it came out well, there were a few areas of overspray. The areas were so minor that instead of masking and spraying…again…I decided that since dry-brushing works so well putting down a very small amount of paint to replicate wear, a very small amount of paint would also deal nicely with minor overspray:

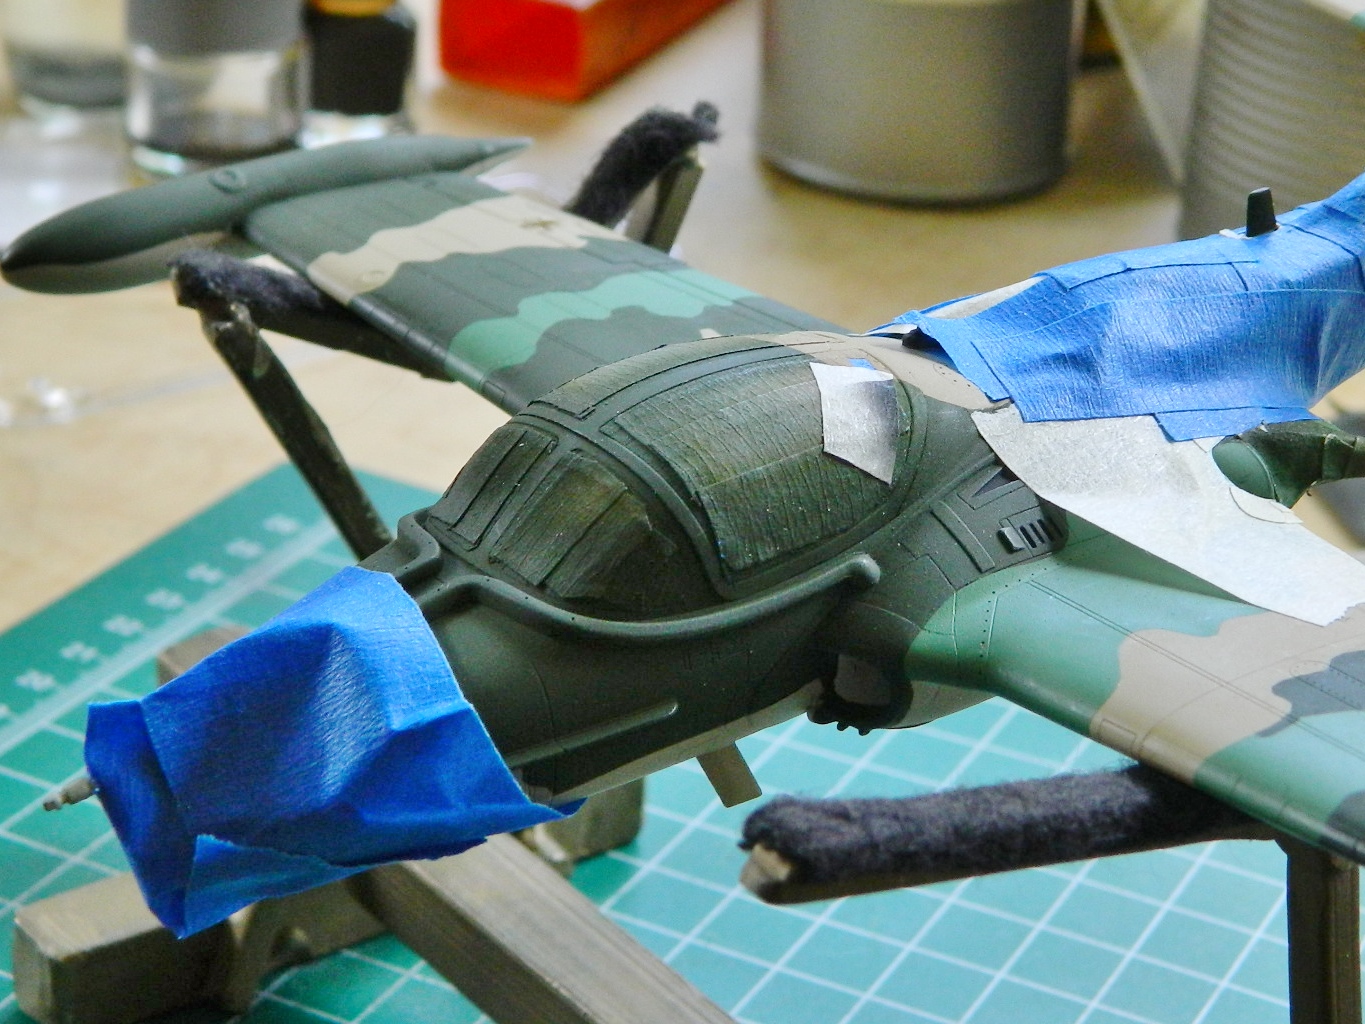
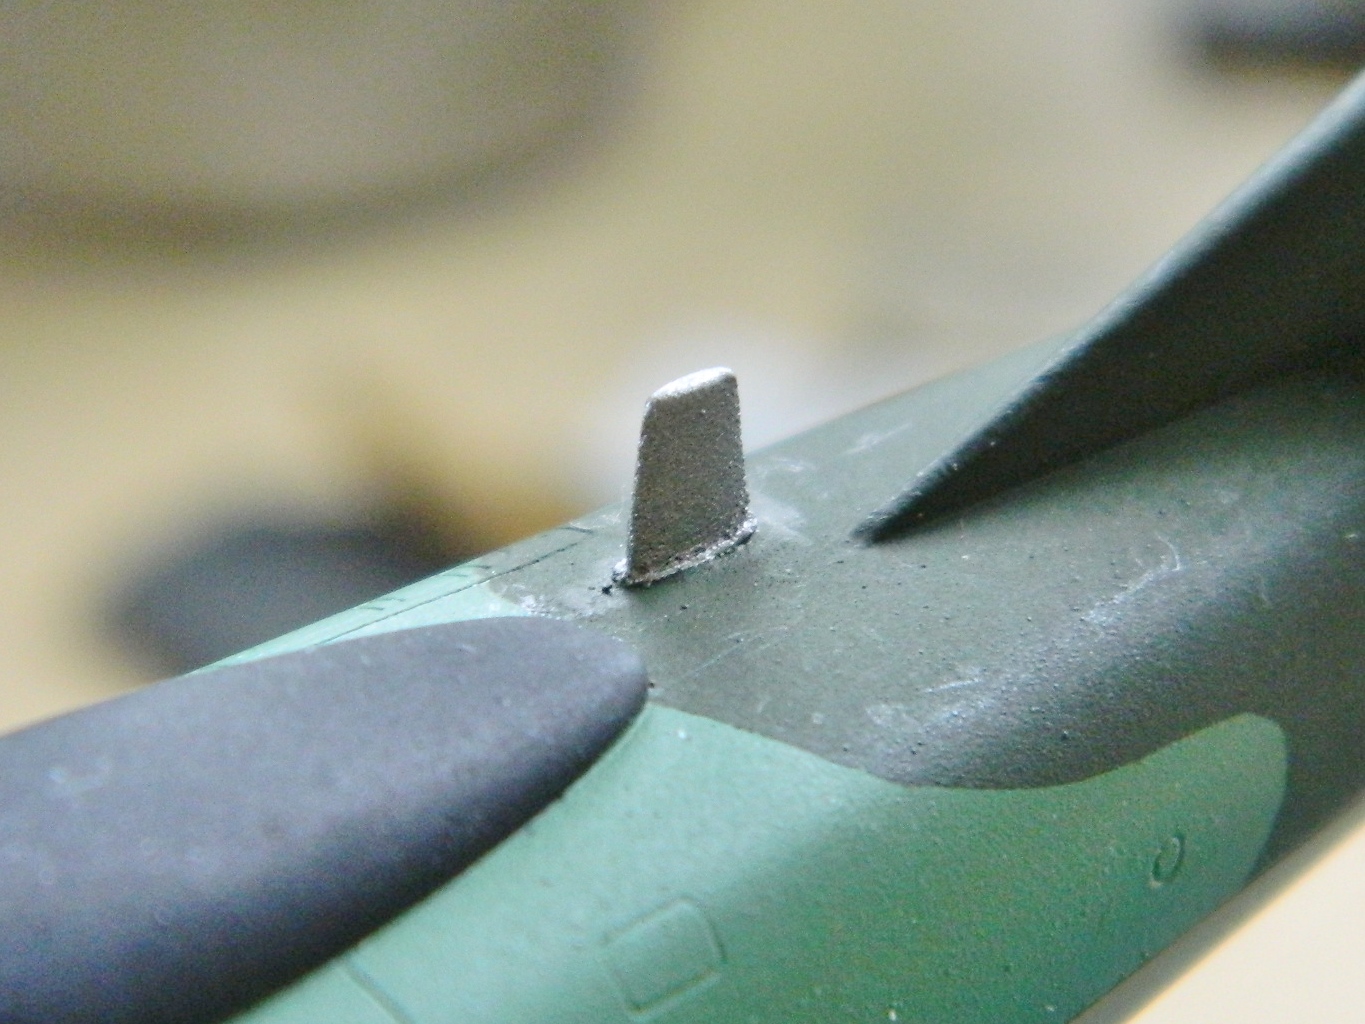
Then it was time to glue the refueling probe back on. Again. Some more. I stopped counting at an even dozen how many times the probe and the pitot tube broke off (I left the damned pitot tube off…I’ll put it back on once I’m done handling this thing). I broke it off many times after I stopped counting. But since I wanted it on there when I painted it…IT WAS ON THERE WHEN I PAINTED IT. Masking complete (I thought), the aluminum parts were sprayed aluminum:


Most of the pylons were painted the same color as the underside, but the leading edges were painted the same color as the camouflage paint on the wing above it:
I had intended on using the SUU-14/A launcher tubes on the outermost pylons. The way the parts went together was a sodding nightmare and I wasn’t able to finish off the seams to my satisfaction. My original intent was to have each wing have a drop tank closest to the fuselage, then a napalm tank, a Mk. 80 bomb (250 lbs.), and then the SUU-14/A launchers. Since I’m not using the SUU-14/A tubes, I’m going to put the Mk. 80s on the outer most pylons and an M117 bomb (750 lbs.) next to the napalm tank. So that means I gotta put the bombs together. At least they were more accurate than the Mk. 80s were and though I had to thin some fins on them, I didn’t have to thin them as much:

The rear of the fins is hollow and the kit molded them solid, so I drilled them out for a more scale appearance:

So. My initial goal was to see if I could build this in 50 hours or less. I can be so funny… My secondary goal was to see if I could build this in 100 hours or less. Sometimes I can be so naive… I’m at about 107 right now (told you not to bet on it) and I’ve yet to add chipping effects, clear coat with gloss, add decals, do a wash, clear coat with flat, and stain/weather with pastels. My tertiary goal was to have this done before my field trip to the National Air Space Museum on June 12. I still may, but had that been a hard goal, I certainly could have done it, even without the various setbacks along the way.
Oh shit. I just remembered that I’d wanted to paint the outside of the landing gear doors and forgot to. ::rolls eyes::
I can often repeat myself. I’m about to do that again. The smaller the details, the longer they take to do. One of my original goals was to see if I could complete this build in under 50 hours. Nope. As of this writing, I’m at 85.75. It’s possible I may get this done in under 100 hours, but I’m not betting on it; you shouldn’t, either.
I finished masking the windscreen:

The canopy had rails had to be added:

The top canopy seen above was also masked inside and out. Once the masks were laid down, the interior color was painted on, inside and out. Why outside? Some of the external framing is larger than the internal framing. If, as would seem logical, I’d painted the outside color first, where the framing extends past the inside framing the outside color would show…and I don’t want that. So the inside color will show inside, and the outside color will show outside:
I added the magnetic compass to the top center inside the windscreen, painted it black, and glued the windscreen into position:

Then I fitted the canopy into the closed position and sealed it with white glue to keep exterior paint from infiltrating the interior:

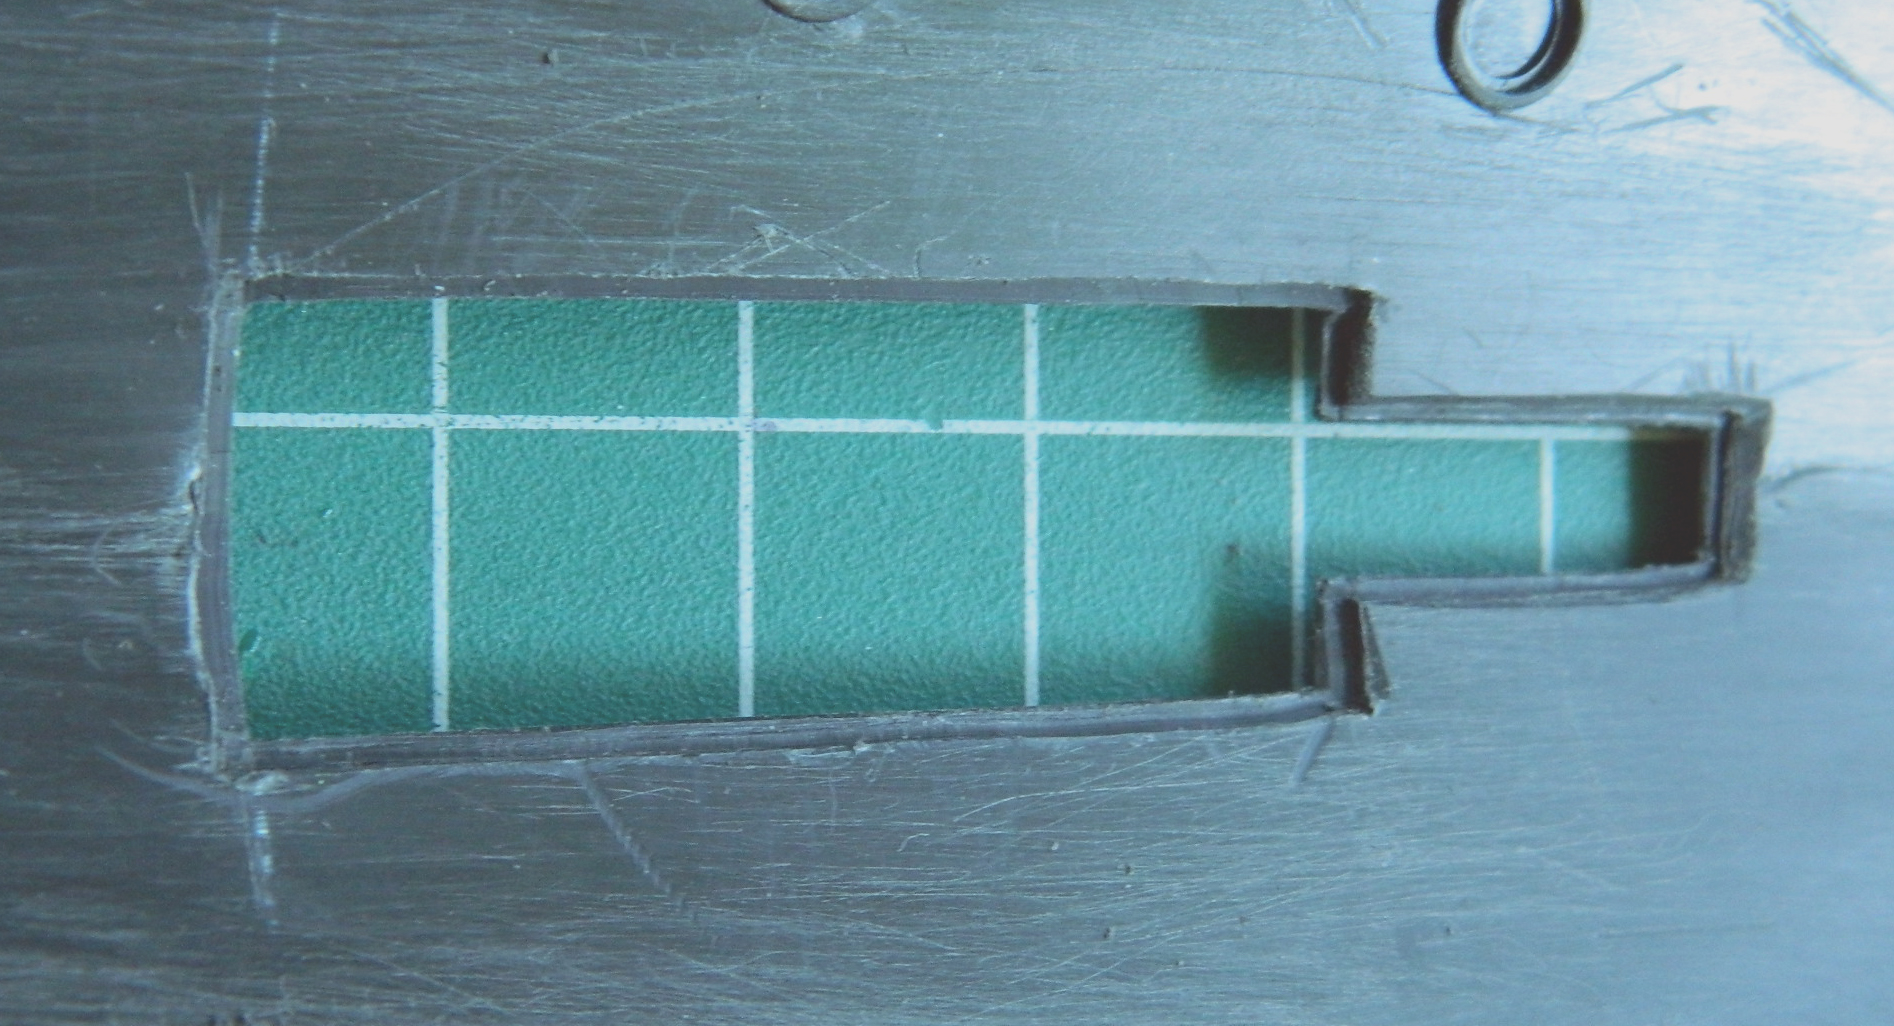
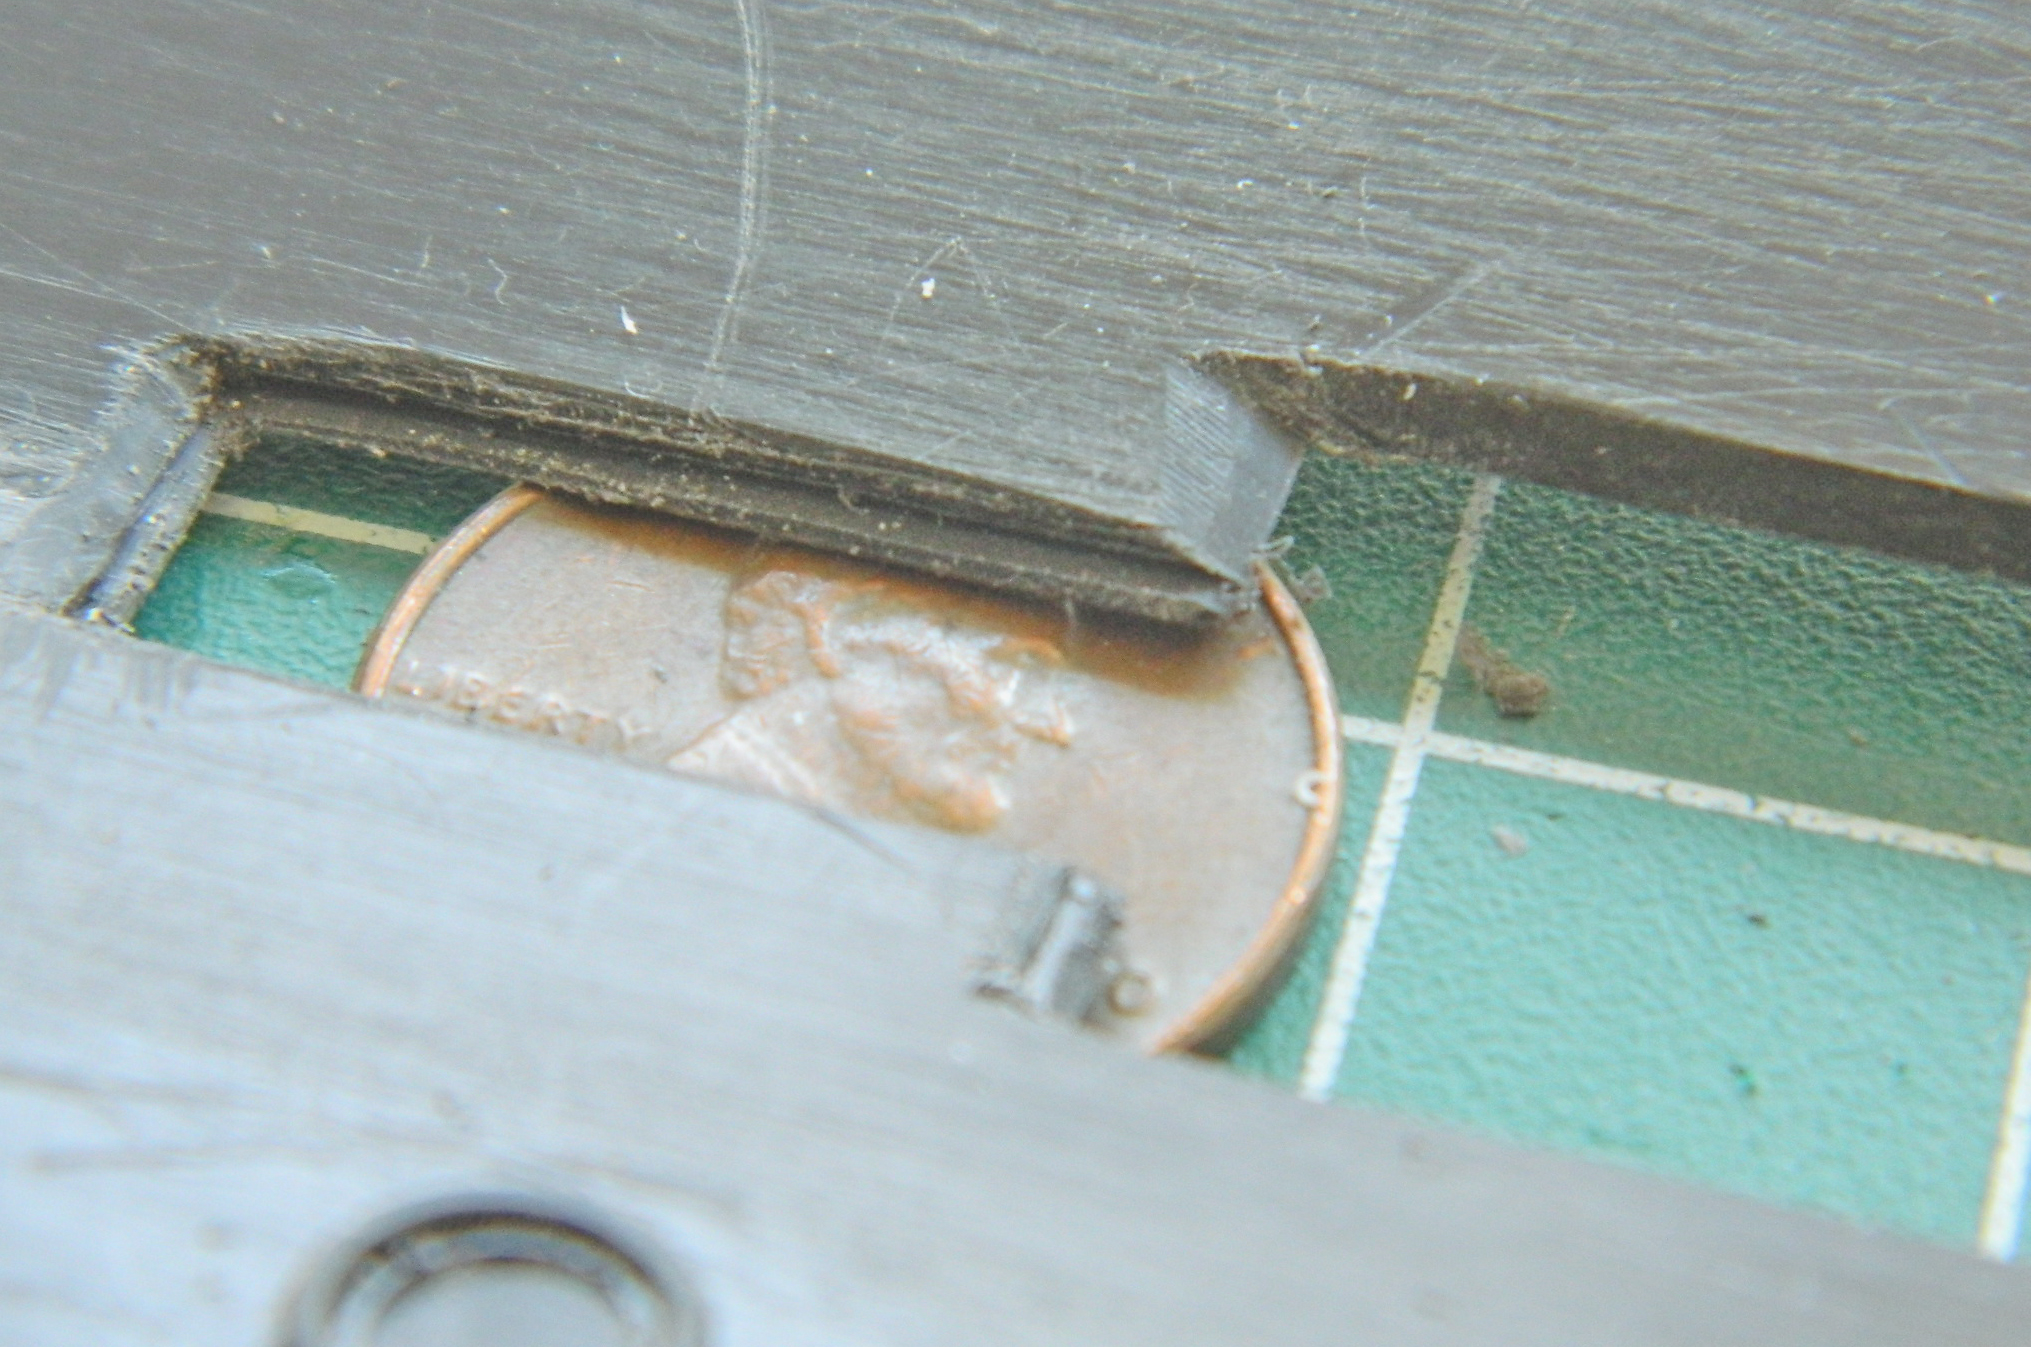
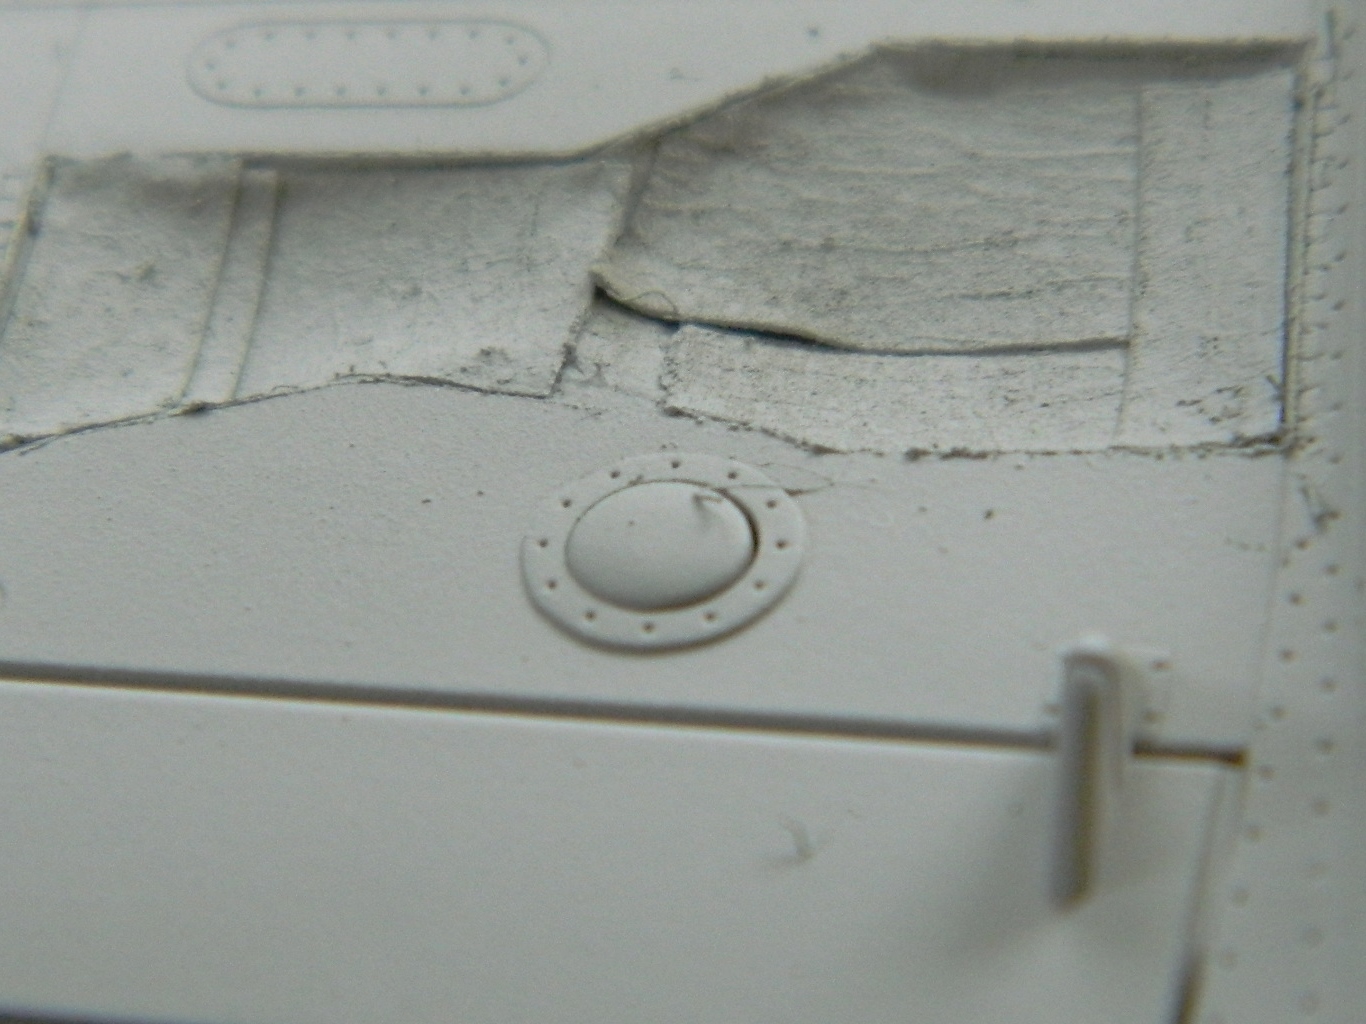
The main landing gear struts have locking arms that keep the gear extended. The recessed rectangular area should be open as when the gear retracts, the brace leg to the left folds into that area, meaning that has to be cut out:

Starter holes were drilled and I used a piece of broken jeweler’s saw blade to connect the holes, then a freshly sharpened knife to smooth it all out:


While dry-fitting the gun shroud, I found it didn’t fit correctly. It didn’t settle down into its recess enough and the oval ramp-like area to the left is why. That will need to be cut down (later). At the nose of the fuselage are areas that will be getting clear parts installed. The round area is a landing light and the oval area is…well…I dunno what it is. I just know it’s clear, it’s the size of a large grain of rice, and it certainly had me concerned (they both did, actually):
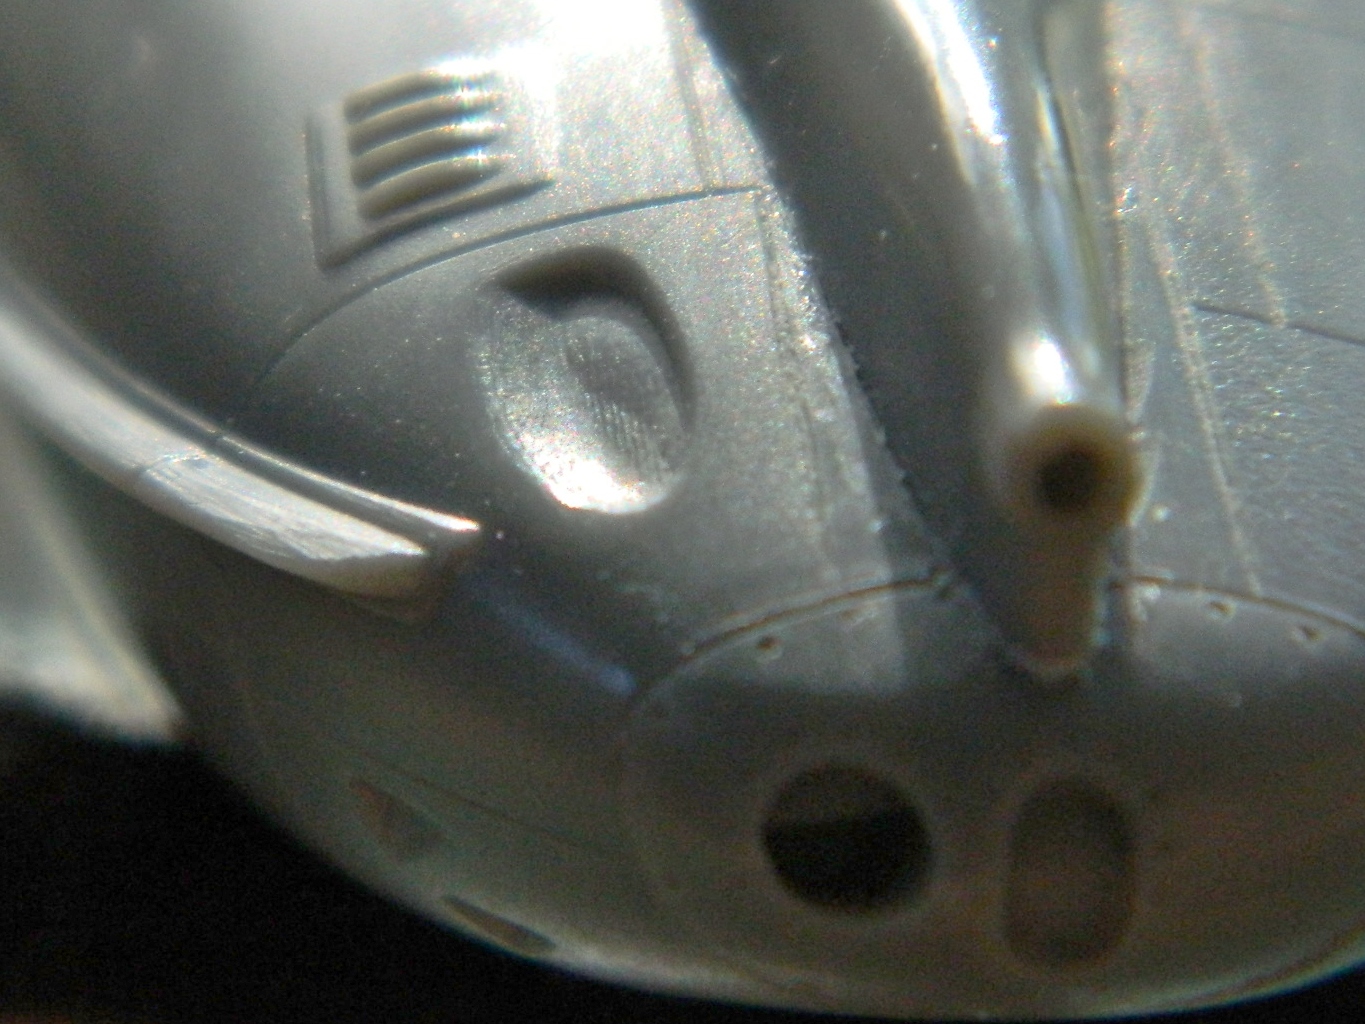
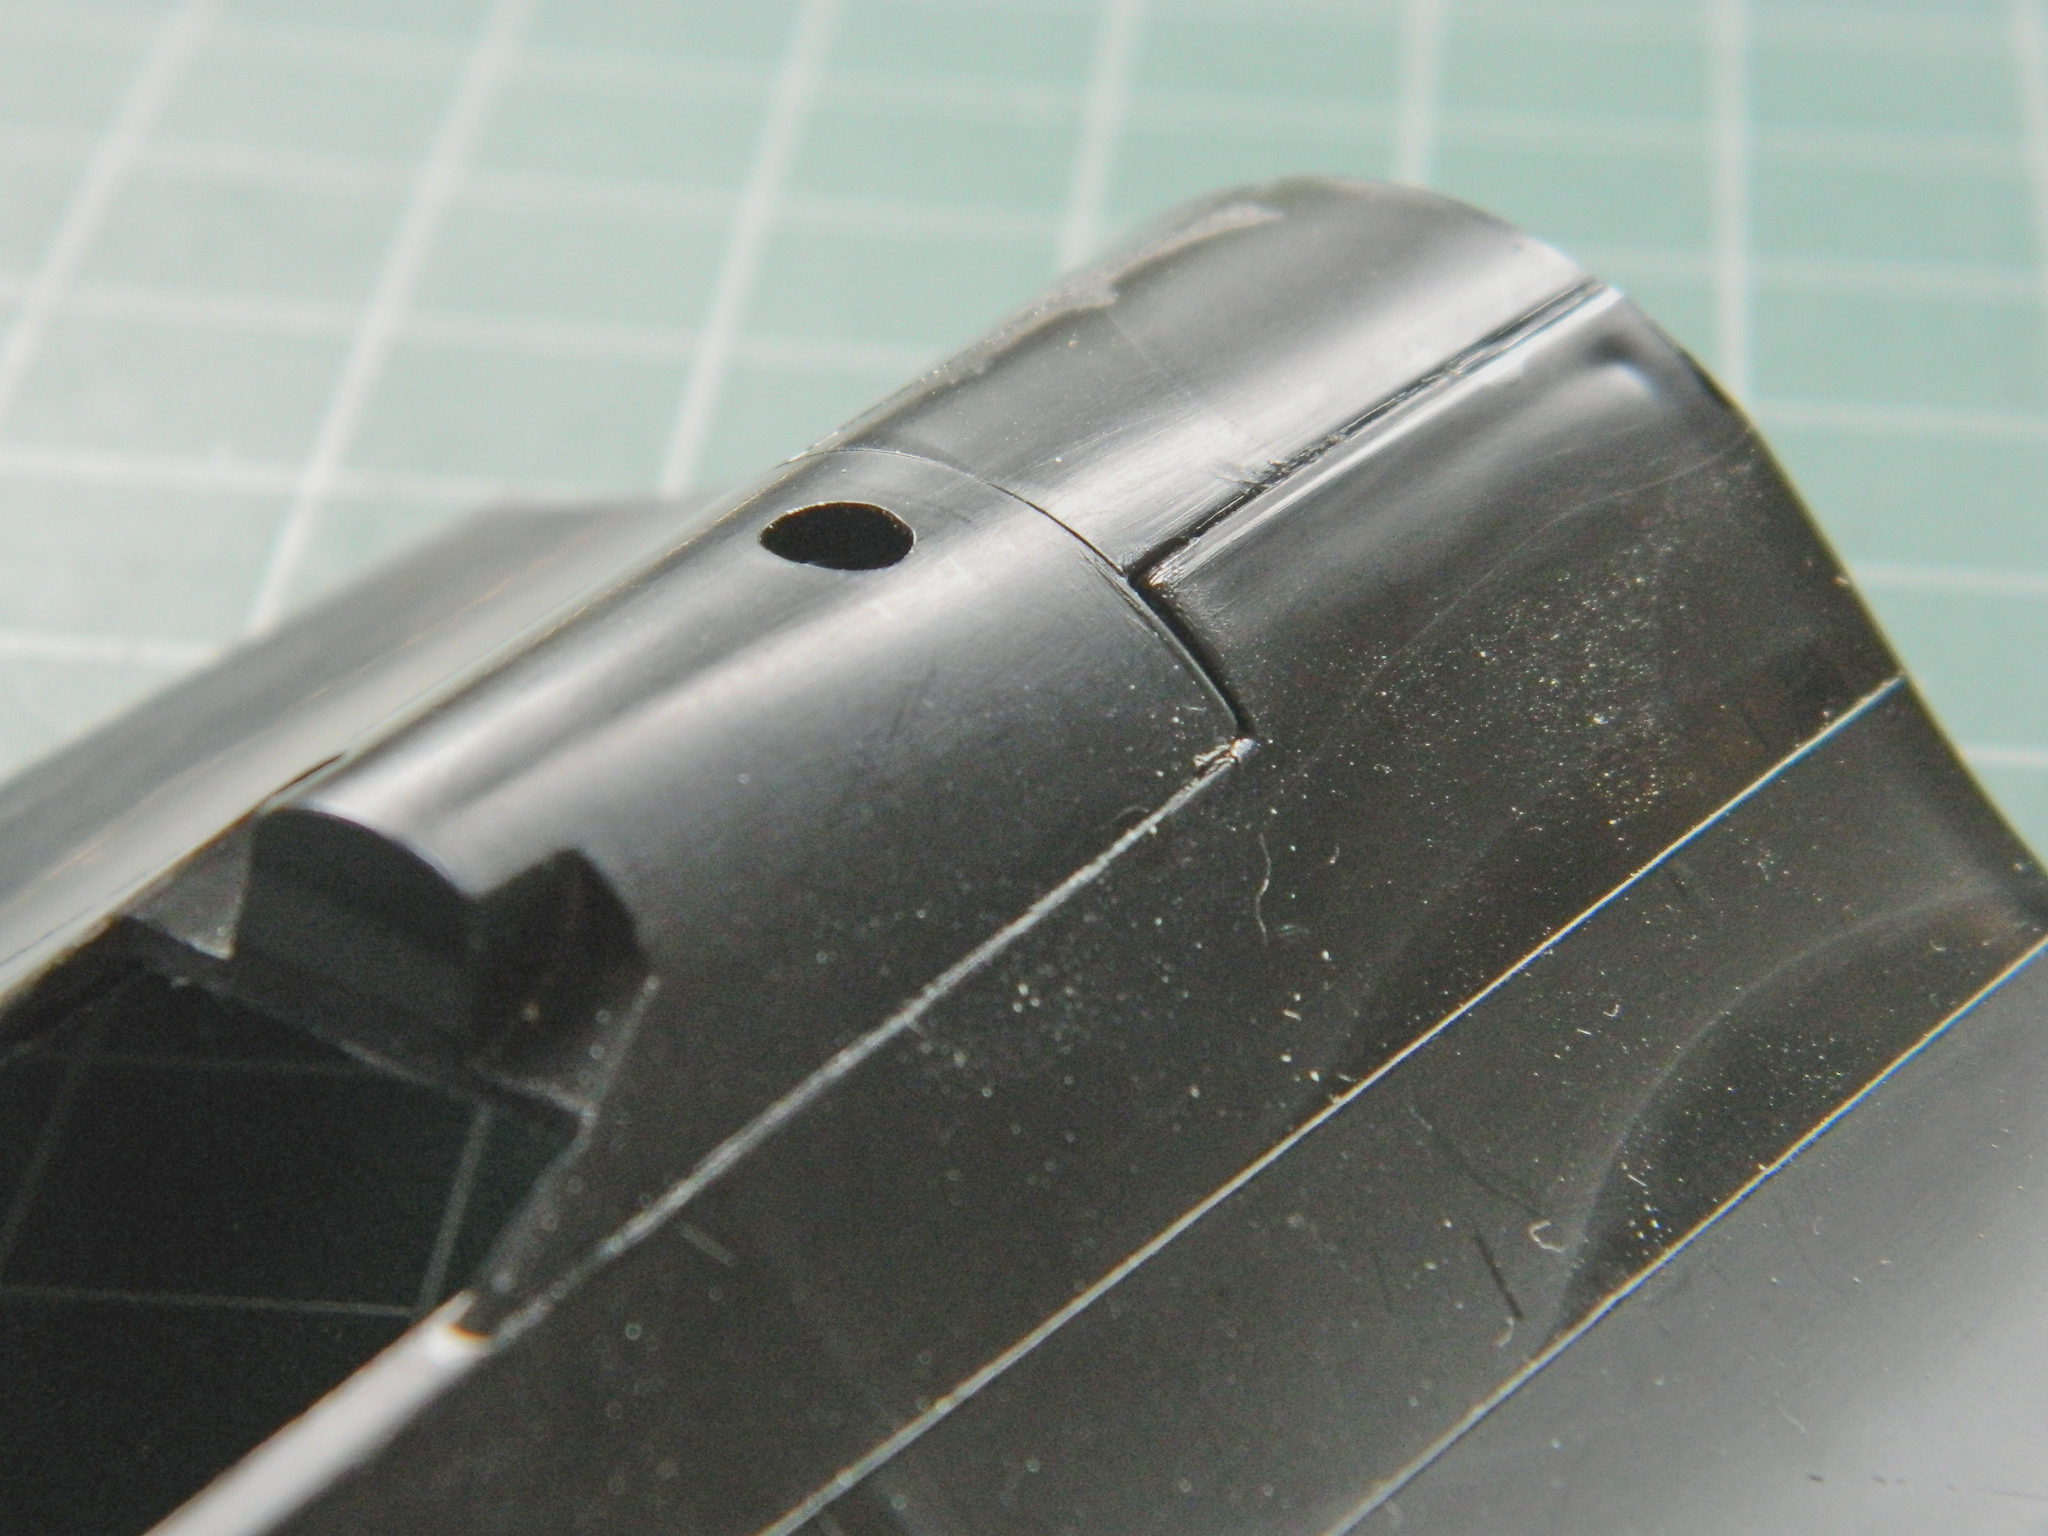
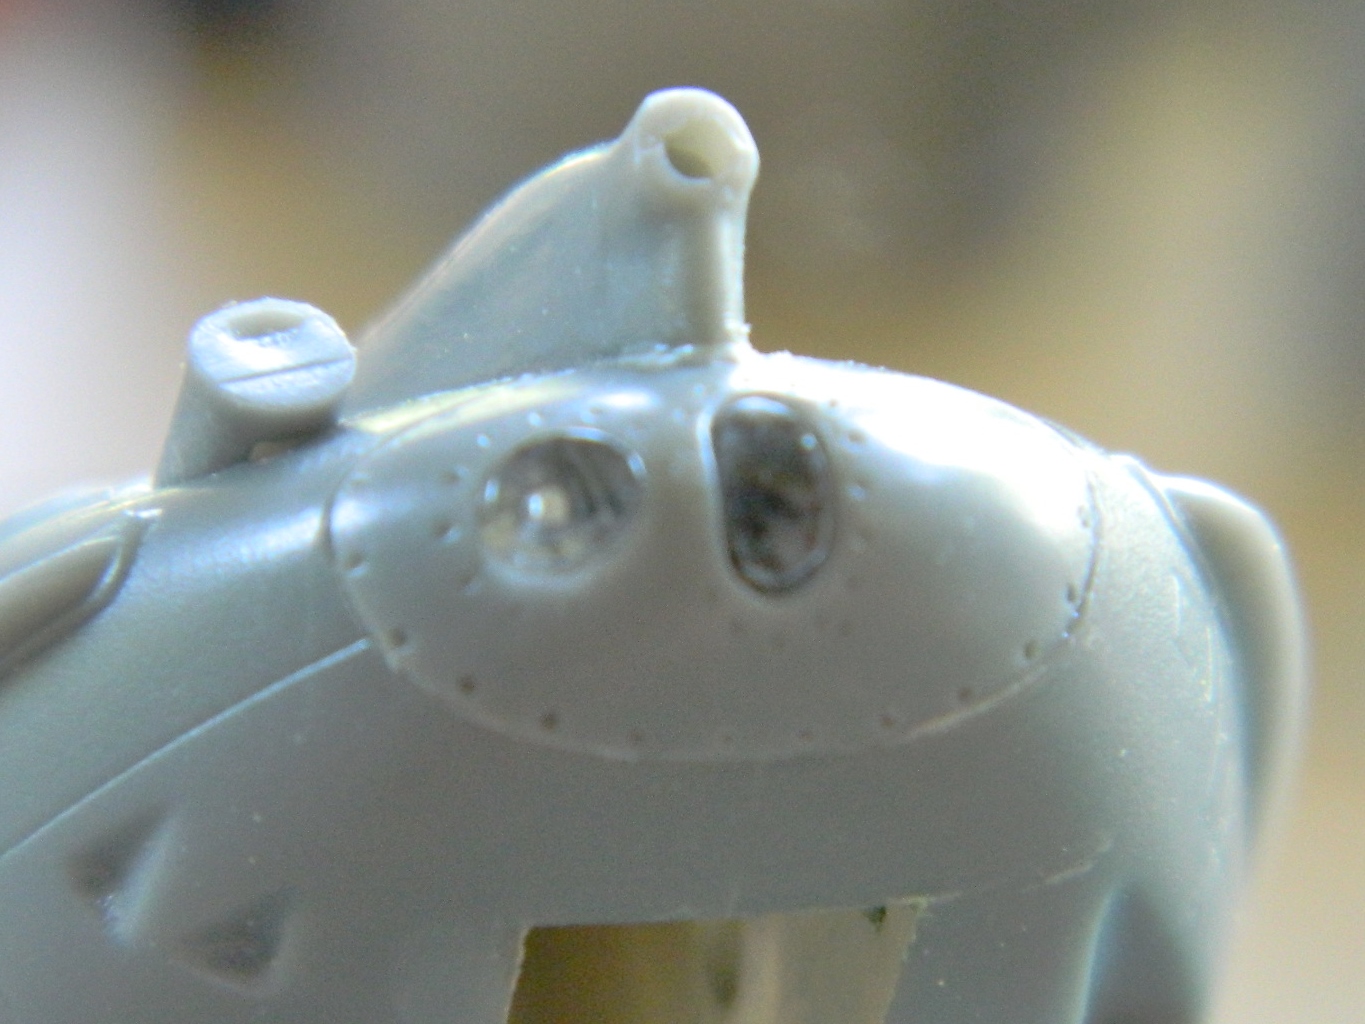
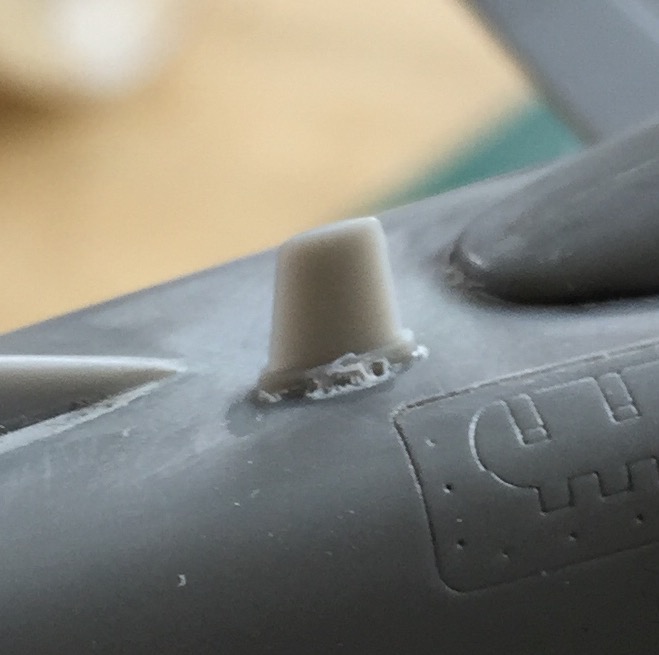
There is a curious omission with the kit’s directions. All my references show the pitot tube (a device that tells airspeed by the air pressure created by motion acting upon it). The kit supplied a pitot tube. The parts lists states it’s not used. That’s incorrect. Looking at the area at the top of the vertical stabilizer shows something else interesting. Most of the socket for the part to fit in has been molded. But the outside of that area is molded solid. Interesting… Also incorrect. I drilled out the socket and added the pitot tube (if you look closely at the first photo, you can see the area behind the black dot is lighter; that’s where the socket was molded in):
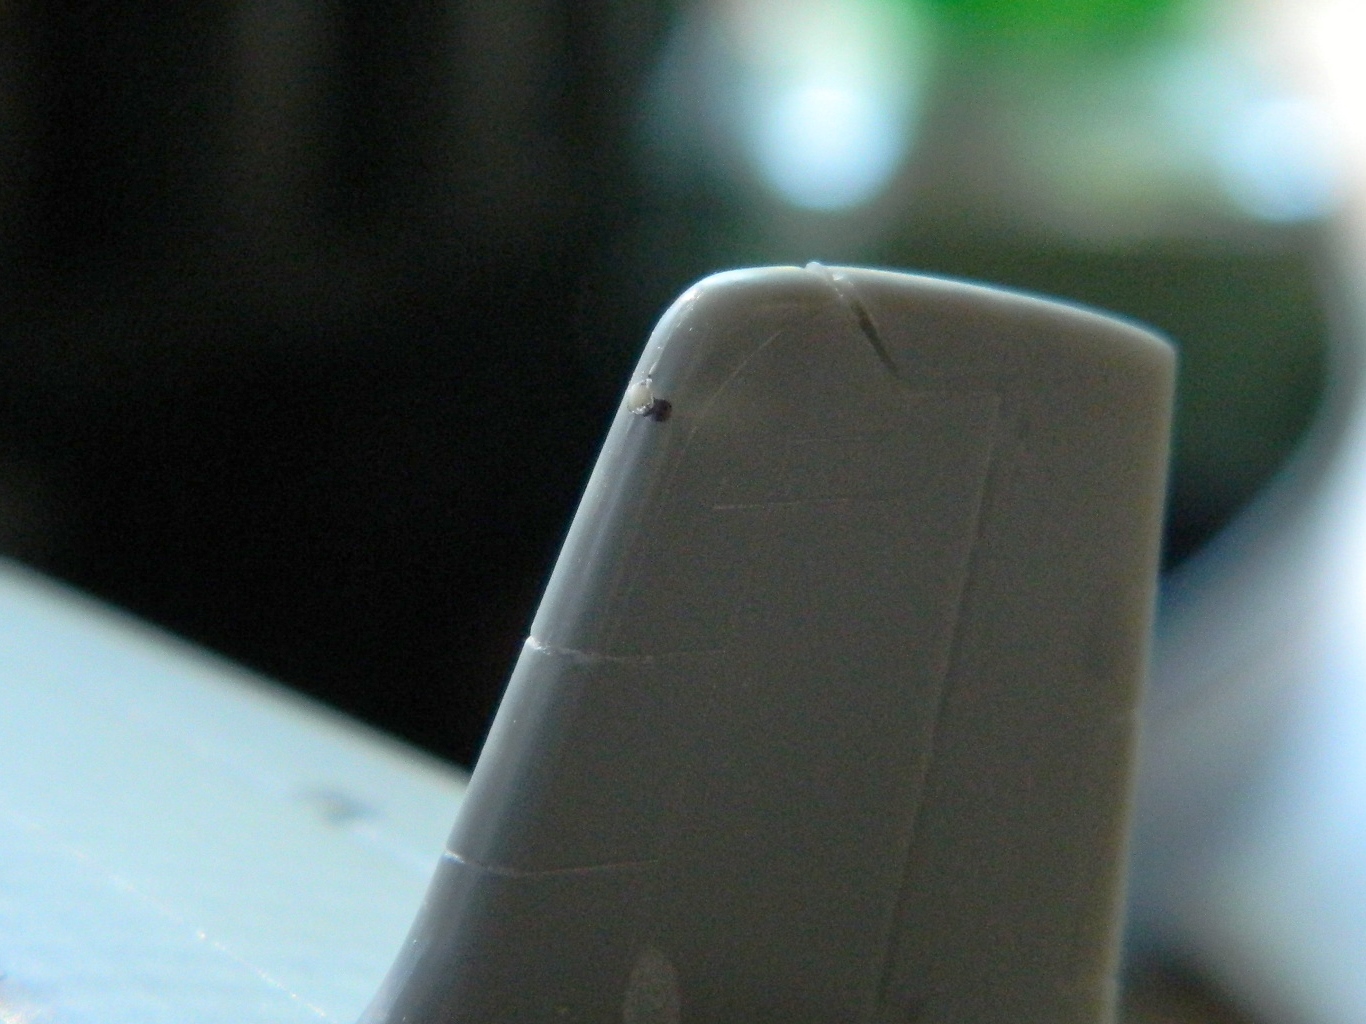
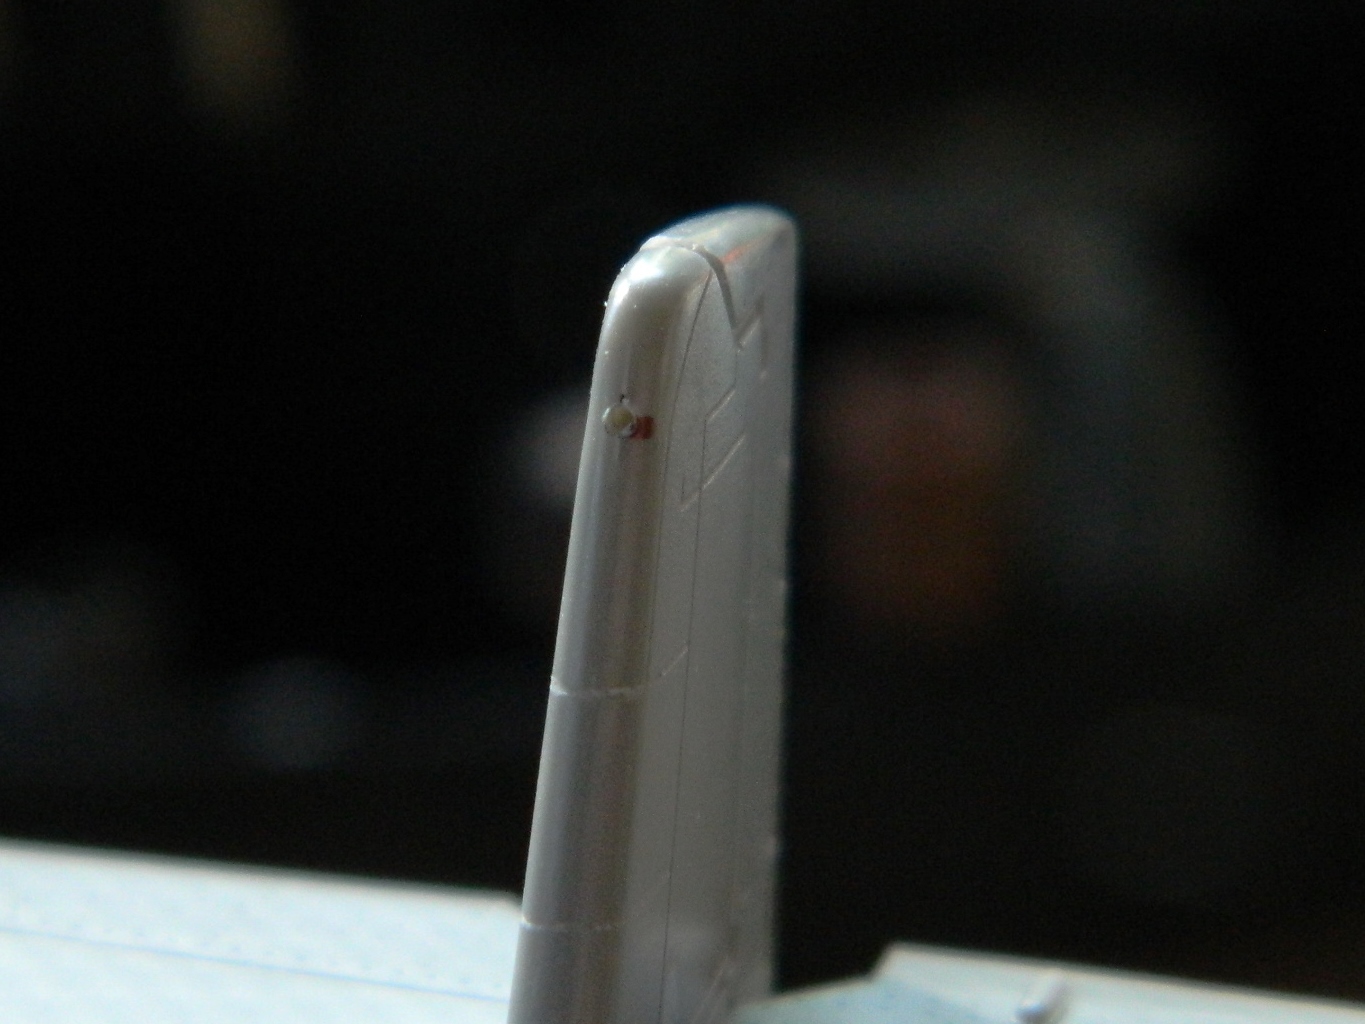
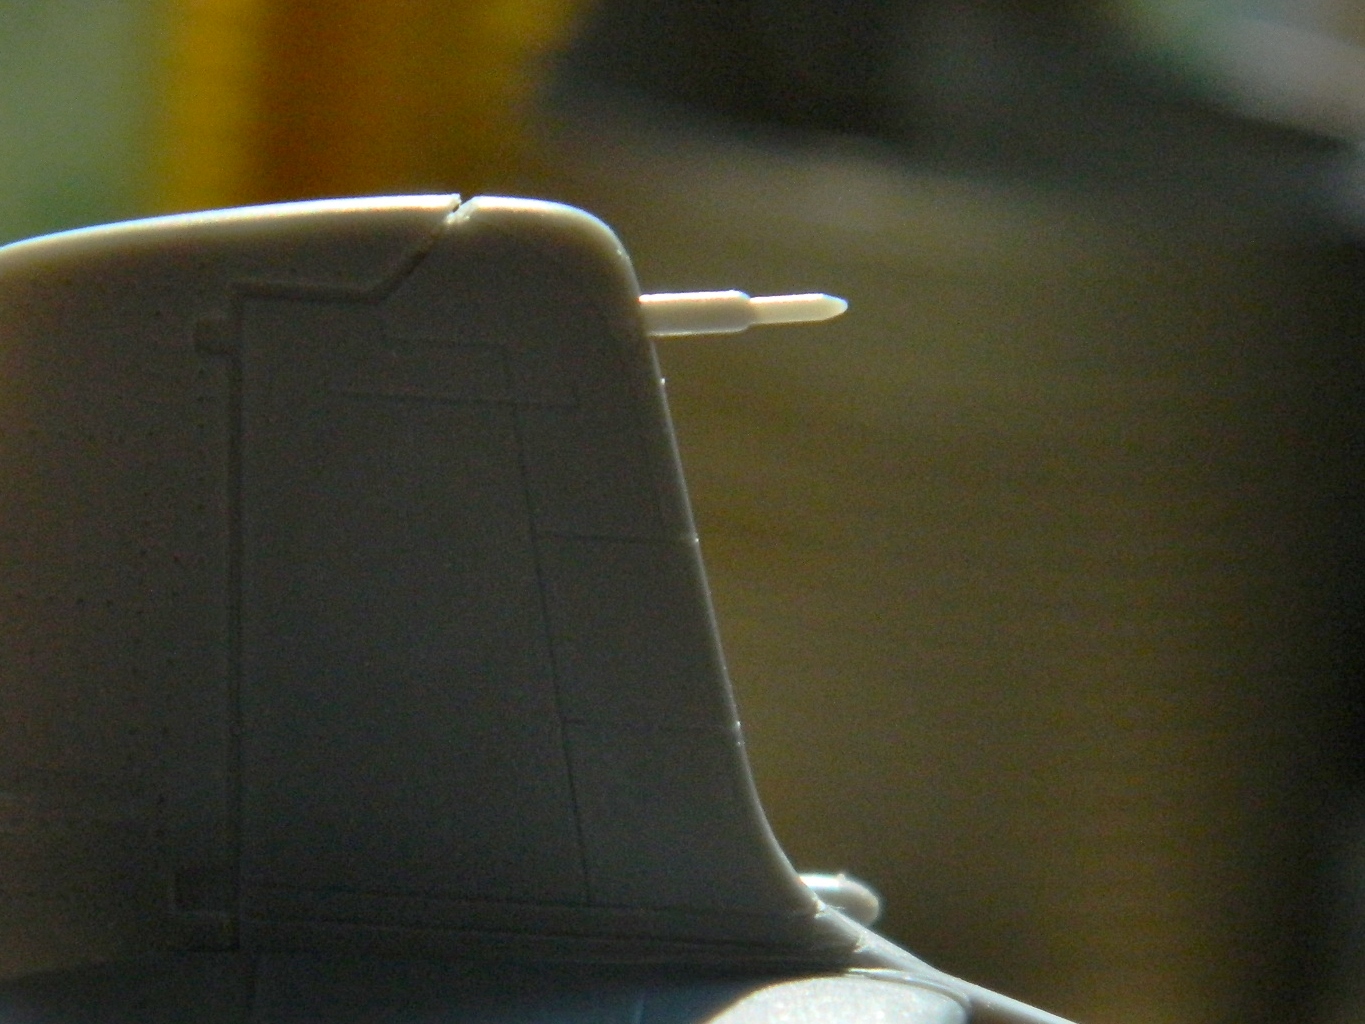
I flipped the model onto its back and started adding small vents and antennae.
I did mention “small,” didn’t I?:
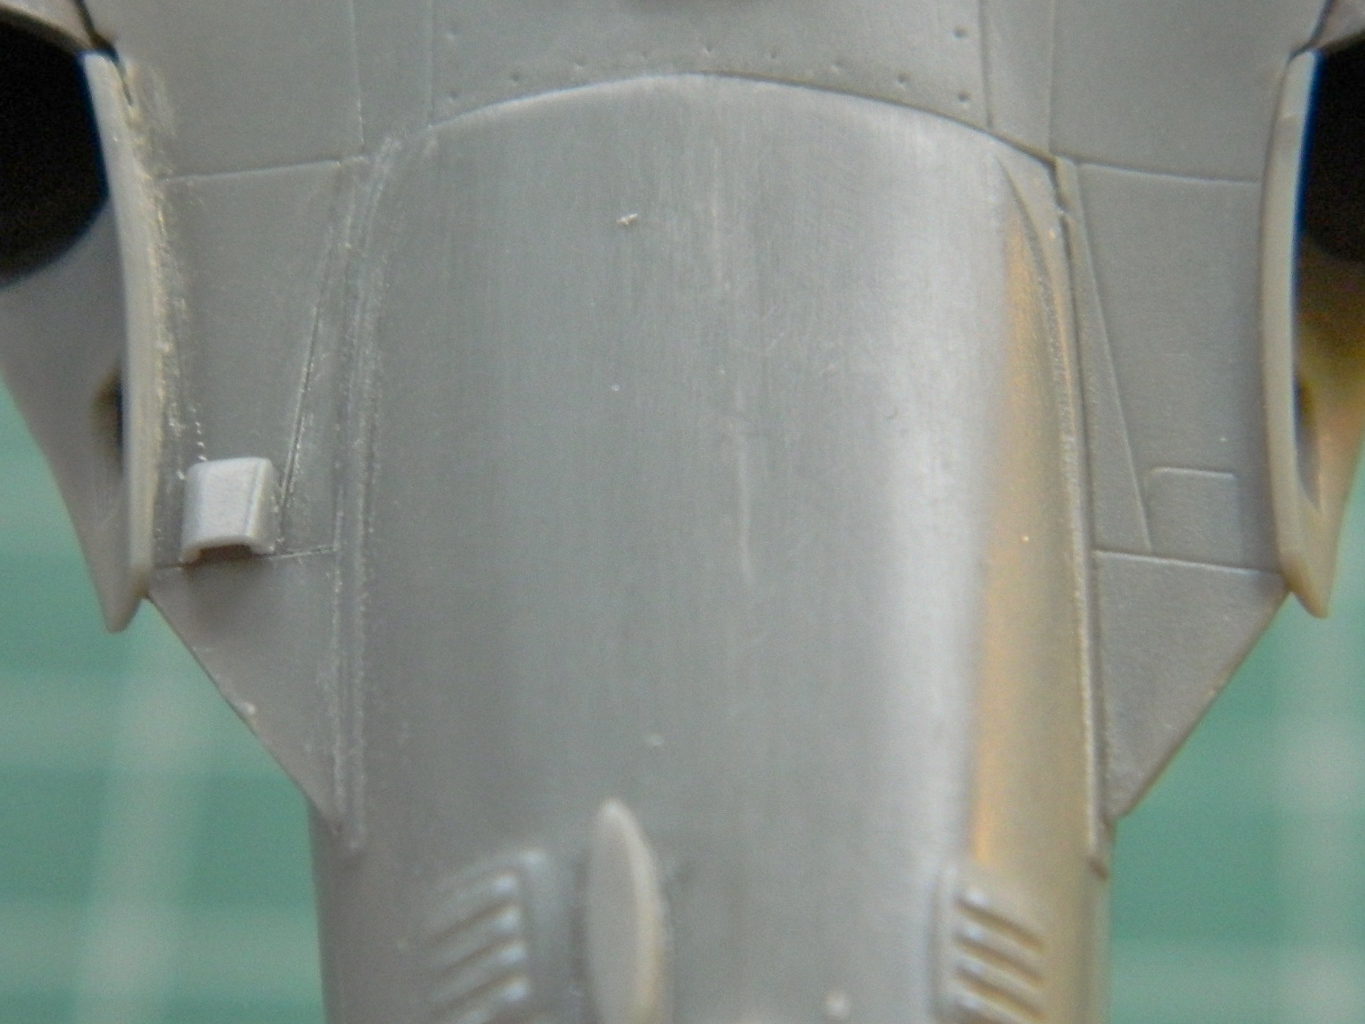

The bases of all the fin-style antennae are too thick. I’d already thinned the ones on top, I also thinned the bottom ones:

The color of the nose-wheel bay needs to be brought down to the fuselage and to do that, I needed to fill that gap with putty and paint it:


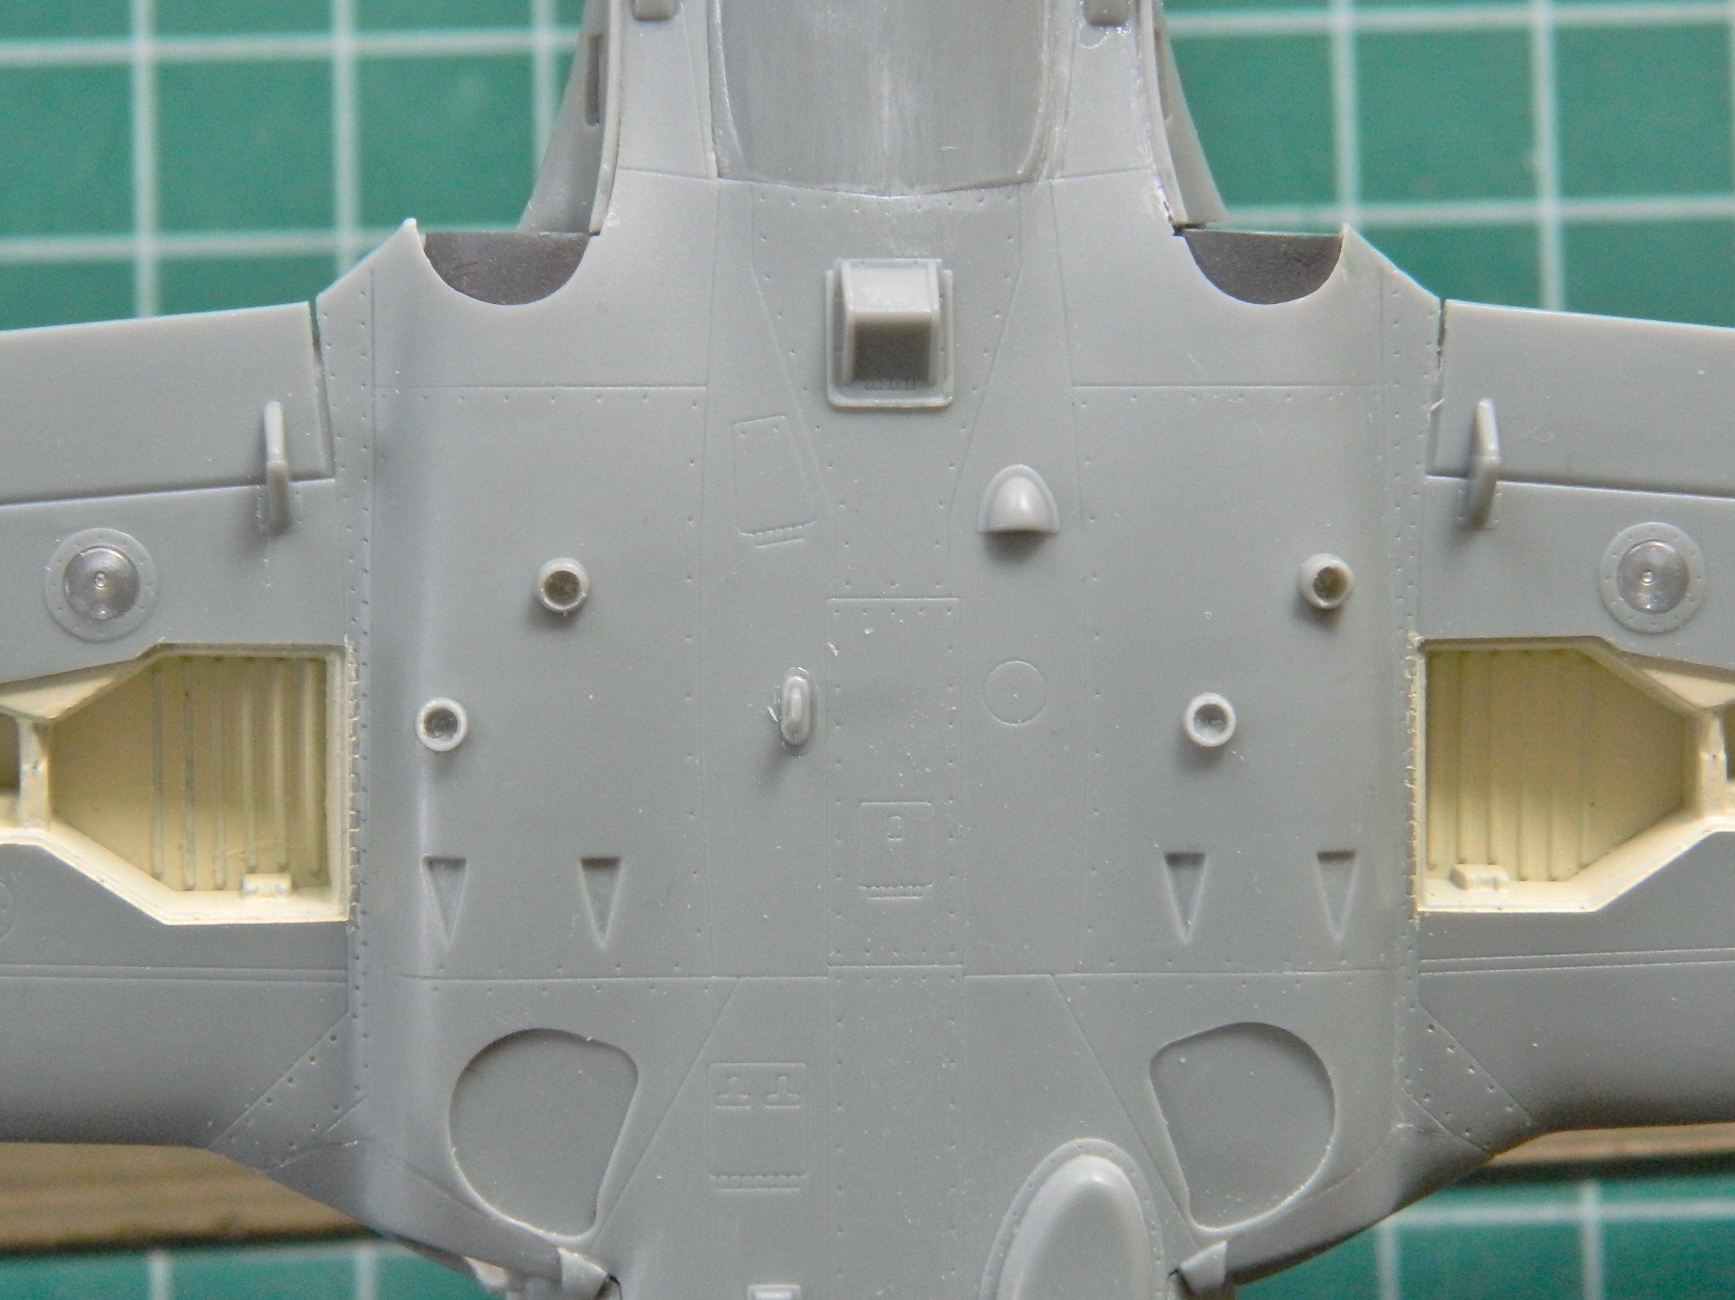
There are round vents on the underside that were WAY too thick. They’re still too thick but since this is an OOB build, I won’t be replacing them with brass tube the way I’d like to. I drilled them out to improve the scale appearance:
When I started assembling the under-wing stores I noticed is that some of the stabilizing fins are far too thick. Those had to be thinned more to scale:

Then I had to ignore my apprehension about the clear parts that go into the nose. I got the oval-shaped part right the first time! (Considering how nervous I was, I’m surprised I didn’t launch the clear part into a multi-hour session of flashlight-in-mouth-crawling-around-on-the-floor-examining-each-square-inch fun). I had painted the area behind it black and the area behind the light silver. I wasn’t so fortunate with the fit of the nose light, though. You can see how far it sticks out and it’s supposed to be flush:
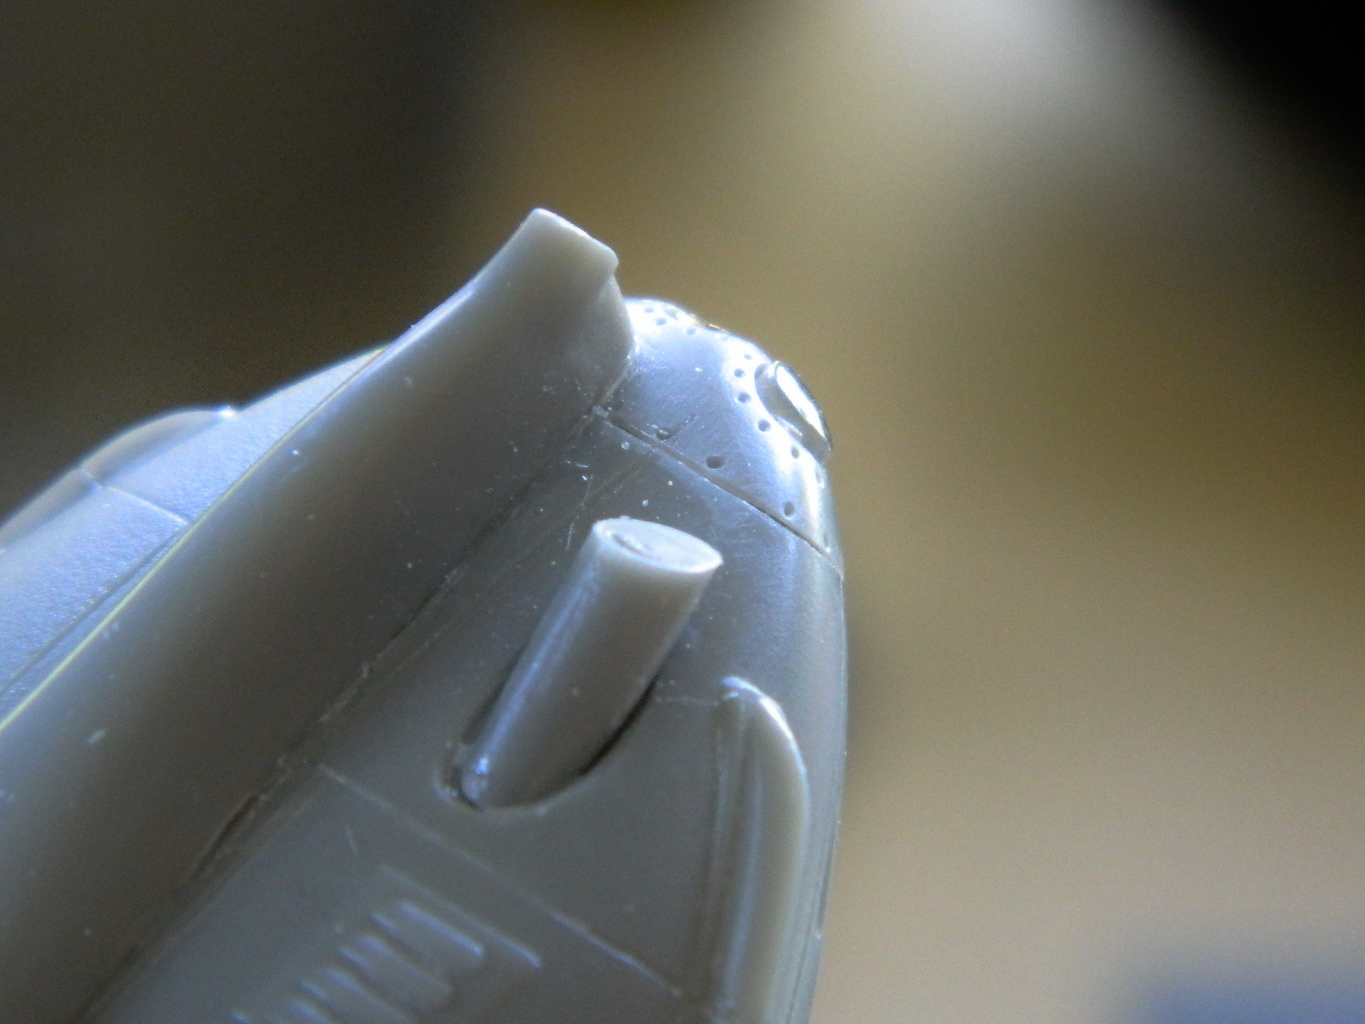
I filed the protruding area to fit the curve of the nose, then used successively finer sandpaper until I’d removed all the sanding scratches. (Had it been a canopy, the next step would be to polish it…for hours…but it’s not so I didn’t) (and also note how nicely the gun shroud sits in its oval mounting area):
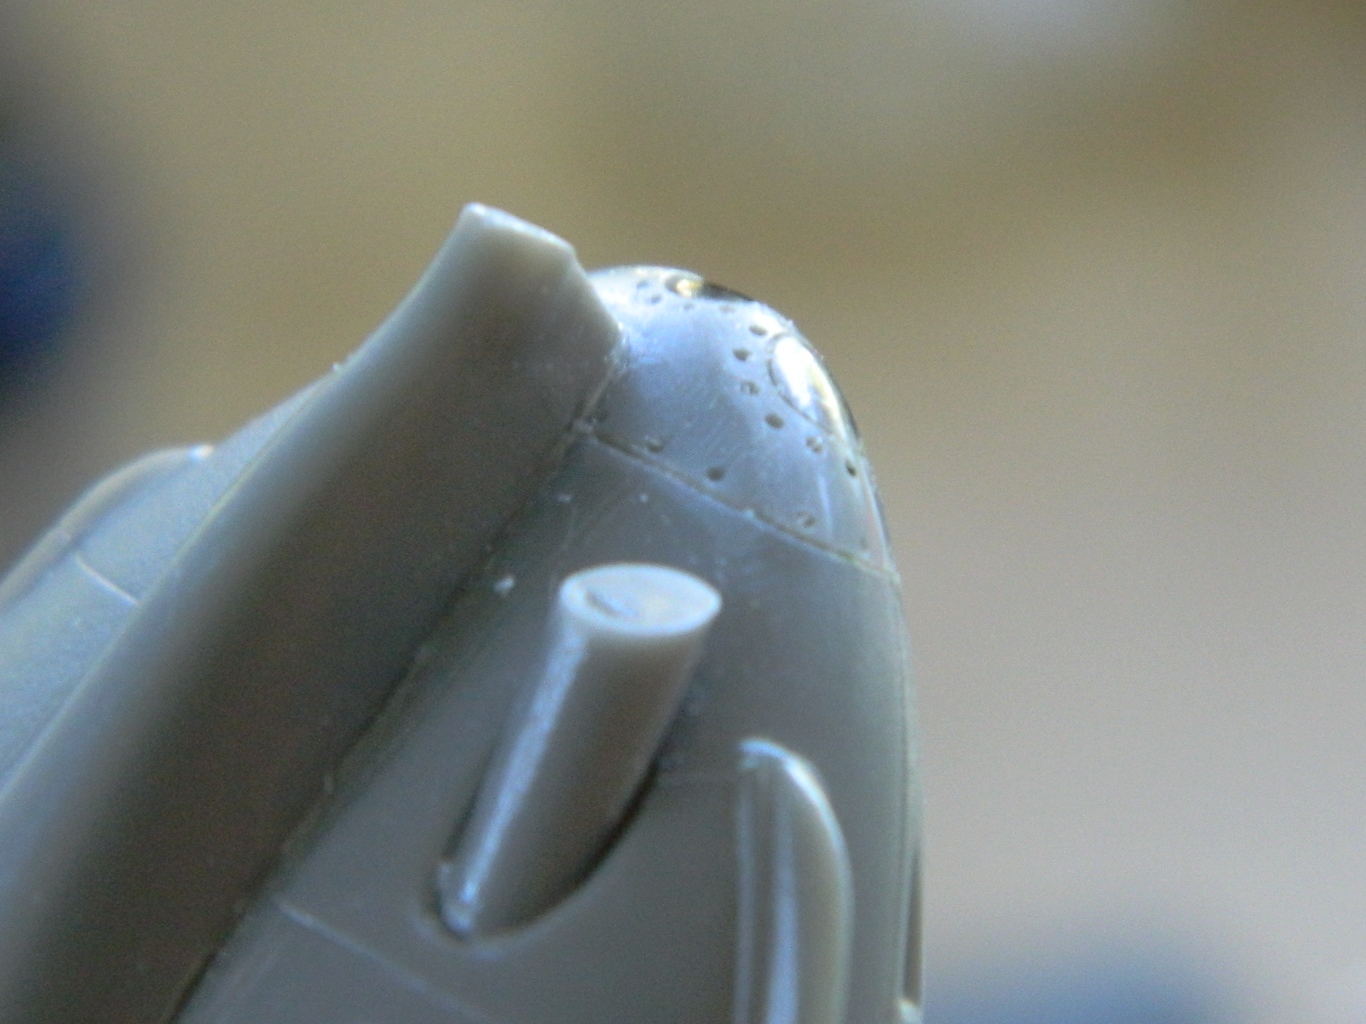
I’m pleased with the end results:
It took some time, but now all of the detail parts are about ready to start hanging onto the kit. The ordinance and drop tanks will be added after painting:

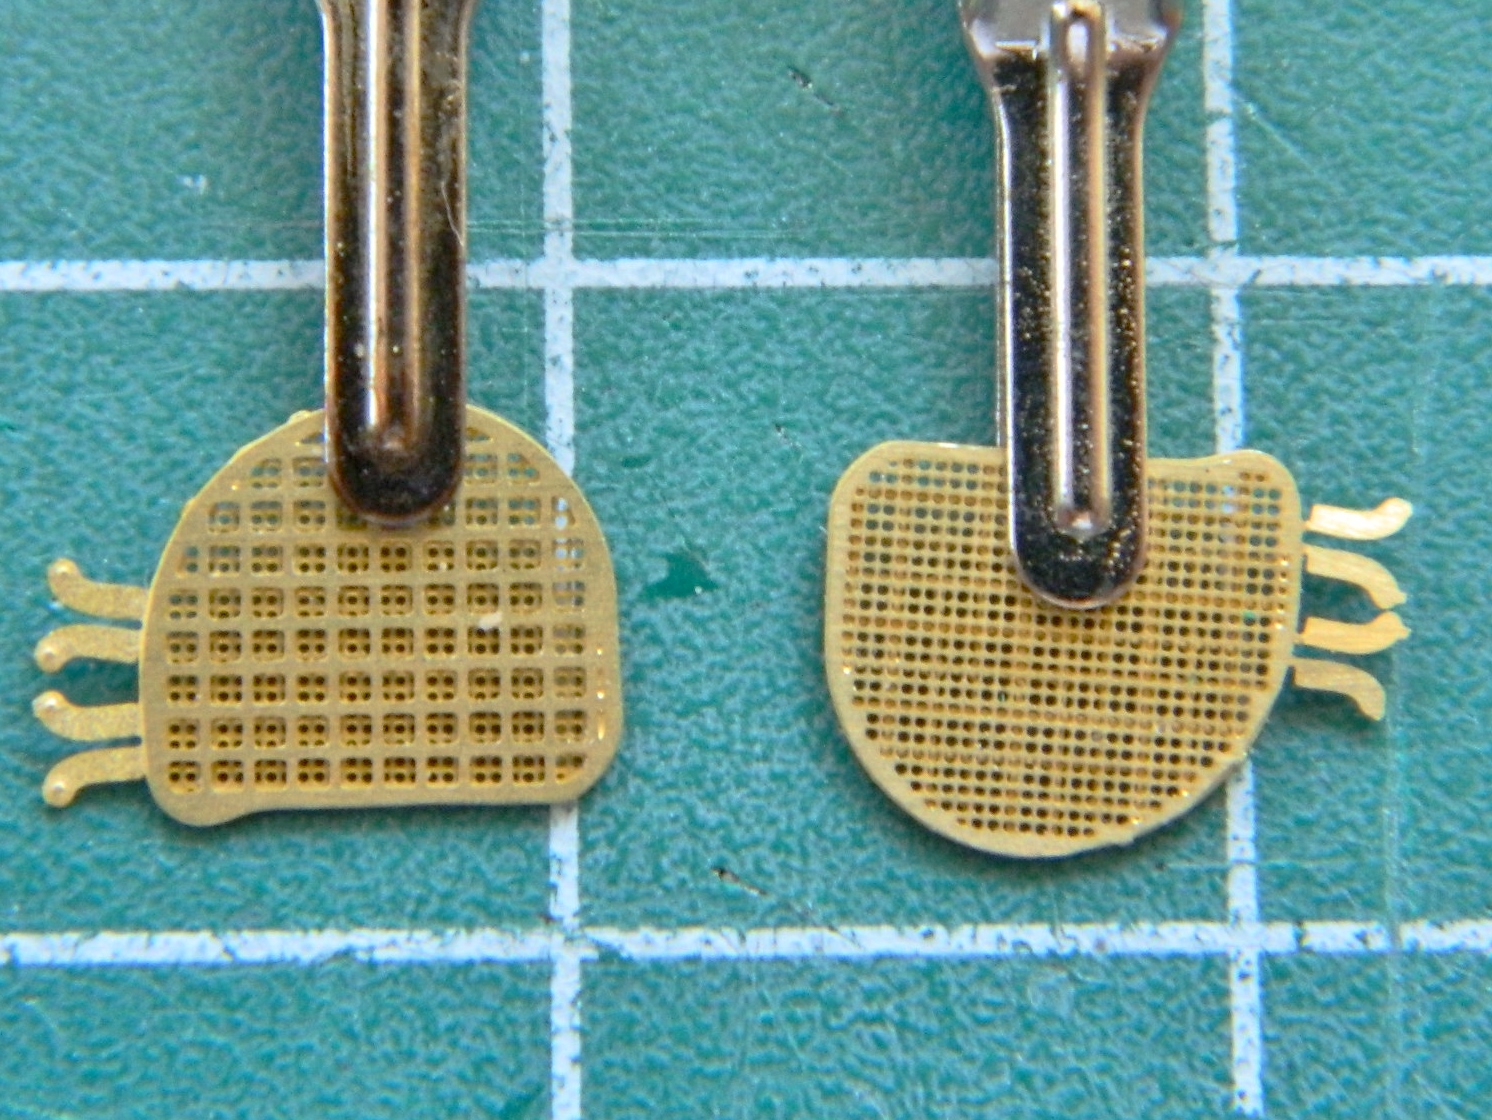
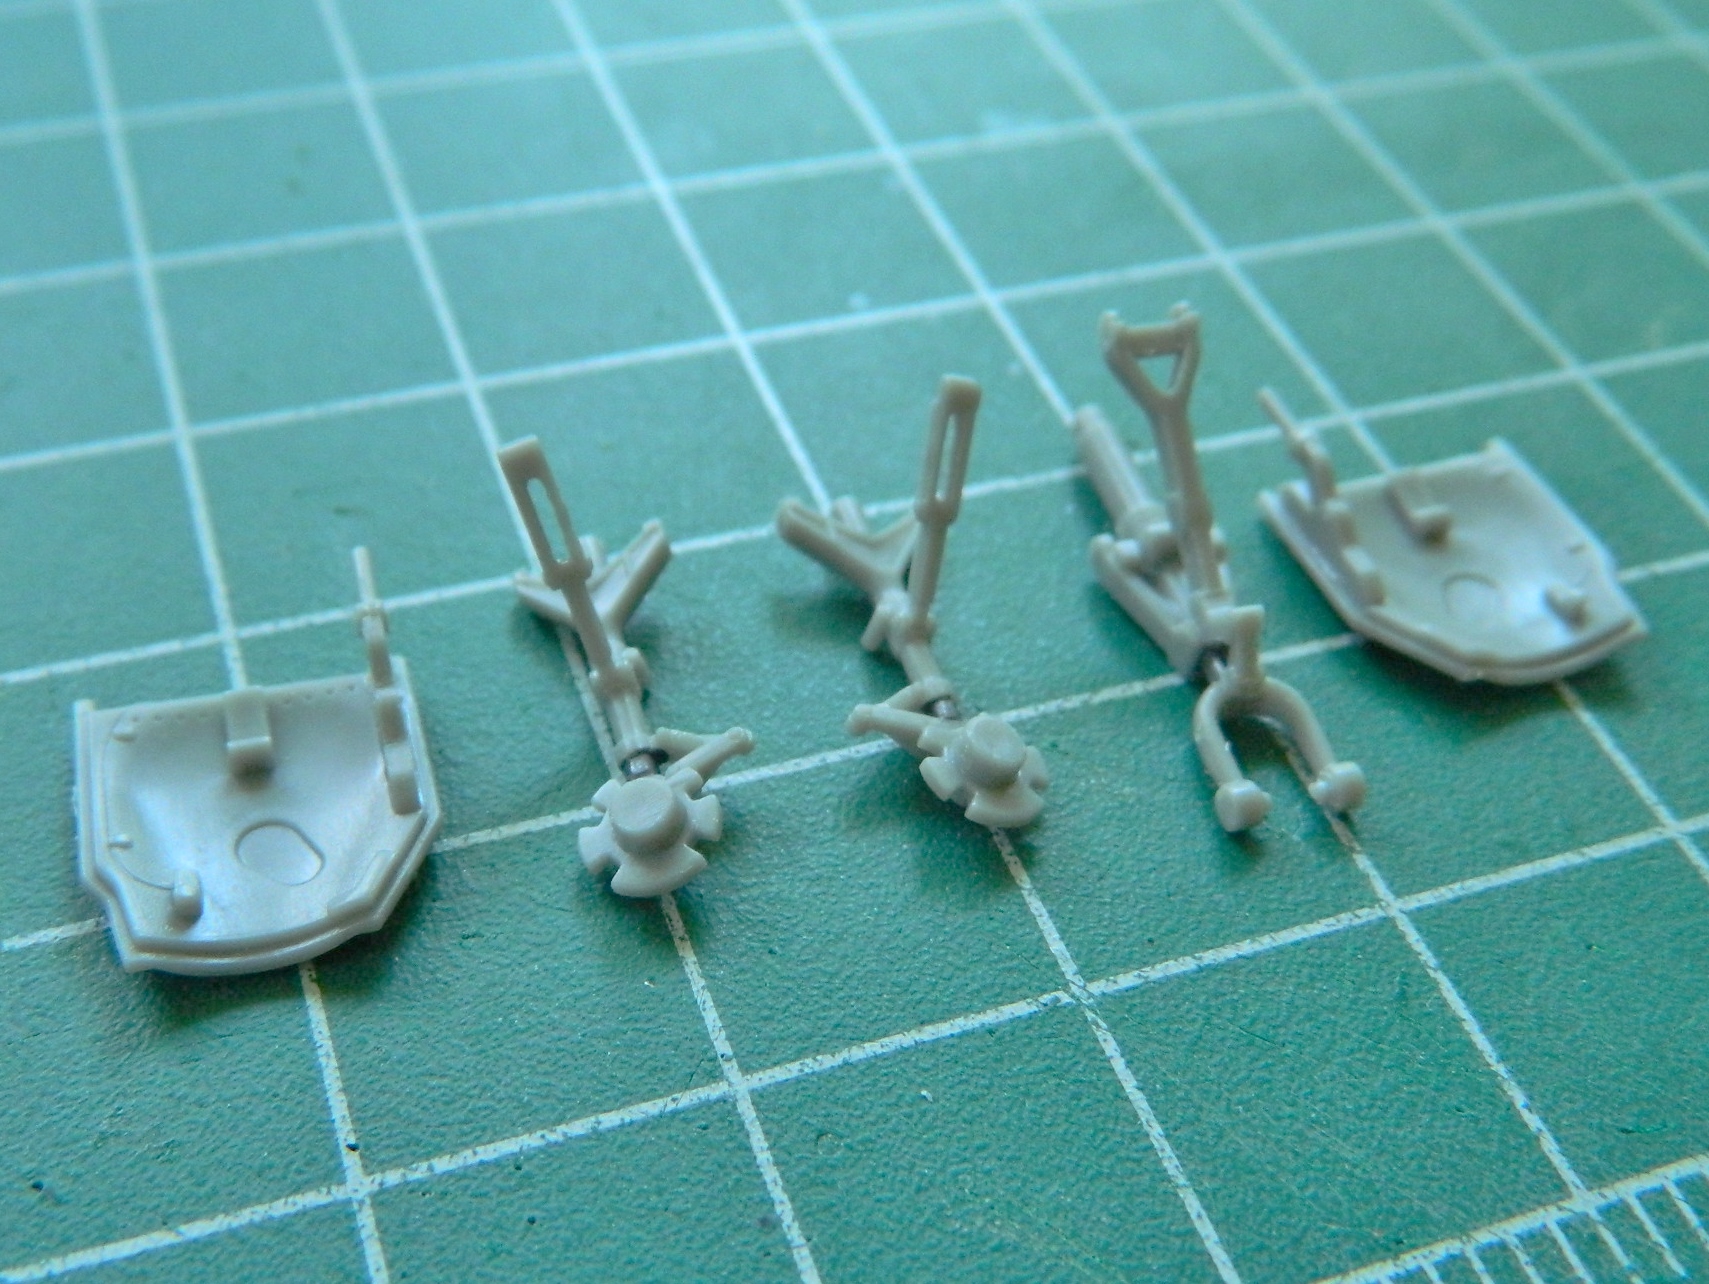
The A-37 sits so low to the ground that it was quite prone to sucking bits of crap into the intake. A jet turbine is a finely balanced bit of kit and does NOT like being unbalanced (unlike myself, who’s made a lifestyle out of being unbalanced) and quits in a huff when that happens. Sometimes it quit in something much more dramatic than a mere “huff.” The fix was to mount FOD (Foreign Object Damage) screens. The pilot(s) could raise or lower them at will from inside the cockpit. The kit offers nicely done two-part FOD screens that had to be assembled. I briefly considered soldering them but realized that was taking things too far; superglue would work just fine:
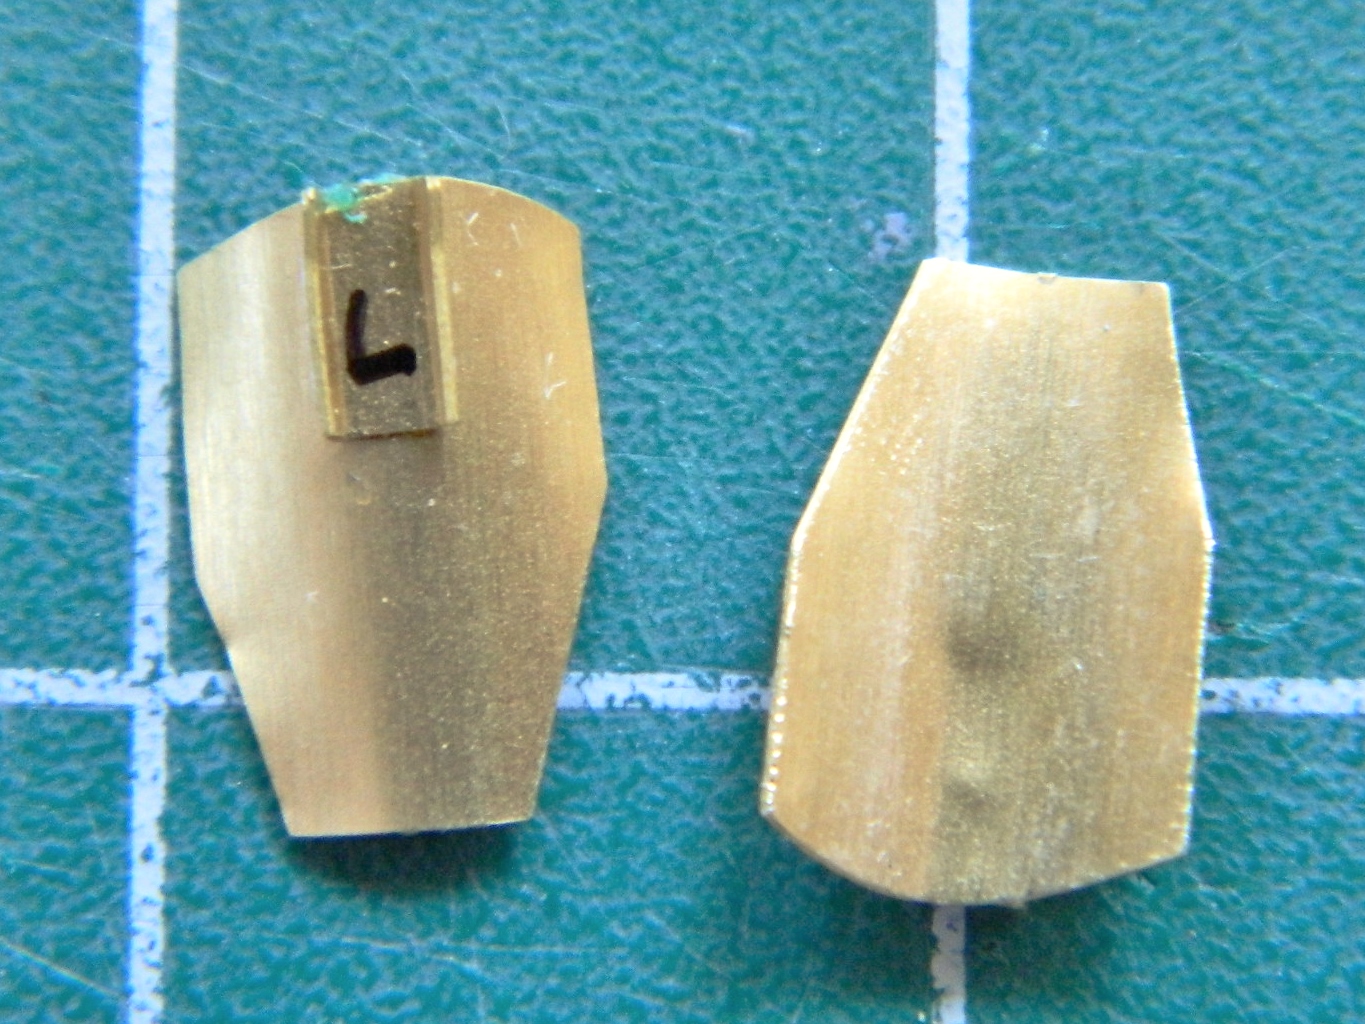
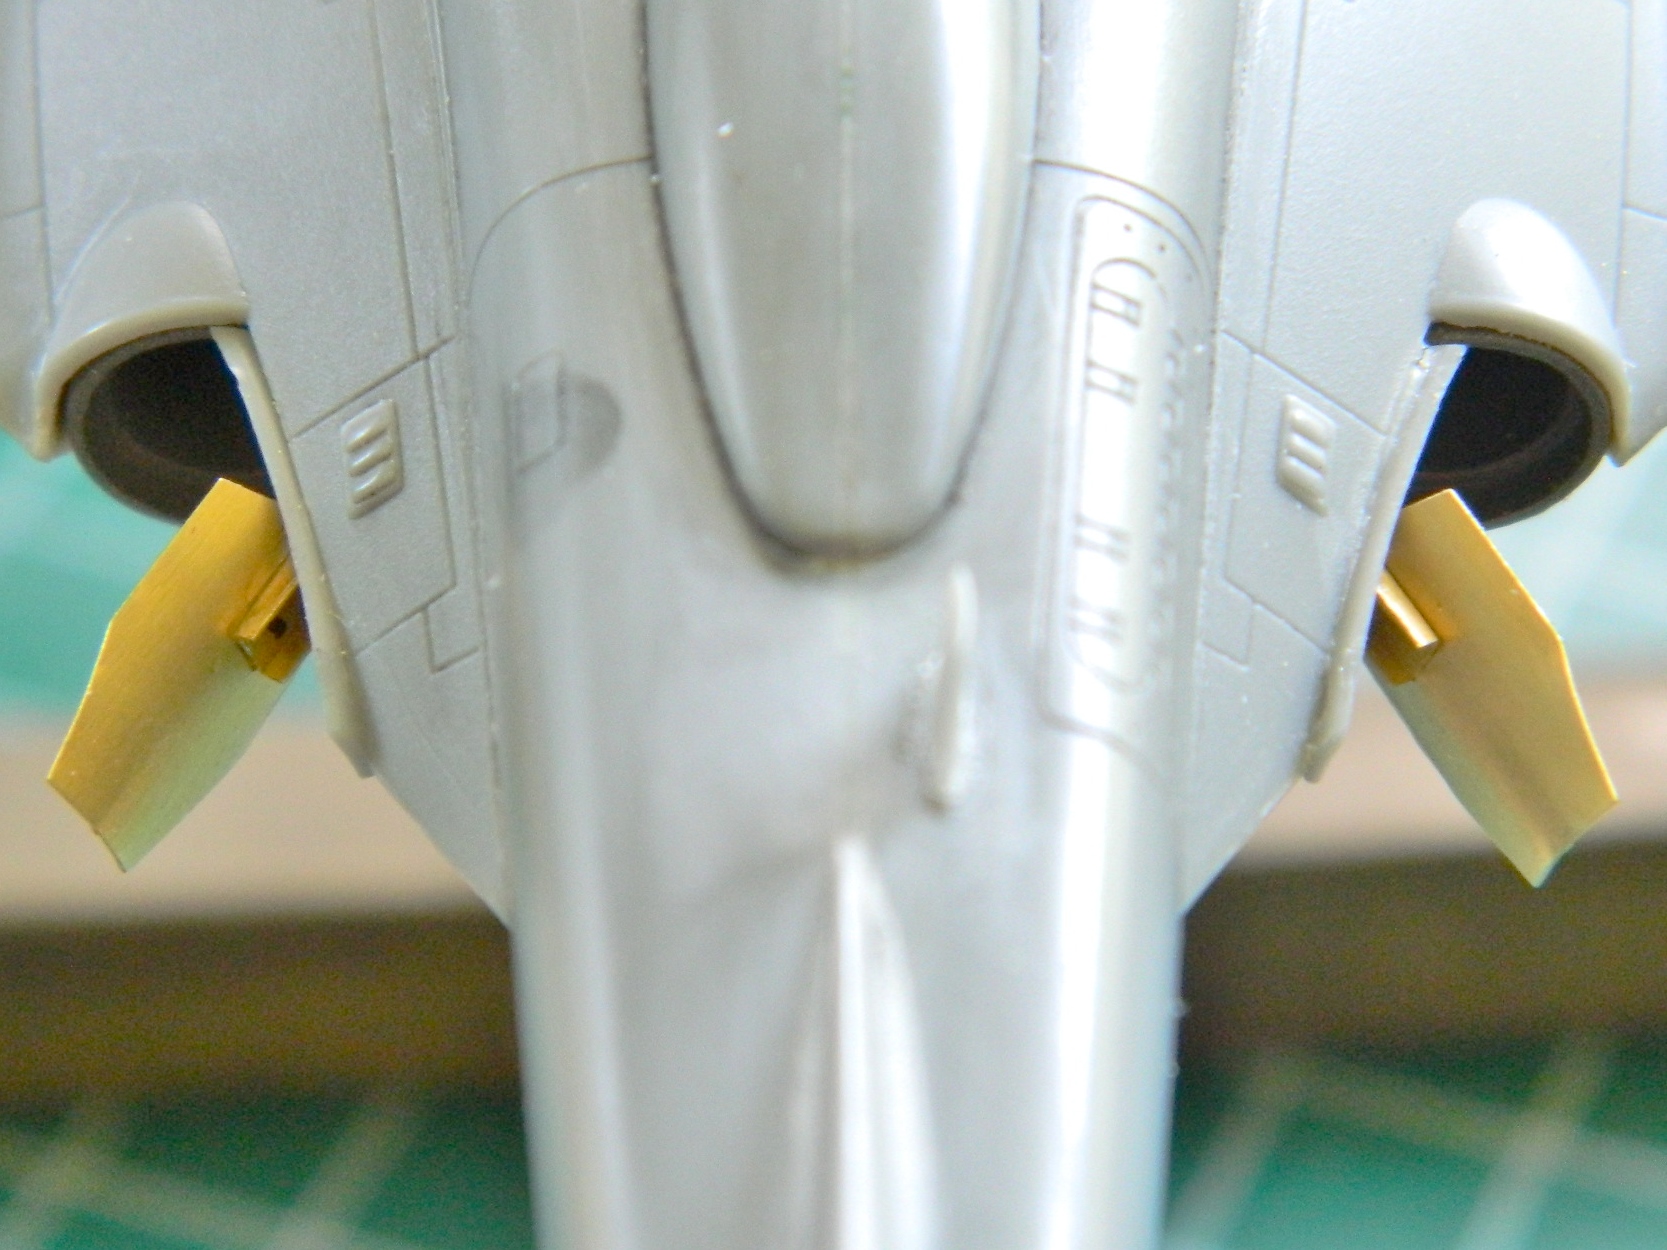
Next, I had to curve the exhaust deflectors and glue the mounting brackets to the back of them:
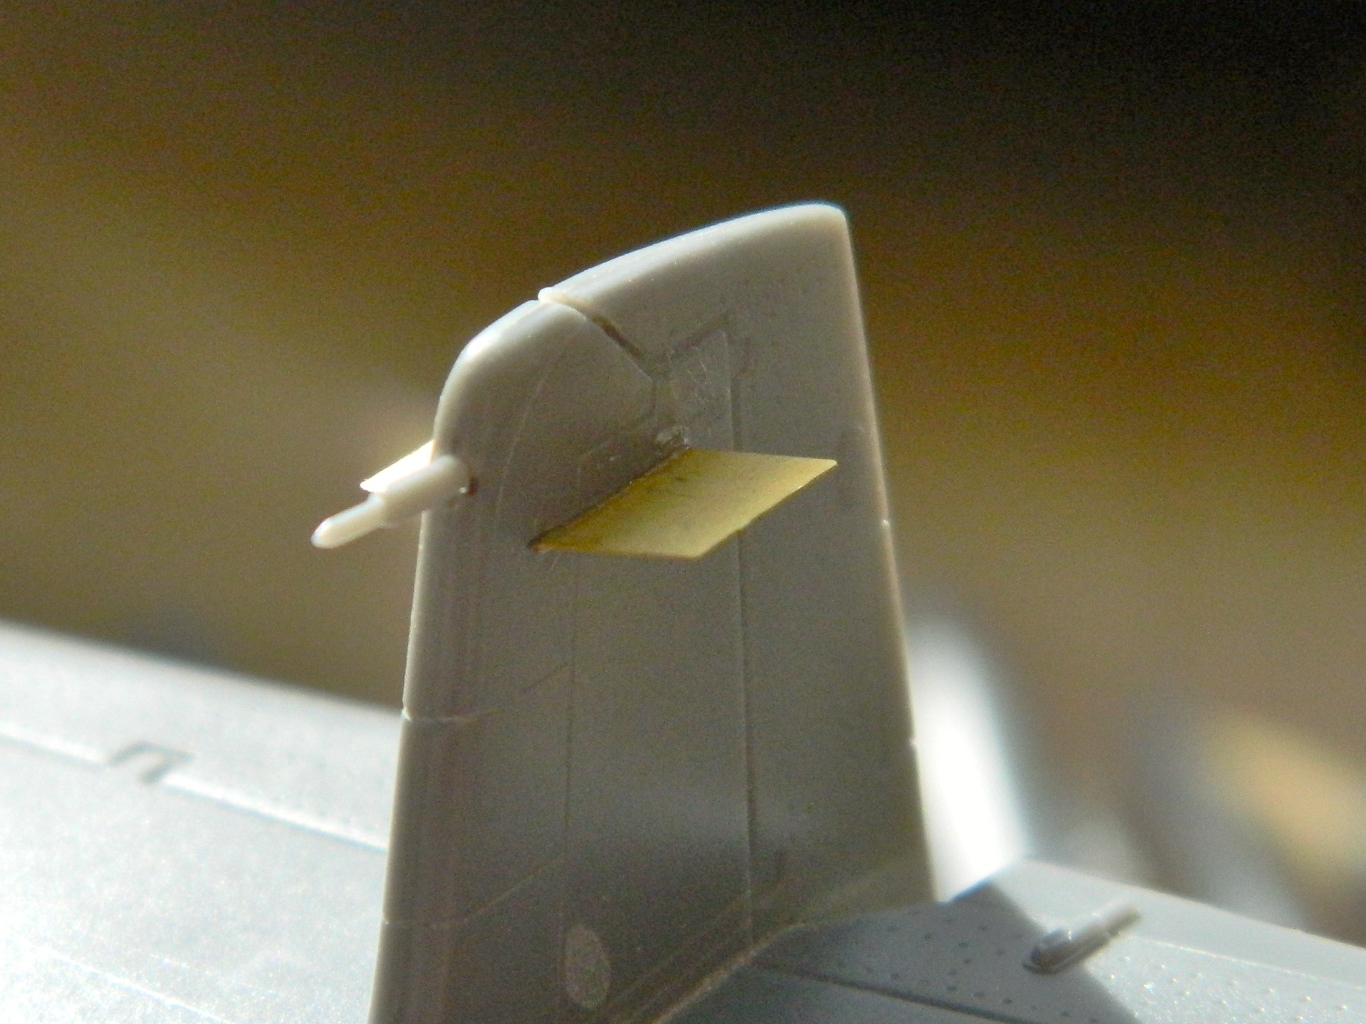
At the top of the vertical stabilizer a pair of antennae are supposed to be attached. There’s a problem with that…the antennae that are supposed to be mounted to the plastic is .005″ (.127mm) thick. That’s not enough surface area to keep them there (a gnat landing on it could cause one to pop off), and the attachment point is a very fine recessed line which helps as much as a screen door on a submarine does:

One of my line scribers actually cuts plastic away leaving a slot and that’s what I used to cut slots the PE parts will be glued into:

While I’ve been working on the larger assemblies, I was thinking about how to paint the landing gear parts. Some of them are very small and not only would they be a bitch to handle while painting, the airbrush would blow them off the painting backdrop if I wasn’t holding them. My solution was to attach them to the parts they get attached to which are larger and easier to handle. That meant I had to dry-fit the parts and align them:

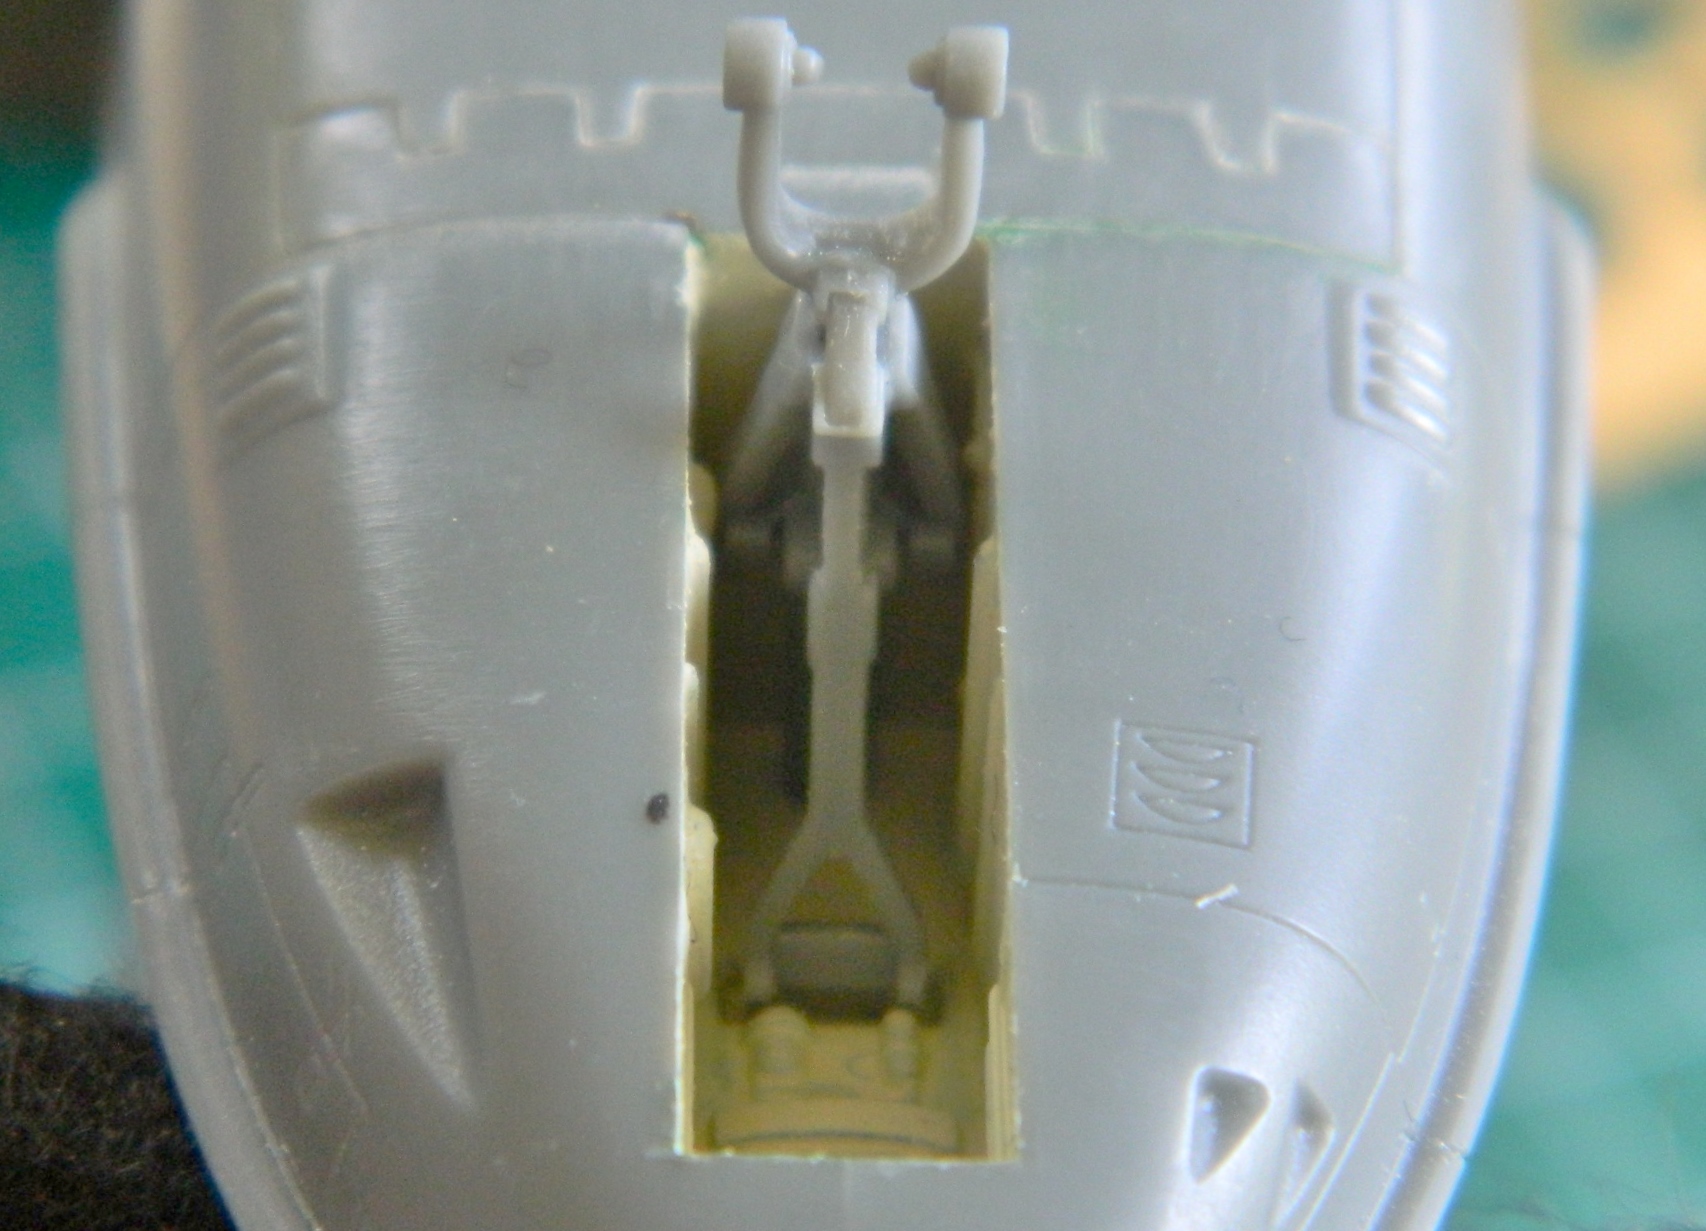


This I can work with:
Then it was time to start hanging the last of the PE parts onto the model. First I did the exhaust deflectors:
Then I did the fin antennae on the vertical stabilizer (and the FOD screens):

And then I managed to knock the damned thing off the stand and snapped the refueling probe off:
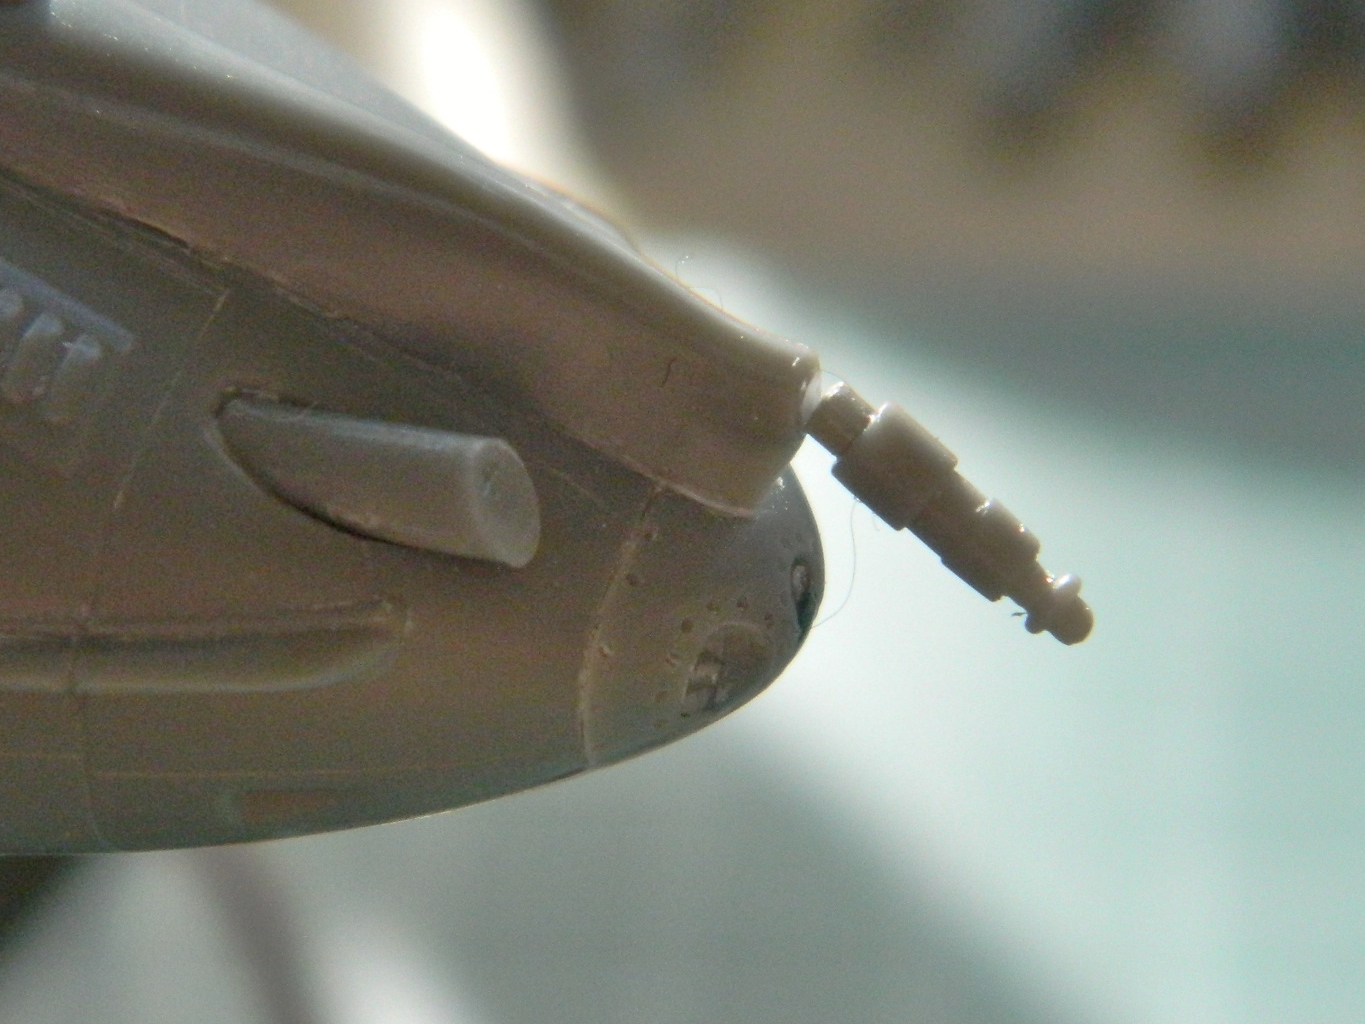
So that got glued back in position. Thank you EVER so much, Eris and Loki.
To keep the exterior color out of the differently-painted landing gear bays and off of the exhaust nozzles, they were all masked off:

And y’know? I think I’m ready to start tossing paint at this thing:
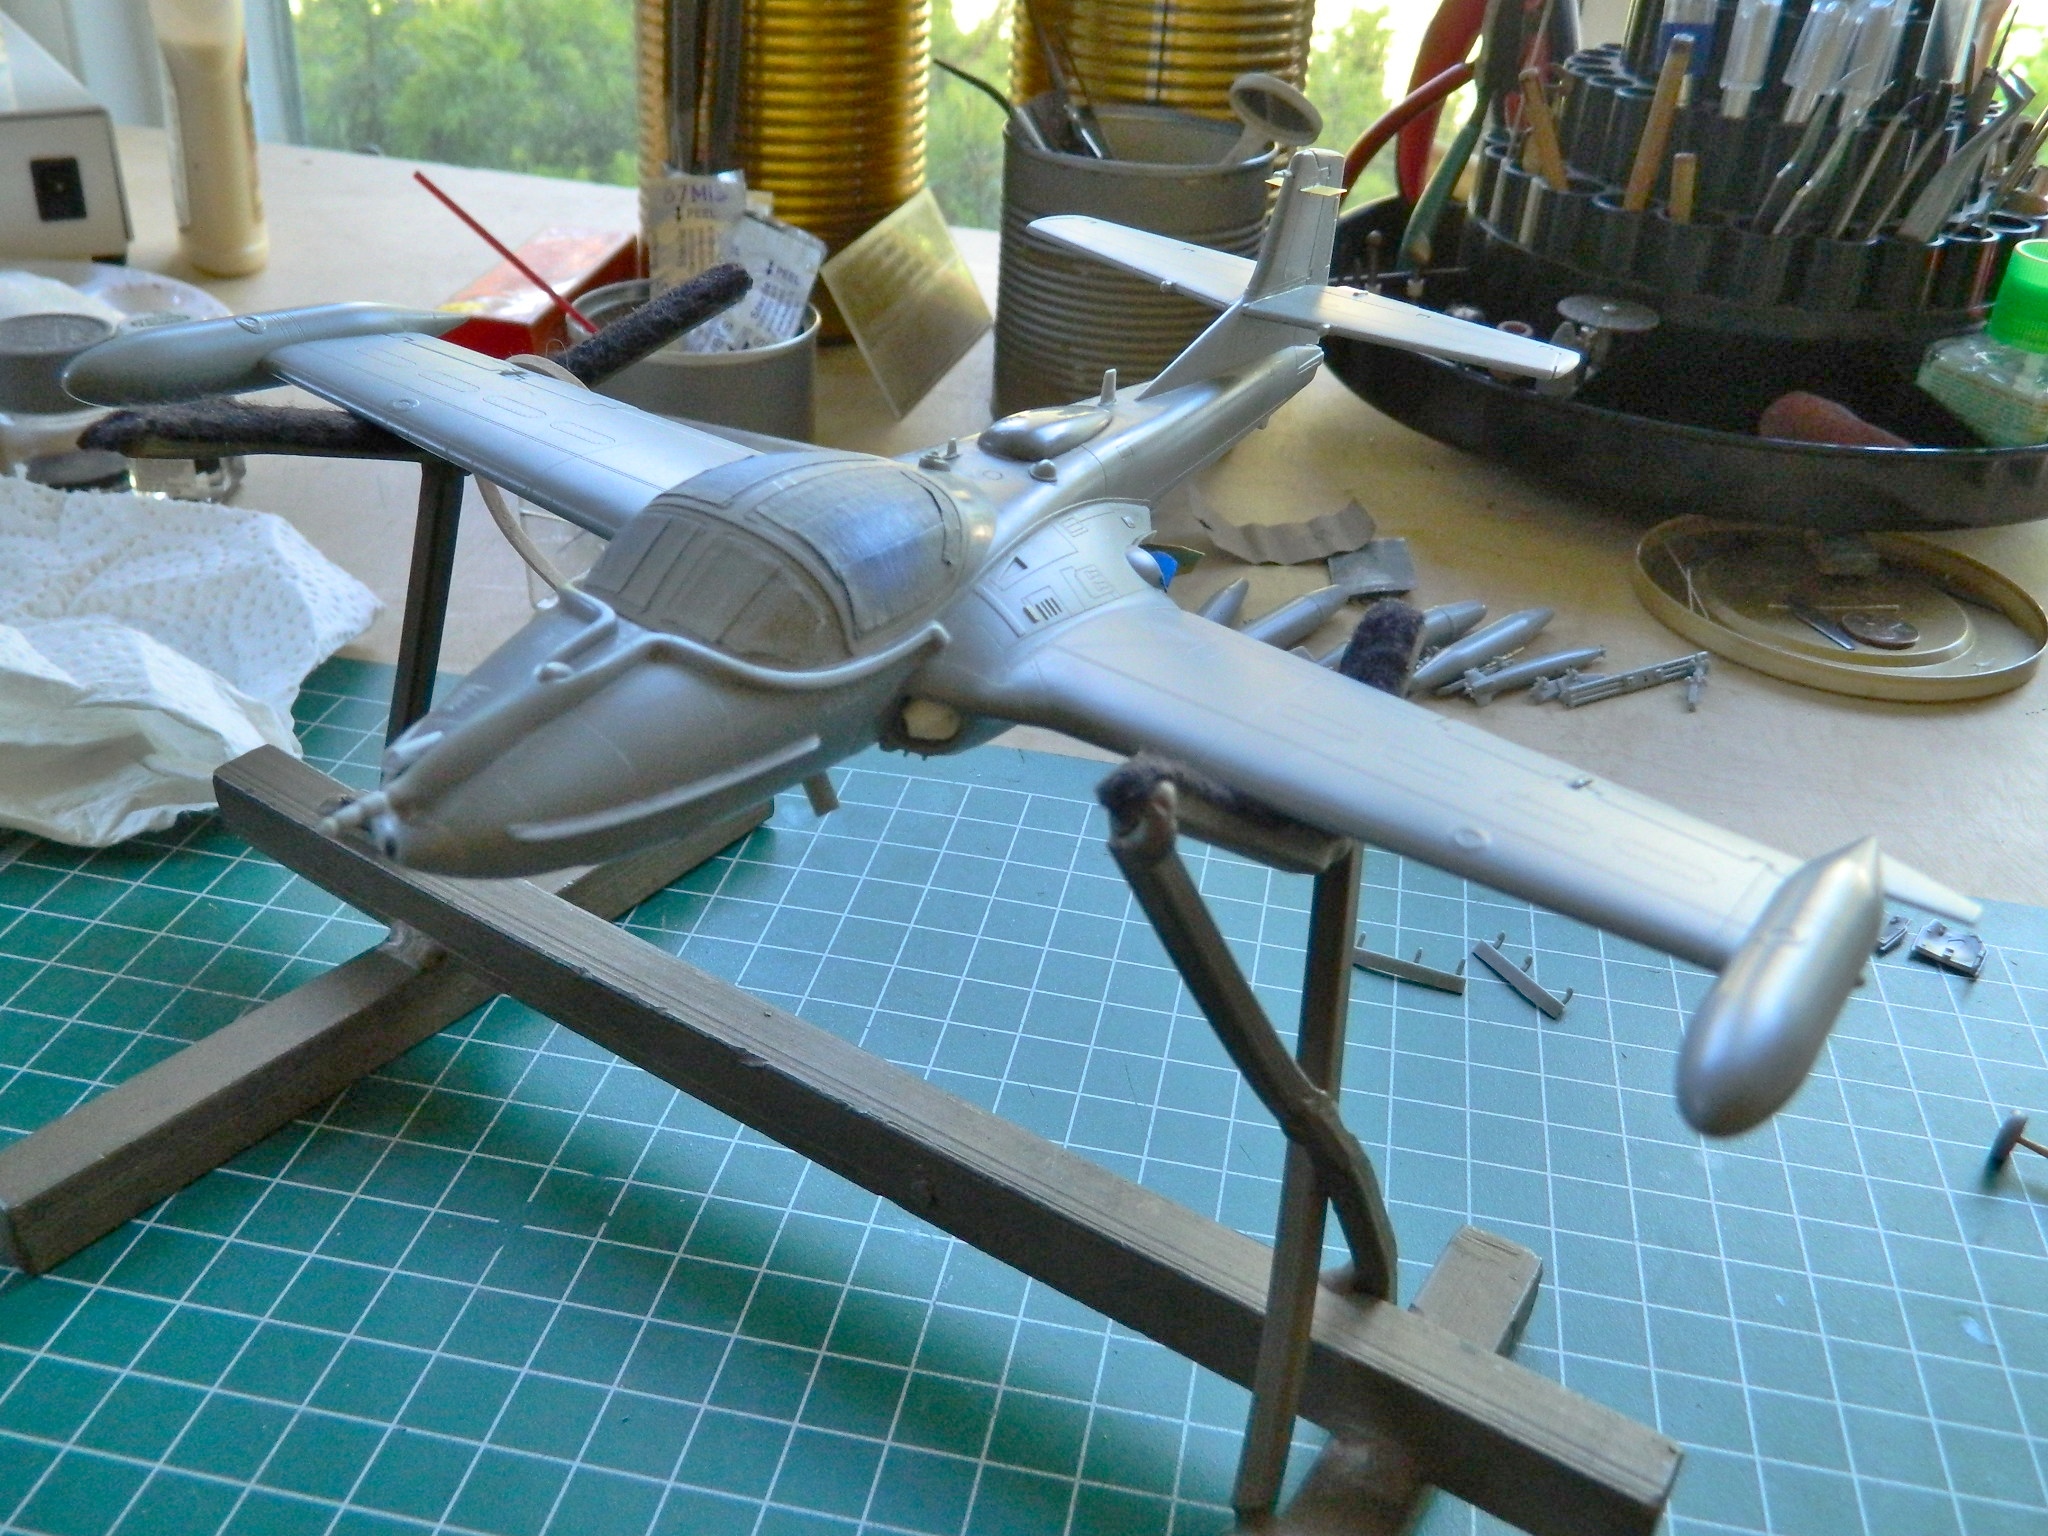
Next is airbrushing…
The smaller the details, the longer it takes to do them. I think it’s because homo sapiens are ill-suited to the task of scale modeling. Think about it. We only have two hands, all ten fingers are either too thick or suddenly turn into thumbs (y’never know when either), the smaller the part we’re working the more we notice our hands are anything BUT steady, our vision doesn’t self-magnify…and the list goes on.
Today was small details.
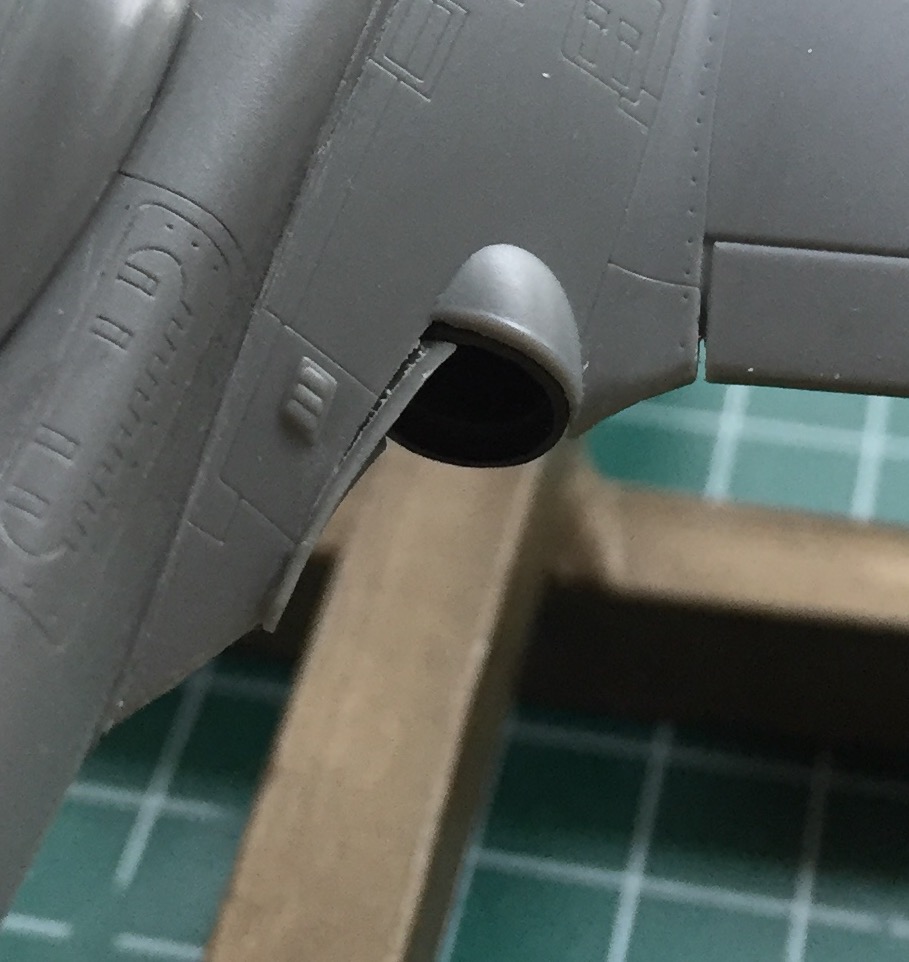
I started by fixing the exhaust deflector on the right side. The left side fit perfectly. It wasn’t until I’d glued the right side in that I realized that it didn’t quite fit (see the Glossary for “brain fade”), so that got fixed:
Scribing panel lines raises little “feathers” of plastic. Being lazy, rather than chase them all down, I use a small amount of styrene cement and painted the scribed lines. The glue causes the tiny feathers to dissolve into the plastic and vanish. The “rivets” were mostly sanded away during the fitting of the intakes (and in a few other places) so I replaced them with a small drill as well:
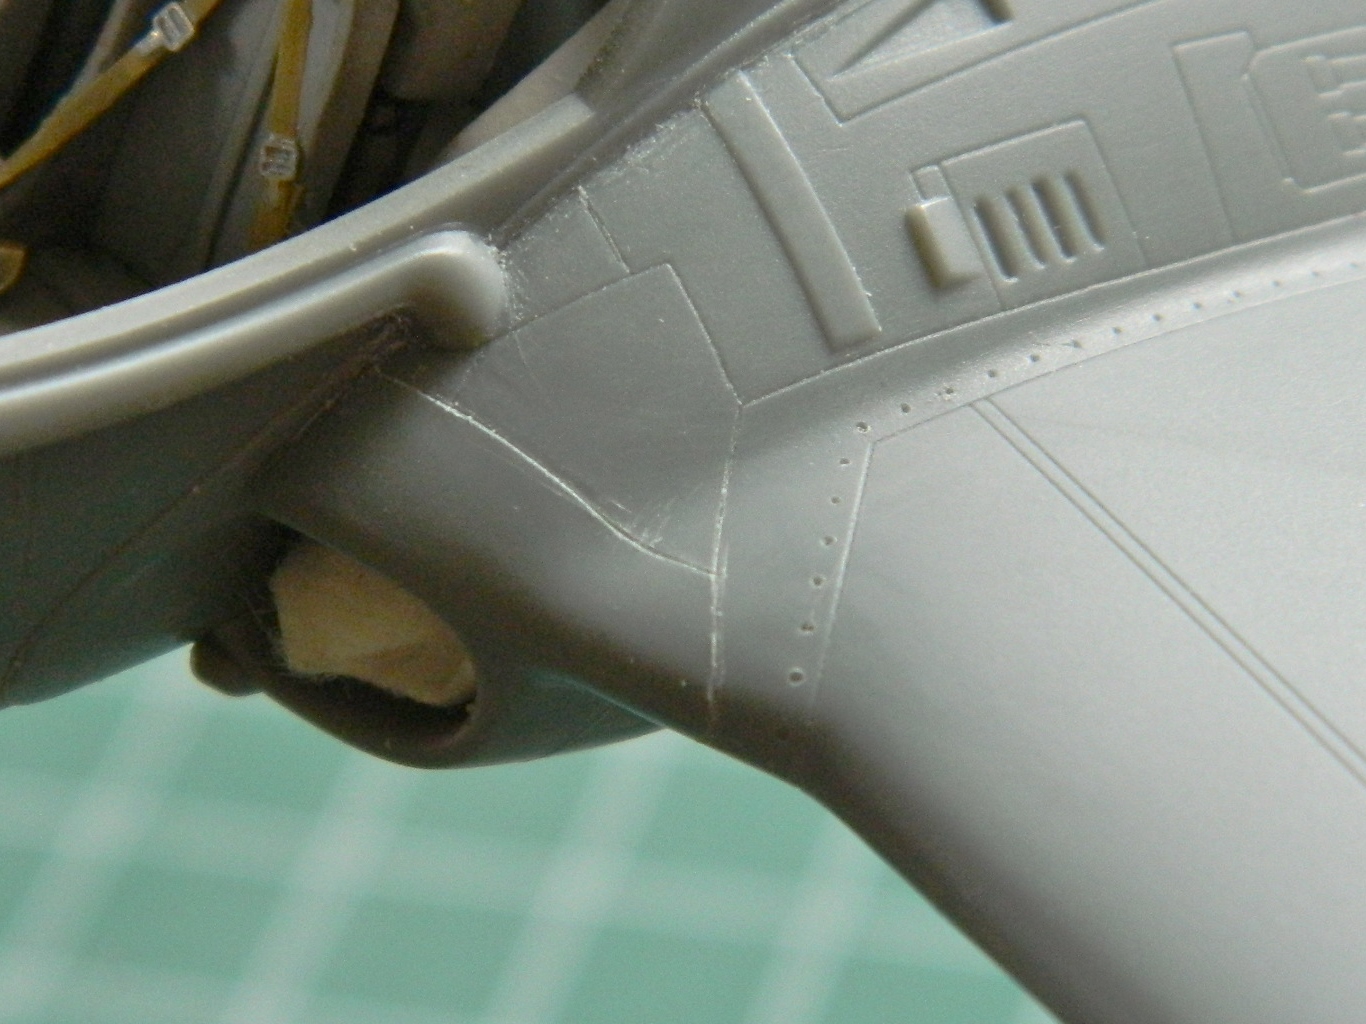
While I was looking at panel lines, I realized the strakes on either side of the nose didn’t have panel lines across them to match the panels underneath. I checked references and yup…they should be there, so I added them:

One of the interesting things I noticed was that the panel lines that wrap around the leading edges of the wings don’t match up. I sanded away the ones underneath and rescribed them. Later on, I noticed the page with the load call-outs a saw that the mistake was also done on the printout:

In drilling the antenna mount behind the cockpit, I dropped the pin vise and snapped the bit. I have extras of the bits that are easy to break and thought for a second I’d use the broken bit as the antenna. If this build wasn’t OOB I’d have done that. But since the bit wasn’t included in the box, I stretched a piece of sprue (it was included in the box) and used that instead. Since I’m making the aerial removable, instead of painting it with acrylic, I used enamel instead because I find enamel more durable. I dipped the sprue in the bottle of black enamel and set it aside to cure:
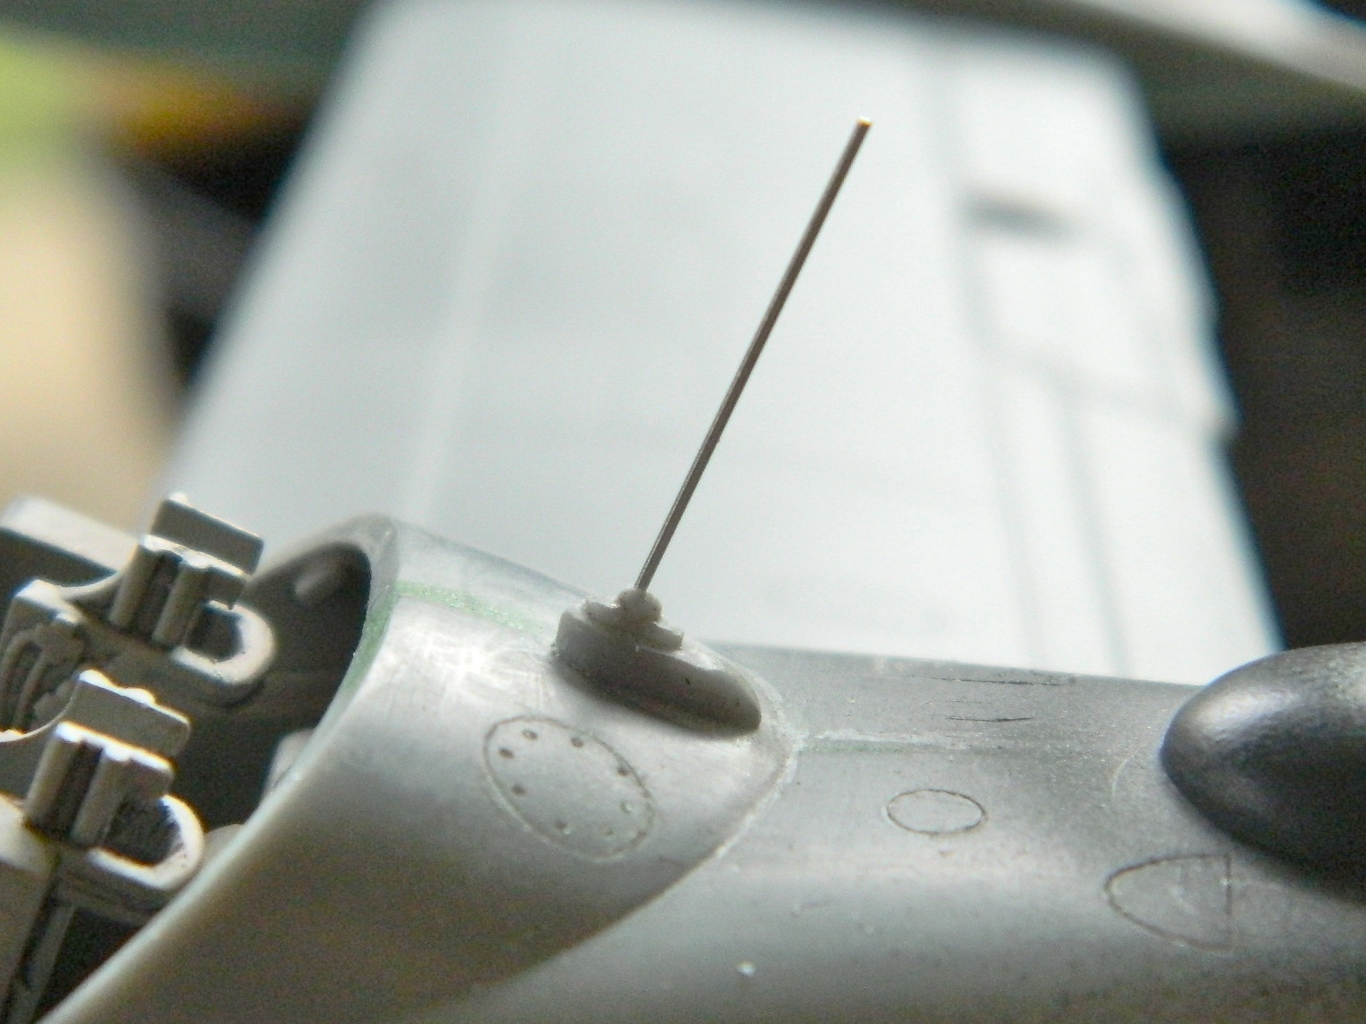


I wasn’t pleased with the paint job on the black dorsal hump. The edge of the white primer underneath could be seen under certain conditions, so I stripped the paint off. I also added other antennas and a vent to the top. Of course, once I’d added the antennas, I didn’t pay attention to where I grabbed the fuselage and laid one of the antennae over on its side. I pried it up, glued it back into its proper place, and tomorrow after the glue has fully cured I’ll rework the surface to remove the marred area:

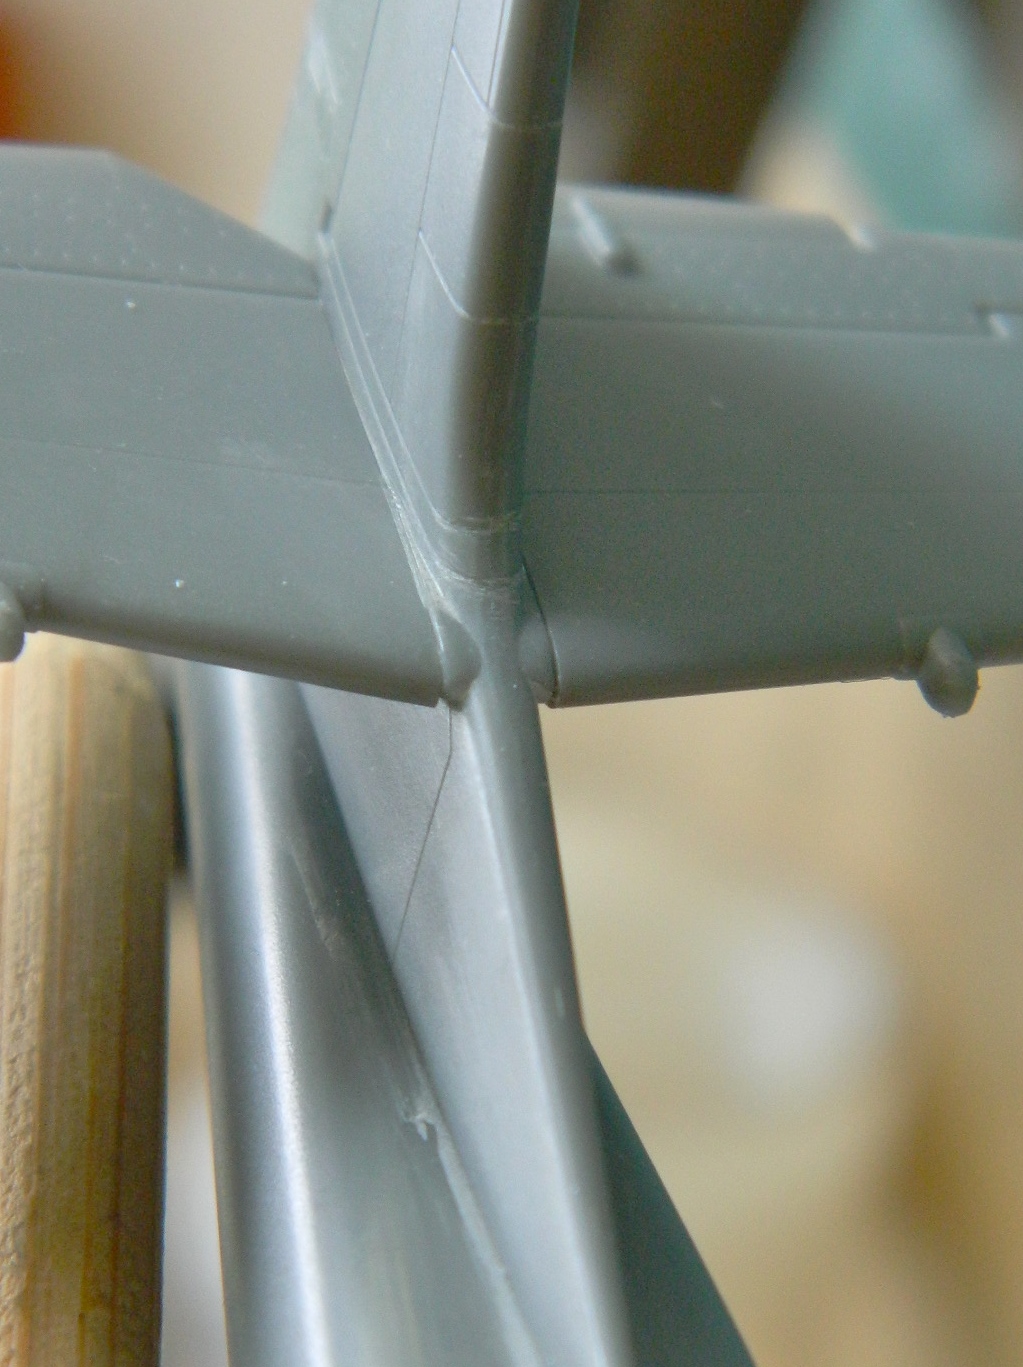
Another fit problem is at the root of the elevators and that still needs to be fixed:
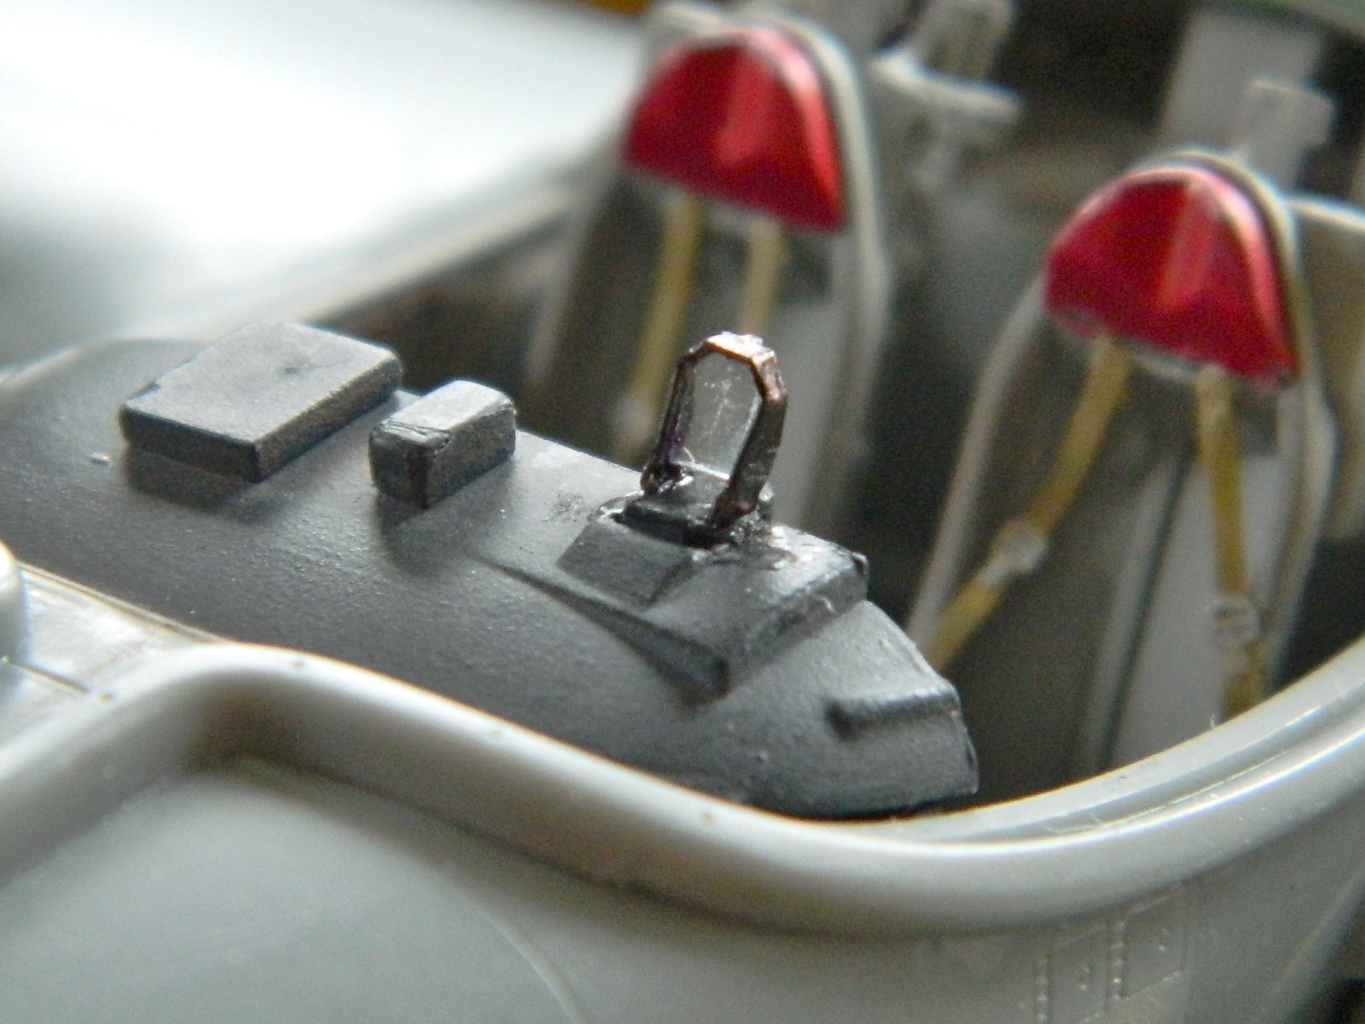
The last thing I wanted to add to the cockpit before putting the canopy on was the HUD. These are the parts I started with:
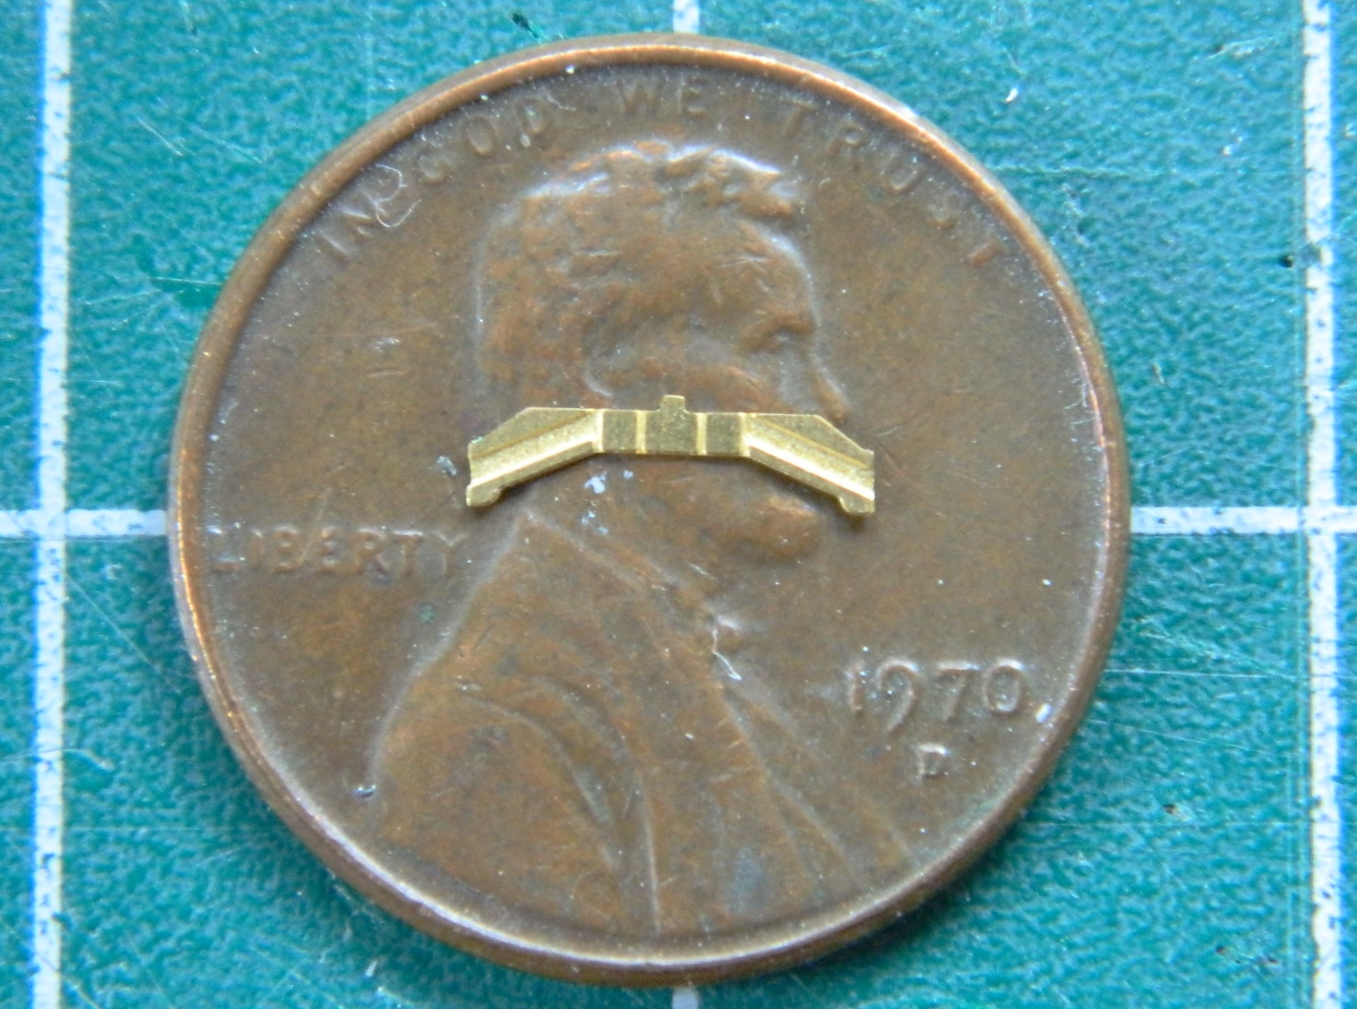
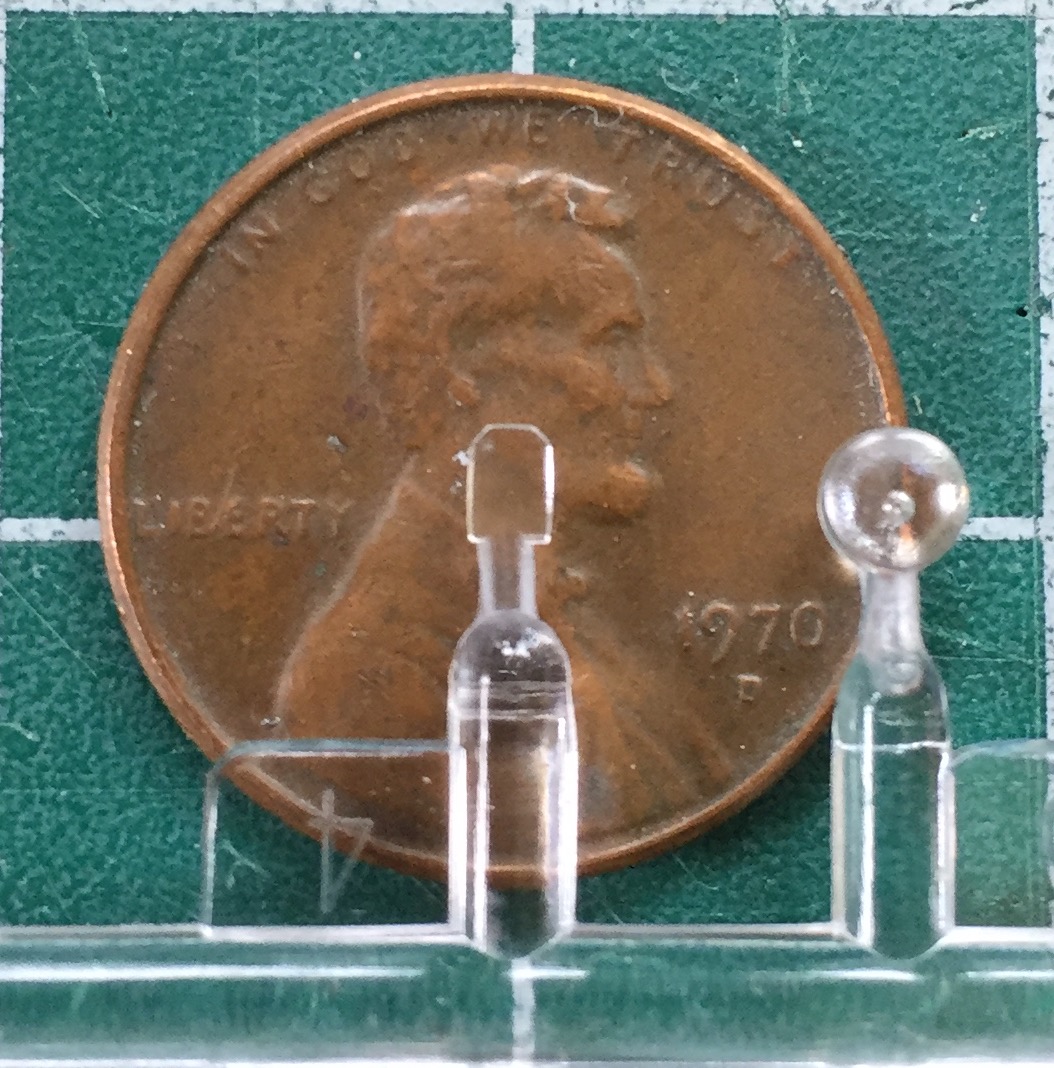
The PE part needed to be bent around the clear part:

And that was the end of the easy part. I noticed that the dimensions were off regarding the slots on the gunsight’s body and those were fixed:

And of course, the paint had to be touched up. While I was thinking about paint, I wanted to blacken the brass PE mount with something other than paint because I suspected the paint would be too thick on such a small part…and a total bitch to do properly. So I used a marker pen:

About an hour later, because it was SUCH an annoying part to get properly aligned, I finally managed to get the sodding thing on and in place:
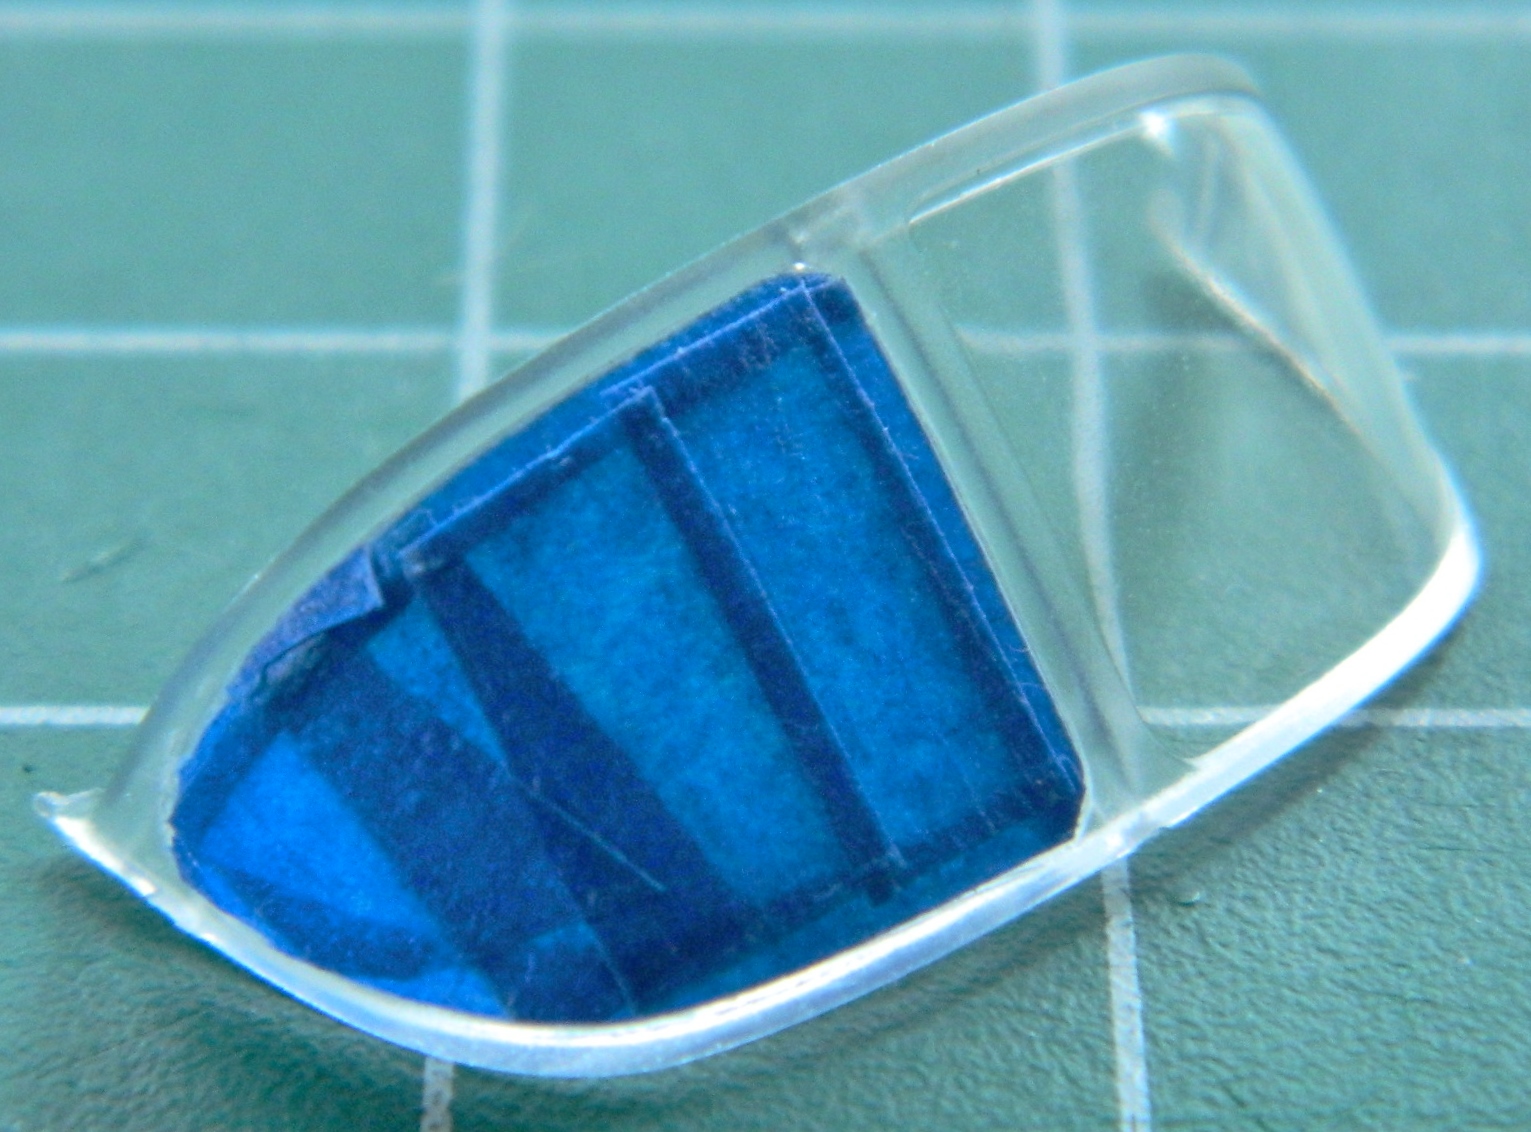
Now to mask the canopies. They’re very nicely done parts…and they have framework on BOTH sides, so that doubles the…”fun”:
I’ll continue this “fun” tomorrow when I’m more rested.
Properly chastised, I made sure things fit this time:


And with that, it was time to glue the upper halves of the wings on and start getting rid of the seams:

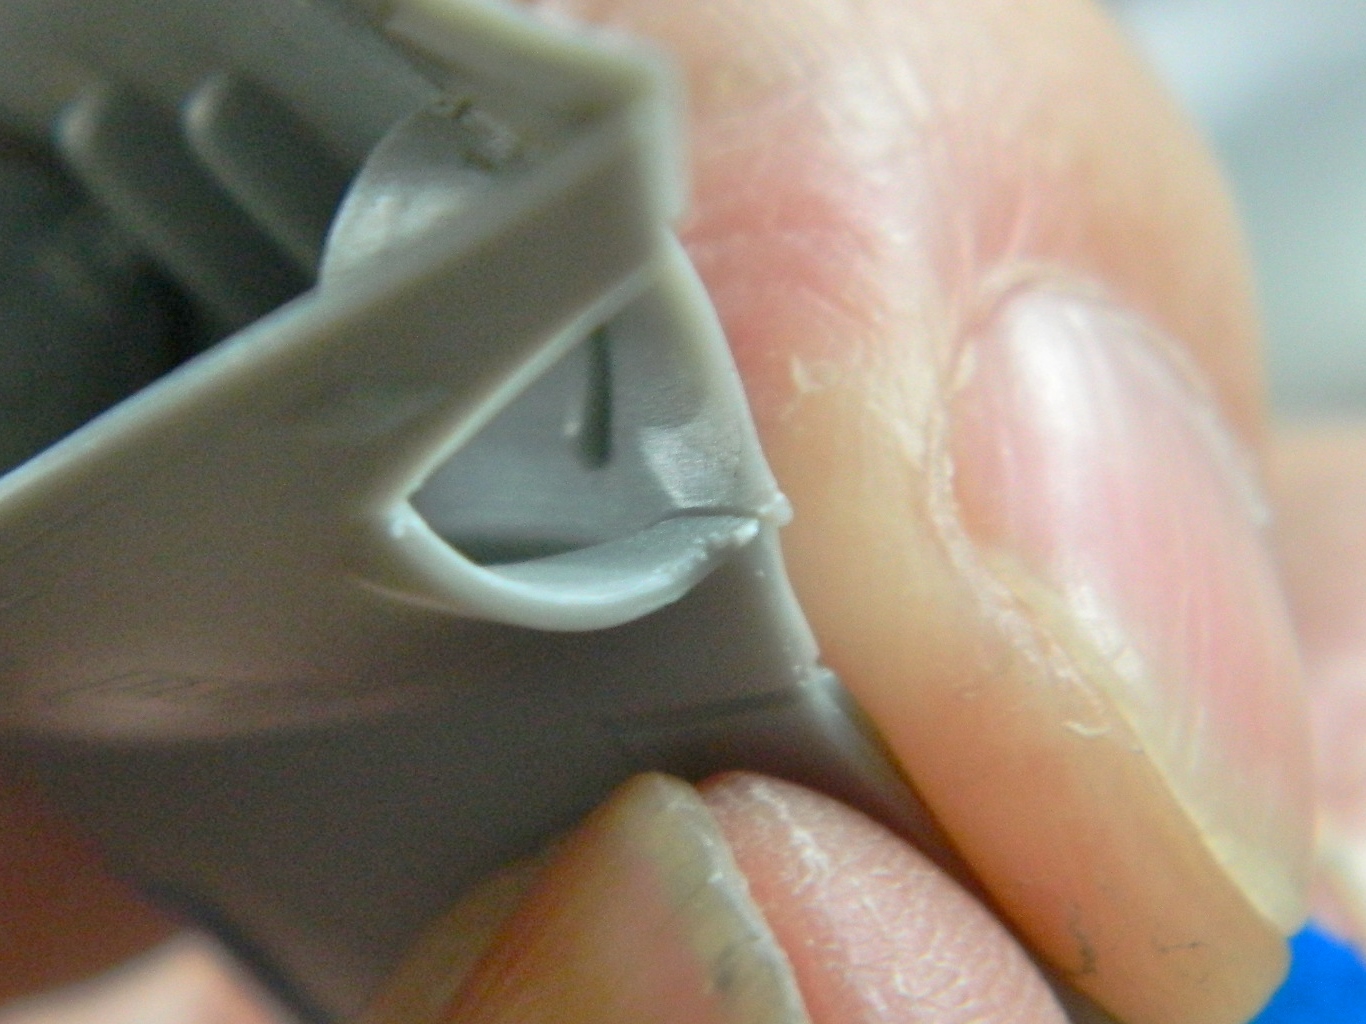
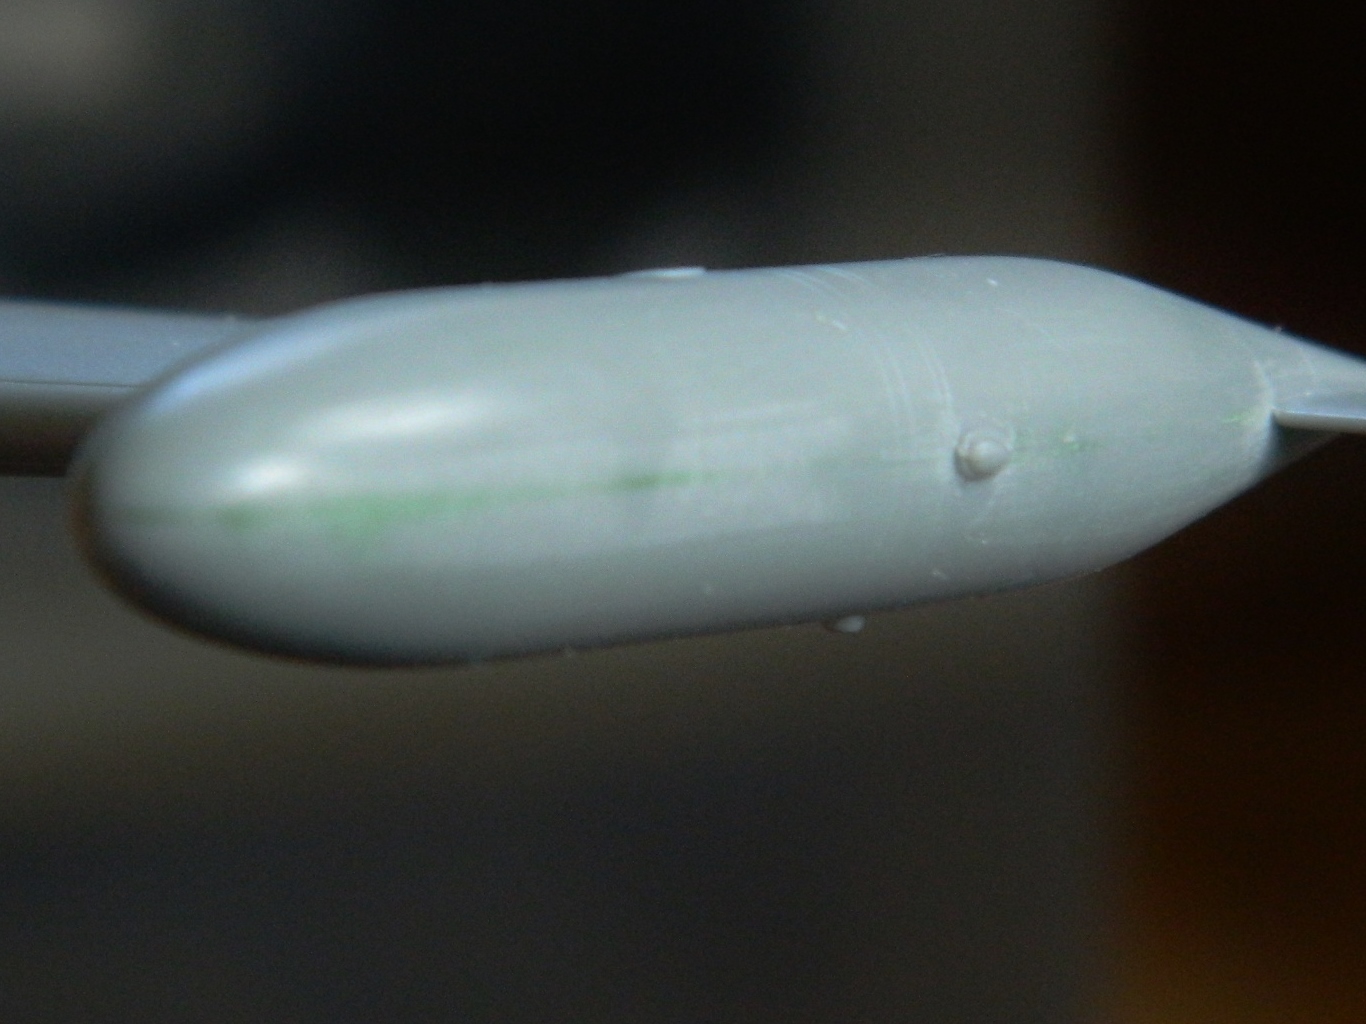
In so doing, I discovered an interesting trick. I was checking a seam with the edge of my fingernail; if I could feel it, I’d be able to see it. I noticed that where I’d slid the edge of my fingernail across the plastic, it removed all the sanding striations. So I tried it all along the wingtip tank and damned if it didn’t do just that:
Now that trick will end up being quite useful someday! (Probably tomorrow.)
Done with patting myself on the back, I worked the seams until they were gone:

I cut away where the control surfaces should have gaps that the model does not.
Before:

After:
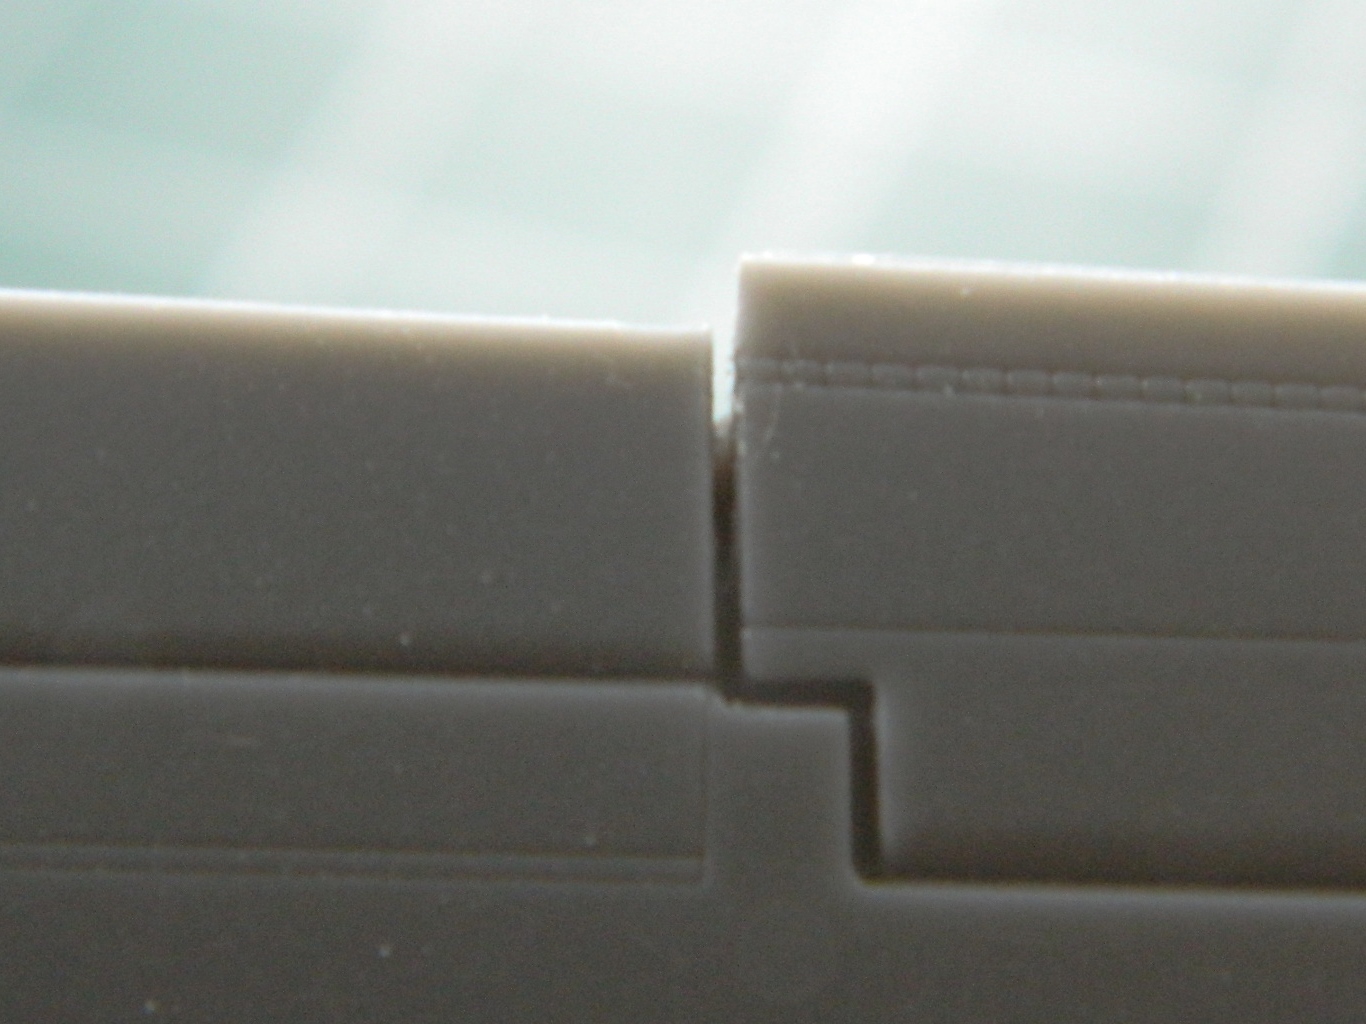
At the end of the nozzles, the wings are supposed to come to a sharp point…but they don’t:


I cut the areas flat to allow for a greater surface for the glue to work on and tried two ways of adding more plastic; a piece of scrap (top) and a piece of stretched sprue (bottom) to see which would work better:


I’ve learned that though the glue seems to set completely in about a half an hour, it doesn’t, really. Trying to work it (shaping or scribing) shows that the plastic is still not completely hardened. I set the wings aside overnight to let it cure completely. The next day I went back at it and ended up with something acceptable. That done, it was time to attach the wings to the fuselage. Fitting showed me an uncharacteristic (for this kit) fit:

I glued .010″ (.254mm) styrene to the face, let it sit for a bit, and once trimmed the fit was much better:

While I was waiting for the glue to set up firmly enough to trim, I touched up the paint on top of the instrument panel coaming:

There are strakes on either side of the nose. The kit has them molded a bit too thick and rounded, so I covered the surface to keep from damaging surface details and thinned them a bit and sharpened the edge a little:
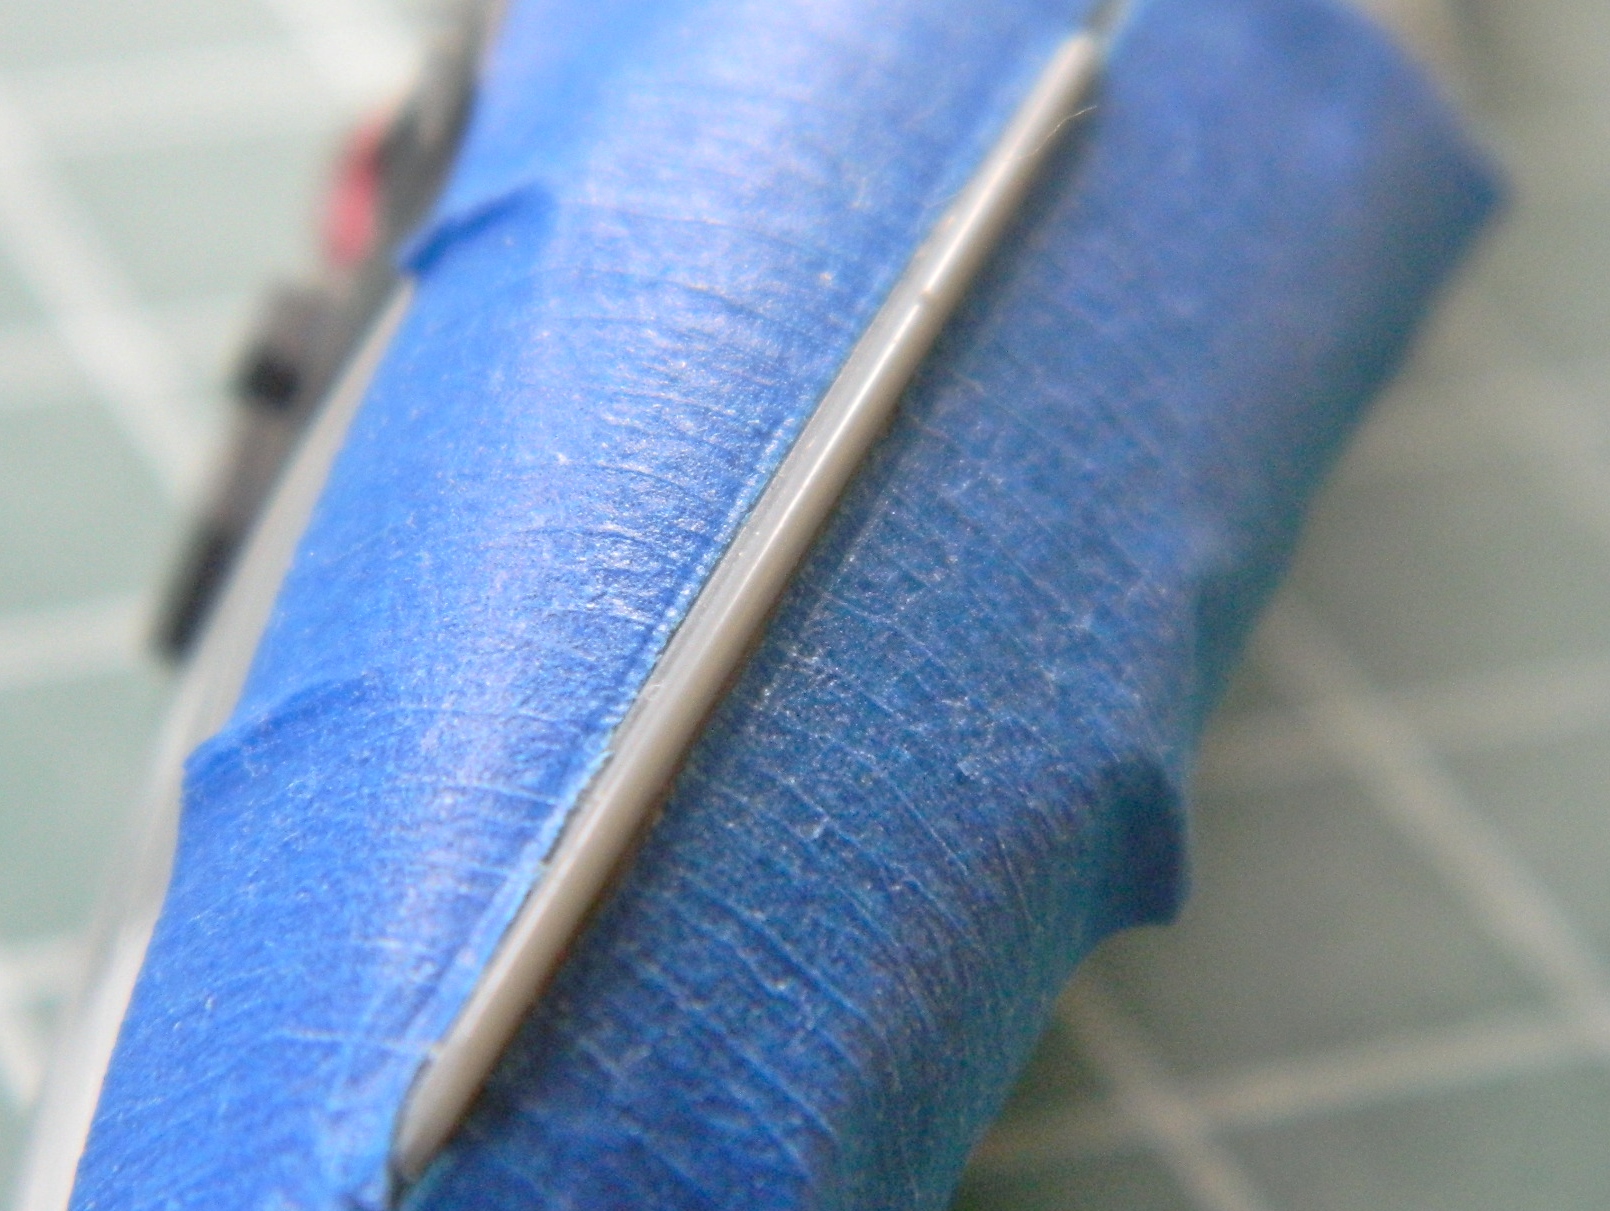
I added the nose, elevators, and intake frames:


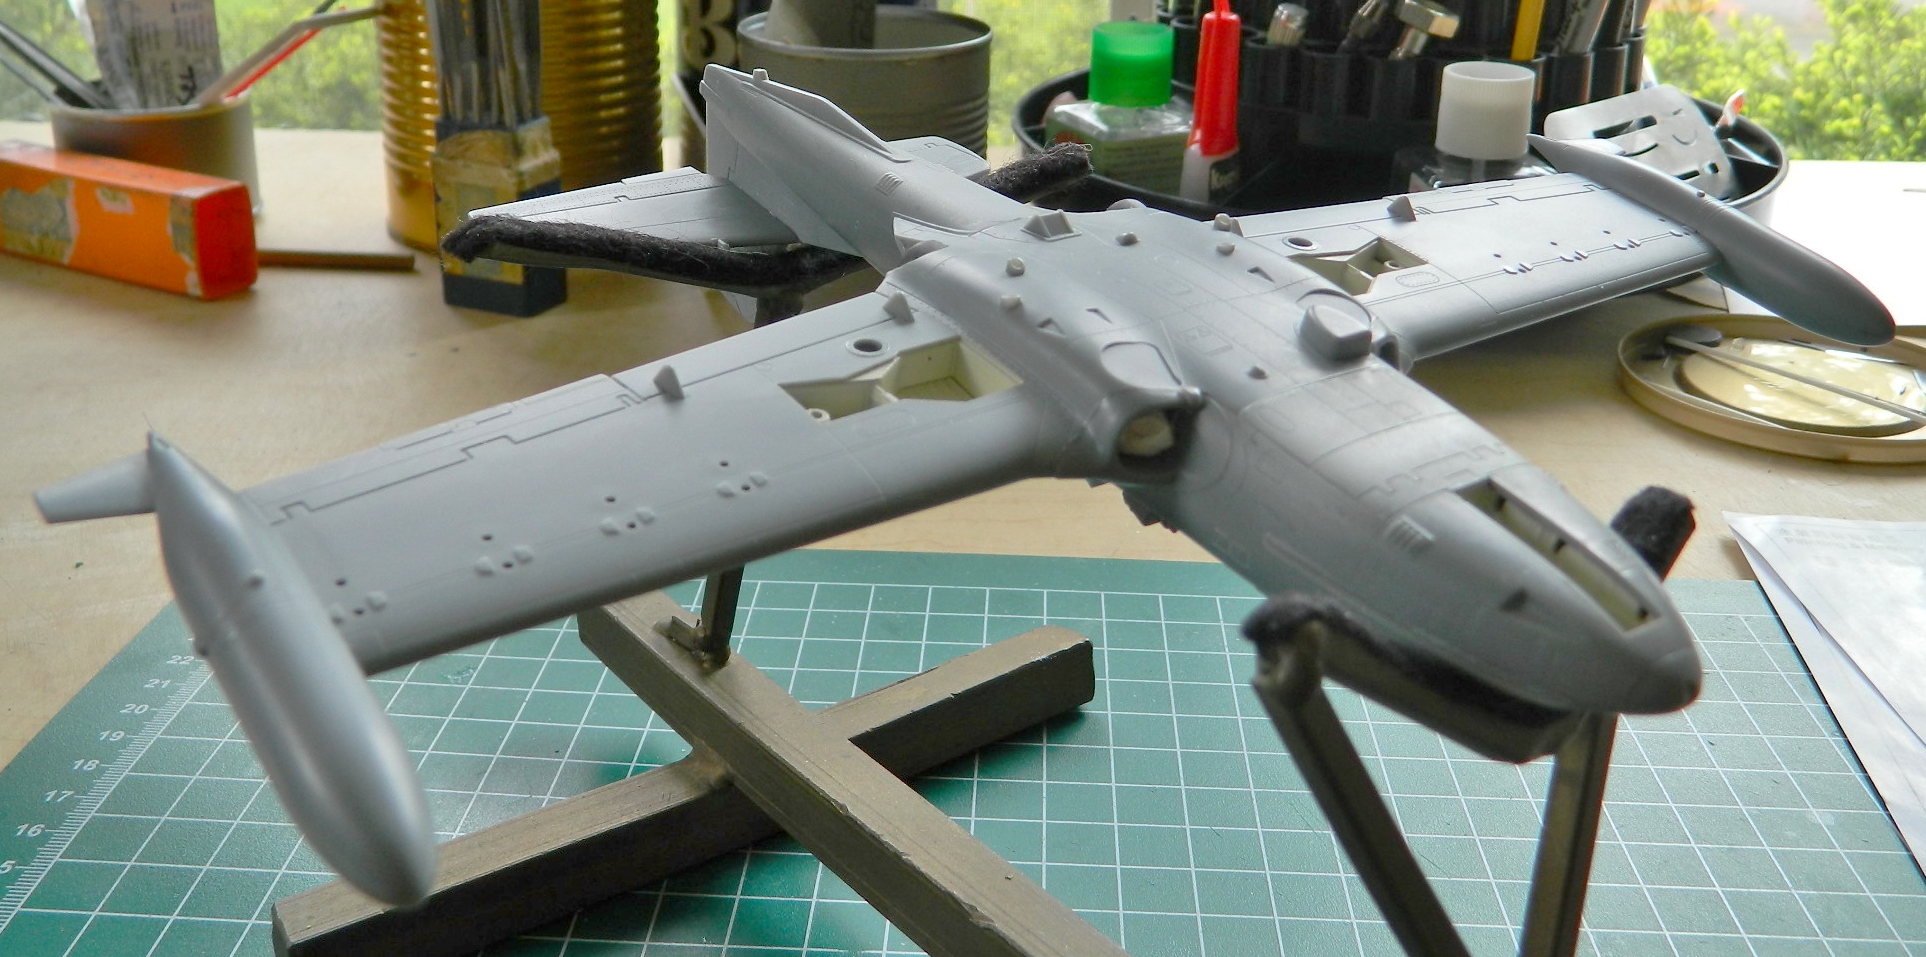
With the wings now on, I started adding other parts that wouldn’t be too fragile to handle during the rest of the assembly. The lines for the in-air refueling probe needed some work and a little shim at the nose to fit but that went on:
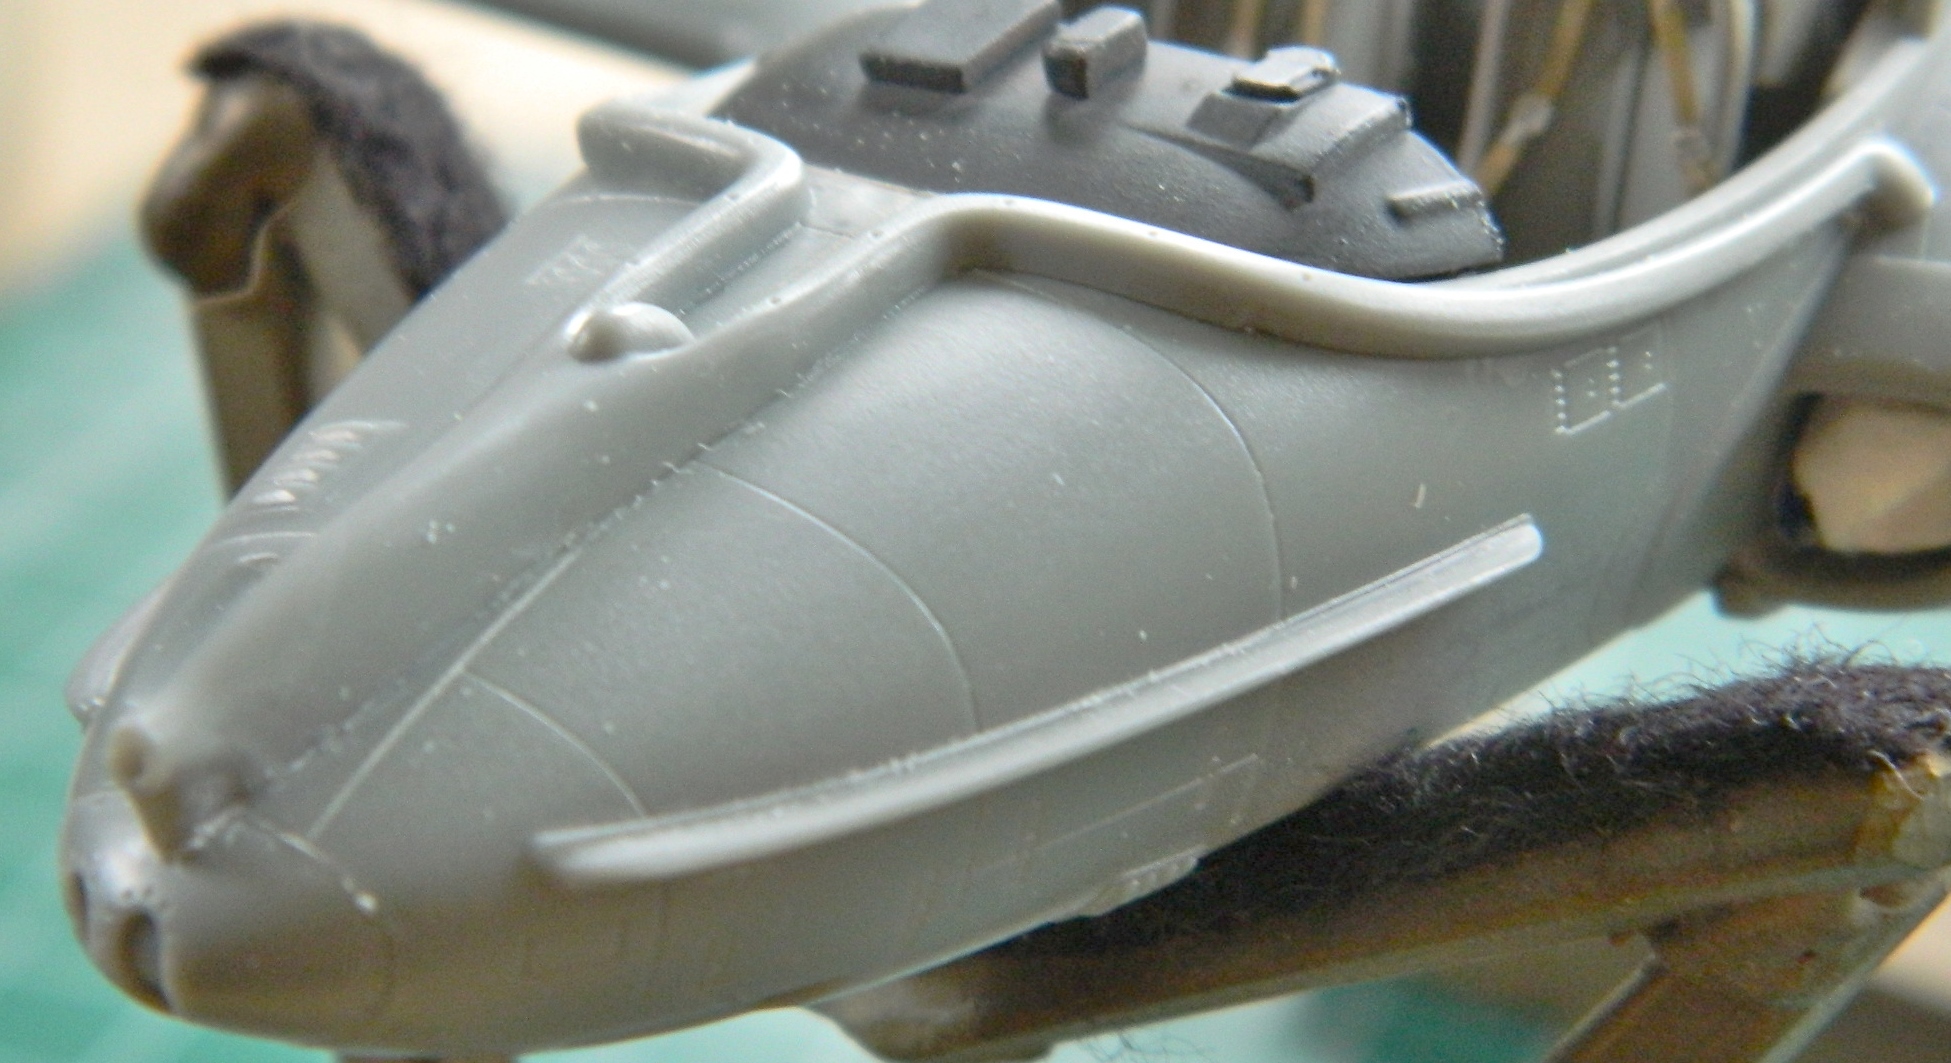
As did part of the exhaust deflector assembly:

A lot of work went into very small areas cleaning up where dissolved plastic had bubbled out under pressure. Almost as much work went into making the intake frames fit:
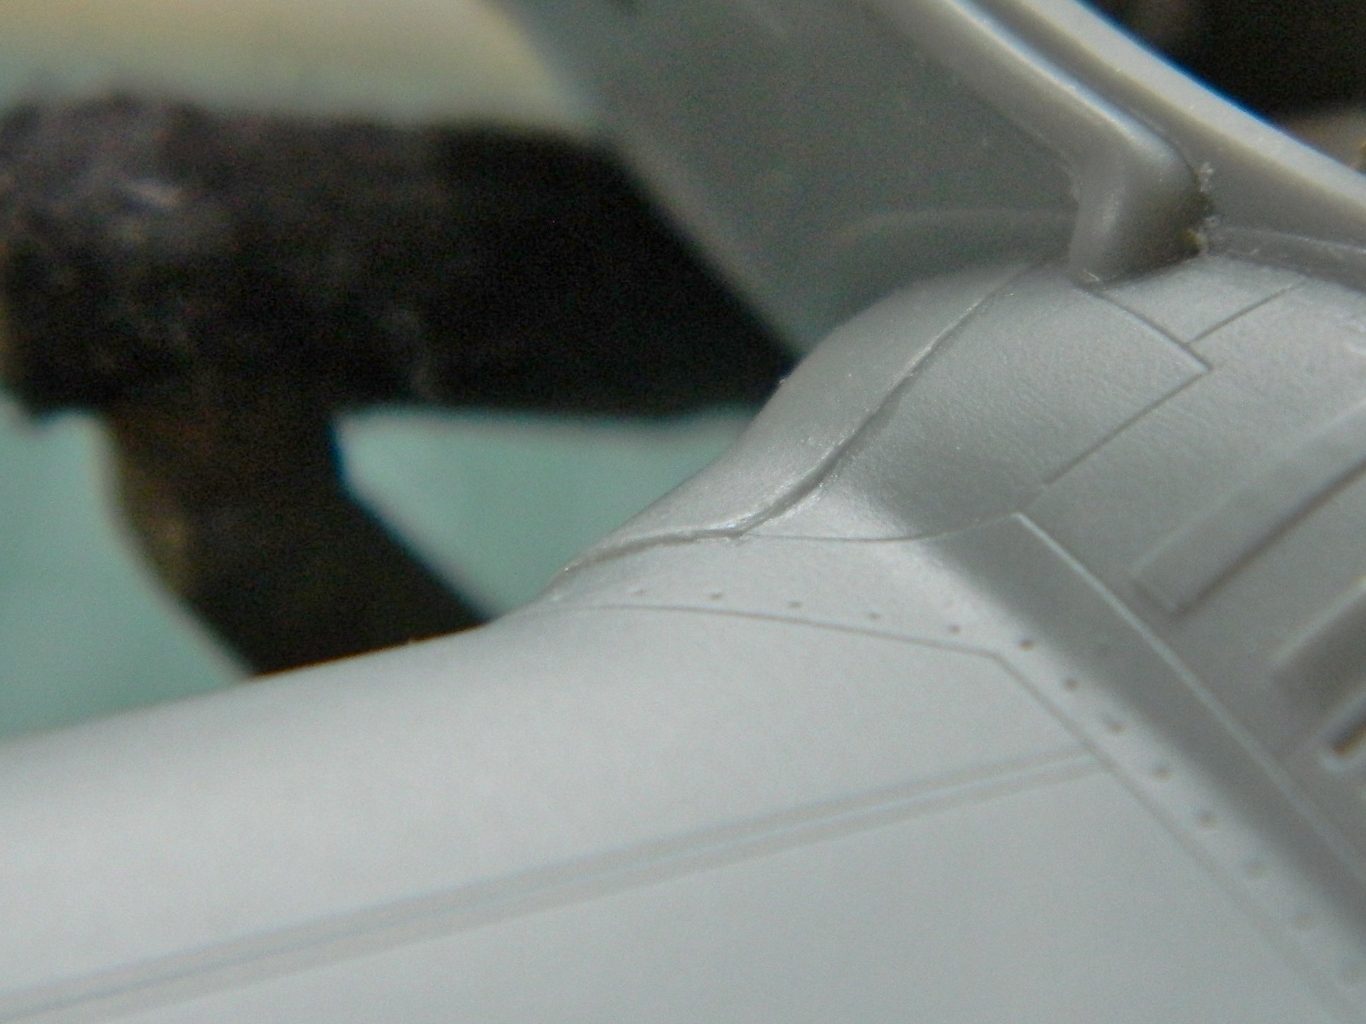
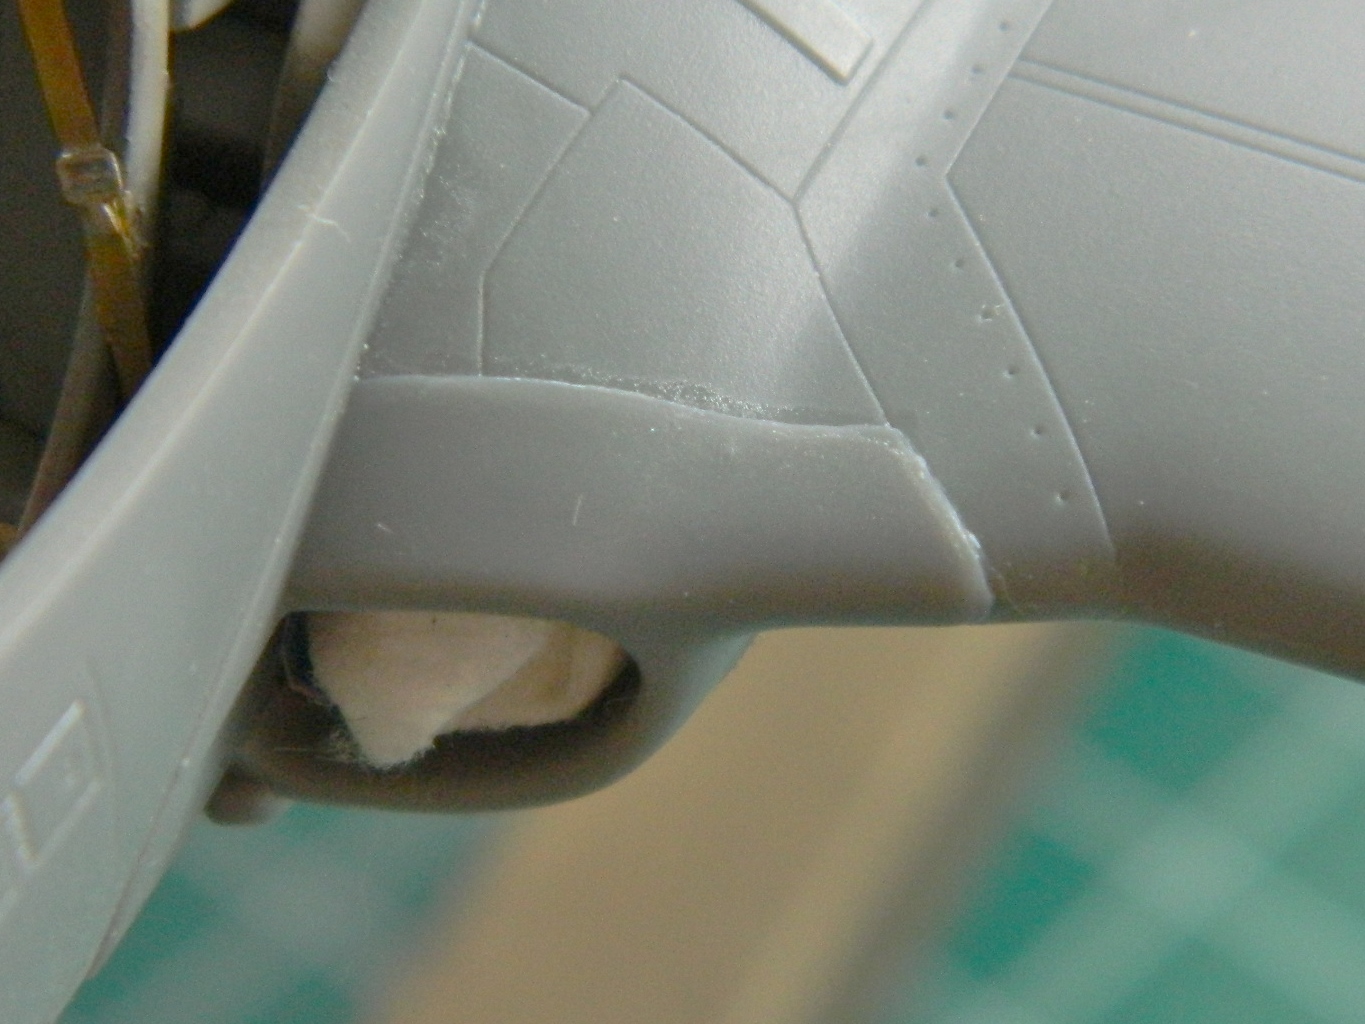
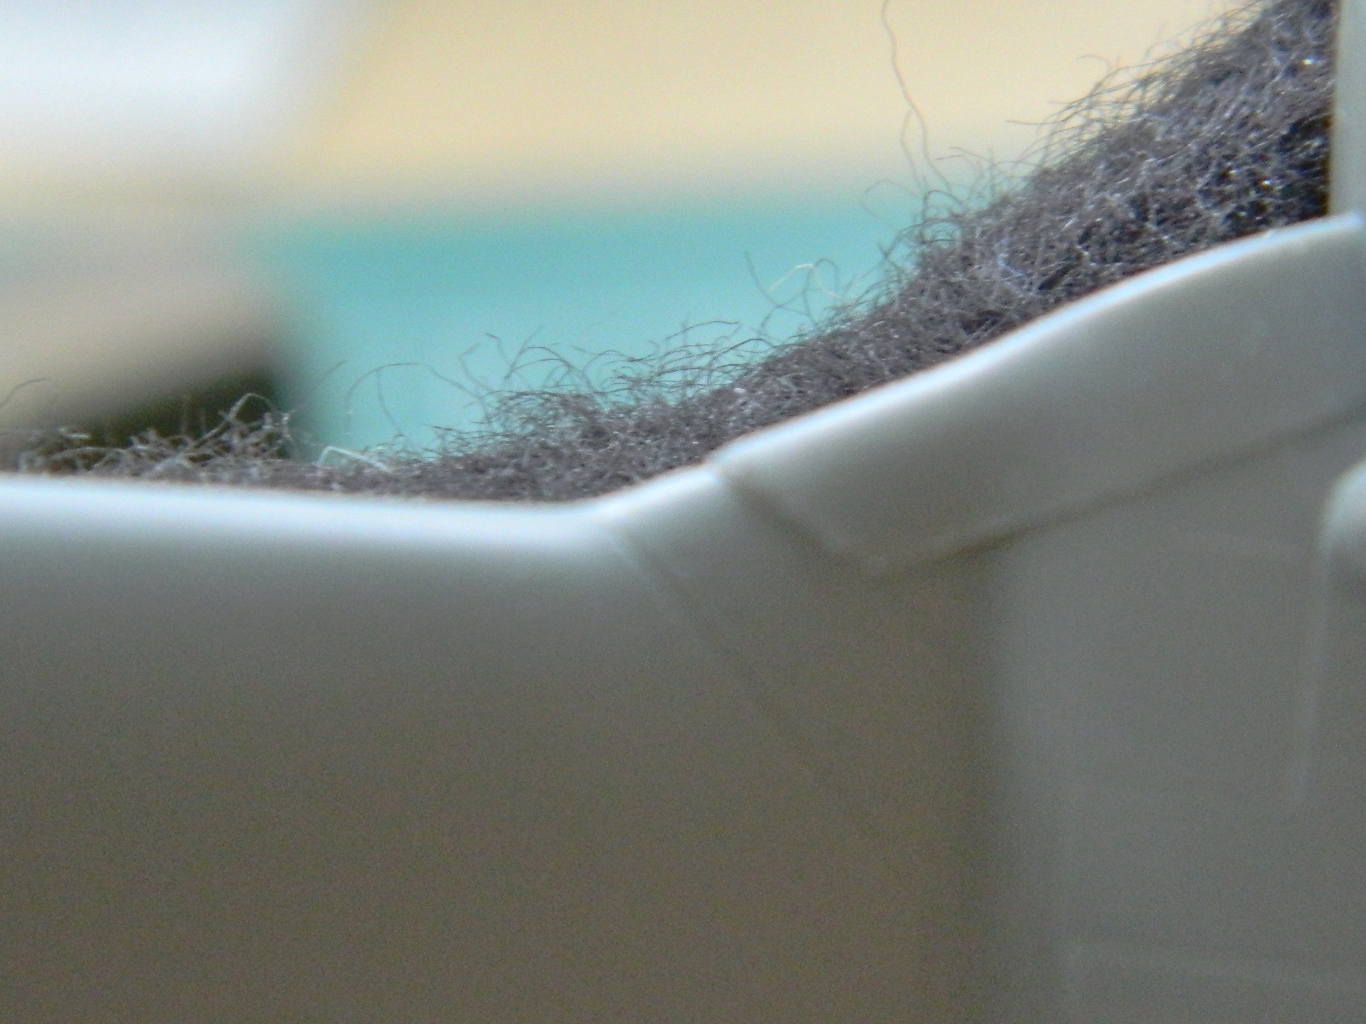
But fit they did:

Since I need to rescribe the lines of the intakes, I’m letting the work sit overnight for the glue to fully cure before I go at these areas with scribers.
In my Wild and Misspent Youth ™ a few decades gone, one of the many things I’ve done was to run a small karate school. I used to emphasize to my students, “Be careful of confidence…you could end up not taking proper care.” The keynote here is, not taking proper care.
I was confident with this build. It’s out-of-box so what could possibly go wrong? When one is confident, it will be something one does not see coming… (And when one asks, “what could possibly go wrong?” it’s not uncommon to find out.)
It started well enough. Hitting the seams with flat white showed me the places that still needed attention. Sanding. One of the downsides to sanding is that yes…it gets rid of what you want to go, but it also gets rid of what you don’t want to go. In this case it was some finely recessed panel lines and those will need to be rescribed. However. I am NOT very good at rescribing panel lines (or even scribing them in the first place, which is why I ordered a scribing template from the Ukraine, of all places). I am PARTICULARLY bad at circular scribing, so of course that’s exactly what I need to rescribe and OF COURSE it’s right on top where they’re easily seen:
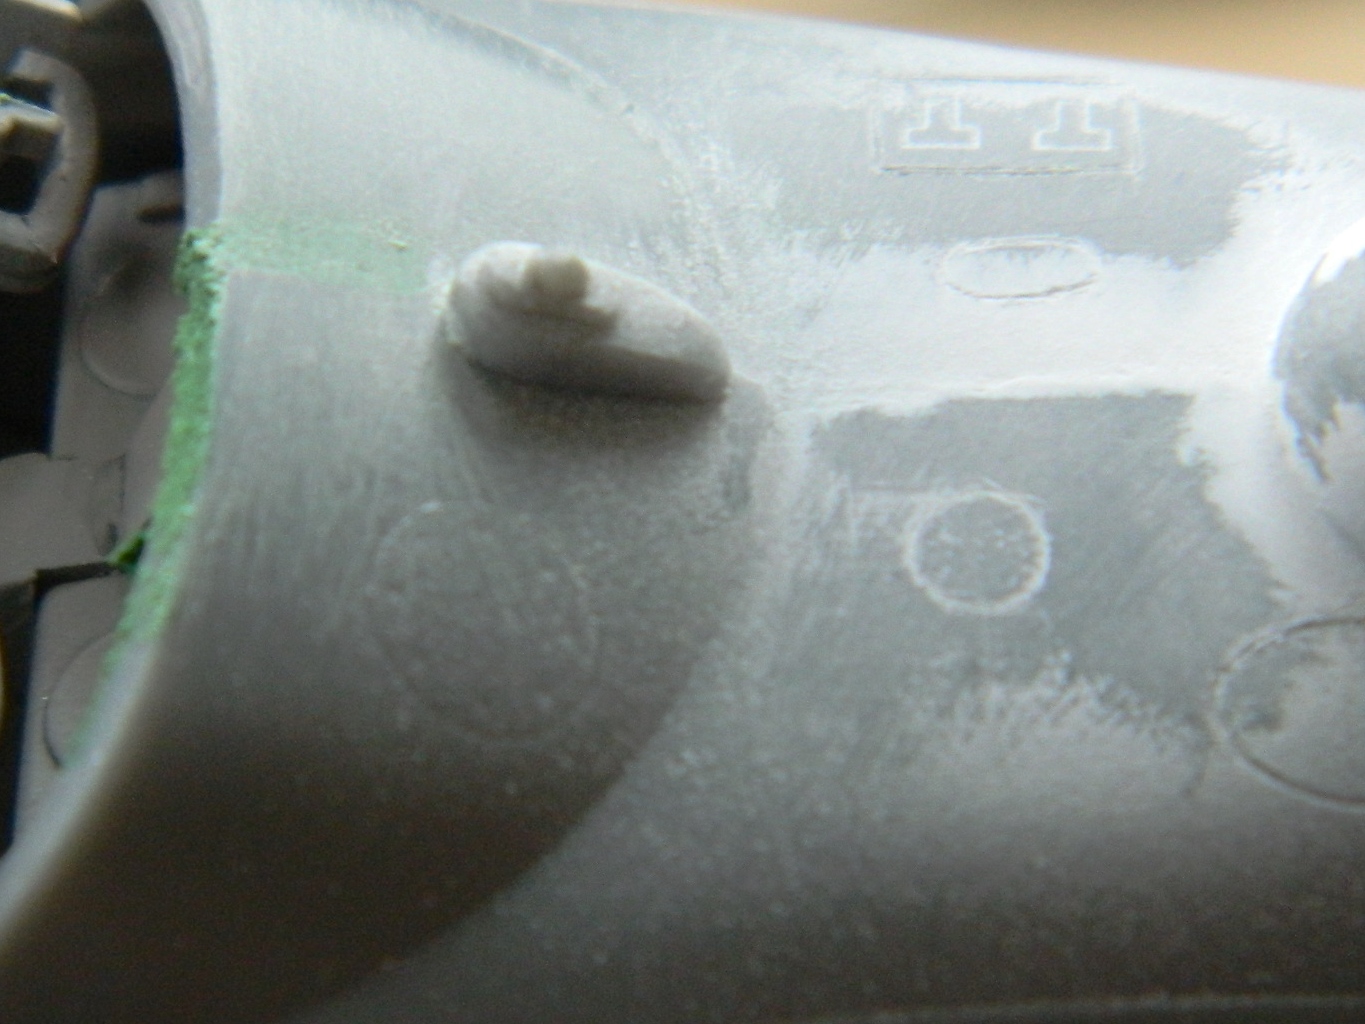
Rather than wait for my scribing template to arrive, I decided to make one. I got out my punch and die set and made circular templates from .005″ (.127mm) copper shim stock:
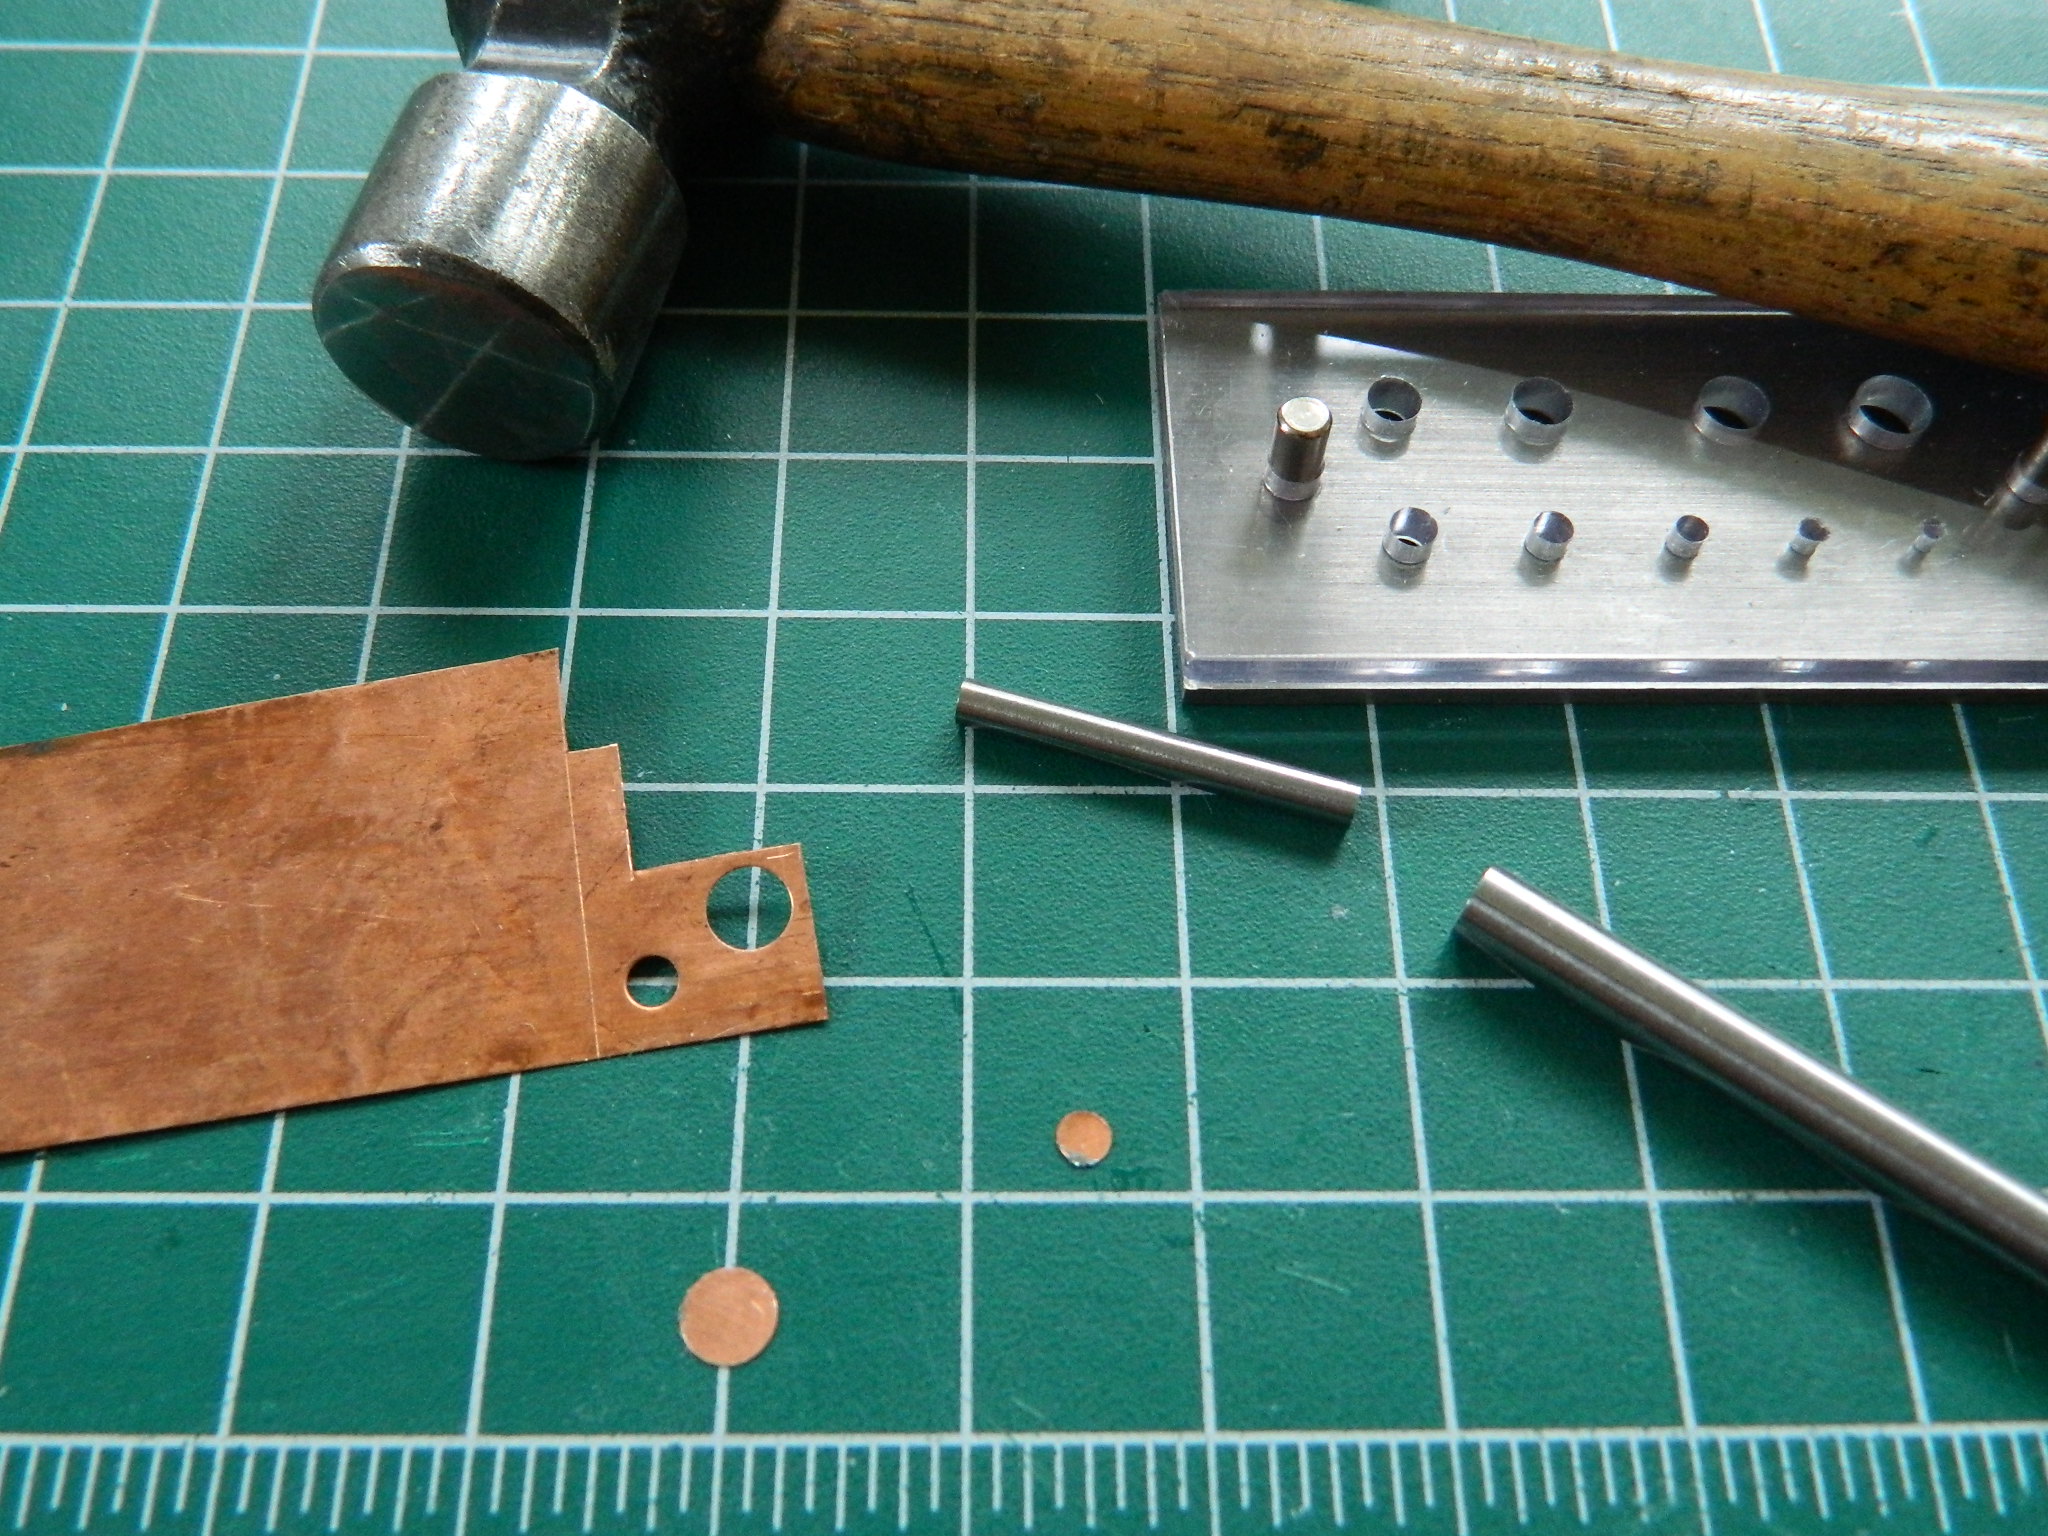
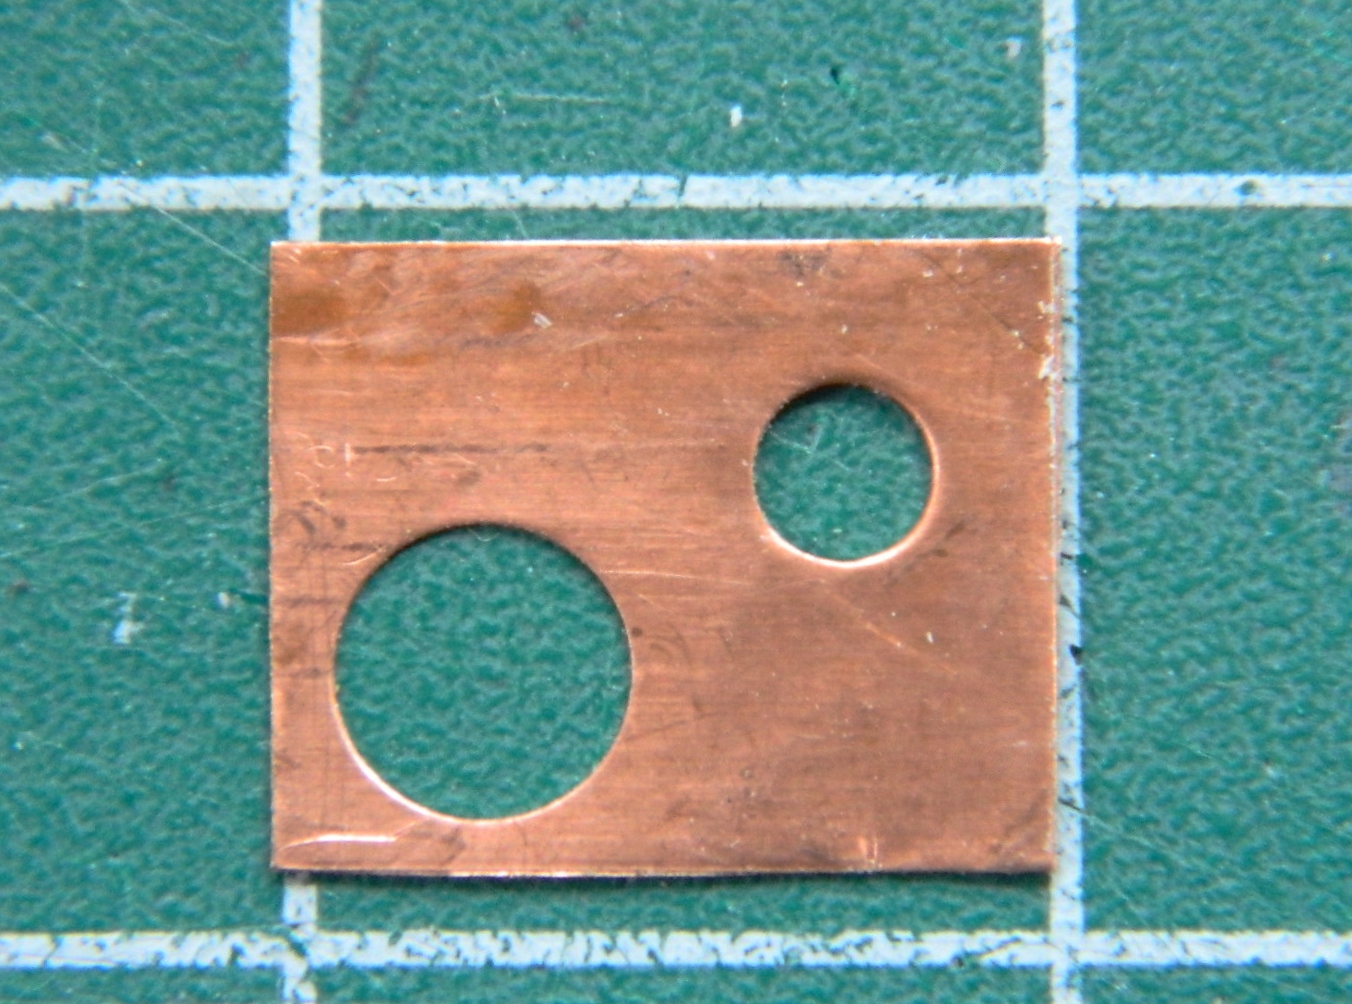
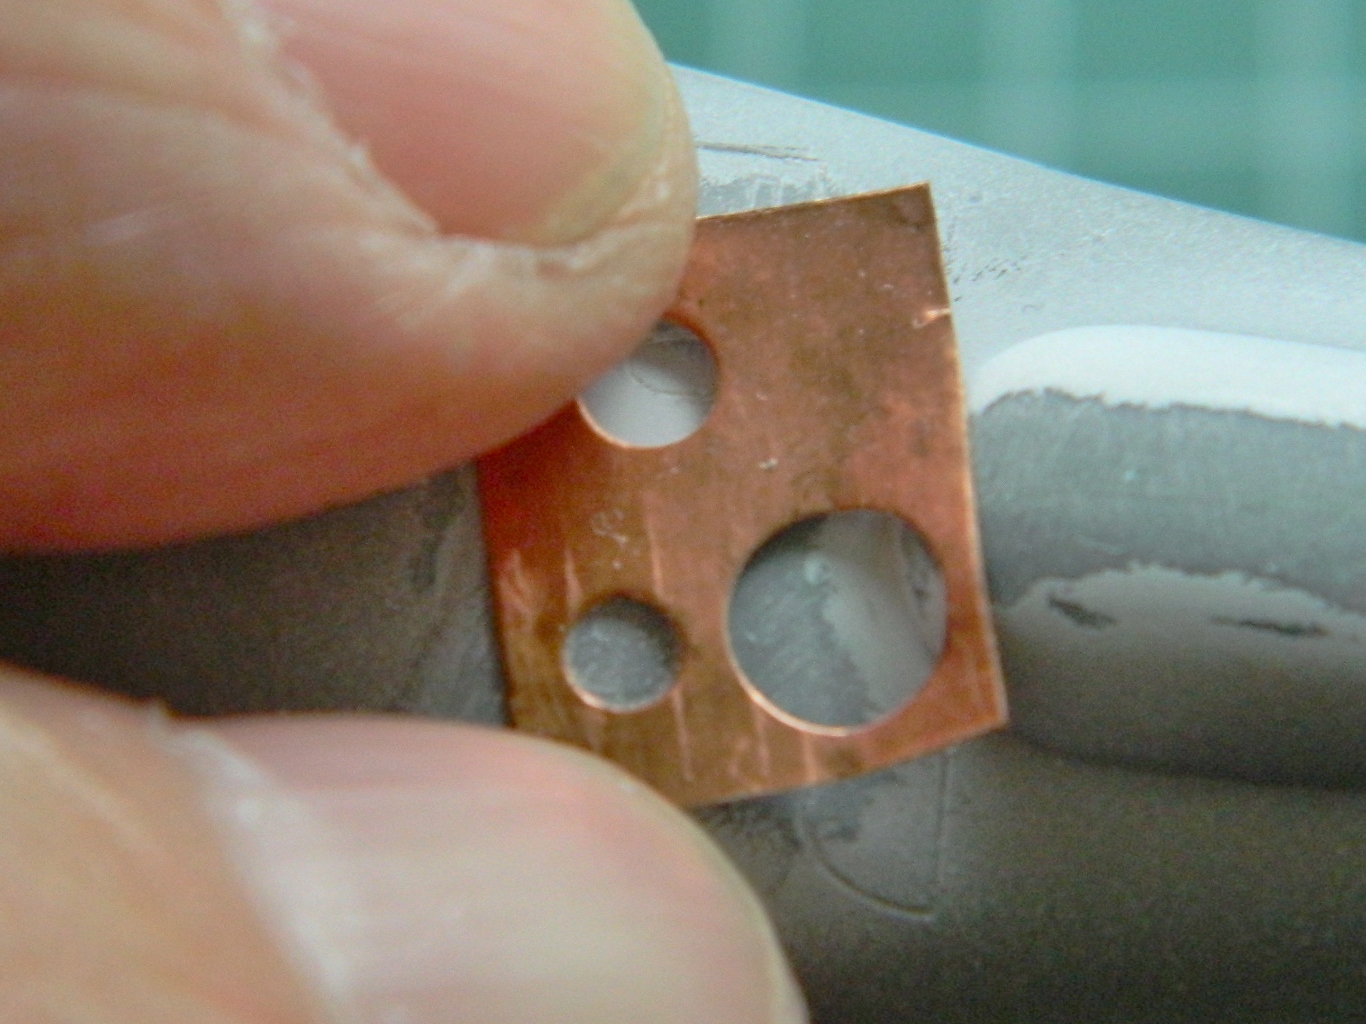
Worked just as I’d hoped. Excellent! Well, let’s get down on these engine intakes and exhausts and get this wing assembled!
Well…I was too confident yesterday. I thought I knew what I was doing (yes…that’s gotten me into the ER on occasion) and it turned out I was incorrect. When I went to put the exhausts in place, they didn’t fit. Hmm…they should fit… I wonder why they don’t? I looked at the instructions (that in itself is a novelty for me) and noticed that the narrow end isn’t the outer end, the wide end is.
Okay. At this point I walked away (silently…never a good sign) thinking, “Great…now I have to buy another kit!” I had a cup of coffee, gave Her Majesty (the cat) her due attention, and then the Boys in the Back came up with an idea. “Maybe you can knock the flame holders out of the tubes, clean things up, and glue them onto the proper end?”
So I did. I covered the flame holders with micro-cell foam so that details weren’t obliterated (or too badly) and used the largest piece of plastic tubing I could fit into the opening, and smacked it with a hammer. It worked so well, I did the other side the same way. Whew! Okay, so I clean up where things were glued, put them back where they belong this time, repaint, and go on (now I know why that one tube split, though):
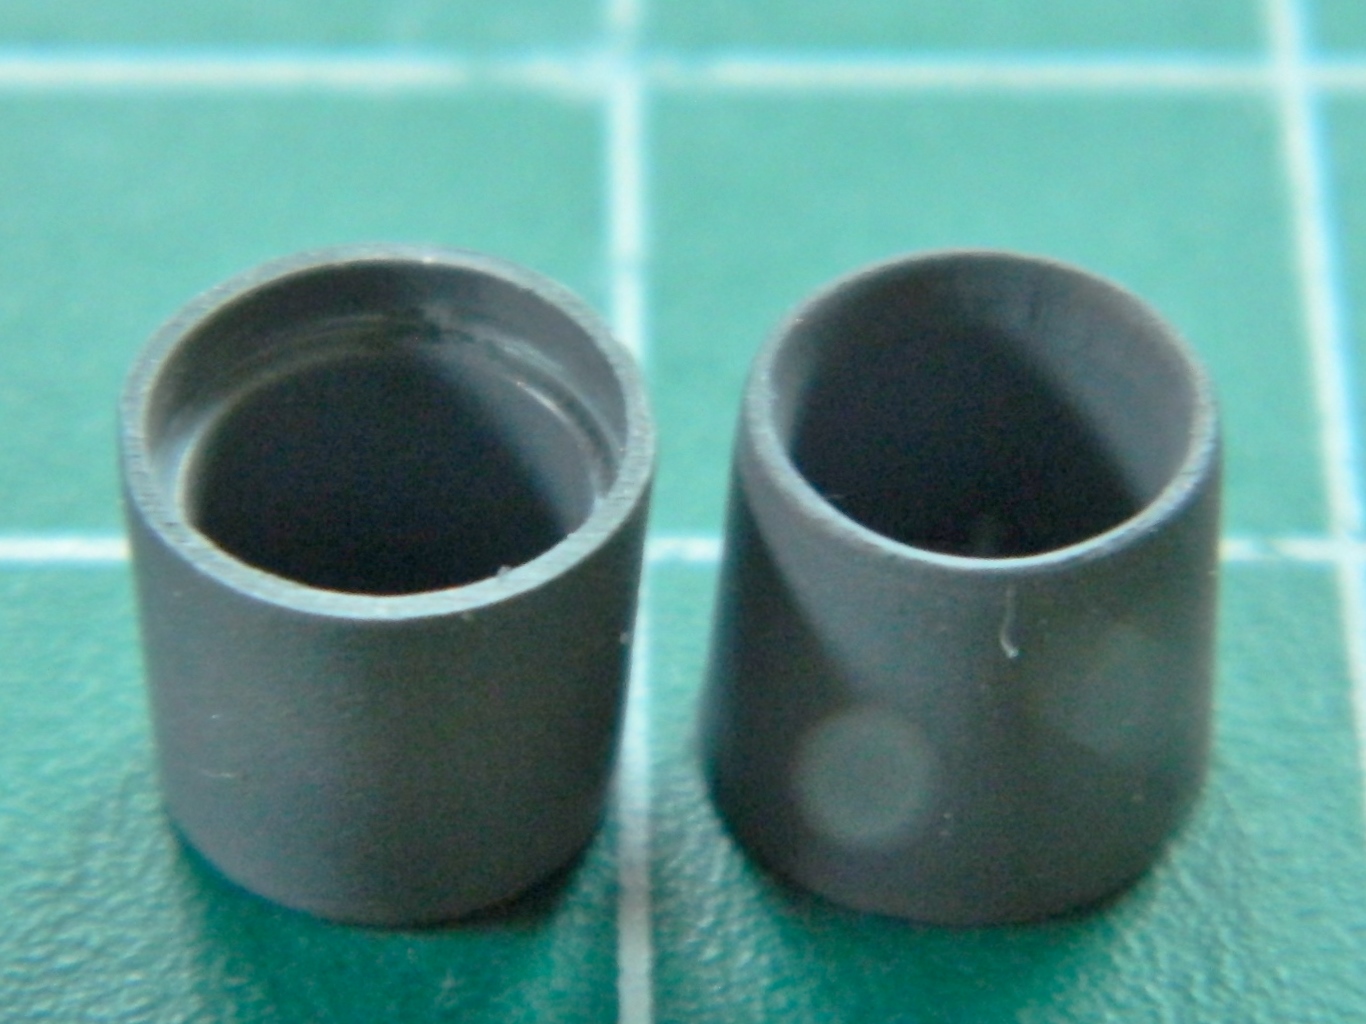
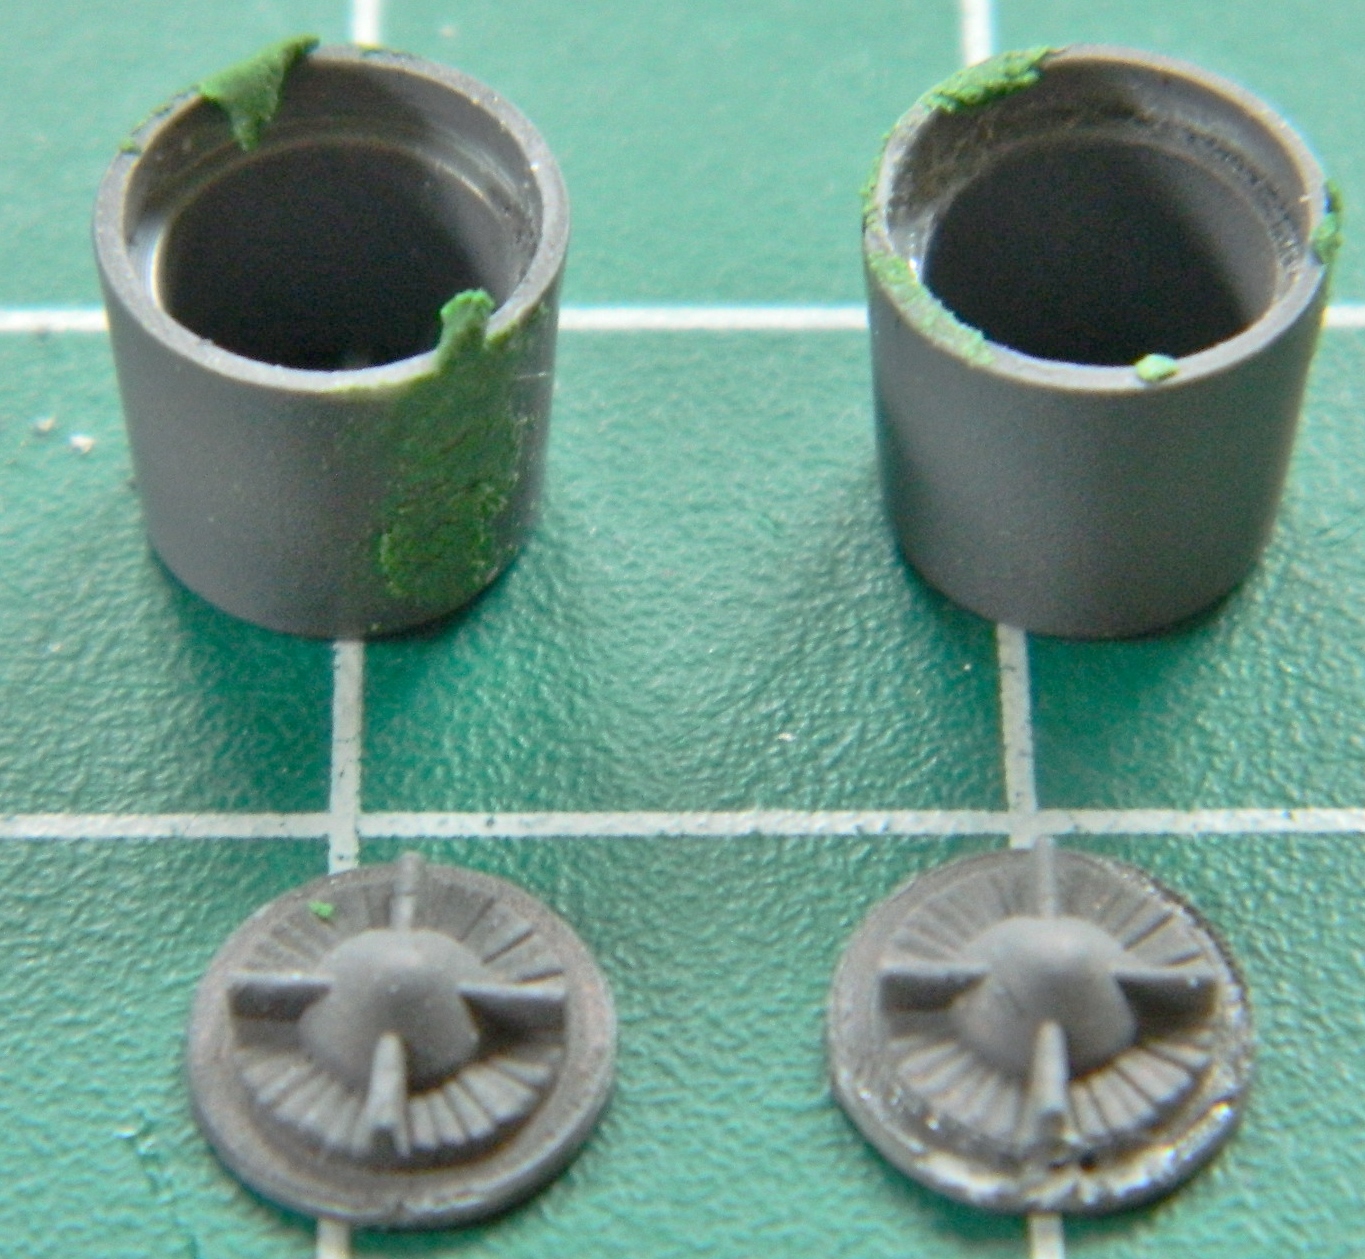
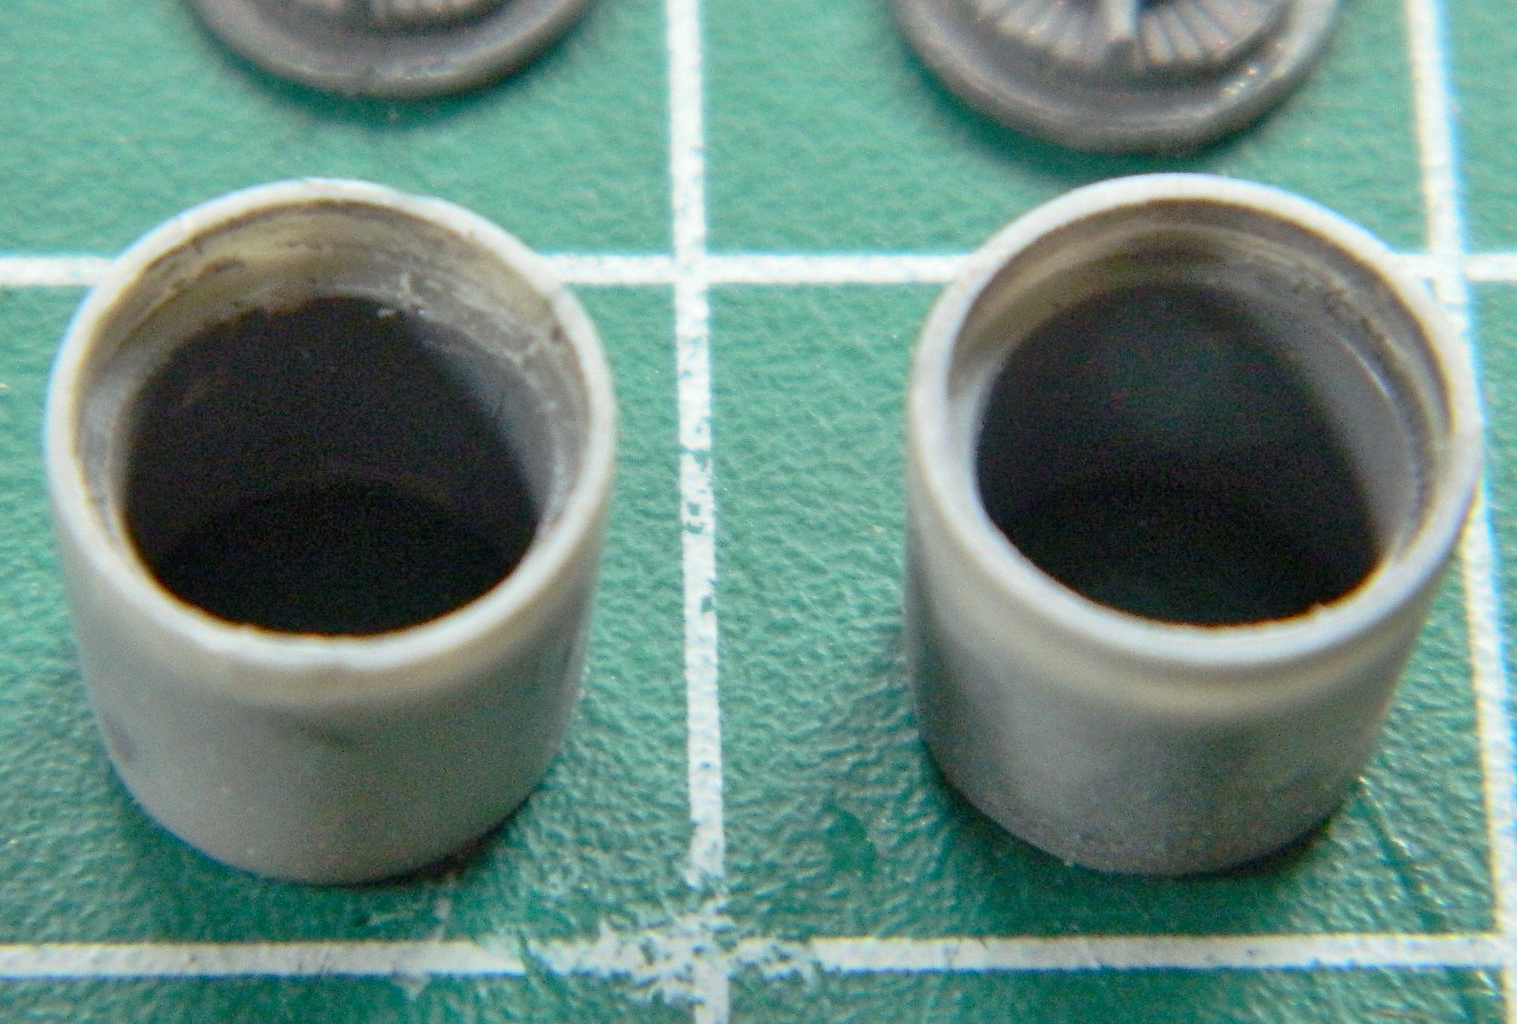
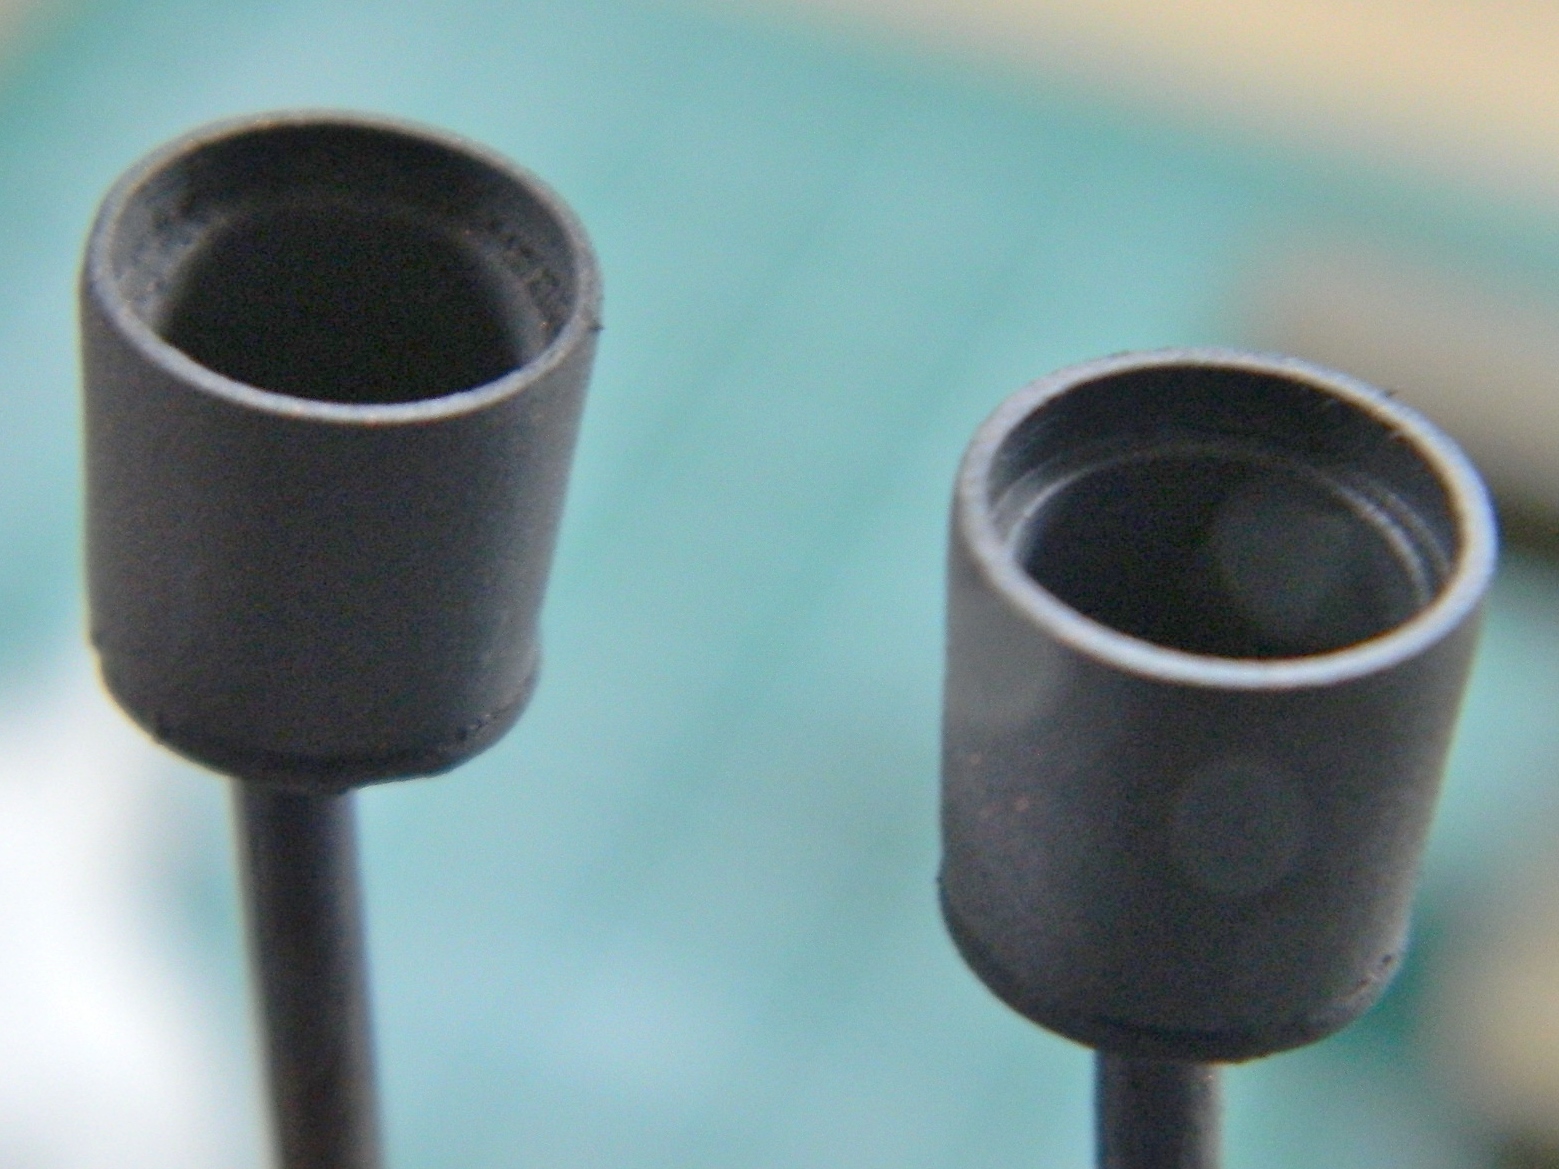
That’s when I noticed that the intakes didn’t fit well (no…the alarm didn’t go off). That protruding lip is supposed to be flush. Did I check to see if maybe there was another reason it didn’t fit? Y’know…something like maybe an ERROR ON MY PART? Noooo…:
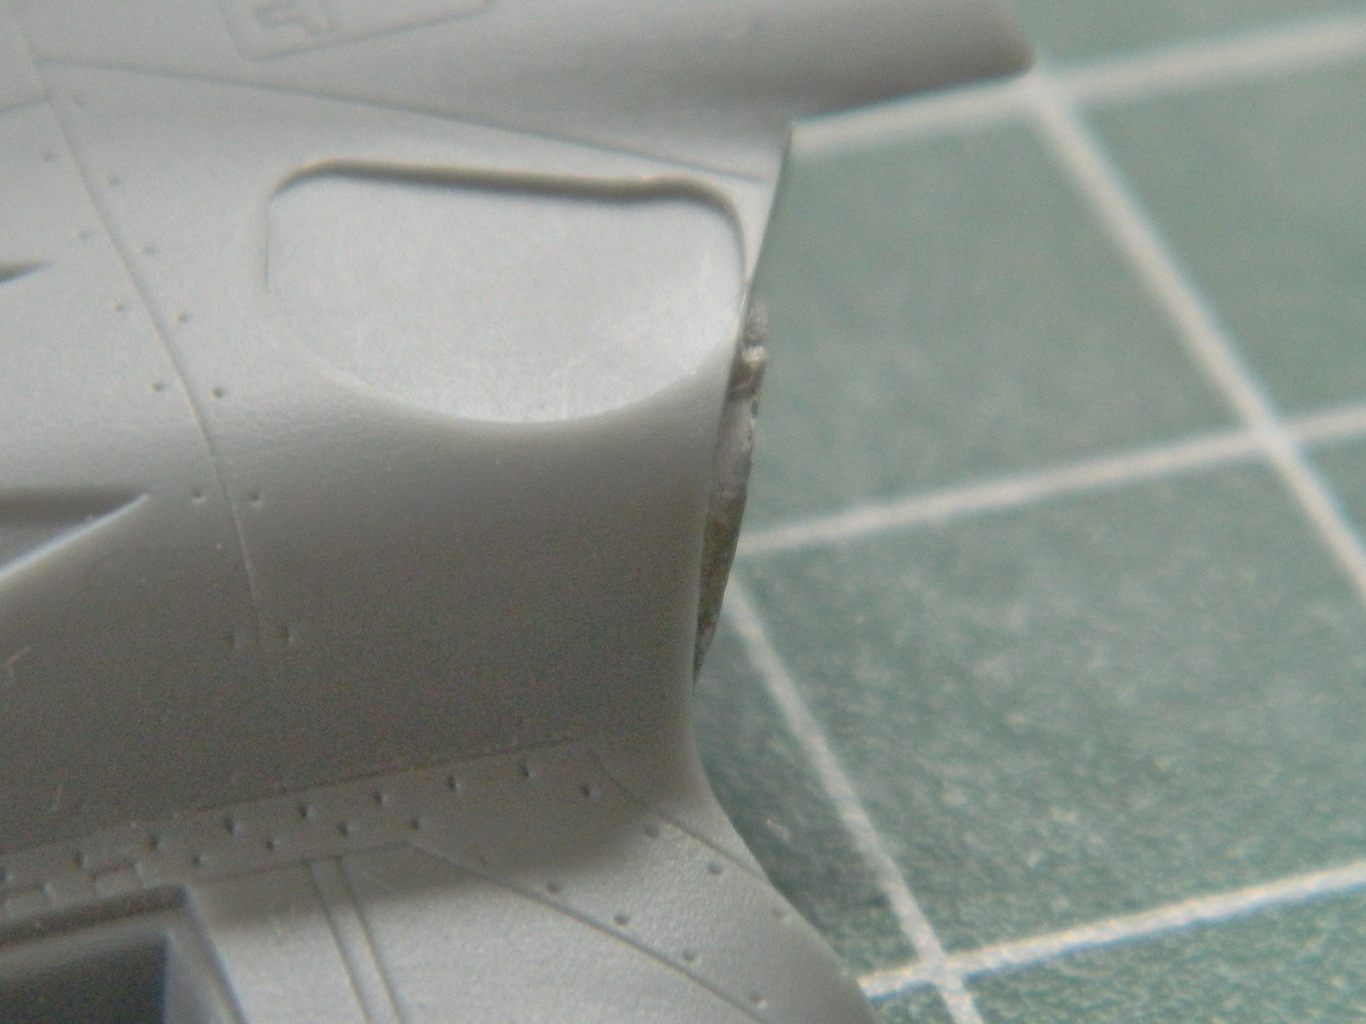
So I trimmed it to fit (because what’s an error if one can’t compound it):
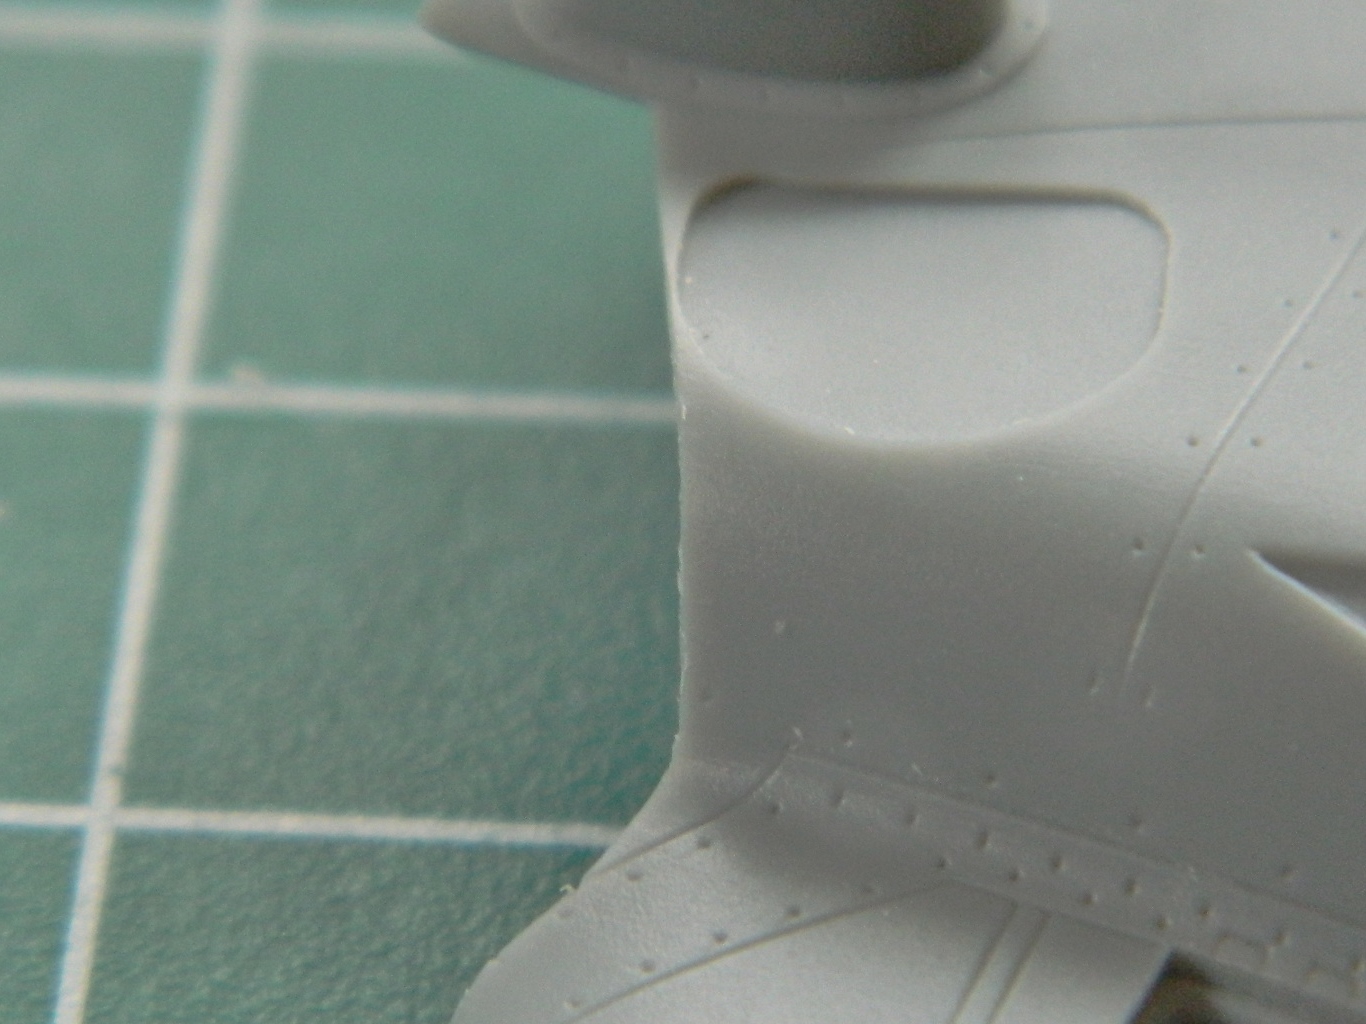
It was only then that the Boys in the Back said, “Maybe you should check the instructions again.” Well, fine. I did. Well, not fine. I put the intakes together wrong which placed the intake trunks on the wrong sides! Well, fine. I popped the intake vanes off, switched them to the proper sides, and gee…whadya know…they fit. Well, they mostly fit. There’s now a gap where Mr. Clever & Confident, here, trimmed it. I’d considered building it back up to where it should be but where it is isn’t very noticeable and I don’t feel like spending 8-12 hours fitting it.
You may now call me Mr. Clever, Confident, & Lazy.
So. With the nozzles correctly assembled (and checked for fit) and the intakes correctly assembled and on the proper sides, it’s finally time to start getting the wings ready to assemble:
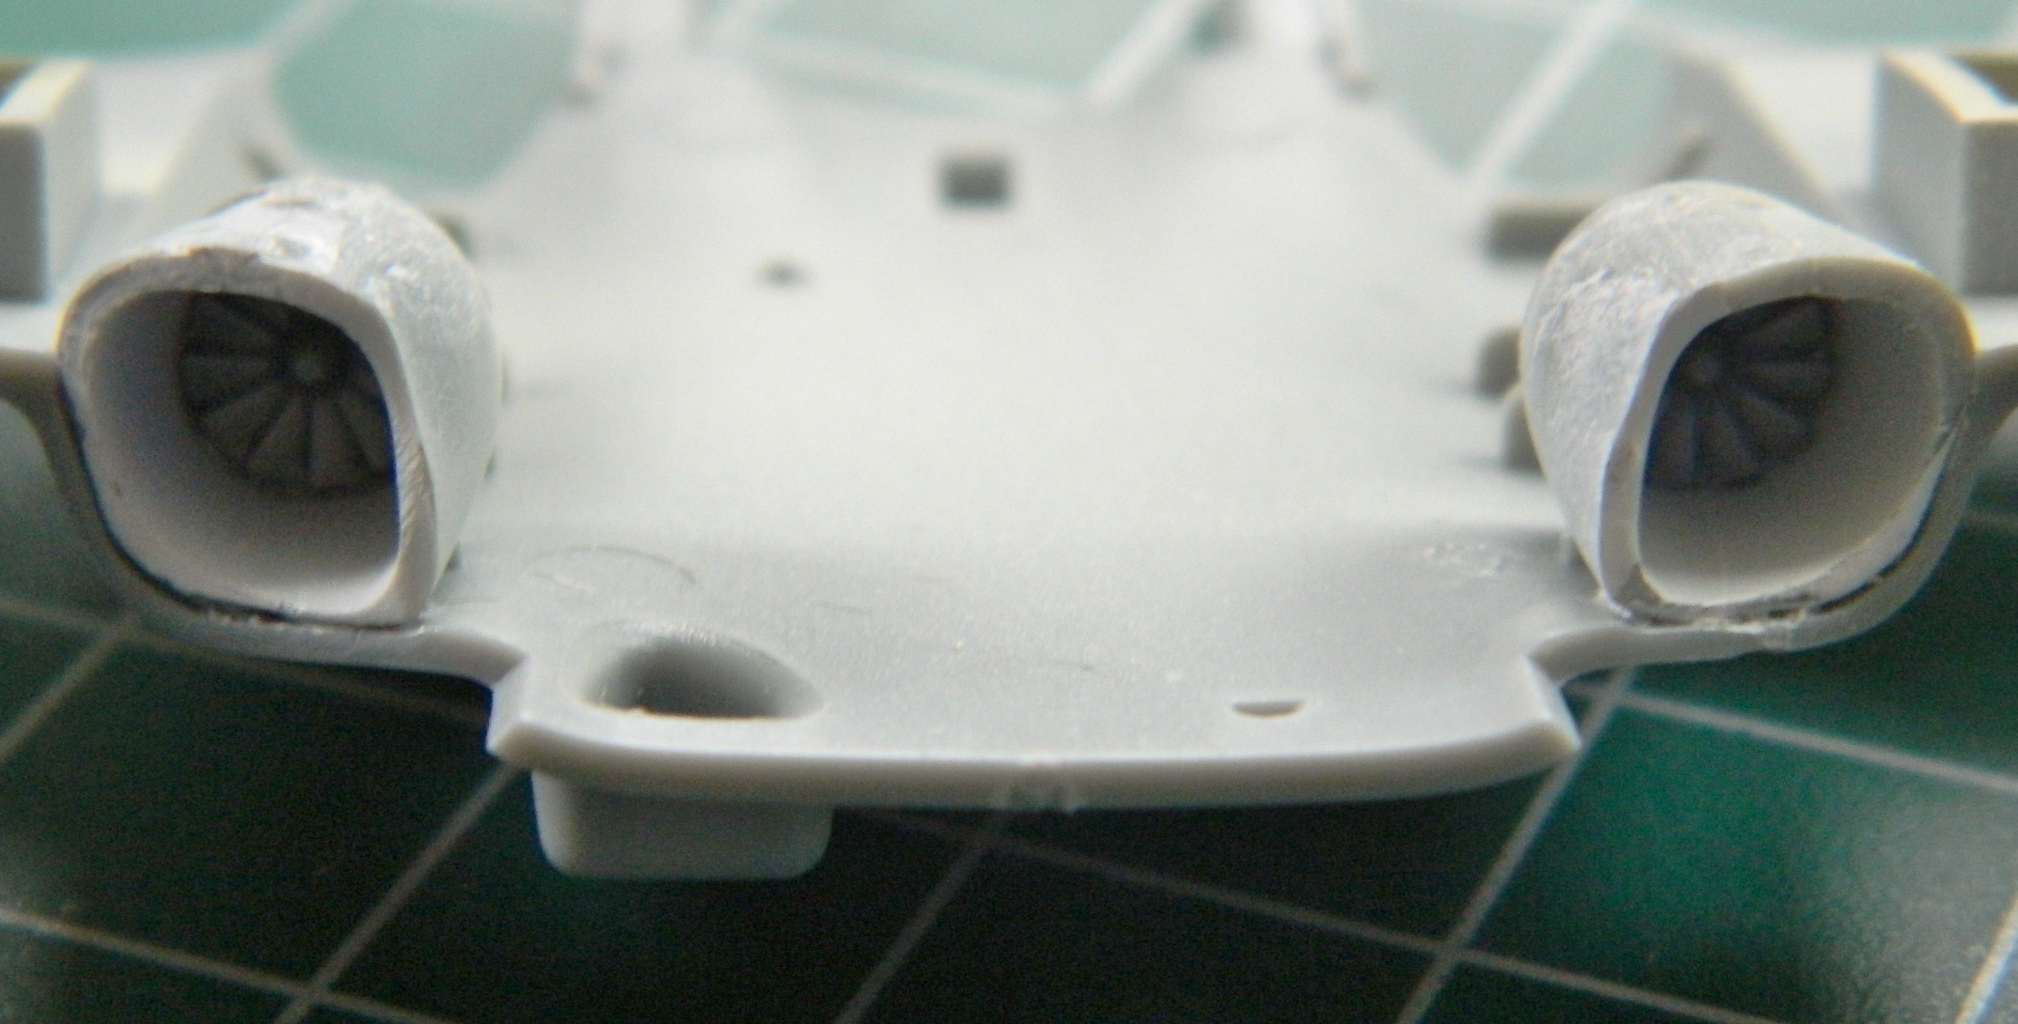
The paint chart calls for interior green landing gear bays. I’ve never seen them painted anything but white so I used aged white and got those under color:
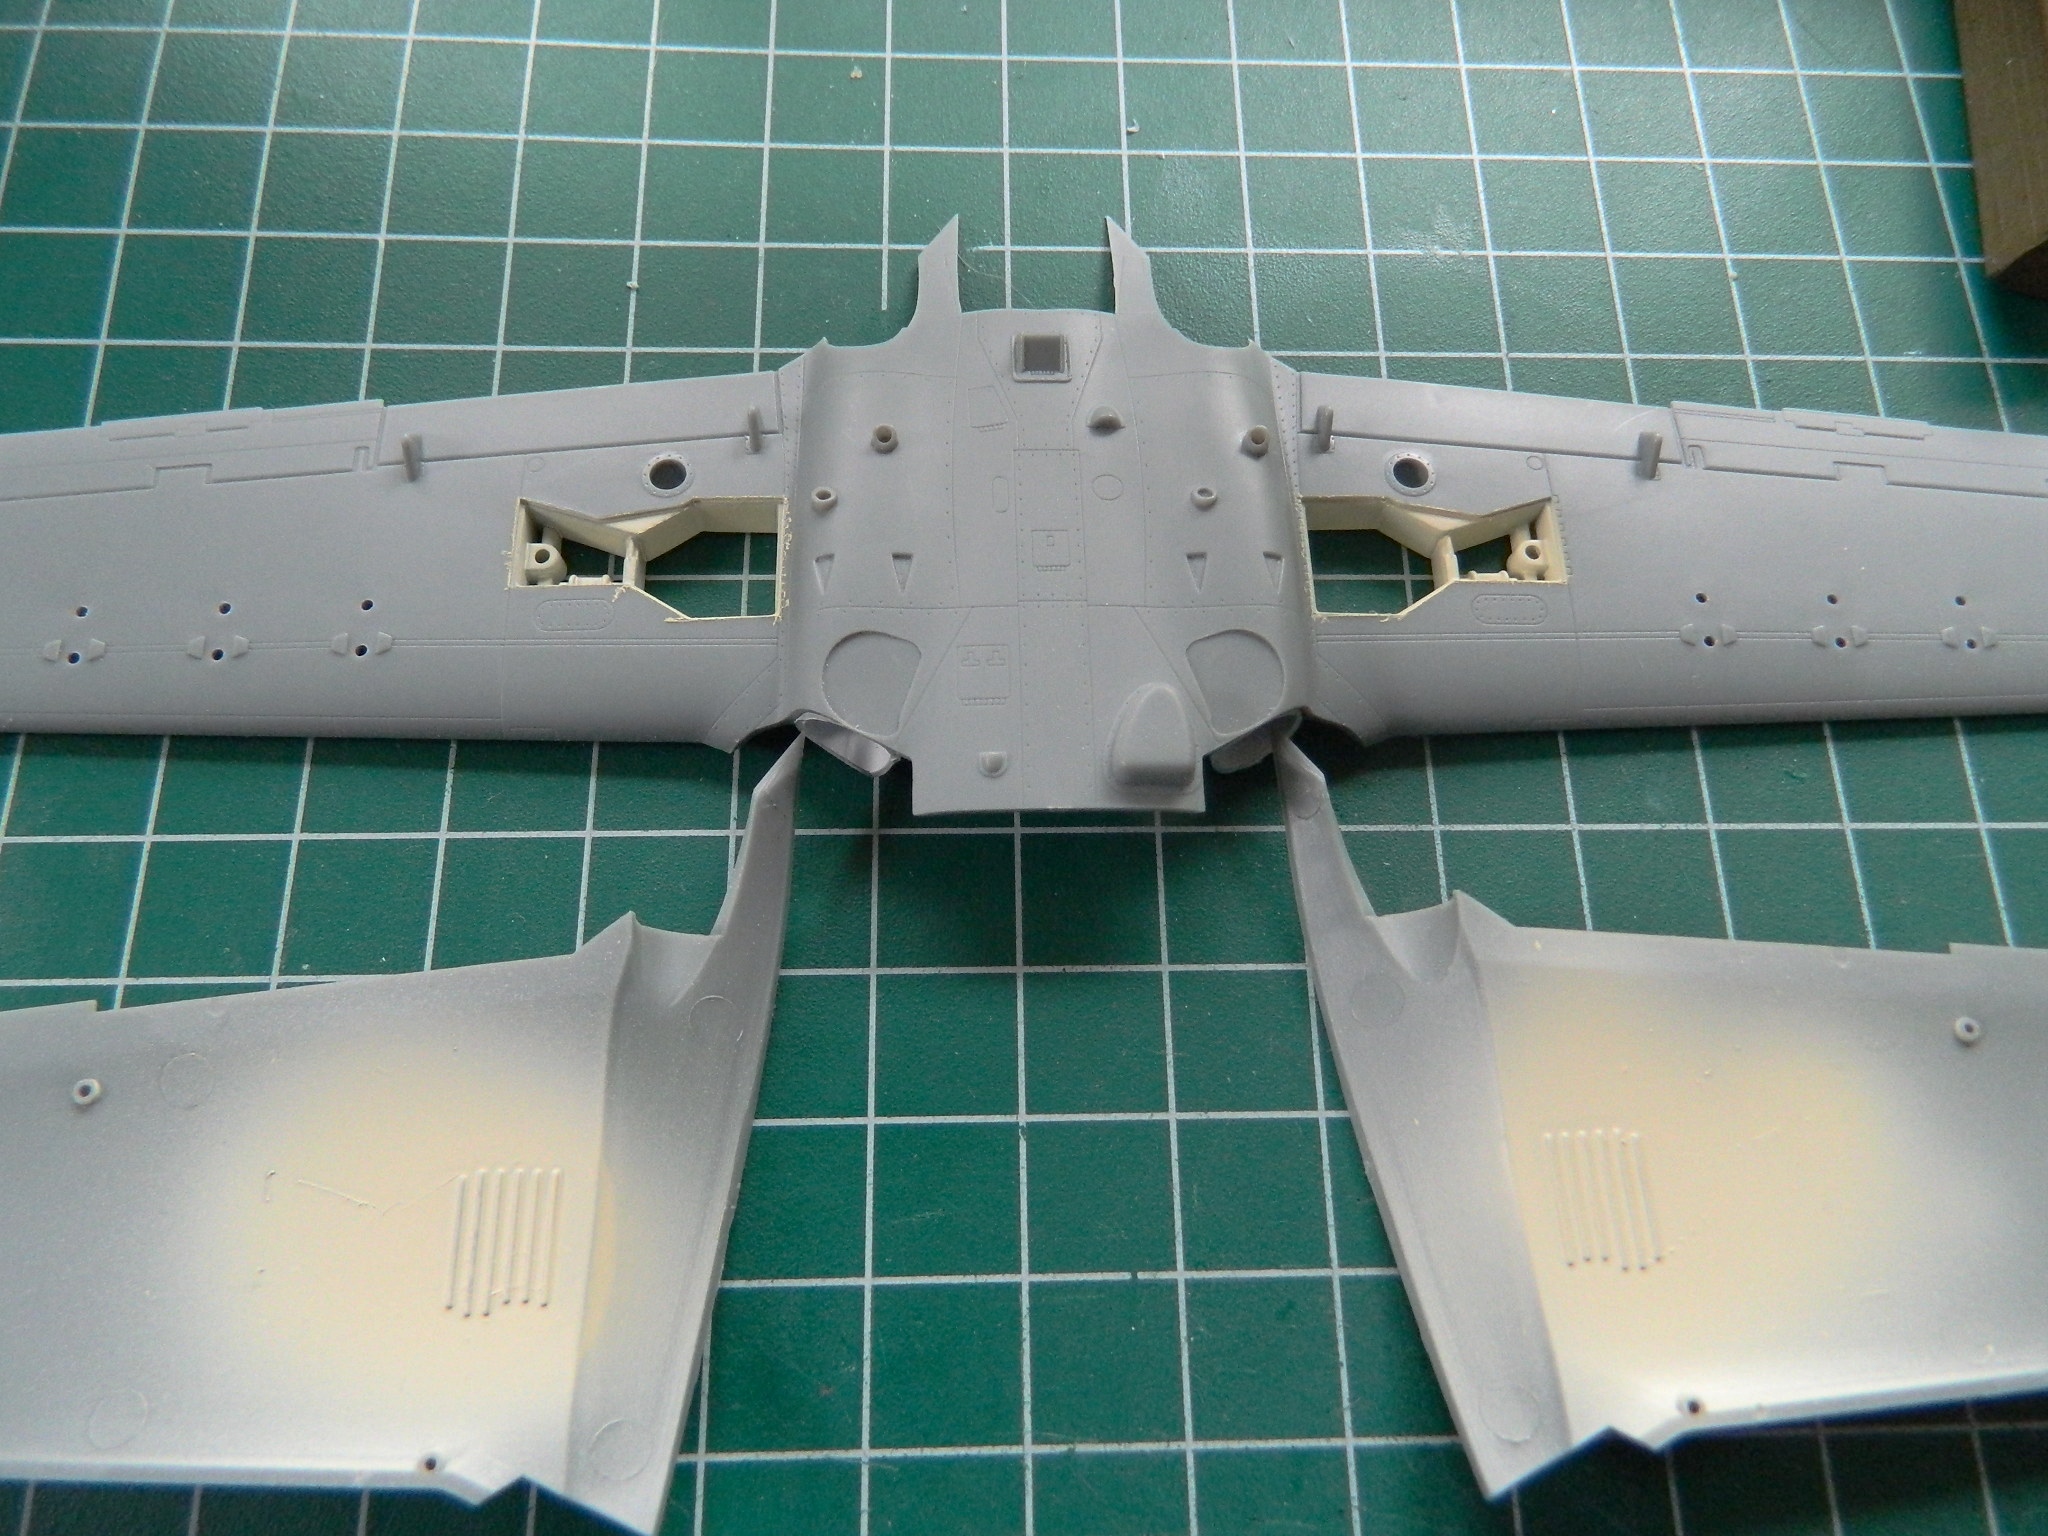
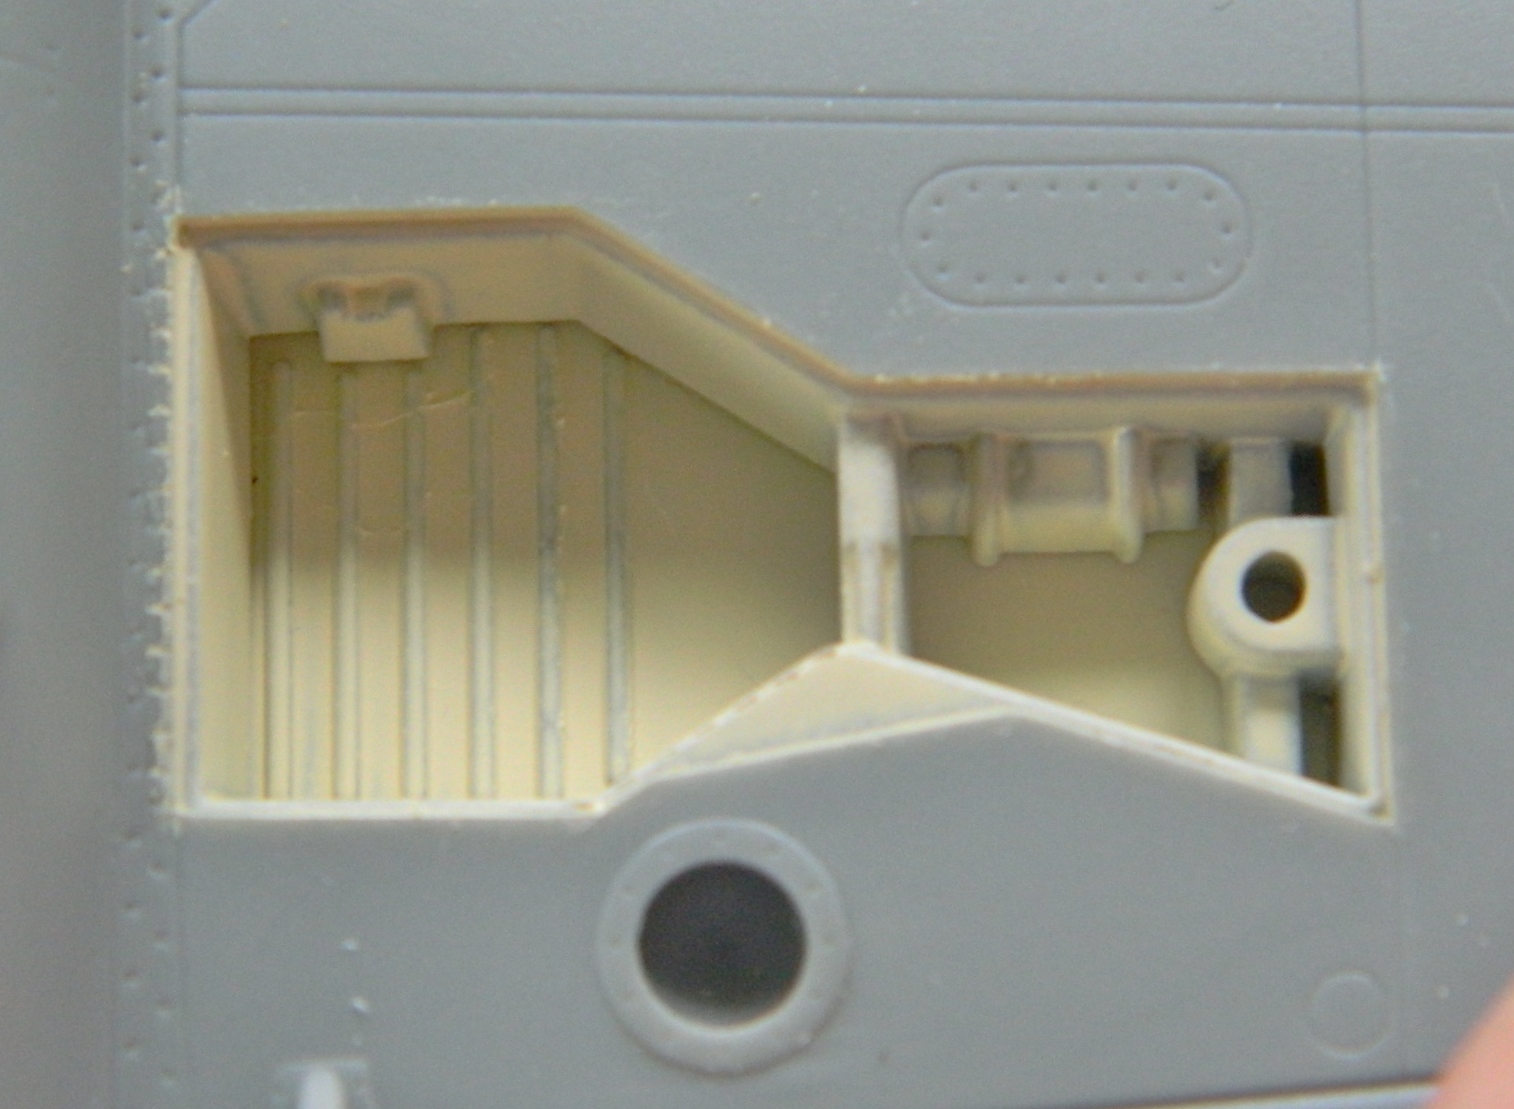
The intake trunks stay white, but the nacelle around the intake openings will be painted a camo scheme, so they need to be masked. However, they need to be masked in such a way to enable the masking to be removed once the painting is done. I lined the leading edge of the trunks with masking tape and filled the space with a paper towel:
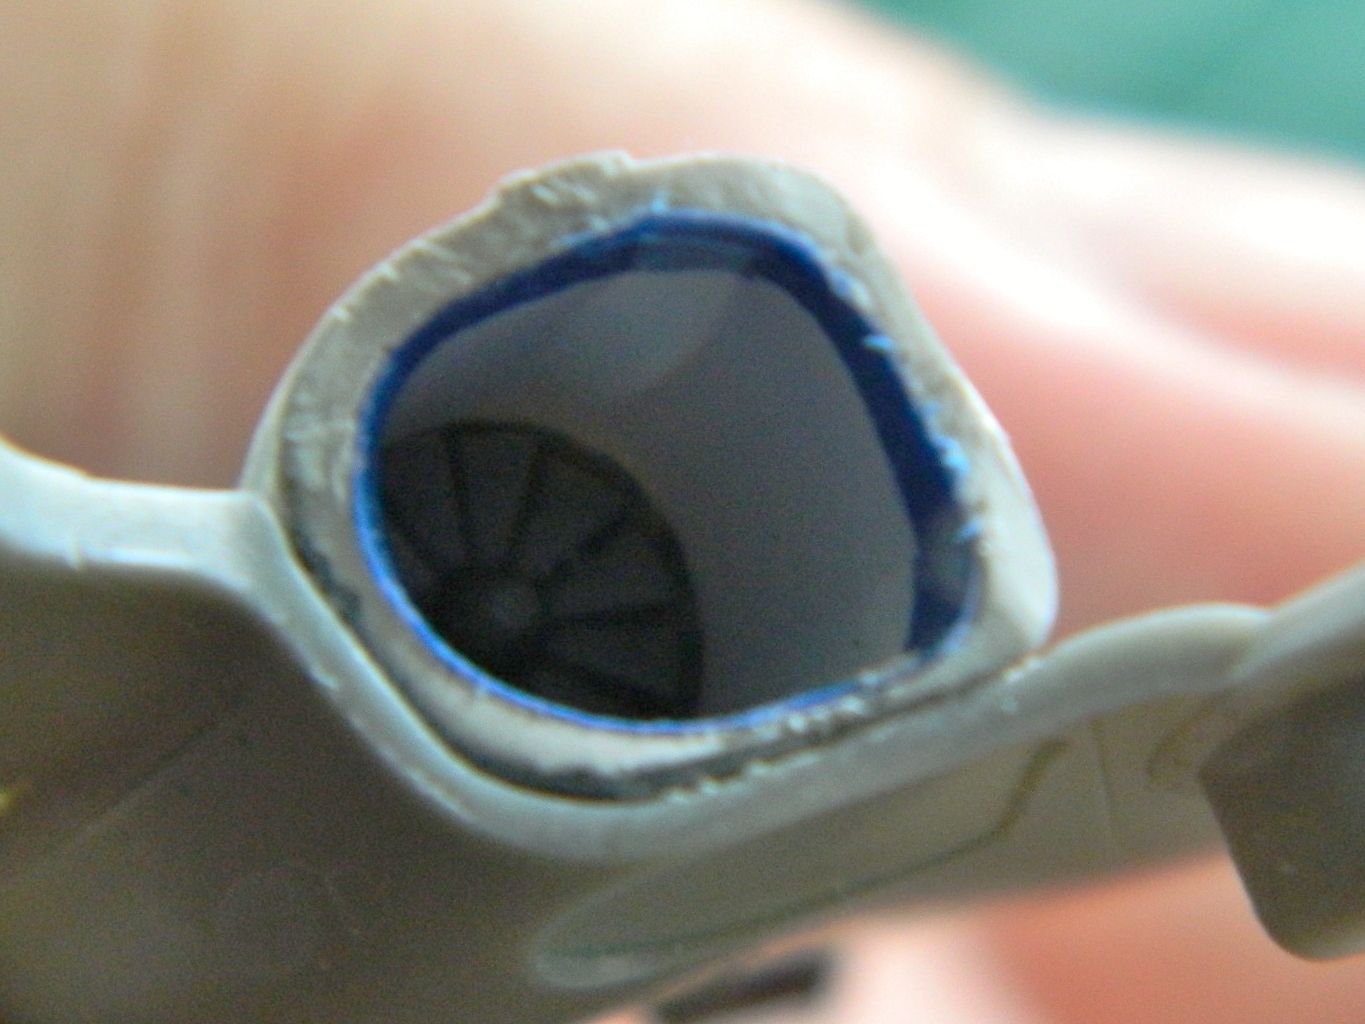
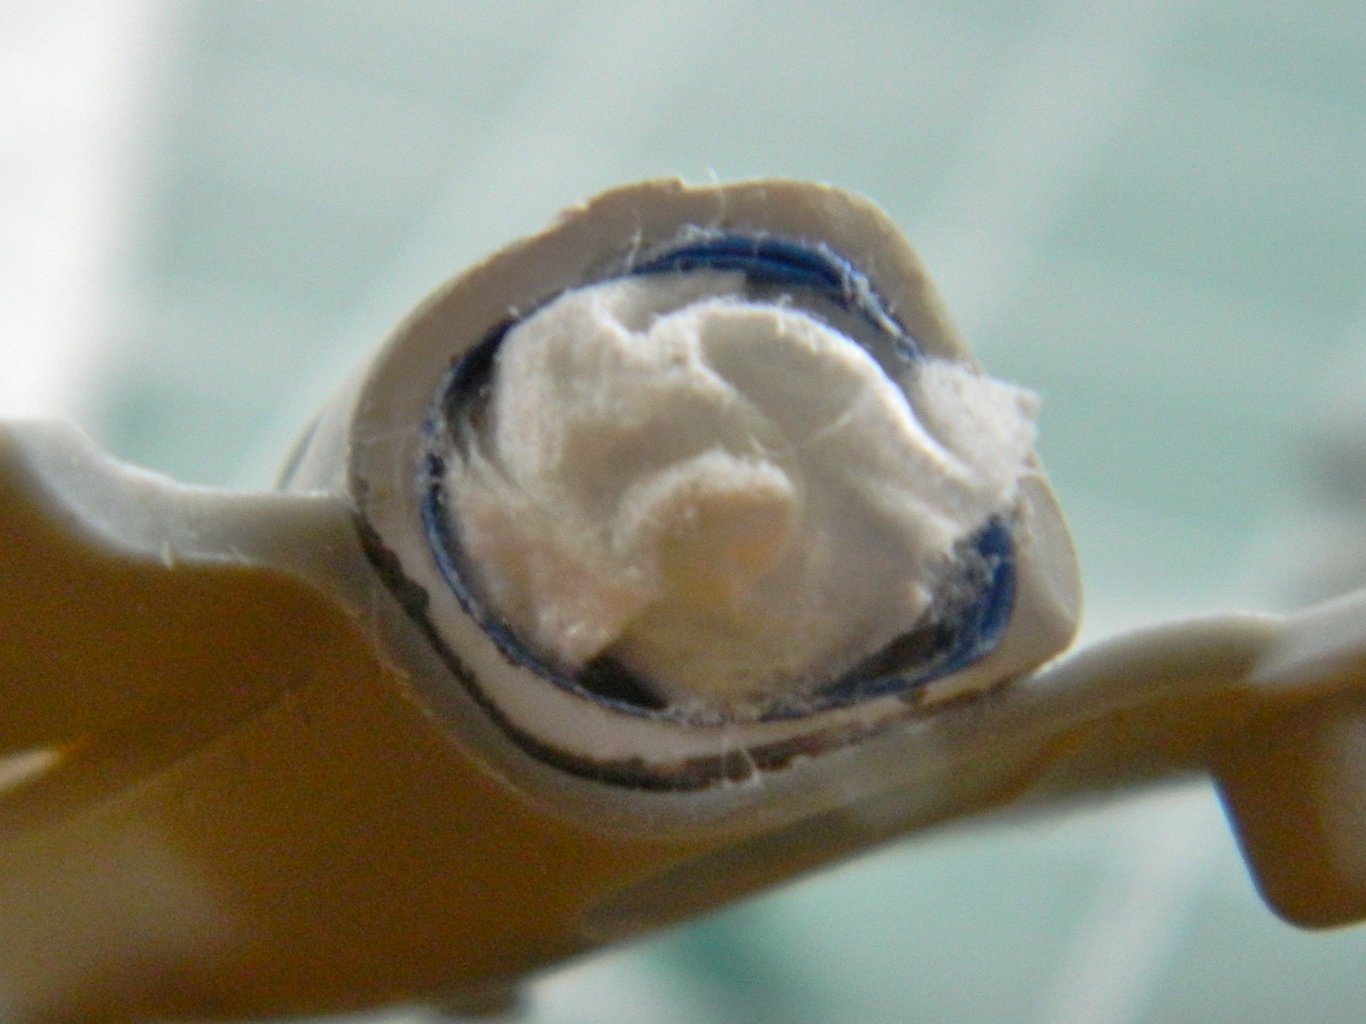
Whew…okay. I’m back where I should have started today at. However, I am now properly chastised. So much for sodding confidence…
With the clear gloss cured, it was time to add the decals for the gauges and some of the switches. As evidenced by the four gauges clustered to the right of the panel, the dimensions of the decal were slightly off. (They should have been a bit wider and had I known their dimensions were off, I could have cut the decal into sections and aligned each gauge cluster individually.) Once in place, a couple of coats of decal solvent got them to snug down. Once the solvent dried, I used colored pencils to add contrasting colors to switches and gizmos. Next, the panel will be shot with clear flat but I wanted to make sure things were dry before doing that:
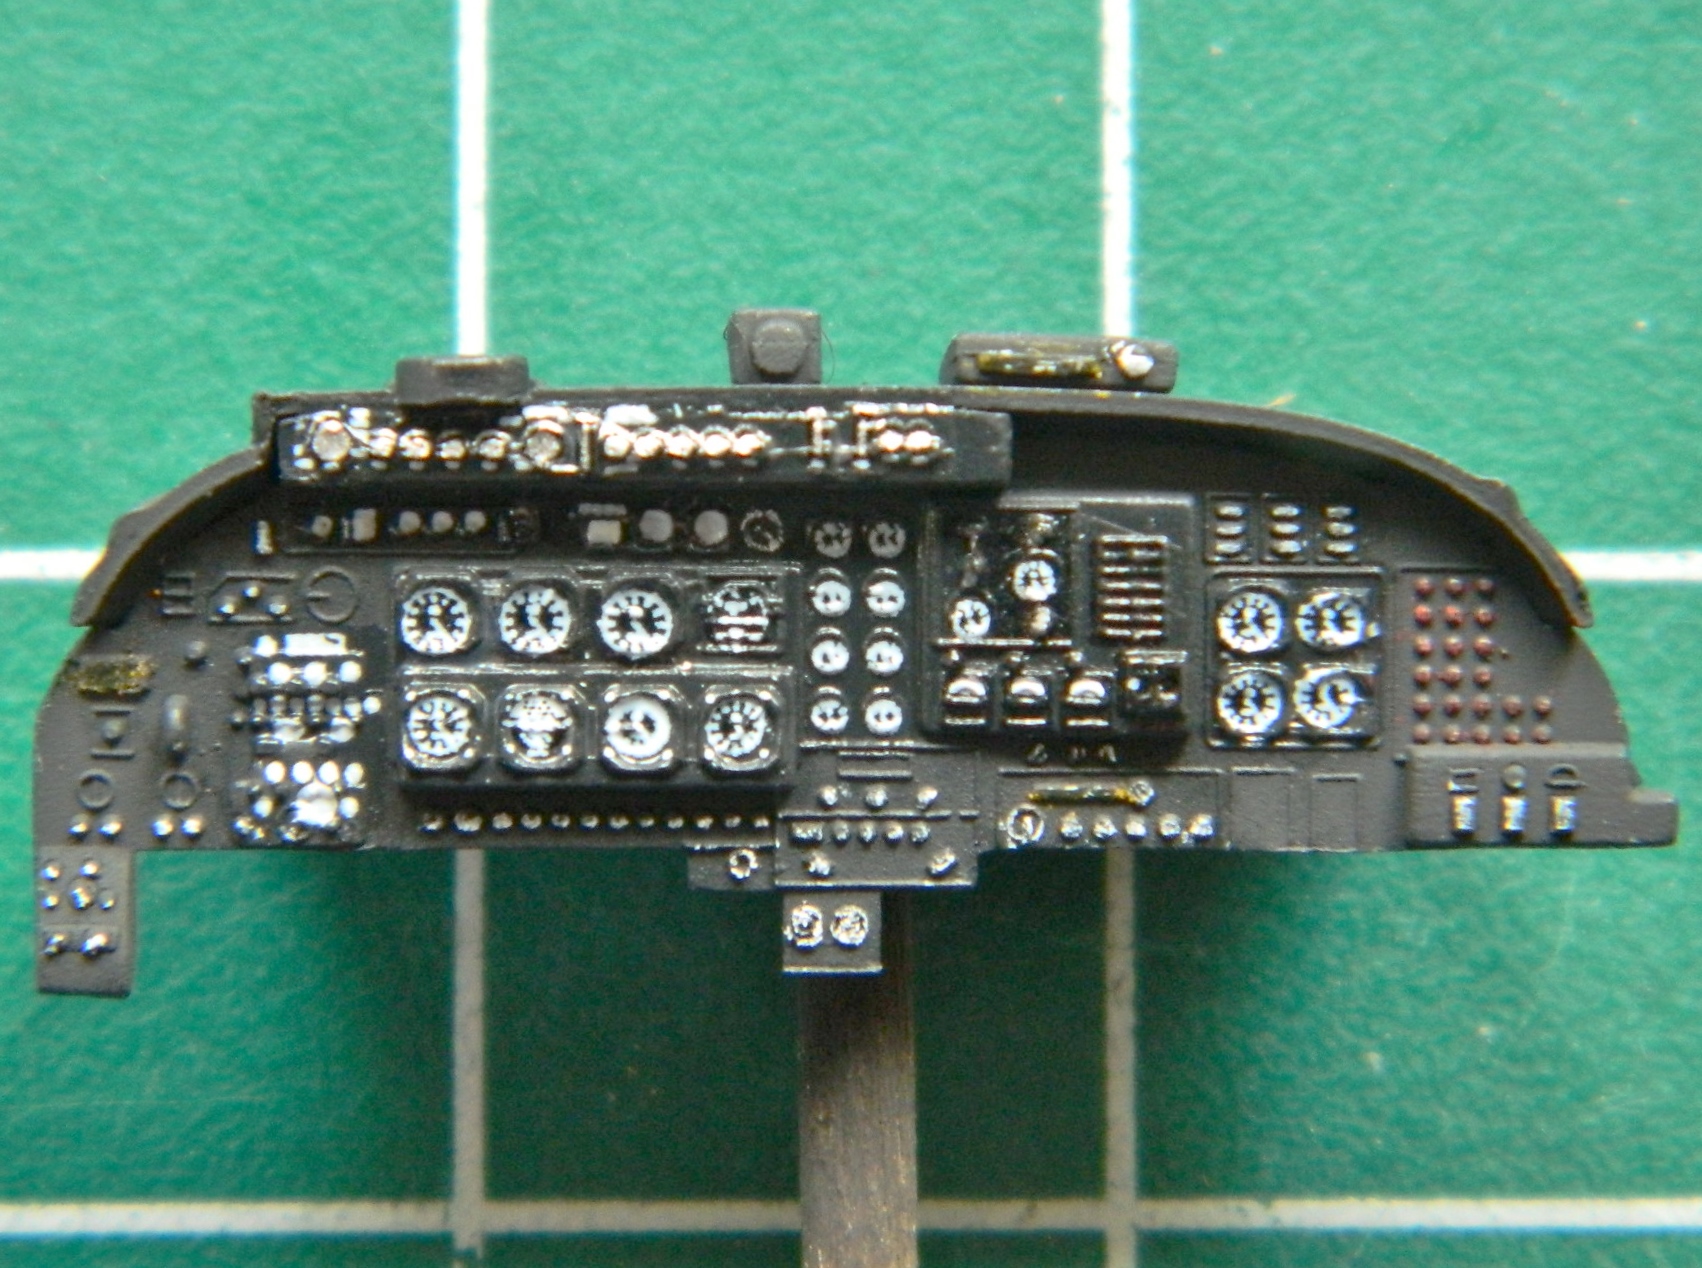
The next step was to paint the cockpit. The overall color was a color-corrected light gray and then black details were added:
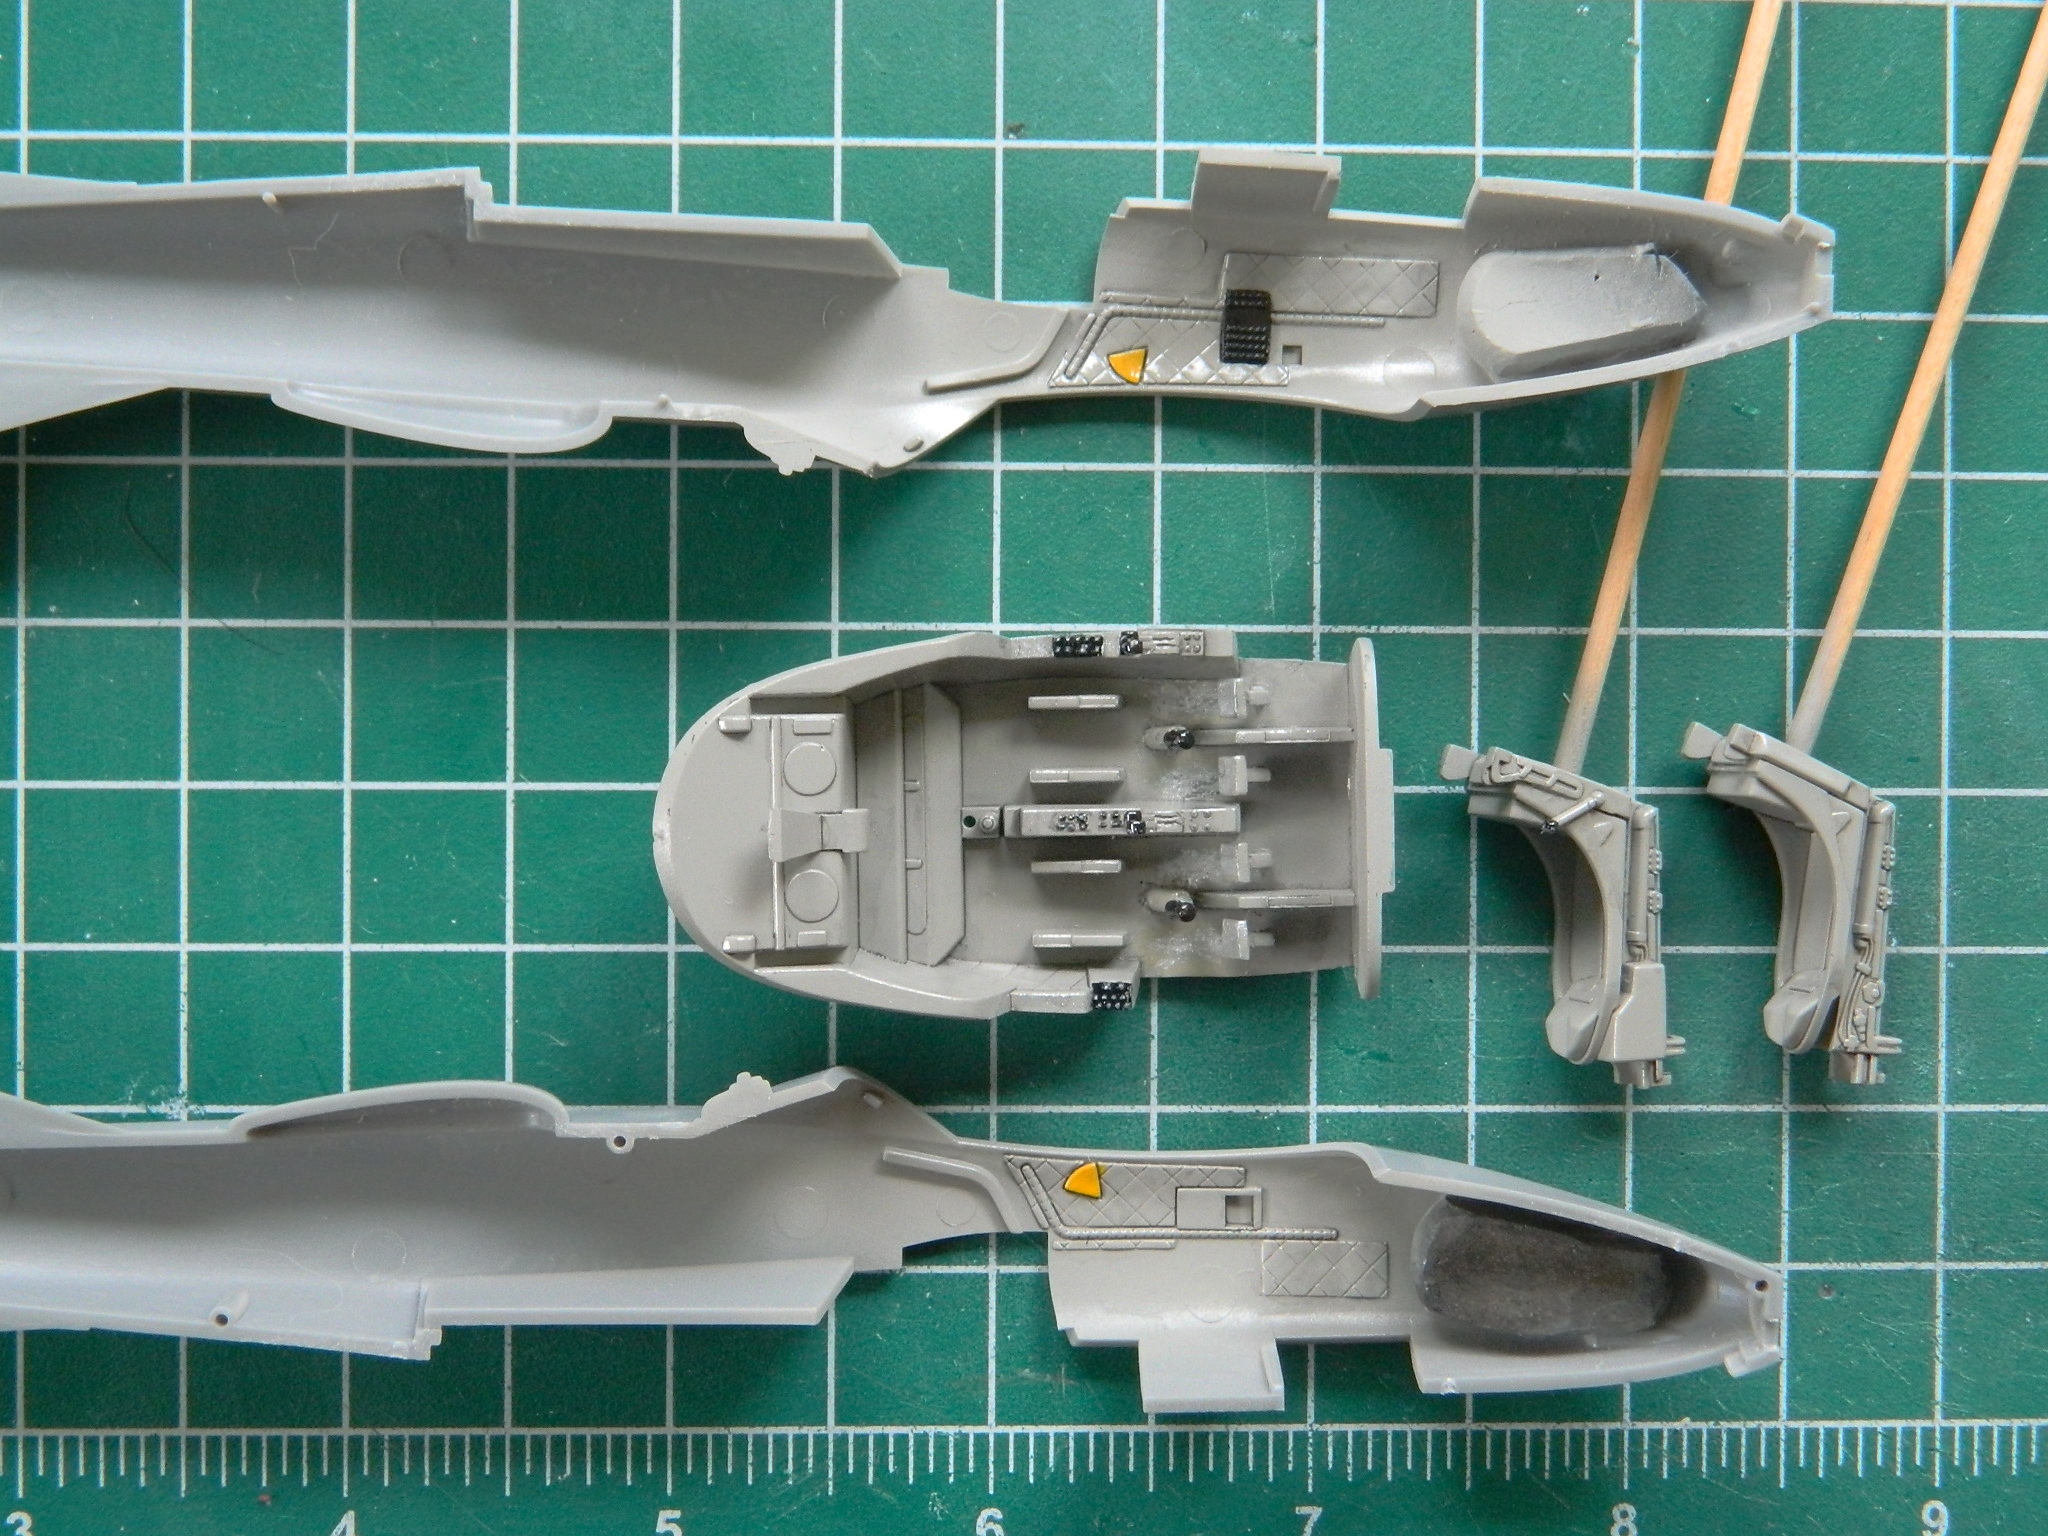
While that paint was curing, I shot the instrument panel with matte clear. The matte removed any hint that the gauge faces are decals:
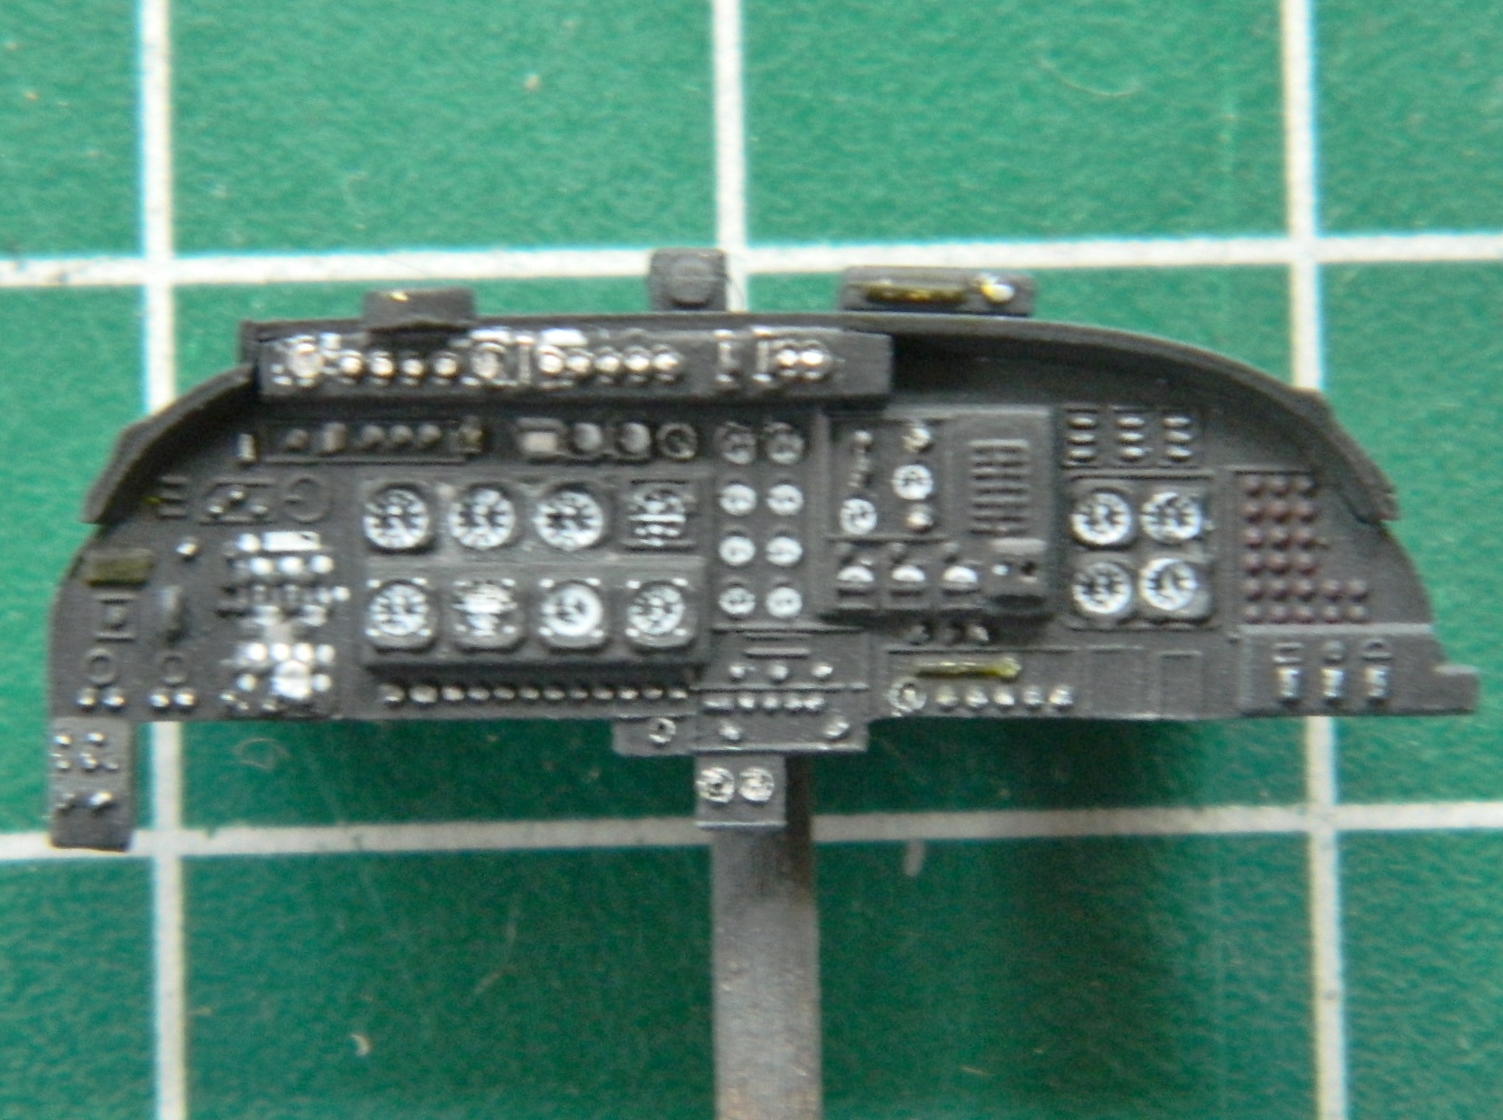
With the cockpit paint dry, I hit it with a coat of gloss clear and gave it a black wash and a coat of matte clear. Once the paint set up a bit, I added a bit of dirt using pastels:
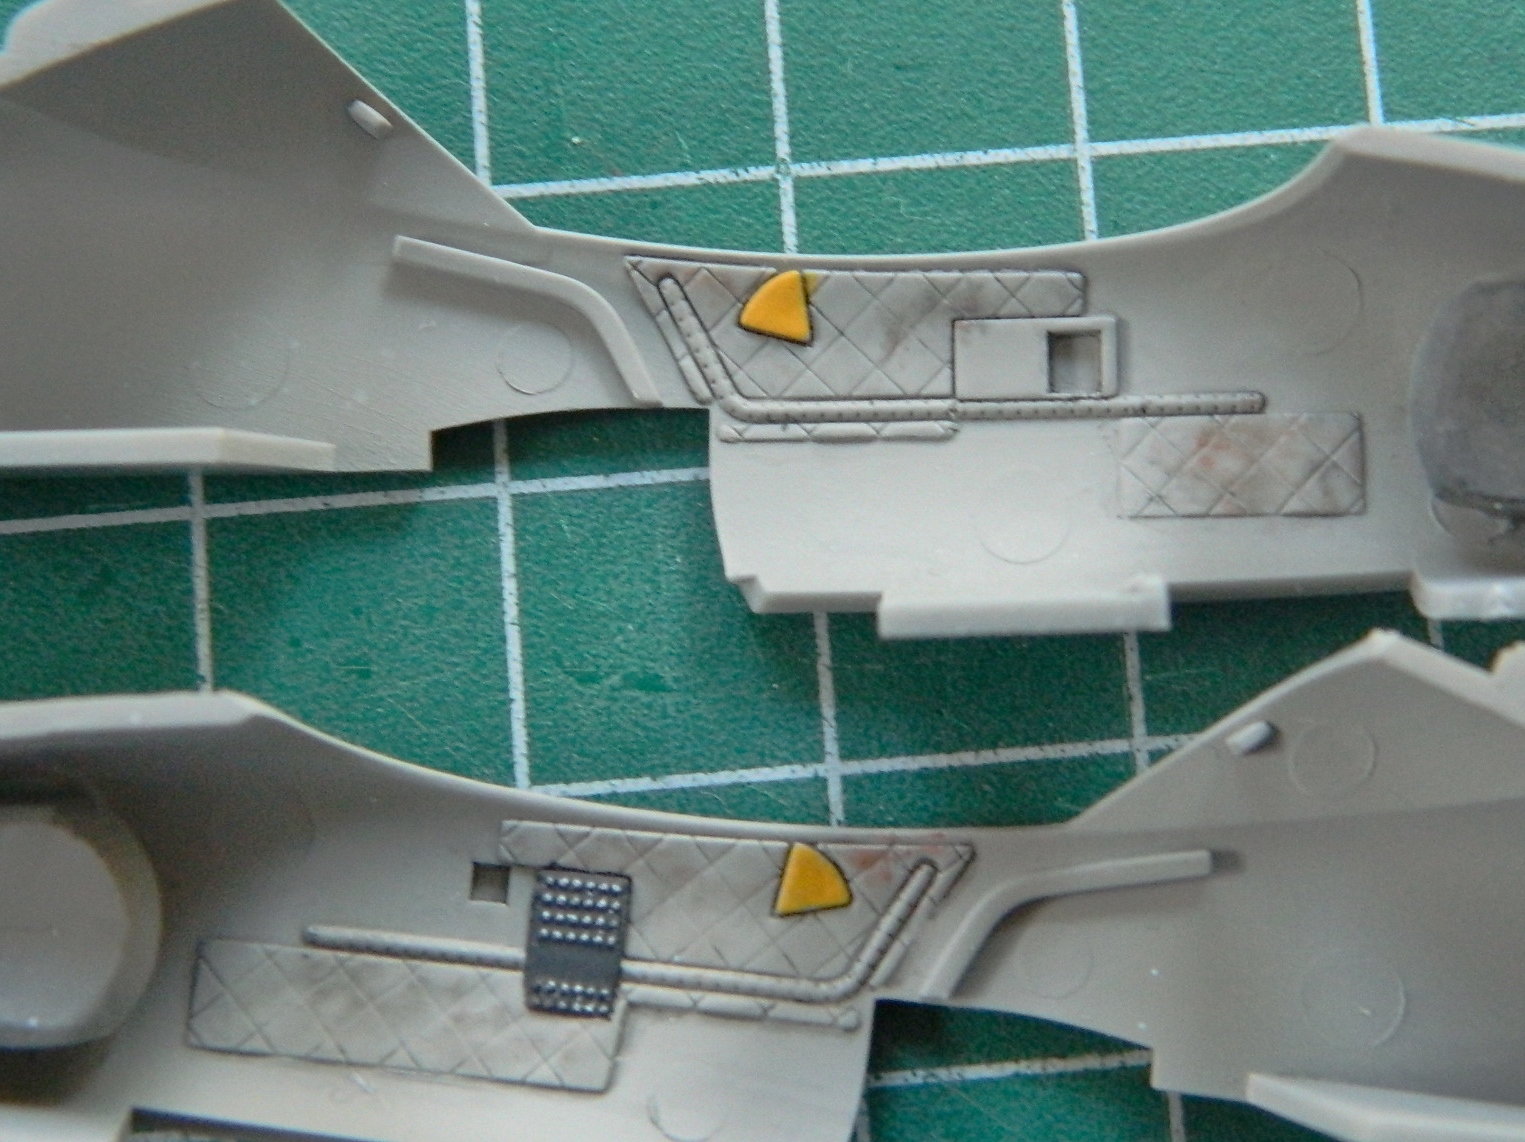
After the wash dried, the interior was shot with matte clear, the red added to the headrests, and the PE harnesses painted buff and glued into place, and wear replicated by dry-brushing aluminum in areas subjected to wear:
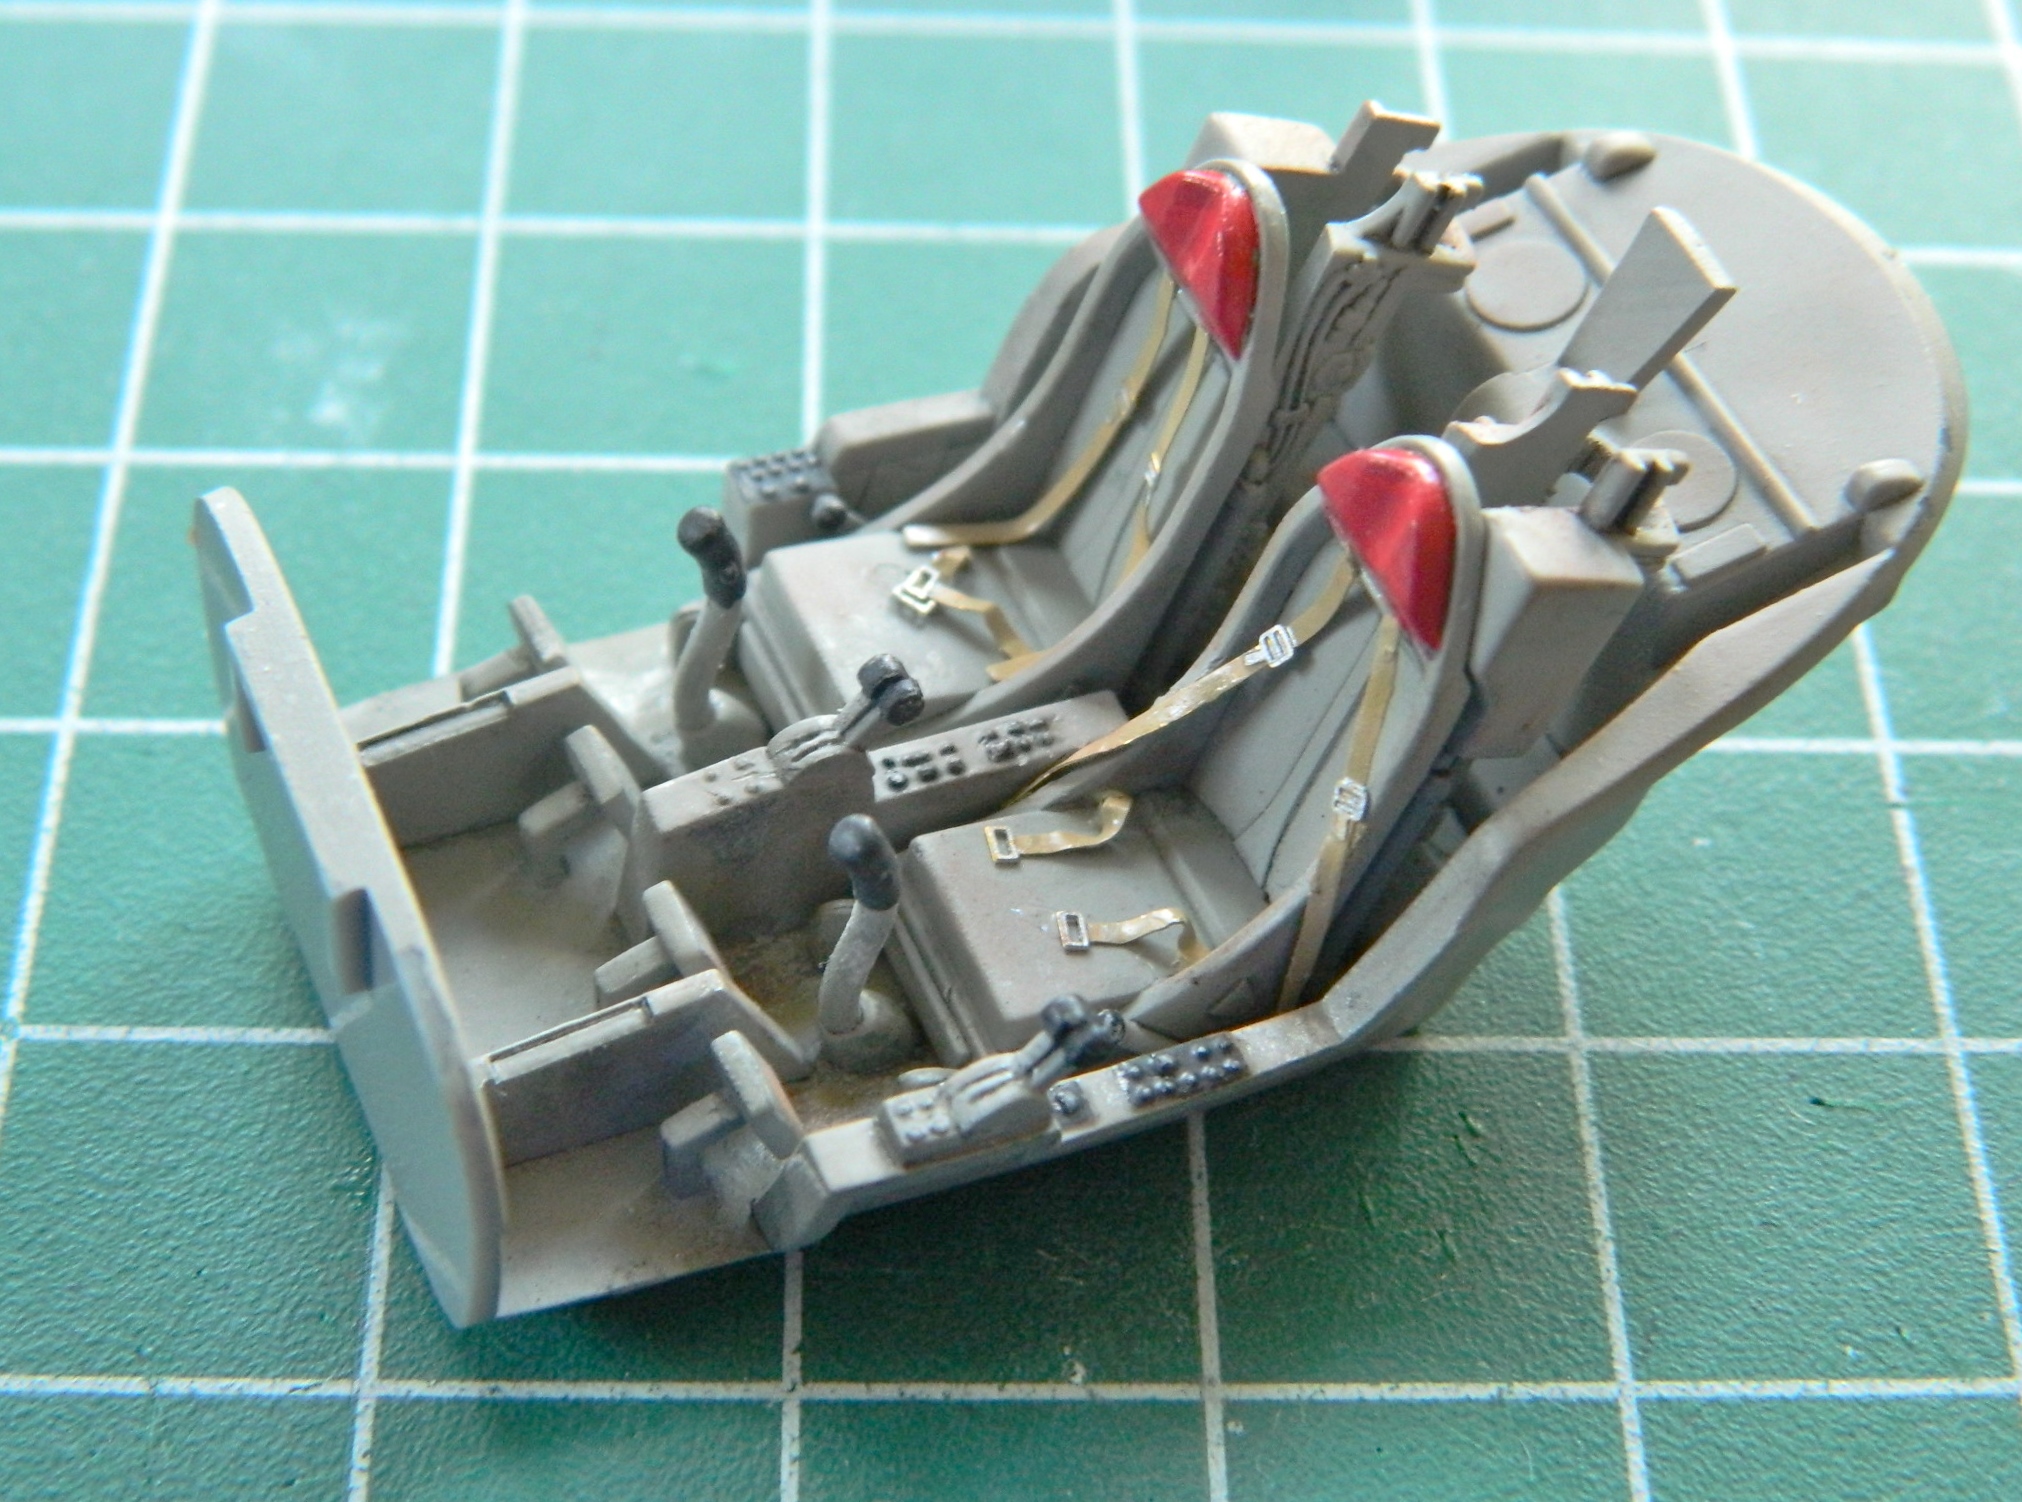
I used a drop of clear gloss on each of the gauge faces and touched up the decal borders with flat black in a few areas and the instrument panel is done:
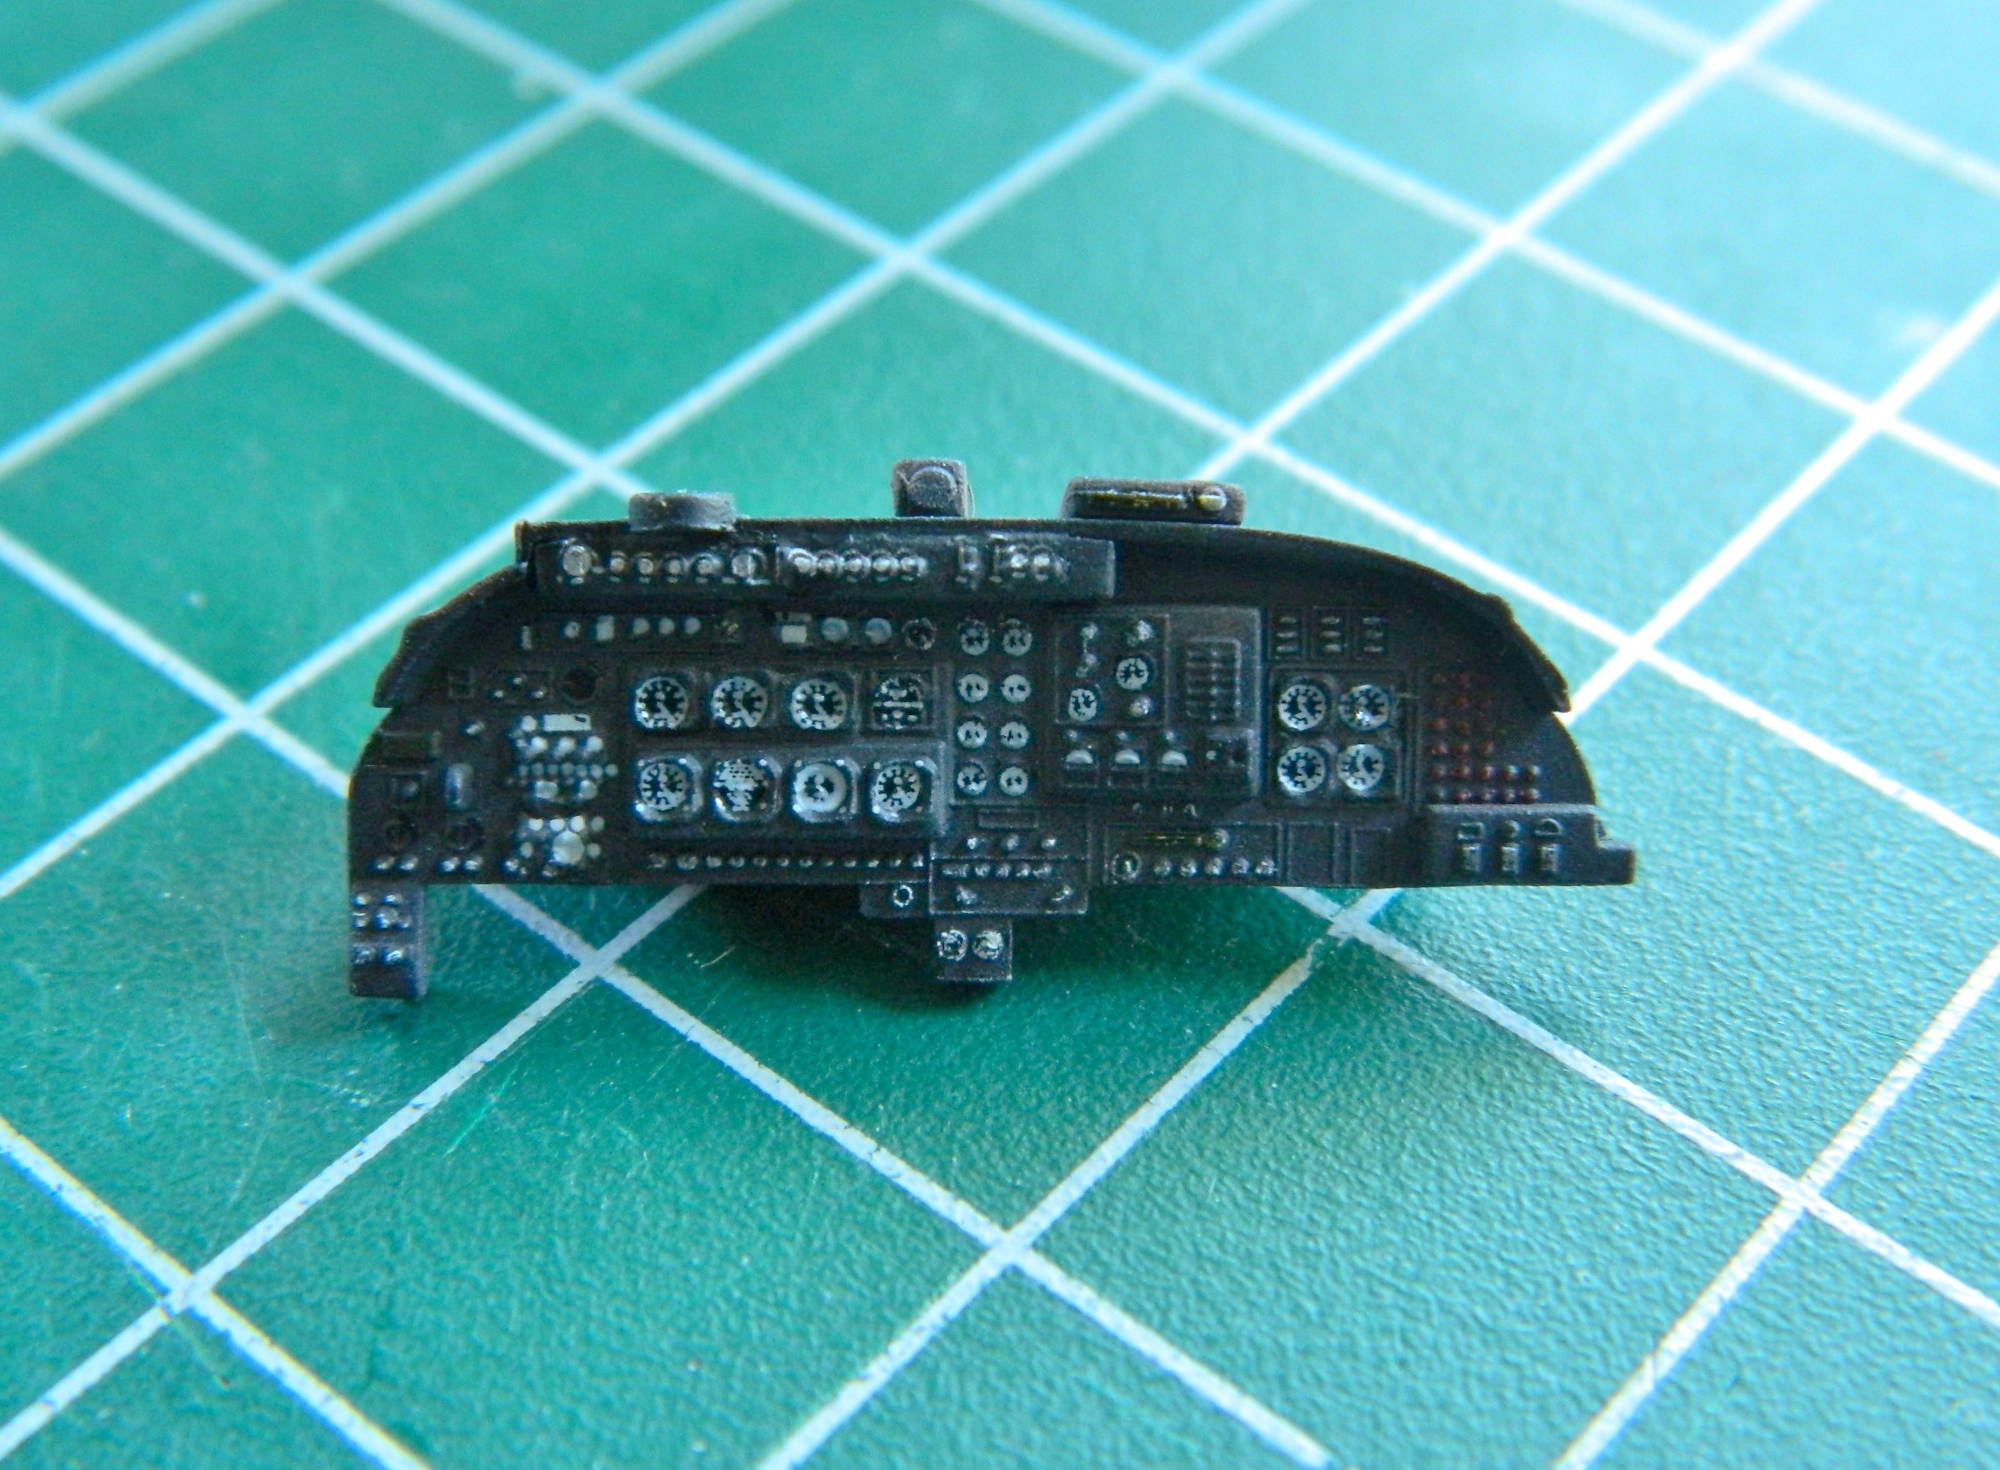
At this point there’s nothing to do but to glue the fuselage halves together:
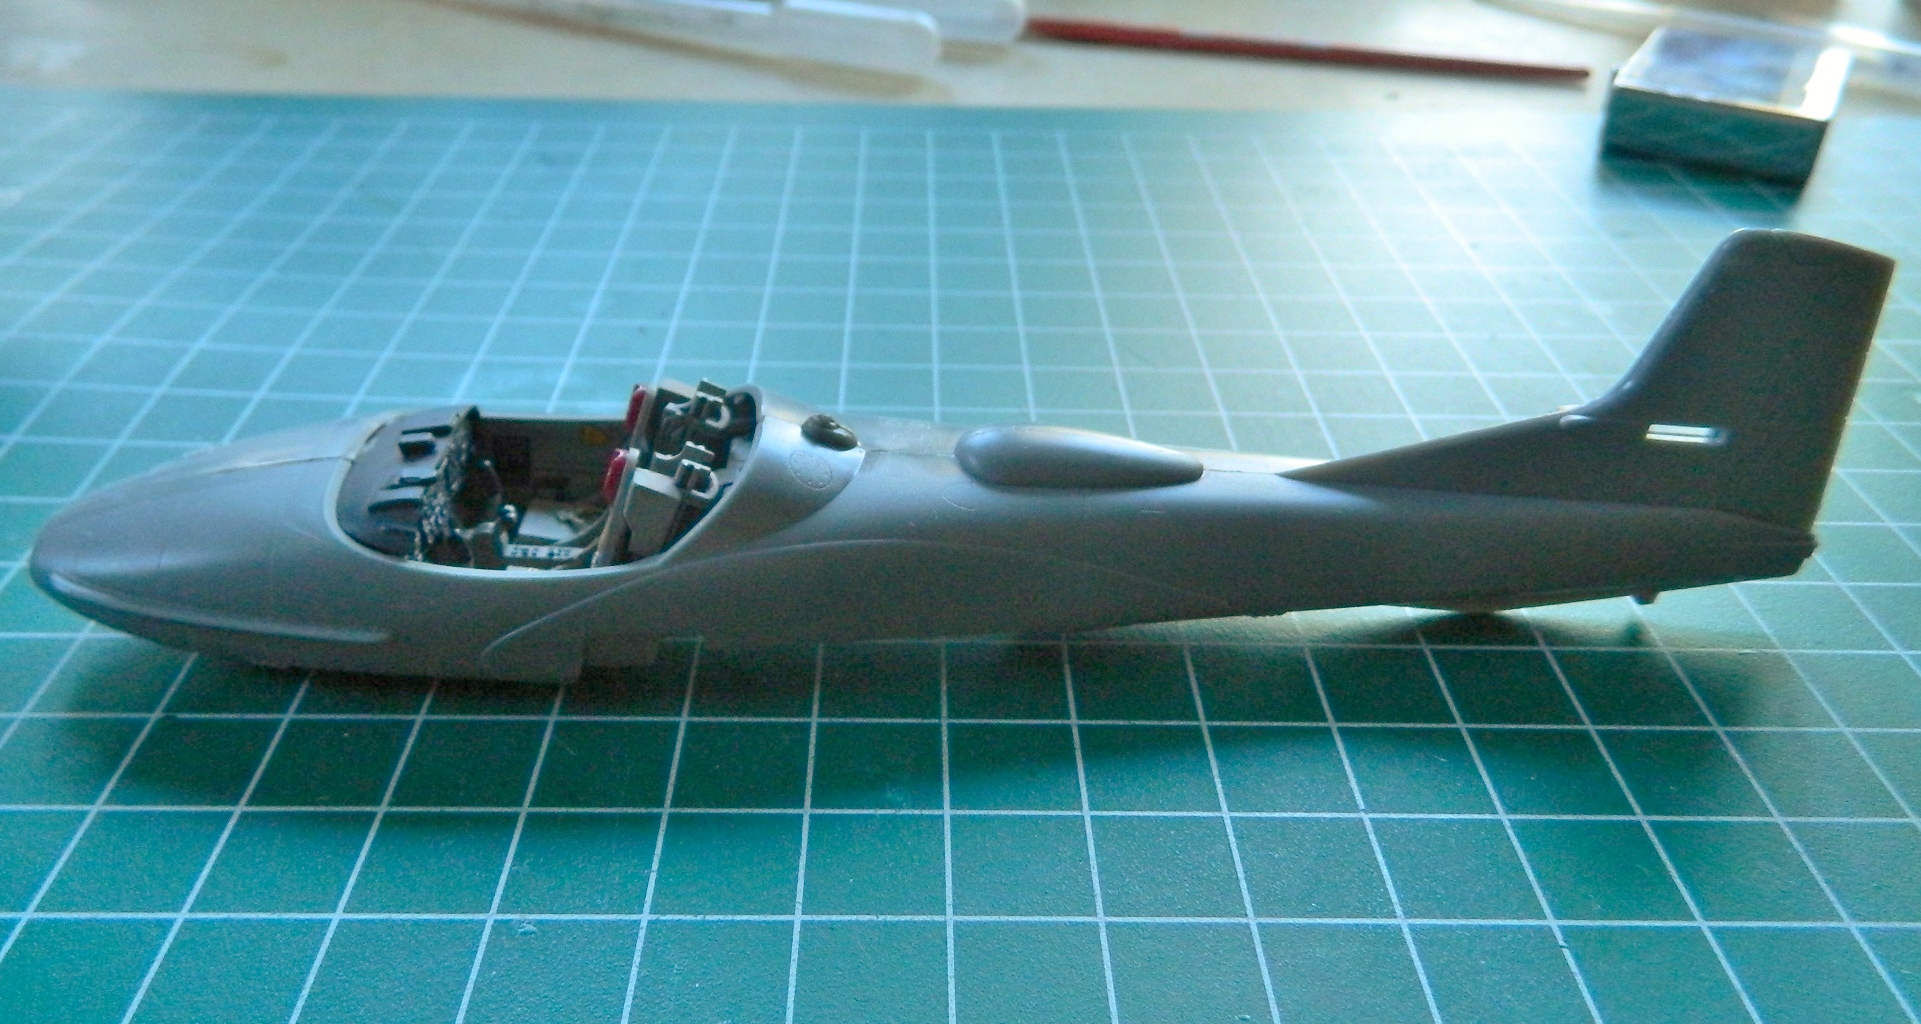
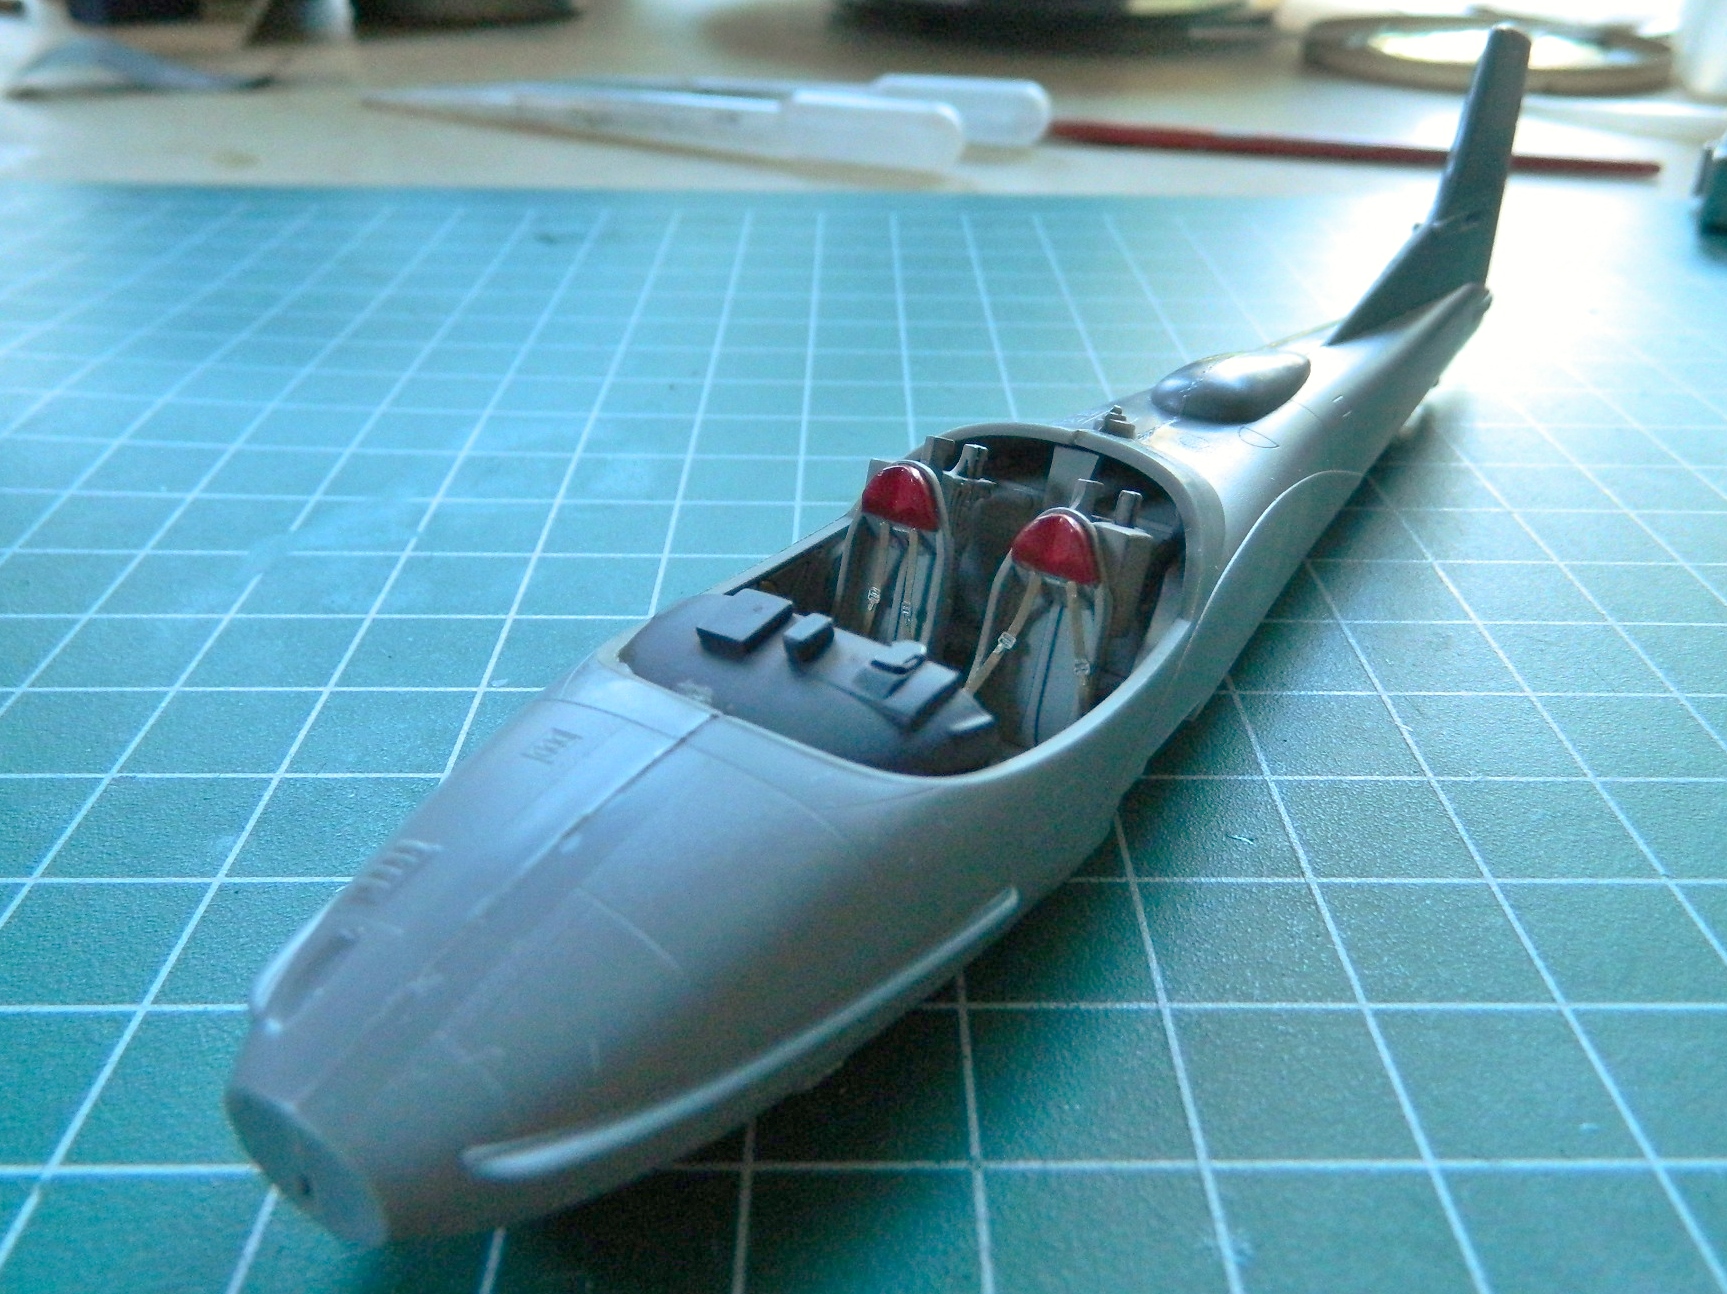
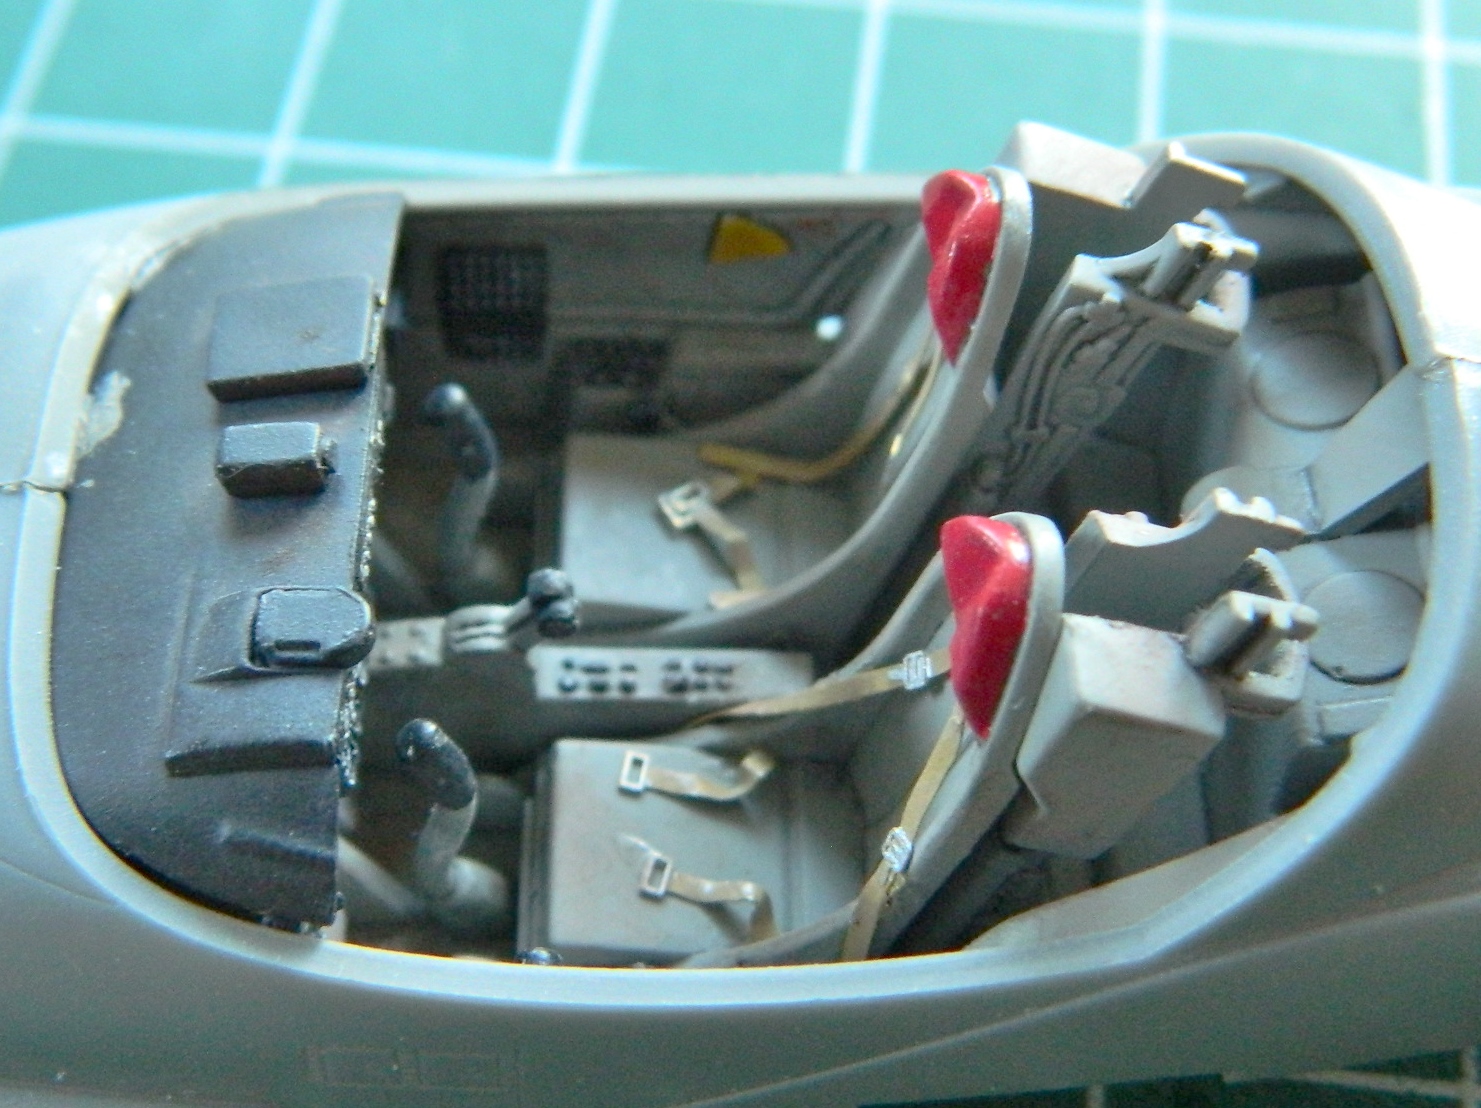
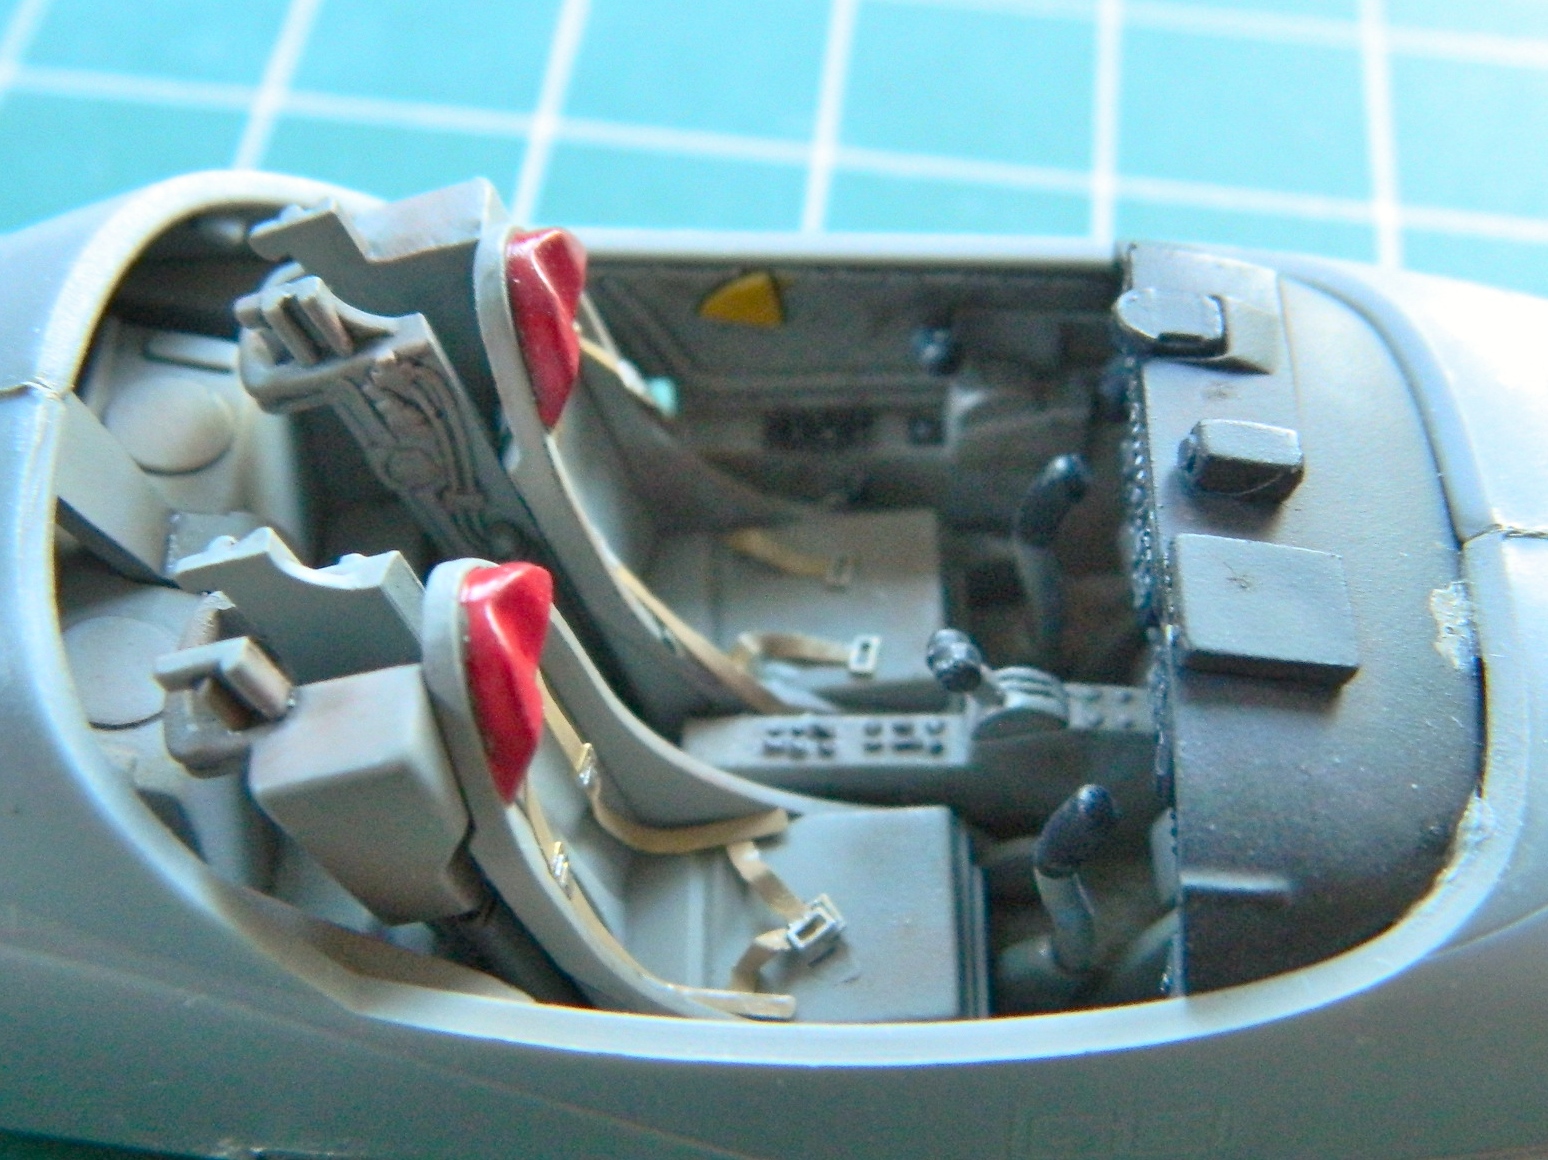
And that was it for this session. I wanted the glue to set completely before I started working on the seams and I’m going to need to touch up the front of the instrument panel coaming where glue caused the black paint to lift and smear. Speaking of which, the location of the instrument panel turns out to be the first real fit problem I encountered. It doesn’t sit in there quite level. Unfortunately, I had already glued the fuselage halves together before I noticed it and trying to separate the fuselage halves to fix that would have resulted in the potential for damage I didn’t want to fix. The instrument panel stays that way.
Next, I start on the wings.
This build is going to be substantially different from my usual builds. I’m going to build this one out-of-box (OOB). If the part isn’t in the box, it’s not going into the model. I’m also going to try to do this in less than a hundred hours (actually, less than fifty, but I don’t want you to think I’m…oh, never mind…I’m crazy). The copyright date of this kit is 2015 so that means I expect the parts to fit. (My…what a novelty!)
That said, this is what I’m starting with:
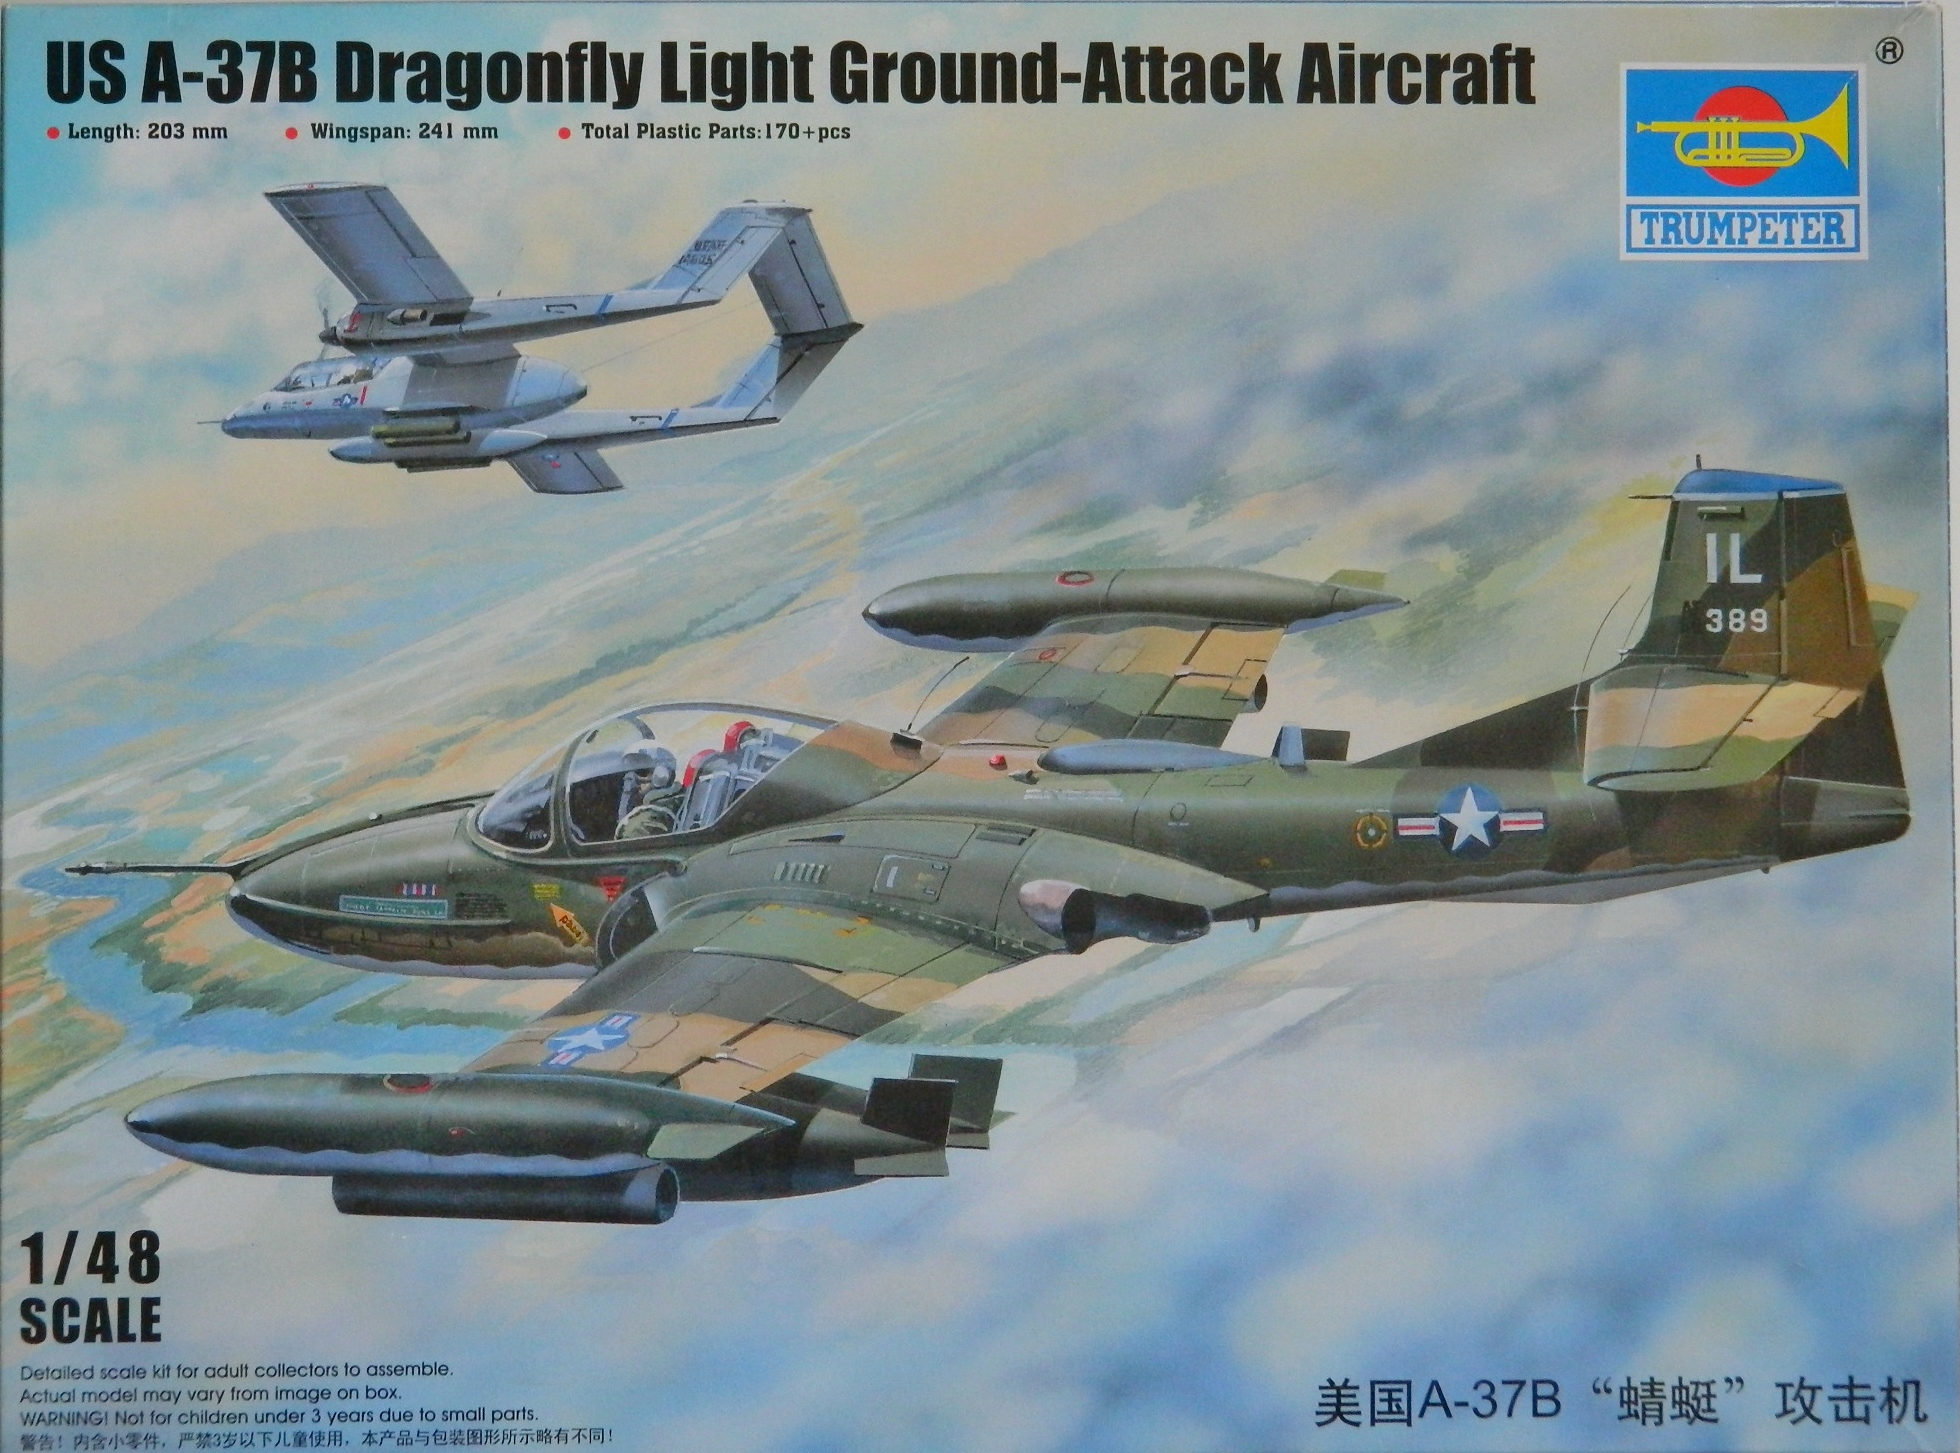
In looking at the parts, I’m impressed in some areas and not so much in others. This kit comes with a small fret of PE parts, so that’s impressive, and so is the quality of the clear parts. Not so impressive are some of the details. Some of the moldings are a bit thick for scale, particularly the fins of the ordinance:
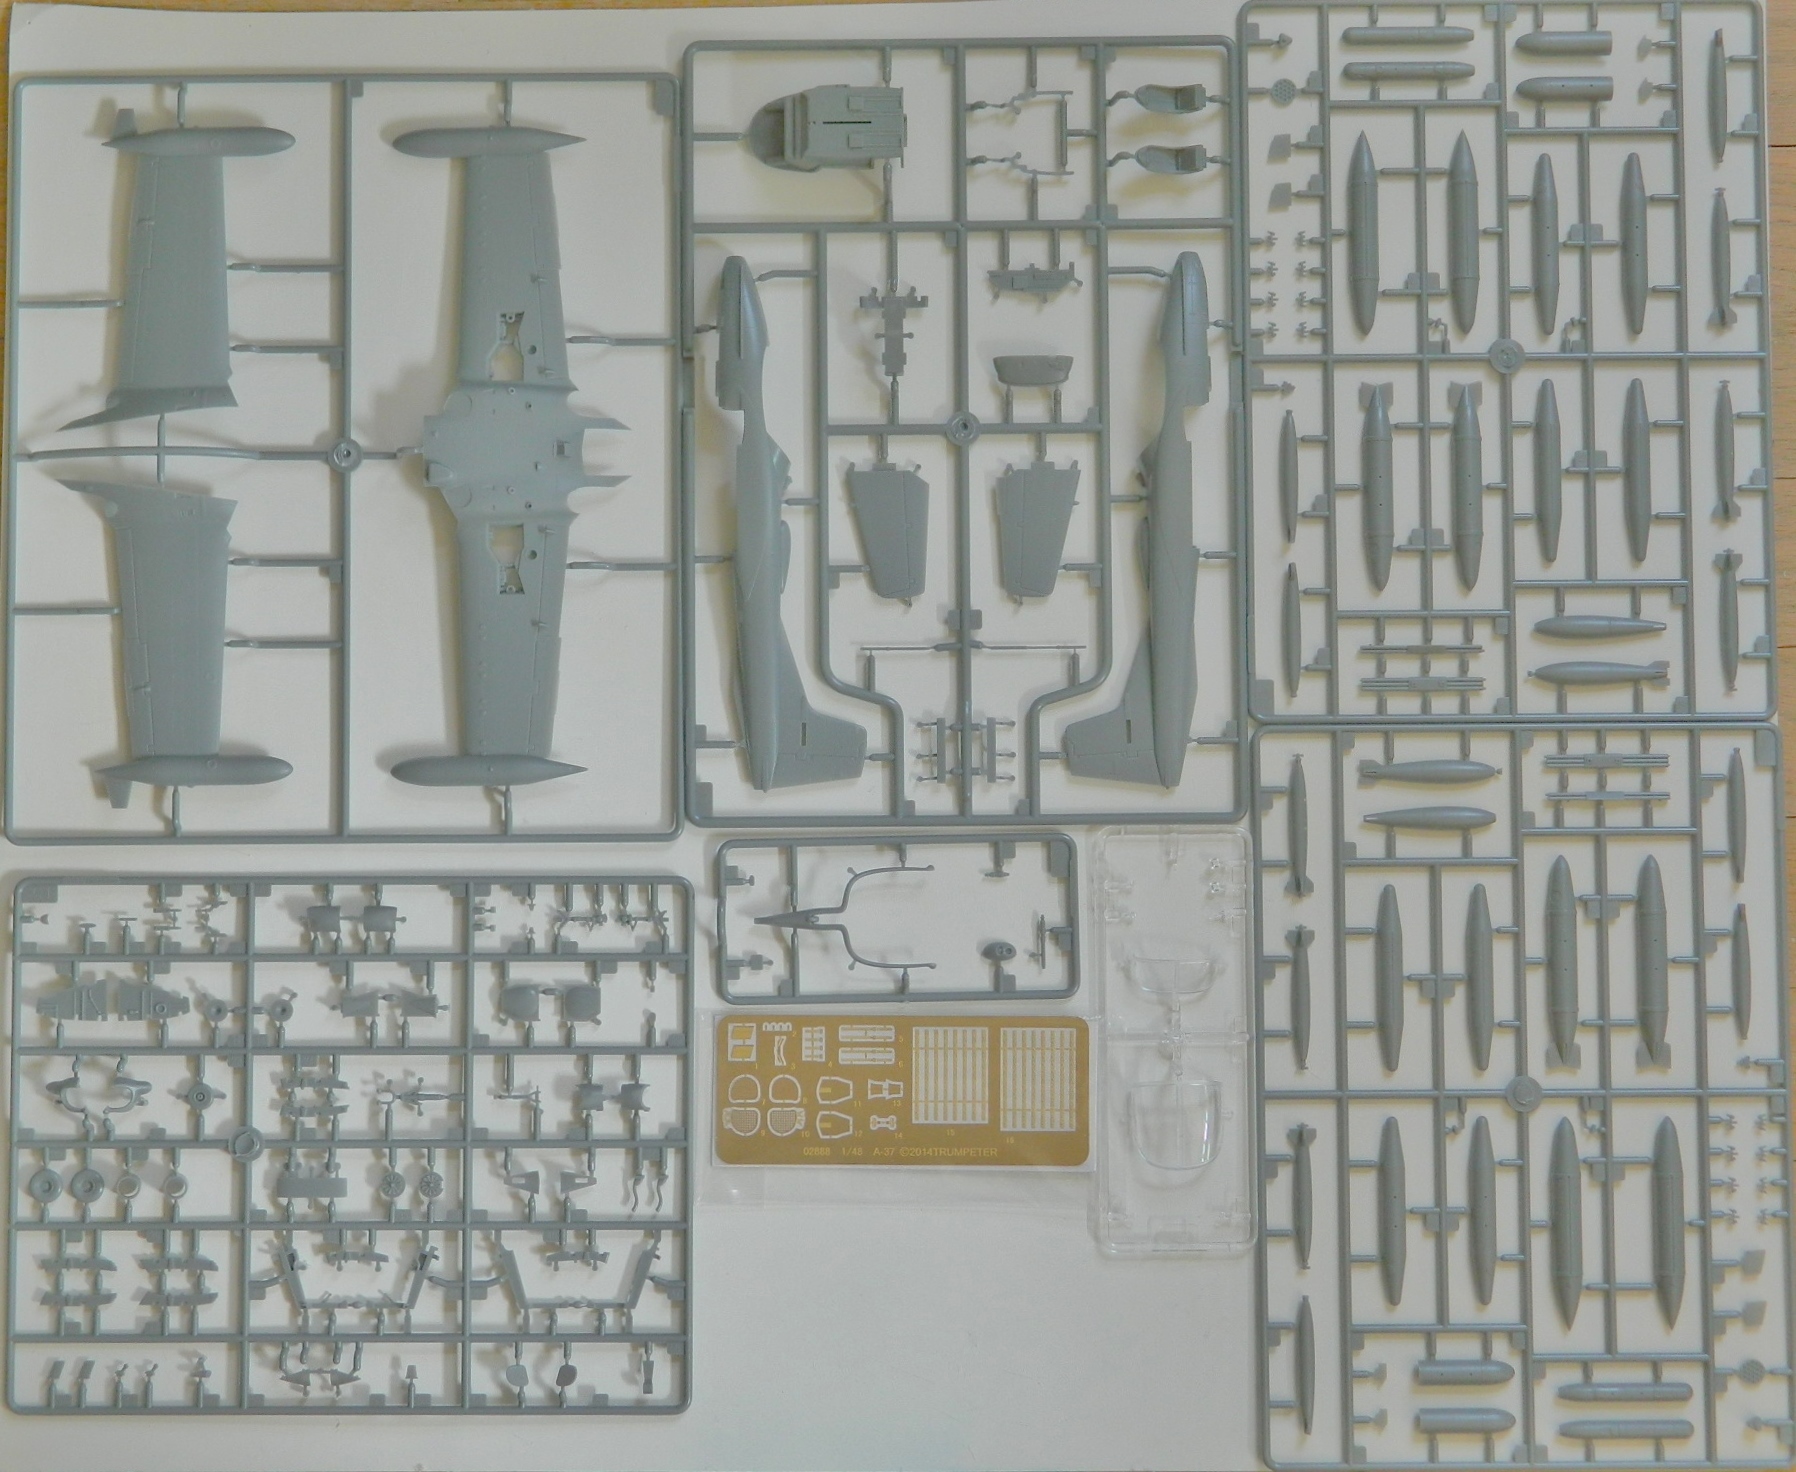
The painting diagram will be very helpful, particularly since I’ll be using the kit’s decals. Of course, I’ve already noted an error in the painting call-out as well as in nomenclature. One of the bombs isn’t a “bomb” at all…it’s a napalm canister:

The decal sheets look good also, including decals for the instrument panel gauge faces:
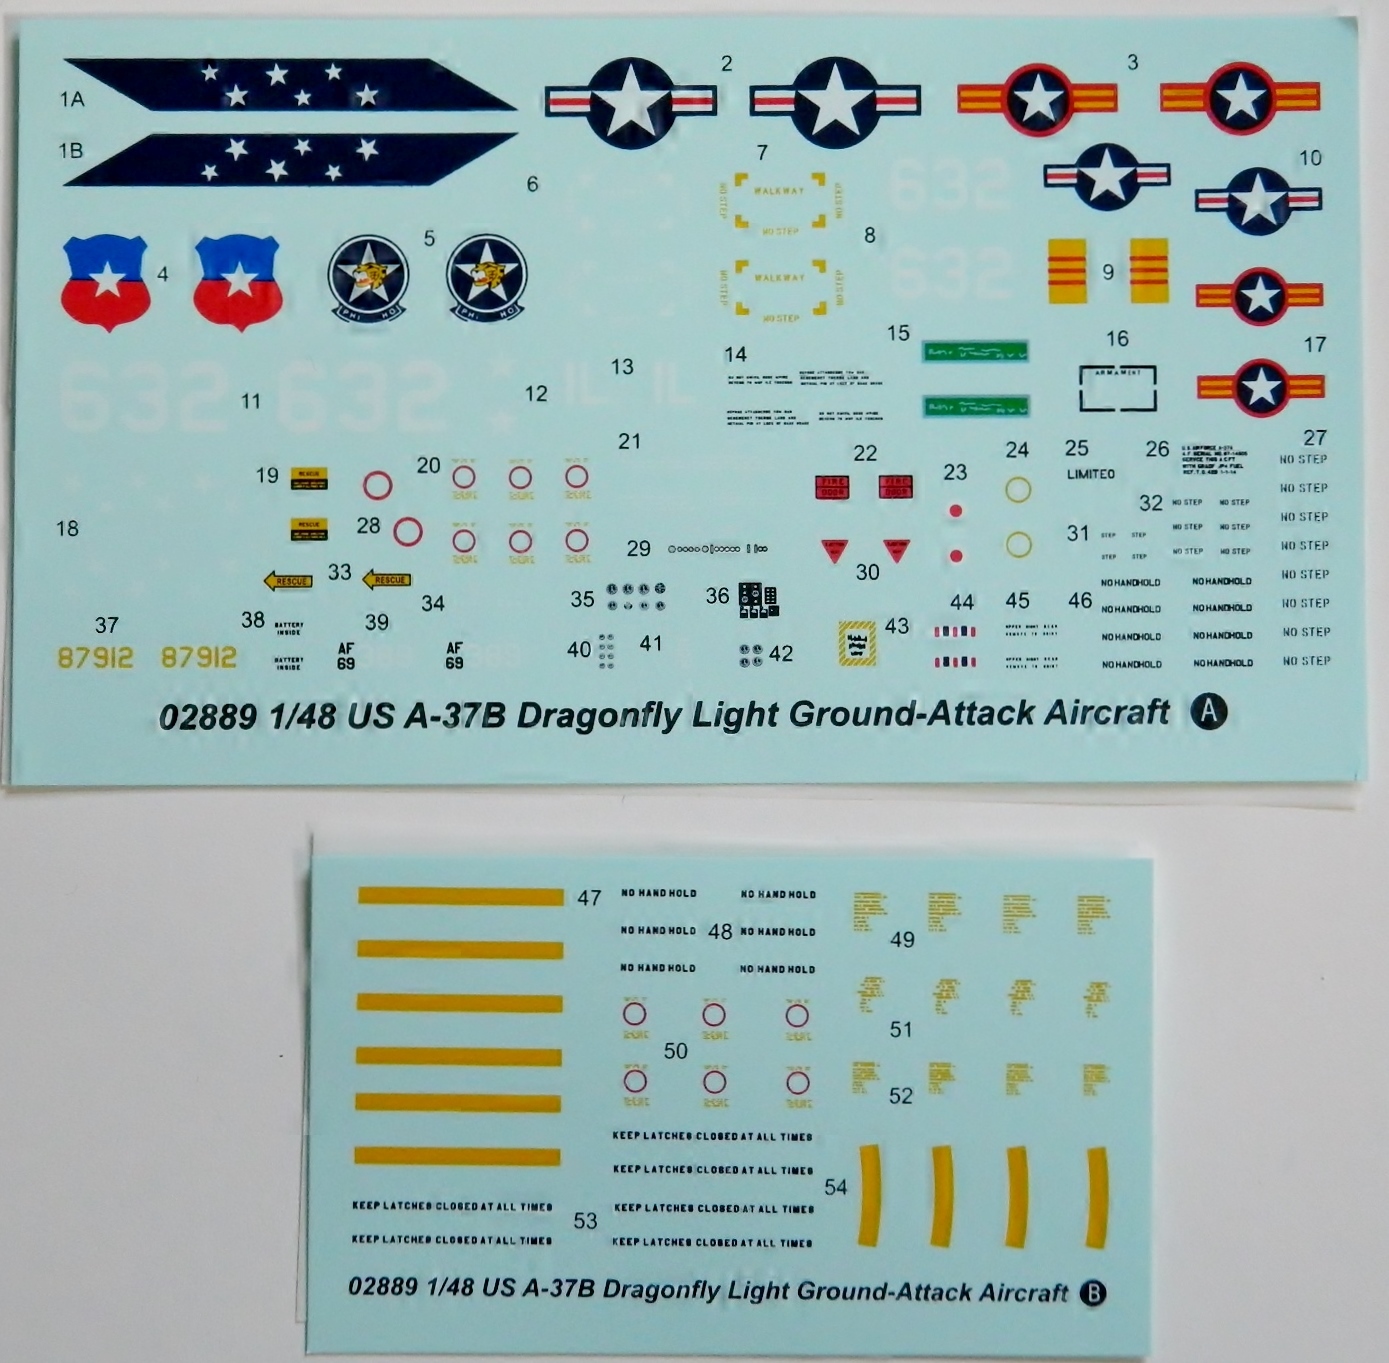
I’m going to be building the aircraft shown on the box’s cover art, and that starts with the cockpit. But before I started with that, I wanted to add weight to the nose so that the finished build will sit properly on its landing gear. I used two 4g lead balls (.44 caliber, if you’re interested in that sort of thing):

Before I could get them into the nose, they had to be reshaped. Before they could be reshaped, I needed to know exactly how much room I have. To do that, the nose landing gear bay had to be assembled:

I dry-fit the bay into the nose to see how it fit (perfectly!) and see what had to be done with the lead to fit into the spaces available:

Lead is soft and a hammer is hard and the first smack of the hammer showed me that unless I like sore thumbs (which I do not), best hold this thing with needle-nosed pliers:

Fit the nose bay again and it works, so I did the other ball the same way and superglued them into place:
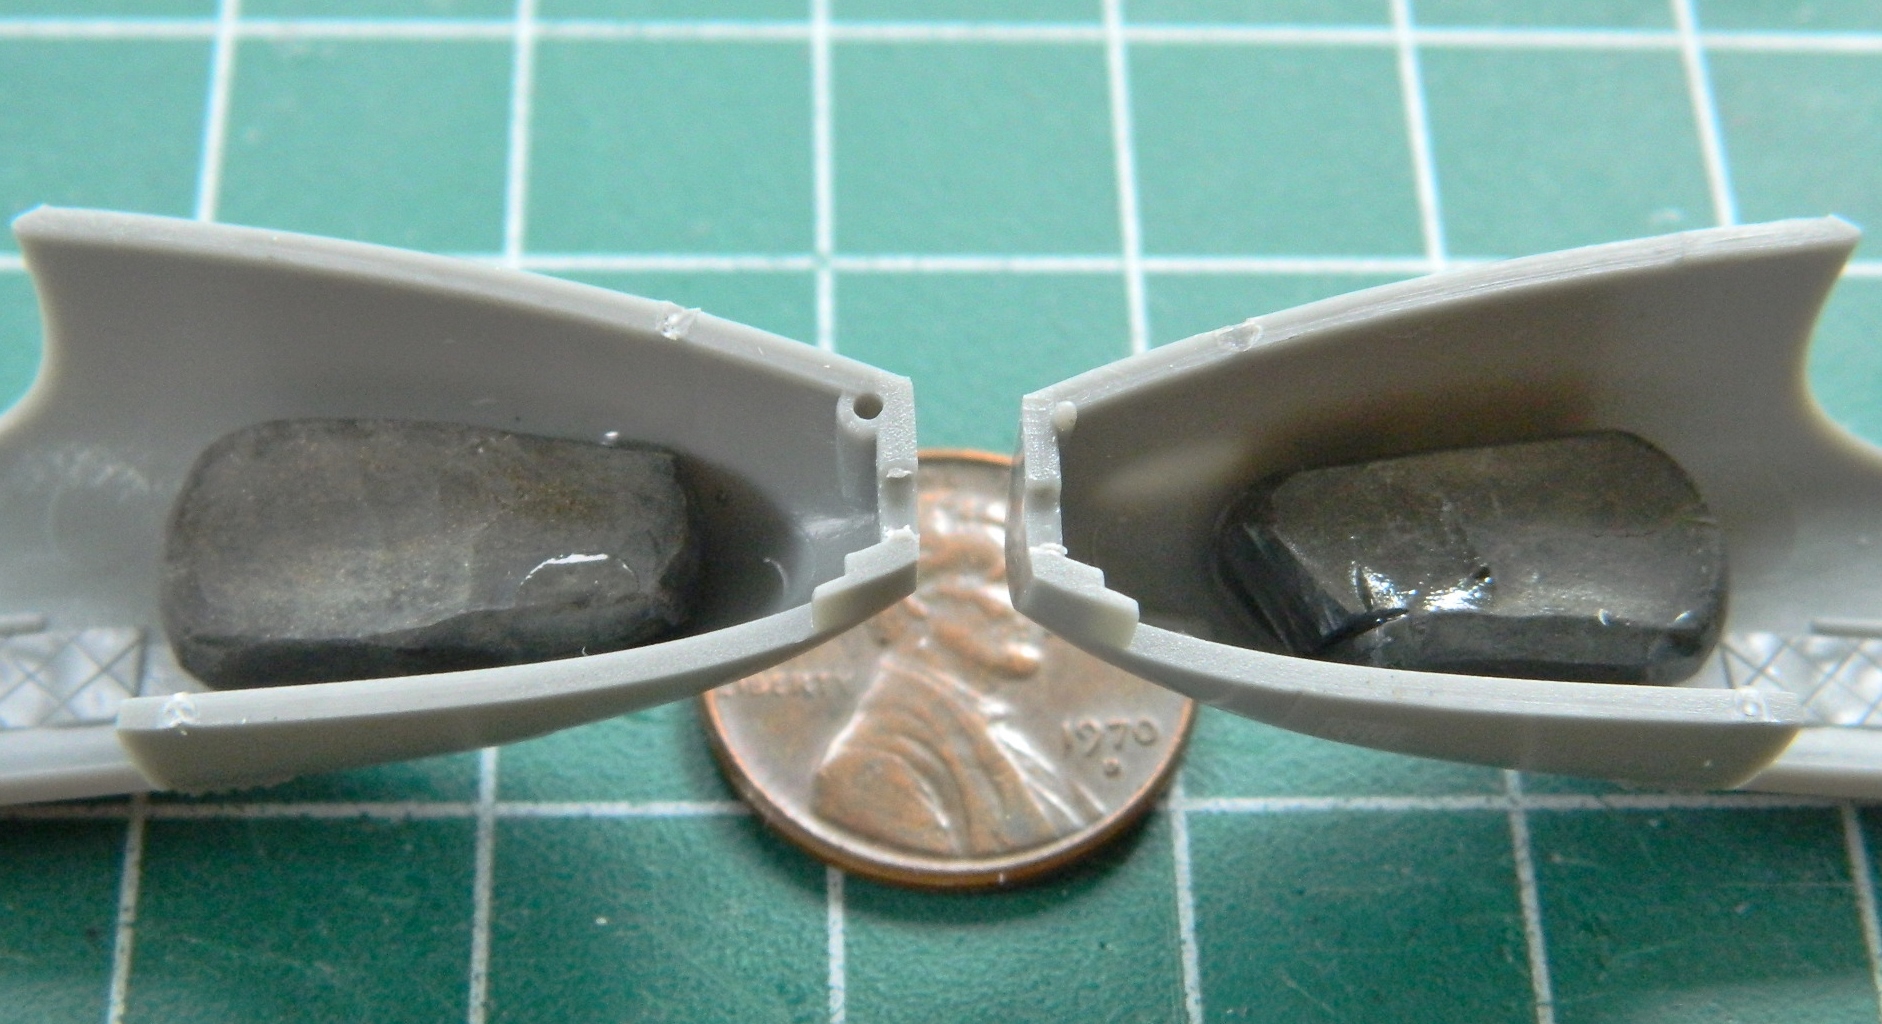
I taped the fuselage halves and wings together to check the balance and it’s good.
The kit’s seats aren’t bad (but were this not OOB I’d replace them) and I assembled both:


There are separate parts for the rudder pedals and throttles. The throttles needed a bit of seam removal and adding slots that the throttles would slide in:
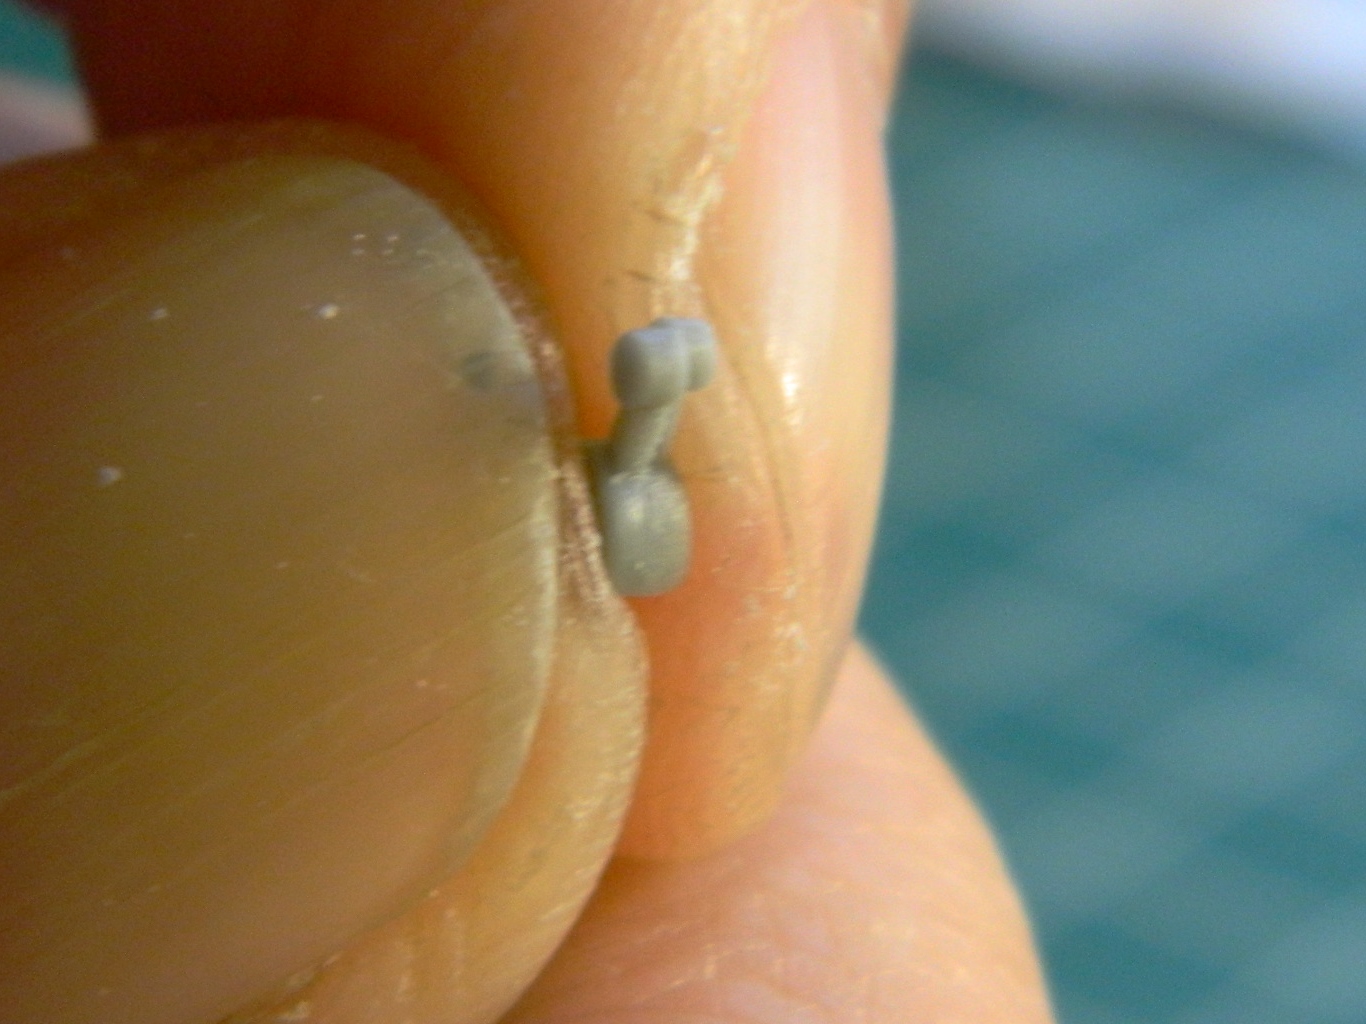
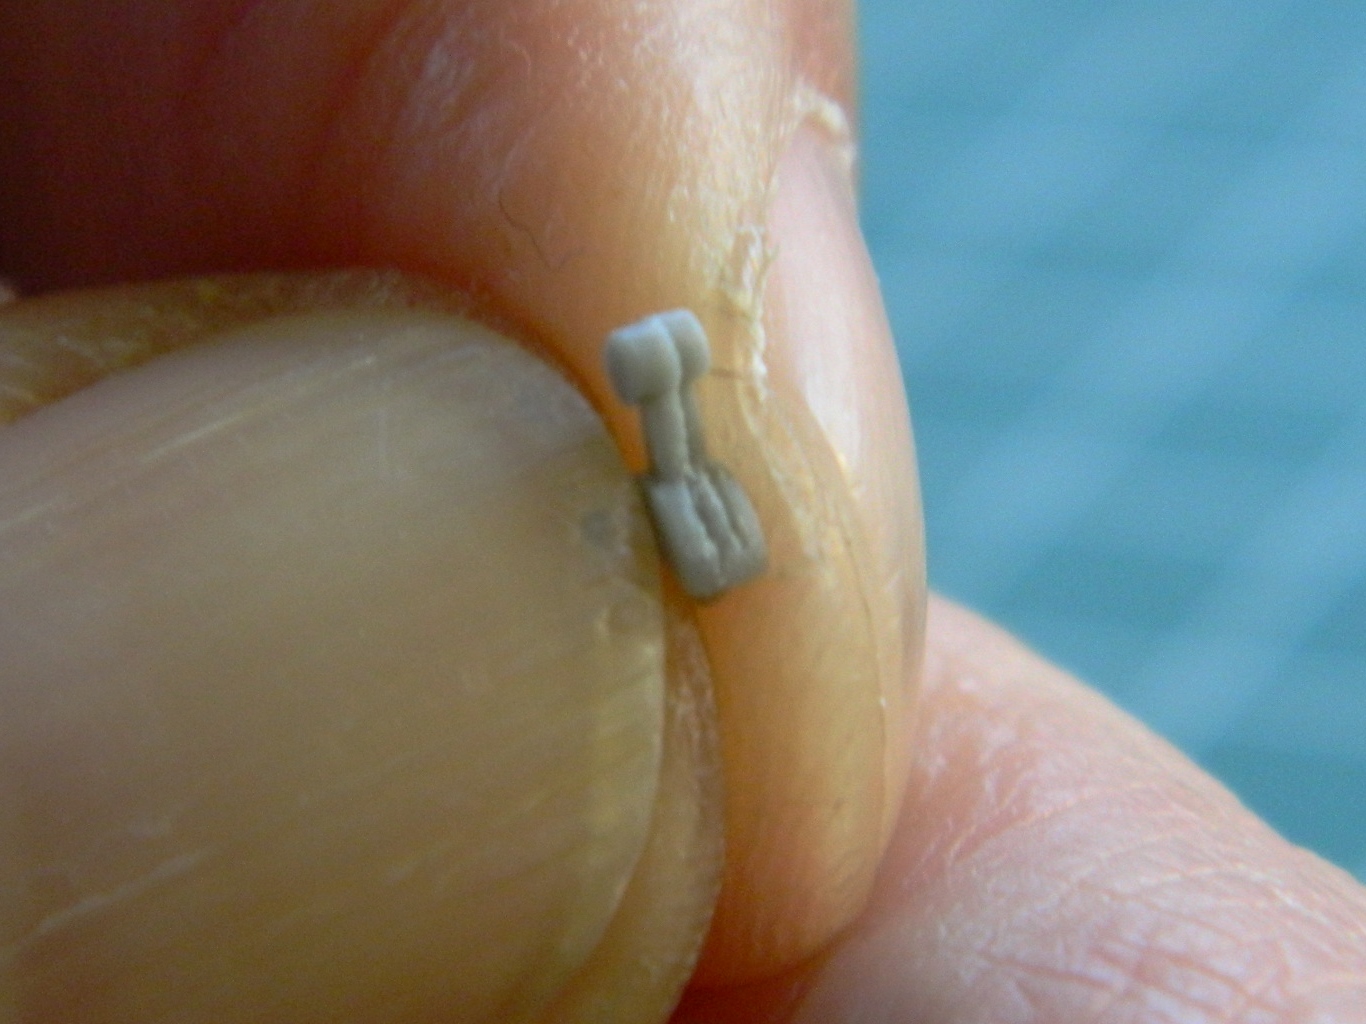
I added all the bits I needed to so that I could paint, leaving the seats out until later. The instrument panel has three parts that sit on top; the gun sight, back up compass, and a radio:

Didn’t take long:

Since this is being modeled as a combat aircraft in a war zone, there will be wear and dirt, so I started by putting down a base coat of aluminum:
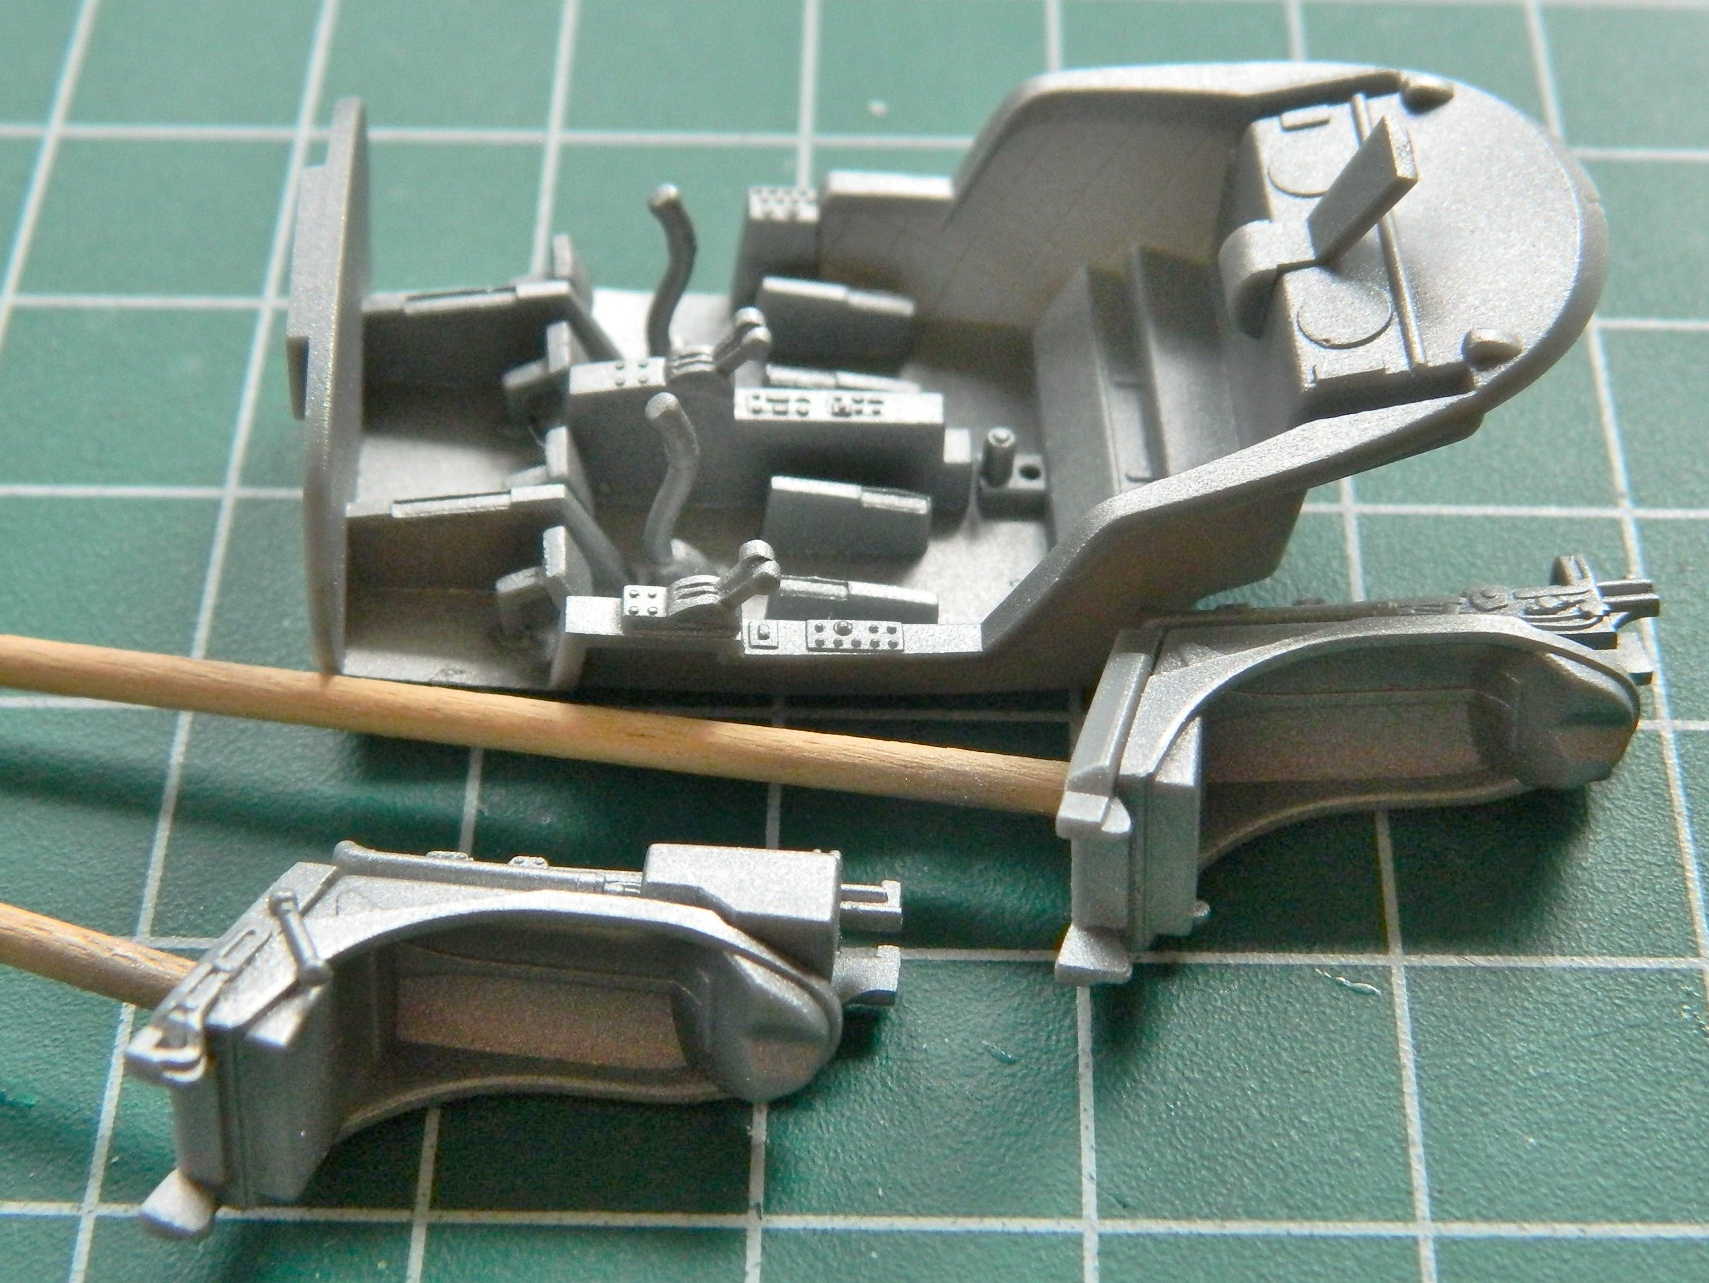
Over that I shot a cockpit gray, added wear, and painted details in the cockpit tub and sides of the fuselage:
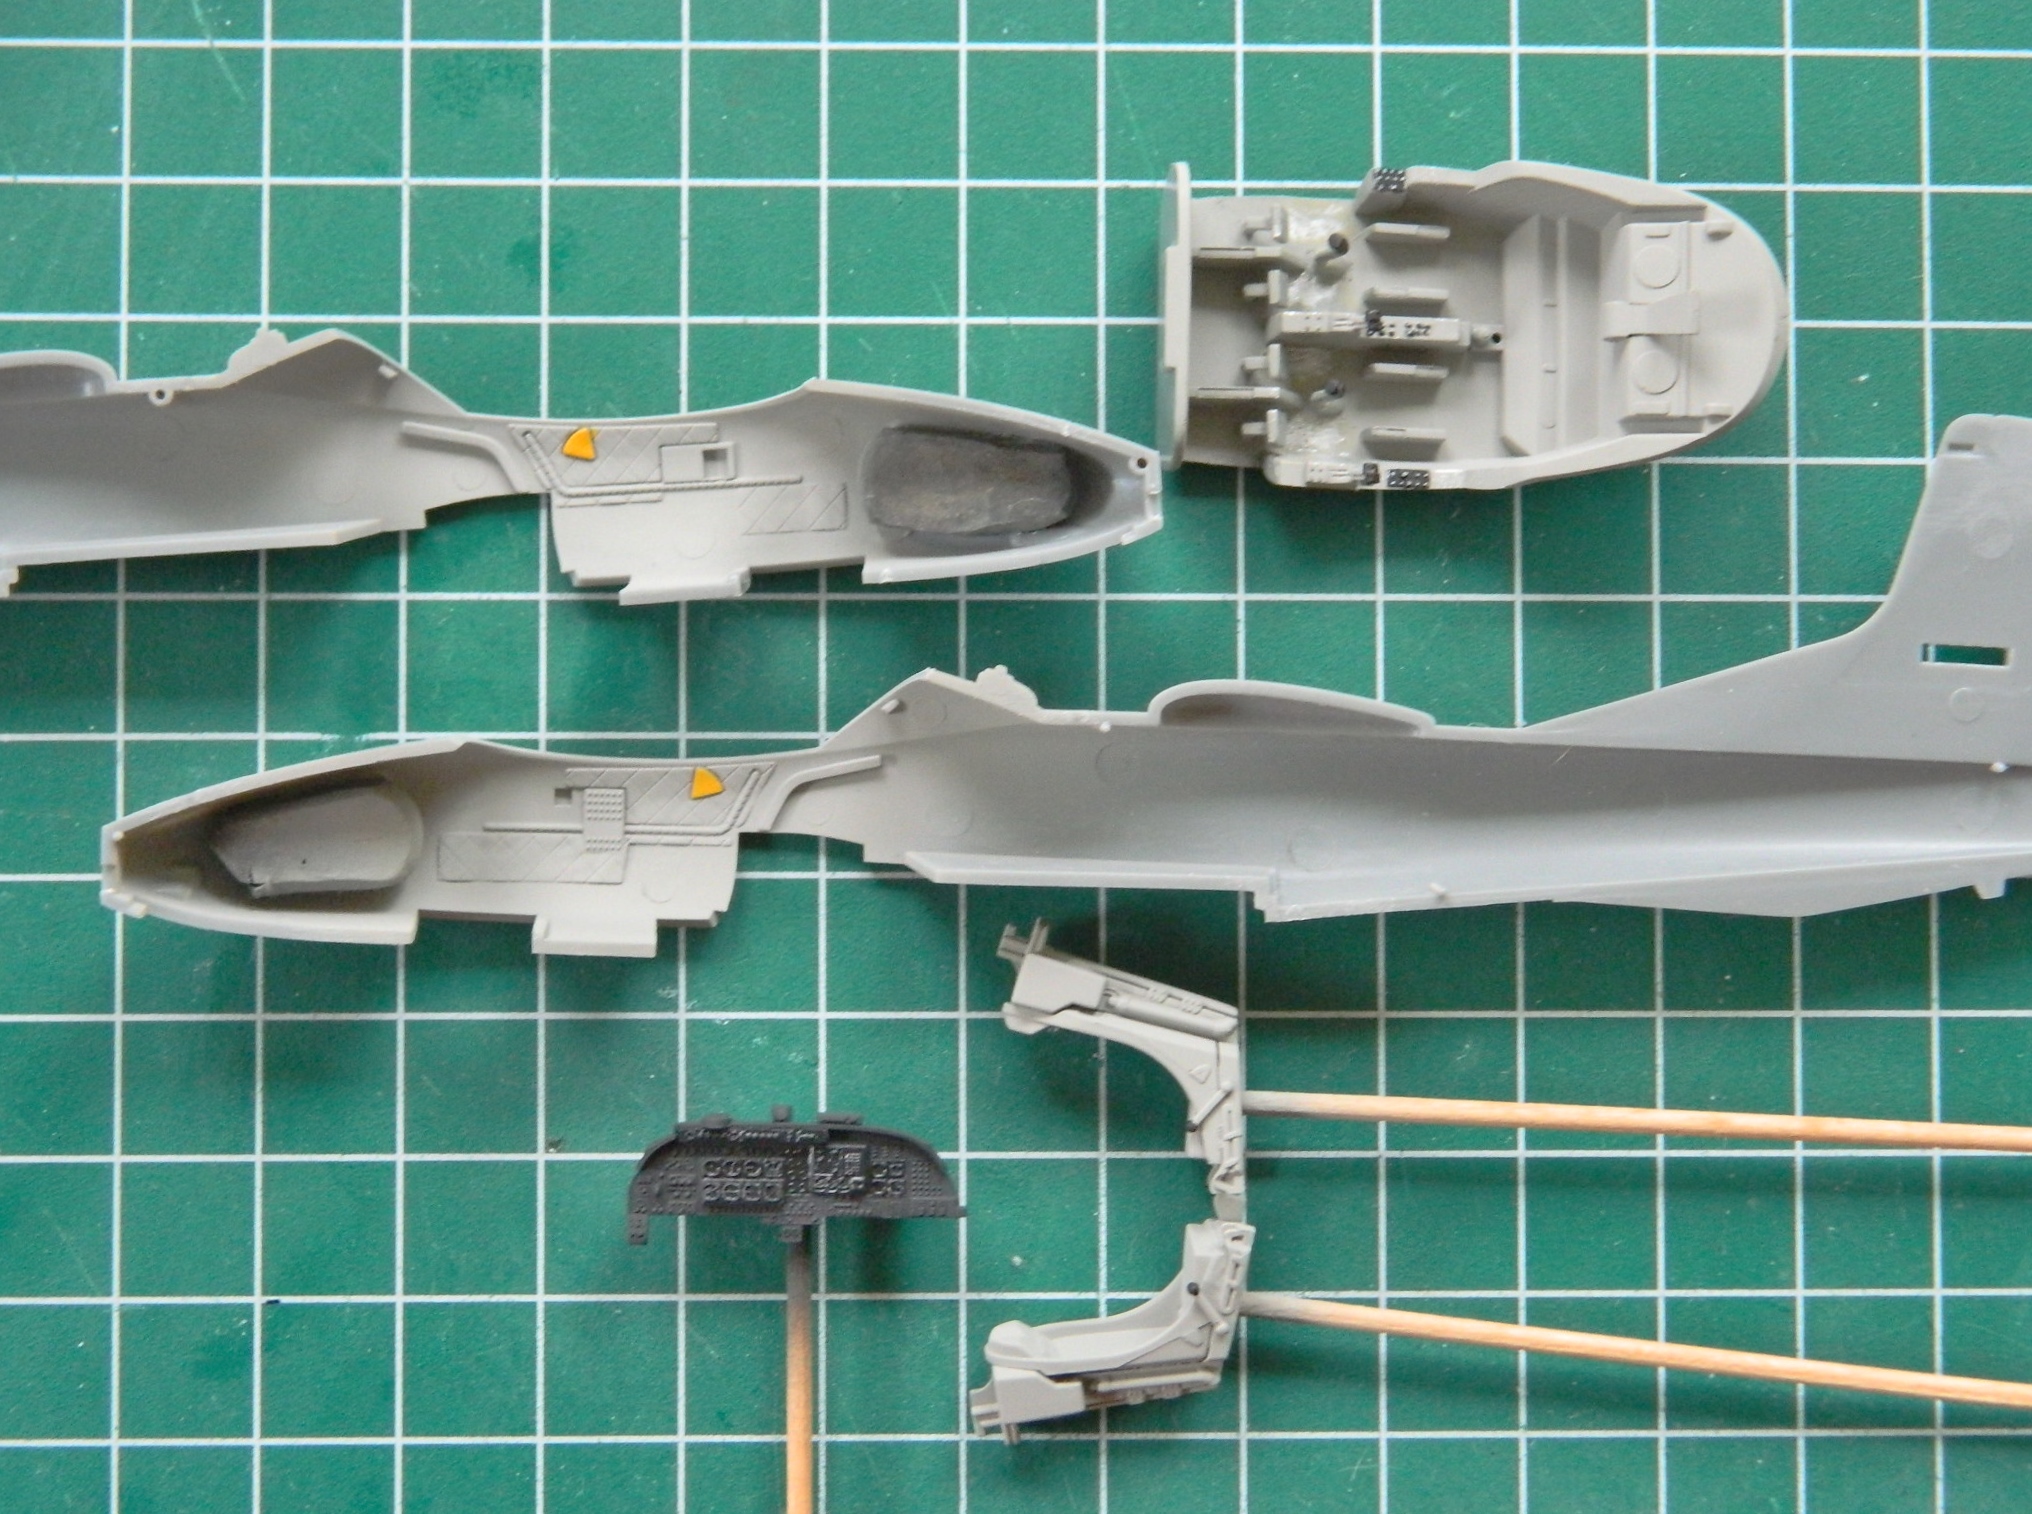
I’m going to try using the kit decals provided for the instrument panel. Since decals go on over a gloss coat, their locations needed a gloss coat. Since I didn’t want to involve myself in TINY masking tasks, once I’d shot the flat black (light-corrected with about 25% white added to the black), I brushed the areas where decals go with clear gloss. Good enough:
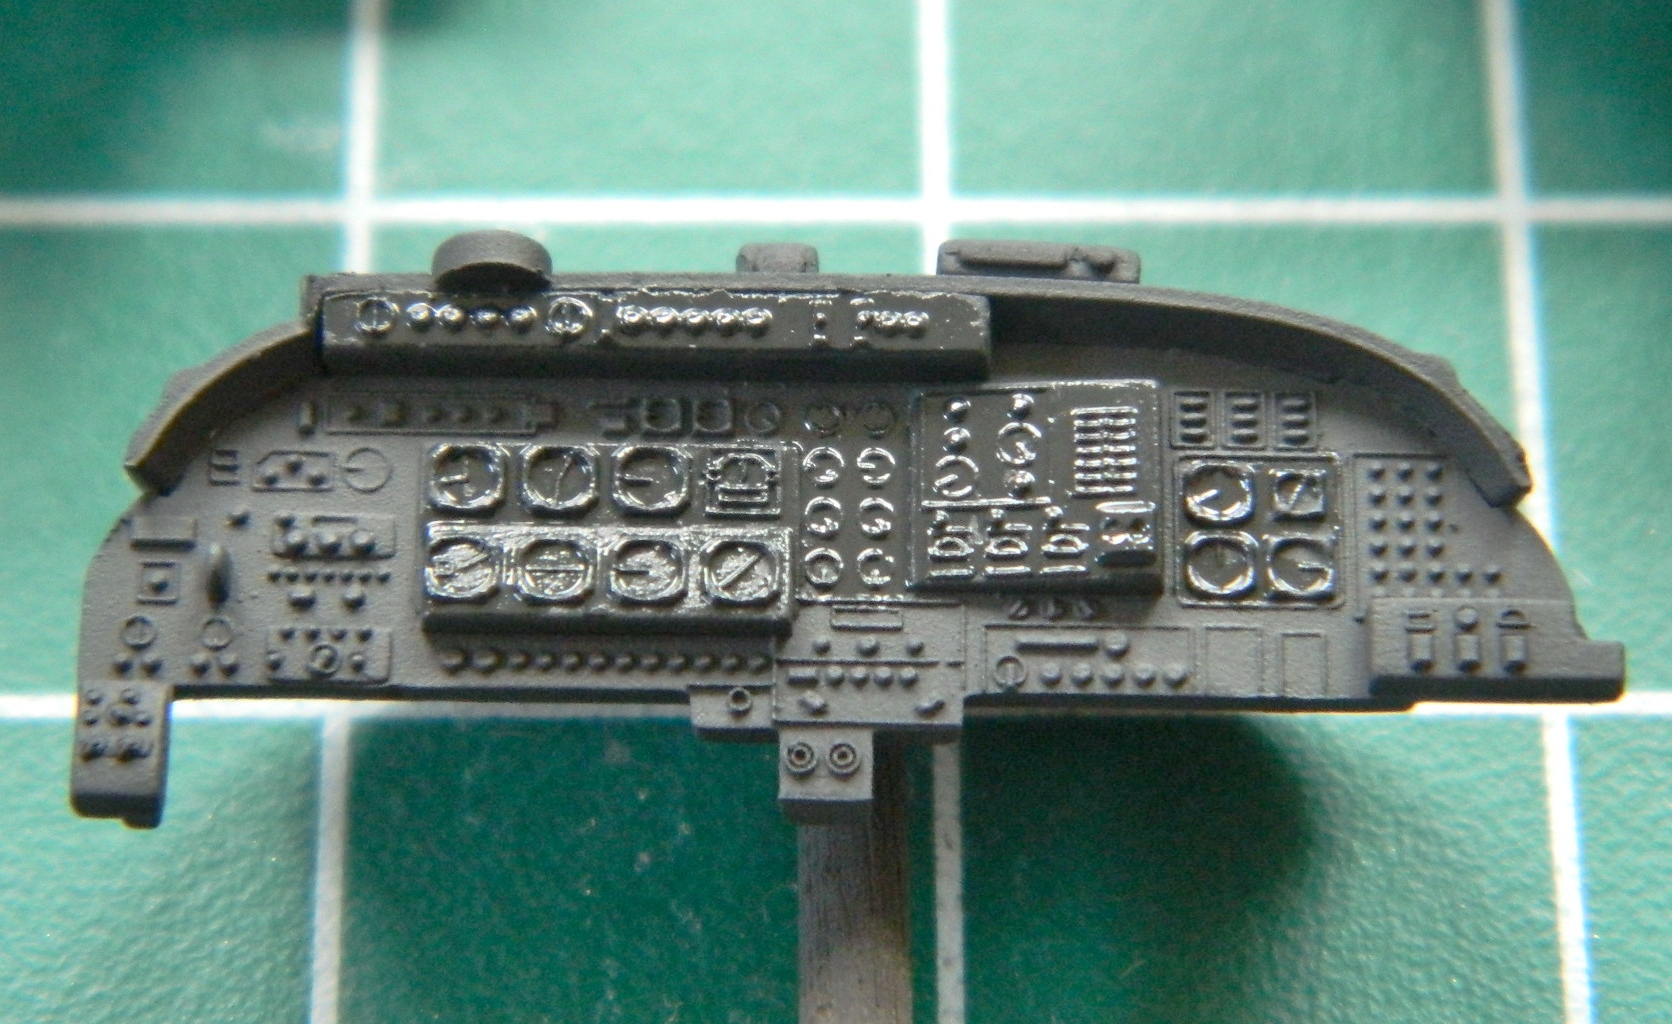
The plan at present is to pick out the other instrument panel details and switches using paint and colored pencils.
So the parts are sitting on the bench for the paint to set up properly. So far, so good enough…