Supertweet Overview
The A-37B was a development of Cessna’s T-37 trainer, aka, “Tweet.” Its cockpit layout was unusual in that the crew sat next to each other instead of the more common tandem seating. The Air Force wanted a counterinsurgency platform to deliver ordinance to a surface target and approached Cessna with the intent to beef up the T-37 for the ground attack role. The initial evaluation was done using a pair of T-37C aircraft and though promising, the T-37 needed stronger wings (gotta hang the ordinance somewhere), the ability to carry more fuel, a multi-barrel gun (General Electric GAU-2B/A 7.62 mm with 1500 rounds at 3000 rounds/minute), combat-capable avionics, and tougher landing gear for rough-field operation. To get all the increased weight into the air, Cessna doubled the aircraft’s power by replacing the original Continental J-69 engines with General Electric J85-J2/5 turbojet engines.
The Air Force doesn’t seem (even to this day) to be all that interested in small, simple, aircraft. Interest waned in the early 60s in light attack aircraft. But as you know, the early 60s became the mid-60s and Vietnam heated up considerably. The two trial aircraft had been “retired” to the National Museum of the United States Air Force at Wright-Patterson Air Force Base. Light attack was being performed by the A-1 Skyraider, a large propeller-driven attack platform developed in WWII and used during the Korean War. The Air Force (and Navy and South Vietnam) was losing a lot of them and was looking for a replacement and revived the A-37 program. The second prototype was taken from Wright-Patterson and a contract was let to Cessna for 39 “YATD-37D” aircraft (quickly changed to “A-37A”) to evaluate the platform under combat conditions.
Twenty five A-37As were sent to Vietnam in August of 1967 under the “Combat Dragon” evaluation program and were operated out of Bein Hoa Airbase and were operated on “air commando” missions. The program was a success with the A-37A flying thousands of ground-attack missions with no losses to enemy fire (two were wrecked in landing accidents), and it was decided that for the aircraft to be fully combat capable, some changes were needed. The A models lacked range and control response became heavy in the attack approach as well as not having a redundant control system. The Air Force issued a contract for 57 of the improved aircraft, designated A-37B, and quickly raised the amount to 127 (ultimately 577 would be built). All A-37B were new air-frames.
The A-37B was a much more robust aircraft and weighed roughly twice what the T-37 did. To get the increased mass airborne it was fitted with new engines, the General Electric J85-GE-17A engines, canted slightly outward to improve single-engine operation (it was not unusual for the pilot, as most were operated by a single crewman, to cruise on one engine to conserve fuel and extend range). The B models were also fitted with nylon flak curtains inside the cockpit, armored ejection seats, could tolerate 6gs (an increase over the A model’s 5g), a fatigue life of 4000 hours (combat experience showed that 7000 hours could be tolerated), was fitted with redundant elevator controls, modified control surfaces to improve handling, and self-sealing fuel tanks. A mid-air refueling probe was added to the nose (the feed pipes wrapped around the front of the cockpit) of probe-and-drogue which was a departure from Air Force equipment which was usually configured for boom refueling. Avionics were updated, the instrument panel reconfigured for easier flight from either seat, revised deicing inlets for the engines, and hardier landing gear. None of the 37 family had pressurized cockpits, requiring them to stay below 25,000 feet.
The A-37B was very effective at close-support. Due to ease of maintenance, the aircraft only required two hours of maintenance per hour of flight, lower than more complicated platforms, turn-around time was low and sortie rate was high with 1000 sorties per month not being unusual. Because of its small size, it was more difficult to hit with ground fire, and due to its low operating speed (and high loiter time) its bomb delivery accuracy average was 45 feet.

T-37
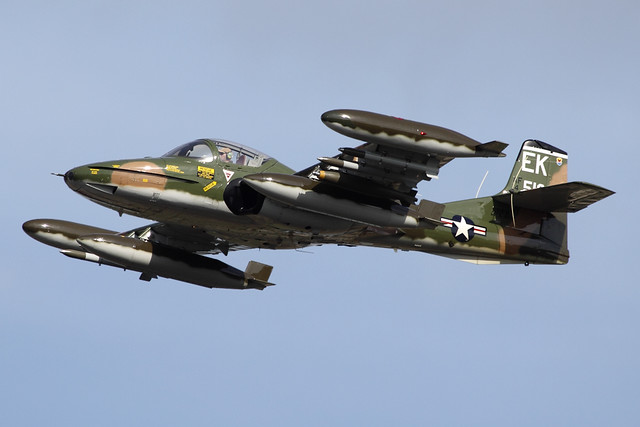
A-37A

A-37B
Gemini (Revell) After-action Report

Total time building 452.75 hours (that’s about 2.69 24 hour-a-day weeks).
Begin date August 20, 2016; end date April 24, 2017.
Vendors:
Revell
Kit #8618 – NASA/McDonnel Gemini Space Capsule; 1/24 scale
Archer Transfers
Set #AR88001 – Resin Rivets; Various scales
Airscale
Set #AS48 USA – Instrument Dial Decals; Generic: WWII USAAF; scale 1/48
LVM Studios
Gemini Interior Detail Set 1/24 scale
RealSpace Models
Exterior Gemini Detail Set 1/24 scale
Space Model Systems
Set #GS24 decals
My Opinion
The molds for this model were cut back in the mid 60s so I thought I knew what I was in for. There would be accuracy and fit problems. I didn’t realize how optimistic that opinion could be. By the time I got this thing done, I had a thorough realization of how optimistic I was. I’ve read blogs and reviews from other builders of this kit how they thought the fit was “okay” and detail was “good.” CLEARLY these builders and bloggers operate to much looser standards than I do. “Okay” is NOT the four-letter word I’d use. “Shit” comes closer.
I’d wanted to build this spacecraft to replicate Gemini VIII and that was just not possible. Yes, there are a fair amount of detail photos out there. The problem is that for the most part the available photos do not indicate which damned capsule they’re showing. So the result is more generic than specific. Doesn’t please me at all.
There aren’t a lot of after-market bits for this kit and with the exception of two crew figures, I purchased them all. With the exception of the decals, made by Microscale Industries and marketed by Space Model Systems (#GS24), which were quite amazing in how clearly legible even the smallest decals were, the exterior made by RealSpace Models and the interior made by LVM Studios were disappointing (to say the least).
The LVM interior details were mostly PE brass and though they built nicely (though incomplete), they were too large for scale. Had I not moved the walls of the interior out, I can’t imagine how they’d fit.
The majority of my bile is directed towards RealSpace Models. What absolute garbage. Though the parts initially look more accurate than what the kit provides, the initial look didn’t tell the story. The hull parts are too large (I didn’t use the nose piece since I didn’t model an orbiting Gemini, which is the only time that section would be exposed). And saying “the quality of the resin castings” in the same sentence takes humor to greater lengths than I’m comfortable with. There was no “quality” to these resin castings. If they were pressure-cast, well, maybe the pressure should have been higher than one PSI. Any attempt to work these castings showed bubbles EVERYWHERE. Everywhere. They showed up on the exterior. And when I used denatured alcohol to remove a blown paint job, I discovered that the alcohol would also remove the exterior surface of the resin castings which in turn exposed MORE bubbles. (The alcohol also made whatever formulation resin that was used flexible. If I were ever to use RealSpace parts again…which I am not…that trait might be used to some advantage.)
452.75 hours was a long time to spend on what is essentially a simple model. The single biggest time consumption was spent making the AM parts fit (to whatever miserable extent they “fit”).
I do not expect it will show well. [And though I made it to the show that I wanted to attend with this build, it didn’t show well. It got beat out by another Gemini capsule that, even in 1/144 scale, was even LESS accurate than this one. No…don’t get me started on the judging…]
The only bright spot to this build is that it’s DONE and I do NOT have to deal with it ever again.

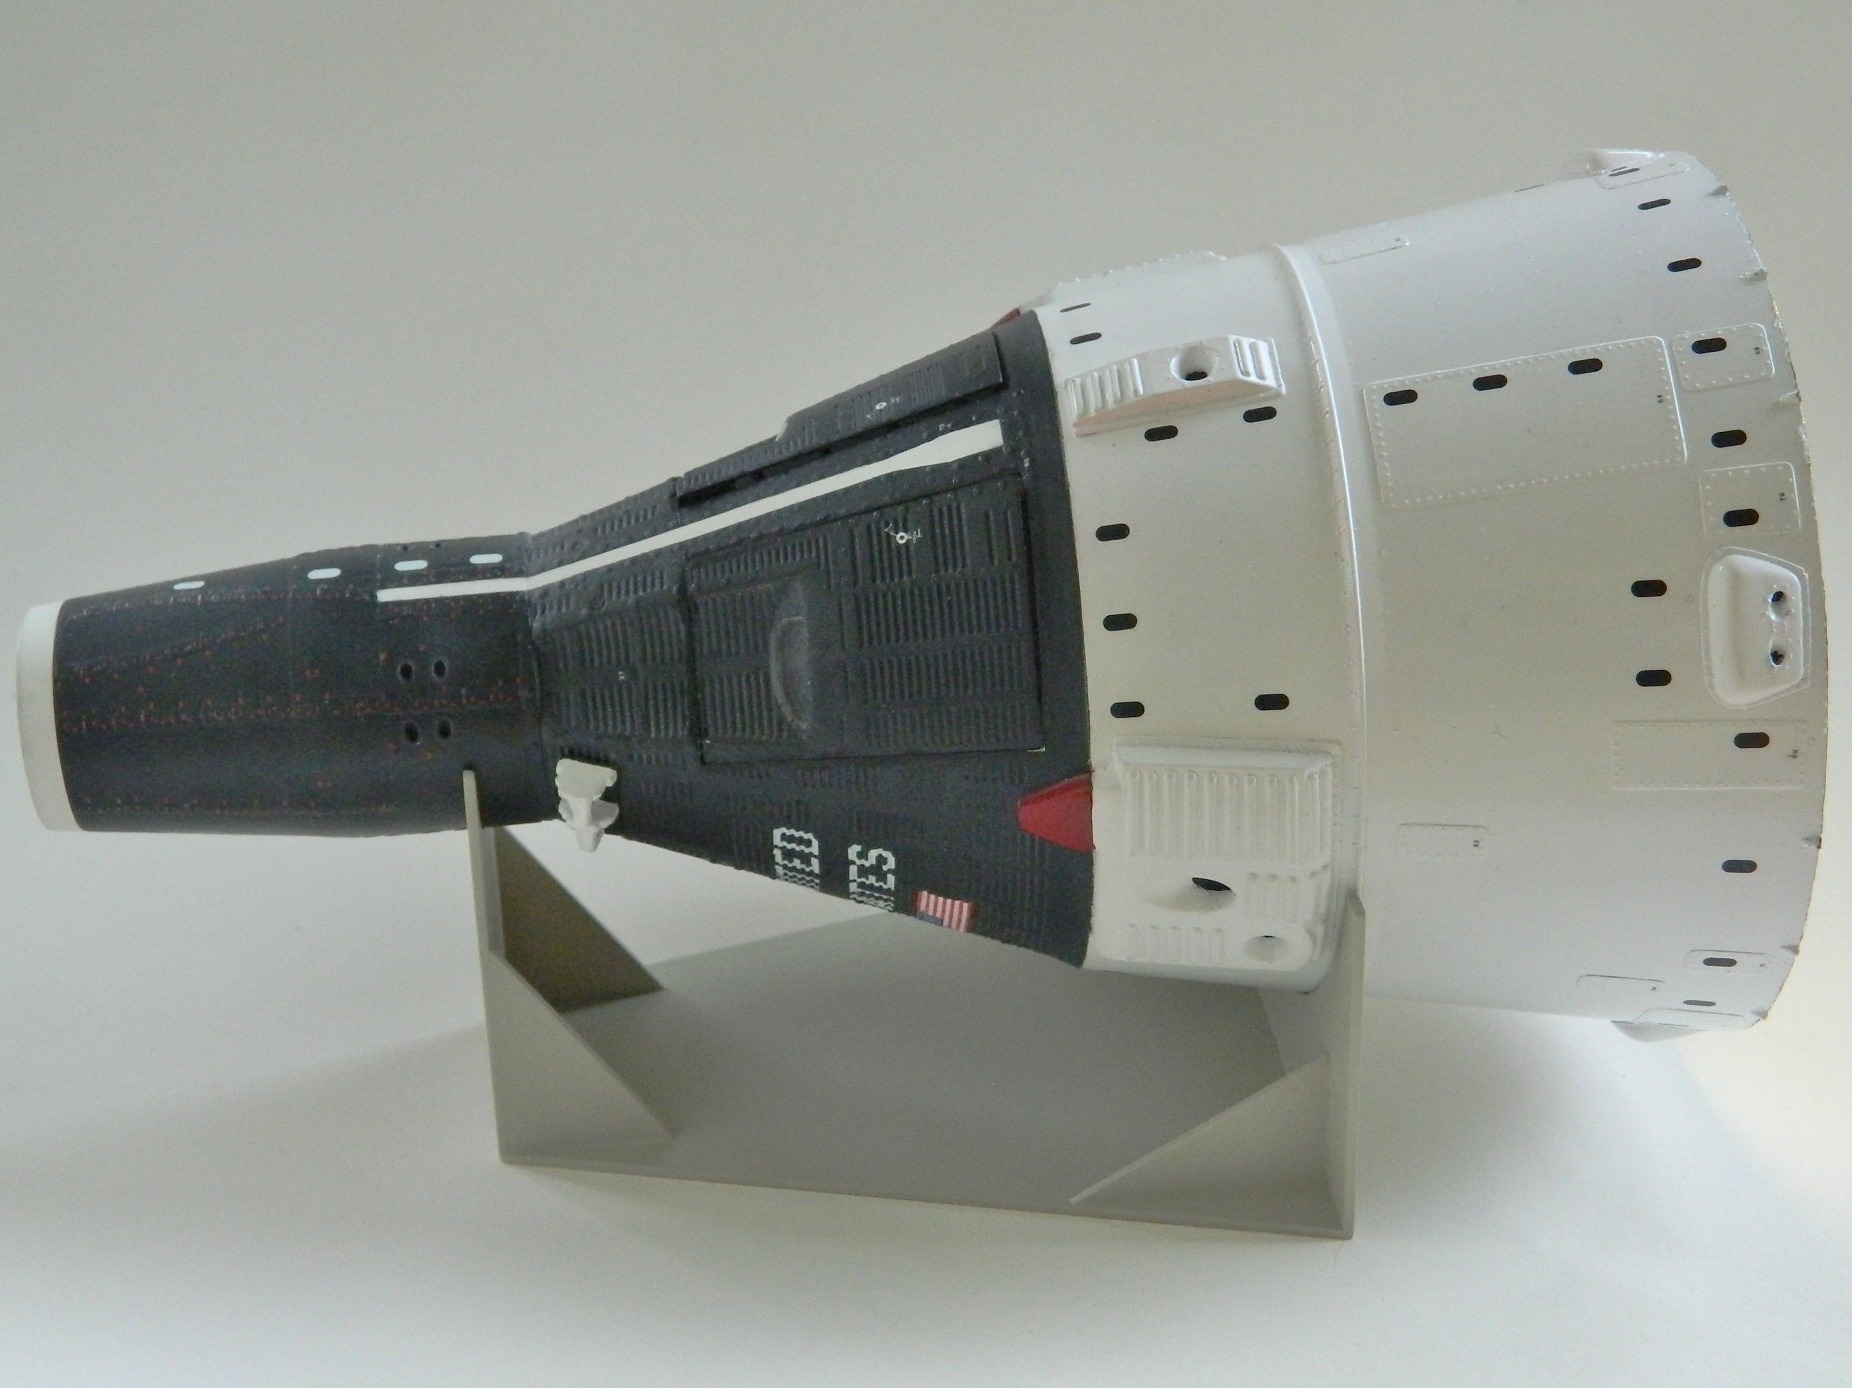


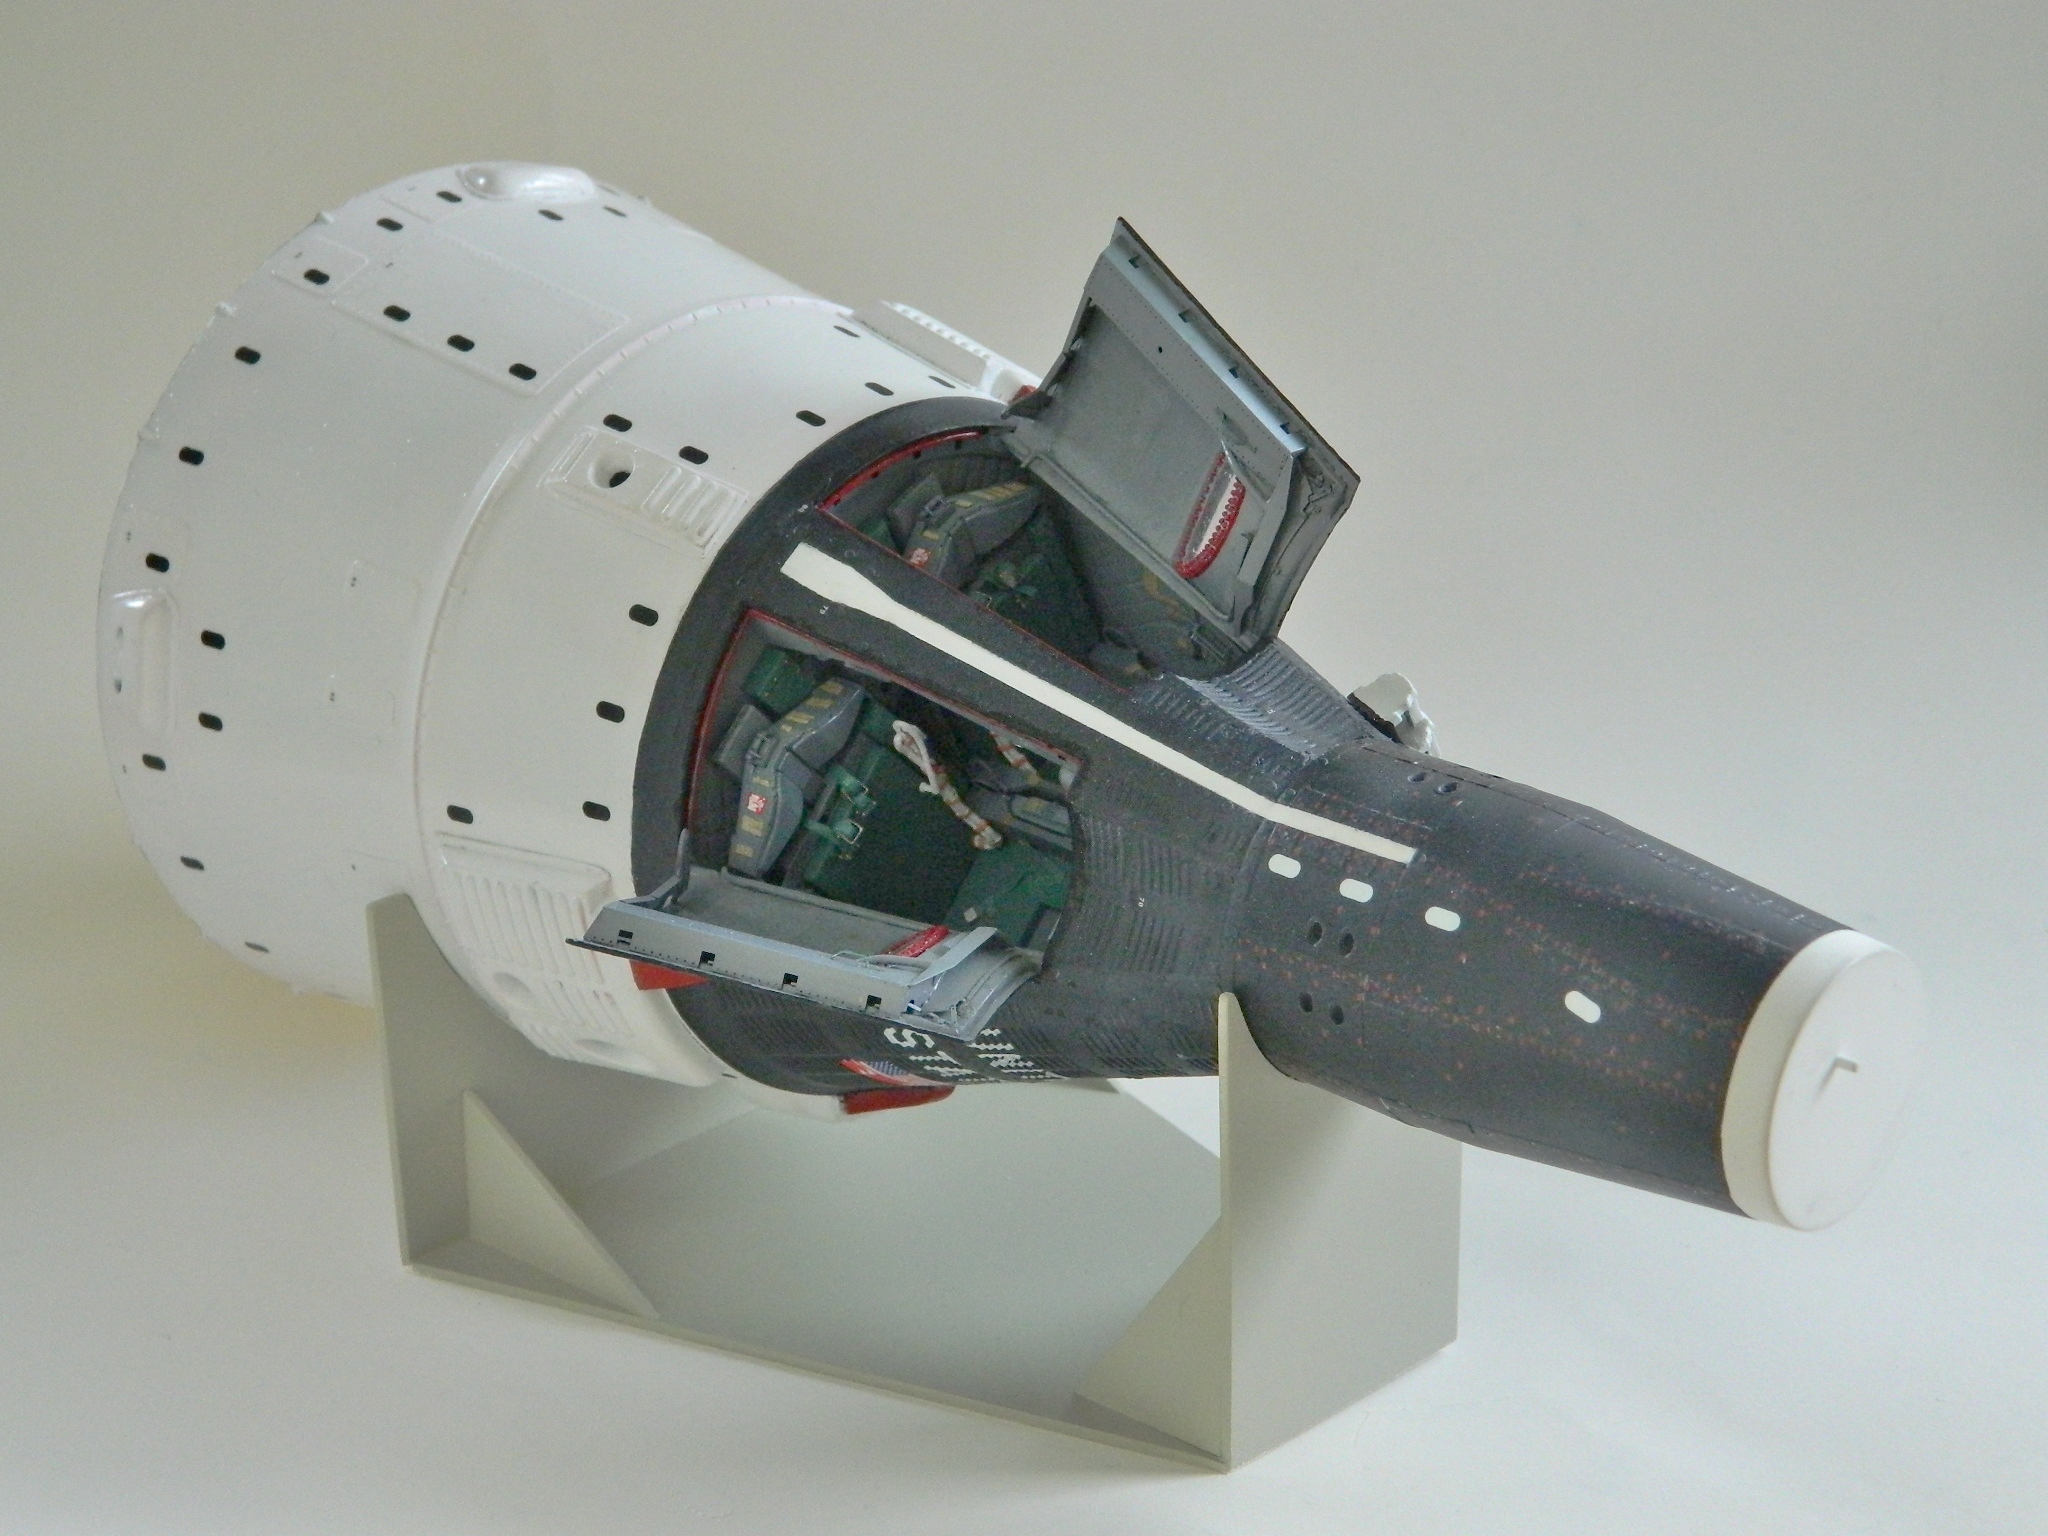


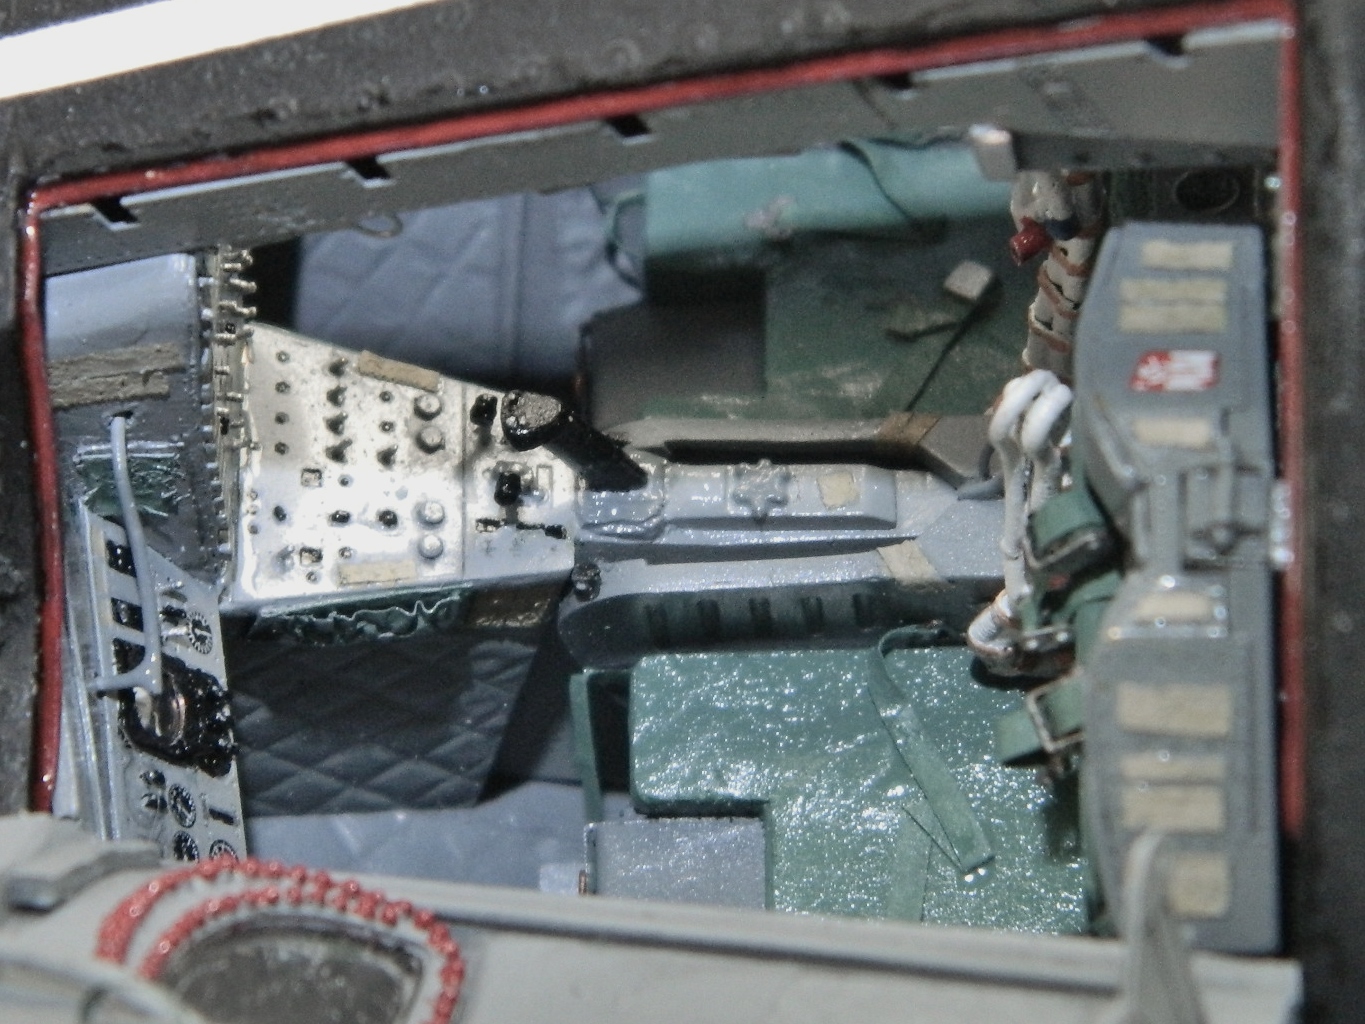

Gemini (Revell) Build #14 – Adding decals, fixing paint, opening hatches, fixing paint, fixing more garbage resin, fixing paint, building the display stand, and FINISHED
Applying decals over a matte finish causes the background film to frost. This is because the surface is actually pebbled which reflects the light away from your eyes making the surface look matte. Great for your eyes, lousy if you want decals to appear painted on. To give the decals a smooth surface, everywhere a decal goes gets shot with clear gloss.
Once I’d done that, I started with the decals that would require the most work to get right. The surface of the capsule is corrugated and I need the decal to fit down into those small troughs and up over the raised details. Decal solvent is what allows that to happen. The solvent dissolves the decals slightly enabling them to conform to whatever surface details they have to fit into and over. Never touch a decal after applying solvent! The solvent really does dissolve the decal slightly and if you don’t touch it, as the solvent evaporates, the wrinkles in the decals’ surface go away and they snug down.
Sometimes decals require more than one application of solvent. Sometimes they require MANY applications of solvent. Surprising me not at all by this point, these decals are in the MANY applications of solvent category. Each decal took two and a half hours until they had conformed to the surface.
The decals go on and you can see how they’re resting on all the high points of the surface:

The first (of many) applications of solvent begins softening and dissolving the decal:

Two and a half hours later, this is what I ended up with. The decal had to move so far that it actually tore during the process:
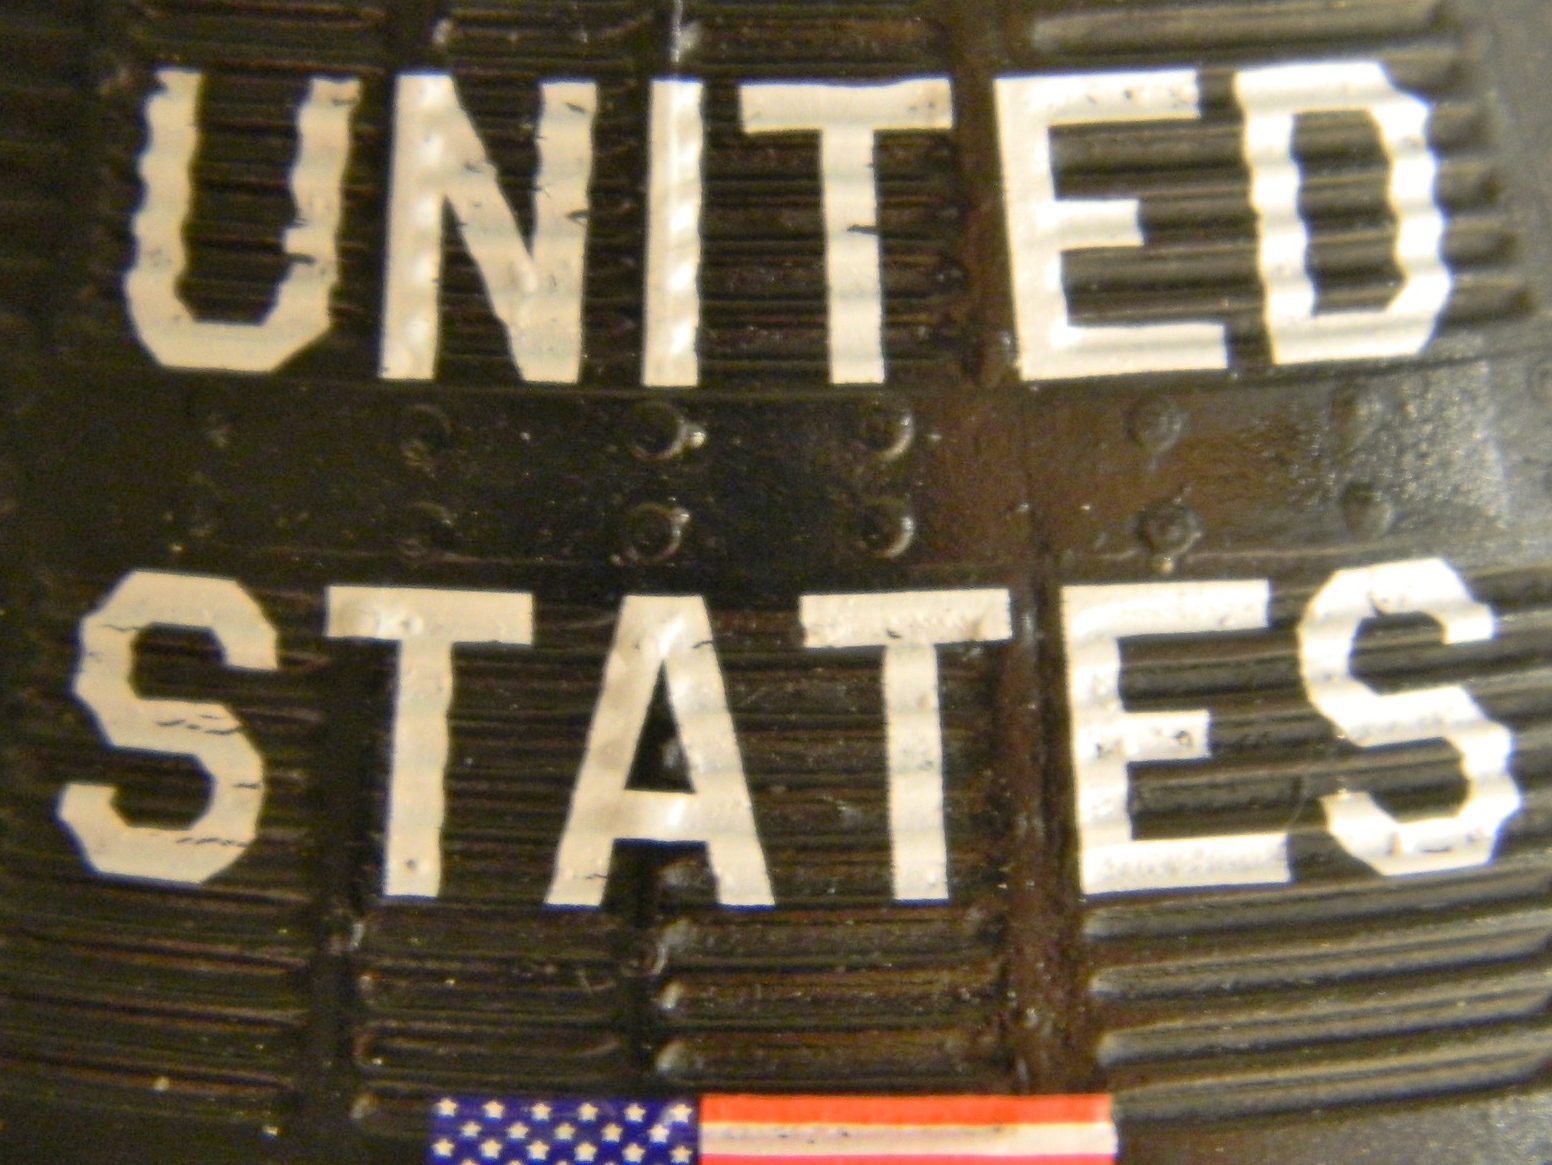
I was fortunate in that the torn areas are simple white over black which enabled me to touch up the tears with white paint:
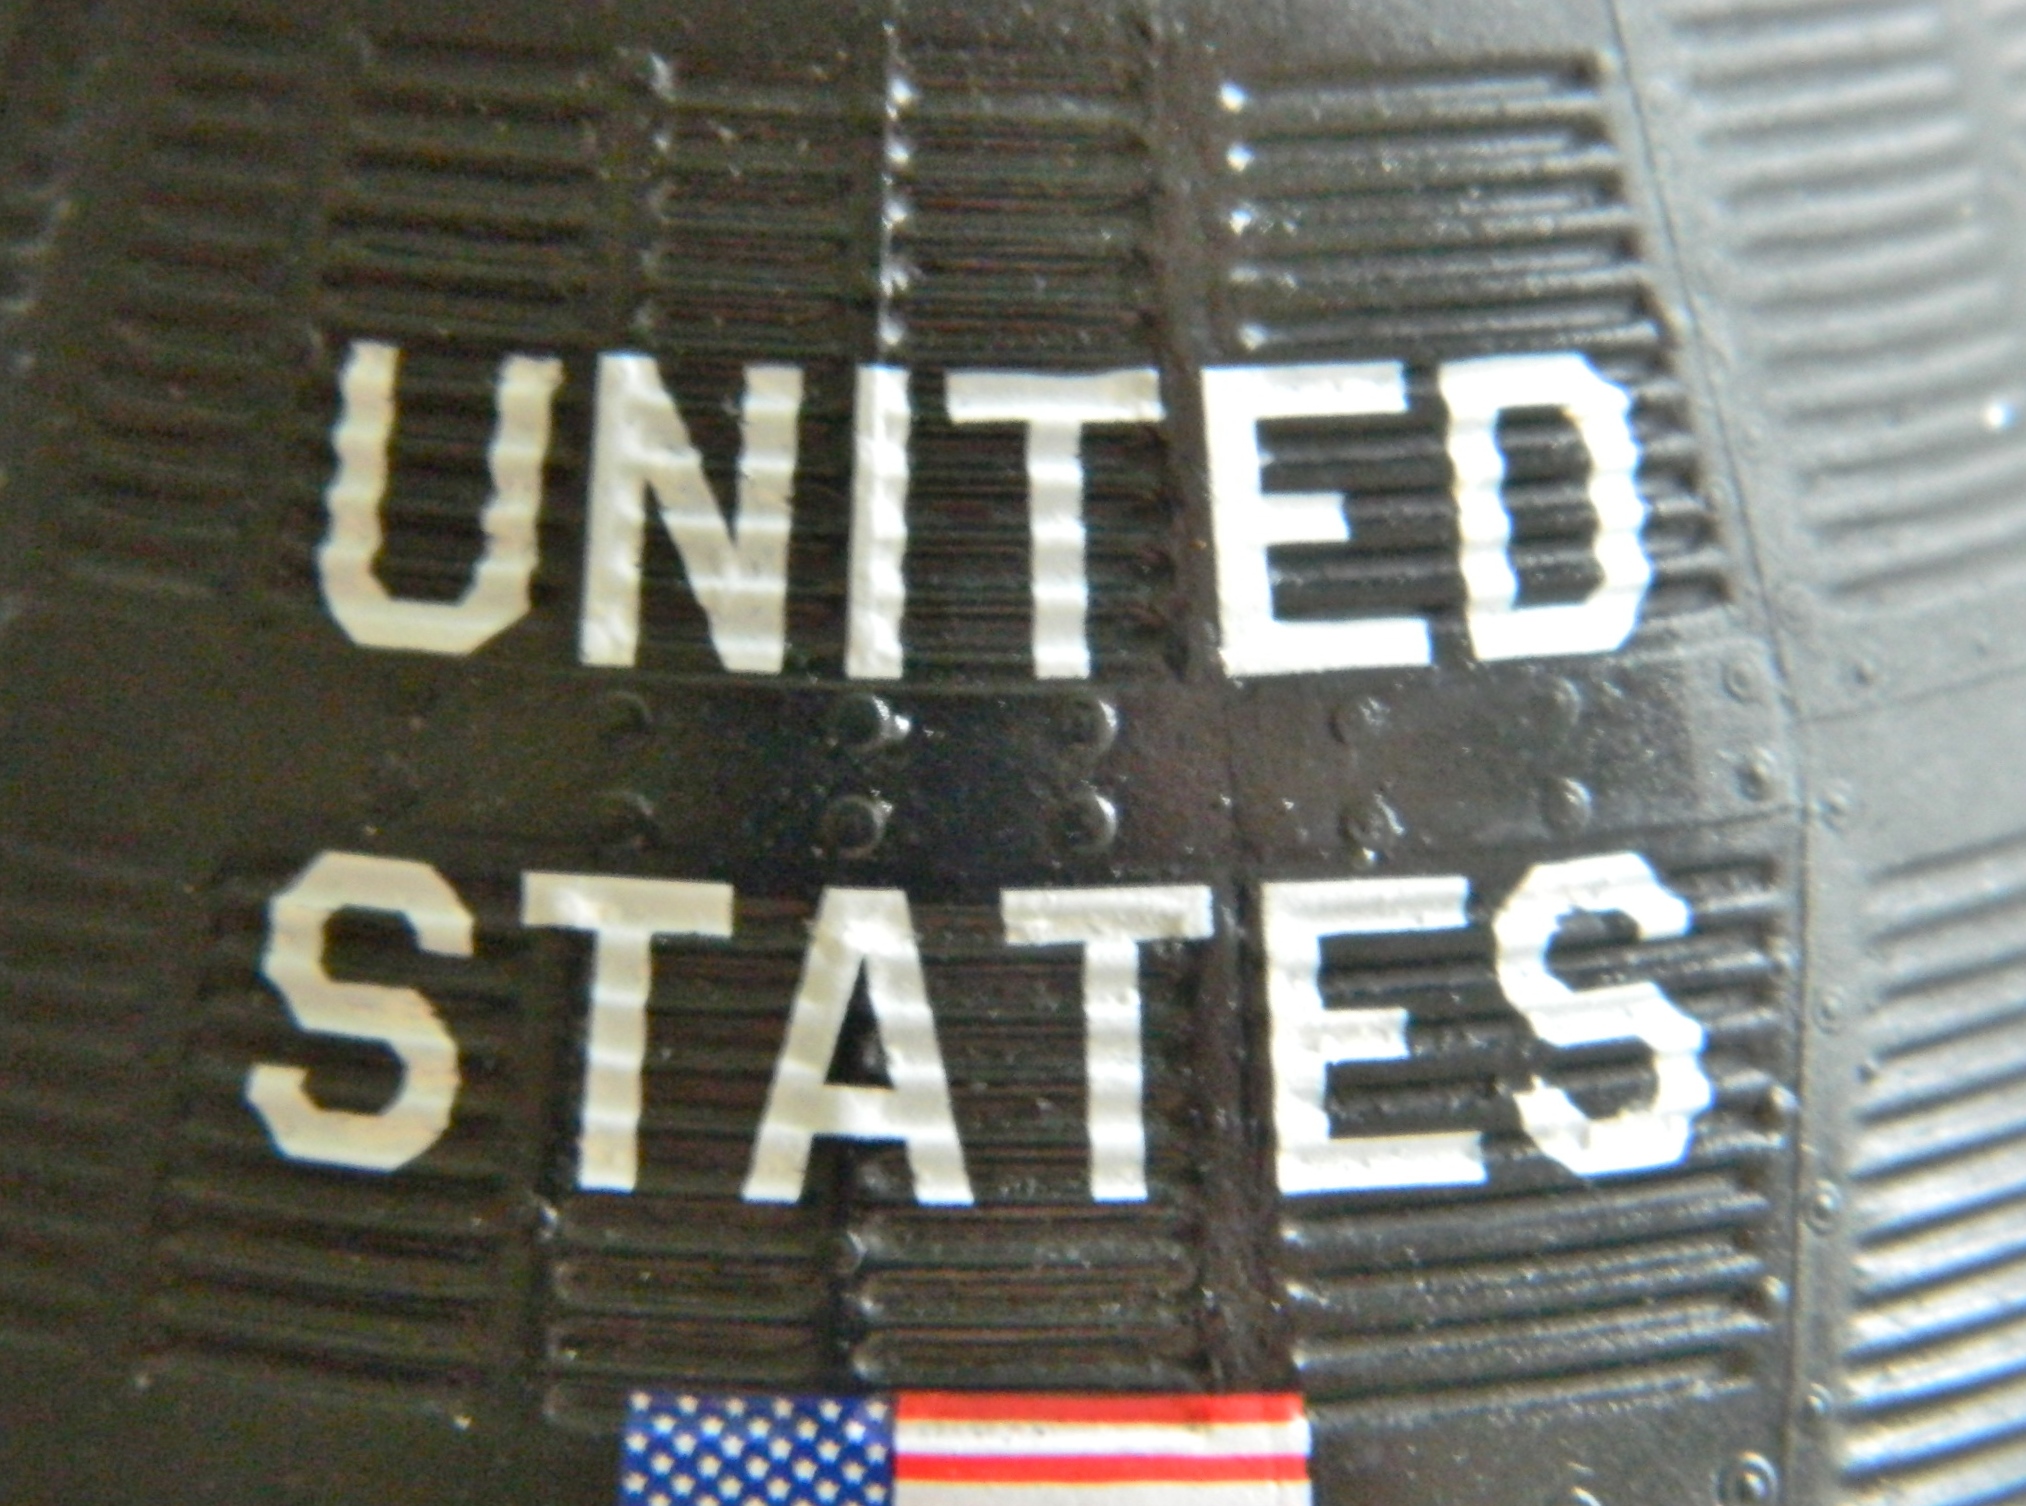
The other side received the same treatment of decal, solvent, solvent, solvent, tears, and painting. It took a while but the results were good.
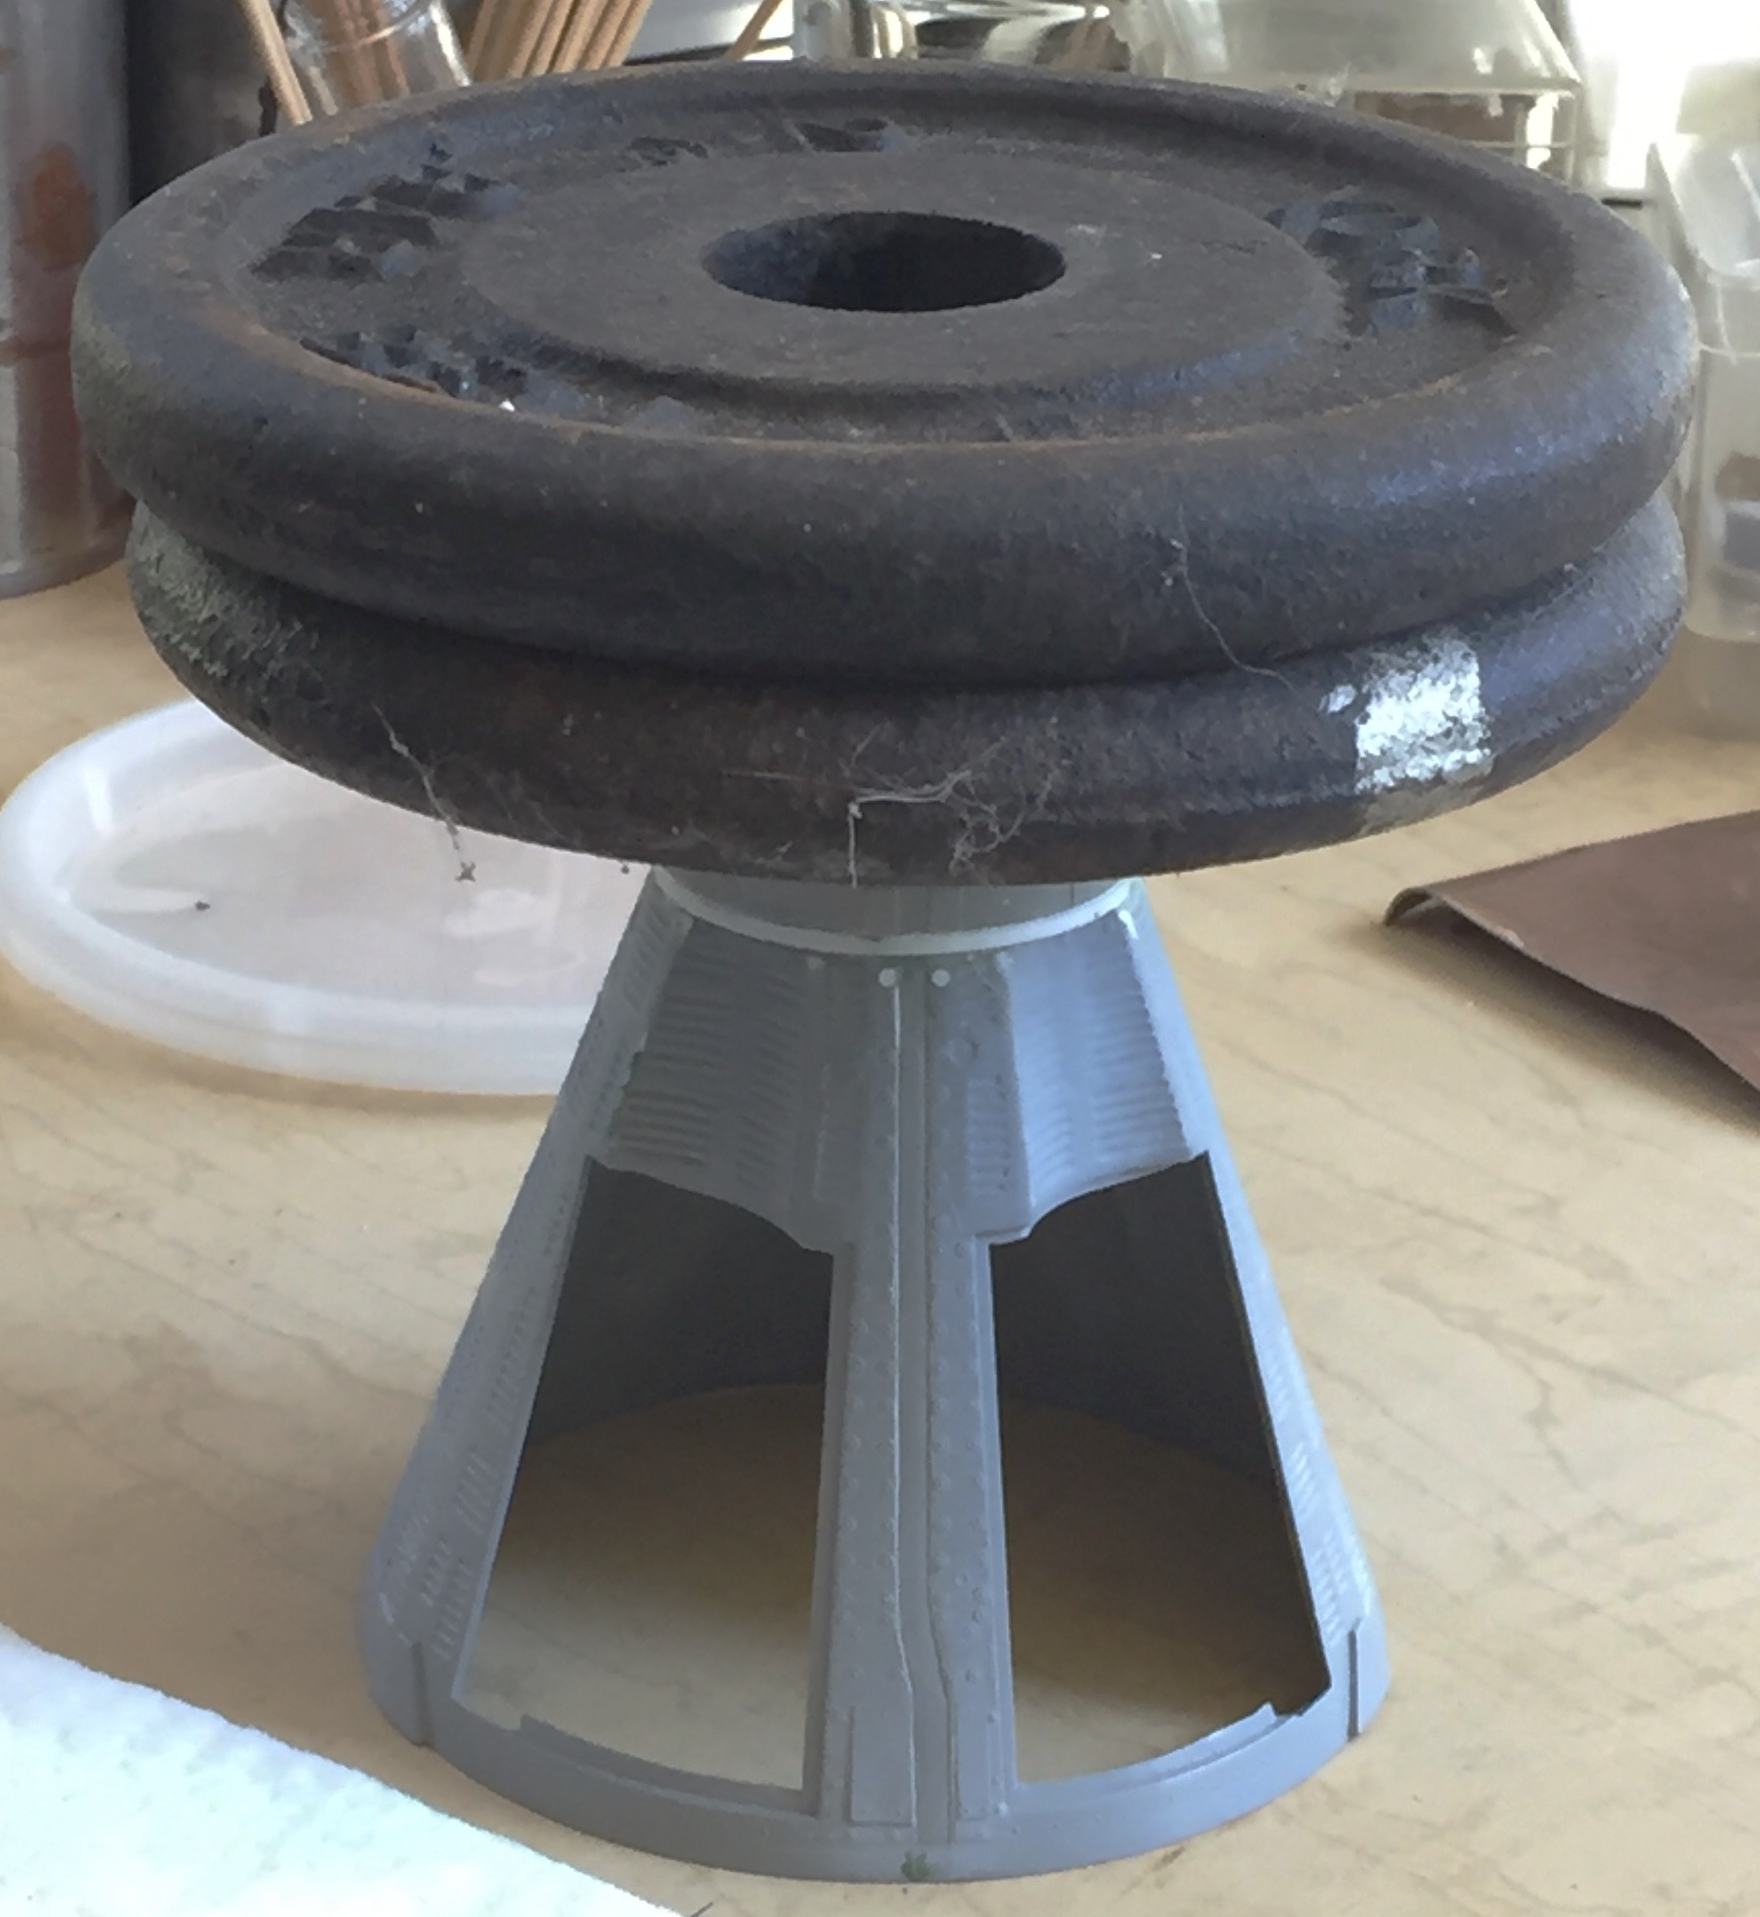
While I was waiting for multiple coats of solvent to work, I went back to building the display stand:

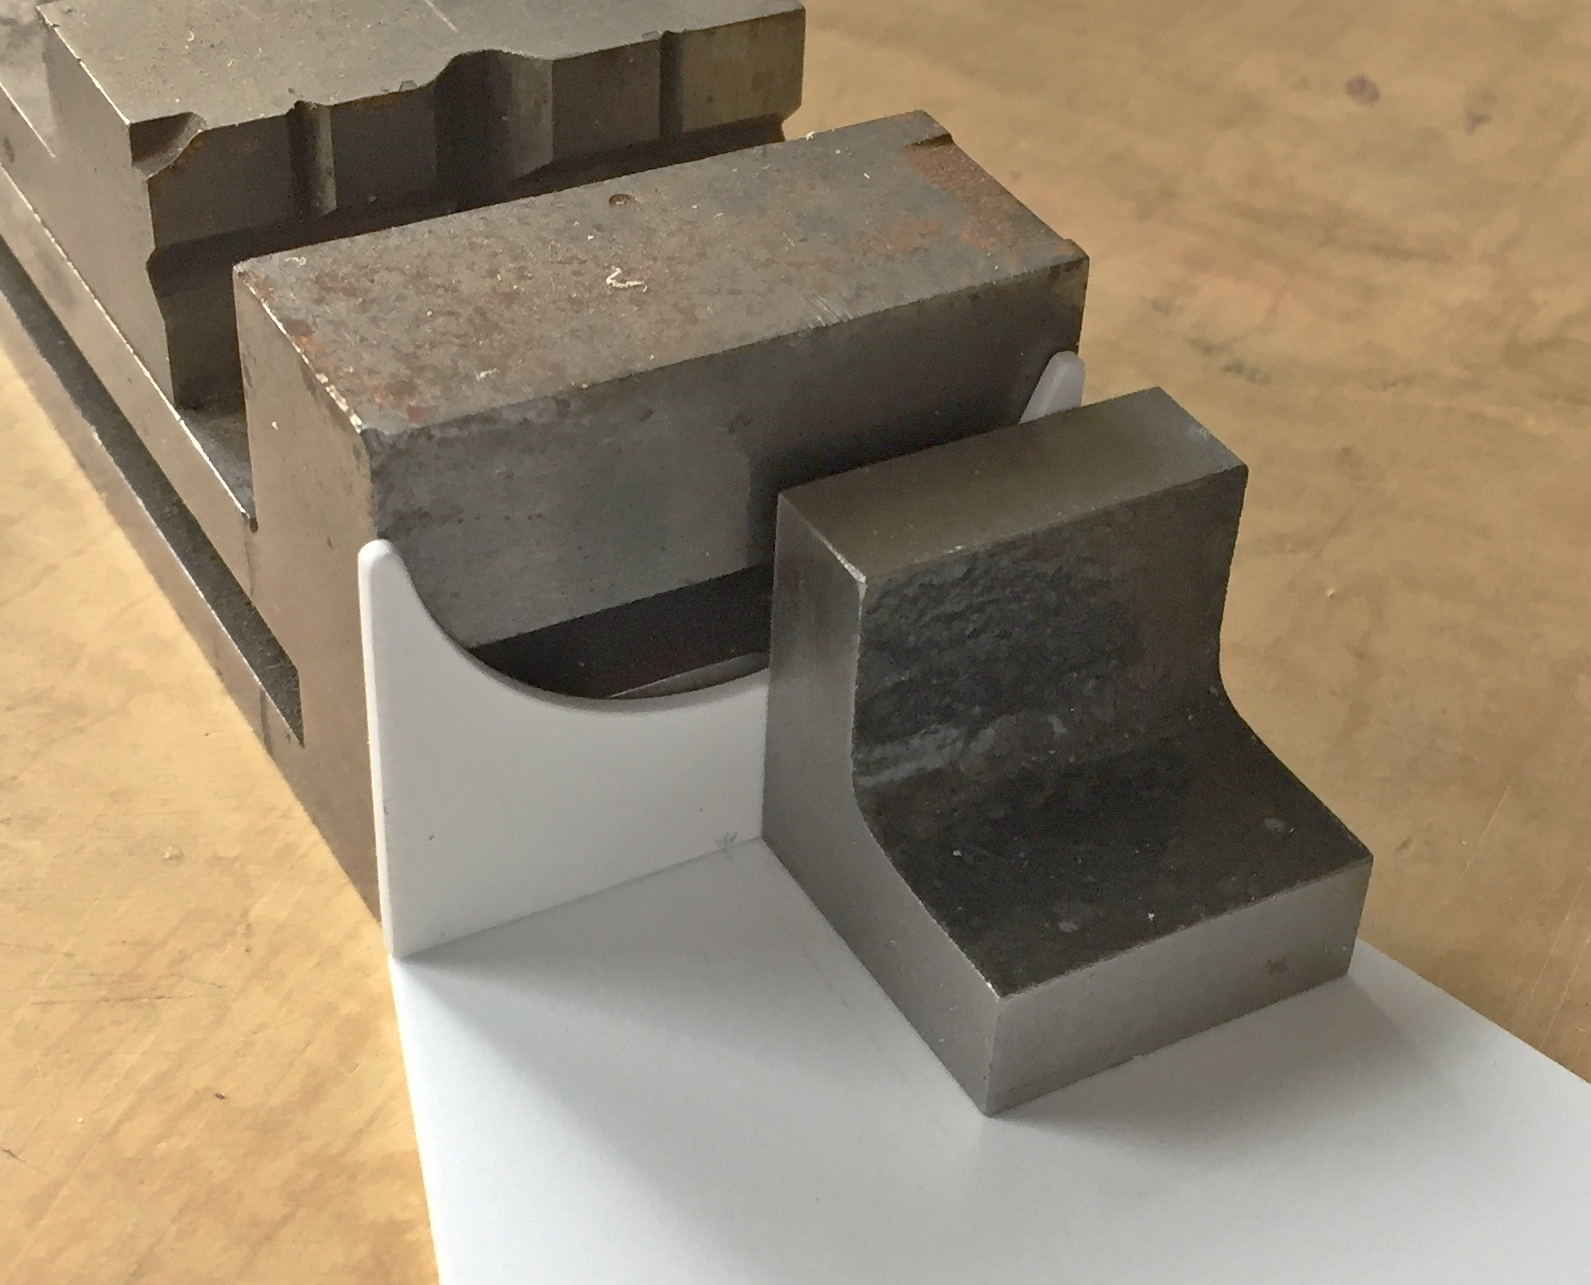
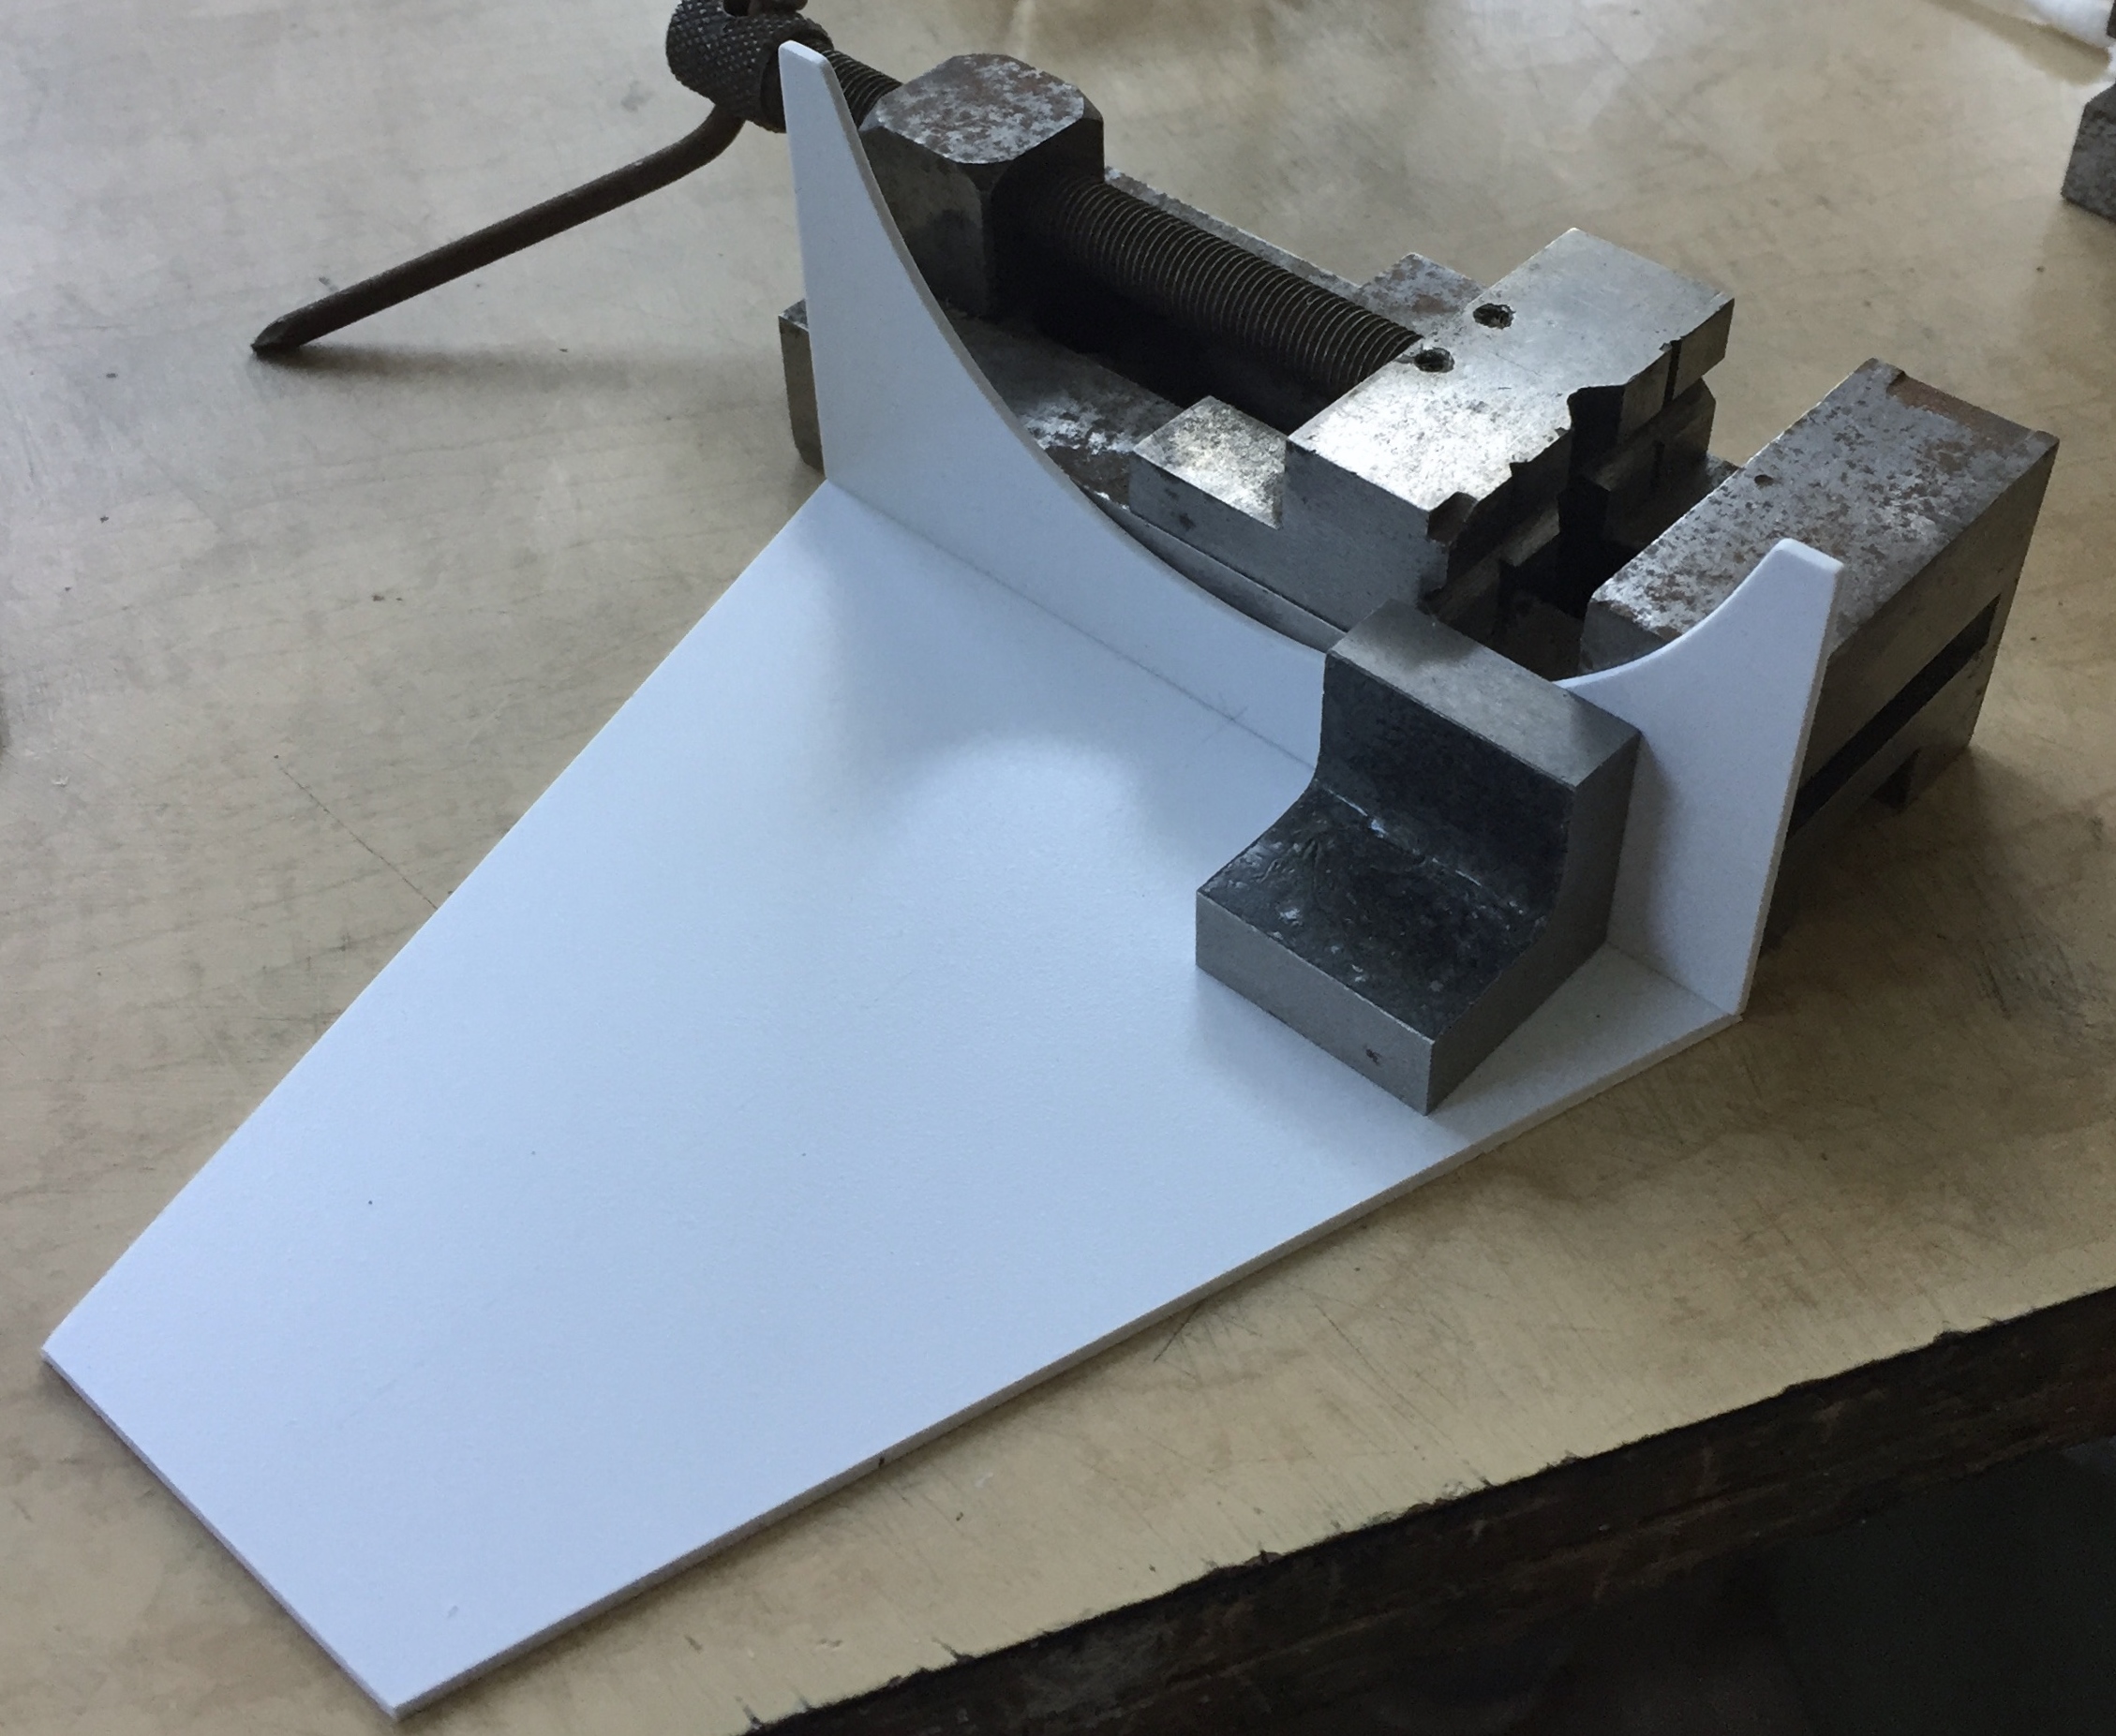

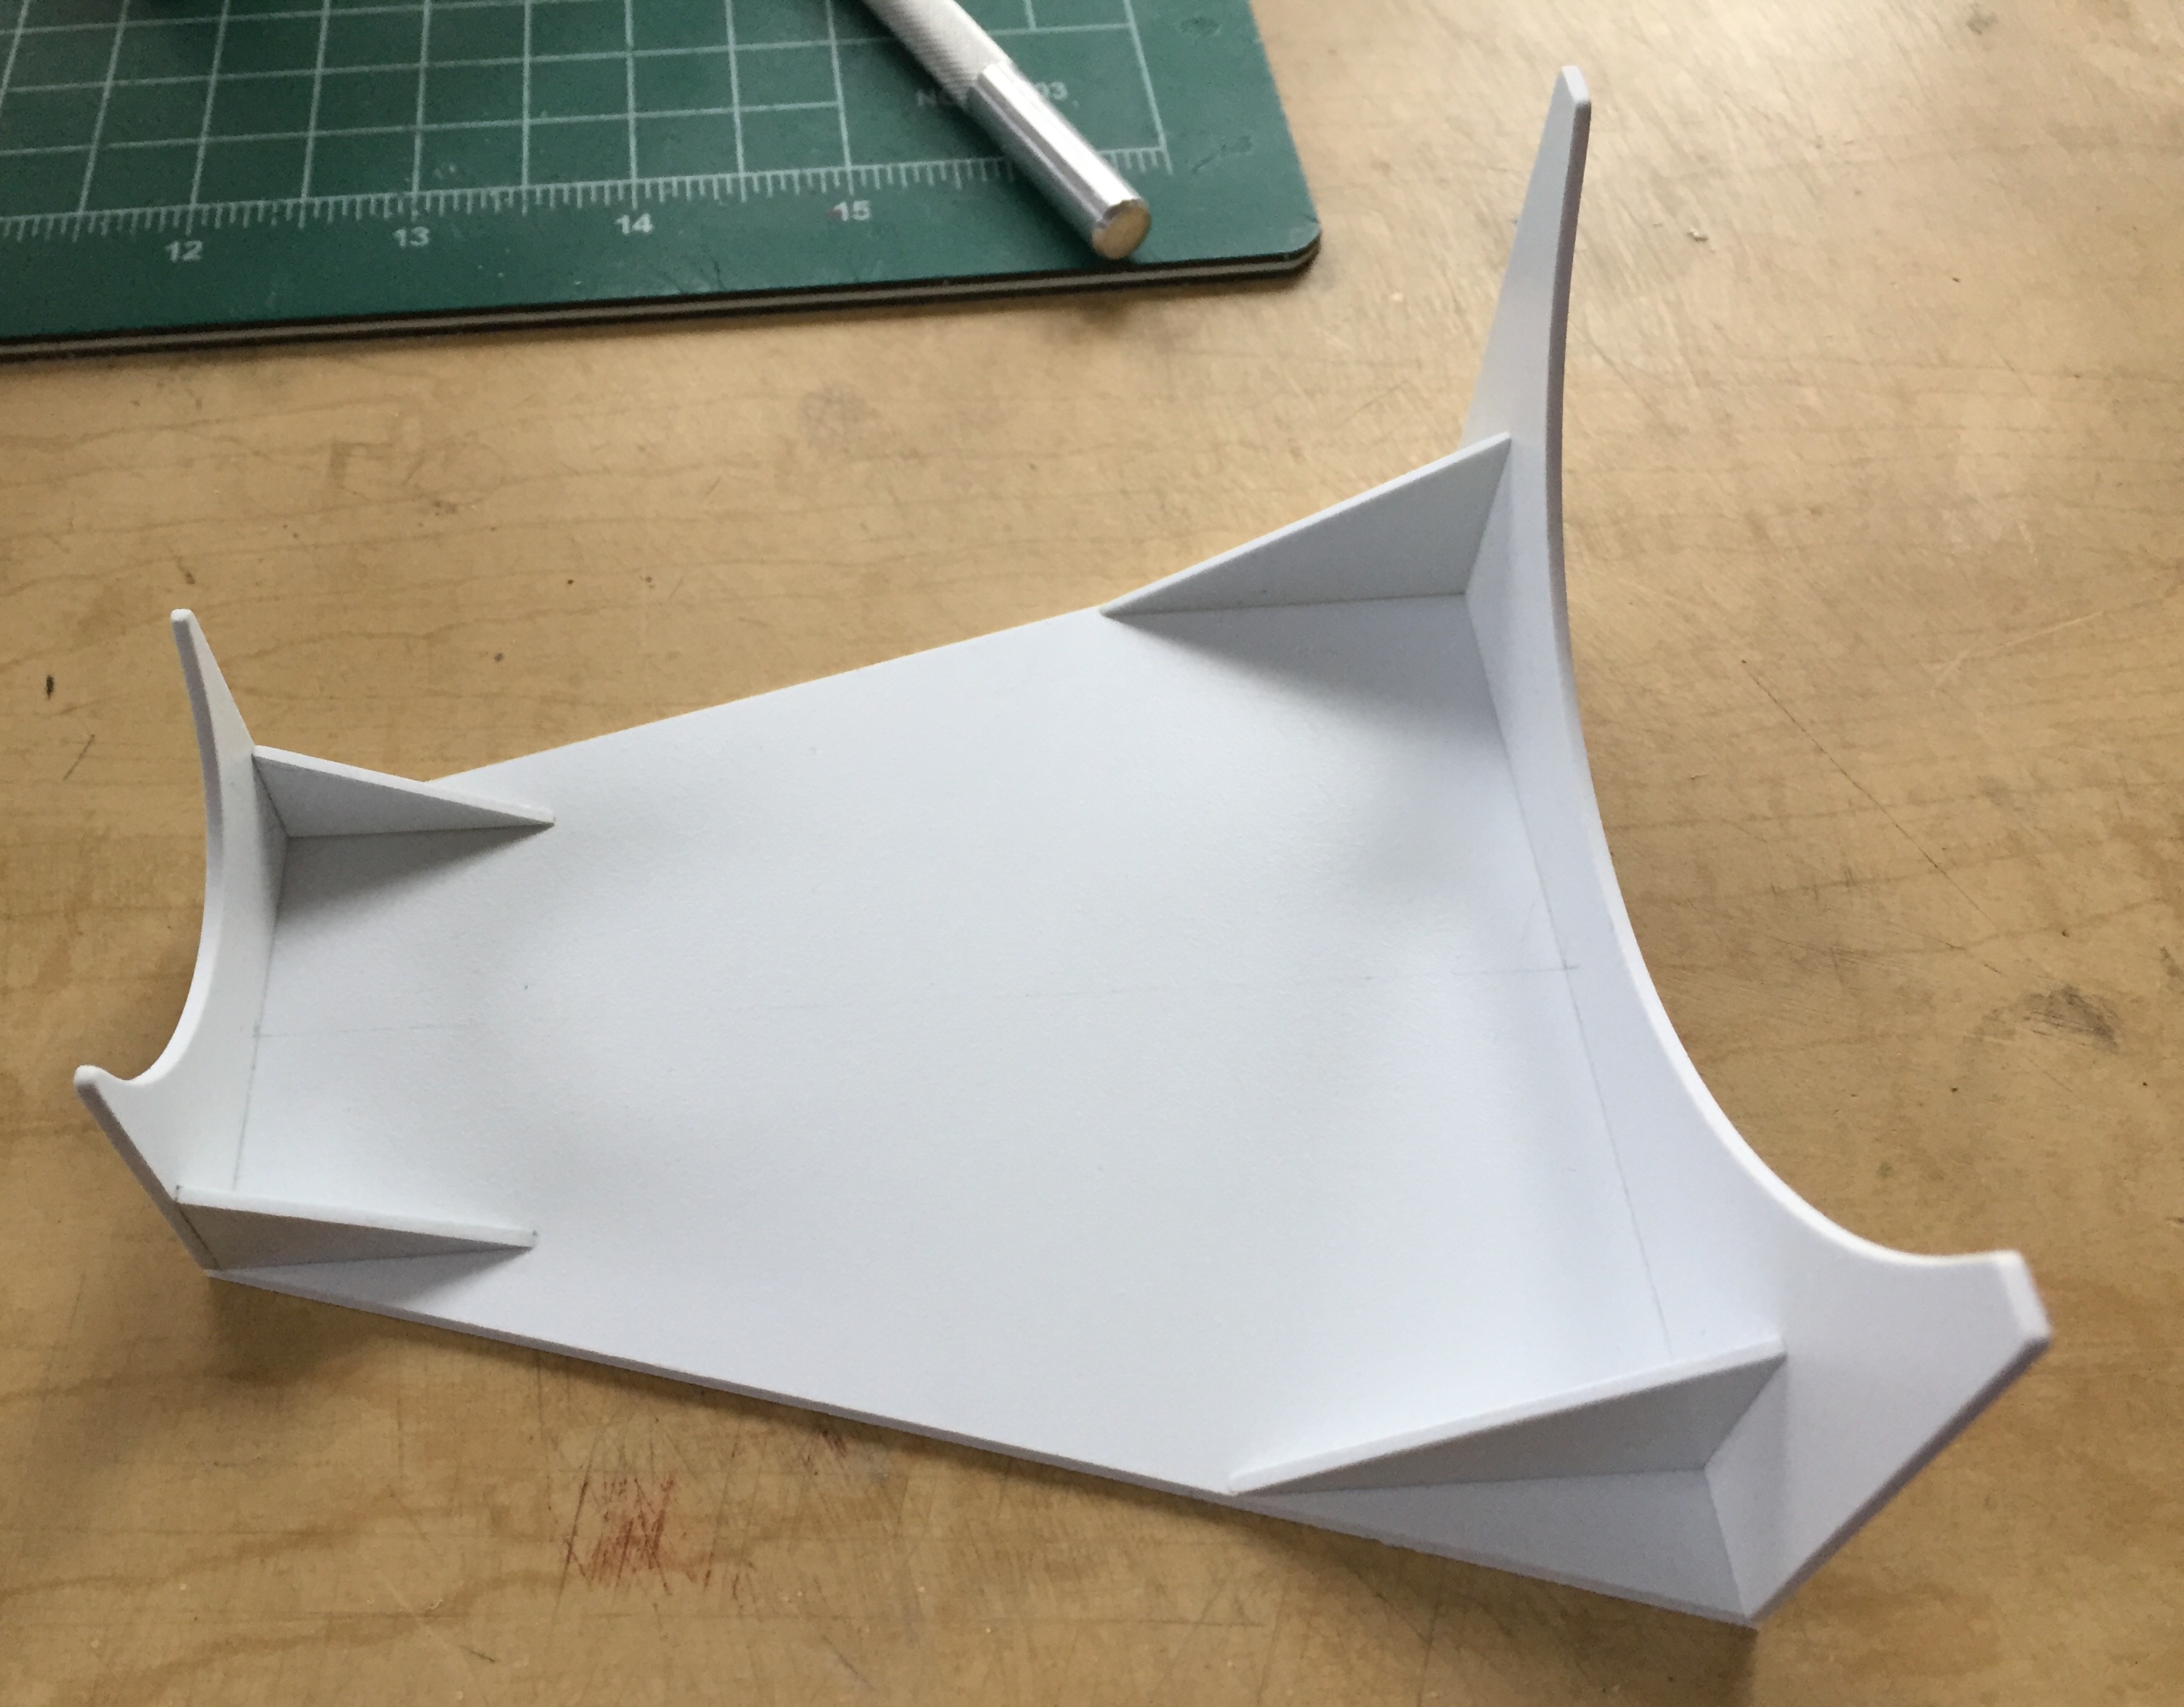
I didn’t like how the model displayed on it so I needed to snap the nose cradle off and redo that:

I added more plastic to the nose cradle and ended up with something much better:


Once the solvent had set up, the rest of the decals were added:
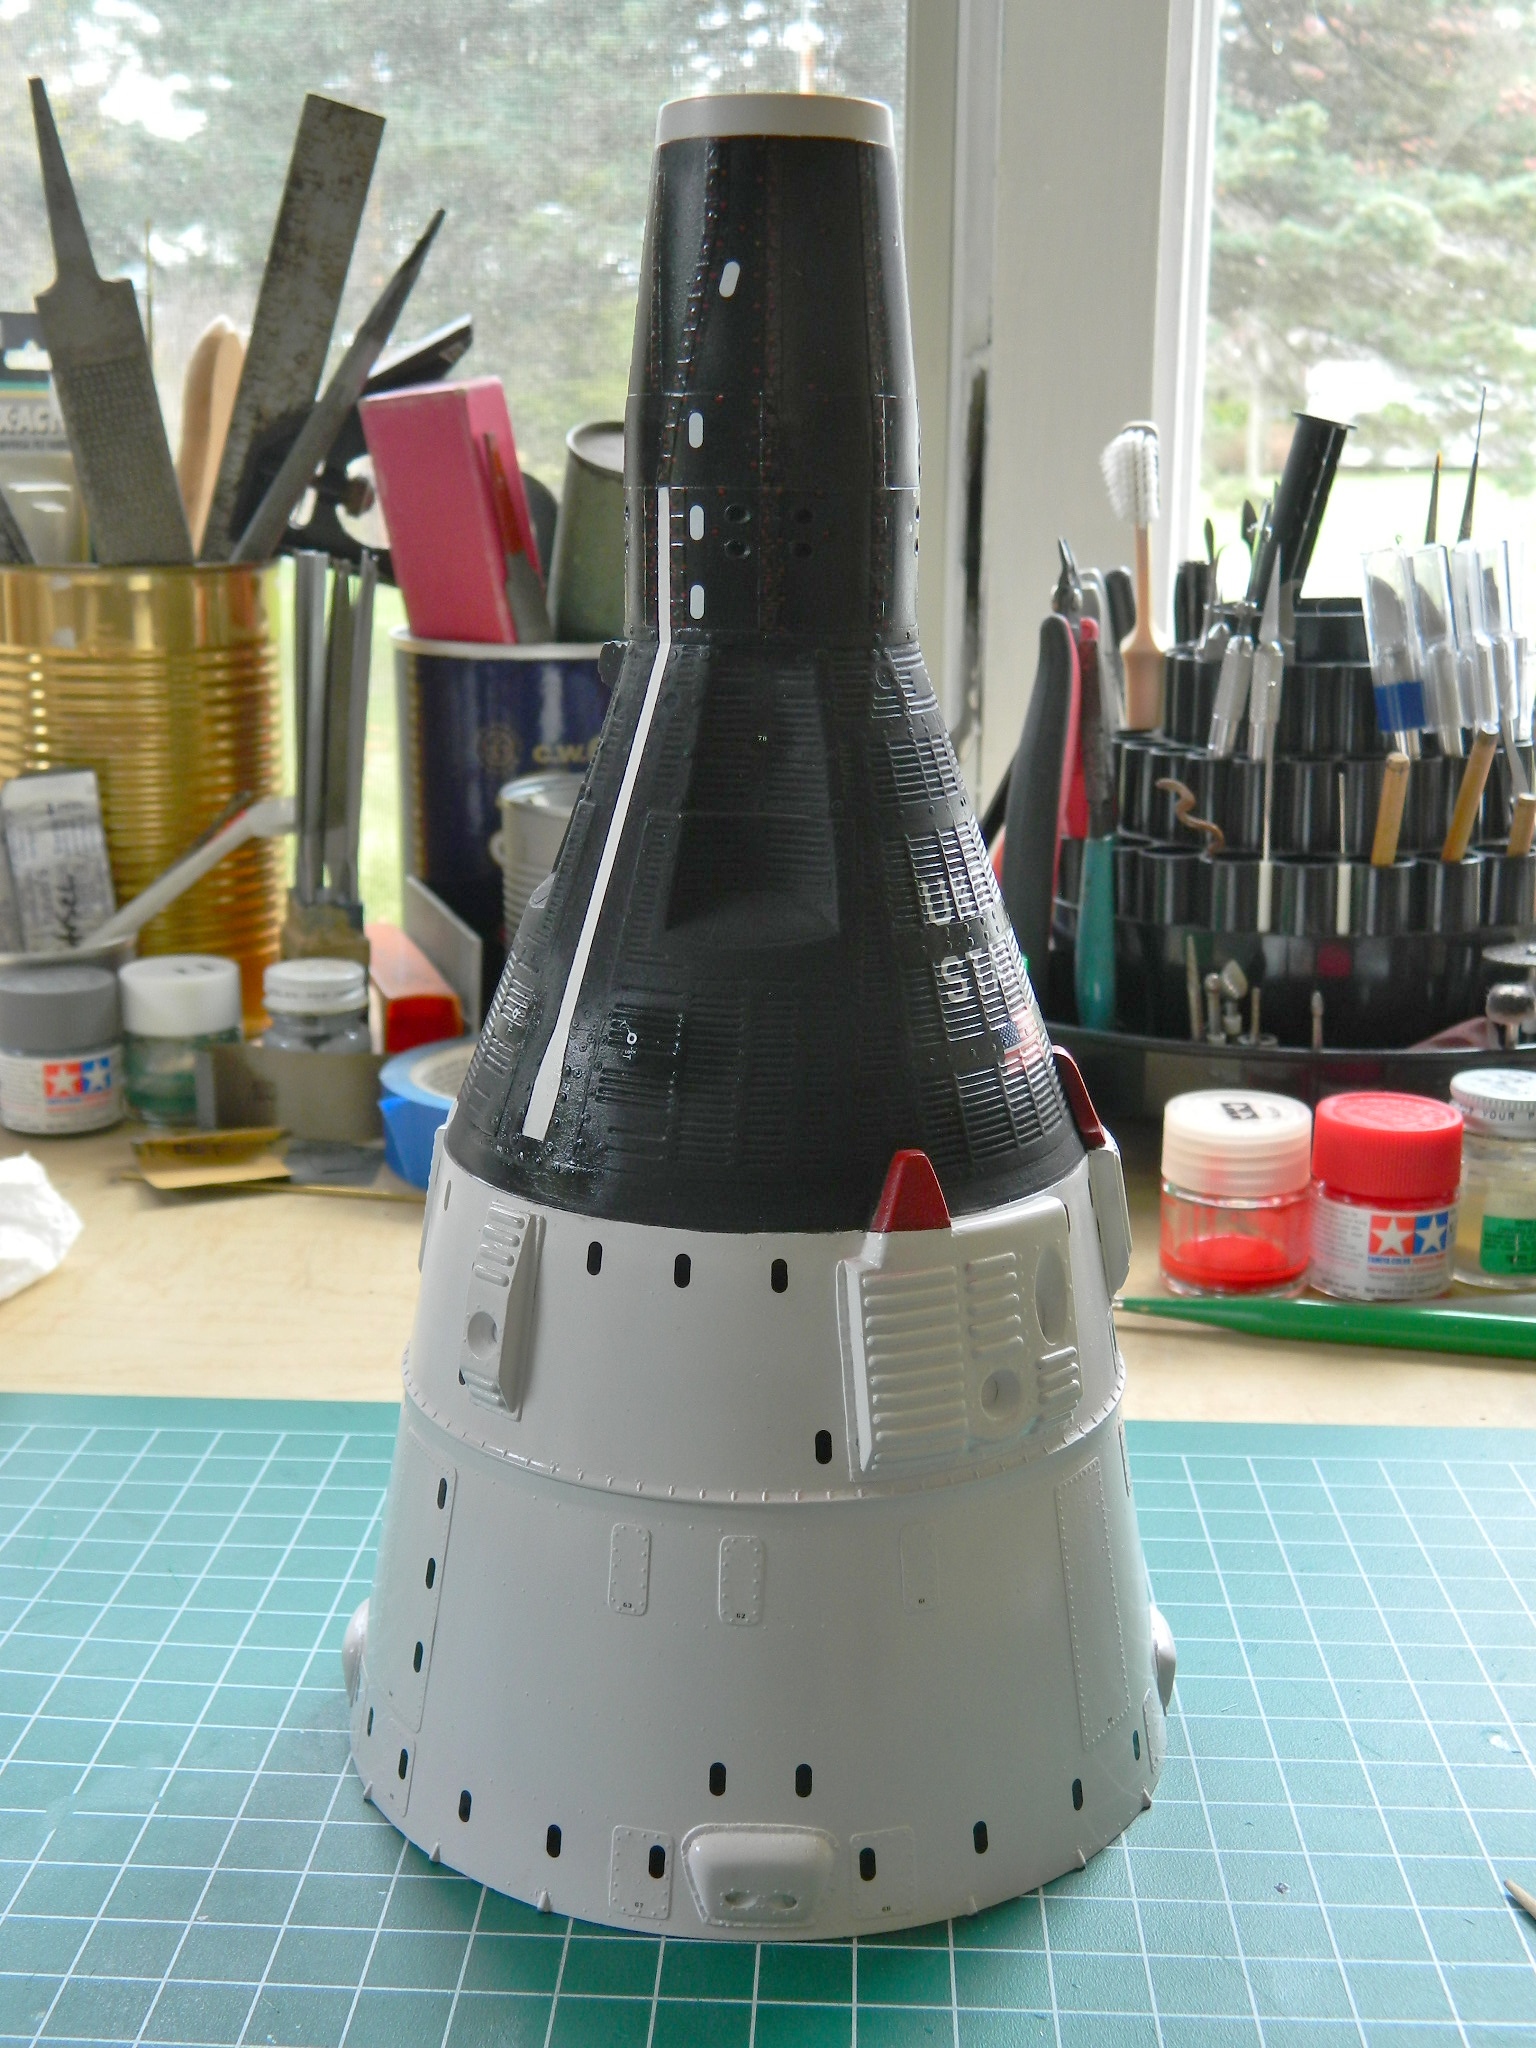


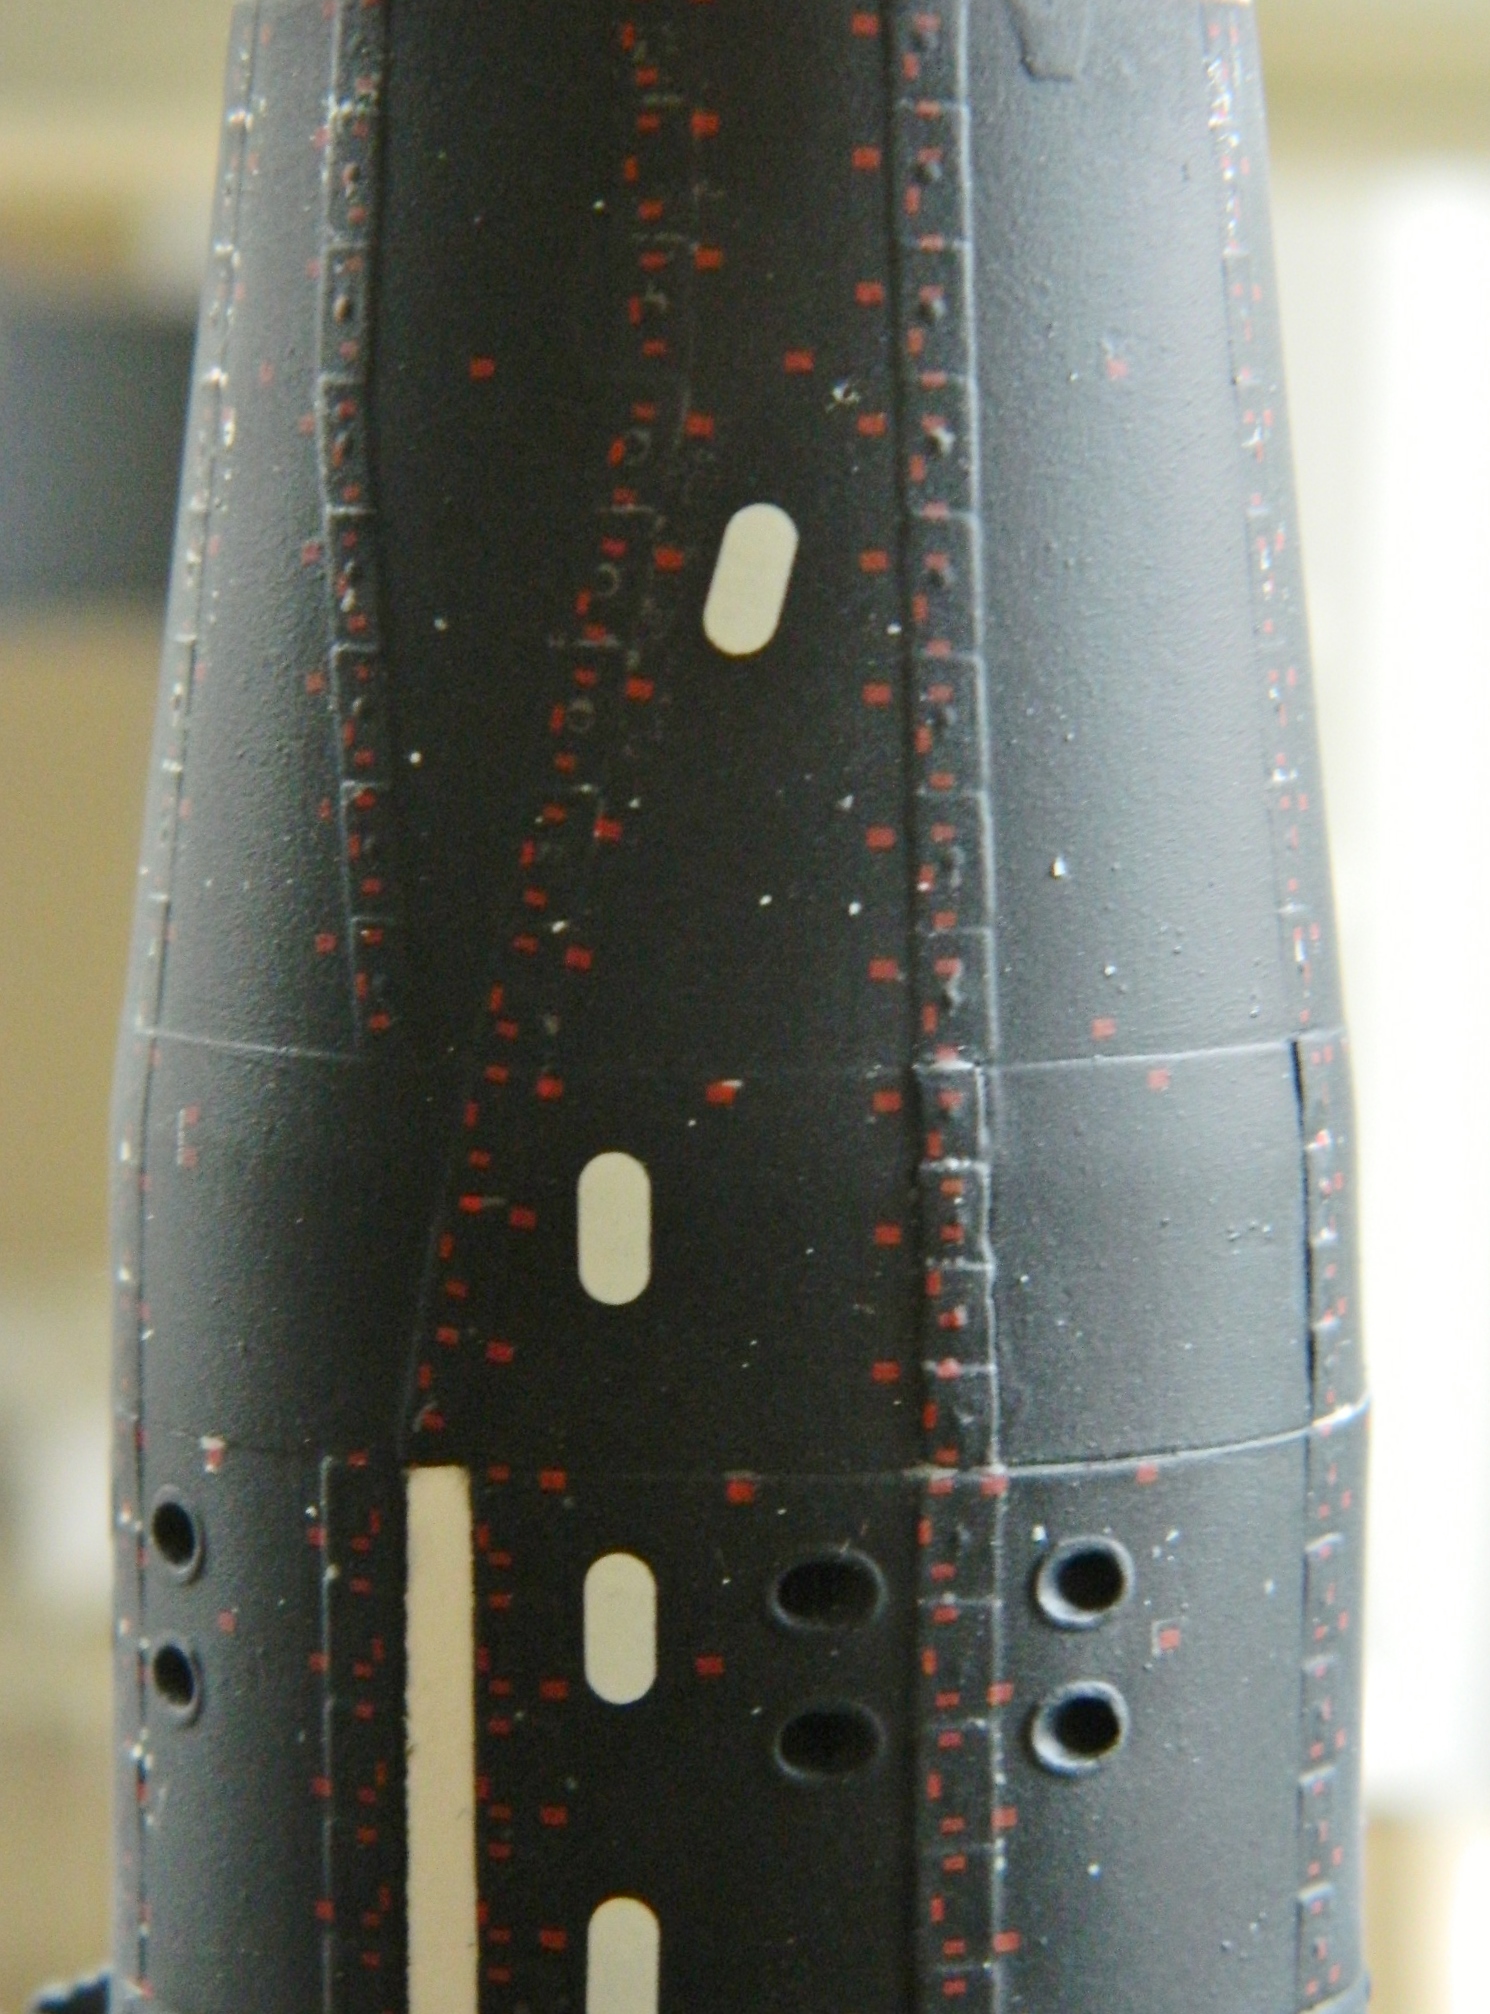
Once the decals were dry, the black was sprayed with matte clear. I don’t know (yet) why my airbrush added all these white speckles but they needed to be dealt with. Some of them I could pull off with tweezers, some wouldn’t budge. The recalcitrant specks were touched up with flat black:
The horizon sensor snapped off during all the handling, so I took this opportunity to spray it matte white. And well, gosh…more bubbles:

So I used denatured alcohol to remove all the paint and fill more freaking bubbles:
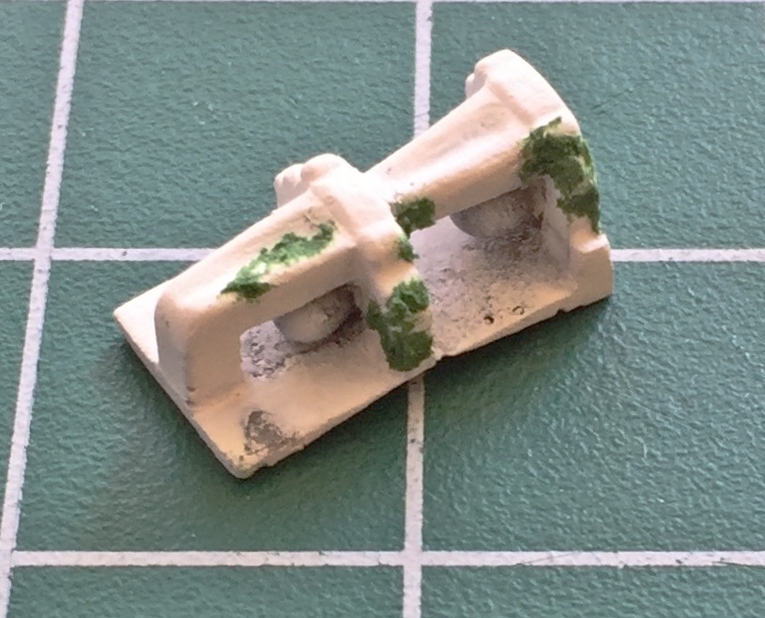
Once I’d filled all those DAMNED bubbles, the mounting plate was done in matte black and the sensor mounted to the hull:

During the working and reworking of the exterior paint, a LOT of denatured alcohol was used. I was pretty sure that none had insinuated itself into the cabin but until the hatches were popped open, I couldn’t be sure. With more than a little apprehension (because ANYTHING that could go sideways with this build did…and many of the things that couldn’t go sideways went there anyway) I pried the hatches open and removed the white glue:
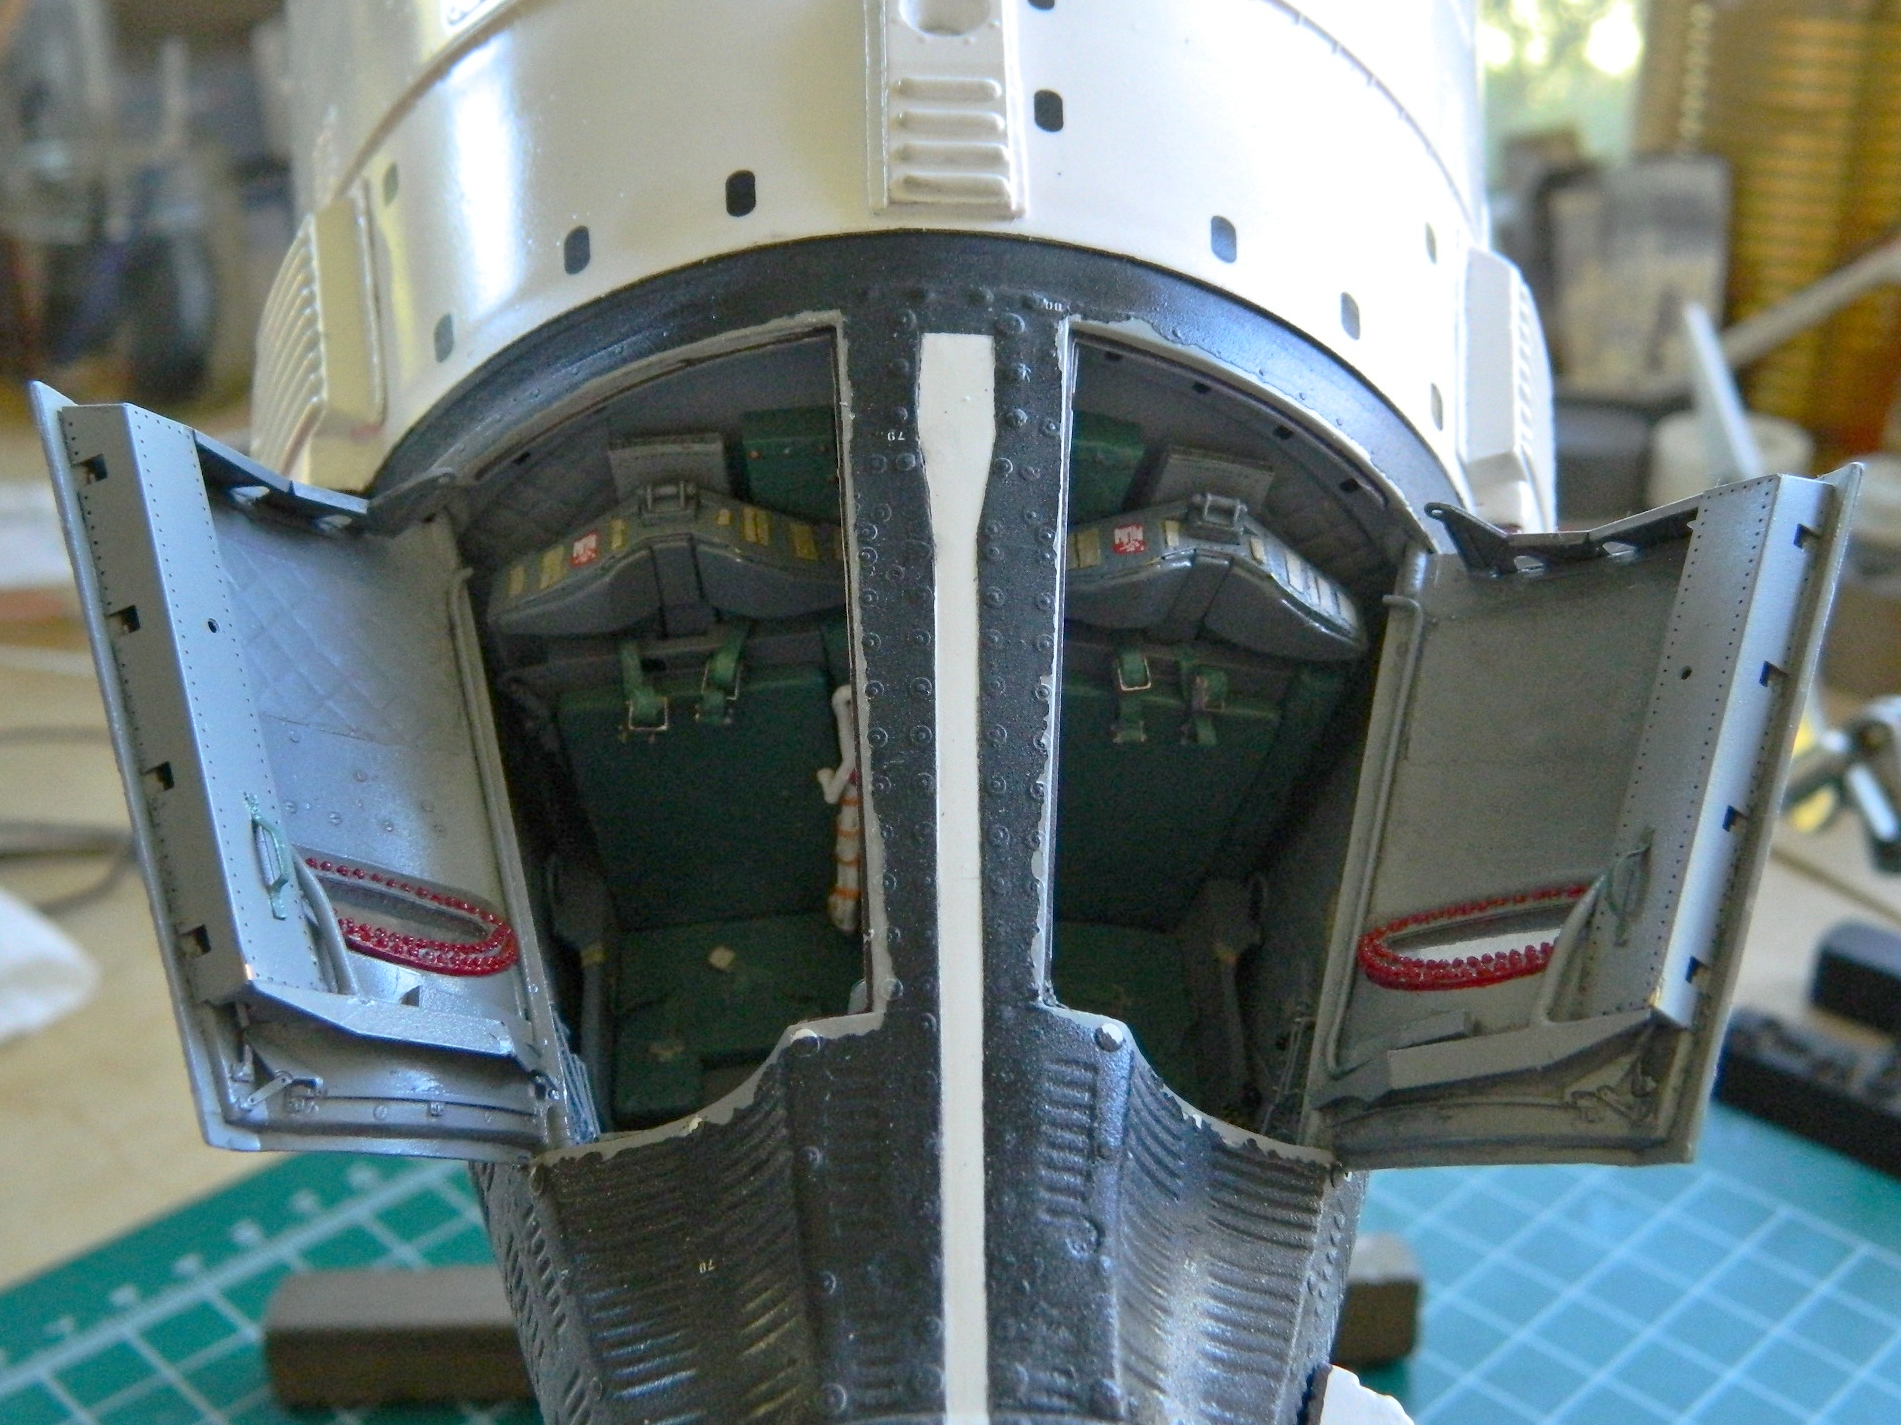
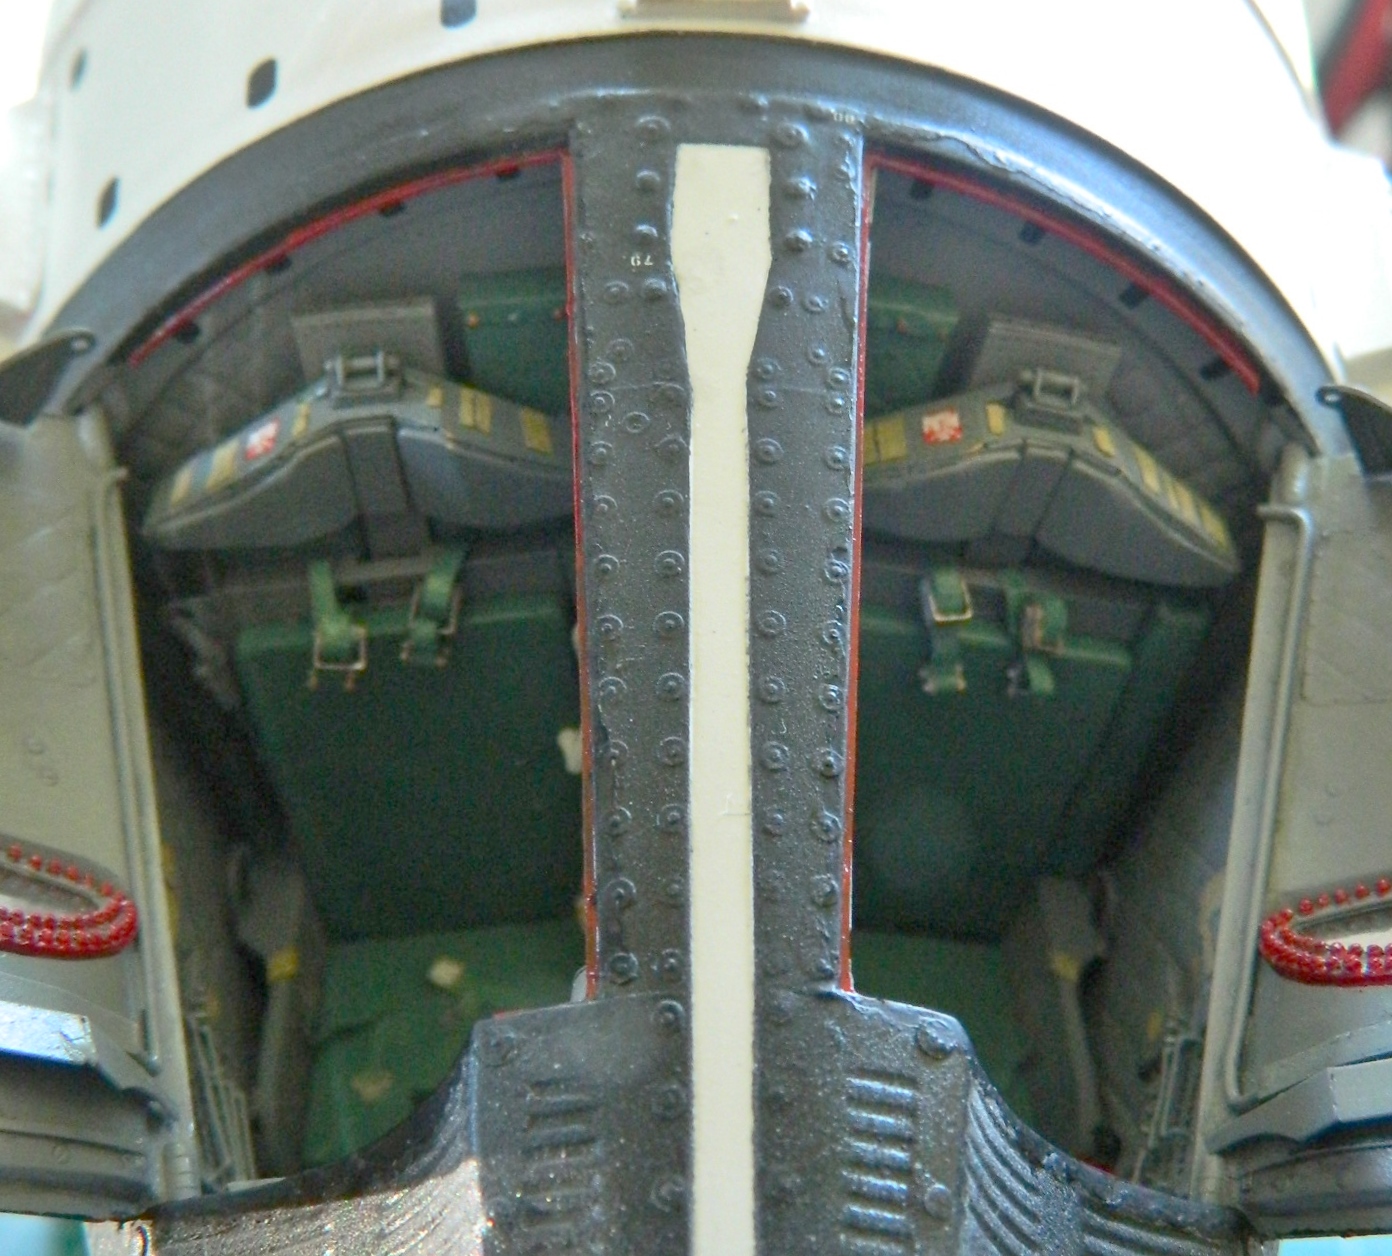
Good news! Nothing worked its way into the cabin so THAT nightmare was avoided! I knew there would be touch ups needed around the hatch openings and the edges of the hatches. What I didn’t know was that I could NOT match the paint of the hull exactly (or even moderately). Since by this point I’d overshot the matte black with clear semi-gloss, I’d mistakenly figured that black semi-gloss would work. No. Not even close. I ended up using matte black instead. Yeah…it worked, but I’m not really pleased with the result. (That could be the theme for this ENTIRE build.)
With the edges of the openings and hatches done as well as was possible, the red hatch seals were replicated with paint:
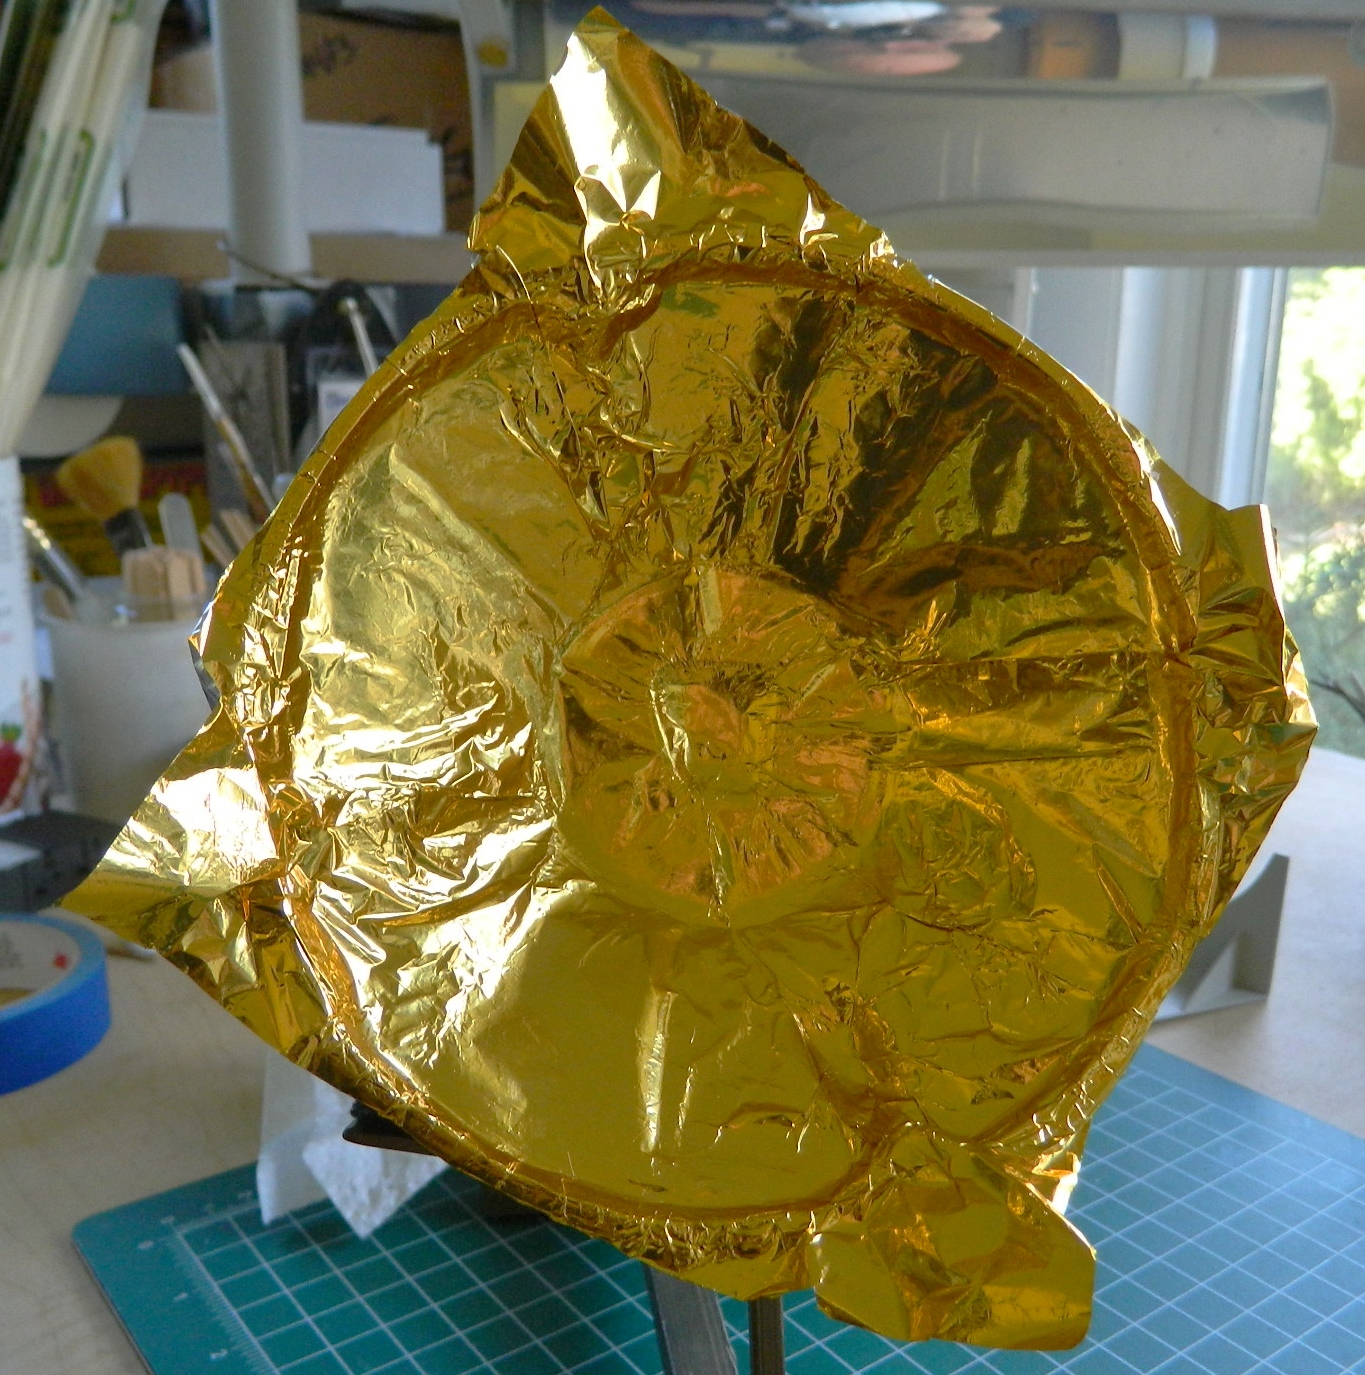
I decided to not use the sunscreens which meant that the last part needed to be added was the gold-colored foil used to replicate the mylar thermal shield. The “funny” people at RealSpace Models (the people that made the resin exterior details, and you already know how impressed I’m not with those) gave me just enough foil to cover the support:
I used watch crystal cement to attach the foil at the periphery, and then came the nerve-twisting trimming:

Once my pulse rate dropped back to normal, I touched up the maneuvering thrusters and edges of the service module where the foil didn’t cover:
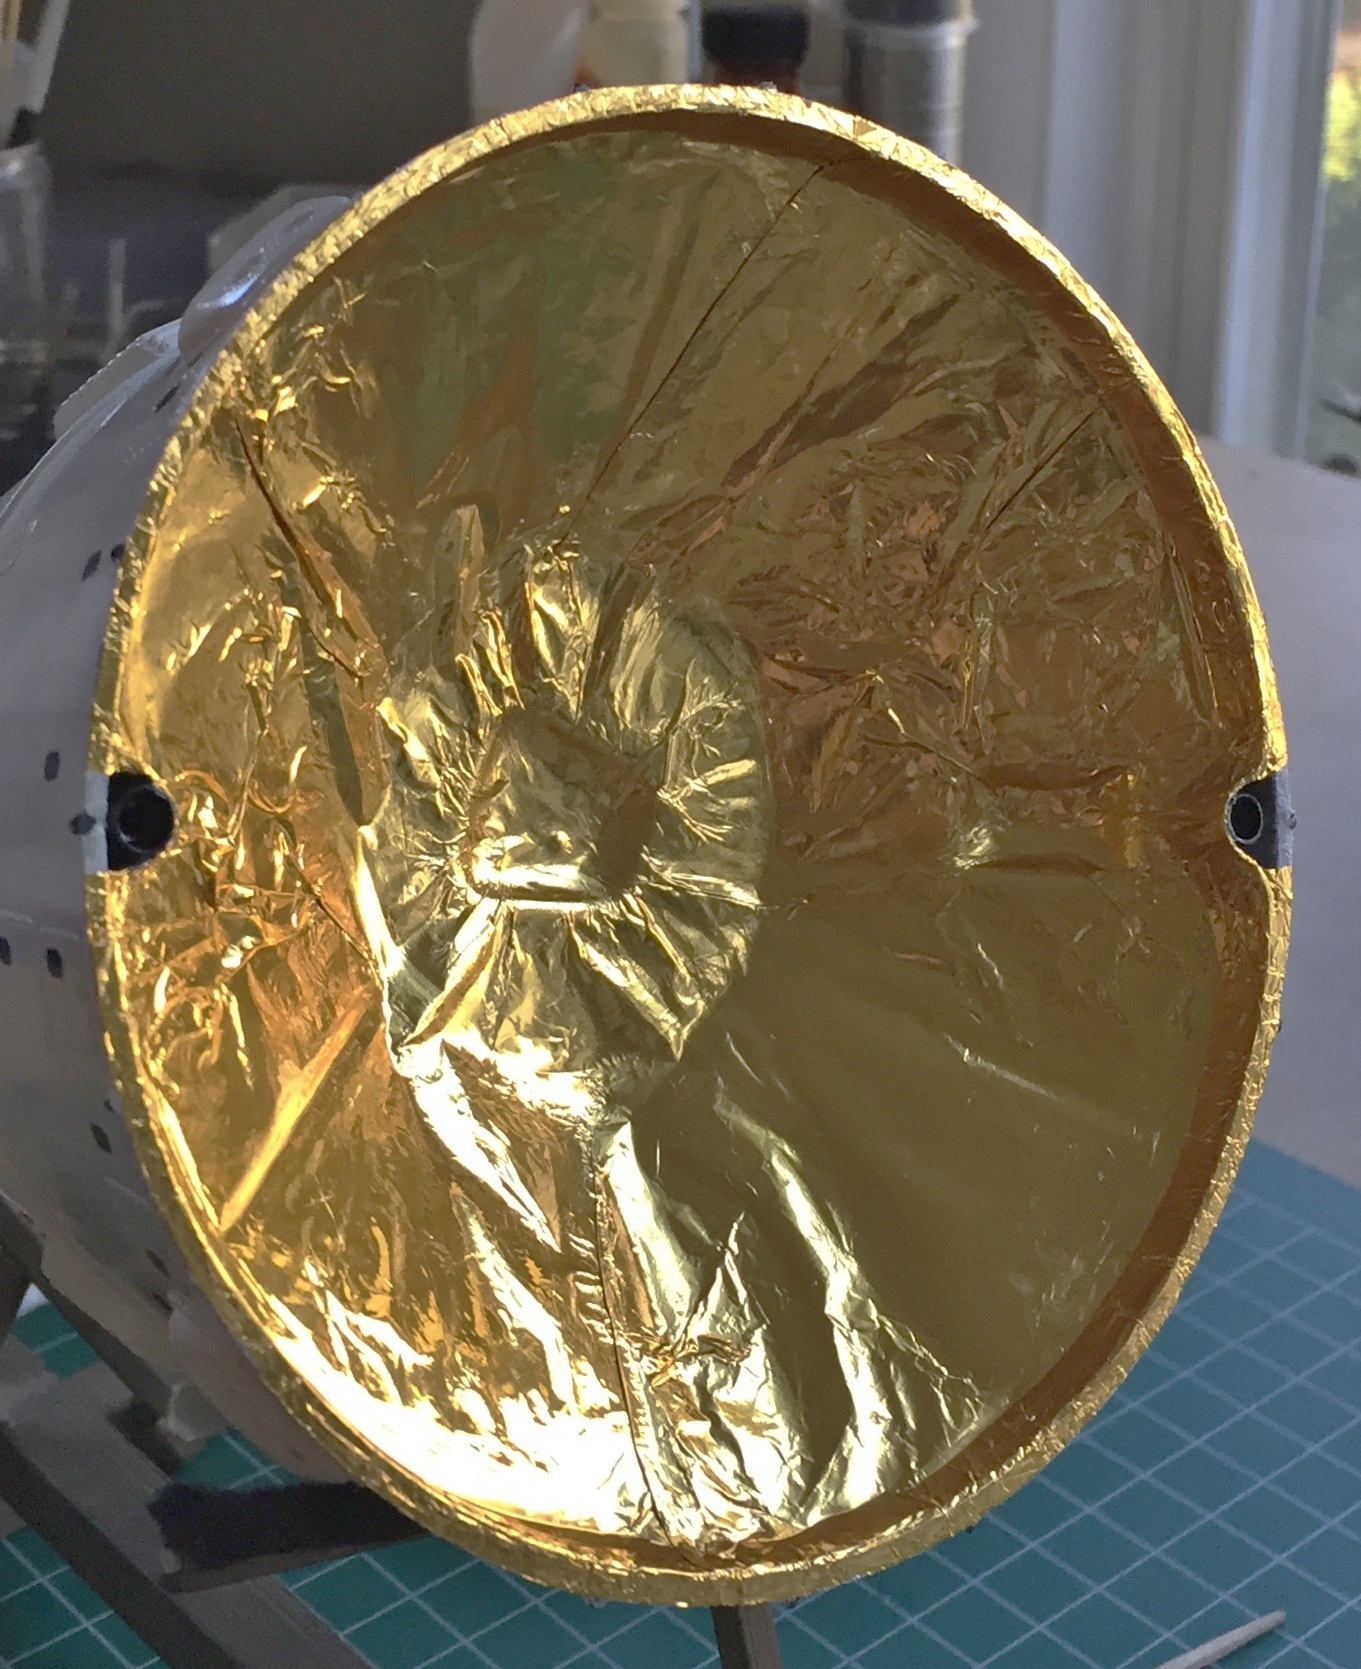
Then I sat there looking at the build and wondered what was next…AND THERE WASN’T ANYTHING “NEXT”! I’m DONE!! I had already painted the display stand so there was nothing left to do but be OH so thankful that this pissy build was finished:
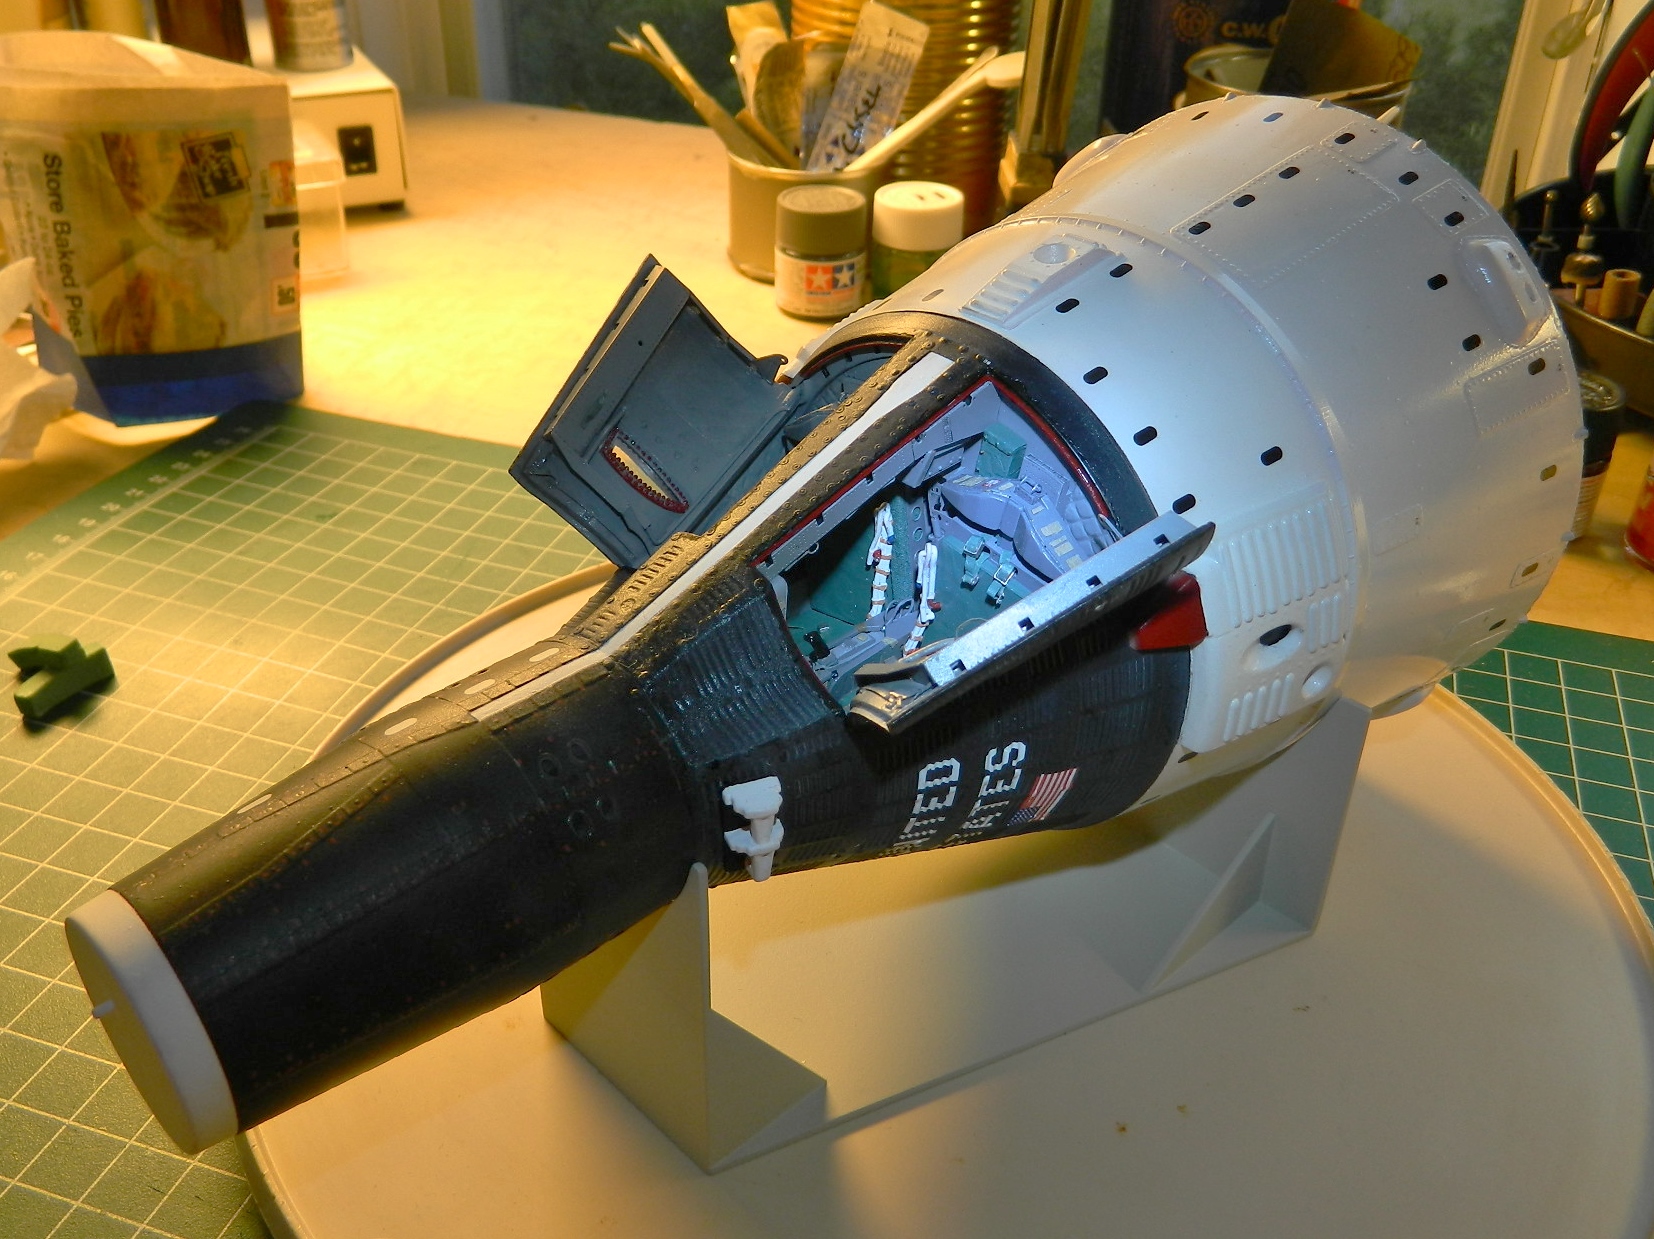
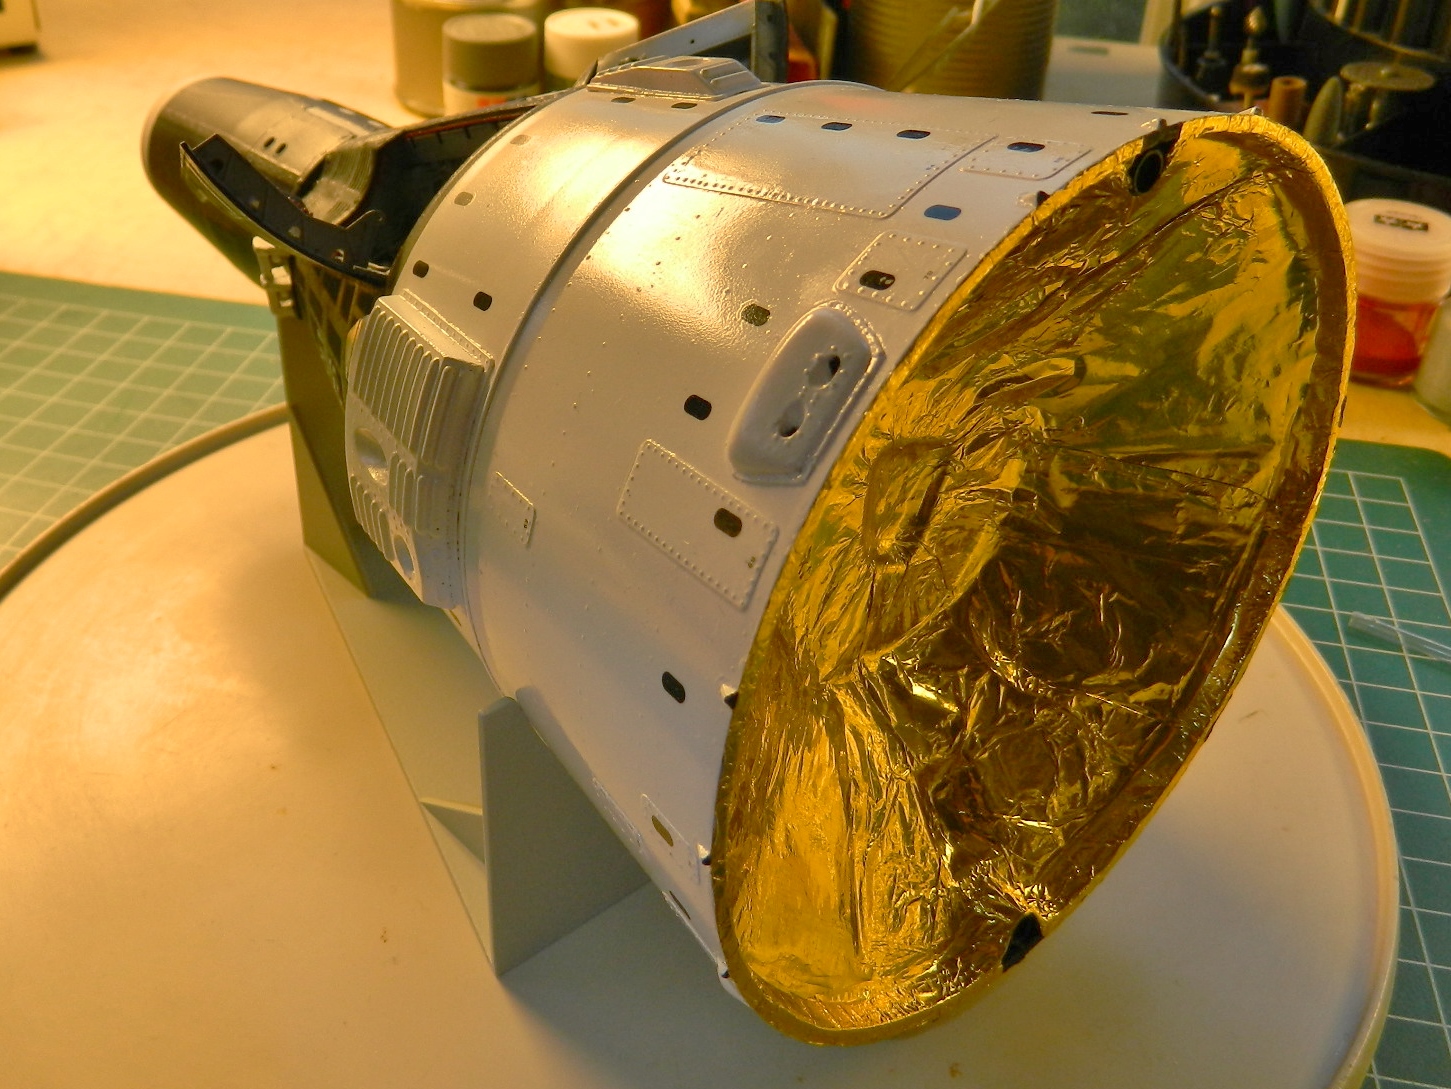

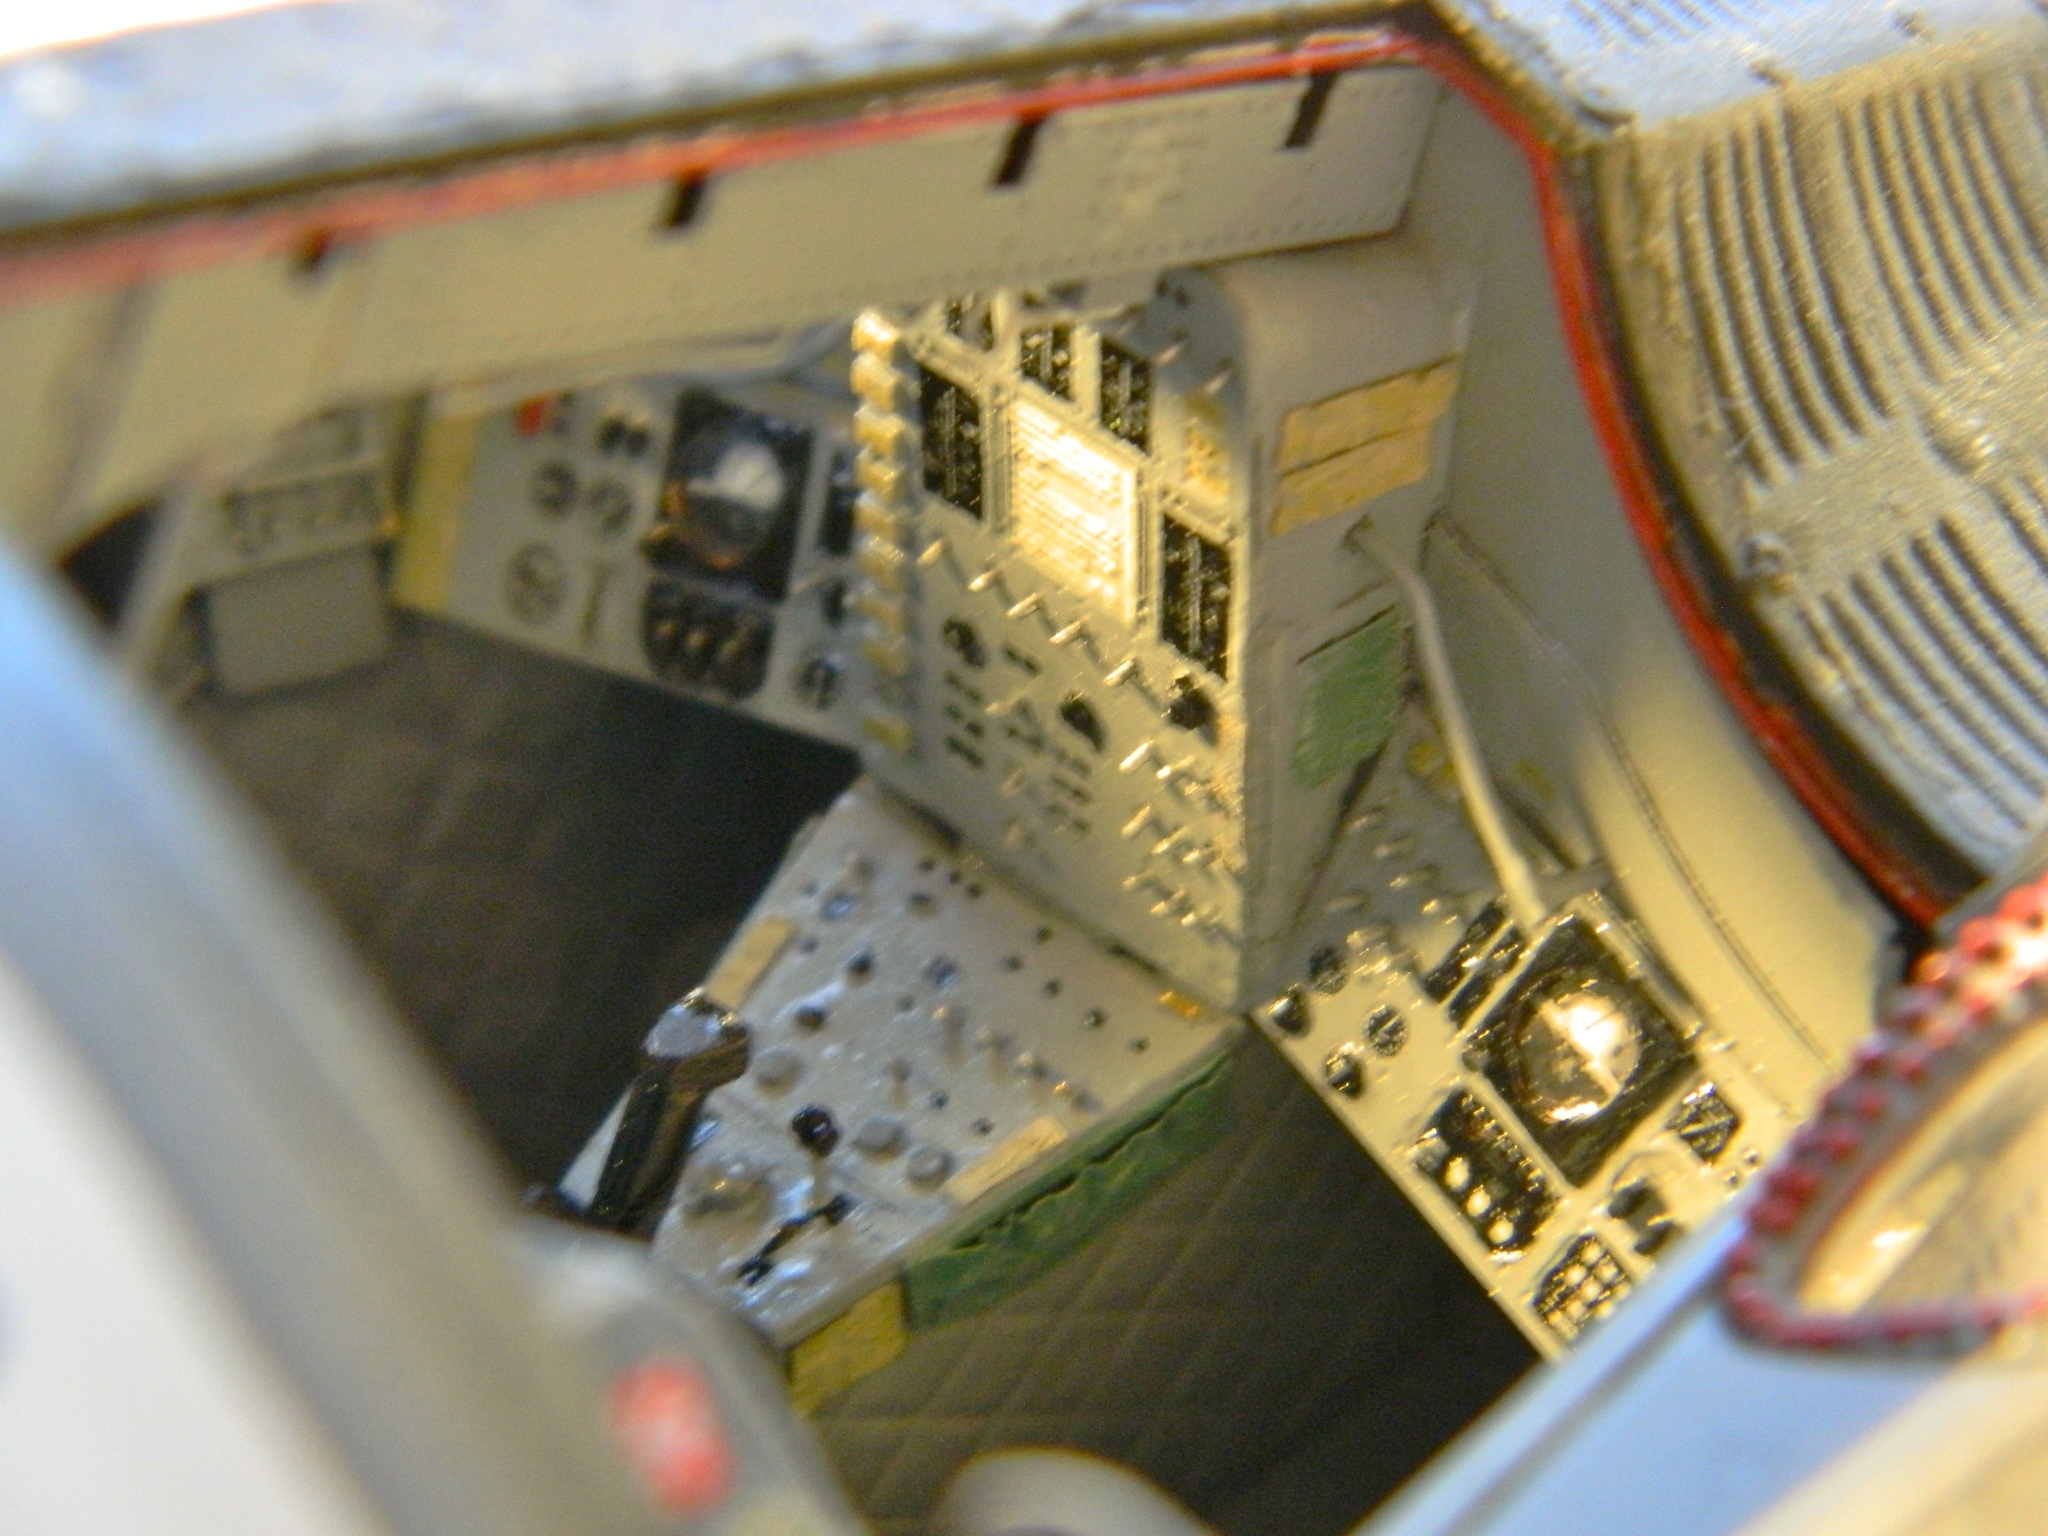
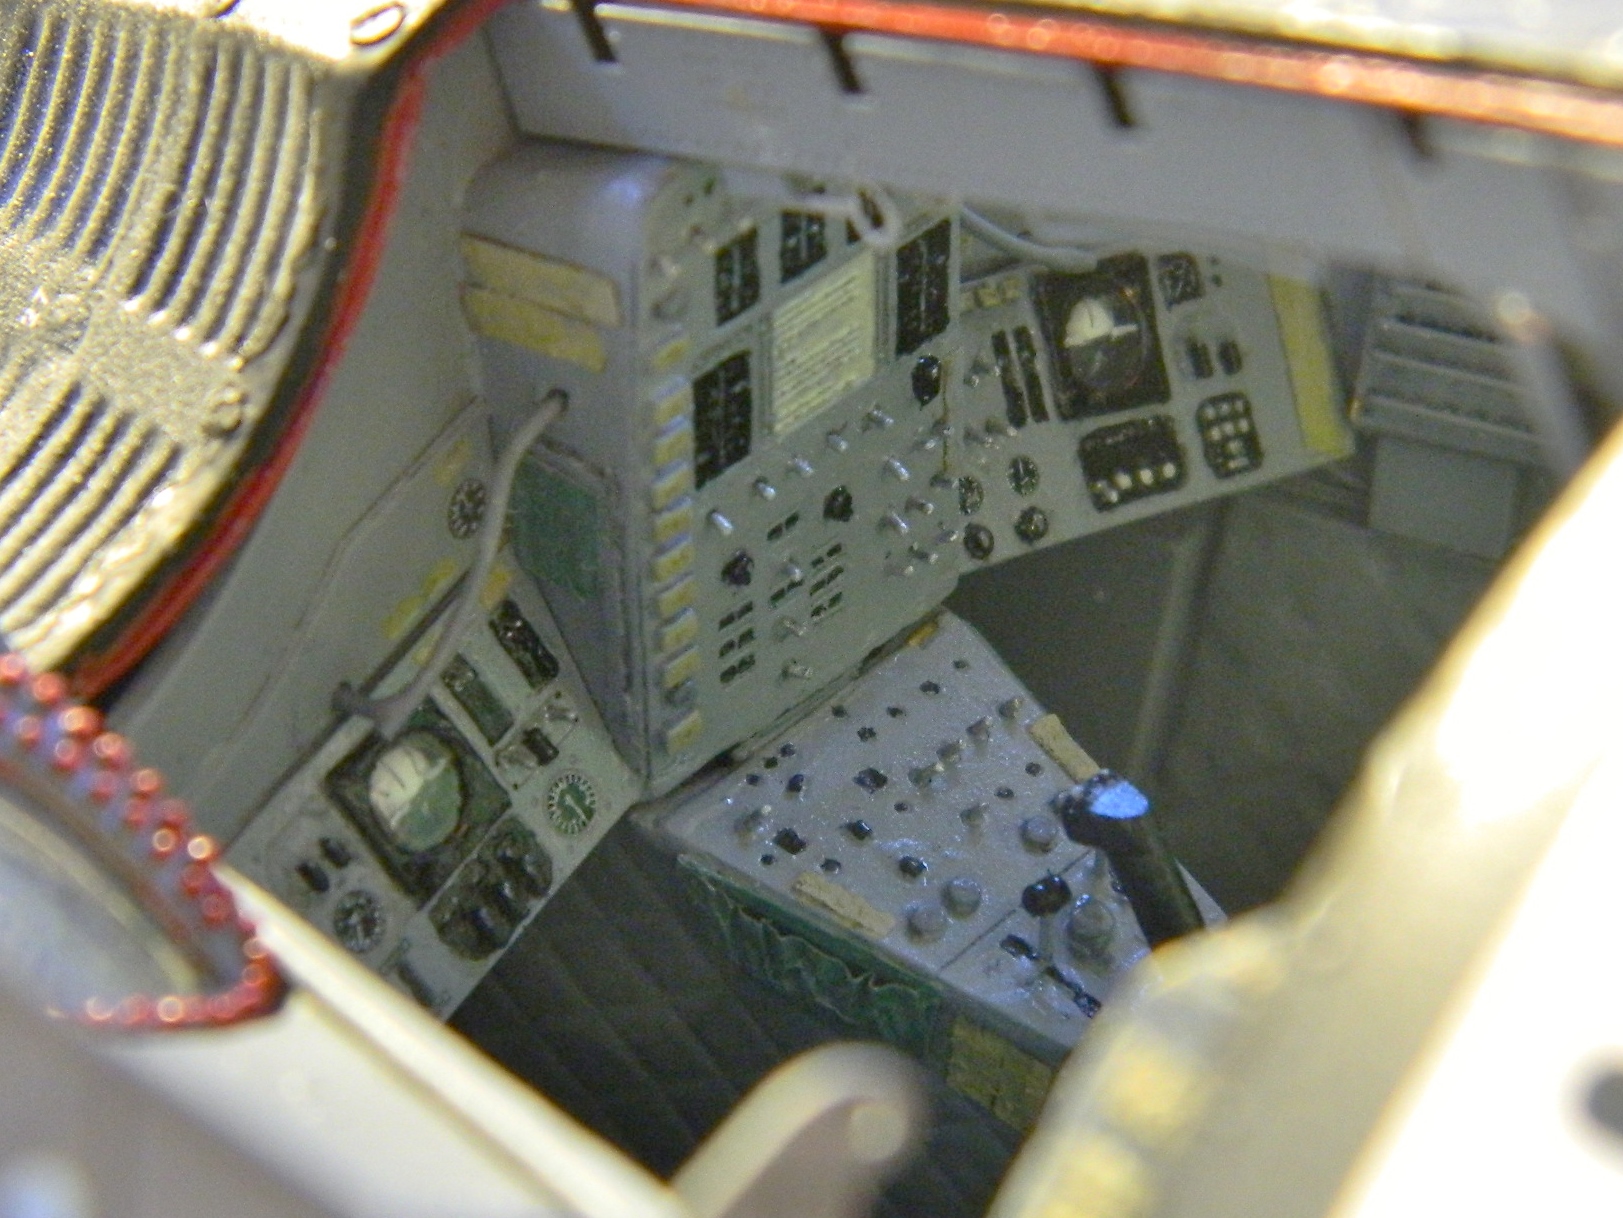

Gemini (Revell) Build #13 – Discovering *more* garbage exterior details and fixing that, adding panels and rivets to the retro and service modules, first paint job which went horribly wrong and fixing *that*
Prior to gluing the service module to the retro module, I wanted to add the support for what had been mylar on the original capsule that will be replicated by gold-colored foil here. I have come to expect that the kit parts don’t fit well. And I thought that now that I had added all the kit parts, I wasn’t going to have to deal with that fit crap anymore. Silly me. The AM set doesn’t fit very well either. The seats didn’t fit into the crew cabin without major surgery on the cabin tub and the seats, so why did I expect the foil support would fit? Fact is…it doesn’t. So I tacked it in place in four locations and clamped it while the glue cured:
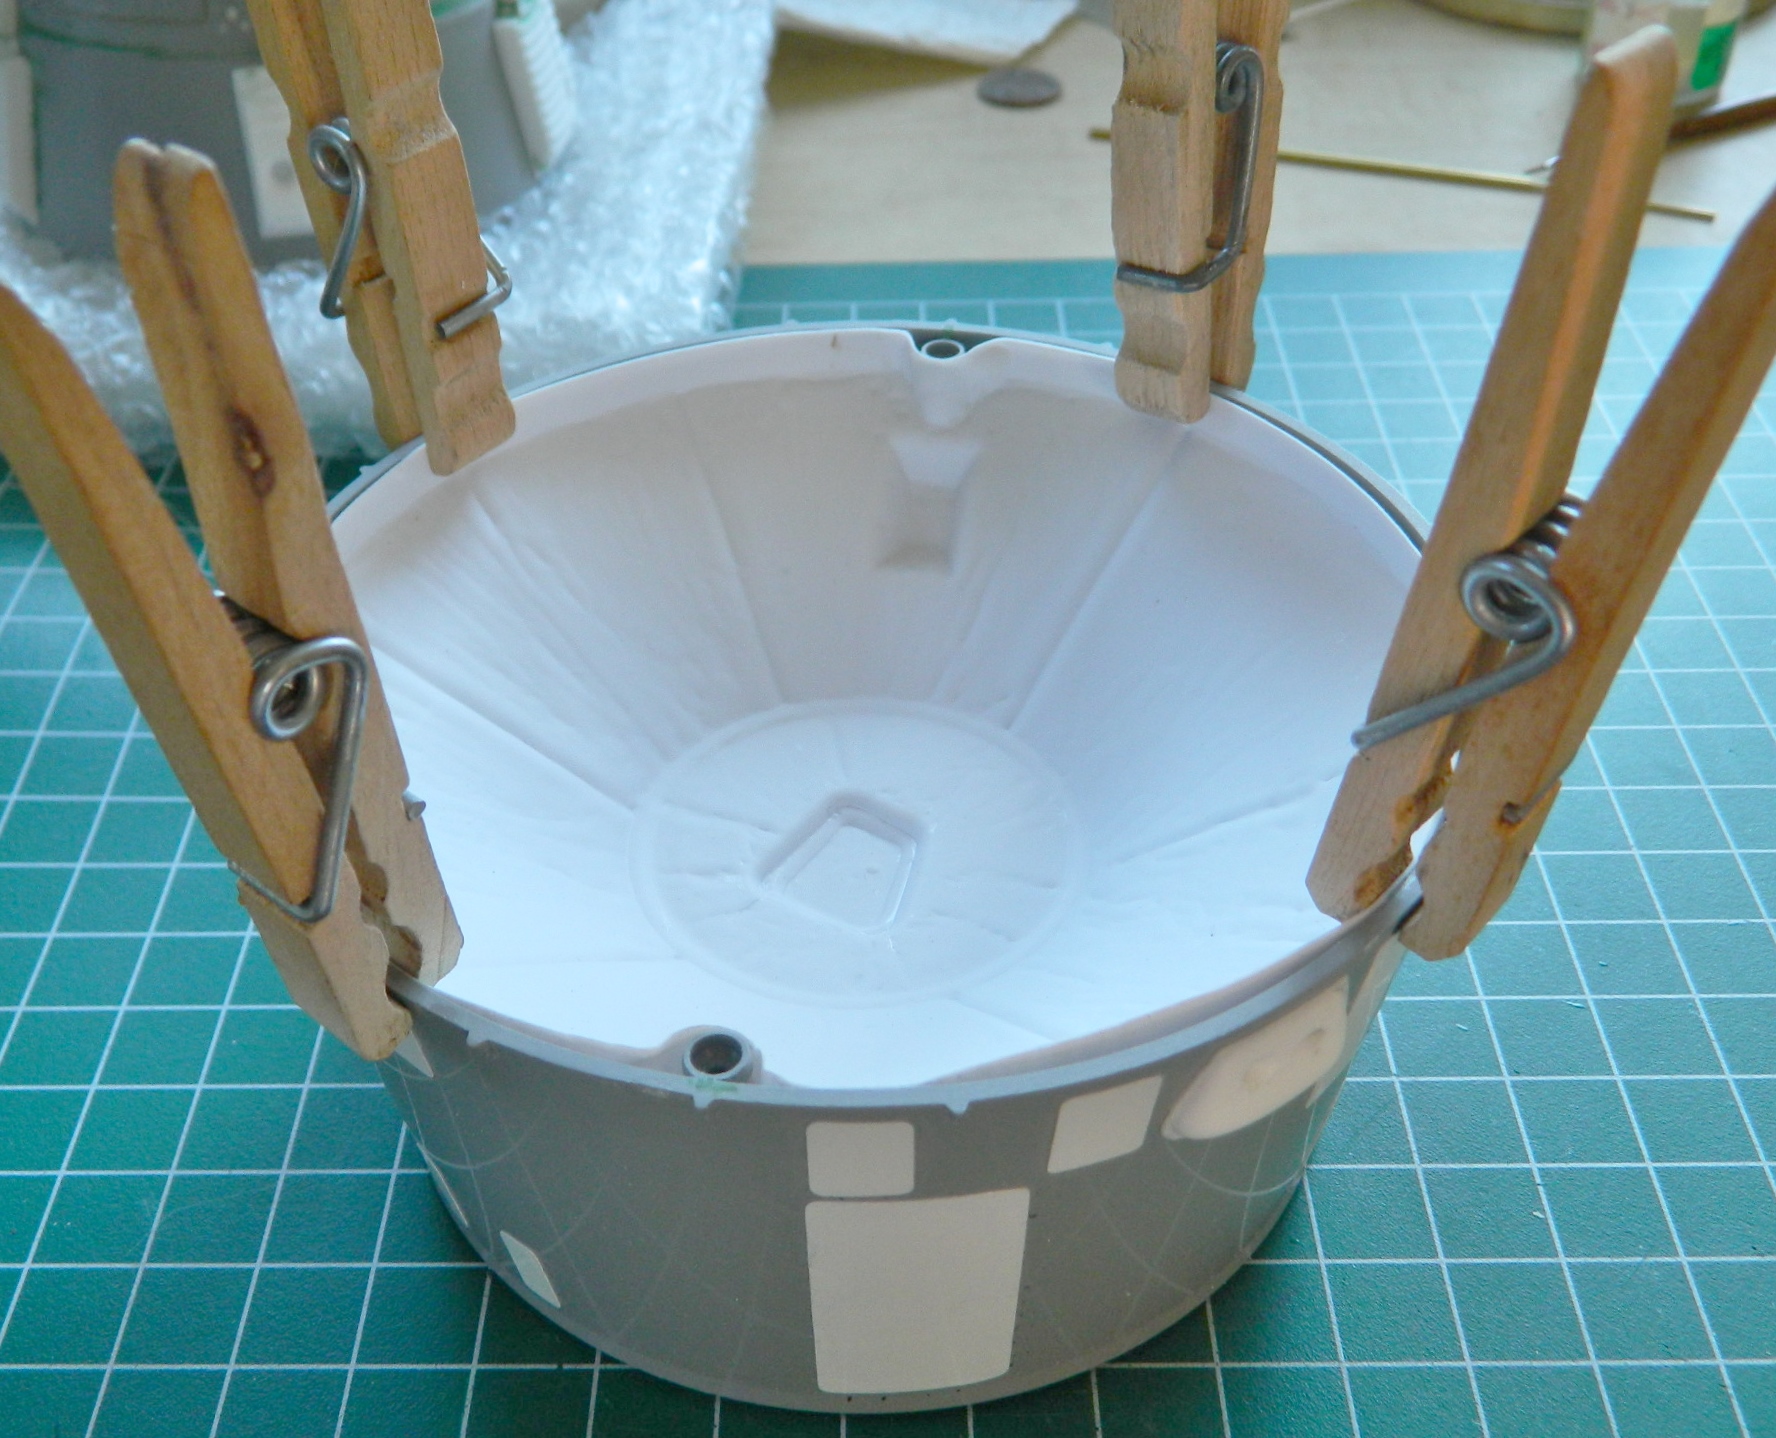
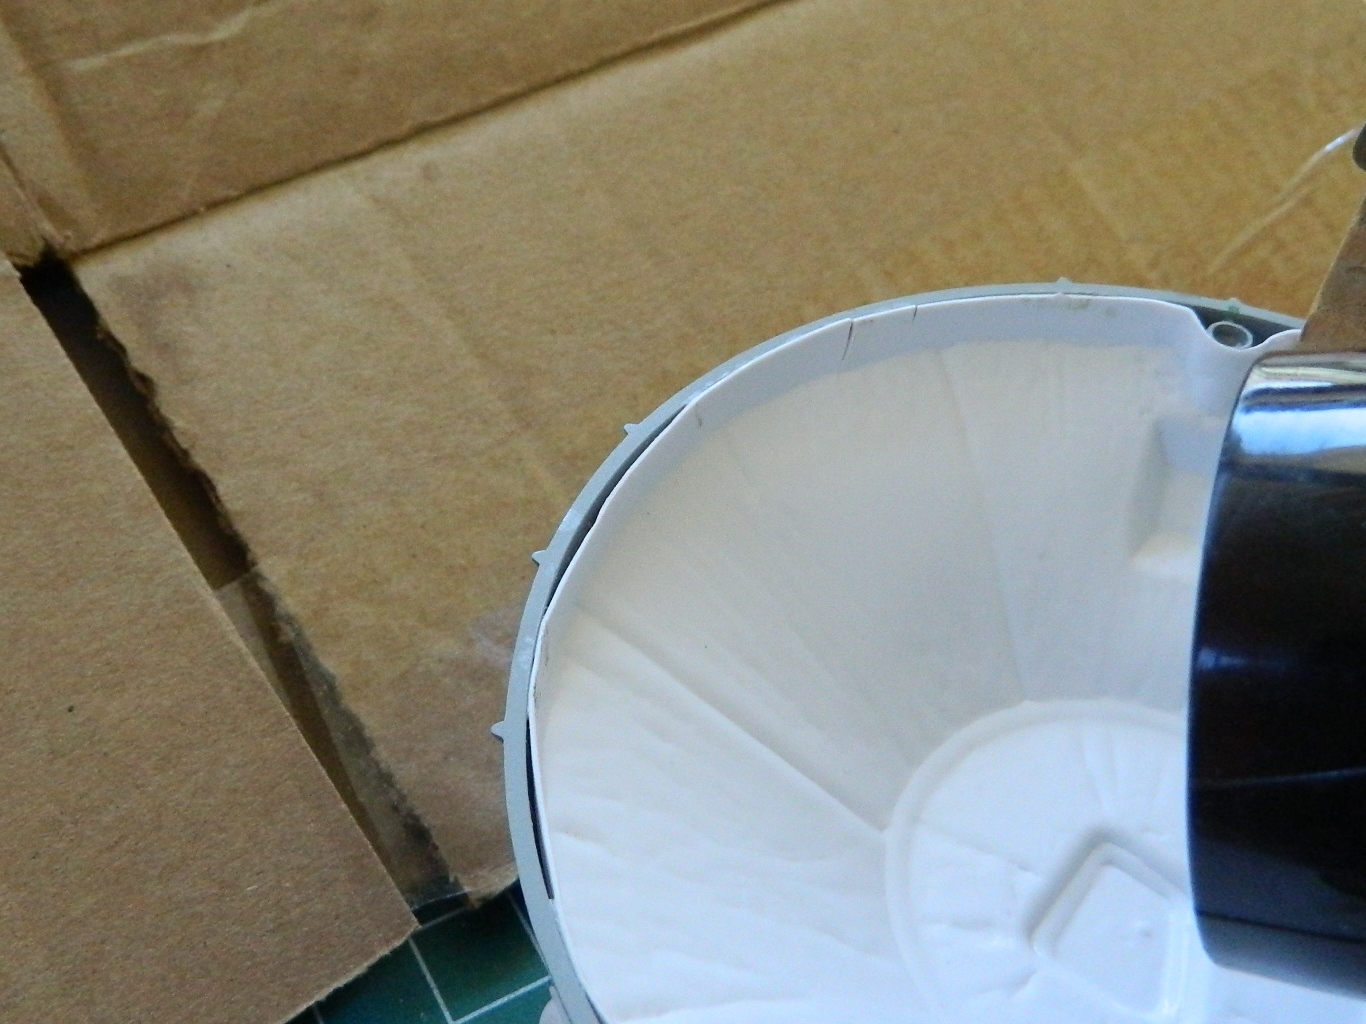
You can see how much that’s stretched the support at the lower right of the above photo. I tried easing the next round of glue-and-clamp into place and for a (short) while it looked like it was going to work…and then the form cracked at the edge. My next attempt involved a hair dryer to heat the plastic so that I could flare the edge of it outward into contact with the inside of the module.
Here’s a tip. If you want to clean your workbench and move everything light off of it whether it’s parts, junk, or dirt, turn a hair dryer on. Belatedly I realized there’s a fan in there. So I braced an empty box behind it to use as a blast deflector (because that’s what it looked like when I first turned the hair dryer on…like the bench was blasted) while I heated the plastic:
With the edge heated, I used the modified clothes pins to clamp the section I’d just heated in place and then glued it. All seemed to be going well until this one time when I smelled melting plastic. Hmm…hadn’t smelled that before. What’s different? Melting one of the reshaped maneuvering thrusters is what was different:

::sighs::
Good thing I had another kit on hand with two more thrusters:
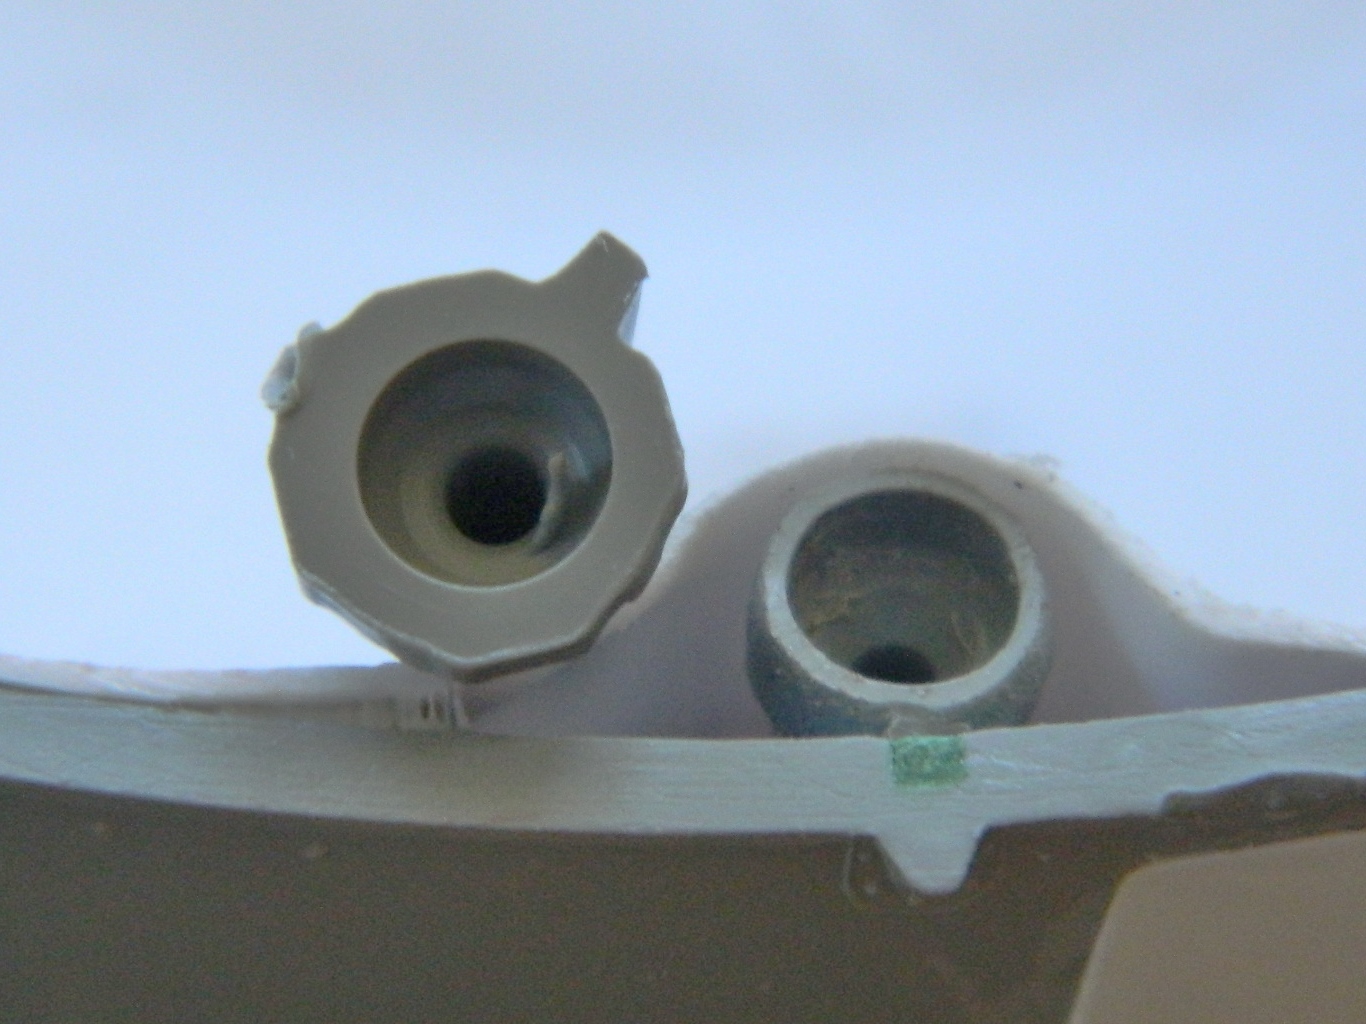
When I looked at the other thruster, I saw that I had also melted it but only slightly. I found a punch in my toolbox that would serve to move the slightly warped thruster mouth back into shape with the application of (more) heat:
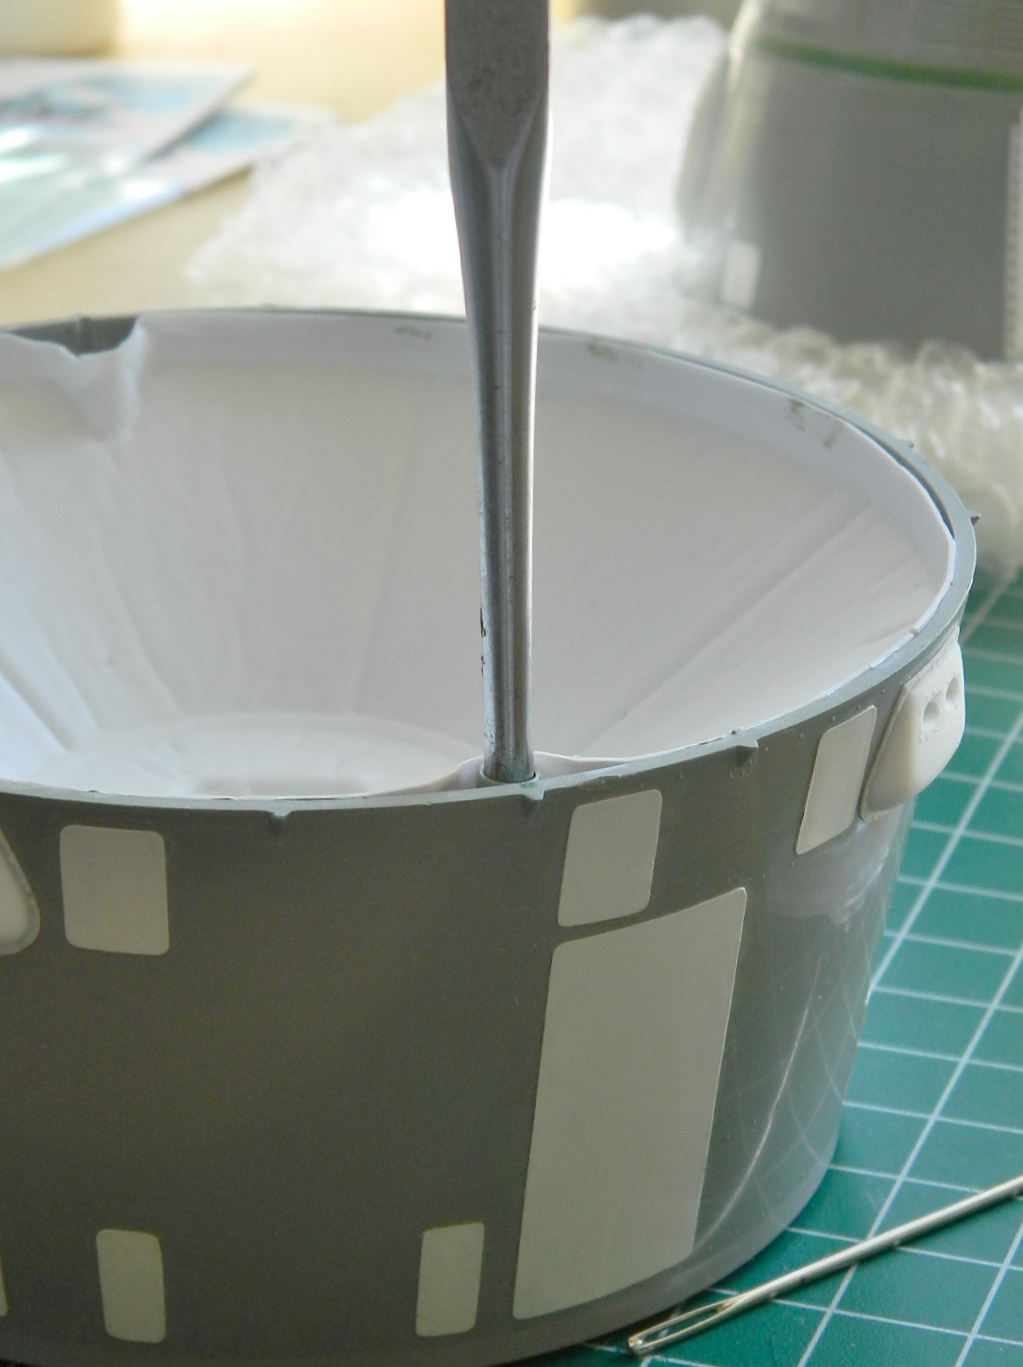
Before I glued the service module into place, I wanted to check all the work I’d done on the capsule and retro module. The best way to do that is to get the surfaces to all reflect light the same way. The best way to do that is to hit it with a coat of primer:
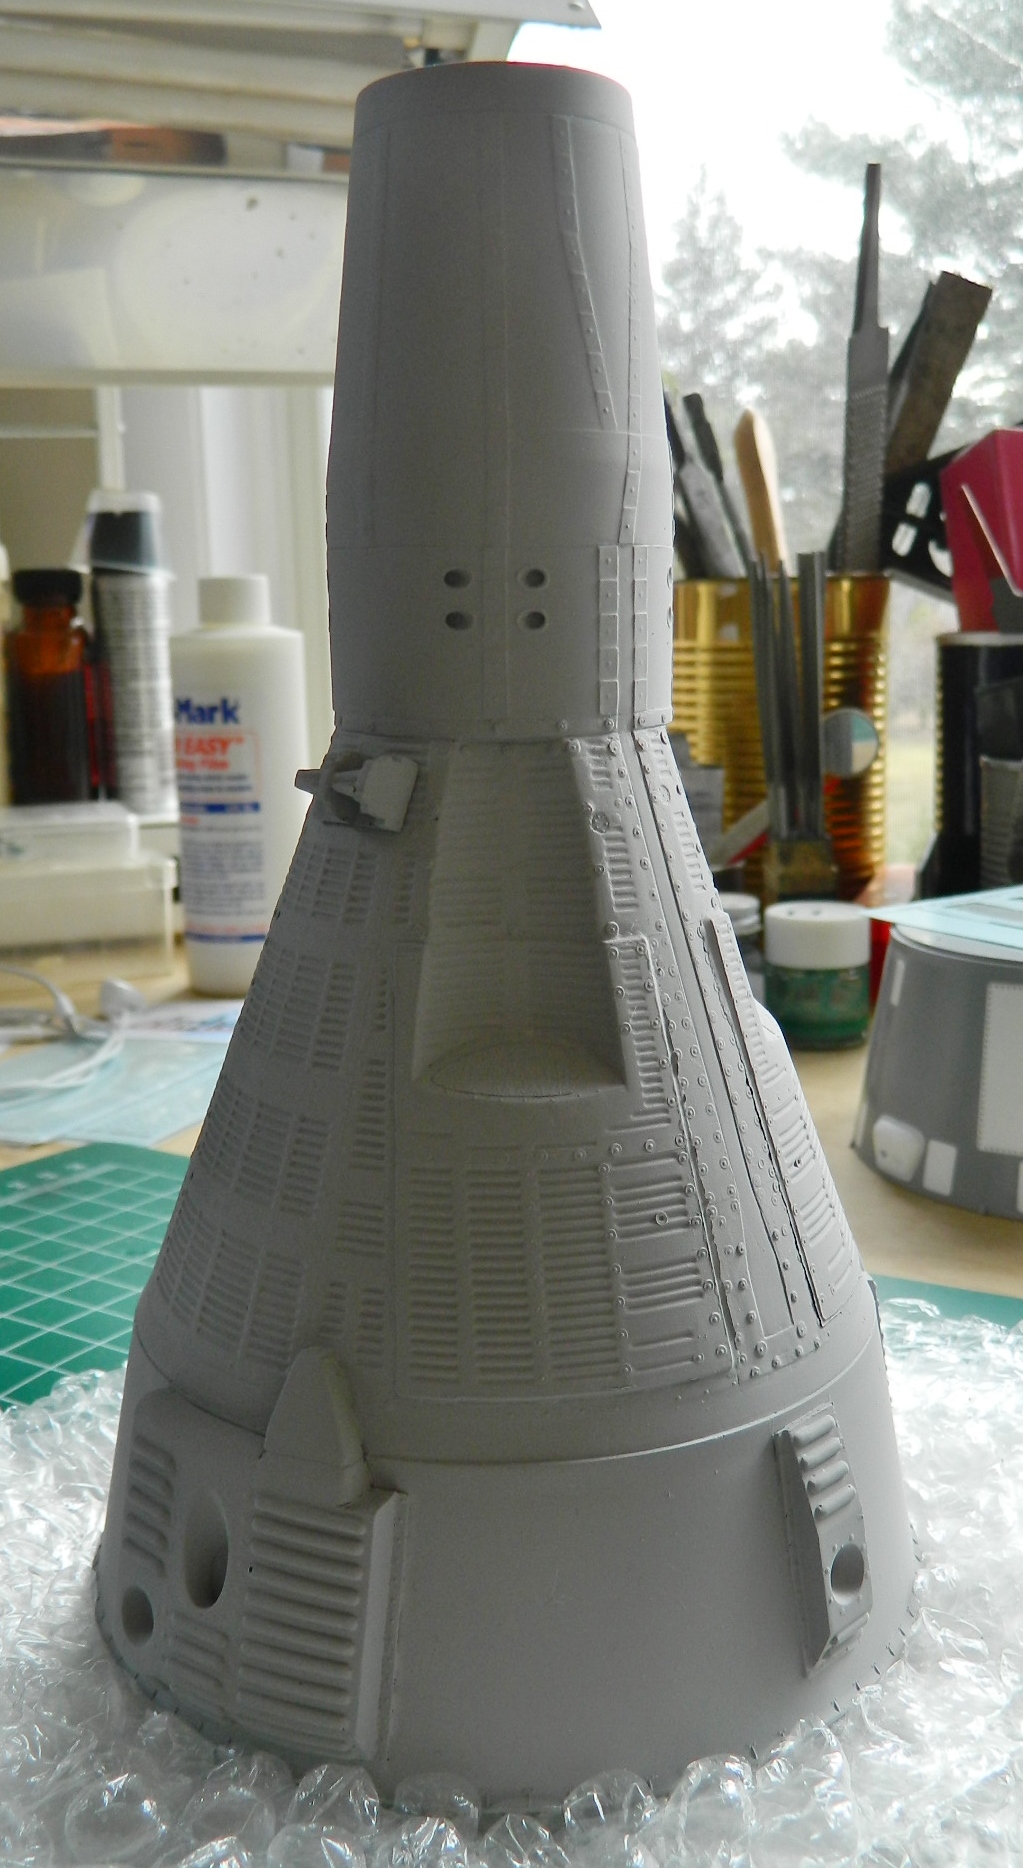
And that’s when I saw all the SODDING BUBBLES! I don’t know if the vendor who cast these parts is aware of pressure casting or not, but I am certain these parts were never pressure cast. (Frankly, I make better resin parts than this vendor does…and I’m a sodding amateur!). This part is the only one I took a picture of but every other part had bubbles to some degree. Unacceptable bubbles:
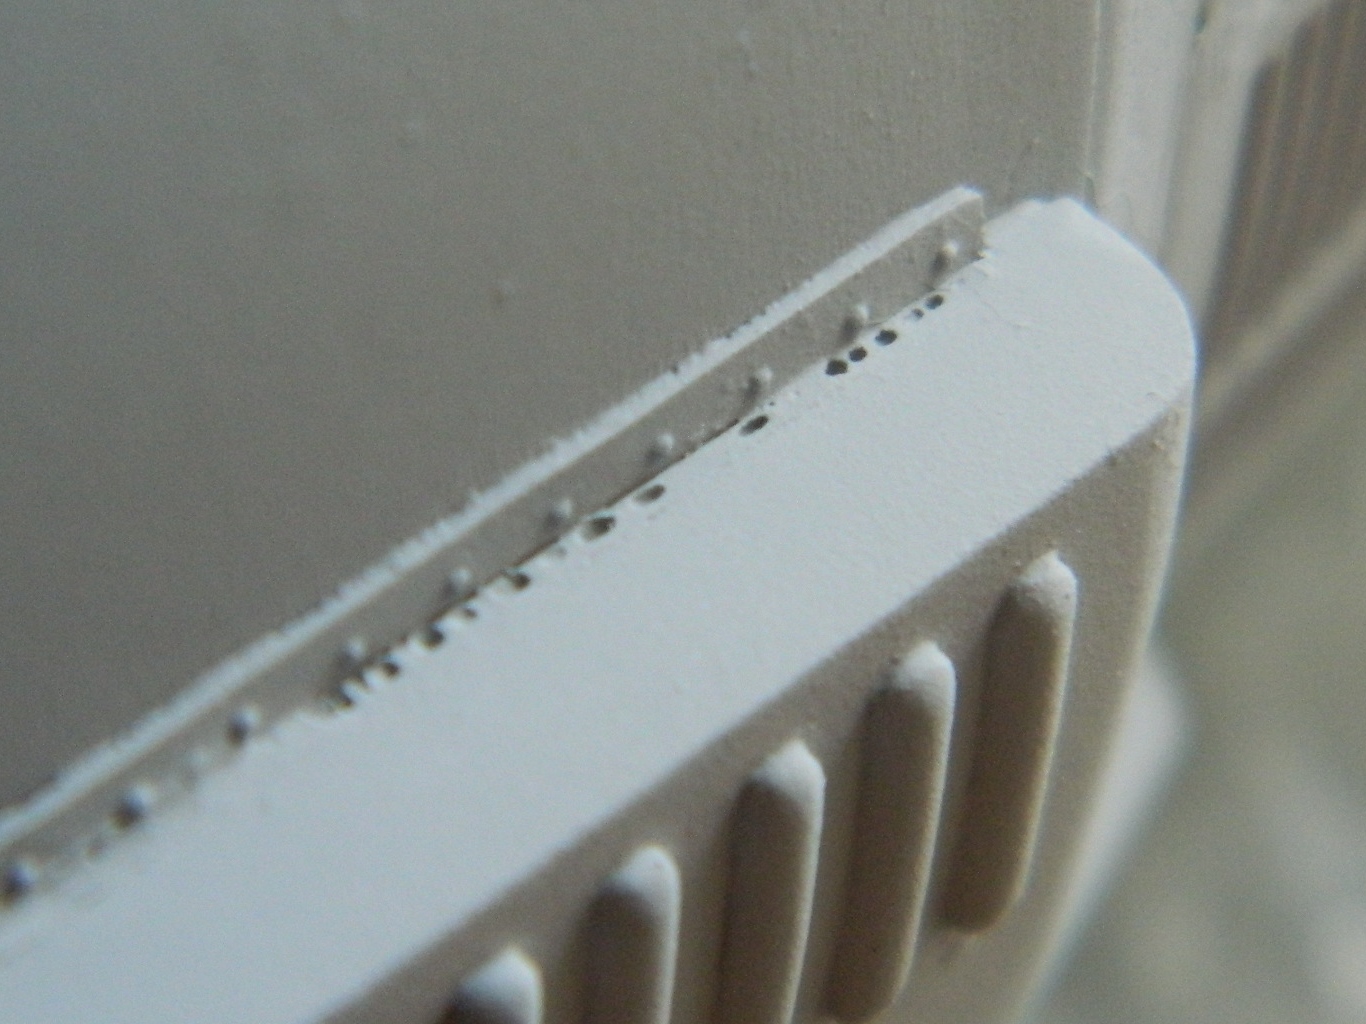
Some bubbles were small enough to putty (such as the ones in the above photo), some were so large I needed to plug them with plastic (again). I set the primed stack of bubbles to the side to let the primer cure and started adding the rivets to the panels on the service module. As tedious as the task could have been, using Archer Transfer’s sheets of resin details eased that task greatly. They print 3D resin details onto decal film and then the details are added the same way decals are. Trim, soak, transfer, align, curse, re-align, and repeat. Often. Keep at it, though, and this is where it ends up:

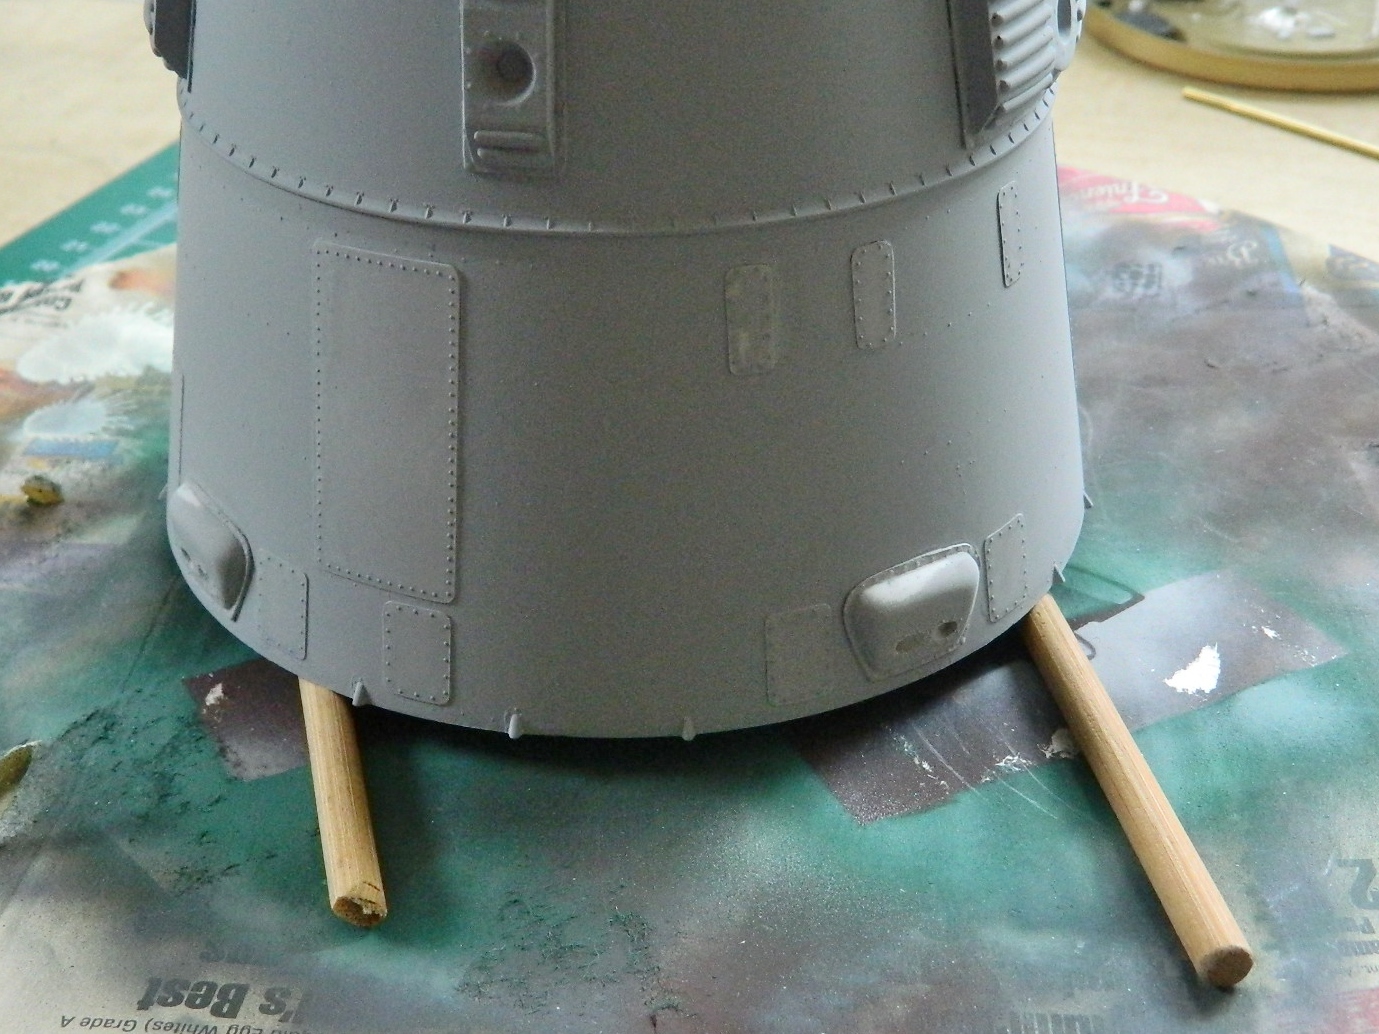
If there’s a downside to using these resin decals, it’s fragility. These things are SMALL. Sure, they can be cut, soaked, and applied in strips, but there isn’t a lot of surface area for adhesive and unless one is VERY careful (which sometimes I’m not, in spite of my best effort), they’re dislodged and have to be done again. Painting over them, however, greatly increases their resistance to being dislodged, so I hit the service module with a coat of primer and glued it into place at the end of the retro module:
These two modules are gloss white, so I painted them gloss white. It seems as if each time I paint this thing, I find MORE bubbles in the damned resin parts. Large ones require plastic be used to fill them:
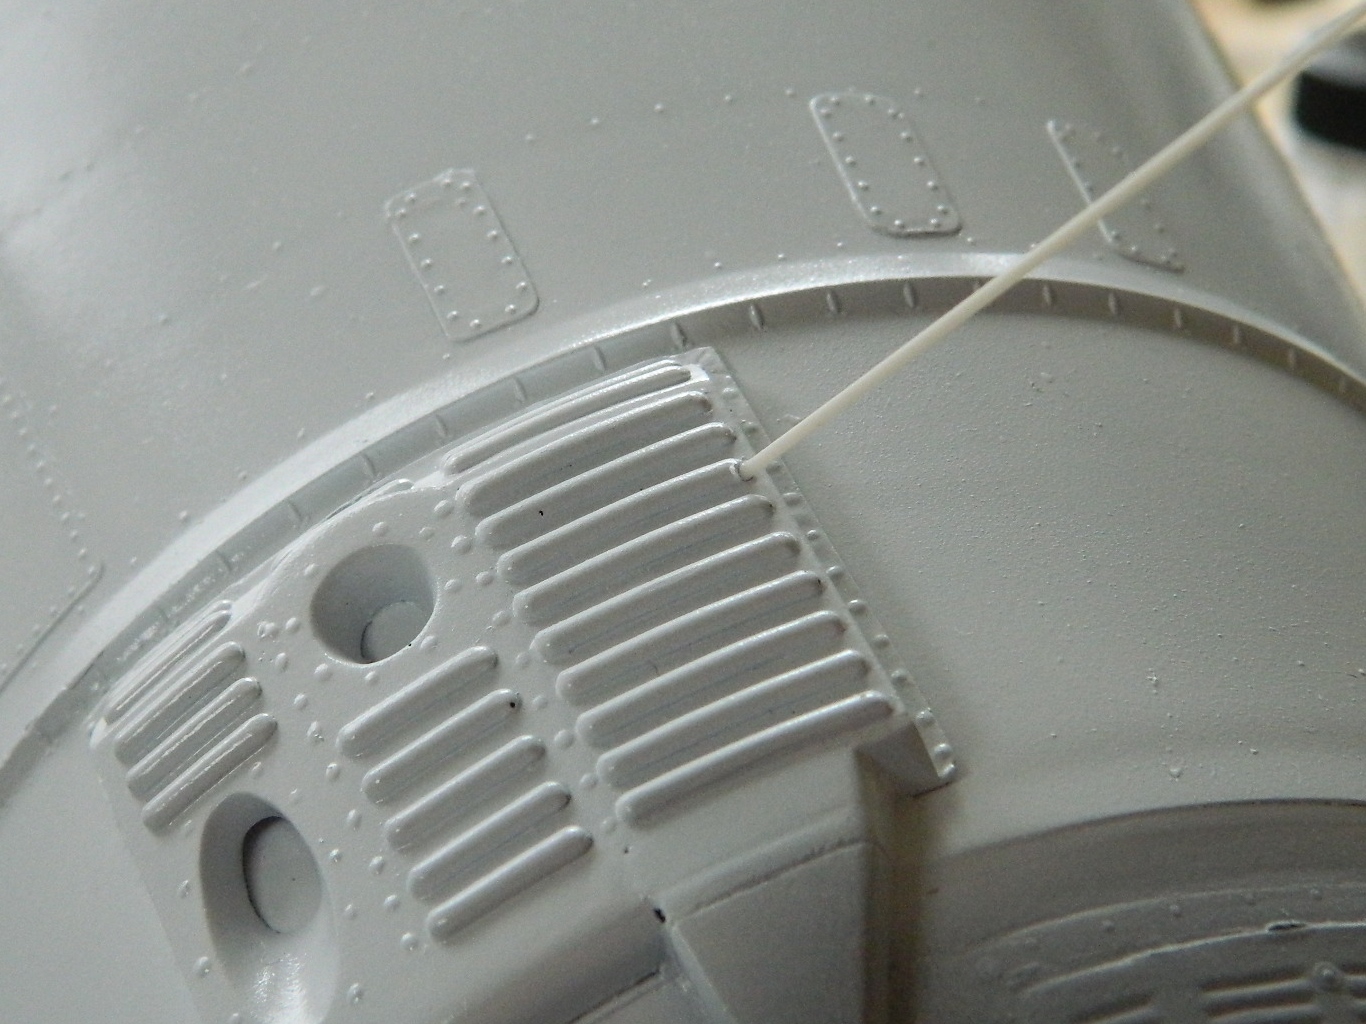
Small bubbles can be puttied. Often the bubbles have to be enlarged so that there is space for the putty to be able to fill the hole and have enough surface for the putty to get a good bite. I used a needle to enlarge the bubbles for that:

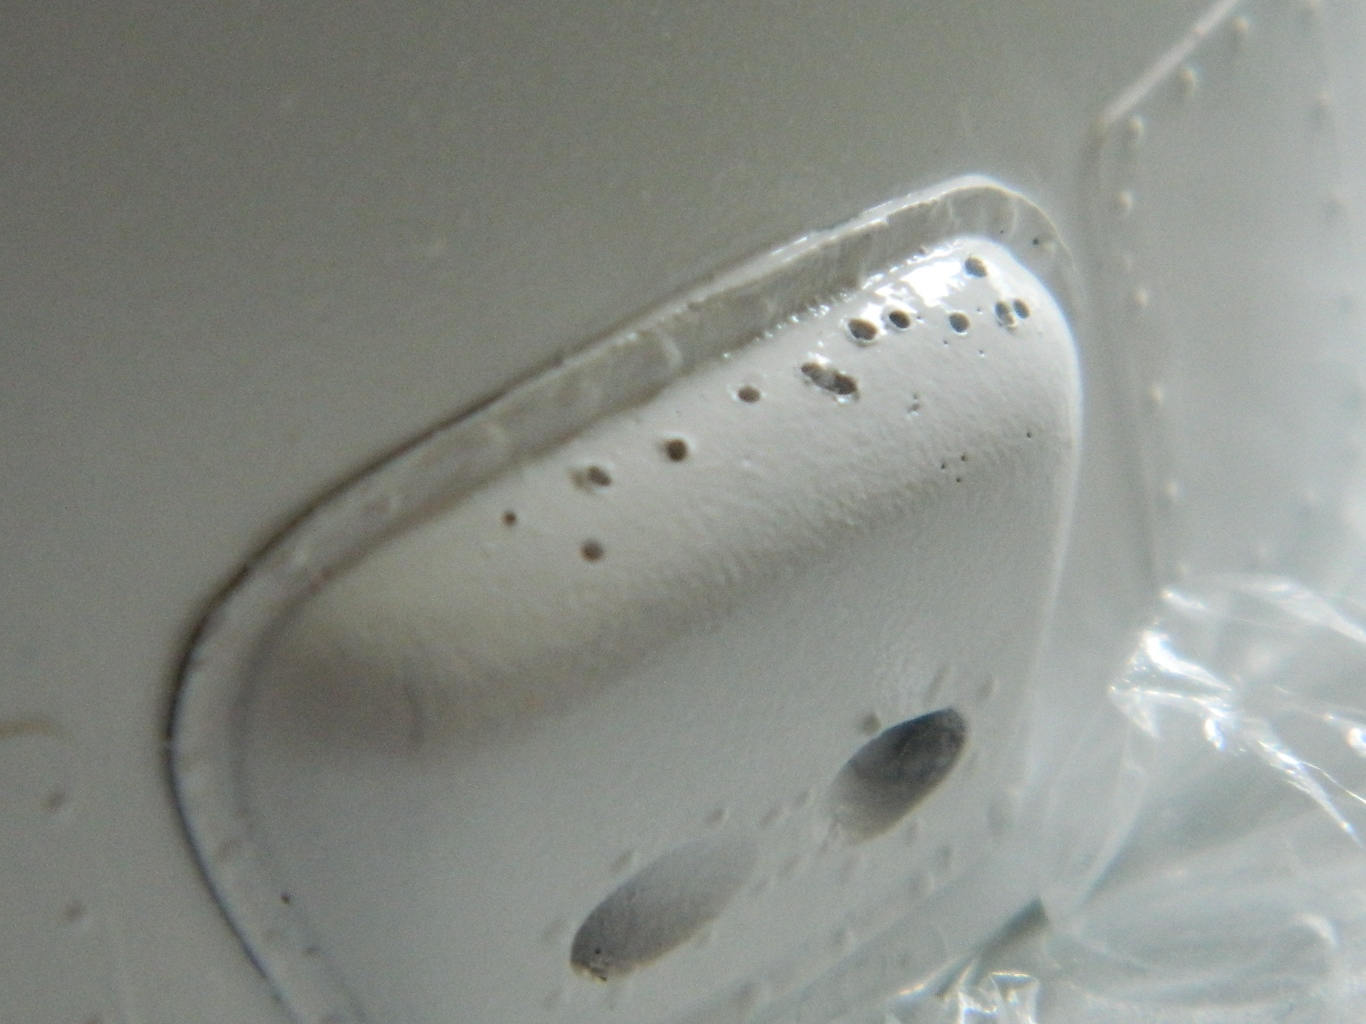
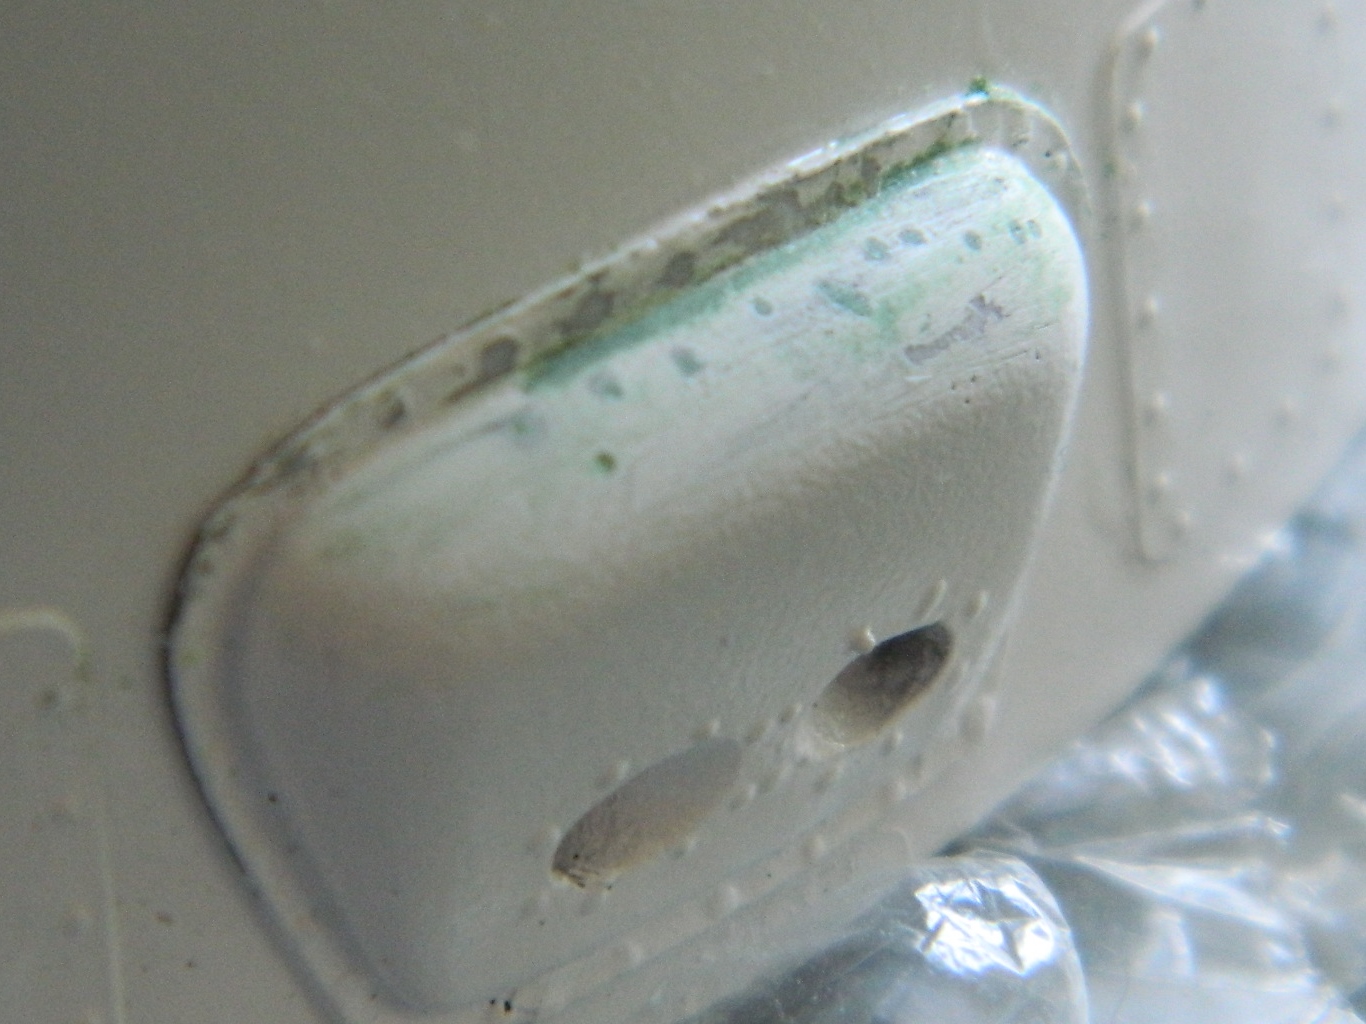
And it seems no matter HOW WELL I dust the shop, sweep cat hair, some always lands in the paint job. By the time I noticed this one blob of cat hair, the paint had started to skim over. When I pulled the hair away with tweezers, it took a blob of paint up with it (and this foreshadowed a much larger problem as you will see later). I coated my finger with thinner and smoothed the edges to make feathering easier (or at least that was the plan…):
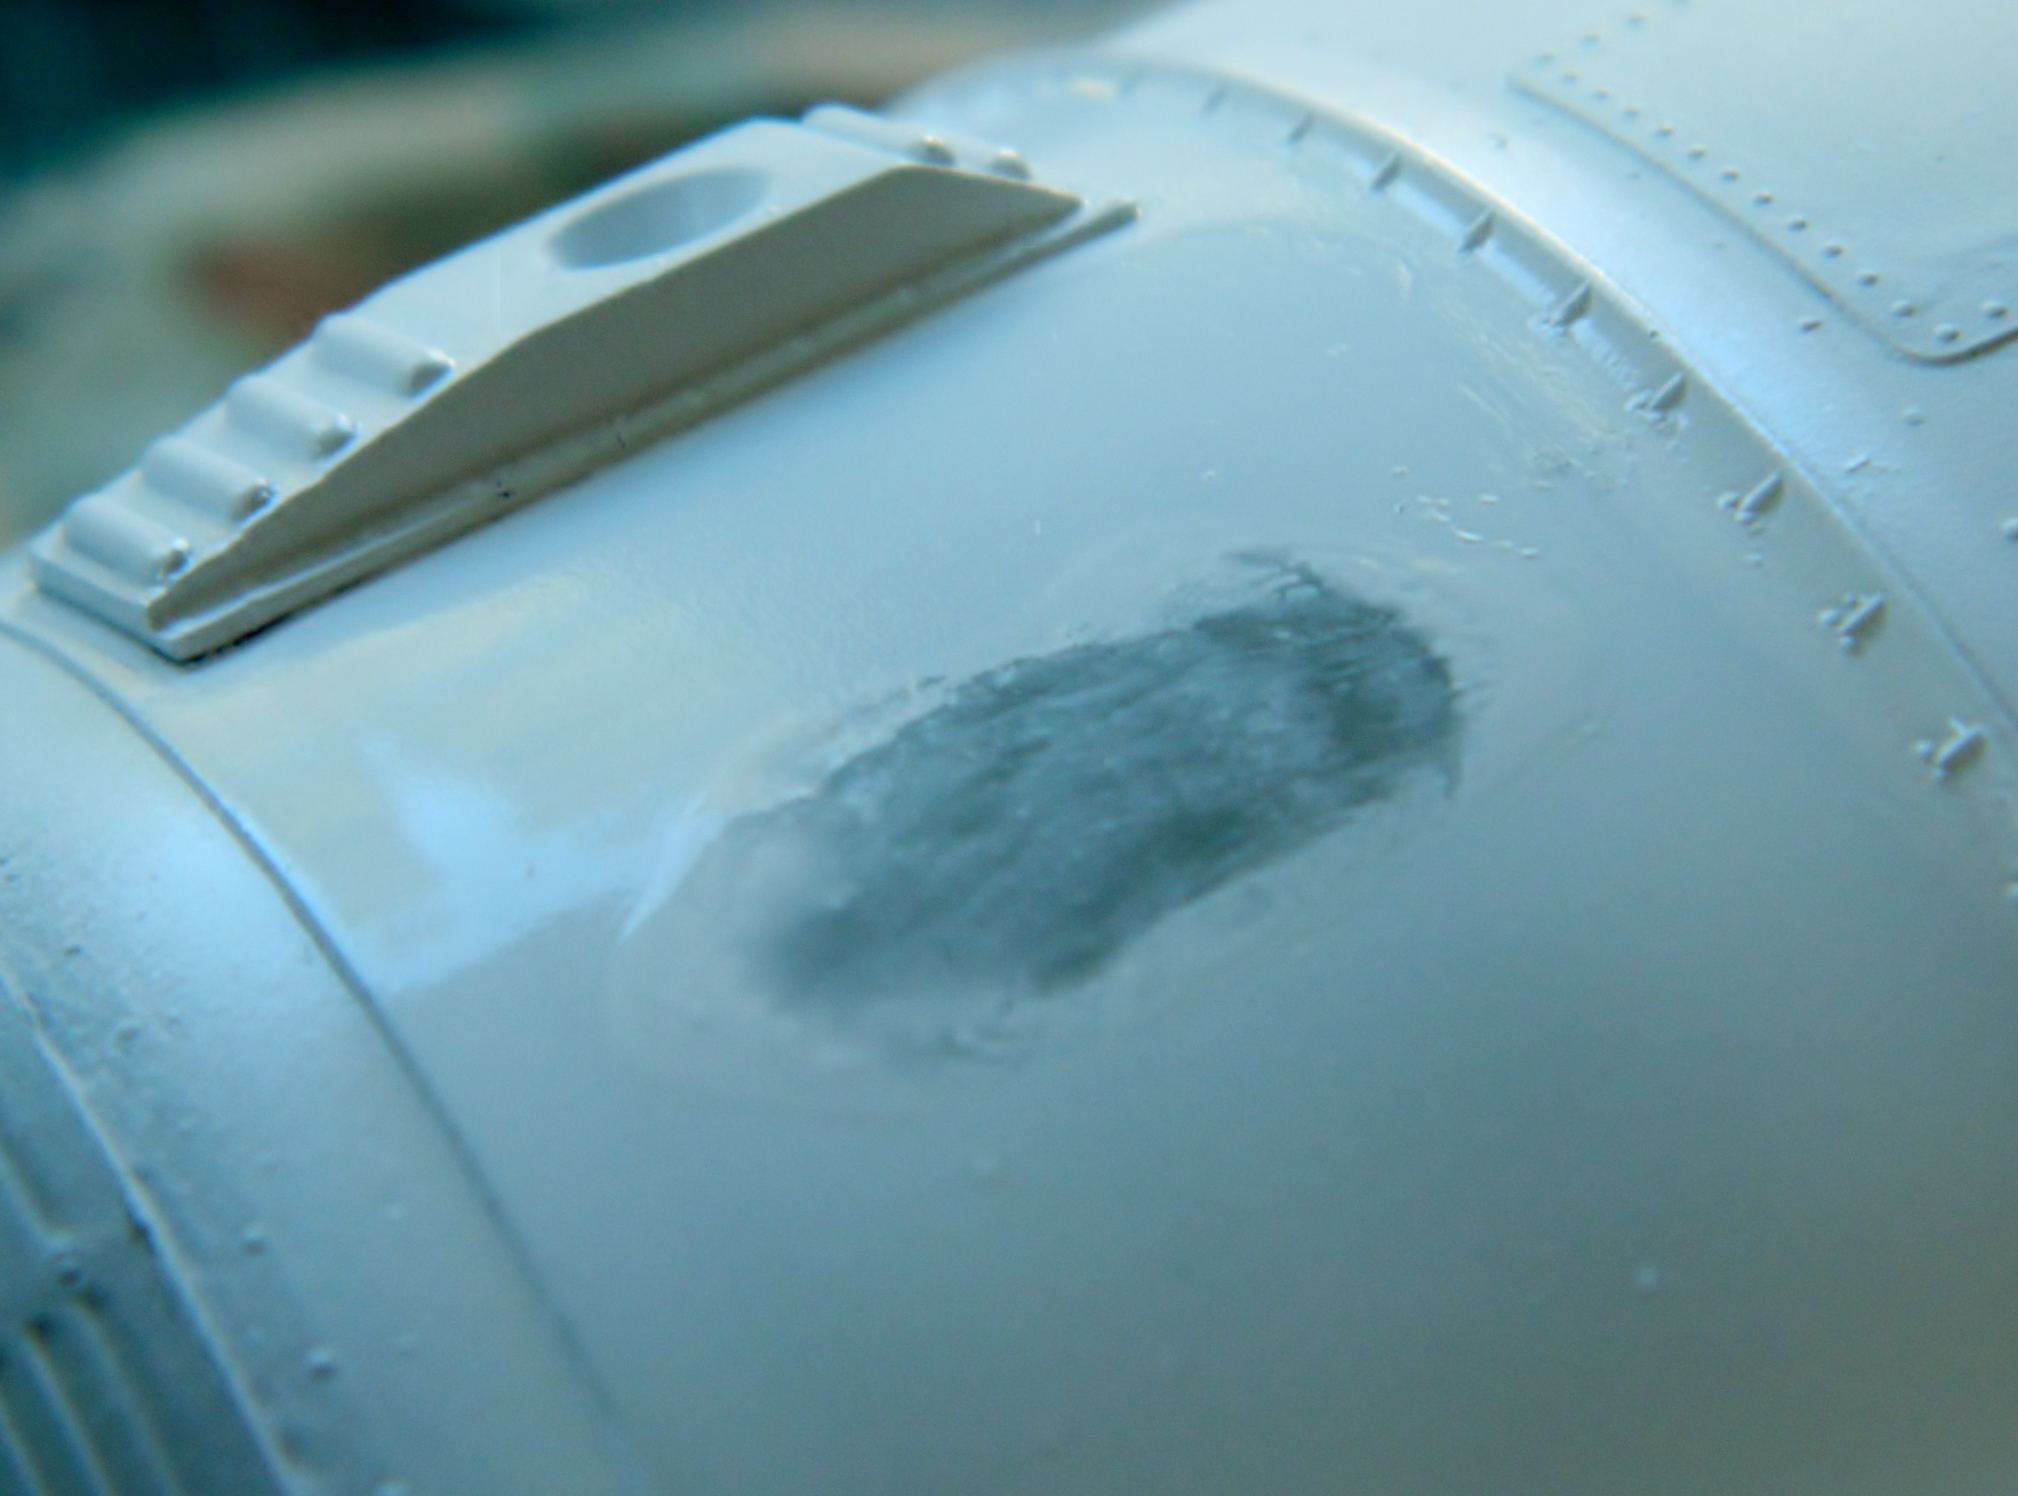
I let the paint dry overnight and in the morning discovered that I’d missed another blob of cat hair on the nose cap. I sanded it away and noticed something disturbing. Yes…the color coat feathered nicely. No…the primer did not feather at all. Just about the time it was one pass of 1500 grit sandpaper away from being feathered, the primer would come off in a chunk and I’d have to start over. And over. So what was a relatively small repair turned into this:
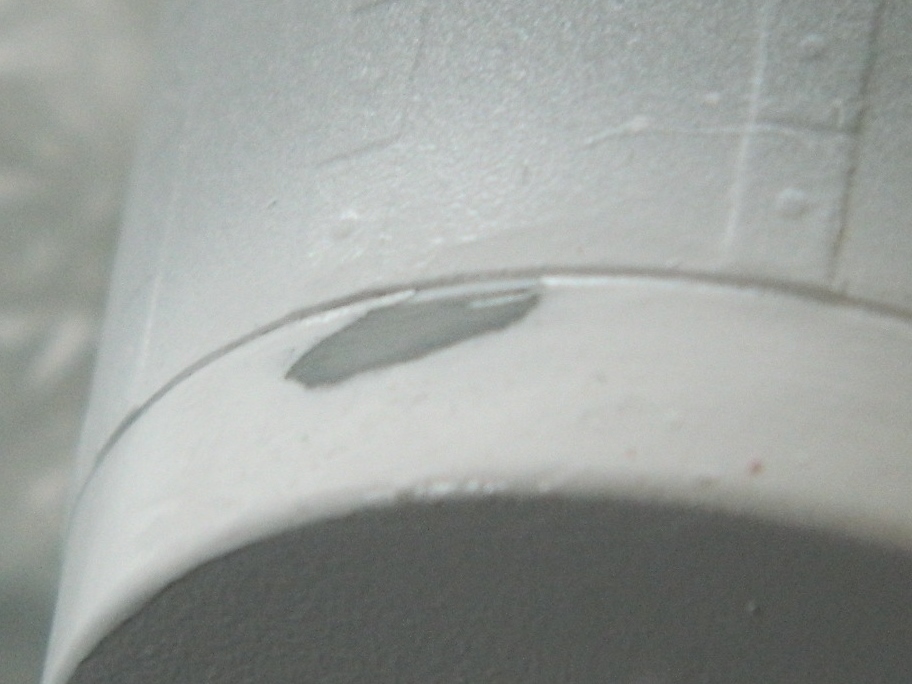
The big blob on the side was treated with another coat of gloss white and once it dried, 2000 grit worked well to smooth the blemish away:
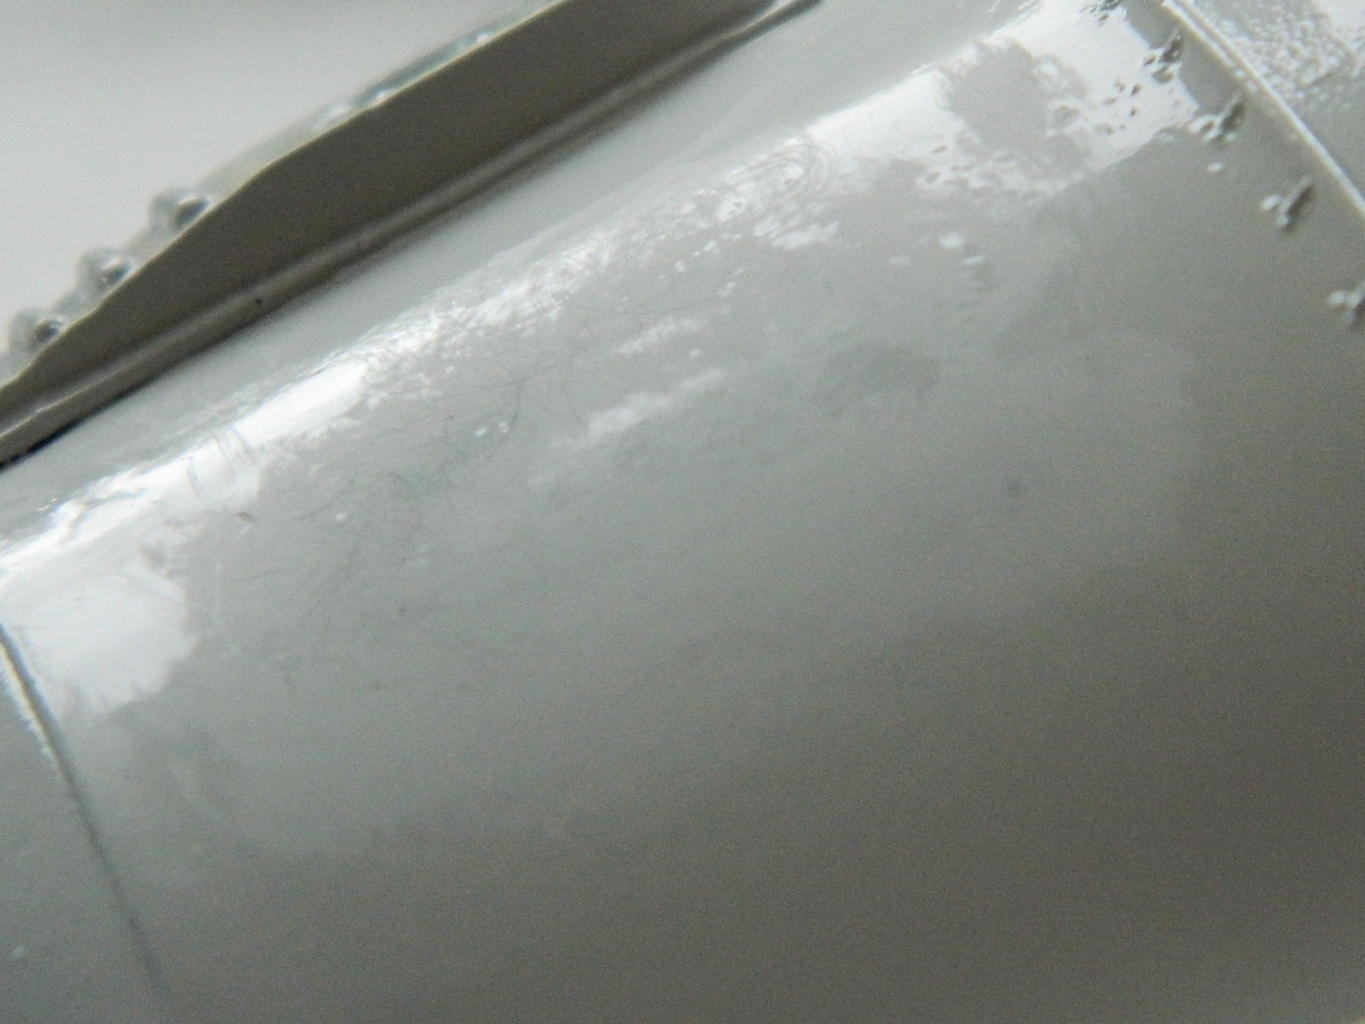
More paint and more sanding and the flaw on the nose cap was minimally acceptable:

I’ve noticed that gloss paint seems to take longer to set up than matte paints do. So before I started masking off the white of the cap, parachute bridle channel, and modules, I let it cure for a couple of days. When it was no longer even faintly tacky to the touch, the parts I want to stay white were masked:
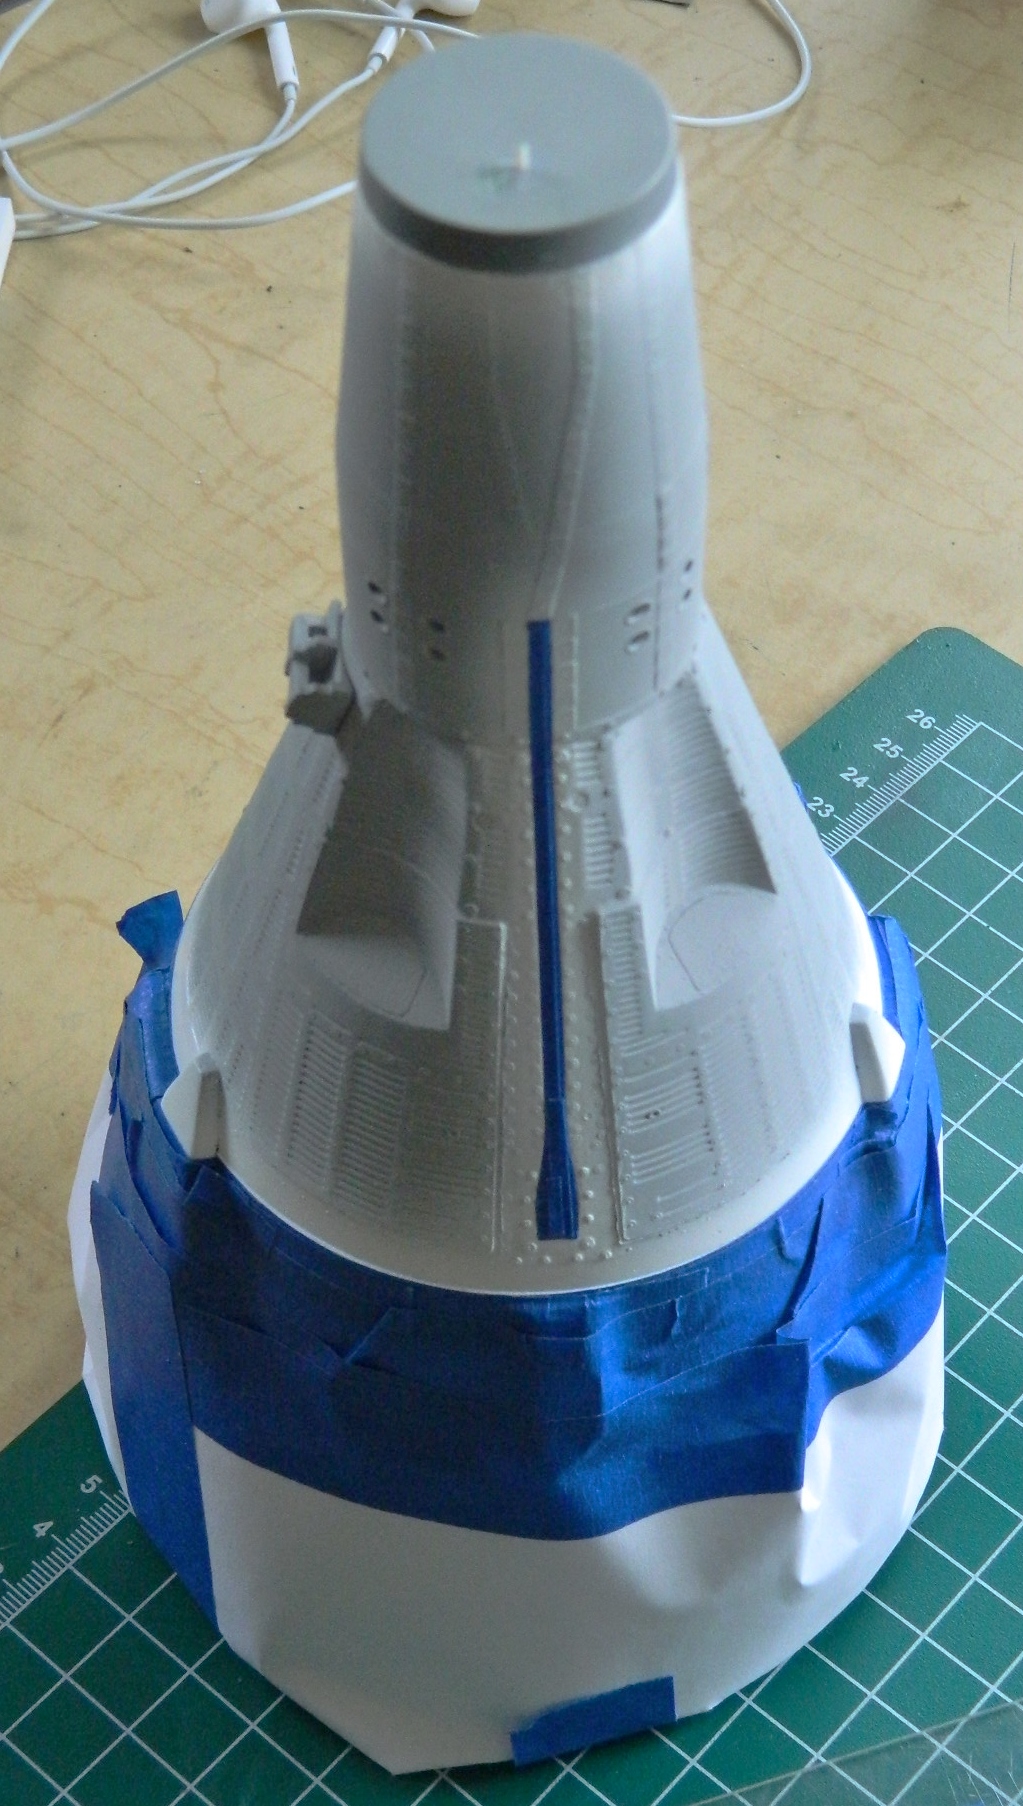
One small piece of masking tape went down in the wrong place, so I moved it. Now look…this is the blue masking tape which is NOT high-tack tape. It ain’t that sticky! When I picked up the small piece of masking tape to adjust placement, THE PAINT UNDERNEATH IT WENT WITH IT. So I tried moving the tape in other places and each time, THE PAINT UNDERNEATH IT WENT WITH IT, leaving me with this:
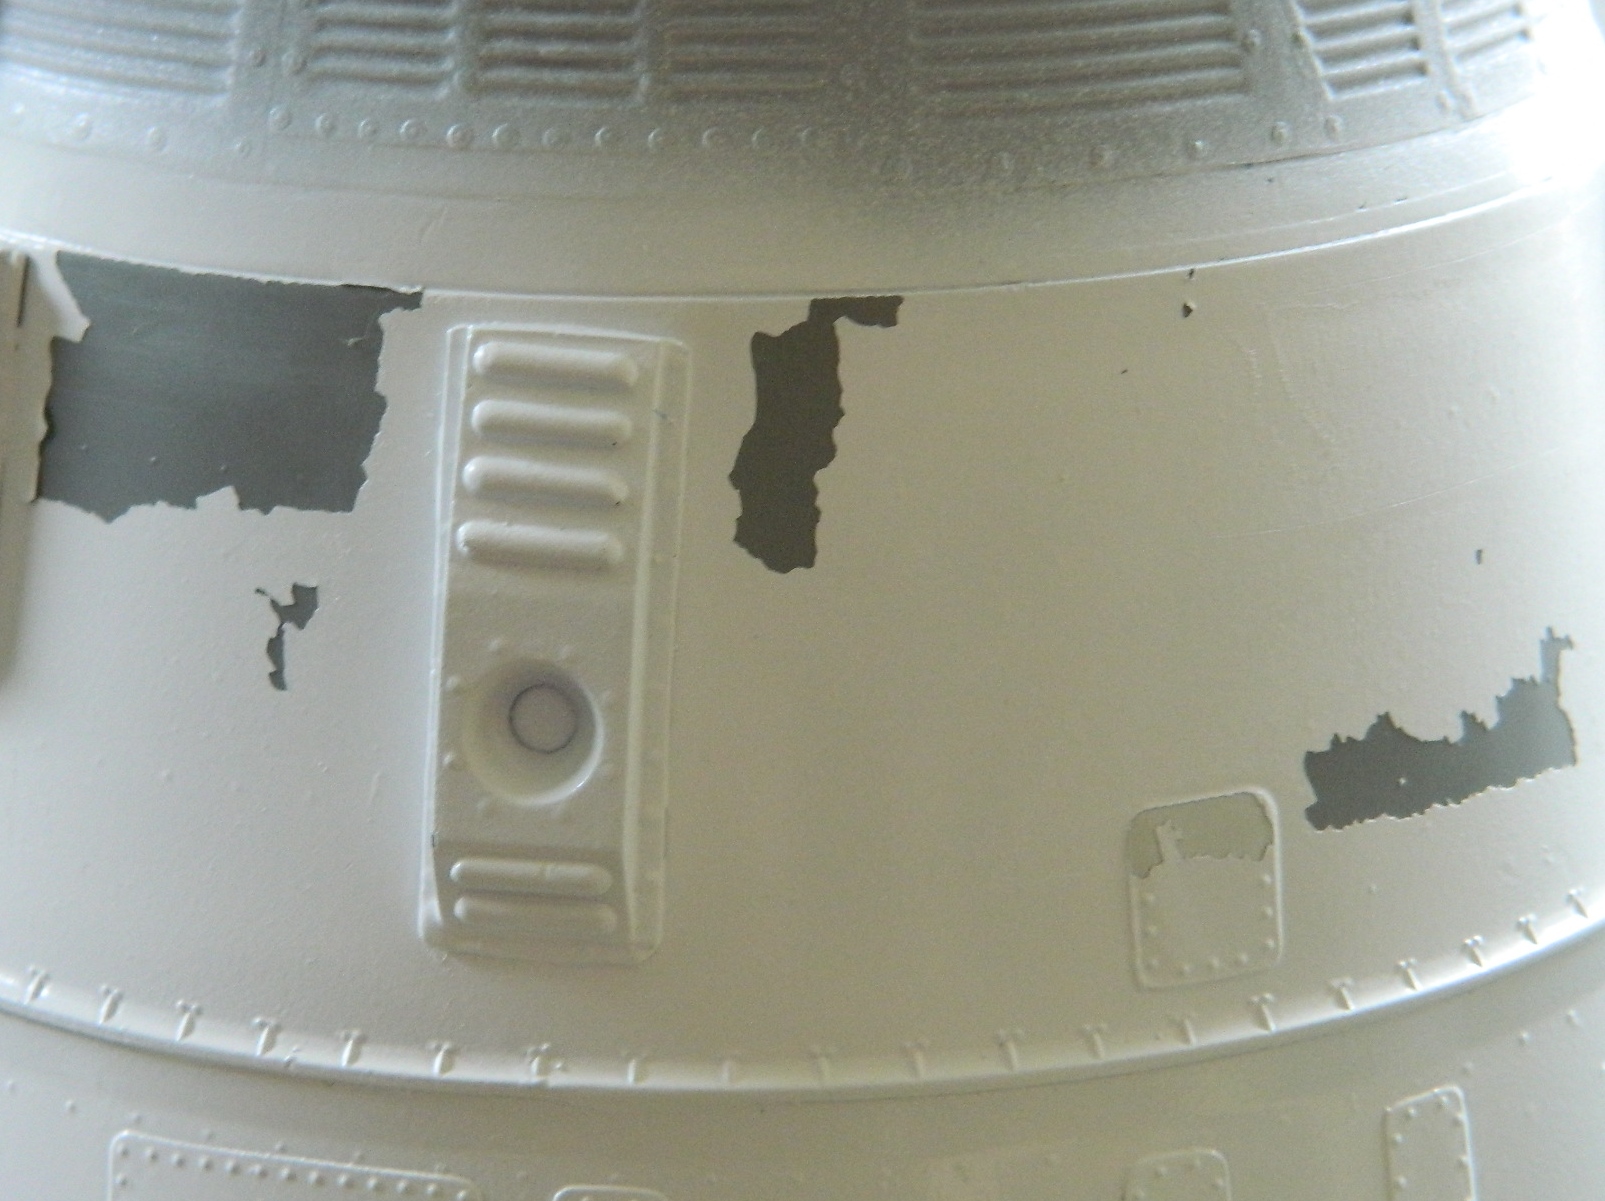
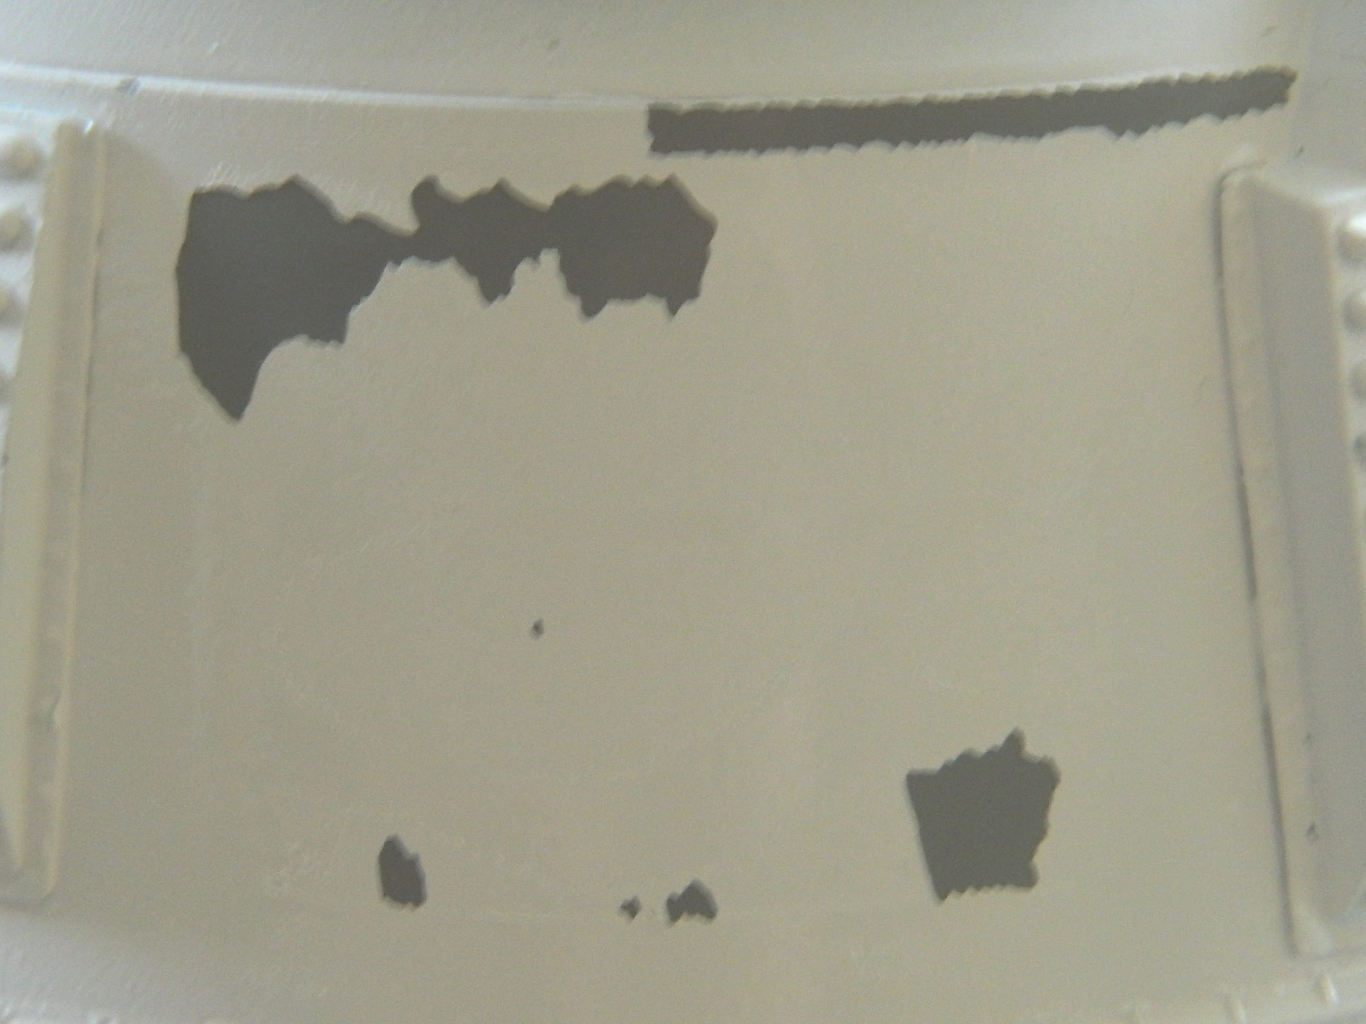
Not. Pleased. (Livid is more accurate.)
So my first thought was to sand and feather the paint. Remember the primer that doesn’t feather? Yep…that’s the primer that covers THE WHOLE SODDING MODEL. Well, how do we fix this? We fix this by stripping the paint off and starting over…and that’s what we did:
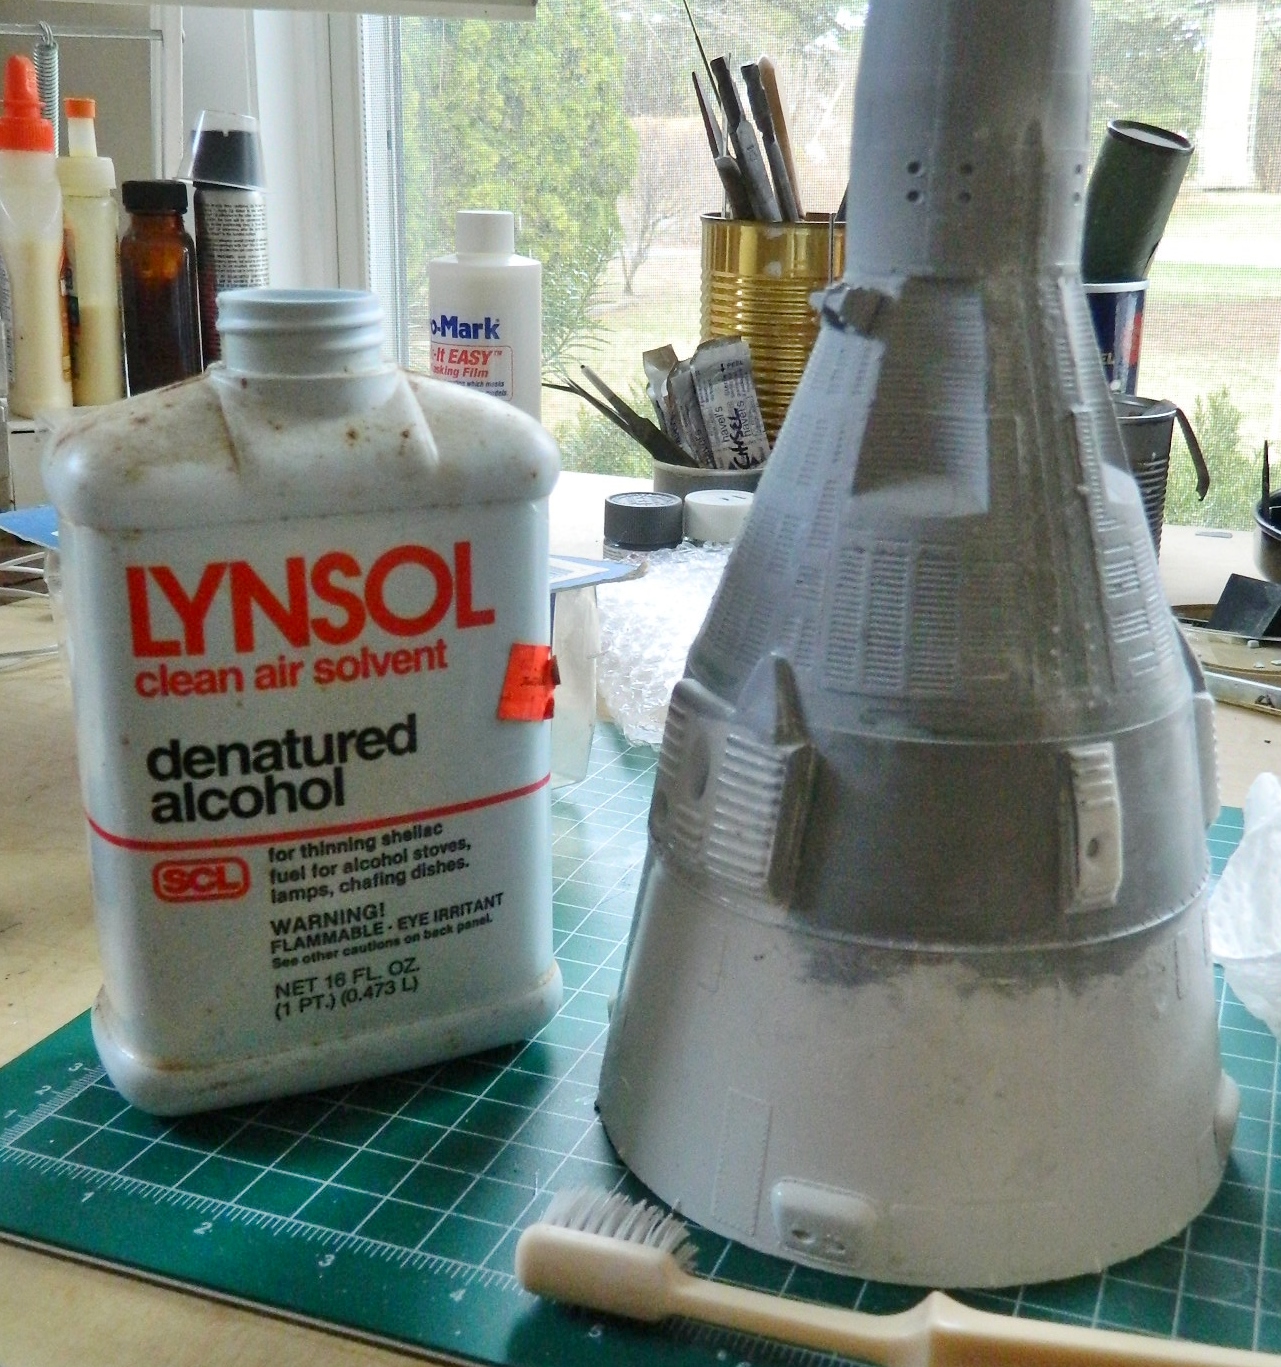
Denatured alcohol does a GREAT job of stripping acrylic paint, even old acrylic paint, away. Remember those fragile rivets? Remember what held them securely? Yup. Paint. The very same paint I’m stripping away with a toothbrush. And many of the rivets went with the paint:
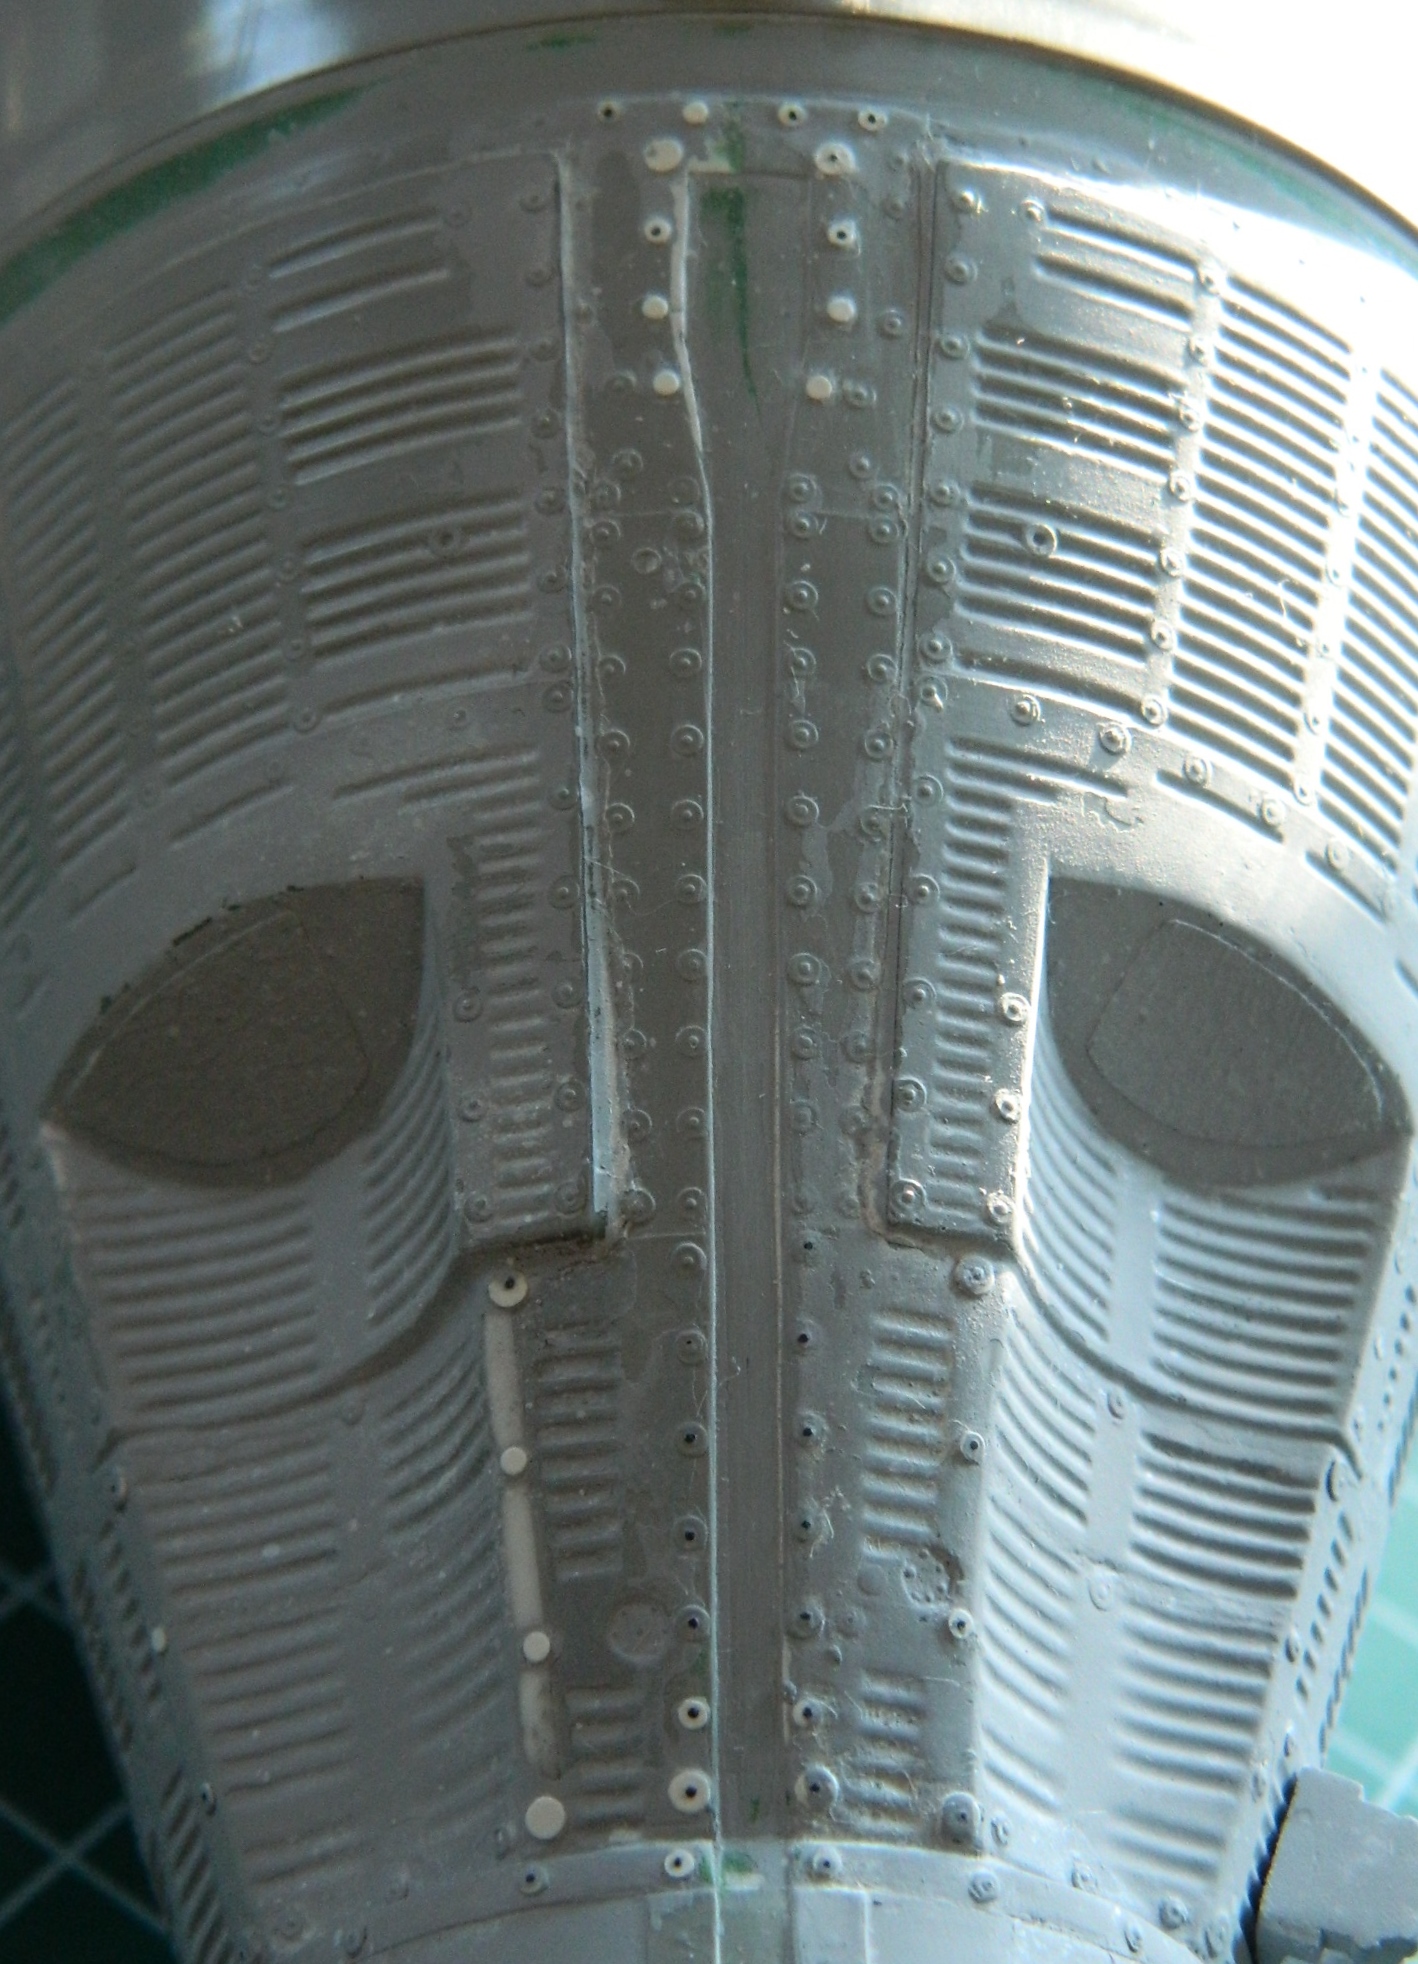
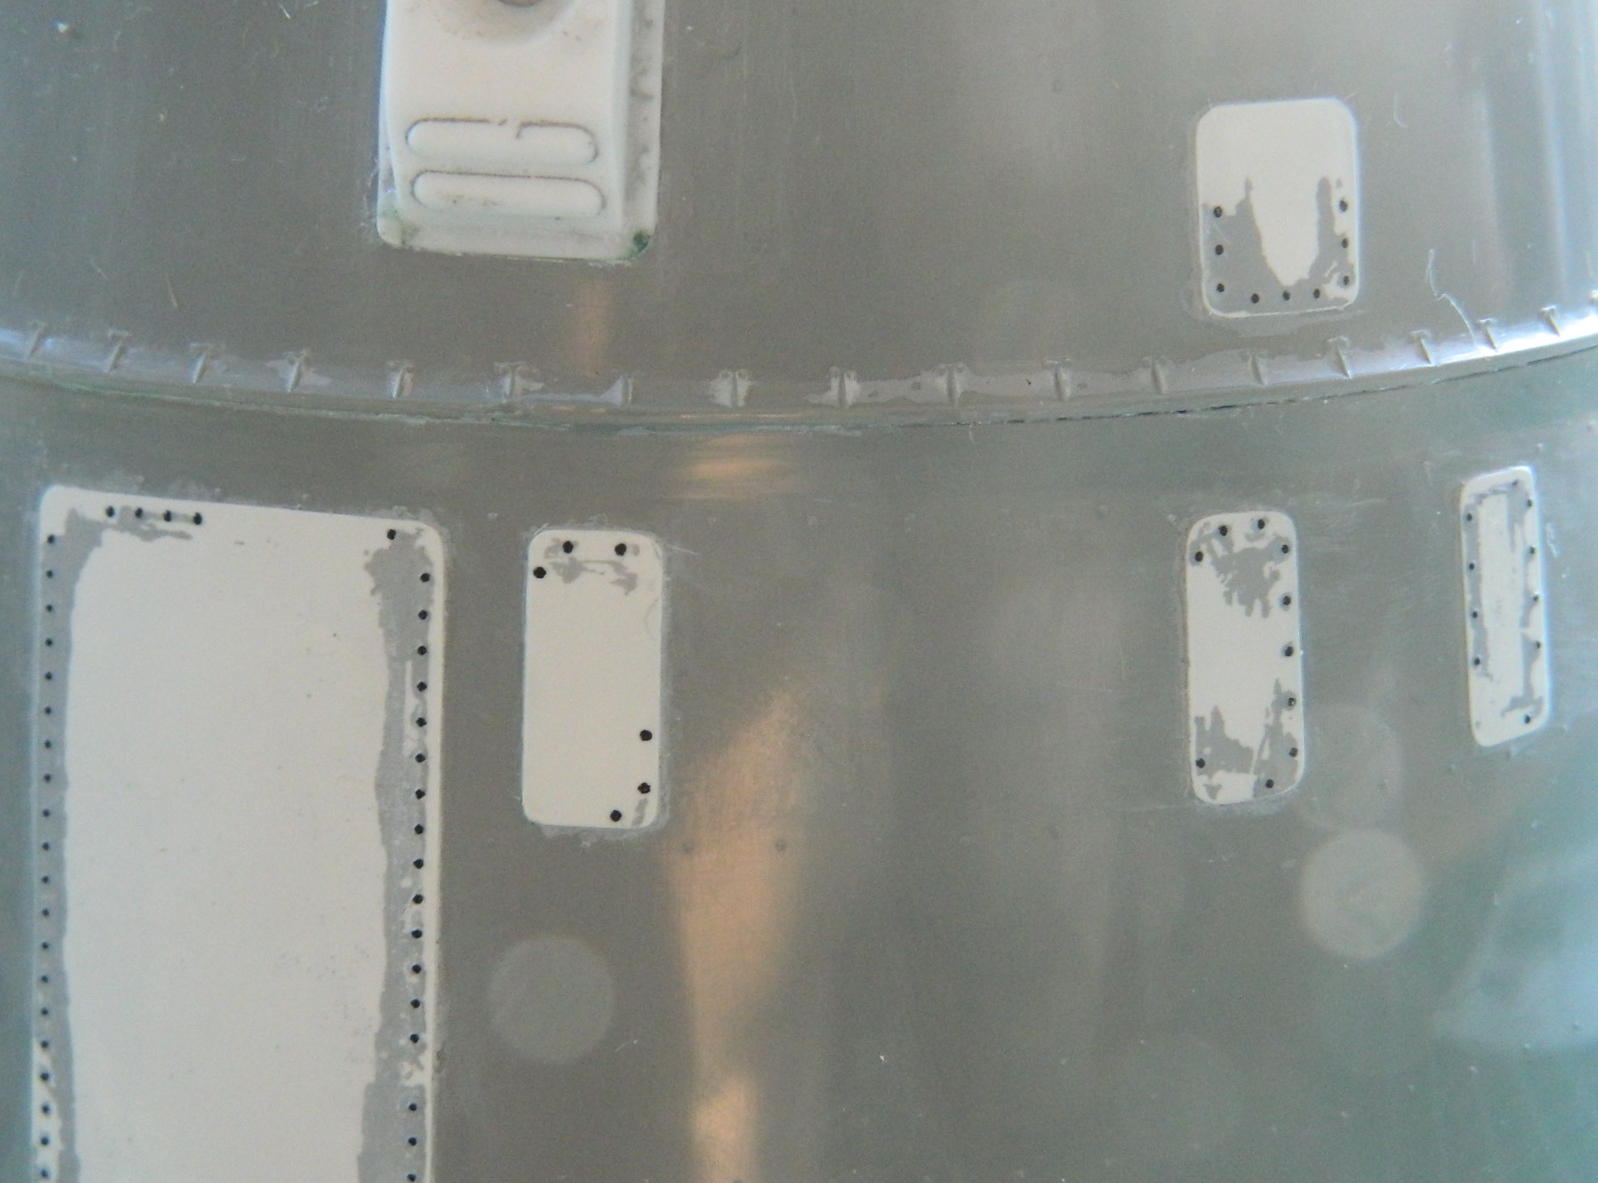
Once all the paint was removed and the surface cleaned thoroughly, step one of the recovery was replacing the missing rivets (and yes…I didn’t remove all the lousy, REALLY lousy, primer…that was so that I didn’t have to replace all the rivets):


Step two was to repaint the white. This time I didn’t use gloss, I used matte. I don’t know why the paint peeled away but time is running out and I didn’t want to repeat the previous nonsense (dunno as my blood pressure would take it well):
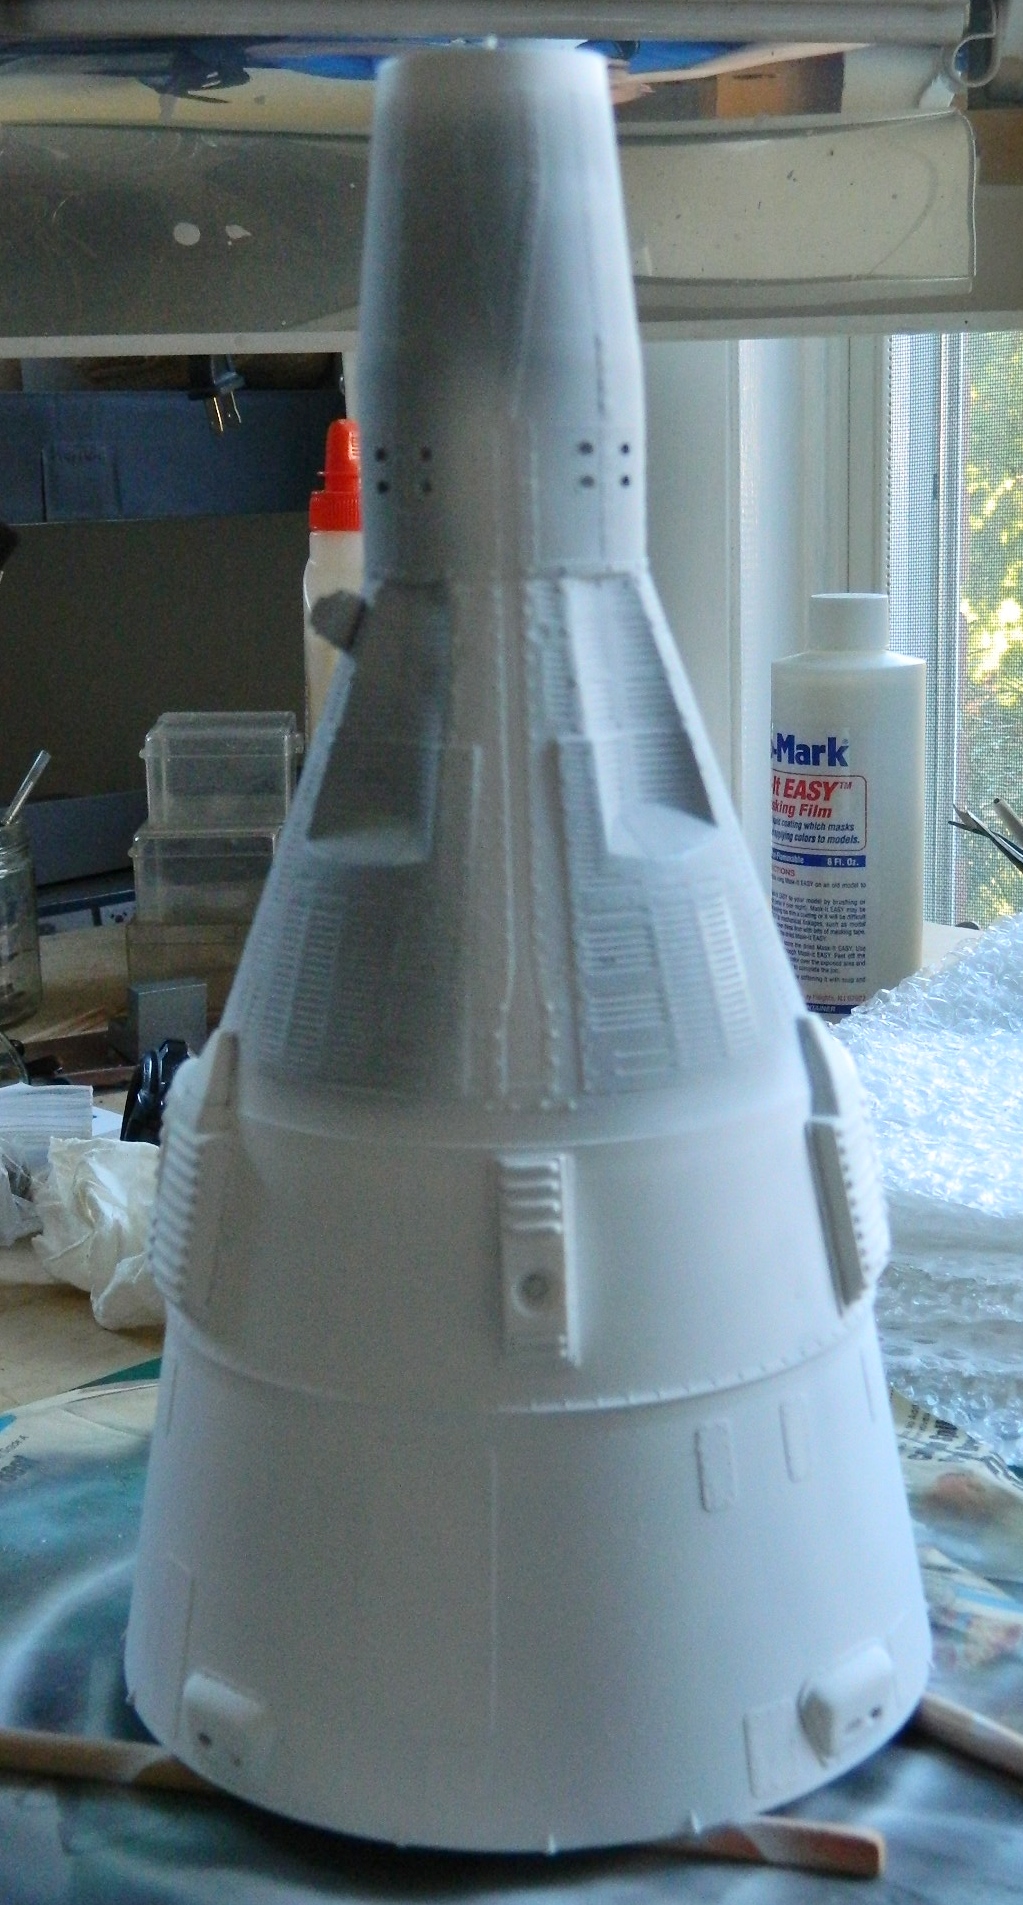
Step three was to mask the white areas again. This time, after letting the matte white sit overnight, I tested the tape on the paint to see if the paint lifting would repeat…and it didn’t:

Back to where I was a couple of days ago, it was time to shoot black onto the capsule (though shooting the capsule itself did occur to me):

No masking job is perfect (okay, mine aren’t) and I figured there would be touch ups required. When it was time to remove the masking, I probably burned through five years of stomach lining before I touched the tape. Needlessly. Everything worked just fine:
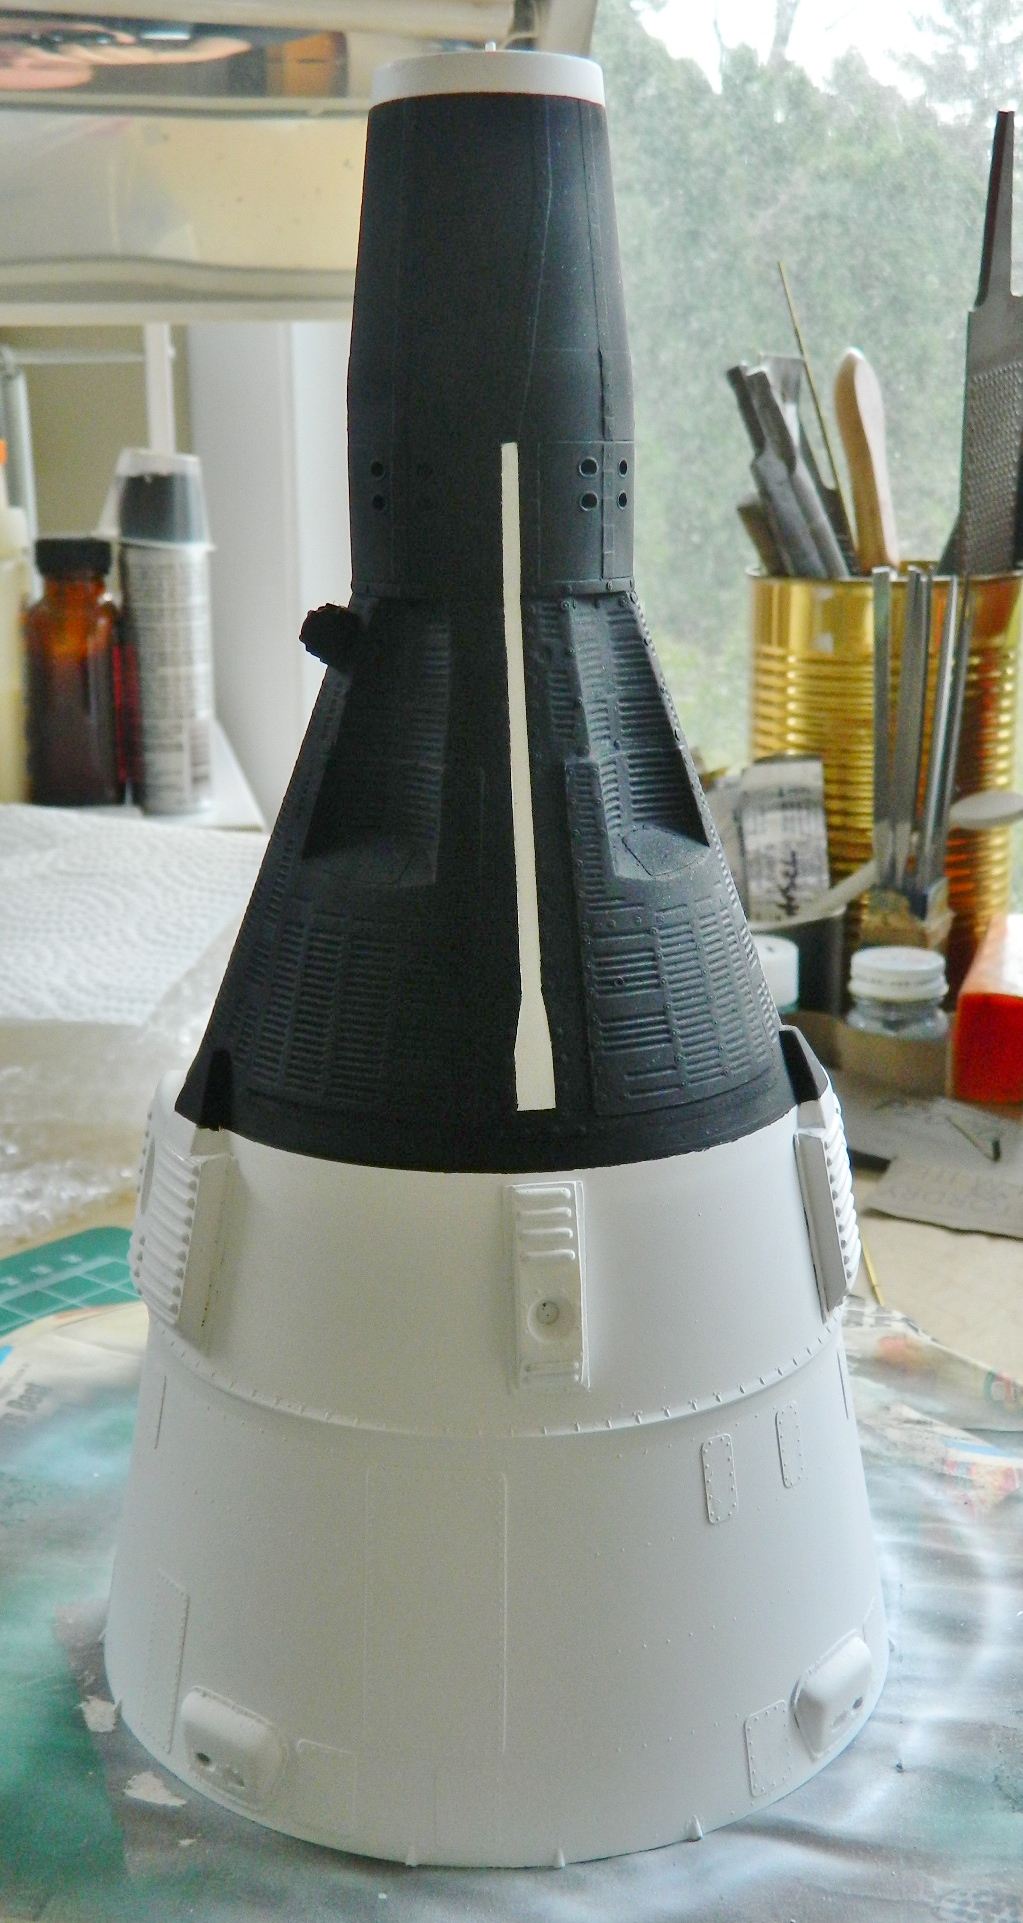
So I touched up what needed paint, sanded away the over-spray where I could, and set the beast aside to let the touched up areas cure before moving on to the next step. While that was happening, I started work on the display stand:

I know…that doesn’t look like much of a display anything. Later on it will all make sense.
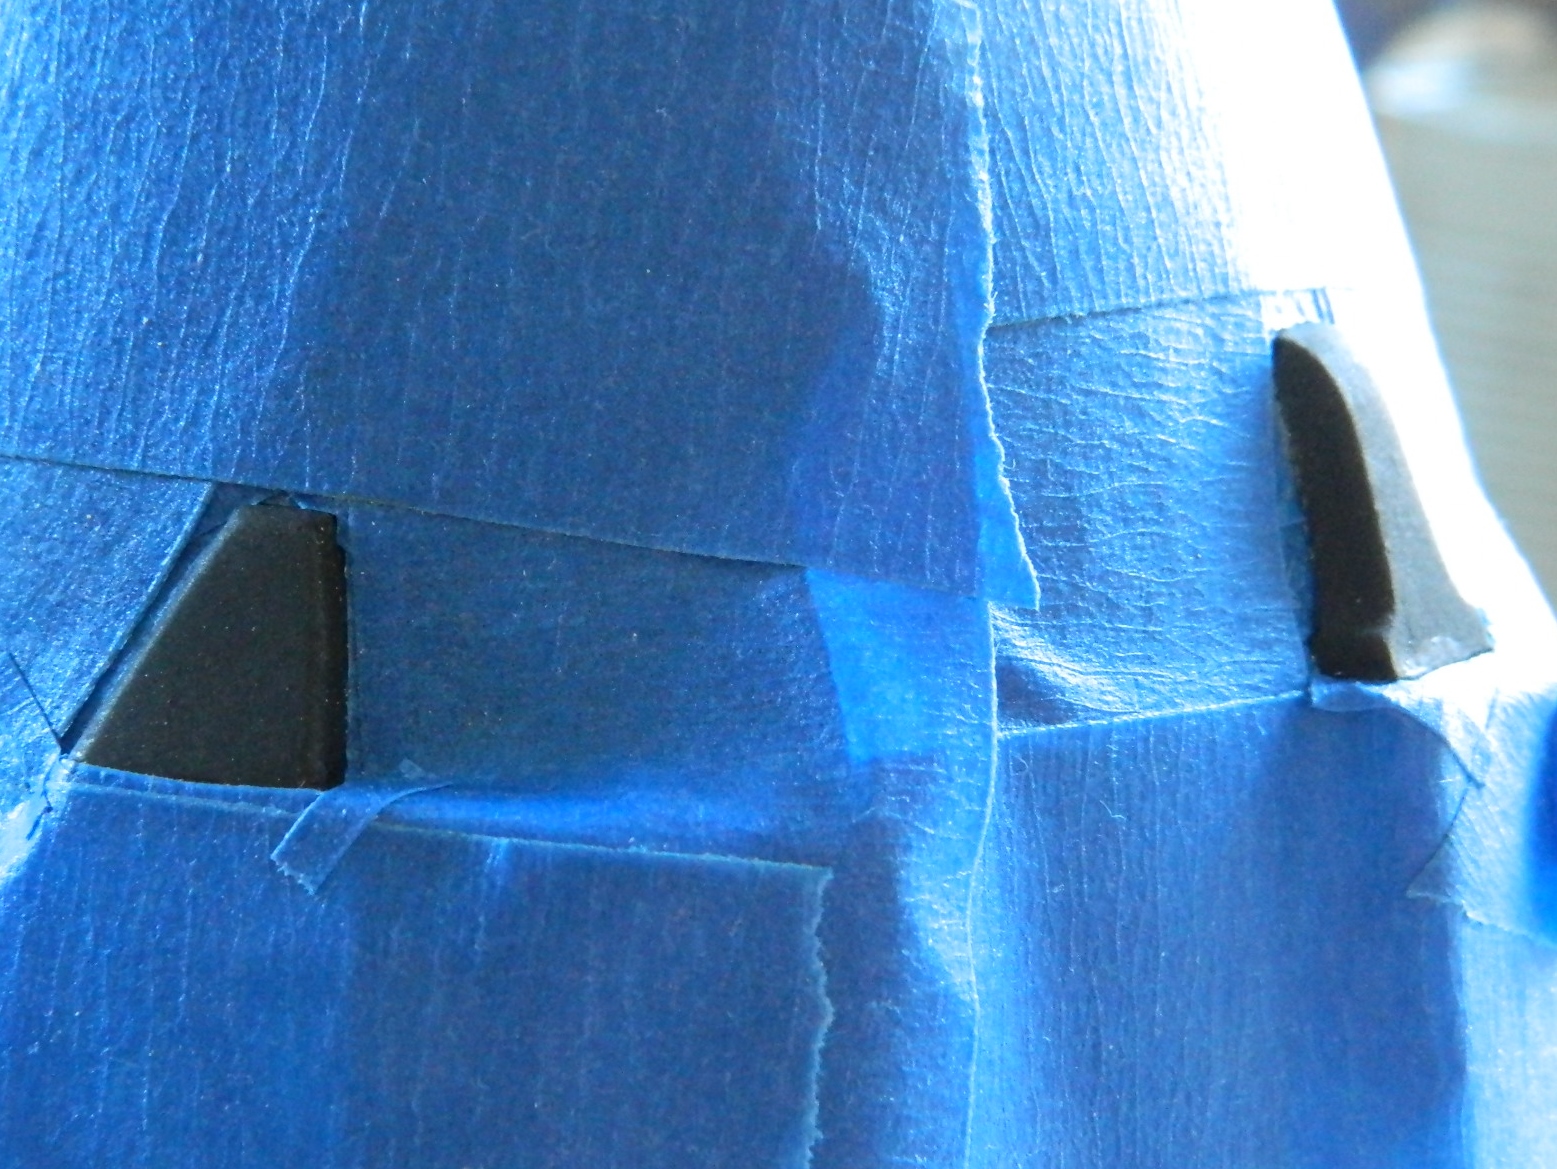
There are three places on the exterior that need to be shot with red paint. With both the black and white down, I masked off the areas and got ready to shoot the red:
Paint mixed and shot, then the masking was removed:
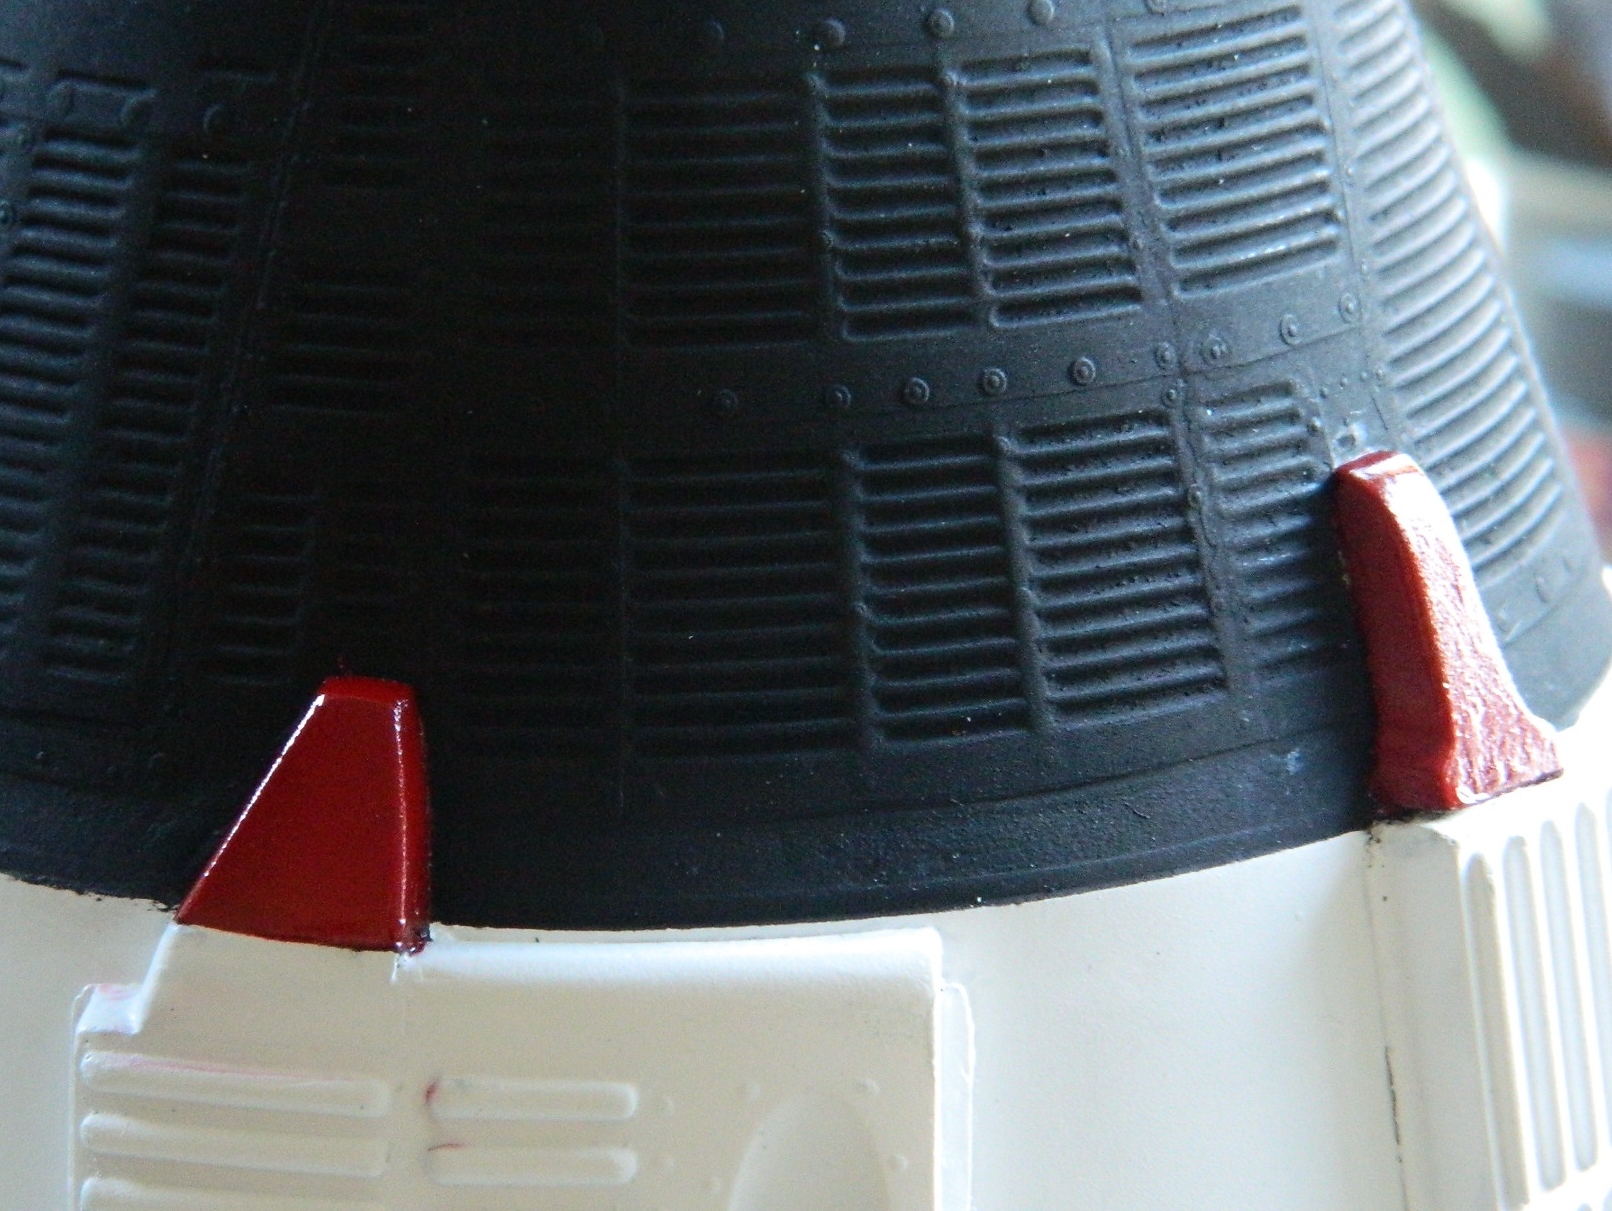
I’m letting it all sit overnight to set up more, then tomorrow the white modules get coated with clear gloss. There are some areas on the black paint that also have to be given a coat of clear gloss. That’s because the next step is to add decals!
Gemini (Revell) Build #12 – Finishing seat details, assembling the interior, discovering it doesn’t fit and fixing that, adding exterior resin details (and discovering they’re garbage), adding the retrorocket module
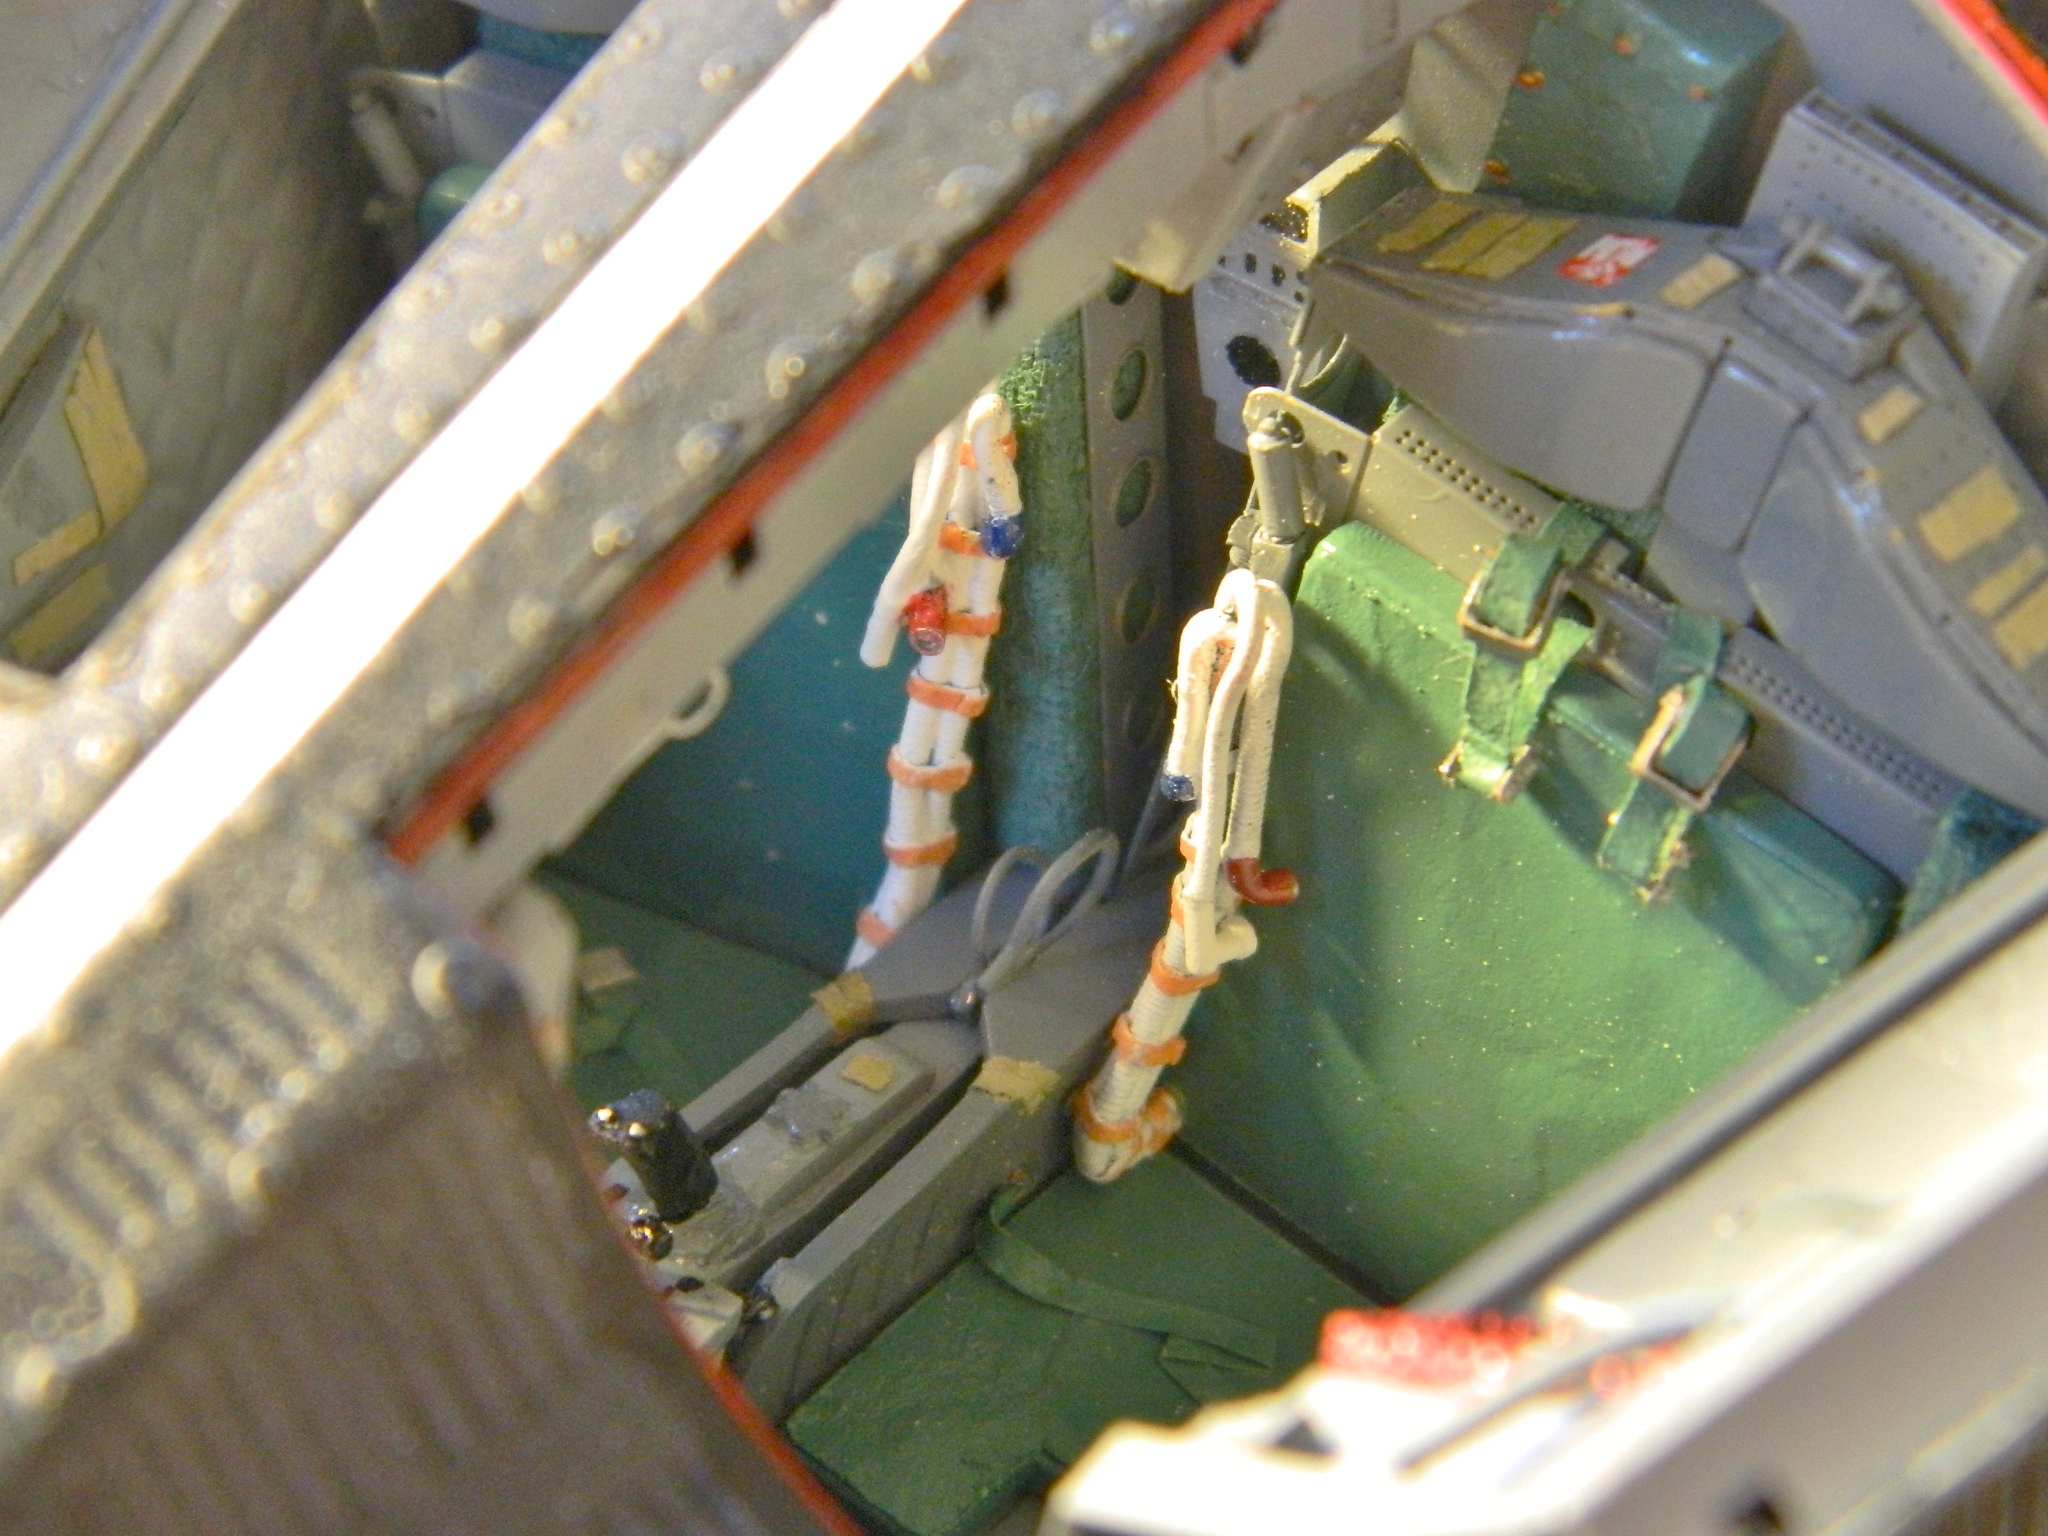
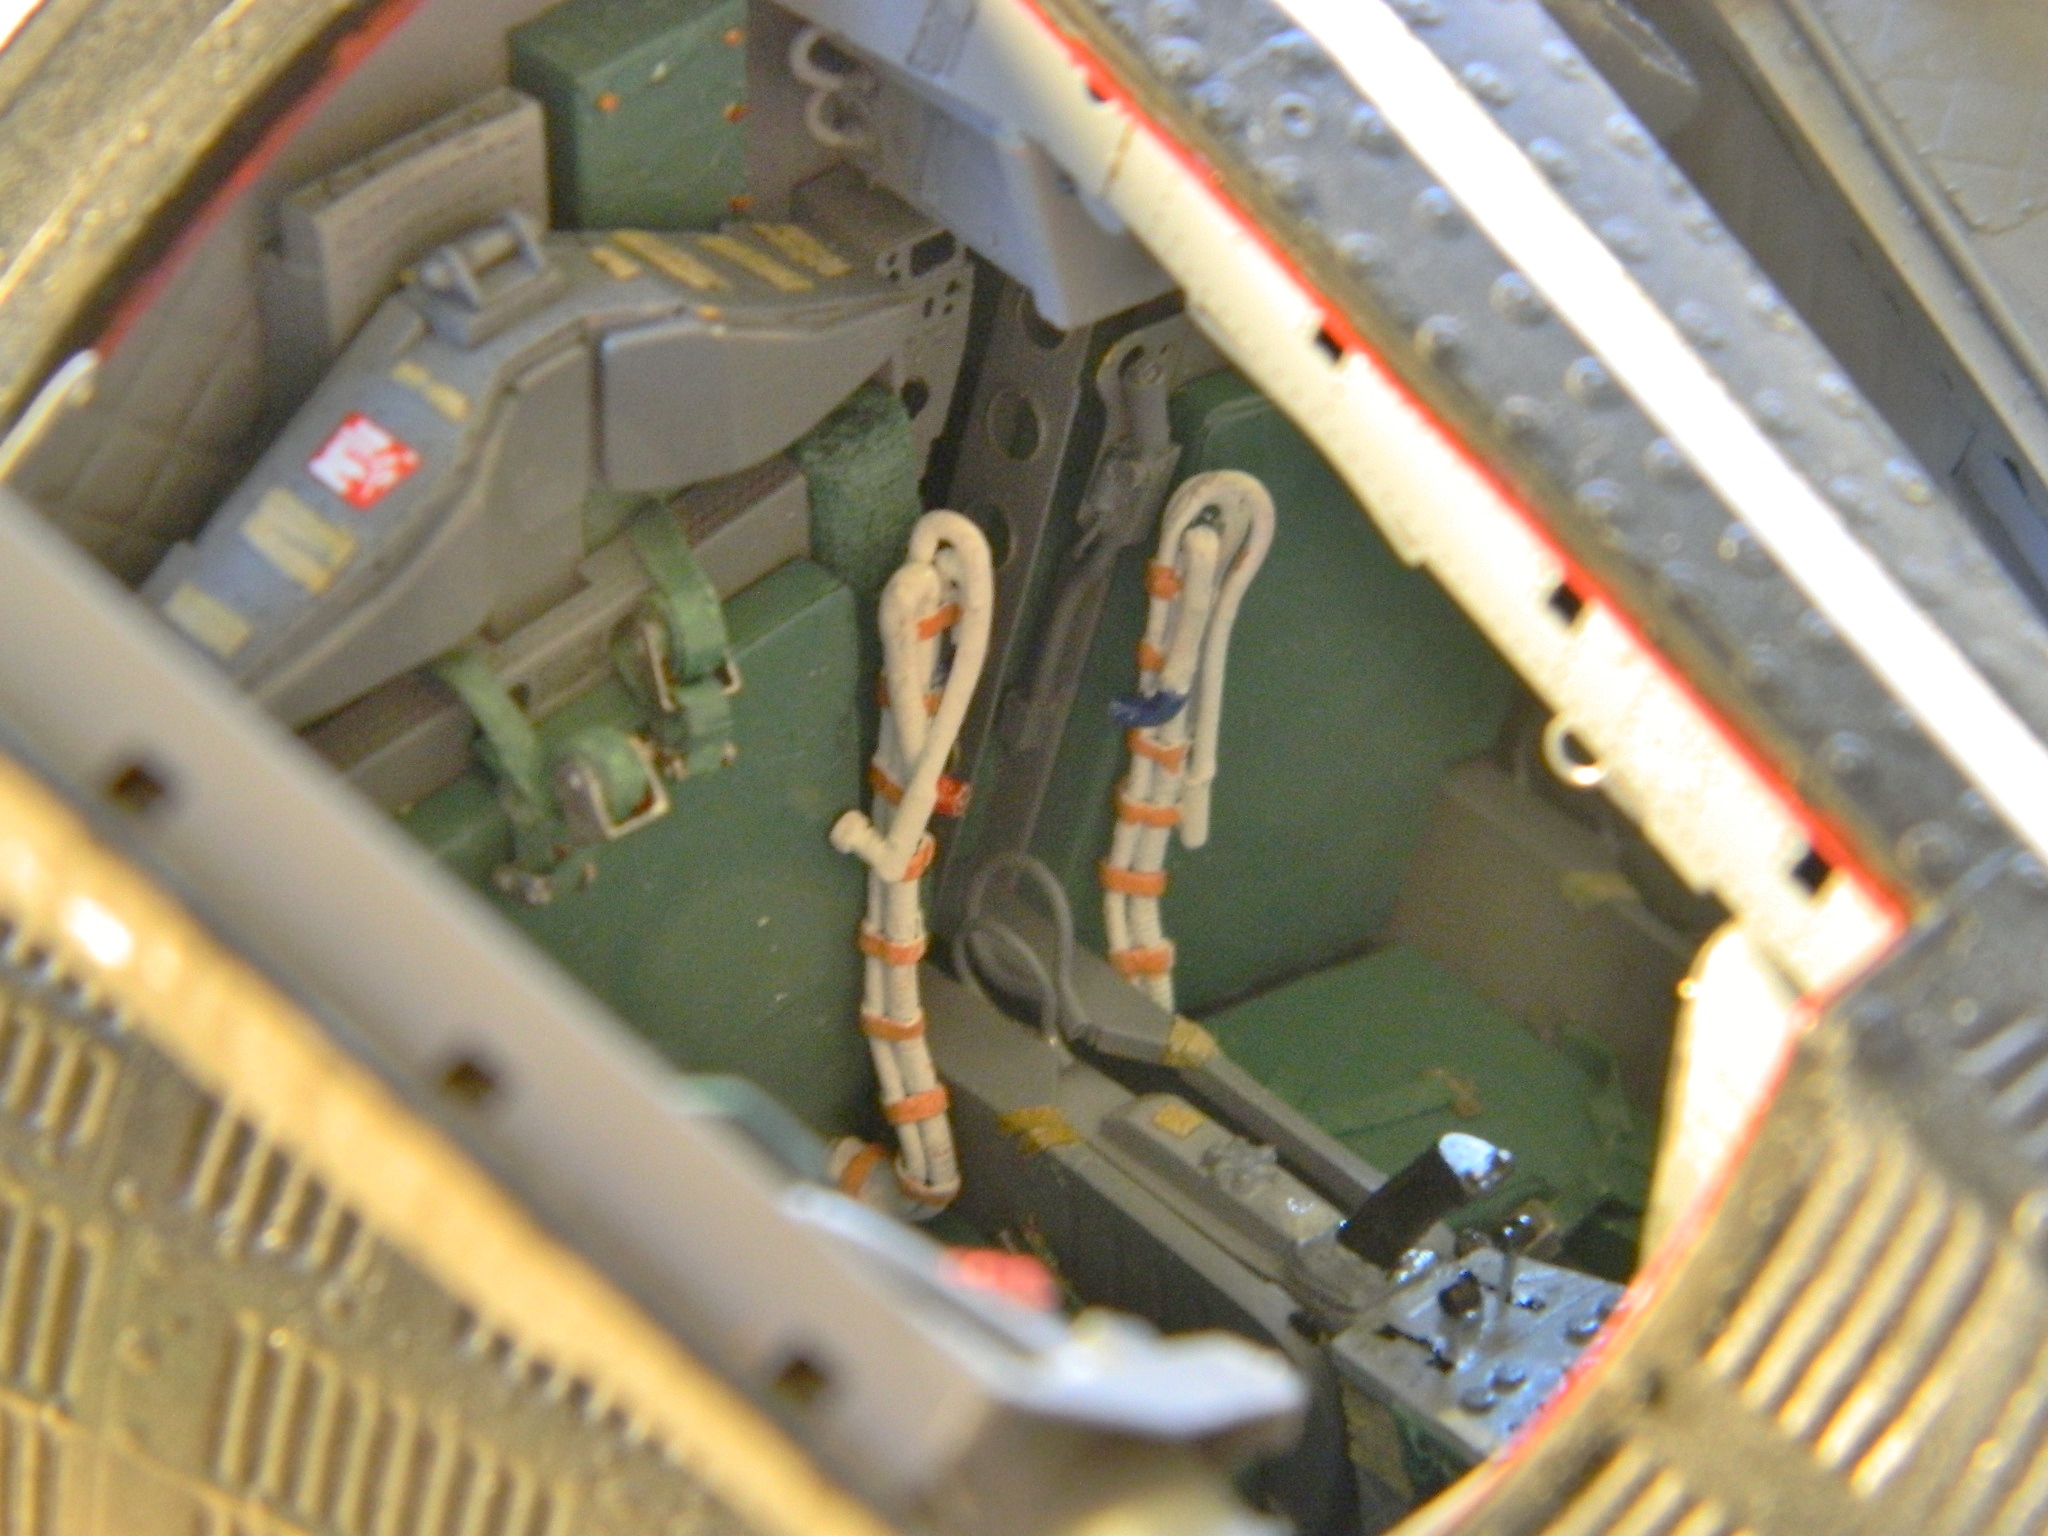
The oxygen hoses were originally purchased for aircraft builds and were just sitting on the shelf. The hose I used is 1 mm in diameter. As there are two hoses per crew member, I superglued them together:

The hoses are made of what feels like silicone rubber; it’s certainly flexible enough to be and I needed something to stiffen them so they’d hold the shape I want. There’s also a communication cable bundled with the hoses which gave me the chance to use a copper wire to allow me to bend the hoses to the desired shape. I used lead foil for the straps and solder for the suit connectors (and of course I drilled out the ends of them):
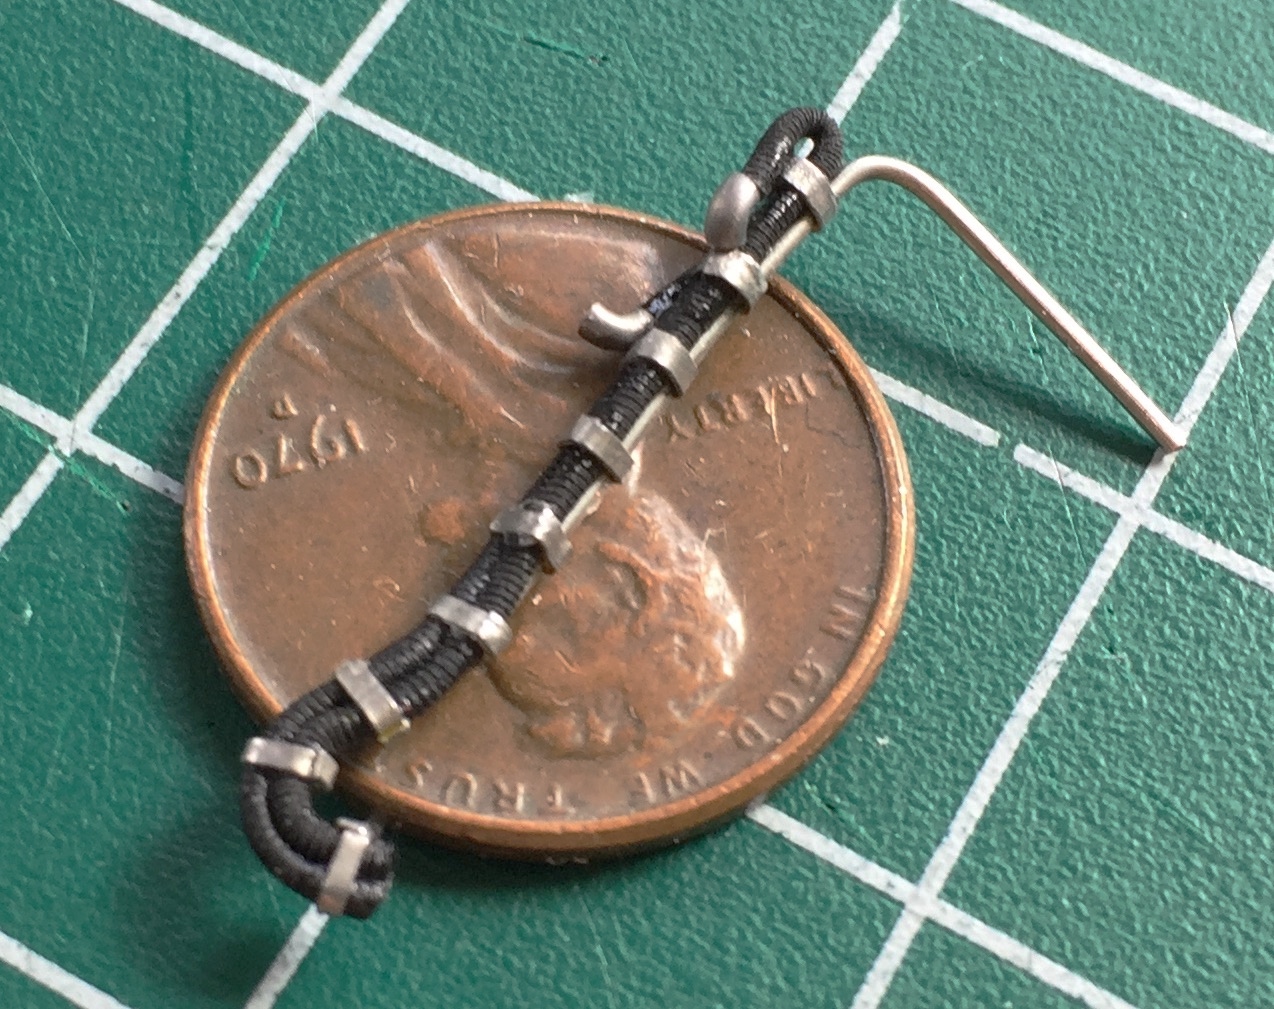
Then I made the electrical connection and added that to both hose assemblies:
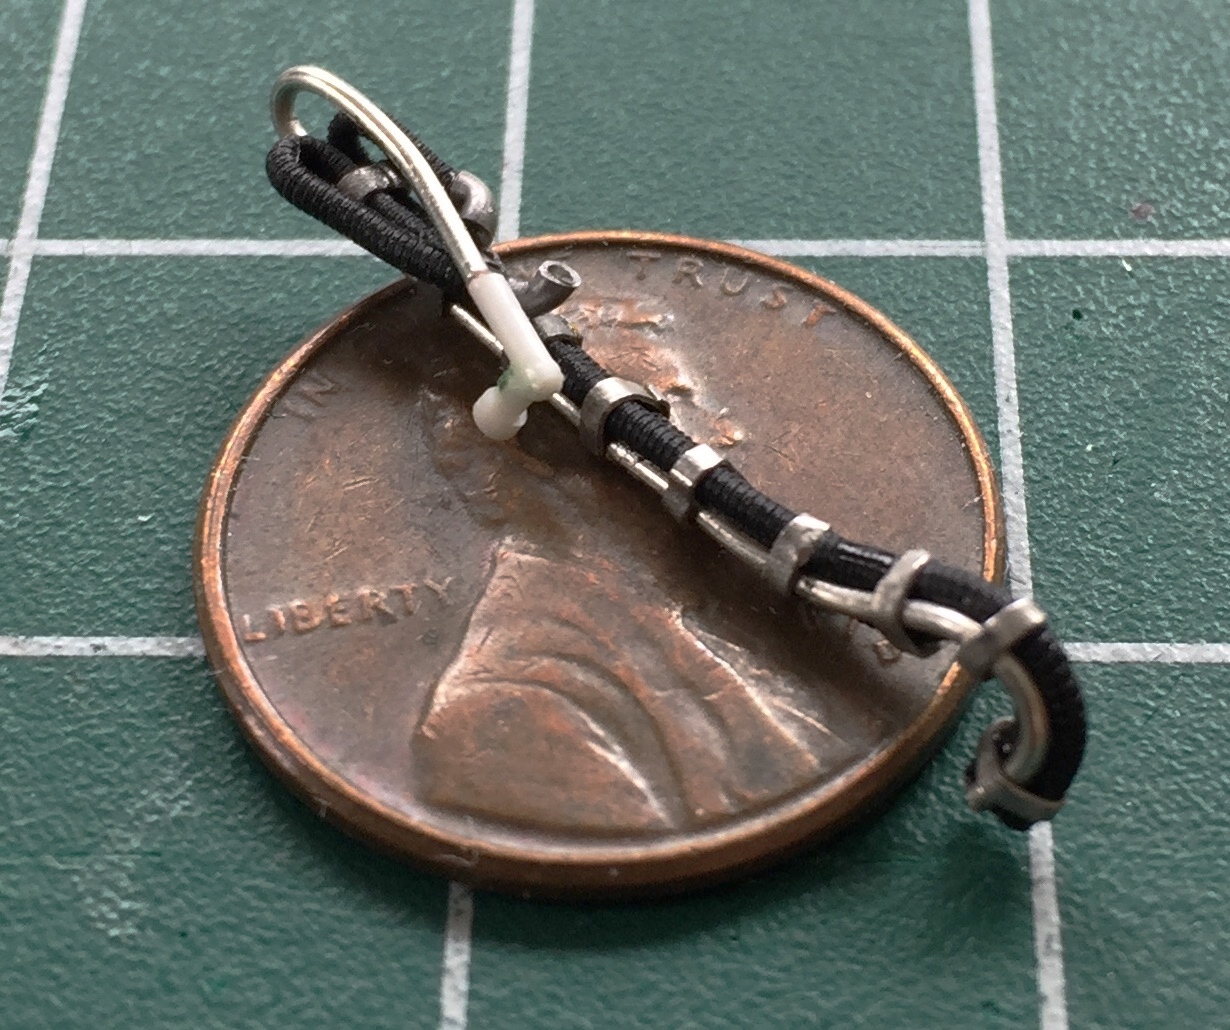
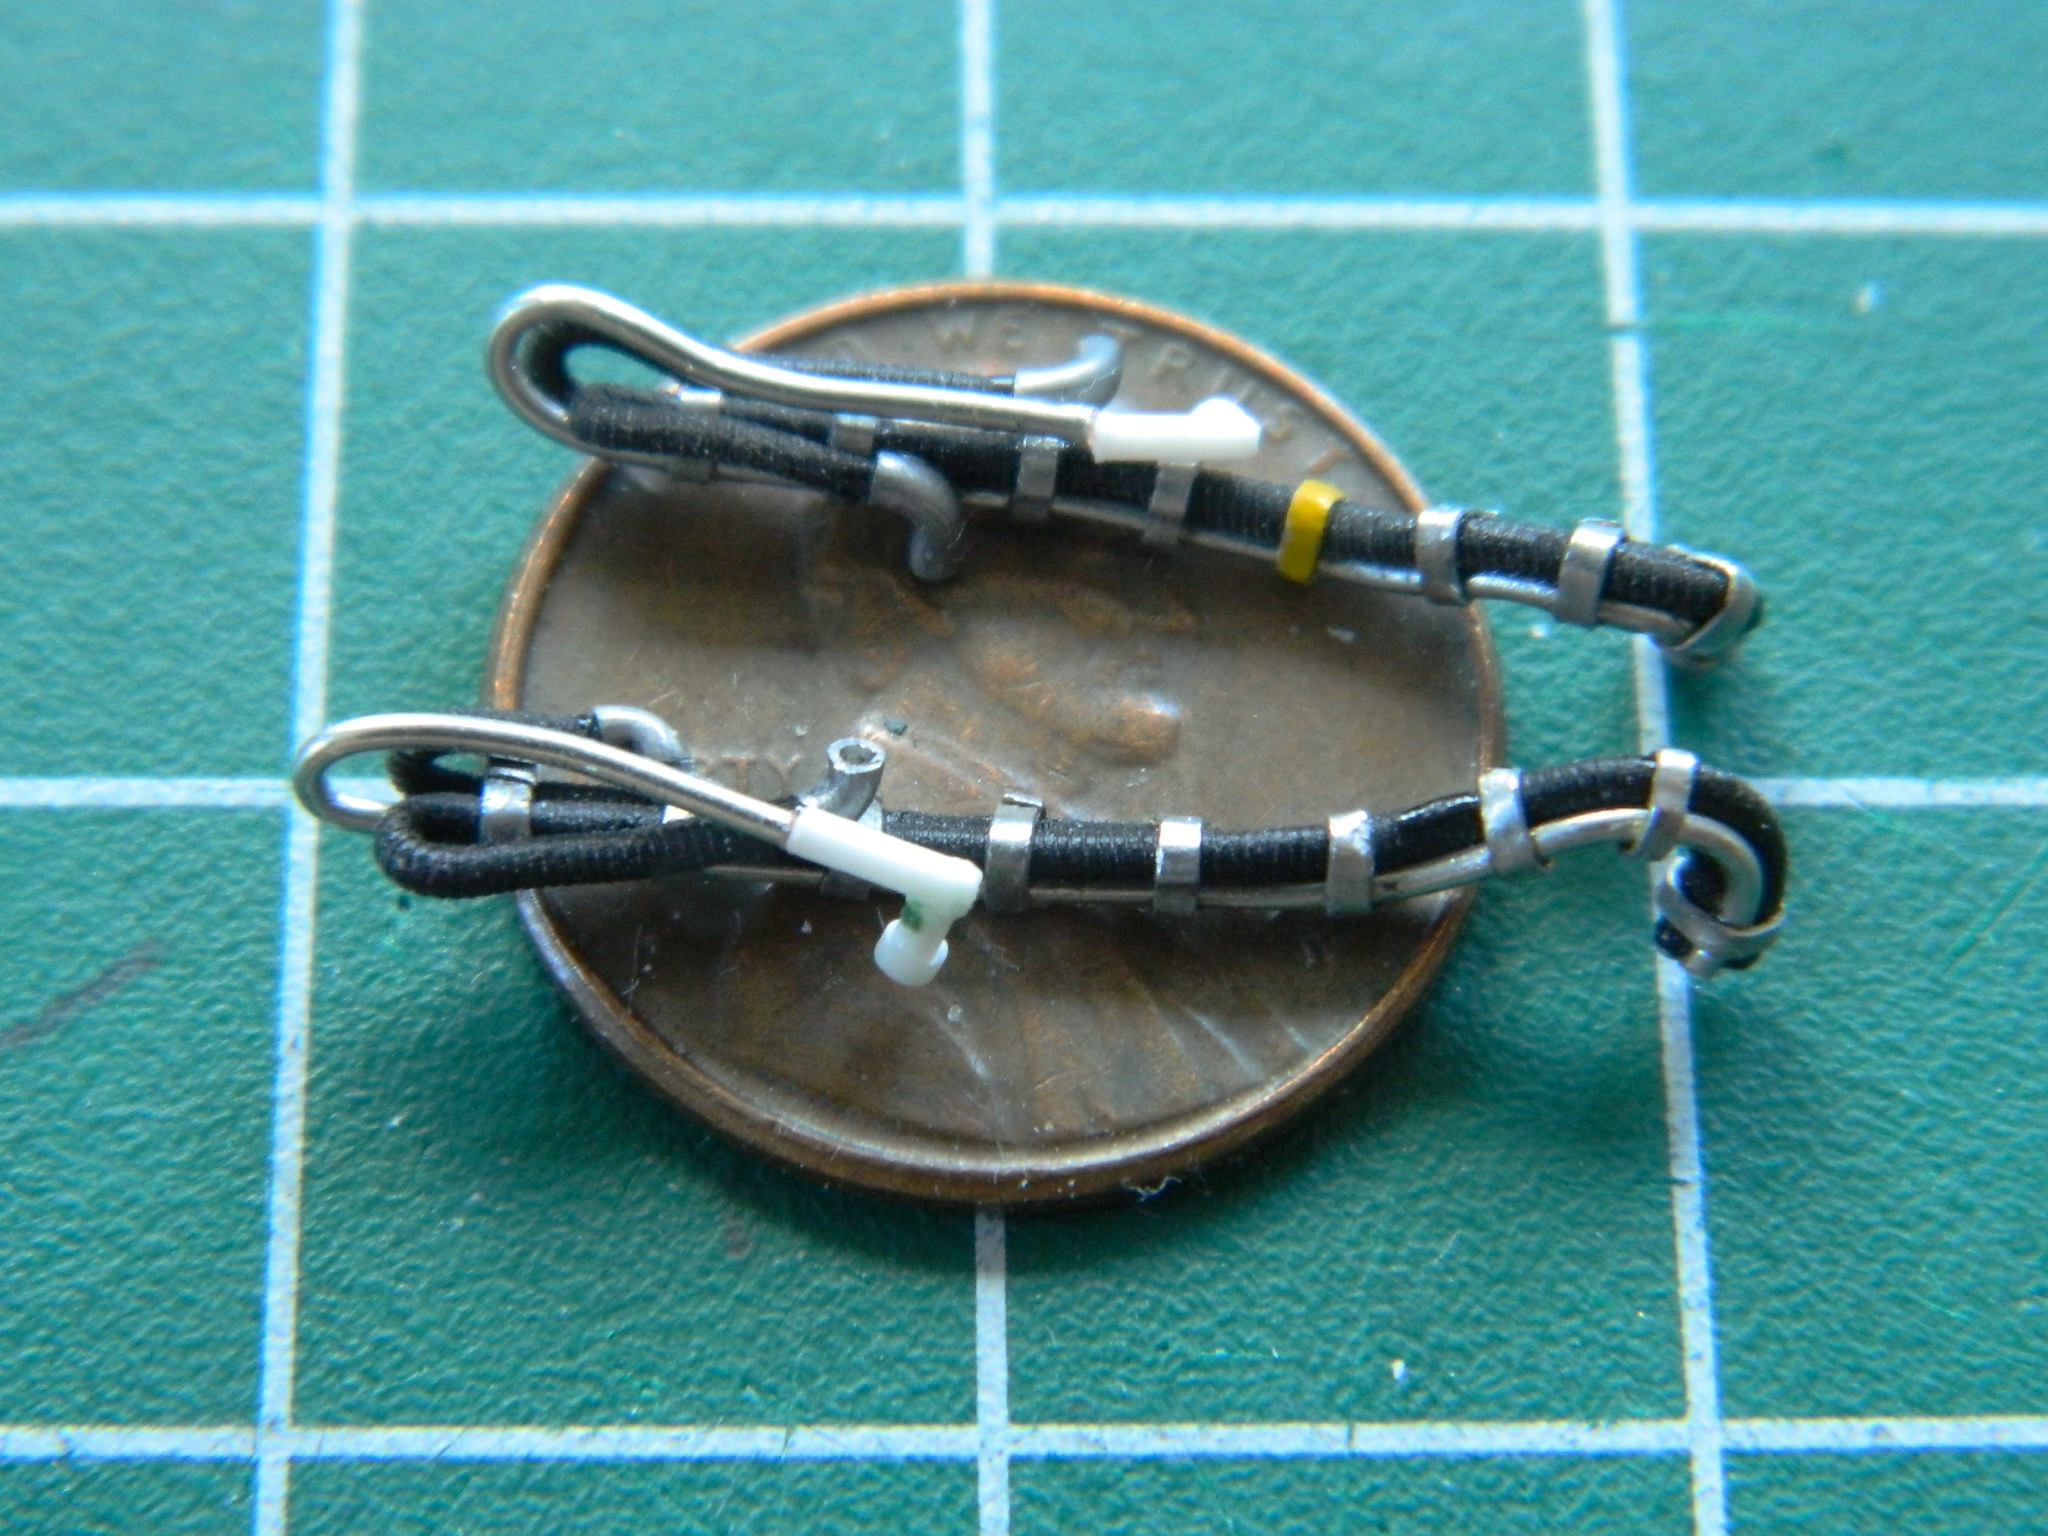
The base coat is white:
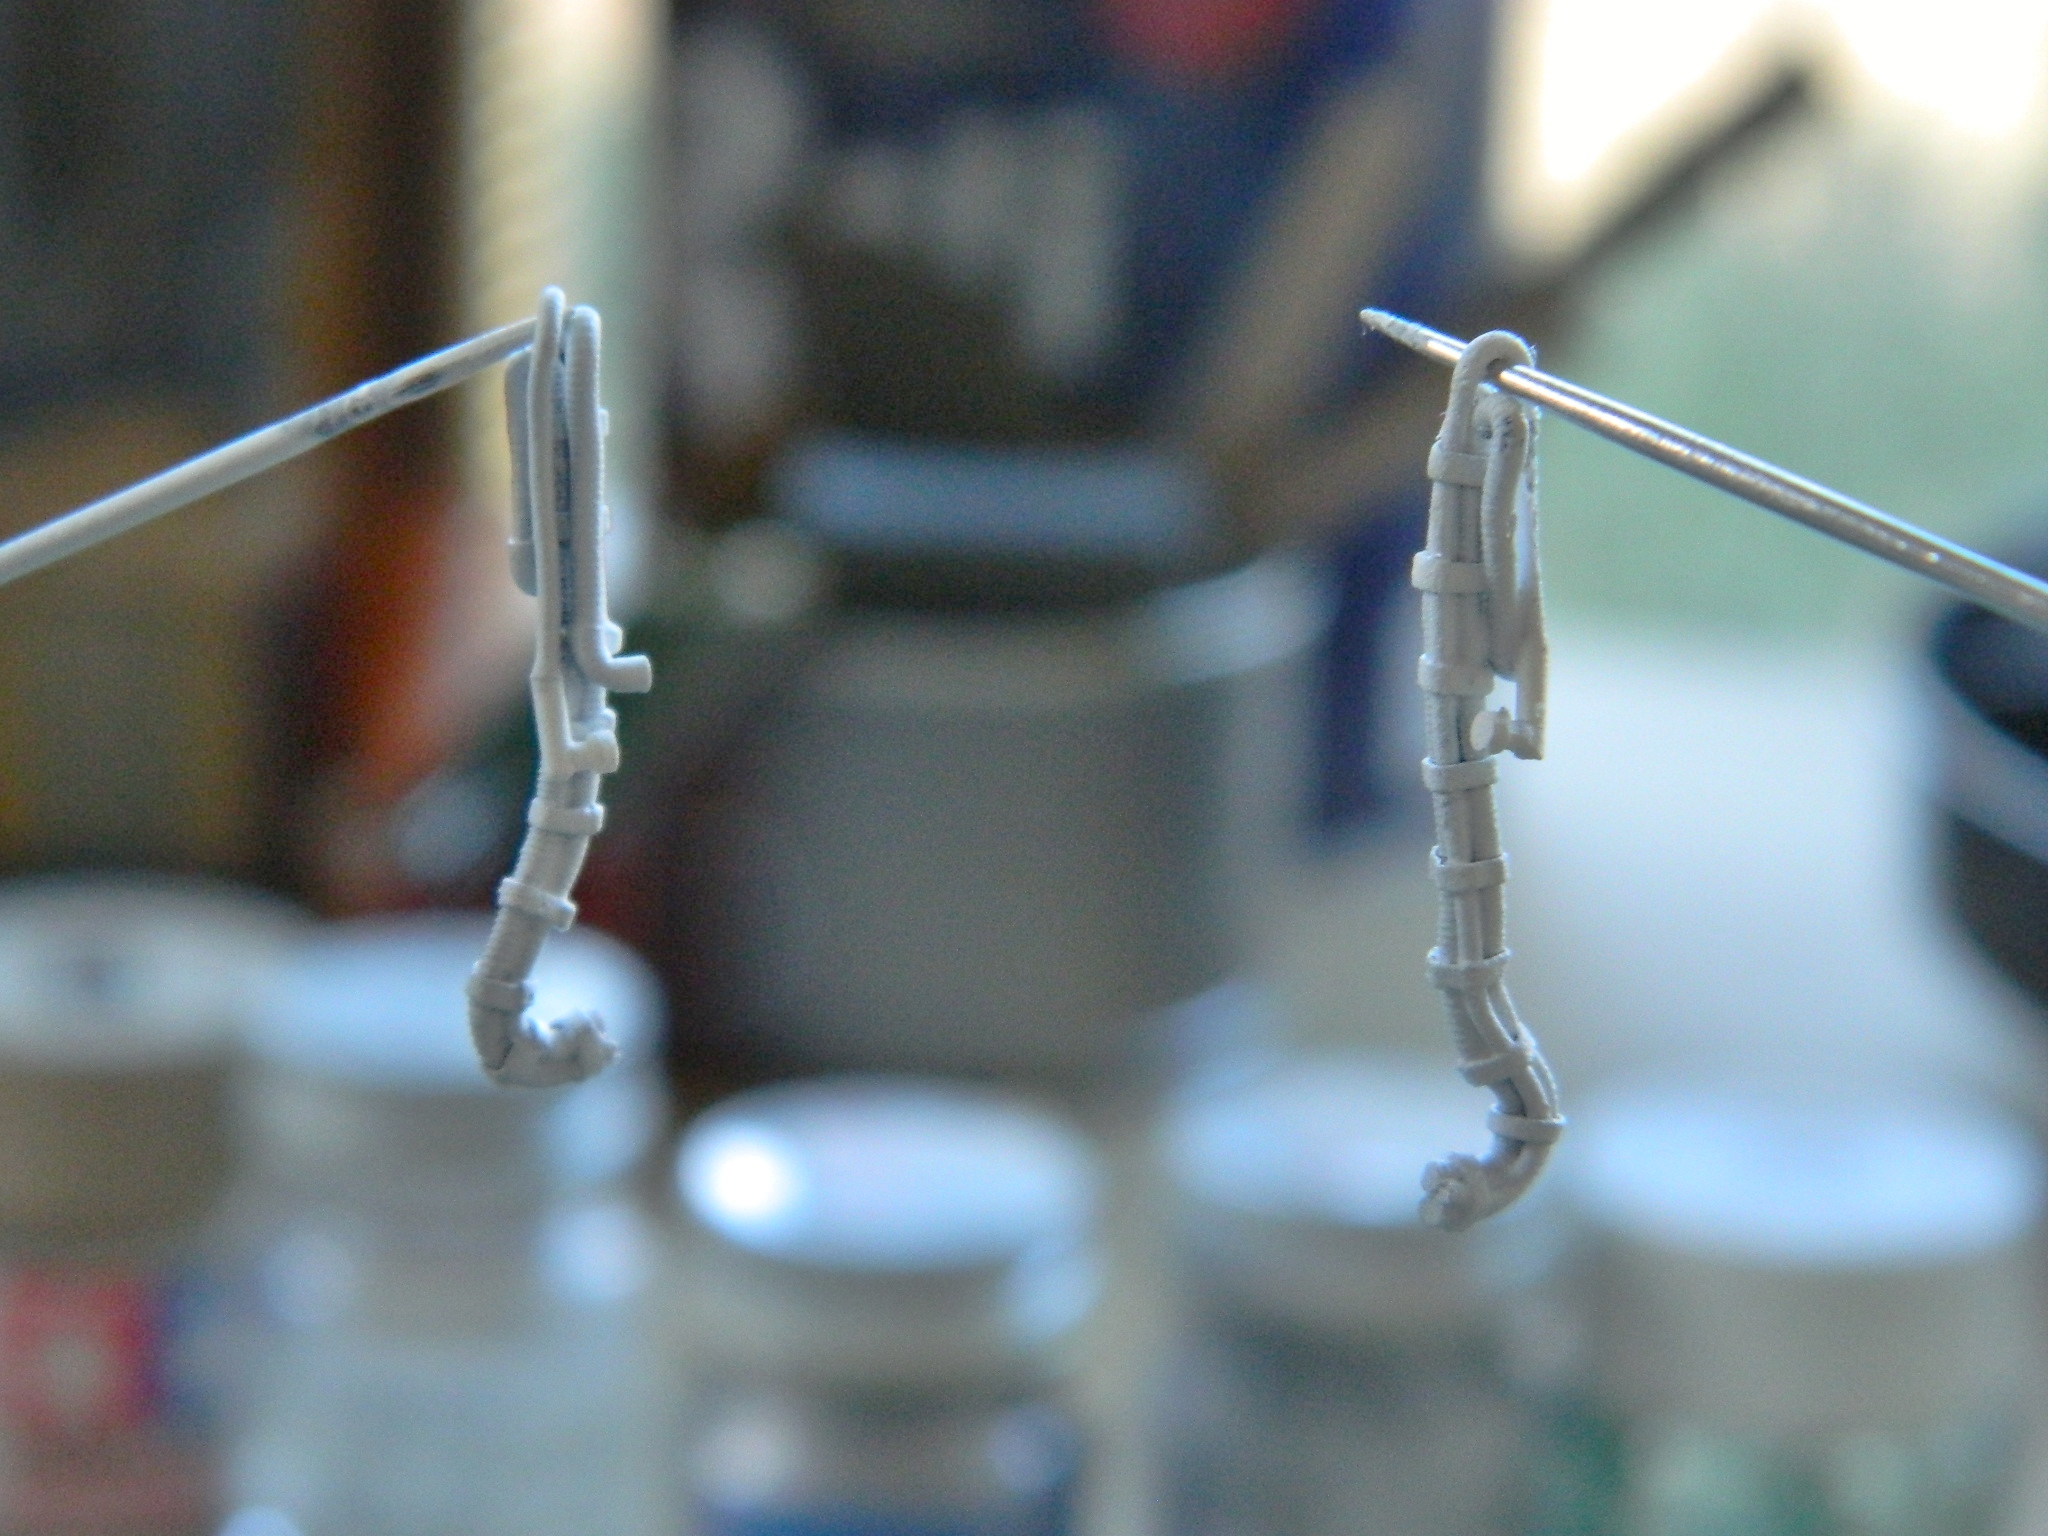
The straps are buff and the hose connectors are painted either red or blue. That completes the hoses:

The hoses were the last parts I needed to finish seat assemblies:
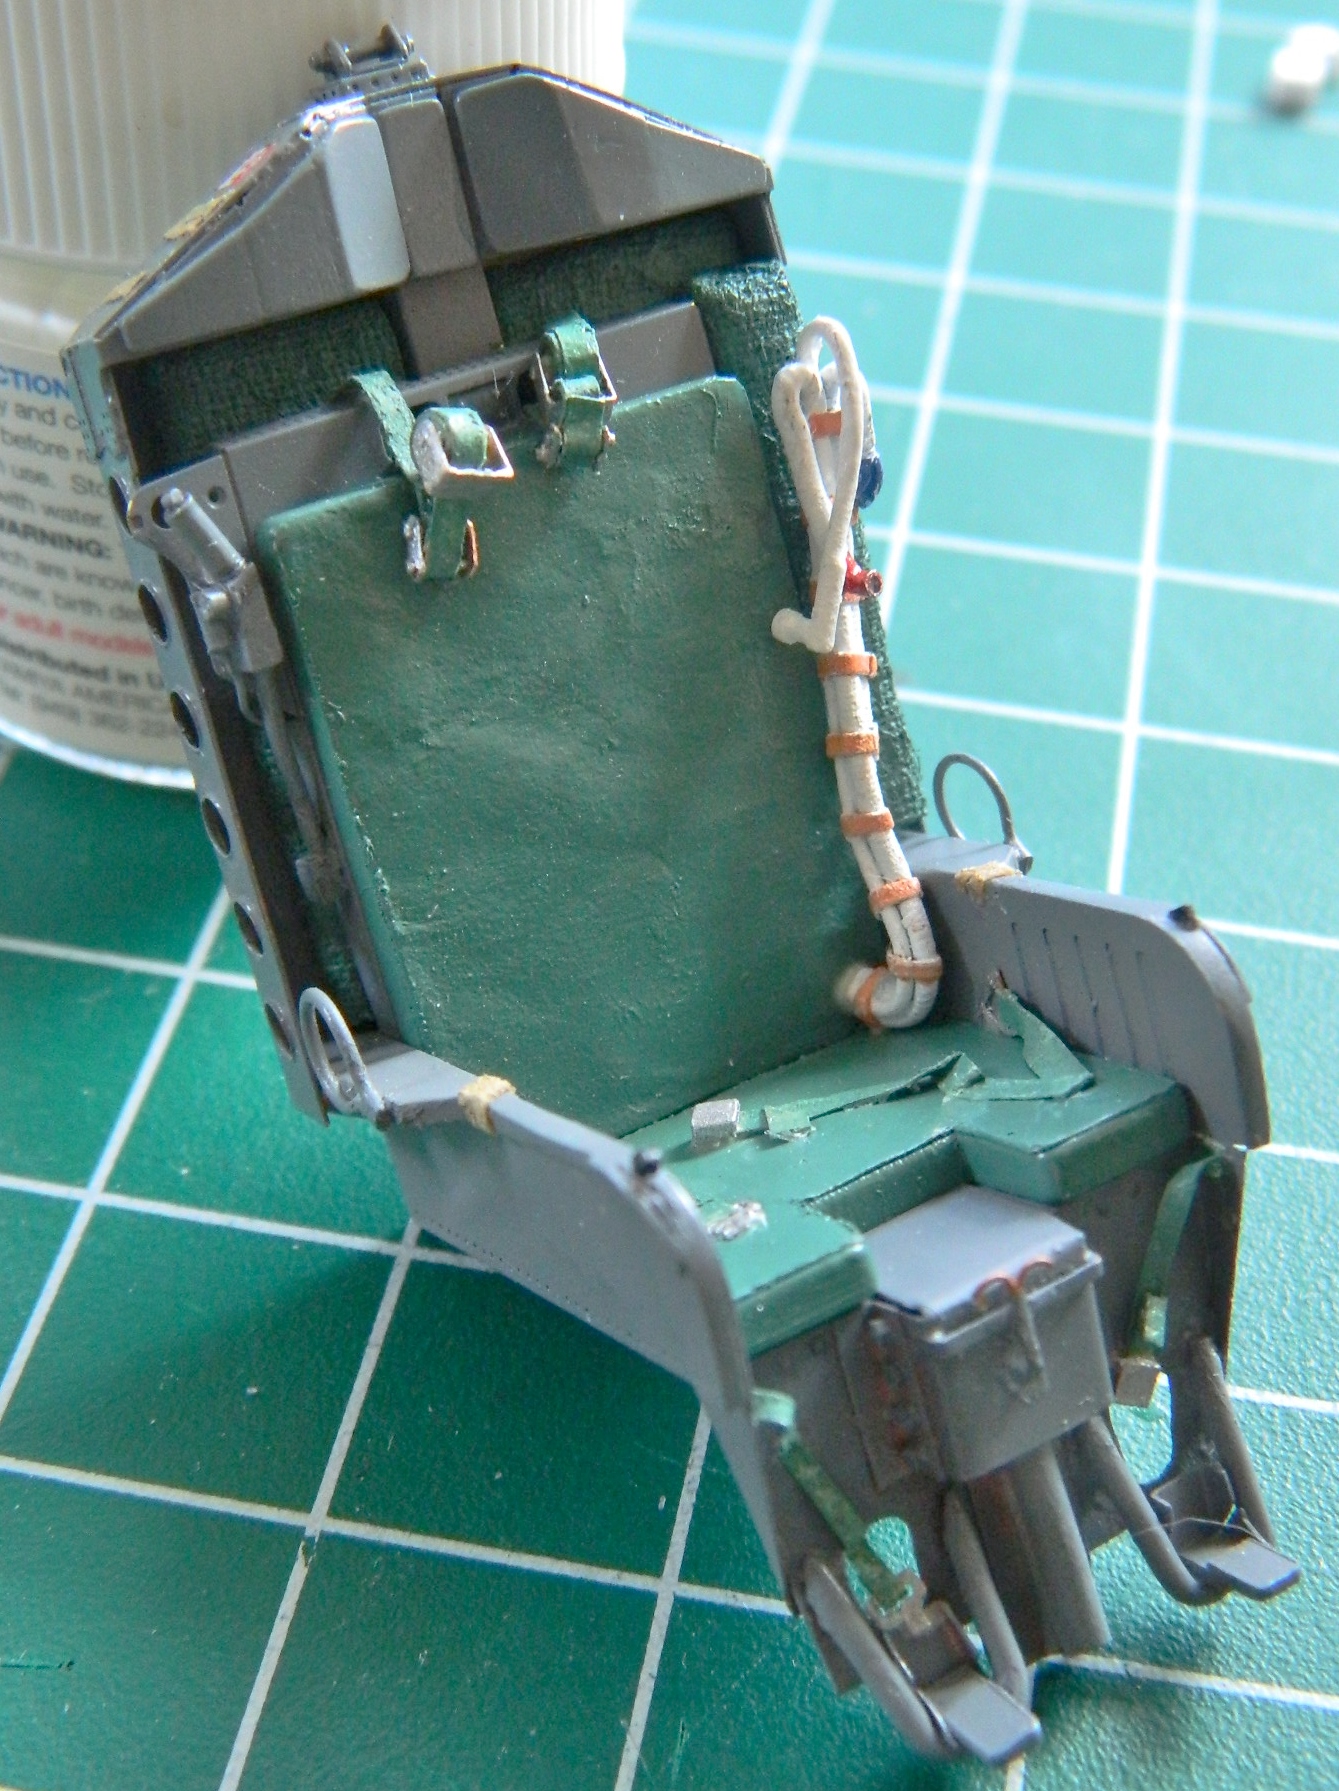
First major assembly! Assemble the crew cabin:
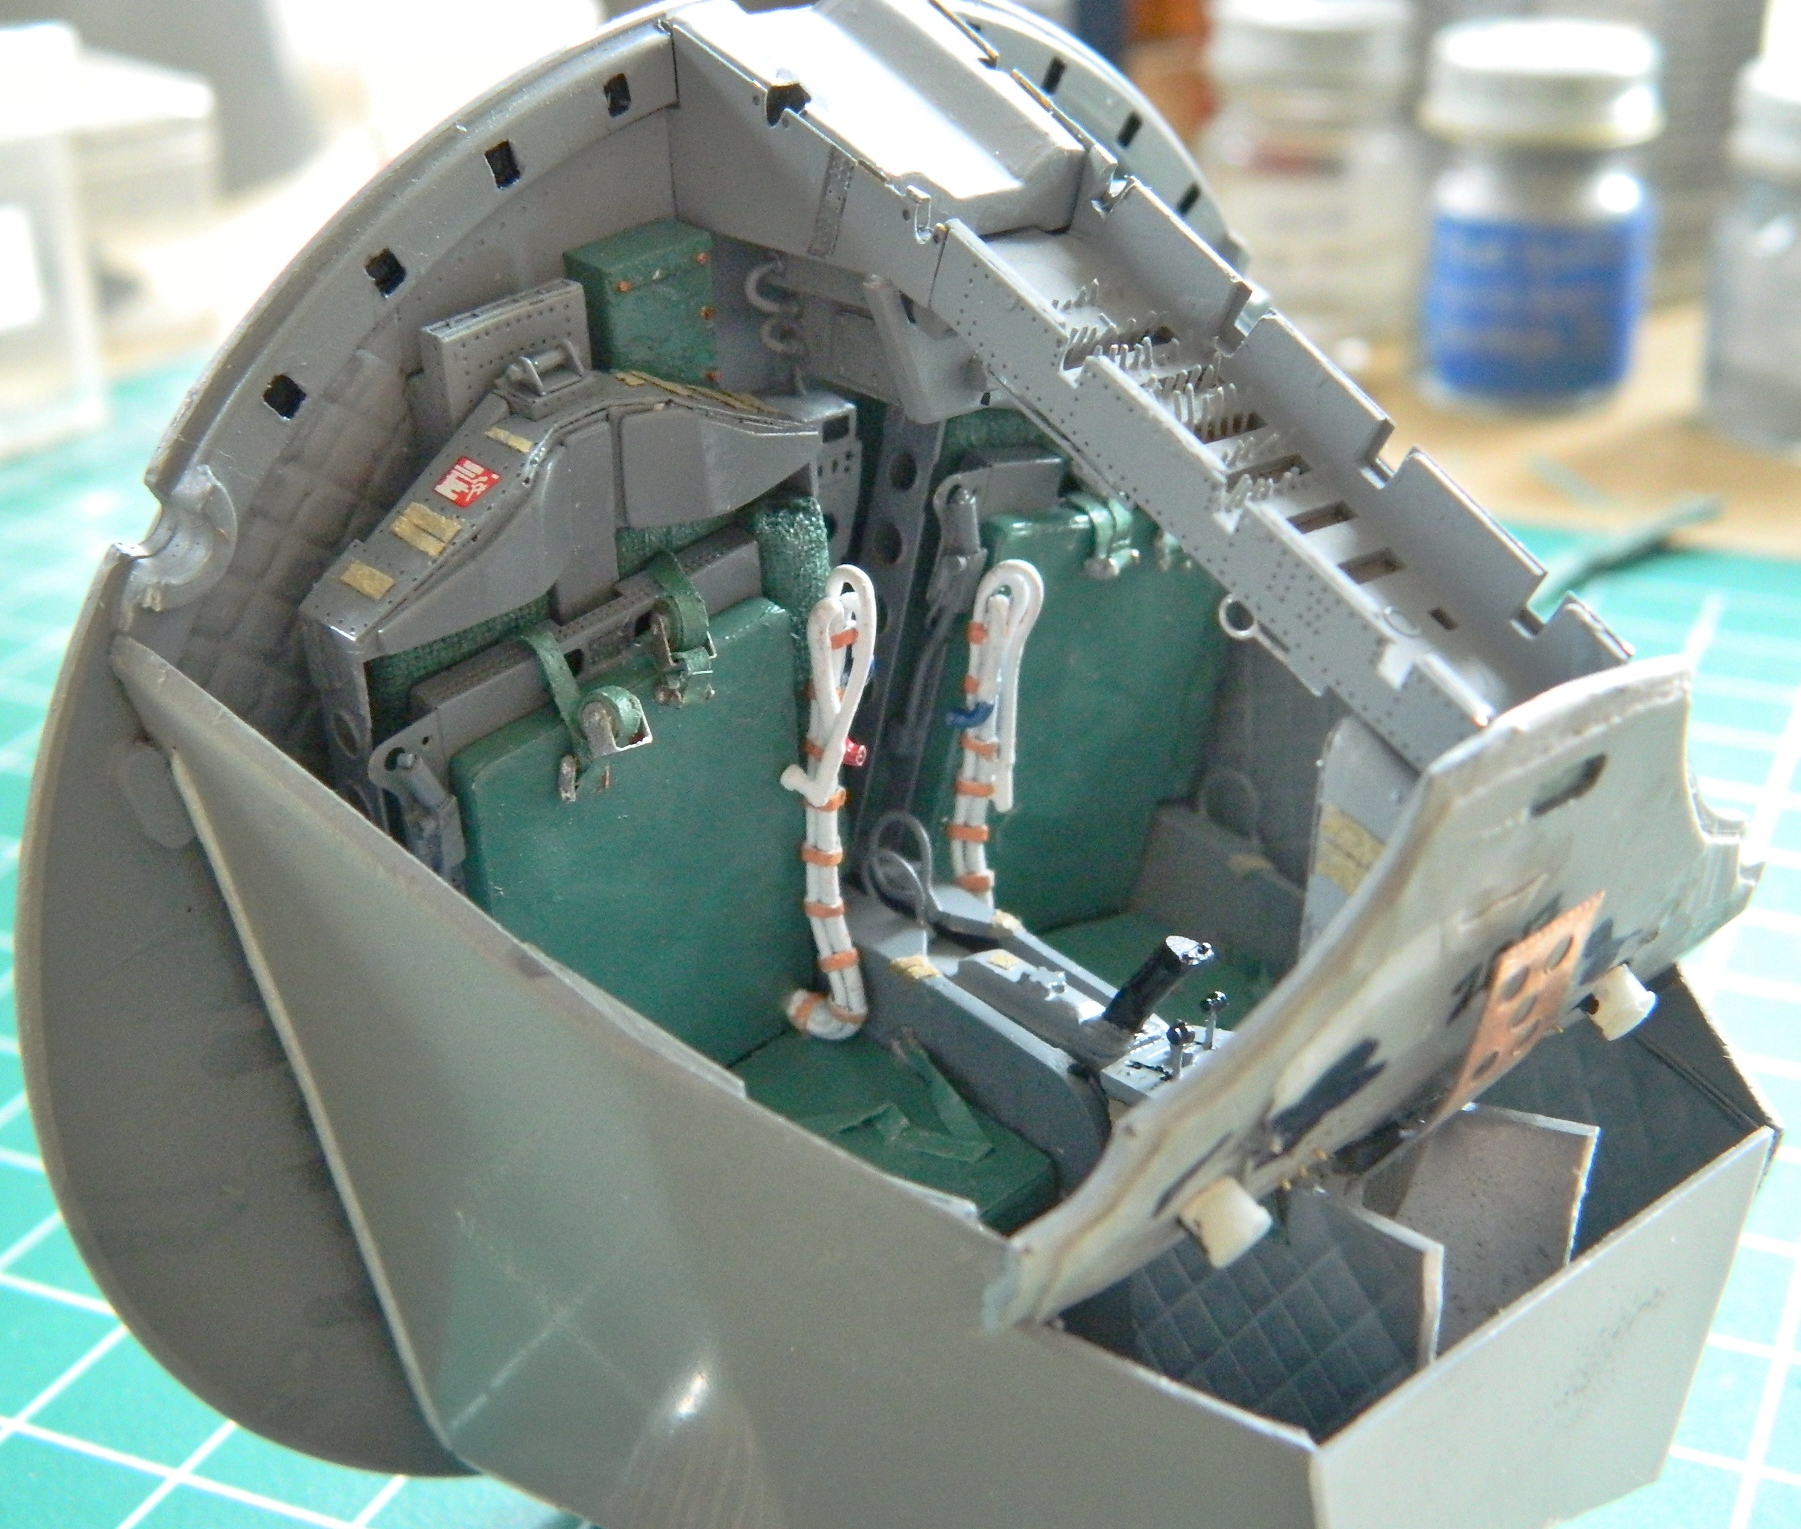

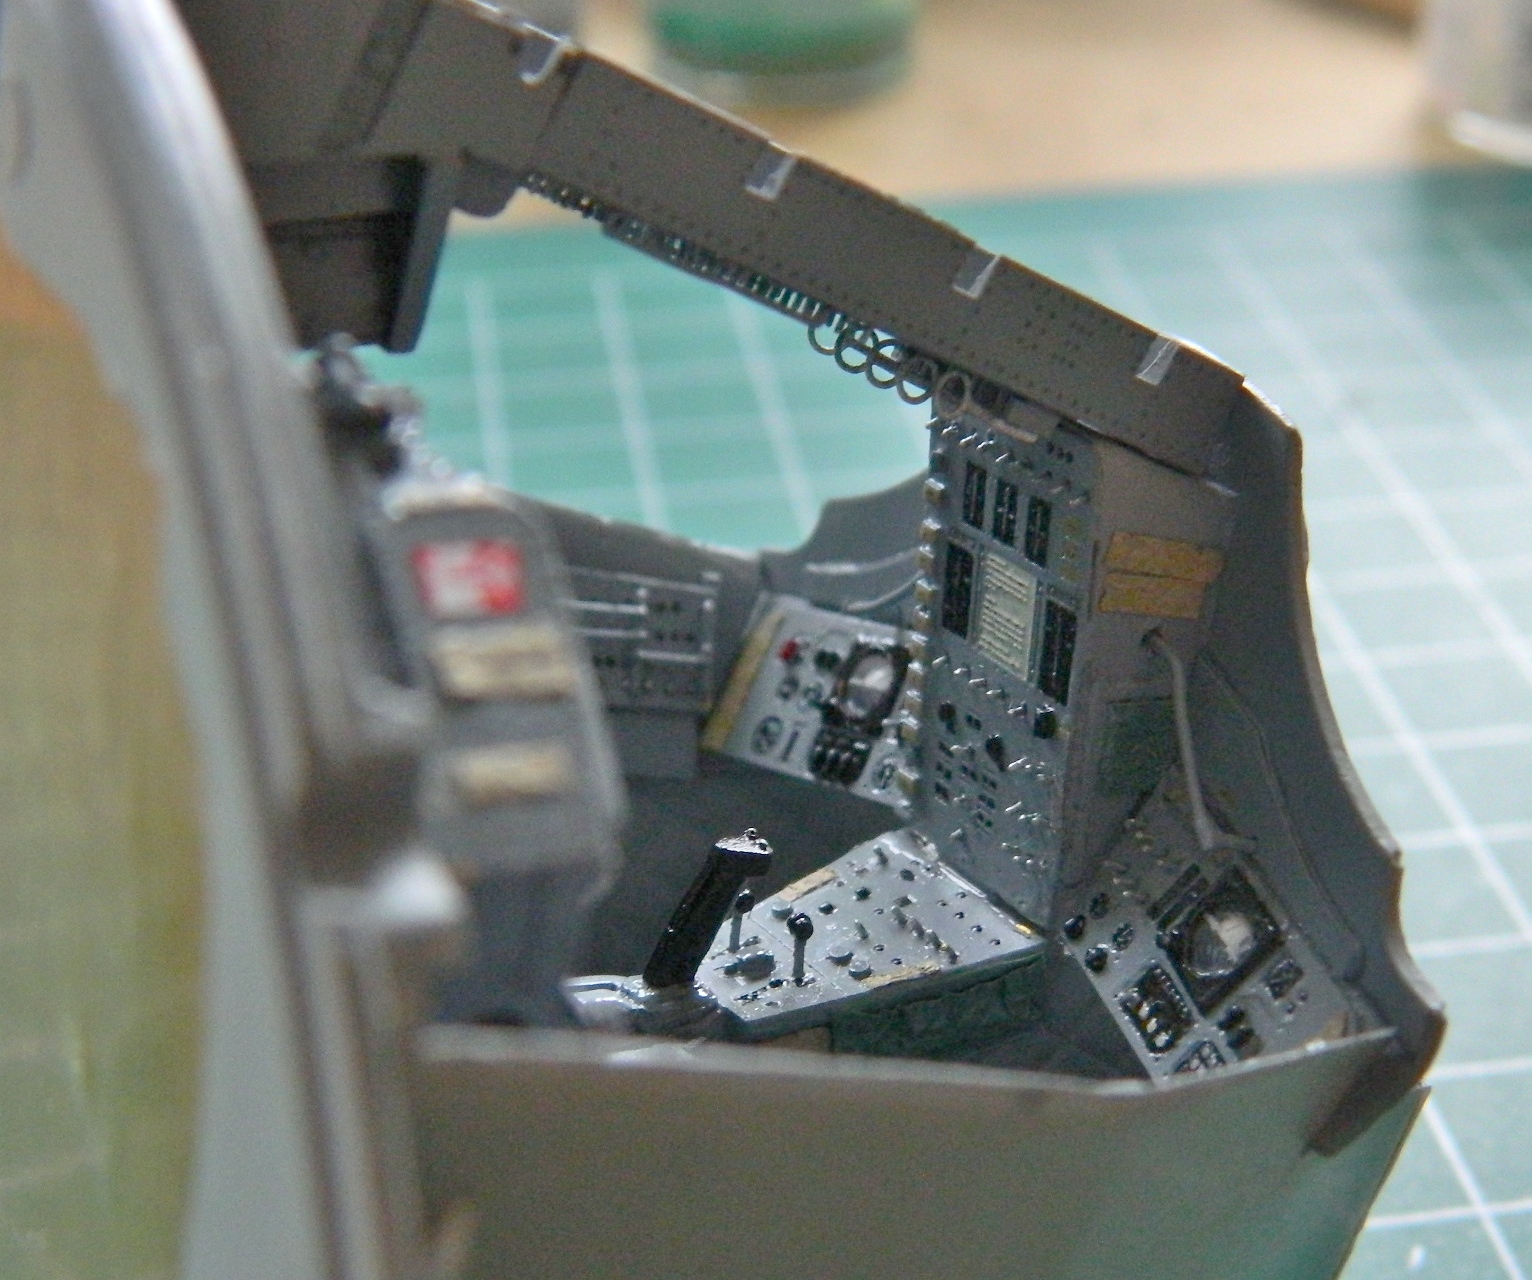


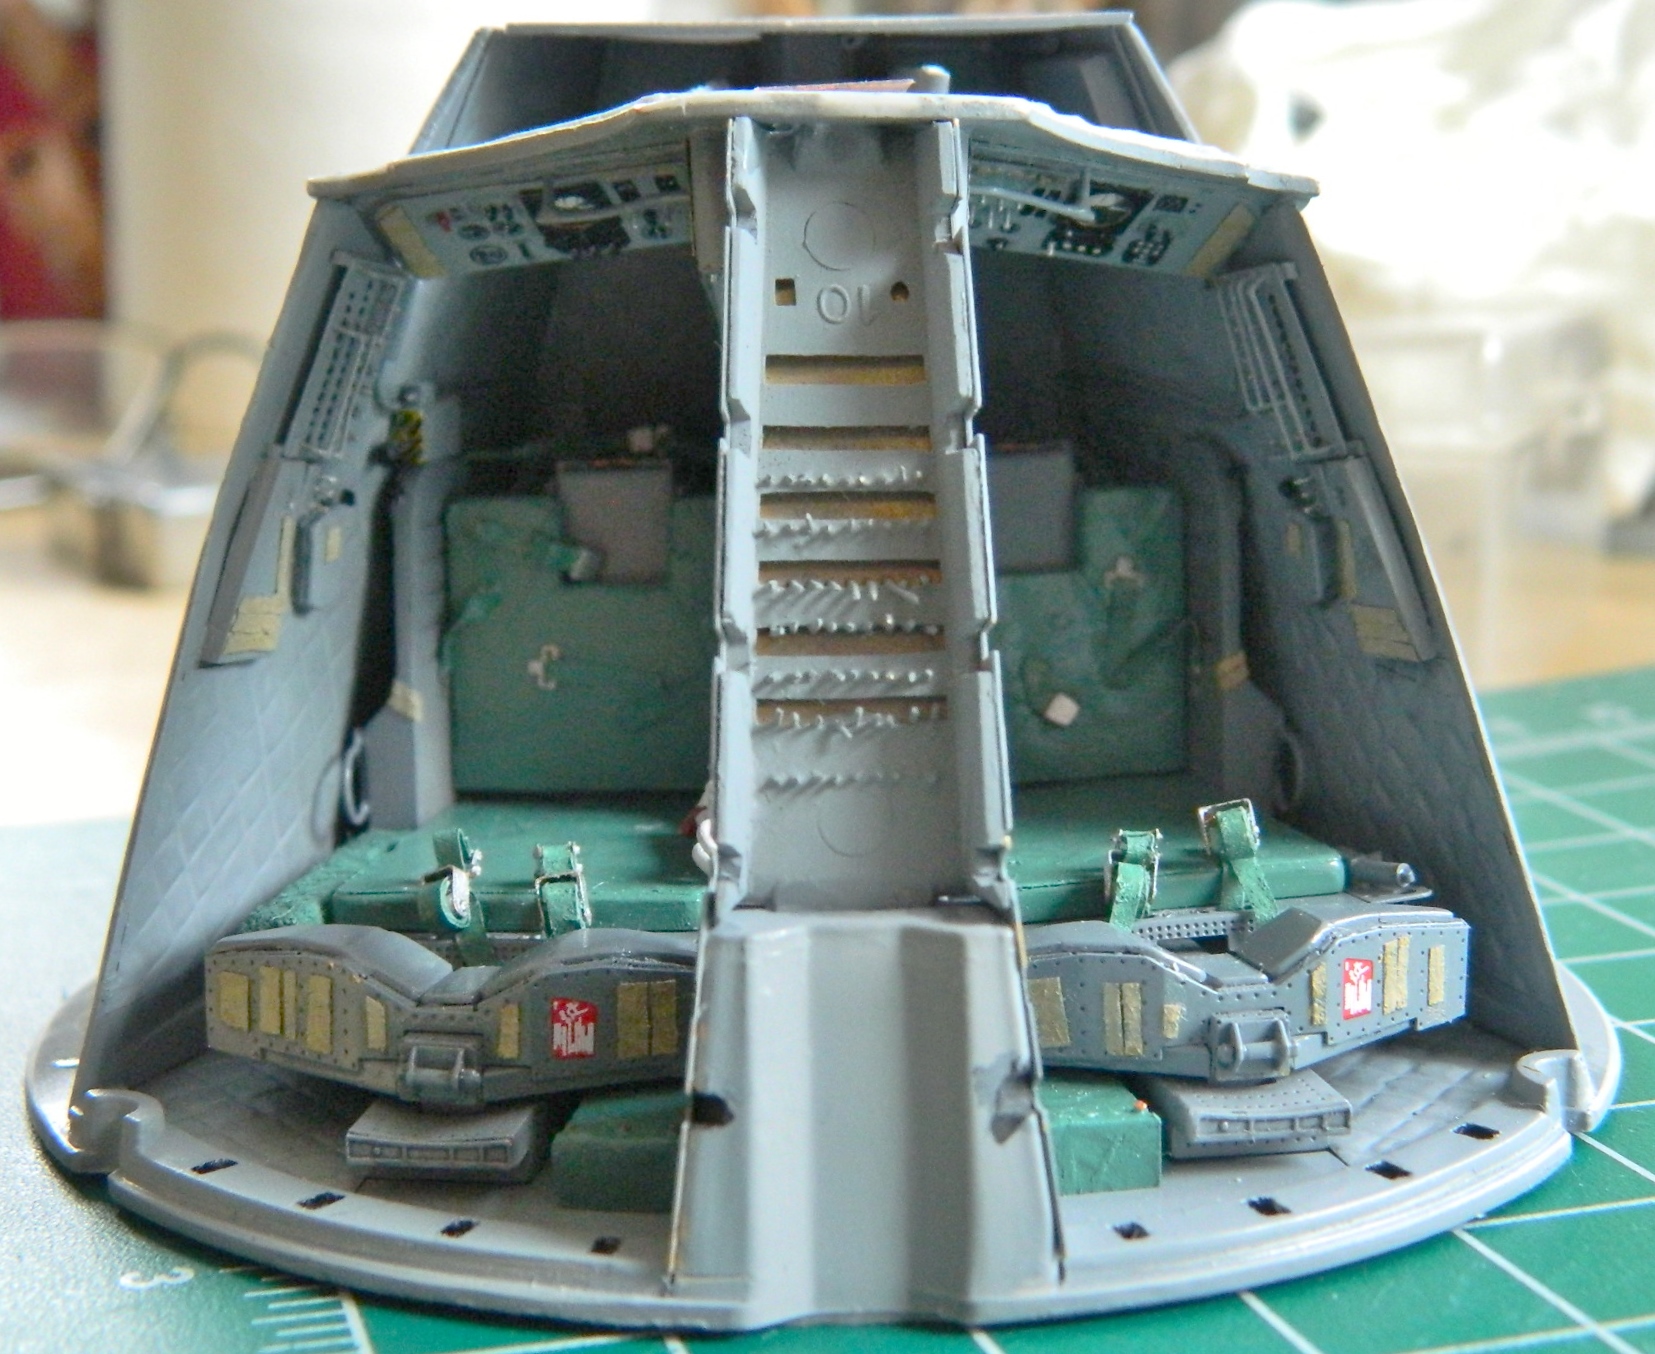
With the cabin assembled, it was time to stuff it into the body of the capsule. There was only one small problem with that. IT DIDN’T FIT:

When my head ceased exploding (like, the next day), I started checking references to see where it was off (other than…well…EVERYWHERE). The seats on the actual capsule don’t sit as far back as what I had sitting on my bench:
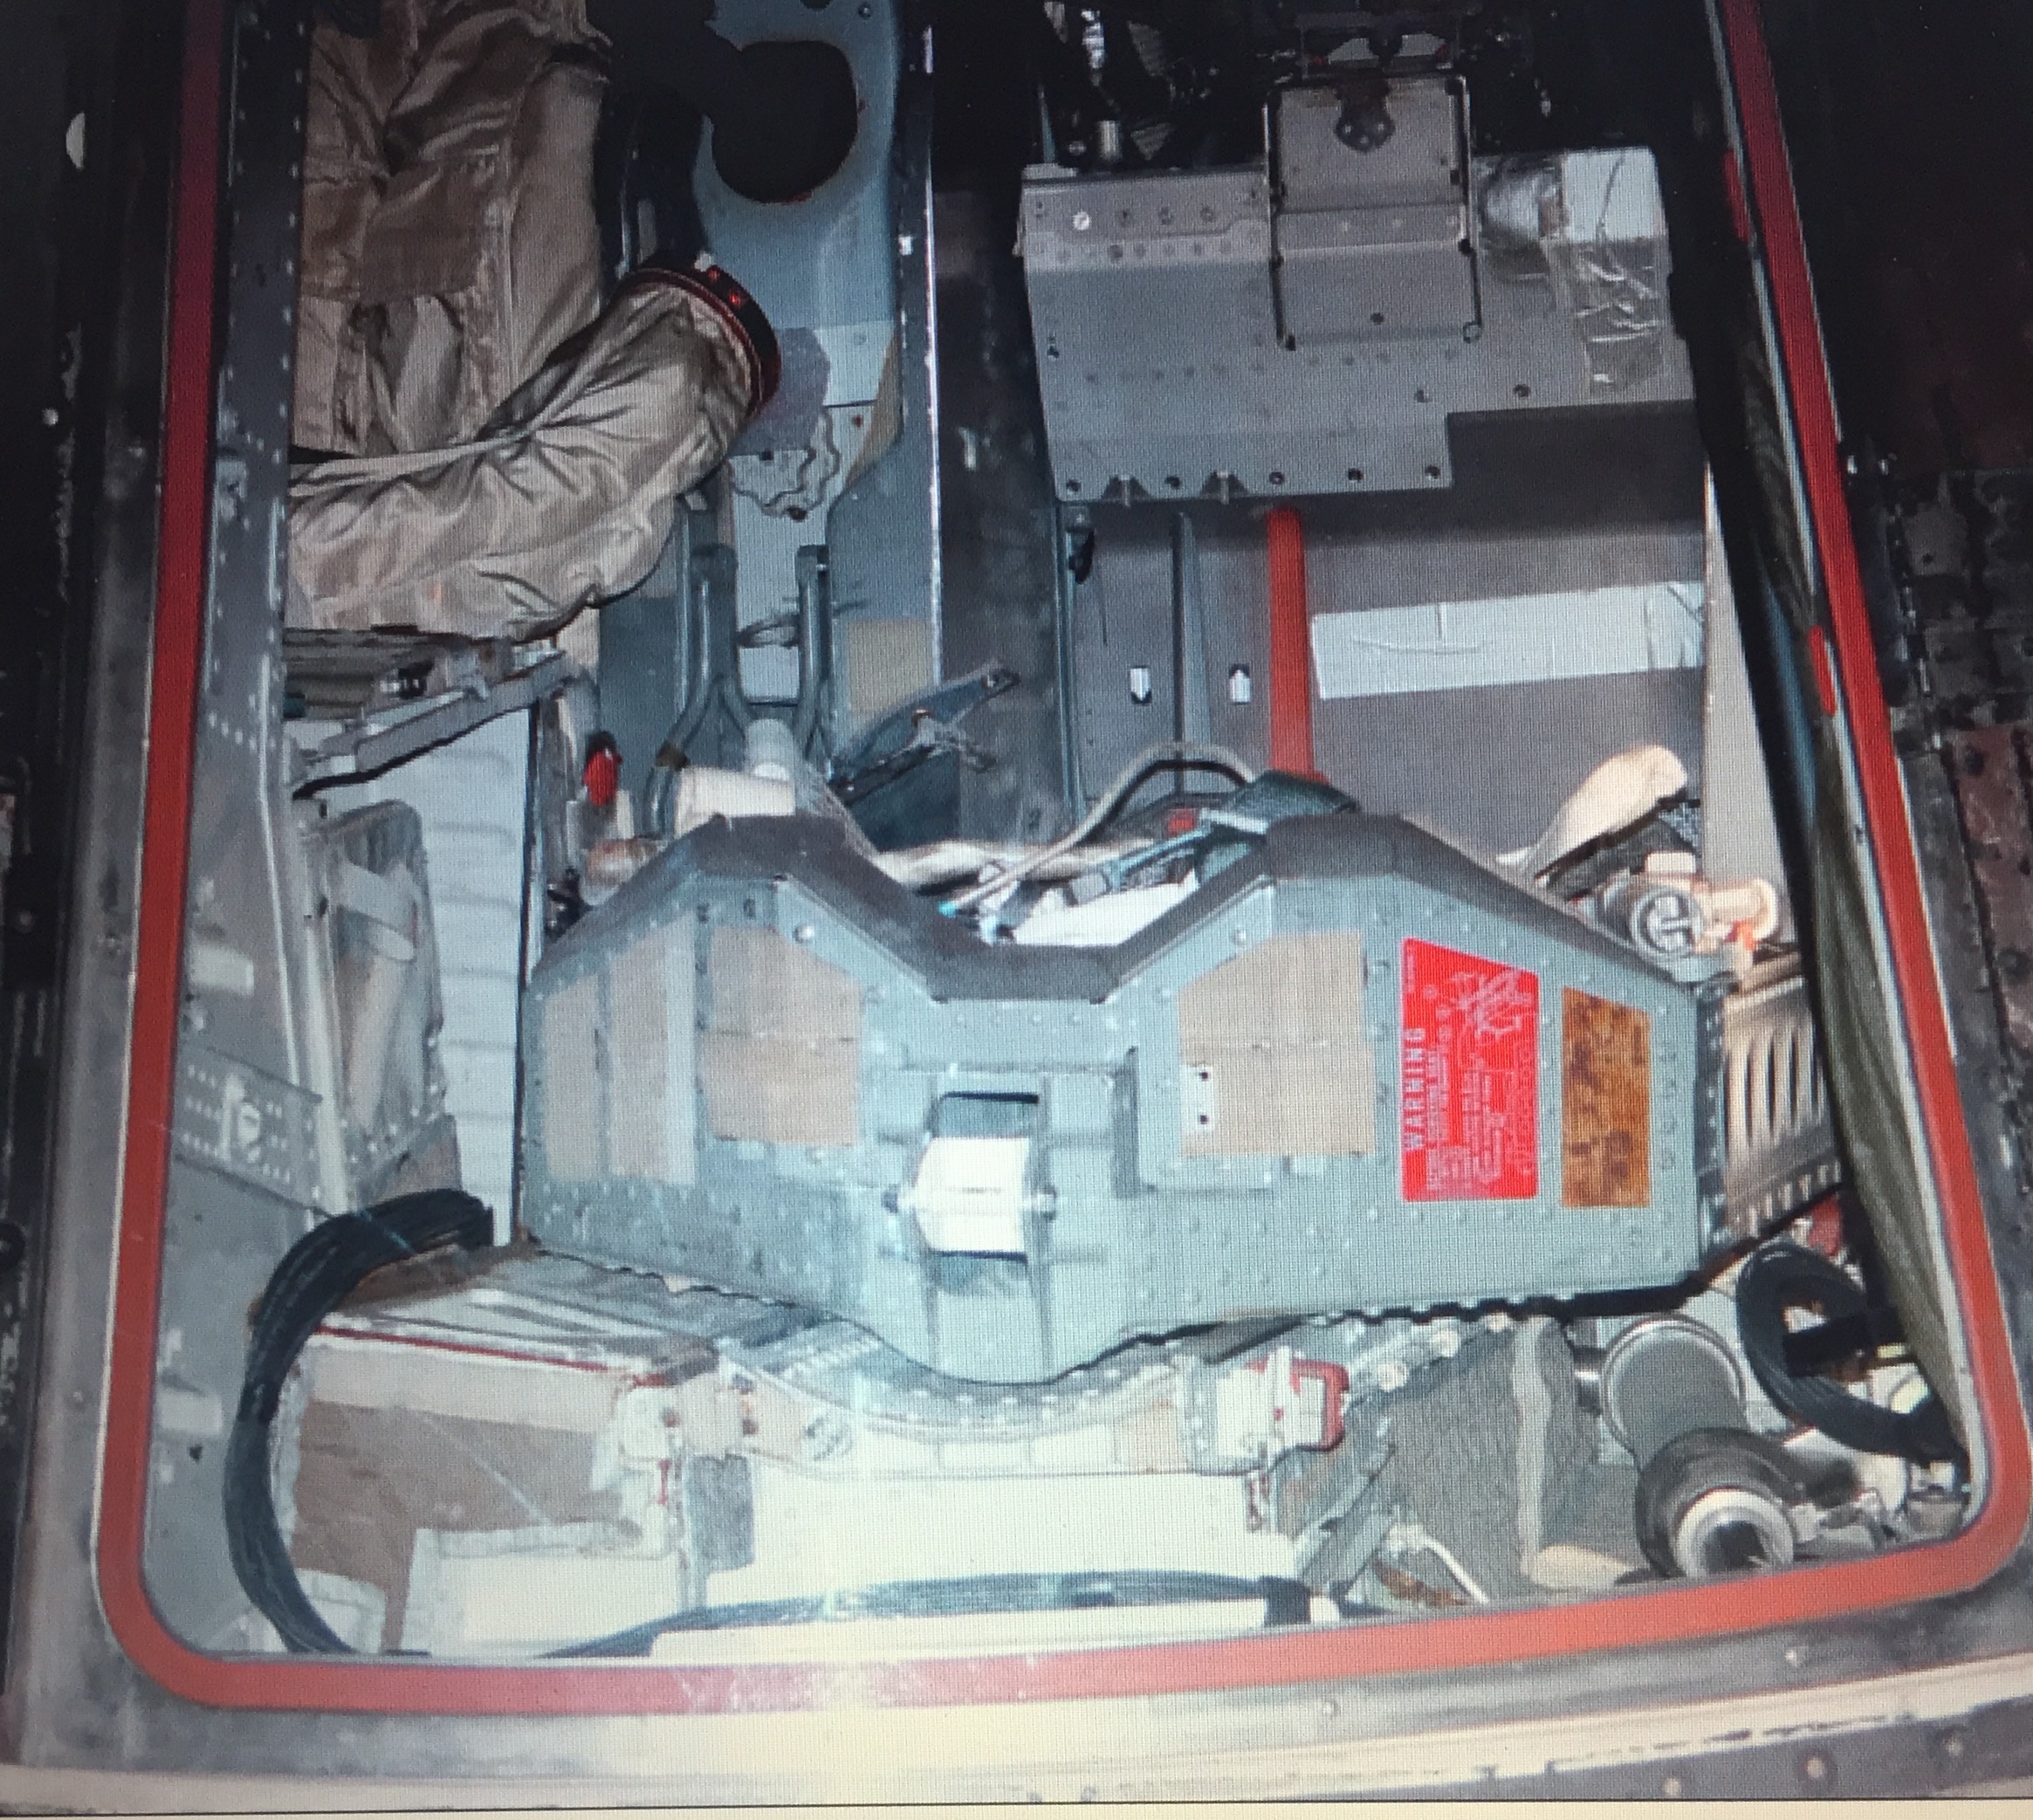

Okay…aside from the fact that the back of the interior assembly was STICKING OUT OF THE BACK, that indicated that the interior assembly wasn’t getting in far enough (“Captain” Obvious? Try “Colonel”). Well, I did fit that thing and it did fit. Why doesn’t it now? What’s changed?
The last time I stuffed that cabin into the capsule, nothing was glued together, it was all taped. Hmm… Evidently being taped together allowed just enough flexibility in the location of the parts for it to conform to the space available. But now it’s all glued (quite thoroughly) together and there is NO flexibility of location. That indicated to me that I didn’t need a lot more room inside the shell, just more room. Okay…I can work with that (I hope).
I had already removed as much from the corners of the cockpit tub that I could without breaking through the walls. That meant that whatever space I needed had to come from the inside of the shell. I used 100 grit sandpaper and scoured the inside of the shell. I figured out a handy trick to discover exactly where the tub was hitting the shell. I ran a bead of petroleum jelly along the edges and pushed it into the shell. When the tub was removed, the petroleum jelly left some of itself where it was contacting the tub…and that’s where I concentrated my efforts at material removal. And then I got to the point where the petroleum jelly wasn’t leaving any deposits inside, yet the damned thing still didn’t fit. It took some time and clever use with a flashlight but I discovered the last impediment to a proper fit.
It was the edges of the instrument panel. The little protrusions on each side had to come off:
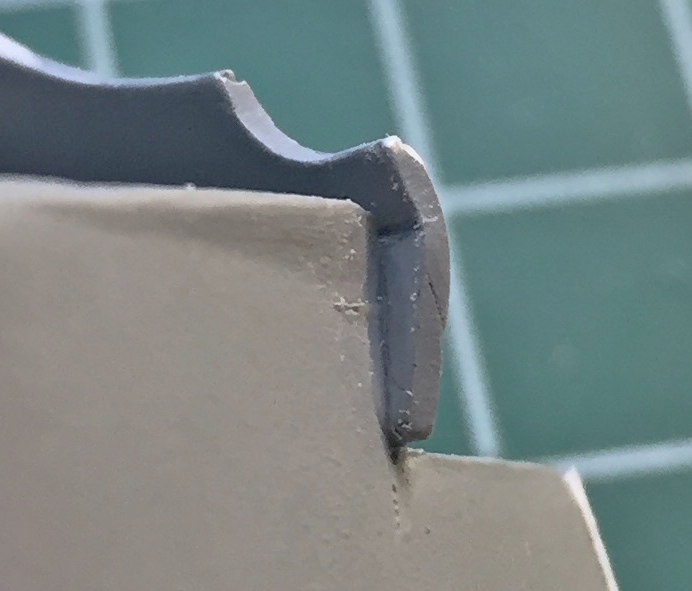
And after a couple of hours of dicking around with it, I finally got it to fit:
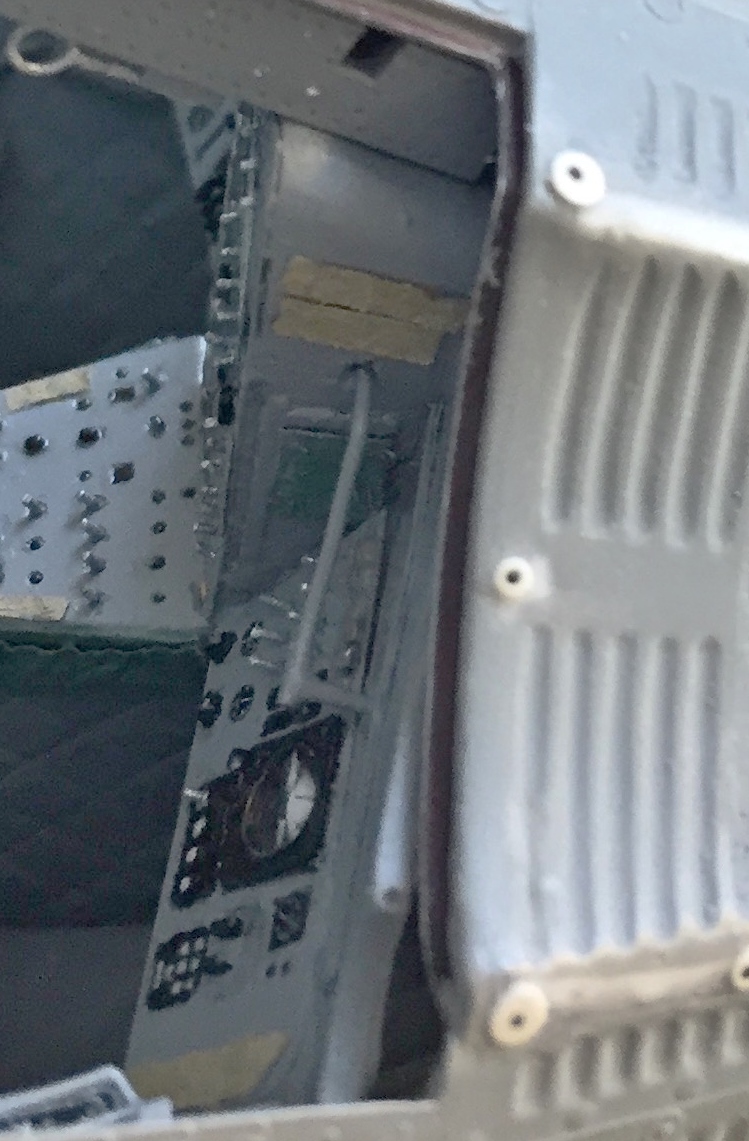
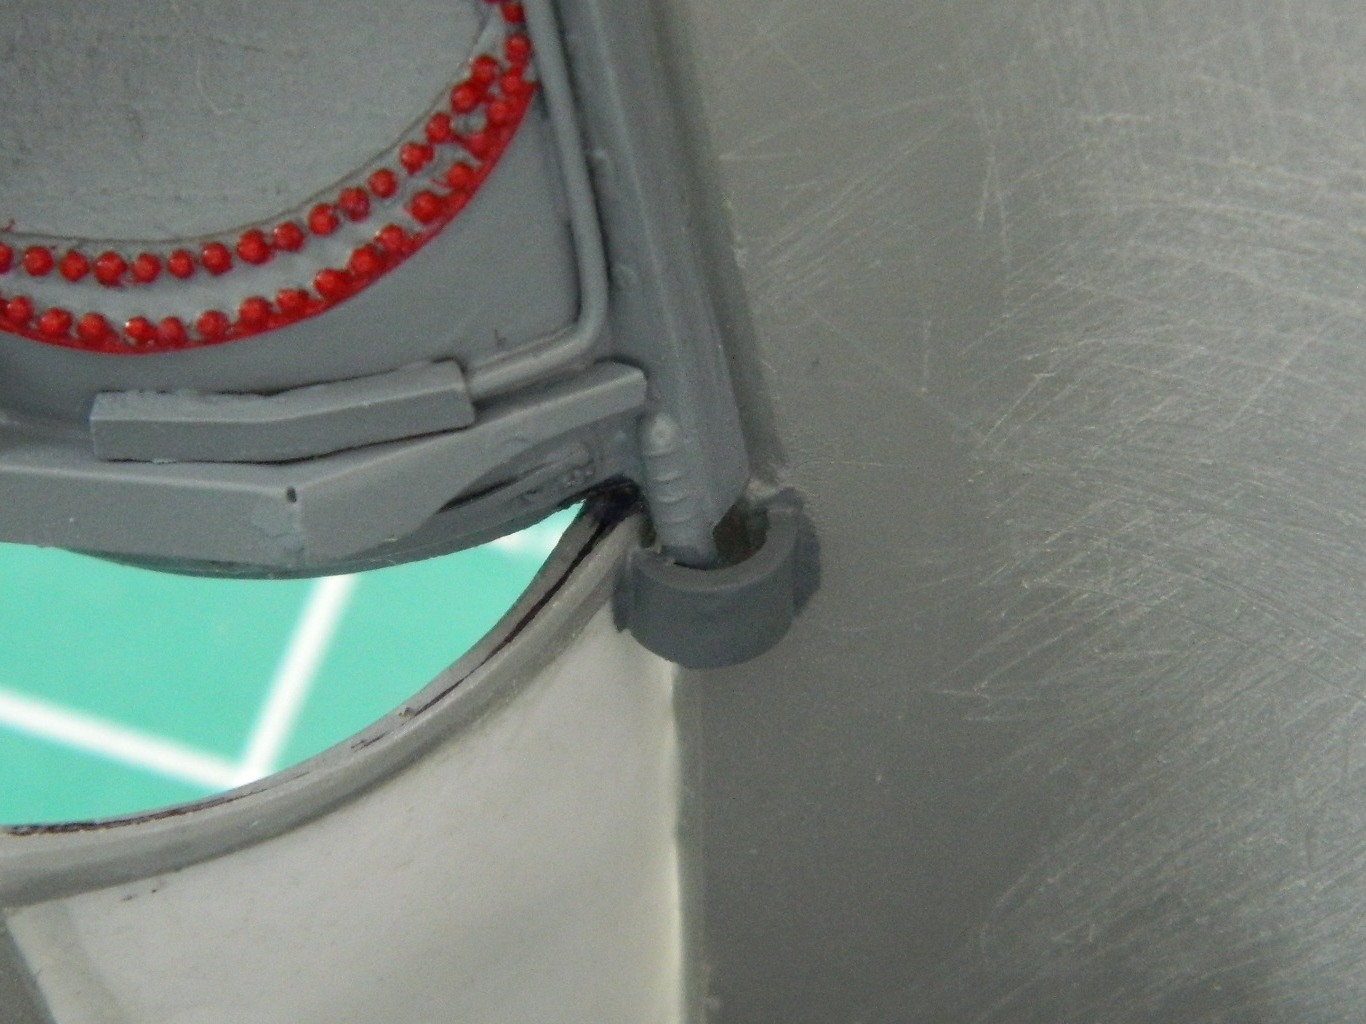
The last parts I had to add before I could button up the capsule were the hatches. I used some styrene tube to make the front hinges [As an aside, I am NOT AT ALL PLEASED with how the hatches hinge. But short of reworking the corners of the instrument panel to an accurate configuration and making more accurate hinges, that’s what I’m stuck with.]:
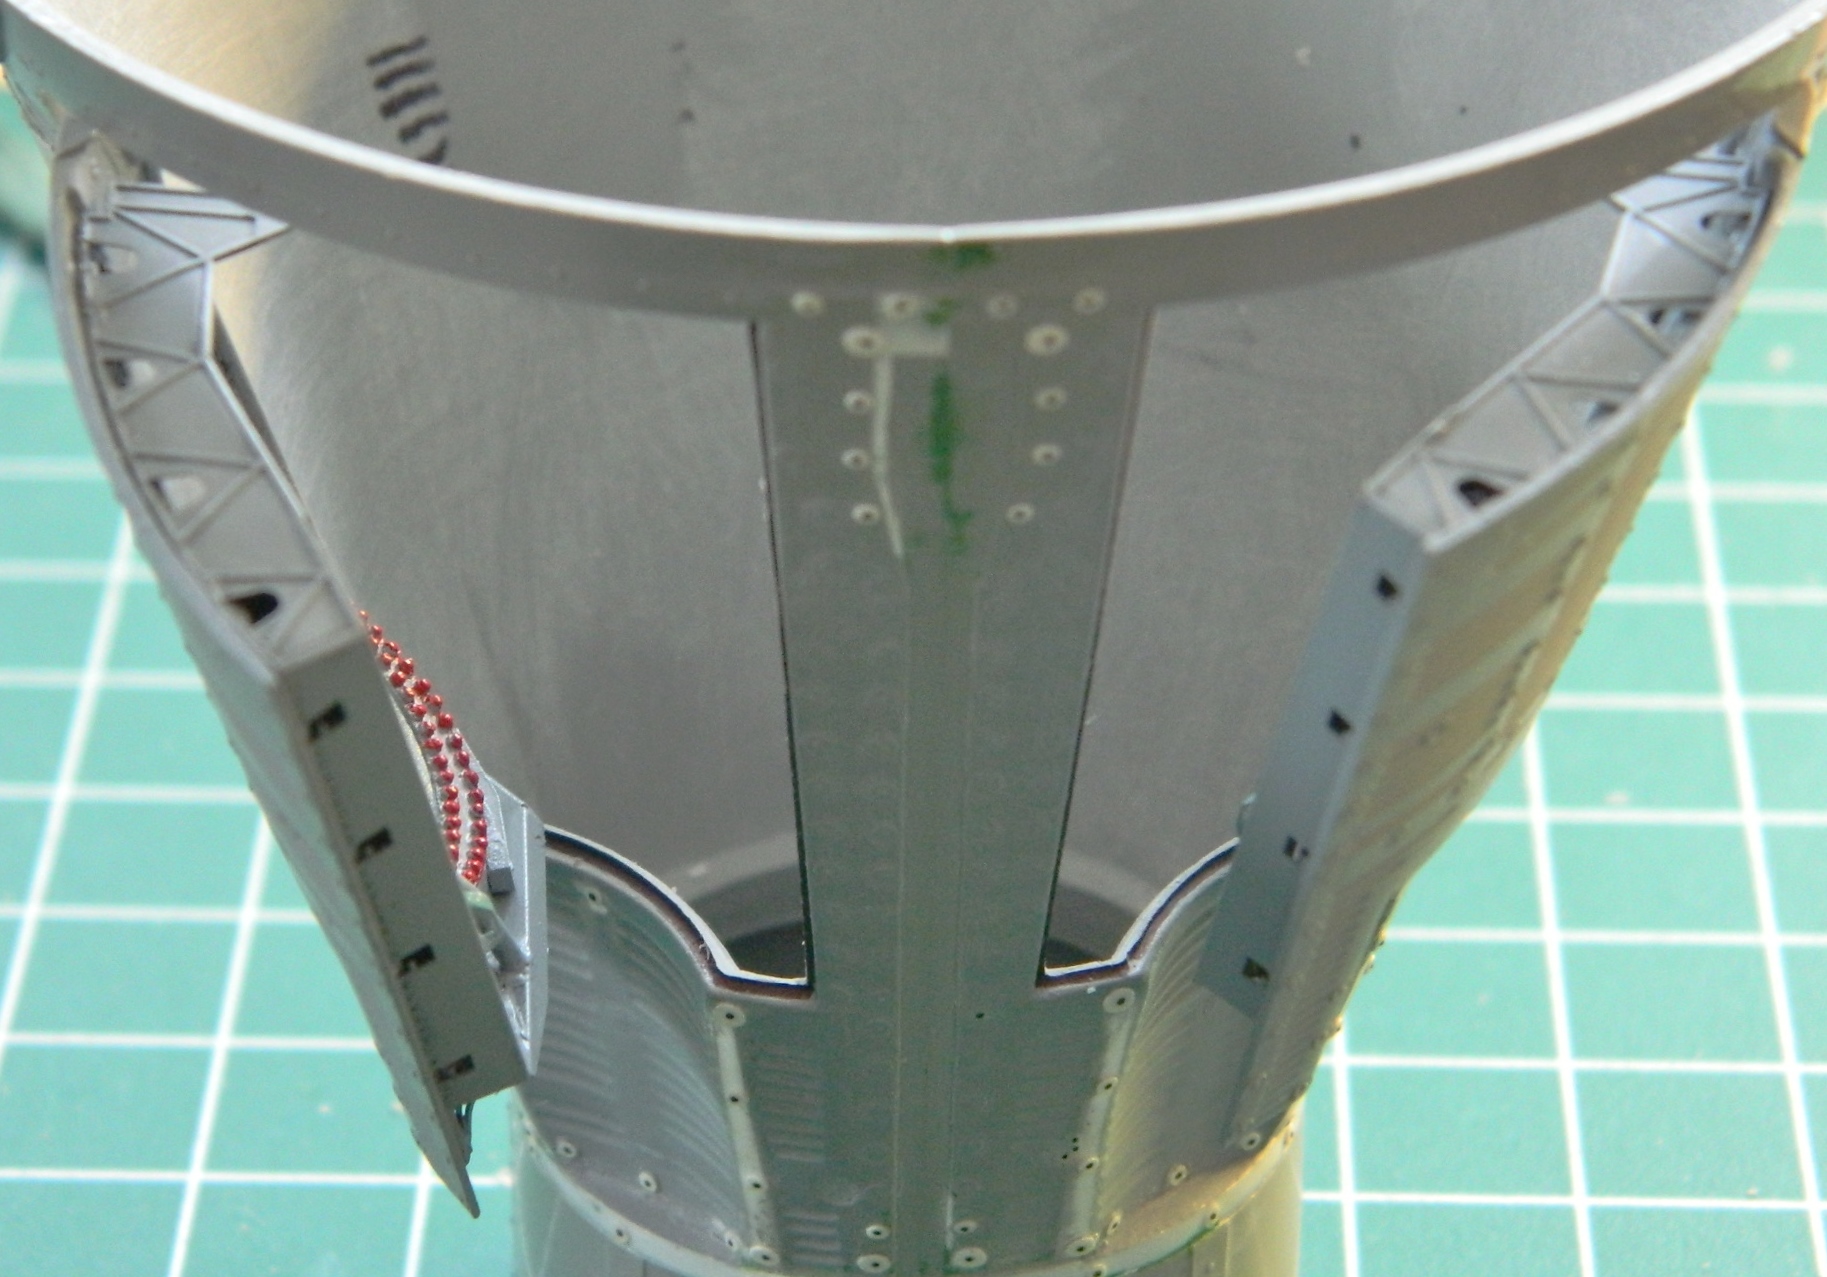
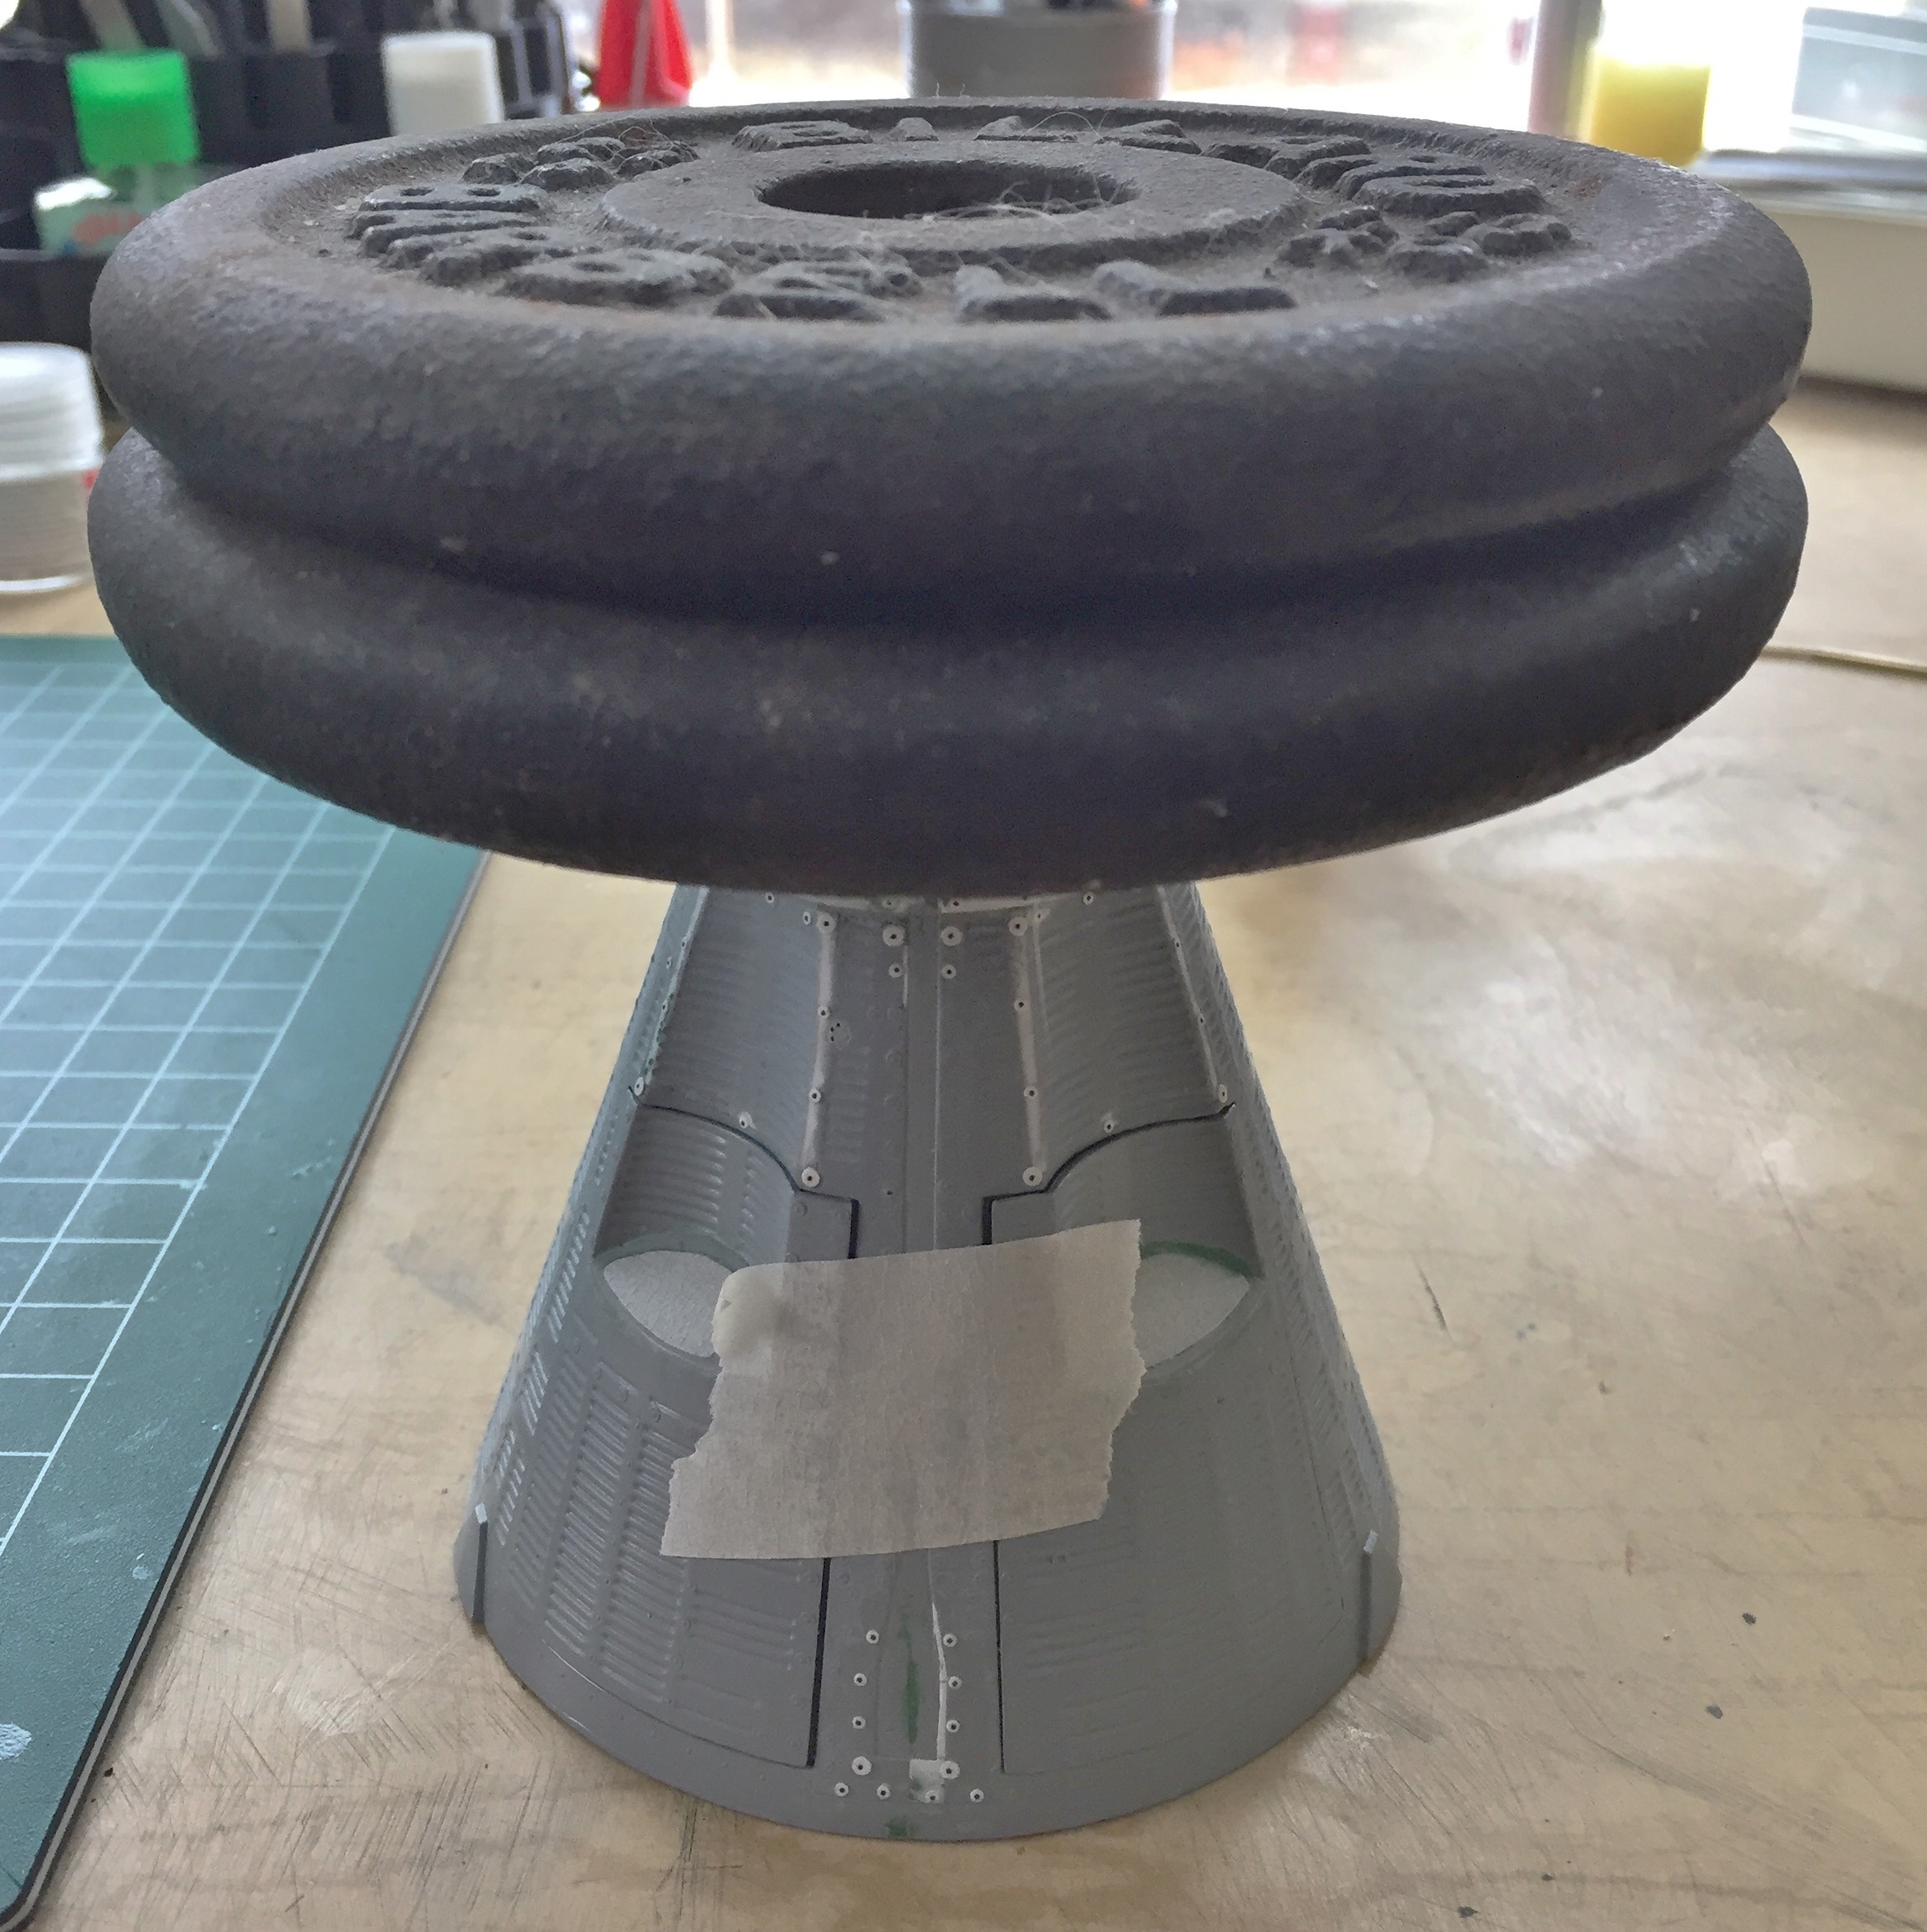
With the hatches in place, now I can stuff the interior into the hull and glue it in. Here, as well as far too many other places, the fit is abysmal. I had to use superglue jell to fill the spaces between the outer edge of the rear bulkhead of the cabin and the interior surface of the hull. When I say I had to jam the interior into the hull, that’s exactly what I had to do. Once I’d run a (wide) bead of jell around the mating points, I put the base of the capsule on a flat surface and added weight to press the cabin assembly as deeply into the hull as it has to be. Superglue jell takes A LONG TIME to set up. I put the hull/interior aside and let it cure for over twelve hours:
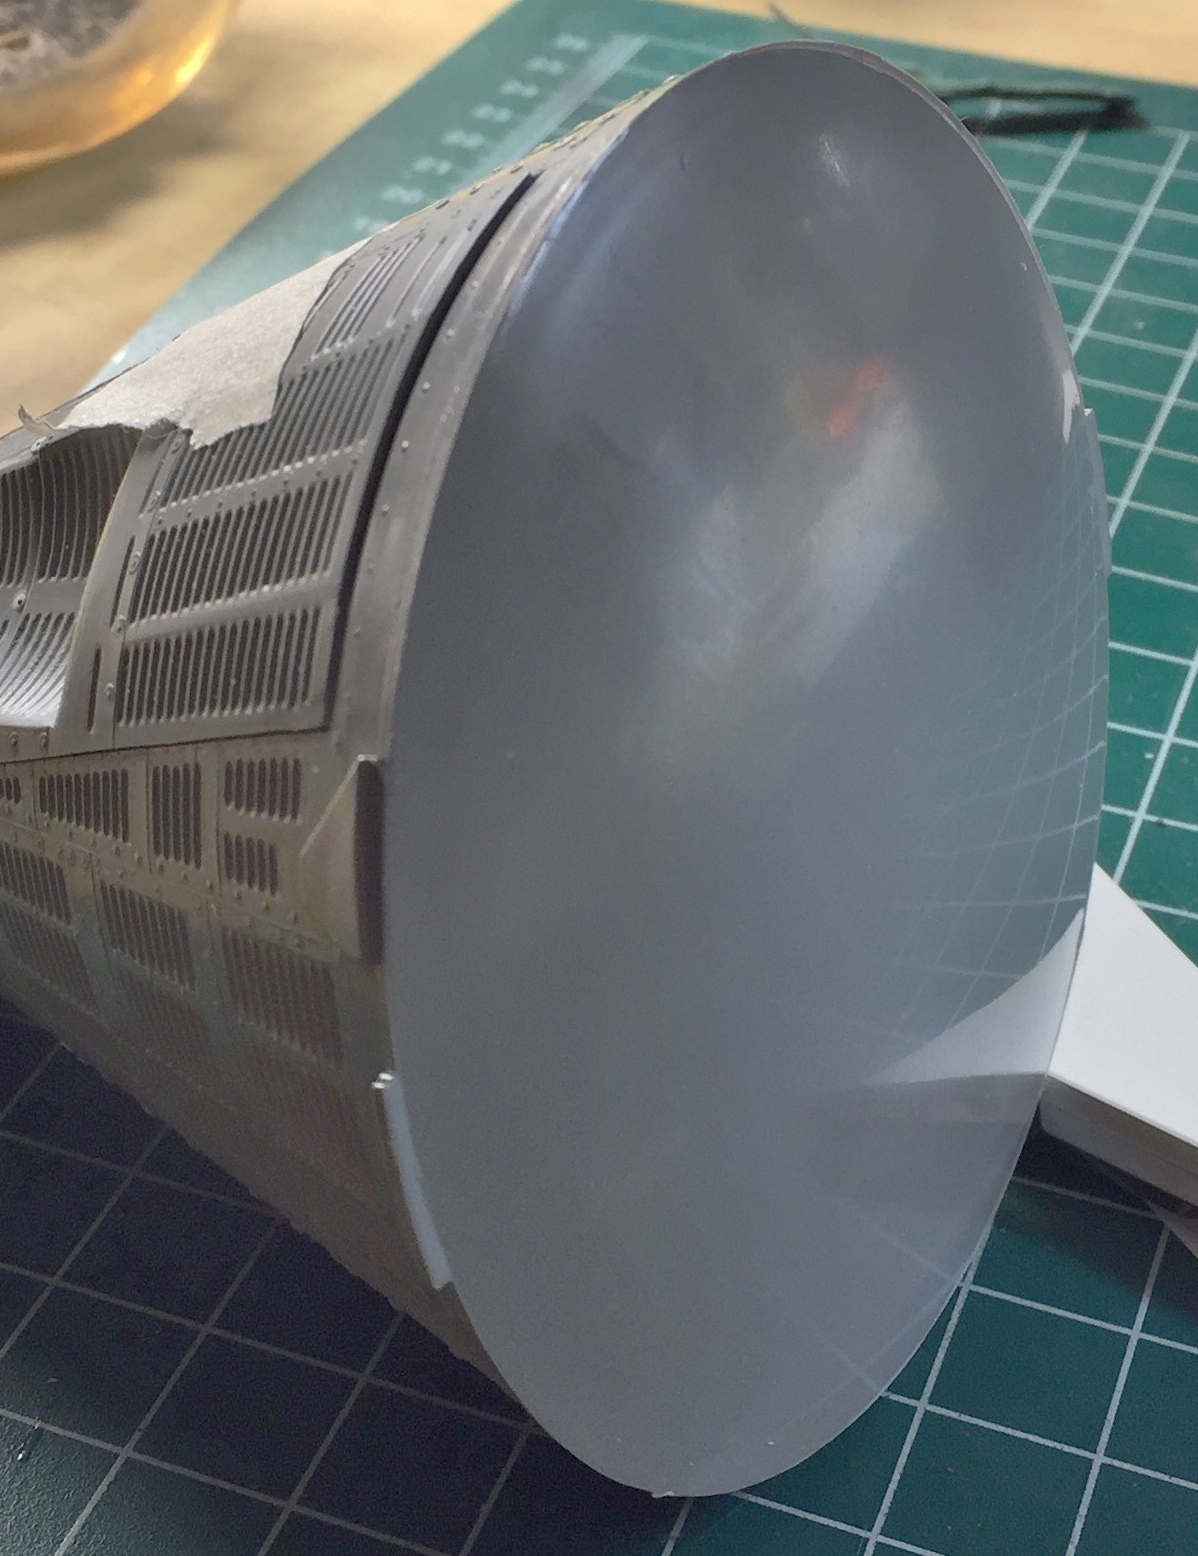
The next day the jell had hardened so I glued the heat shield into place, finishing the interior construction:
With that odyssey take care of, attention and effort turned to the exterior…and there’s plenty of attention and effort required.
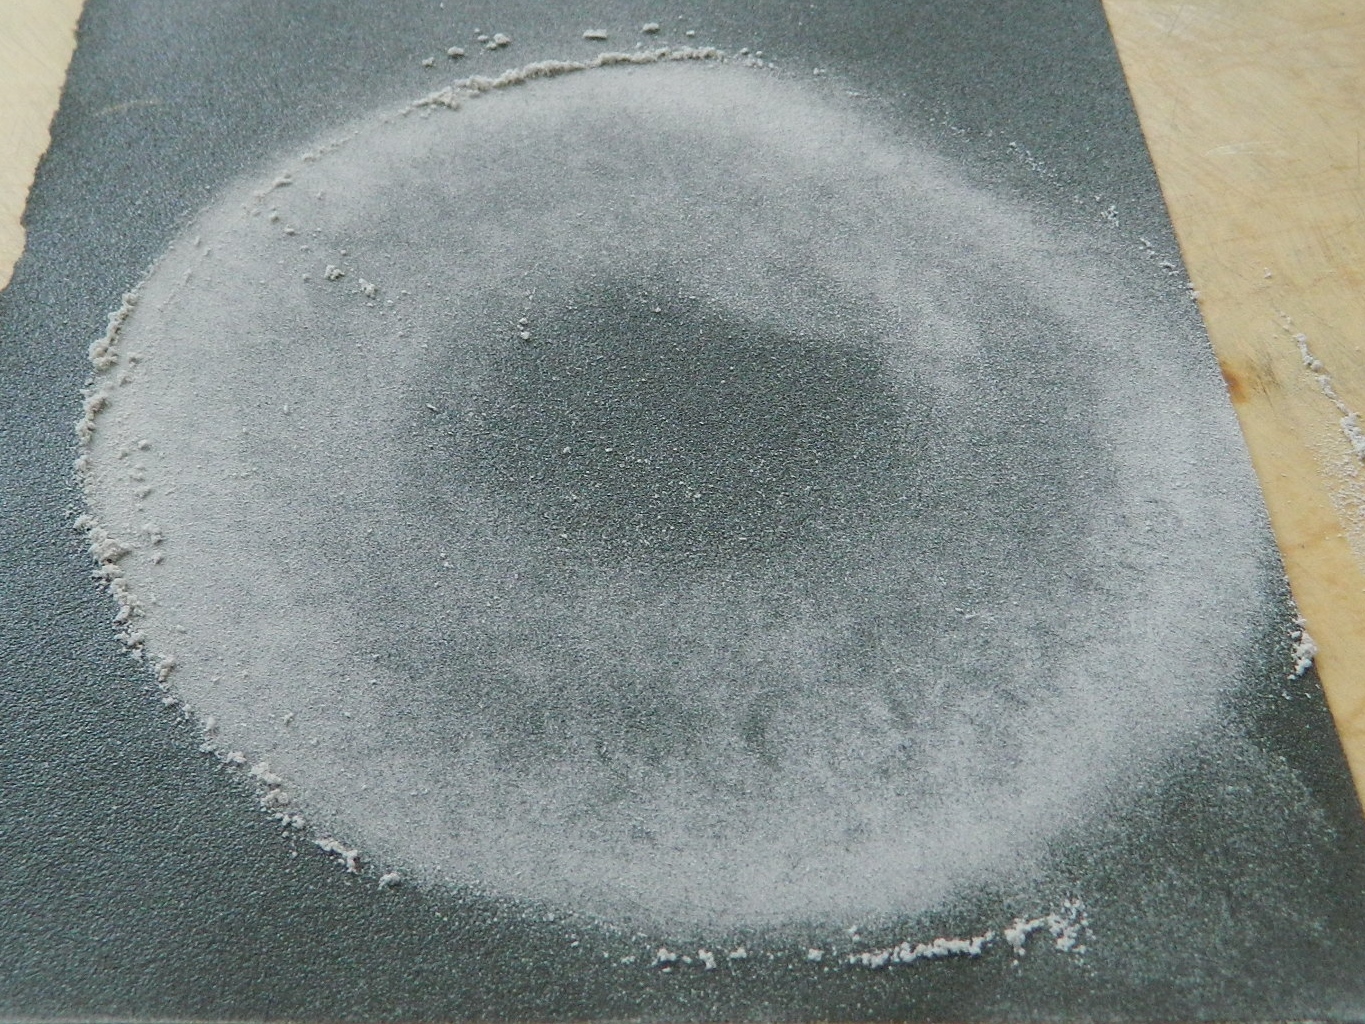
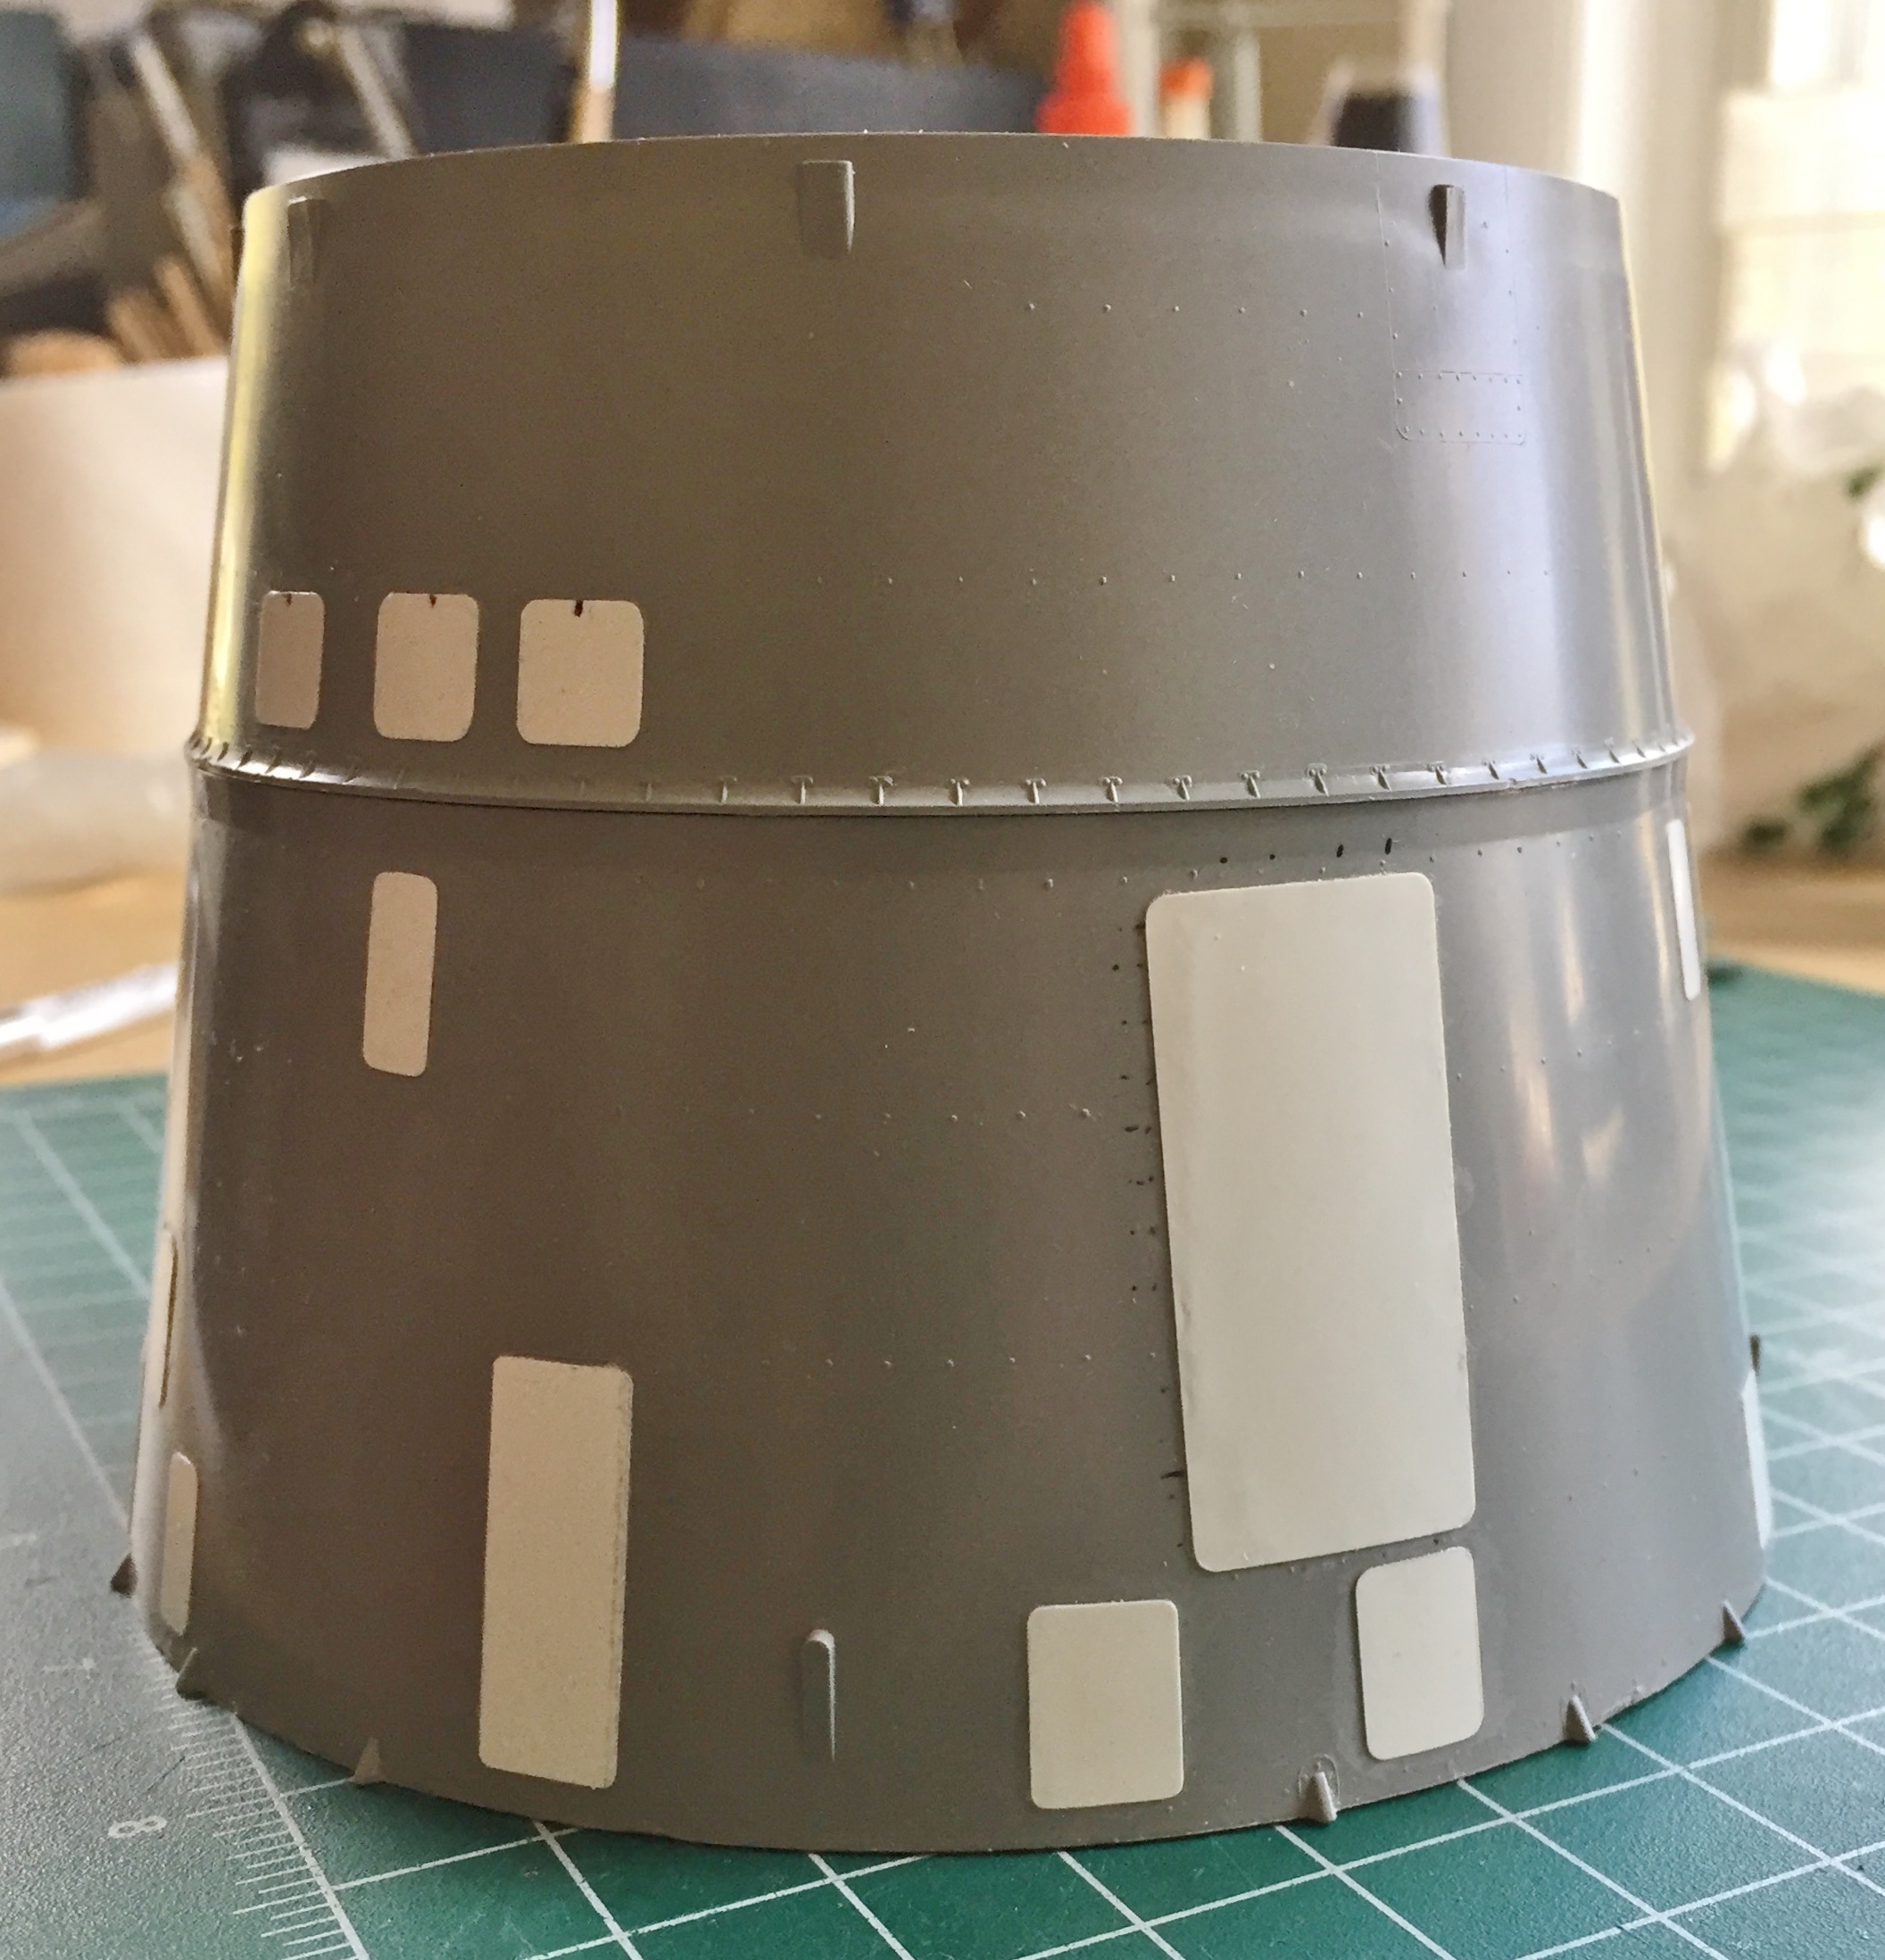
There are two modules aft of the capsule. The closest module is the section that contains the de-orbit engines (aka, retrorockets), and the module furthest from the capsule is the service module where fuel cells, batteries, oxygen, and the like are contained. The end of the service module wasn’t flat, so I placed a sheet of 220 grit sandpaper on the table and sanded the high spots down:
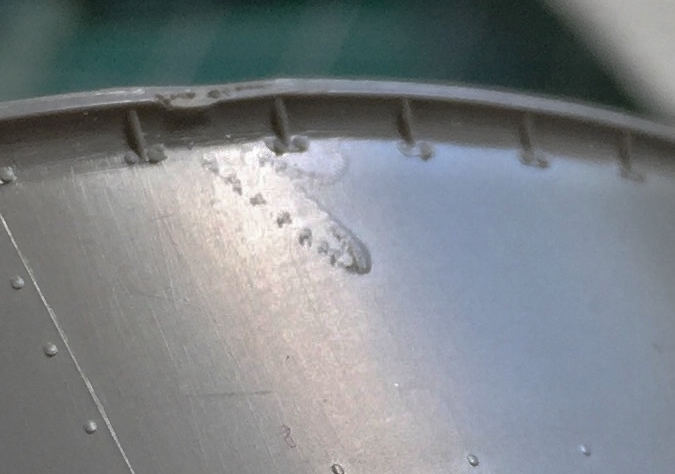
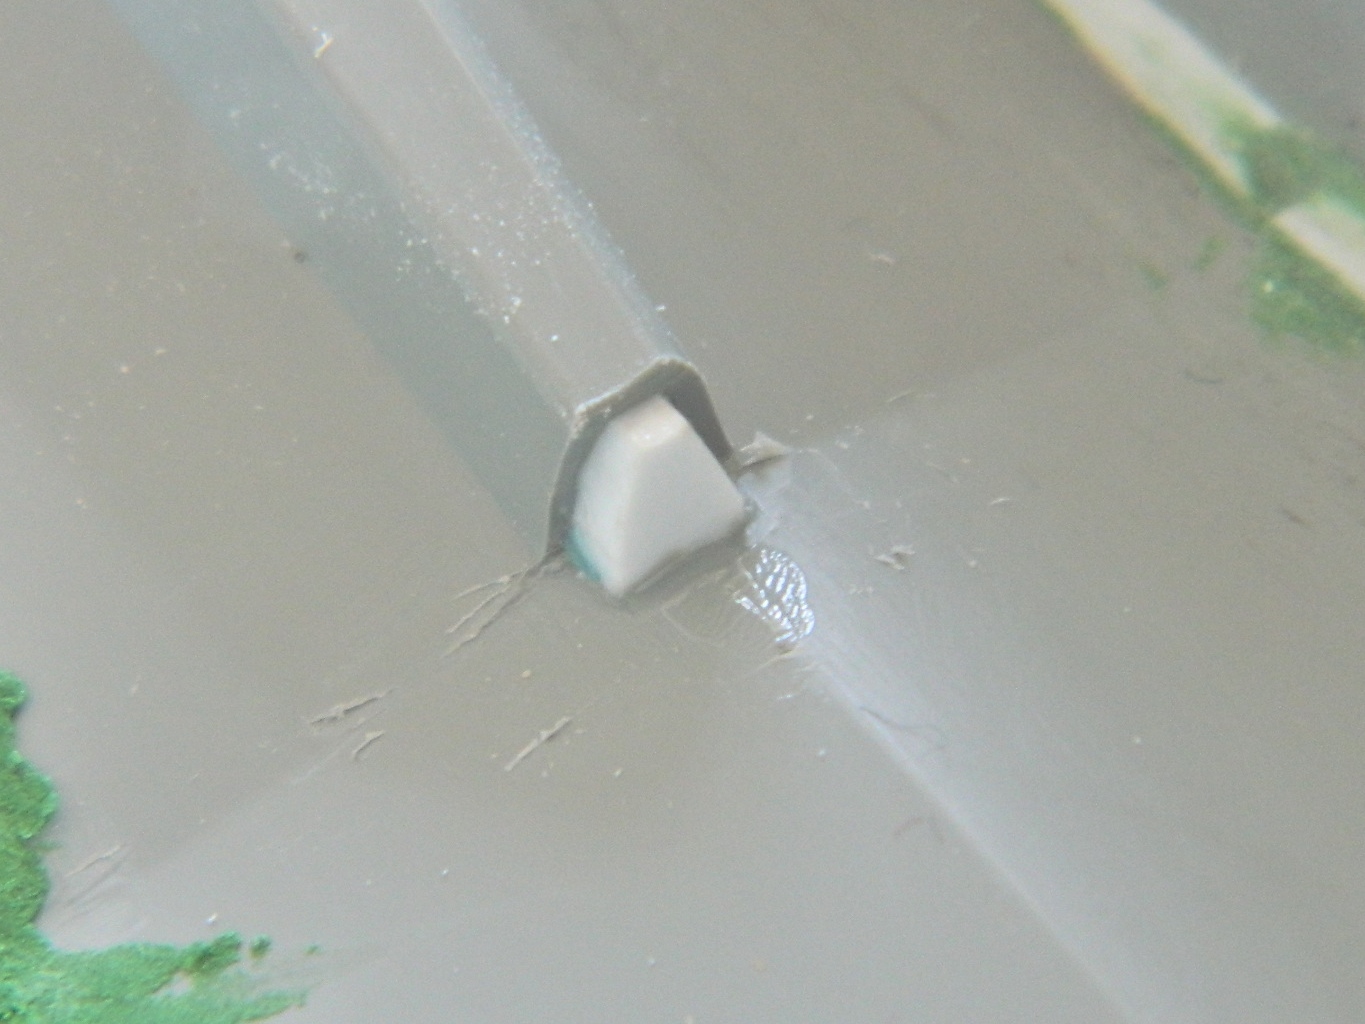
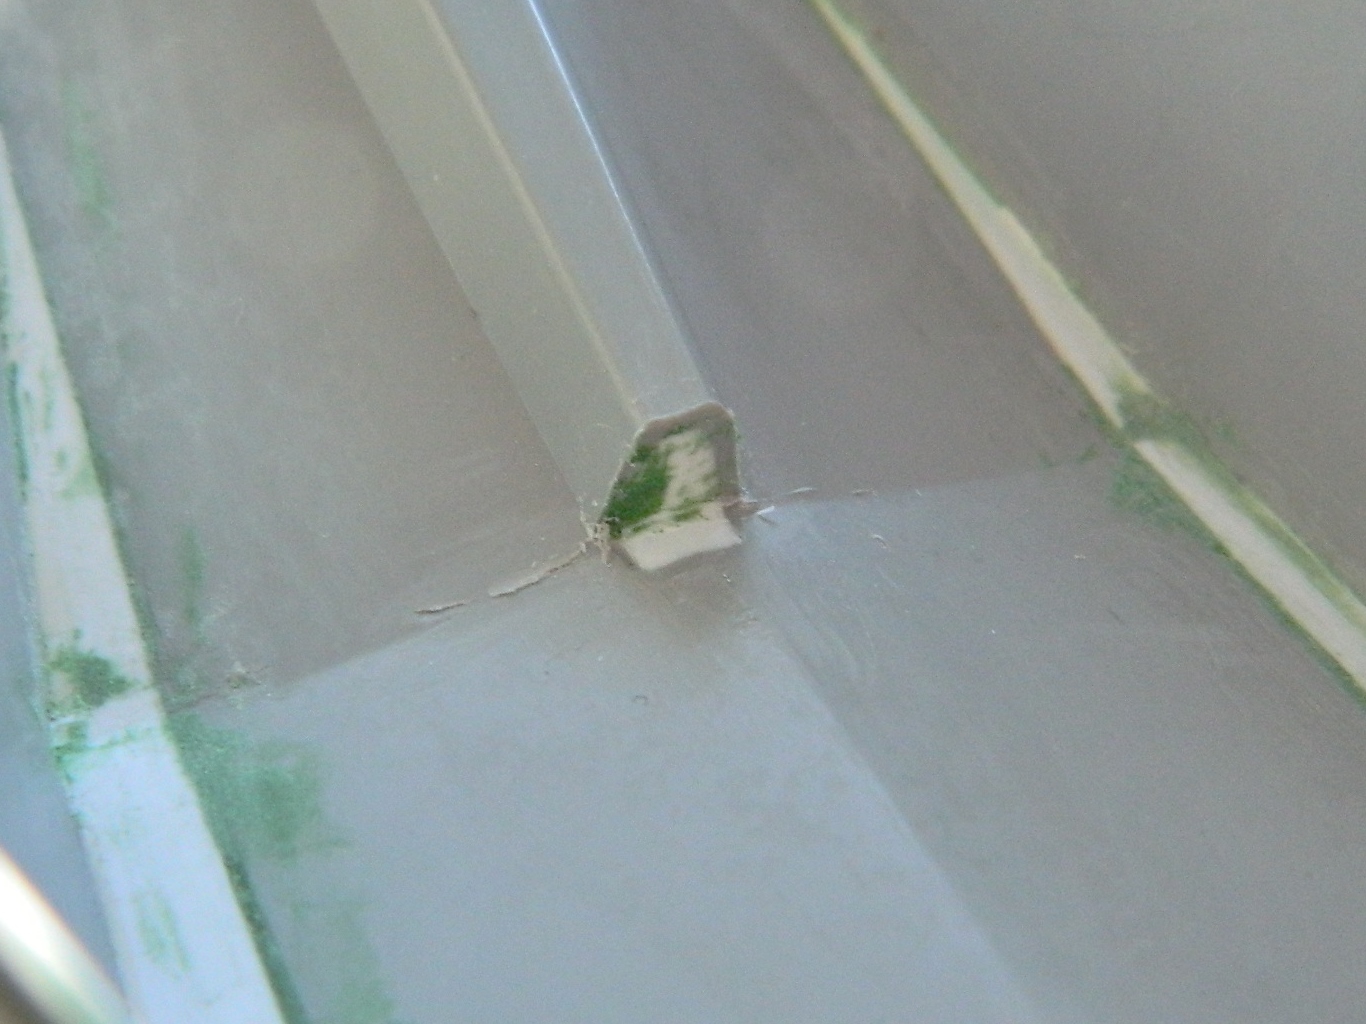
All the problems I’m having with the kit parts were engineered into it, guaranteeing problems. I don’t think that was Revell’s intention, but that’s how it is. In my kinder moments (rare that they are), I suspect the person(s) who cut the dies for this kit wasn’t a master die cutter. I don’t think they were journeymen. I suspect they were new-hire apprentices. And what makes me think that? In the next photo, that U-shaped area is a positive; it sticks up from the surface. That means that when the dies were being cut, the die cutter tool (I mean the tool…I’m hoping the person holding the tool wasn’t also a tool…) skipped across the surface of the die and left a groove behind. And I mean left a groove behind! What sort of quality control lets something like that out of the die cutter shop and into the production area? Nothing I can say would be a “kinder moment”:
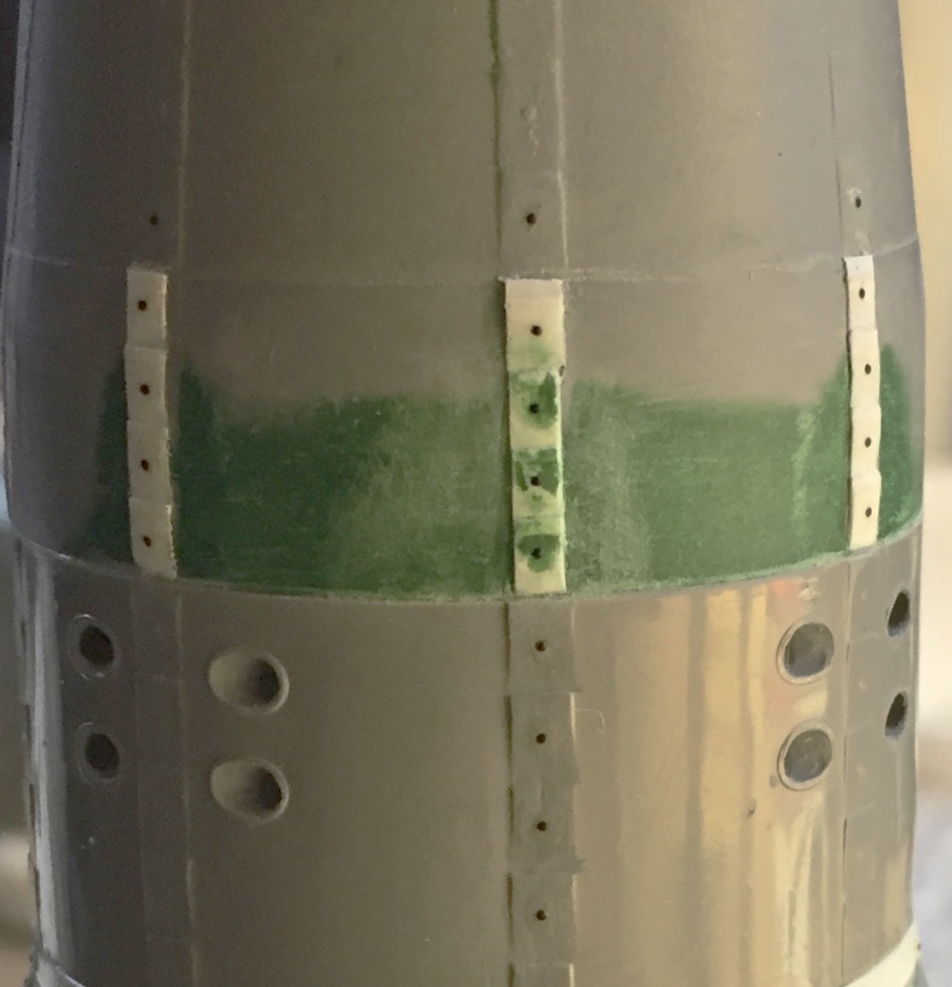
There are panels on both the retro and service modules. On the kit they’re hinted at with REALLY LOUSY raised lines. The lines are inconsistent in height, shape, and any other factor that makes them what they are…instead of what they should have been. So they have to be redone…and the usual way to do that is to scribe into the surface the raised lines.
Major problem with that task is personal. I hate scribing panel lines. Thus far, no amount of practice has made me any better at doing it. (Hmm…maybe I can get a job with Revell cutting dies?) (Meow). This photo shows the abysmal raised panel lines on the right, my crappy attempt at scribing in the center, and what I finally decided to do instead. Add panels to the surface:
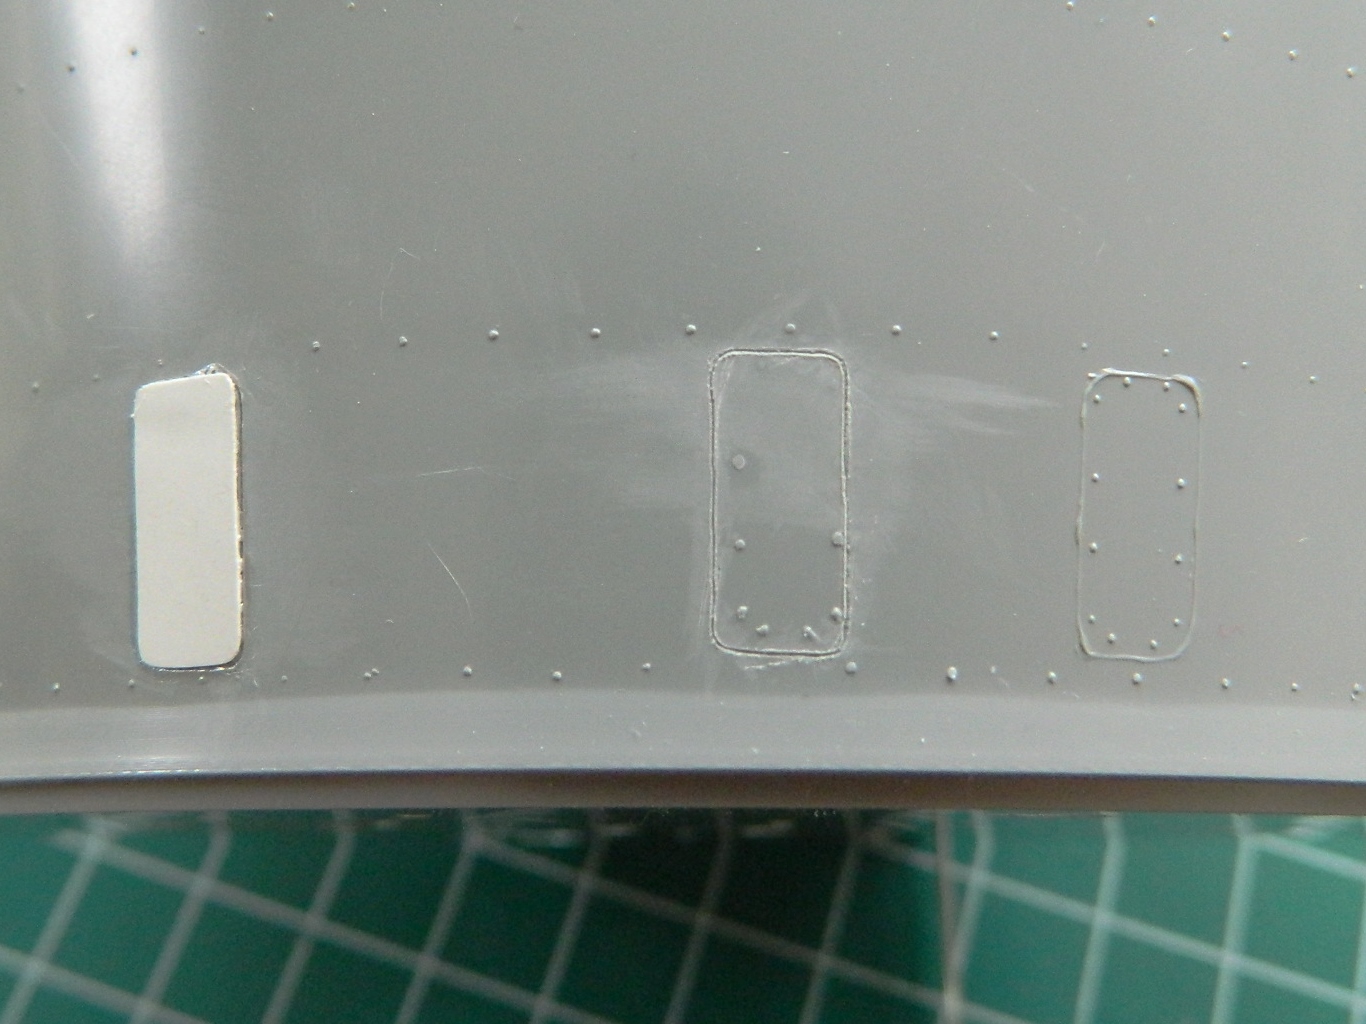
Yes, on the actual spacecraft, those panels weren’t on top of the surface. But the accuracy of this model is bloody atrocious, even after all my work, so one more inaccuracy with this build is just another bucket of sand on the beach:
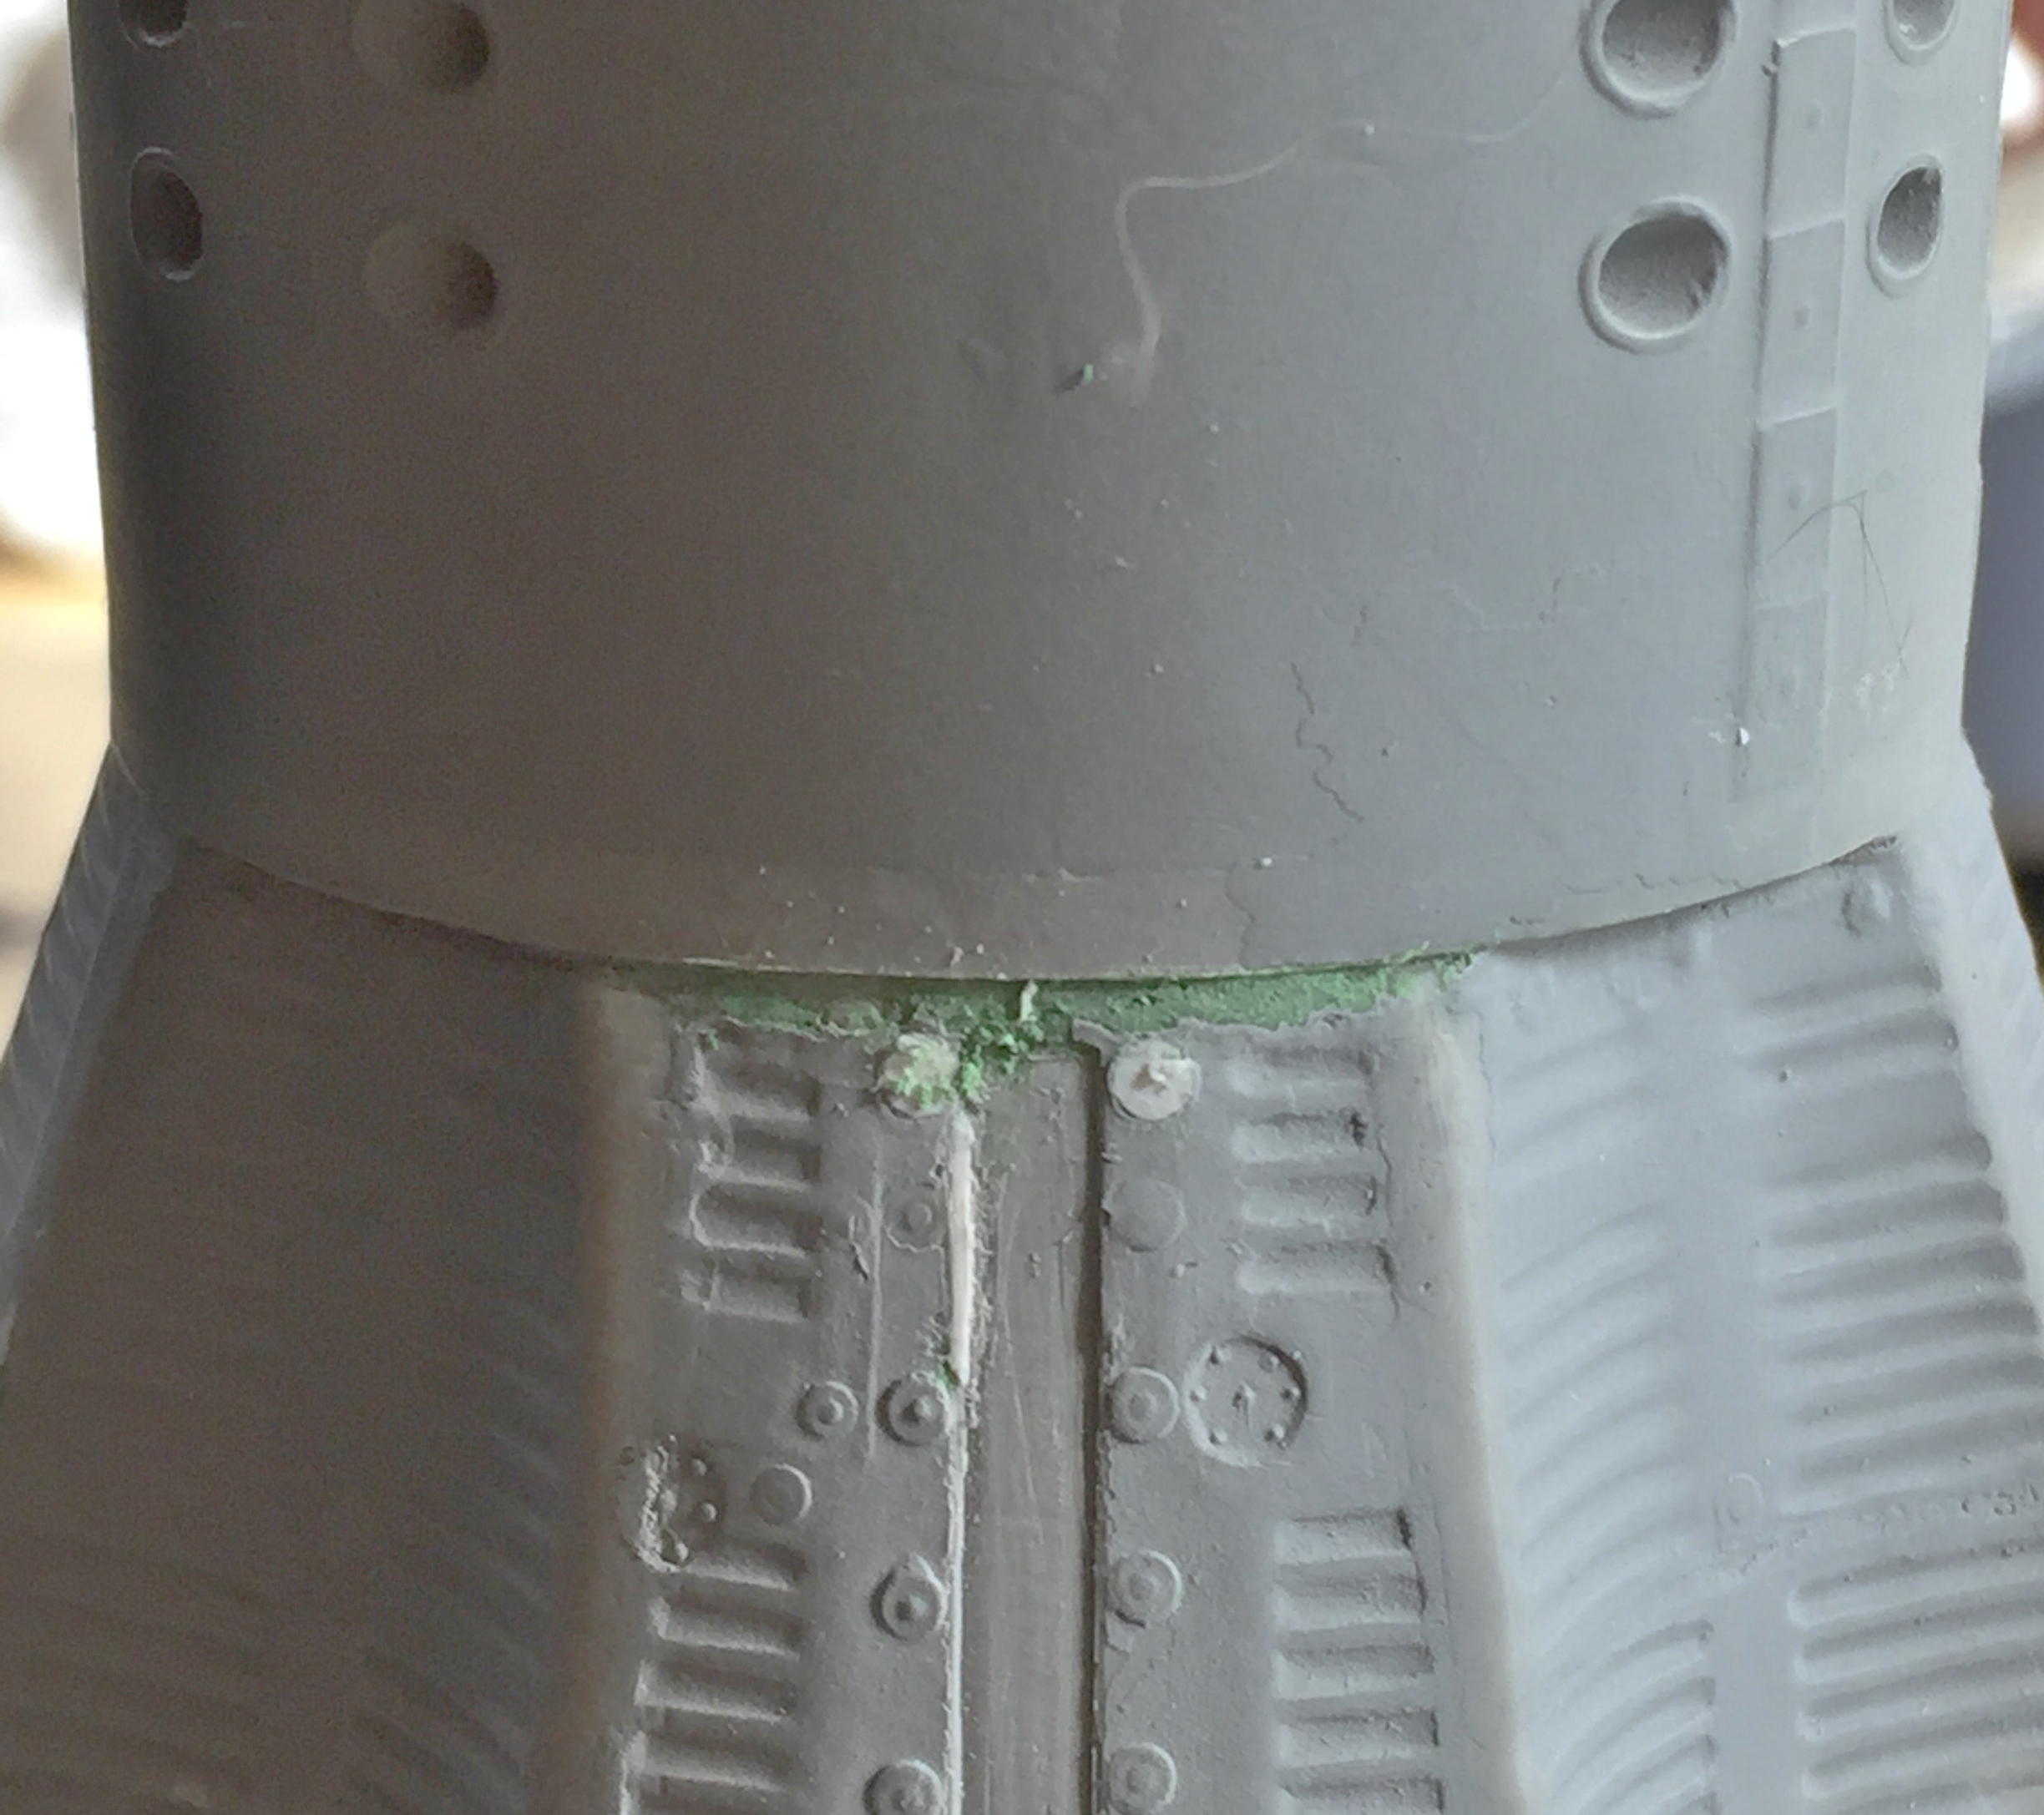
I doubt you’re surprised at this point (I certainly wasn’t), but the heat shield doesn’t quite fit well on the back of the capsule:
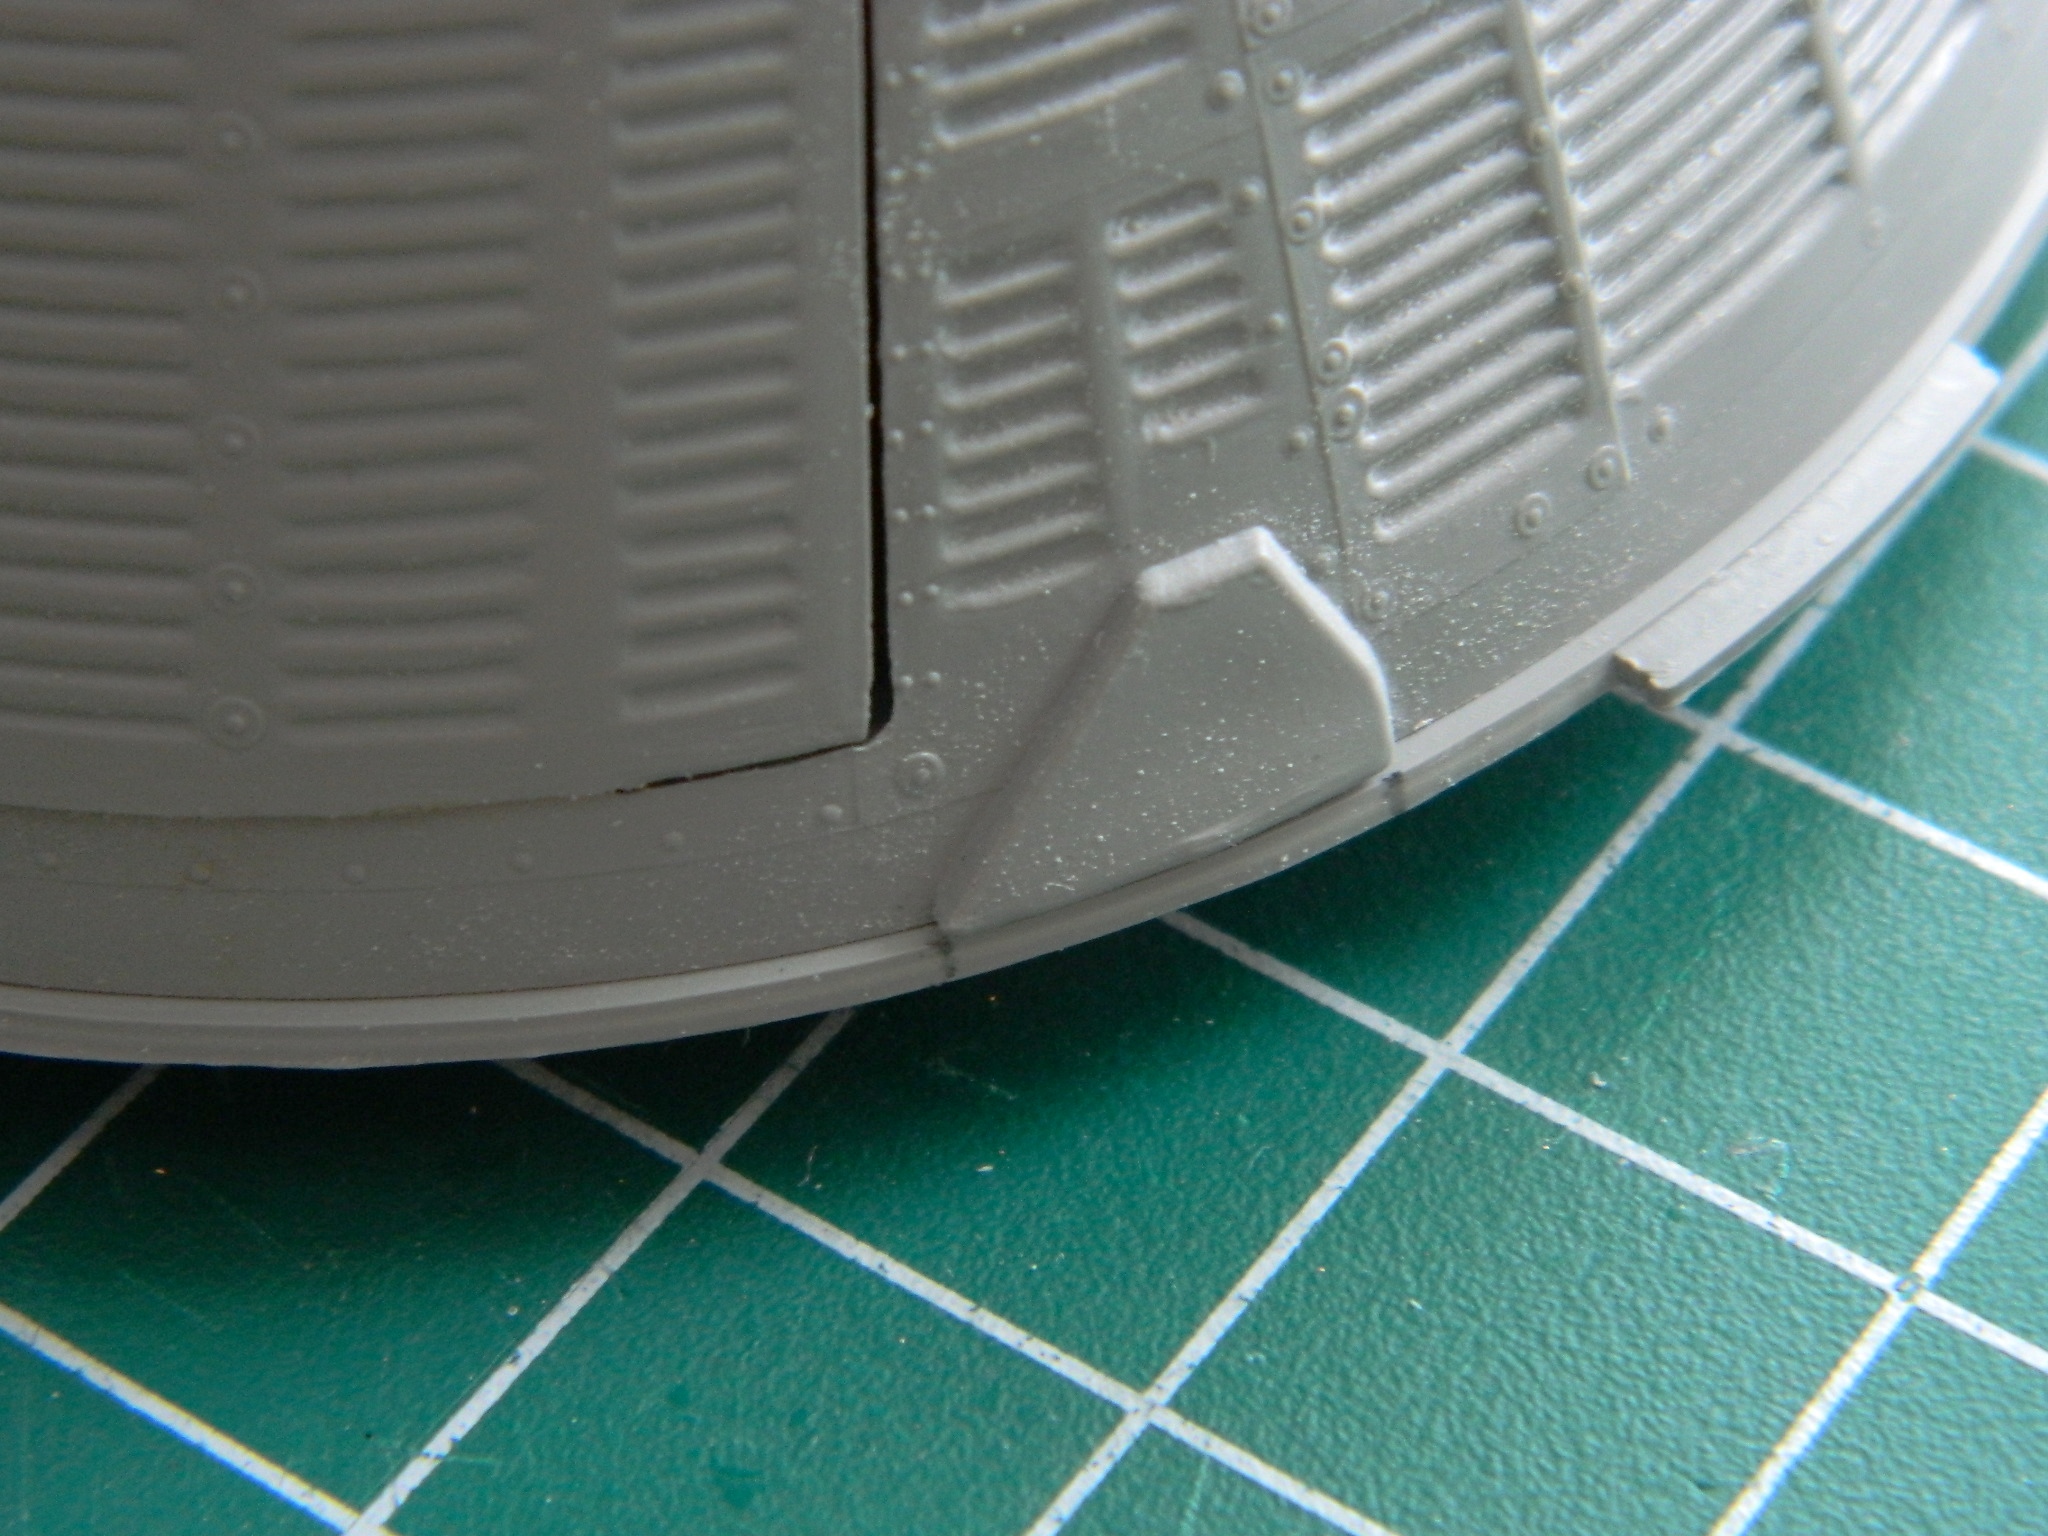

Initially it seems like an easy fix. Just file down what extends past the edge of the capsule and add plastic to where the heat shield doesn’t quite meet the edge of the capsule. The problem with that is that this heat shield also has to fit the top of the retro module and if I did that, it wouldn’t fit at all. I had to make the edge of the capsule conform to the shape and edge location of the heat shield. Putty time:
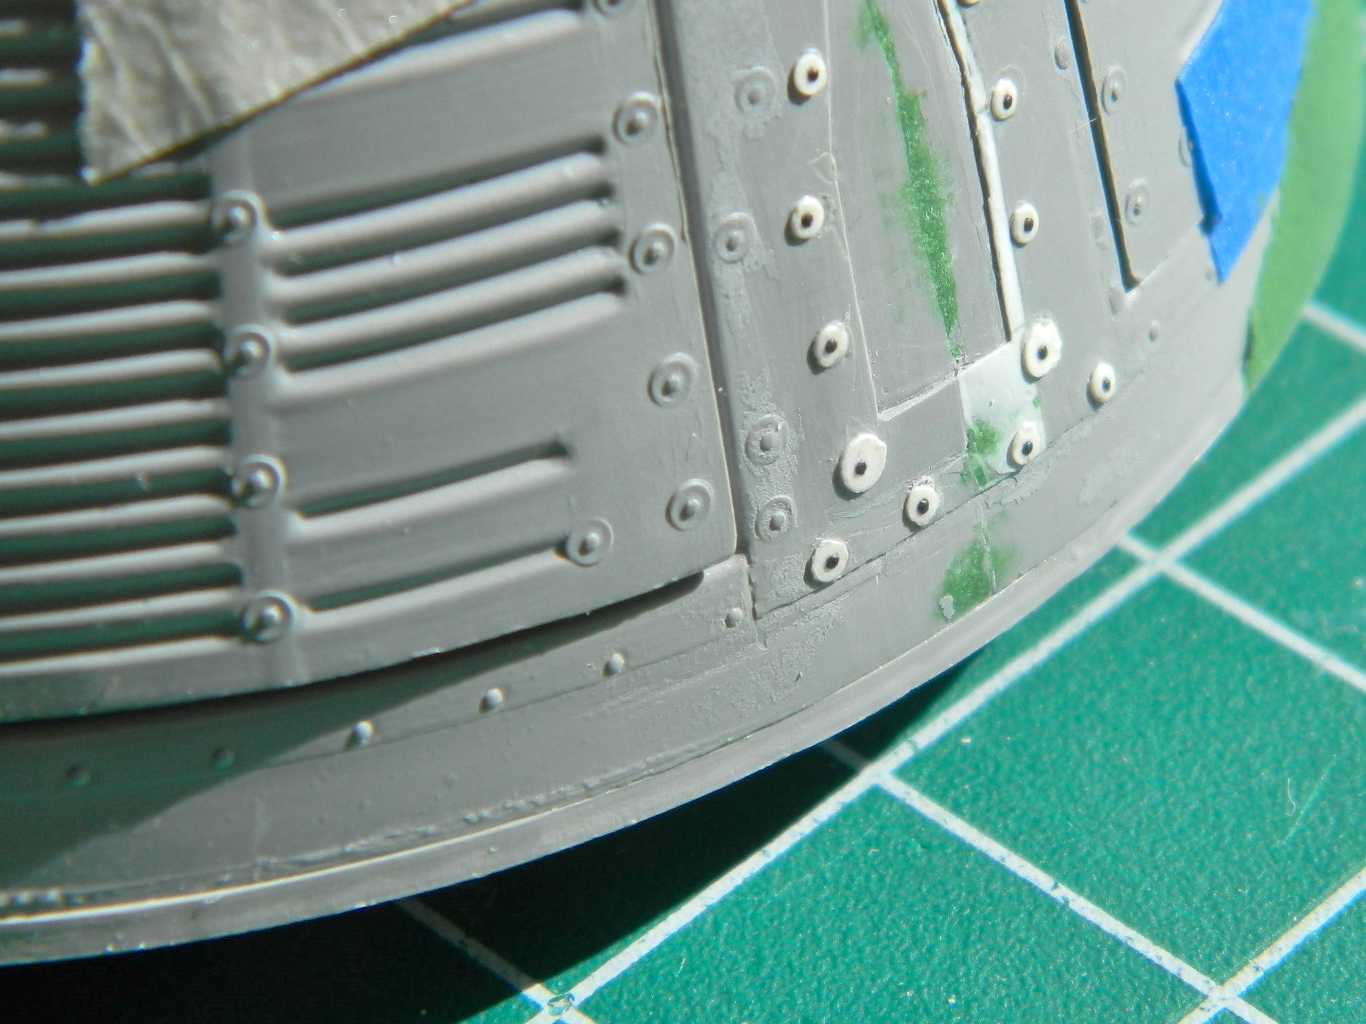
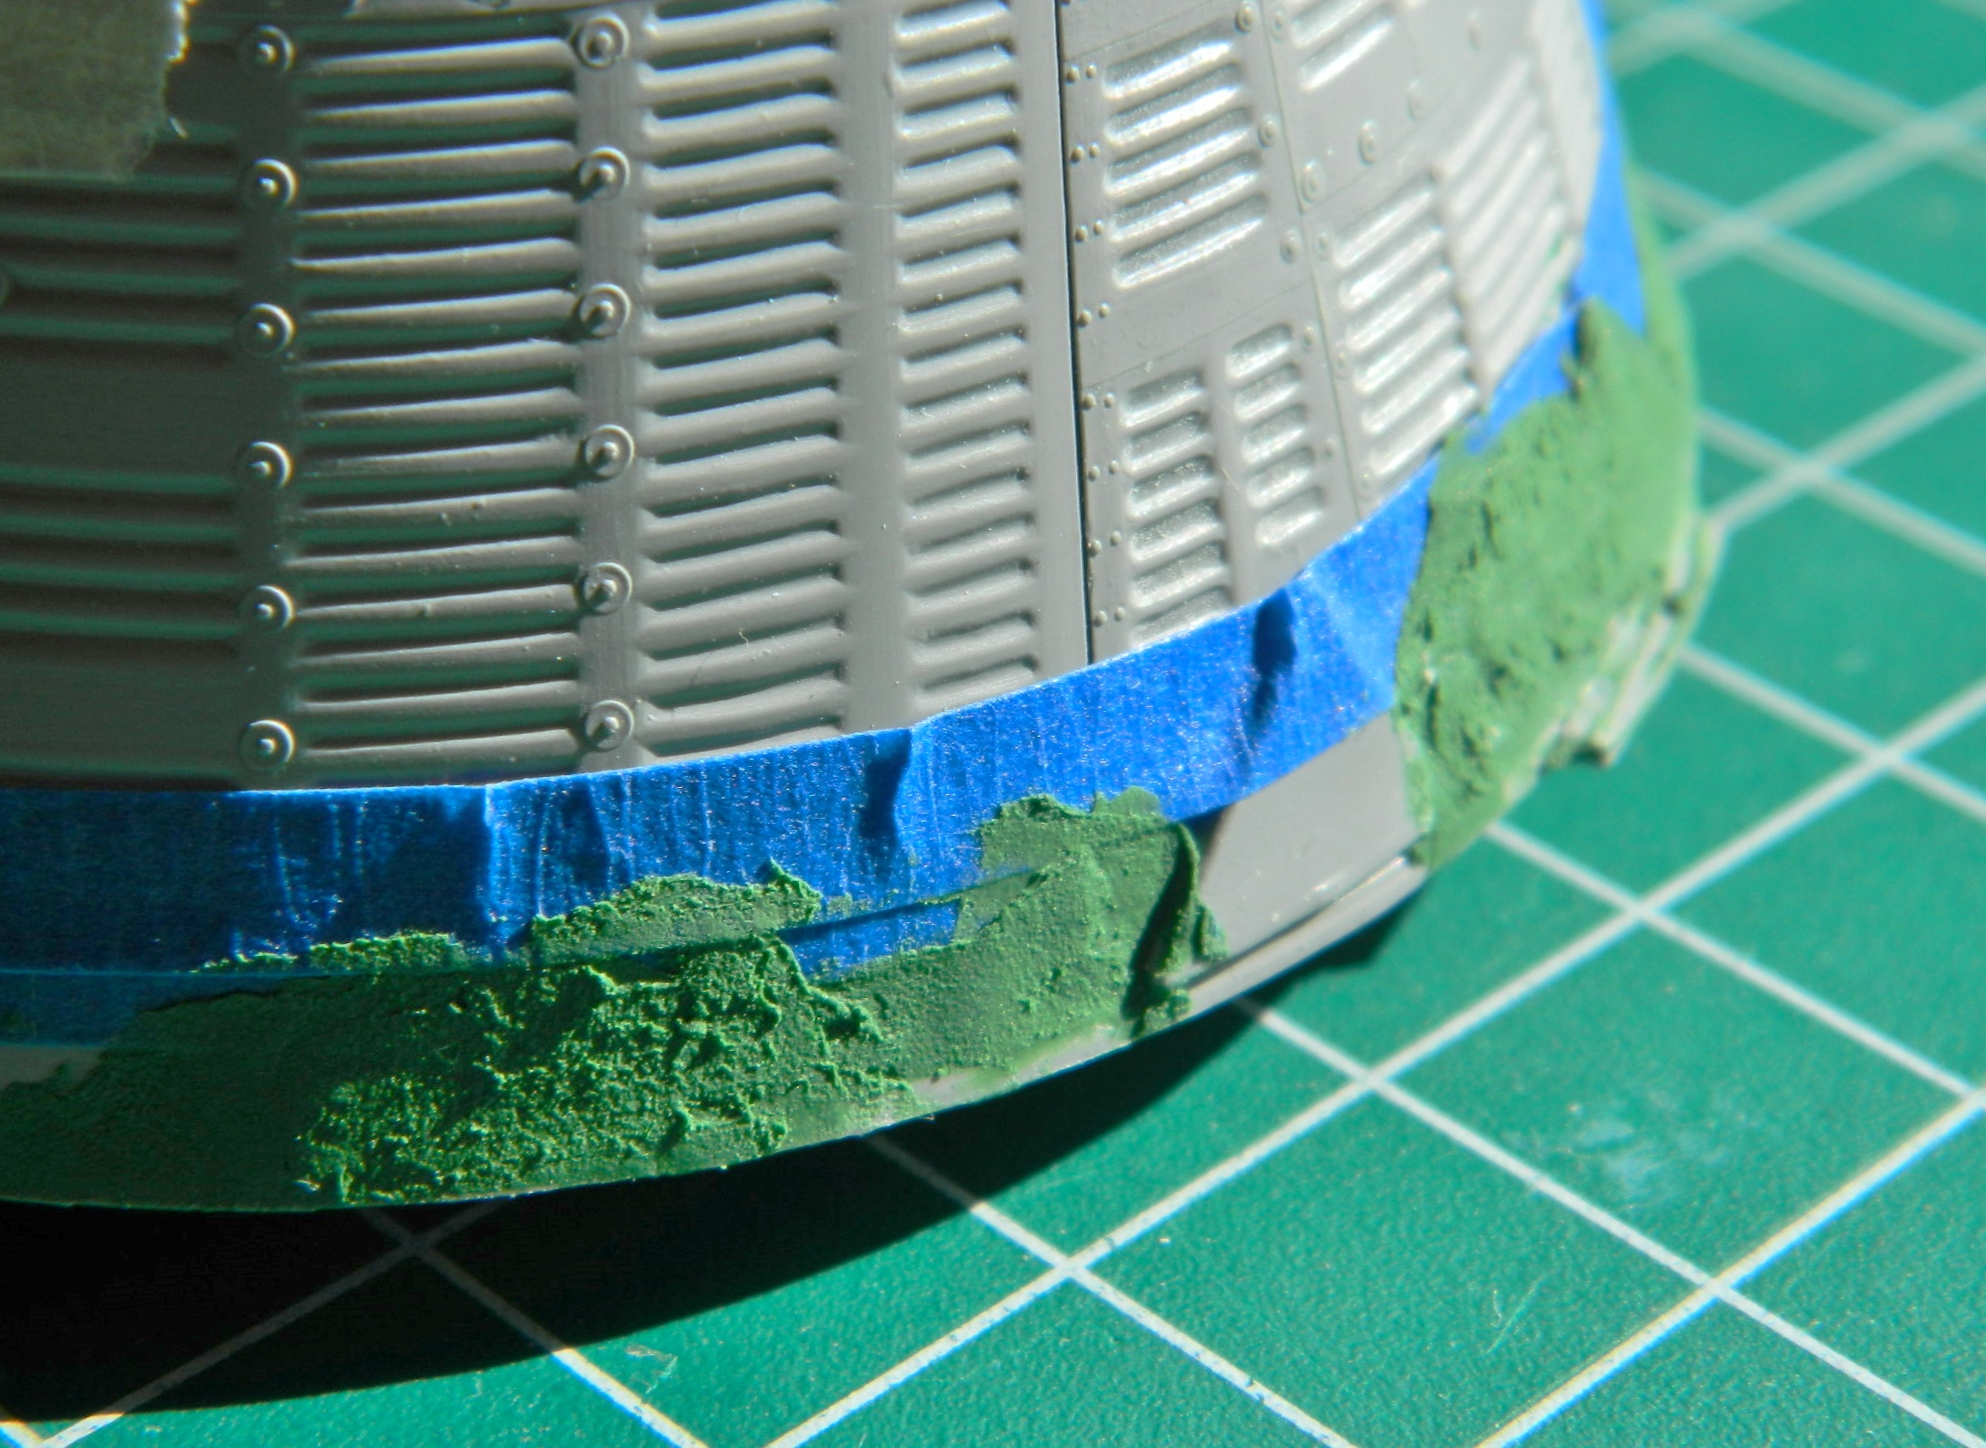
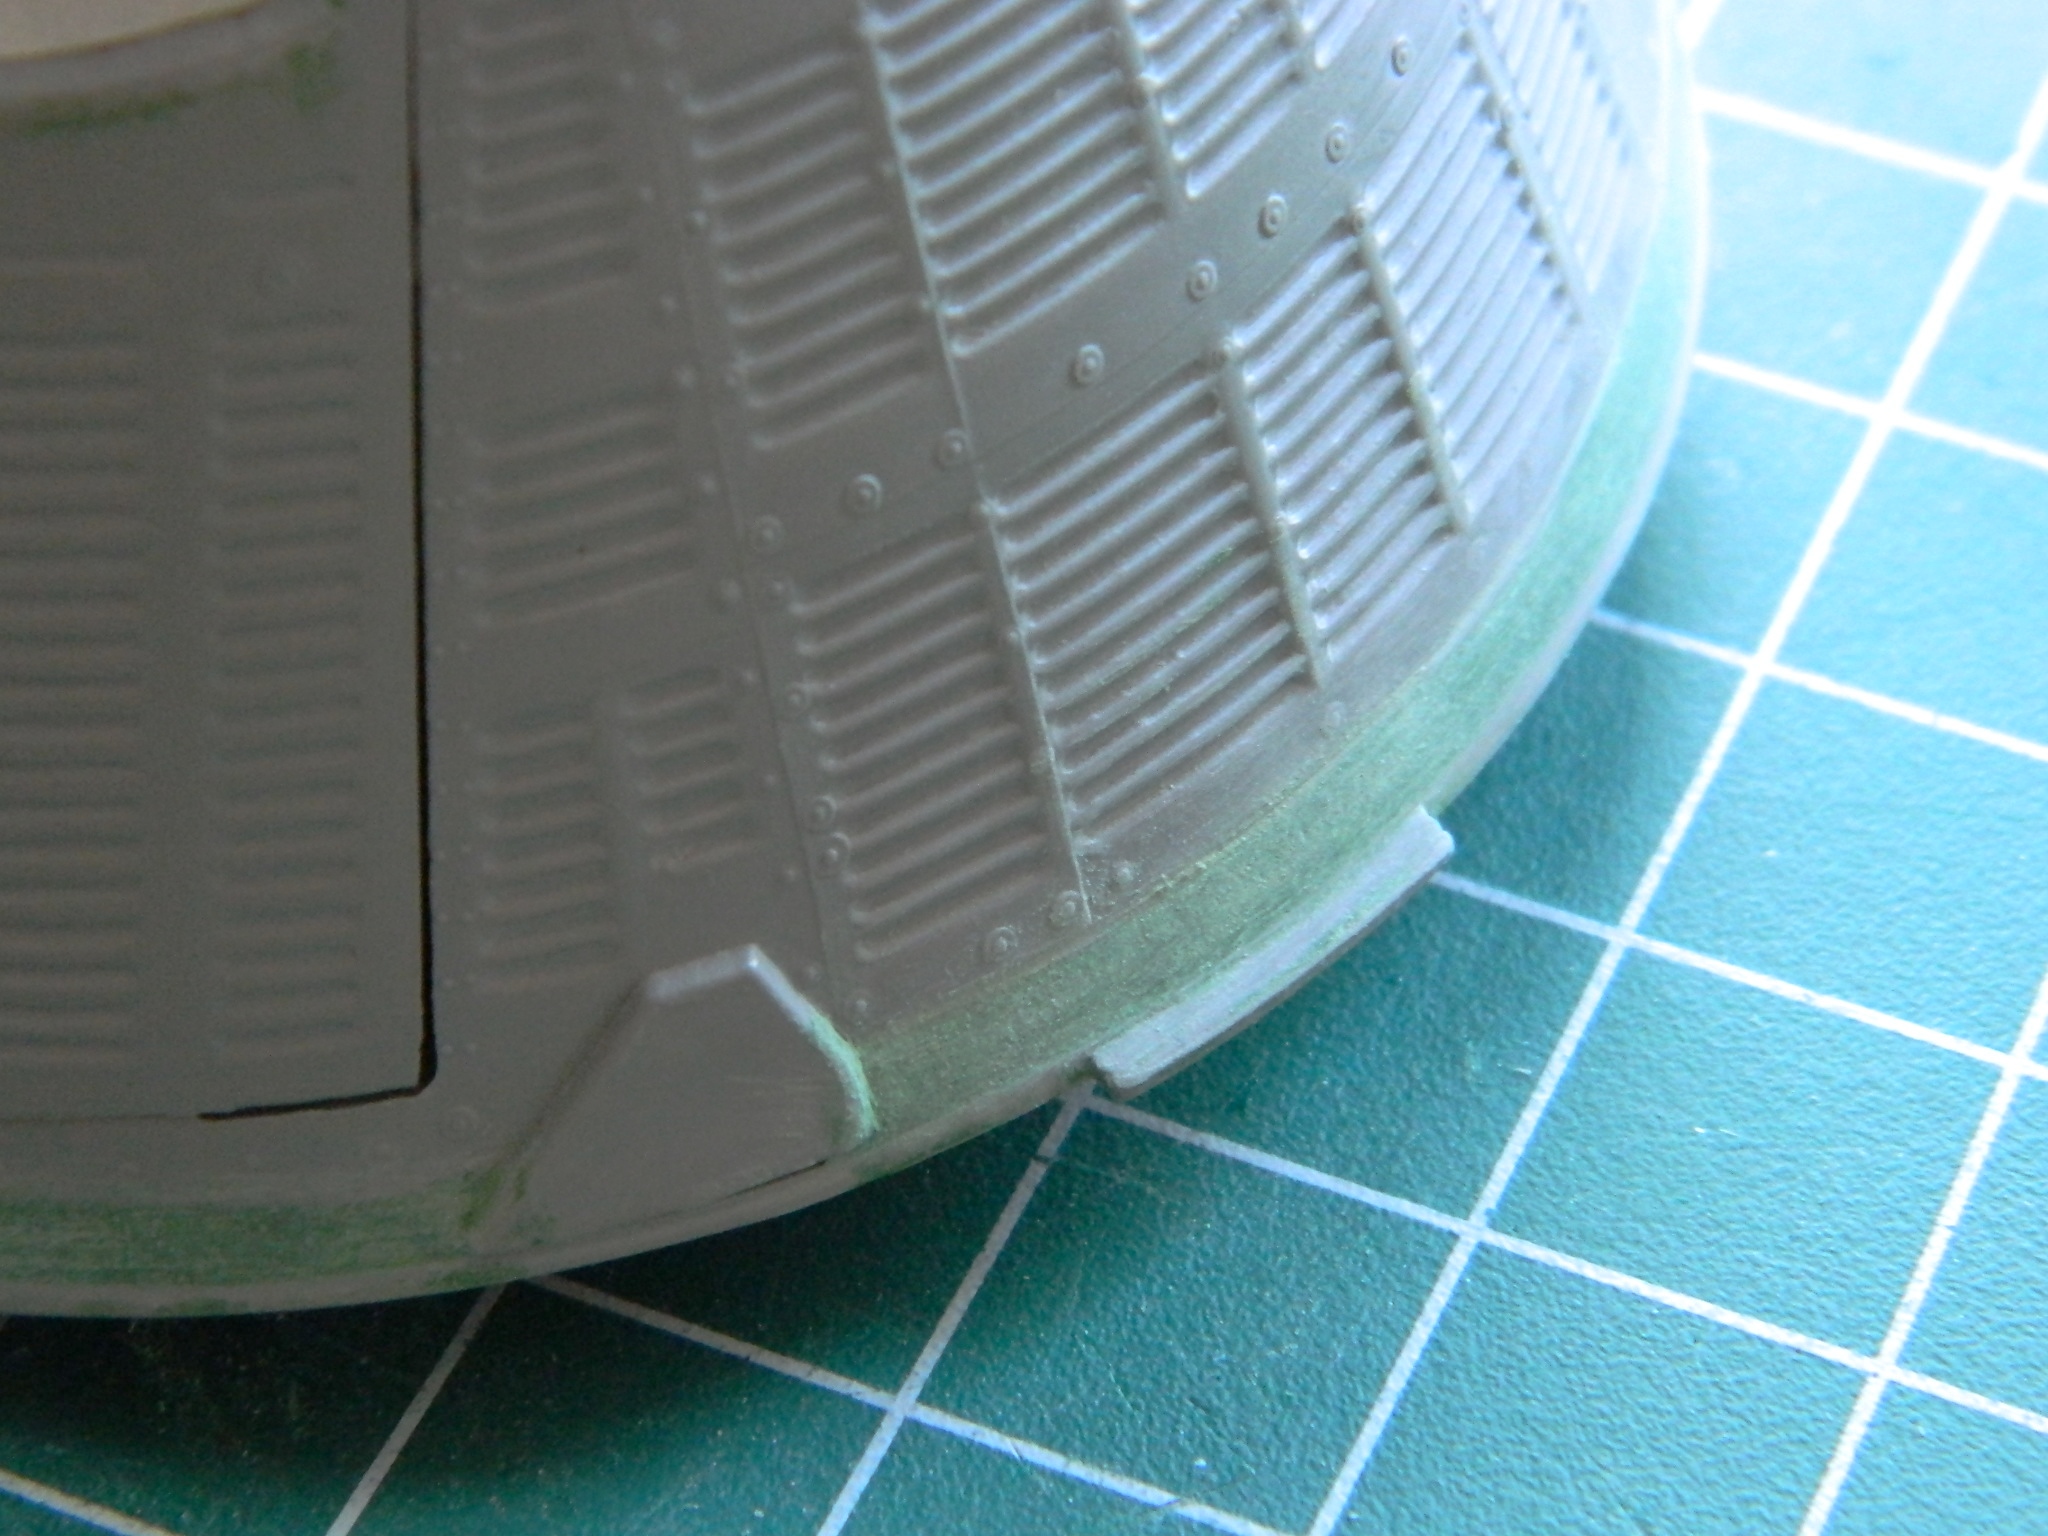
Not my preferred way of doing things but that’s just what this [INVECTIVE DELETED] thing requires.
Next step was to use the resin AM parts to replace the incorrect kit items for the orbital maneuvering system (OMS):
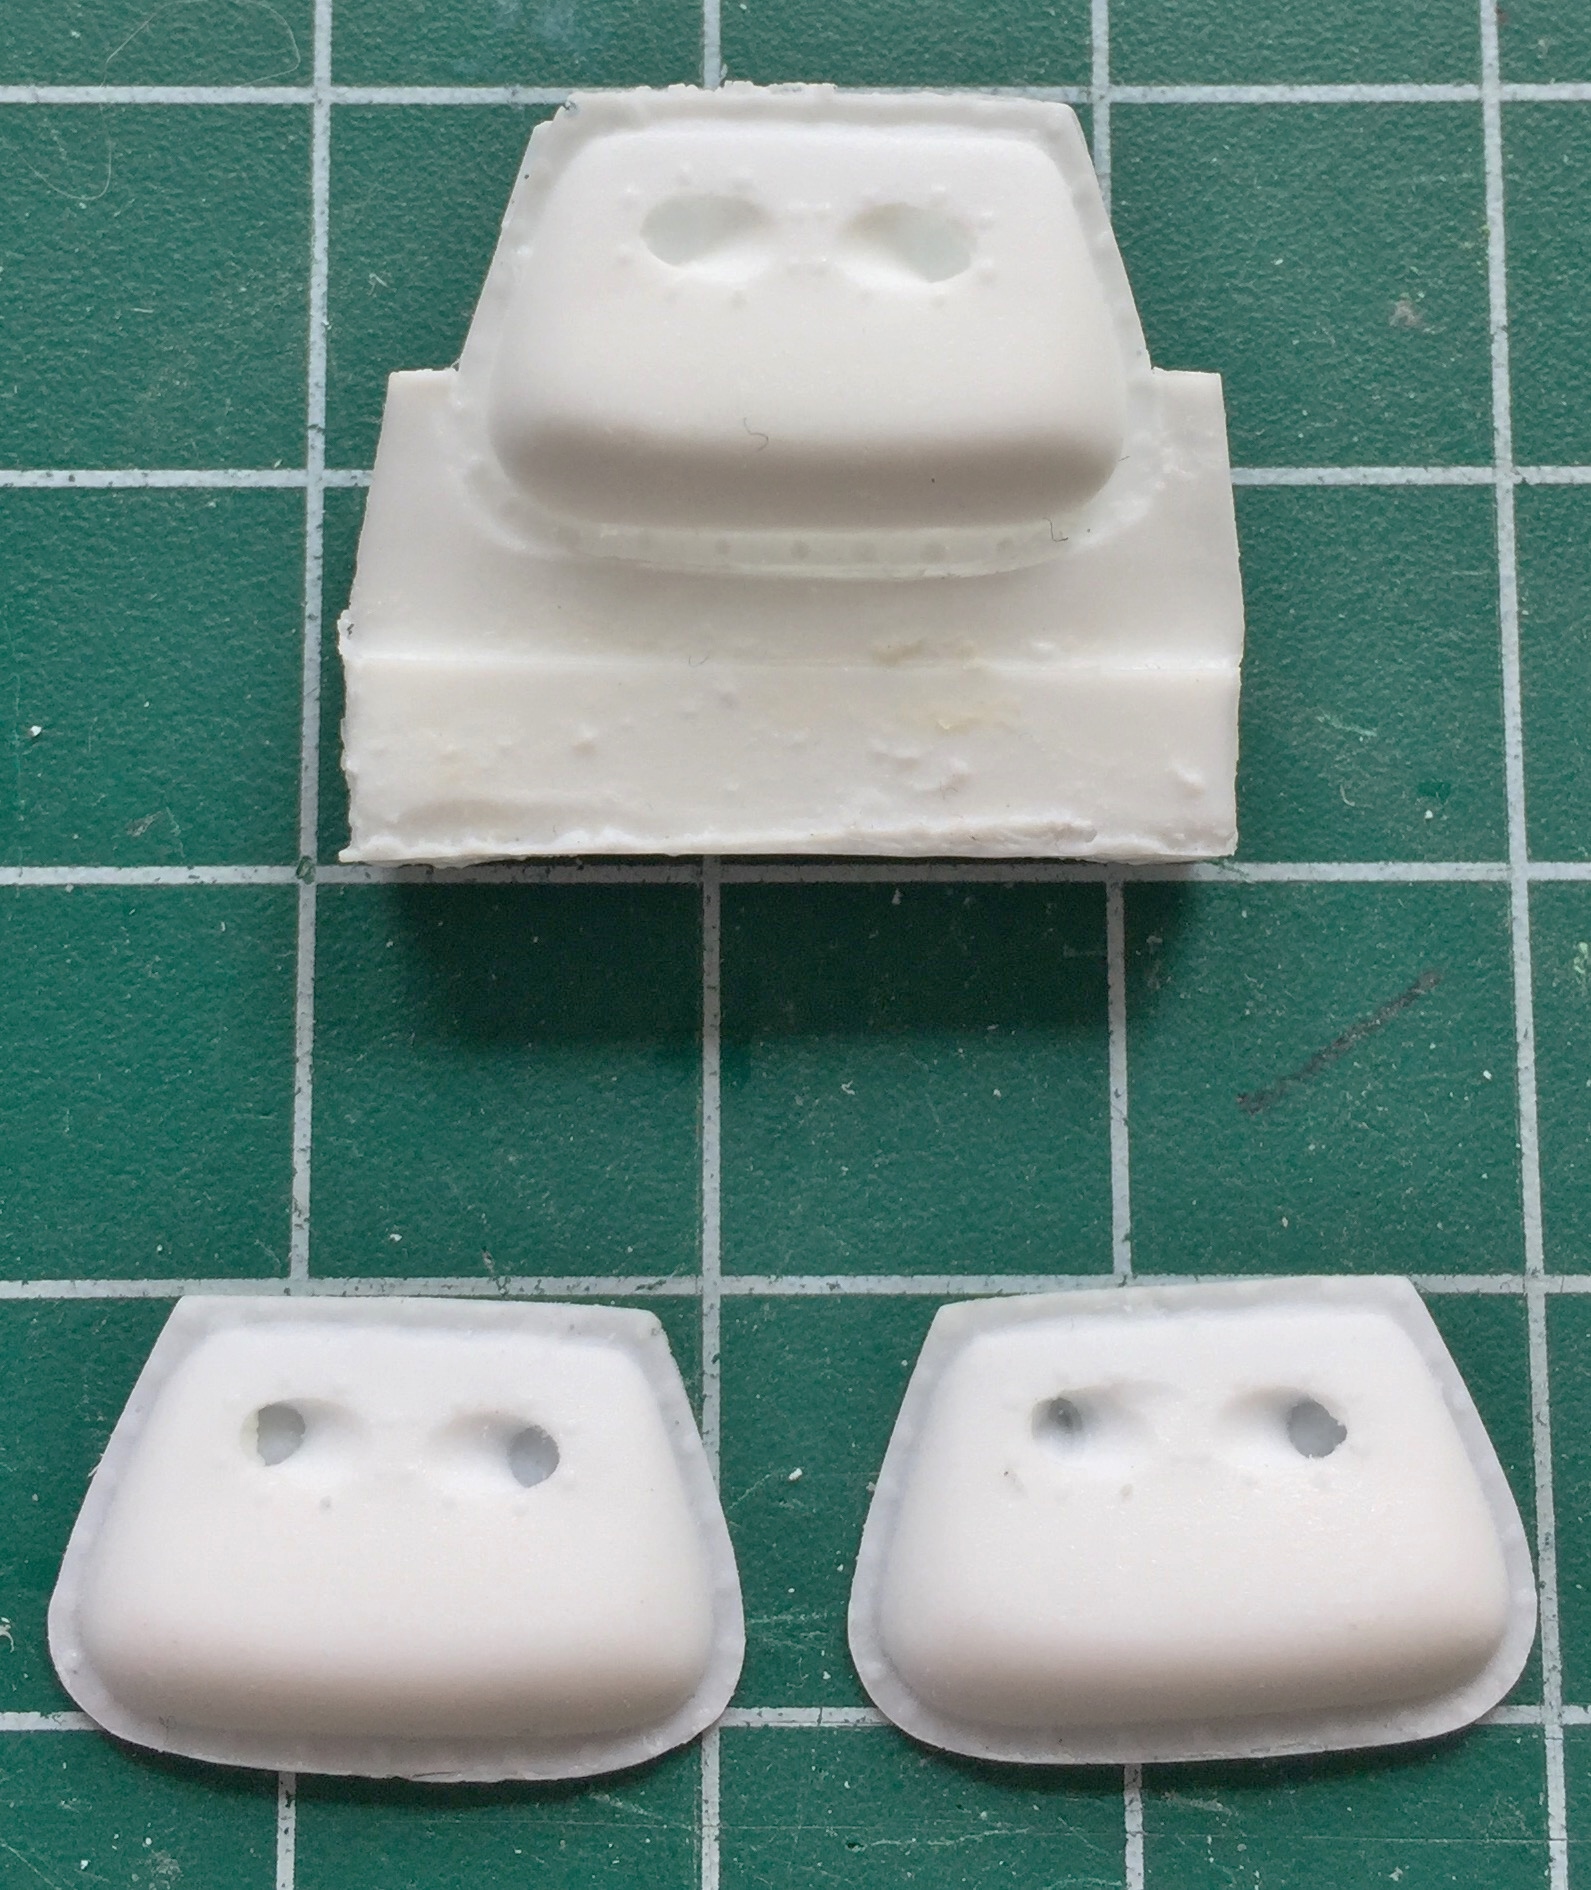

And here I encountered another disappointment. Yes, whoever built the masters for these parts did an adequate, NOT good, job. The OMS parts that go on the outside of the retro module are too tall. References show they should be half the height than what was provided in the set. Also, though I am not a professional mold maker or resin caster, at least I know that resin casts better and denser under pressure. This idea had not occurred to whoever made the molds and poured the resin into them. The castings are FULL of bubbles, some of which show up in the least opportune places, and the handling of the masters during mold making only left one thing to be desired.
Care.
The edge of this OMS unit was poorly cast and had a very pronounced bubble along its edge. To fix that I cut away the mounting flange and replaced it with a sheet of .010″ (.254mm) styrene:

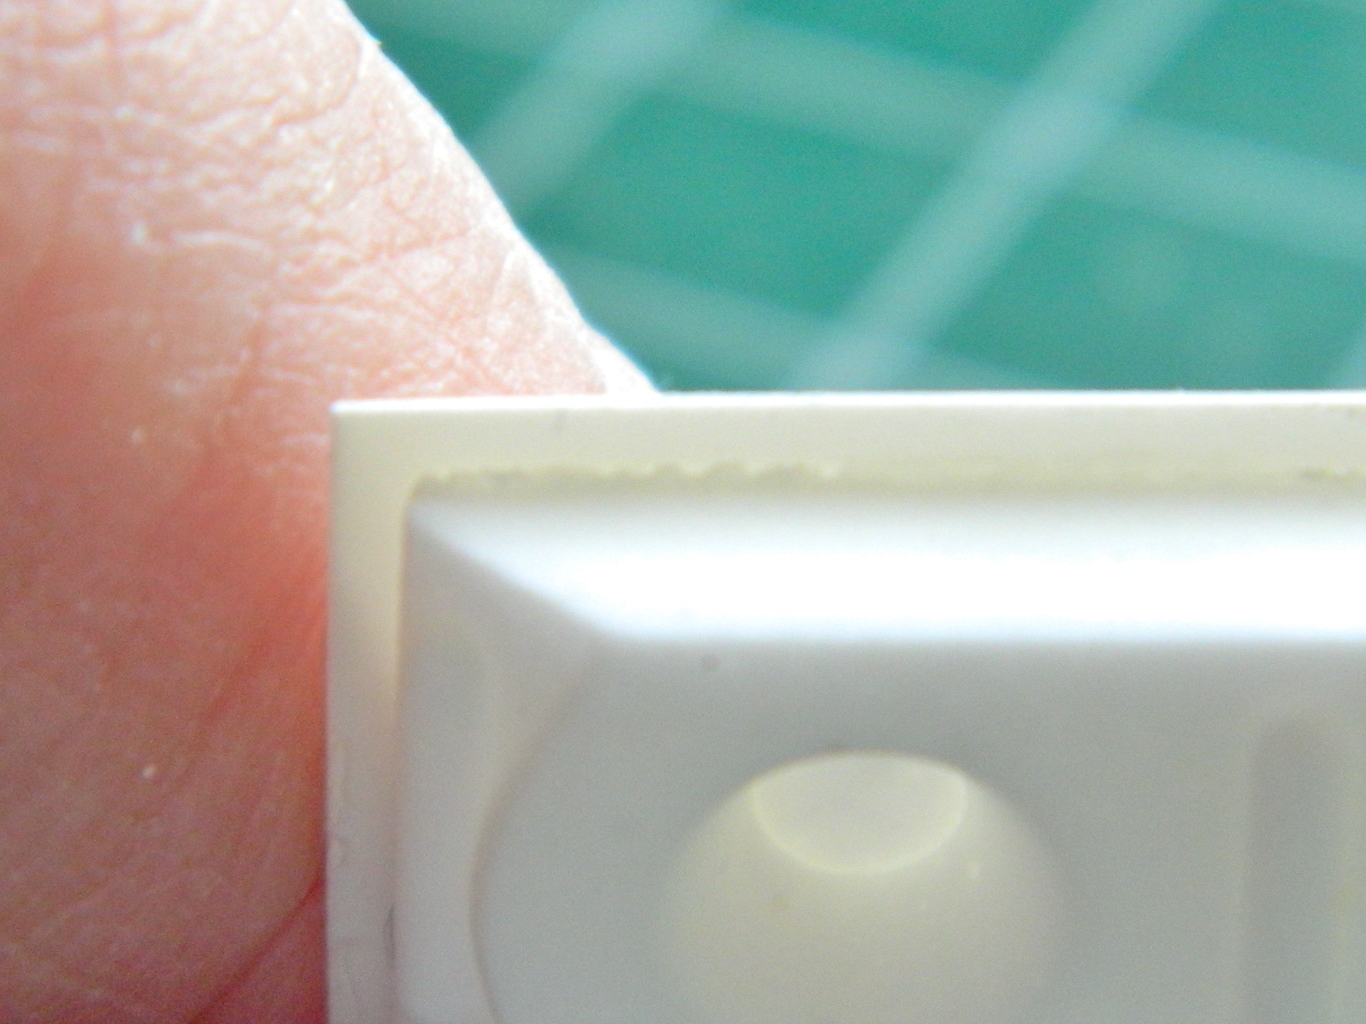
On the other side of this OMS pack, close examination of the flaw at the edge in the picture below was molded that way. That meant the damage to the master was already done before the mold was made. Gosh…what a surprise it showed up in the casting:

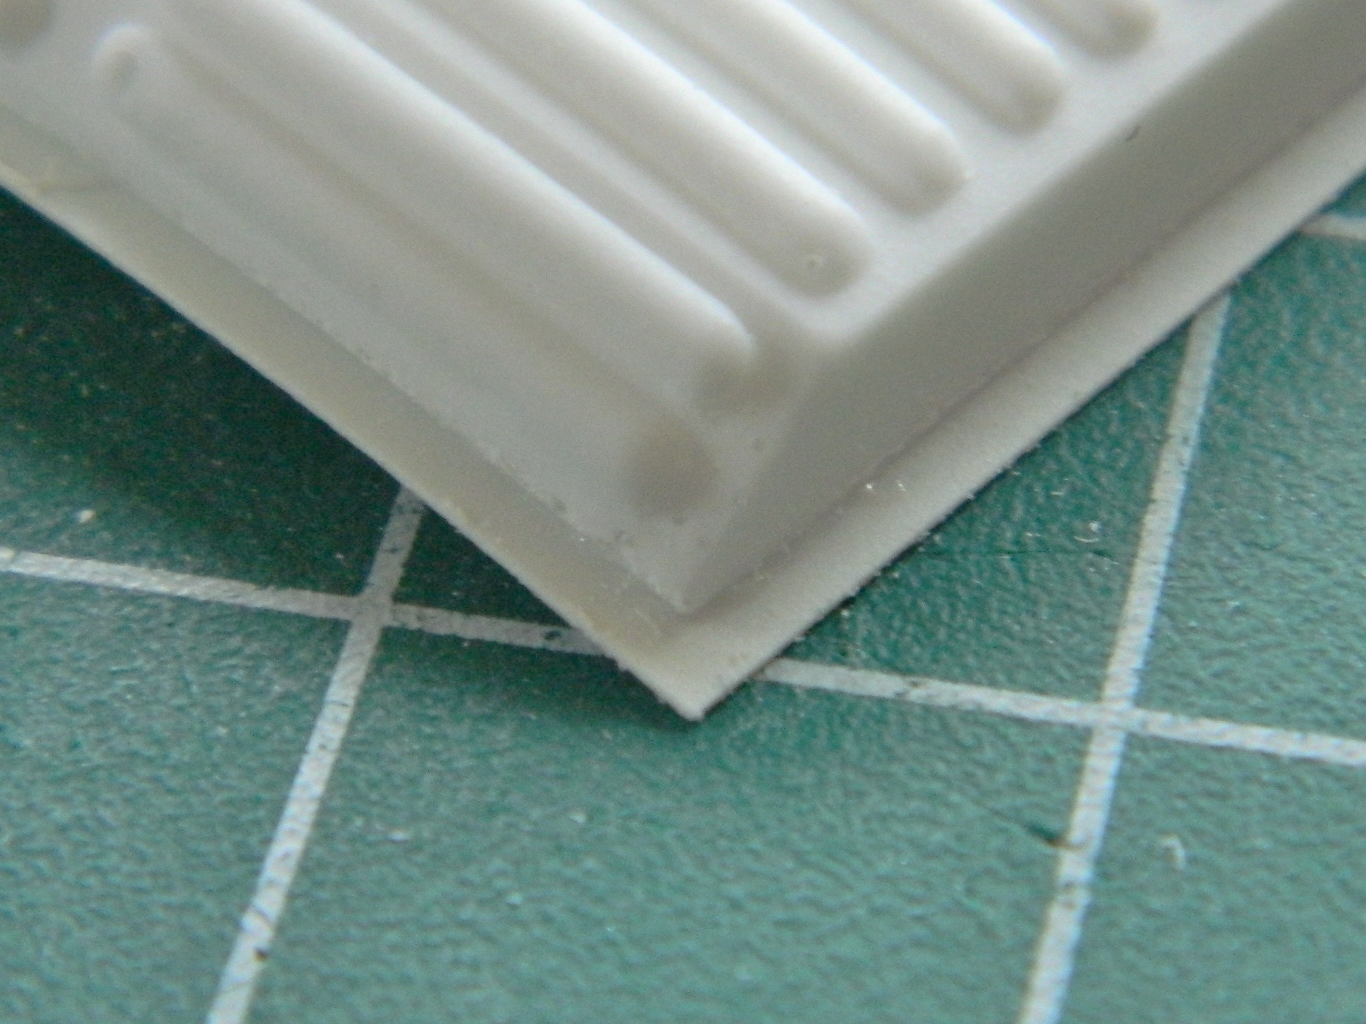
This part is supposed to represent the horizon sensor. The bubbles were large enough that putty would not have fixed them. Instead I opened the bubbles so that I could insert styrene to fix them (and subsequent checking of references showed that it’s pretty inaccurate generally; I fixed it to the best of the reference’s detail…which wasn’t enough, but there it is…again):
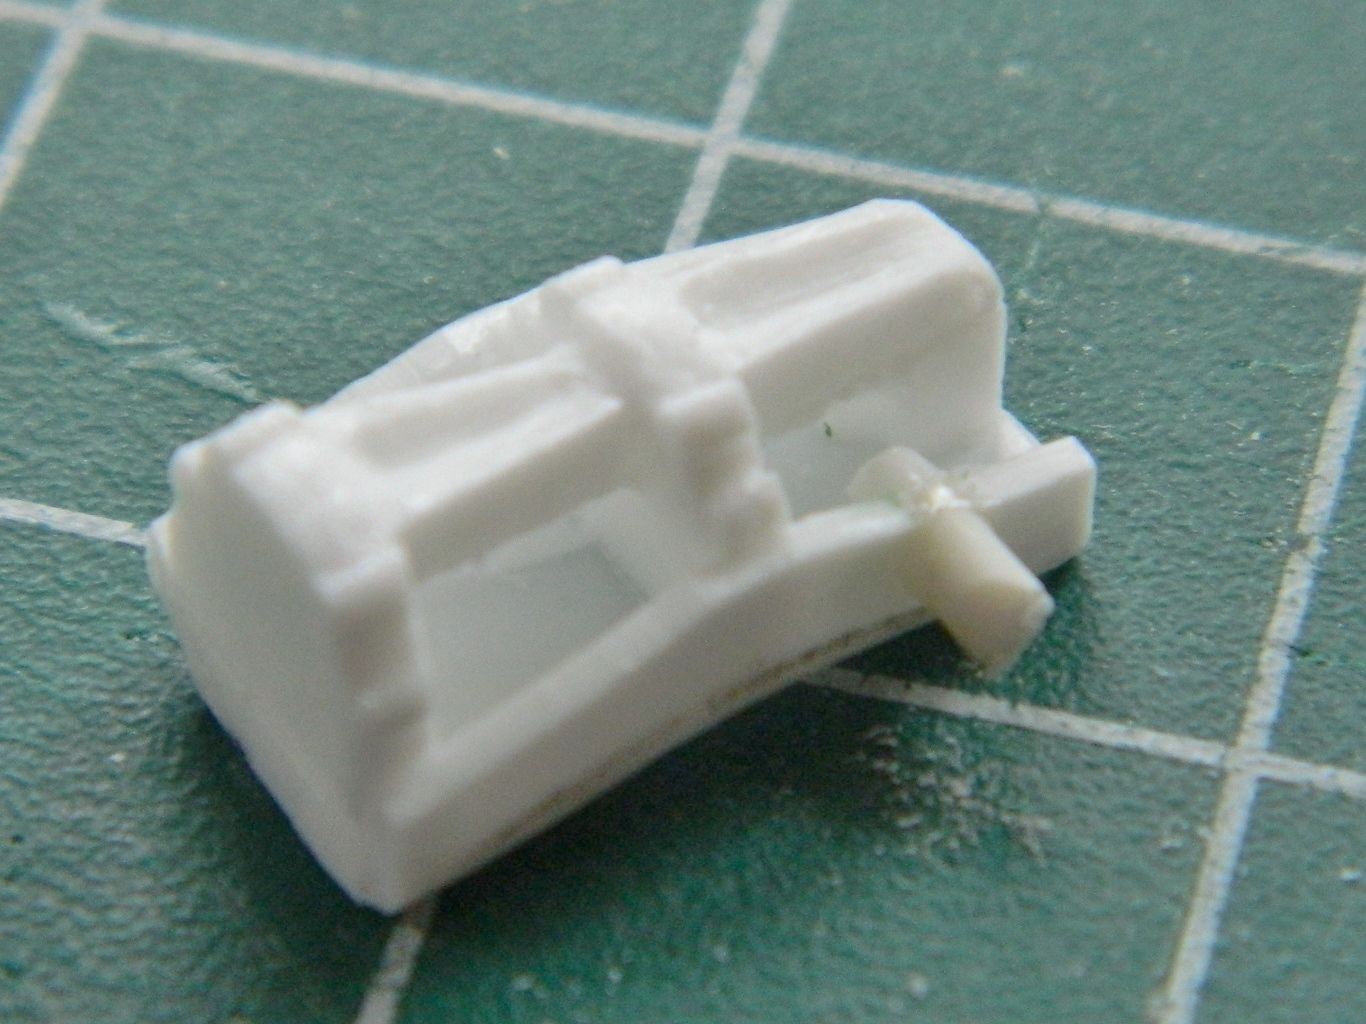


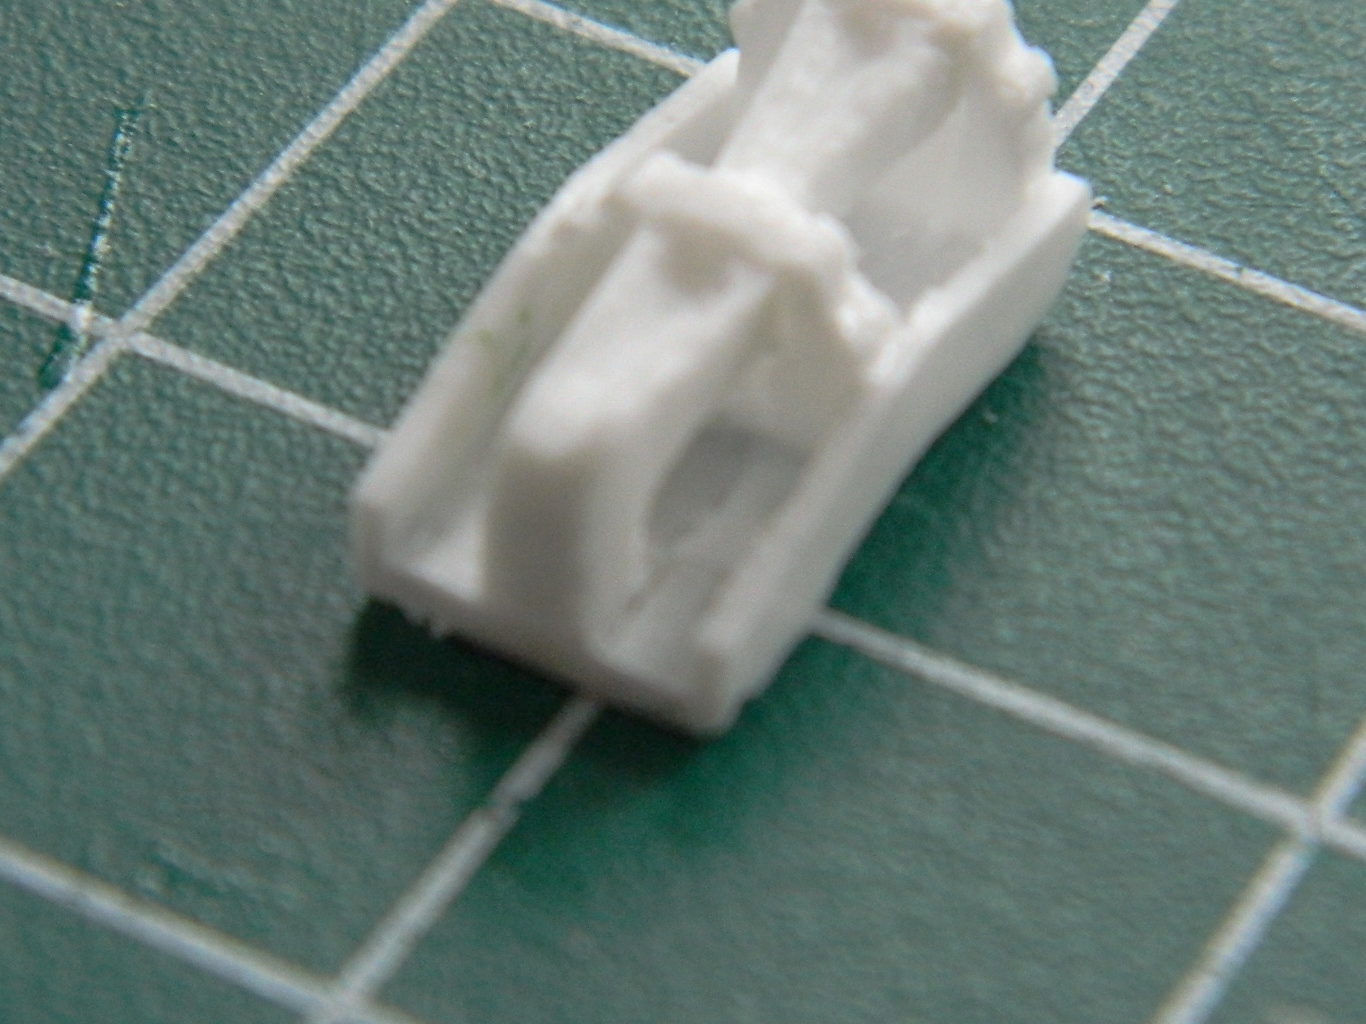
This part, a wiring shroud, also had a couple of large bubbles also (the smaller ones on the face could be filled with putty) that needed plugging:

Before I could add the resin AM parts, the retro module had to be glued to the capsule. The kit provides rudimentary details for the inside of both retro and service modules. Because I can’t find any reference photos of exactly how things were mounted, wired, and plumbed, I’m not adding those details. The only exception were the braces for the retrorockets. Initially it was because there are a couple of locating pegs to mount the service module. As I’ve been working on this and considering exactly how I was going to hold this thing while I painted it, I realized those engine braces would do quite nicely as a painting handle:

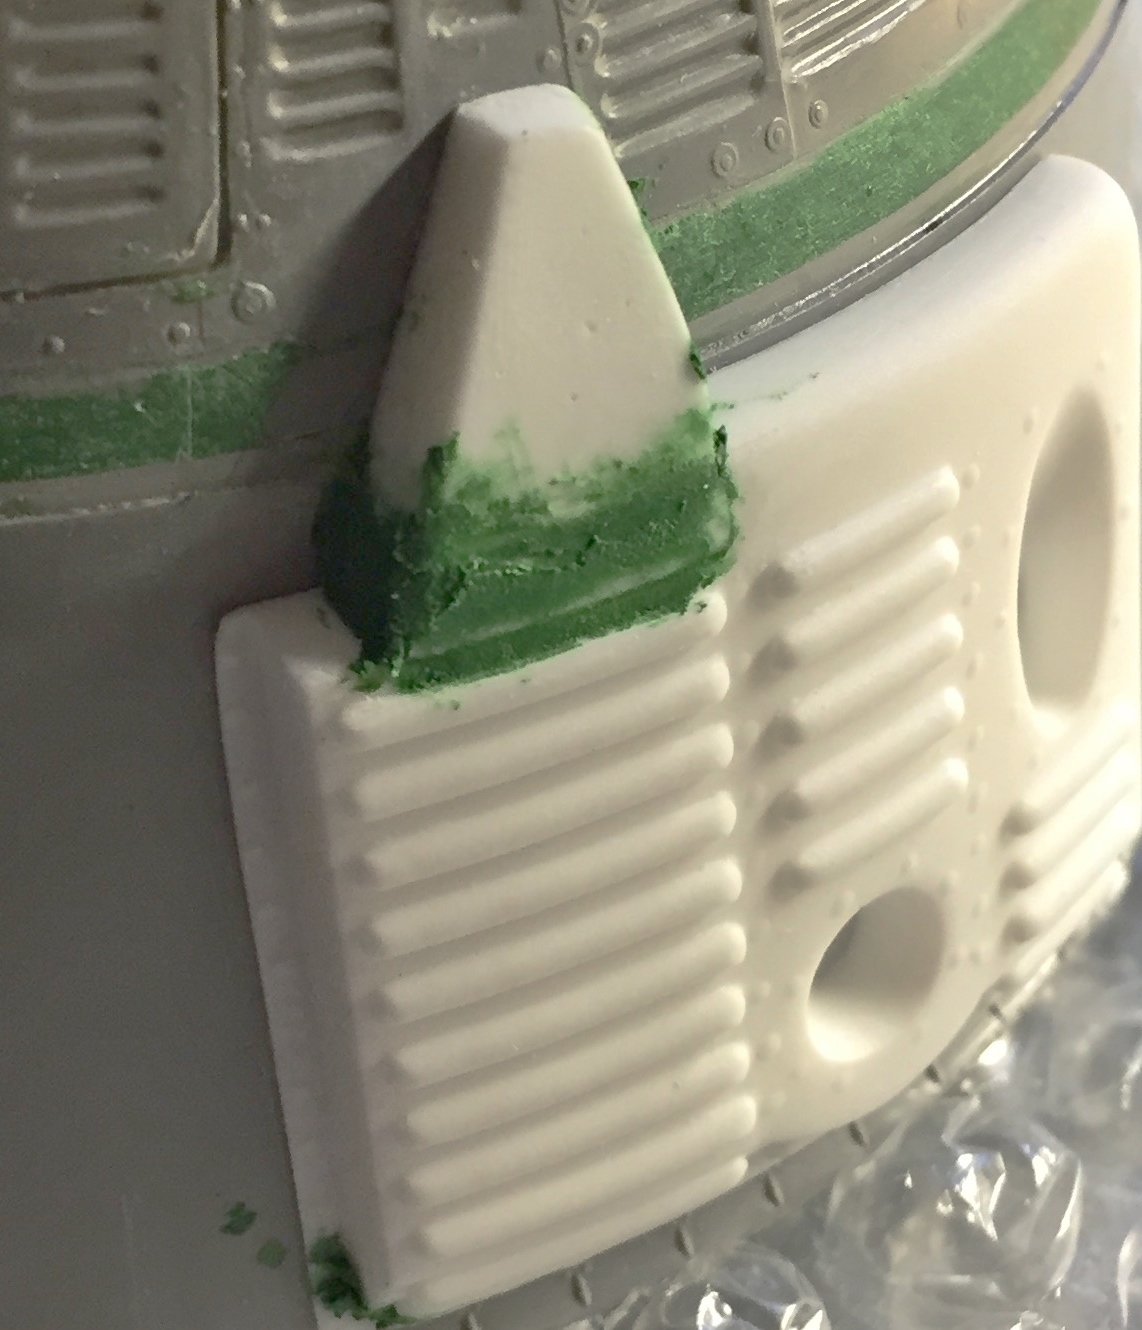
After adding the OMS packs to the service module, they needed to be added to the retro module, which is where most of them go. When I went to add the OMS packs to the sides and align them with their respective wiring shrouds I found another fit problem. The wiring shroud shown below is where it belongs. To get the OMS pack to meet up with it the way it’s supposed to would mean that the OMS pack would be MUCH more forward than references show, or, the wiring shroud would be too far rearward:
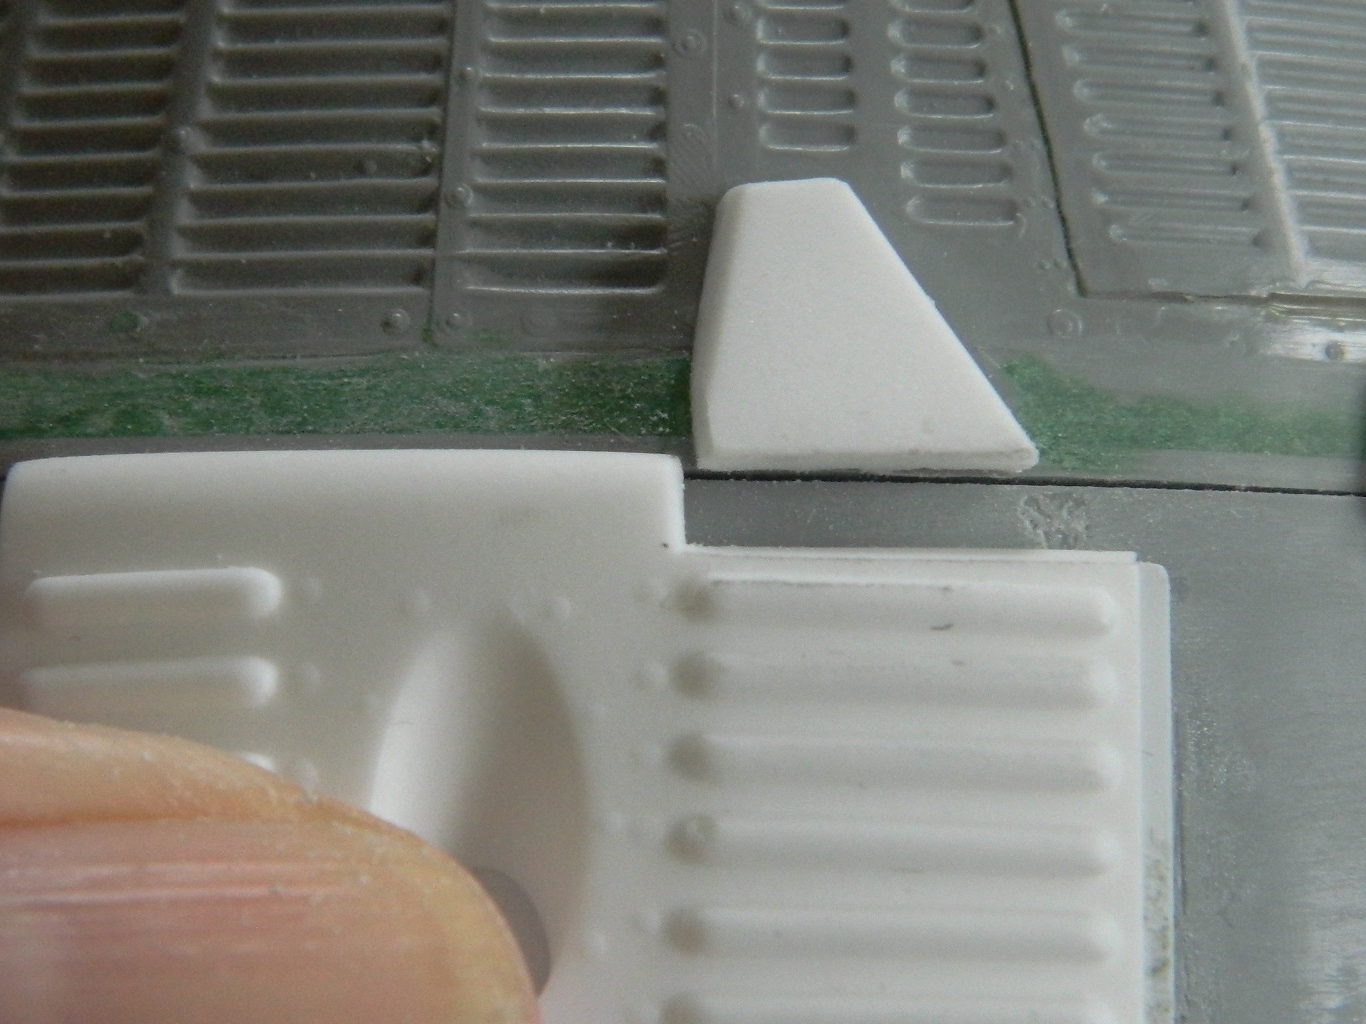
So for everything to be where it’s supposed to be, that gap needed to be filled and puttied:
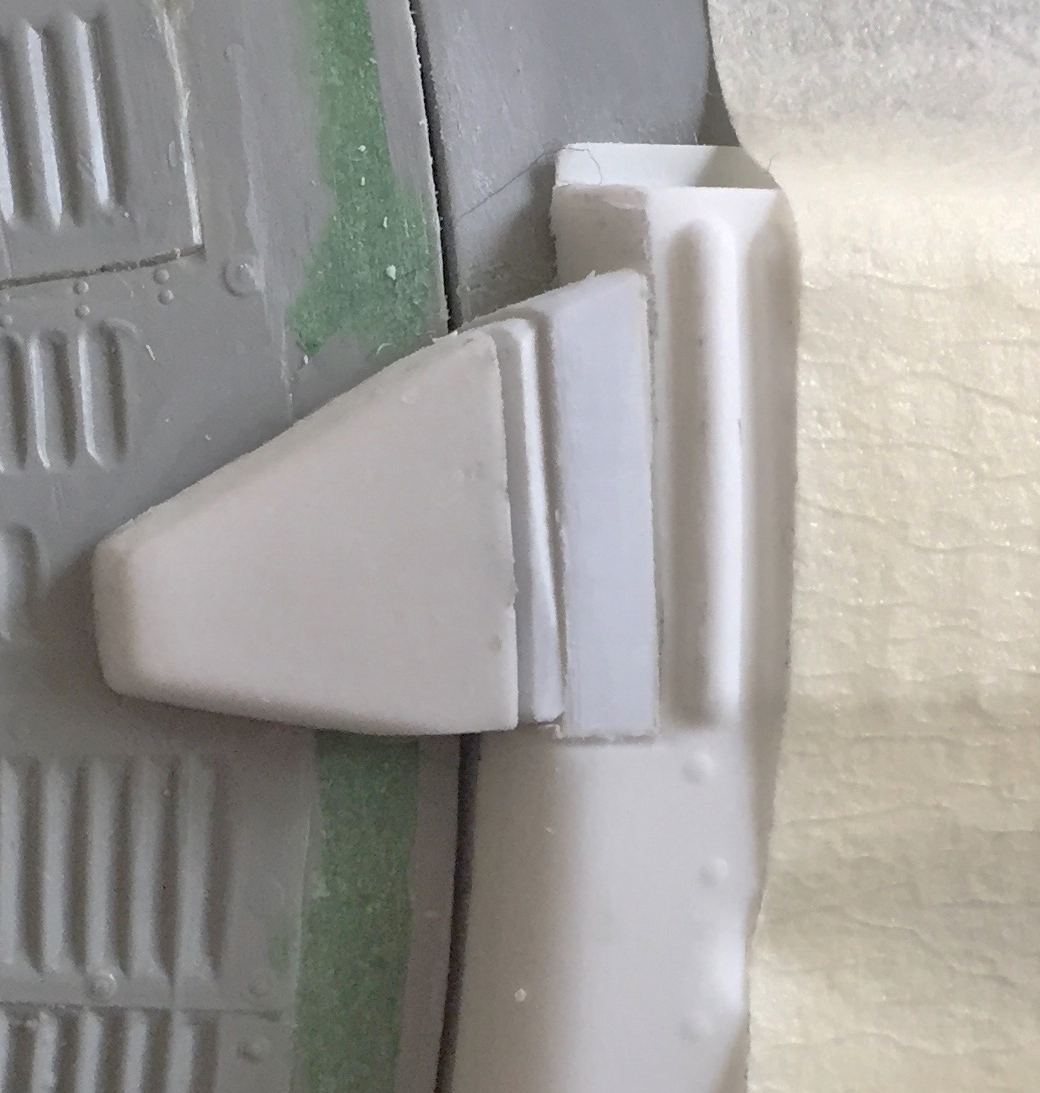
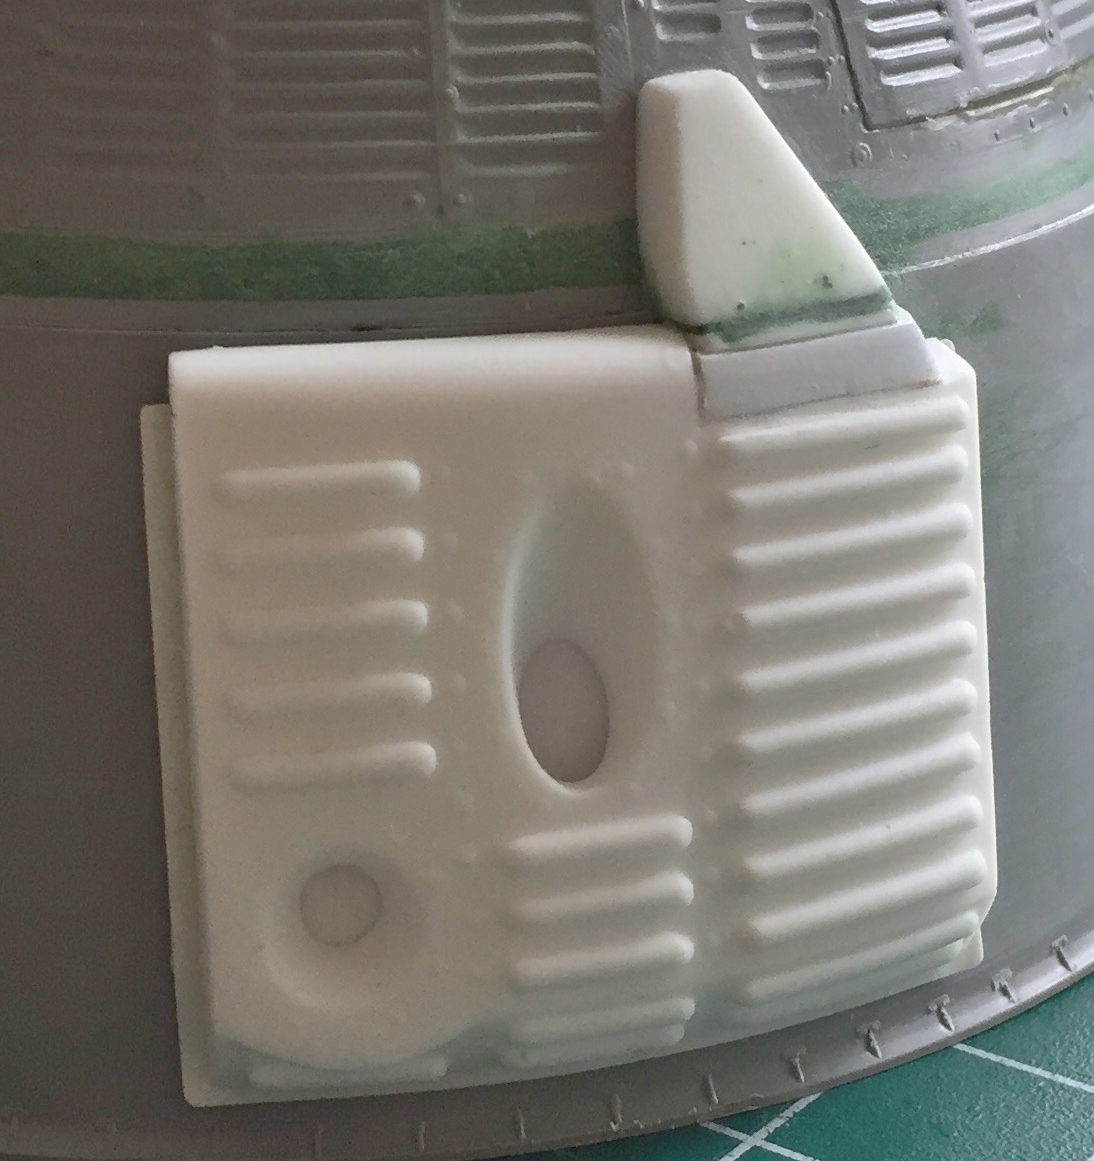
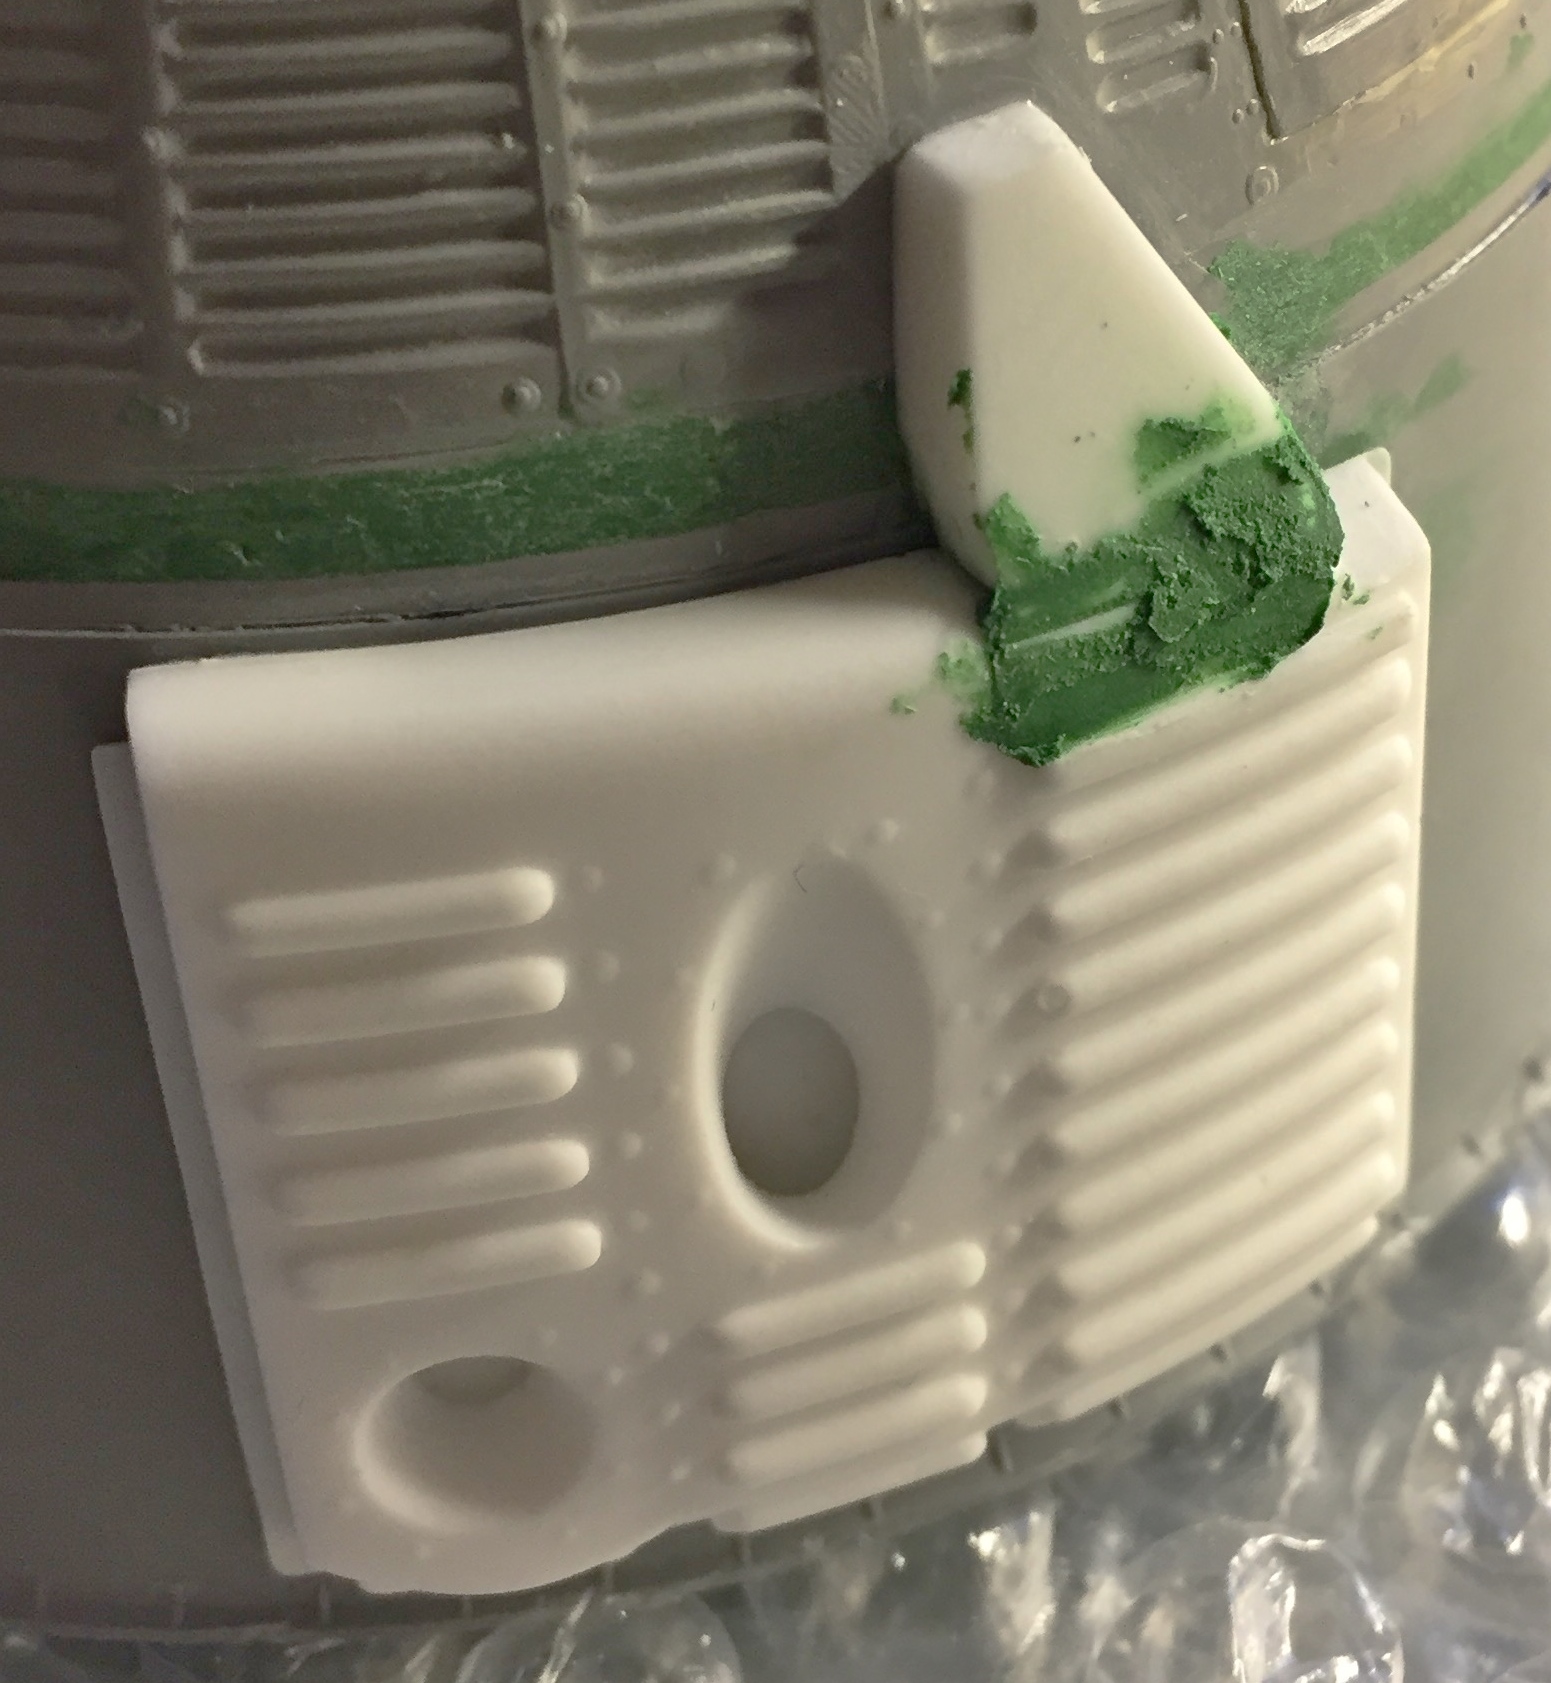
And the same thing had to be done to the other side:
Since I am (too damned slowly) closing in on throwing paint at this, and I CERTAINLY don’t want any over-spray to insinuate itself into the capsule, I needed to close the interior off from that possibility. I closed the hatches as much as they would close and went around the edges of the hatches with white glue, sealing them. Later on the white glue will be removed and the paint touched up, MUCH easier to do on the outside than it would (not) be on the inside:
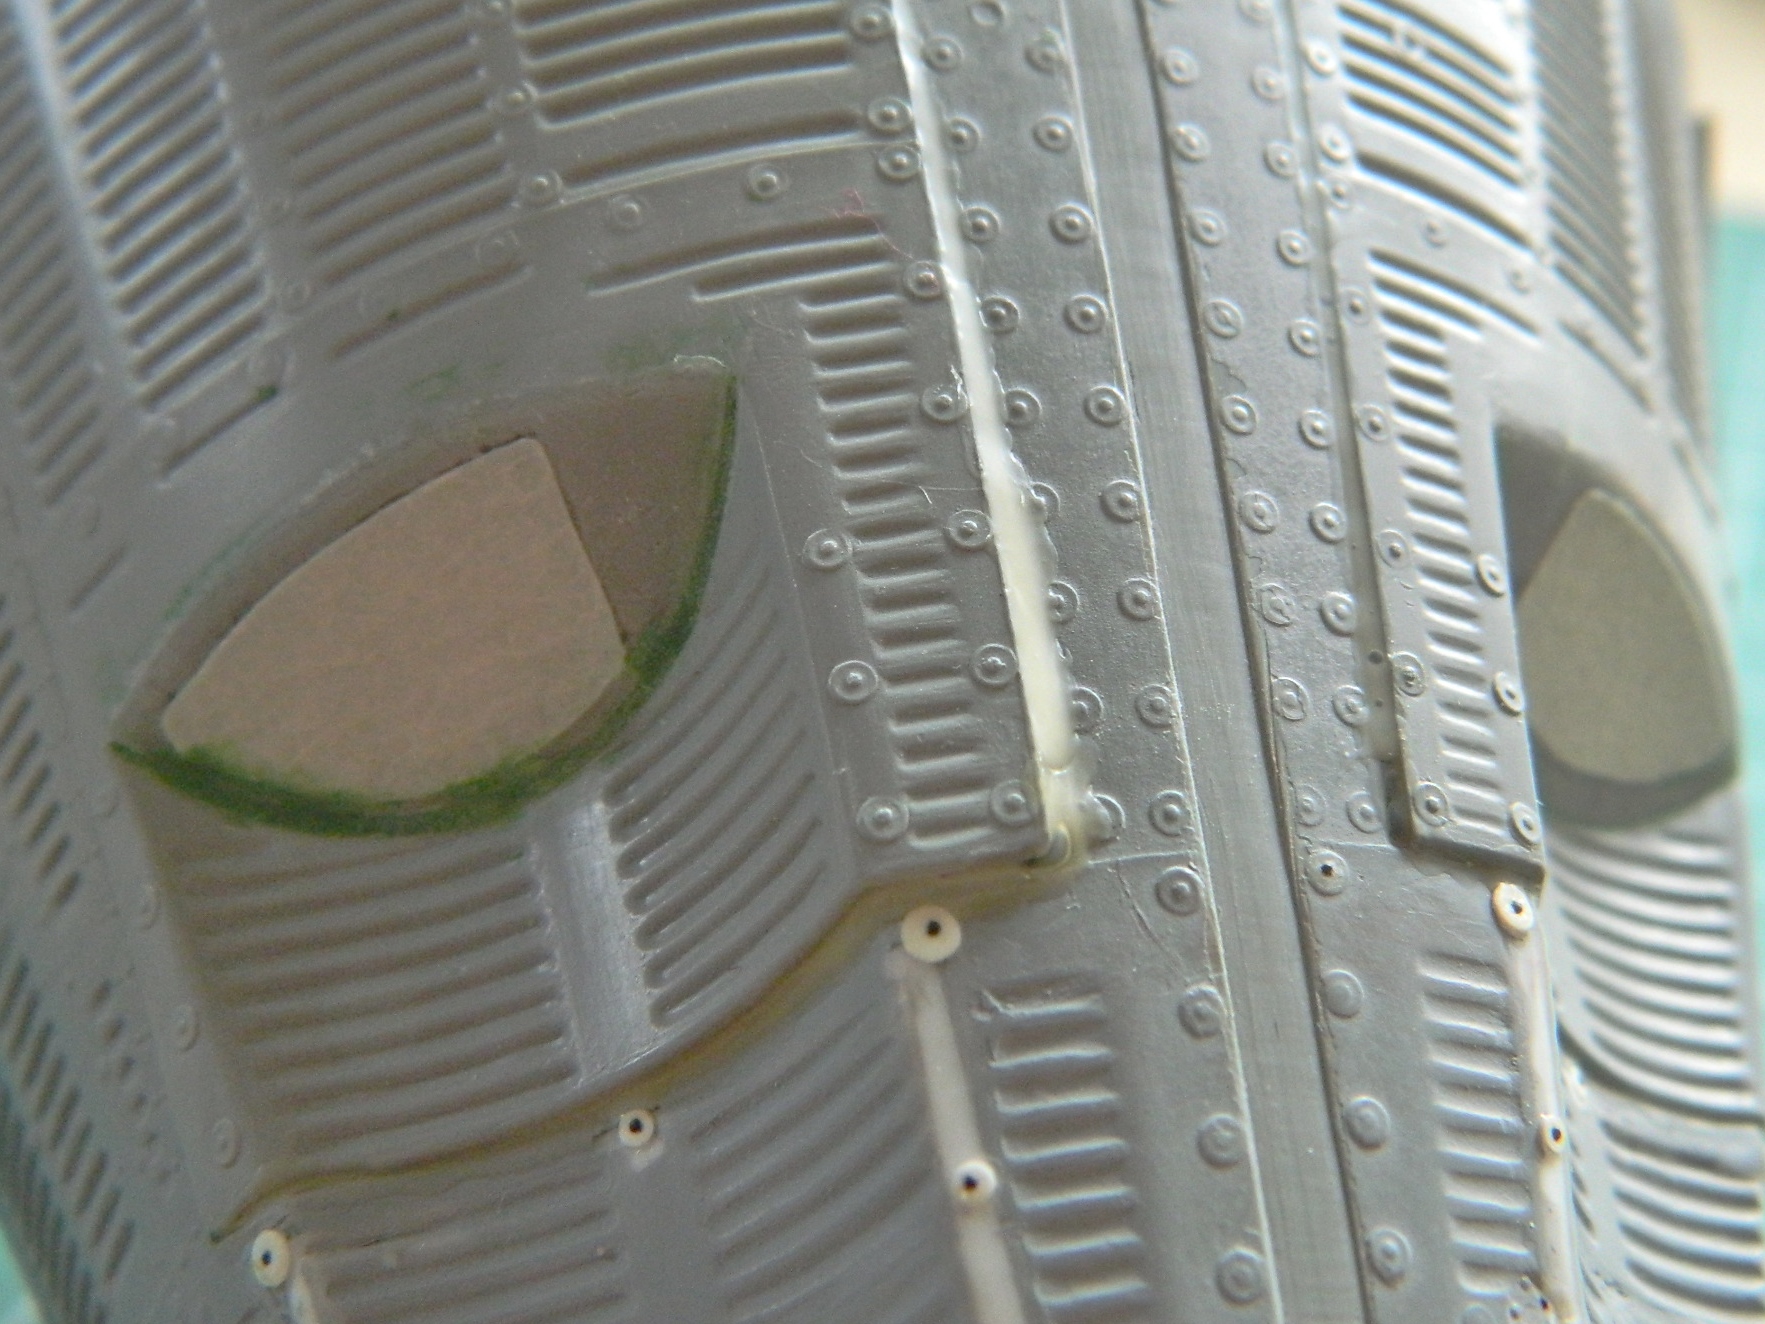
When I put the outer window plastic over the face of the port, I eradicated the surface detail and that got put back using Archer Transfer’s resin rivet decals:

Brain fade is an insidious thing. When it’s happening, it can go completely unnoticed and too often it stays unnoticed. This time I caught my most recent brain fade (I hope) before it was too late to fix. I put one of the OMS packs on backwards! That has to be pried off and reversed. I’m coming to a brand new appreciation of single-edge razor blades. That’s what I used to work under the edge and cut/pry the superglue away to release the module:


At this point I’ve got more experience than I wanted to have adding plastic to fix bubbles. I didn’t see there was an interior bubble on the mounting flange until I popped the module off, so that needed fixing. Once I’d trimmed the plastic to fit, the module was reattached properly:

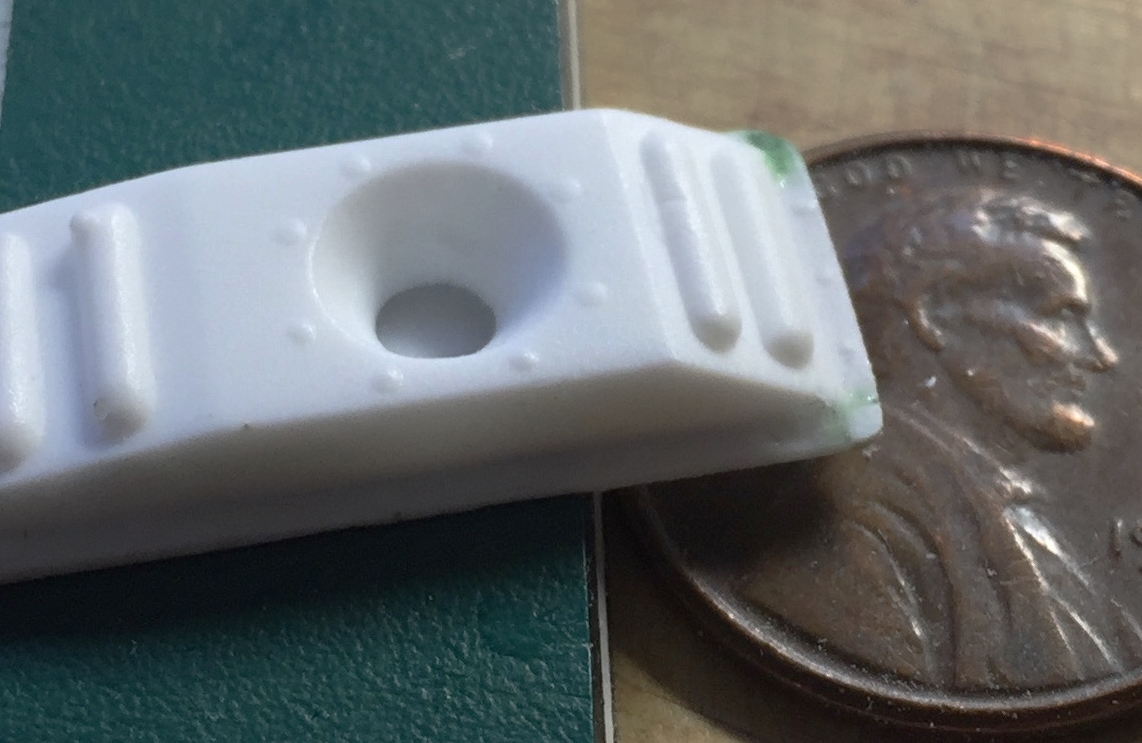
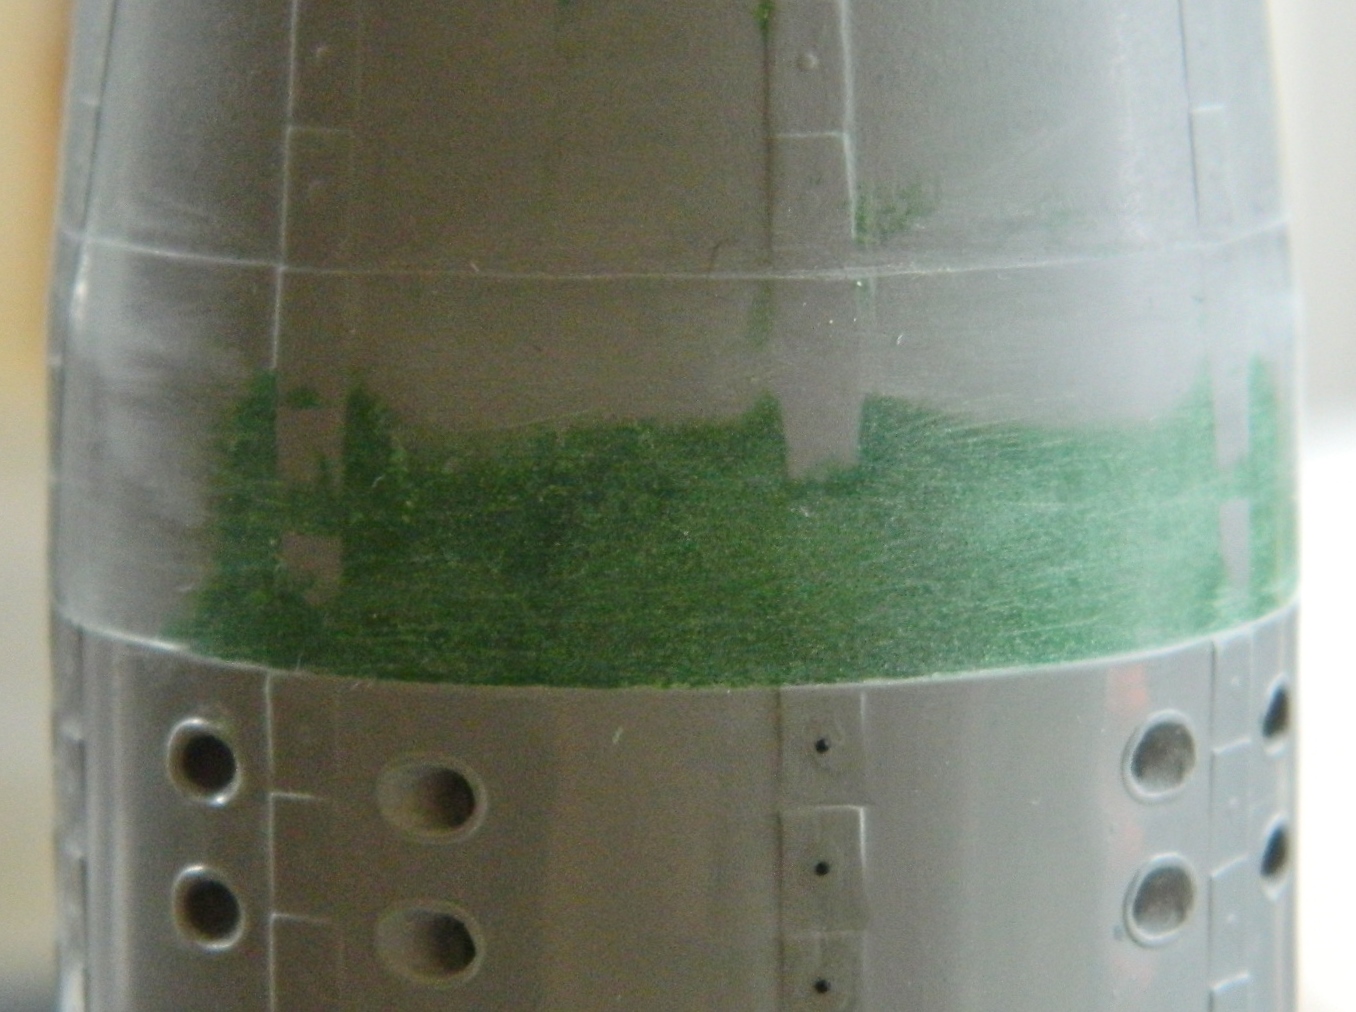
And one last thing (for now…I’m sure there will be others) that I really did not want to do. The fit of the nose cone to the OMS ring was as high as all the other fittings were not. I didn’t want to deal with the shingles that would be destroyed in fixing this fit. Yet I’ve gone to such lengths for other things, and people will probably look closely at that (quoth my Ego), so I don’t want them to wonder why I went to such lengths in other places and overlooked an obvious fit problem. Well, excrement…let’s just fix the sodding thing. I added putty and worked it until the fit was correct:
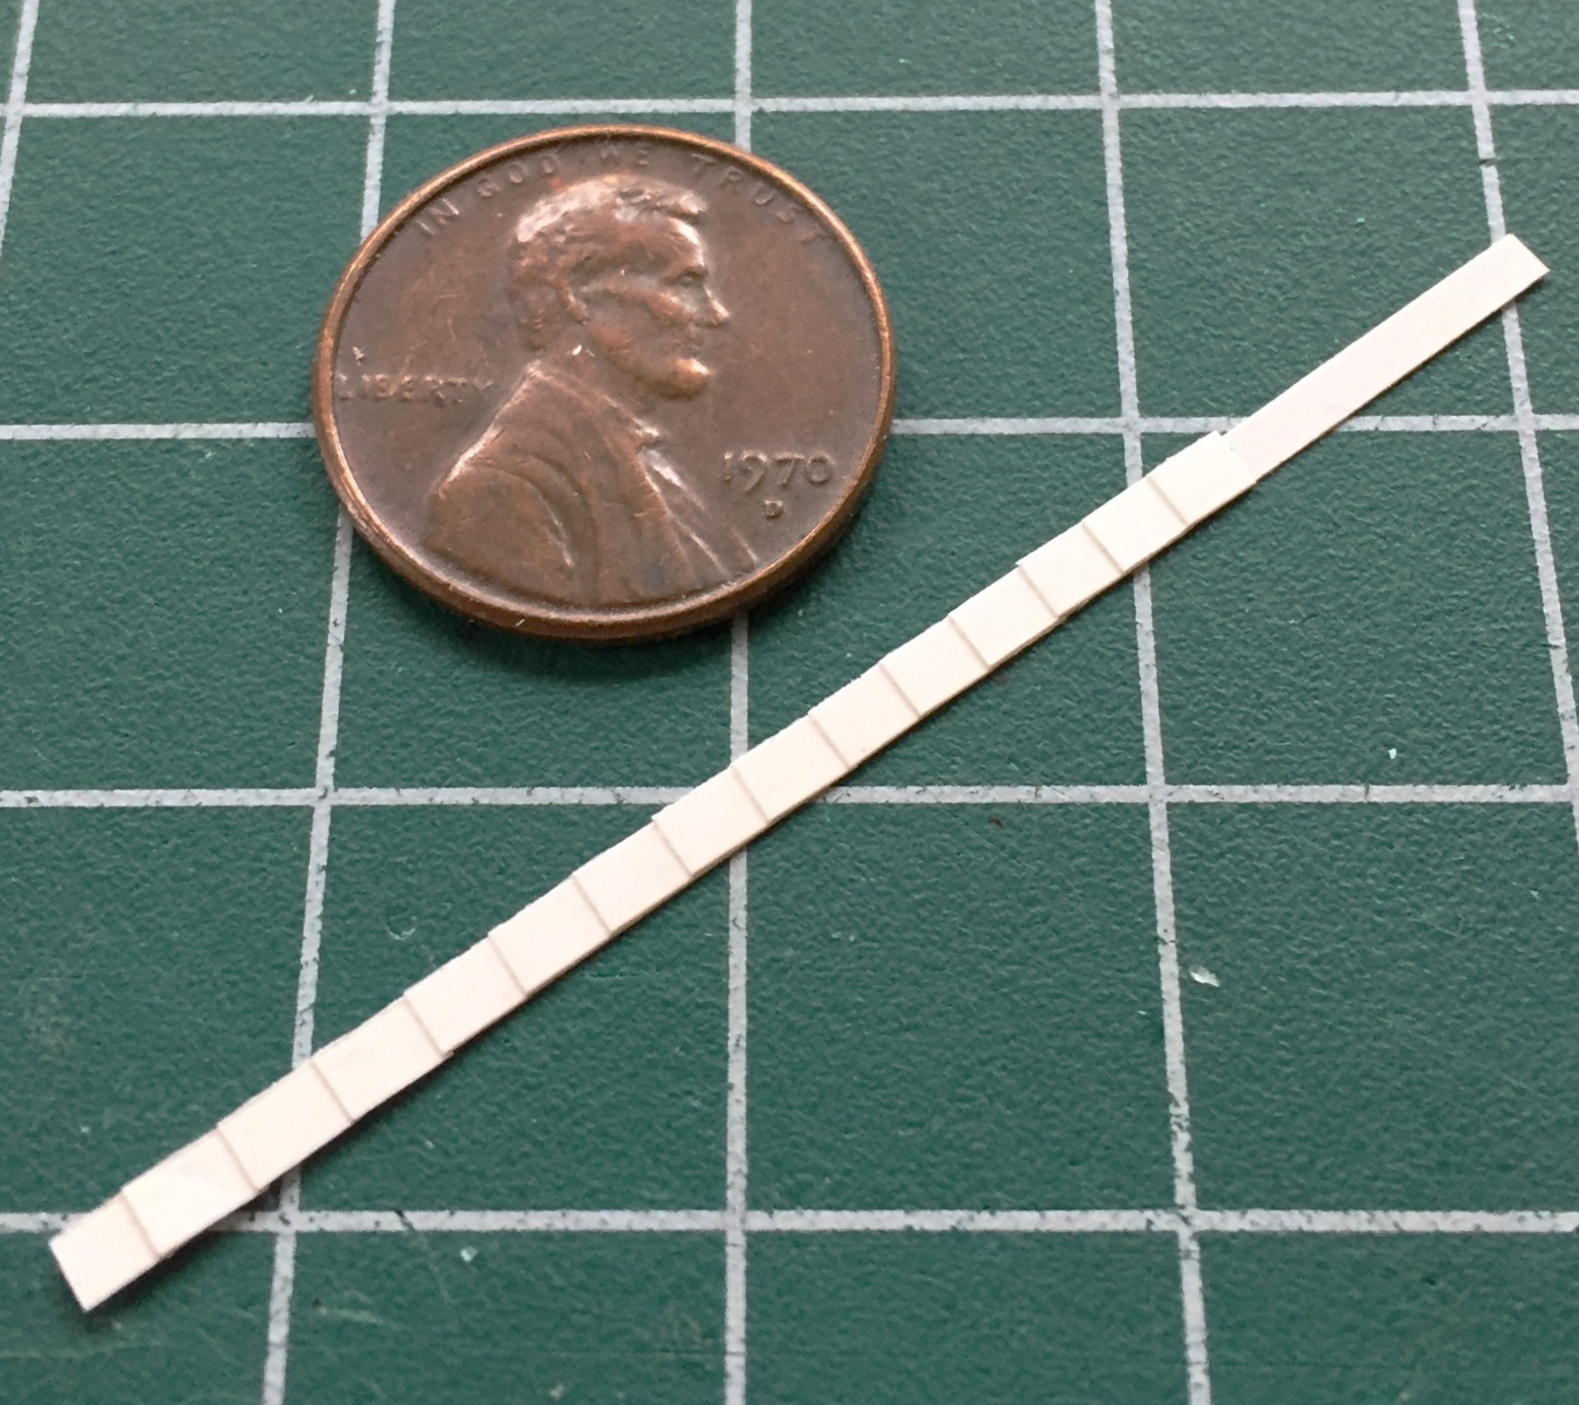
To put the shingles back, I had to make them. A strip of .005″ (.127mm) plastic with more .005″ (.127mm) plastic cut to the dimensions of the existing (and unmolested) shingles had to be made:
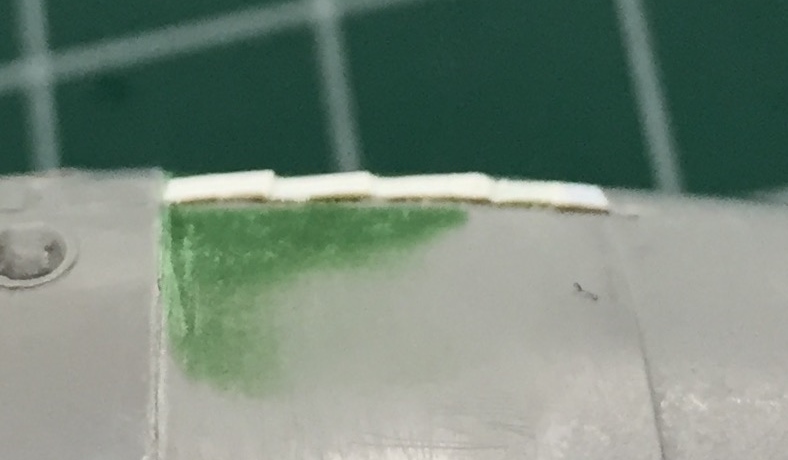
Then the shingles were cut away from the strip and added to the nose. They stuck out too far from the other shingles, and I did not want to replace all the shingles, so those got sanded until they were closer to the correct height (if I sand them any more, they’ll probably vanish). Once done, I added resin rivets:

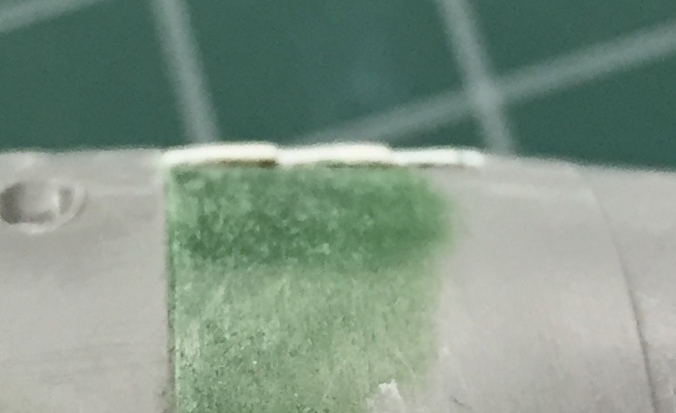
There’s only one more part to add to the capsule, the horizon sensor (which still needs some work before it’s ready to go on), before it’s ready to paint.
I’m generally not superstitious but Eris and Loki do pay far too much attention to me, so I’m a little trepidatious saying, y’know…I just might, might, MAYbe, have this done in time for the show at the end of April!
Gemini (Revell) Build #11 – Finishing the instrument panel, adding more interior details, painting the interior
To paint, some things need to be masked. Masking can be trying but one simply cannot do a decent paint job without it. (An adequate, or even somewhat poor, build can be saved by a sterling paint job; a great build can be ruined by a bad paint job.) I tend to have difficulties masking small round areas. An easy fix for that is to use liquid masking (various manufacturers make it). I apply it with a toothpick and move the masking agent to the edges of what I want masked. A really great feature of liquid masking is that there’s no bleed-through under the edge of the mask. The white over the artificial horizons is the liquid mask (which turns clear when dry):

While I was waiting for the mask to set up, I mixed what I thought was an adequate sage green:
Uhm…no. Not even close. So I added A LOT of medium gray to the mix and ended up with something better:
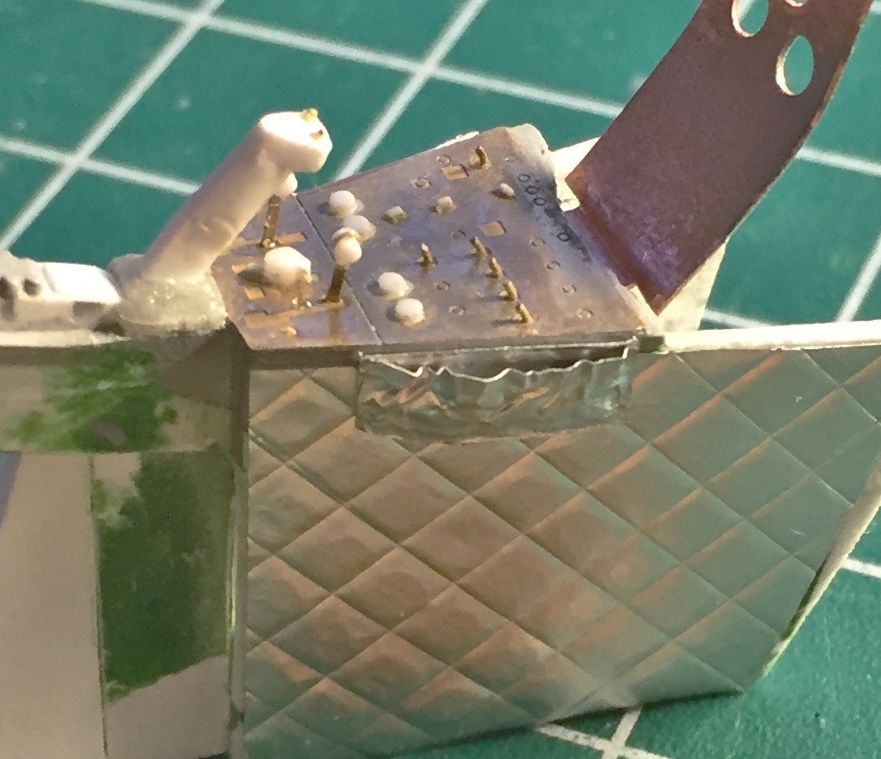
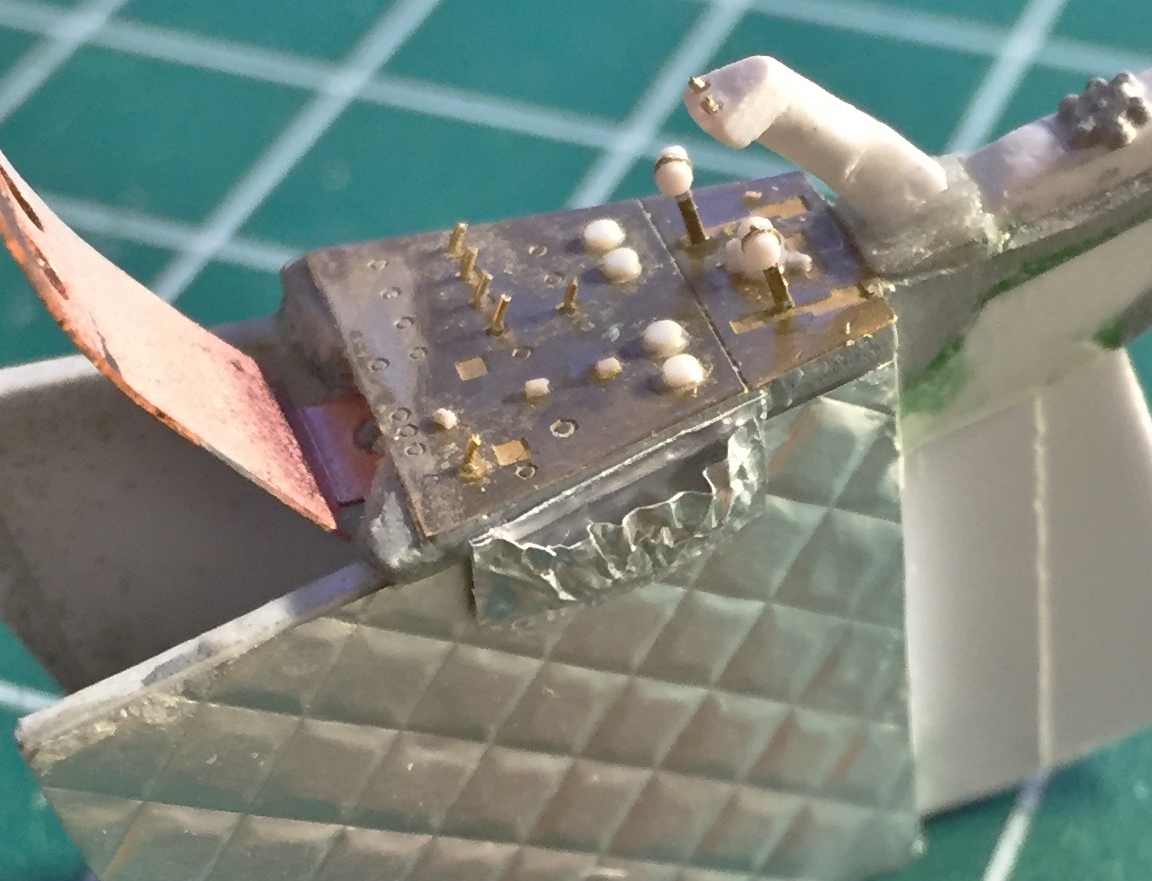
There are pouches on the sides of the center console:

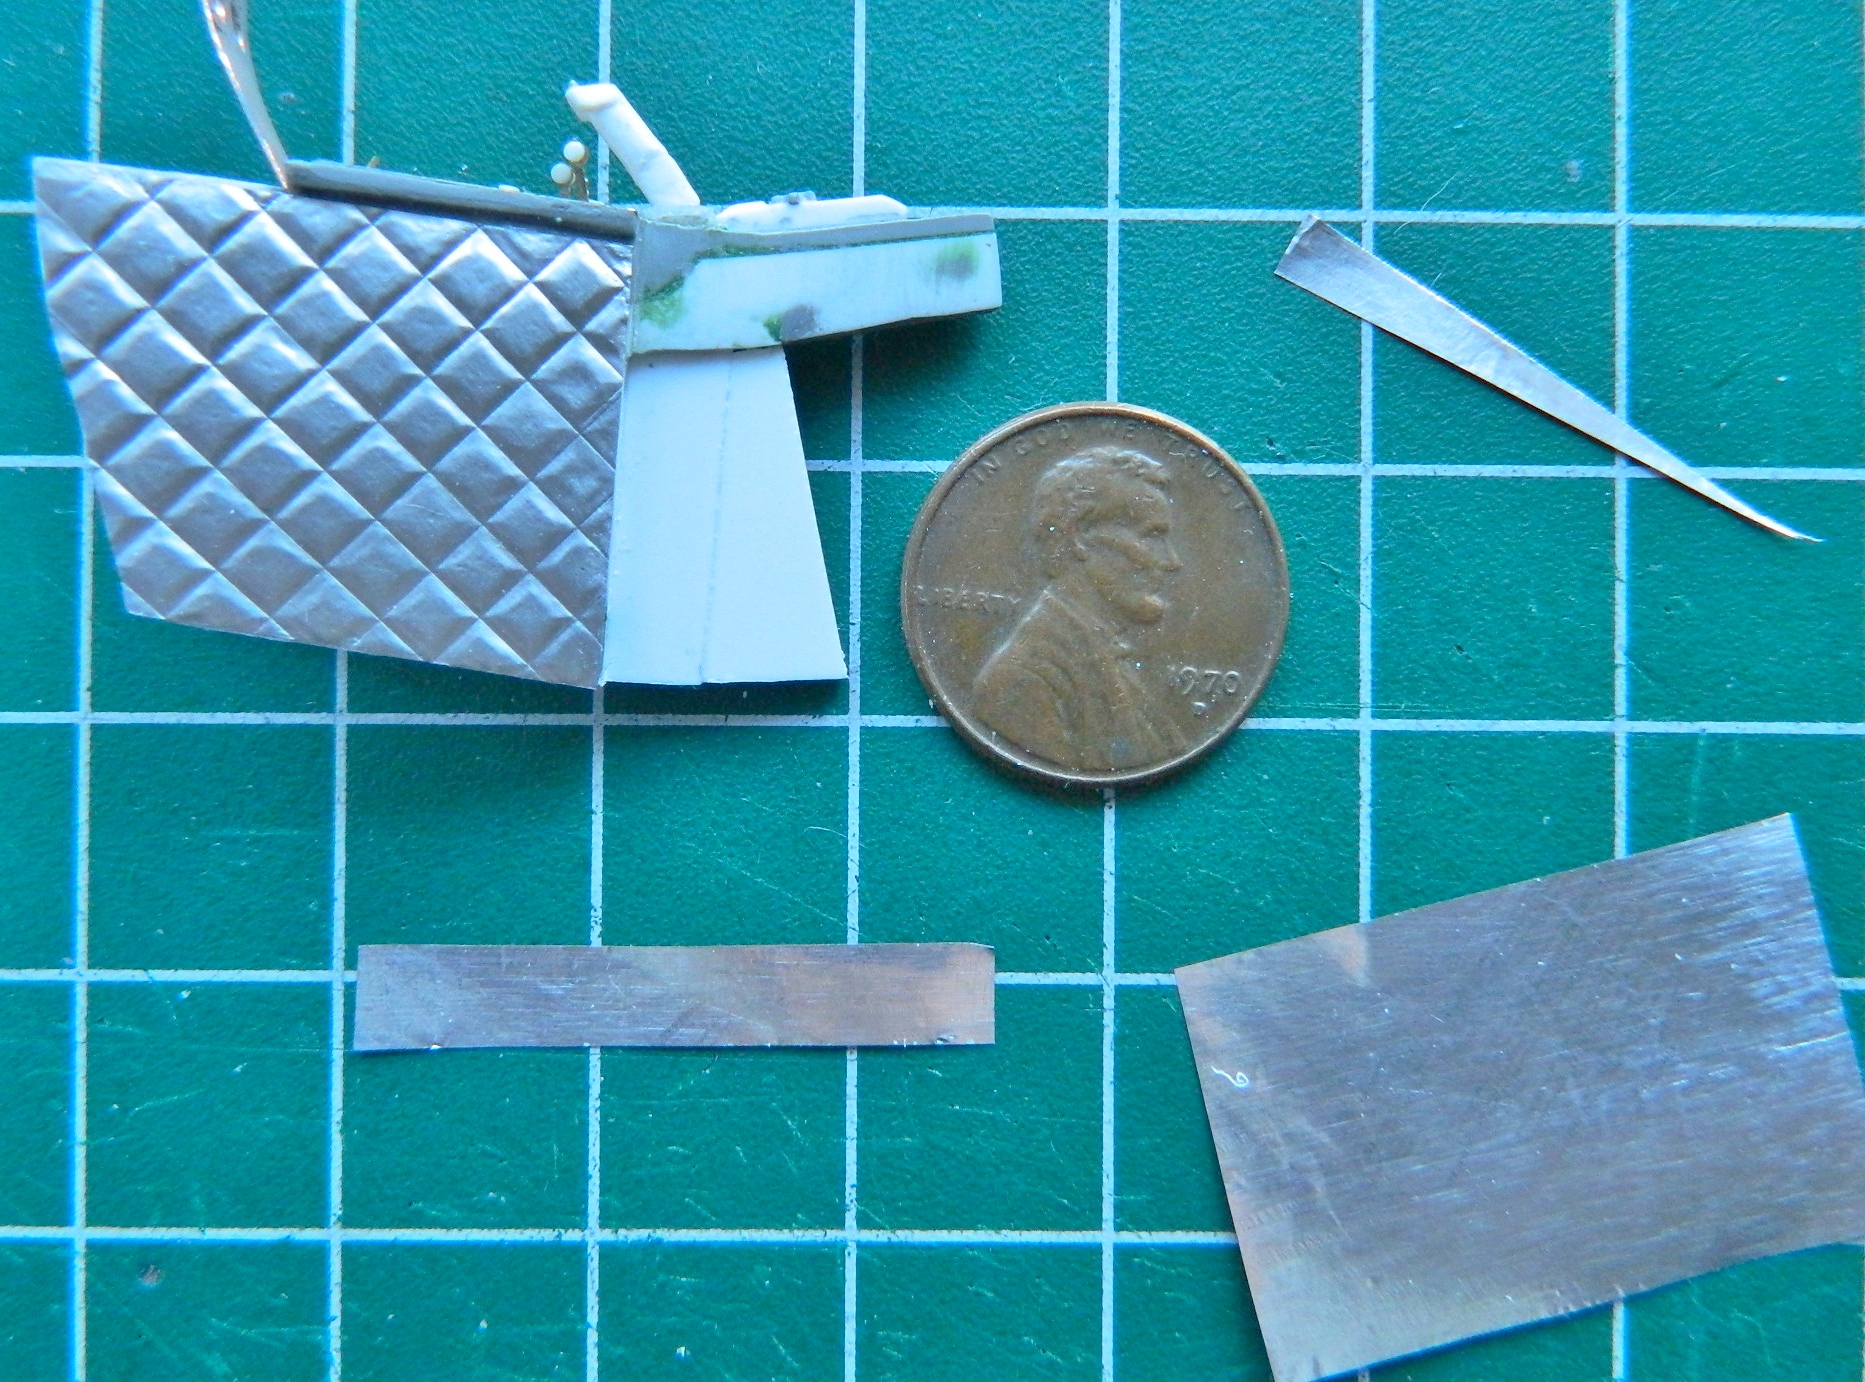
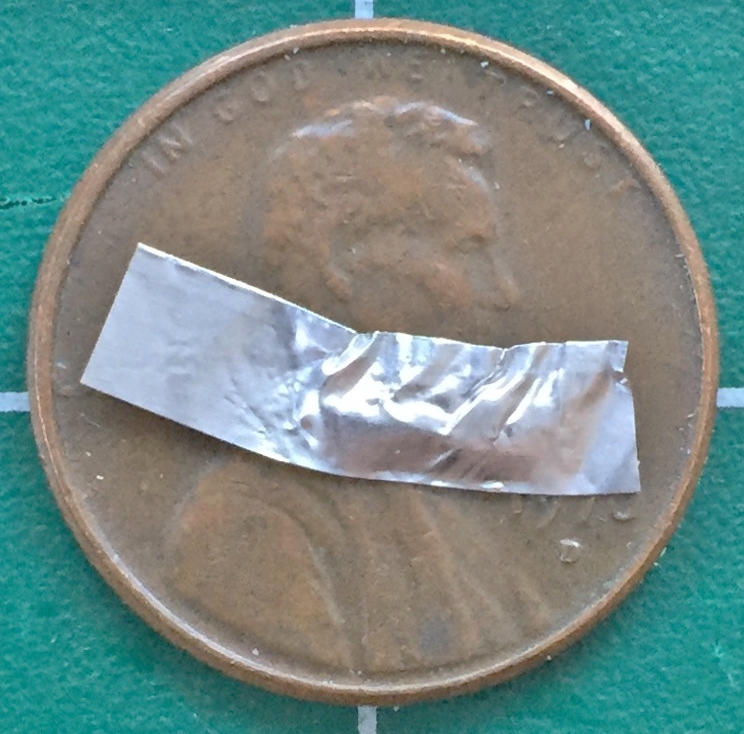
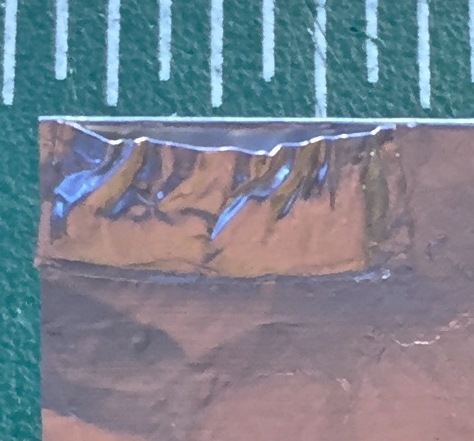
To replicate them I used standard household aluminum foil:

I’ve mentioned the miserable fit of this kit’s parts before. Check out how “well” the insides of the hull meet the edge of the cabin tub:
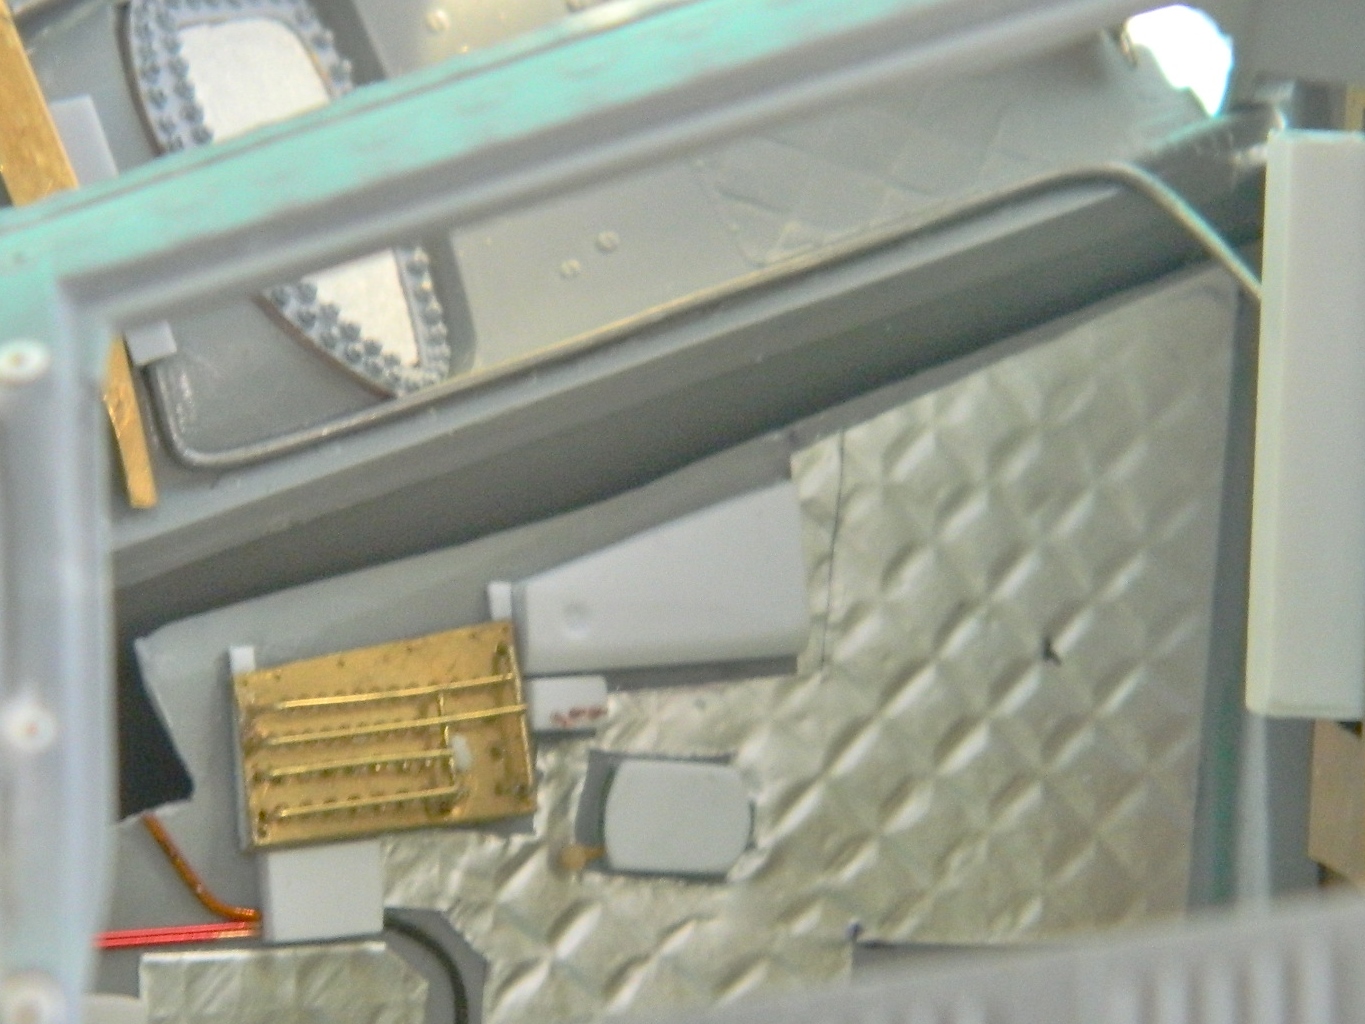
Thankfully I noticed something in reference photos that saved me a metric butt-load of hassle trying to extend the cabin wall to meet the exterior. There were what I can only assume were sun screens that zipped over the inner opening of the hatch. When they weren’t deployed, they were rolled up along the lower edge of the hatch…just where I have a large gap I need to fill! I used the paper towels one finds in public restrooms to make the sun screens. (What I like about this type of paper towel is that there is no cutesy texture embossed into its surface.) So step one is to dimension the towel and cut it:
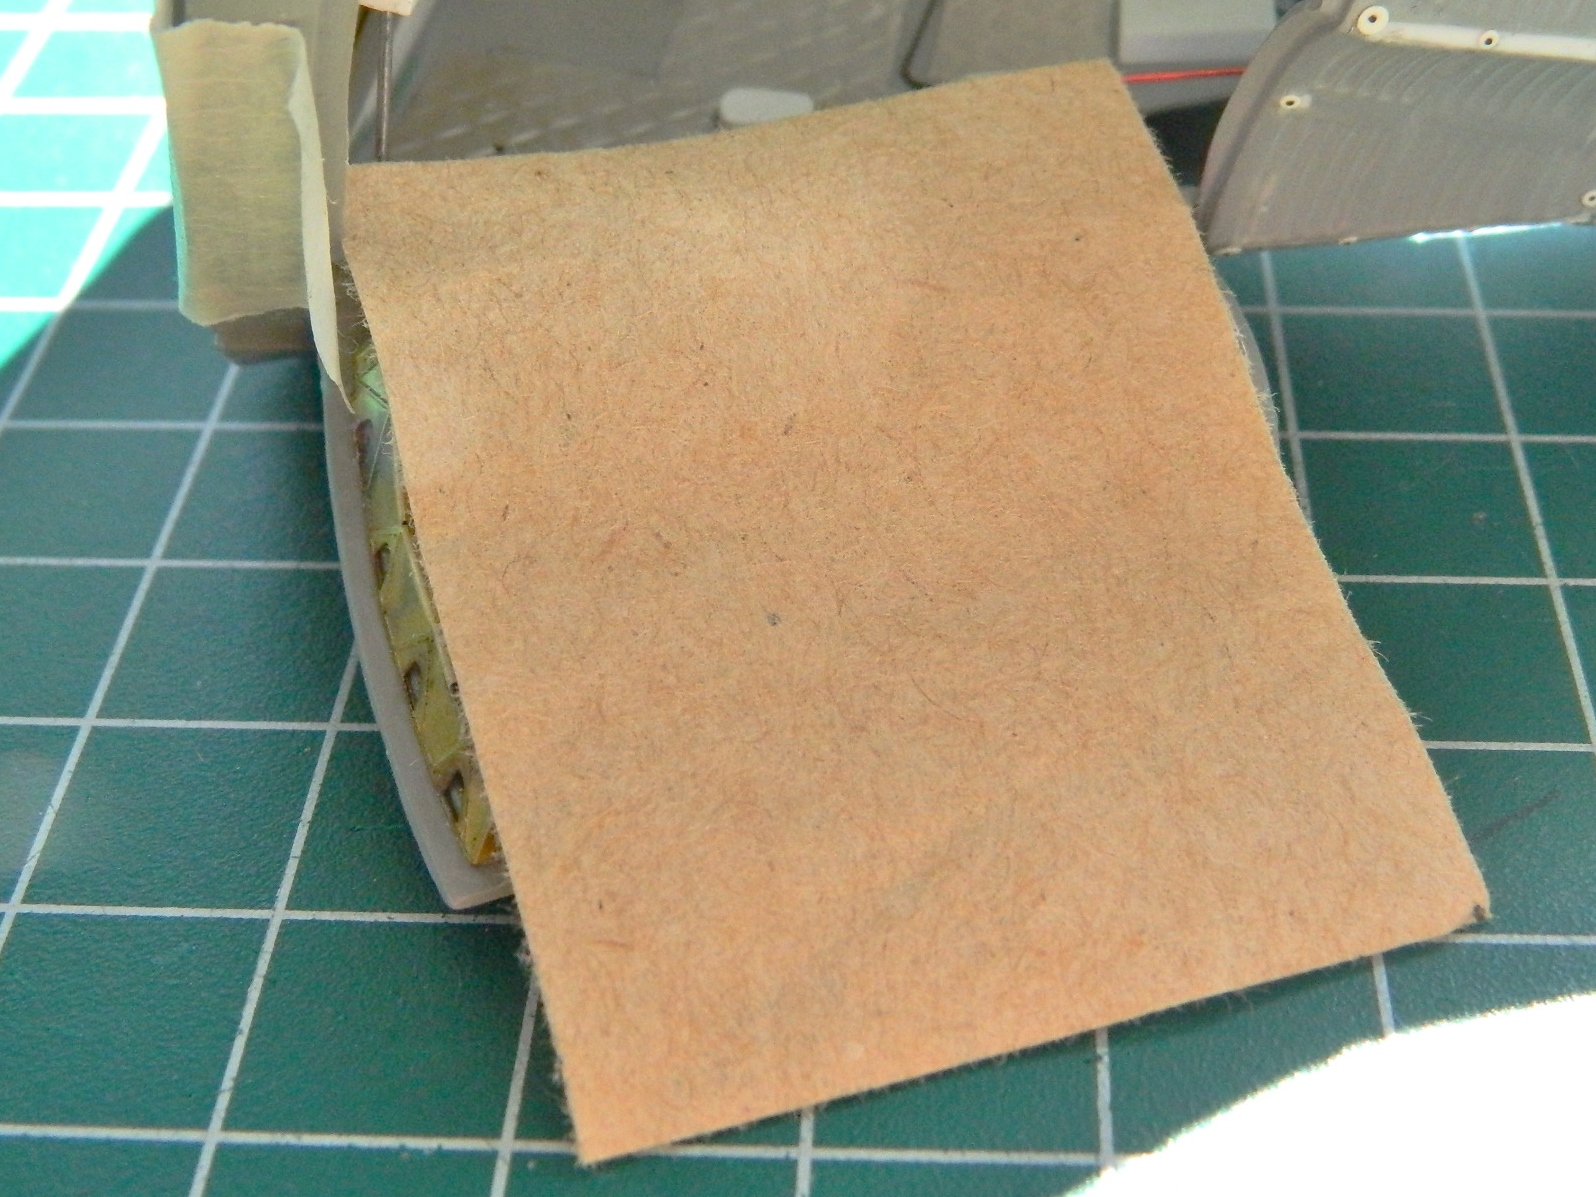
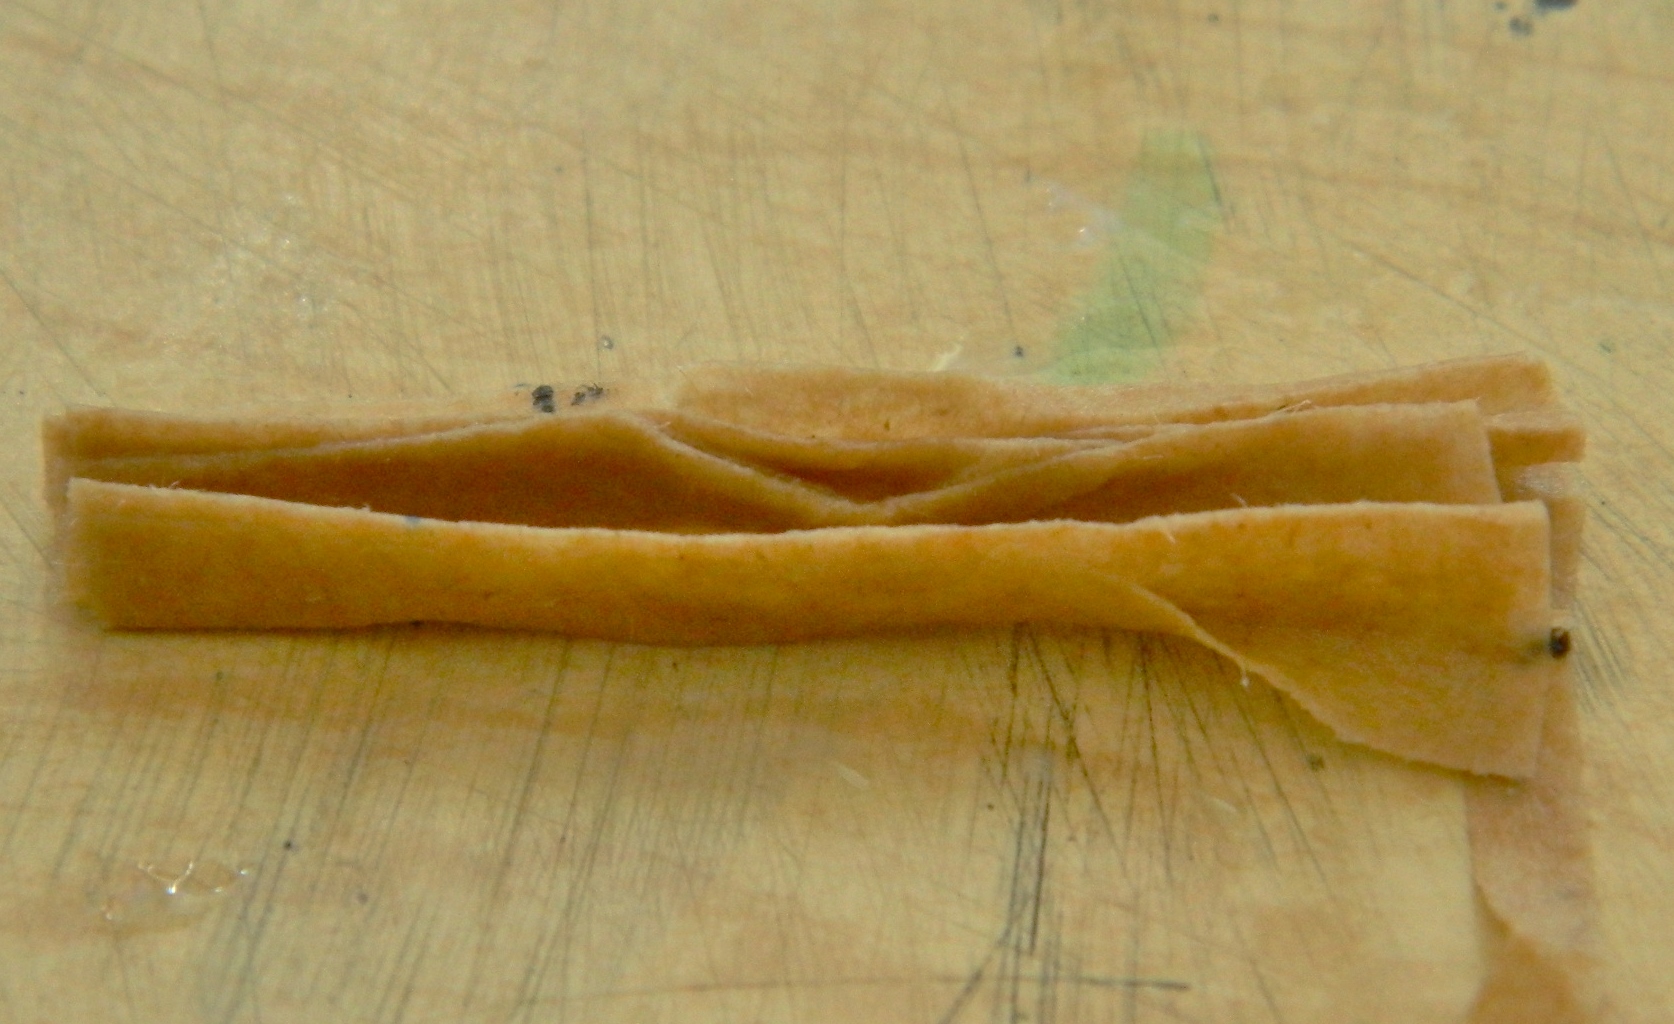
The paper towel is cut to its rough shape then dipped in diluted white glue, folded, tied, and set aside to dry:


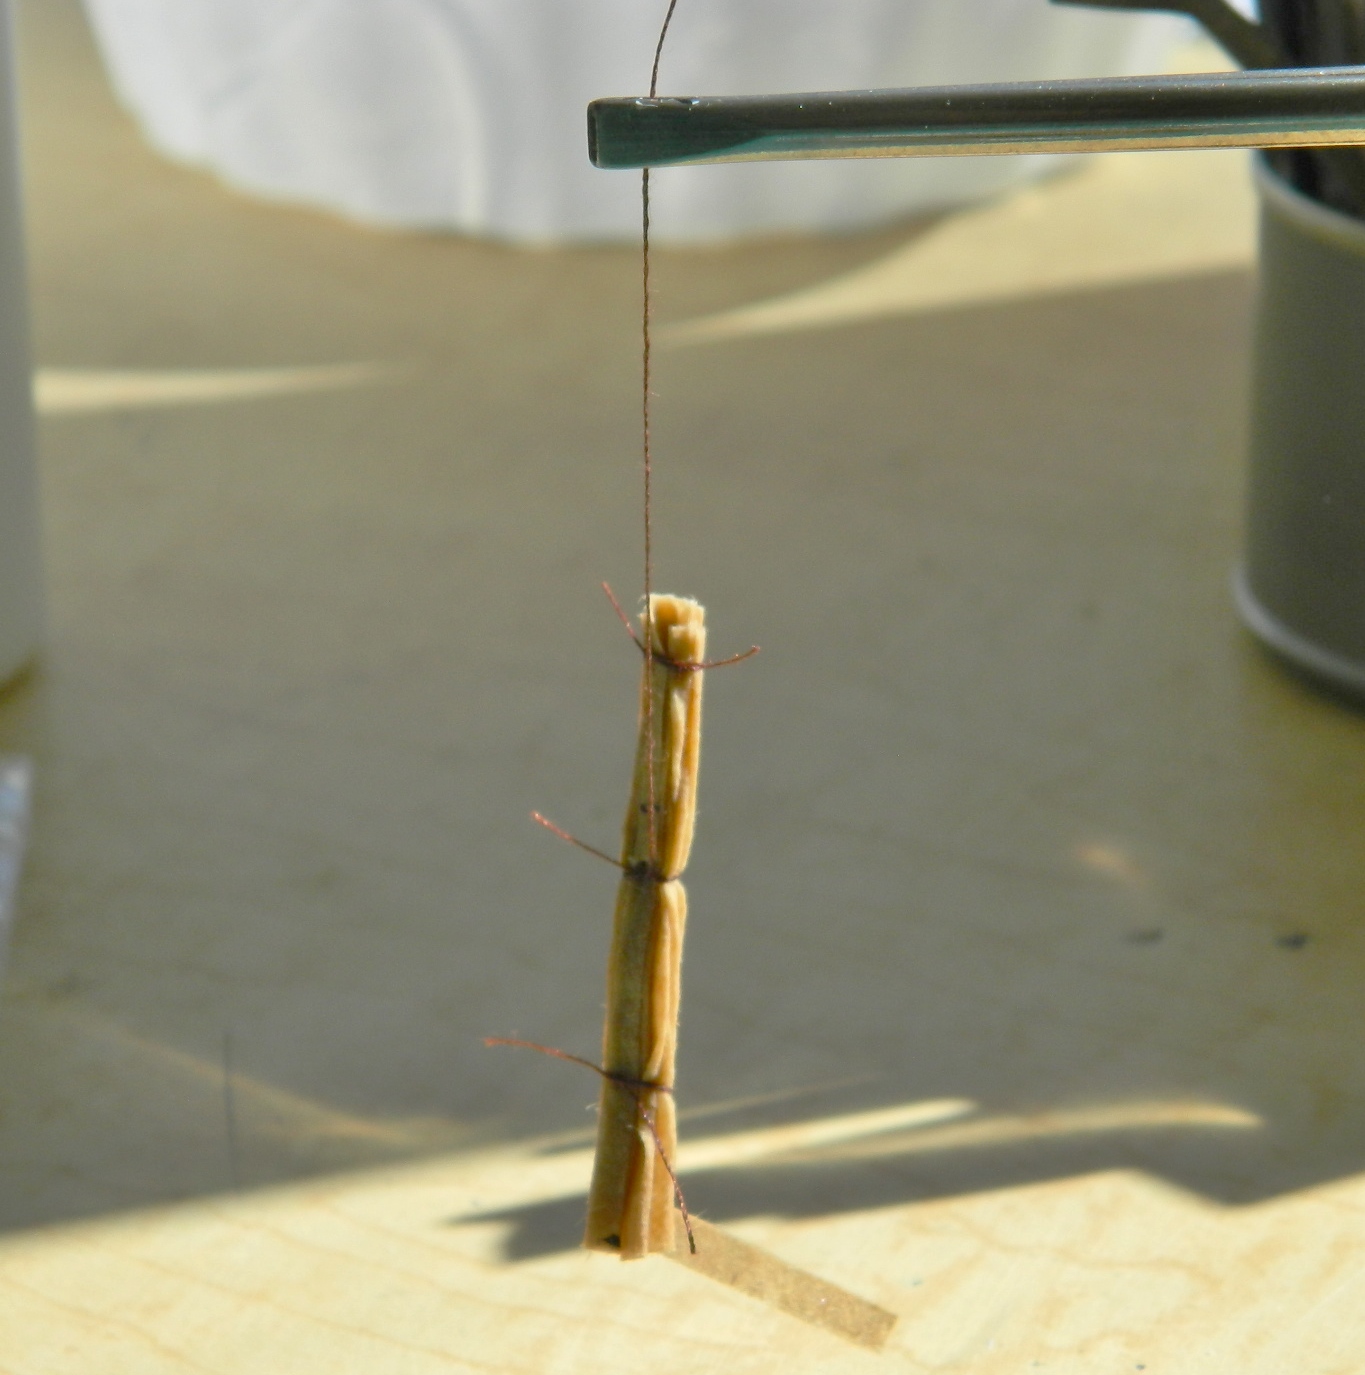
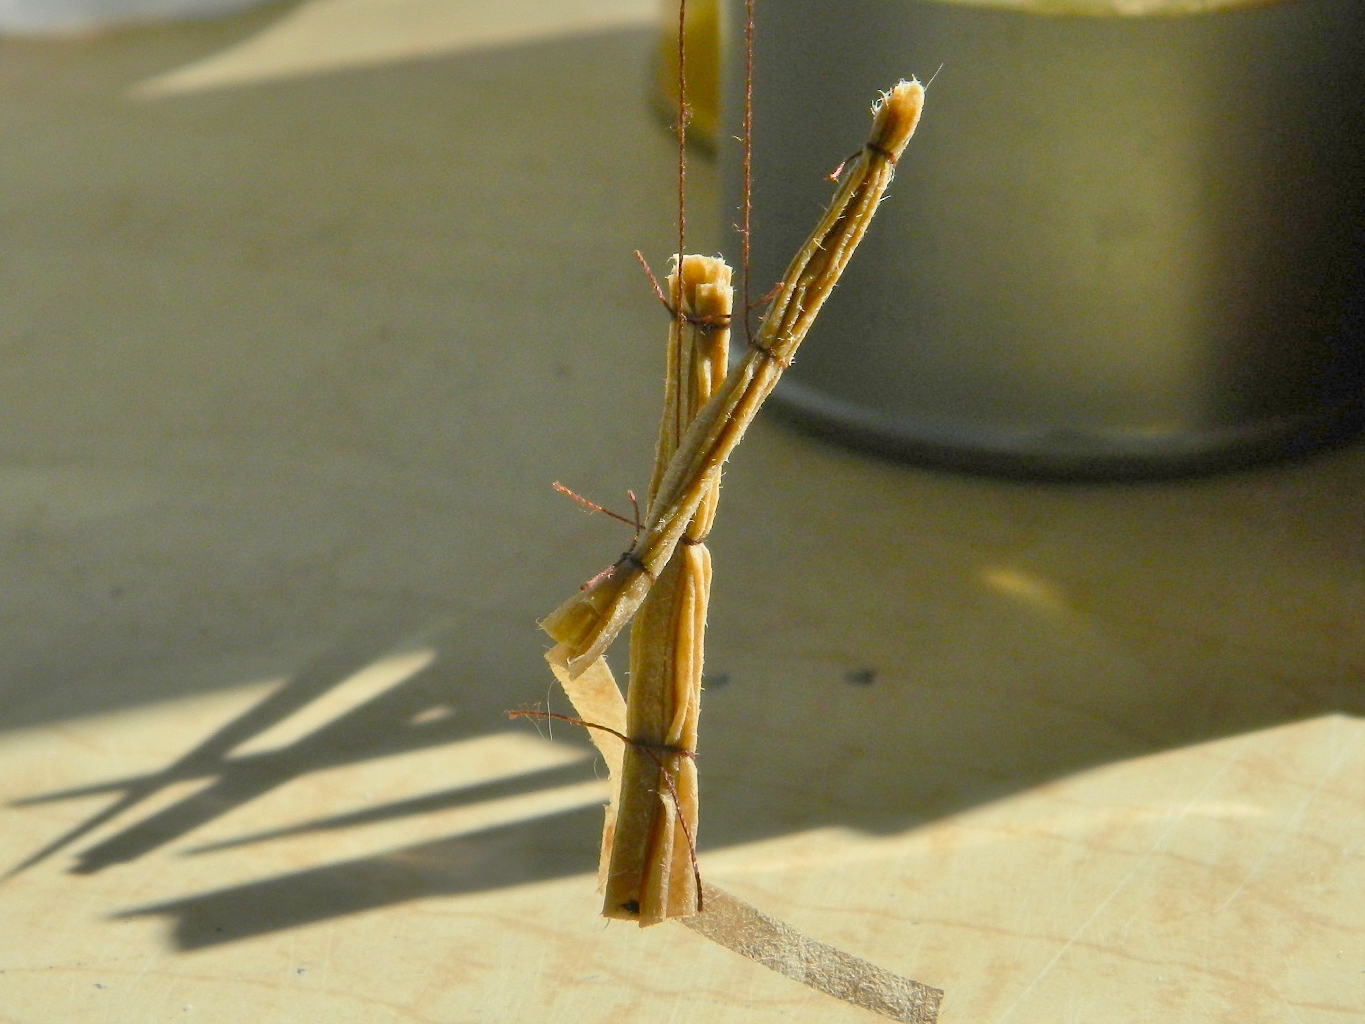
I mixed medium gray with white and thought I’d gotten the shade correct…but I didn’t. Too dark. So I mixed more white into the gray (a lot more white) and kept checking to see when I had it correct:

Once the shade was correct, everything gray (and that’s most of the cockpit) got resprayed. I started adding the black details next. A frequent question I get is how I manage to paint such small details. As a smartass, I tell everyone one, “carefully.” But the way I actually do it is like this…
The first pass of paint is to cover what I want to be the color I’m using. Yeah, I try to “stay between the lines,” but that doesn’t always work (in fact, it rarely works):
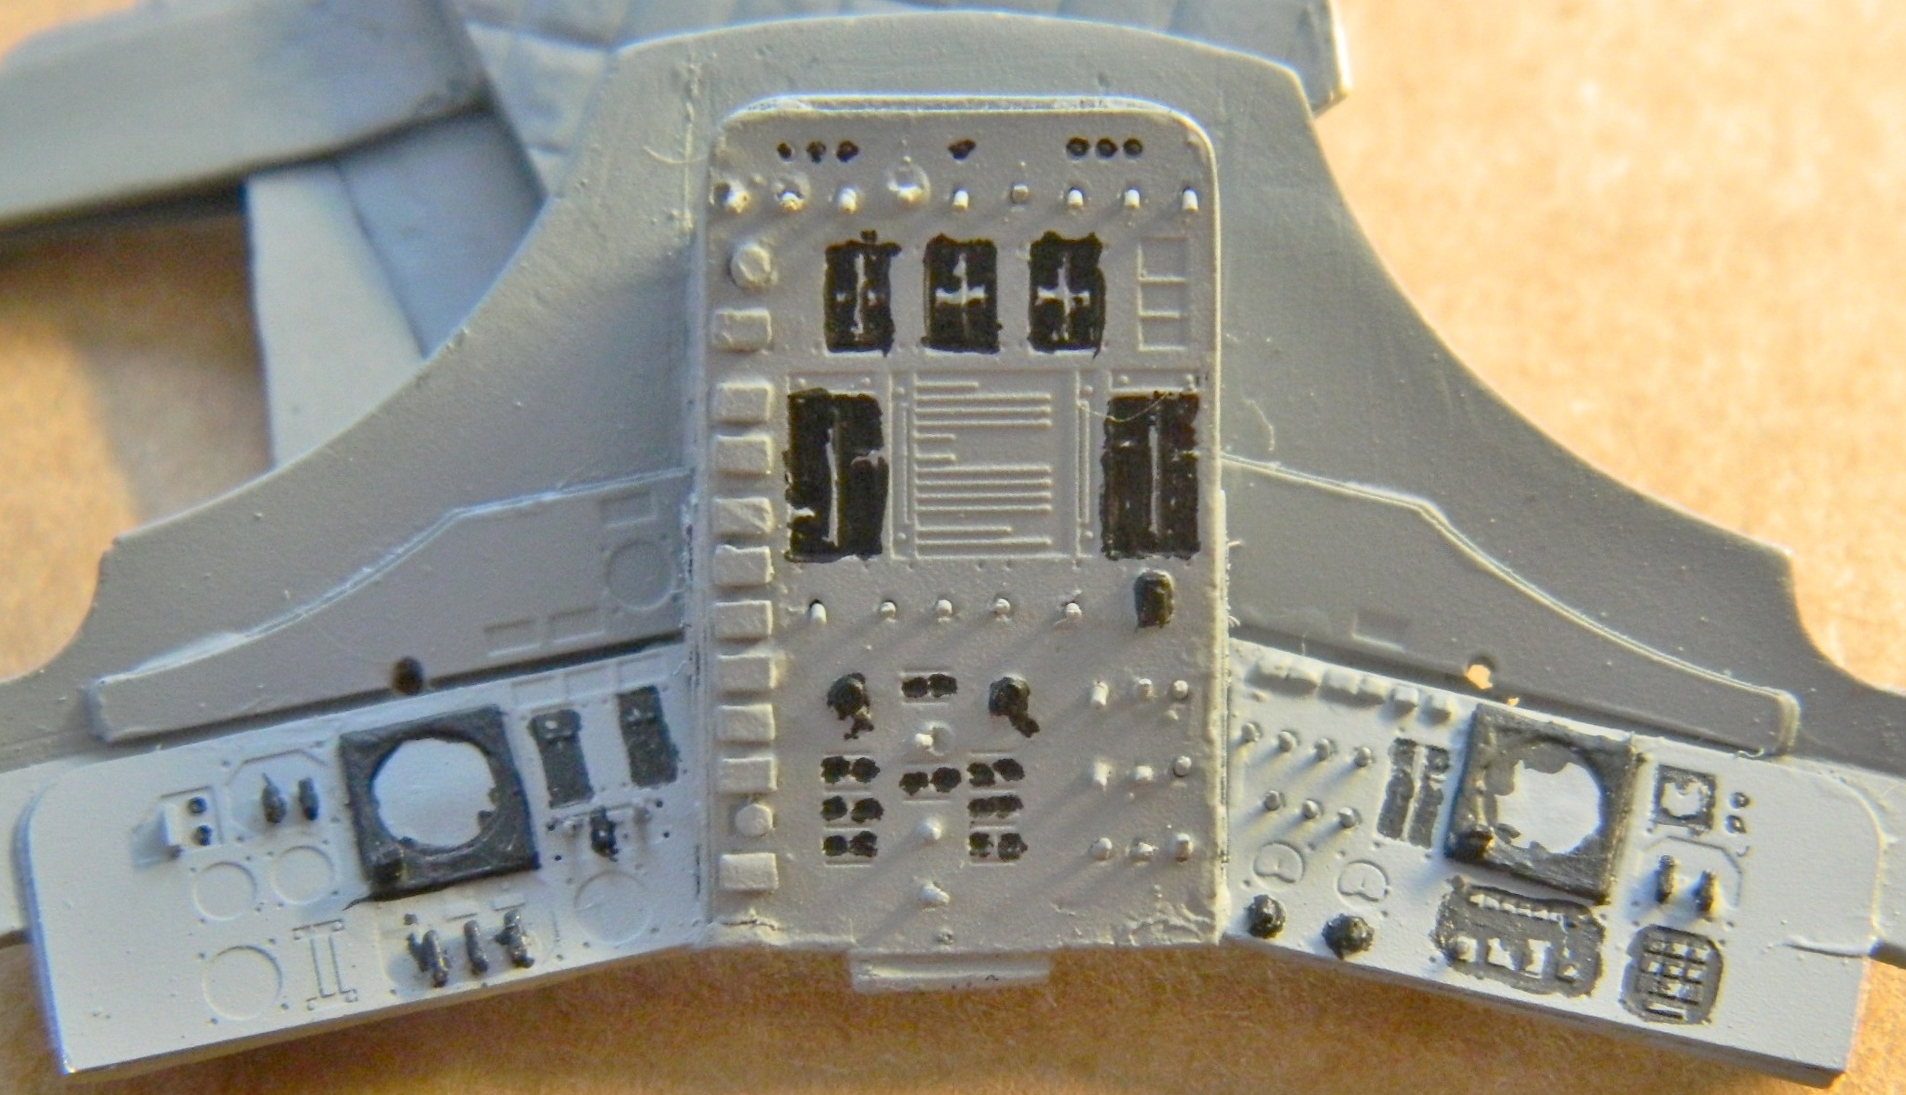
Once the paint I just laid down is touch dry, I go back with a very small brush and cover what isn’t between “the lines” which in this case was gray. A technique I use to bring out (or add) small contrasting color details is to use colored pencils. I can get them to a very sharp point and they’re MUCH EASIER to control than paint, and that’s how I did the details below. I also shot the panel with clear and added decals for the gauges (turns out that though this model is 1/24 scale, the 1/48 scale instrument face decals I have are just what I needed as well as being the correct size!):
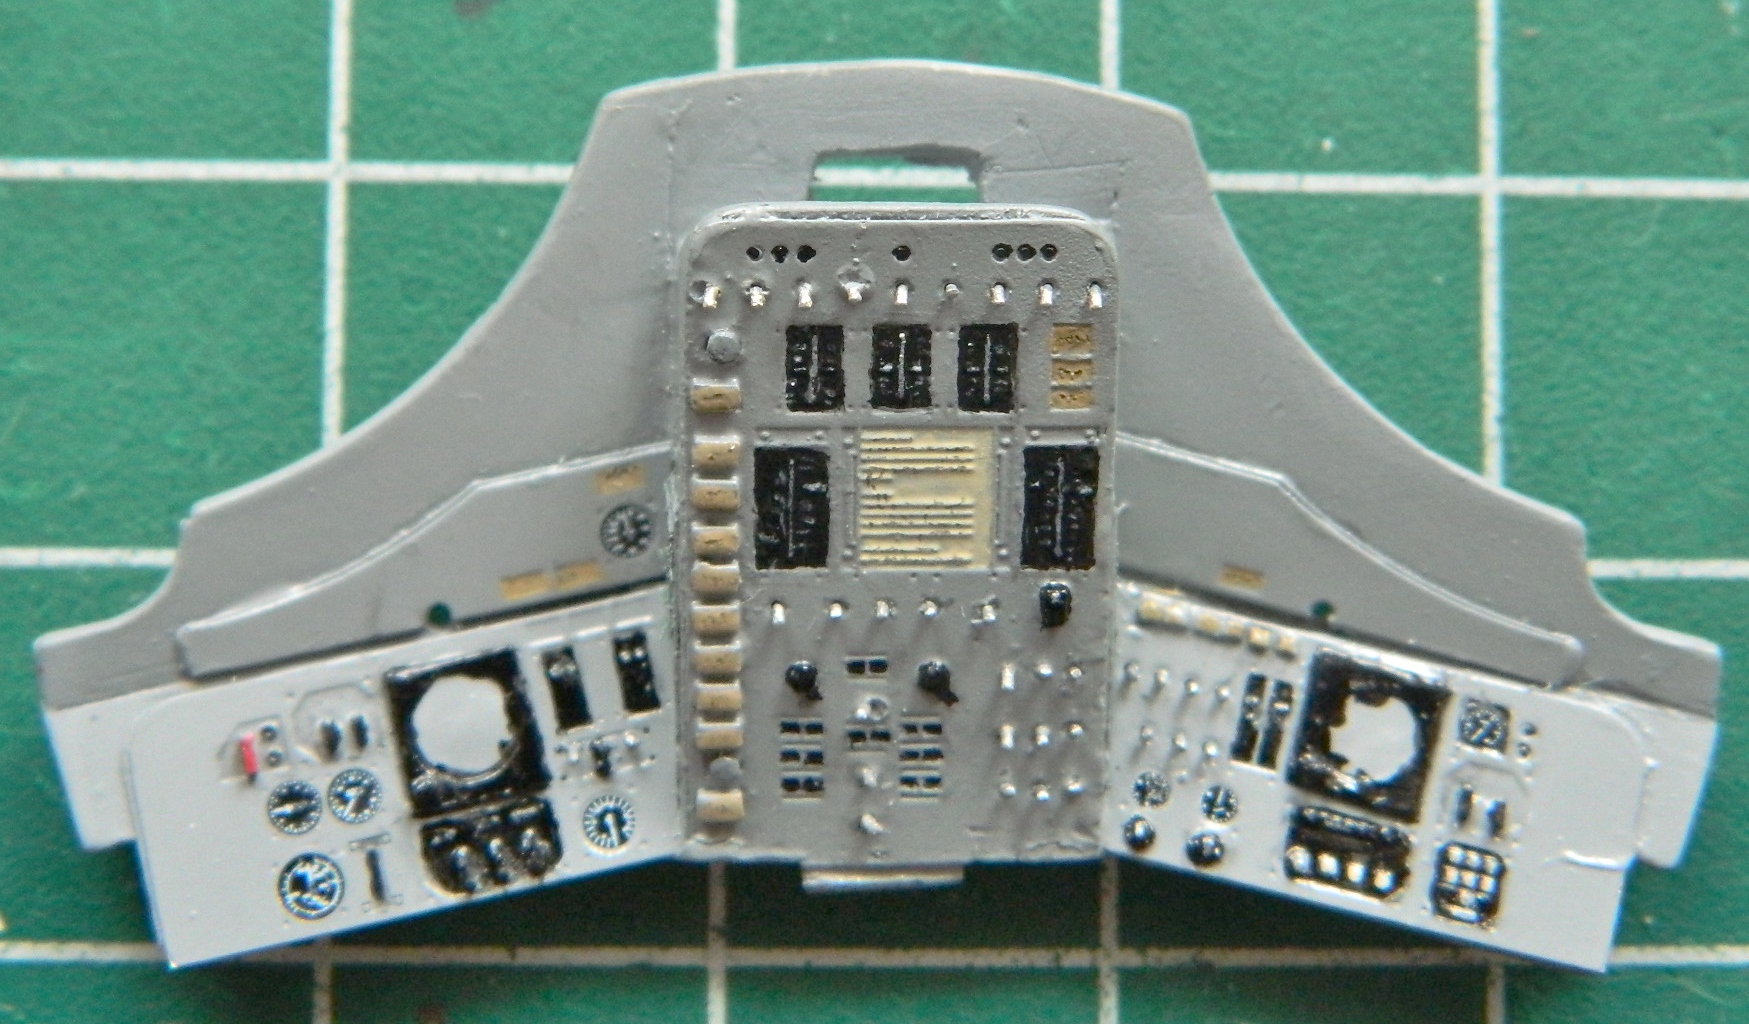
Once the decals dried thoroughly, I put a drop of clear gloss paint over the faces to replicate glass. Then I peeled the formerly-liquid mask of the artificial horizons, added the grab bars to the sides of the central panel, and ended up with this:

Yeah. That gets it…
Since a person can’t just “put something down” in micro-gravity, there has to be something to keep things in place. That something is Velcro and it’s pretty much all over the inside of the cabin. I used the same paper towel material I used for the sunshades for Velcro (the superglued pantyhose was out-of-scale). Below, the bare paper towel is on the left of the panel, the painted paper towel on the right (and I’m not satisfied with using the light gray for the Velcro…it looks more tan to me so I’ll be fixing that before assembly):
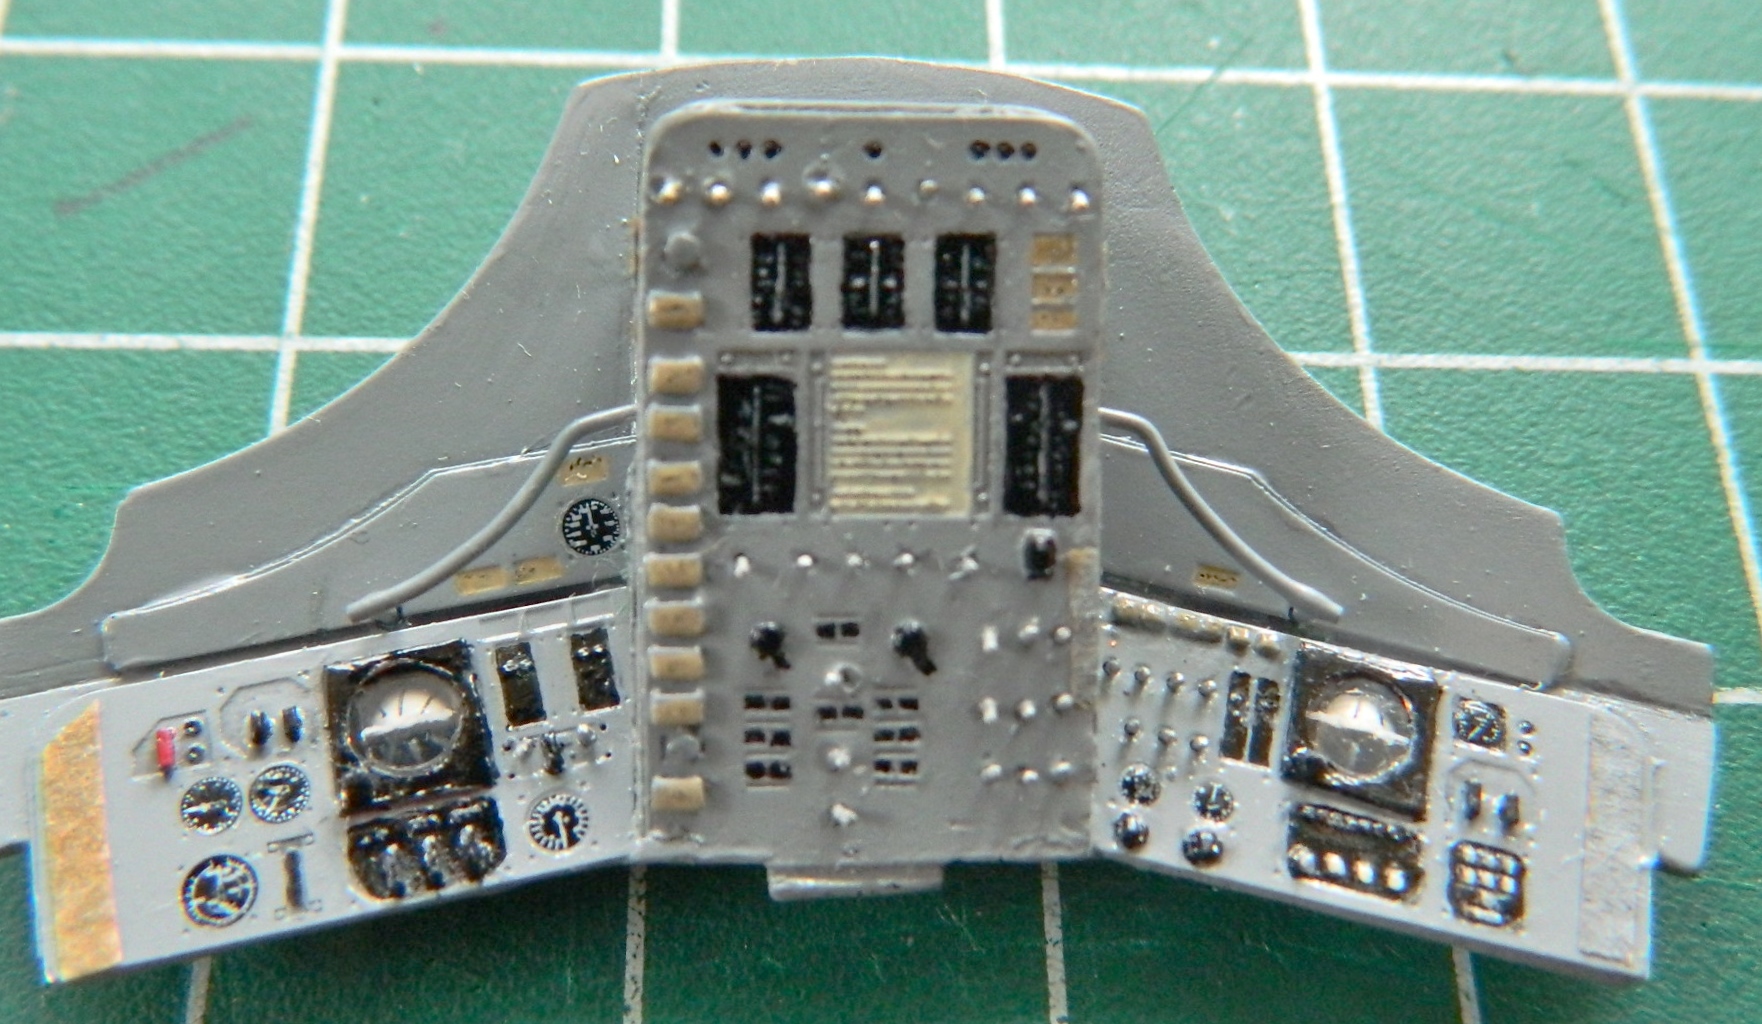
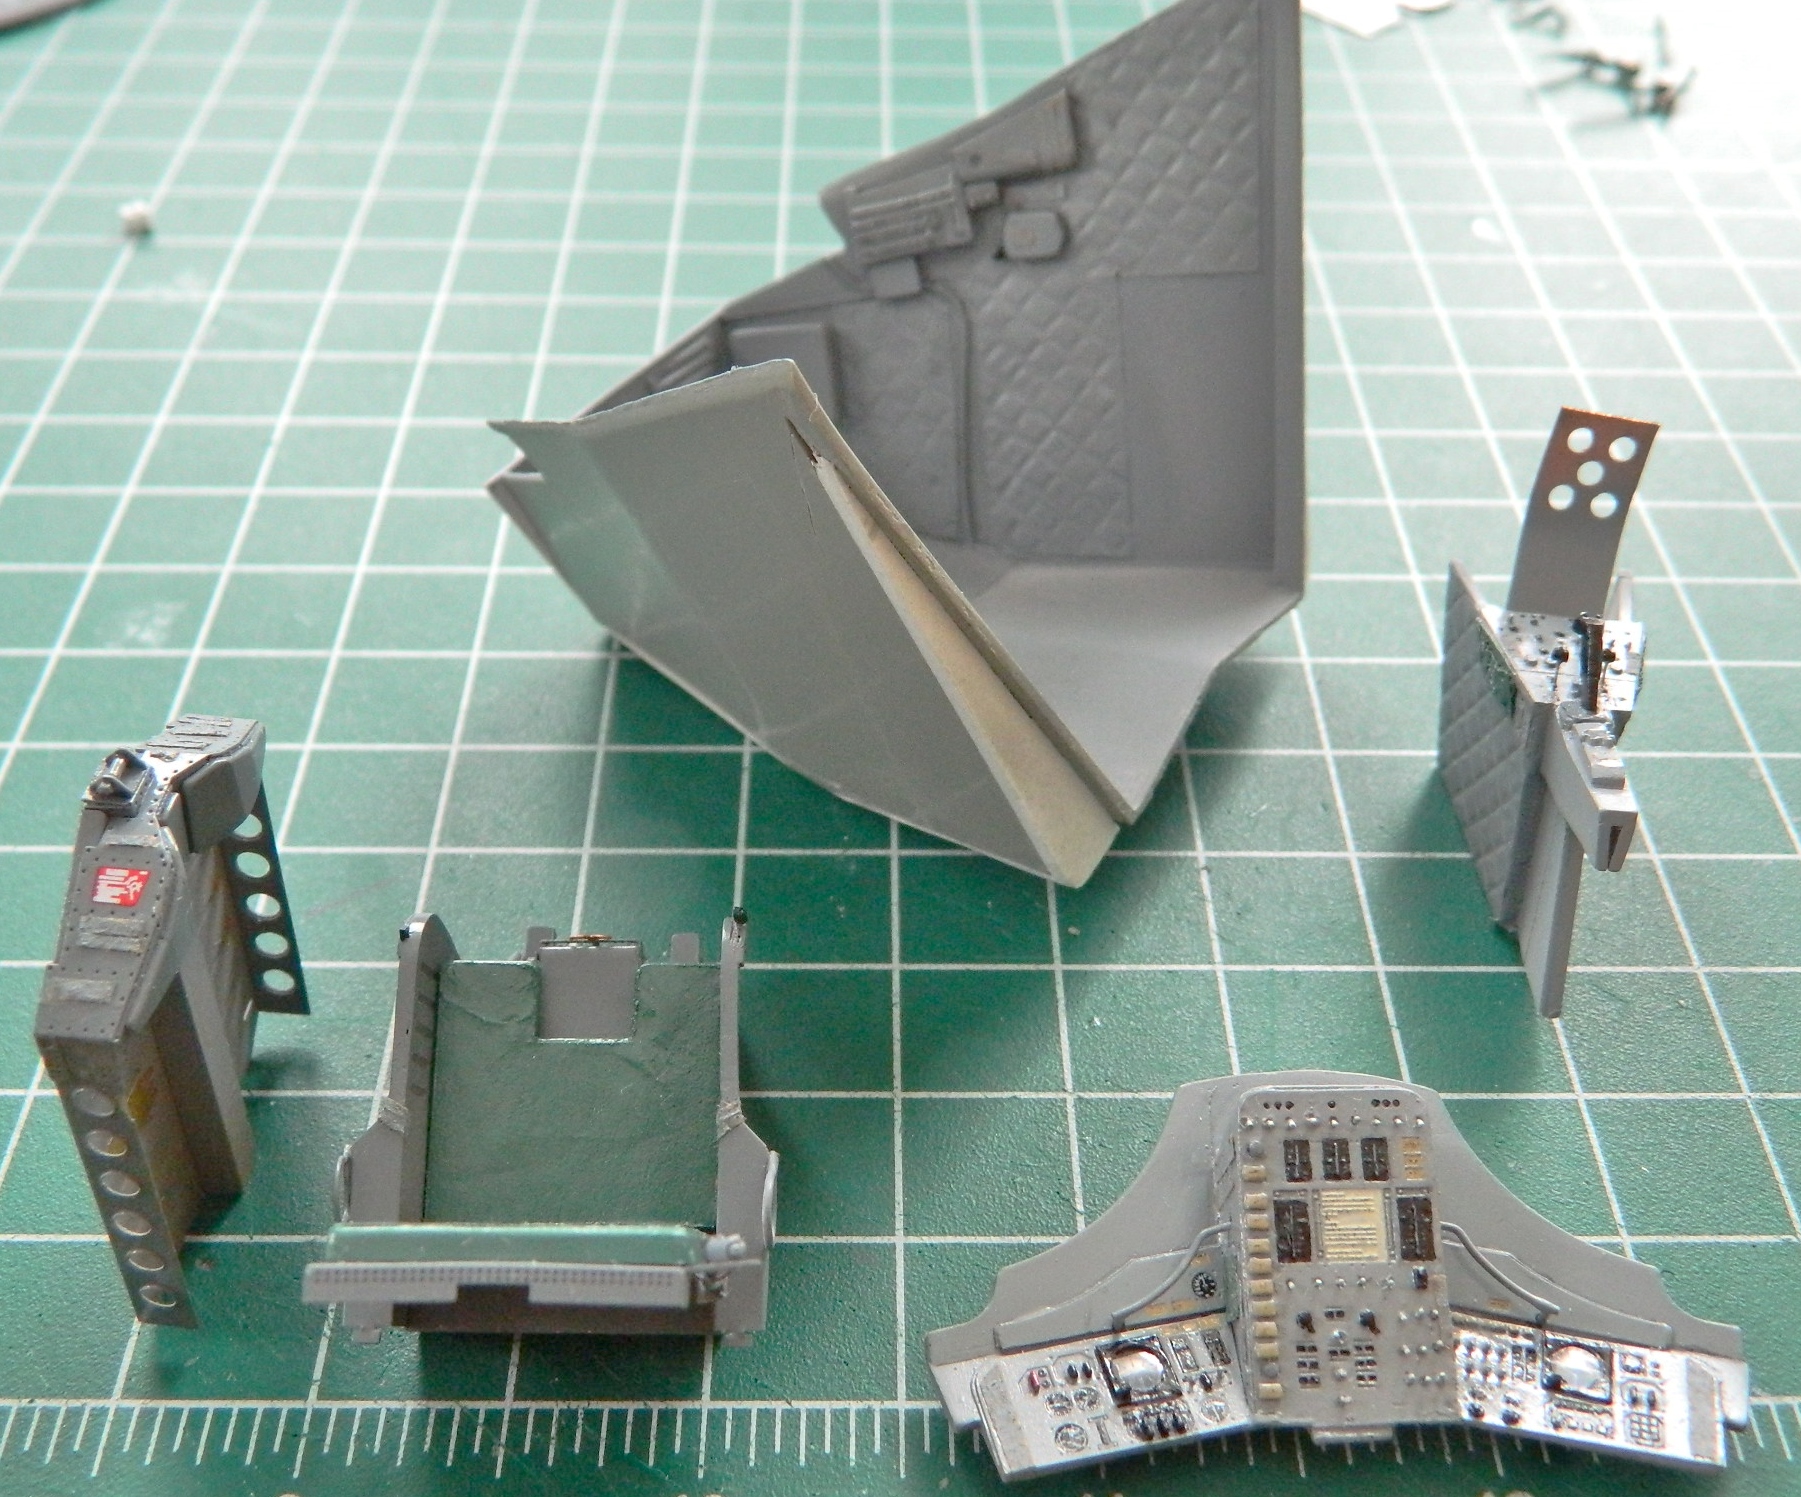
The last thing to add to the cabin parts are the oxygen hoses, get them in paint, and then I can start assembly!
Gemini (Revell) Build #10 – Finishing hatches and adding interior details
With the brass origami folded, it was time to add it to the hatches. Well! The fit of the PE parts wasn’t exactly…well…exact. So I pushed and tweaked and finally got everybody to play nice with each other:
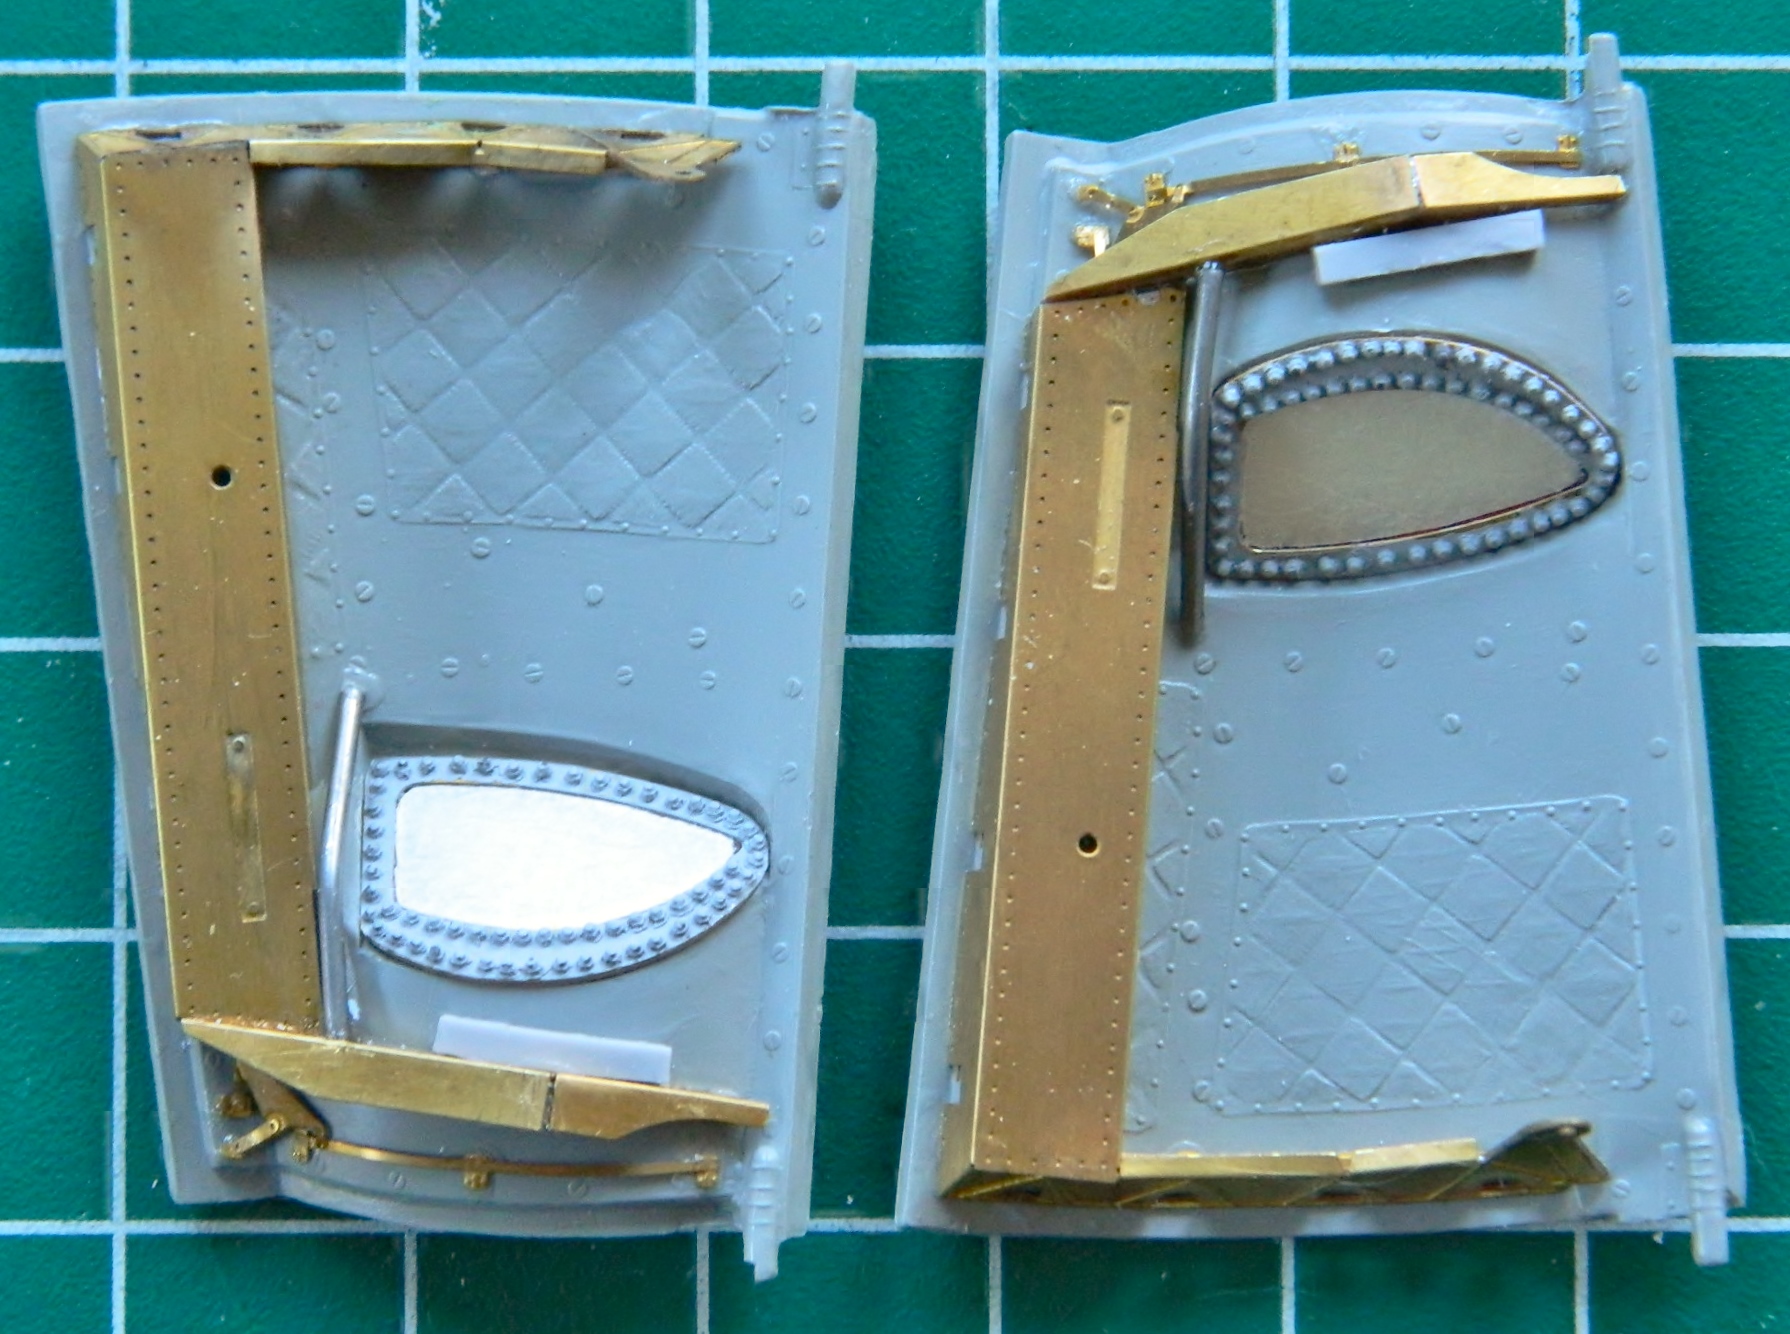
Setting those aside (a few more minor details to add before painting), I needed to perform an experiment to see if what I wanted to try would work. There are Velcro patches all over the inside of a Gemini spacecraft. I mean, one can’t just put something down in micro-gravity, so something needs to hold stuff in place, and that something was Velcro. And it is ALL over the interior, so I need some way to replicate that in scale. So cue the PANTYHOSE! Perfect texture, I just needed to see if I could stabilize the flex of the material and for that I used superglue. Worked just fine:

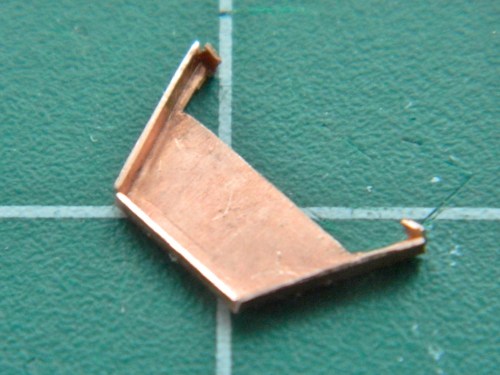
There is an equipment mount on the ceiling console of the cabin, so the mount and the boxes that mount there had to be made. I made the mount out of .010″ (.254mm) copper shim-stock, folded it, and then soldered it to the PE part (as well as adding a pull-switch to it):
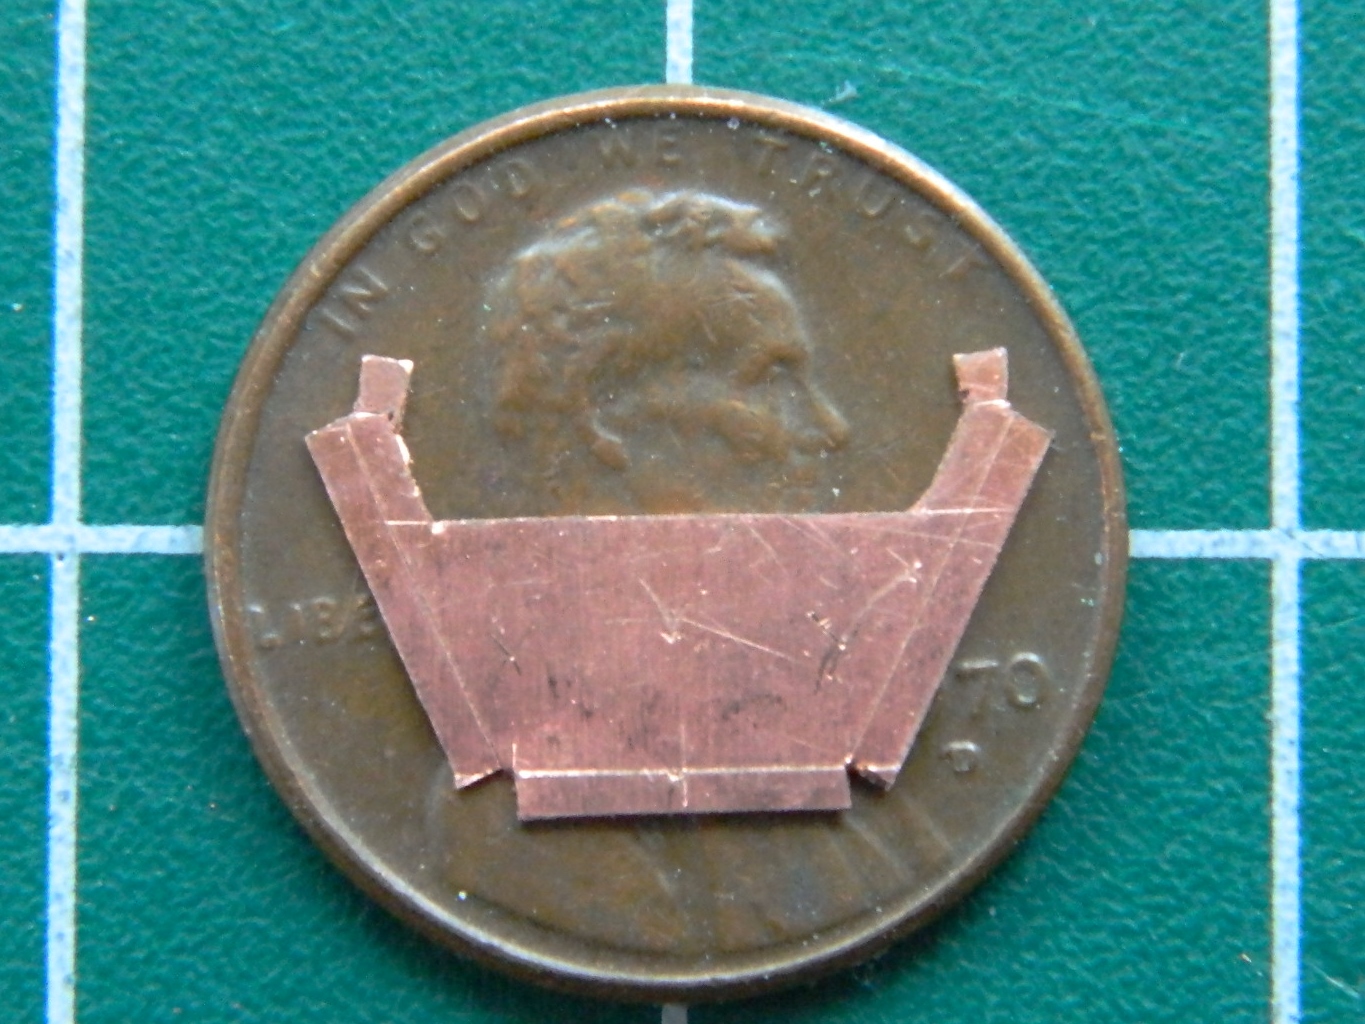
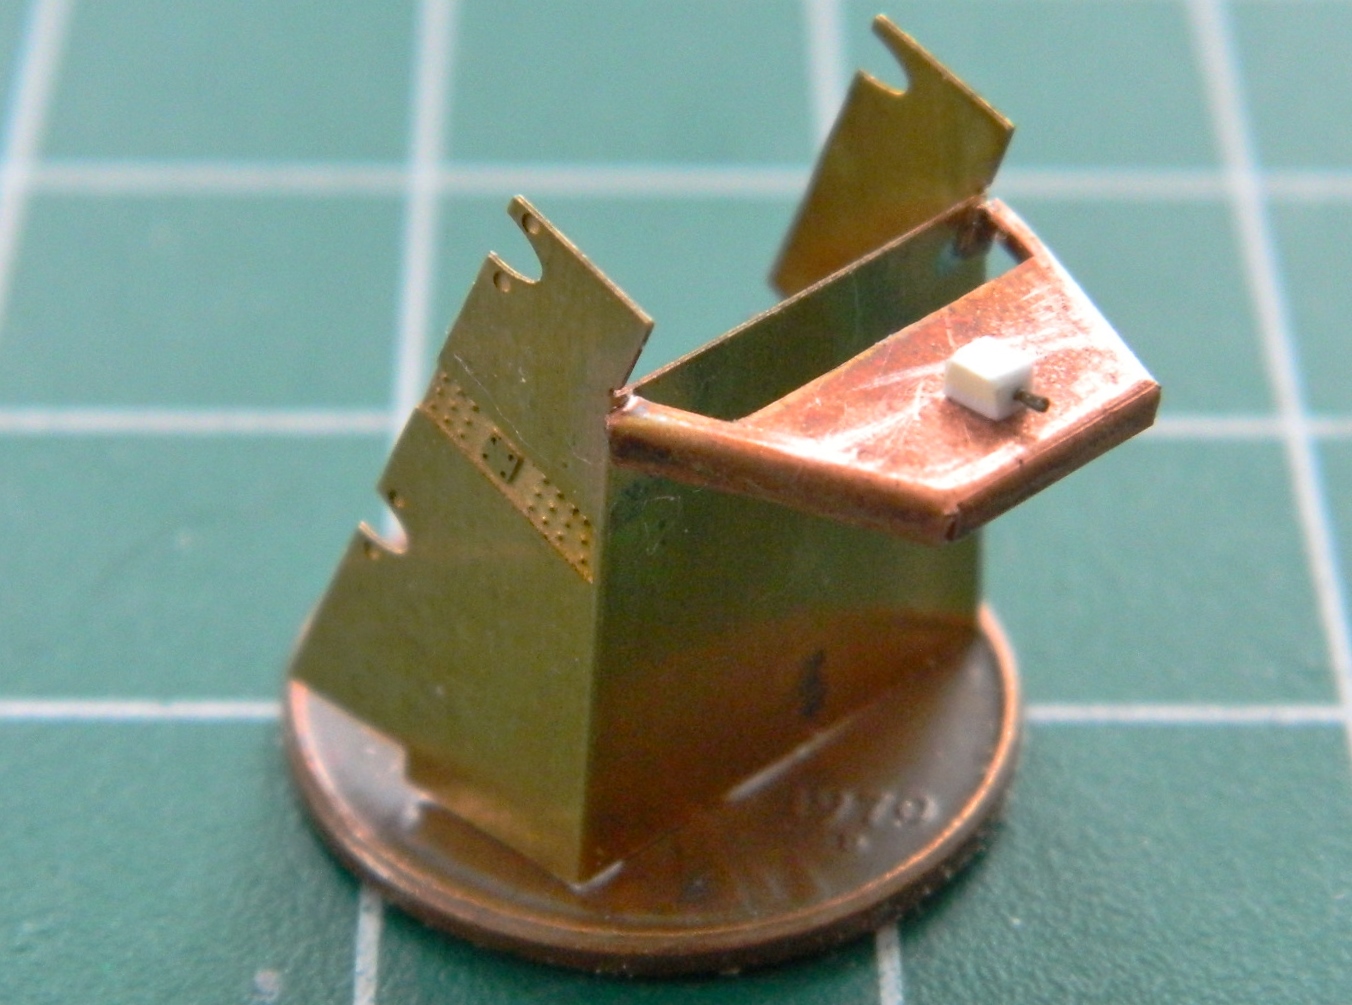
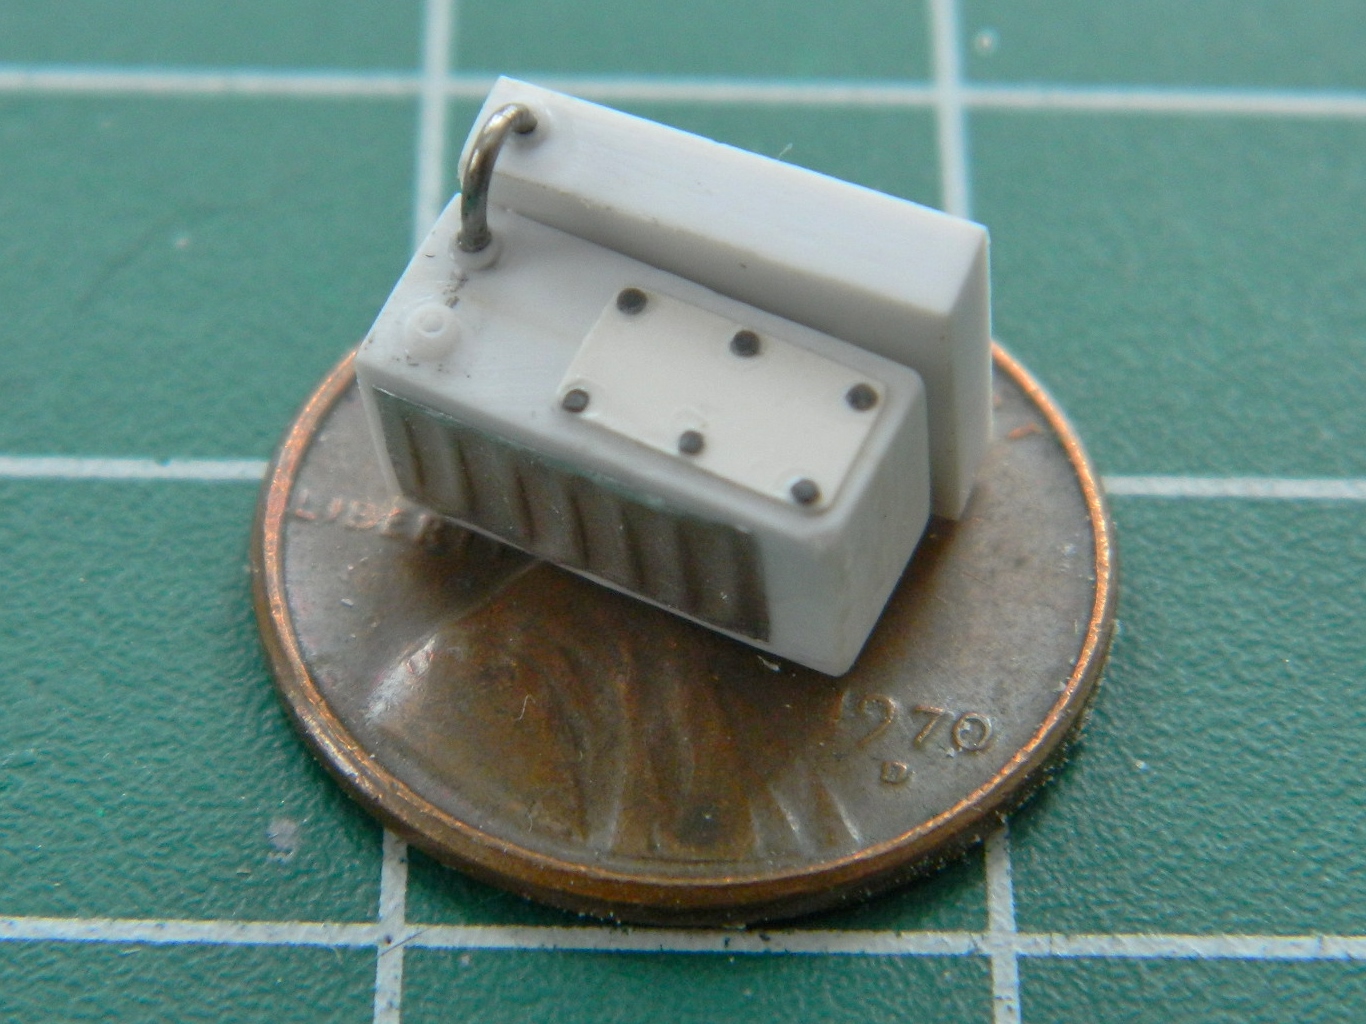
Then I made the boxes that get mounted to that bracket out of scrap styrene, added details, and glued them into position:


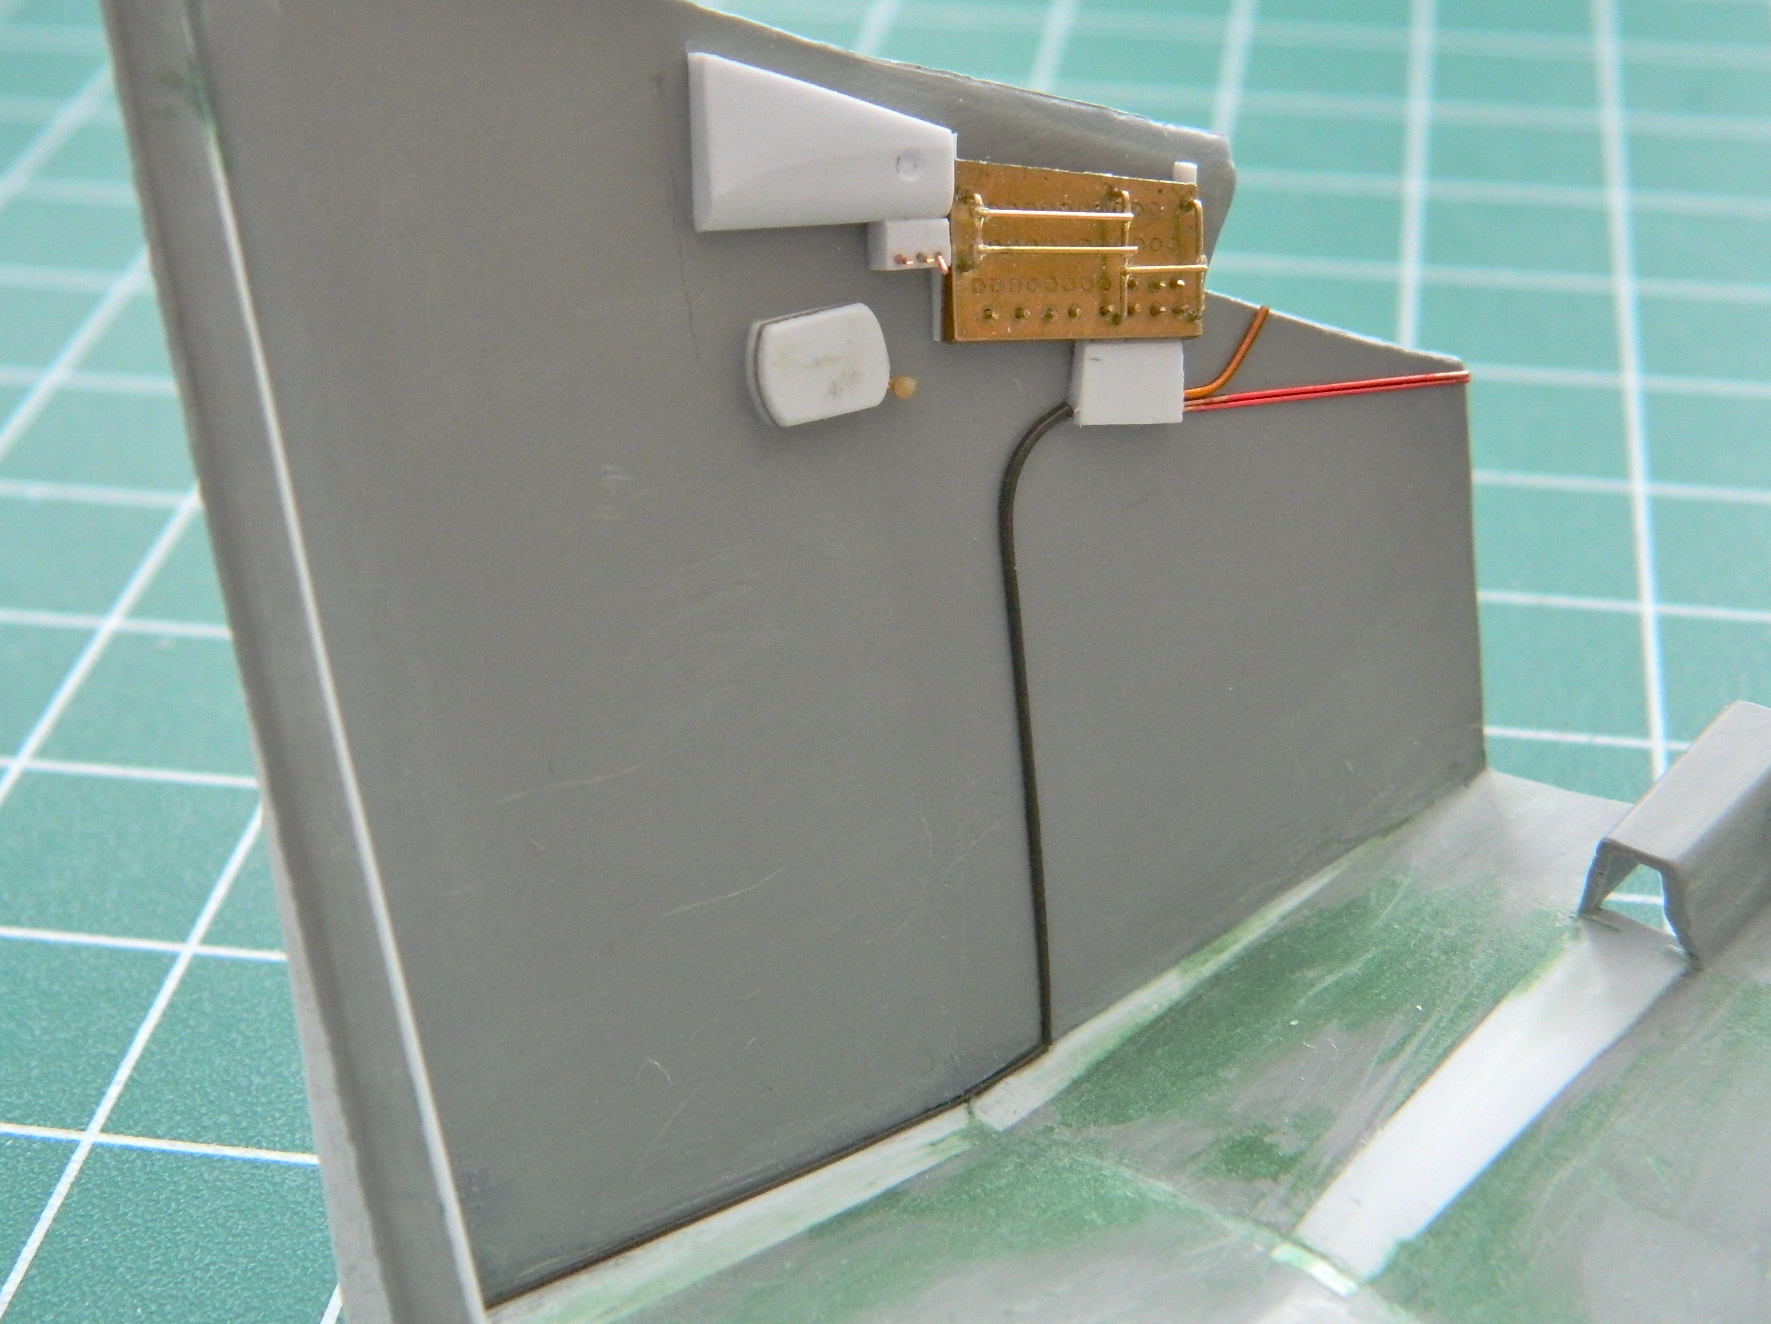
There were a few lines I could add now (the remainder have to wait until seats and gear containers are added):
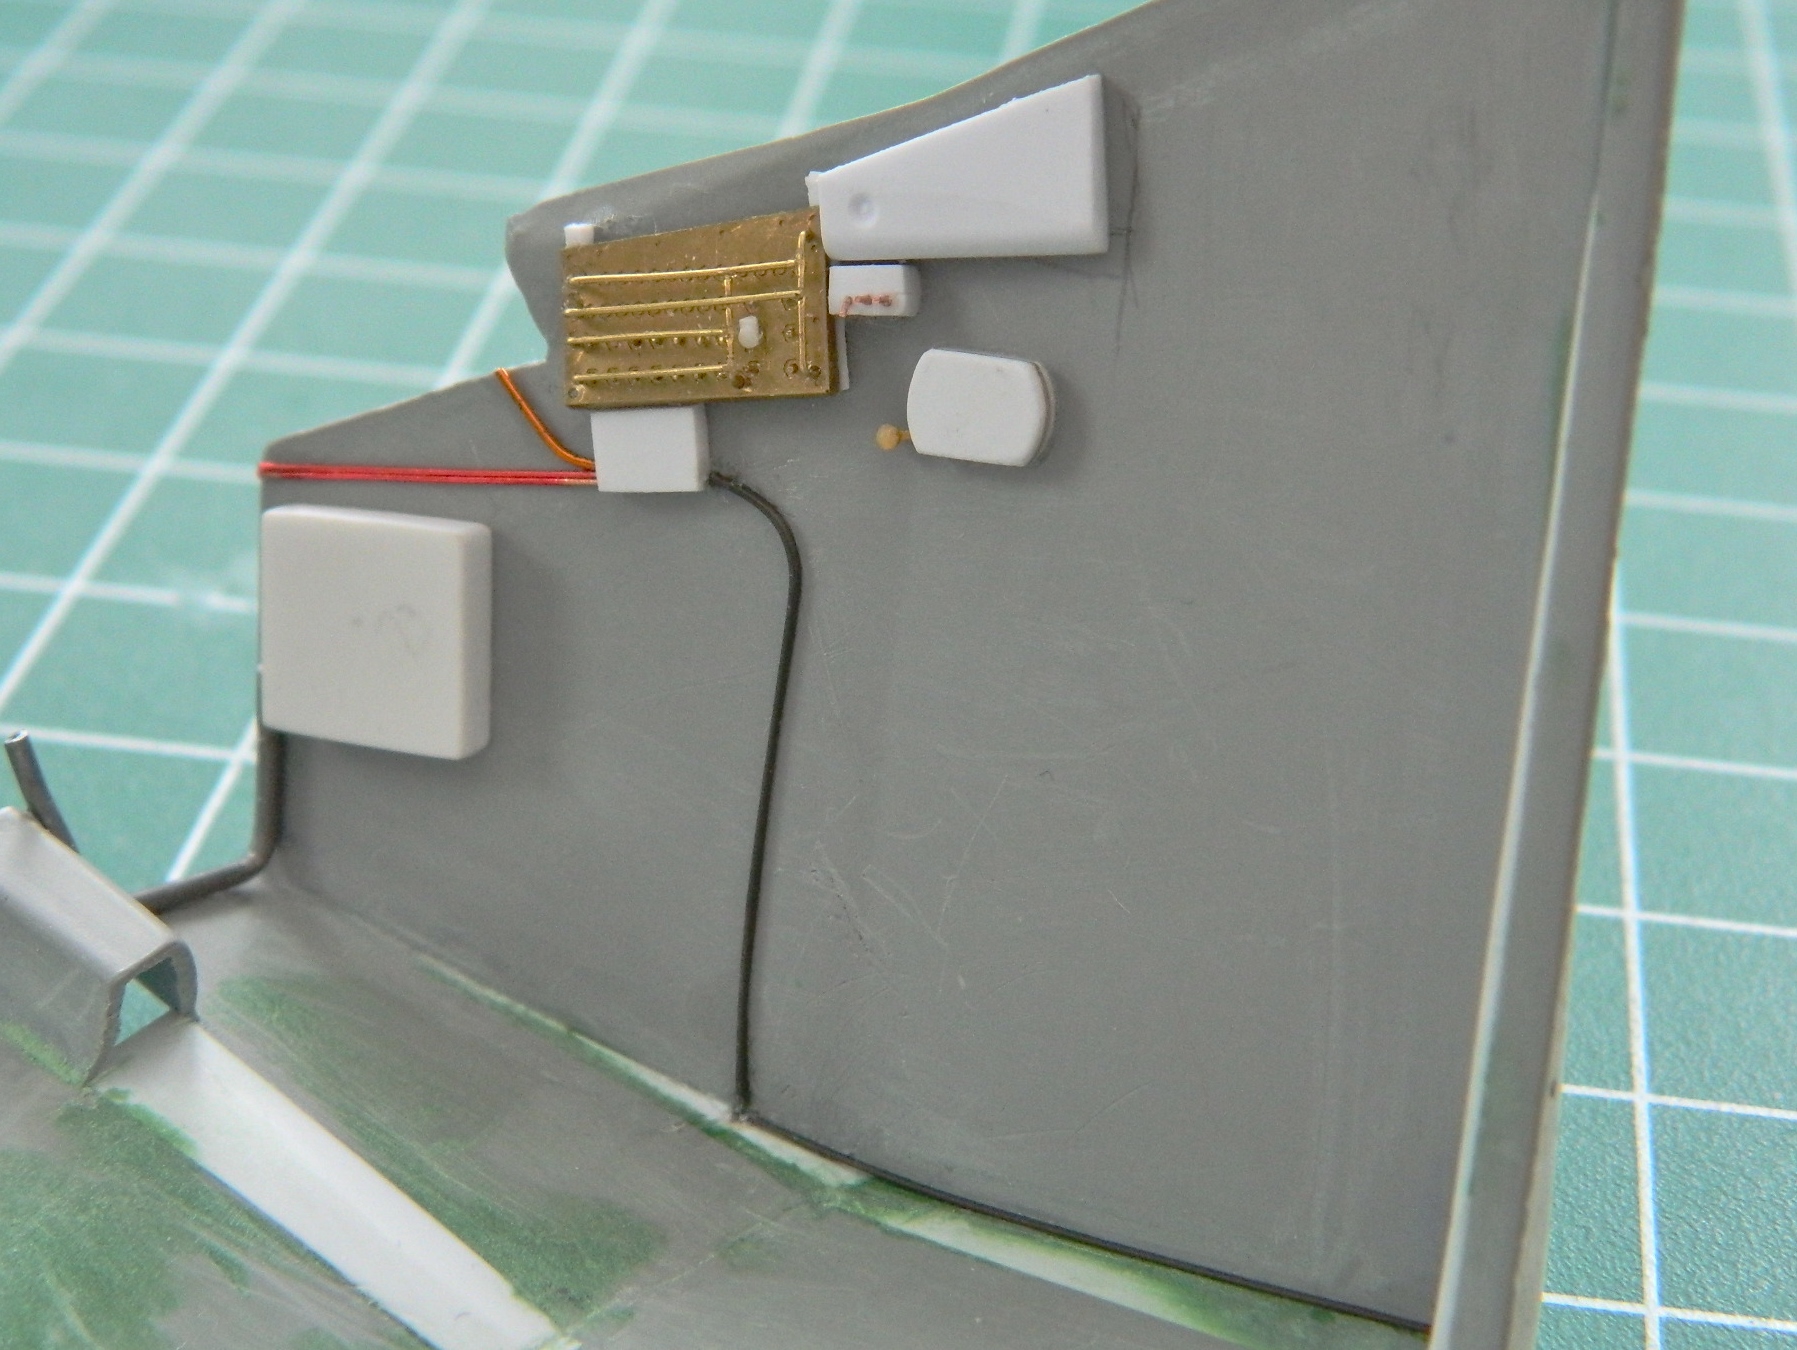
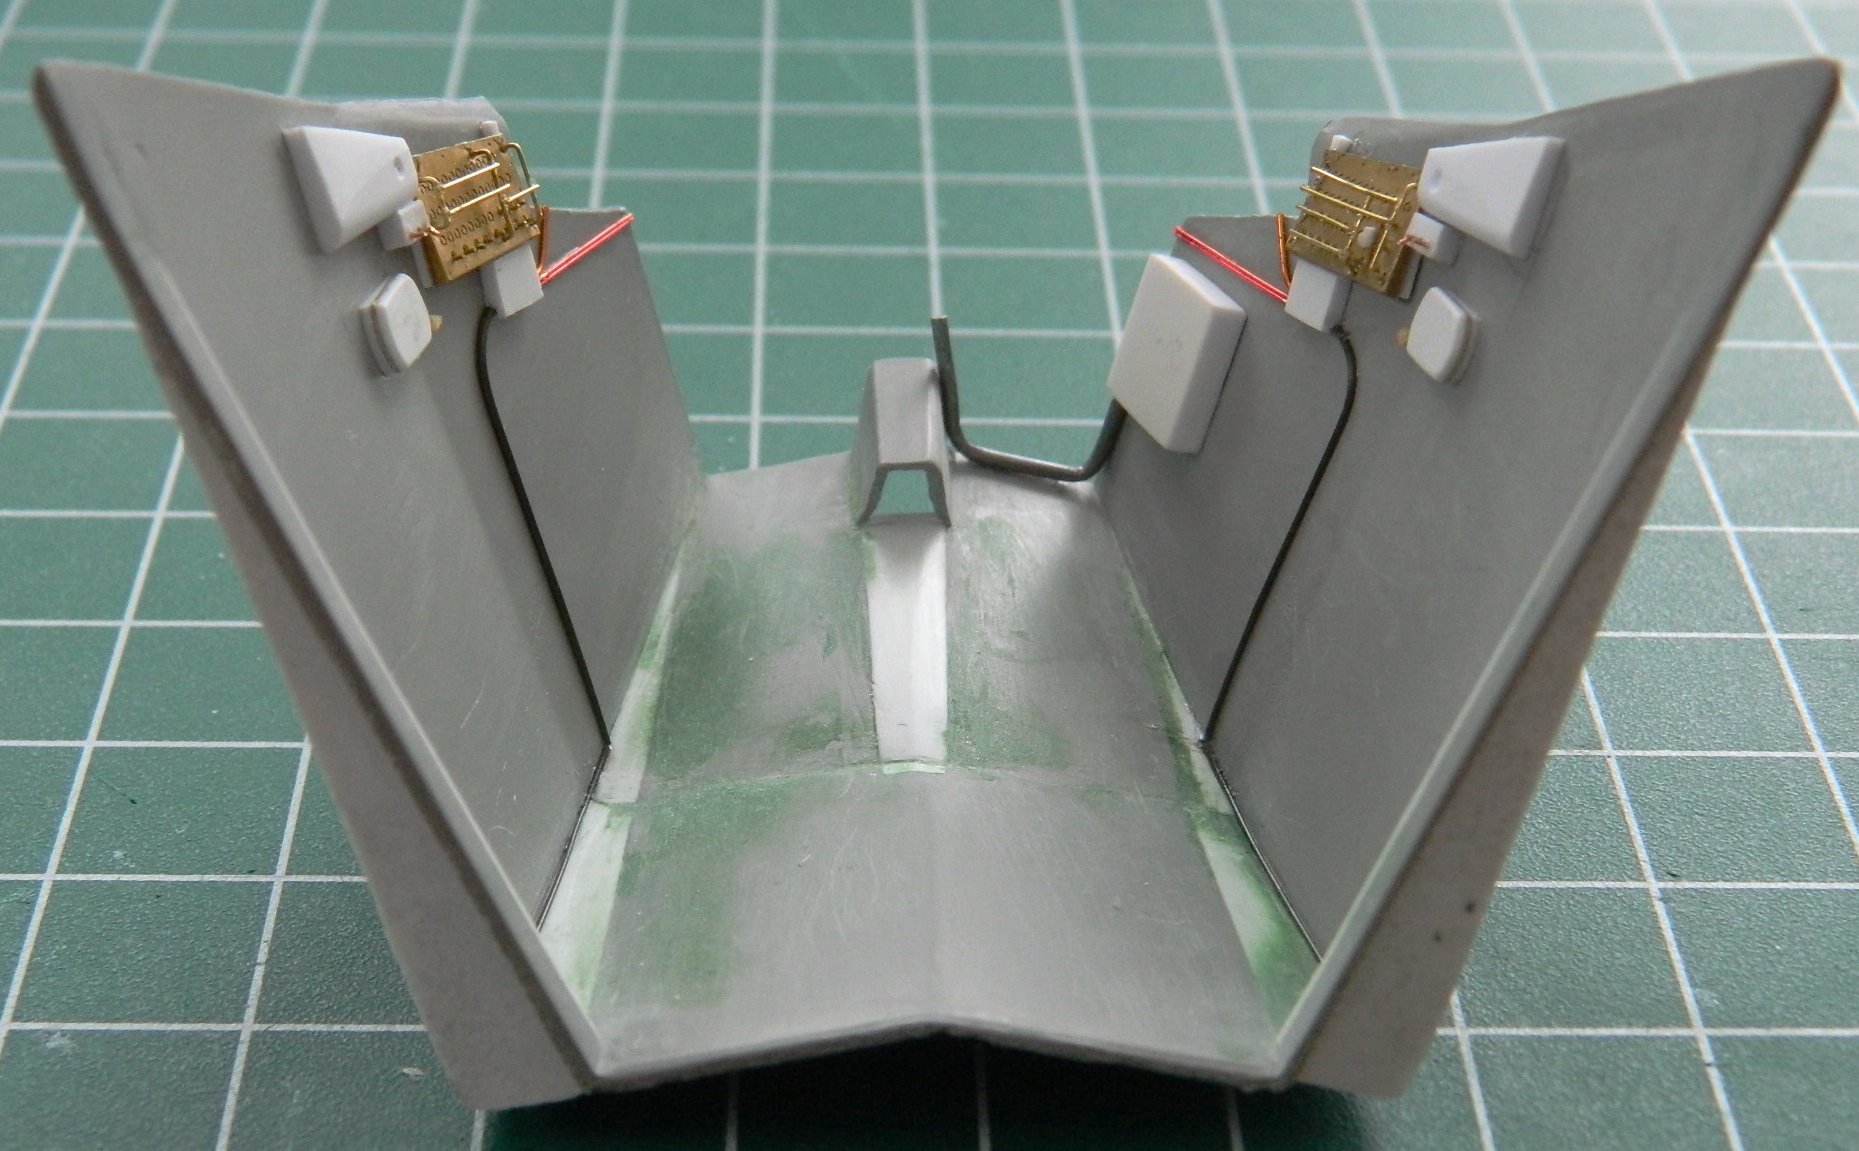
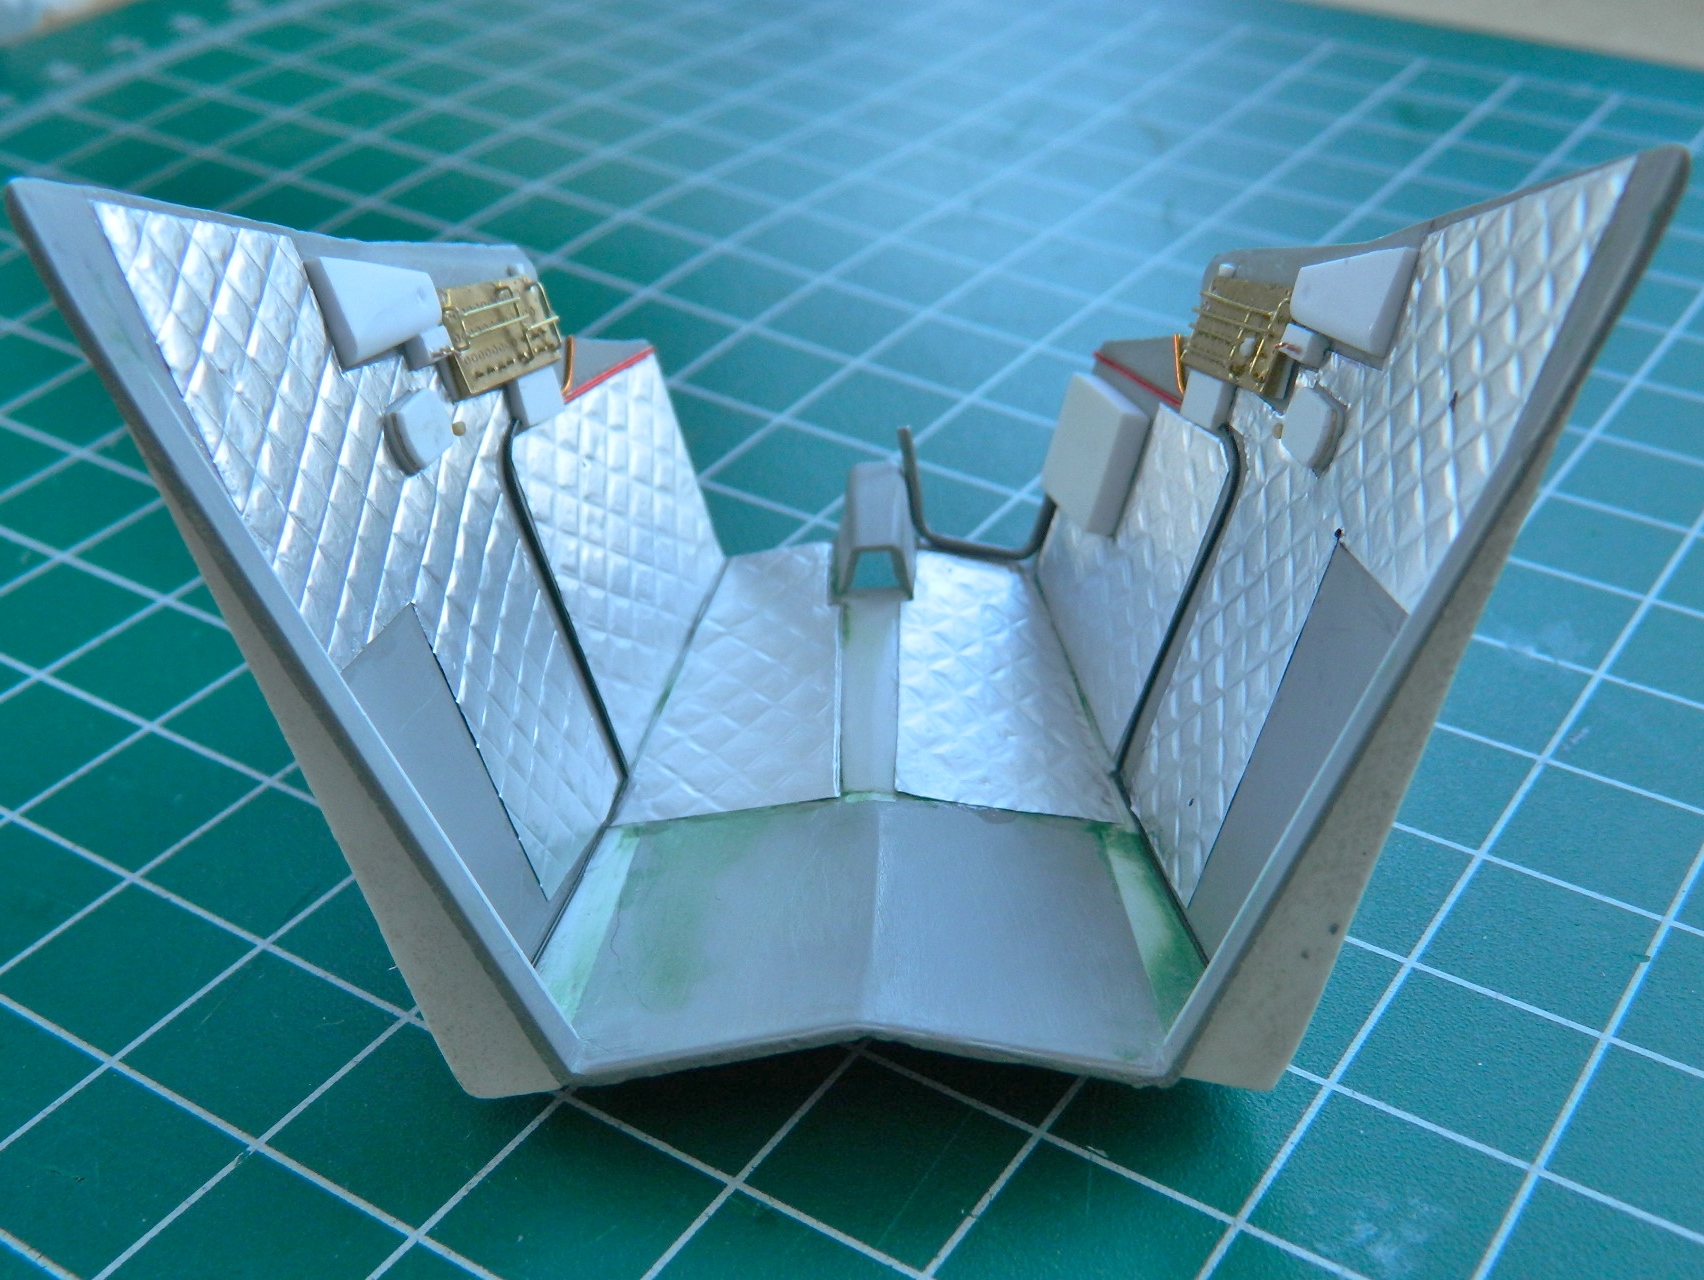
There were quilted pads lining the cabin. I replicated that with heavy (very heavy) aluminum foil that I tweaked for detail and superglued to the cabin walls and floor:

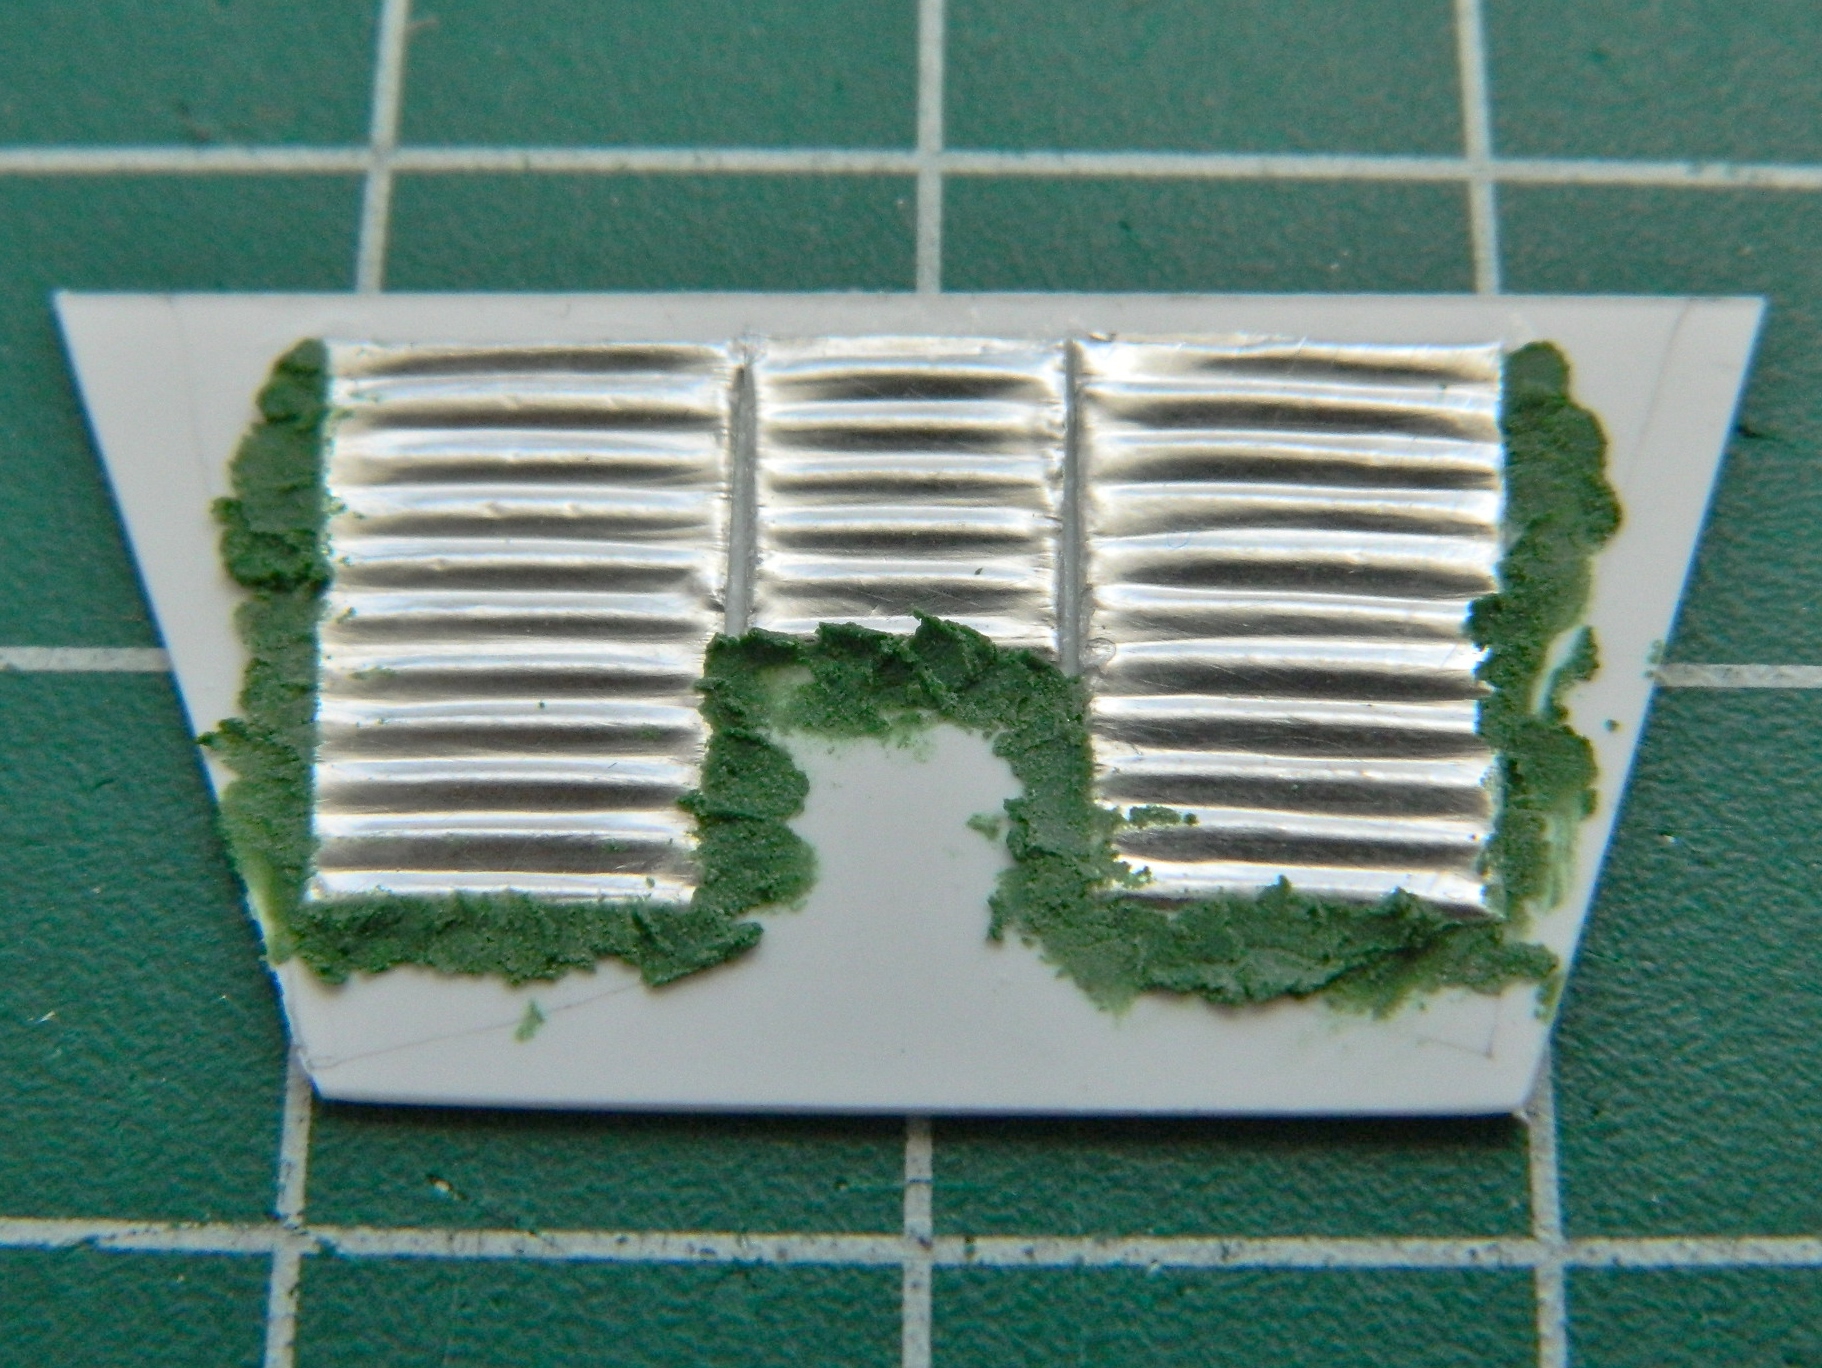
While I was supergluing aluminum foil, I added the corrugations to the front interior bulkhead:
Then I dry-fit things and discovered that though the panel/console assembly will fit in the cabin, the console won’t fit between the seats. It sits too high:
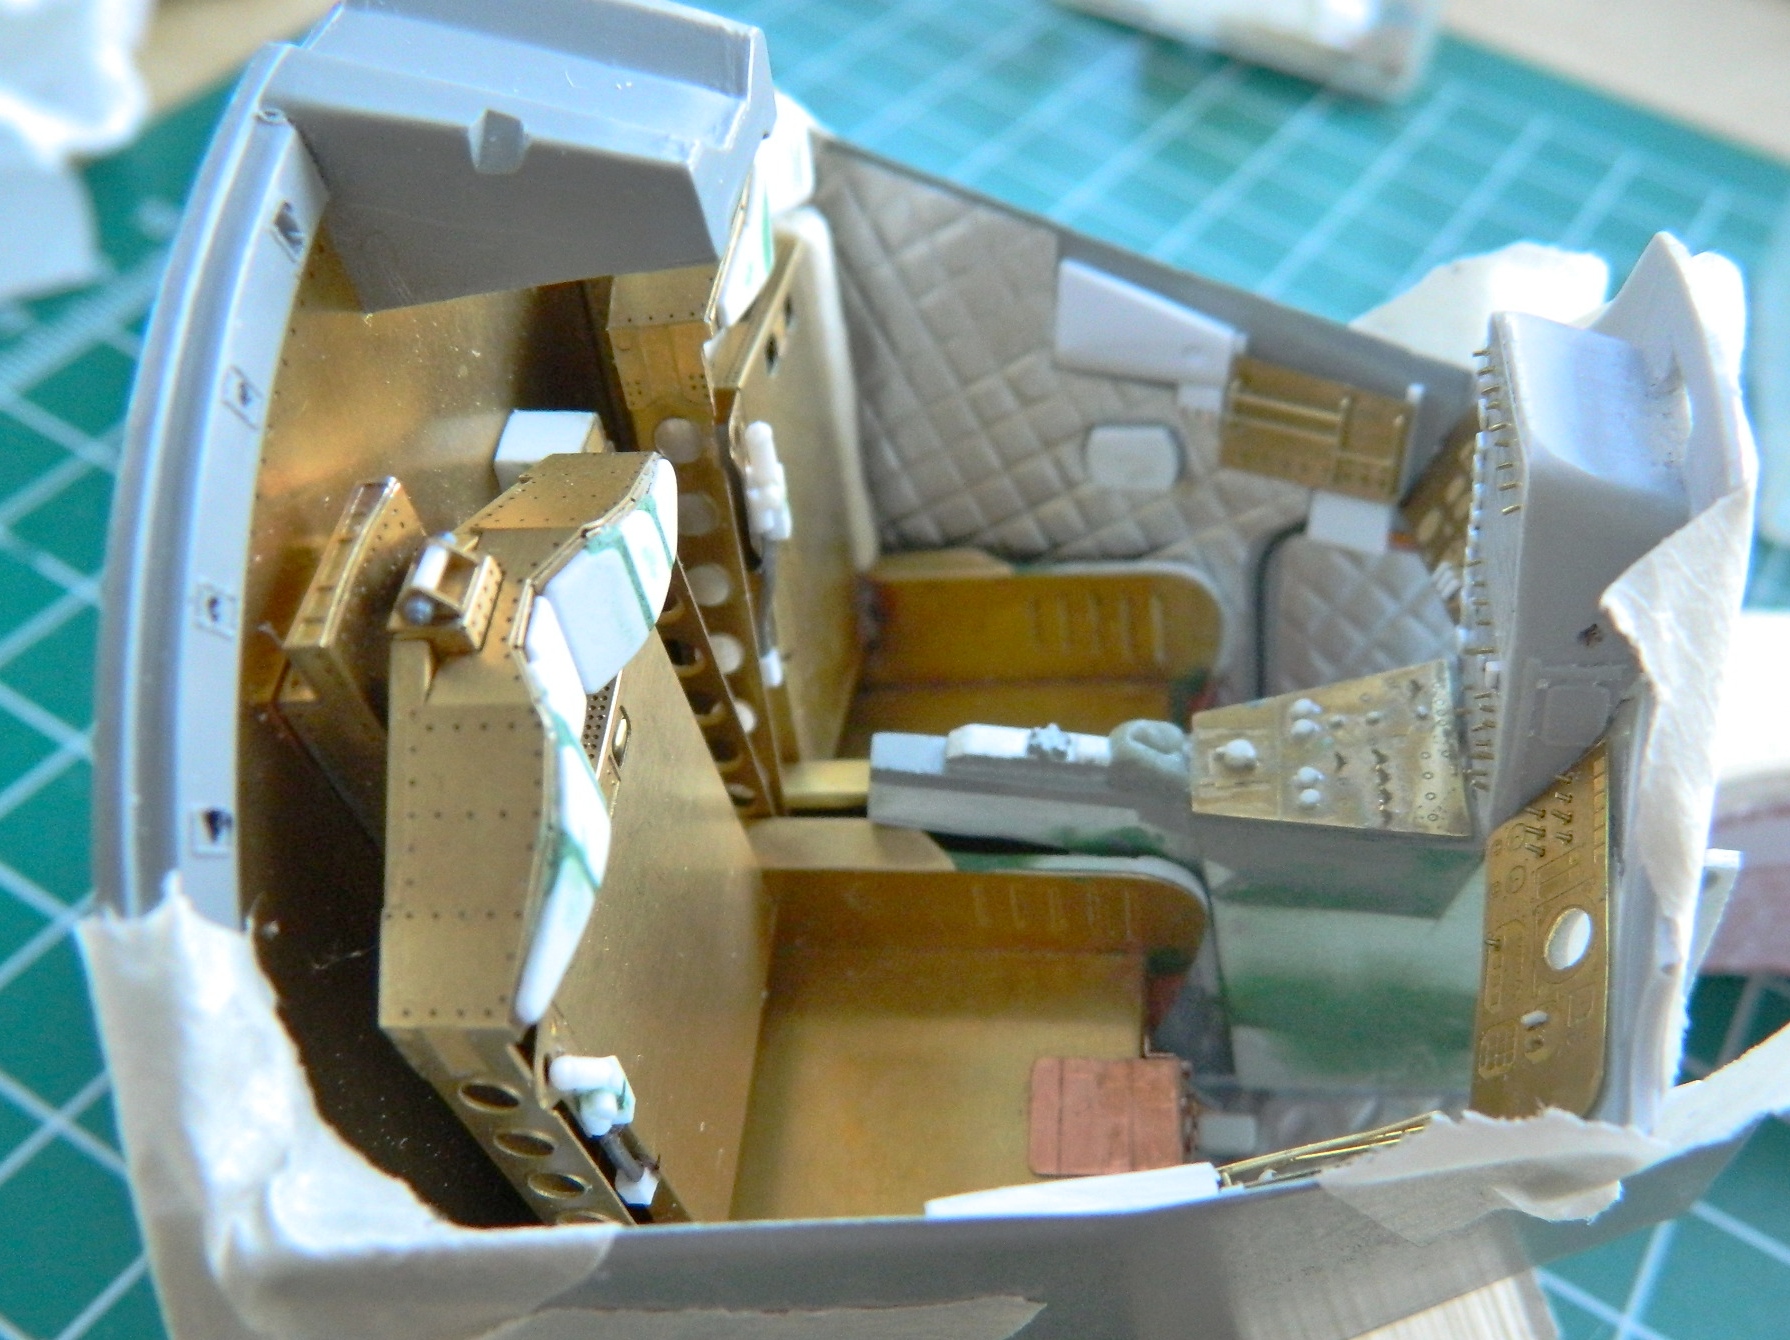
I sawed, filed, and shaved until the top of the console between the seats sit as low as it’s supposed to. Then there was another detail I needed to make. The command pilot (left seat) has an abort lever, it’s prominent, and it needs to be there. So I started making that:

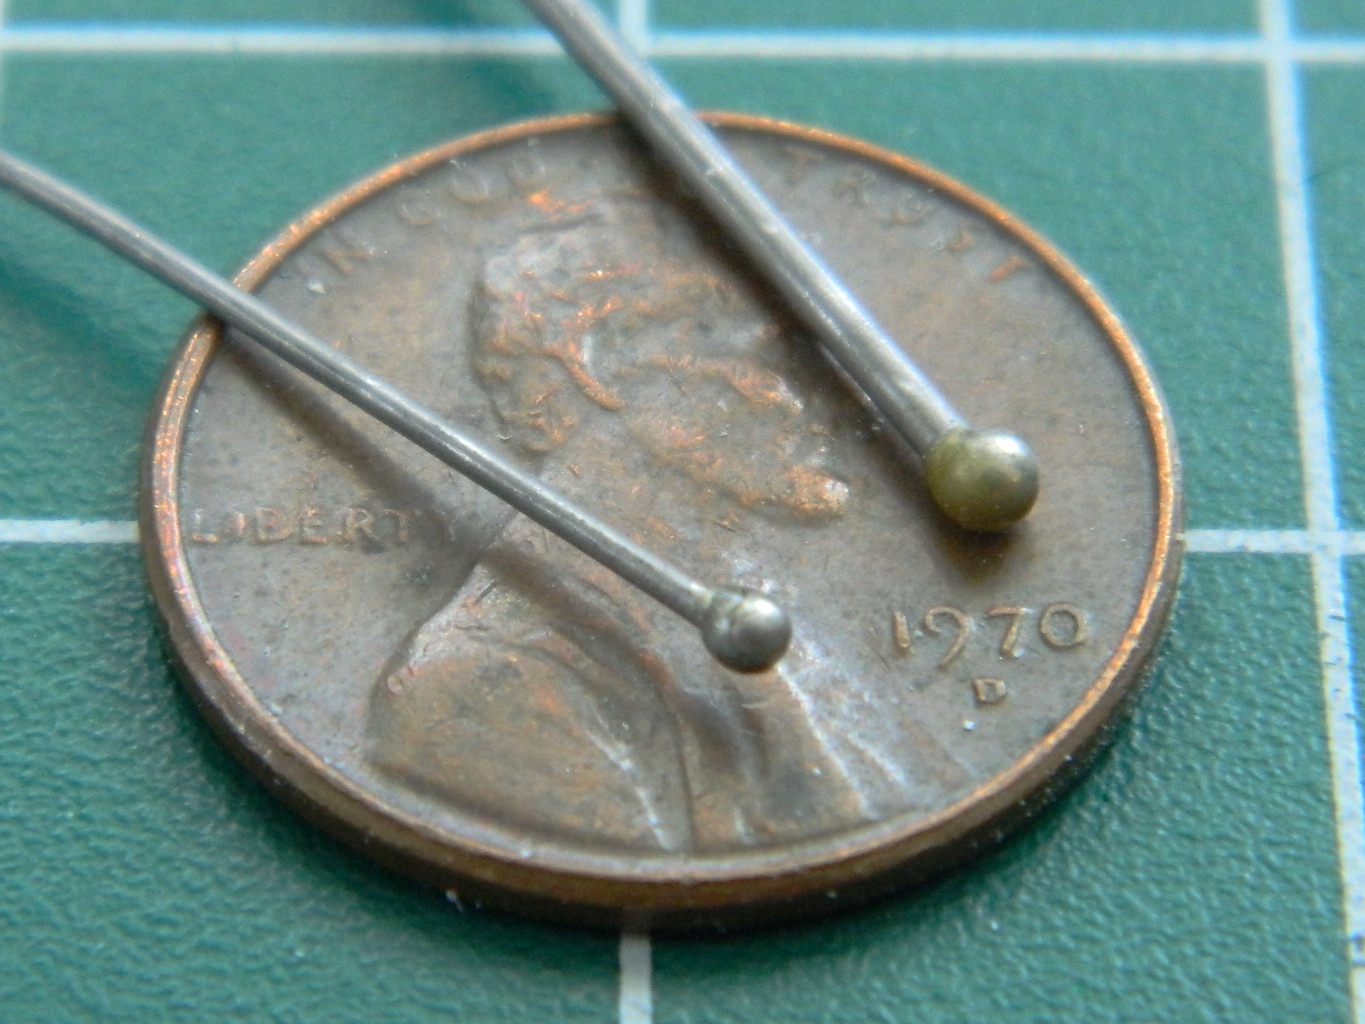
There is a round knob that sits on top of the stalk. It’s large enough that a blob of white glue or several coats of superglue wouldn’t work. Then I remembered what happened to solder if it wasn’t touching a surface when the torch hits it. It forms a ball! Okay…let’s try that! The first one was too large, the second one was just right:
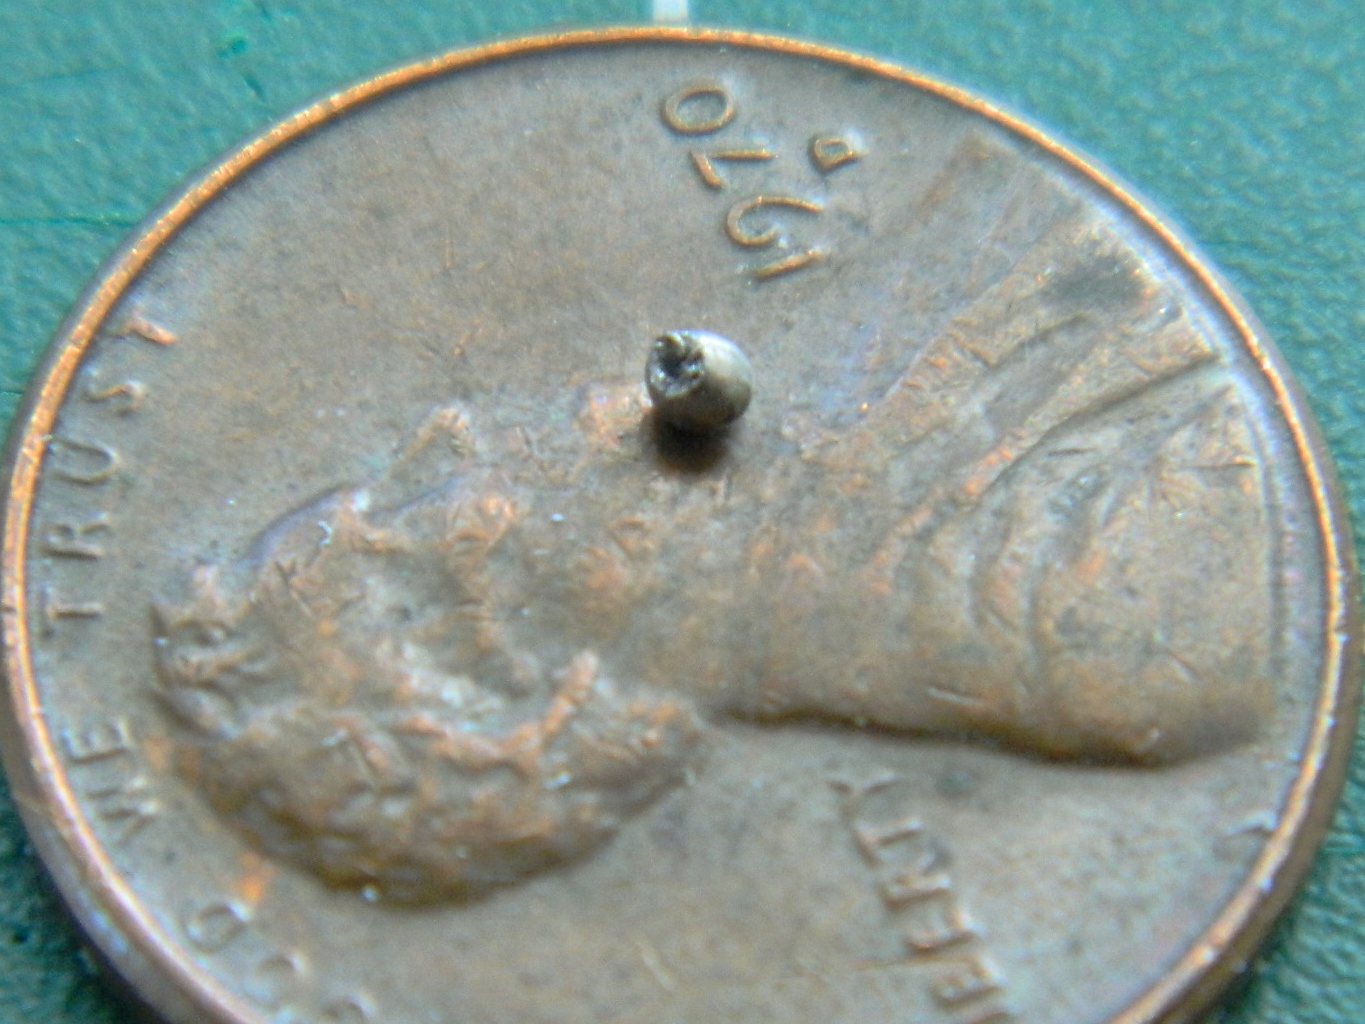
Okay…that was the easy part. Now I have to cut the ball off, drill it to fit the shaft, and glue it on:
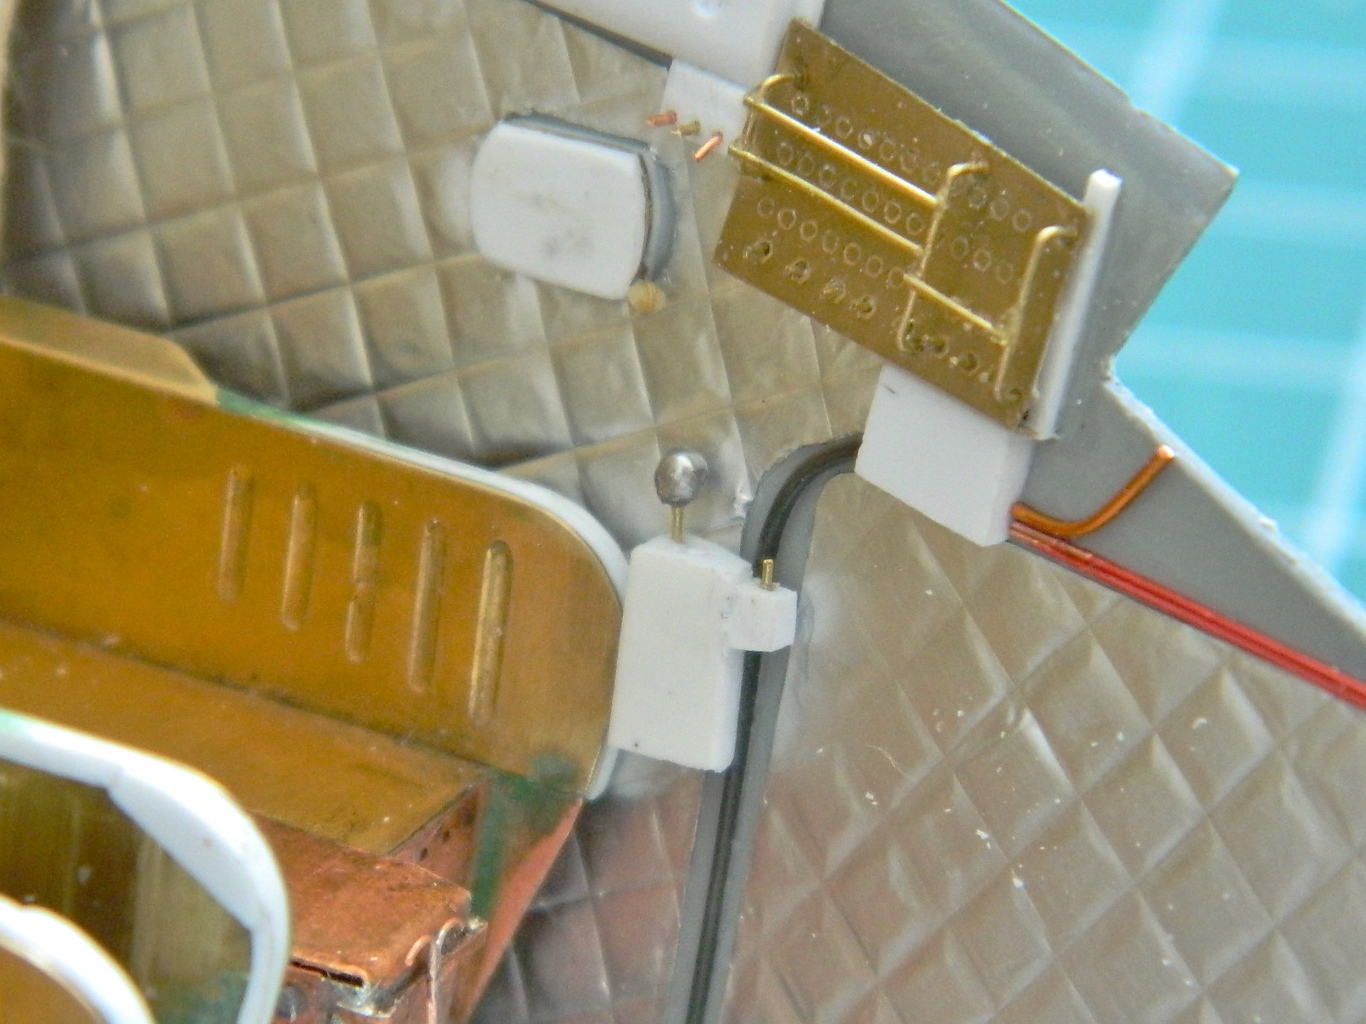
Well, THAT was fun! But in place (well, not exactly in place…it’s supposed to fit between the outside corner of the seat and the cabin wall, but there just isn’t the space for it, so I put it where it is), it looks good:
There were a couple of small levers that had to be added to the seats before paint could be applied and those were added:
And then it was time to start work on the main instrument panel. First step was to paint the balls for the artificial horizons:
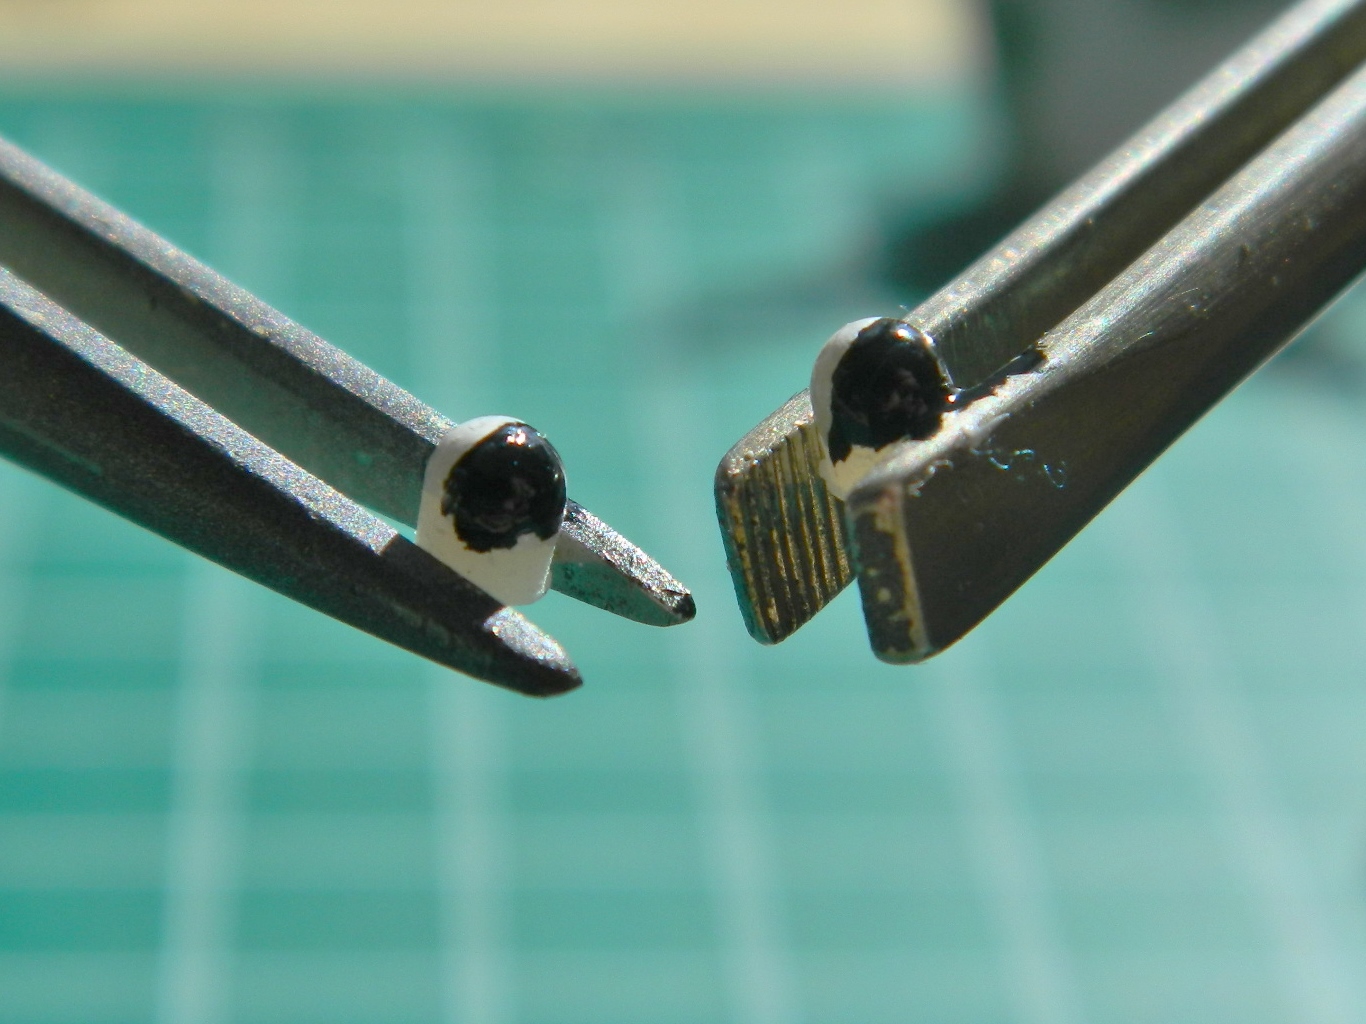
While the paint was setting up, I painted (several times…it was a BITCH to get right) the reference markers on the inside of the gauge faces:
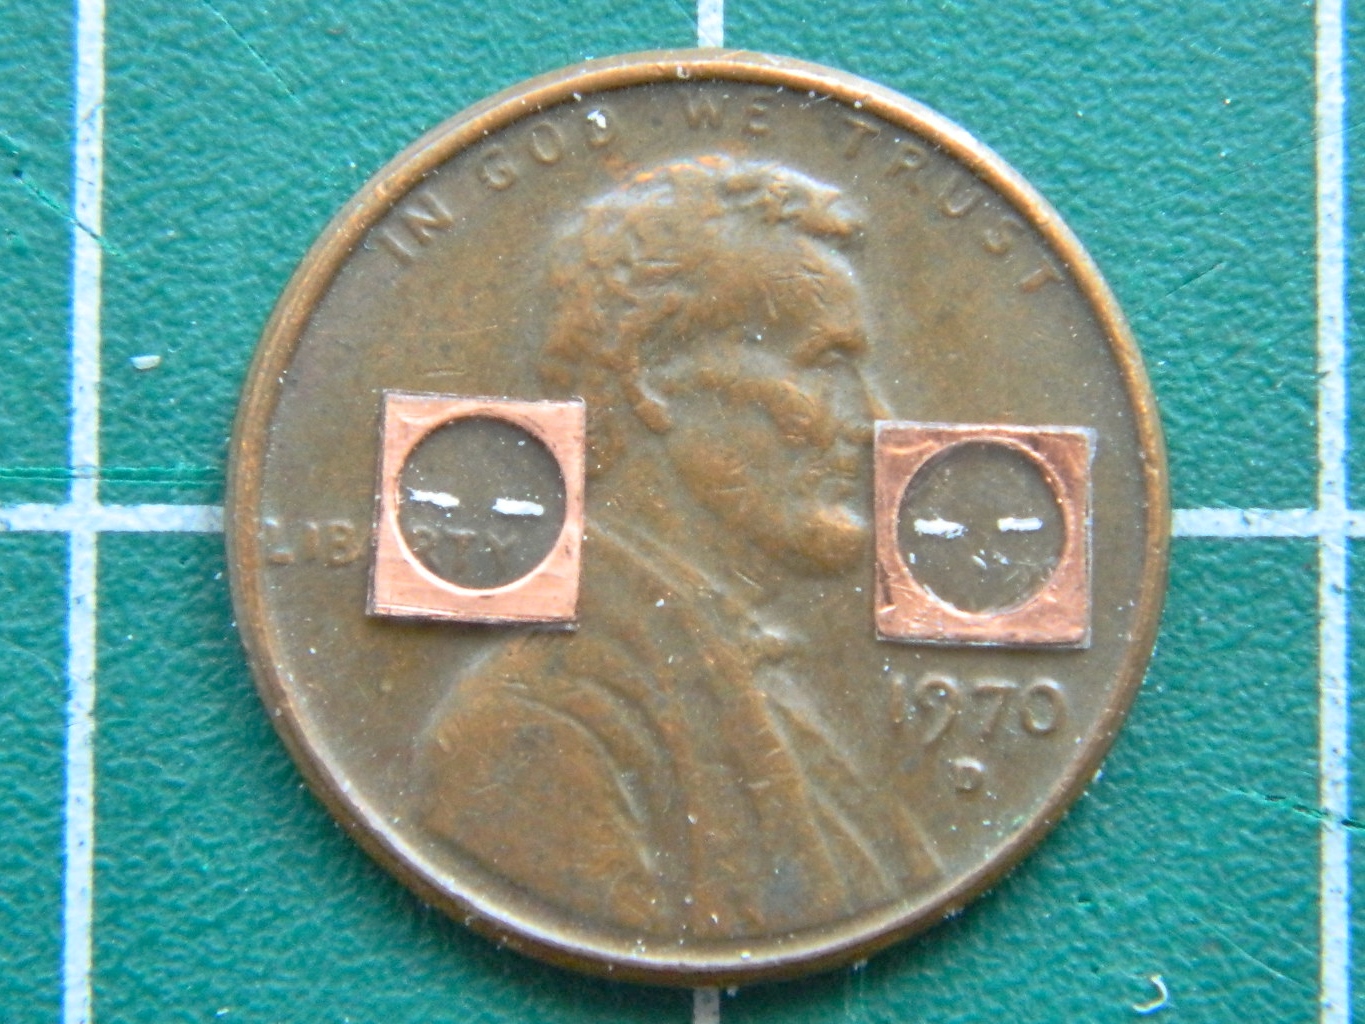
And speaking of “BITCH to get right,” there are the markings on the balls. I tried colored pencil. Nope…didn’t work. I tried slicing decals very thin. Also didn’t work. So then I took my smallest brush and tried painting the lines on. Ta da:

So, muttering a few prayers (and a LOT of begging) to whatever forgotten gods there are/were/will be, I glued the balls into the holes and added the face-plates of the gauges:
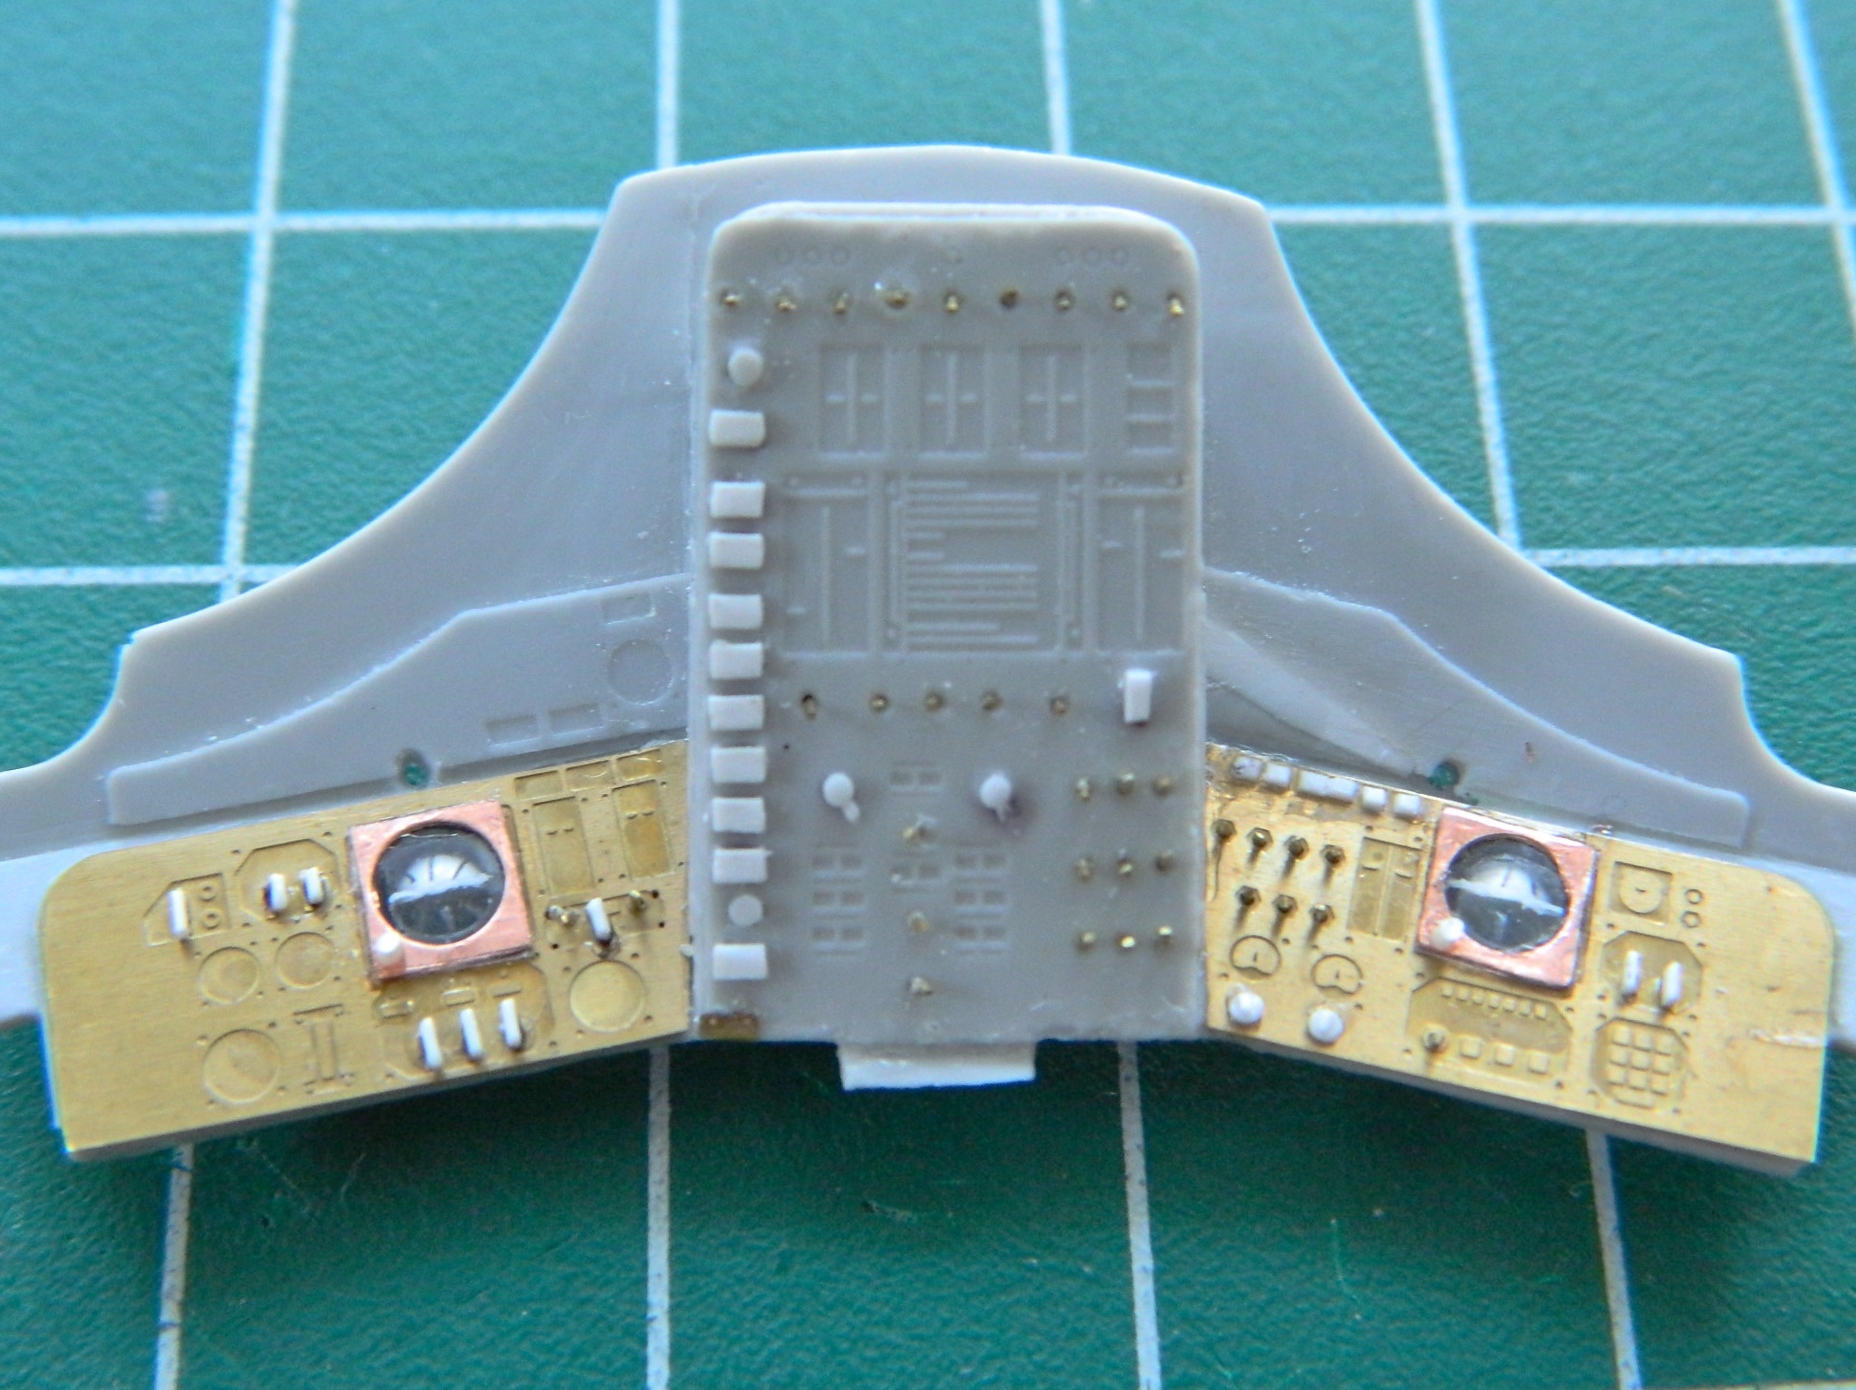

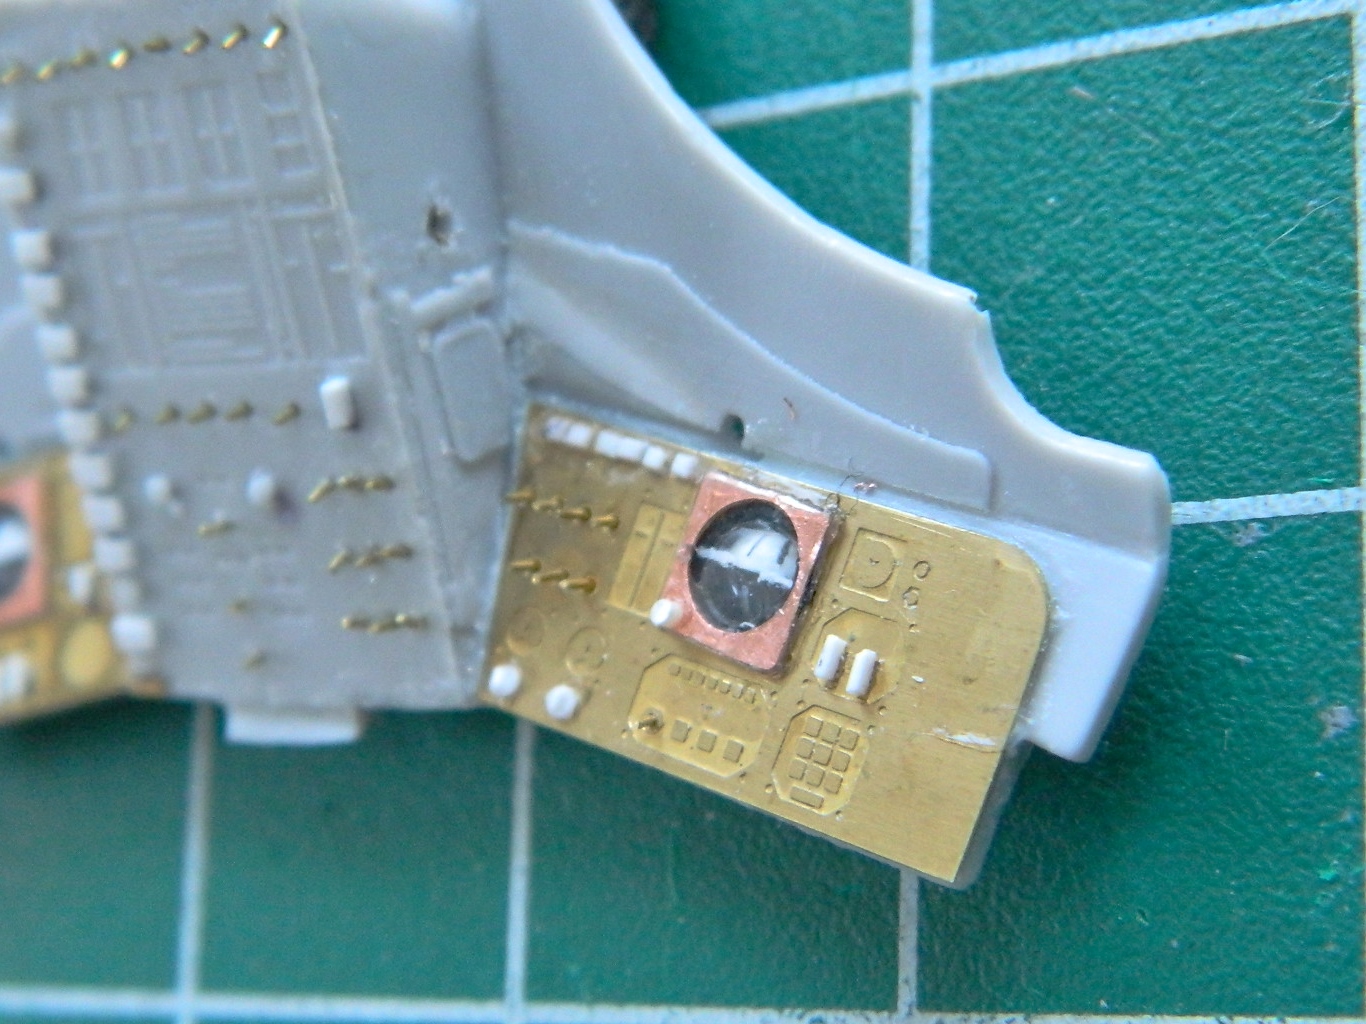
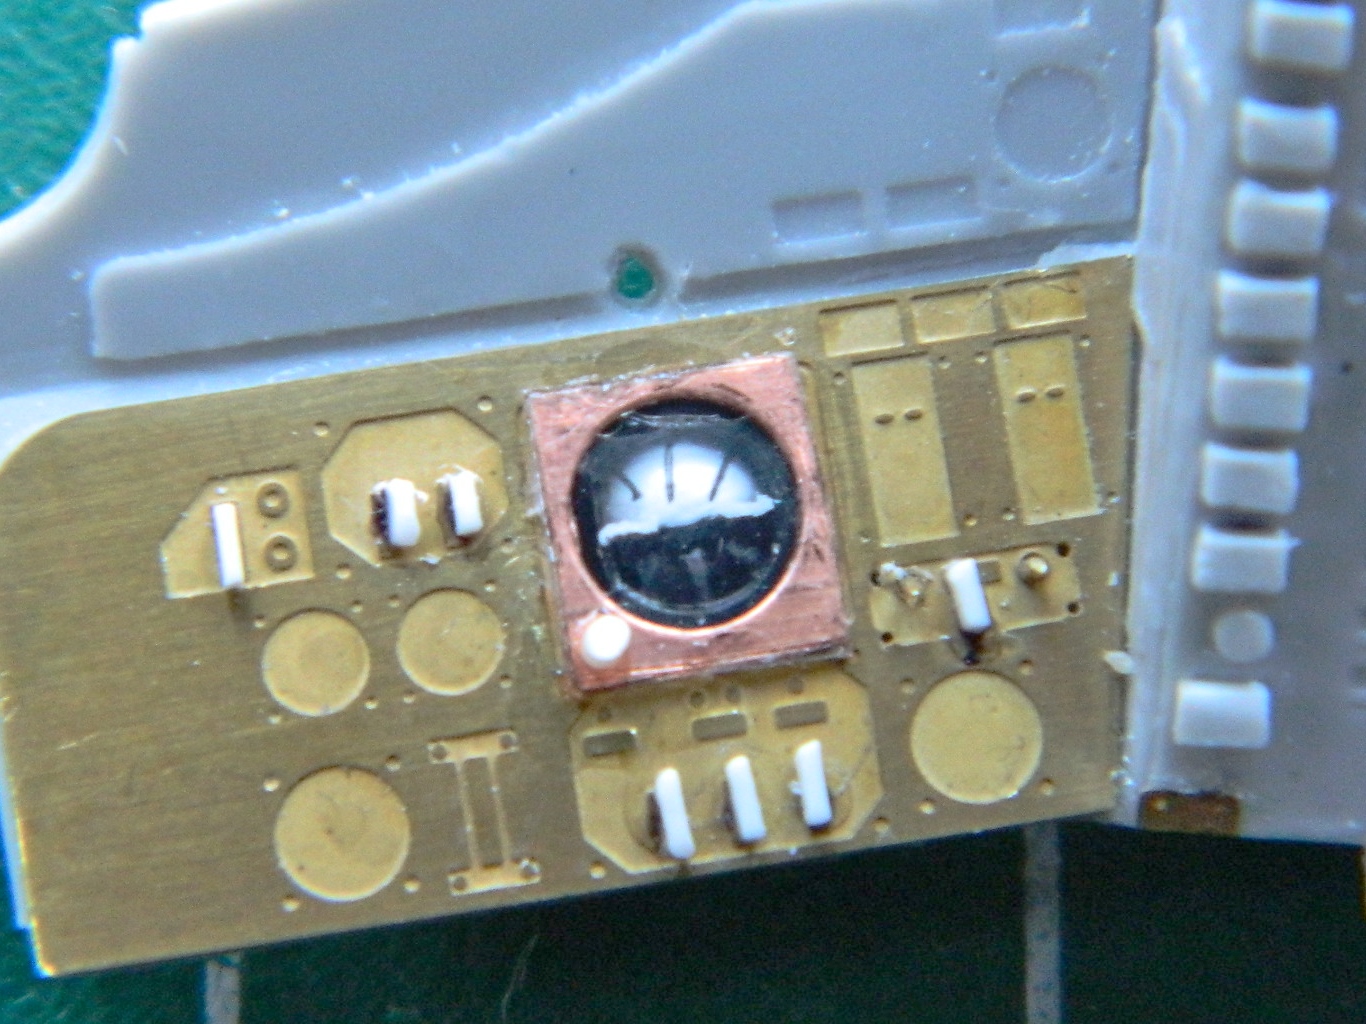
SO much better than how it started out:

And it wasn’t until I saw how it turned out that I realized how concerned I was about this. I’ve never done something like that before and though logic said it should work, I wouldn’t know if it would until I had them done. AND IT WORKED!
So now we’re closing in on painting!
Gemini (Revell) Build #9 – Fixing exterior details, adding washers & rivets, starting work on hatches
Seeing the outer part of the capsule sitting there on the workbench with the nose attached incorrectly bothered me so it was time to fix it. Sometimes in order to create, one must first engage in destruction. Step one, saw off most of the old nose:

That allowed access to where the part was glued so that I could begin what I thought would be a long time of carefully removing what I didn’t want there anymore while still leaving enough to attach the new nose. Sometimes it’s good to be incorrect. It actually came off relatively easily.
Then it was a matter of getting the attachment area fitted so that the new section fit better than it didn’t:
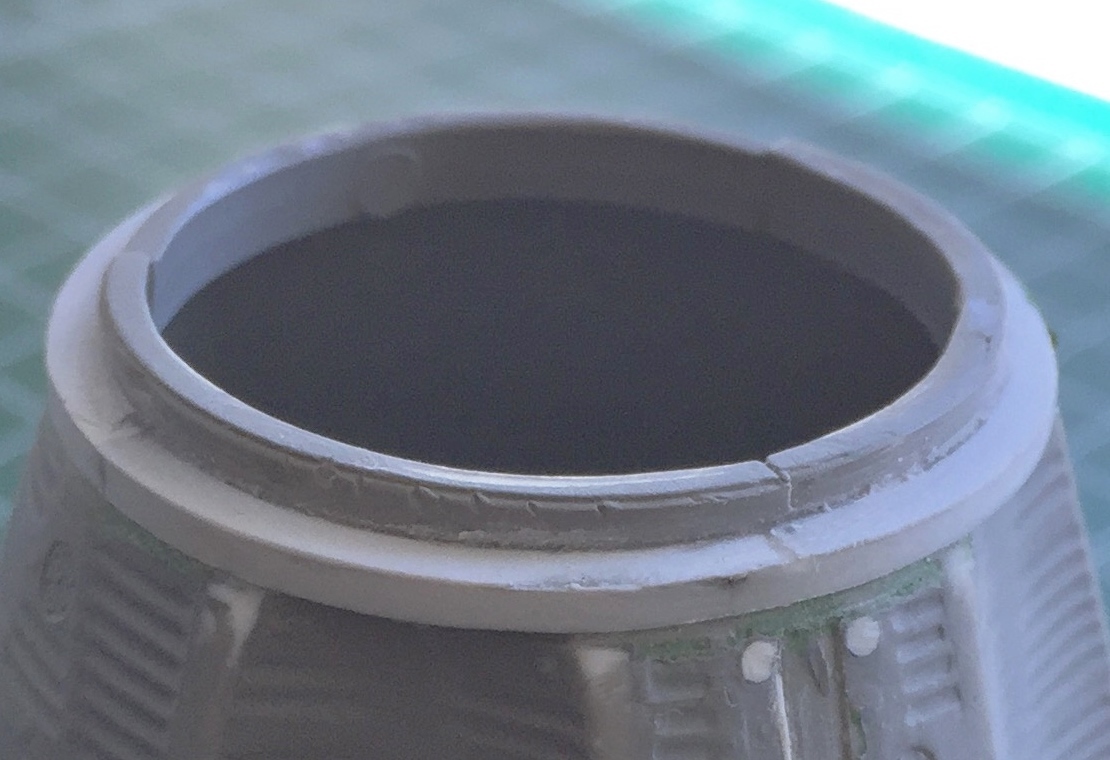
With that taken care of, there were a couple of things I wanted to do to the new part. I glued the two halves together and reworked the thruster nozzles. This is what the kit provided:
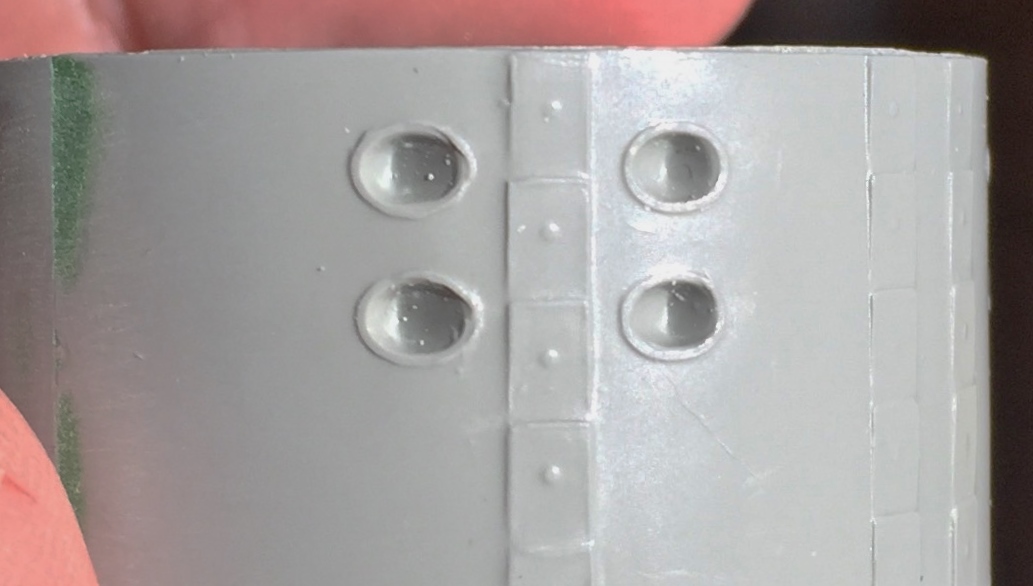
I experimented on the old part to see if it was worth drilling the nozzles out and replacing them with tubing or if drilling them out would work better. Yeah, the tubing was better, but the amount of work required to get them all identical and properly aligned would probably have taken days to accomplish. Drilling the nozzles out was certainly acceptable:

There’s a locating hole on the side of the collar for an incorrect module to be mounted at. Even if I was going to use that incorrect module, the hole that was supposed to locate the attachment point was 90 degrees off, so I stuffed it with a piece of plastic and filled it:
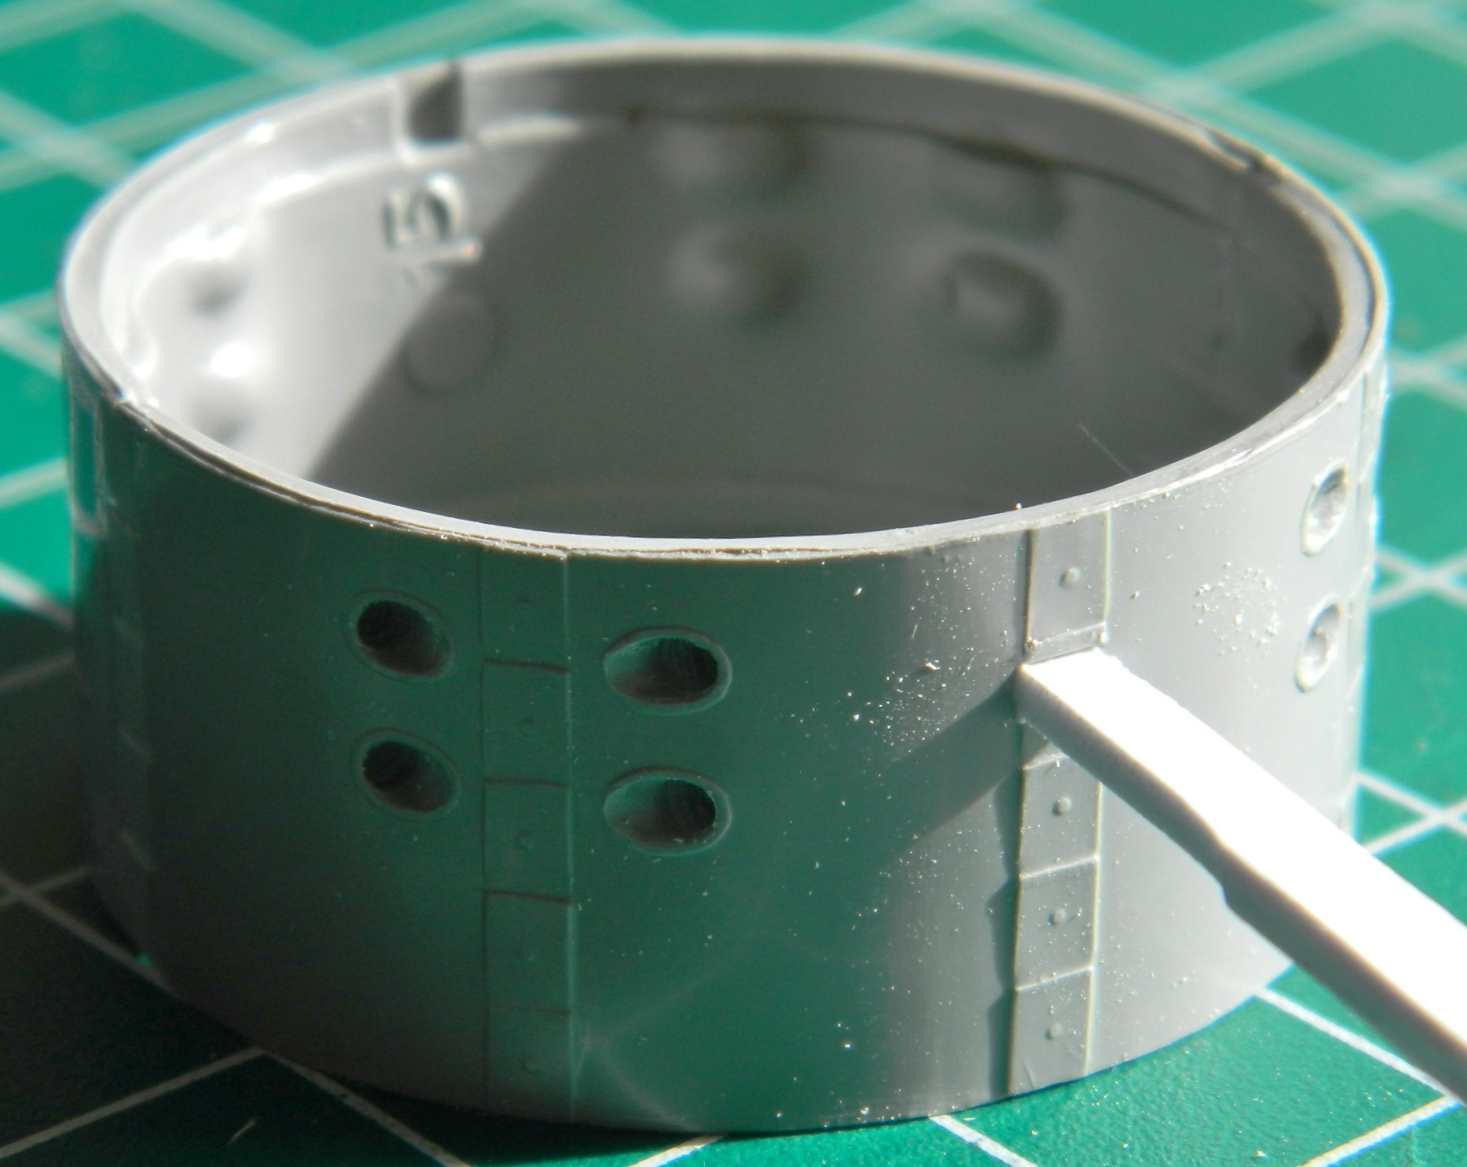
When I glued the collar on, I used five pounds of weight to fit this part as tightly as I could manage:
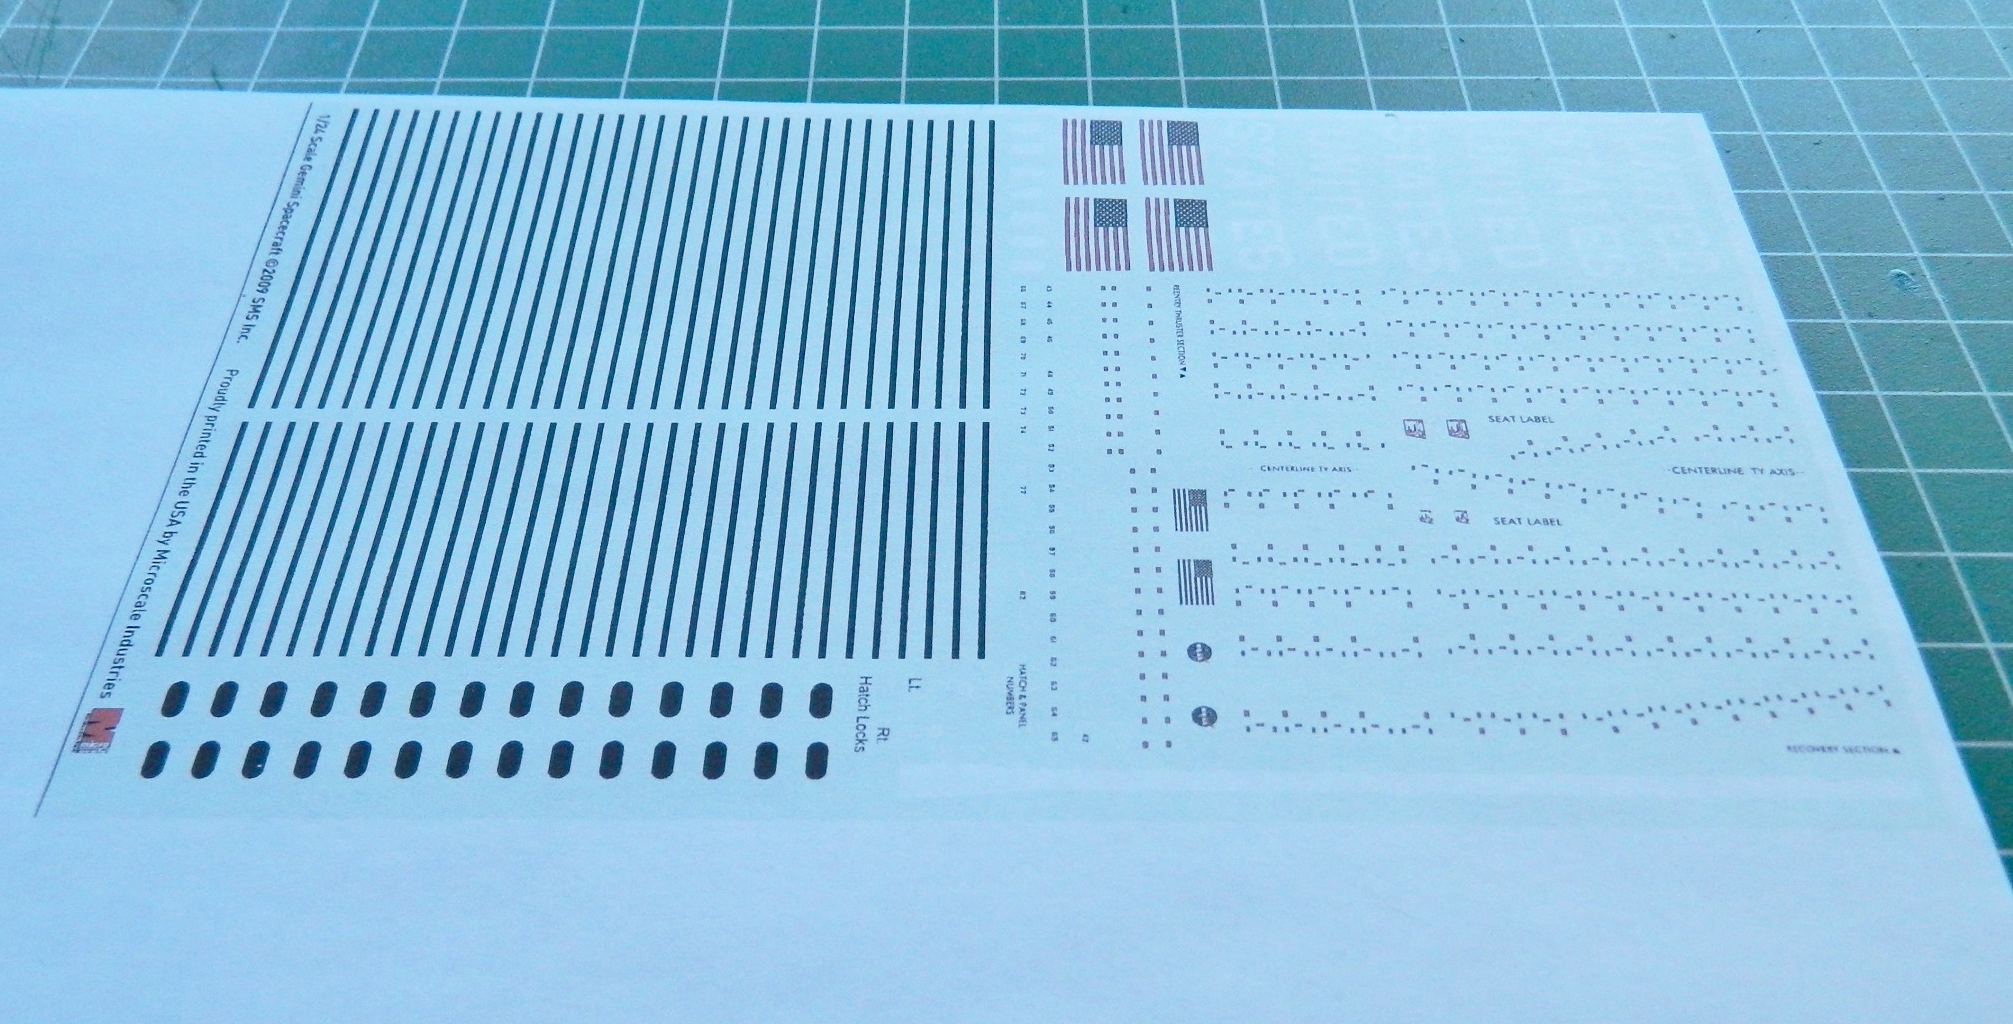
While that was setting up, I started addressing the inaccuracy of the bridle channel between the hatches. I copied the AM decal sheet and cut out the decal that’s supposed to be used in that channel (I’m going to paint it instead) as a template to show me what needs to be reworked (it’s that light strip in the lower right corner):
This is how far off it was:

There are a lot more inaccuracies in this area (and over the entire exterior) but what I would have to do to fix them is staggering. In essence, I’d have to take surface molds of ALL the exterior corrugations and re-skin the whole thing…and even then there would still be inaccuracies. Not worth it. This will certainly be good enough:
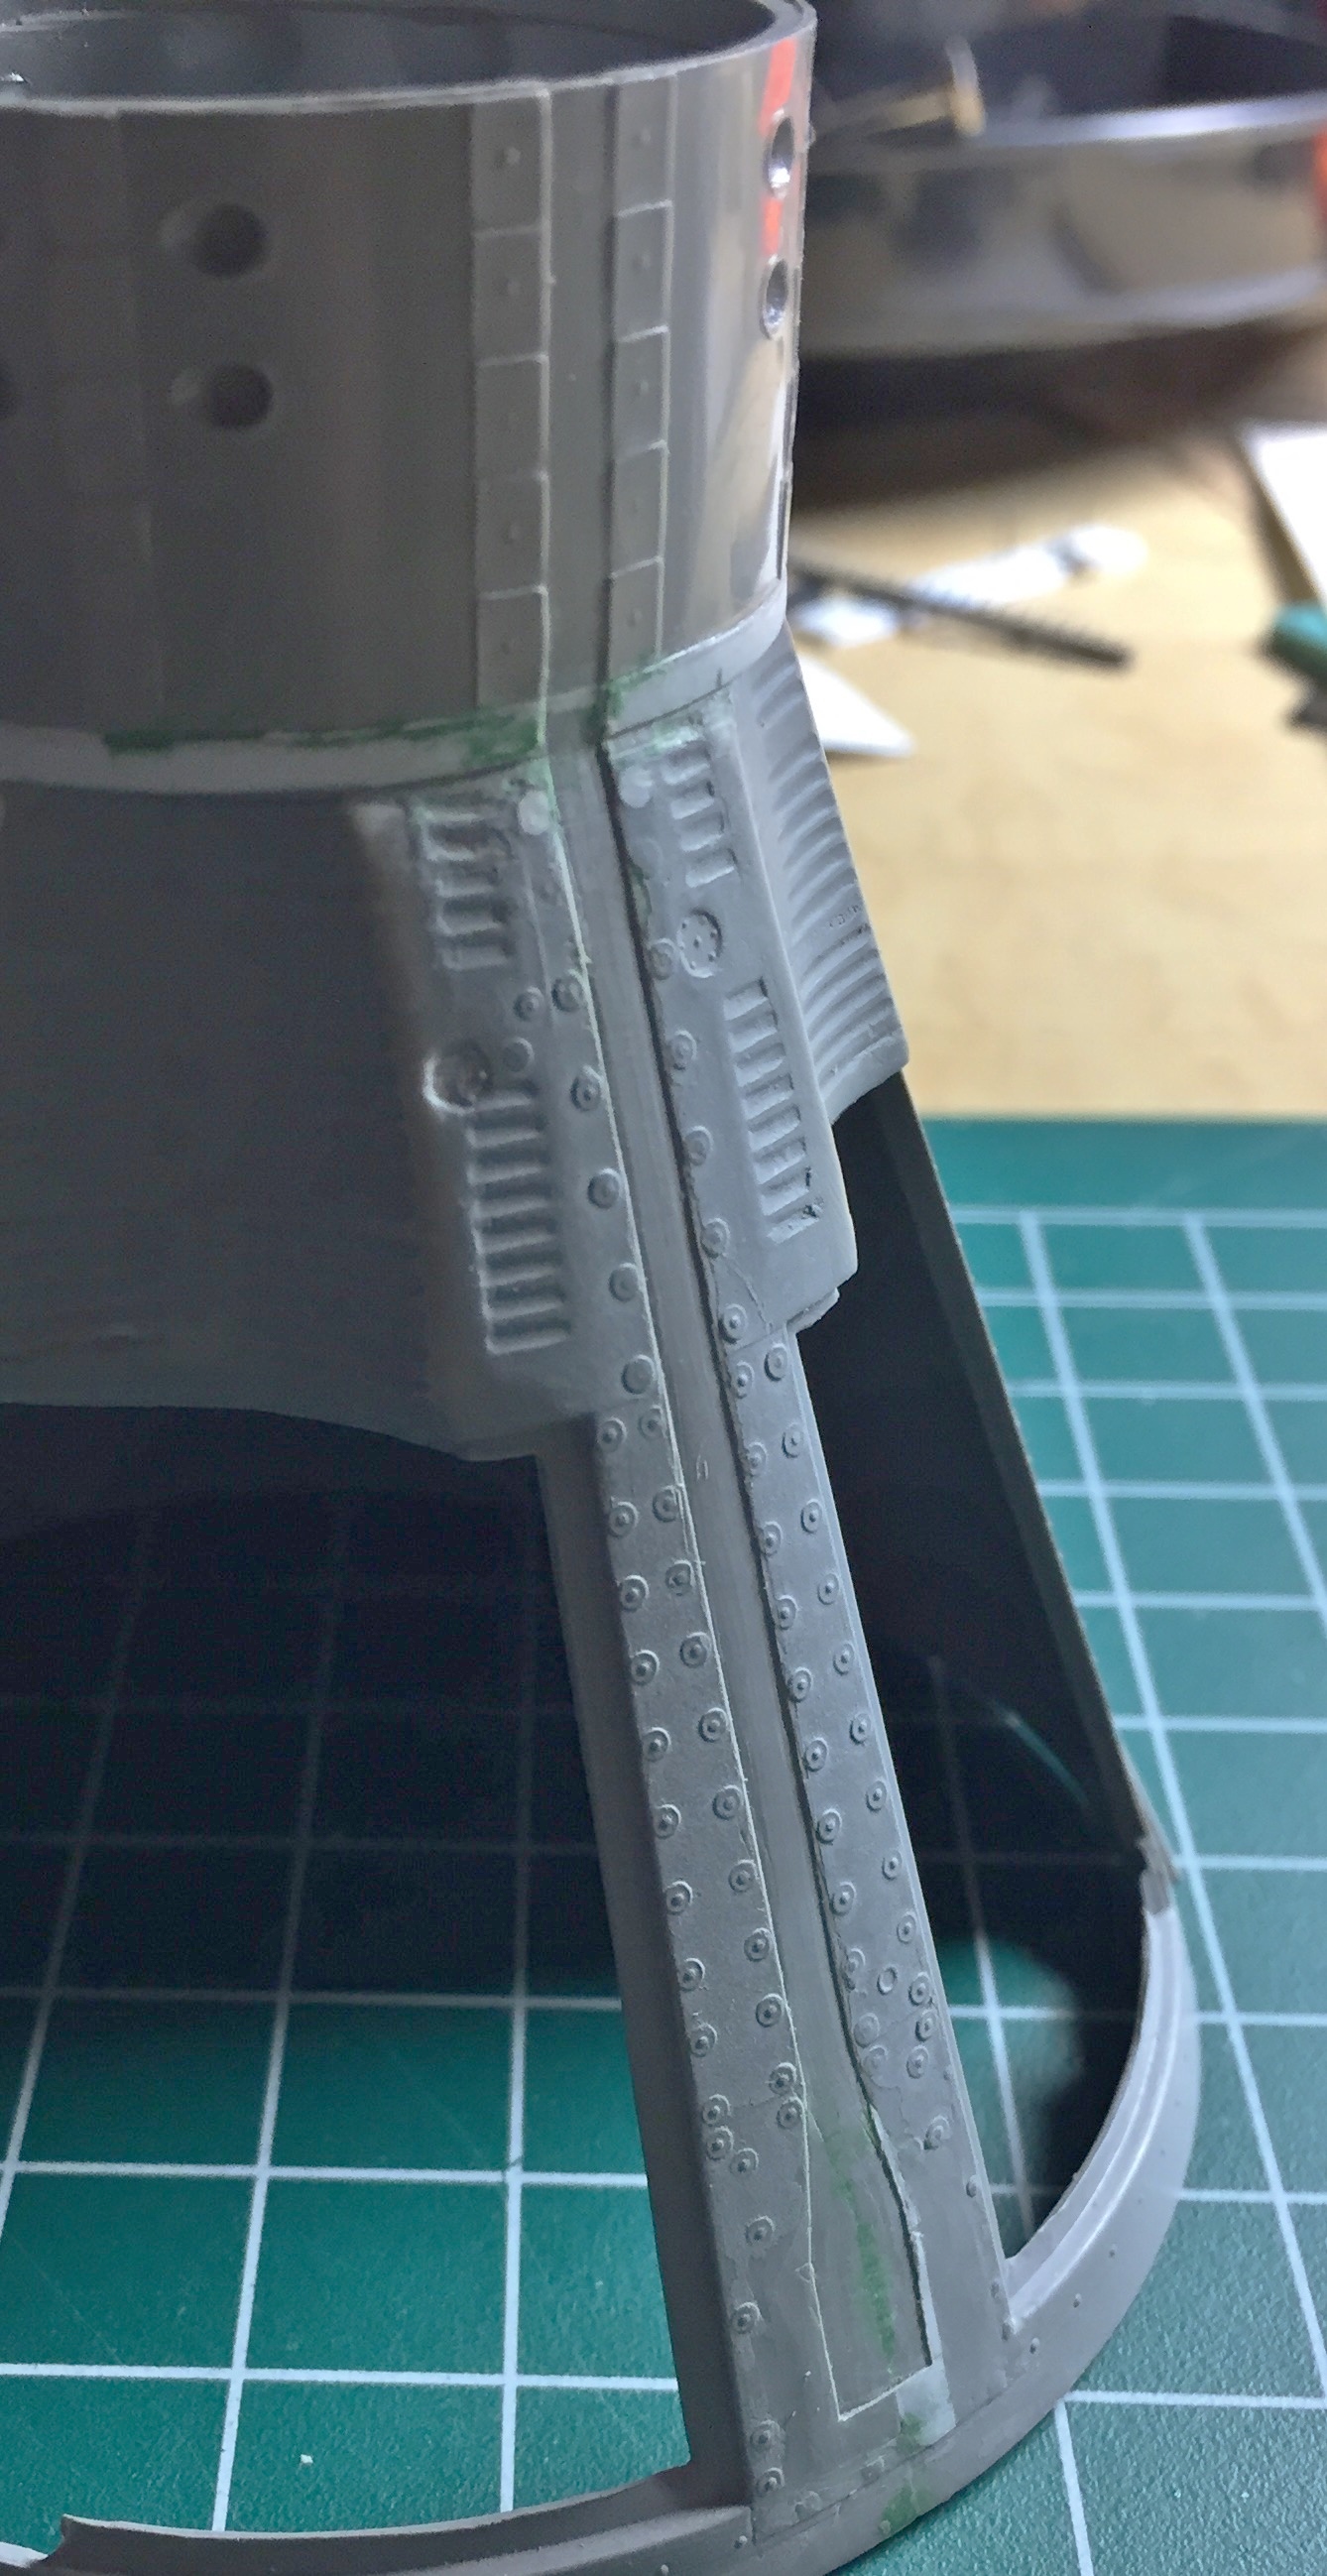
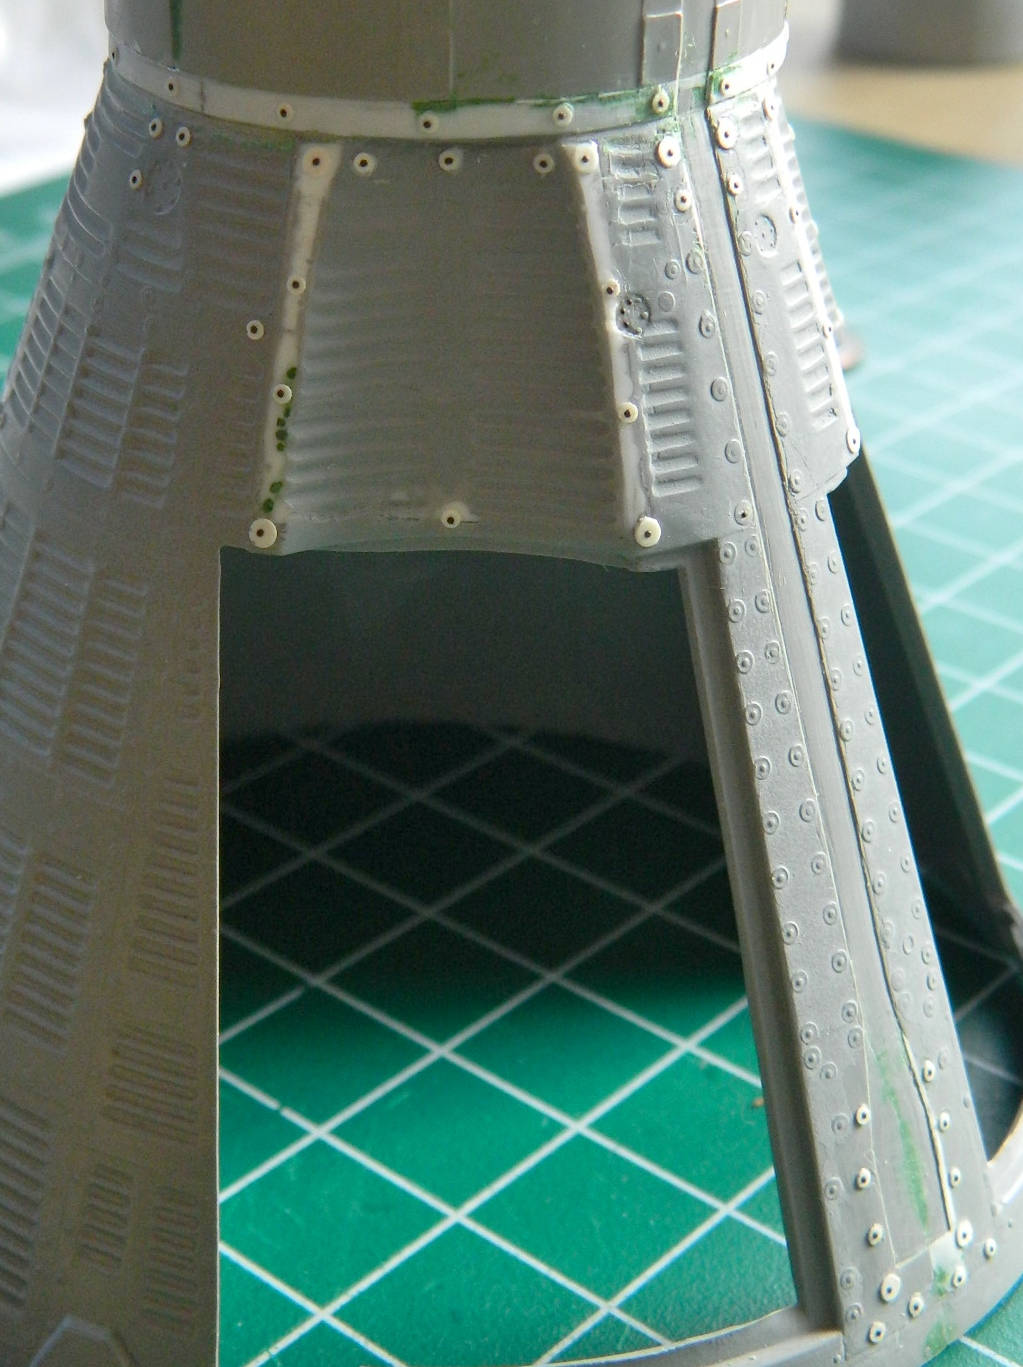
Because of seams and surface reworking, some of the details were lost. From what I can tell from references, the surface skin panels of the Gemini capsules were attached to the framework with screws and these screws all had large washers. The washers I replicated by punching small discs from .005″ (.127mm) sheet styrene:
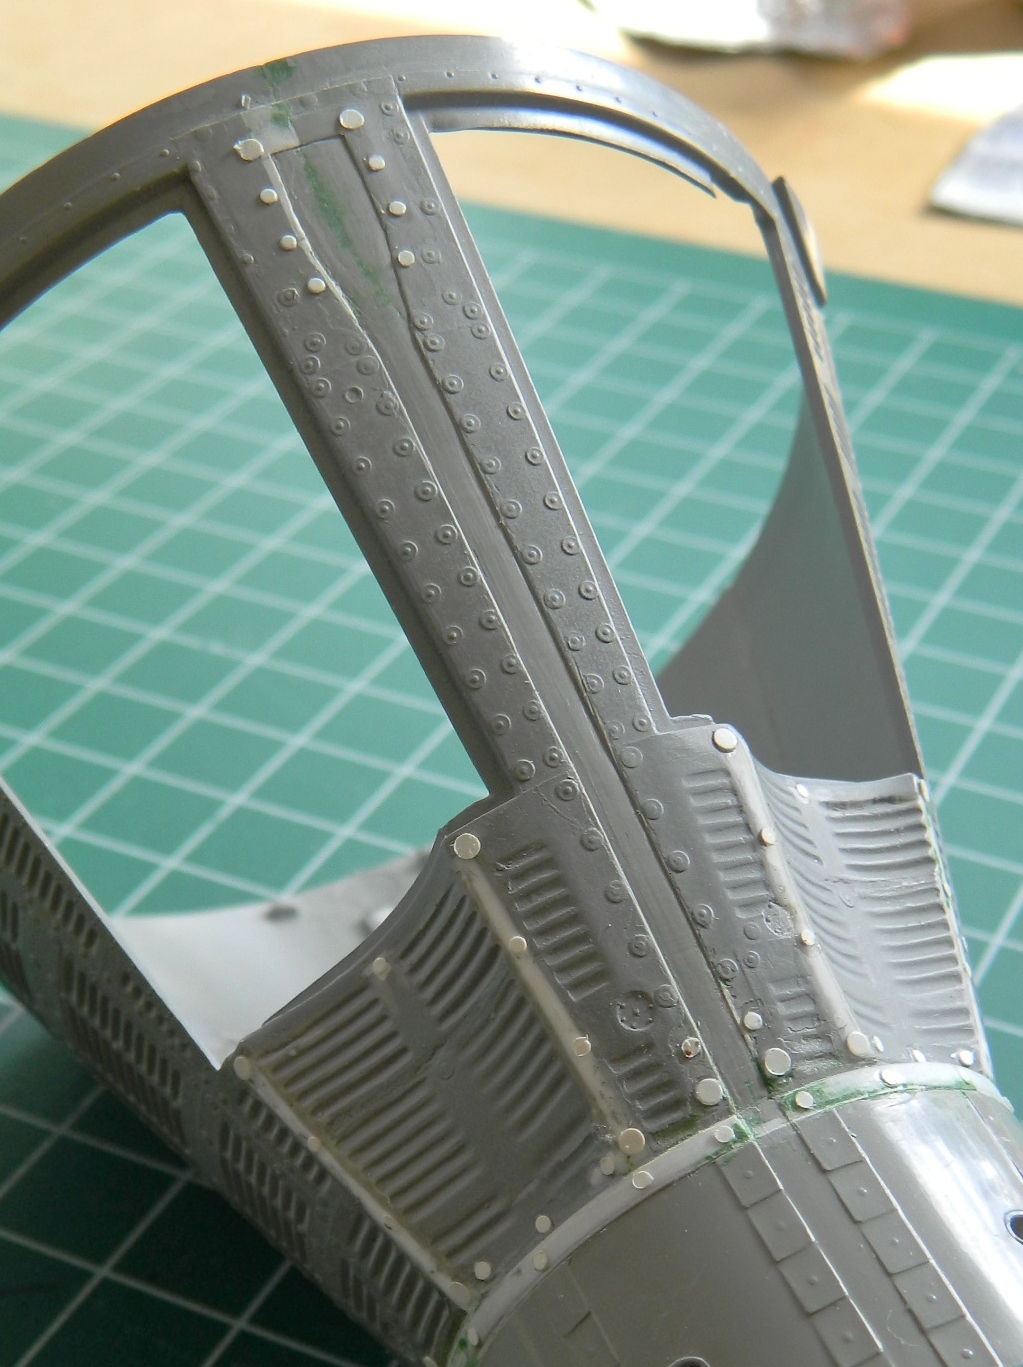
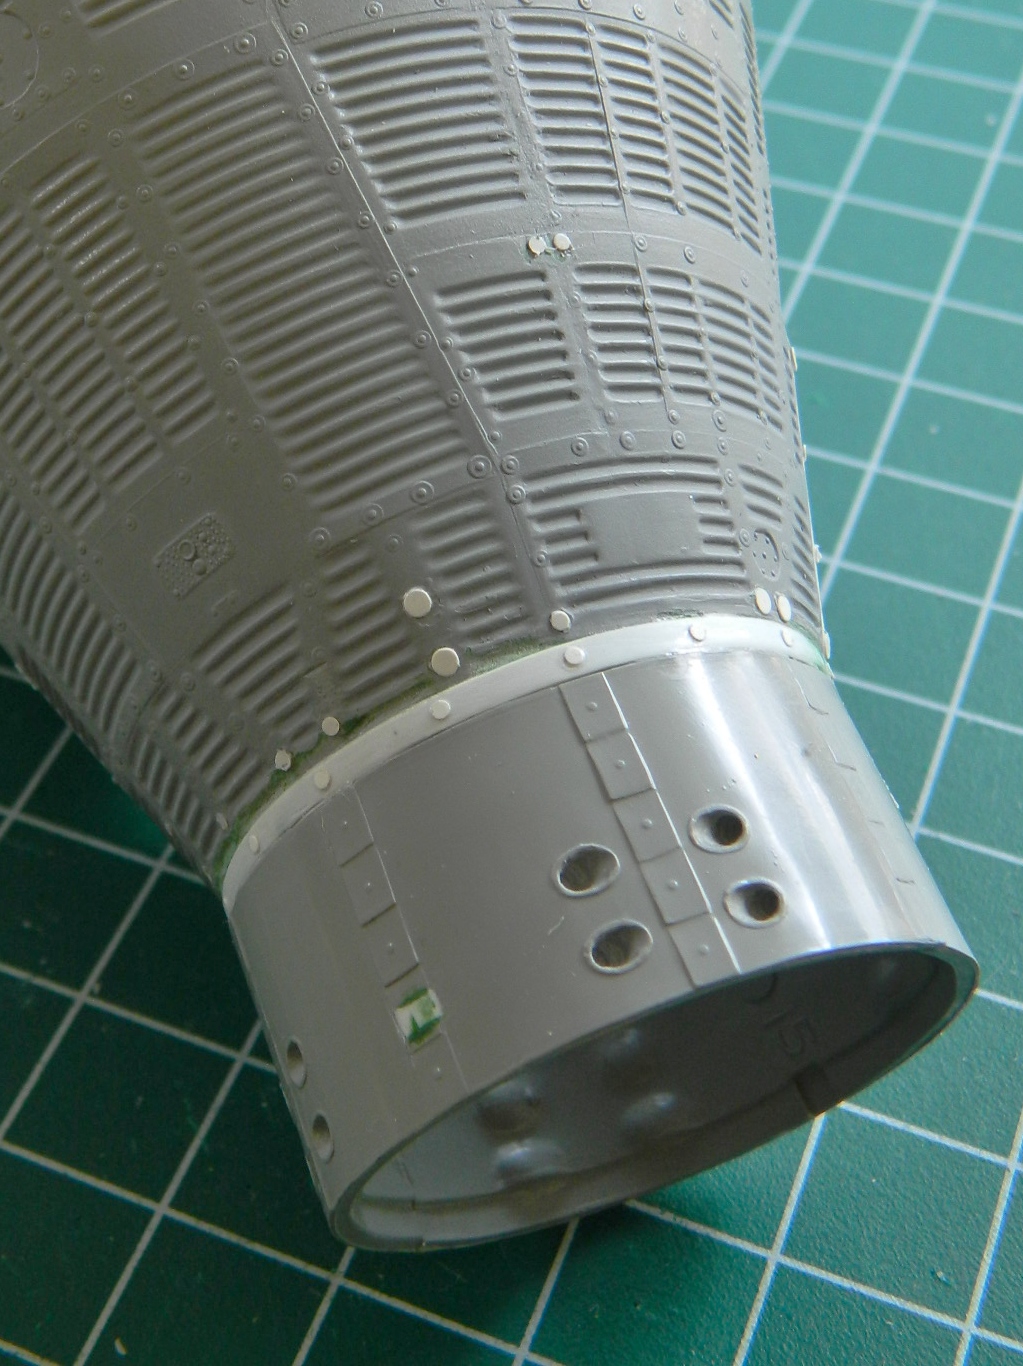
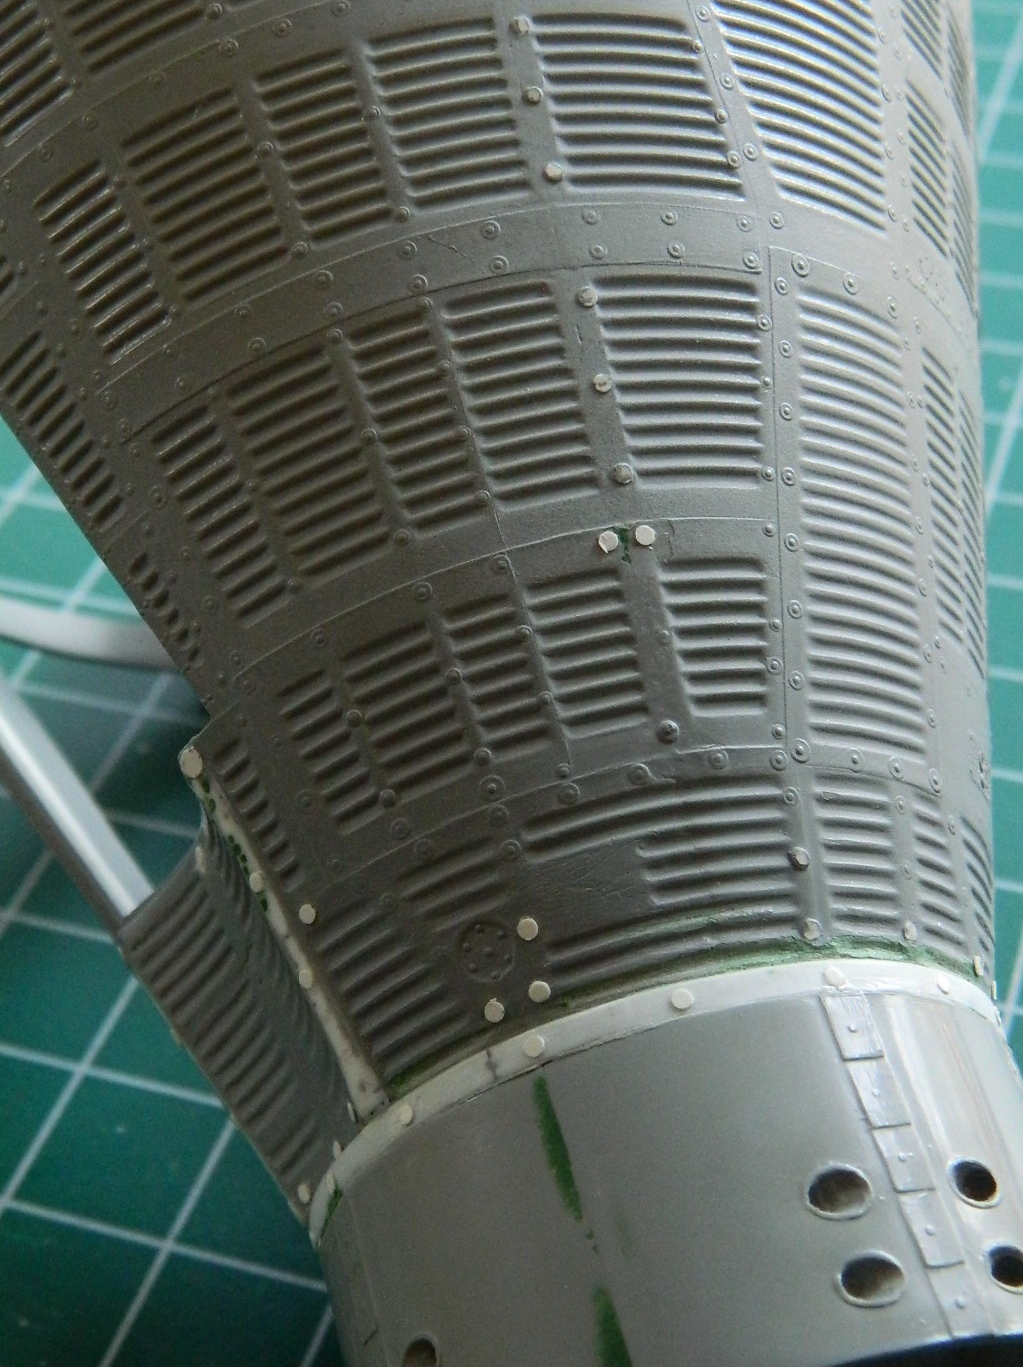
Then I needed to replace the screw heads. My first thought was a small drop of superglue but the problem with that was size variations of the drops. Then I thought about stretching sprue and using small pieces of that but the HASSLES involved in getting something that small located while the glue was trying to dissolve them wasn’t something I wanted to deal with. Then I remembered Archer Transfers! They make SHEETS of rivets and screw heads! Somehow they have managed to print resin details onto decal film and to use them, they’re treated like decals. Cut out what you want, immerse in water, and just slide into position. Well…these things are small. Very small. And they are going onto a piece of plastic that cannot be considered “large.” That means that the decal film that these screw heads are printed on won’t provide much surface for adherence (I learned this during my M4A3 build when I used Archer’s resin weld beads…look at them strongly and they’ll come off). My work-around was to position the screw head where I wanted it and then put a drop of clear flat acrylic paint over the entire washer/screw assembly to hold the resin decals in place. Seems to have worked, certainly MUCH better than hoping I don’t knock them off (which I managed to do with 4 out of 92 of them anyway). The end result was worth the hassle:
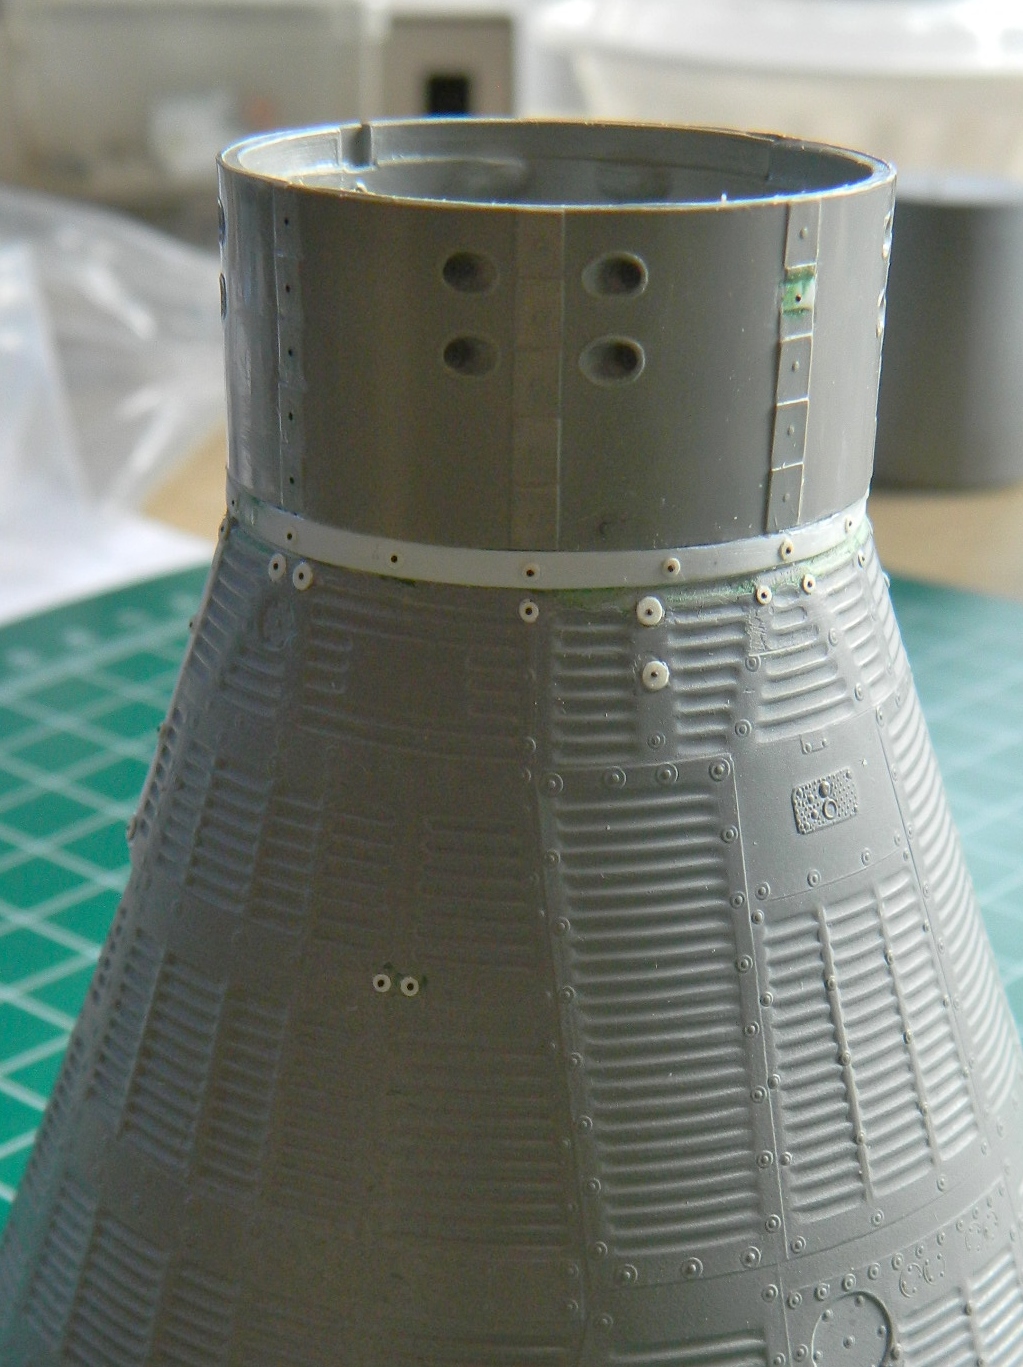
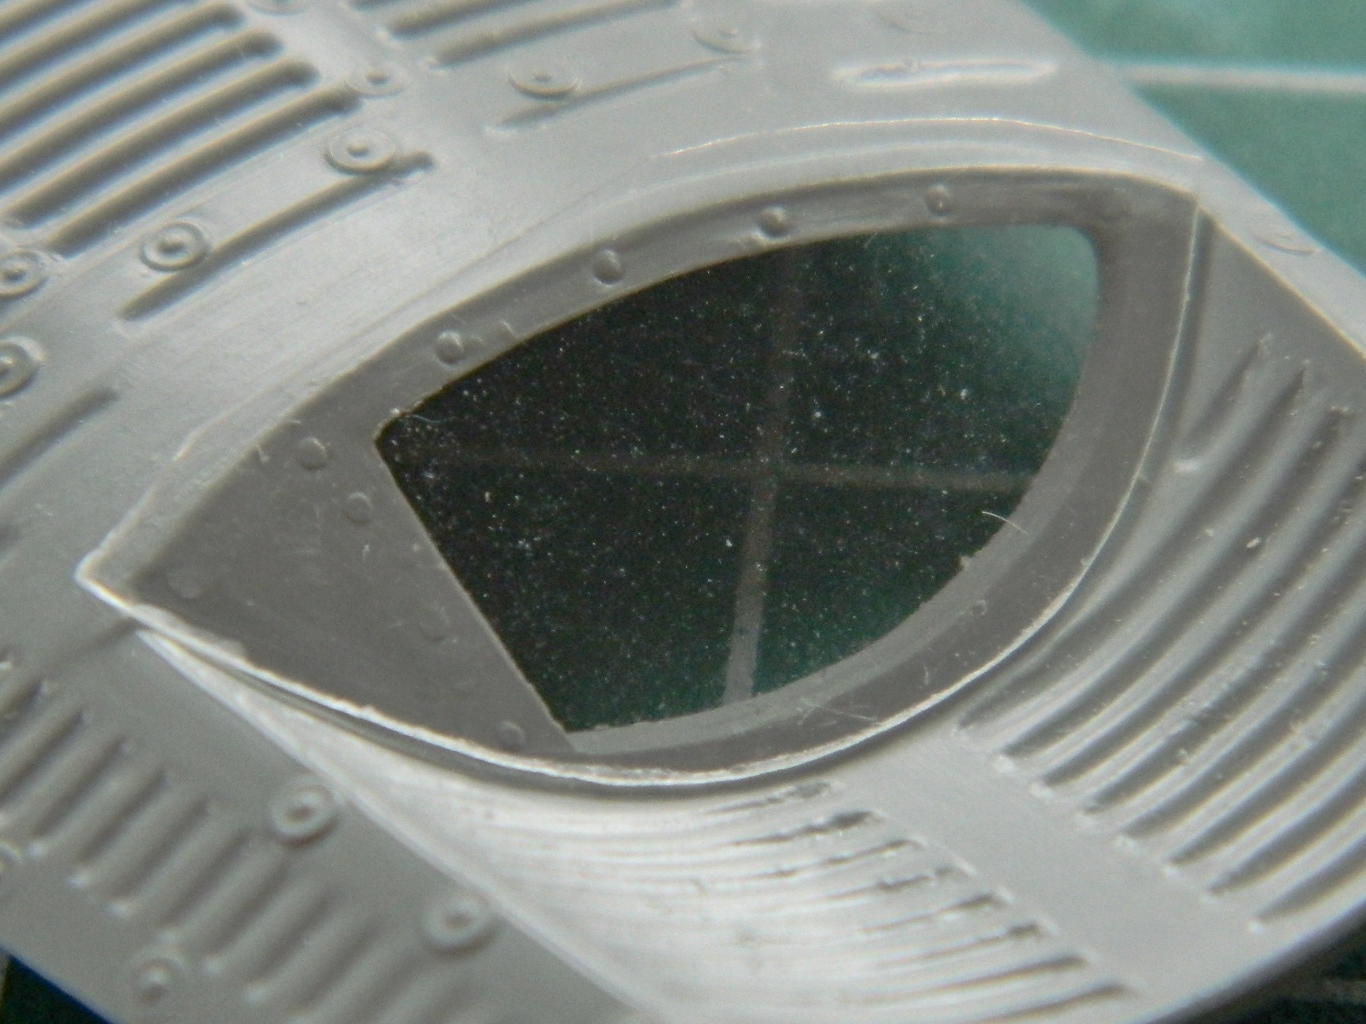
My attention turned to the hatches. The windows in the hatches are double-paned. I started to address this when I added all the nuts and bolts to the inner plate of the window that holds the inner pane in place. I briefly considered cutting clear styrene to fit the opening in the hatches and realized that doing so would be damned tedious and gluing them in place would present its own set of problems. The work-around for that was to add a section of .010″ (.254mm) clear styrene in front of the opening (like, who’s going to notice the front of that section was moved out ten thousandths of an inch (or .254mm)?), then mask off the window, and paint it when I do the rest of the exterior. Step one to that process was a template:


Much sanding ensued to get the fit as close as I could (and no…this picture doesn’t show it properly fitted):
Gluing the styrene to the hatch required care. It would be very easy to have the glue move into the area I needed to stay clear. I got the first clear part in place with no problem. However, true to my pattern, doing this again presented problems, the glue migrated to the area that needs to stay clear, and the only way to fix it was to remove the clear plastic and start over:
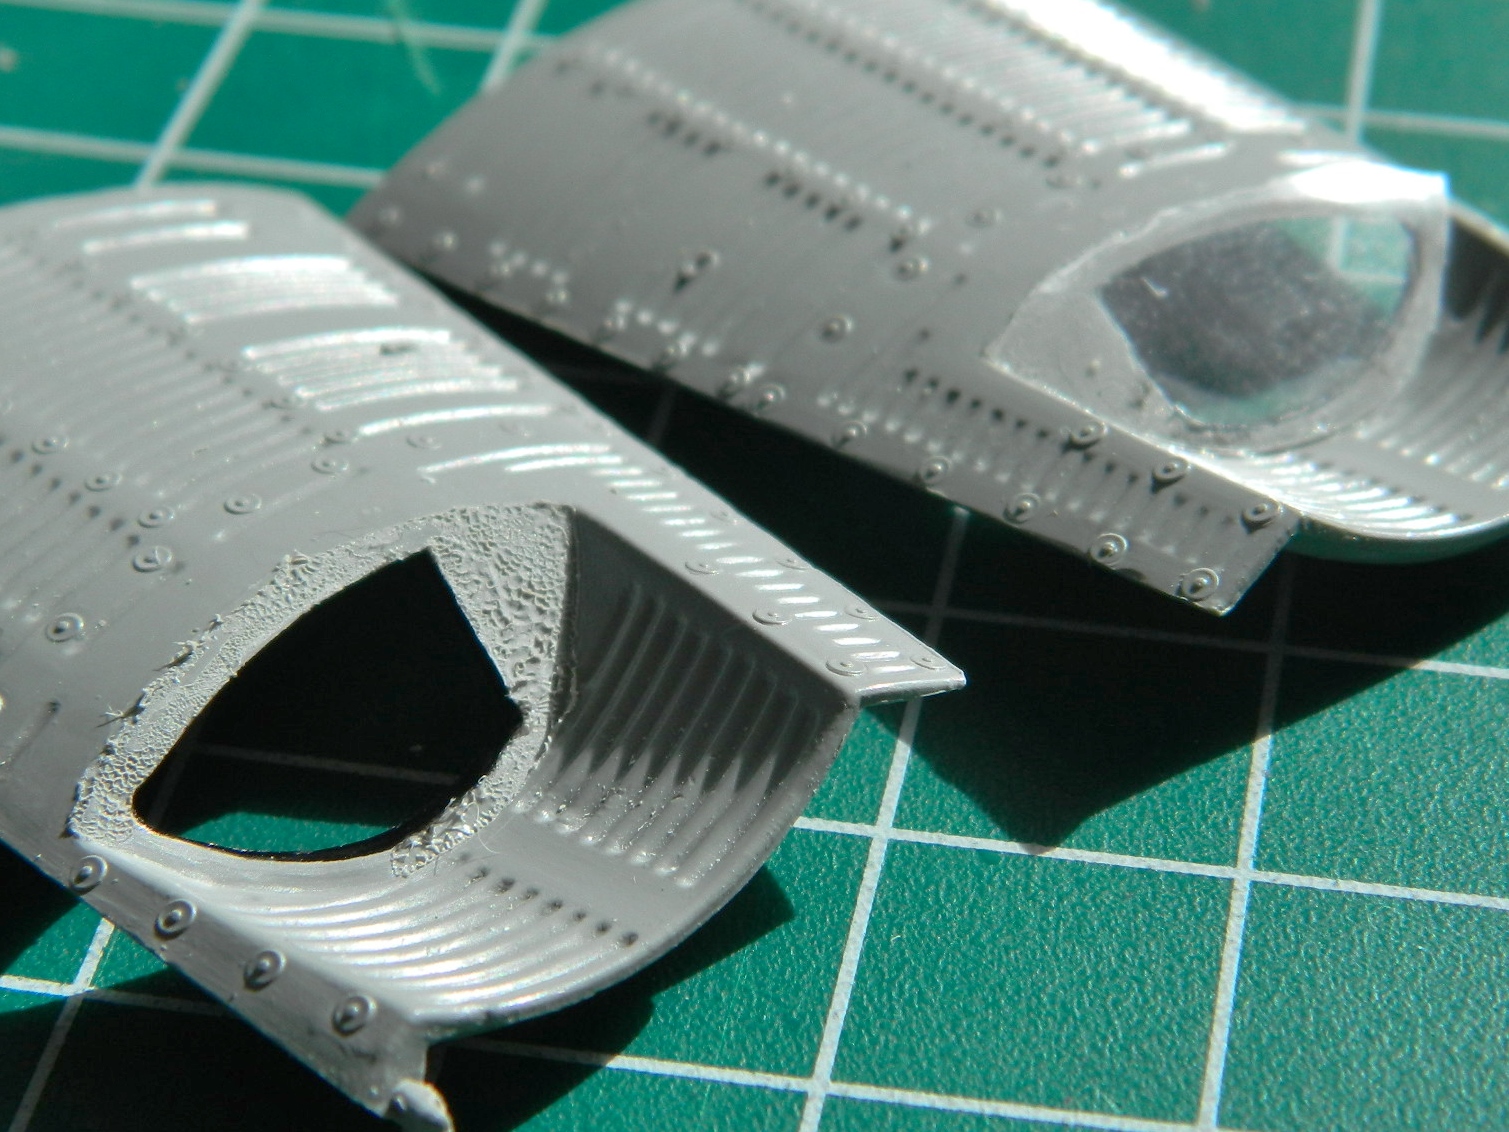
But I did it. I did it four times. The fourth time worked.
Next I engaged in what a friend called “brass origami.” Folding this:
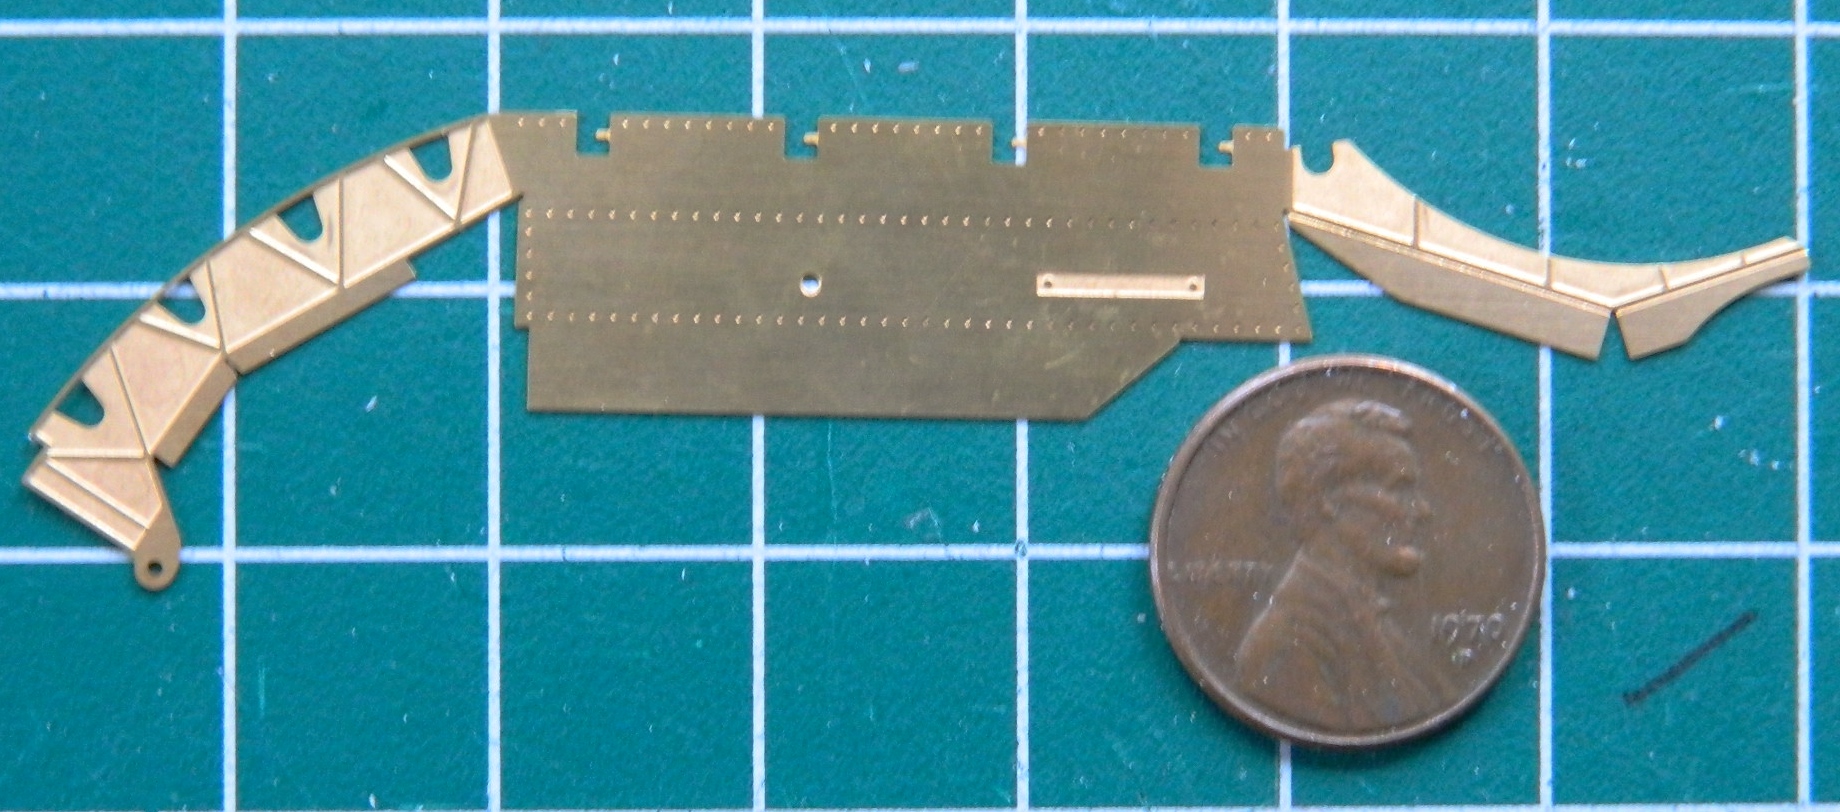
So that they ended up like this:

Obviously I needed two of these parts; they’re the internal structure of the hatches. Have you noticed my pattern when I have to make multiples (even if its only two) of something? The first one went well, what needed to be soldered was, and I then started on the second one.
Ohmygawd what a freaking hassle. I used a lot of four-letter adjectives during the process of folding and soldering the next one, and not ONE of those adjectives was “easy.” And when I got to the soldering stage, I discovered that it’s possible to heat the brass to the point where it becomes so soft that it won’t hold its shape. Note the curve to the right piece. That’s not supposed to curve:
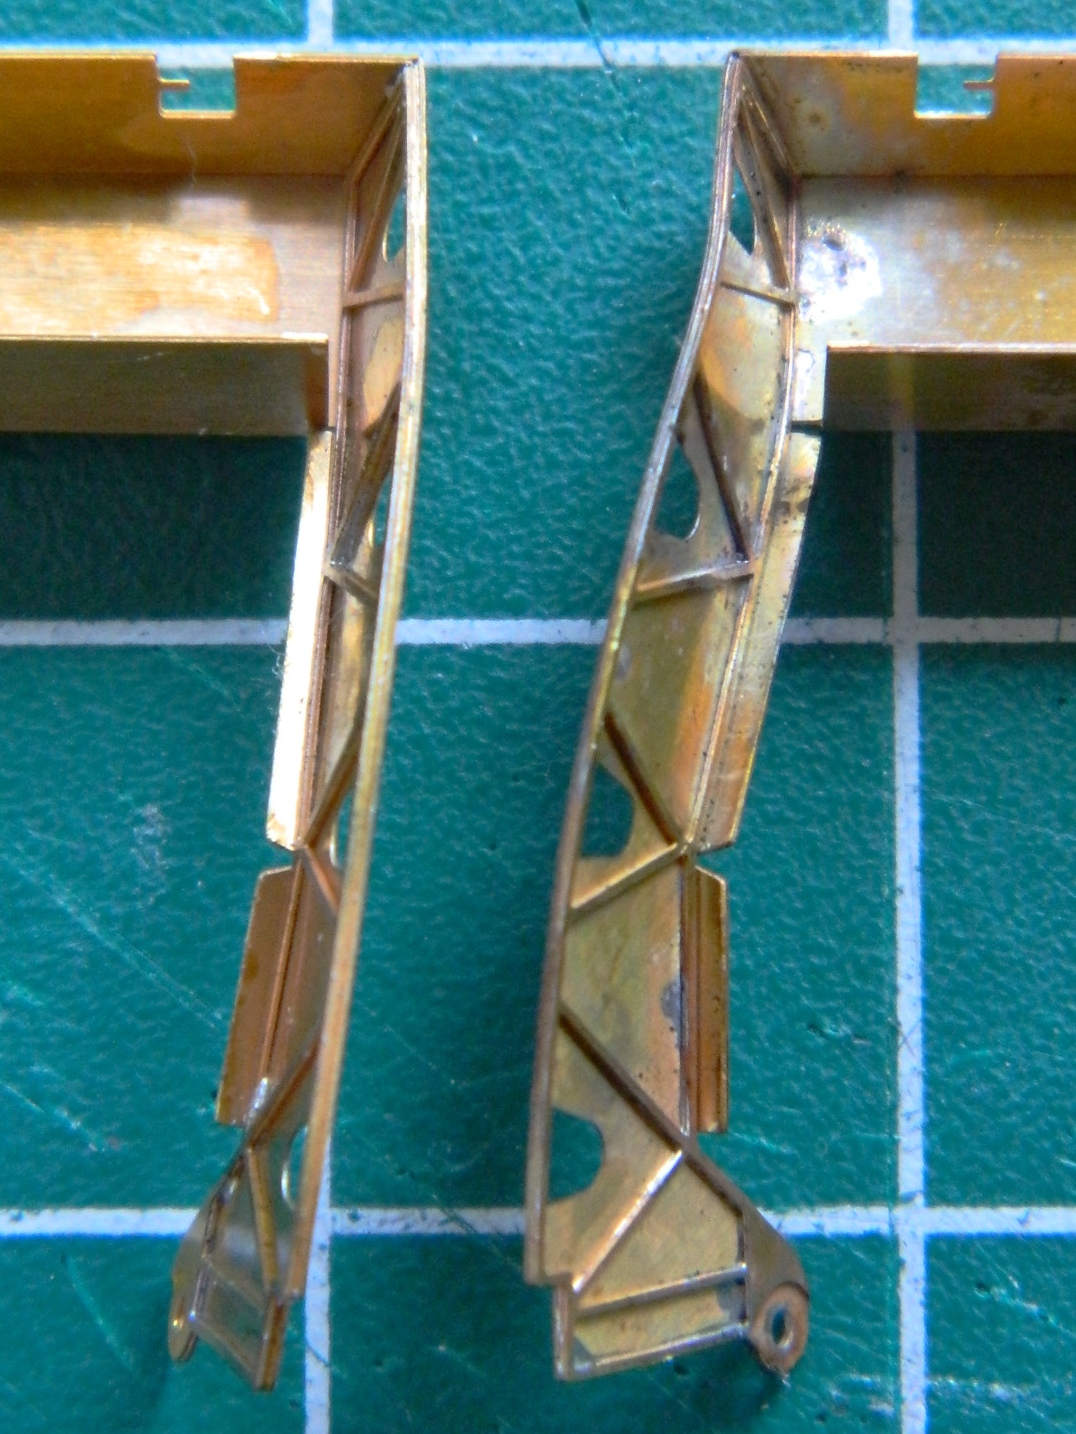
And heating brass to the temperature I did (which I think was just before it would have melted) anneals it. Clearly the brass used to produce these parts was cold-formed. Cold-forming alters the crystalline structure of the brass. Annealing the brass supplies enough energy to the metal to allow the crystalline structure to re-position themselves. This is a wonderful property that allows armorers (the people who make armor from sheet steel, not the people who maintain weapons) to make some amazing shapes out of what started as a flat sheet. What it doesn’t do for me is allow the brass to maintain its strength.
If you wanted to see something funny (and only funny to the observer because they wouldn’t have had to deal with it), you should have seen what it took me to get that GODDAMNED SECTION STRAIGHT AGAIN.
But it’s straight again…
Gemini (Revell) Build #8 – Adding Interior Details (Most Notably the Artificial Horizons), Discovering the Interior Surgery and Exterior Work Were Botched, Fixing Said Botches
Since I was working on interior parts, I decided to address something that’s been bothering me since I first opened the aftermarket interior set for this model. The instrument panel. Yes, the AM set is A LOT better than the thing the kit provided and I’m pleased to have it. But this is a relatively large scale kit (1/24) and things are easily visible. This is a reference photo of the artificial horizon (of which there are two, one on each panel):

The artificial horizon is the big instrument with the round ball, top half white, bottom half black. As you can see, it’s prominent. This is the PE panel that the AM set provided:
The artificial horizons on these parts are about as convincing as a hooker’s orgasm. I needed to fix that. (The part, not the hooker’s performance. I have my limits, such as they are.) I checked all the parts I have laying around from sword hilt making days, car parts, even model parts, and nothing I had was of the dimension I need. And then I noticed this nail. Its diameter was a little larger than I needed. Okay…I have a lathe. I chucked it into my lathe, turned the diameter down to the dimension required, rounded off the end, polished it a bit, and then cut the part off:

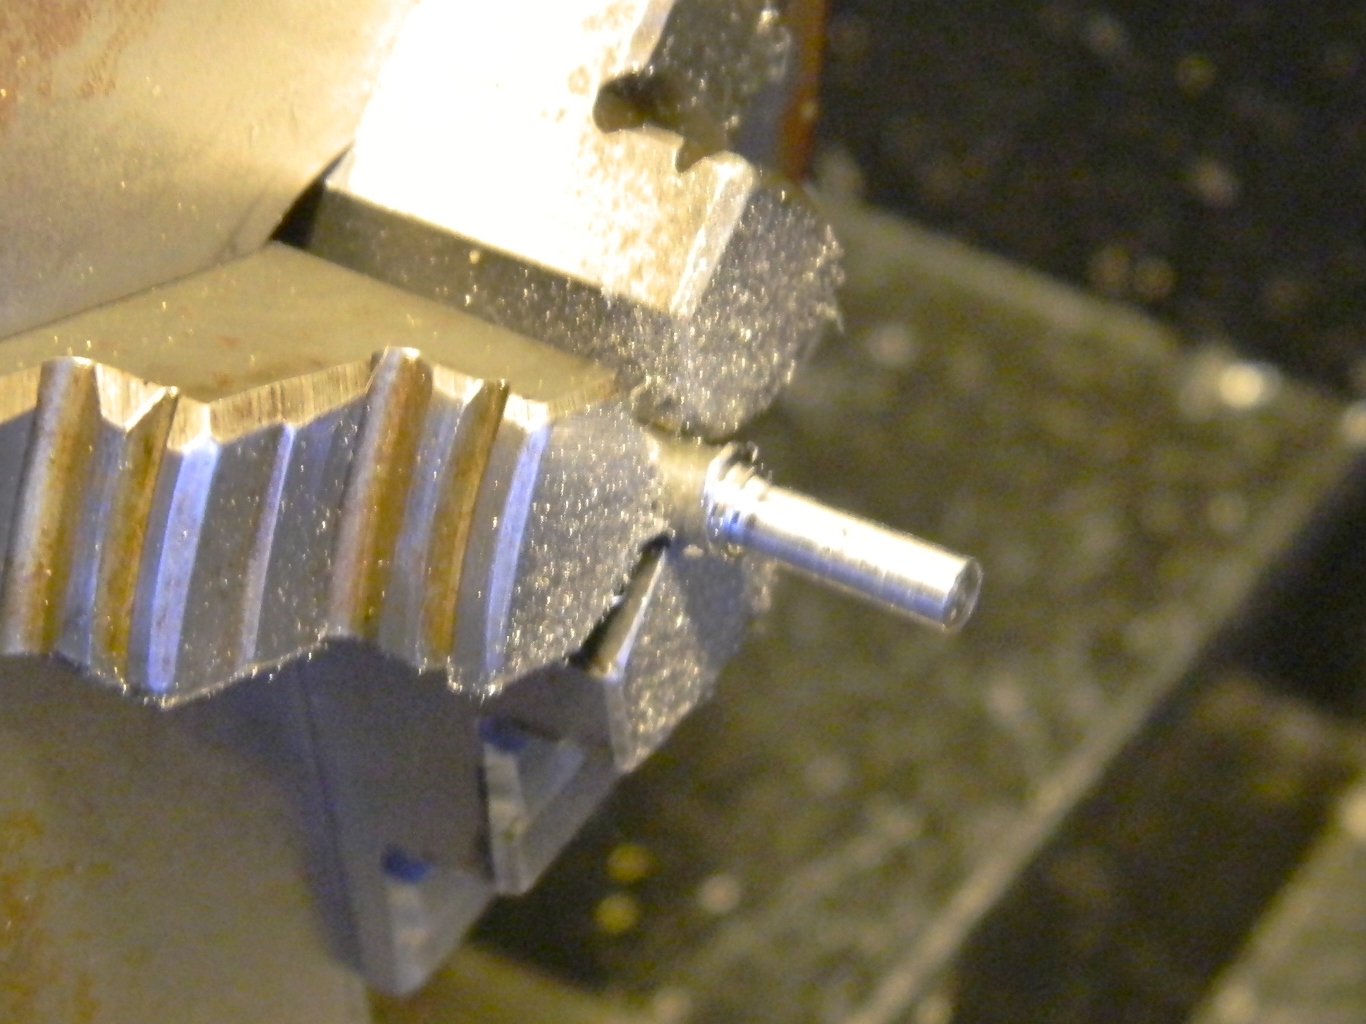
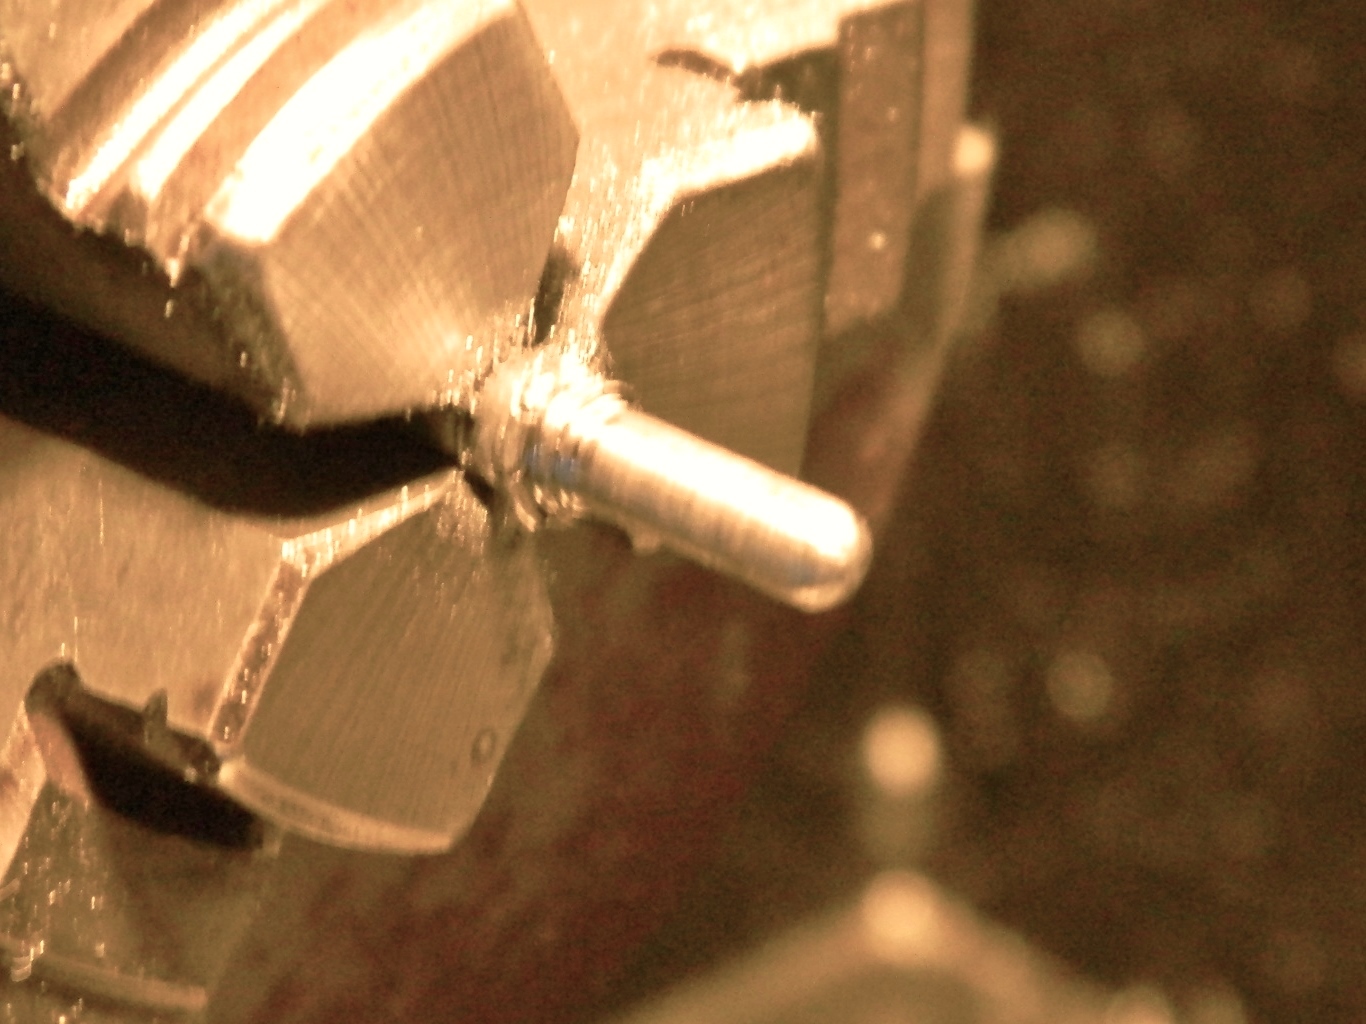
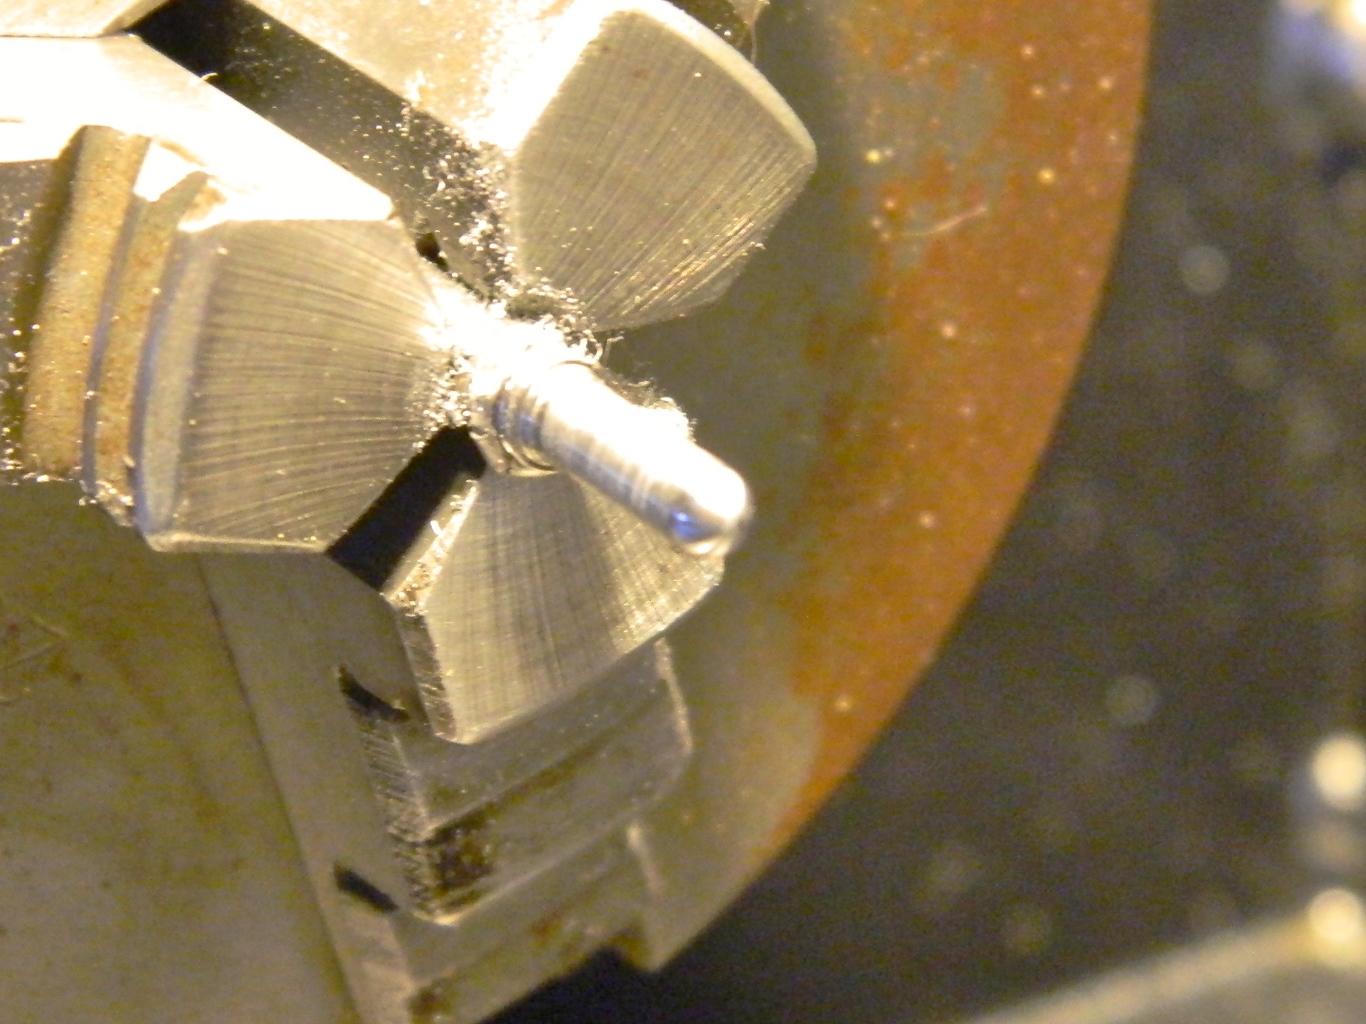
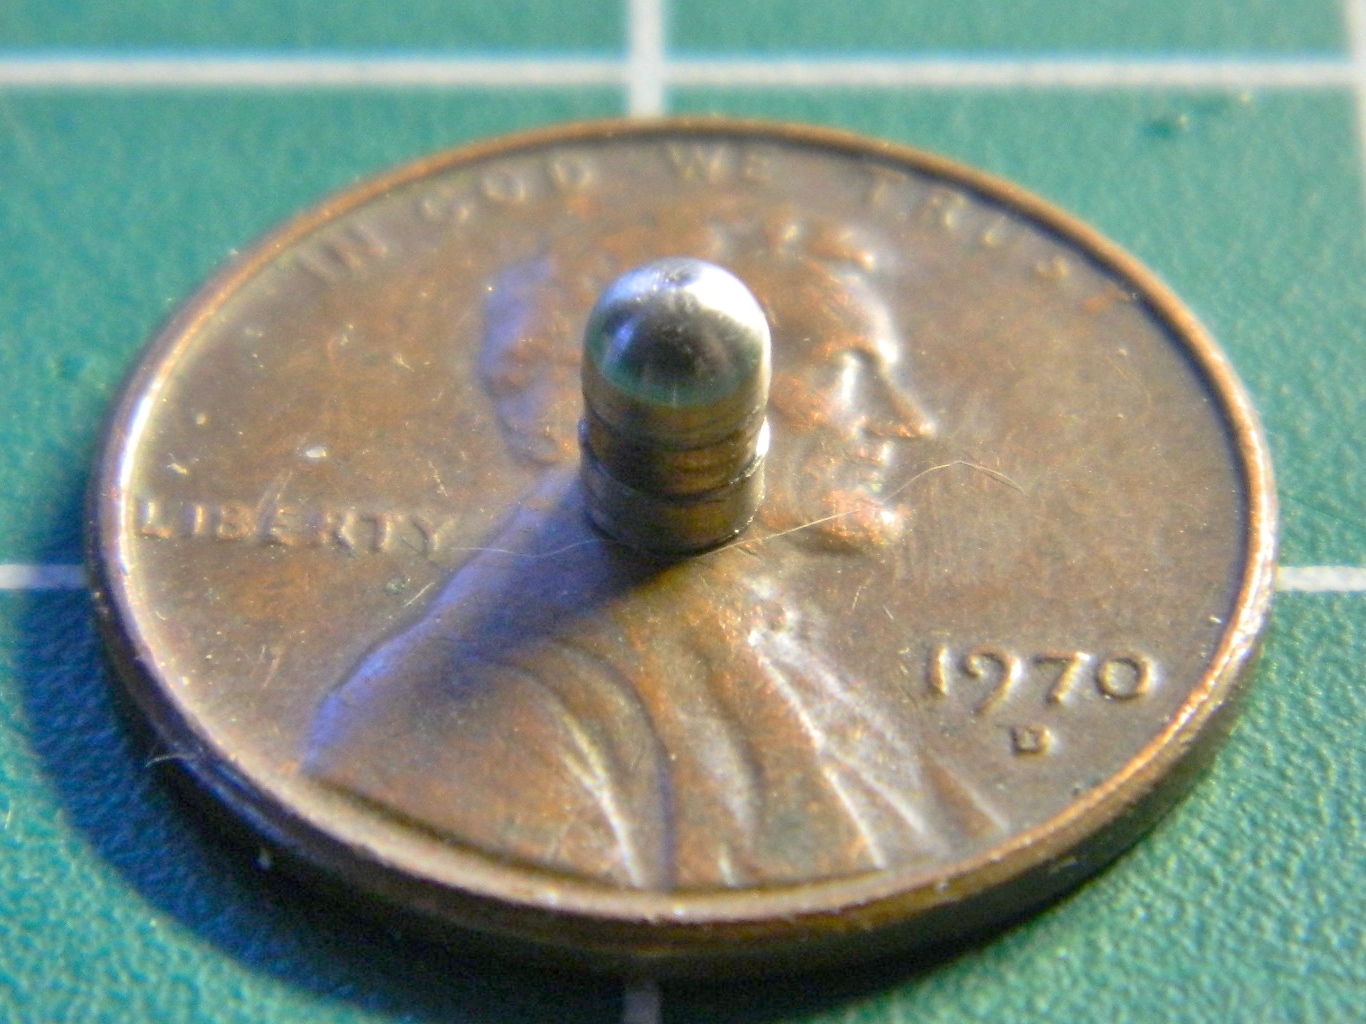
I glued the master (which looks a lot like a scale 40mm grenade to me) into the lid of an empty paint jar and then poured the reusable molding compound over it. Twice:

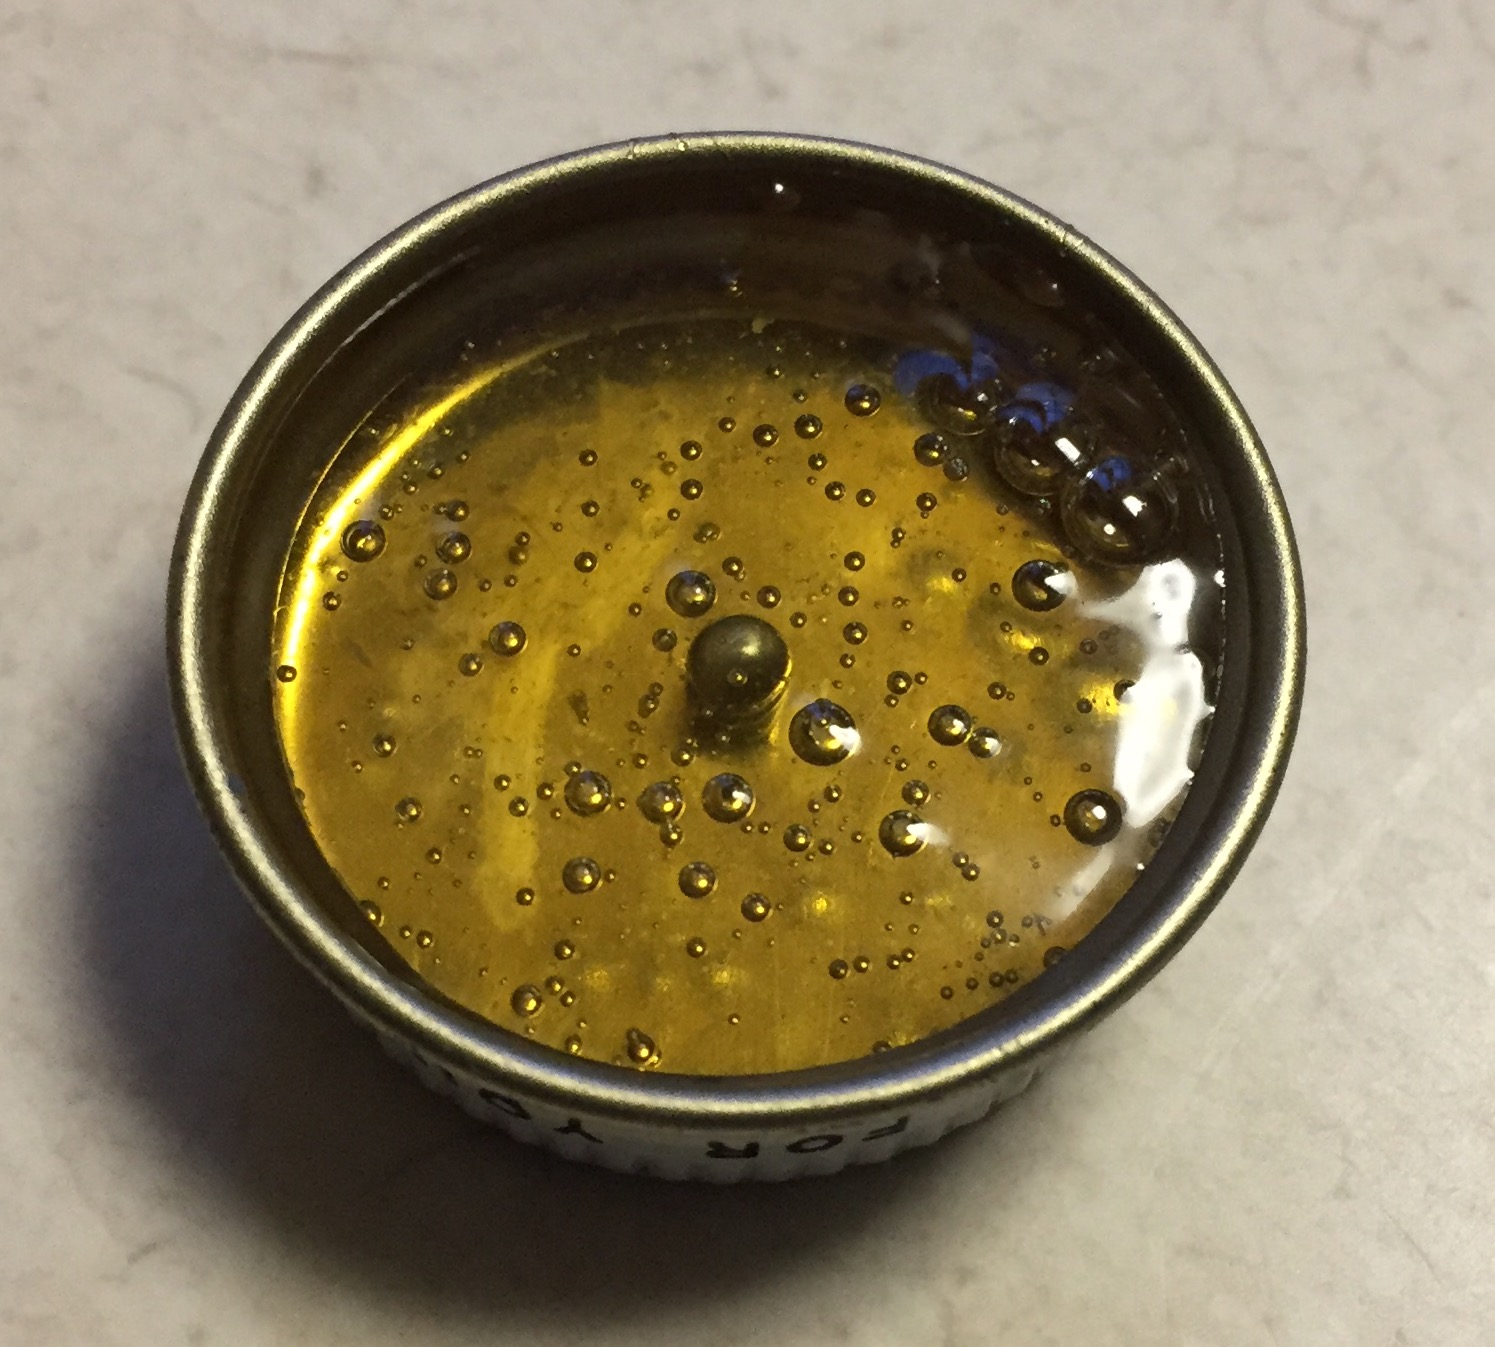
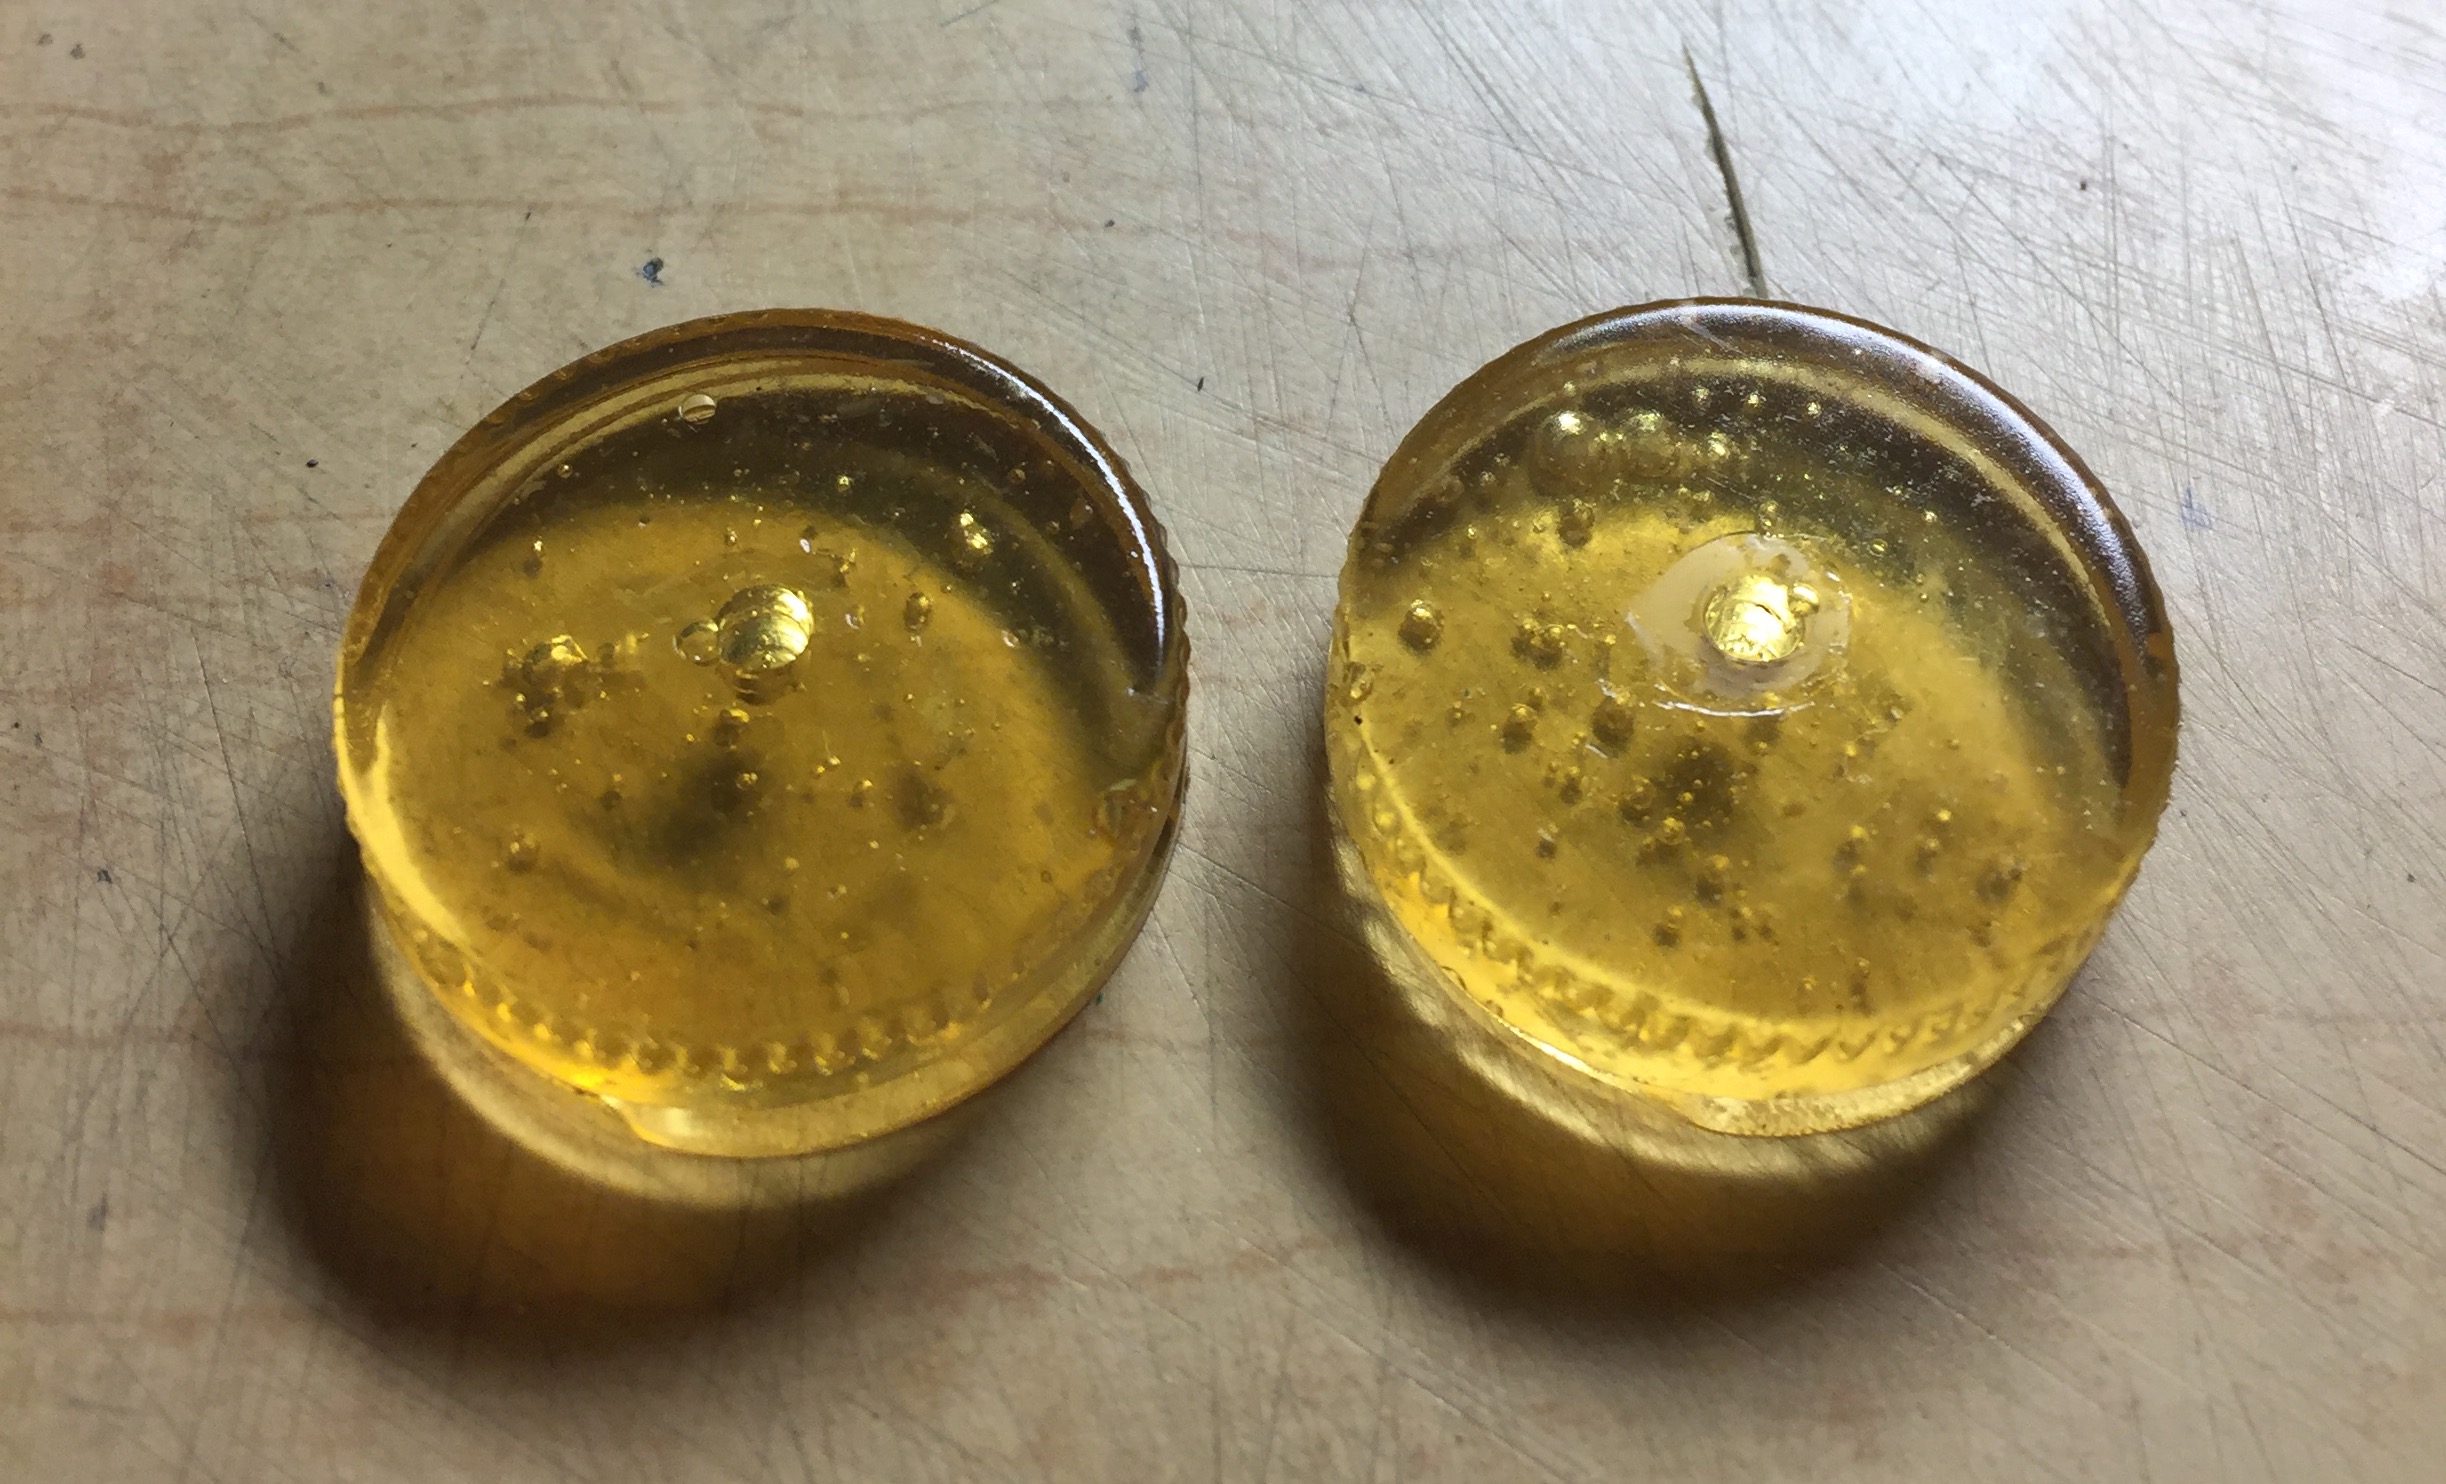
Now all I had to do was to mix up some resin and pour:
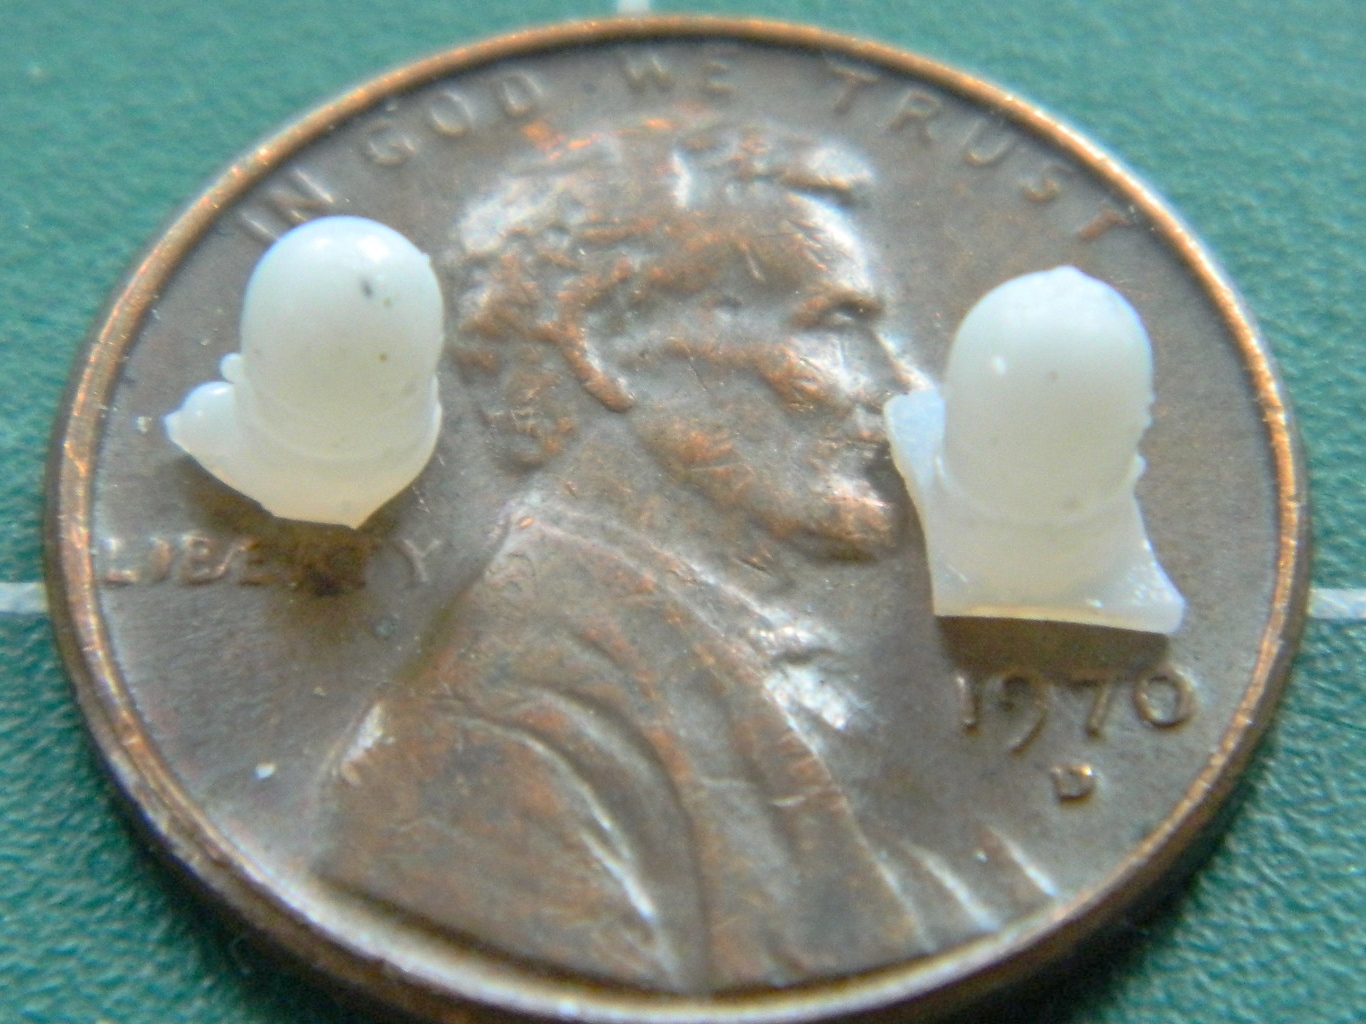
VERY CAUTIOUSLY, I drilled a starter hole in the AM panels, then I used a very fine rat-tail file to open the holes up to the required diameter…and didn’t take any photos of it. ::bangs head on desk:: But as soon as I had the resin copies, I had to try them out (because if they didn’t work, I now had two holes in the part and would have to figure out what to do next). And yeah…I think it worked just fine (CERTAINLY better than what was there!):

There is a clear front that goes over the artificial horizon, so I made a bezel out of .005″ (.127mm) copper shim stock, used the punch and die set to open the hole, then glued it to a bit of clear acetate. Yeah…once this is painted, it’s going to look just fine:
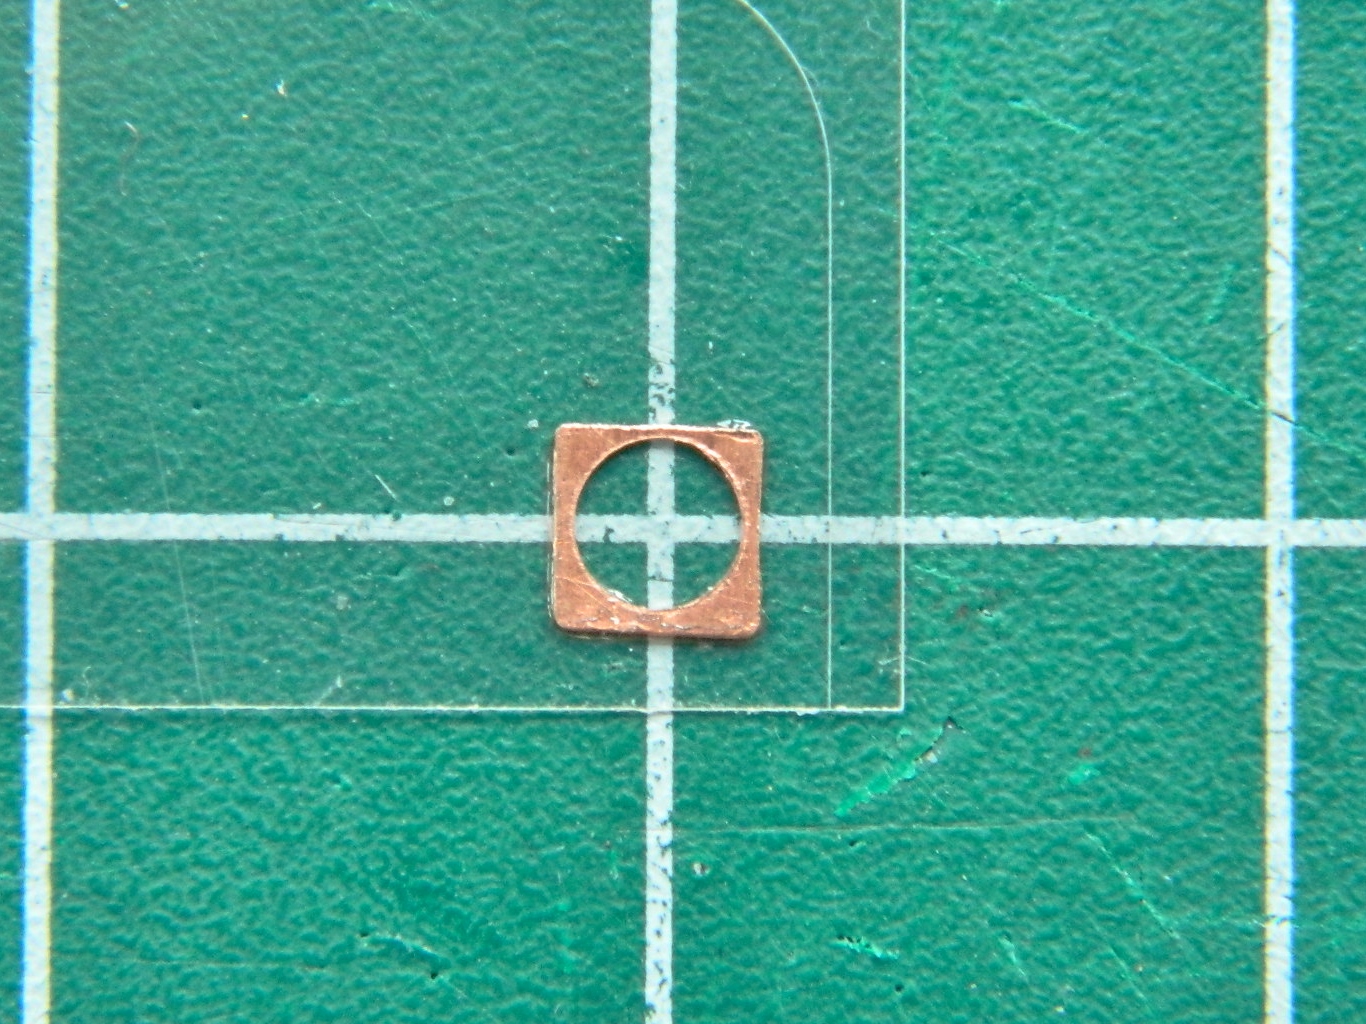
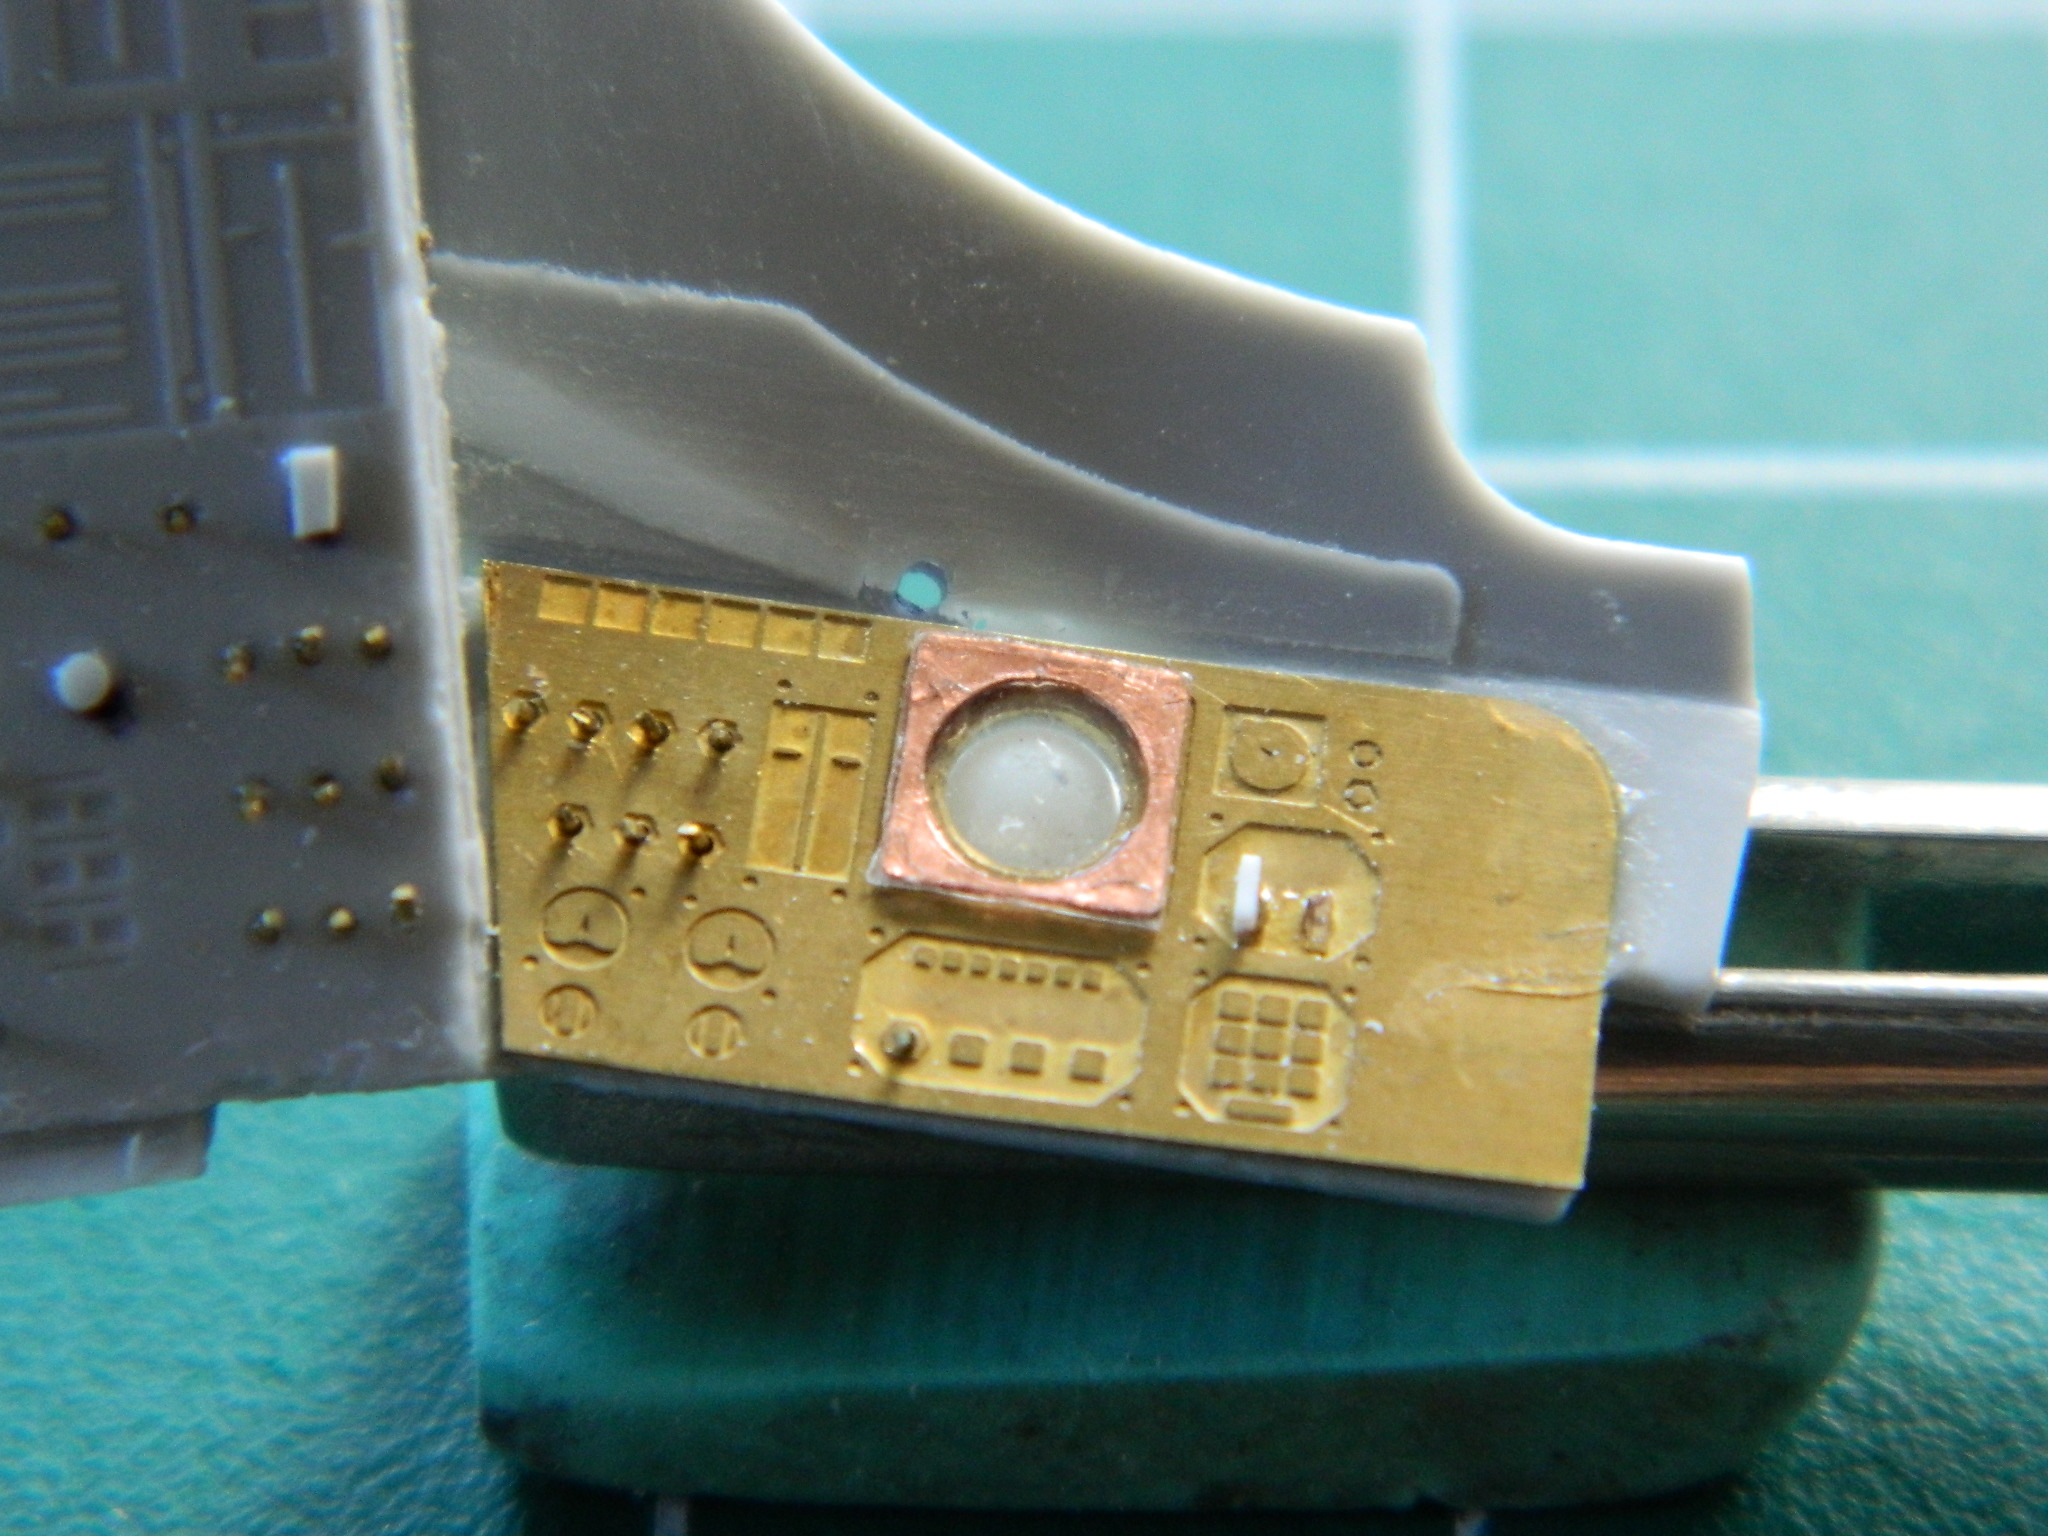
Now that I’m pleased with the artificial horizon, I realize that all the other gauges on the panels have to be brought up to the same standard. Oh great…NOW what do I do?! I went into my decal stock looking for 1/48 scale instrument face decals. Yeah, the scale is different (1/24 being twice as large as 1/48), but the physical dimensions of the decals are just perfect for this build, so that’s what I’ll use. With only one exception, which I can easily work around, I even have the type of instrument faces I need! When time comes to start throwing paint is when I’ll install the instrument decals.
Moving to the sides of the cabin, it was time to start making the other details that belong there. The AM set had the oxygen control boxes for the sides, it’s just that they’re WAY too thin to use as-is. I used .020″ (.508mm) stock to thicken them to the proper size:
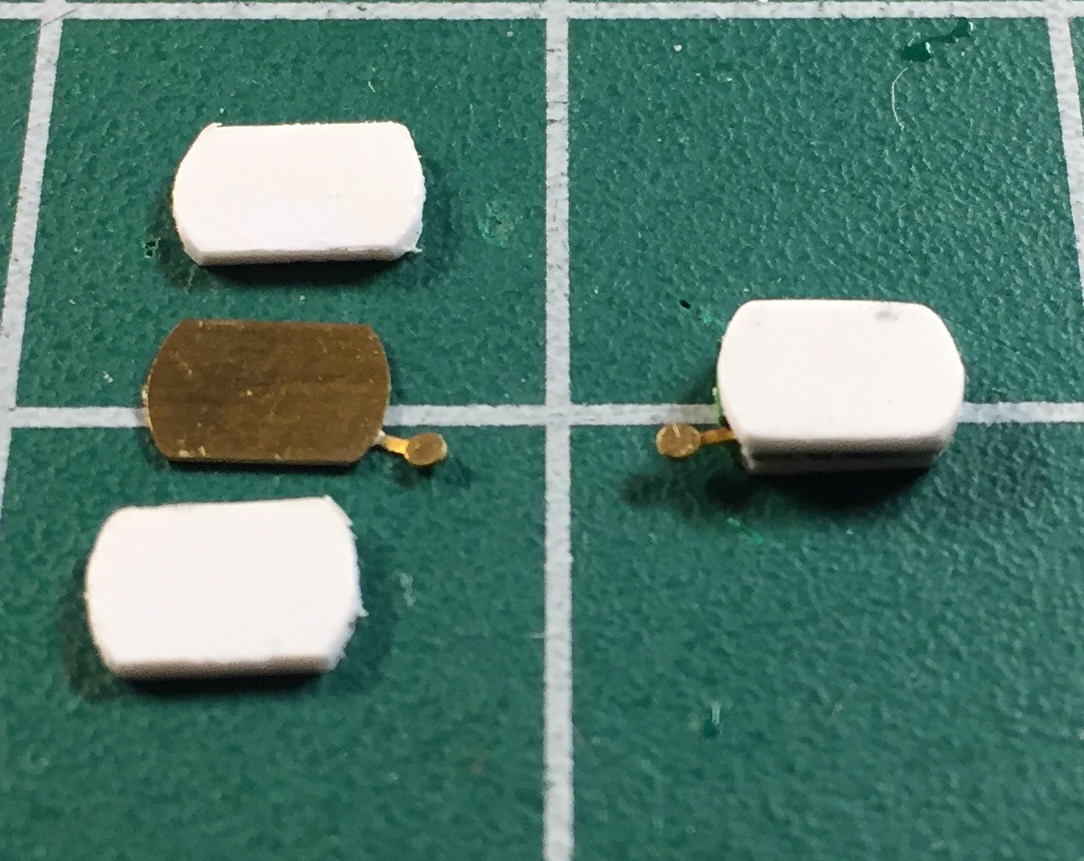
Then I dry-fit them to the cabin walls. You remember the cabin walls? The ones I had to move to make room for the seats? Well…I got the dimensions wrong. WRONG. Yes, I’m quite familiar with “measure [insert number here], cut once.” I thought I had done that! In fact, I’d done that A LOT. And each time I made the same error. If you look at the photo below, I’m sure you’ll see the error much sooner than I did… The right side is taller than the left side by about a quarter inch (5.08mm):
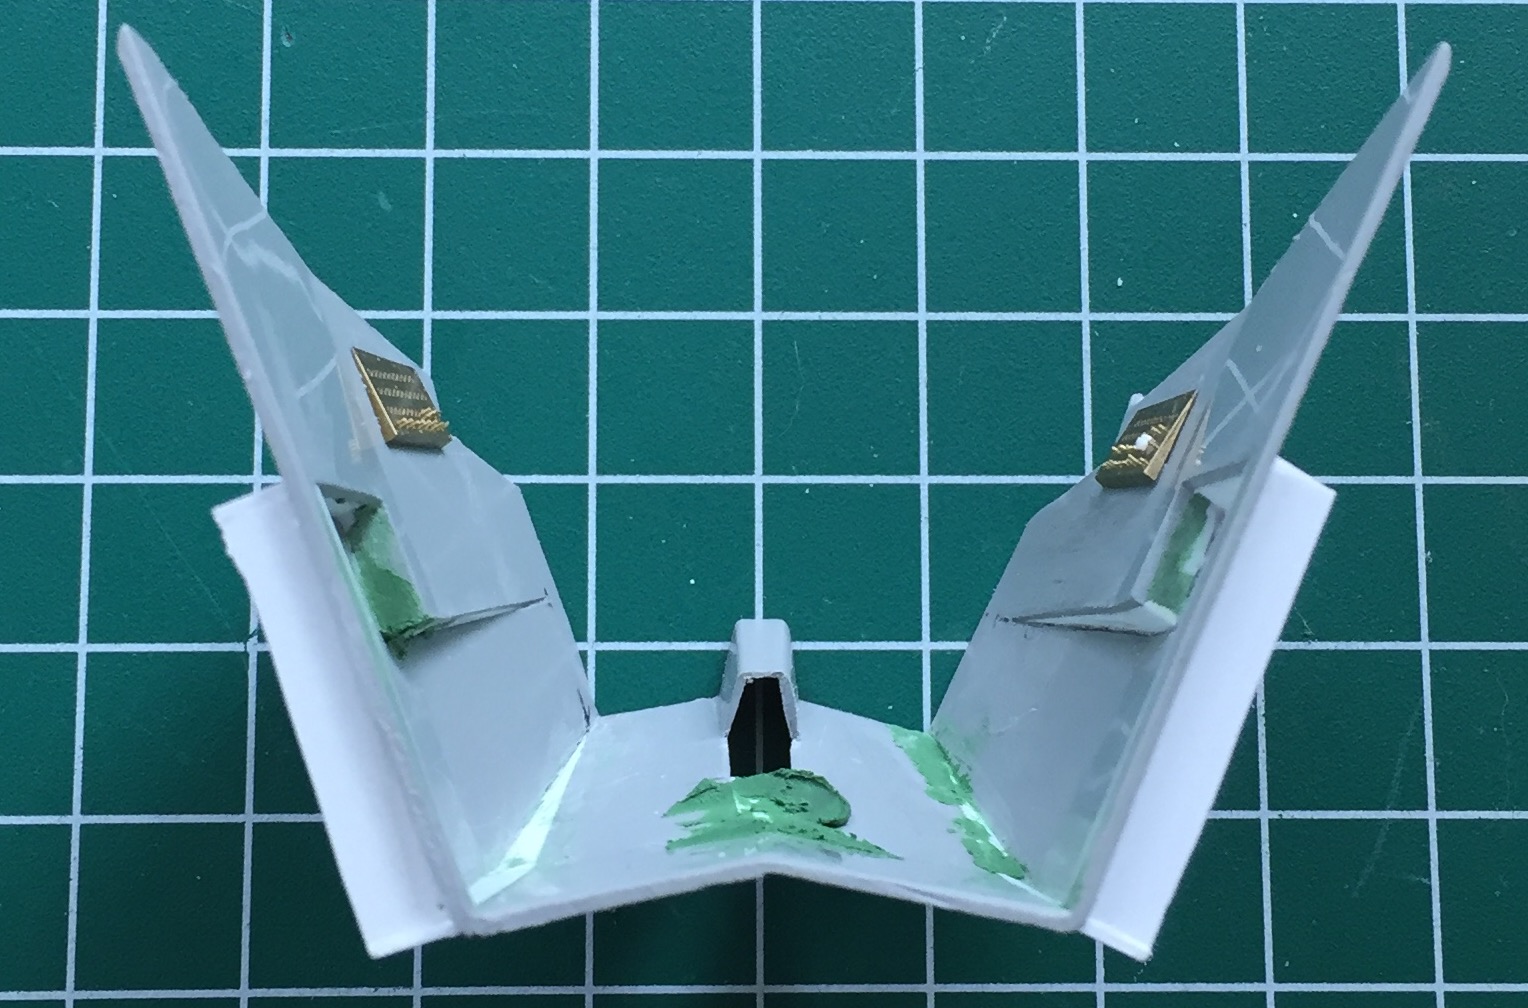
And no…I have no idea how I made such a fundamental error (if I knew that, I wouldn’t have made the error).
Okay, then, how do we fix this? By this point I’d discovered how fragile the part that forms the inner cabin walls really is. I’m not ham-handed and I still had to glue this damned thing back together four times. So that means I’m not going to be able to redo the part I have. Okay, so how about scratch-building a new cabin wall assembly? Uhm…no. This part, though comprised of flat panels, has some pretty funky angles to it. Could I scratch-build this part? Yeah, I could. But to get it right would take time. It would take a lot of time. Normally I’d shrug at that idea and have at it. But I’m trying to get this model ready to bring to a show on April 29…and there’s LOTS left to do and I’m not sure I have that time. How the hell do I get another cabin wall part?
I go to eBay and buy another kit. And that’s what I did.
It’s not like I don’t have anything else to work on while I’m waiting for the second kit to arrive!
Dry-fitting the cabin parts has been “interesting,” in the most Chinese sense of the word. I decided to make things easier on myself (if only for the novelty of that). I’ve been having serious problems with getting the instrument panel to stay attached to the center console. The problem with that is that there is such a small surface for any adhesive to work on that any nudge or torque, no matter how small or gentle, causes the two parts to separate. I needed something more robust. What I did was take a section of .010″ (.254mm) shim-stock, punch holes in it for better adhesive adhesion, and using Shoe Goo (great stuff, that!) I attached the support bracket to the underside of the console:
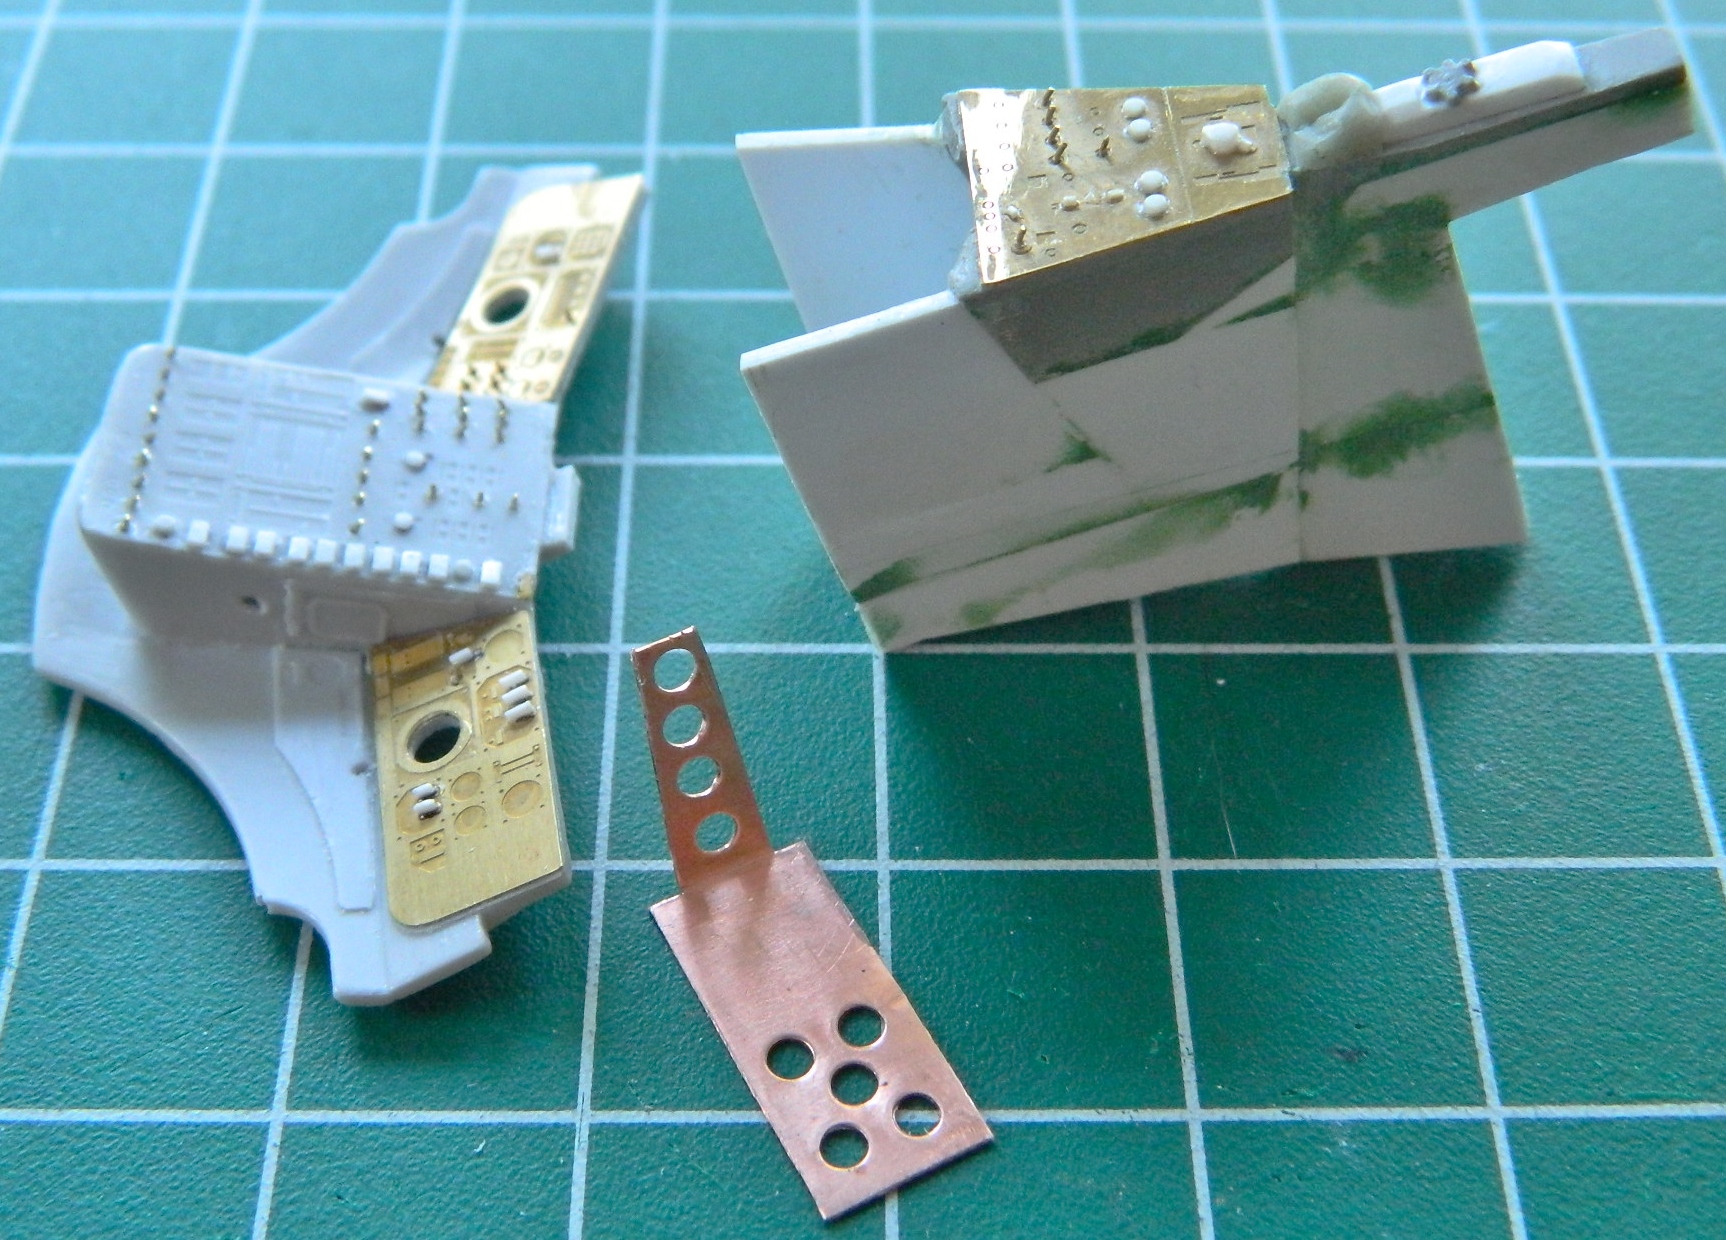

That also eased dry-fitting the parts. The only point of reference I have is where the instrument panel attaches to the walls of the cabin. Rather than permanently attach the panel to the support, I taped it in place and used that as my reference to finish fitting the console to the cabin (even though the sides are wrong, the floor isn’t and that’s what the console with its added sides need to fit to). I used a lot of pieces to build up the sides and I needed to check the seams to make sure they won’t be visible. I used a rattle-can with what I thought was acrylic primer (there will be more on this later on) to show the seams…and show them it did. The surfaces got sanded, puttied, sanded, and puttied again, until the added sections were, well, seamless:

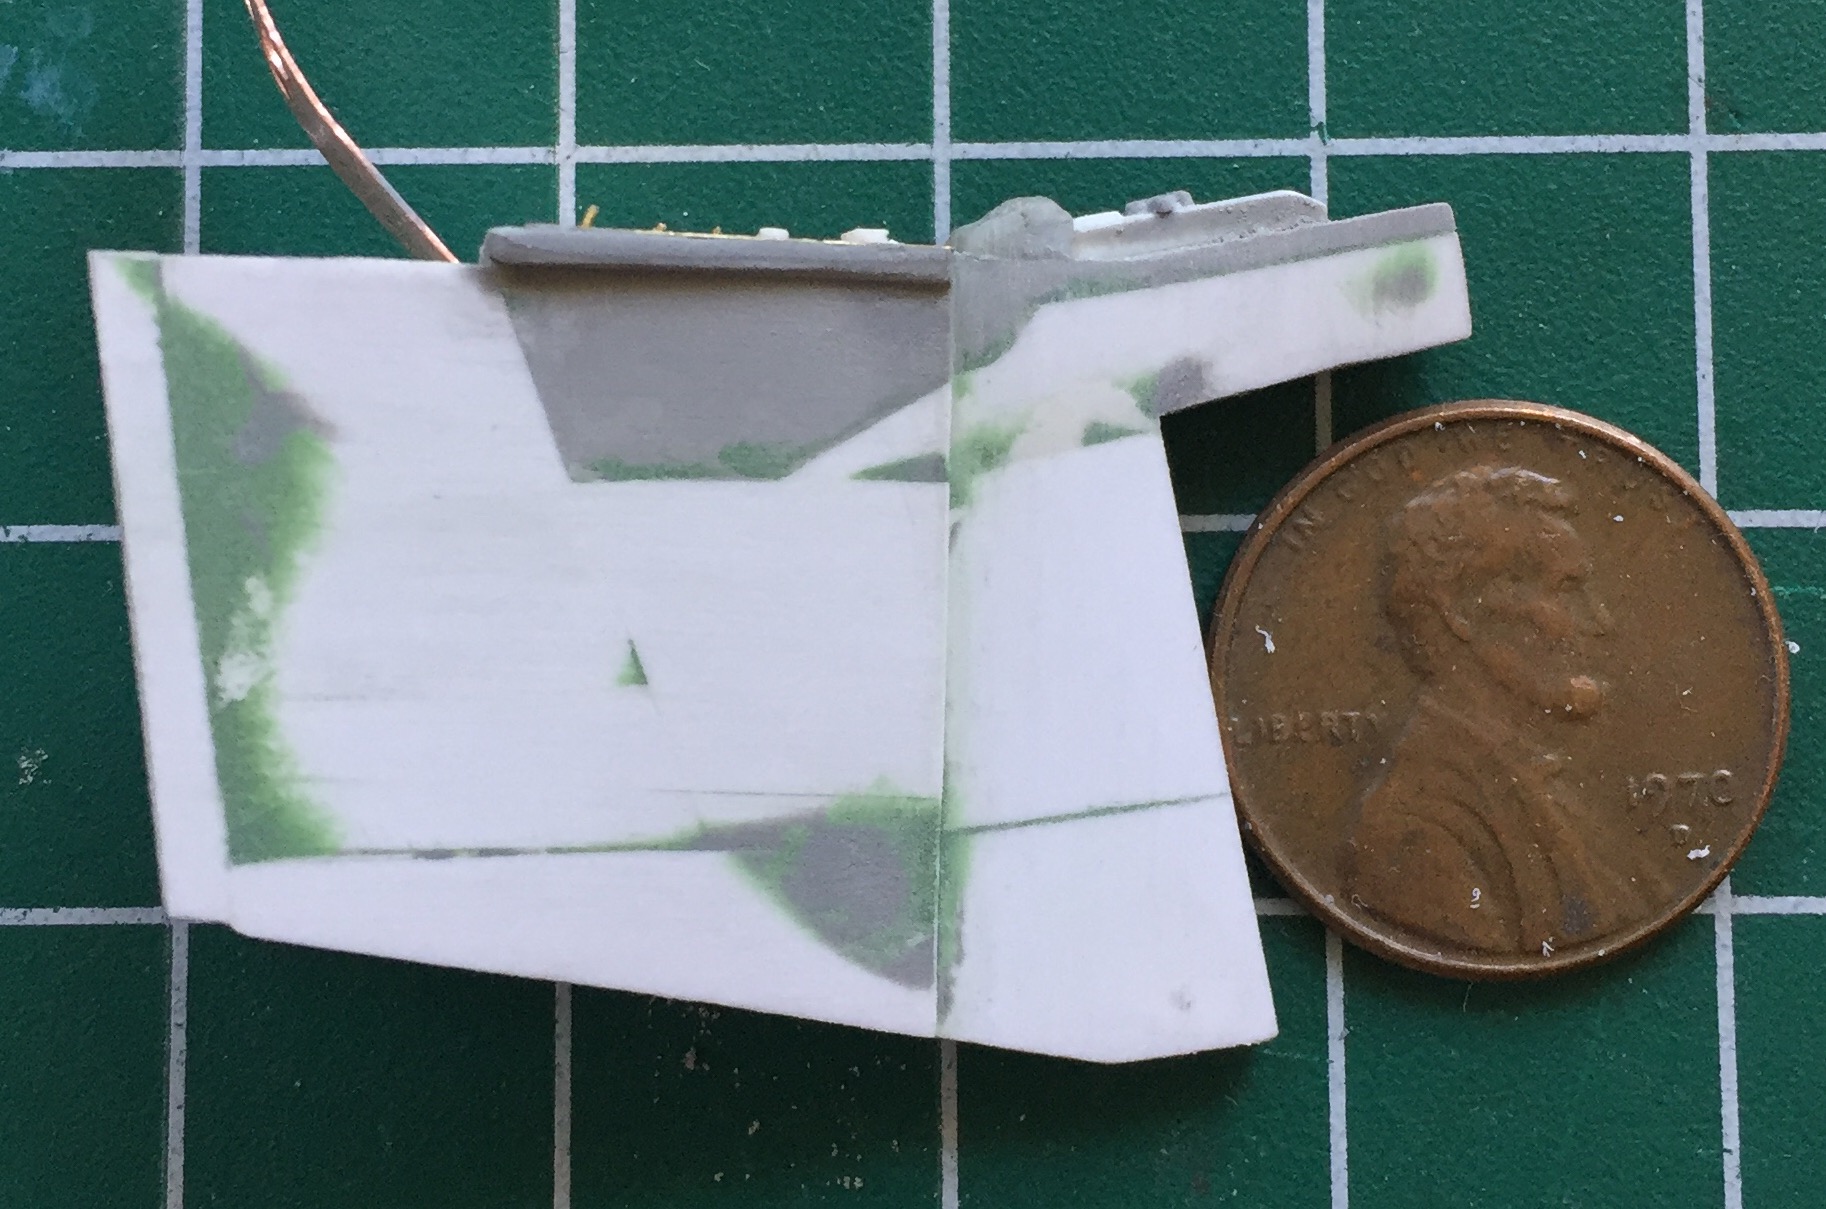
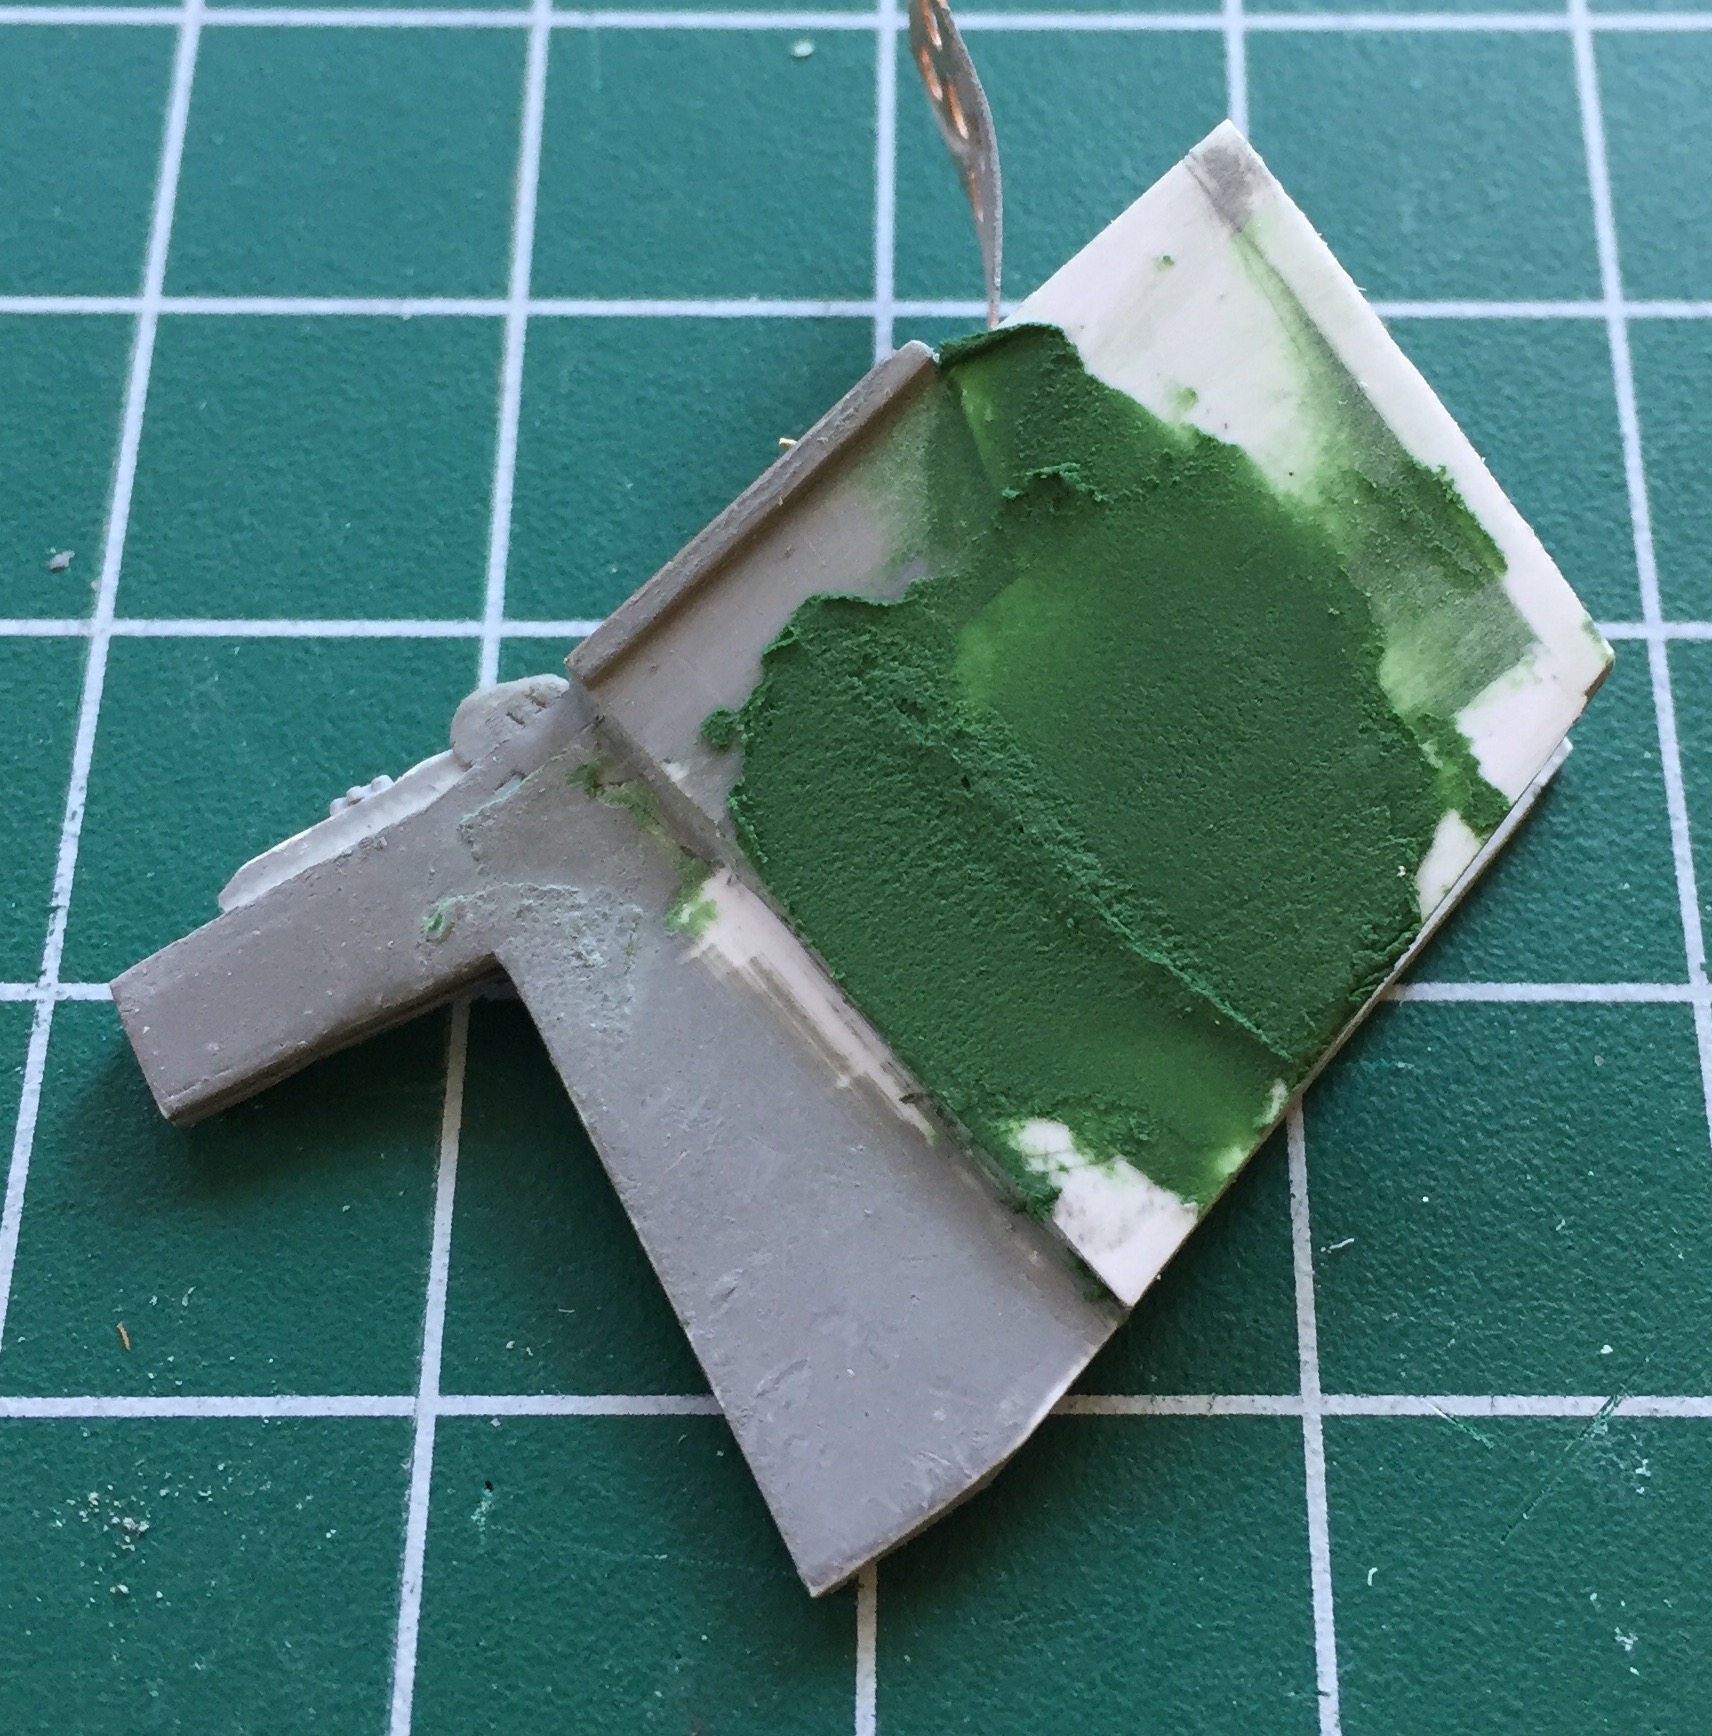
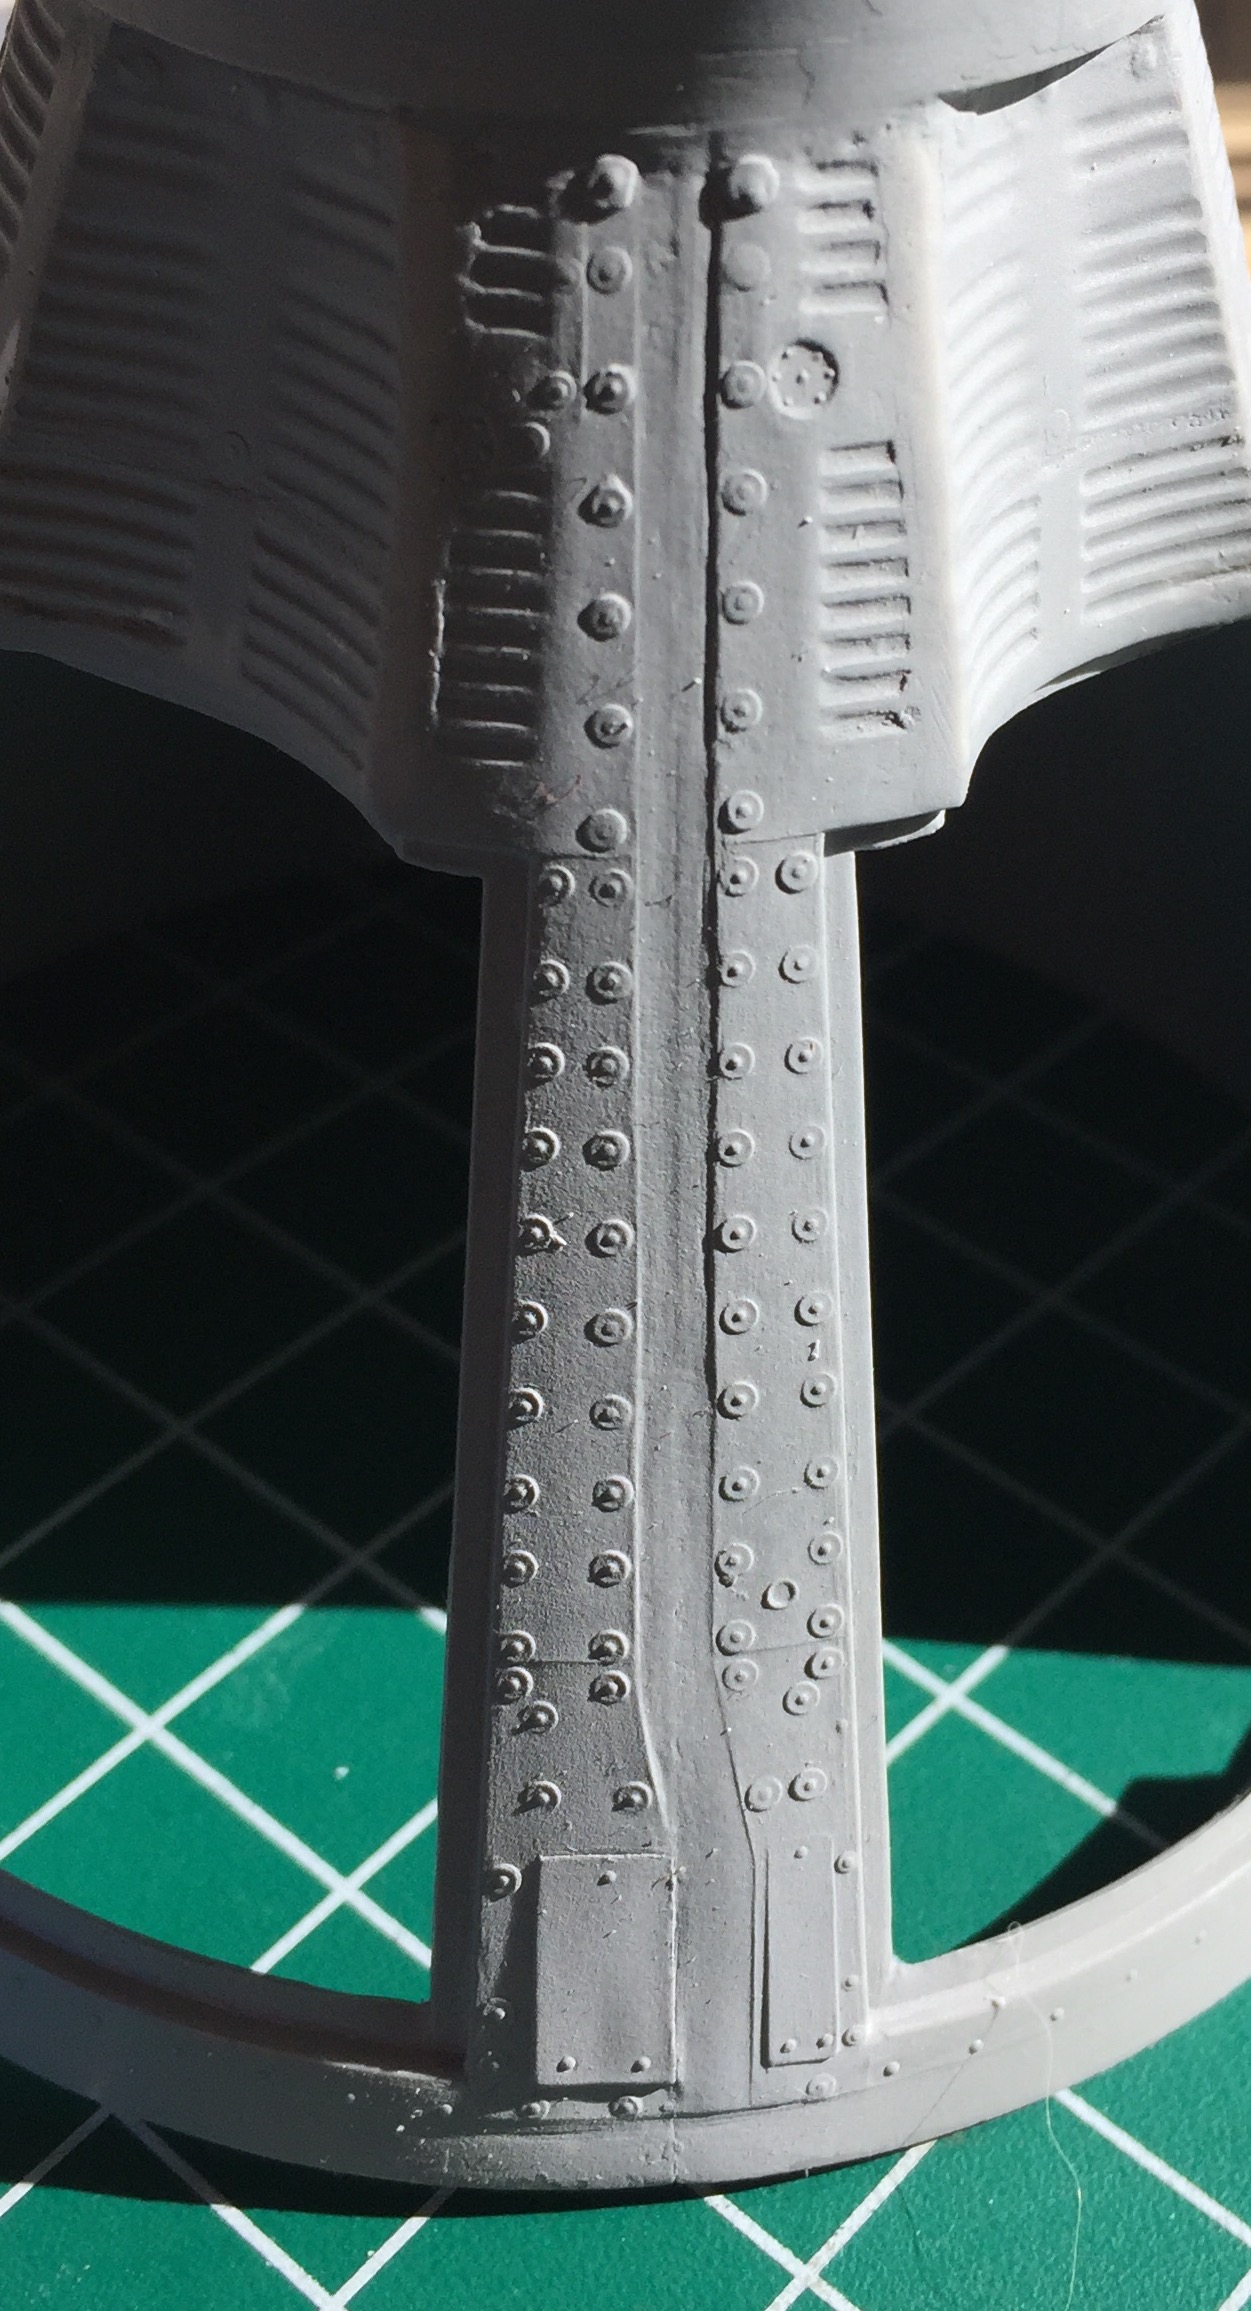
An area that I knew needed work was the channel between the hatches. This is where the bridle for the parachutes was stowed and as such it needed to be flat. As you can see, it wasn’t:
After working on it and getting it suitably flat (I thought…once again I was in error), I needed to see just how far towards the nose of the capsule this channel went. Finally getting the hint about checking references, I checked references:

Yep…it goes all the way to the point where the nose starts to taper. In the above photo, note the white stripe where it crosses the cylindrical section. See those flat tiles on either side of it? Compare it to these photos:

At the end of the channel where the cylindrical section meets the conical section, there are no tiles! Hmm… So I rotated the hull to see if they were there at all. Yes, they’re there. They’re 90-degrees away from where they’re supposed to be. Oh great. Another error. How the aerial intercourse did I manage to put that part 90-degrees off?! Well as it turned out, it was easy. The locating tab and slot are in the wrong place! Now, when I glue something on, I goddamned well glue something sodding on! There’s no way I’m going to be able to remove the cylindrical section without destroying it. Aw, damn…if I only had another kit.
Oh. Wait. I don’t have it yet, but it’s on the way! Whew… So that gets set aside for now.
There were a few details provided on the PE fret of the AM set that I didn’t like. PE parts are flat. The details they replicate aren’t flat at all and the difference nagged at me sufficiently that I knew at some point I’d have to make new details. Okay, looks like “some point” has arrived.
On both side of the seats are handholds. Living at the bottom of a gravity well the way we do, there are ALL types of unconscious assumptions we make that do not hold true in a micro-gravity environment. In micro-gravity, there is no “just sit down” possible. Gravity is what makes us able to “just sit down.” In micro-gravity, if you want to plant your ass in a seat (and the inside of a Gemini capsule was so small, you had to plant that aforementioned ass someplace to allow room to breathe), you have to pull your ass to where you want it and then strap it to that location. So the clever engineers at McDonnell (the contractor who built the Gemini capsules) made handholds for just that purpose. They mount on gimbals to the sides of the seats so they can be rotated out of the way once the ass(es) were strapped into the only place they’d fit. The seats.
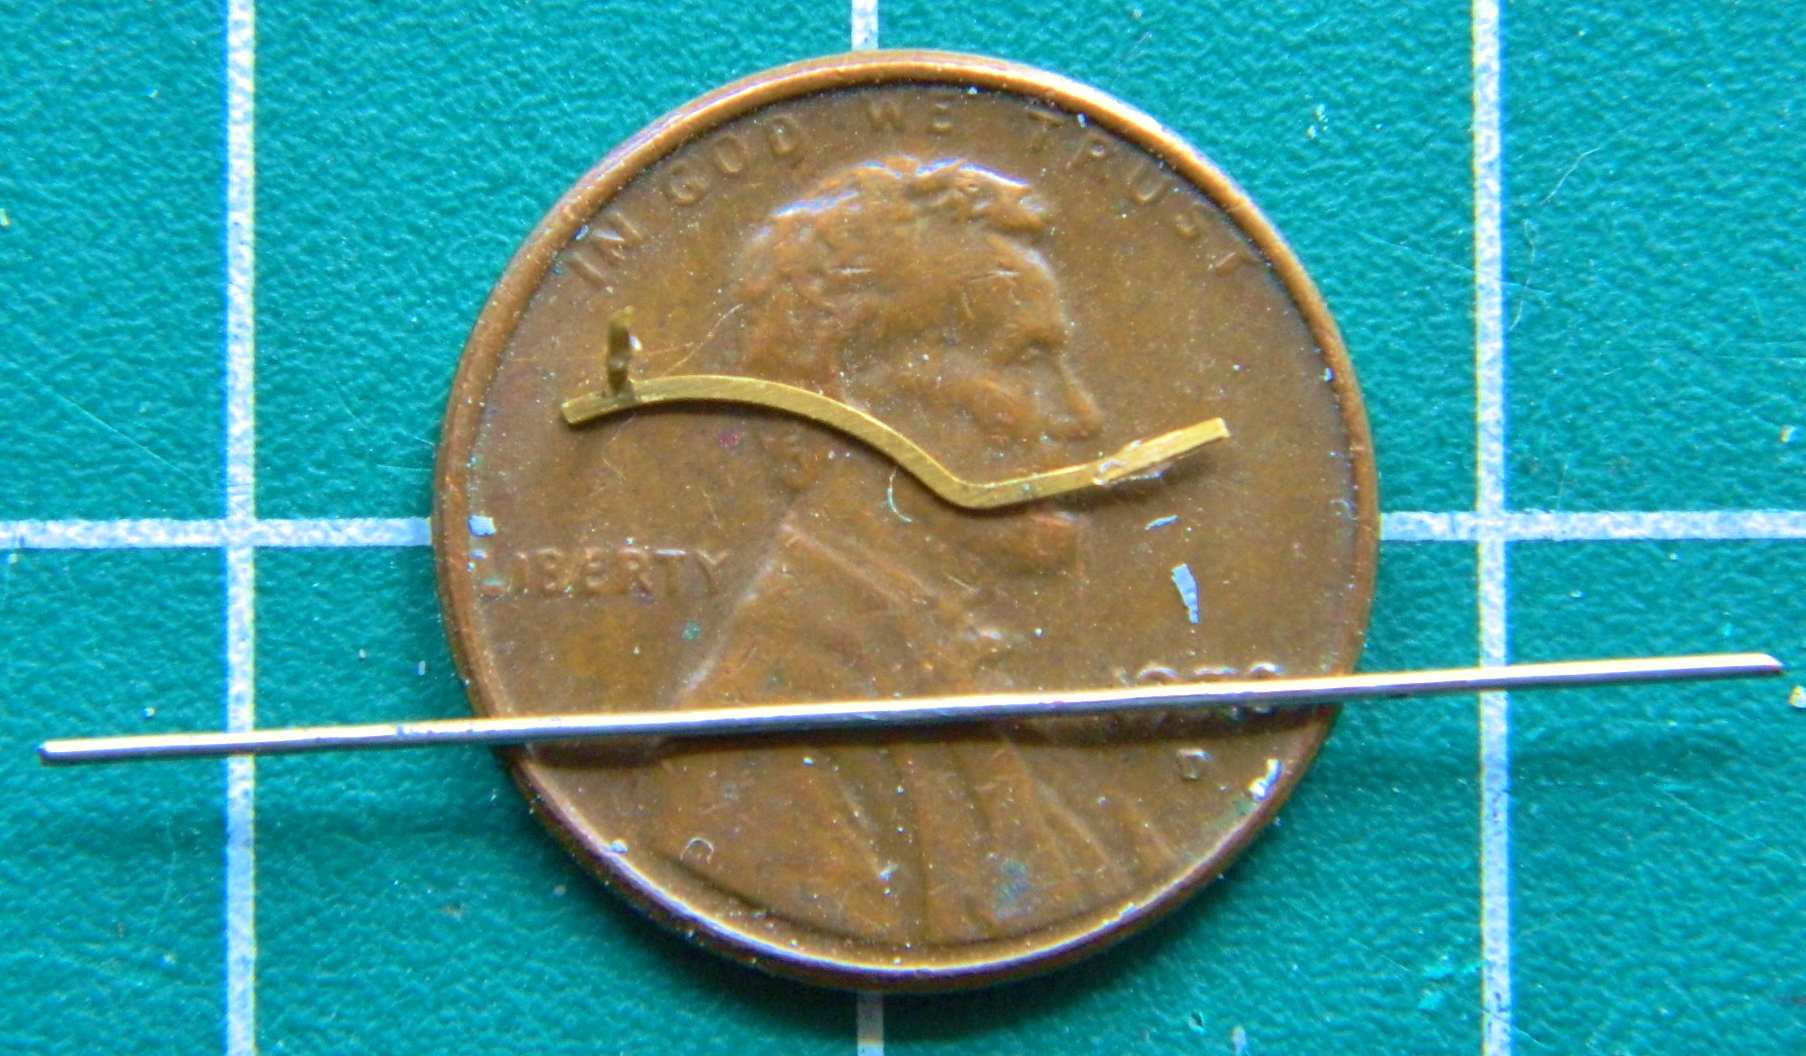
There’s also grab-bars above the instrument panel which the PE set has. They’re flat, too, and they shouldn’t be. 24 gauge copper wire was bent and soldered to replace the flat PE details (the flat details are shown to illustrate the differences). When you’re forming something, even something as simple as a curve to a wire, you’ll find the shape you need in the strangest places. To get the curve accurate for the grab bars, I used the pein end of a small ball pein hammer as my form (buck). I used the shank of a drill bit to form the seat-mounted grab handles:


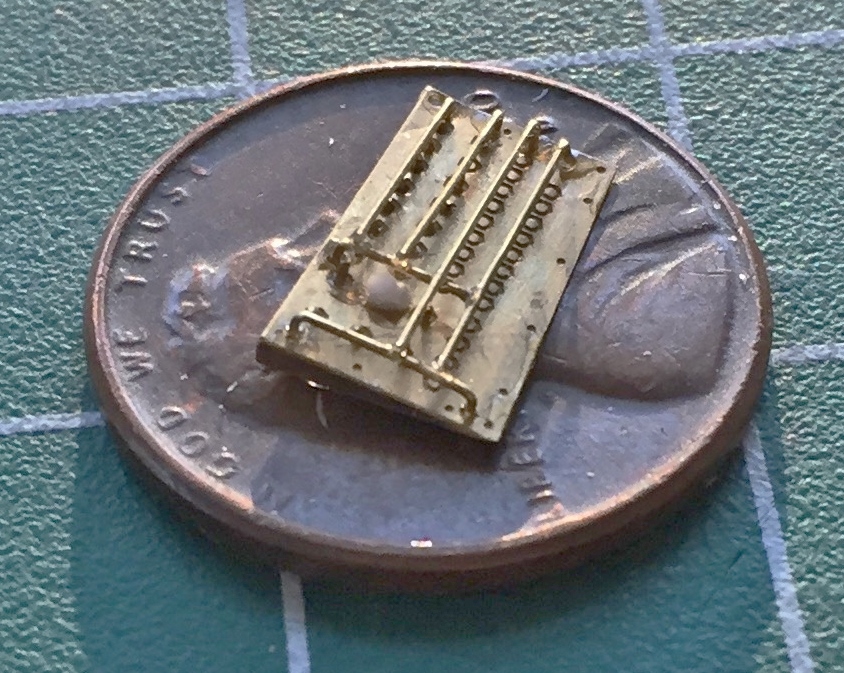
Since I was on a bagel (which is much like a roll, only firmer), I decided to add the safety bars to the side switch panels. (In the process I also decided that I’m a lot crazier than I realized!) (Those of you who know me even moderately well probably wonder why it’s taken me so long to realize that. Simple. I try to pay as little attention to that maniac as I can manage!) Adding the safety bars, 26 gauge wire, was tedious. It was maddening. I’m also not 100% happy with how they’ve turned out. But they do fall within the 90-95% tolerance I allow myself so this is as they will be (and no, I’m not looking forward to having to paint all those switches and buttons that are underneath the bars, but adding the bars after the panels have all been painted wouldn’t work…paint interferes with glue adhesion, so…). This is the panel for the right side:
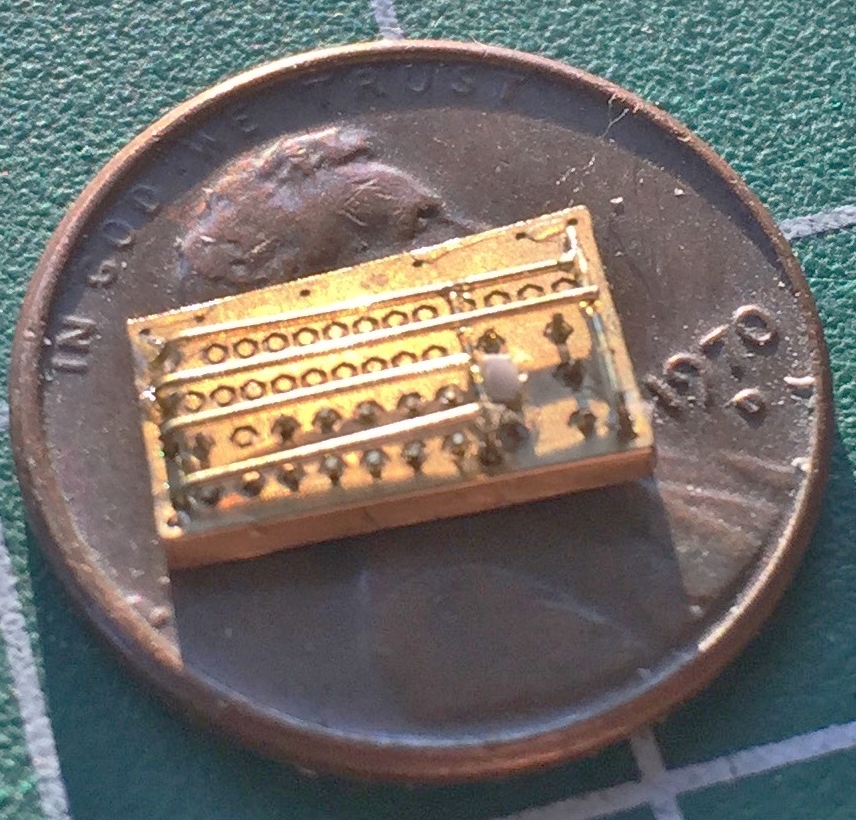
And this is the panel for the left, command, side:

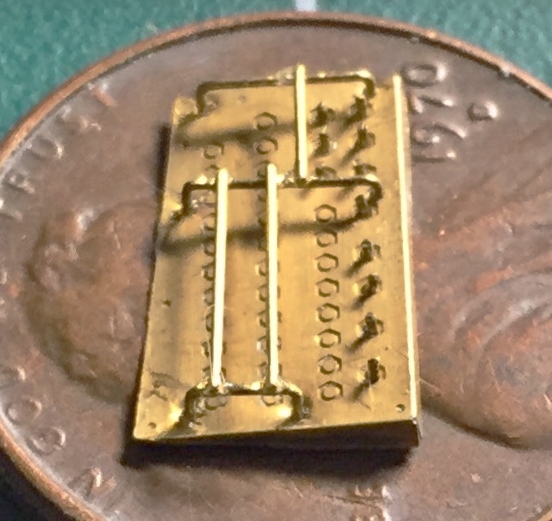
I tried to solder them correctly but there was no way that was working. Solder this and the heat unsolders that. Okay…so the bars don’t butt the way they’re supposed to. 90-95%.
There are also containers for the various pieces of gear on the LDF (long-duration flights), there’s even a fecal collection bag. (Yeah…those astronauts kept their shit together!) The capsule I’m modeling didn’t engage in an LDF so I don’t need the collection bags. (And I don’t EVEN want to know how the hell they took a dump in such confined spaces! I’m sure the crew ended up knowing MUCH MORE about each other than they ever wanted to know. And the smell must’ve…nah…let’s not go there.) The gear bags were fabric so the absolutely smooth surfaces of plastic were not acceptable. Attempts to carve/scrape folds onto the surfaces was equally unacceptable. I didn’t want to use the texture I’d already used (more on that in the next post), instead I used a piece of printer paper, crumpled it a bit, and glued it to the surface of the plastic block and added very small bits of plastic for the snaps that held the real ones closed:

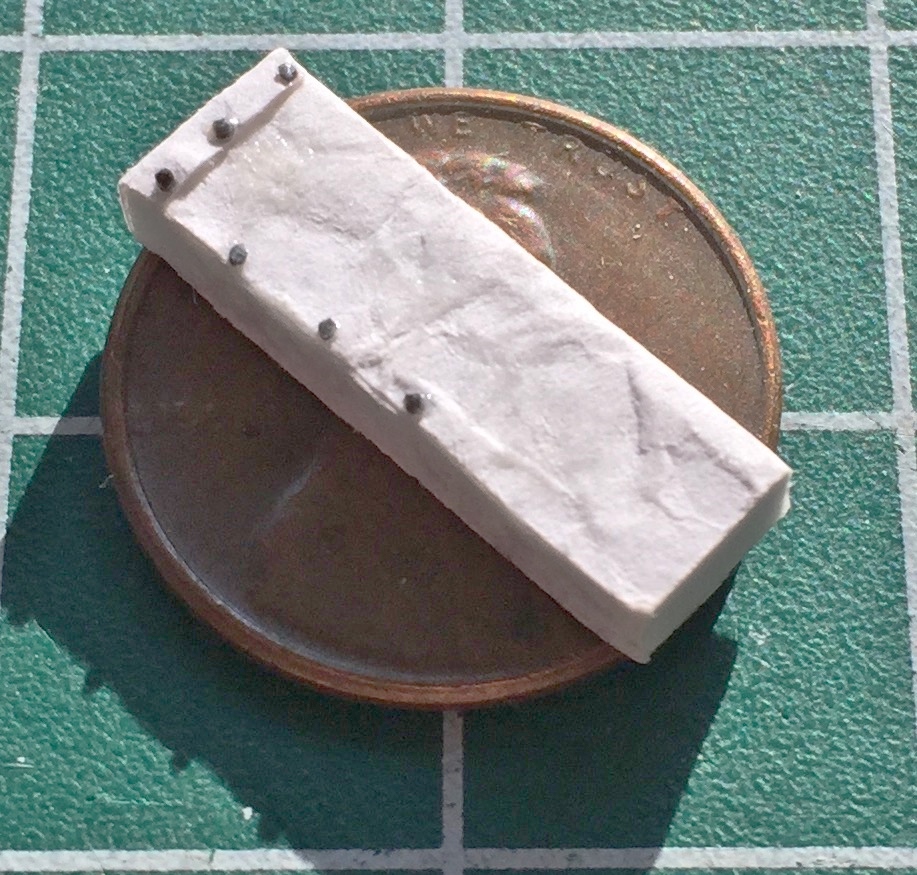
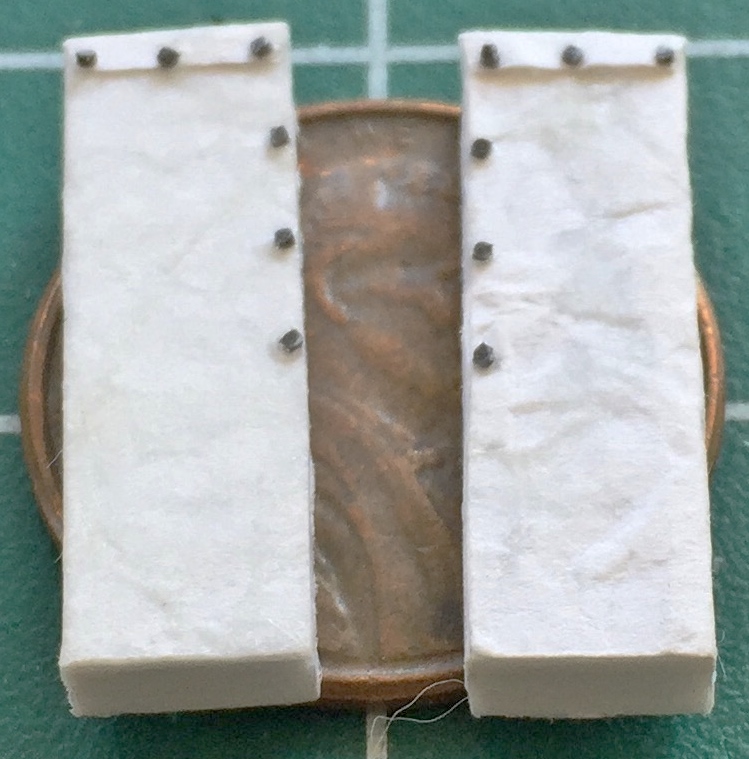
I was so pleased with how that worked that I decided to solve another problem I had, how to texture the seat cushions. More printer paper, strategically folded. I think the edges of the paper will replicate the seams nicely:
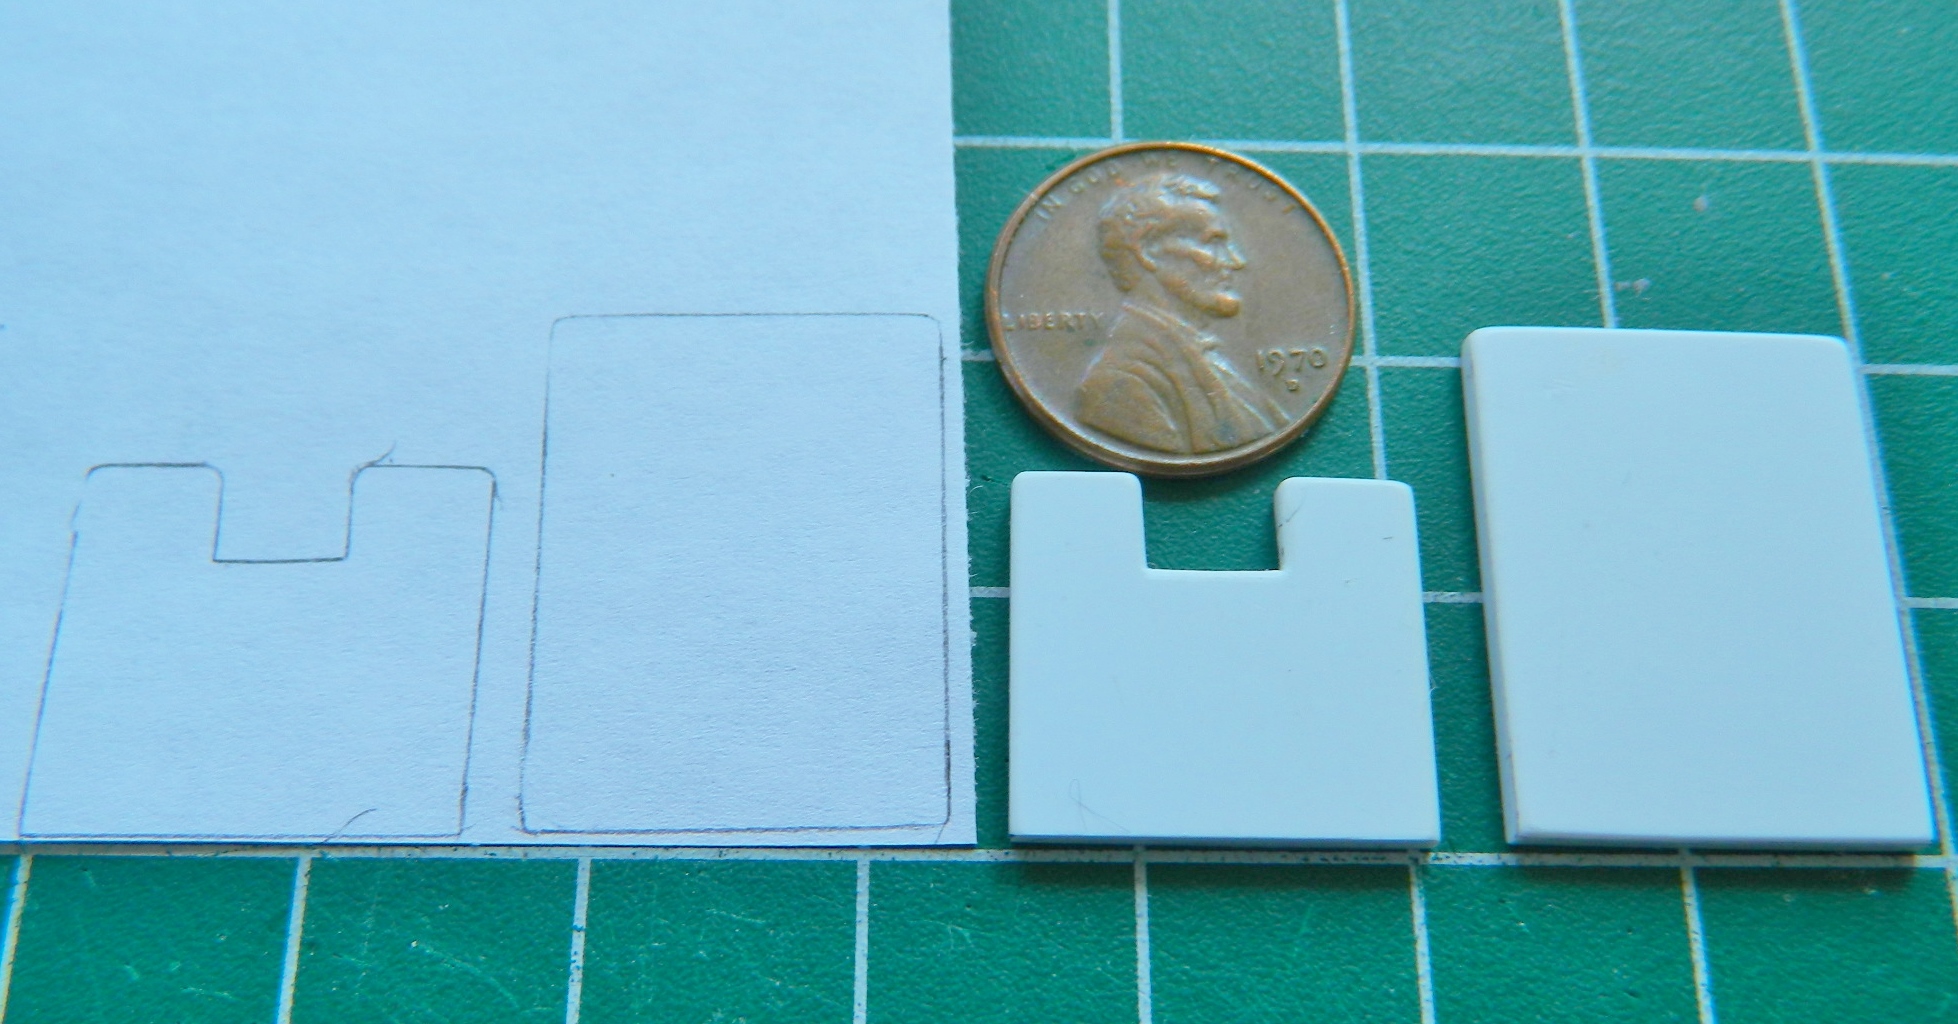
And then the second kit arrived:

One of the problems I created for myself the first time I moved the cabin’s sides out was how to adapt the details that belong there with a surface that didn’t have that depression. This time I decided to move the entire wall out. But the same restrictions applied. I couldn’t alter the location of the upper edges of the cabin walls. They need to fit inside a specific space. So to move the entire wall, I had to fix the critical dimensions so that they wouldn’t move. I did this by gluing flat .060″ (1.524mm) stock in place to keep the critical dimensions from shifting once structure was cut. My initial thought was to move all of the walls out so I used 2mm plastic masking tape to outline the areas that could not be altered:

Then I decided that since I had everything so well braced, I didn’t need to make more than two cuts; one down the back and one across the bottom where the sides meet the floor:

The added bracing snapped off easily with no damage to the part. I checked the fit of where the rear of the cabin meets the rear bulkhead and so far so good:
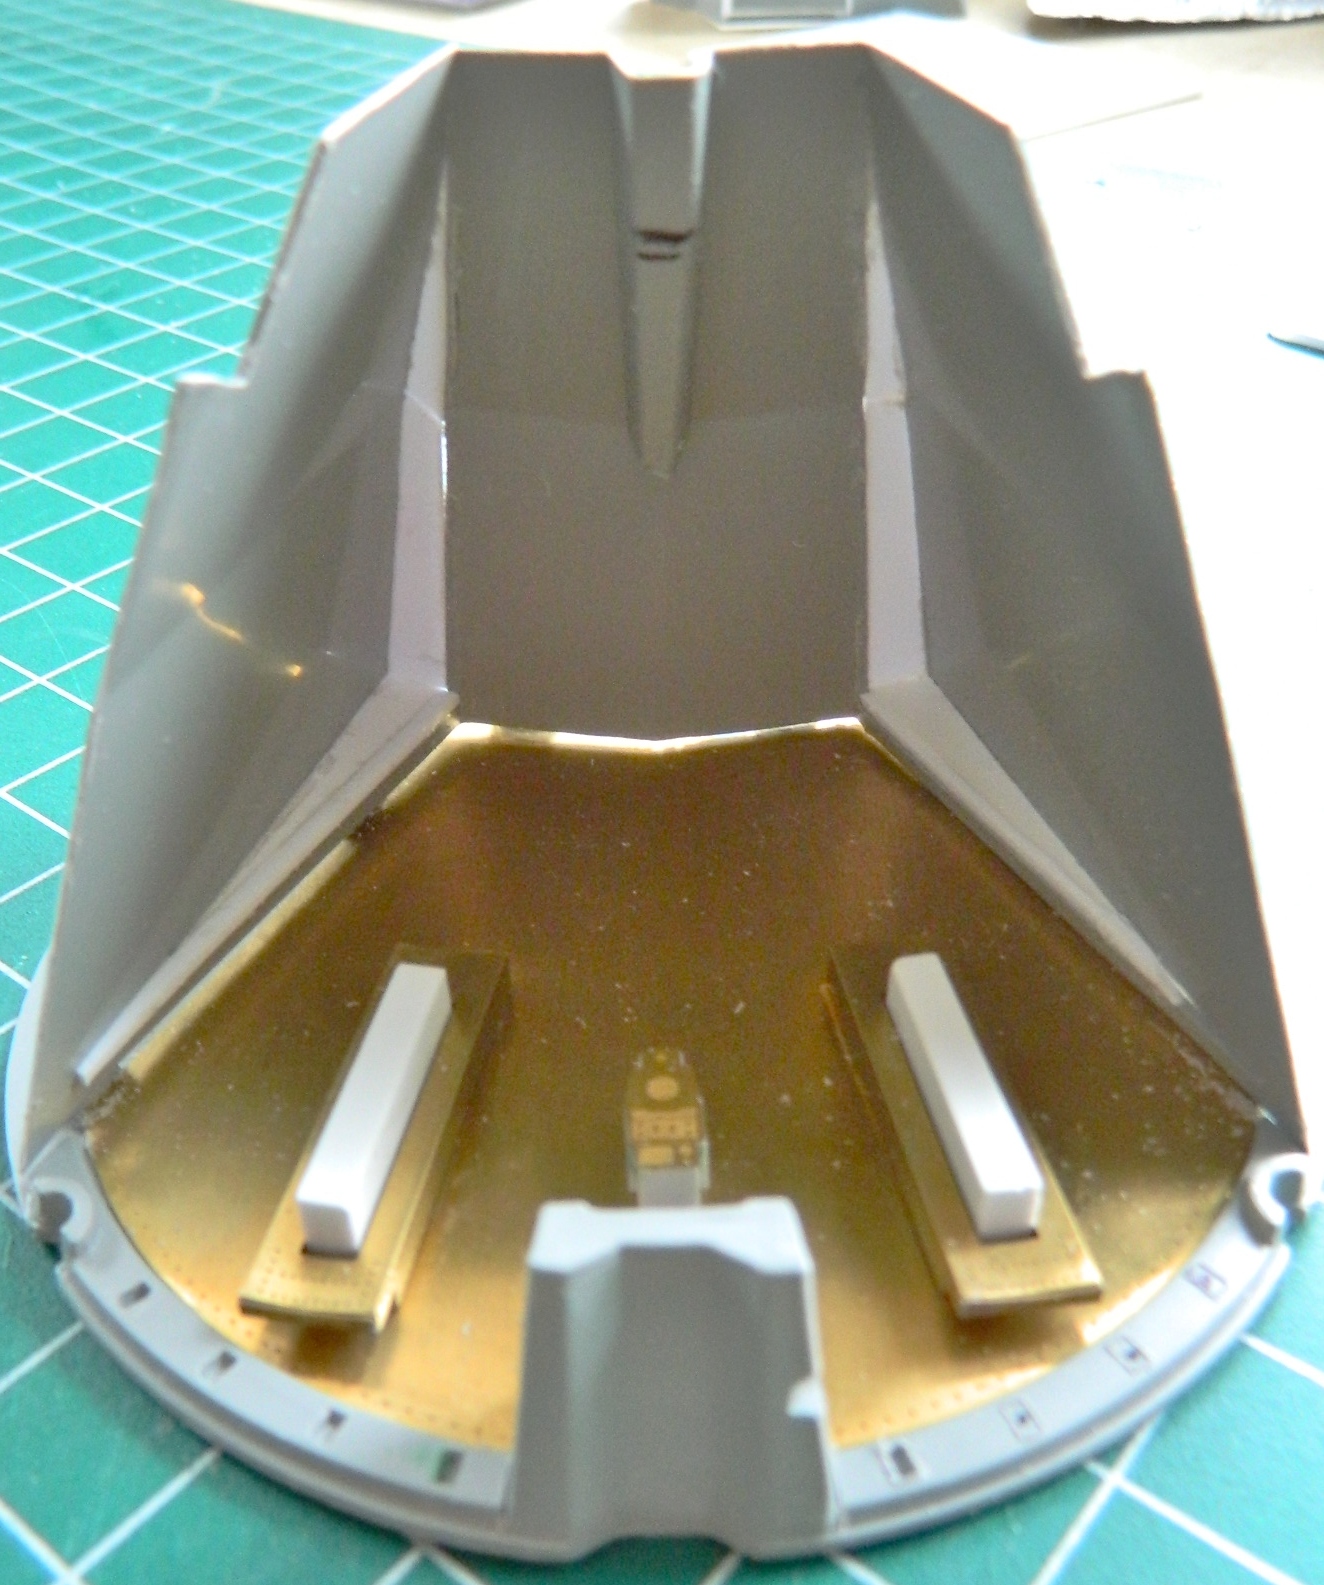
Then I slipped the hull over the taped-together cabin/bulkhead parts…and discovered I’d made another problem for myself that I needed to solve. Y’see, I decided to get clever. Yes…the distance I moved the first walls worked, but it was just still a bit too snug for the details I have yet to add to fit in there. So, clever monkey that I can be, I moved these walls out just a wee bit further. Further enough so that the cabin would now not fit inside the exterior! Well, I was NOT going to buy another kit again! I’m going to make THIS one fit…and I did. That was accomplished by sanding away as much of the addition’s corners and edges that I could without sanding all the way through (and it was close…it was very, very, close). Test fitting showed me I was on the correct path, I just needed more room. Thankfully these old kits often have very thick walls and this one could be the poster-kit for that. The Dremel tool allowed me to remove just enough from the inside of the outer part for this new and improved cabin assembly to fit. Barely:
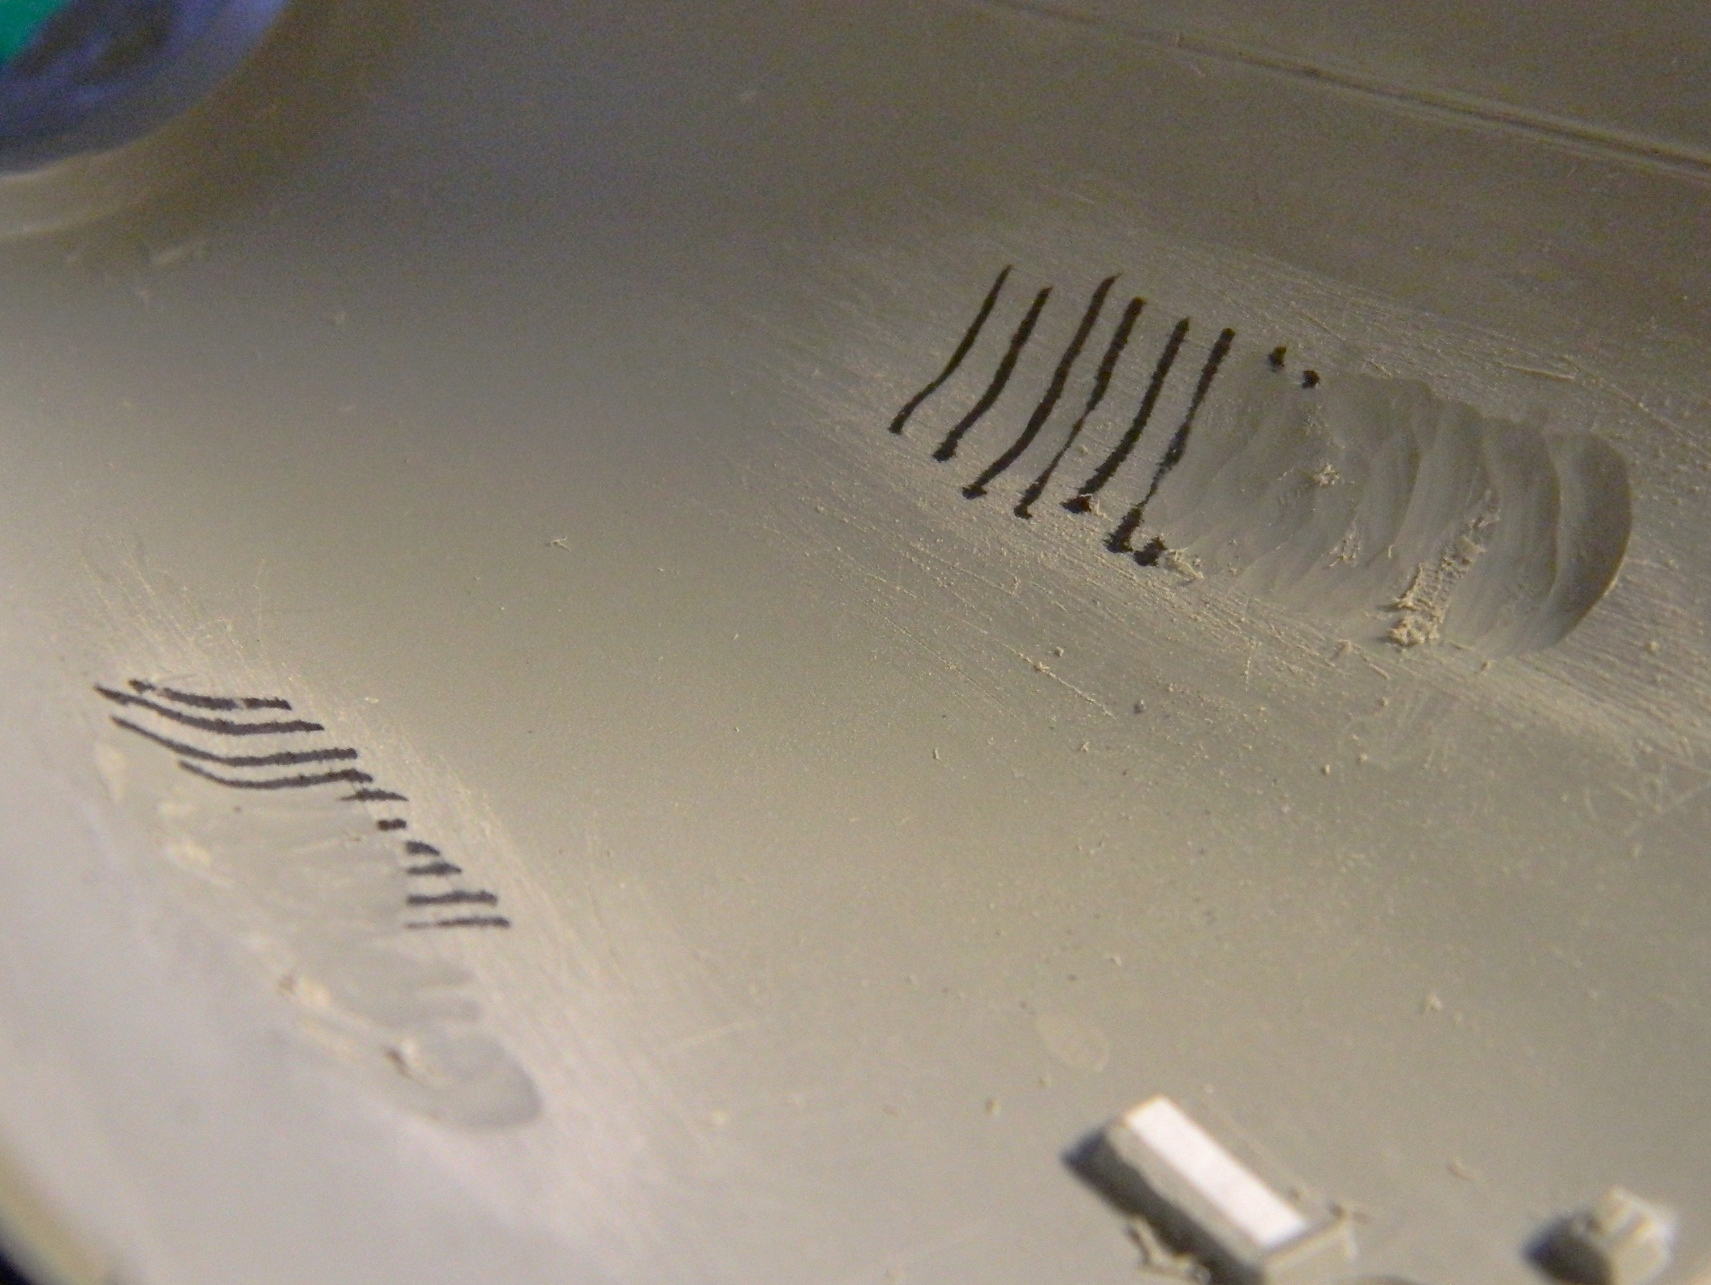
Then I primed the cabin interior with what I thought was acrylic primer. The primer showed me that the joins of the wall extensions needed a little more finishing:
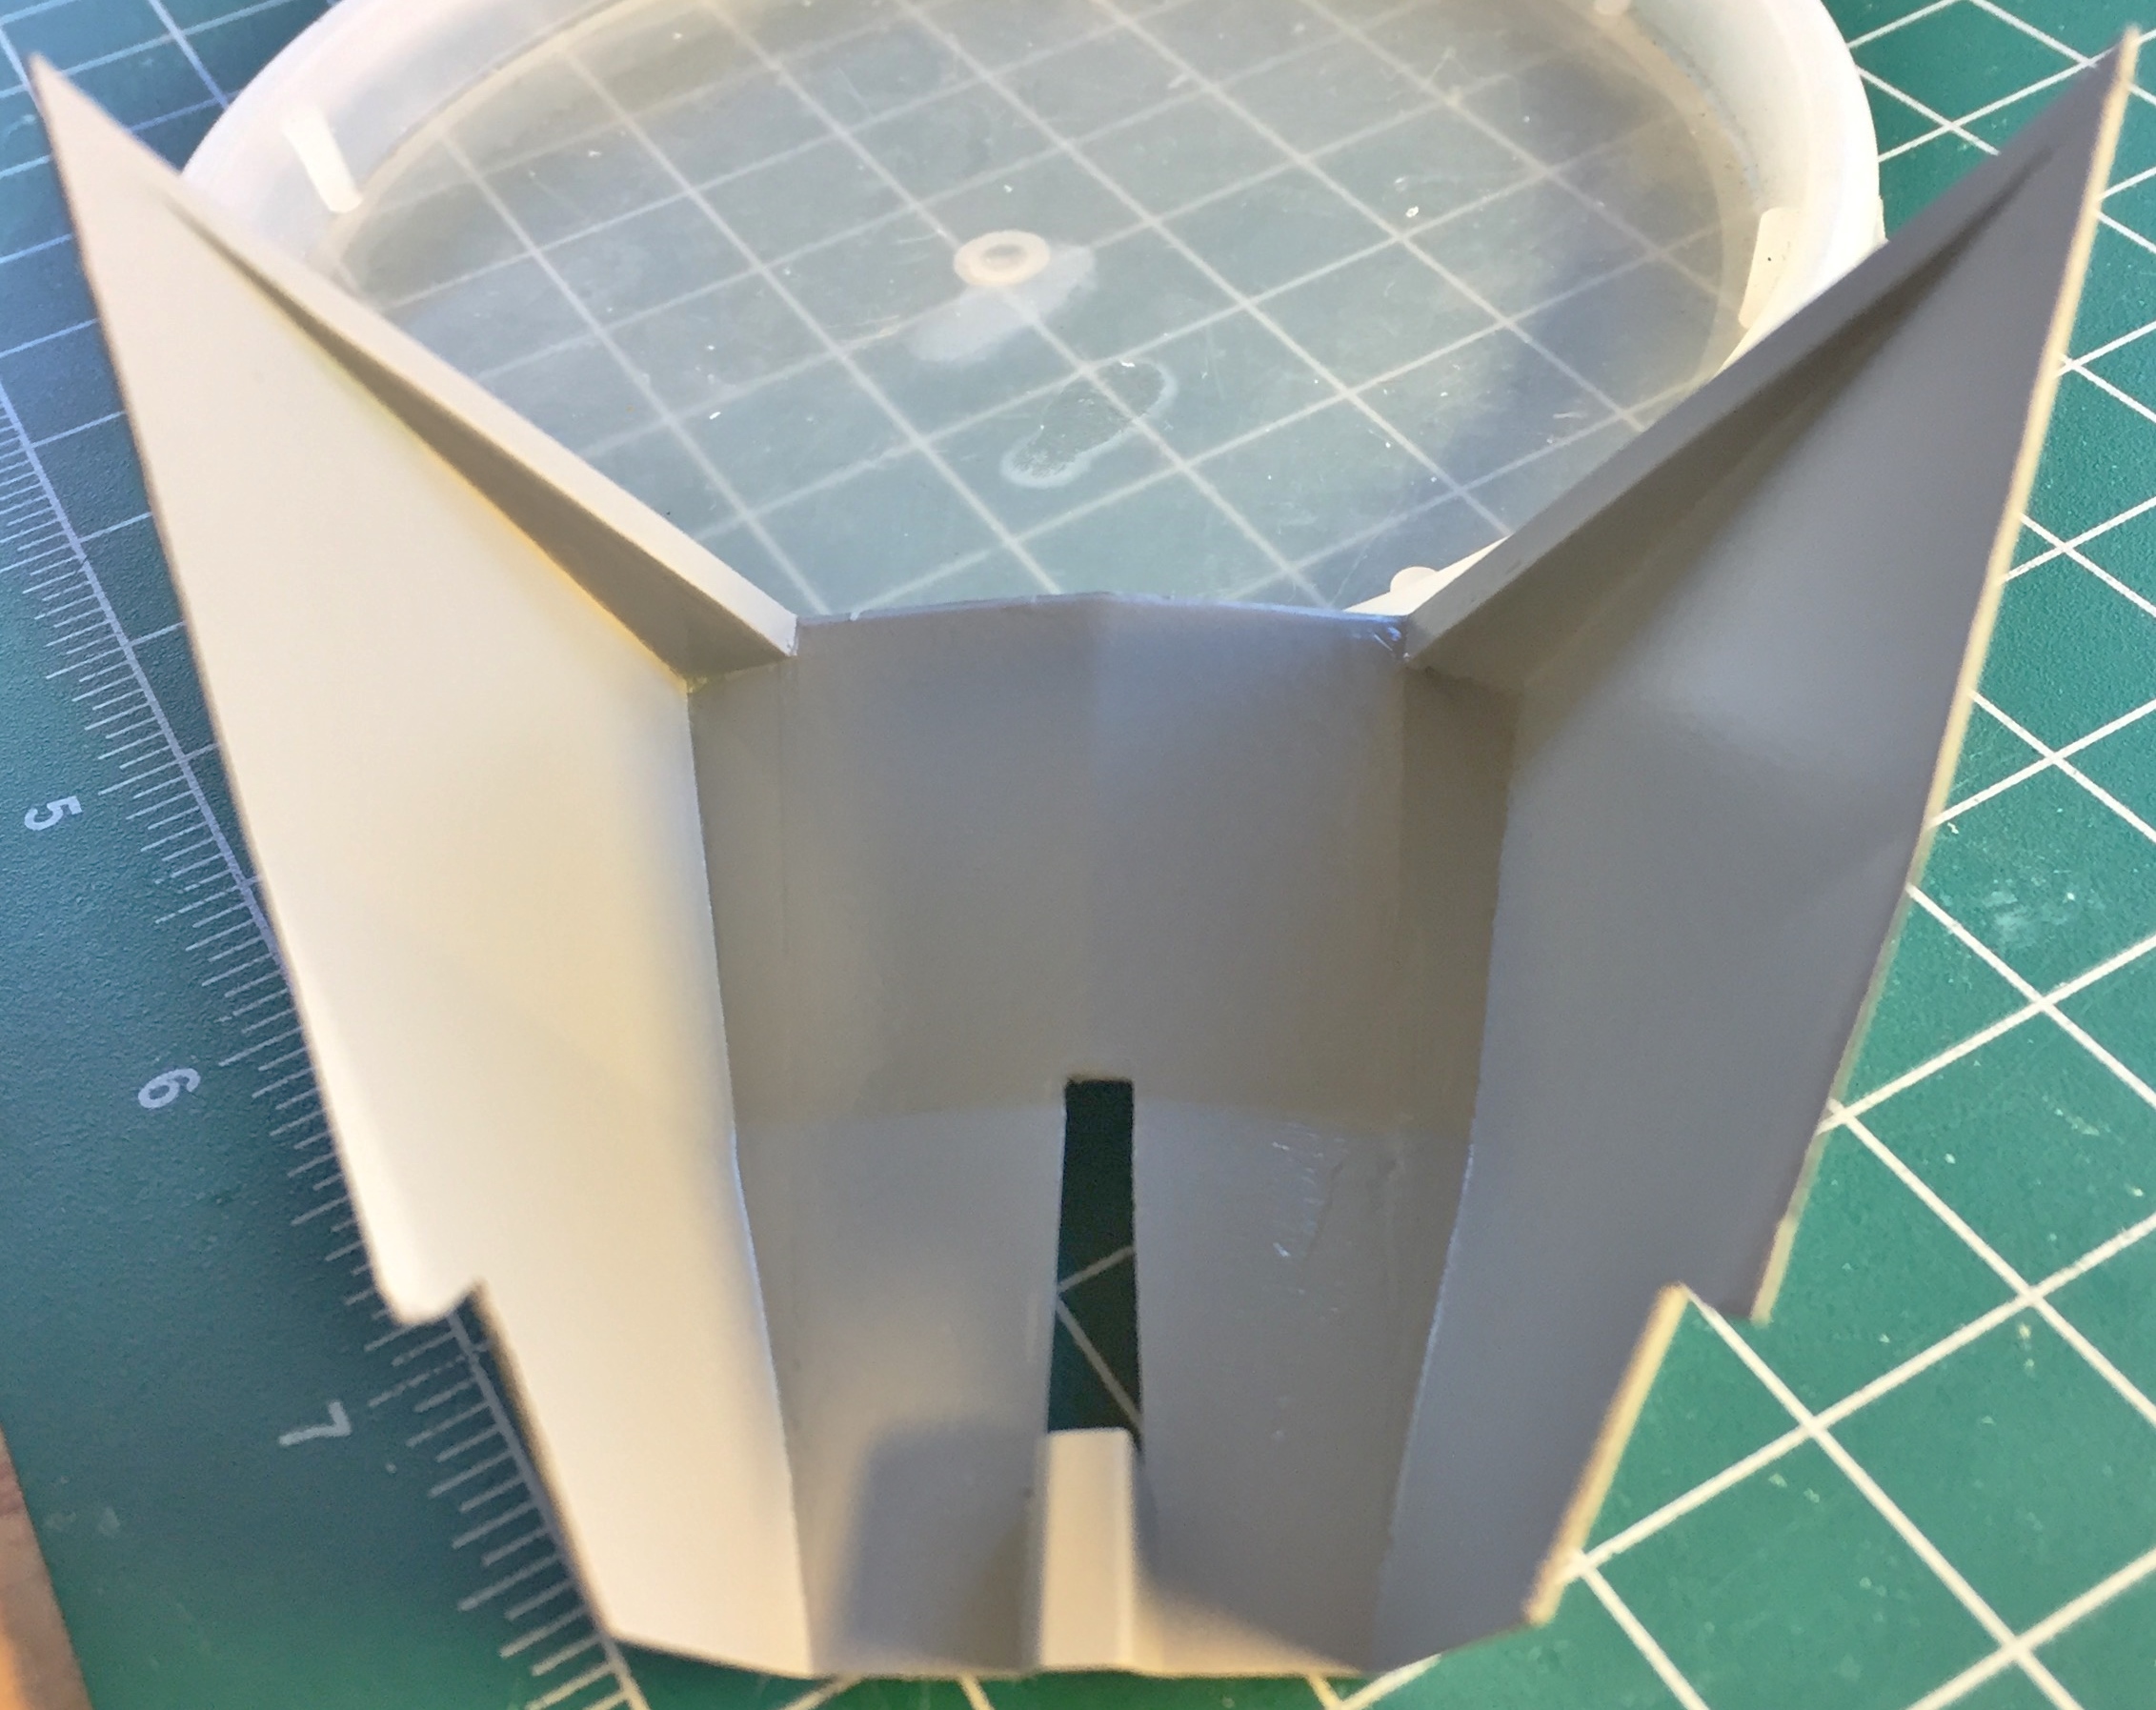
Rather than have fresh primer gum up my sandpaper, I decided to wash the primer away. If you don’t let acrylic paints set long enough to fully cure (a couple of weeks, then it’s not as easy to remove), it can be washed away with soapy water and a toothbrush (preferably an old one you’re not using anymore, but hey…it’s your mouth, so…).
It didn’t wash away. In fact, it acted just like enamel! The reason for that is because the primer IS enamel! ::bangs head on desk:: (Again.) Well…okay, I know what can remove enamel. Turpentine!
Well…there’s a problem with that. As I discovered, turpentine attacks the plastic and makes the surface gummy. Oh. Groovy (yes, I’m that old). I let the turpentine evaporate and the surface, albeit with a texture imparted by a paper towel, hardened. Then I used enamel thinner to remove the enamel primer. It also attacked the surface of the plastic with the same result. Well. Since I’m going to have to sand the entire surface of the cabin’s interior anyway, so much for a supposed short cut. I waited for the plastic to harden again and sanded the bastard smooth.
Now there is no discernible line where the addition meets the floor.
Gemini (Revell) Build #7 – Interior Work; Last Seat Details Added and Making Harnesses
Now that I know the seats will fit, it’s time to finish detailing them.
The seats are ejection seats and ejection seats have triggers. I’ve seen two types used with the Gemini seats. The first is a more or less standard loop (yellow and black striped) and the other is a T-handle. I decided to go with the T-handle trigger because I was not looking to have to stripe a part that small (yeah…I’m lazy). For size I used 26 gauge wire to make the handles. Step one was cutting the wire and curving one end:
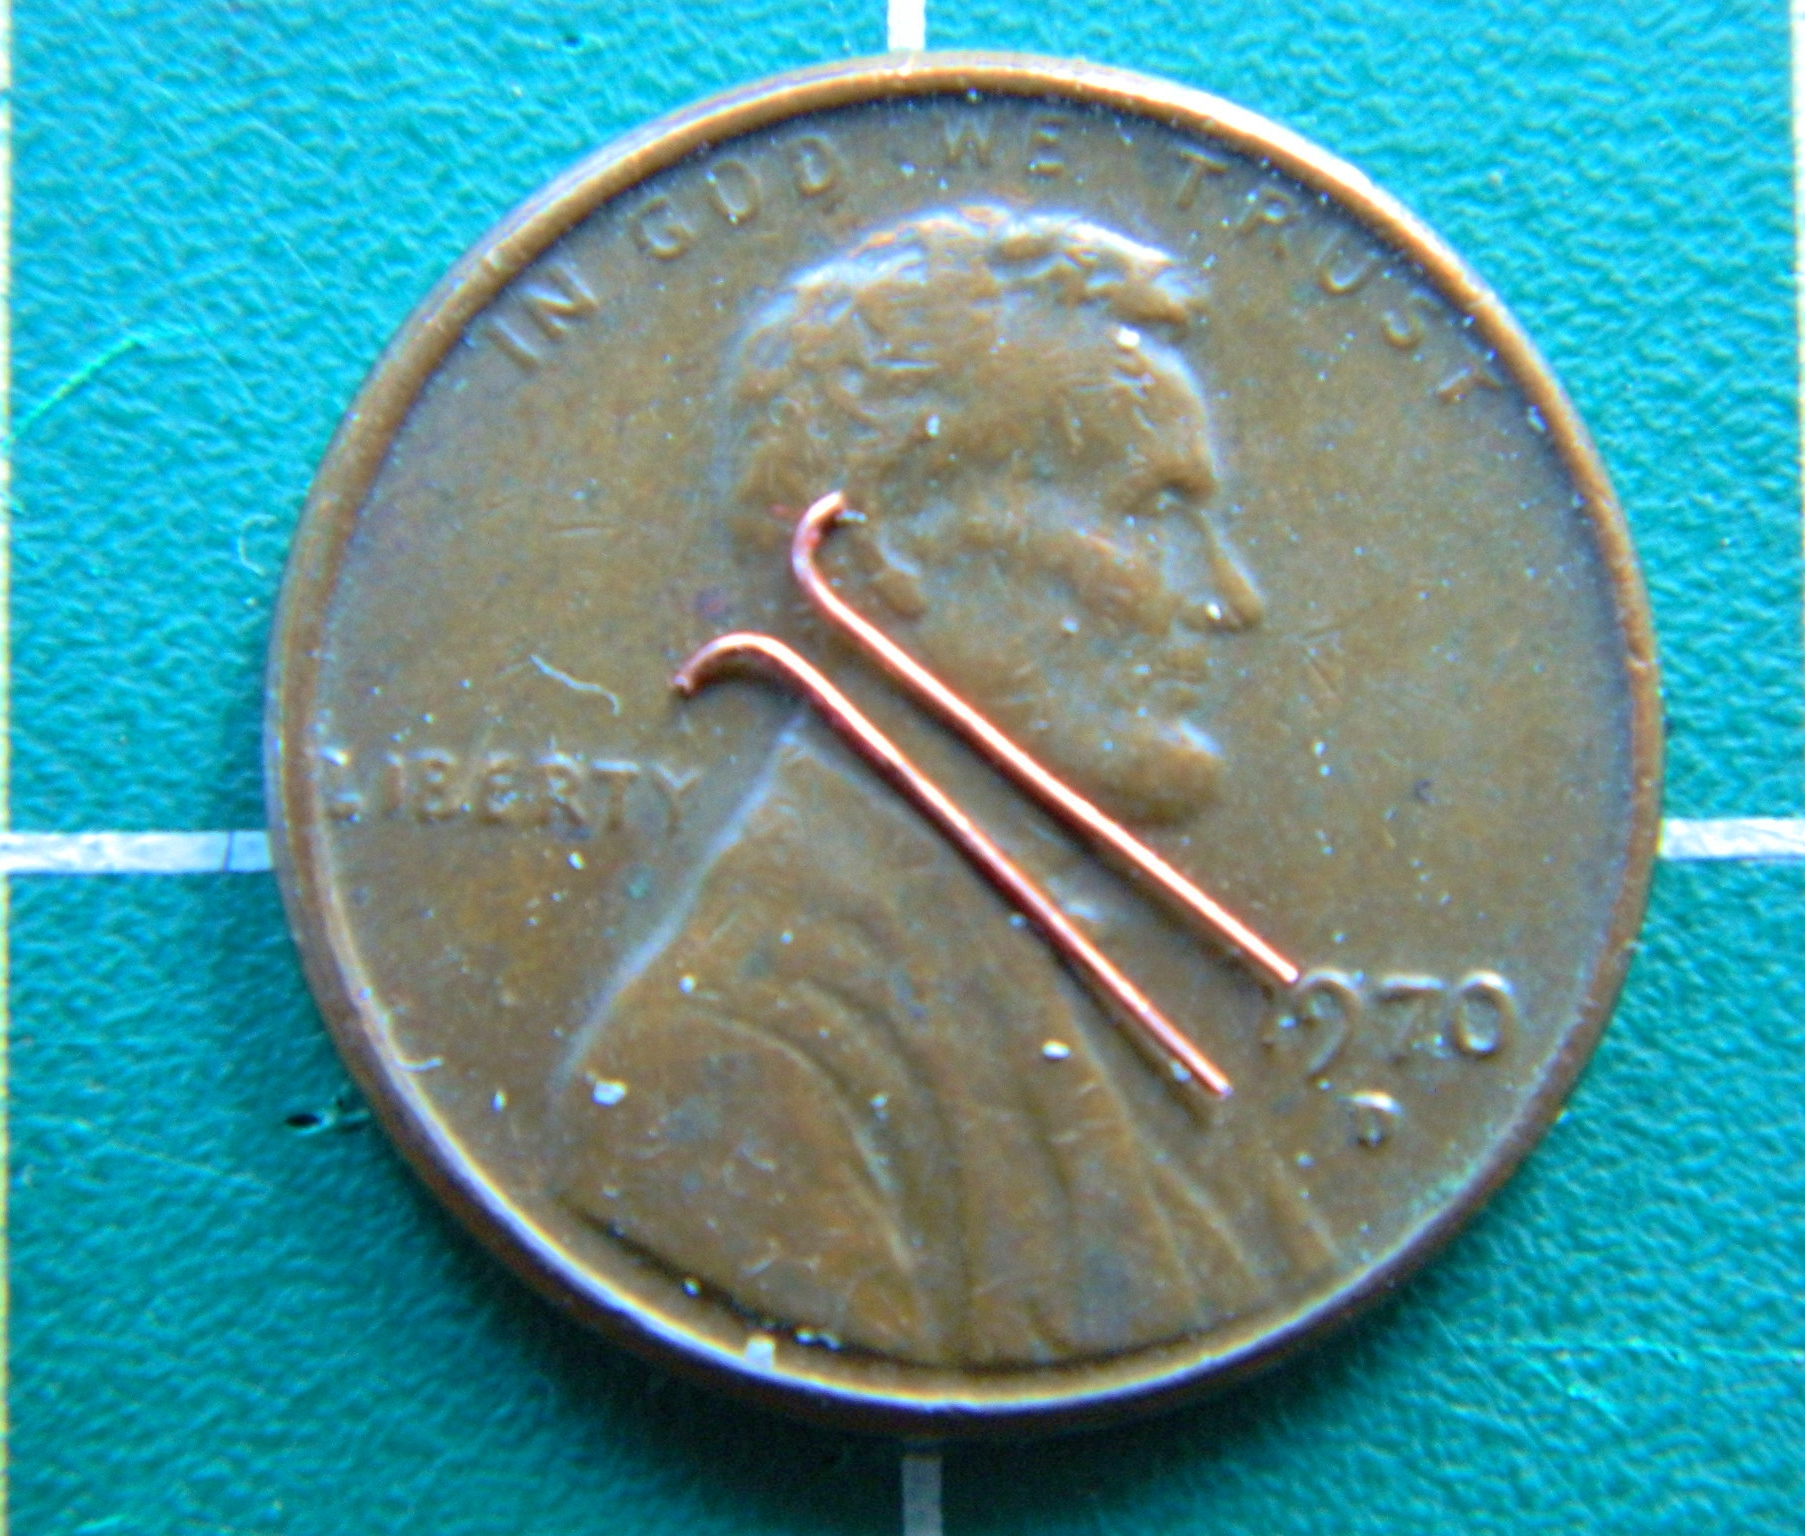
Then I aligned the two pieces in a flat-jawed clip, applied a small dab of flux, and then shaved off a very small slice of solder and used the pencil torch to affect the soldering:
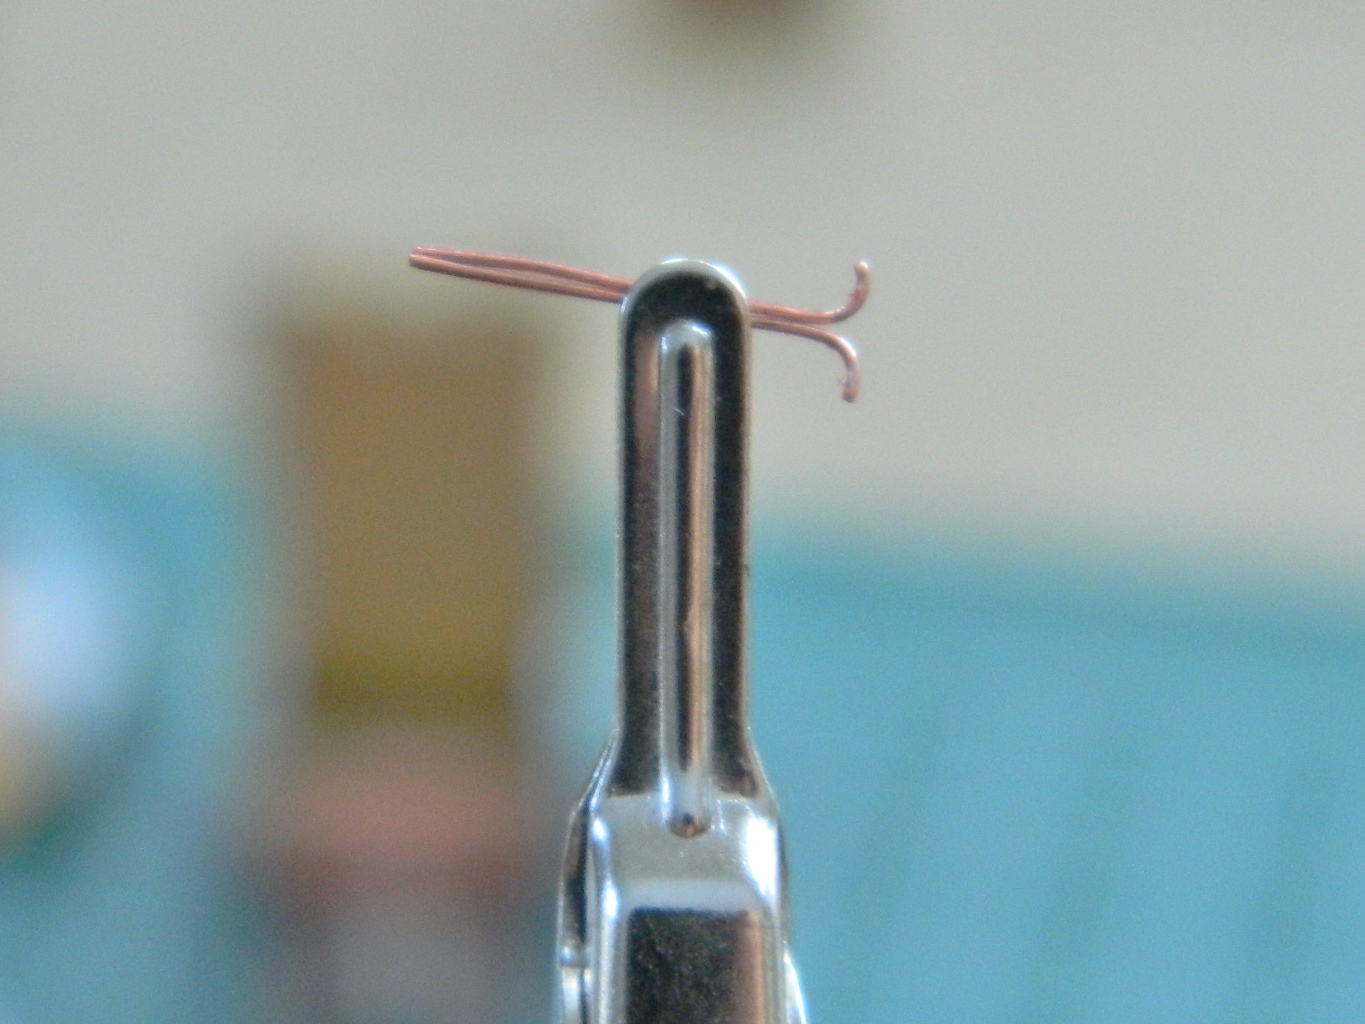

I did that twice and ta-da:

Then they were superglued to the seats:

The next major detail to be added are the harness straps. Because of their location in the finished model (directly in your face), and because there are NO aftermarket parts for these, all the hardware had to be scratch-built. First to build is the buckles which I made from .005″ (1.27mm) copper shim stock and 24 gauge wires.
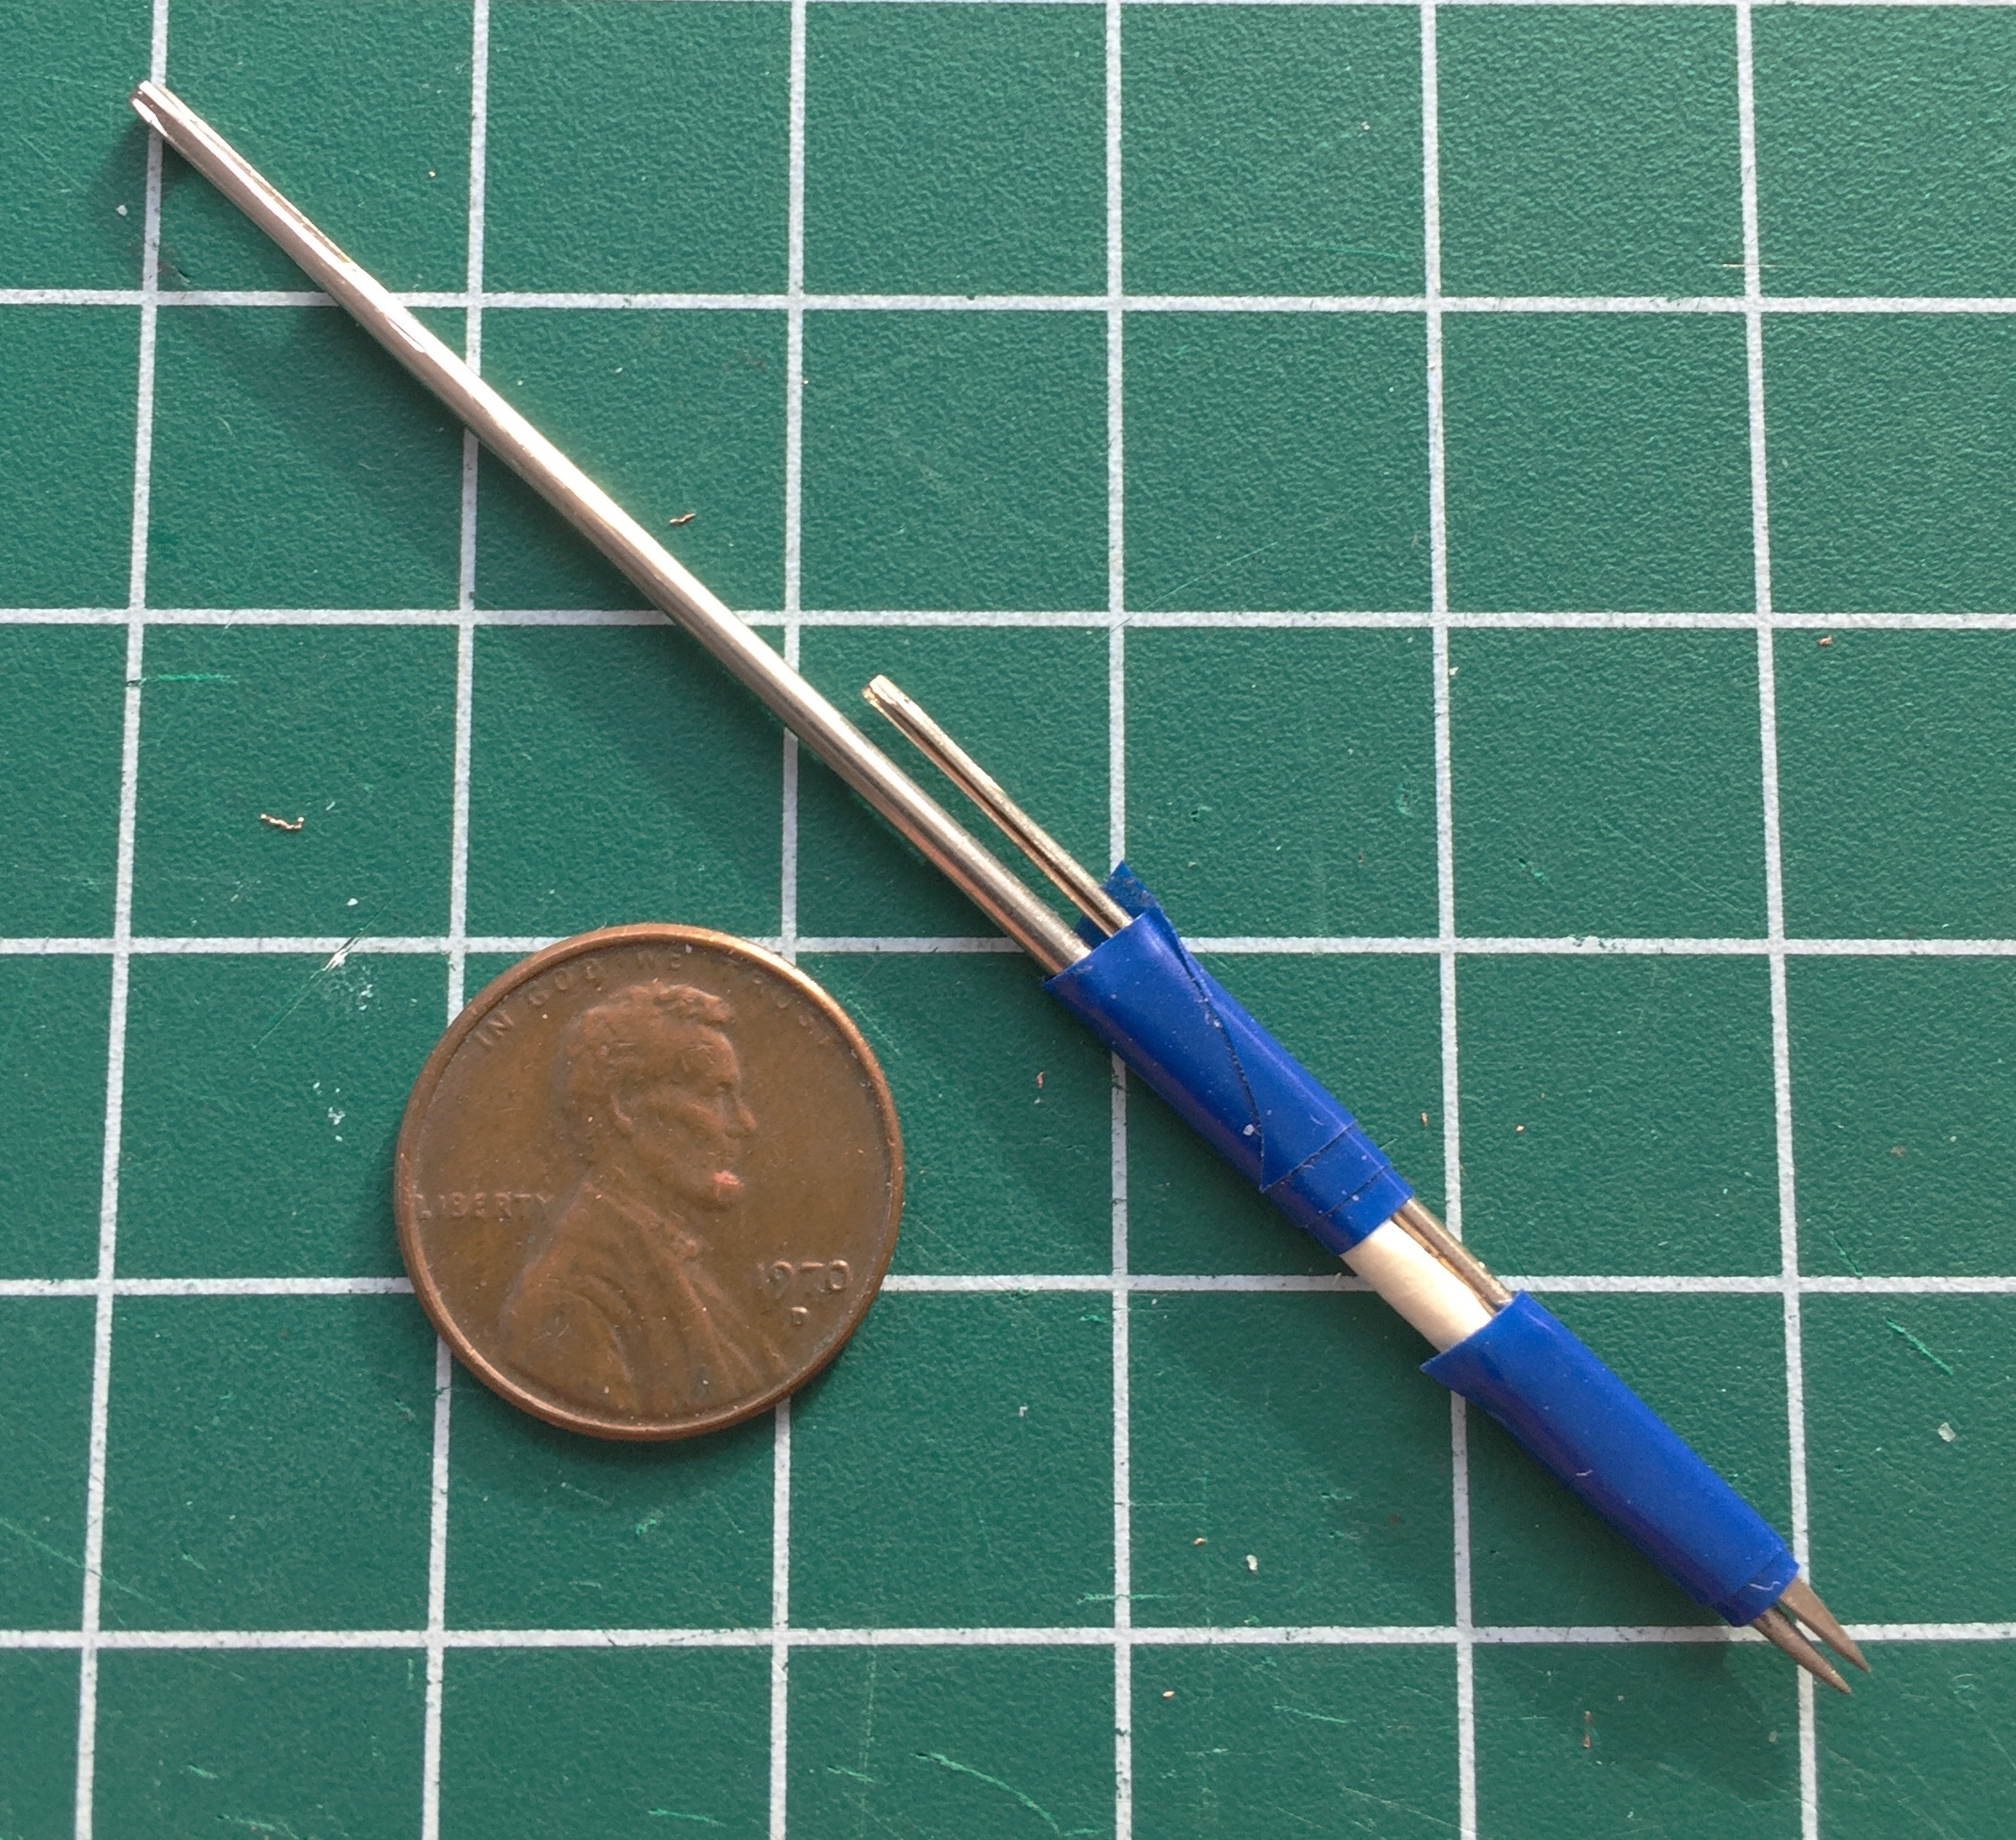
I discovered early on that what would make these things look correct was getting the spacing between the holes consistent. A friend gave me the idea of taping two needles together for consistent spacing. I used the needles to make a small depression in the copper for my bit:
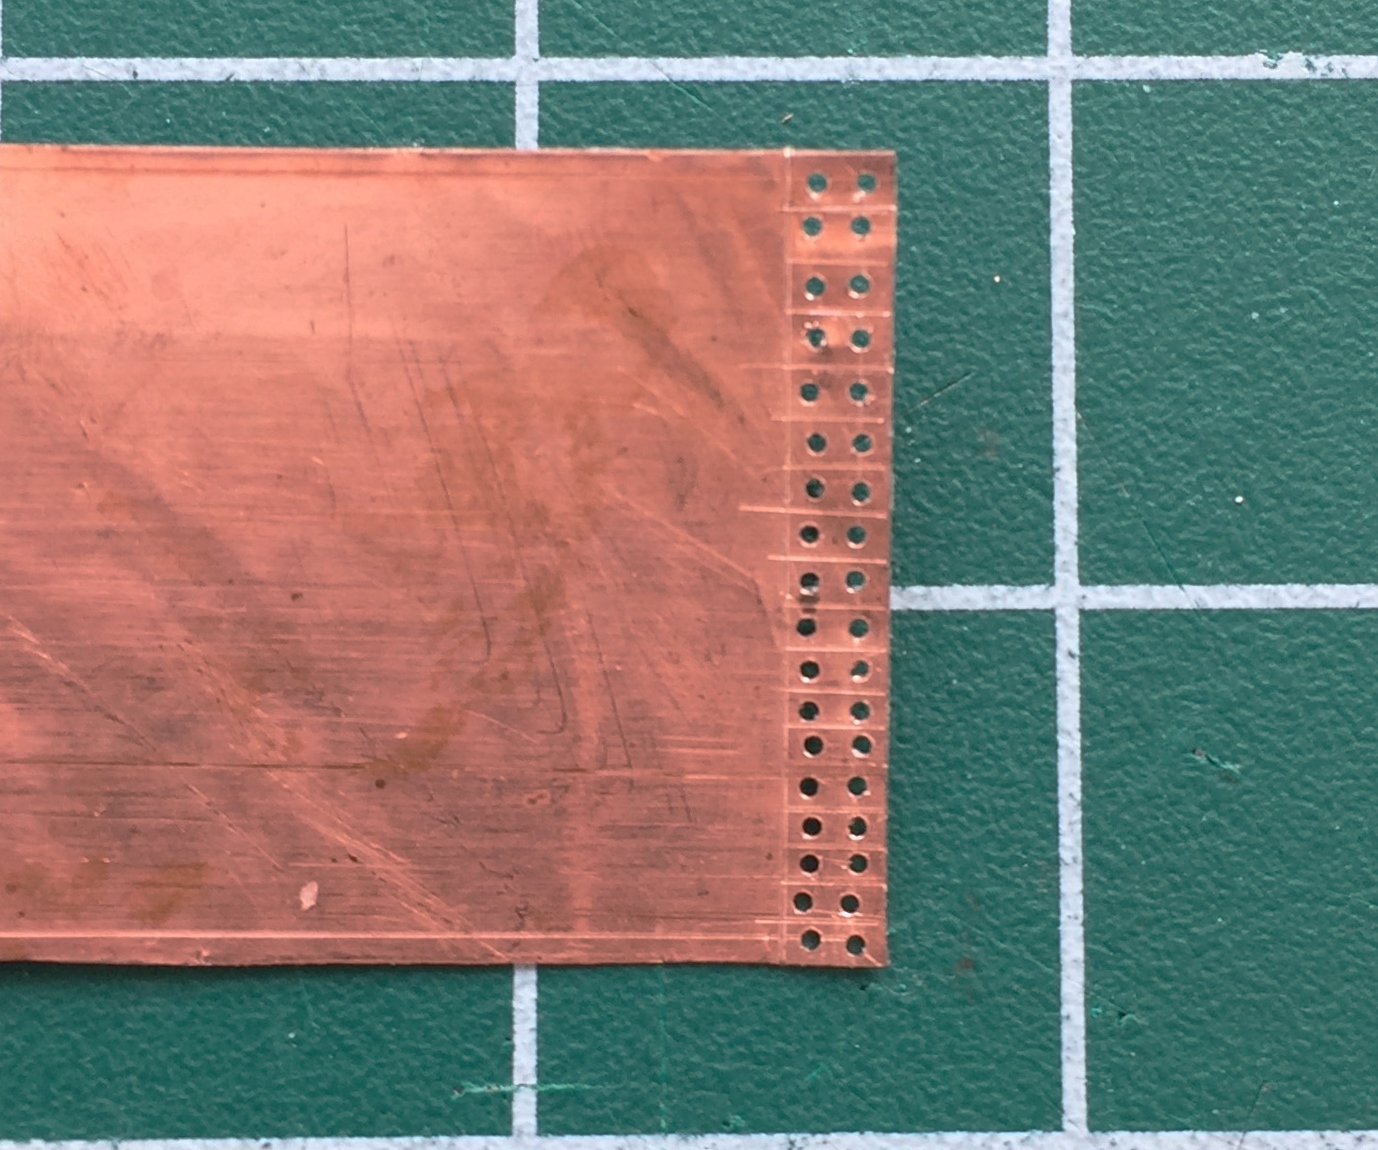
I determined (using the Mk.I Eyecrometer) how wide these plates needed to be and made a strip of them using a drill bit of .018″ (.457mm) diameter, then cut the strip free using a very high-tech tool. Scissors:
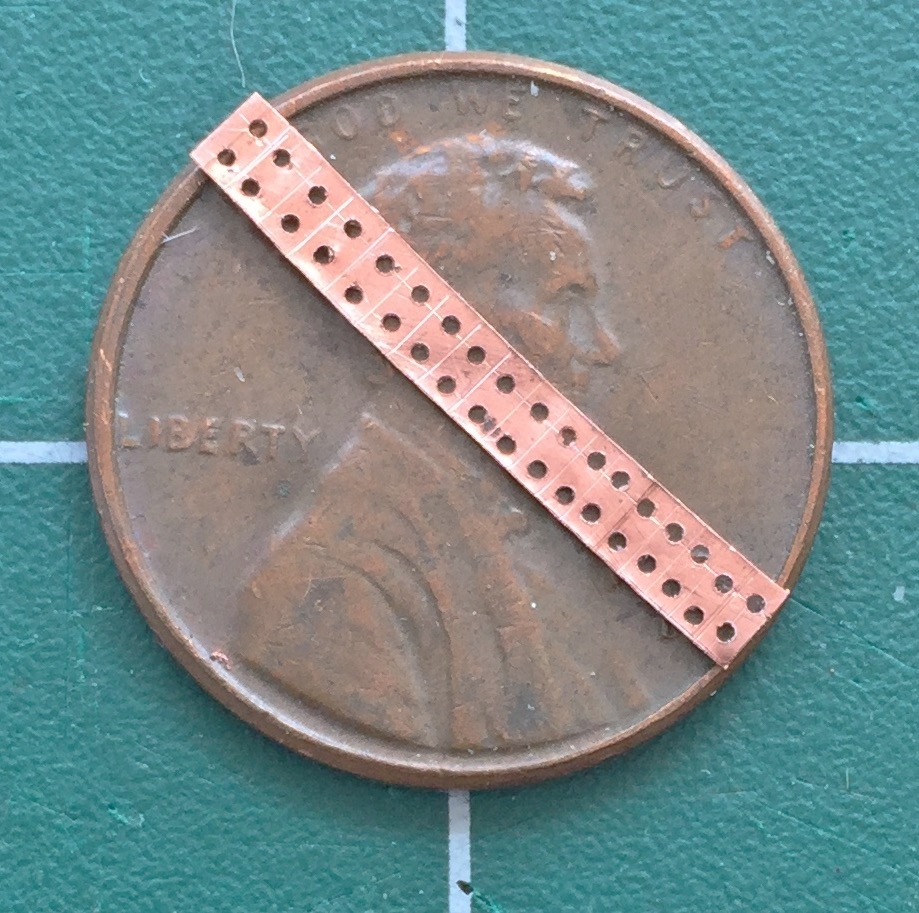
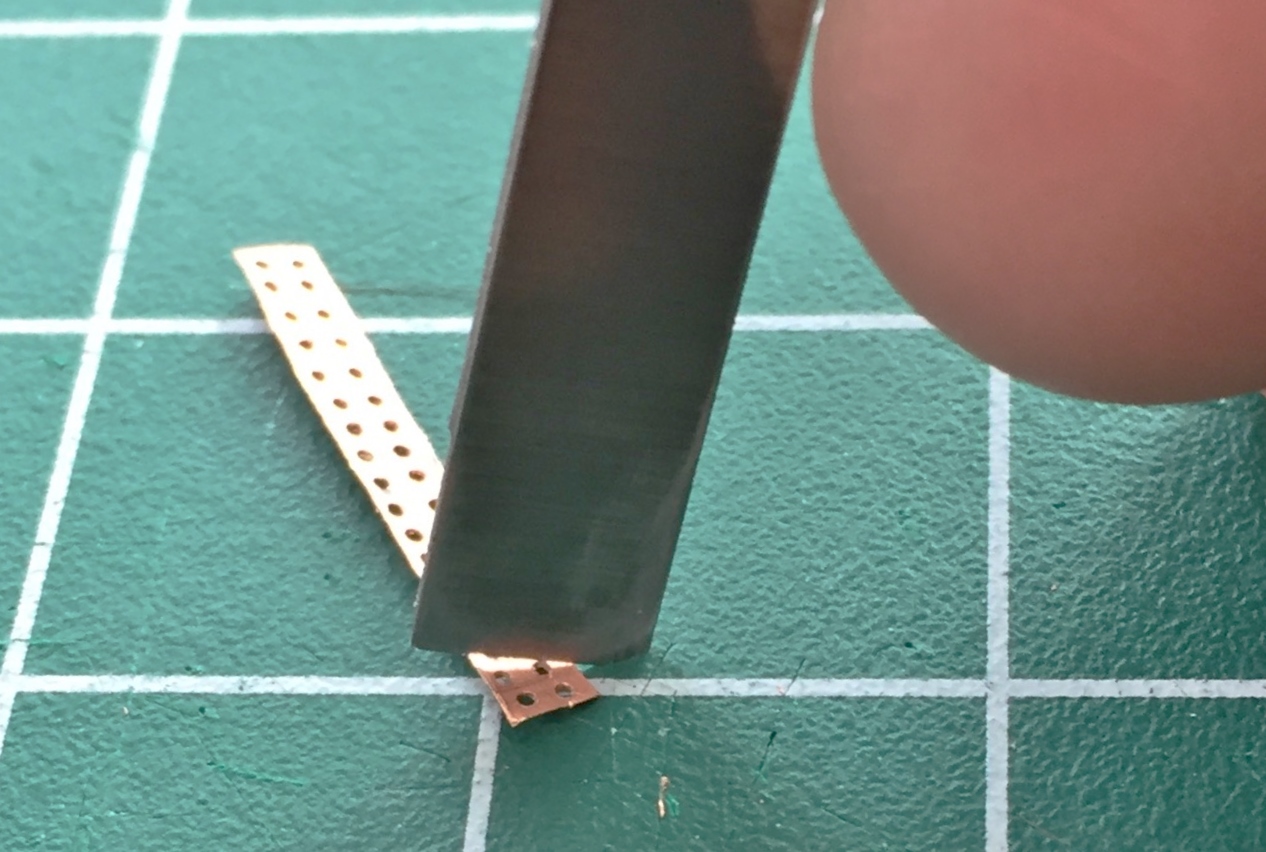
With the strip free of the sheet, each plate was cut free. I used a sharp chisel blade instead of scissors because I could control the precision of the cut better. I found that rocking the edge of the blade across the surface of the copper gave me an accurate cut with the least amount of deformation of the copper (and a well-fed gnat landing on .005″ (.127mm) copper deforms it…after every action on the copper, I had to flatten the part out again):

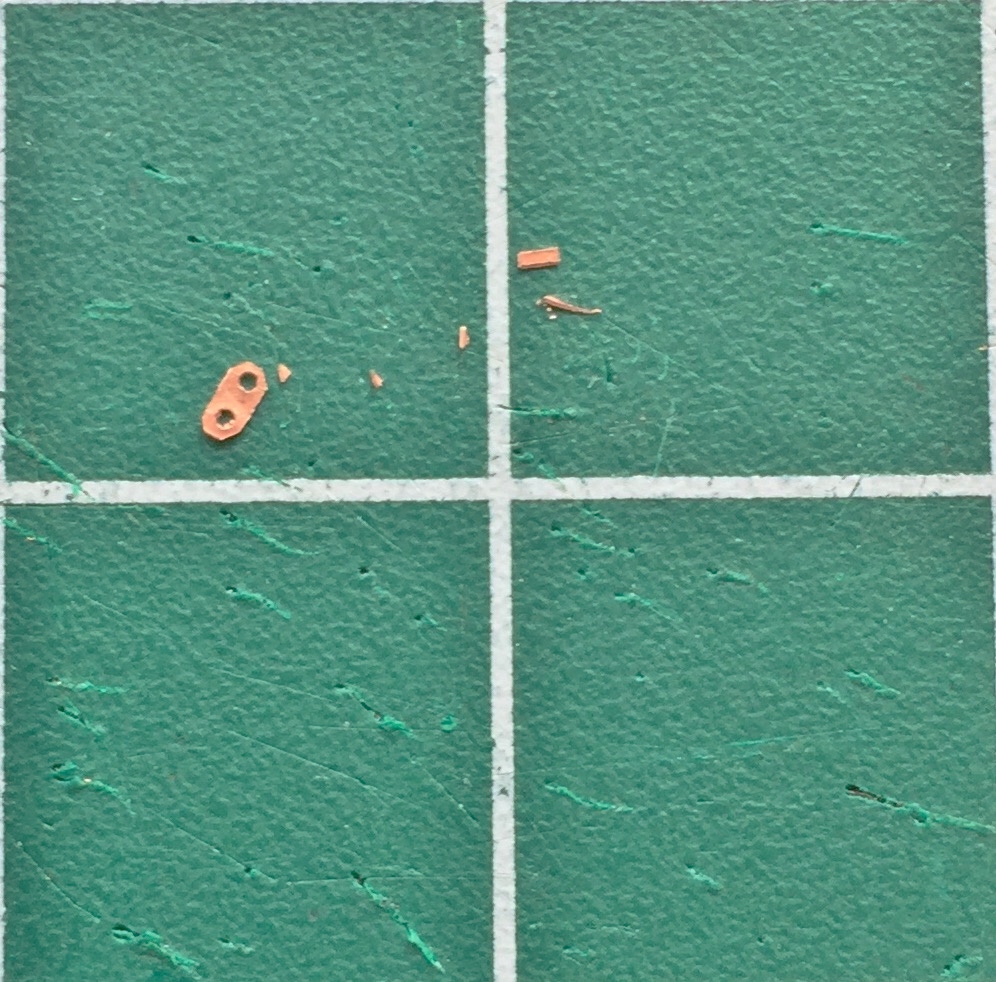
I made a few extra plates because it’s SO easy to trash something this small:

Then using the chisel blade, I trimmed each plate to size:

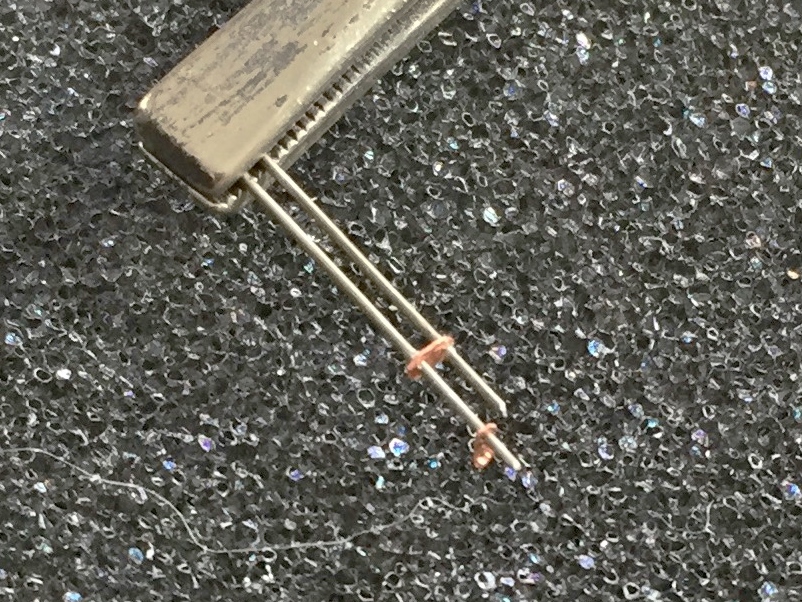
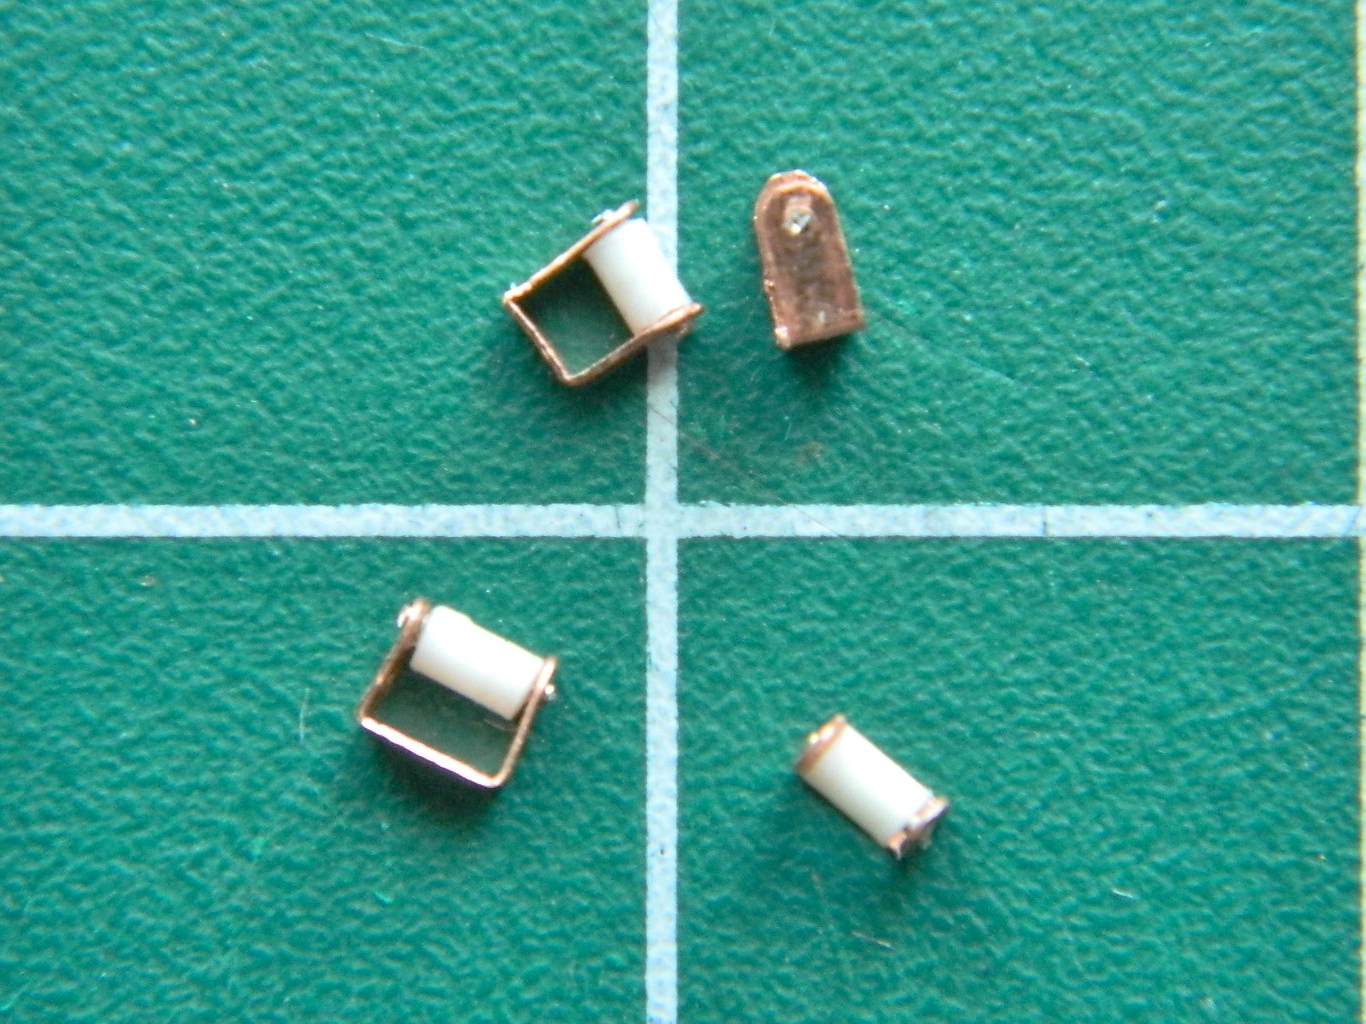
I also needed a bracket to hold the take-up reel of the shoulder straps. You can see my first four attempts to the right in the photo below. “First” was used because I got the dimensions wrong. I got good at getting the dimensions wrong…like three times:

Some tasks have a built in bitch-factor. I call it the bitch-factor because not only do I bitch about having to do it, it’s a bitch to do. For these parts, it’s a real bitch to get them started. My first attempt and multiplying how many hands I have (I still think having four would be nice, though I’m sure there’s some wimmen out there who would blanche at the thought of me having four hands) was to use locking tweezers to hold the two wires while I slid the plates over them. Yeah…it worked, but I came up with something better after doing this first one:
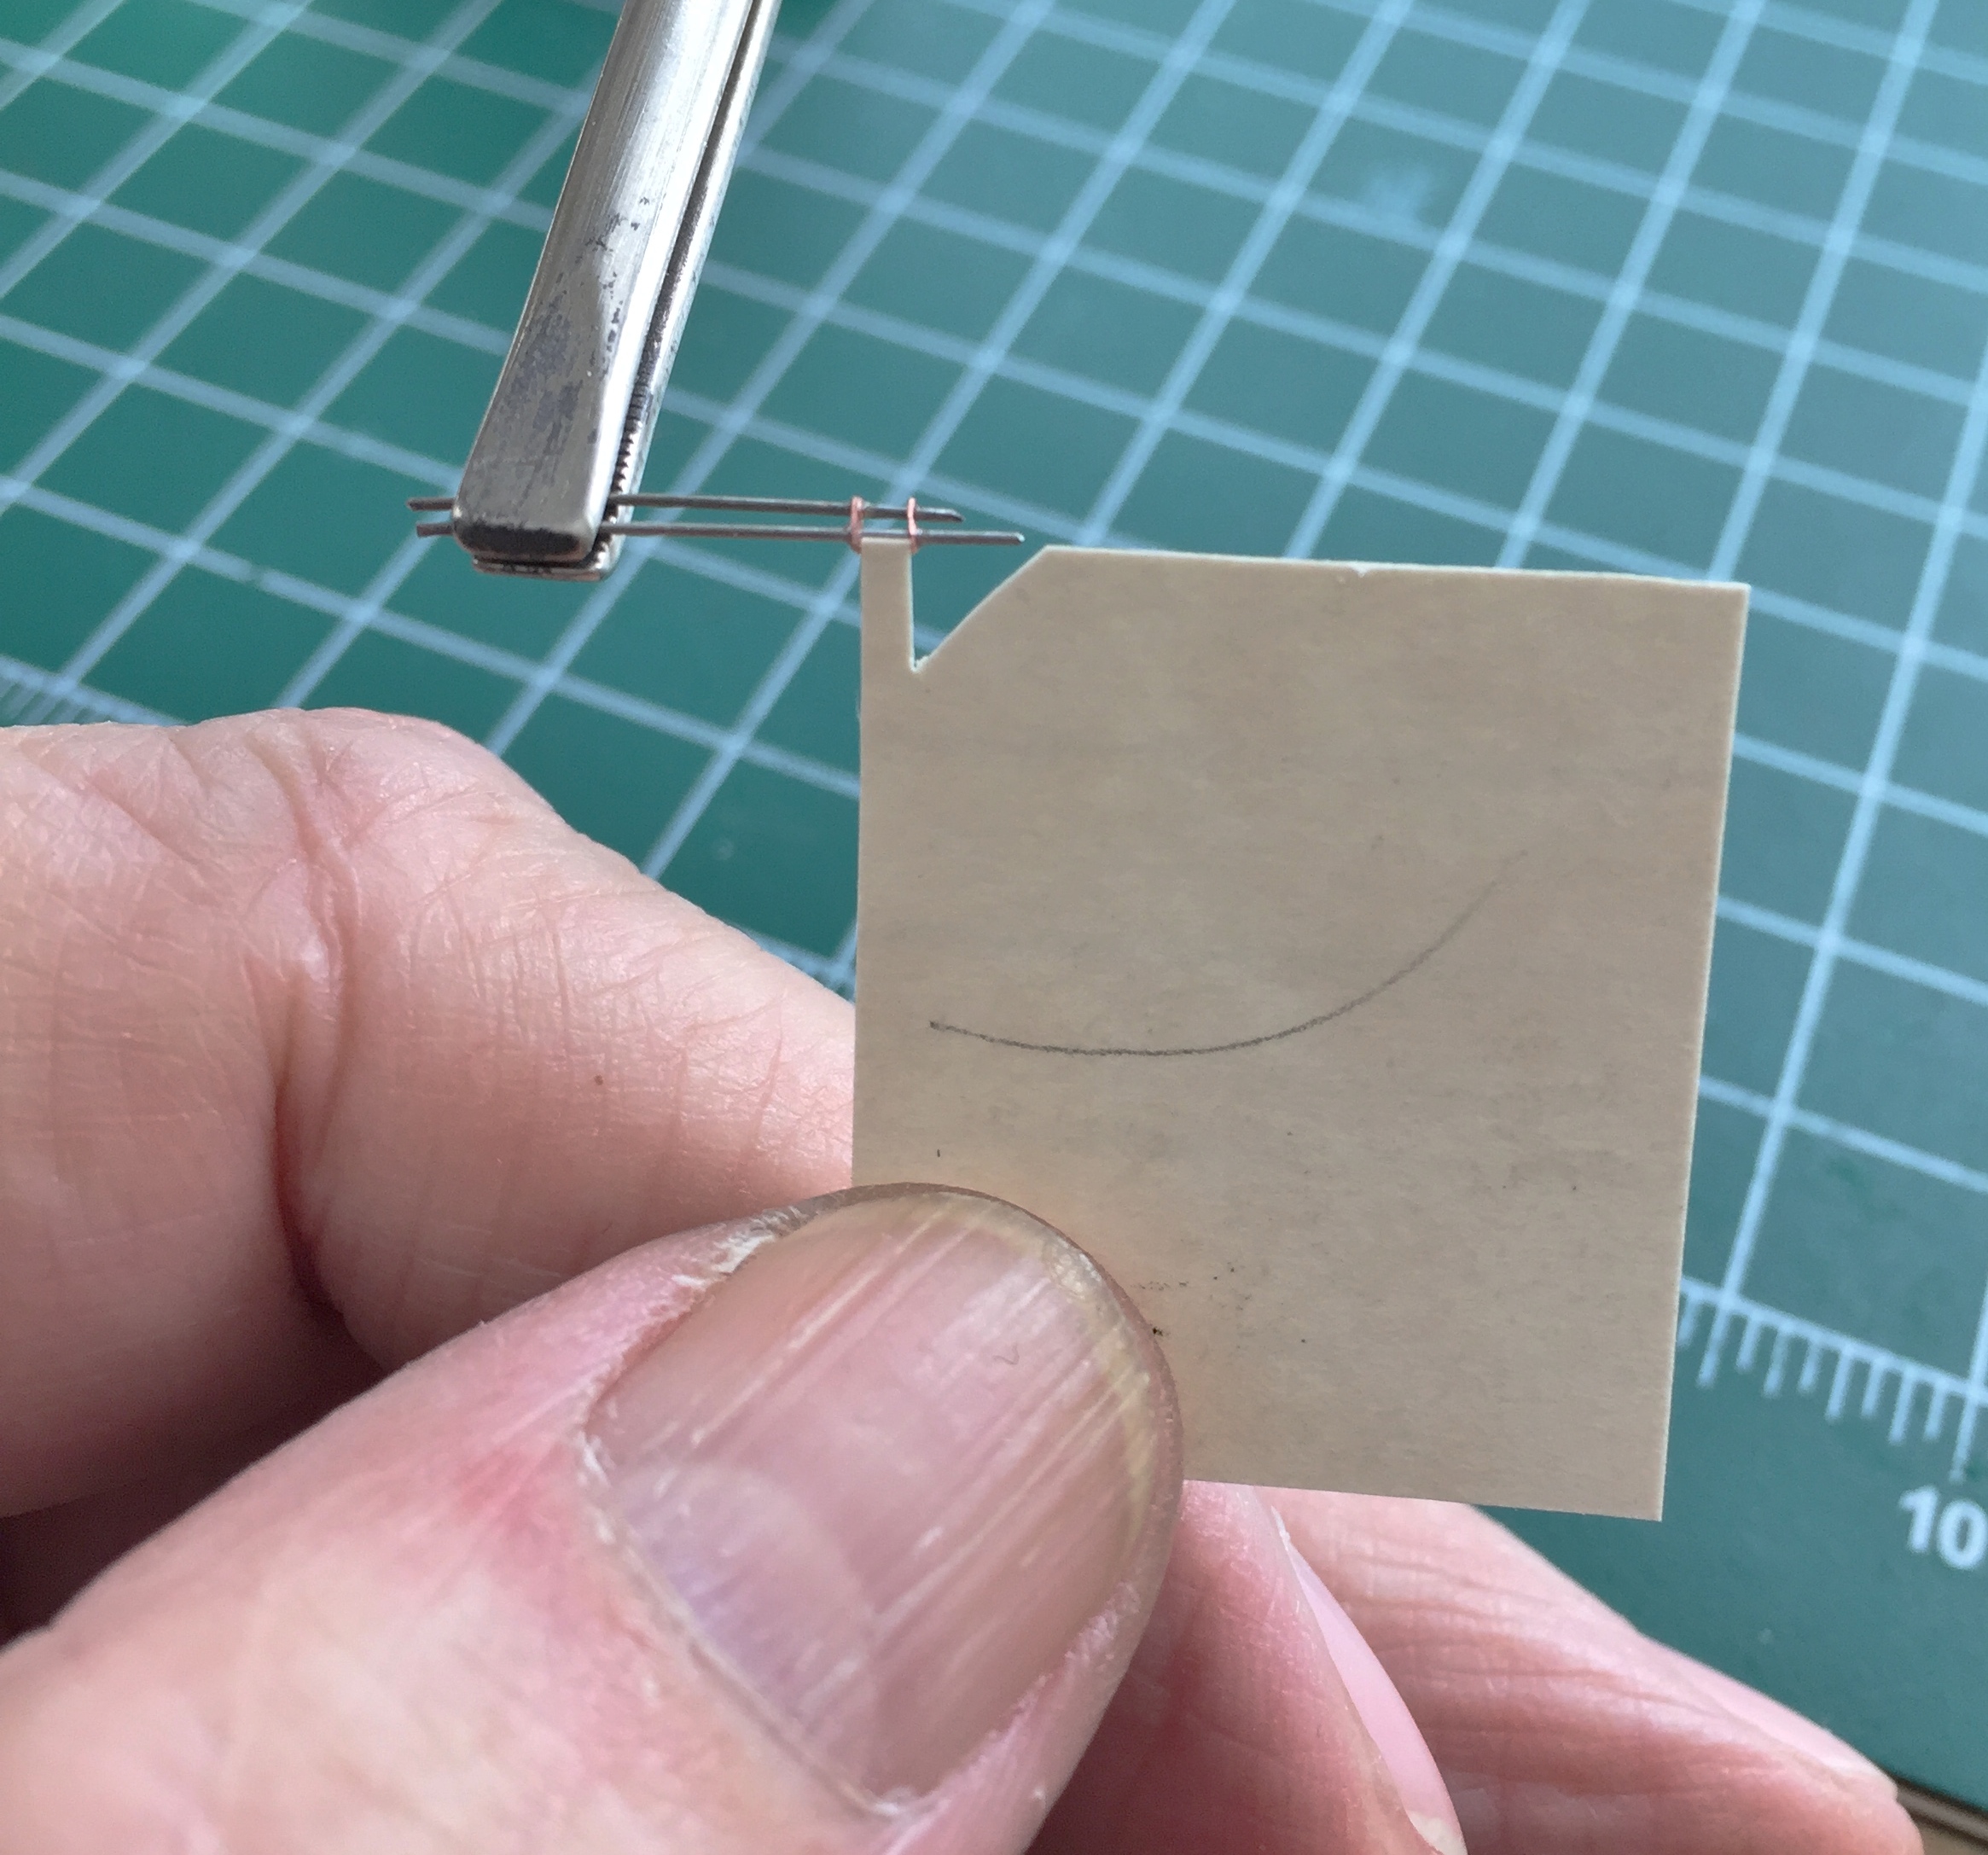
Once I had the plates at the correct spacing, I made a gauge out of an old 3″ (76.2mm) x 5″ (127mm) card to ensure consistency:
My initial thought was to solder the plates to the wires and I tried that:

Not only was I not especially pleased with the outcome (though I was quite pleased that I could solder something this small), I realized that I was over-complicating things. Again. For this application, superglue would work just fine…and it did. I used a piece of scrap plastic, drilled two .018″ (.457mm) holes in it, and used that to hold the wires while I slid the plates onto them and then glued them. Worked perfectly:
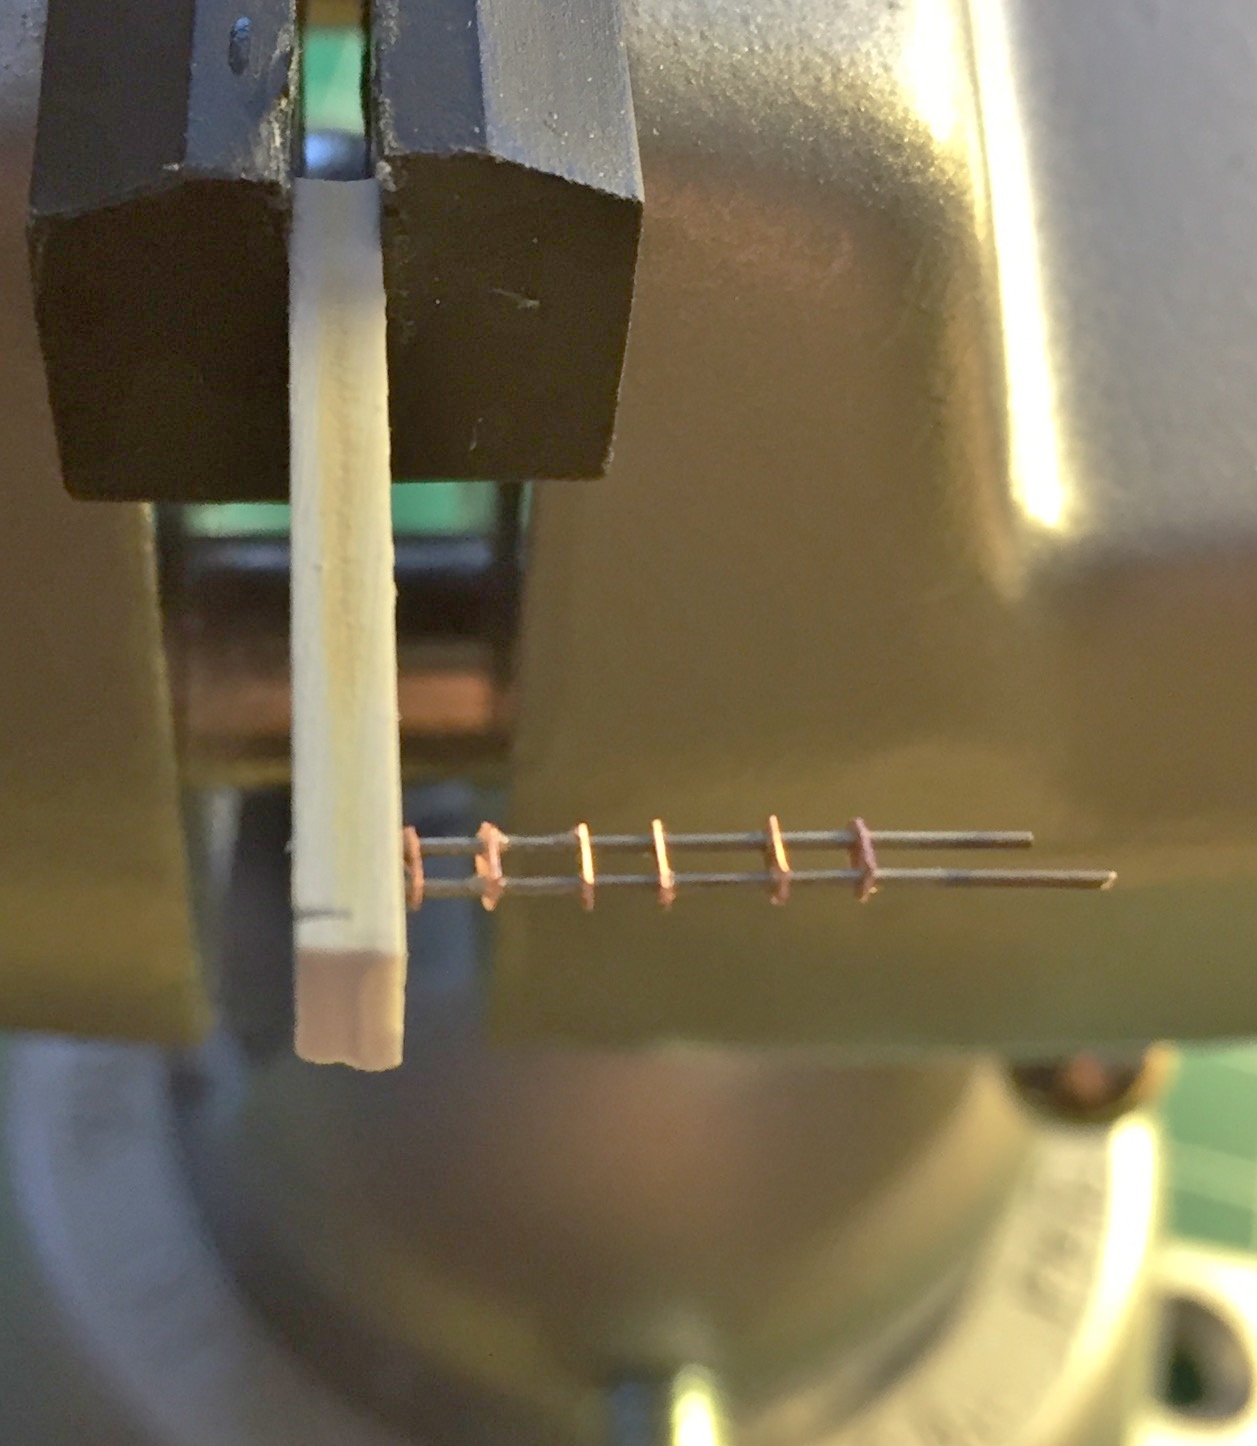
Once I had everything aligned and glued, I had some of the parts I needed:
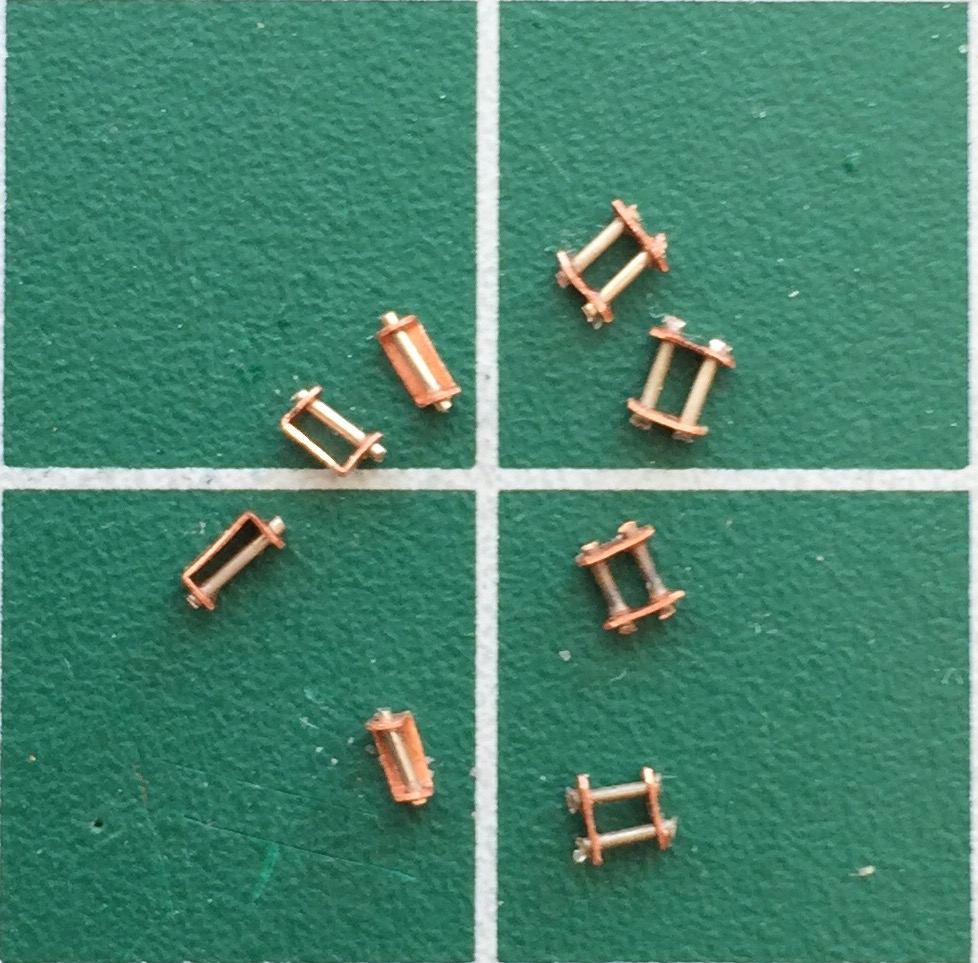
It was at this point that I realized the single-wire parts, which are the take-up reels for the straps, were sized incorrectly. I went through three attempts before getting the depth to the parts that I wanted:
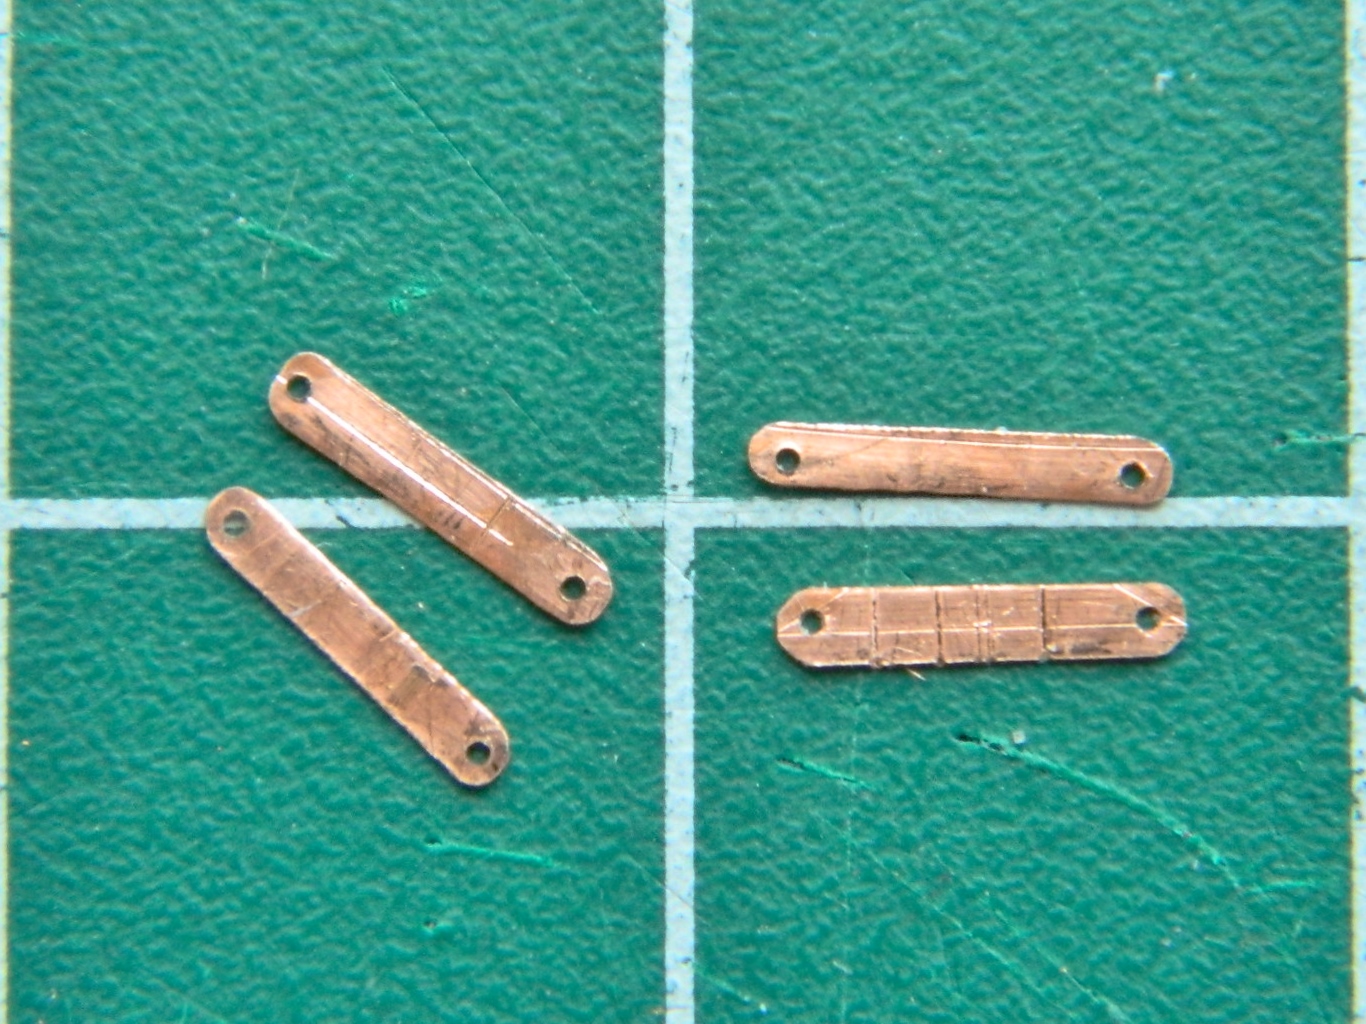
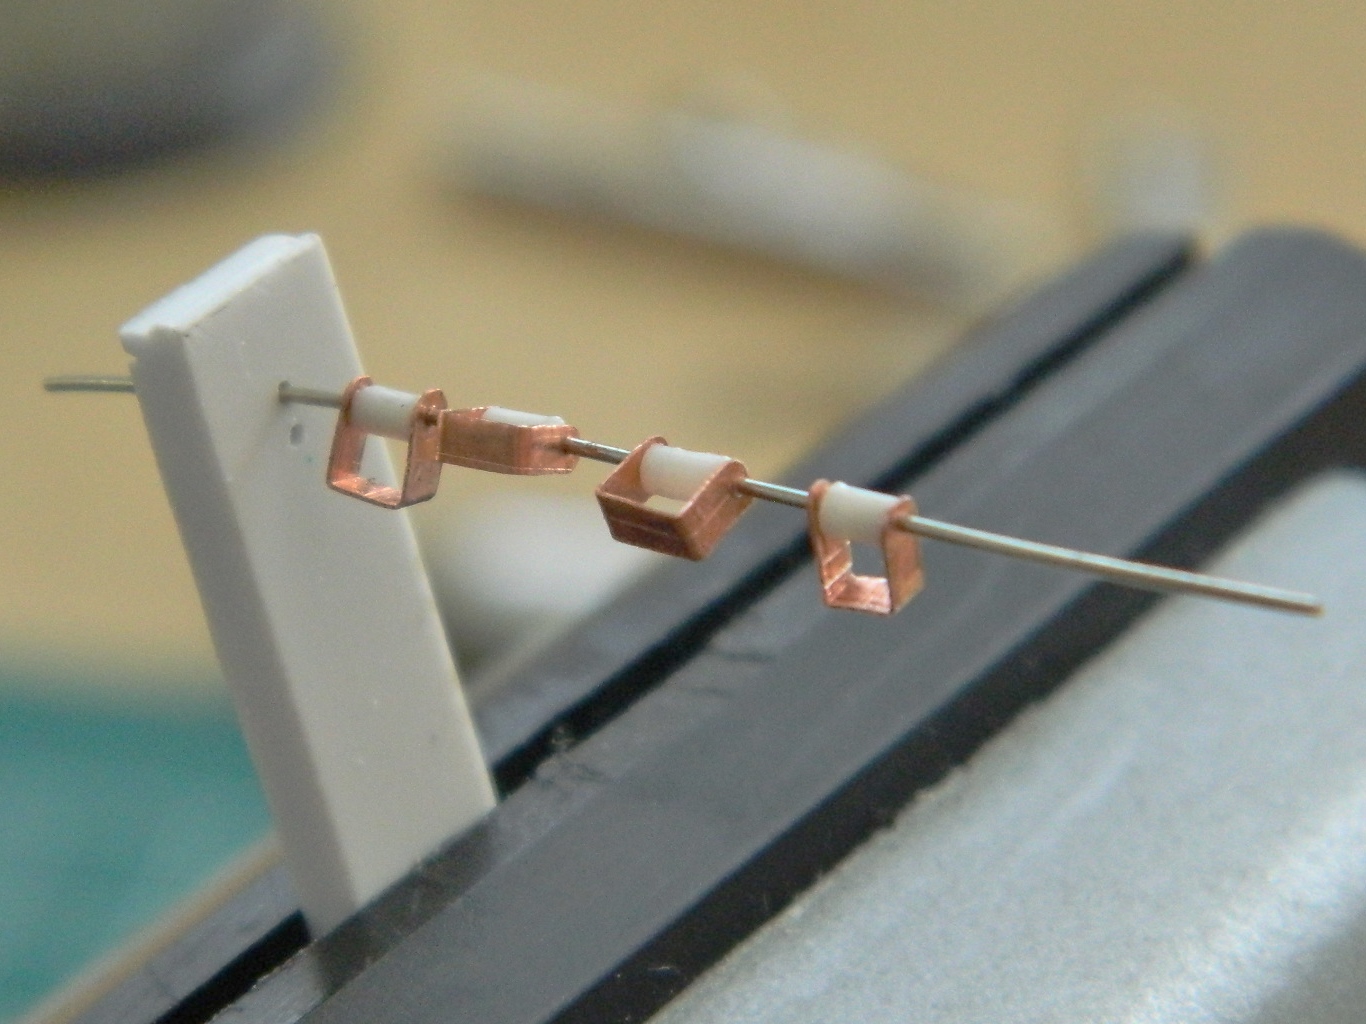
I didn’t want to have to wrap a small diameter wire with enough paper to replicate the rolled up strap, so I decided to bulk that out using plastic rod. That meant I had to use .047″ (1.19mm) diameter rod and center-drill it (again using the .018″ (.457mm) bit). A bit fiddly but it did work:
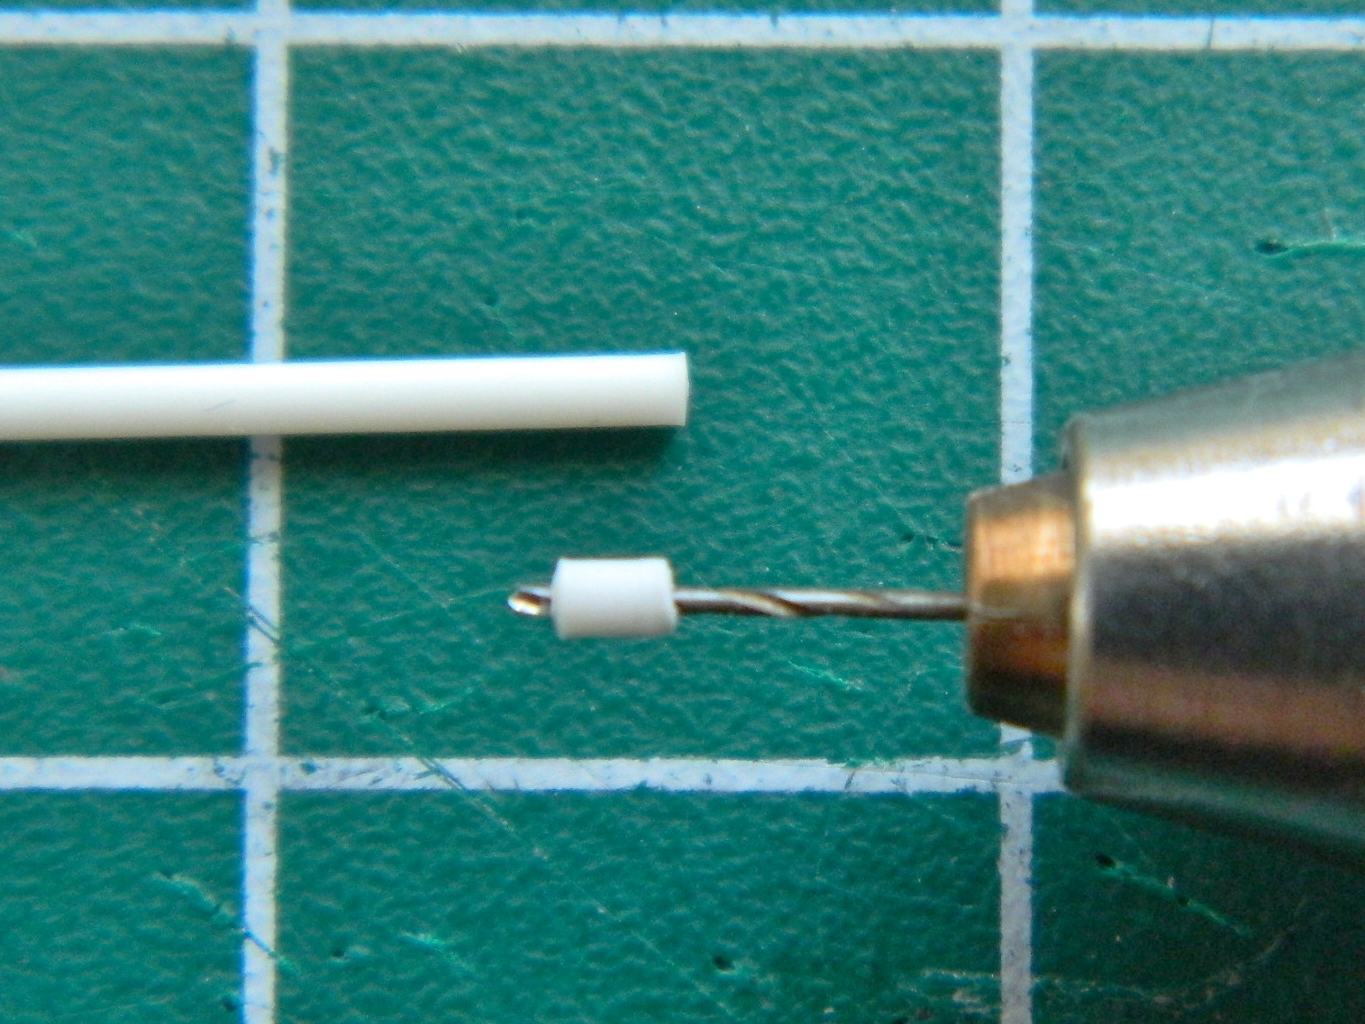
I slid the wire into my jig, slid the plastic tube over the wire, and with the wire in position, glued it all together:
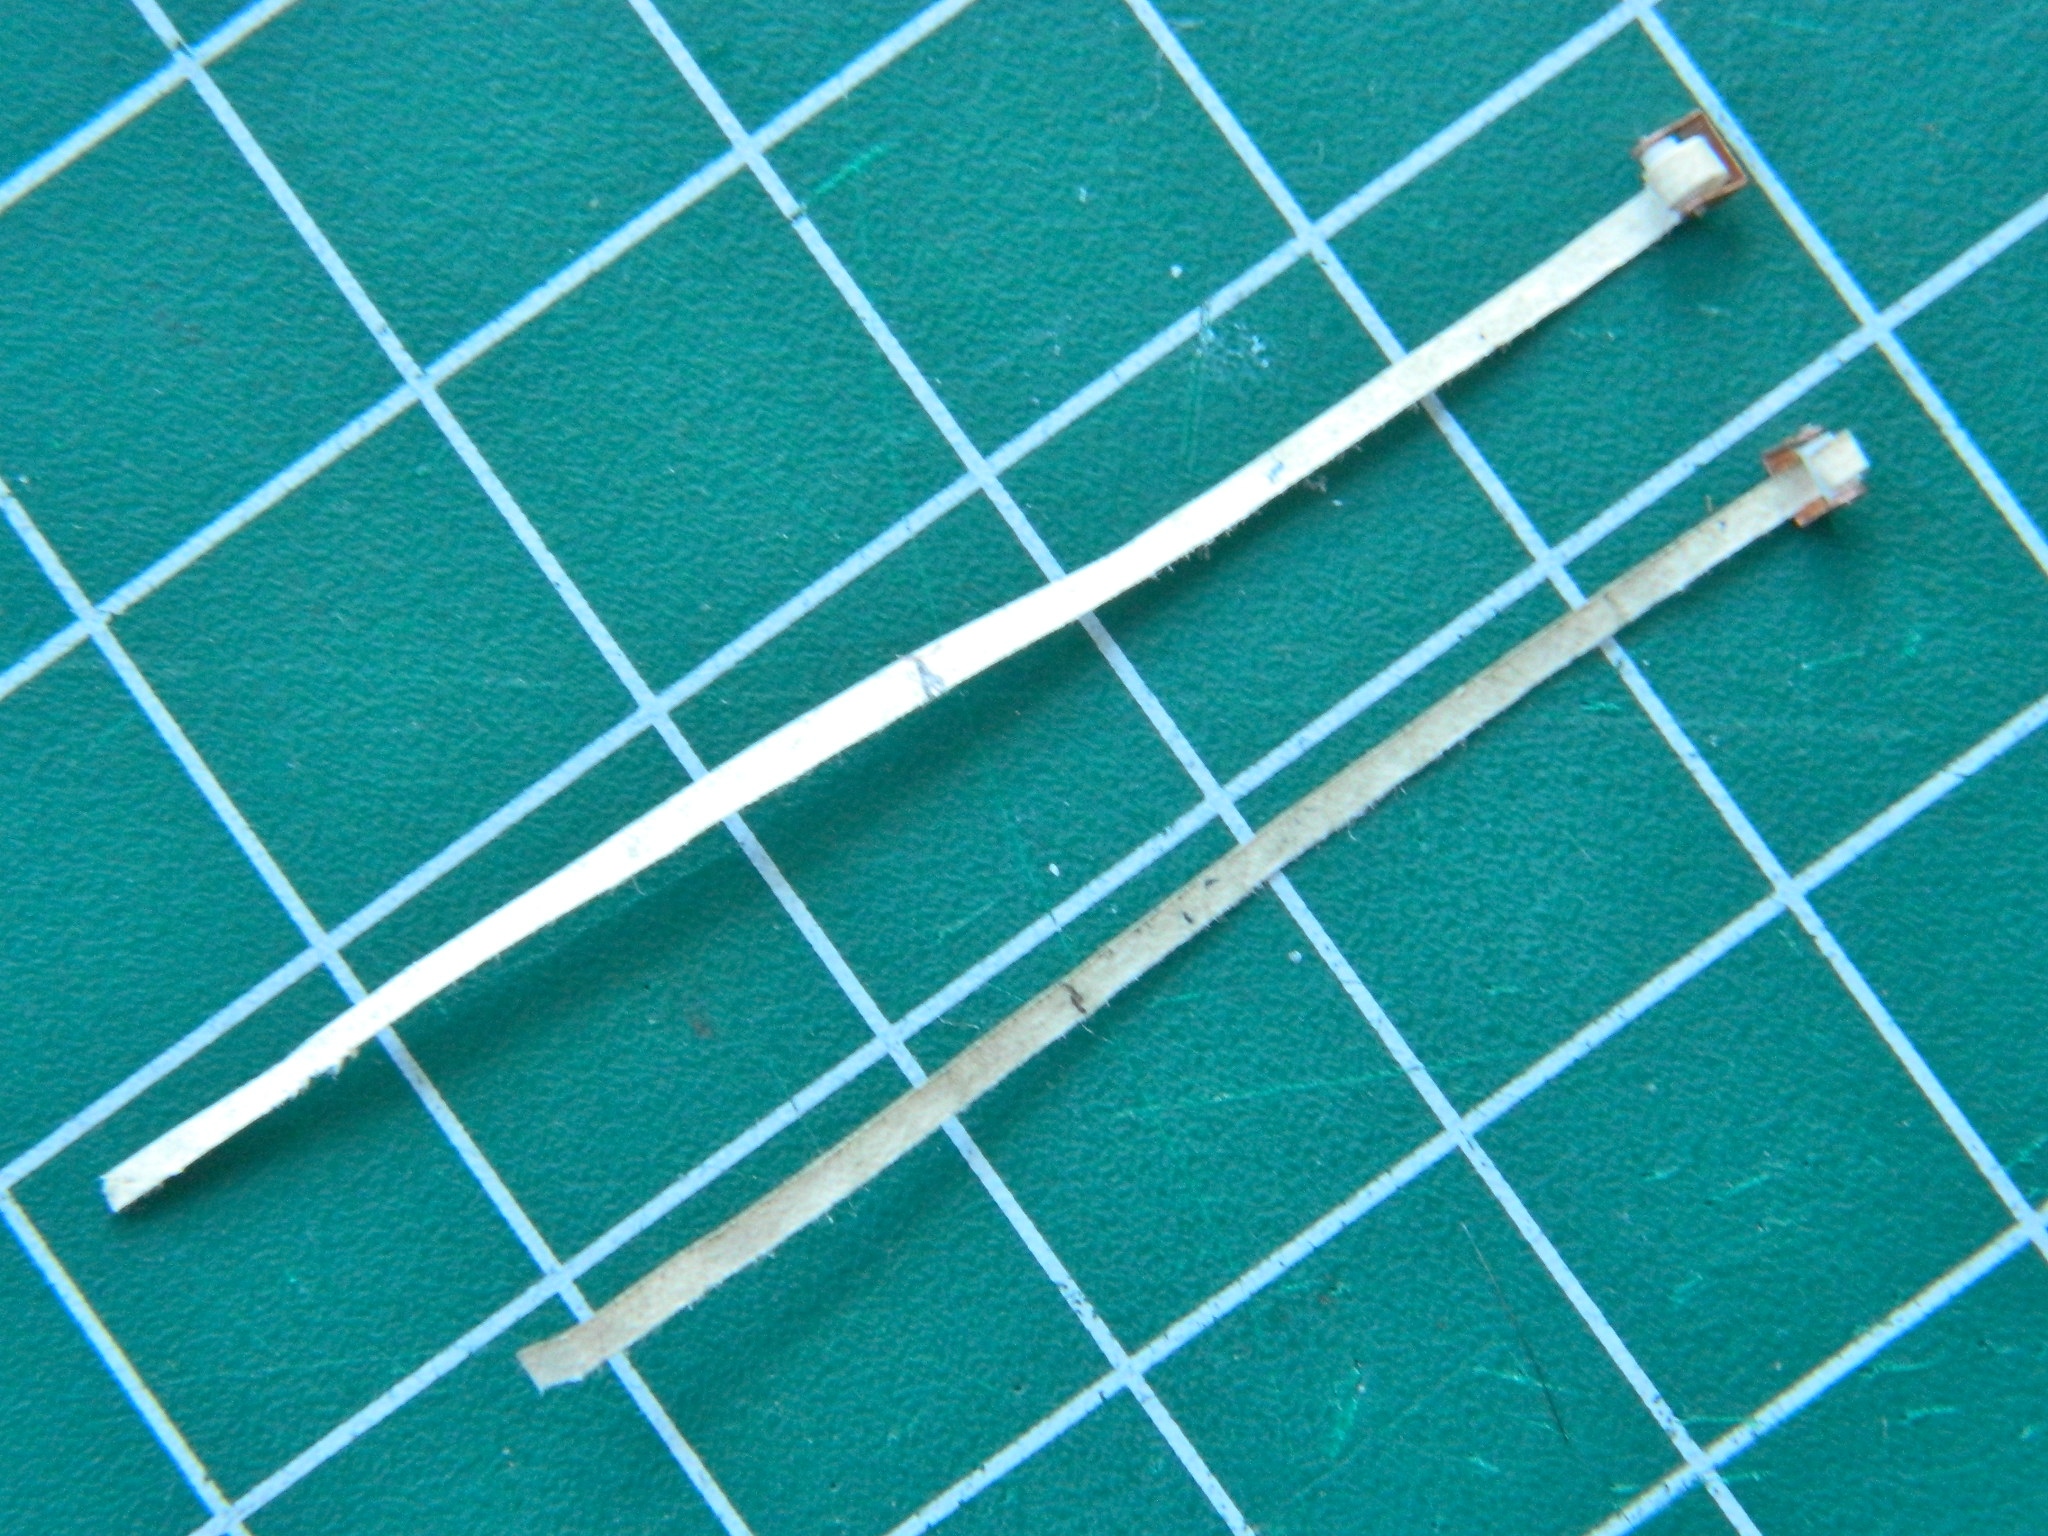
Time to add the straps. On a previous build, I’d made the pilot’s harness from Post-It paper soaked in diluted white glue. Yeah, I did it but it was not easy. Paper tends to turn to mush when soaked and I went through a lot of paper to get the effect I was after. Between then and now I’ve done some skull-sweat (thought, for those of you who aren’t Heinlein readers) (heathens) on what type of paper to use. What I needed was a paper with a higher rag content AND still thin enough to be in scale. While paying for something with cash (just for the novelty), I noticed that the money was made out of paper. It’s made out of a high rag content paper! So I took a dollar out of my wallet and set it aside for future use:

The future arrived (which explains all the wrinkles I see in the mirror). I cut the edge of the dollar’s paper to width and tacked it onto the plastic tube without needing to soak it in white glue first:
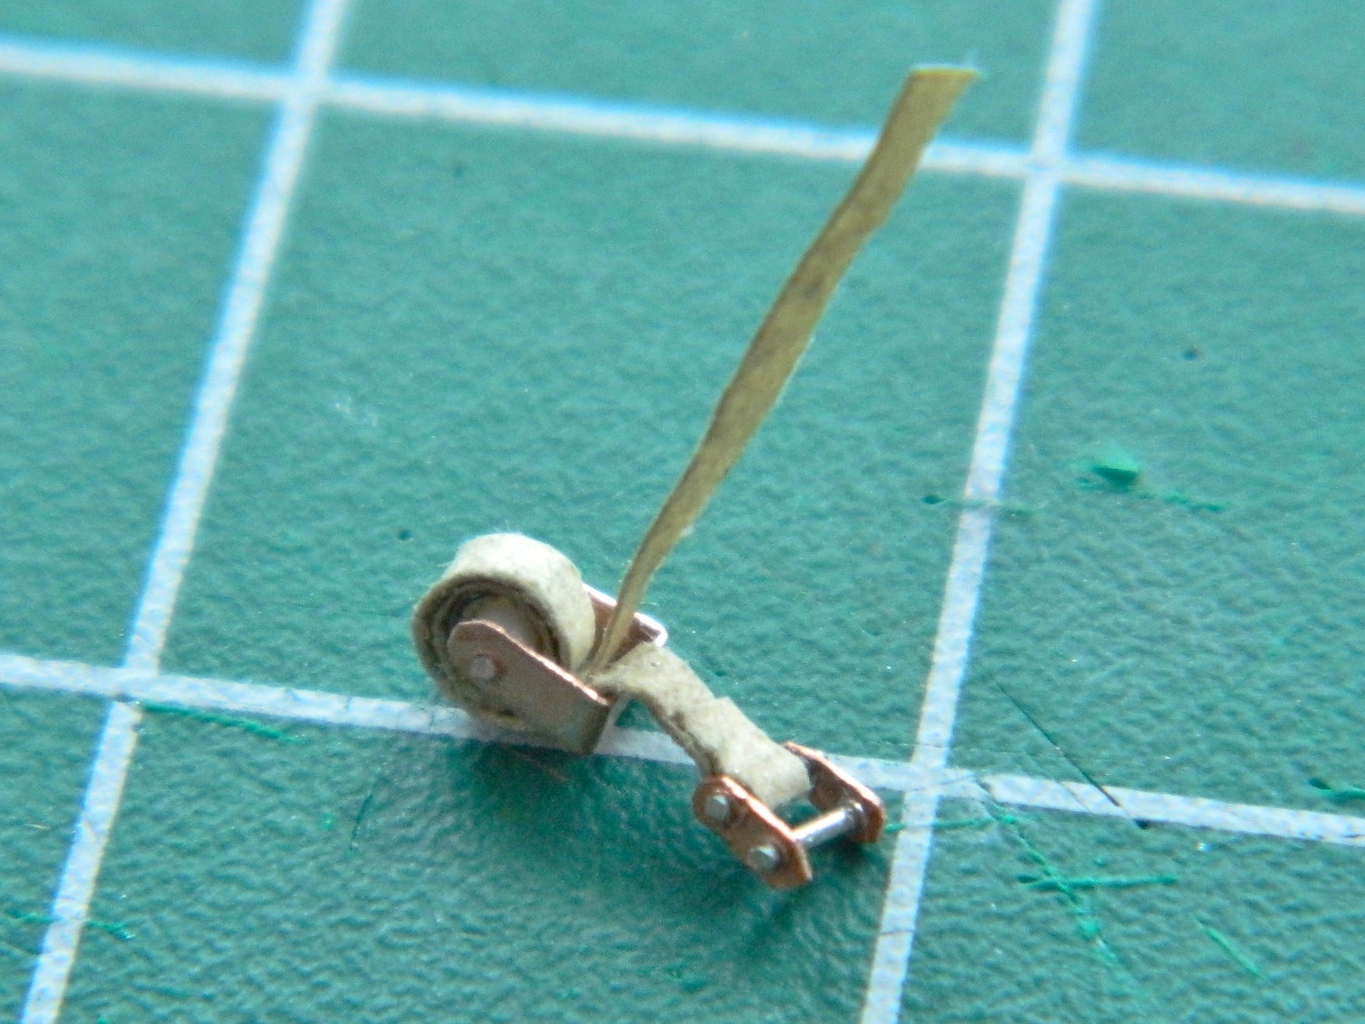
There are two straps that wind around the take-up reel and one of them has the connector I’d made out of copper and wire. But first I had to wrap them around the tube:
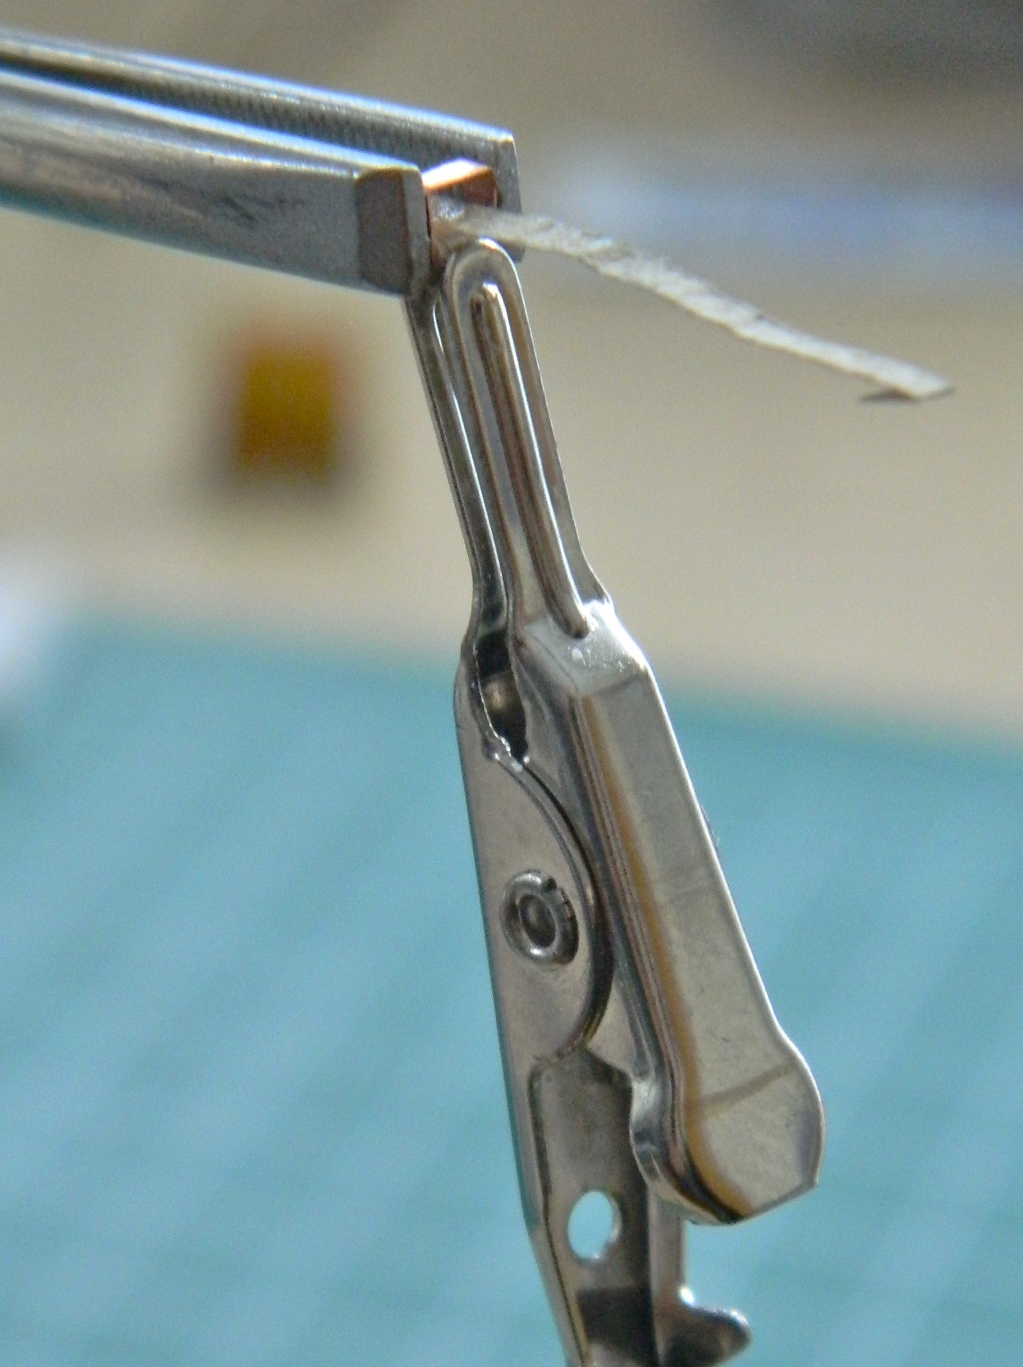
Once I had the wrap, a touch of superglue on the edge of the wrapped strap holds it in place, the “buckle” (which it really isn’t but I don’t know what else to call it) added, and there’s the finished shoulder strap assembly. Now to make three more:
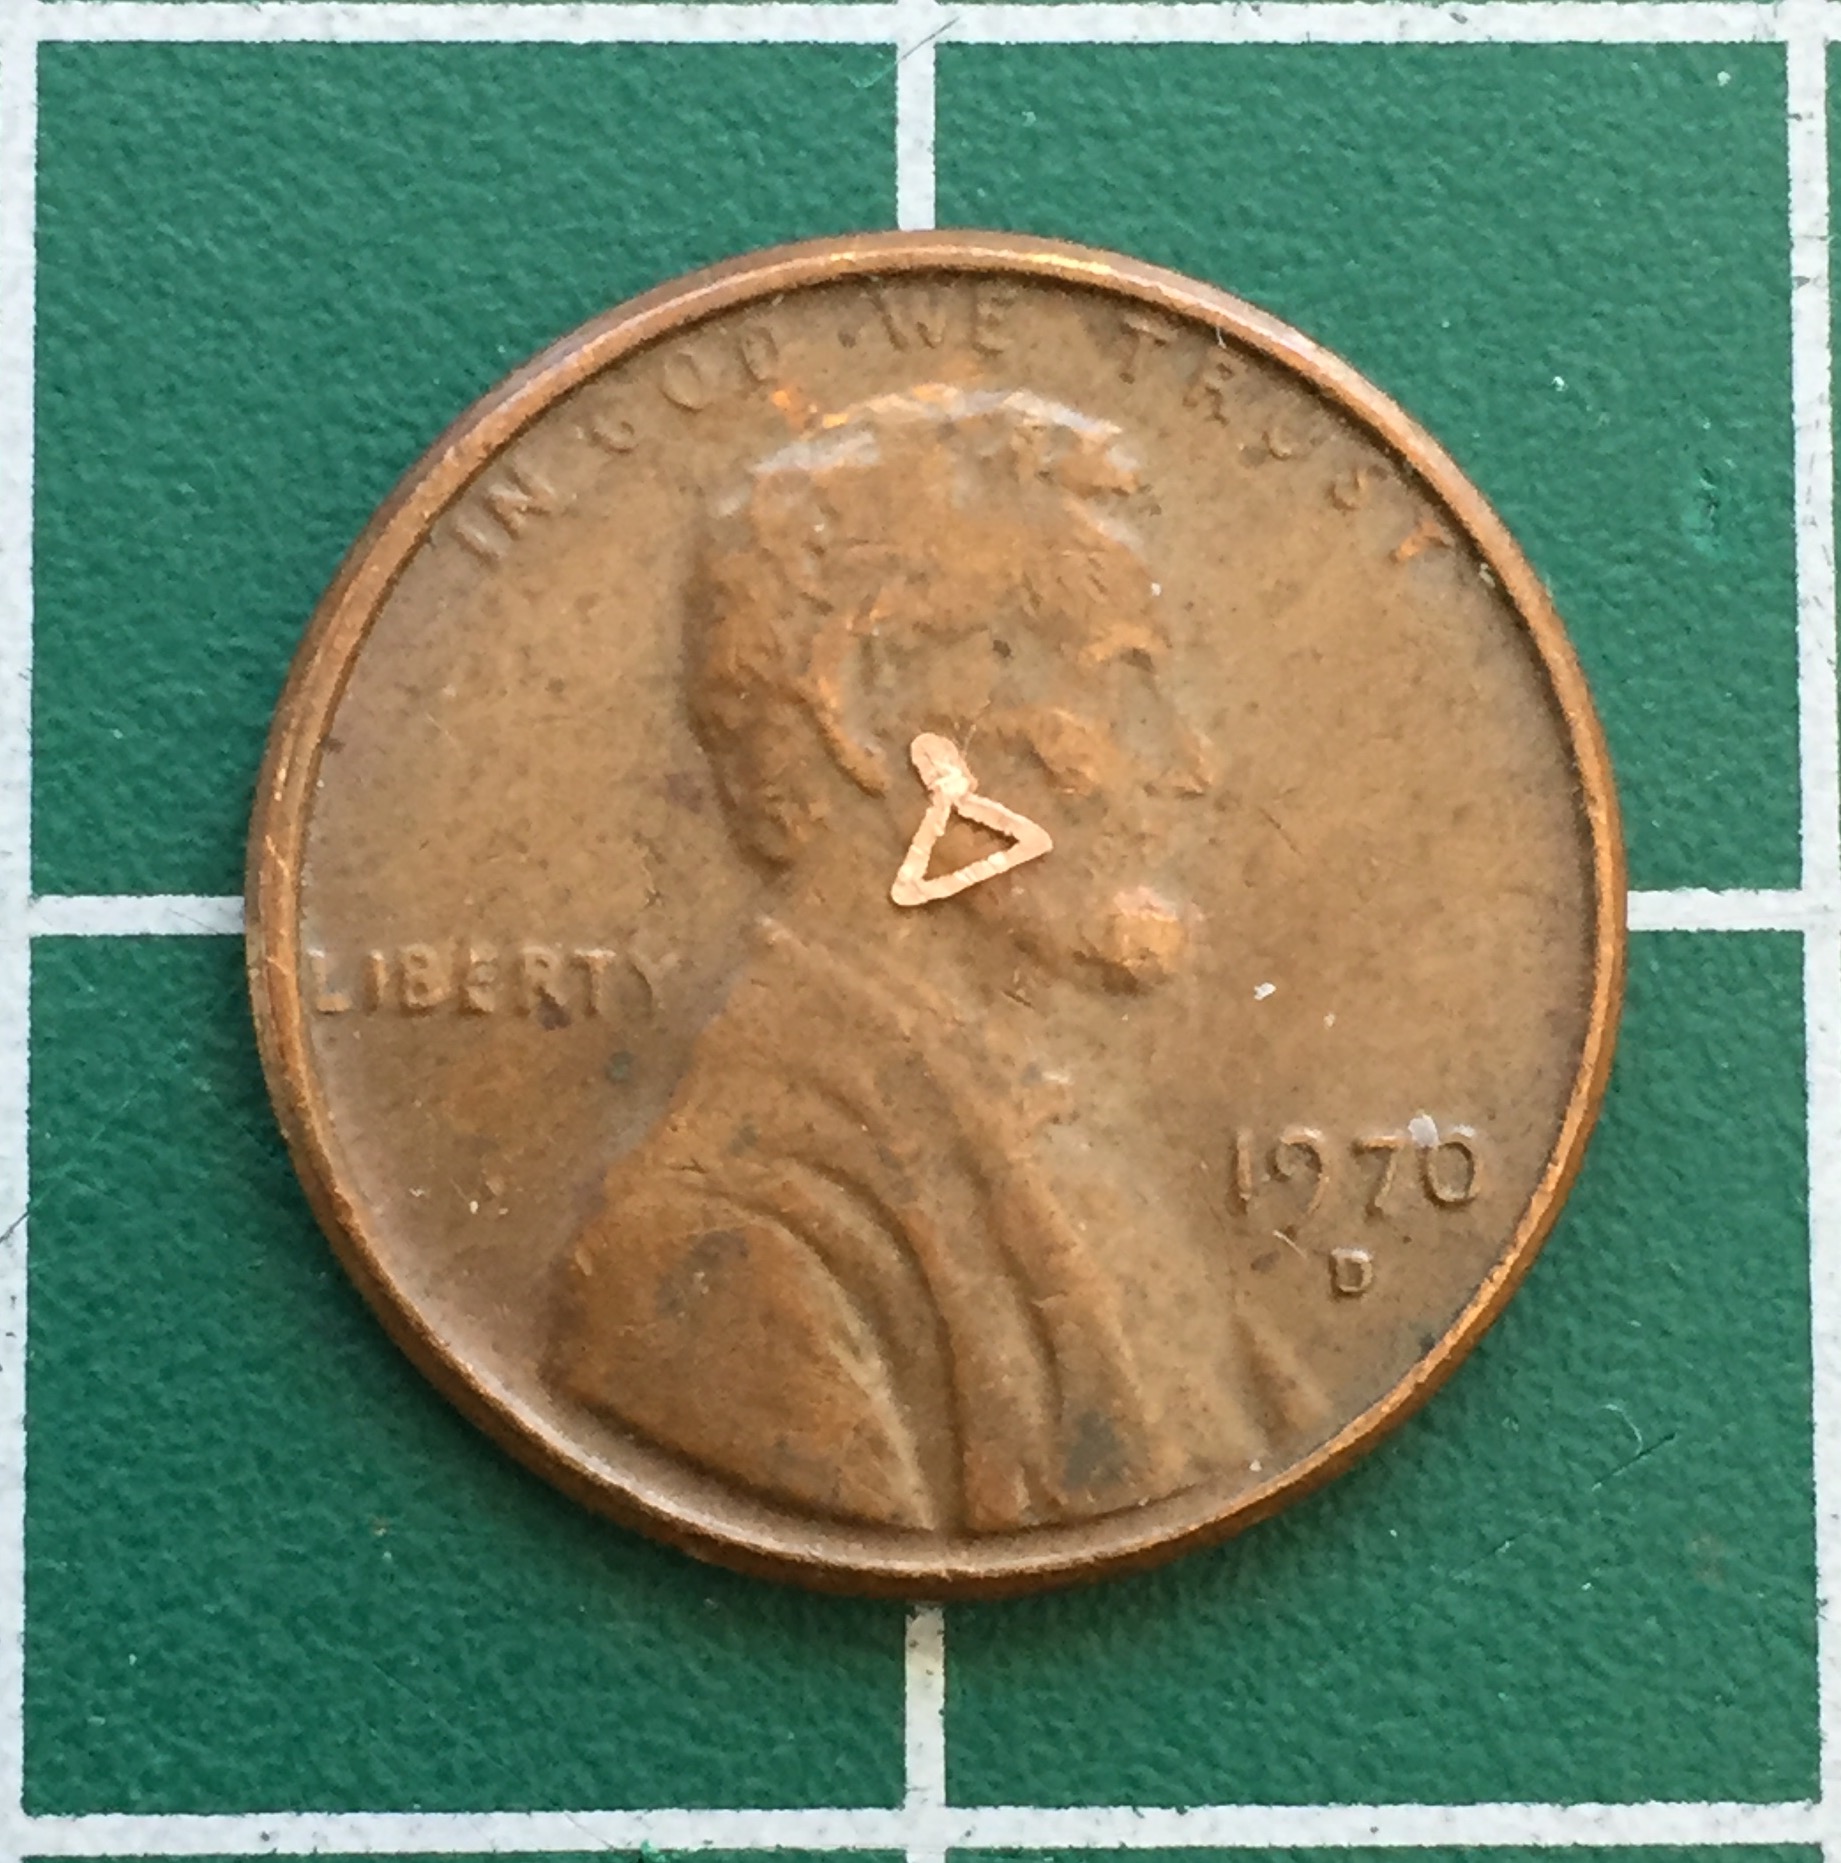
The lap straps need hardware for where they attach to the sides of the seats. .005″ (.127mm) copper shim stock and sharp knives allowed me to make this (and three more). It starts by drilling a hole, then using sharp knives, opening up the hole to dimension:


Once the hole is cut, then I can trim the outside to fit. The .005″ (.127mm) of an inch is damned thin and trying to cut the hole inside after the outside has been cut to dimension may be possible for others, it certainly wasn’t for me:
Since belts have buckles (y’know…real buckles), I made four of them from the shim stock:

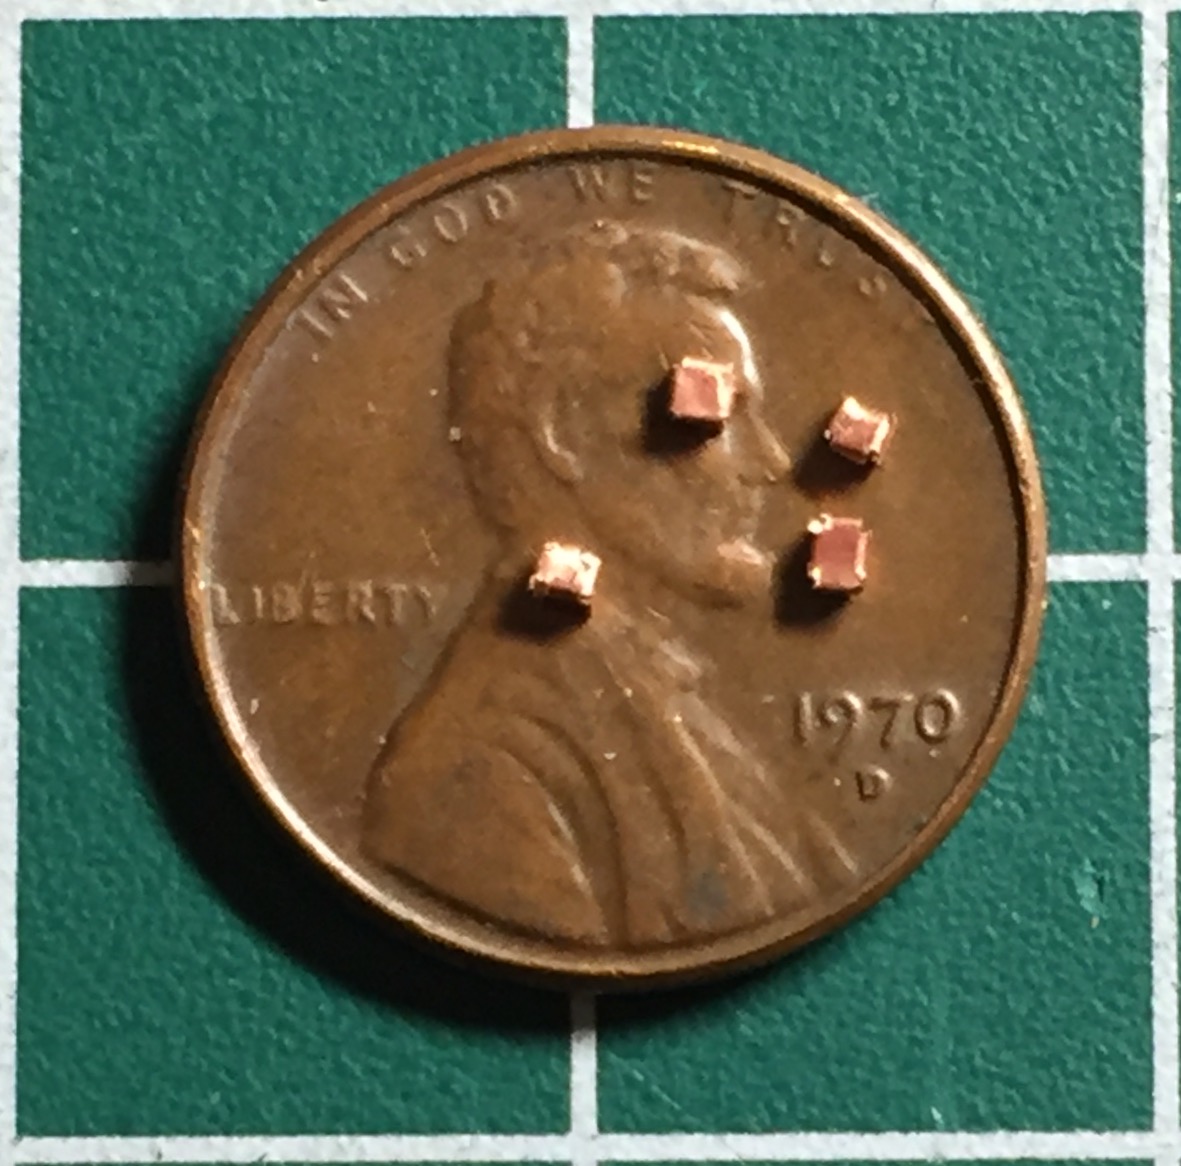
Then my brain caught up with my enthusiasm. These buckles (y’know…real buckles) don’t have to brass, plastic will work just as well. The little brass bits got tossed.
However, the buckle (y’know…oh…never mind) is only half of the mechanism that makes a buckle work. There’s the tab that the buckle grabs. Those had to be made too.
This is the process I used to make all of these harness parts from the shim stock…
The first step is to drill two holes of the required diameter (.018″ (.457mm) in this case) and then cut away the material between the holes leaving a slot:
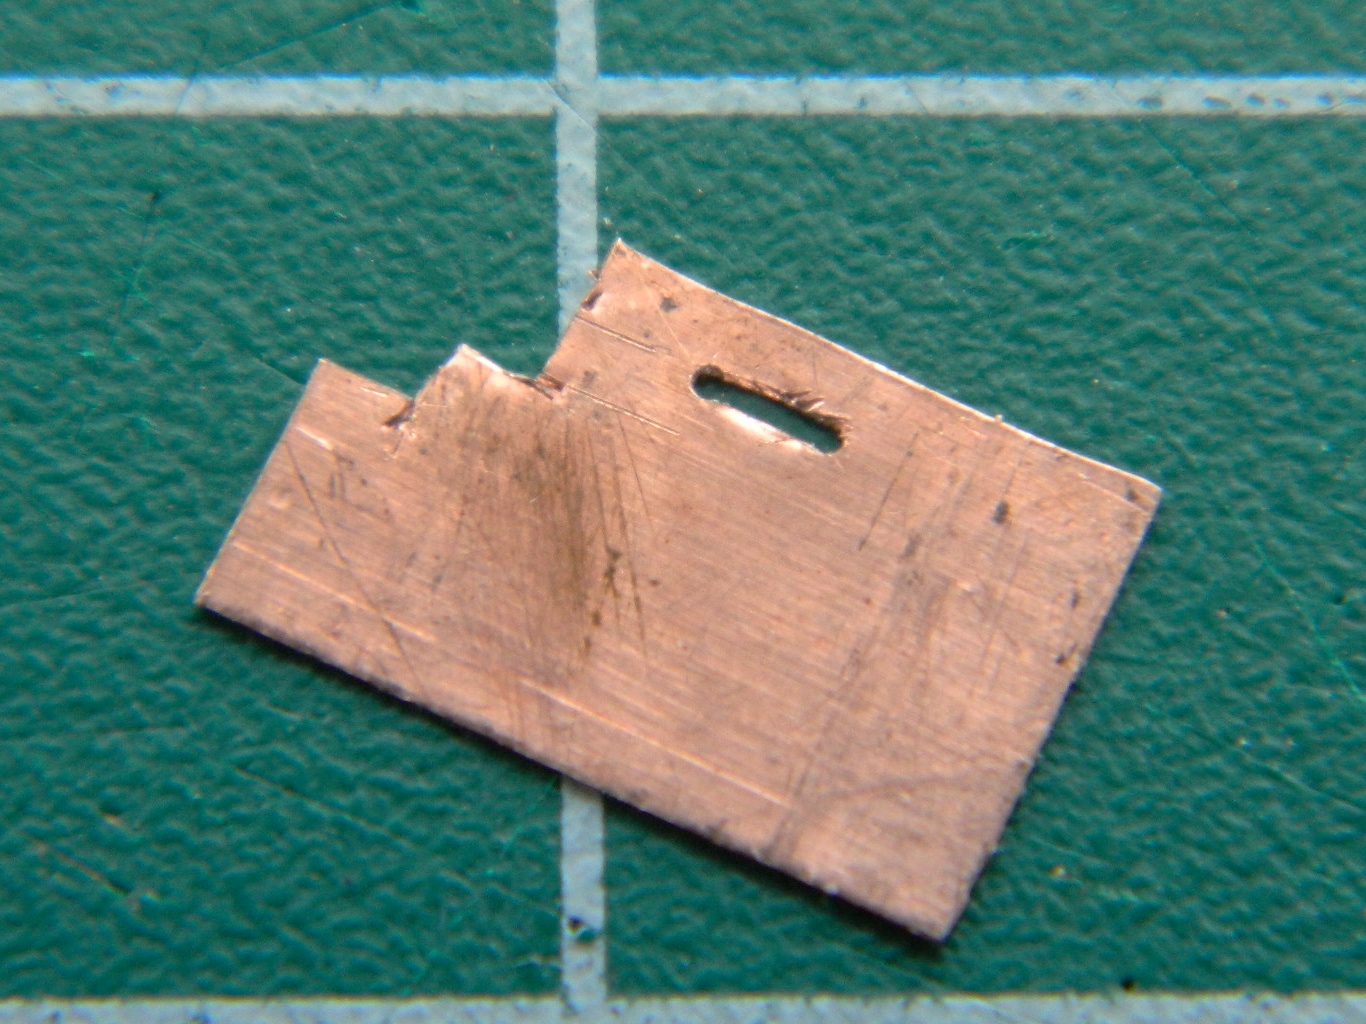
Then the sides are trimmed to dimension (I used the chisel blade):
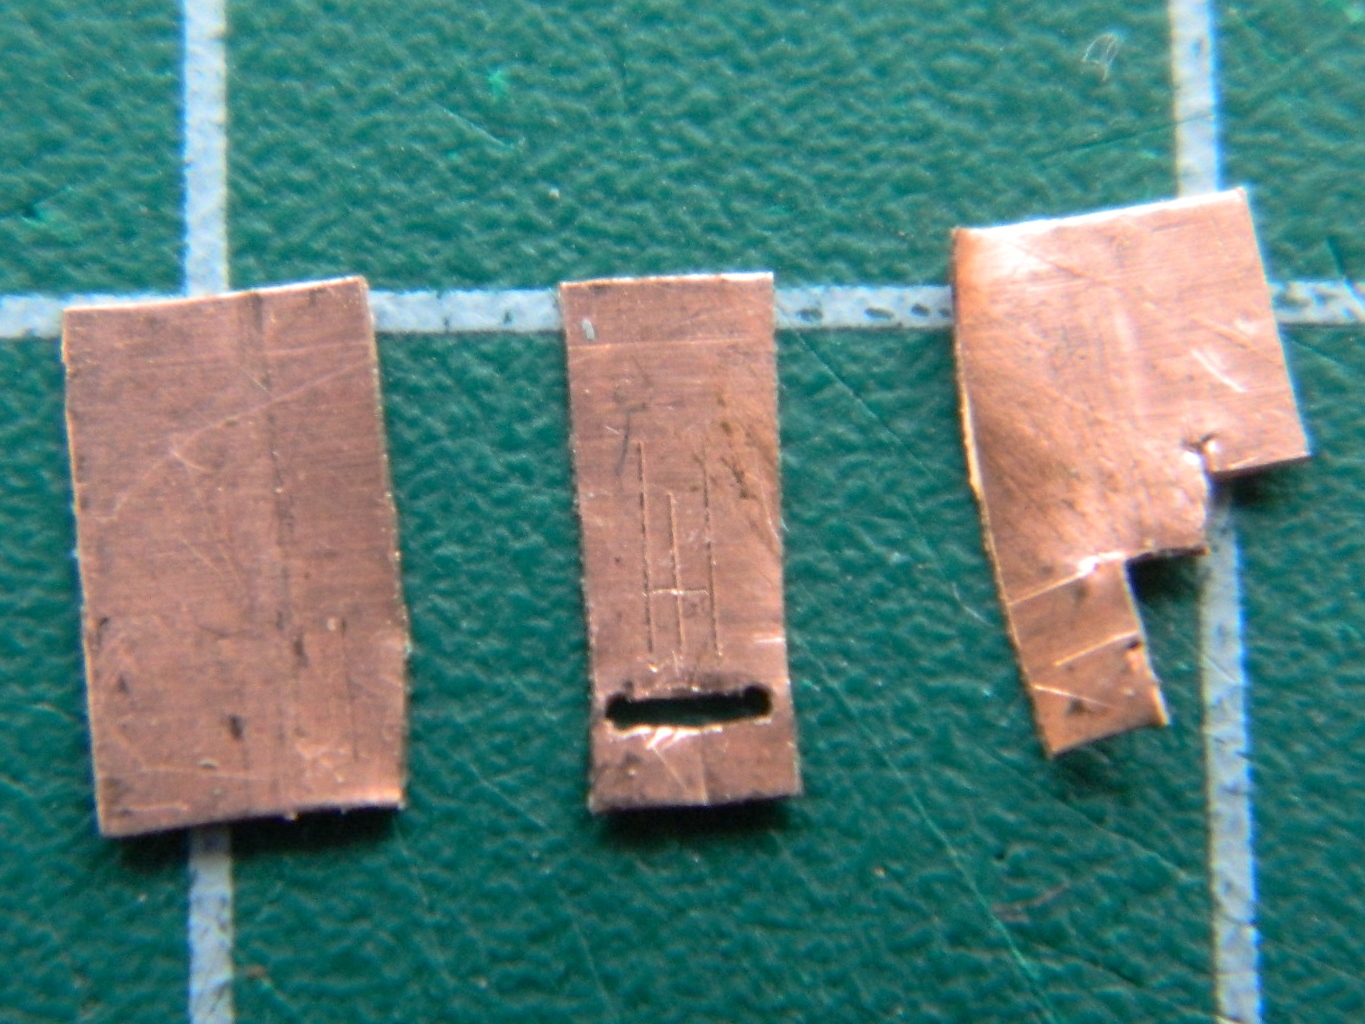
The business end of the part is the tab that slides into the buckle. I started by cutting the shoulders of it before doing its width:

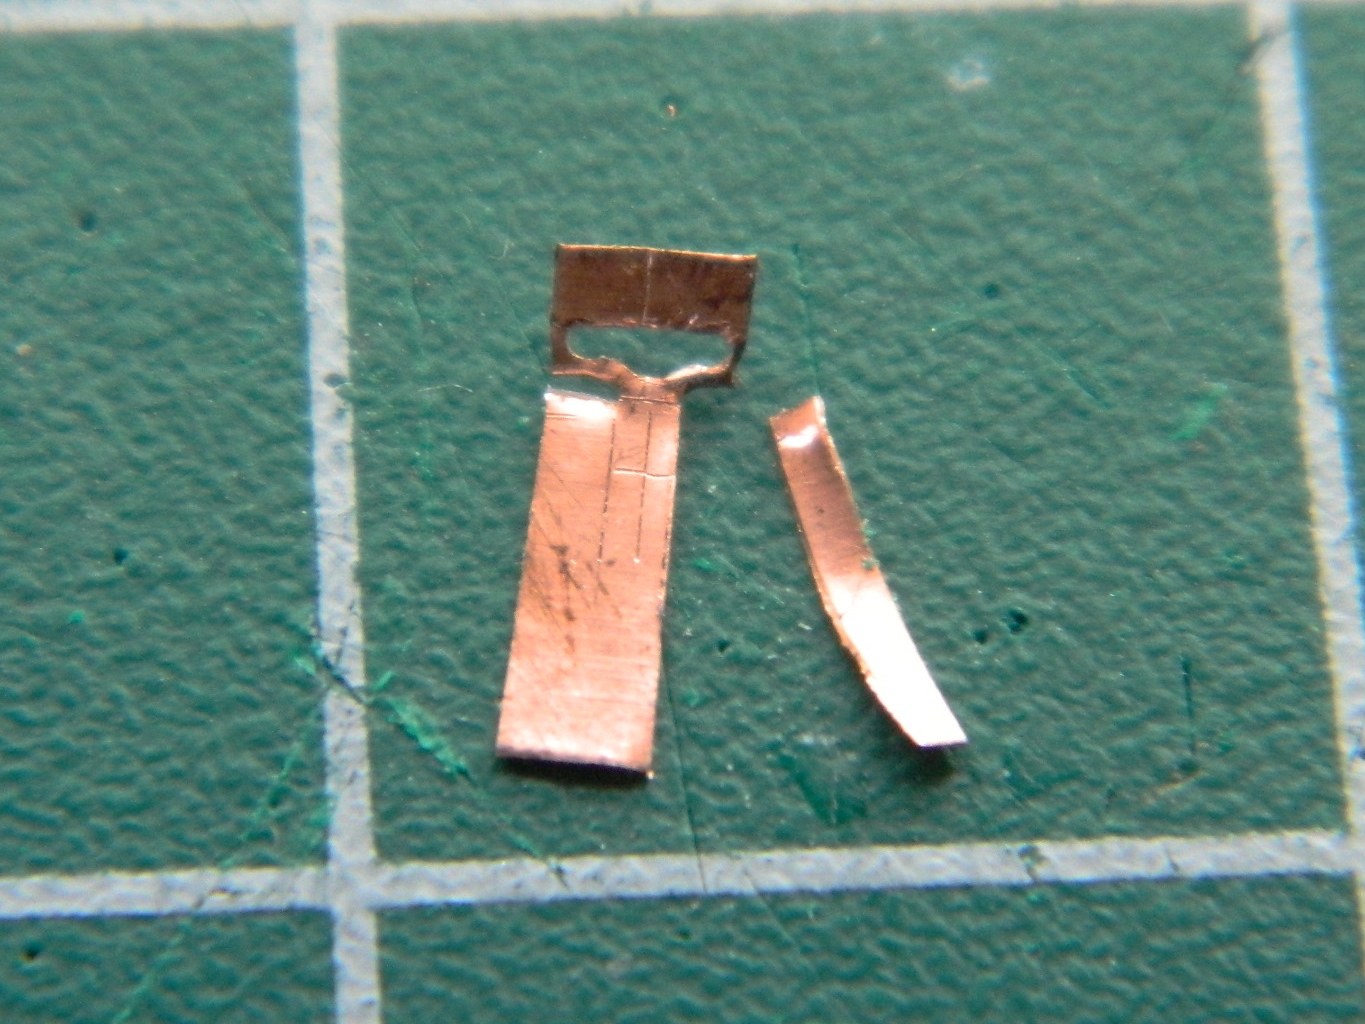
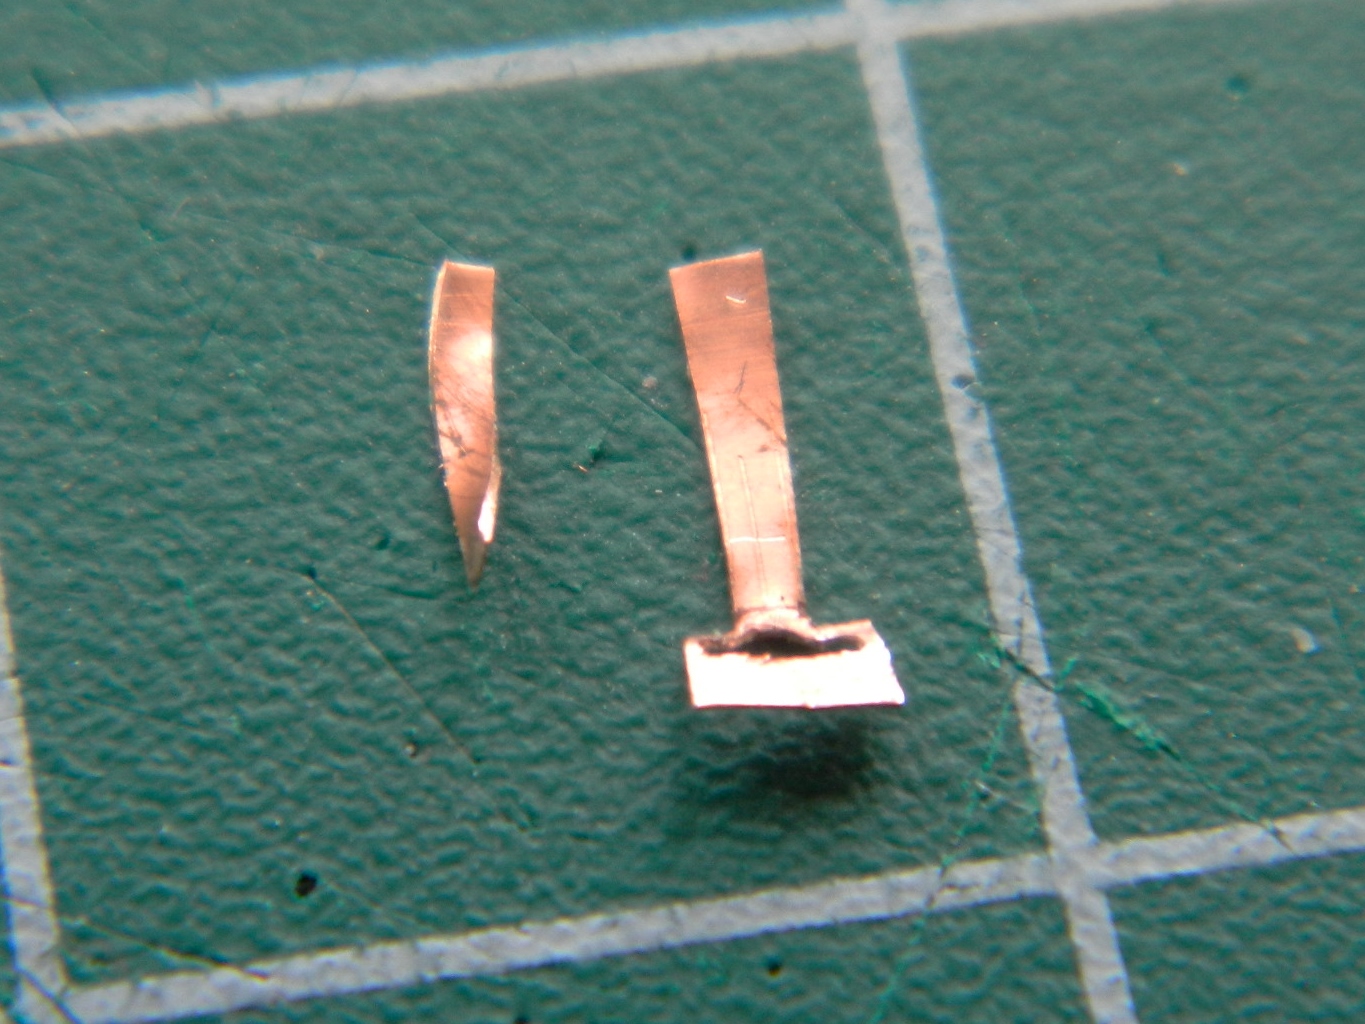
At this point I noticed that the stress of the knife blade deformed the copper causing the tab end to pull away from the slot. I used tweezers to move it back as much as I could:
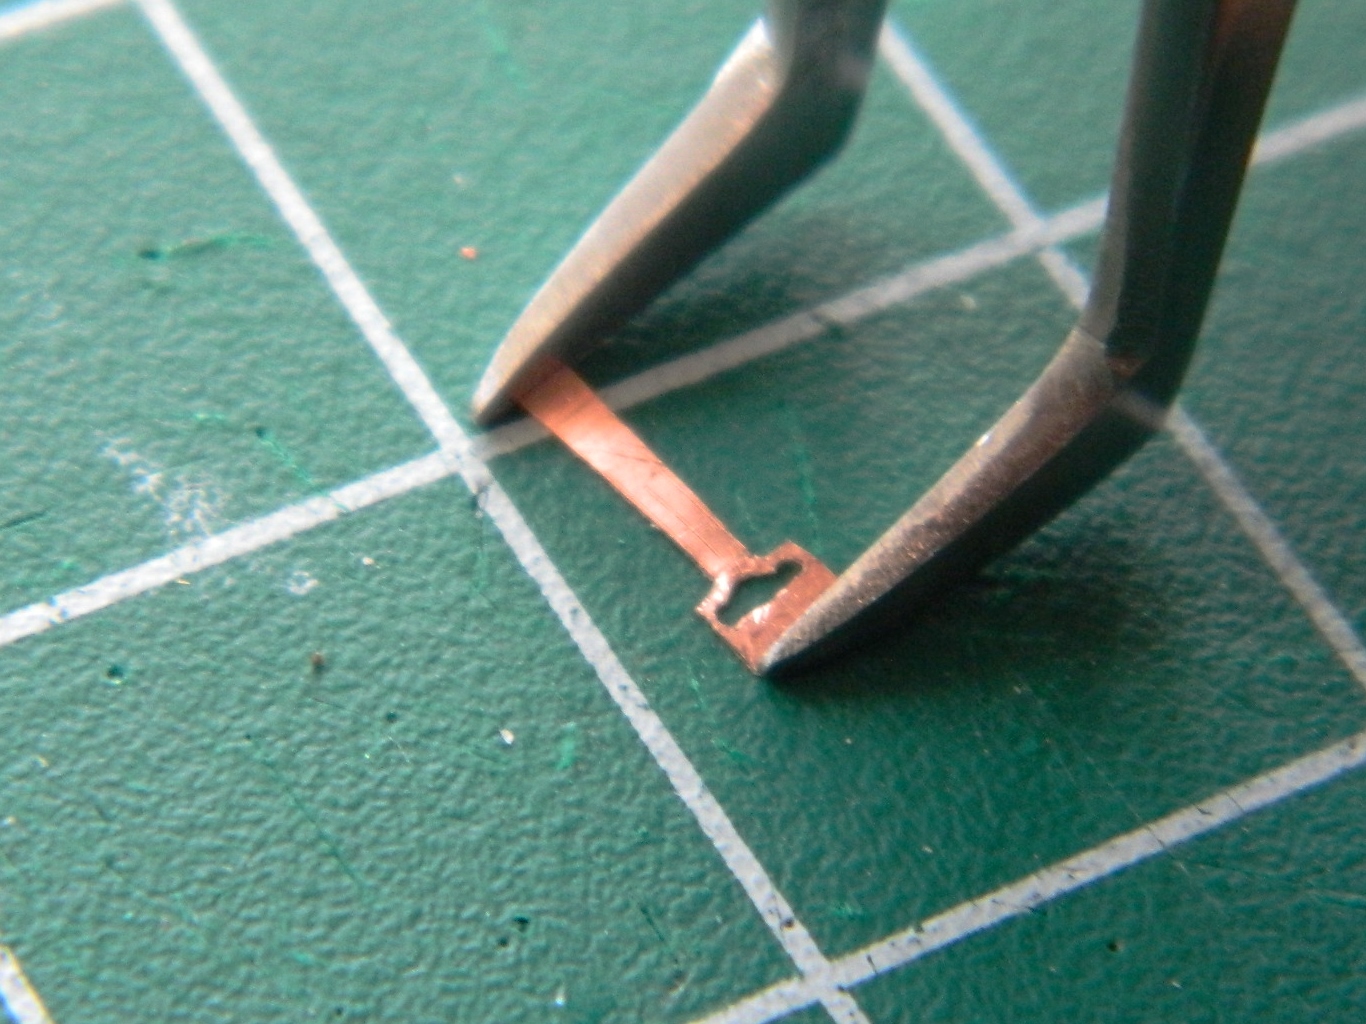
Now the outside of the part needs to be trimmed to dimension:

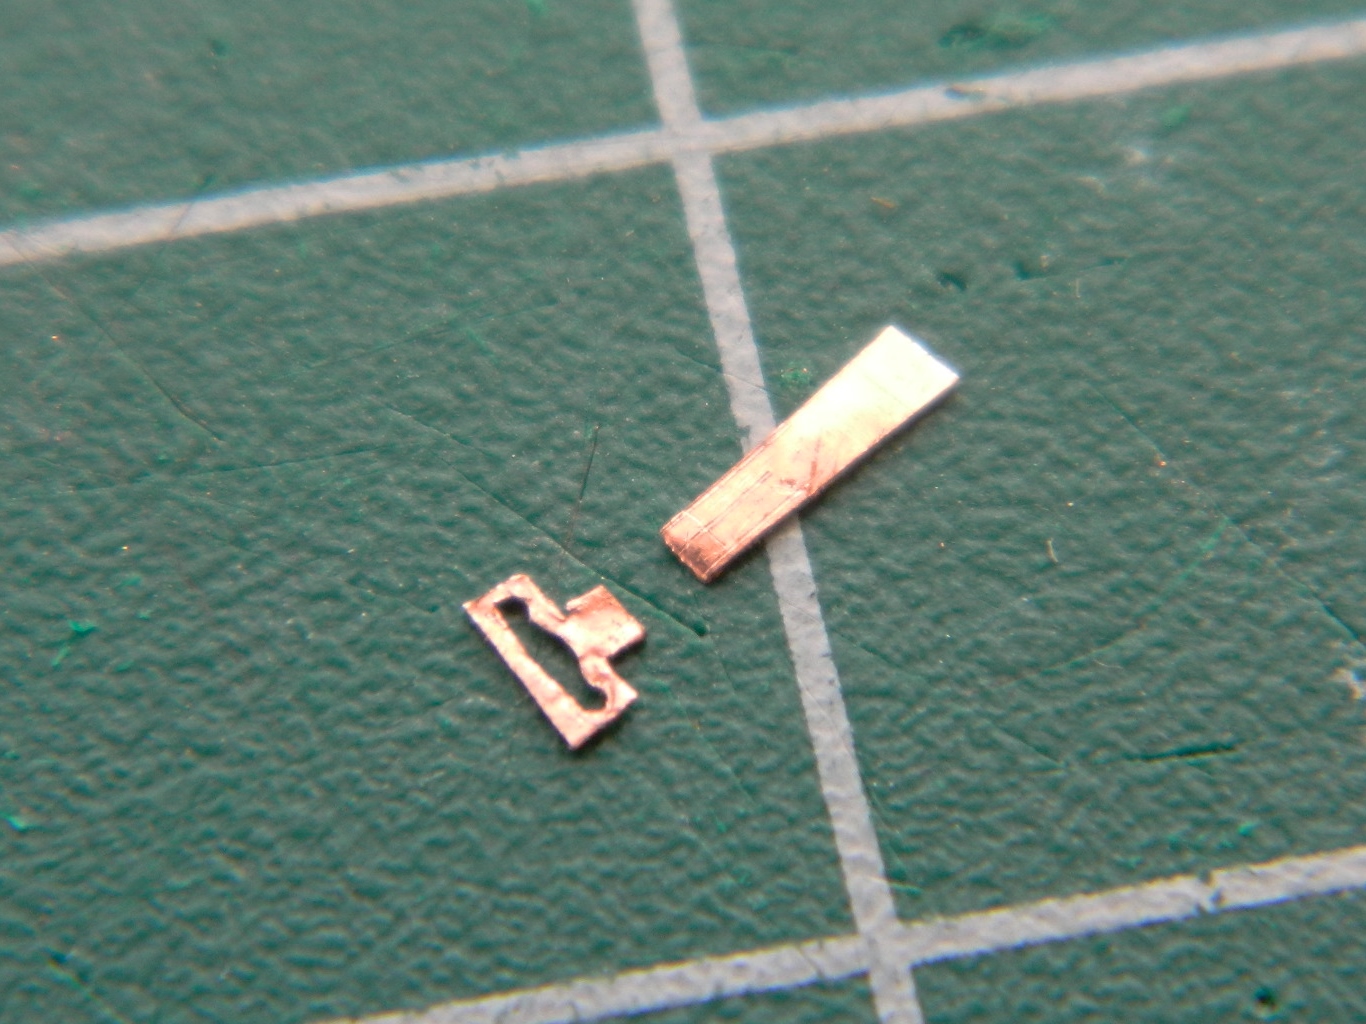
One TINY trim more:

To round the edges, I grabbed the part firmly in tweezers and used fresh 600 grit sandpaper:

Before (on the left side) and after (on the right side):

I’ve found an interesting thing regarding my work. It’s common for me to have to make more than one part. So I make the first one and it comes out fine. Then I go to make the next one. It RARELY comes out well:

But I do persevere…

So now I have two seat “kits.” I can’t assemble them before painting the parts. But excepting two small details to be added, they’re now done:

Gemini (Revell) Build #6 – Interior Work; Finishing Seat Details and Discovering Major Surgery is Required to Make Them Fit
Once I’d made the basic (very basic) additions to the seats, I taped everything together and checked how things fit…and they don’t. Without the additional details, the seats barely fit, and with the additions they don’t fit at all. ::sound of screeching brakes on soundtrack:: I needed more room.
But I don’t have more room! I mean, this cabin has to fit inside the outer hull. So I wandered around for a while, mumbling, bumping into things and scaring the cat:

Then I realized that the only place the cabin needed to fit was the periphery where it mates to the outer hull. So if I sectioned the sides of the cabin and moved them out, that should give me the room I needed. No, the actual Gemini capsules don’t have their sides moved out. But unless I want this project to stop here (which I do not), then something has to be done. What matters is that things look right and seats that stick out of the hatches certainly don’t meet that criteria!
Step one was marking the area that needed to be moved and laying electrical tape in place to act as a guide for my scribing tool:

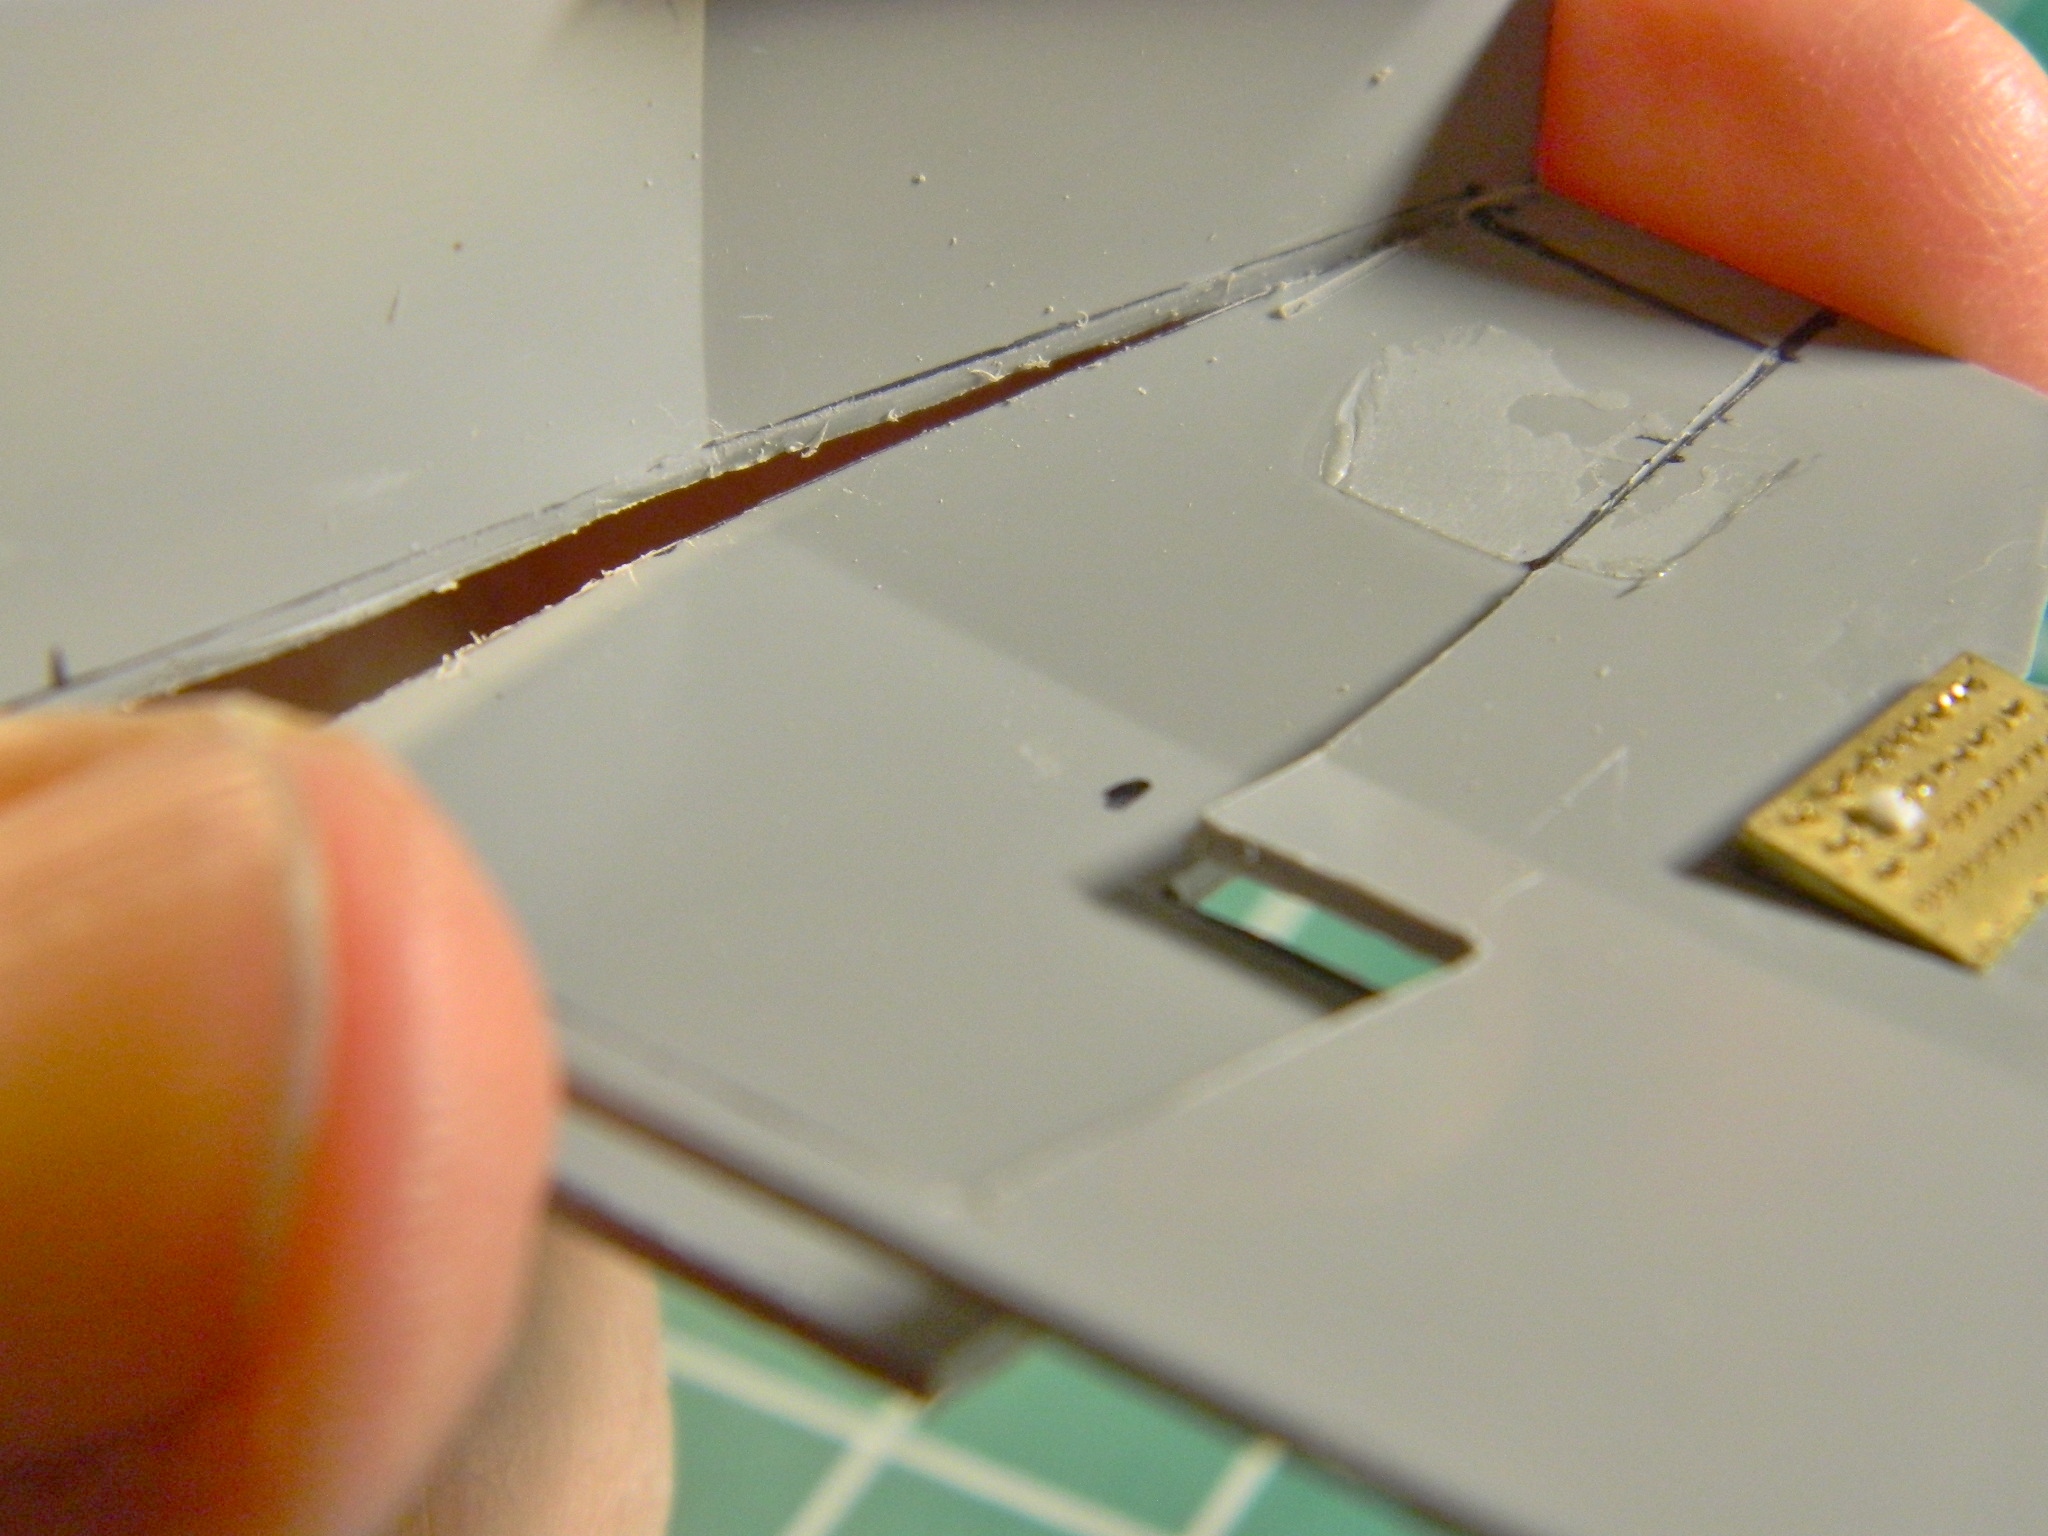
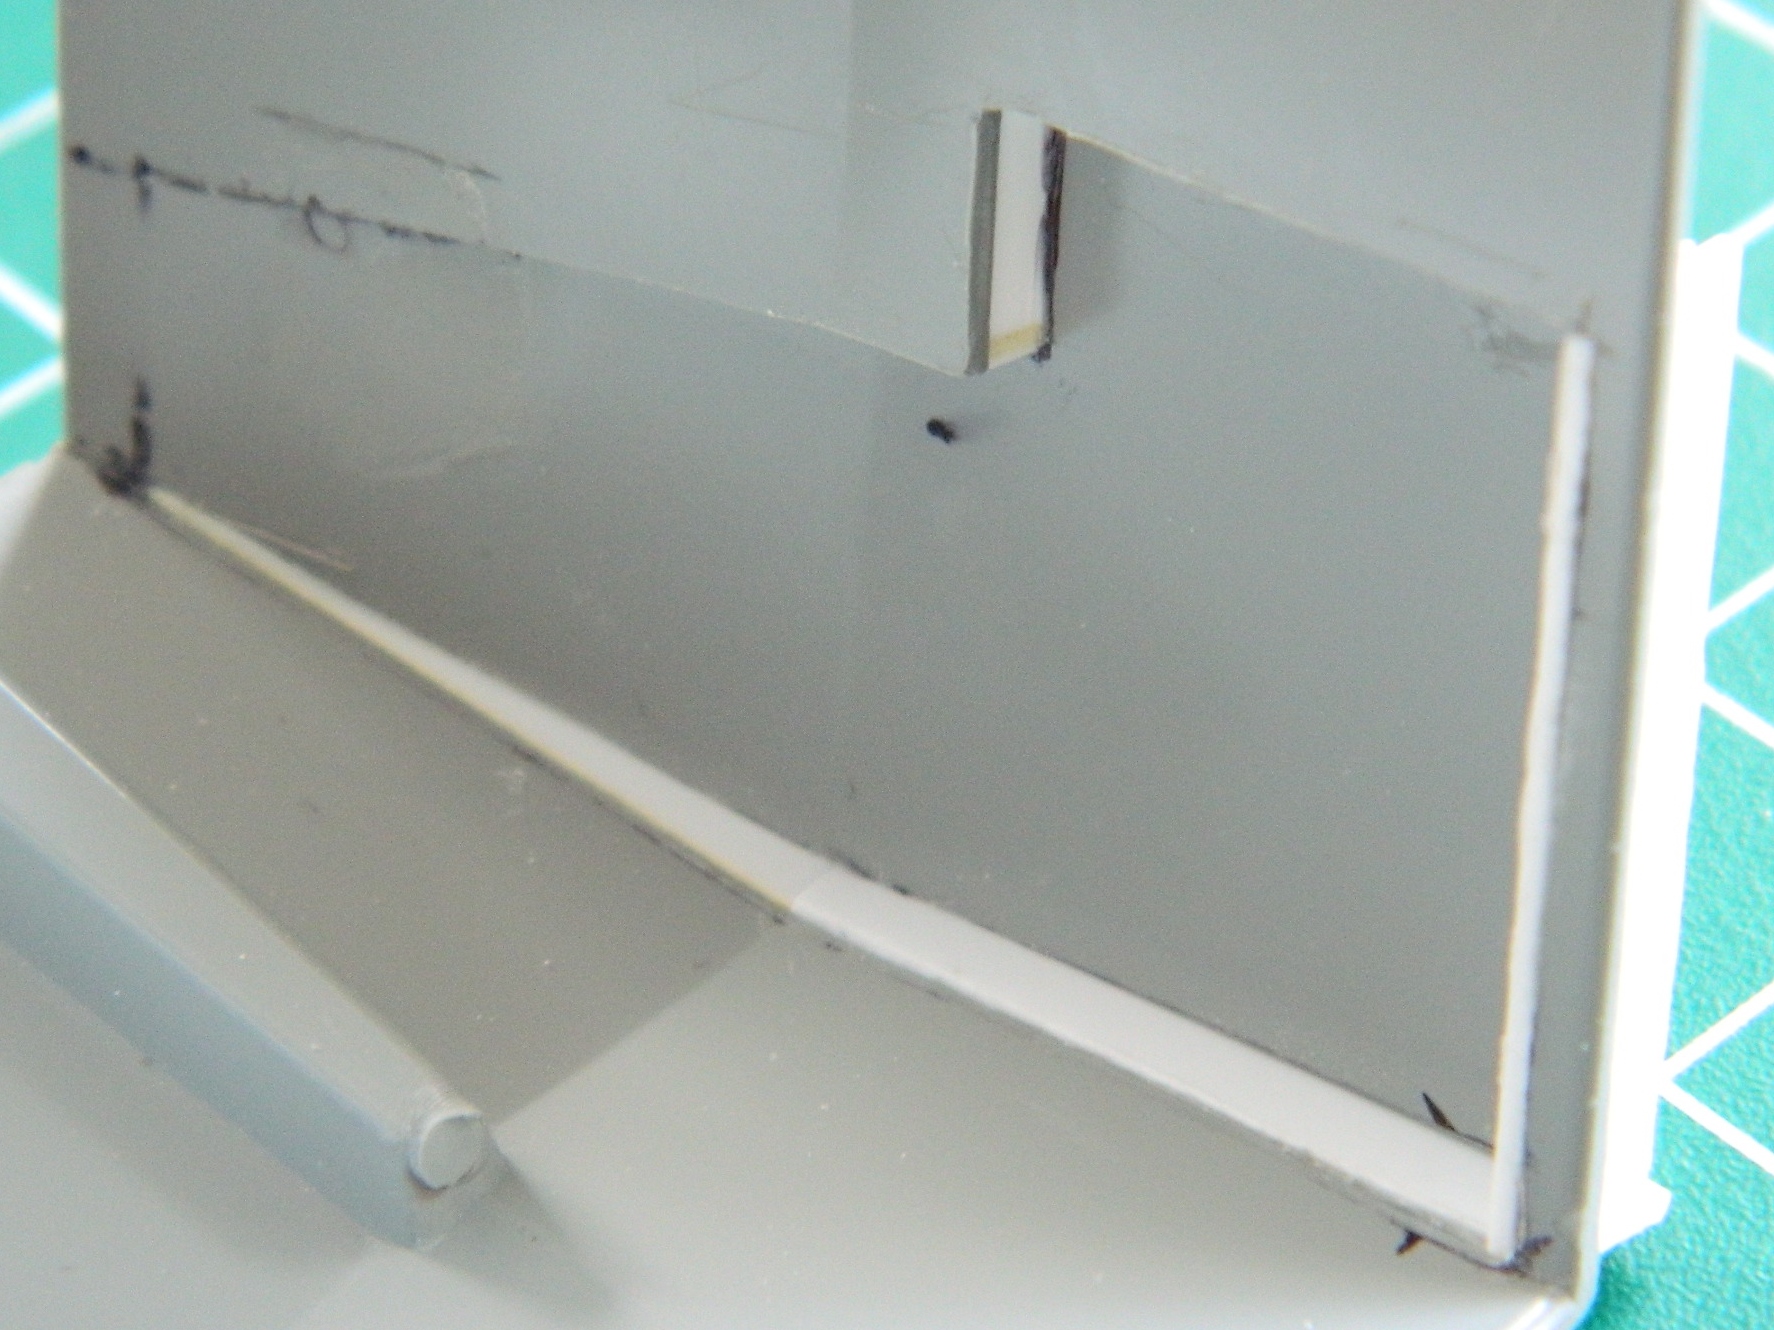
Once I’d scribed and sawed through the plastic, I cleaned up the edges with a file. Since I didn’t cut through on all sides, I had a section in front that would serve as a hinge. A thin hinge. A hinge thin enough to snap the plastic so those areas needed to reinforced. I fixed where it had snapped and reinforced the other side before beginning work there:
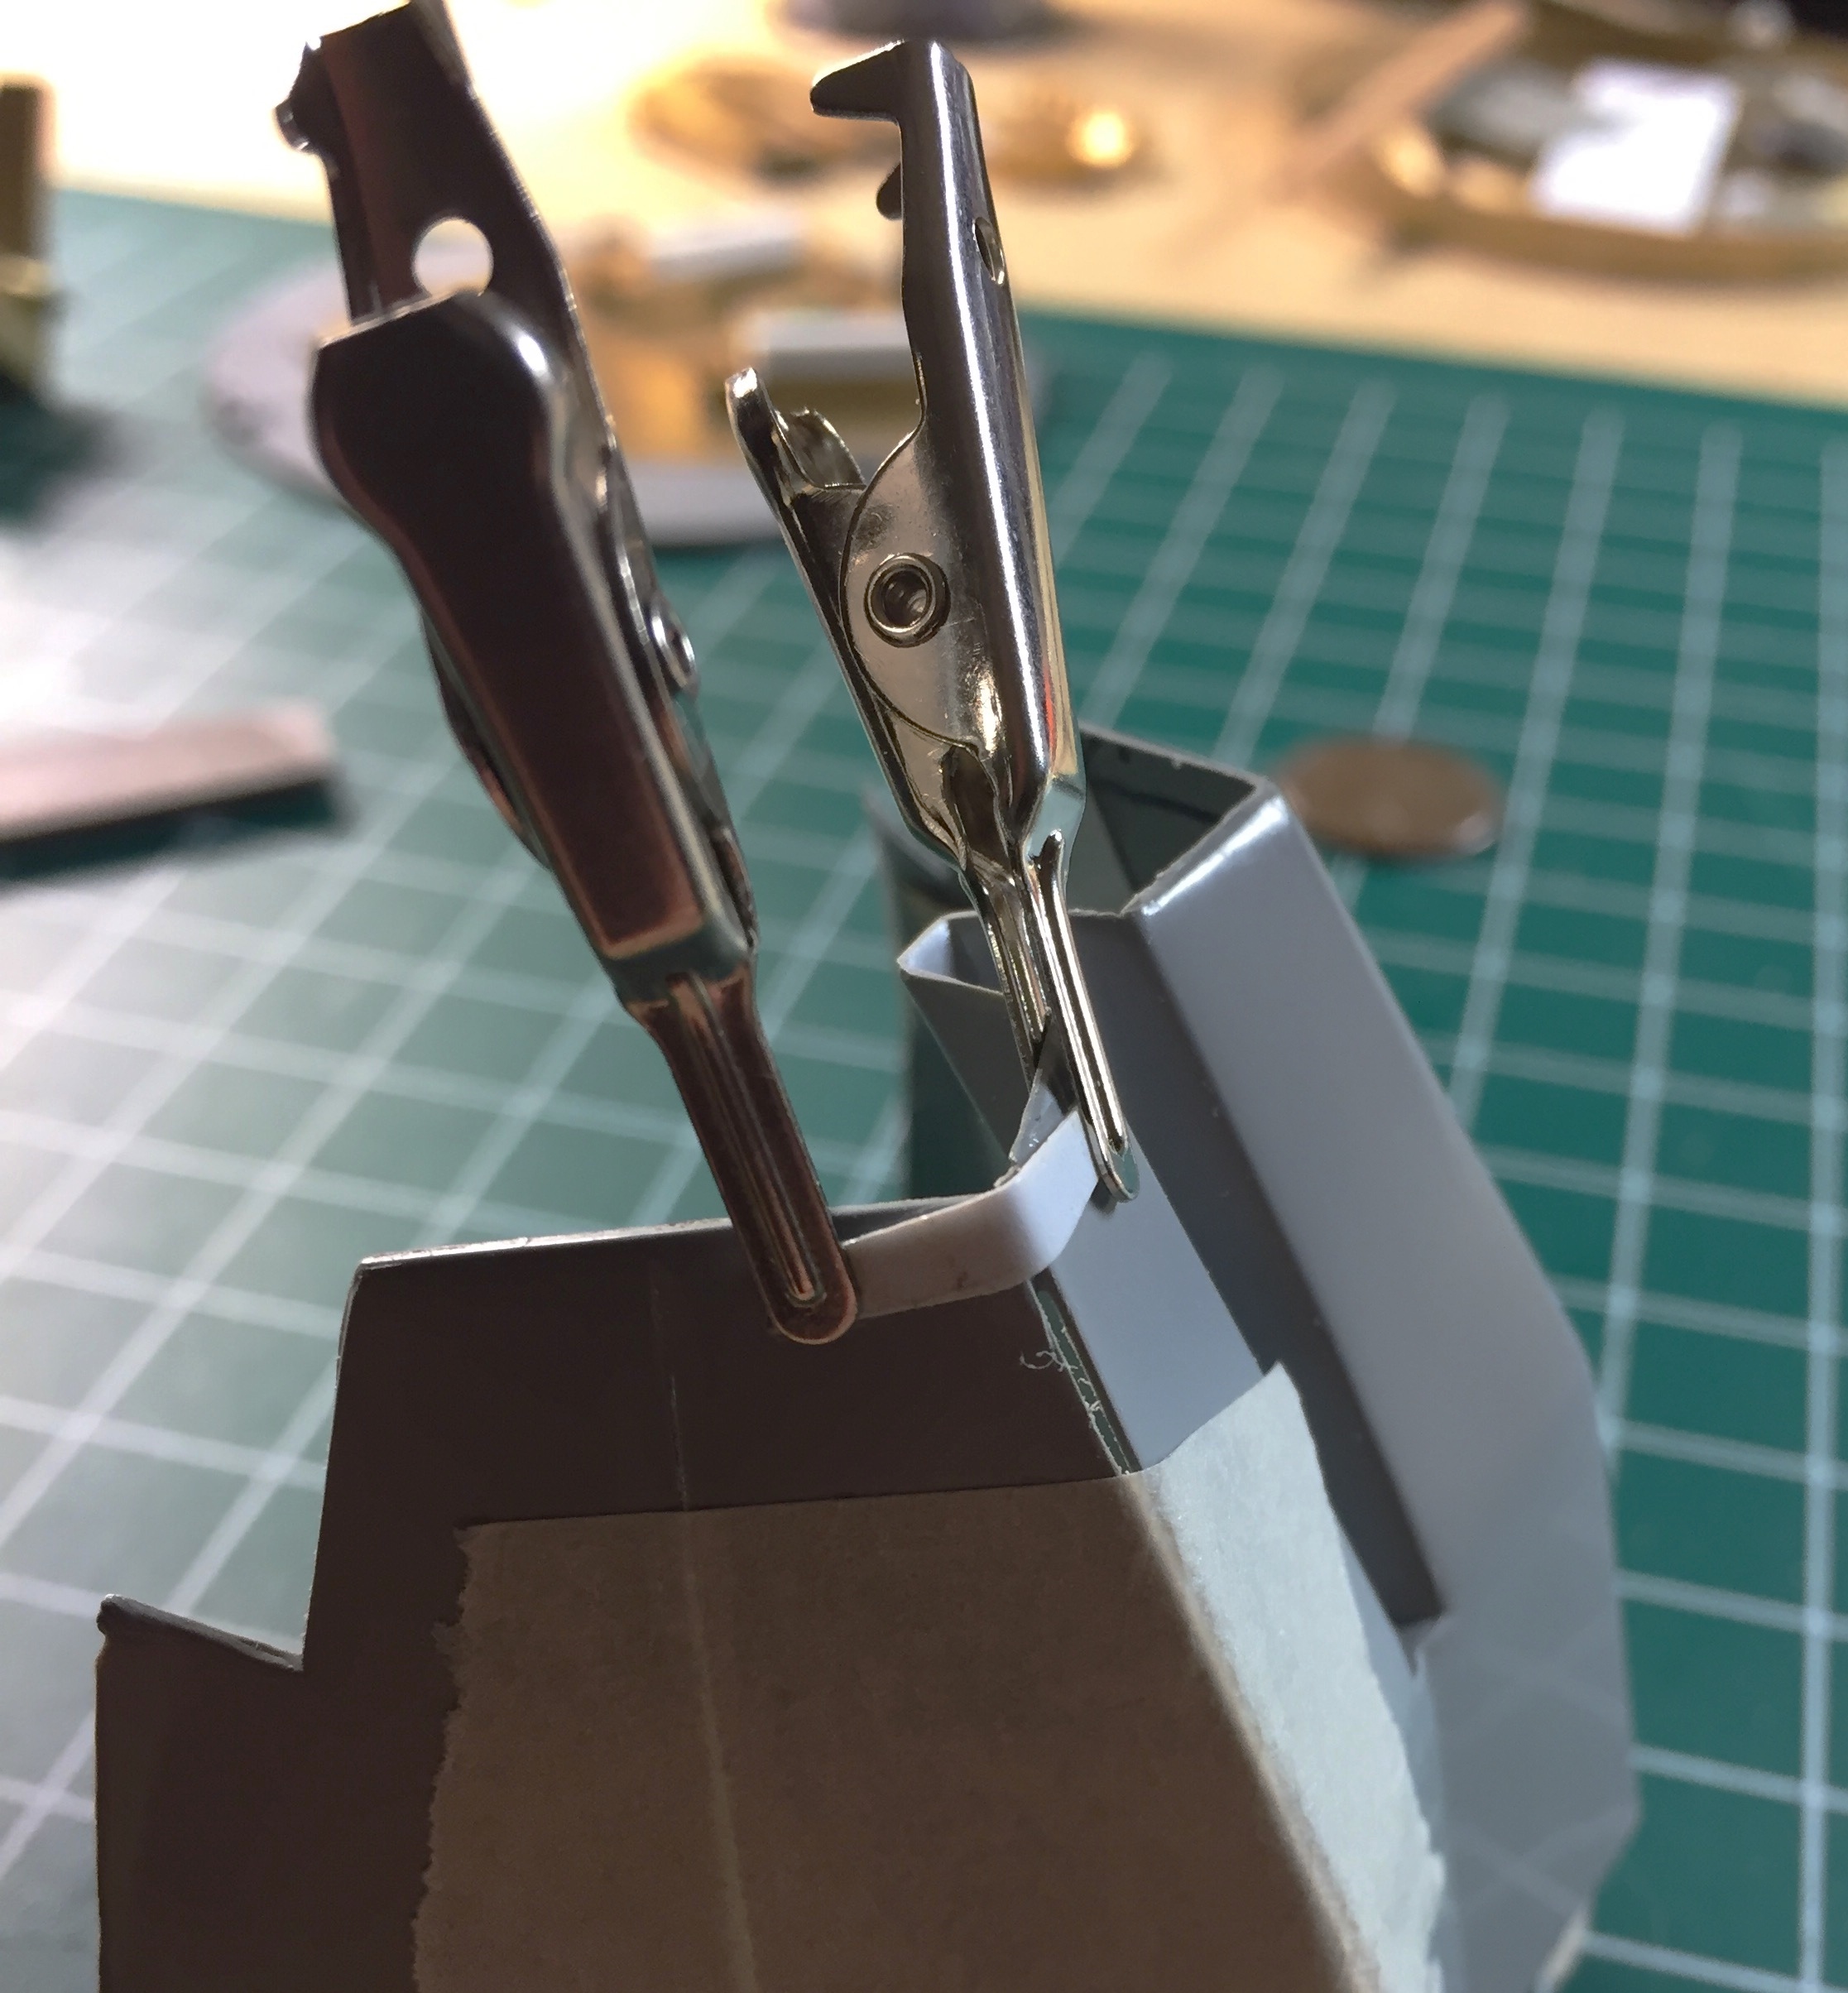

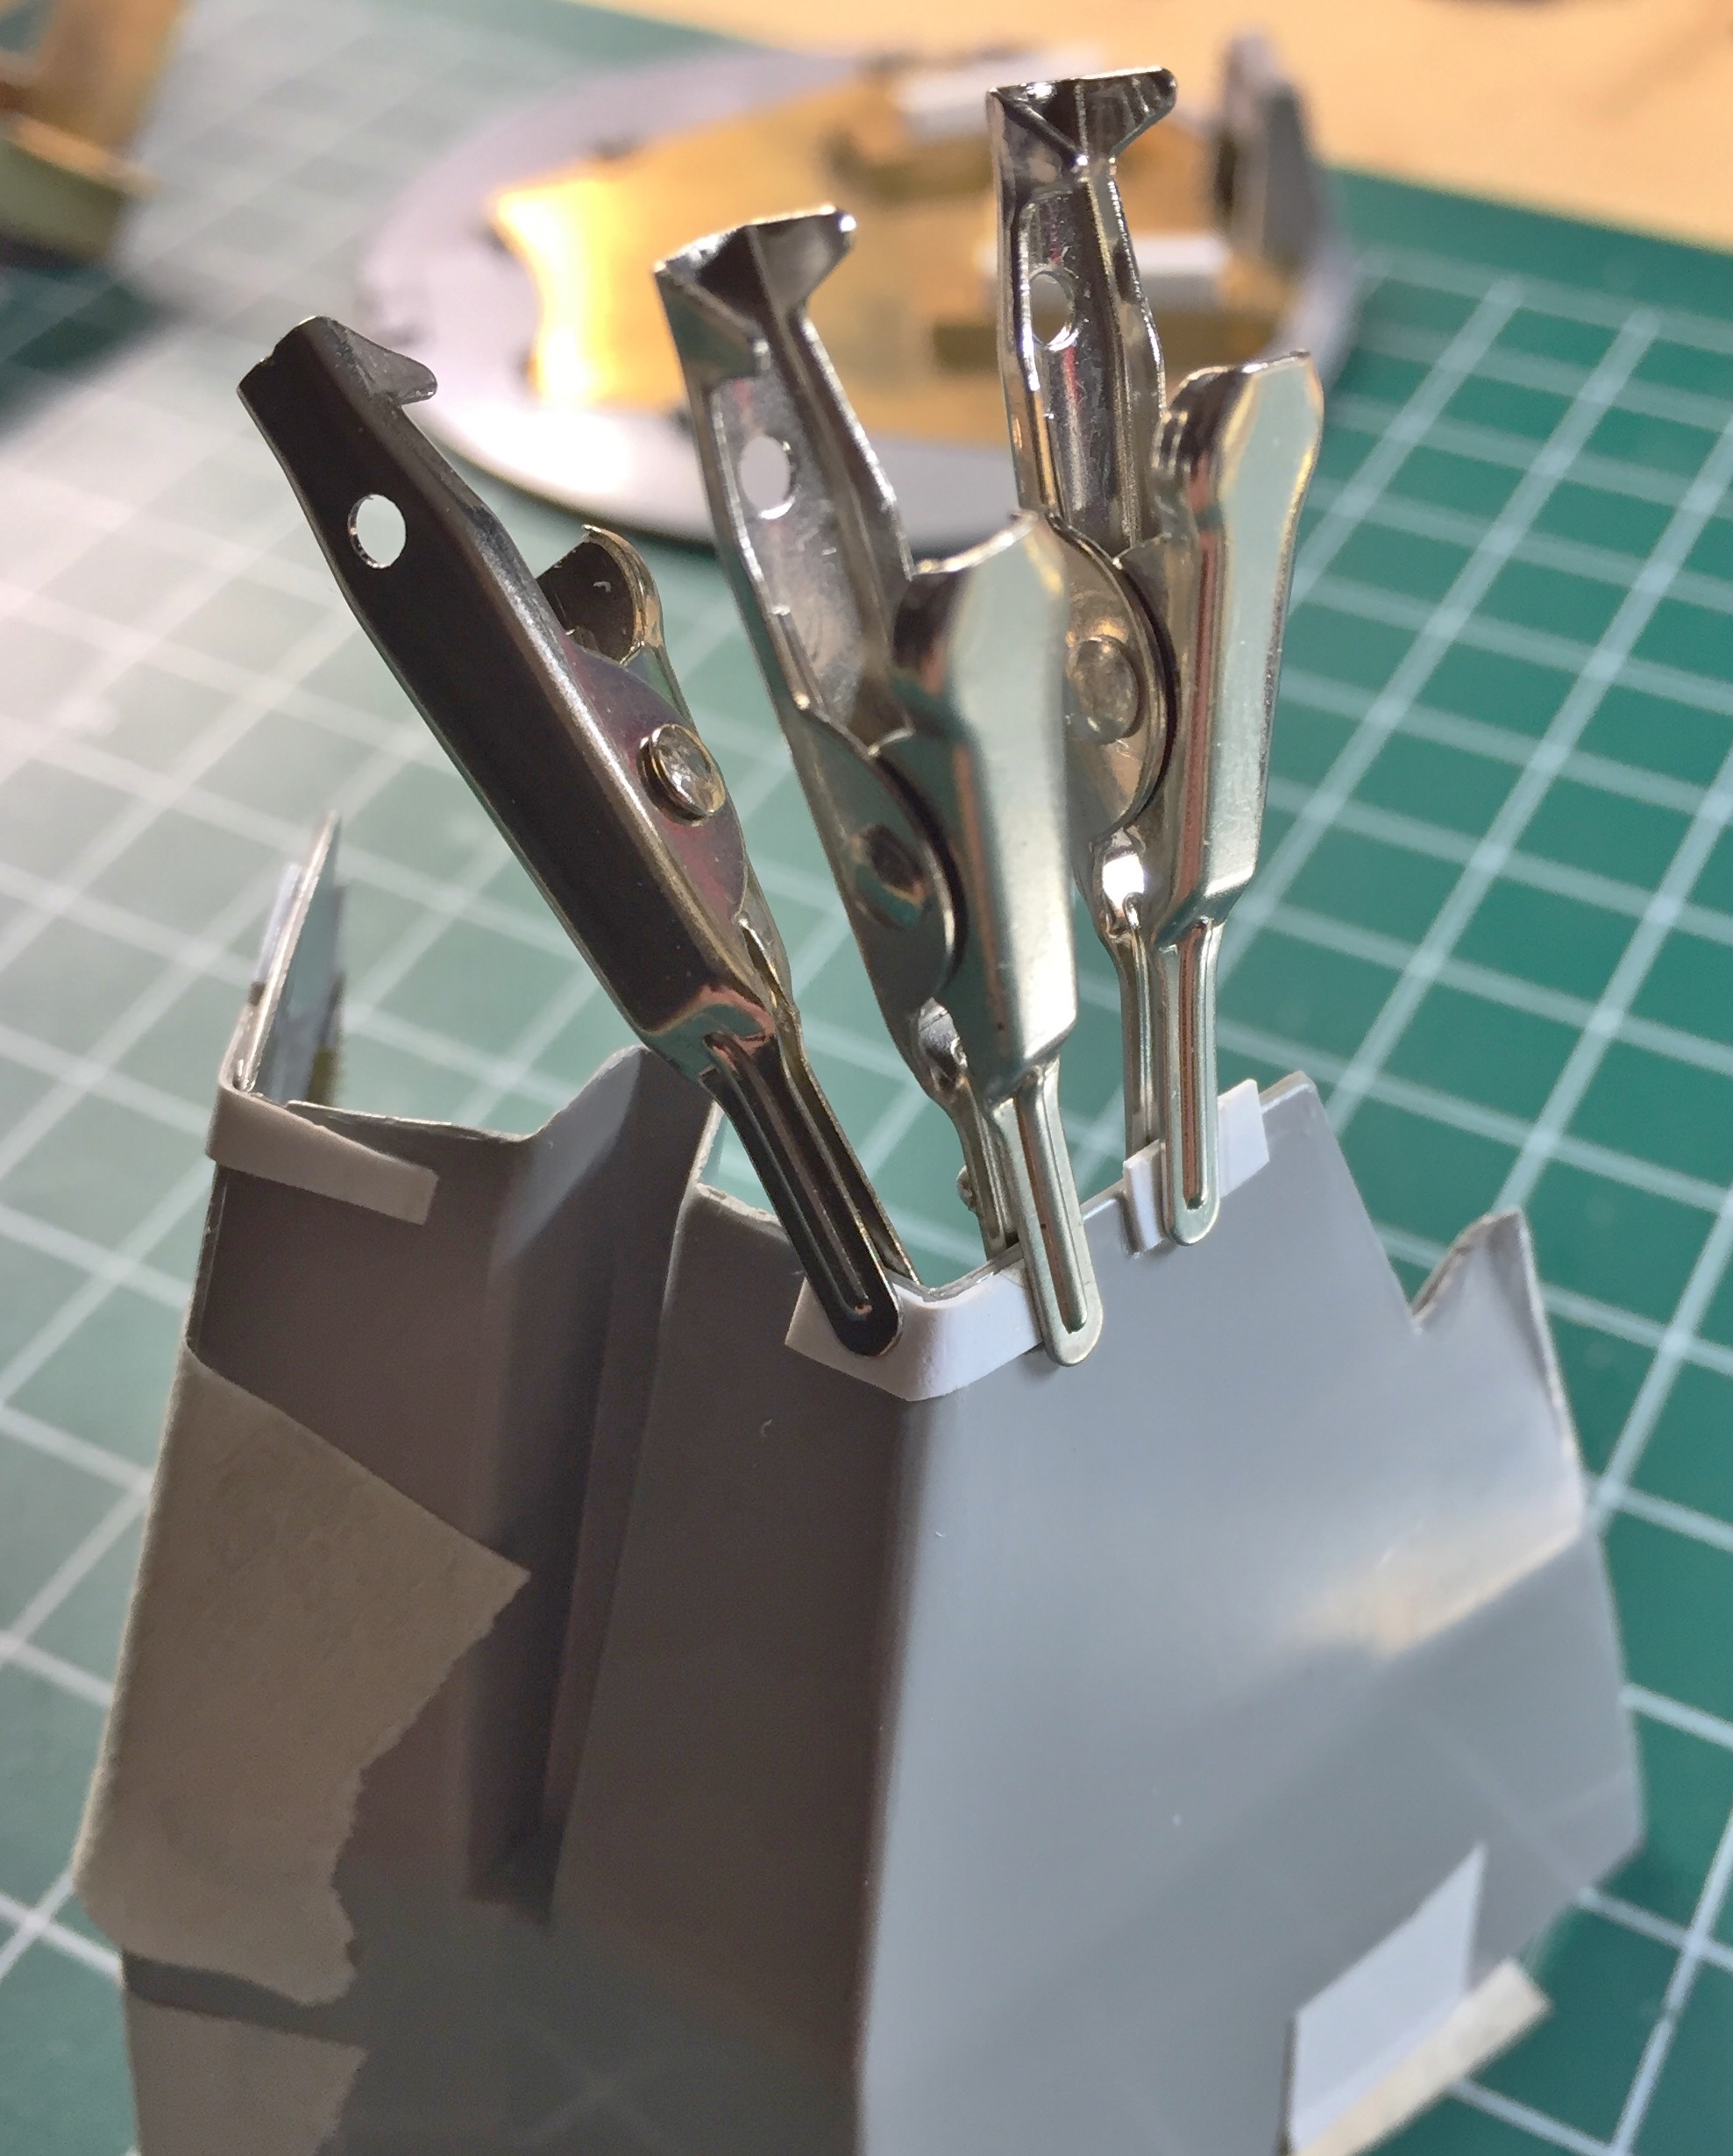
That allowed me to bend the side out without anything snapping (again):
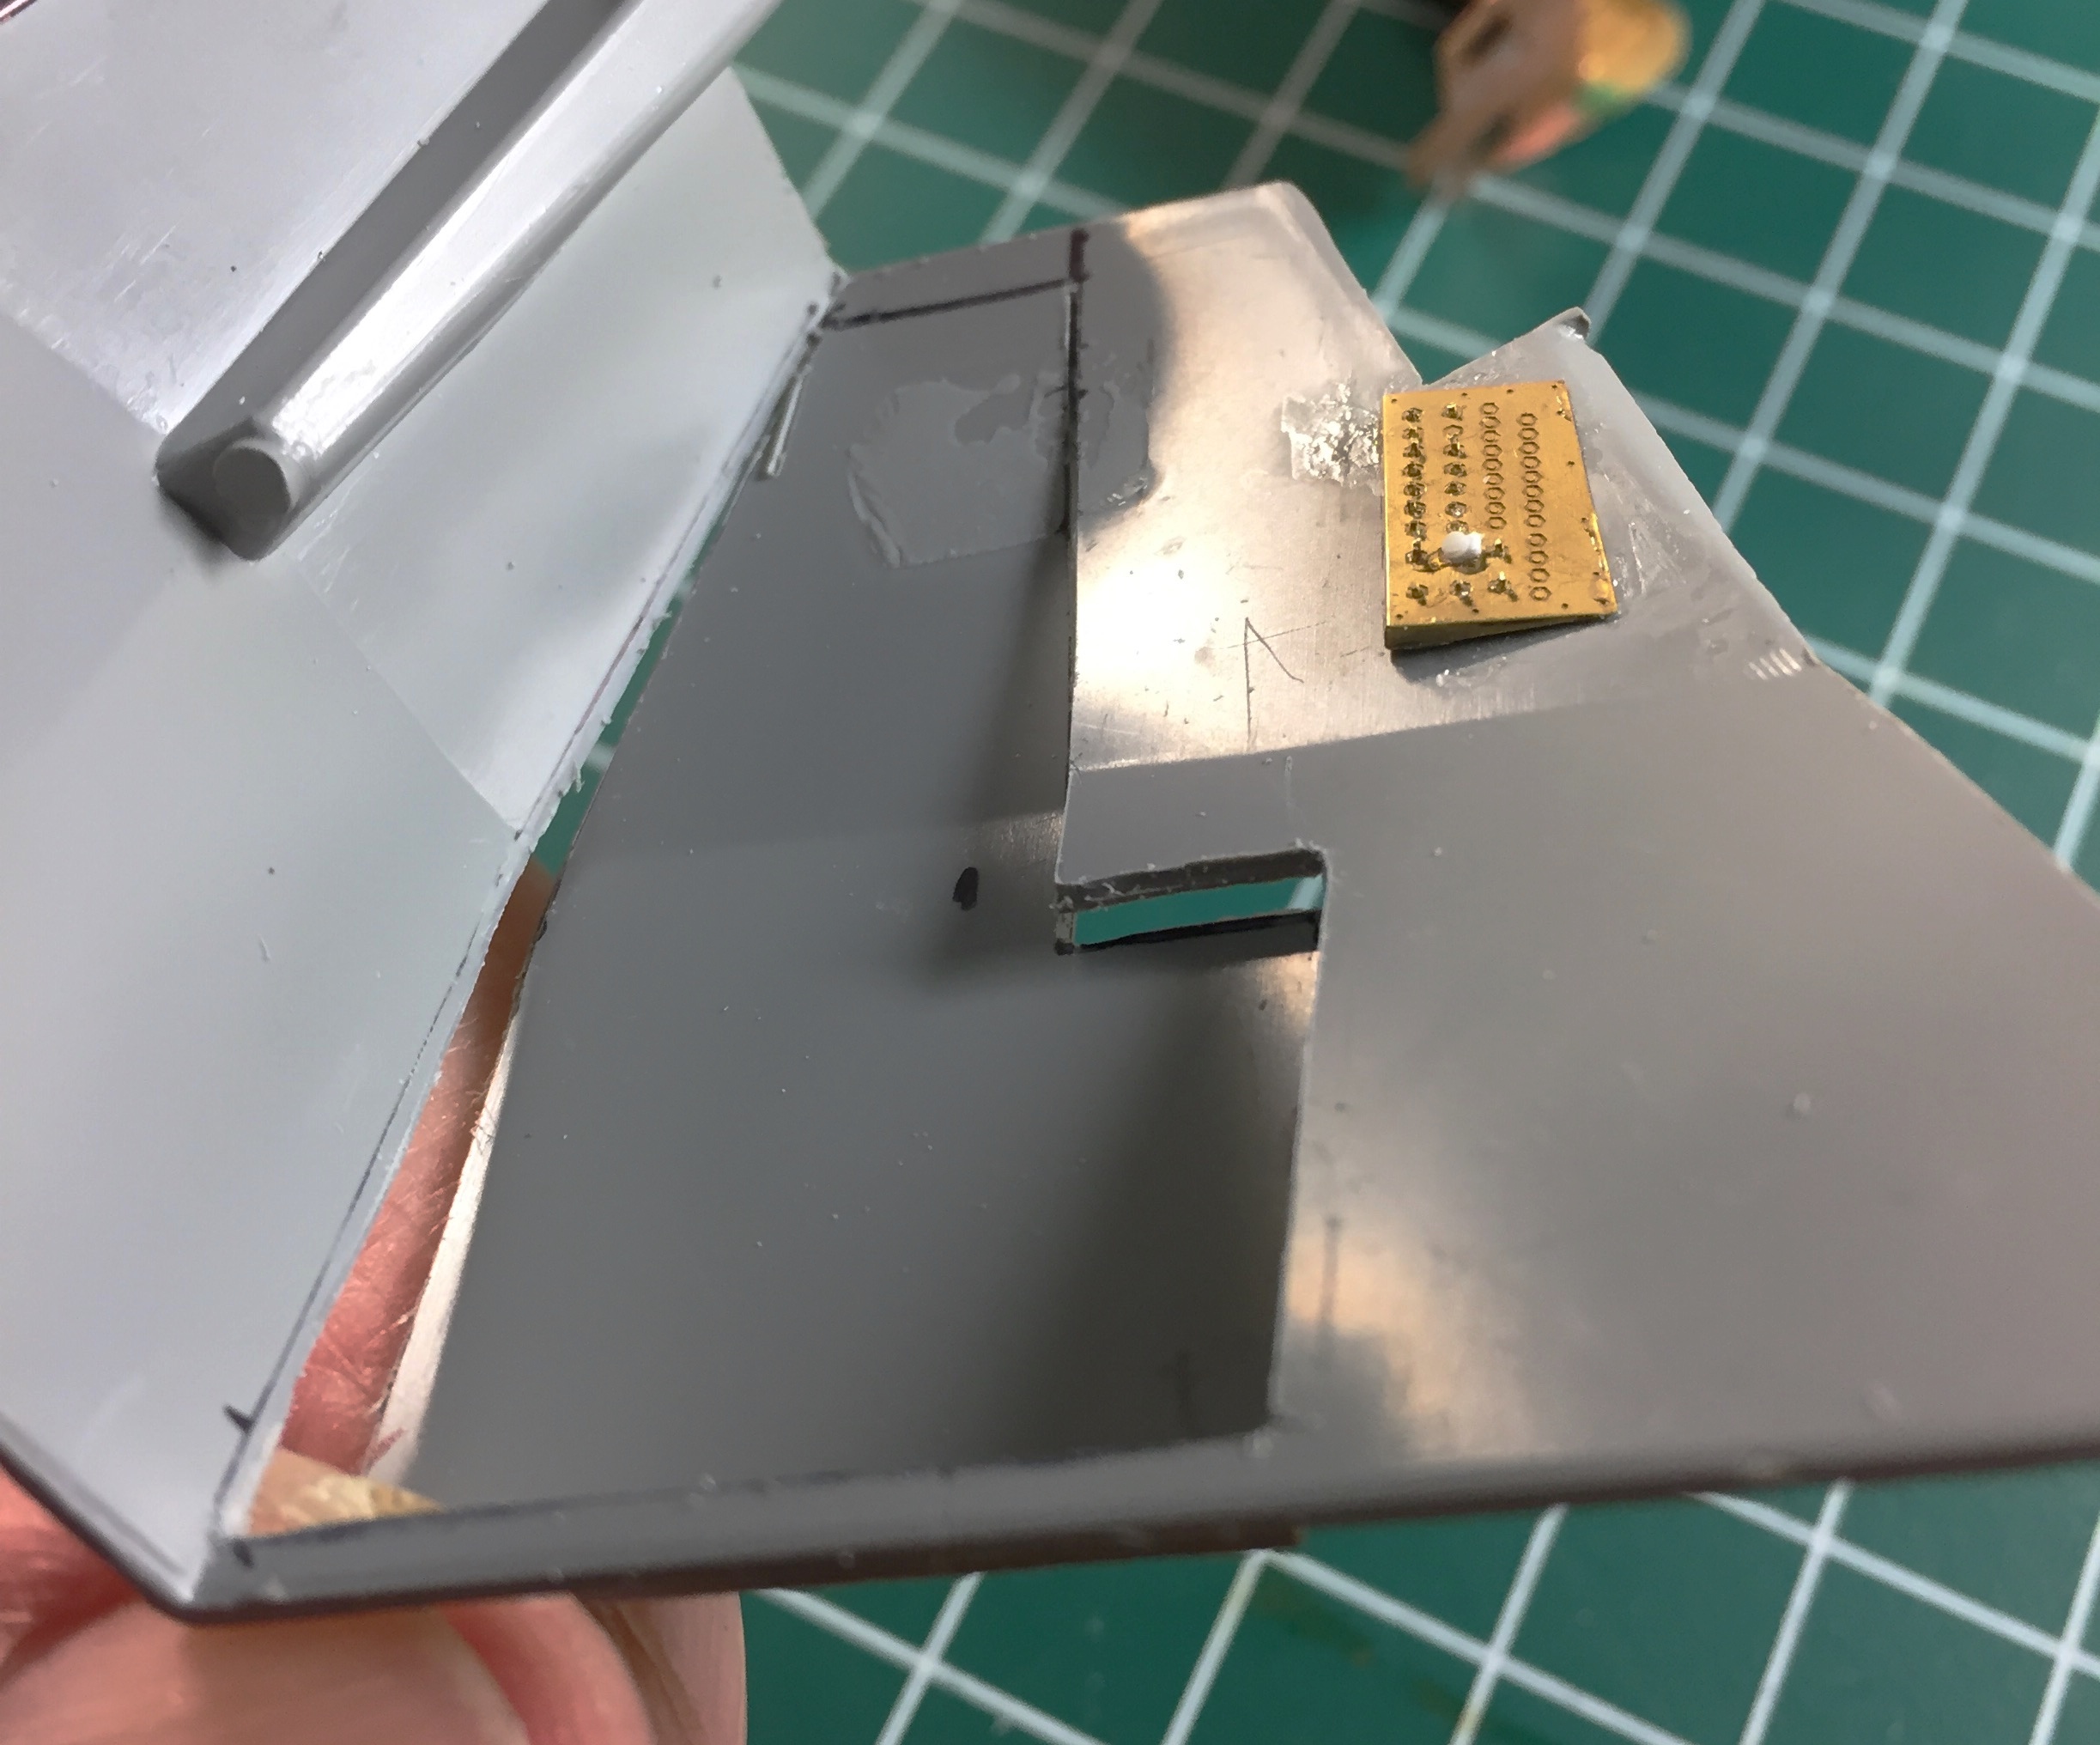
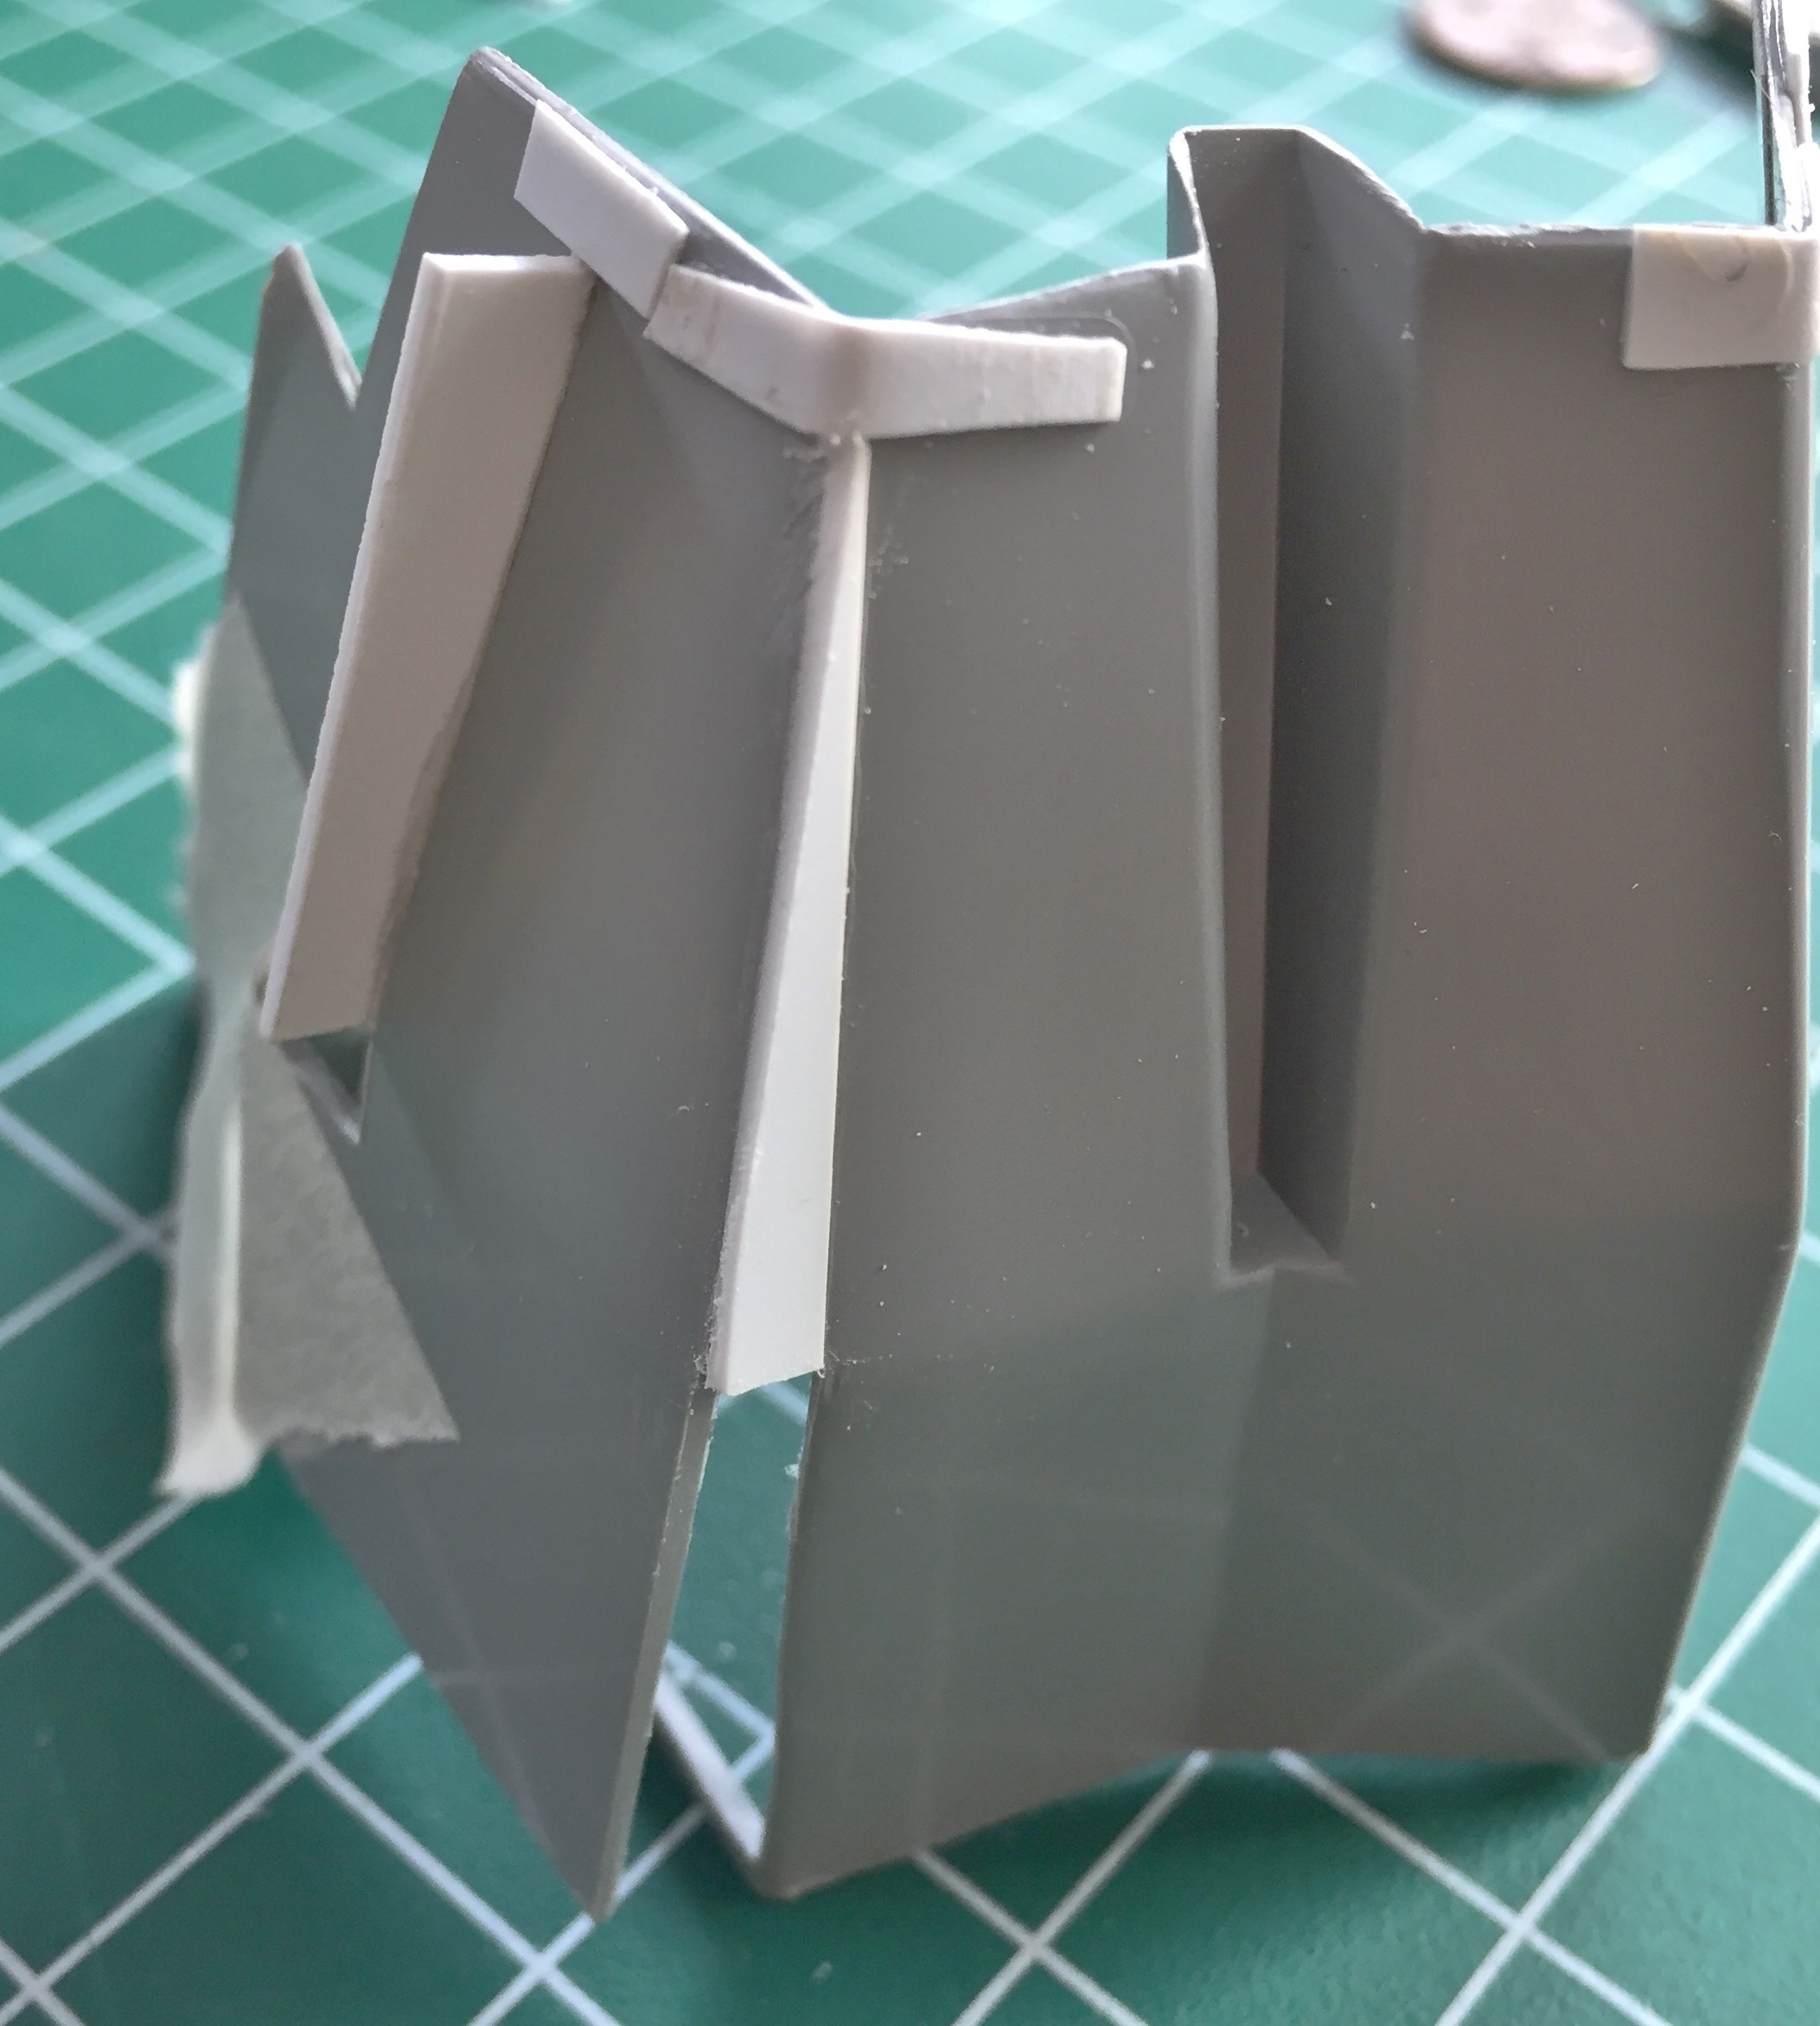
For strength, I boxed the open sides using .040″ (1.016mm) styrene:

Once I’d finished boxing the side, I trimmed the excess:
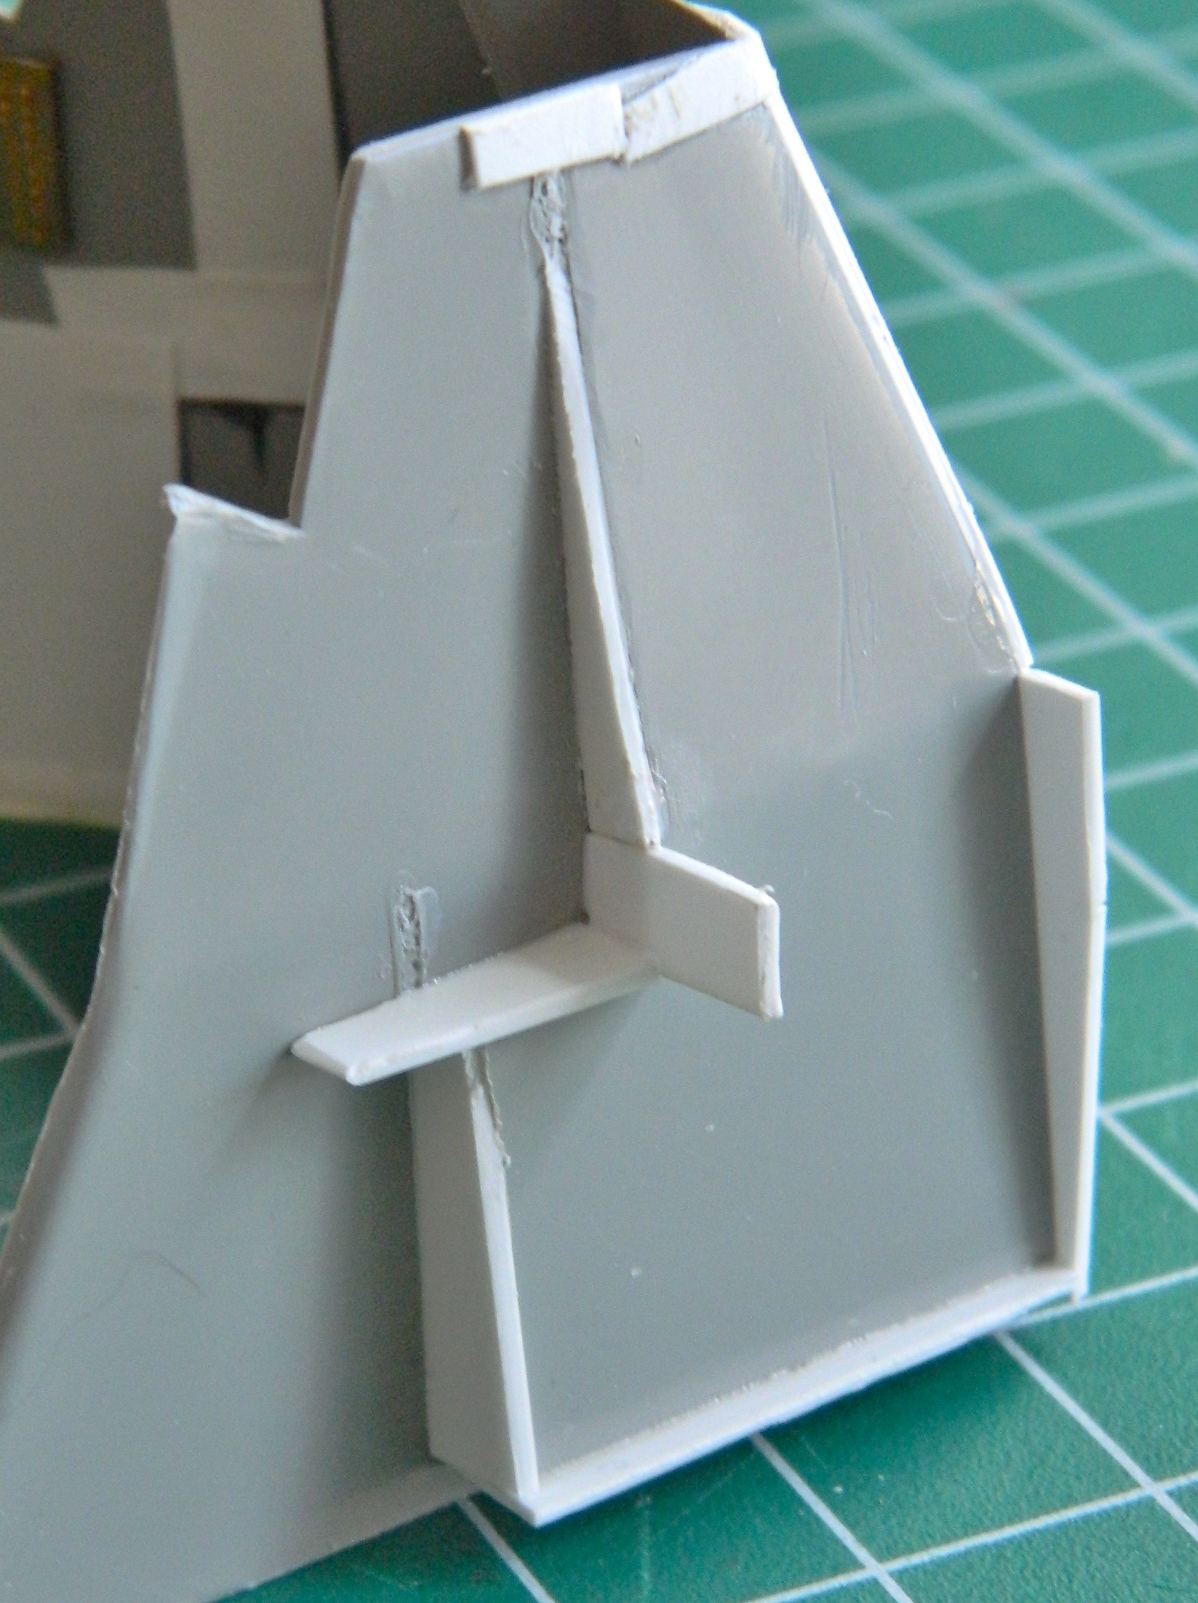
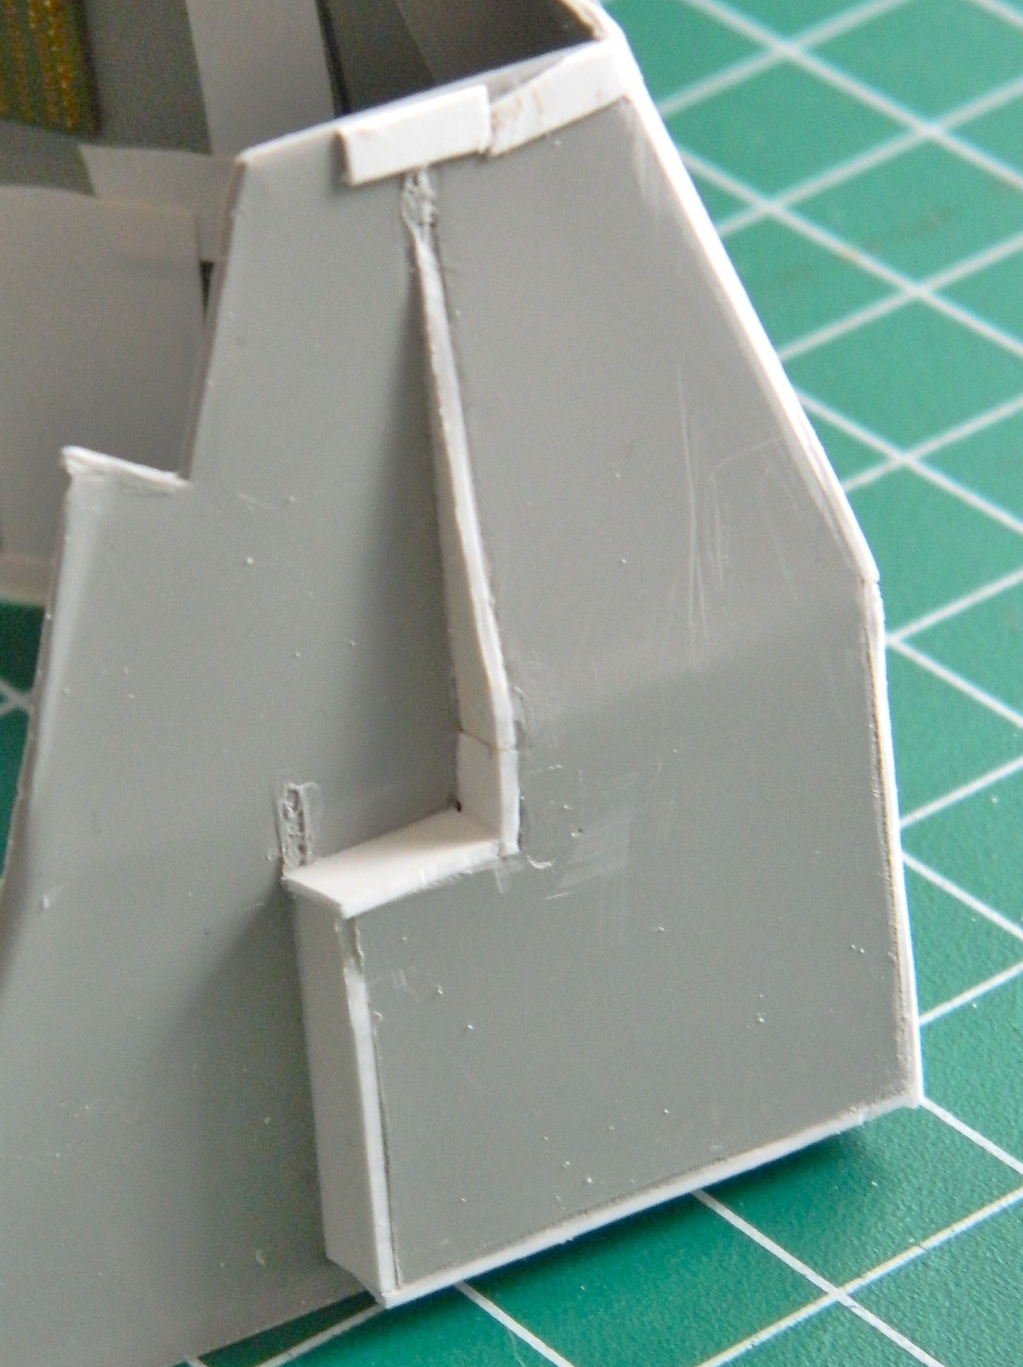
And that left me with this:
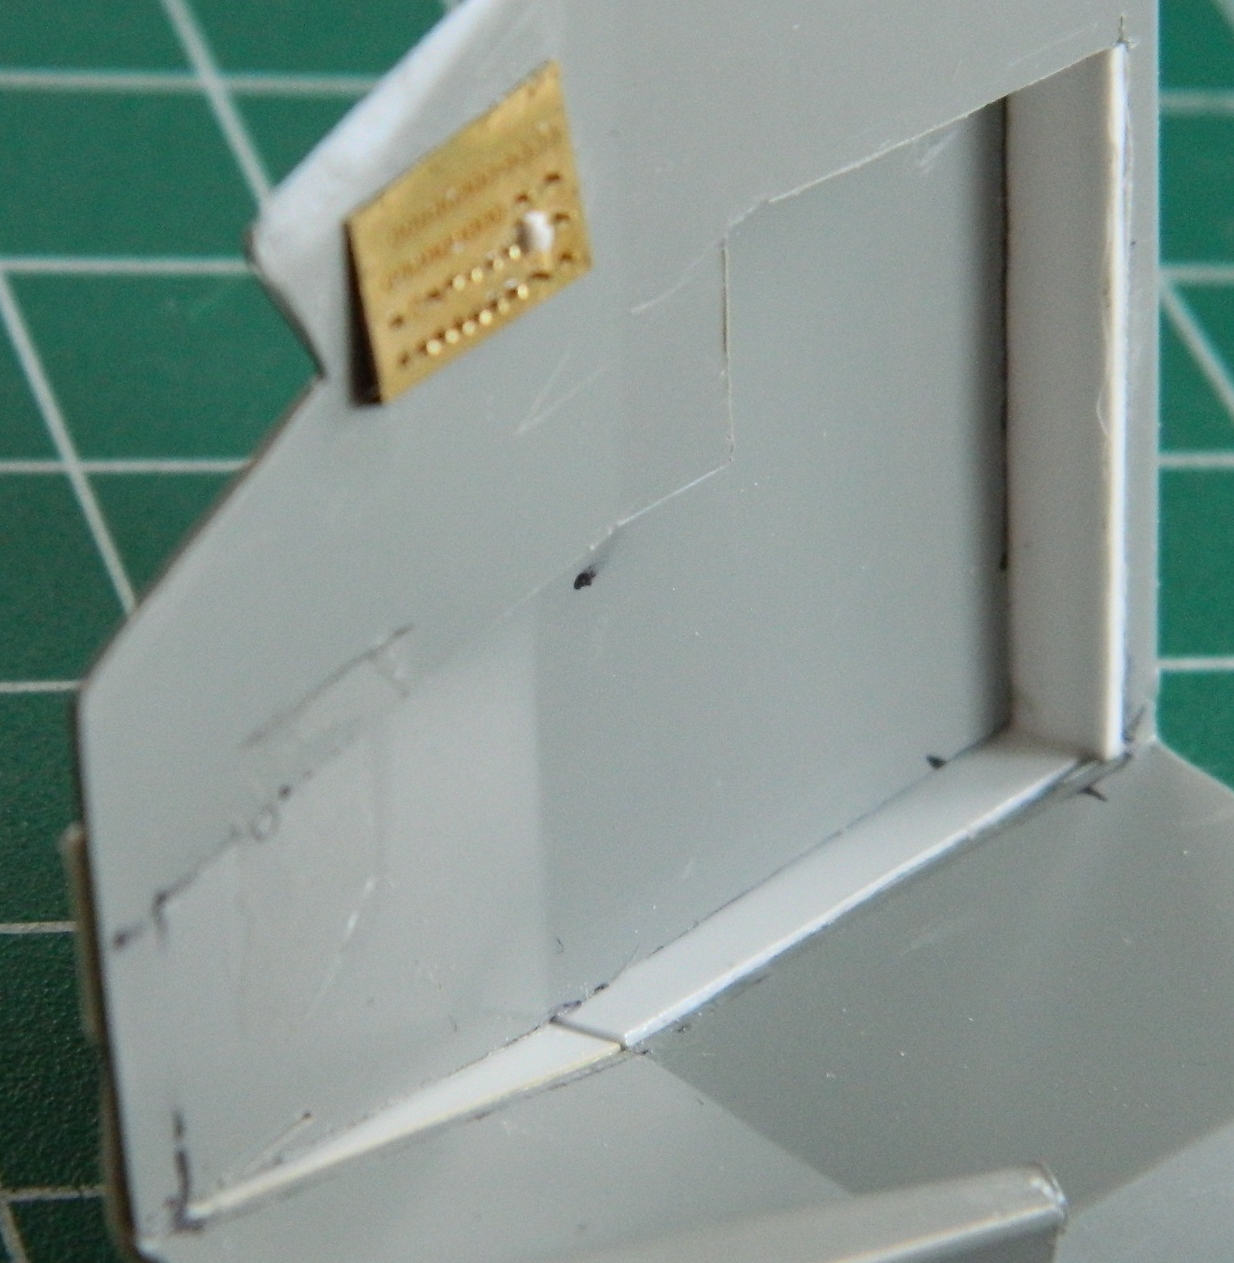
The seams got a coat of putty, sanded smooth, and then the seats were dry-fit:
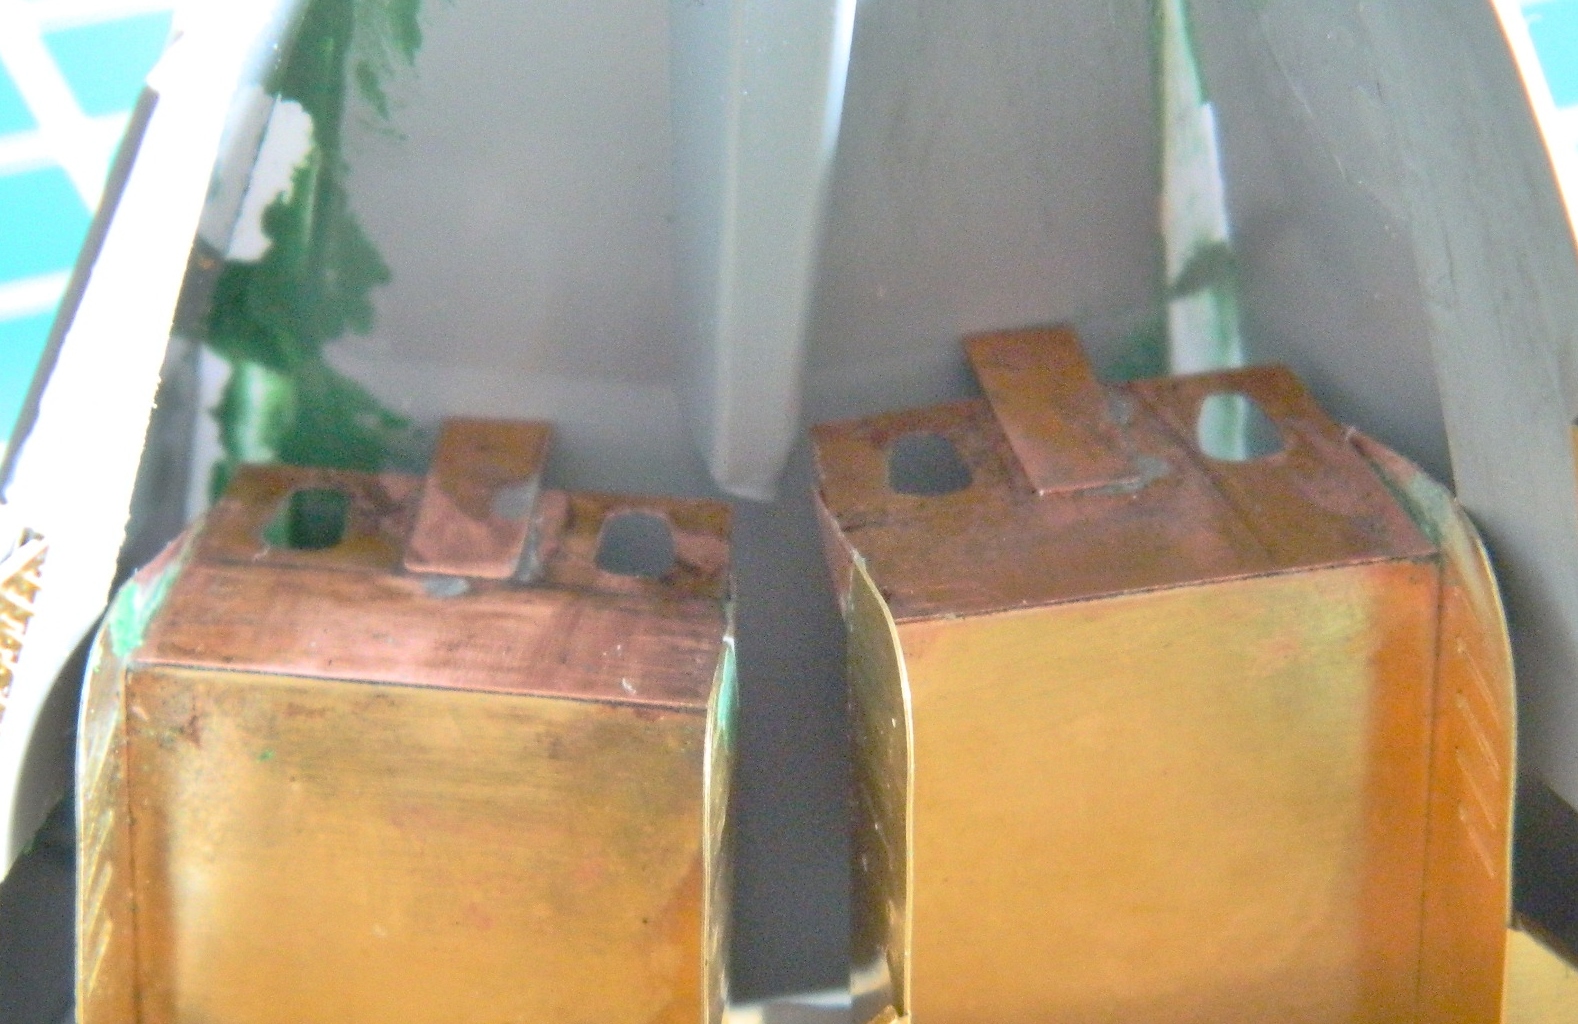

Things fit, mostly, except for the center (and a little bit of trimming of the copper shim stock I added). To get the seats to sit as far down as they need to, I have to trim that. Since trimming away the end of that raised area cut all the way through, I had to add a piece of .080″ (2.032mm) scrap to fill the holes, trimmed it to fit, added a bit of putty, and sanded the area smooth:

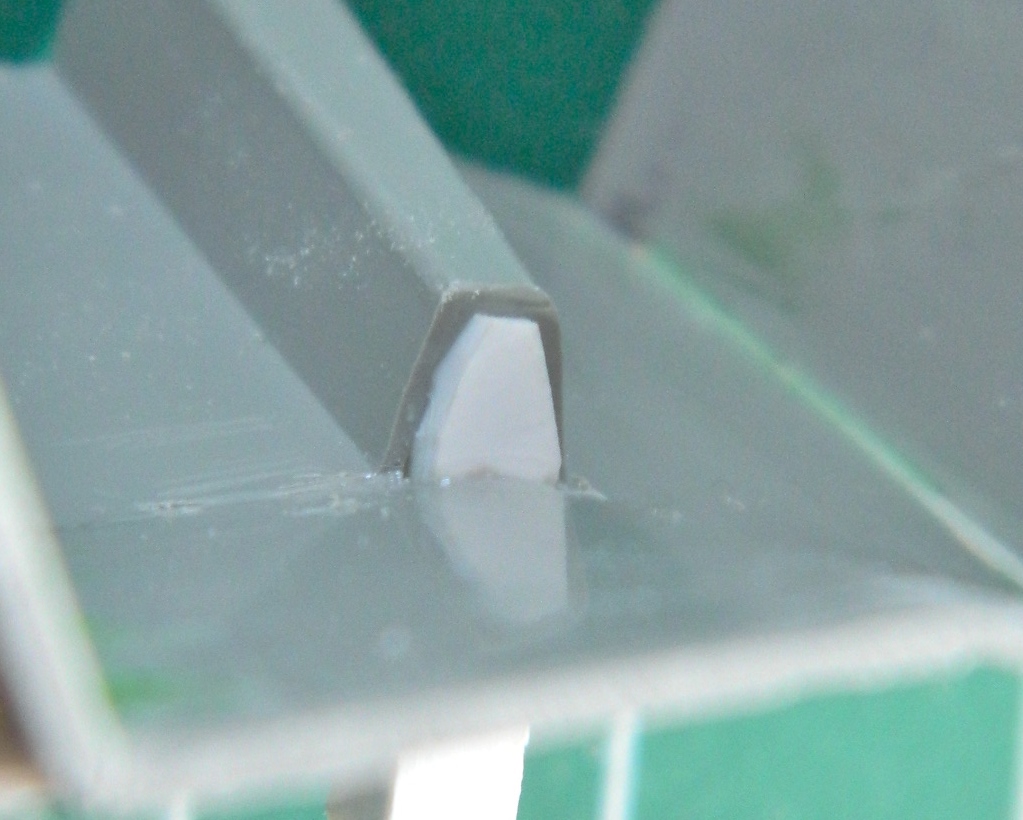
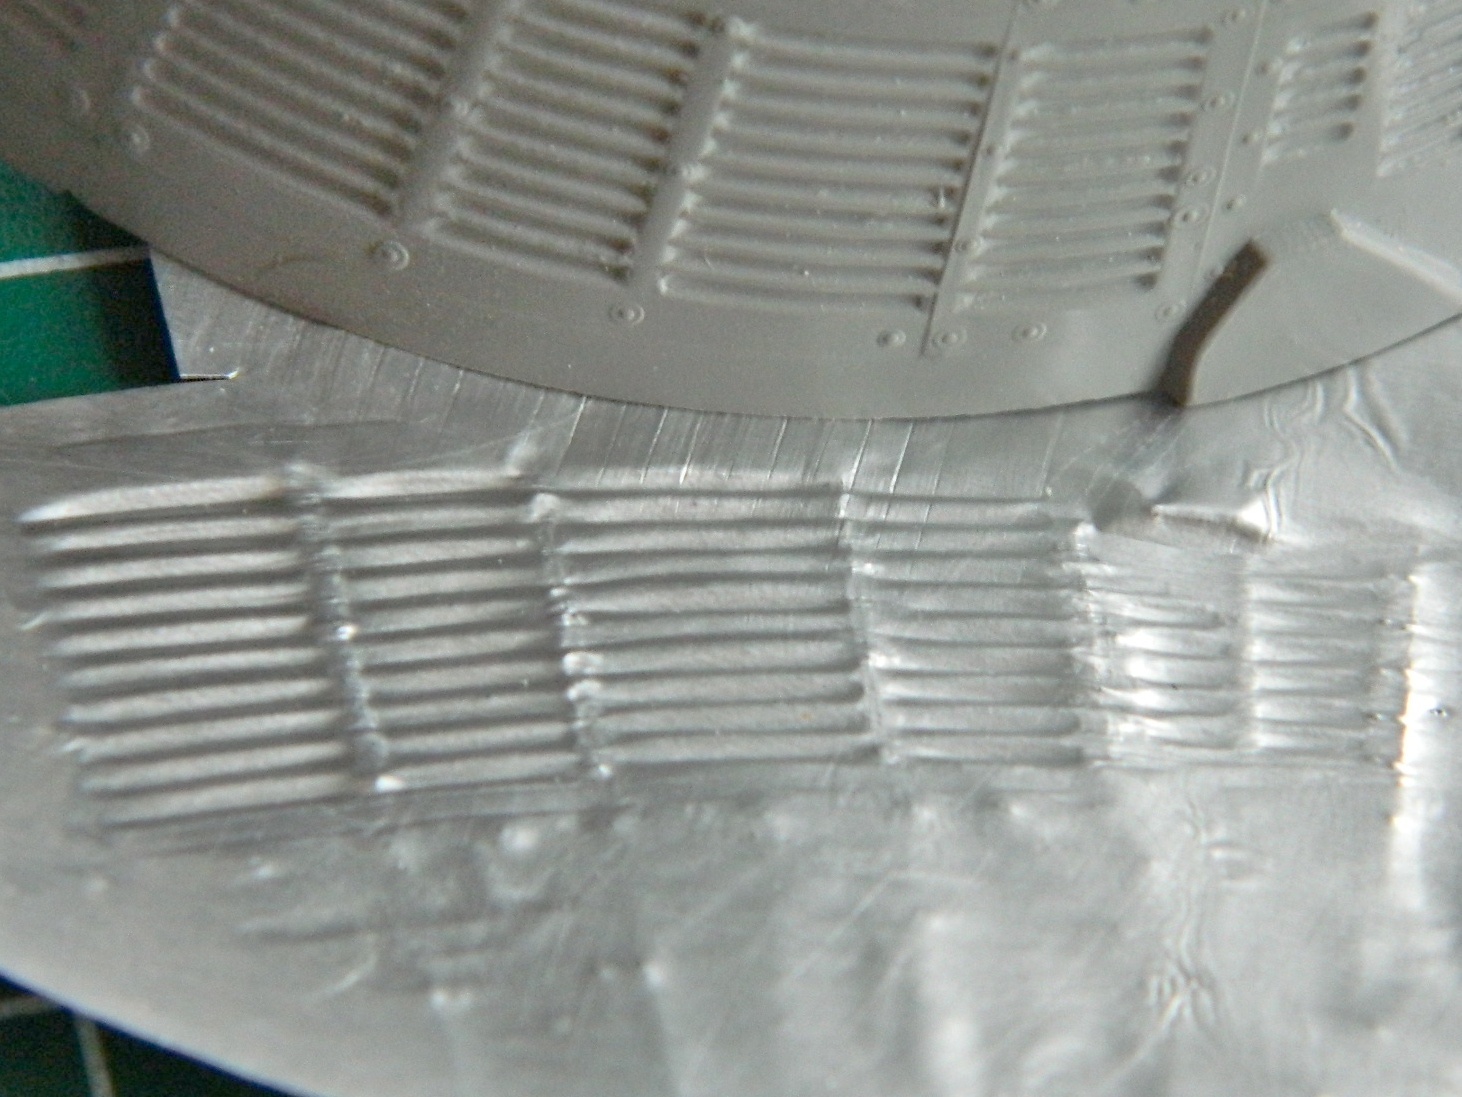
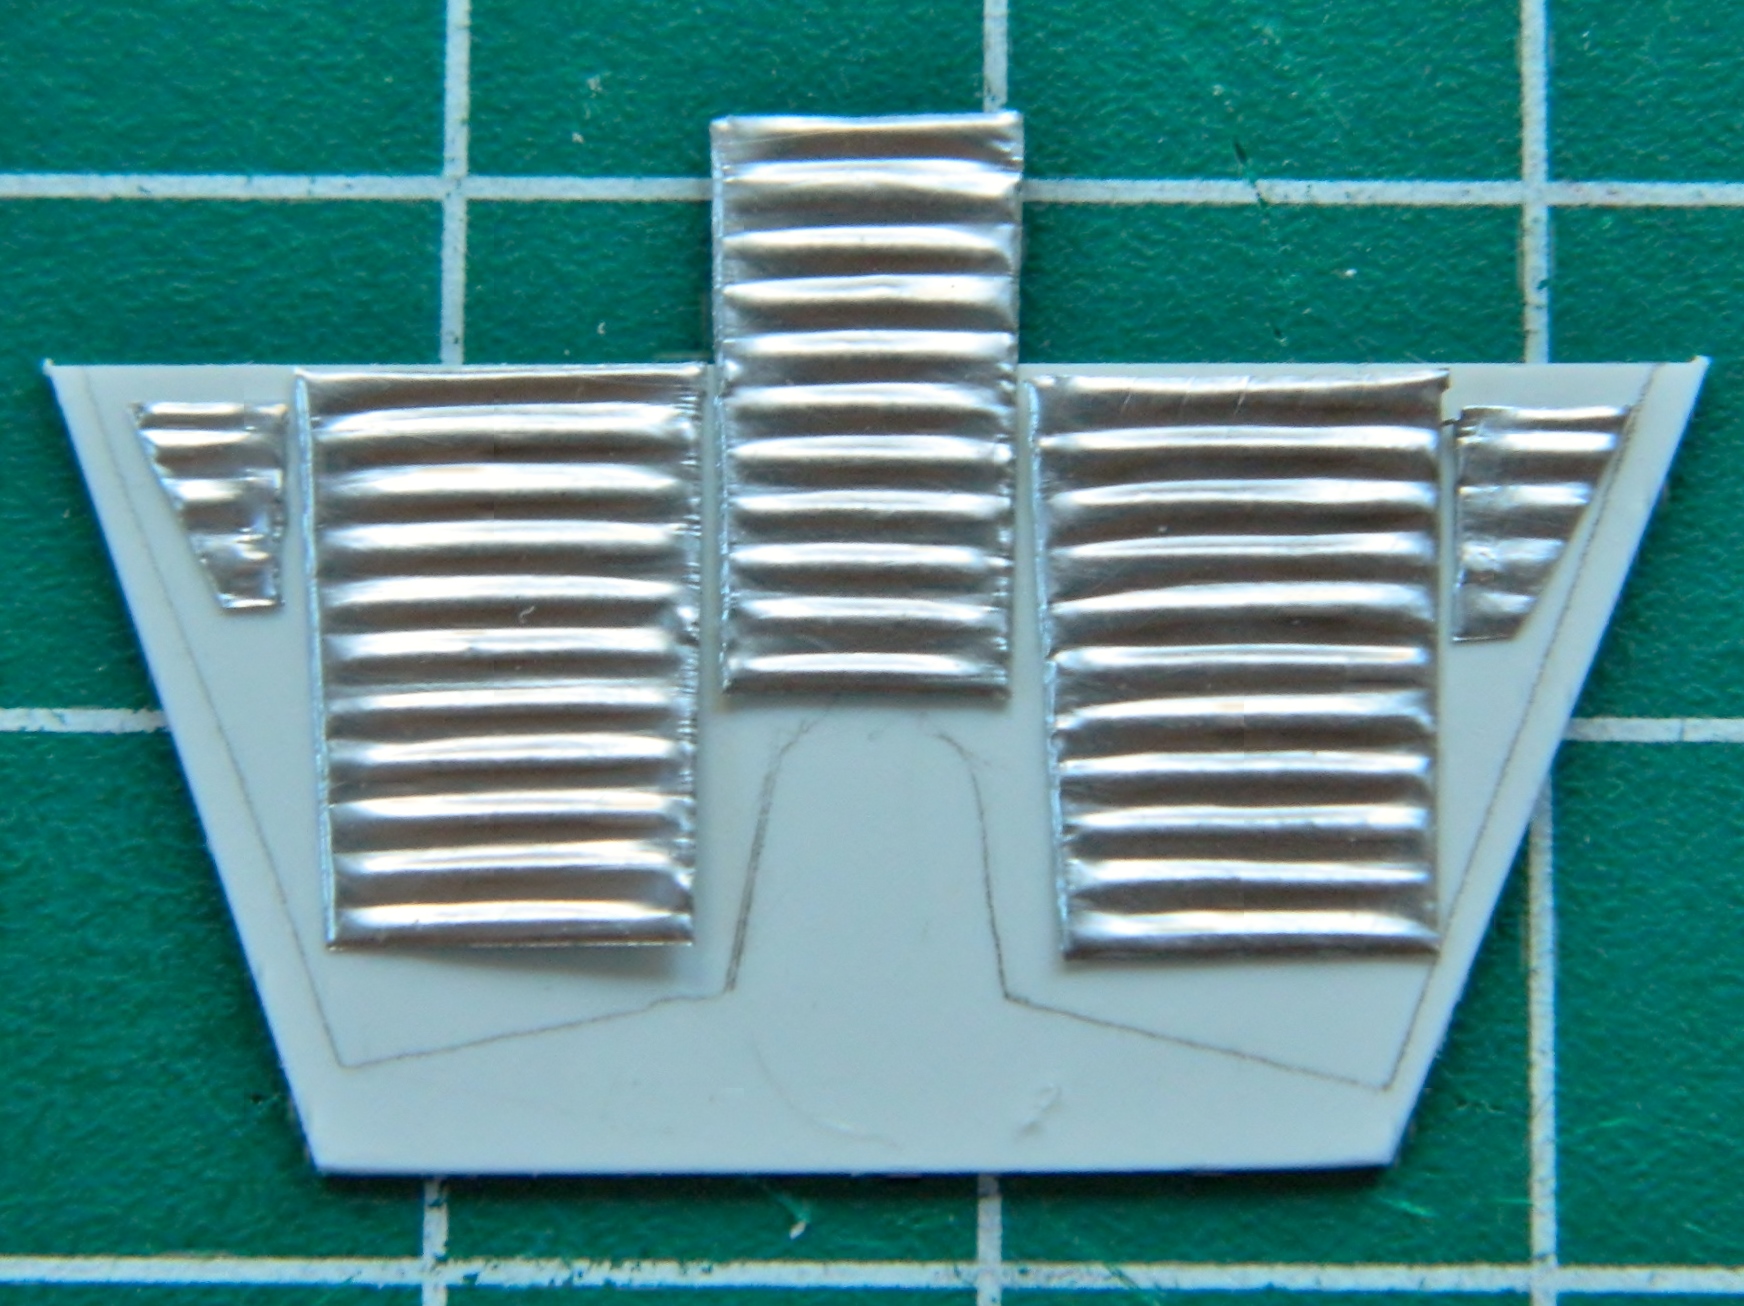
During dry-fitting I noticed that the open front of the cabin was visible. While I was modifying the cabin walls and floor, I mocked up the part I will fix that with. I’ve also noticed that the walls of the cabin are also corrugated. I took some heavy aluminum foil and rubbed the exterior corrugations to give me thin corrugated panels that will get glued and puttied onto the front wall later in the build:

Getting back to the seats (that will now fit into the cabin), I had to add fabric texture to some of the parts. That long, white, piece of plastic is actually a zippered pouch and it needed a fabric texture (and there are other pouches behind the seat that need adding and fabric texture). I’d considered tissue paper and diluted white glue but it didn’t offer me quite the texture I was after. I ended up using a flushable wipe (which, I’ve come to find out, aren’t at all flushable…I mean, you can flush them, but you can also flush marbles, too…doesn’t mean they’ll dissolve) because of its woven texture (let them dry out first):
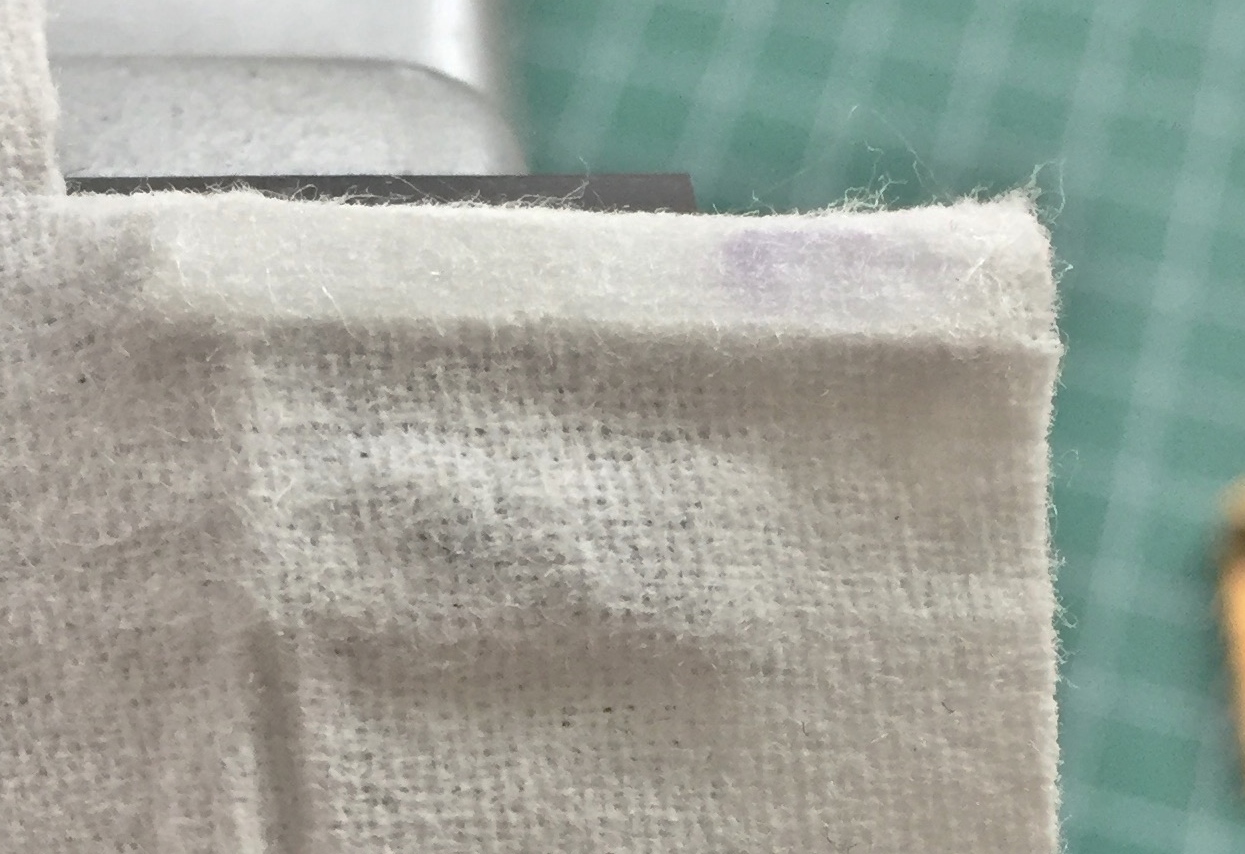
I draped the wipe over the plastic and then dripped superglue through the weave onto the plastic. Once the glue set, I added a bead using 40 gauge wire. The front of this compartment zips open and there’s a welt that runs around the zippered opening. Later after it’s painted I’ll draw the zipper in using a sharp pencil:

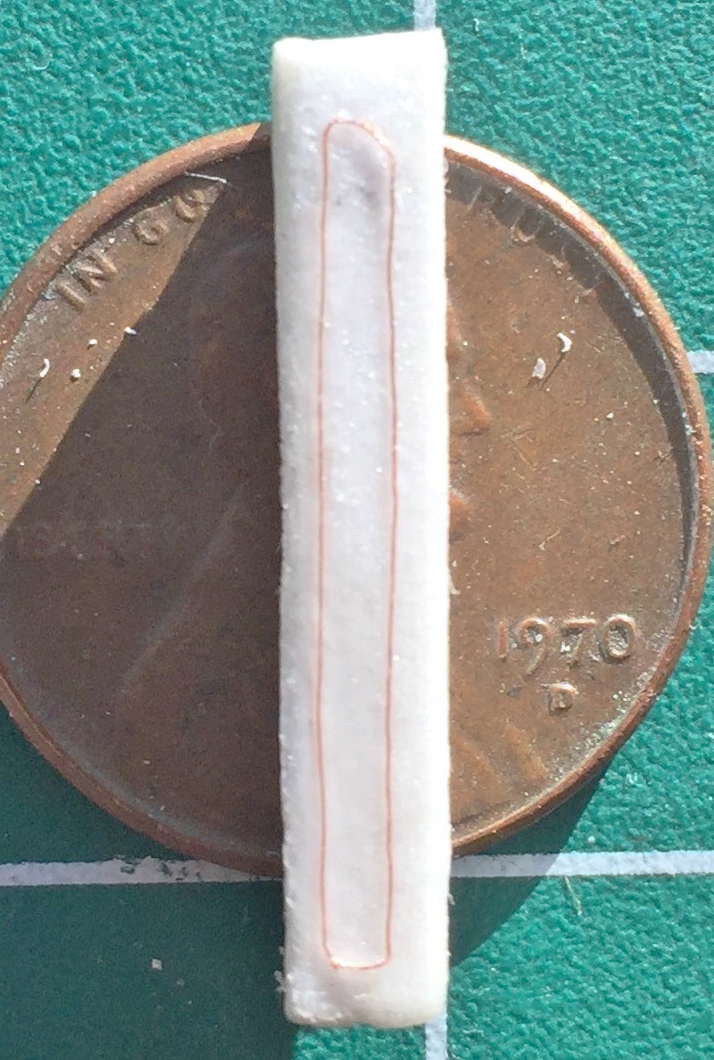
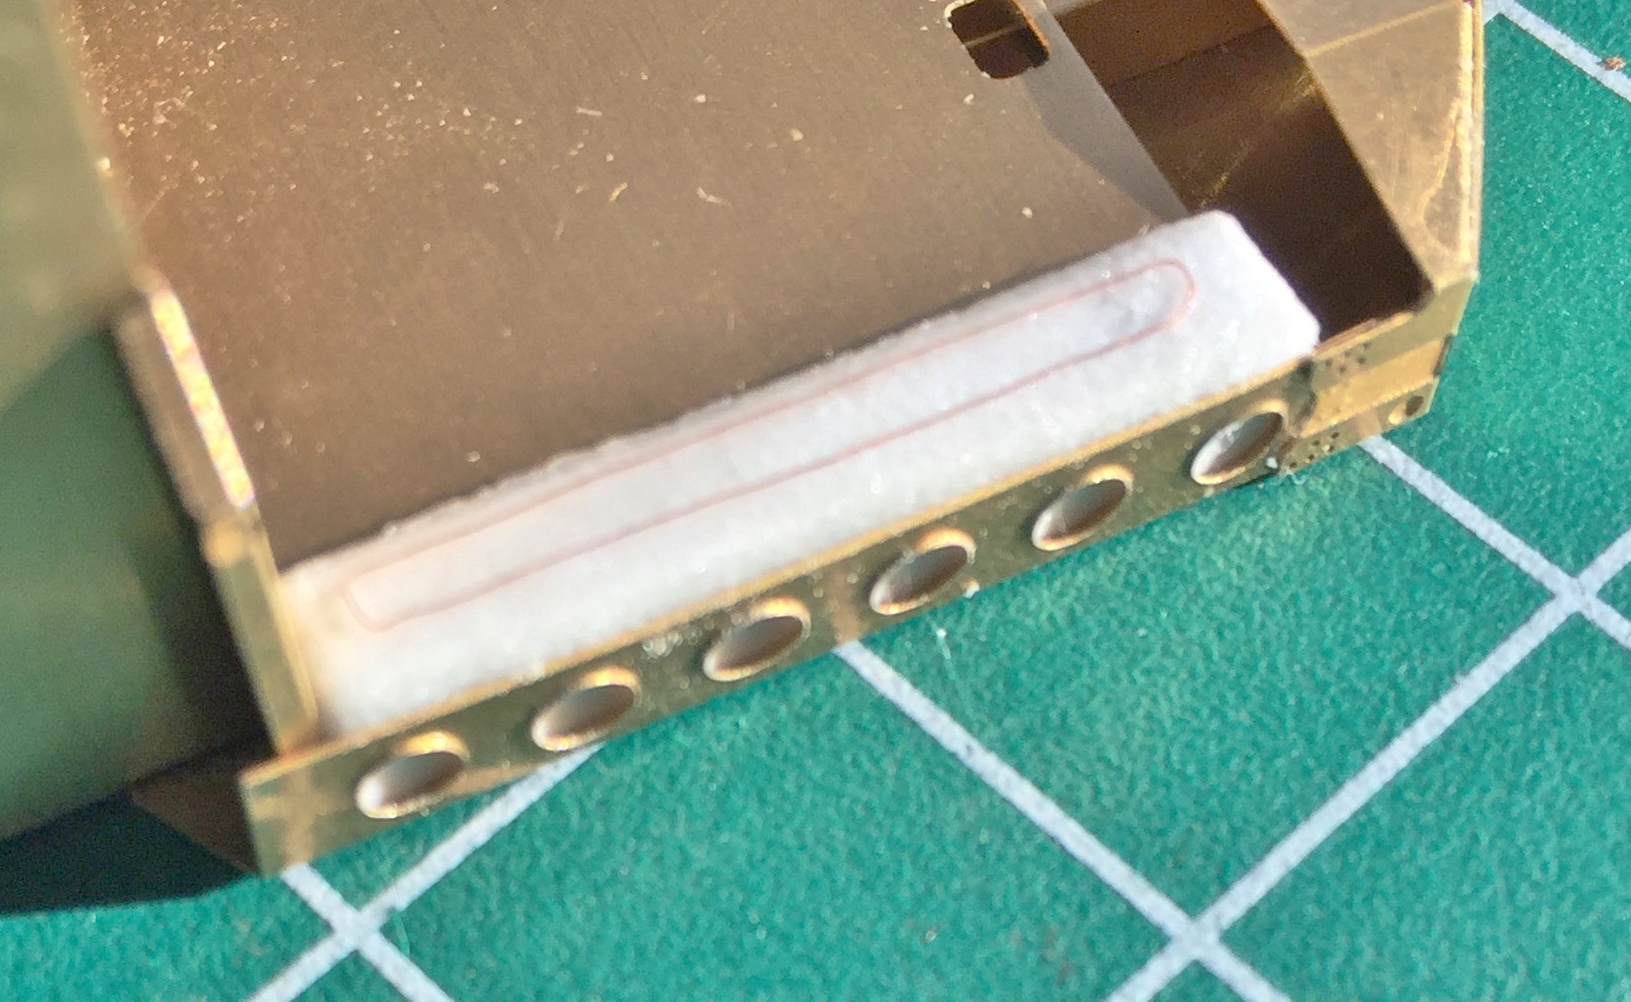
Some additional trimming of the fabric is needed, but even as it is, it looks much better than bare plastic:

Needing a short change-of-pace, I checked to see how difficult it was going to be to open areas that were molded solid. The rectangles around the periphery of the rear cabin wall are actually openings that the catches of the hatches go into to close the hatches securely. Ideally those are hollows. Since they weren’t molded that way, I wanted to see if I could cut the hollows into the kit piece or if I was going to have to cut away the area and build something less inaccurate:
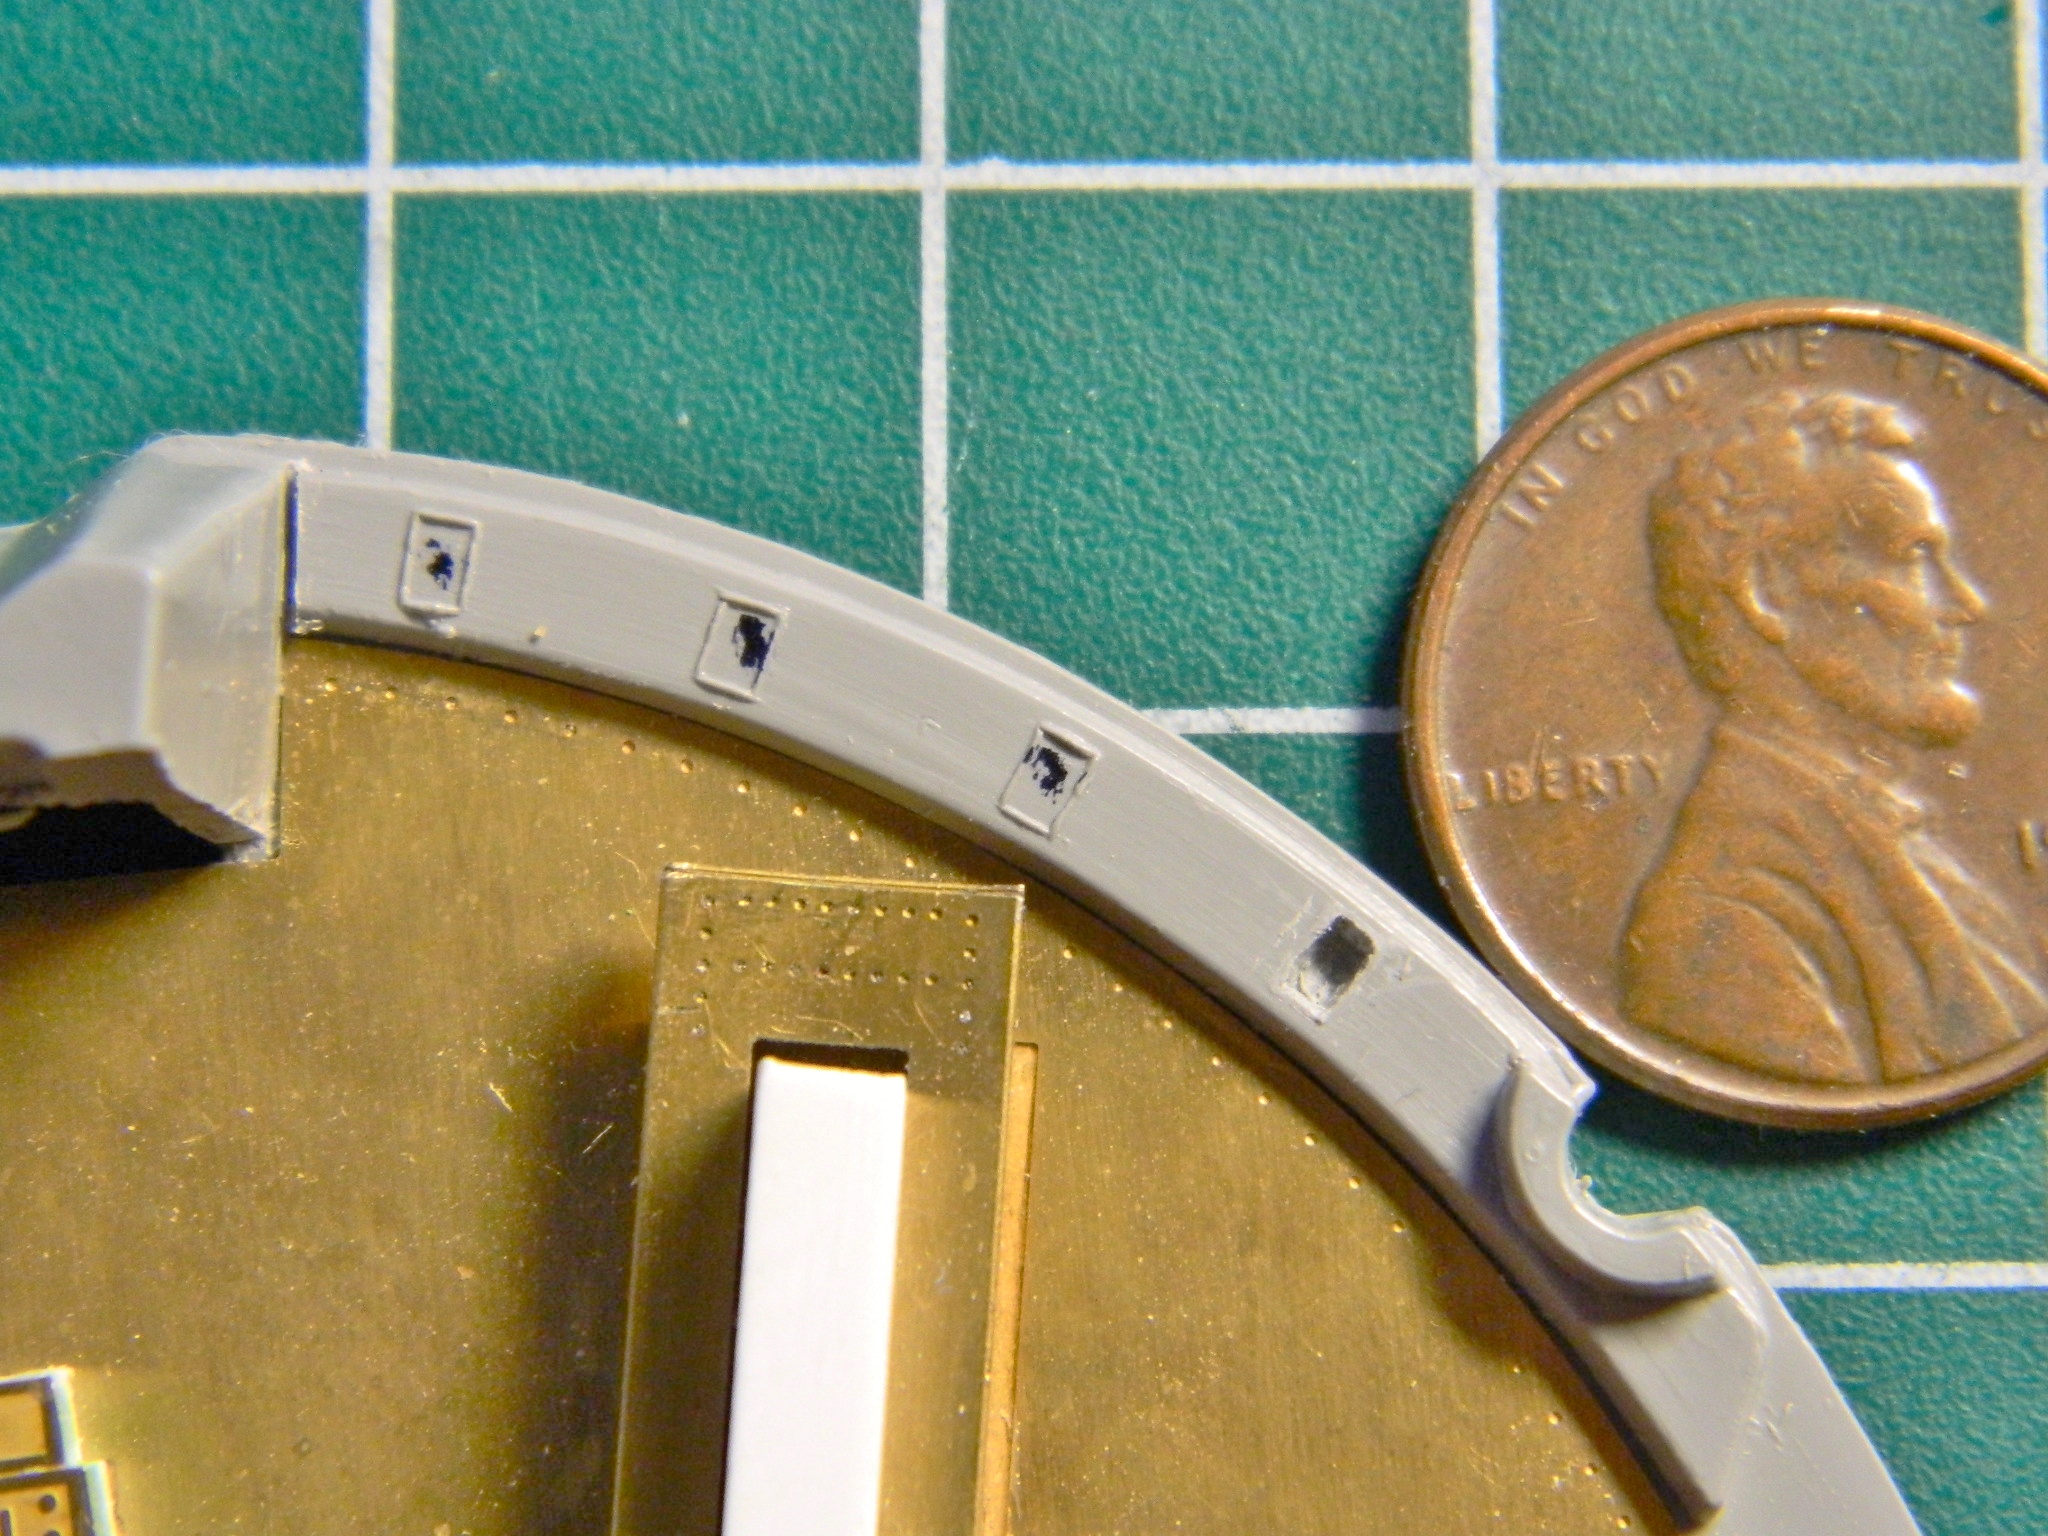
I can hollow out the individual sections. It’s a bit tedious but I can do it without (more) reconstructive construction.
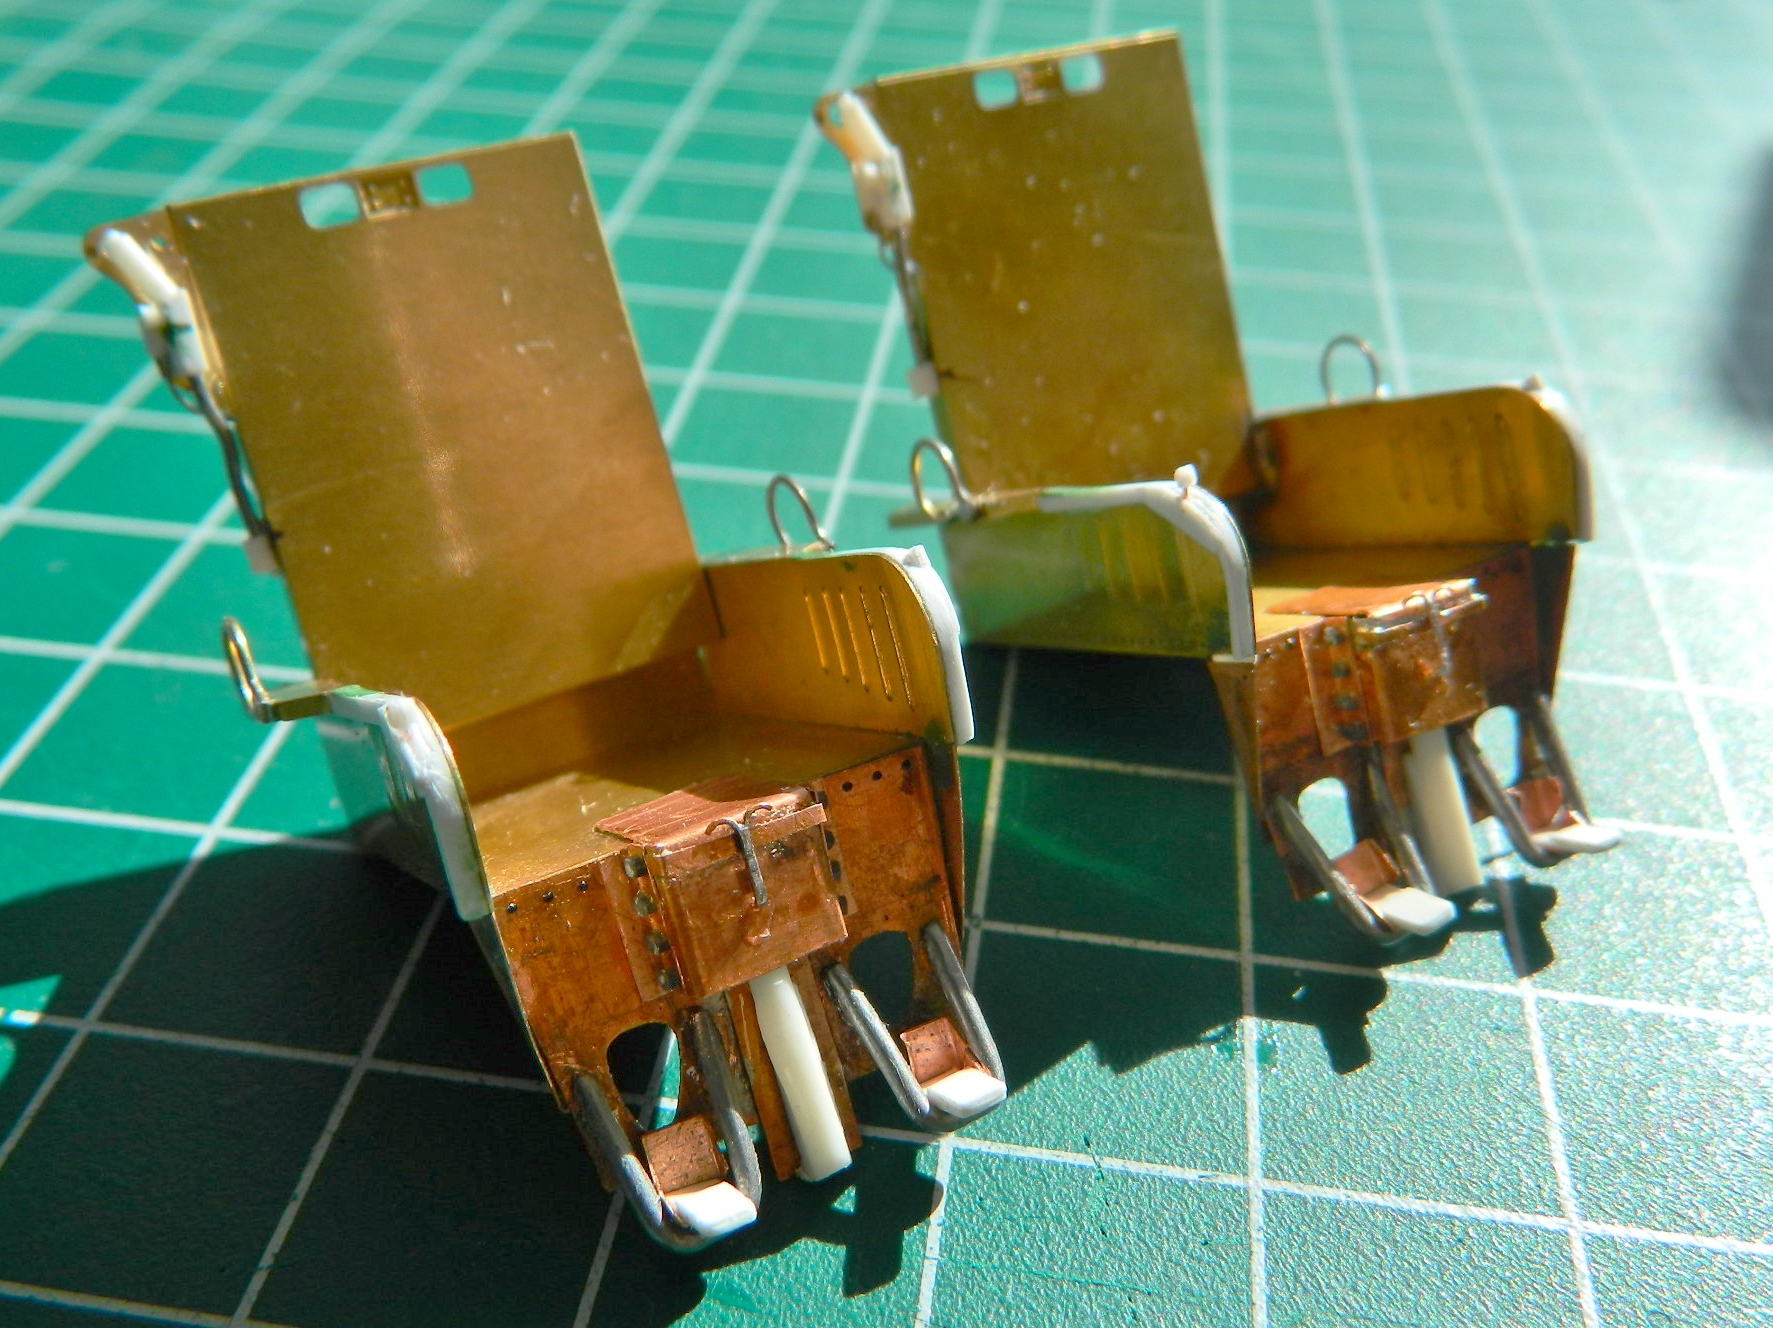
Back to work on the seats, I added the support for other details (the function of which I cannot fathom so there’s no label for that strip soldered between the two loops) for the foot stirrups (which were intended to keep the feet and legs from flailing around and getting injured should the crew need to eject) using solder:
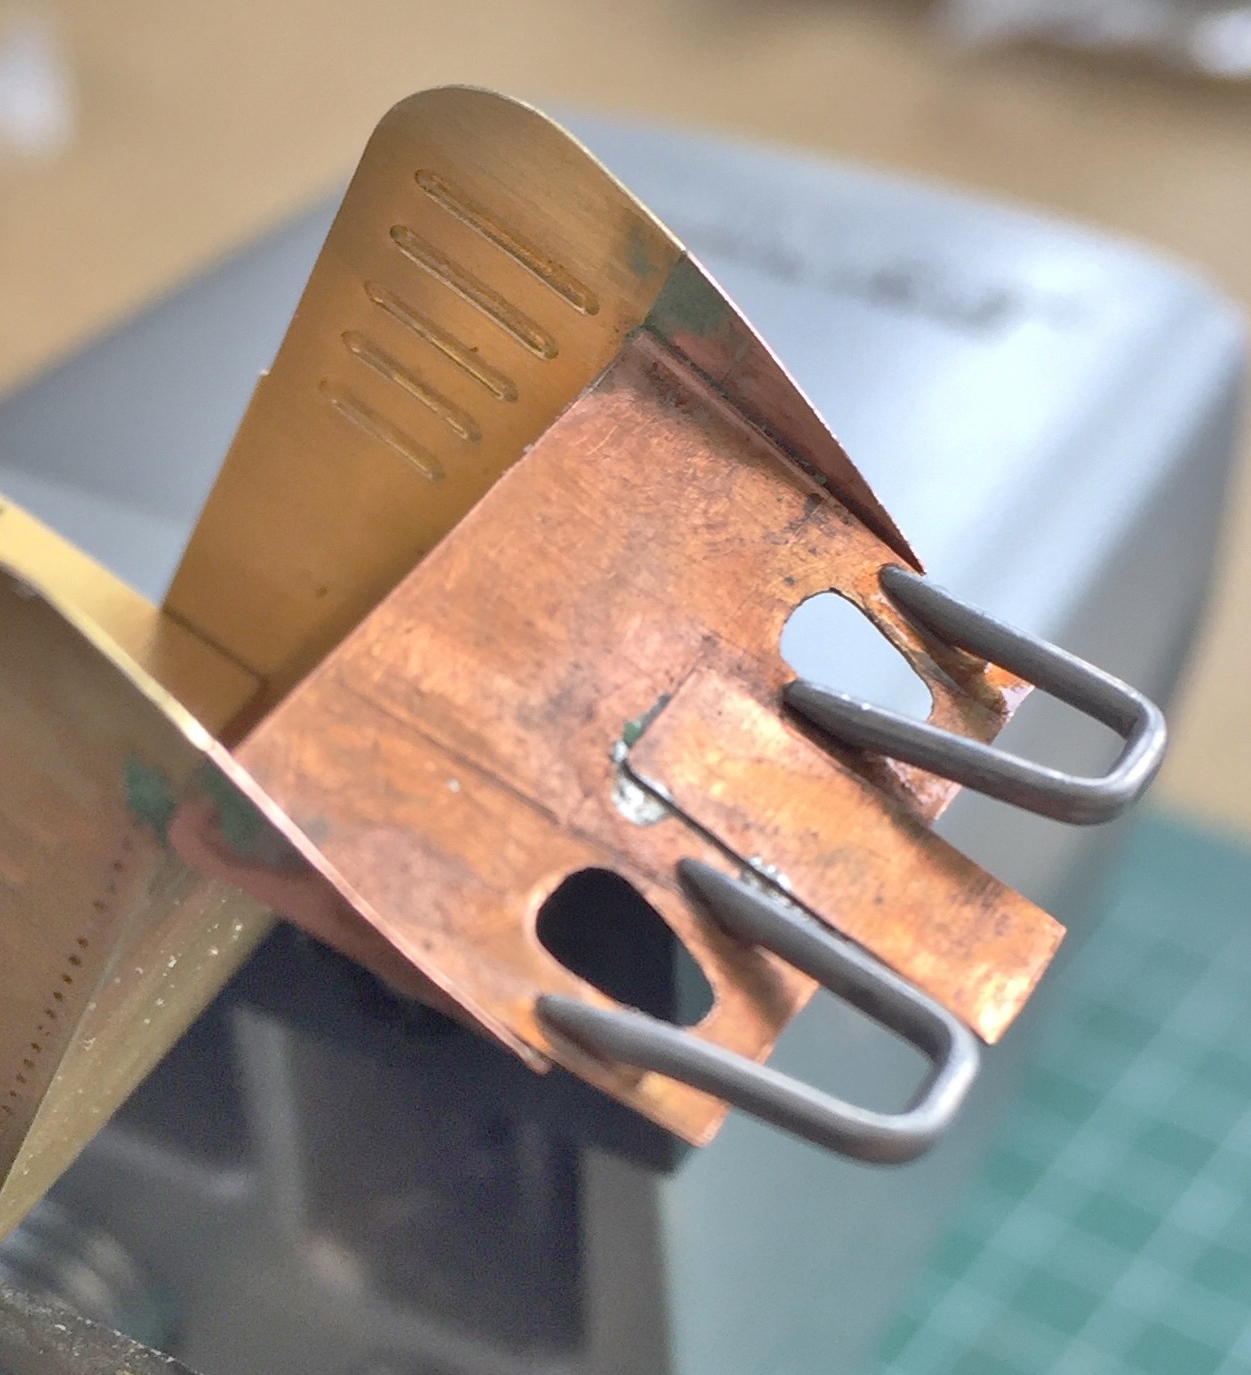
I didn’t realize at the time what a major ass-pain these things would turn out to be. They snap off with the slightest provocation and attaching them is another major ass-pain…and I got to reattach them frequently.
There are foot rests for the stirrups (wouldn’t be much of a “stirrup” without them, I guess). My first thought was to make them out of .010″ (.254mm) styrene. My second thought was to not do any work until sober. My third thought was to use the .005″ (.127mm) copper shim stock instead. Scale thickness is more correct and for all of the annoyances of working small copper sheet like this, they’re a lot less annoying than trying to do the same thing with styrene. First step was to scribe the lines I wanted and then cut them out. I used scissors for the longer…all terms being relative…sides and a SHARP chisel bladed knife for the notched cutouts on the sides:

As it turned out, I got the pattern incorrect. I diddled around until I got the pattern and sizes (plural because I wasn’t exactly standardized about the solder stirrup supports) correct and then superglued them into position:
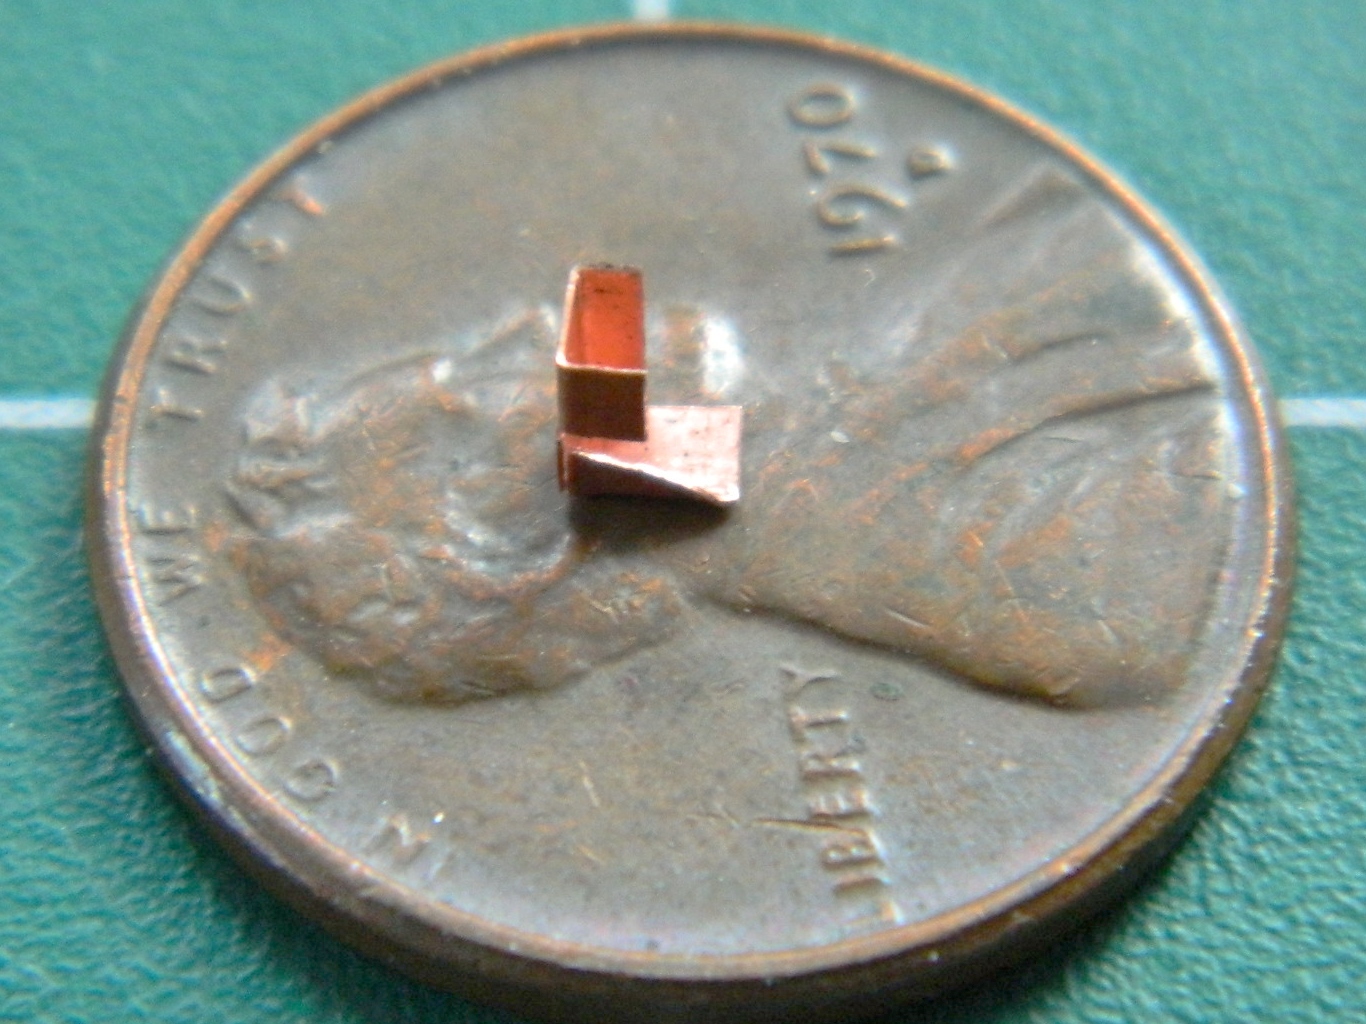

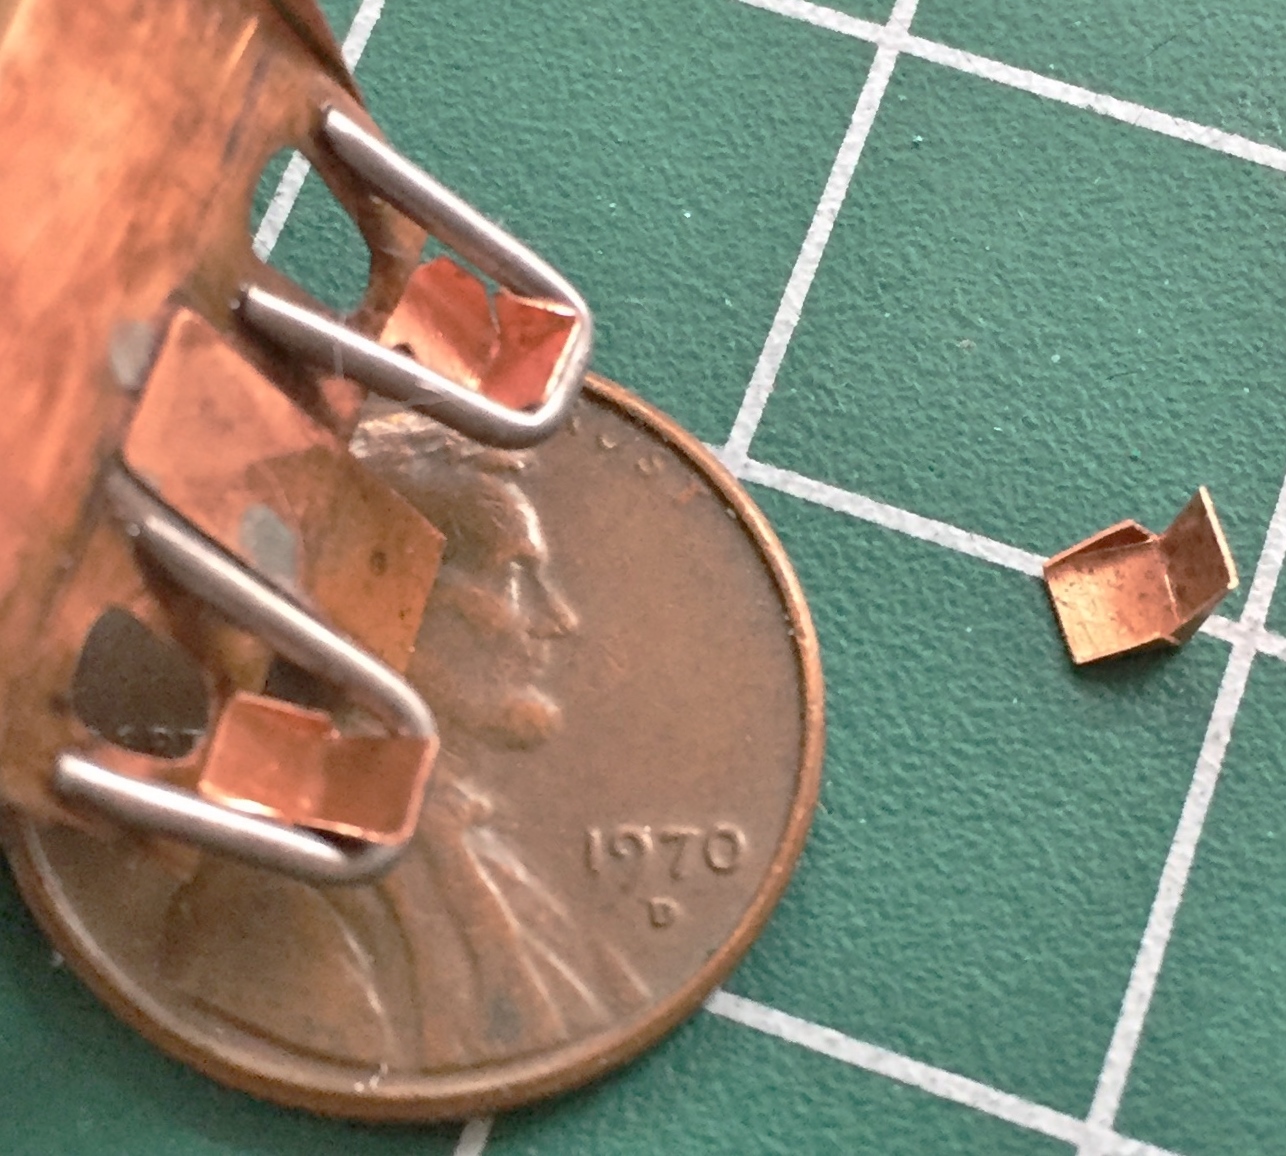
There’s a prominent box on the front face of the seat that the ejection seat trigger is mounted to. Again, I used the .005″ (.127mm) shim stock and again I got the pattern slightly incorrect:
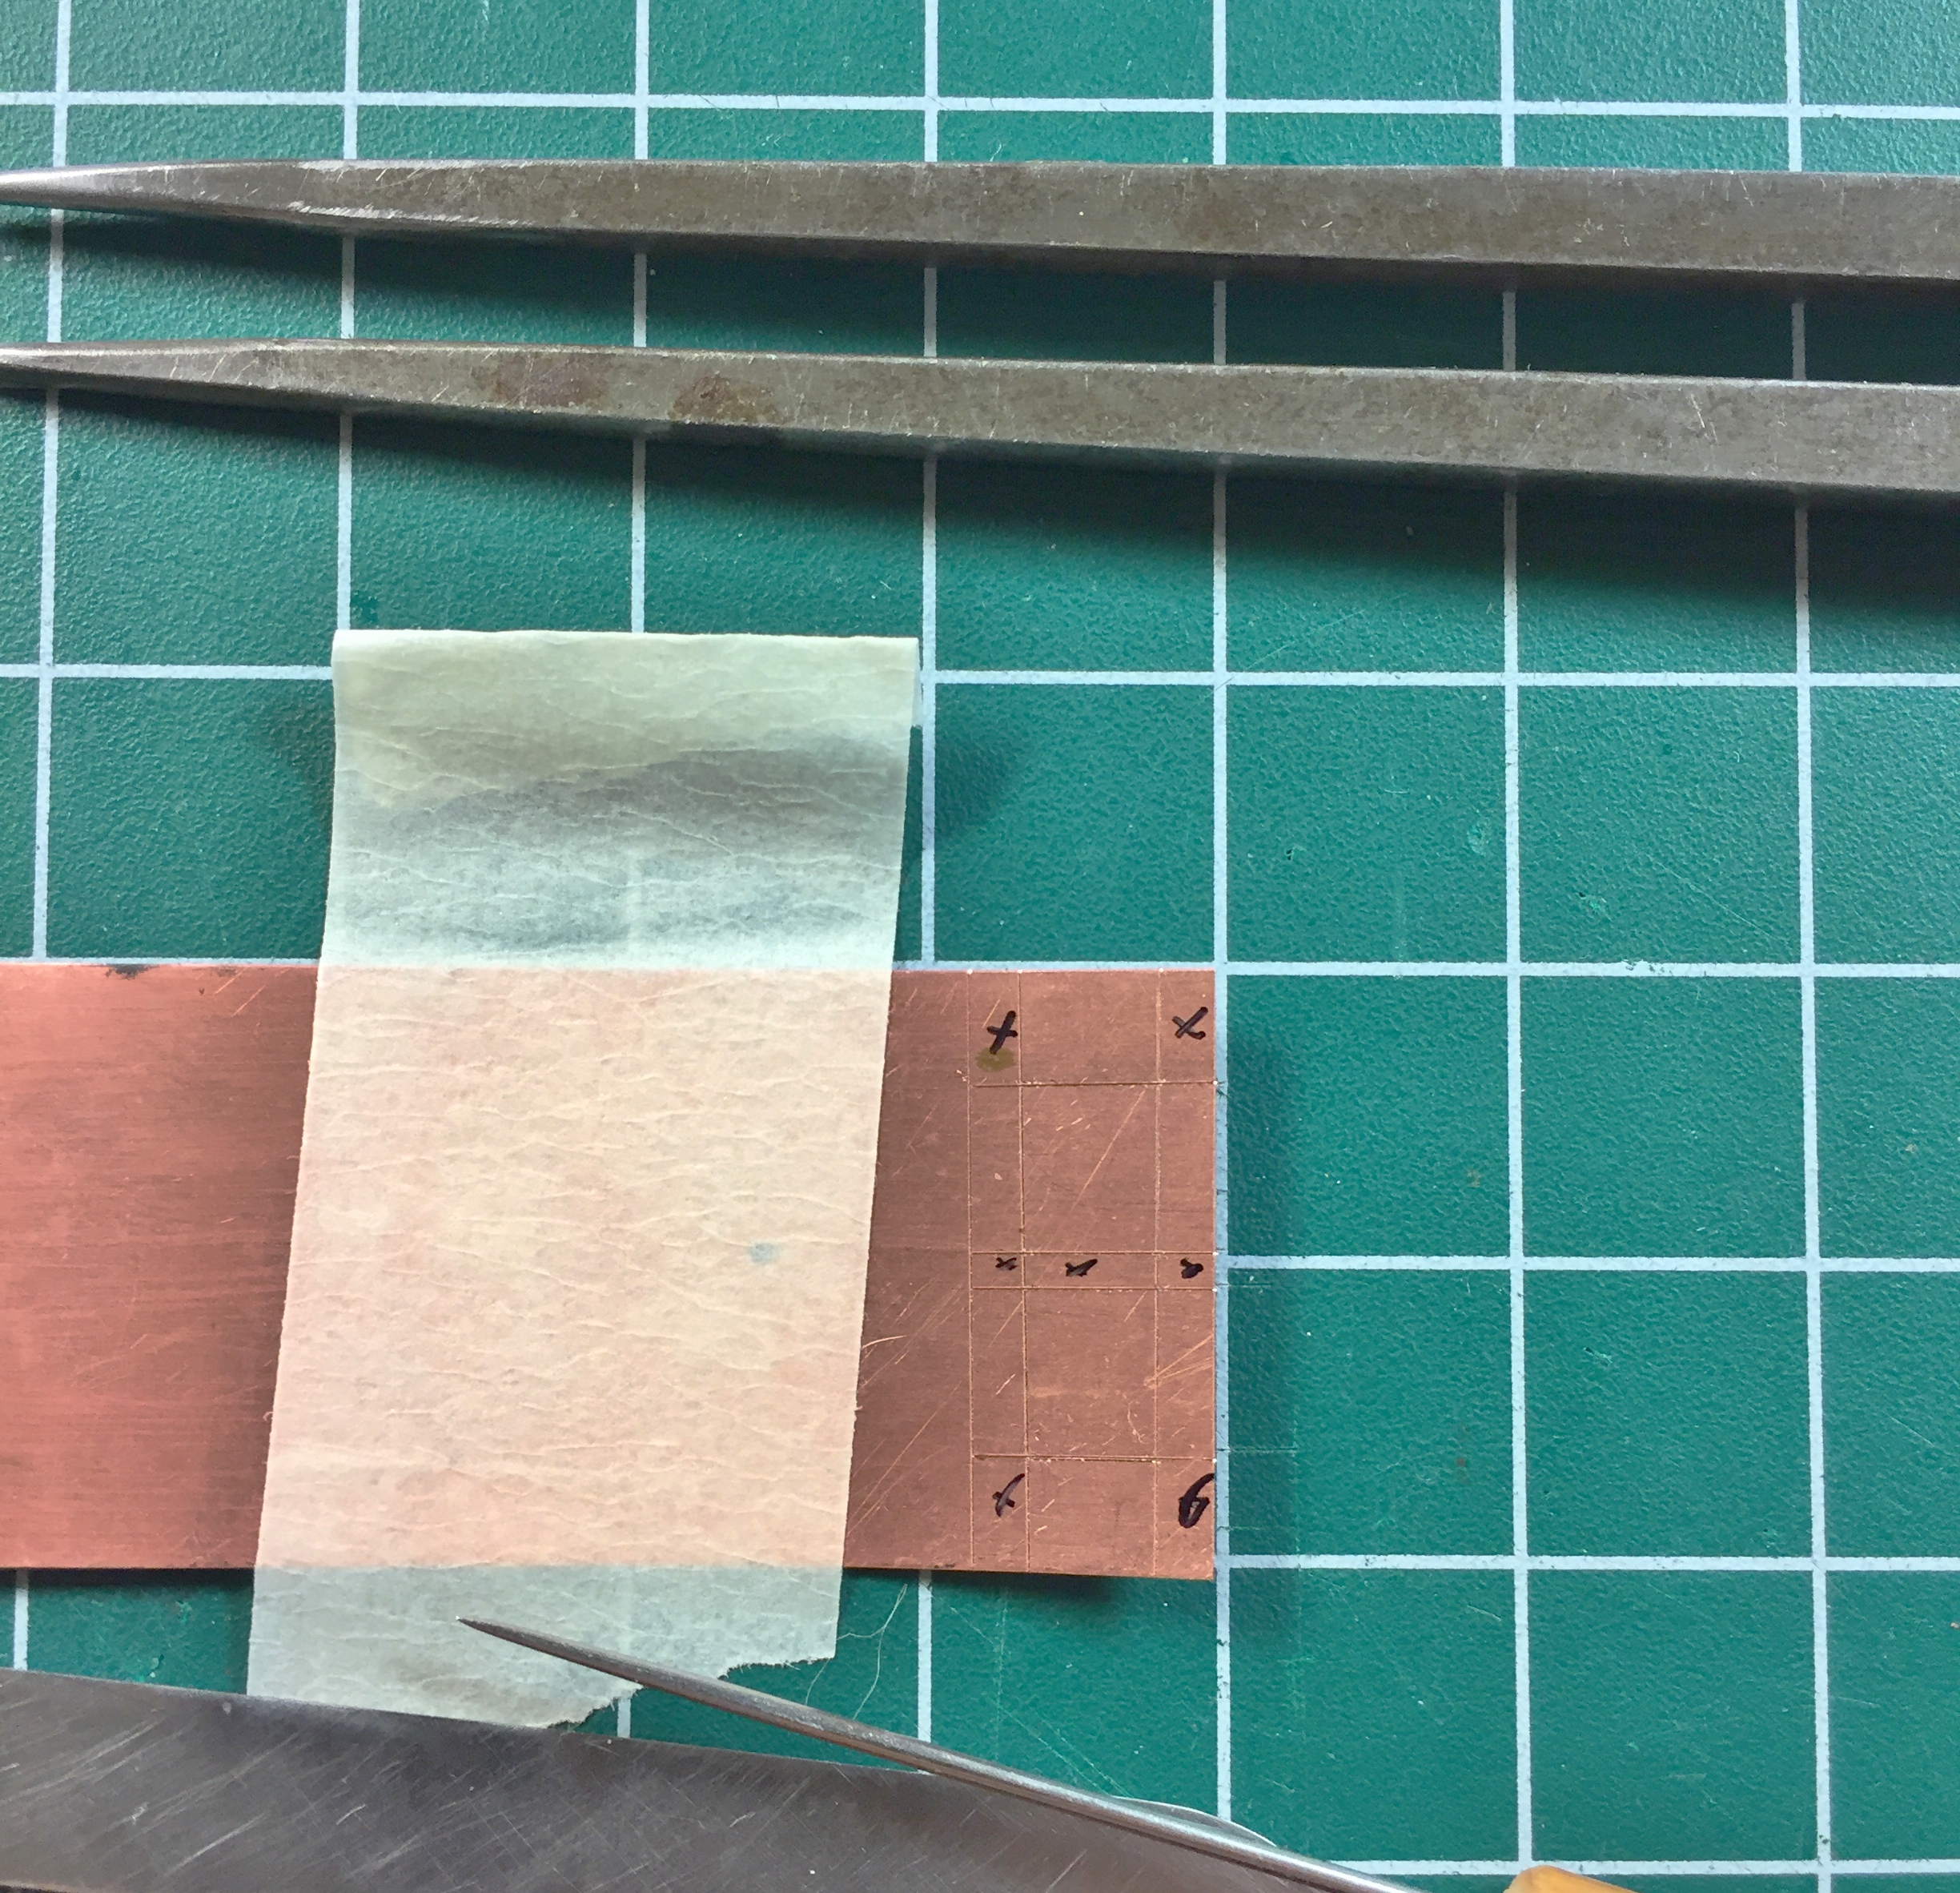
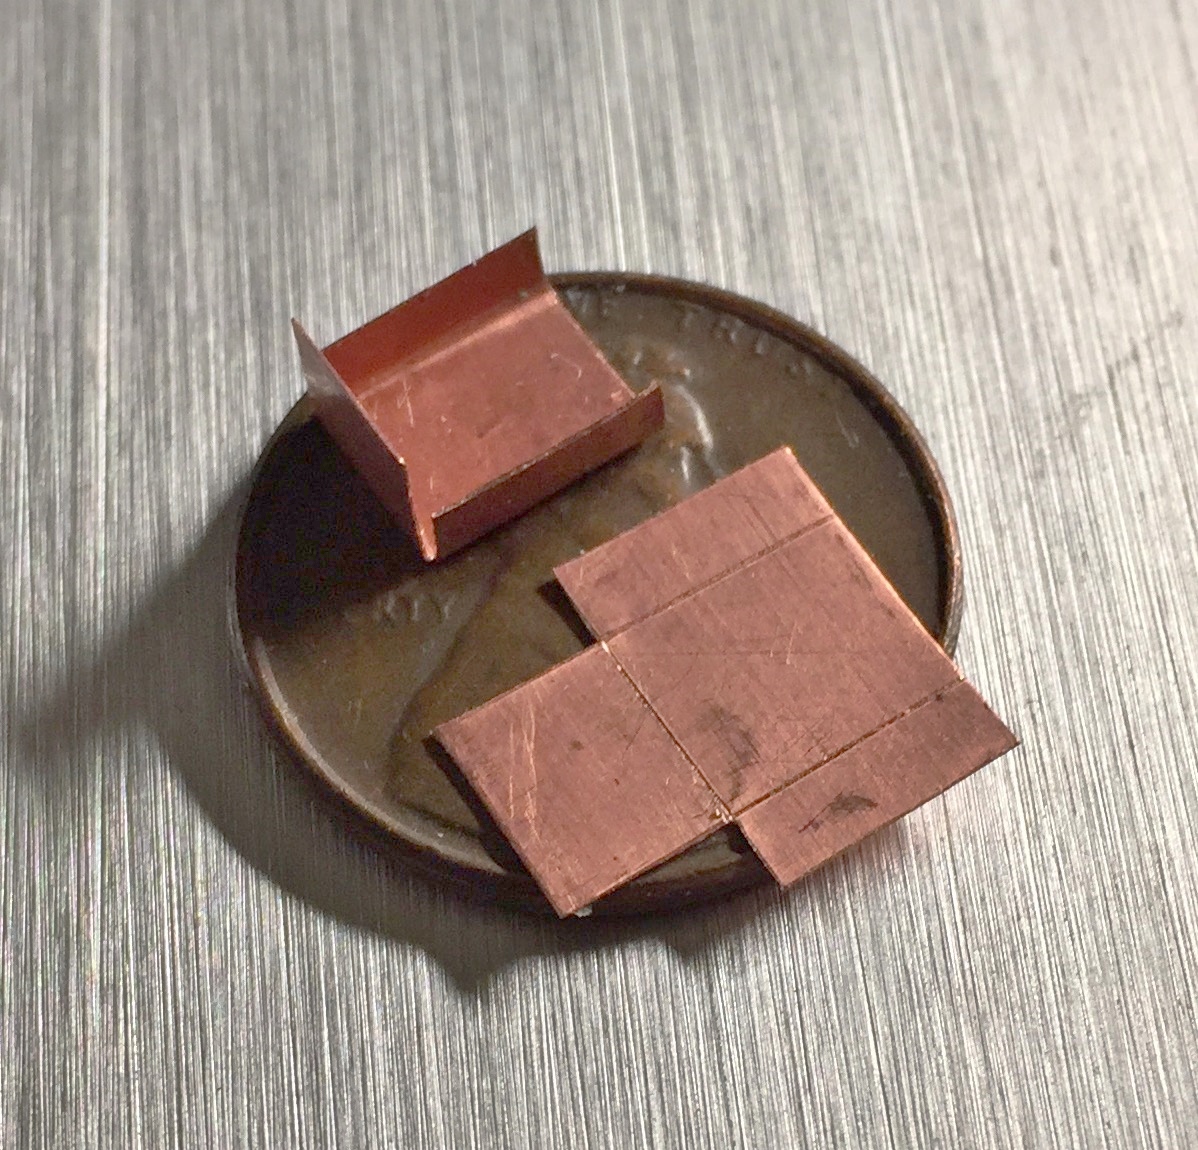
The pattern is incorrect because I forgot to allow for the dimensions of the sides; that has to be added to the flap at the top (as indicated by the penciled outline on the seat):

With the boxes properly dimensioned and folded, I needed to add a support bracket for the ejection trigger handle. I impressed myself by soldering these SMALL brackets into place:
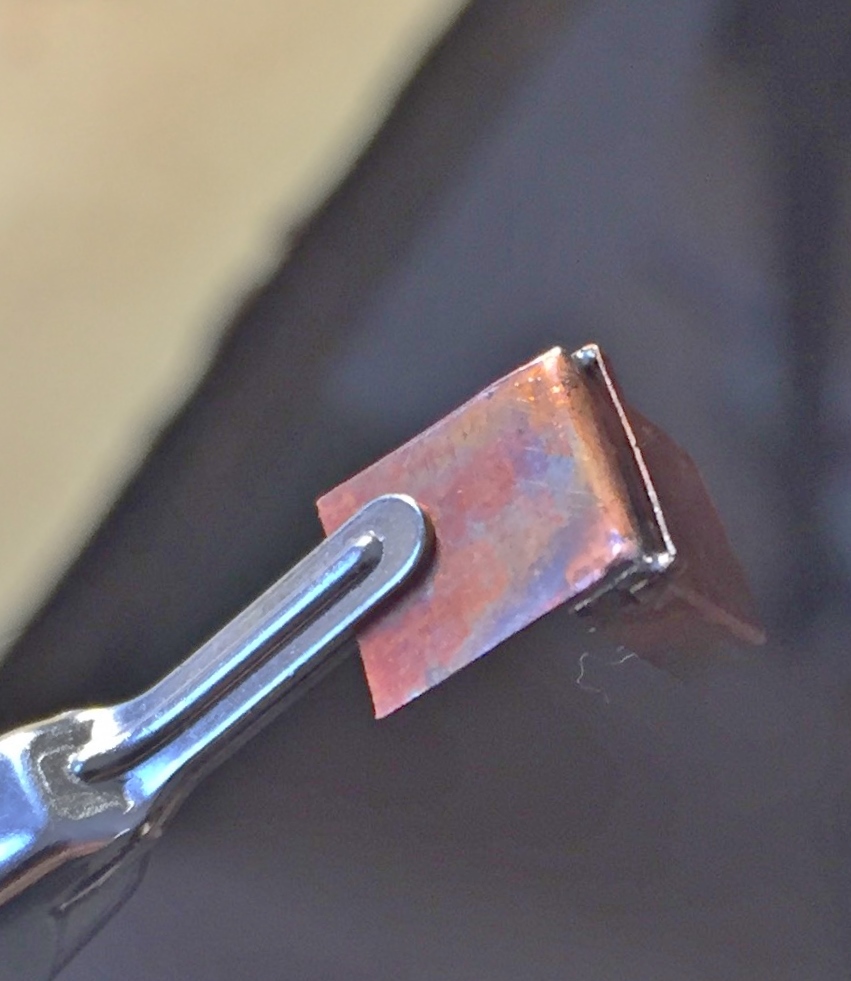
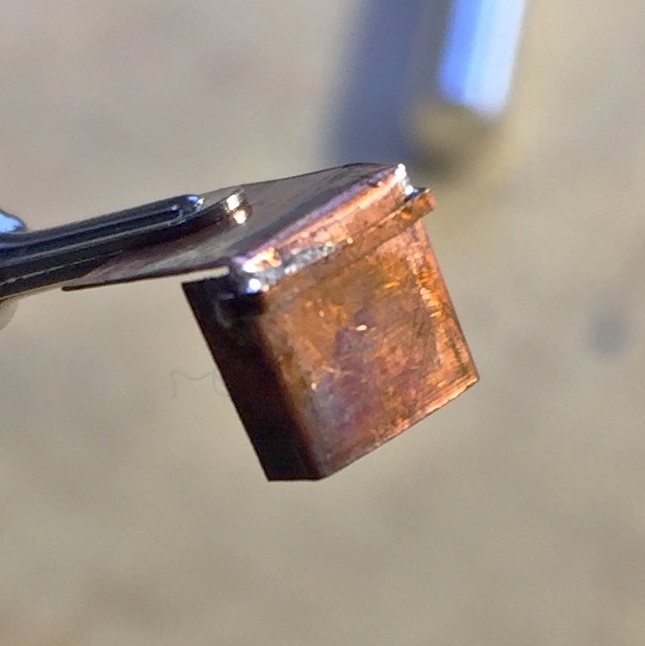
Then I added the mysterious details between the stirrups:
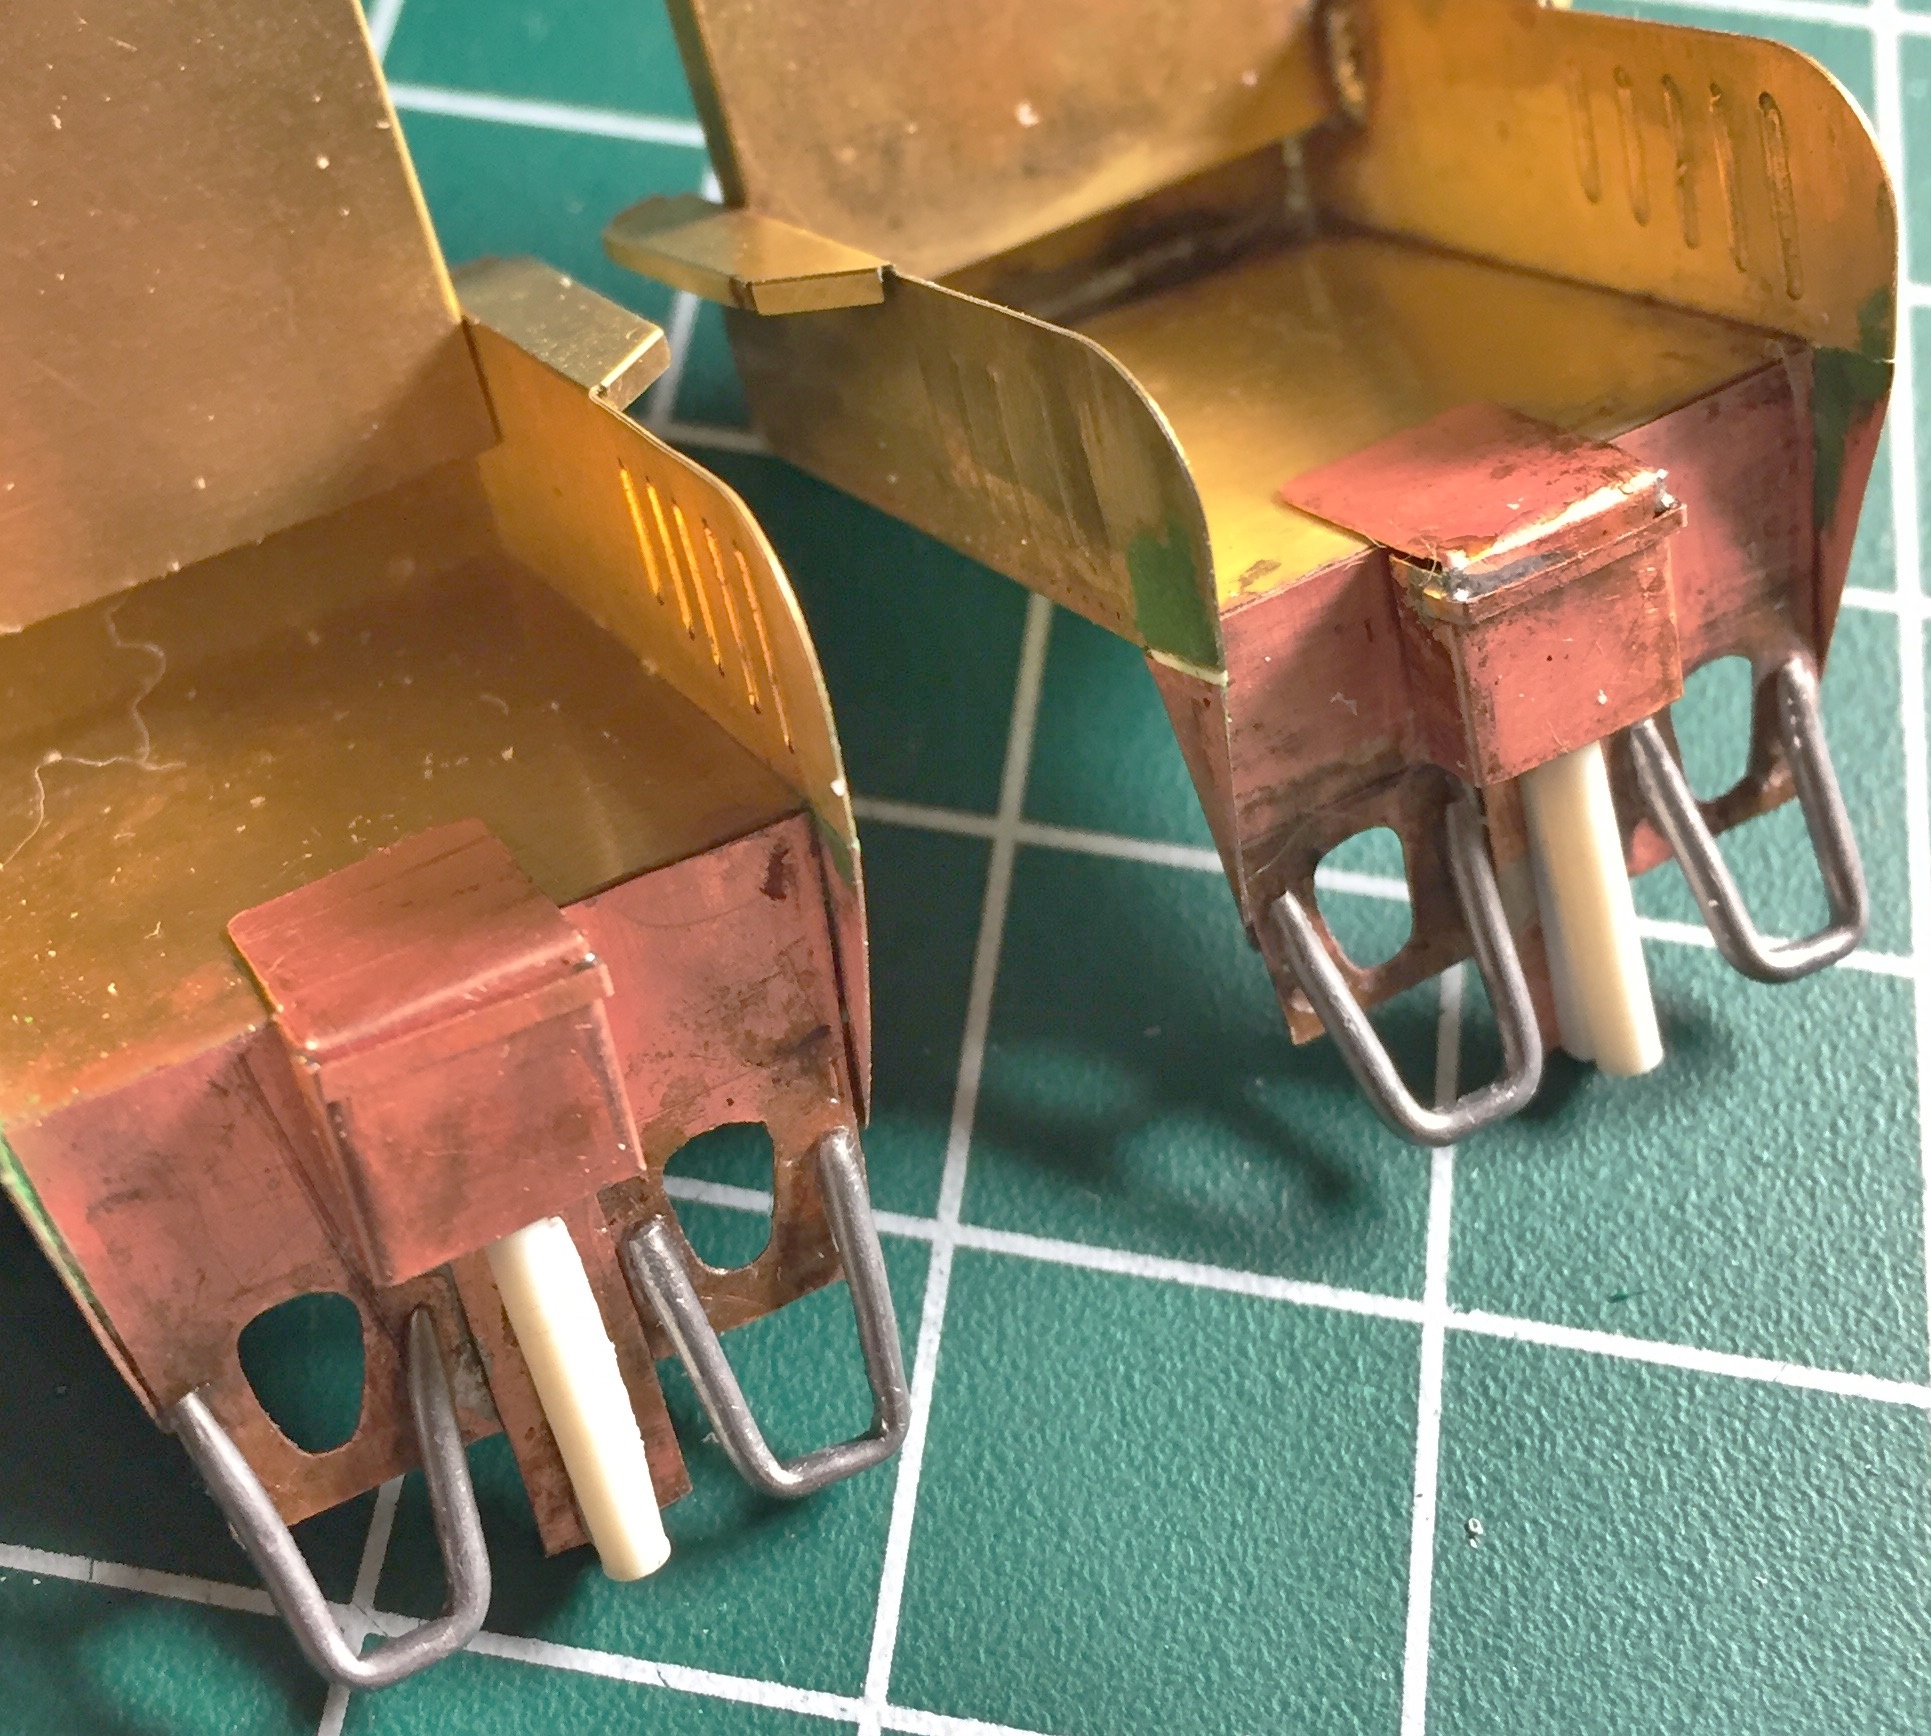
The headrest area of the seat frames have padding. This is where the references get…interesting. For a great many of the details shown in a photo as looking like this, there’s another photo that shows it looking like that. I imagine that’s because of the different mission parameters and goals, but it’s…interesting…when trying to find out what something looked like. So I picked one design for the head rest padding and went with it. Then, while looking for something else, I ran across another reference photo that showed the headrest padding of a different design that matched the seat padding I decided on. Sure do wish I’d found that before I superglued the pads in place… That meant the gaps between the individual pads got filled with putty:
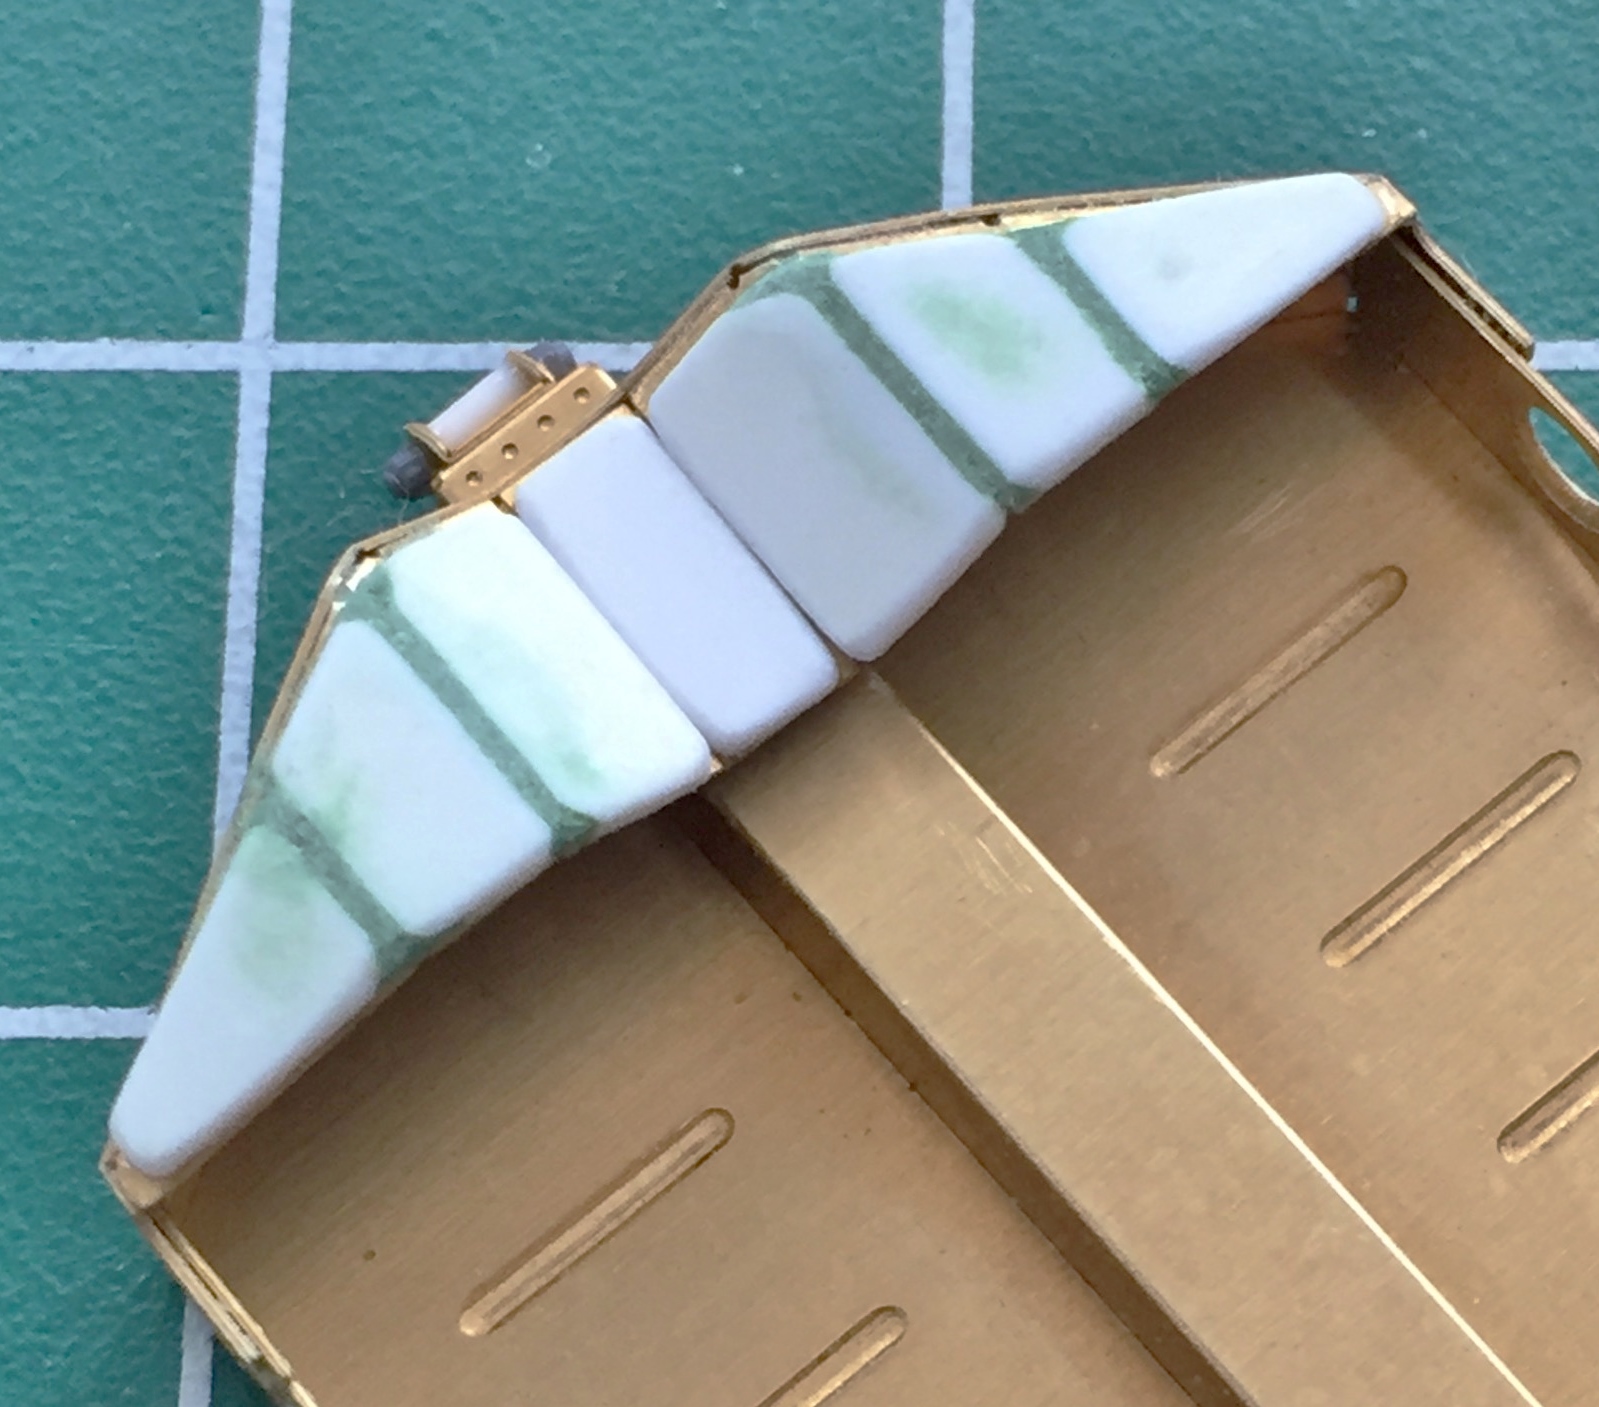
The second headrest padding went easier:
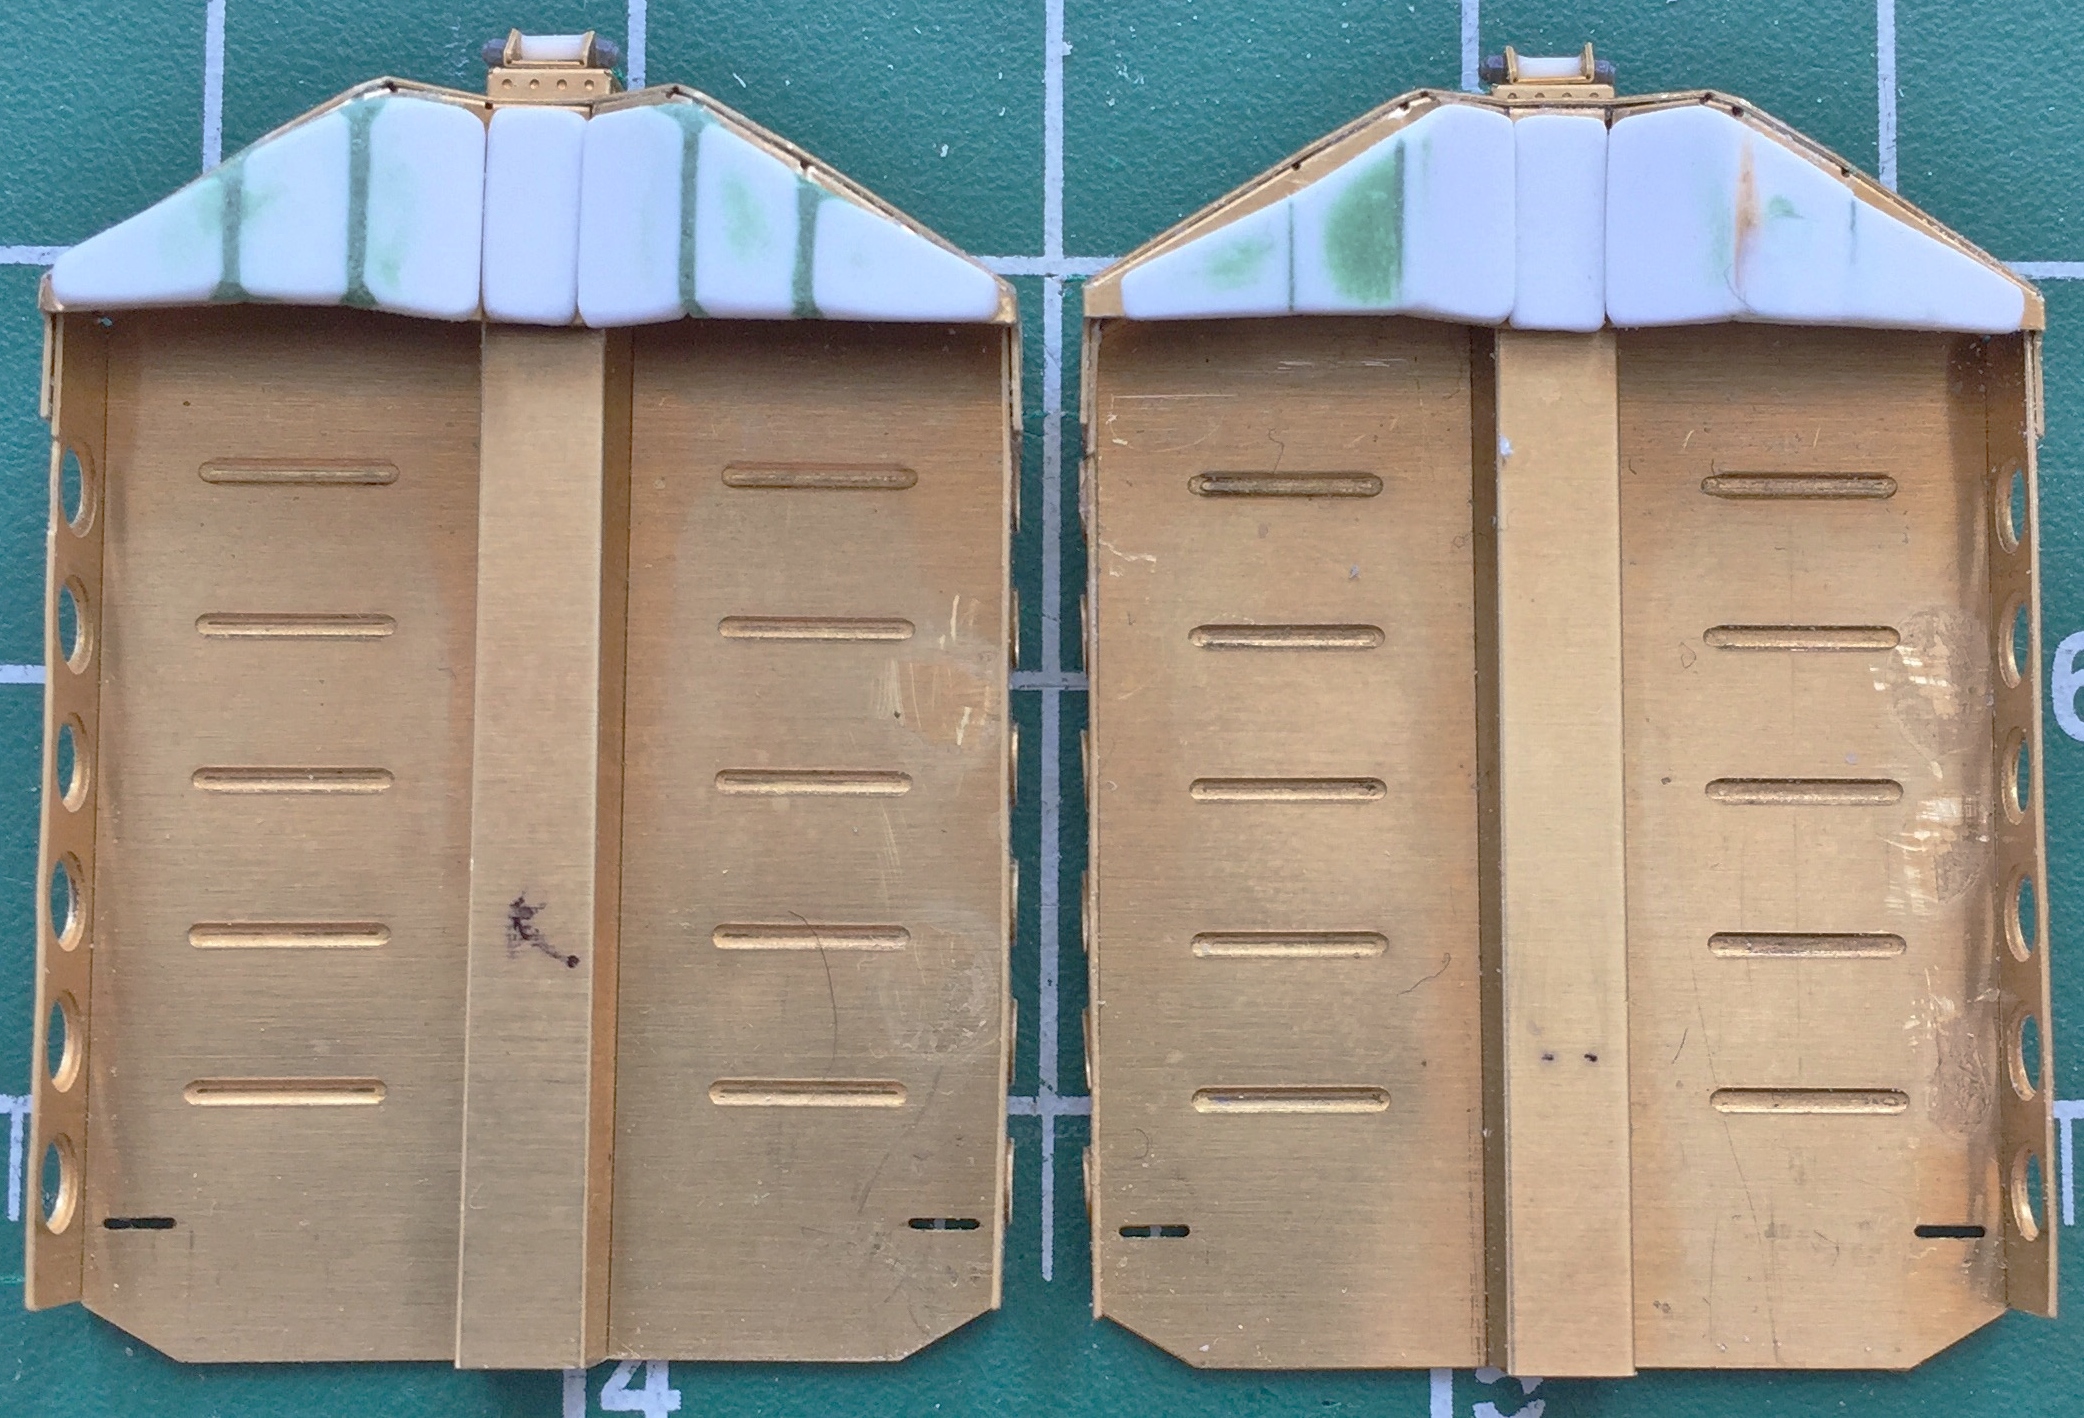
The sides of the seats are also not as thin as the PE parts would have them be. I added thickness by using .040″ (1.016mm) scrap:
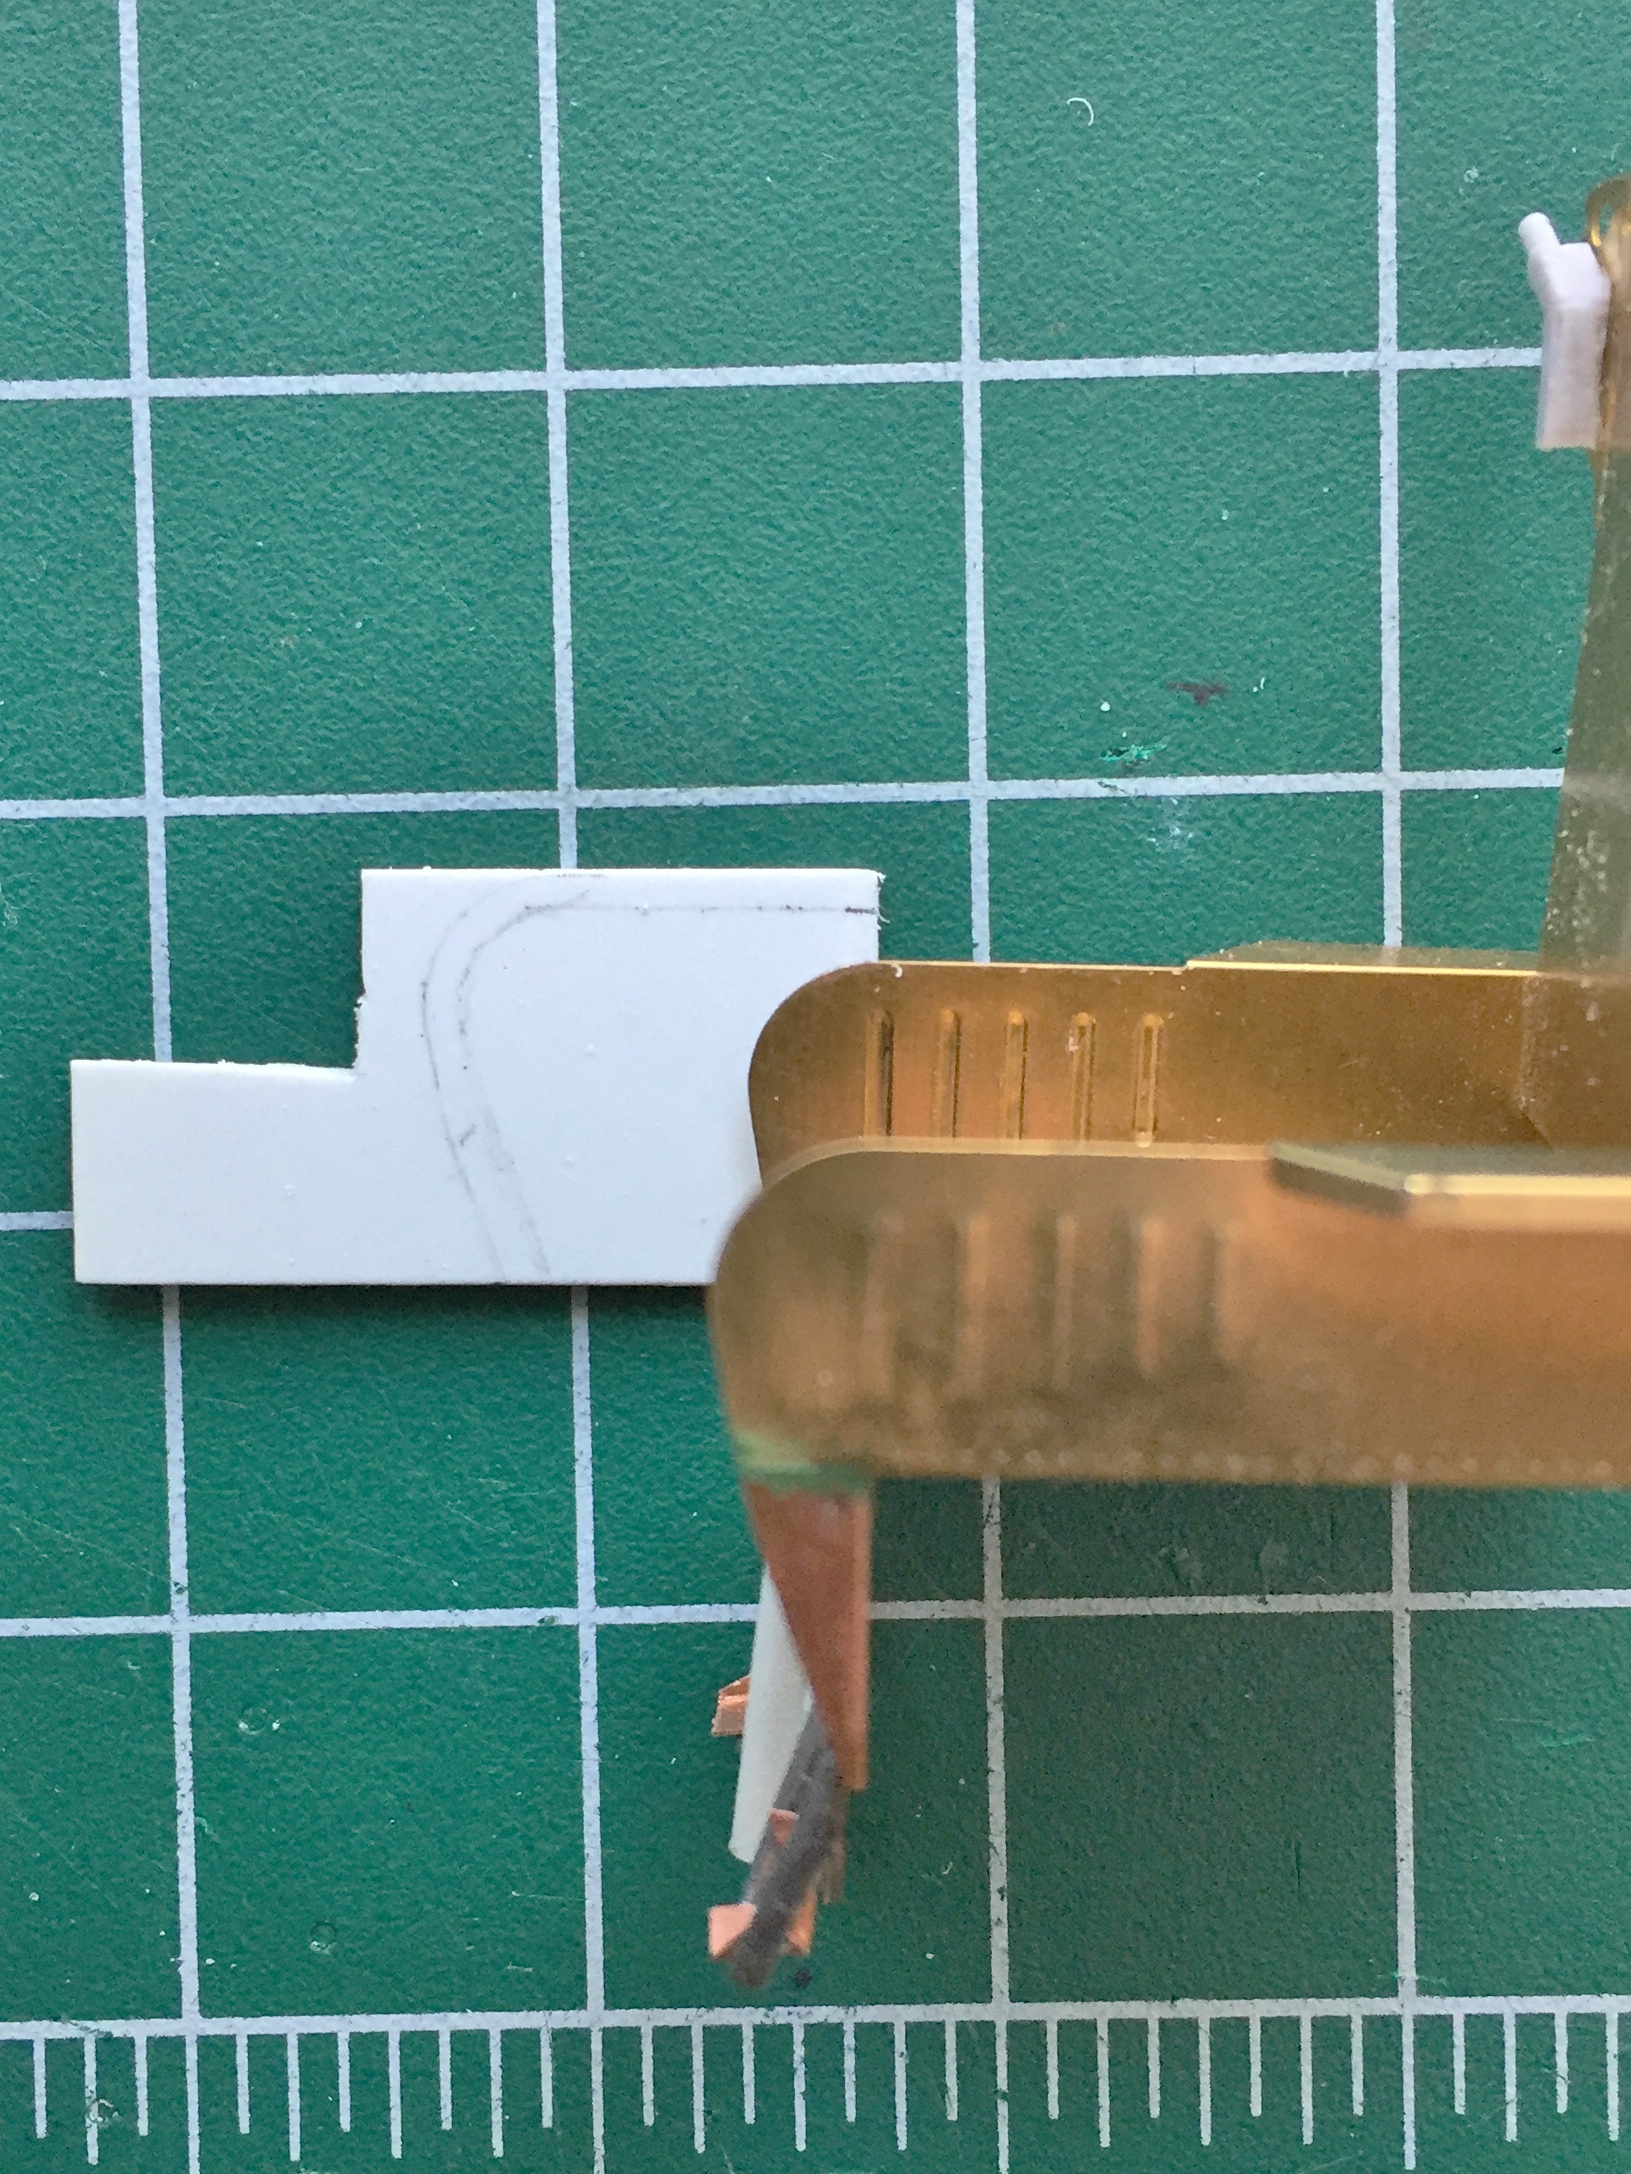

Yeah…looks much better:

Another thing I noticed about that box at the front of the seat is that there’s a 90-degree mounting bracket that I had to add. And this is good because there’s a gap between the body of the box and the front of the seat that these brackets hide nicely:
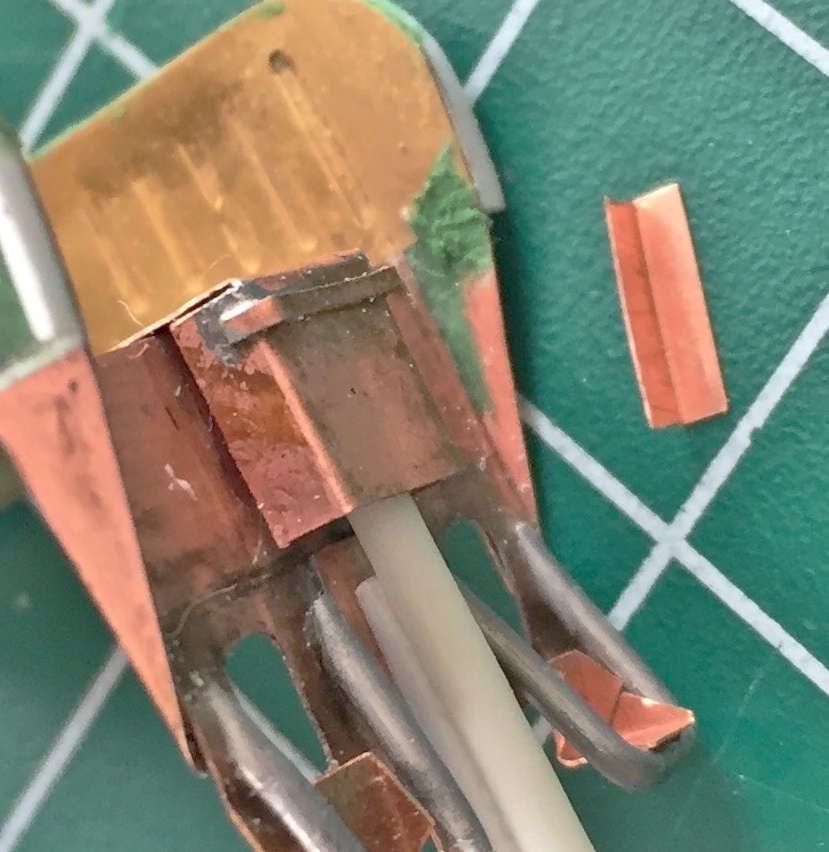
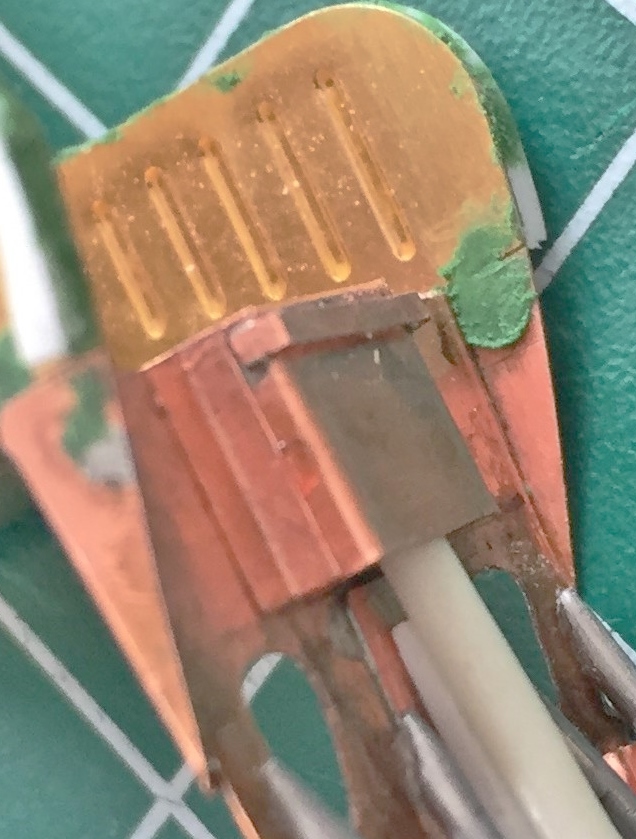
The box is mounted with bolts and I used Grandt Line bolts to replicate that (sorry about the blur; the camera DID NOT want to focus where I wanted it to focus) (stupid camera):
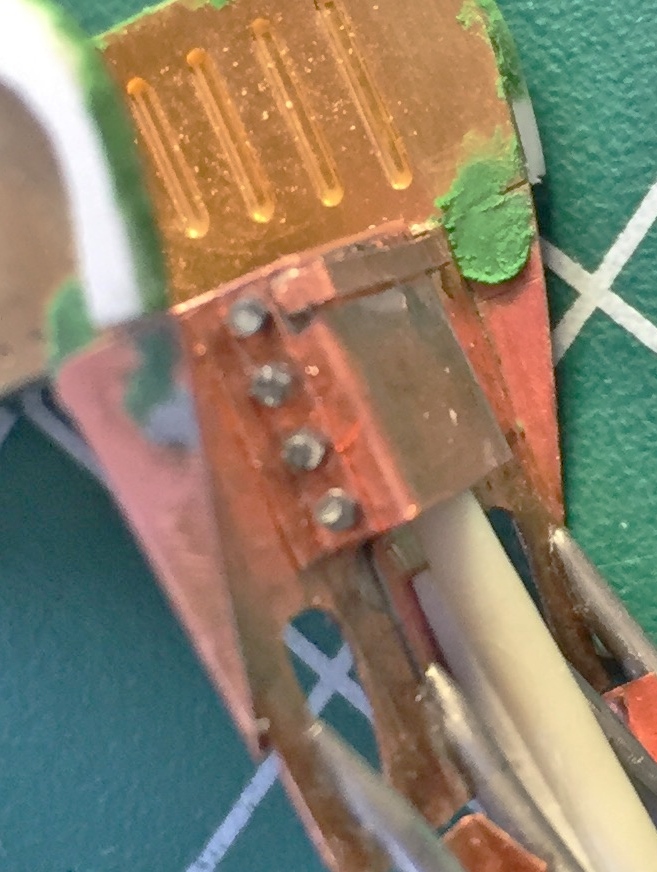
There’s another (mystery) detail on the side of the seat that came supplied with the AM set. Problem is, it’s inaccurate. The shape of the top is incorrect (should be round and not rectangular) and the angle is also off. Scrap styrene was used to fix that (those?):
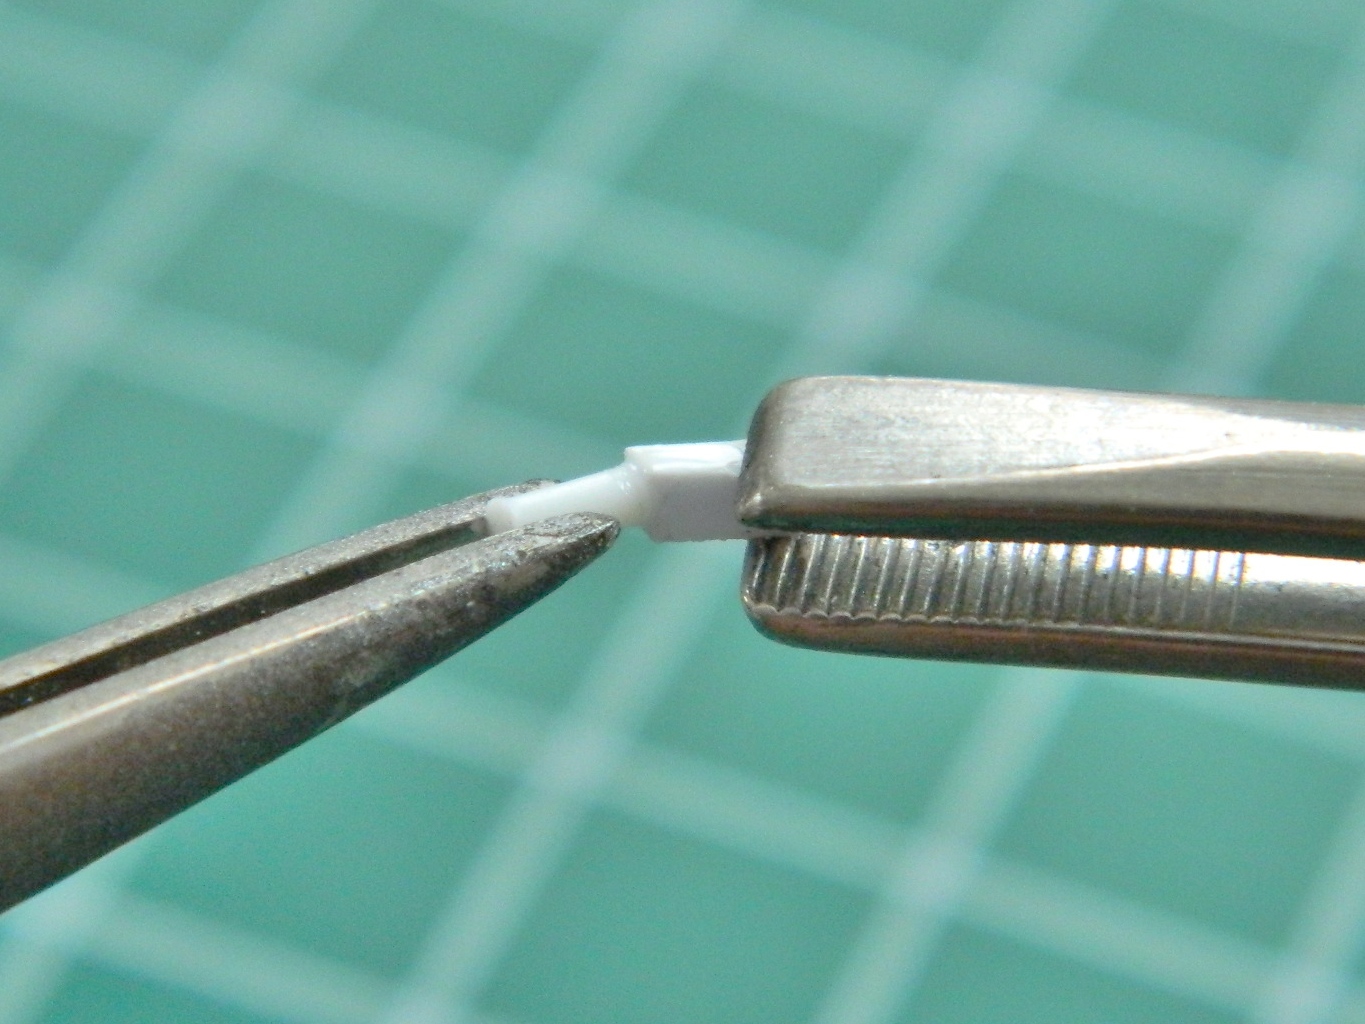
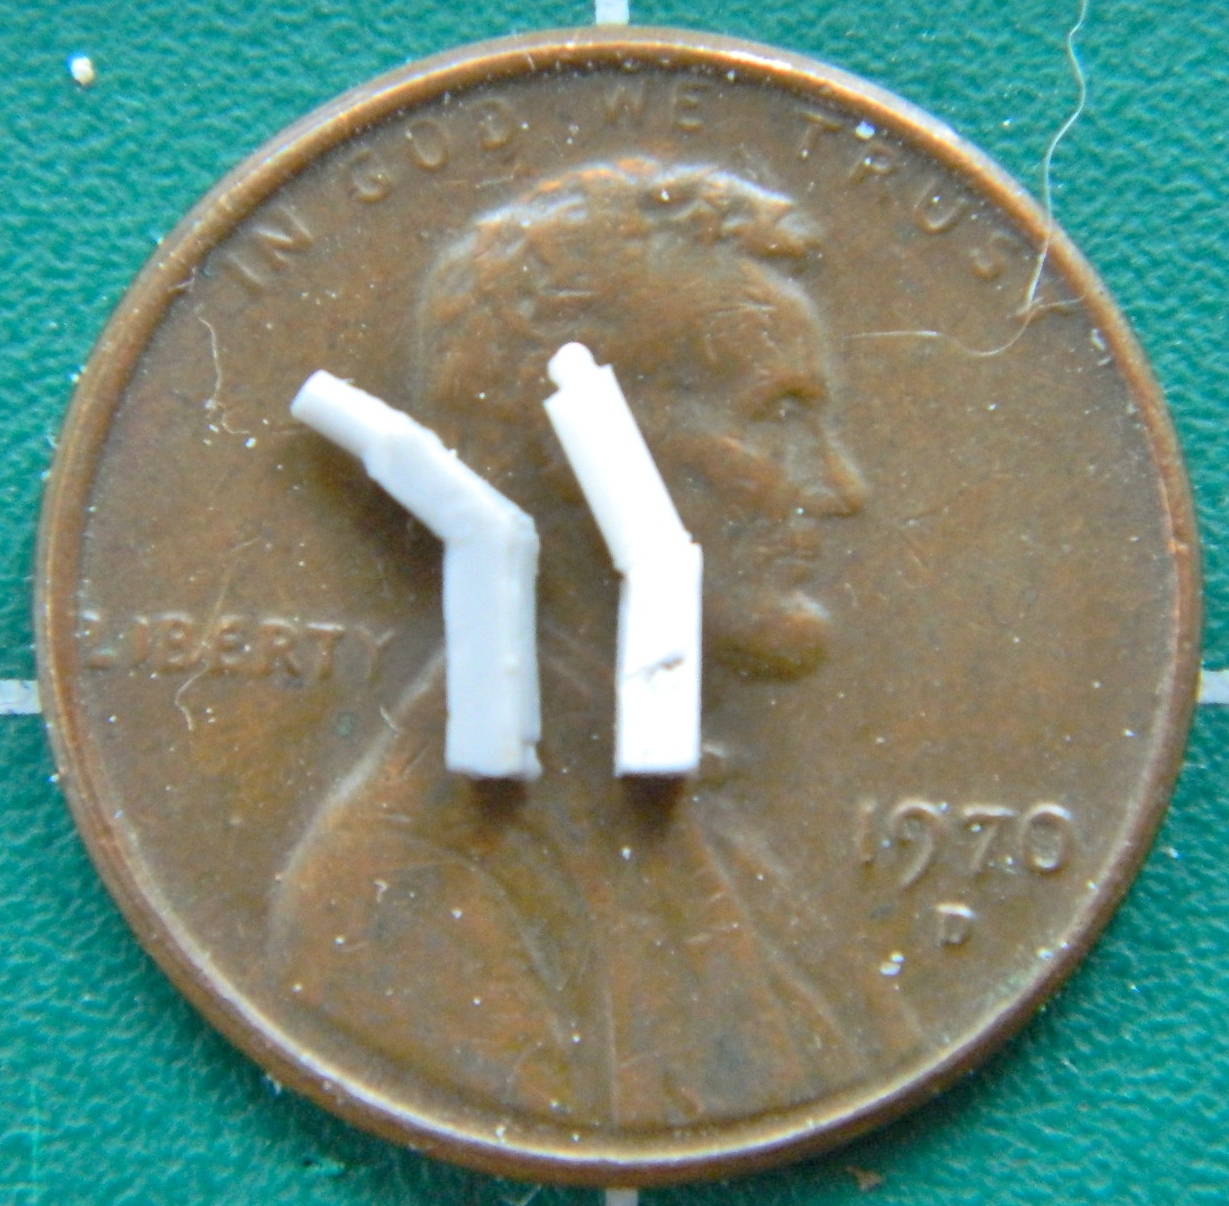
Much better:

Having widened the seats, it finally occurred to me that maybe I might want to dry-fit the seats with the additional details that added width to an already cramped cabin:


Yeah, it’s snug, but it fits!
A Word About How Tools Affect the Work
The tools you use to do your work will affect the work you have to do and will often add to the work you have to do. (Yes, it’s a poor craftsman who blames his tools. It’s a ignorant craftsman who doesn’t choose his tools wisely. It’s a stupid craftsman who doesn’t take care of his tools.) A simple form of that is a screwdriver. A flat screwdriver does different things than a phillips screwdriver does. In my case (modeling), I find myself sometimes using copper shim stock in place of styrene. It works differently (duh) and the stock itself often needs to be shaped, usually starting with being flattened.
To flatten the shim stock, I use a small ball pein hammer and a small anvil. The ball pein hammer I’m using I inherited. If you look at the face of it you can see where it was used…roughly:
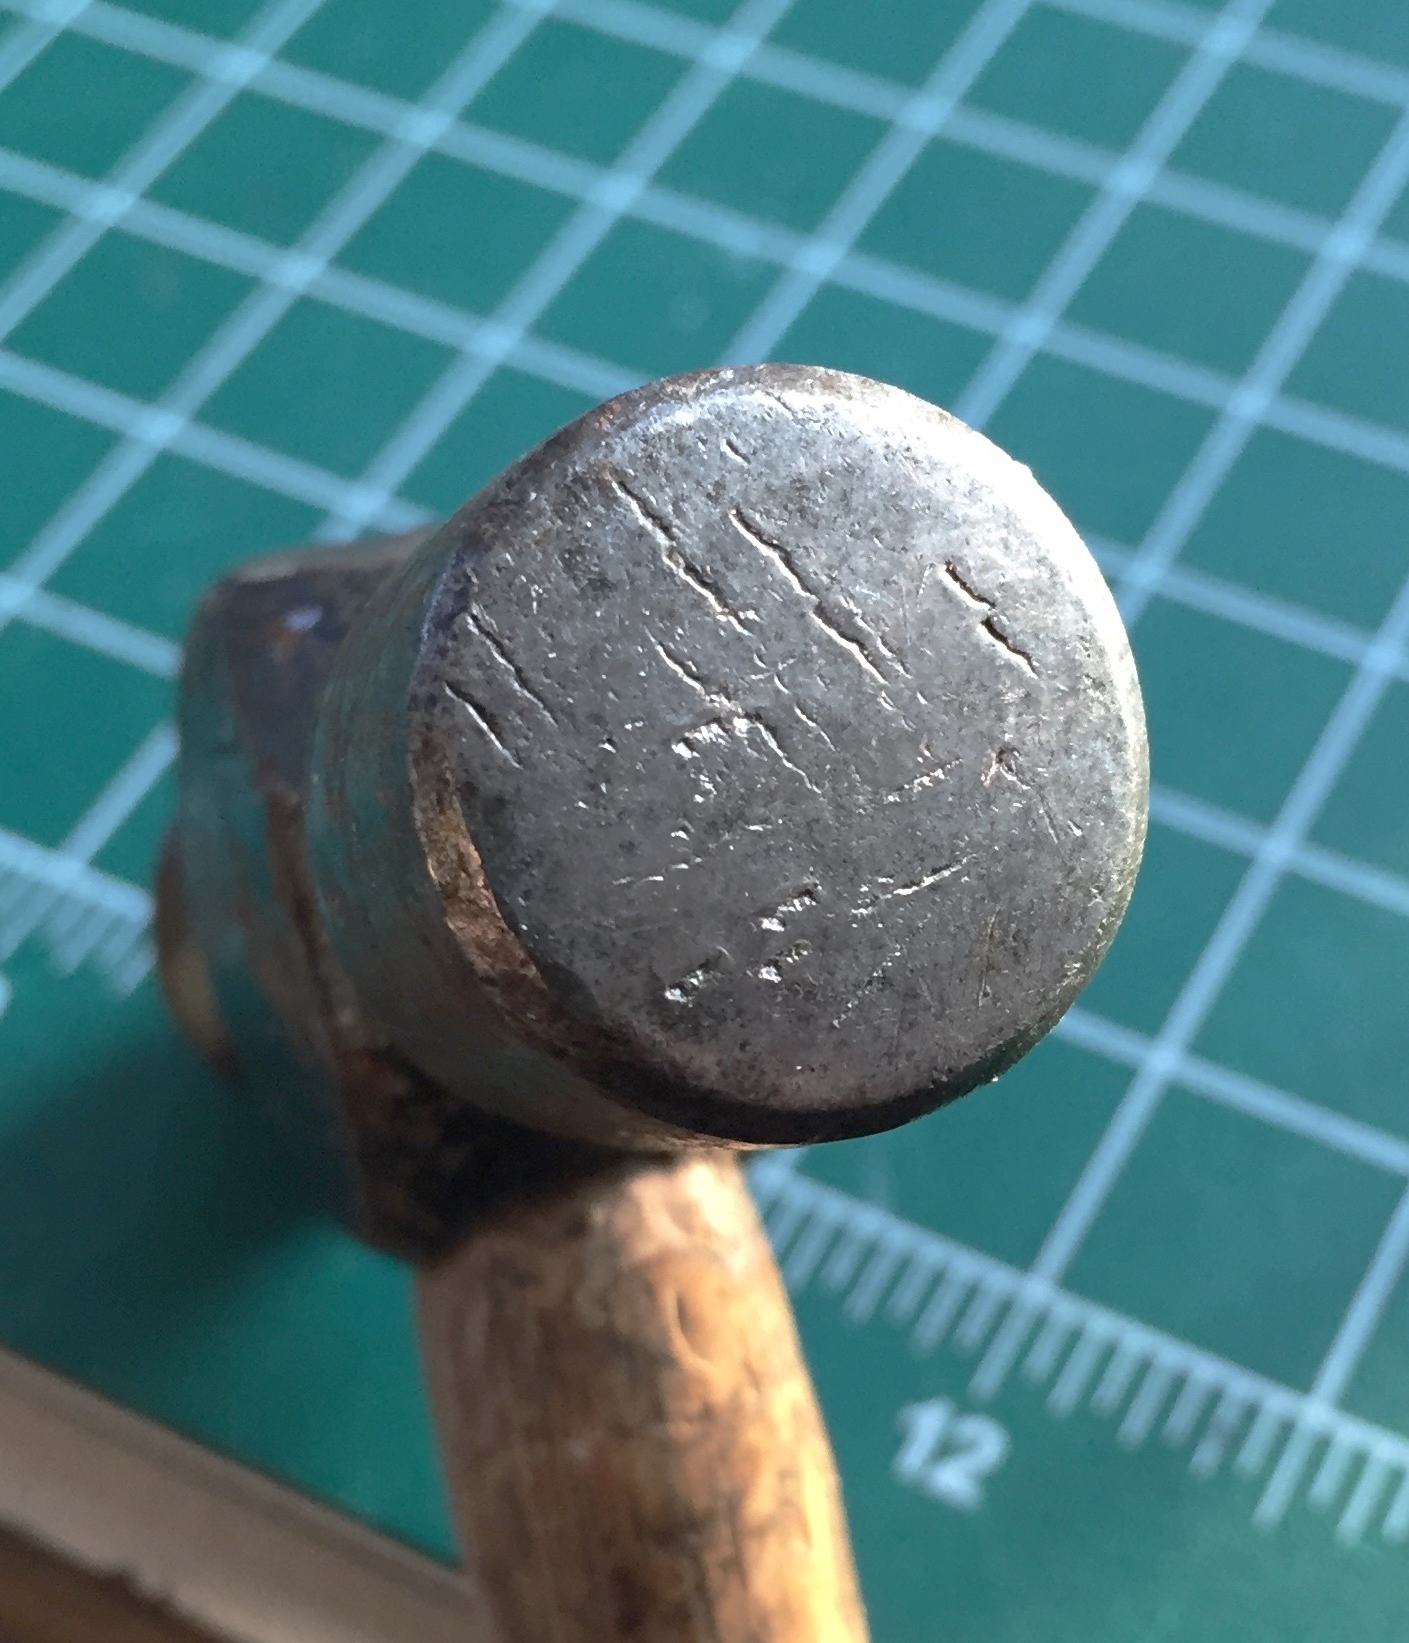
Hitting a piece of softer metal, such as copper, with that will imprint the texture of the hammer onto (and into) the copper. And knowing that can be useful if you need to impart a texture to the surface you’re hammering…but it’s quite annoying if you don’t want a texture.
I used 220 grit sandpaper on a sanding disc to get the face of the hammer to look like this (and later on I intend on polishing it but right now it’s too cold in the garage where my buffing set up is):

The other part of metal forming is that the metal used will need a surface against which to be shaped. Since I’m mostly interested in flattening the metal, having a flat anvil face is a good idea. The anvil I purchased was not finished by a metal finisher! It was sandcast and the surface roughly smoothed with a belt or disc sander…using a coarse grit. So I started filing the face of it flat using a coarse mill bastard file and moved to a fine mill bastard file, finishing with 220 grit on a sanding disc. As you can see below, the top of the anvil wasn’t remotely “flat,” and the curve of the horn (the pointy part) still had texture from the casting sand. All that had to go:

And after a few hours work, gone it is (and will be polished when the hammer gets polished) (I hate polishing…dirty work, that.):

Now when I use this hammer and anvil, there’s no undesired and unwanted texture added. Don’t be afraid to modify your tools to suit your needs and purposes! If you screw one up, it can always be replaced. You own your tools, they don’t own you.
Gemini (Revell) Build #5 – Interior Work; Adding Missing Details on the Seats
With the control and instrument panels detailed, it was time to fit them. Checking references, I see that the sides of the center console doesn’t float unattached the way the kit parts do; they go all the way to the floor:
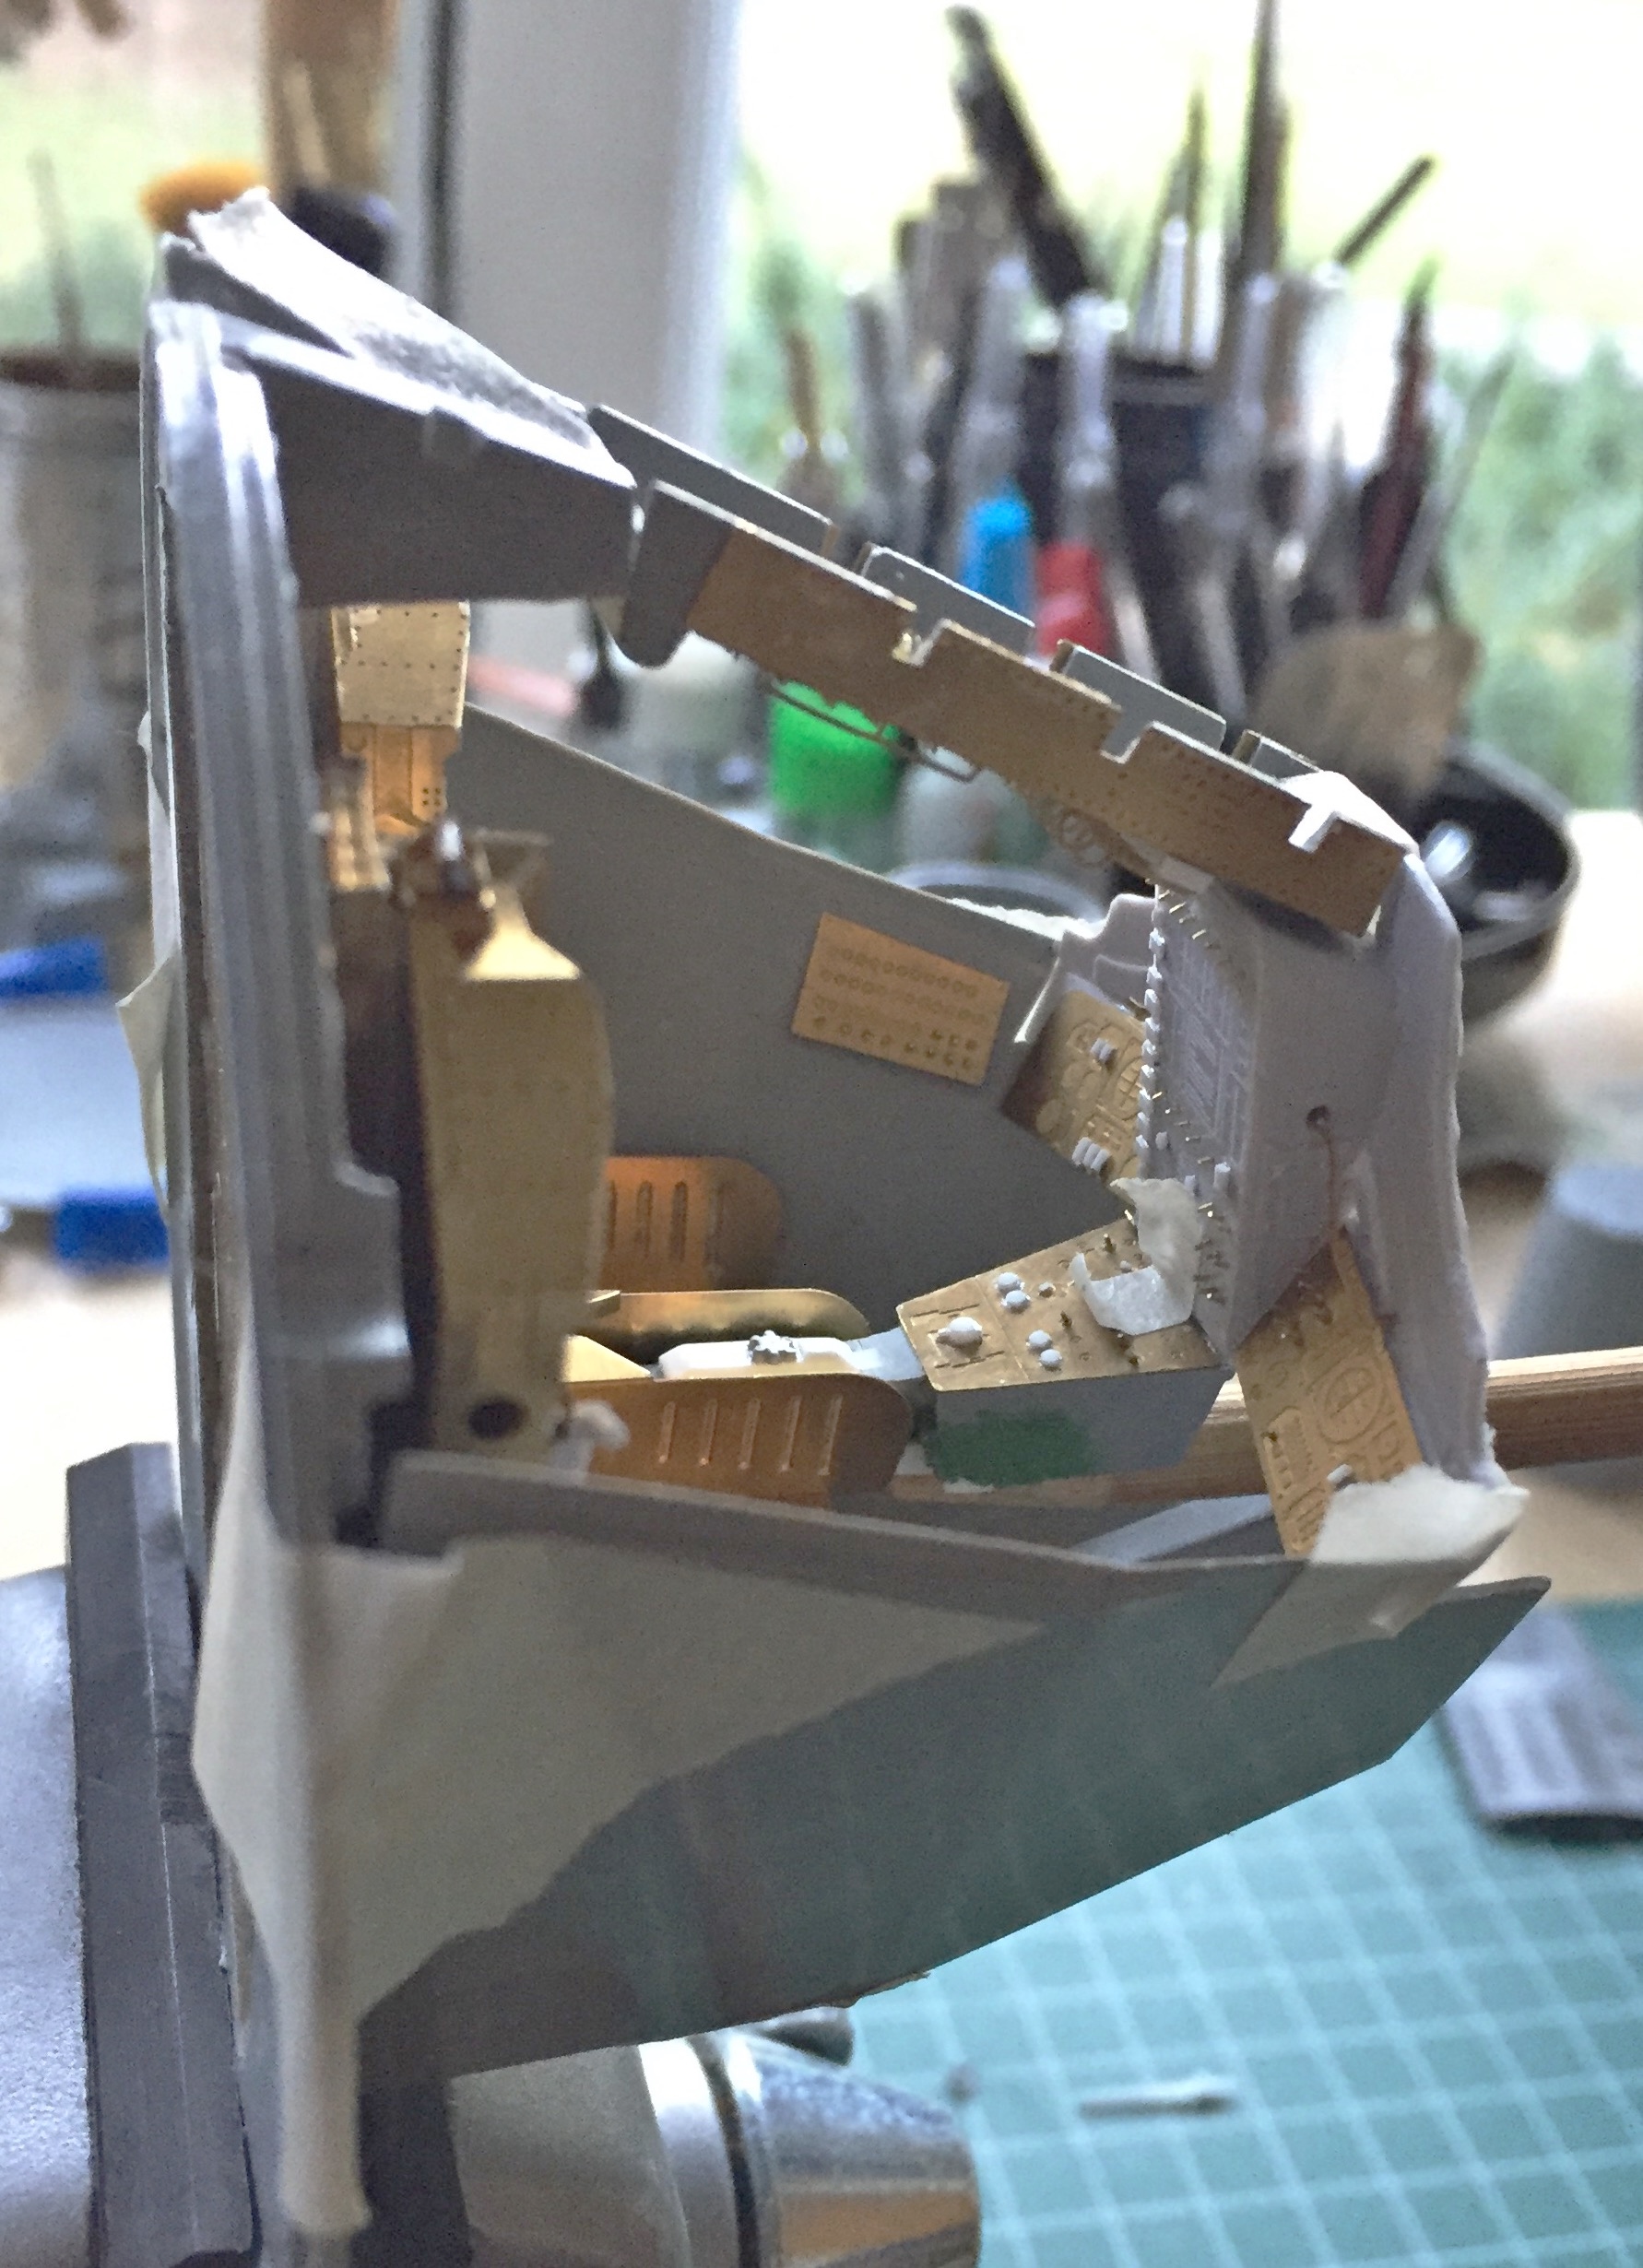

So using .040″ (1.016mm) sheet, I started extending the sides of the console:
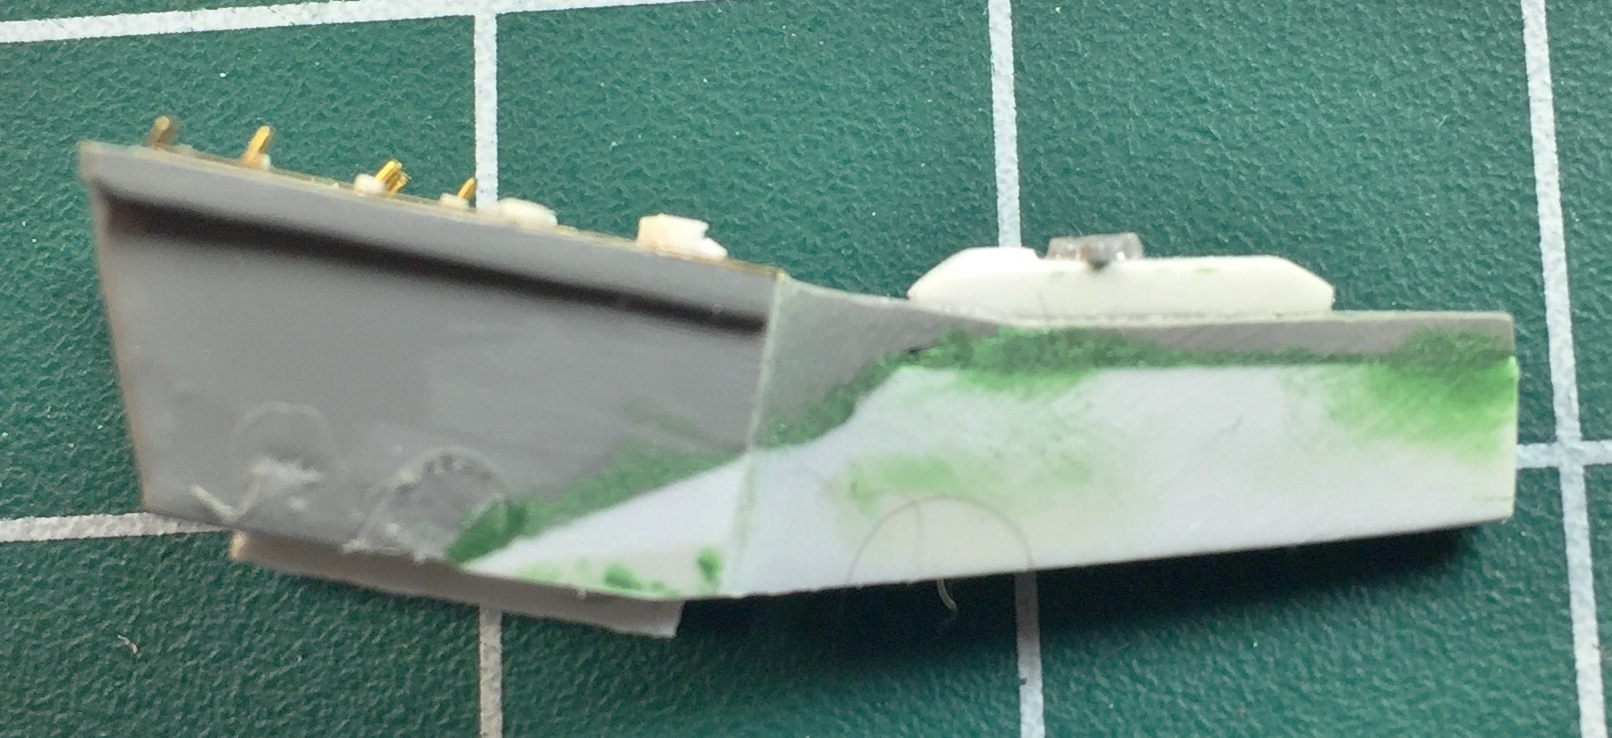


Dry-fitting showed me there’s still a way to go with this:

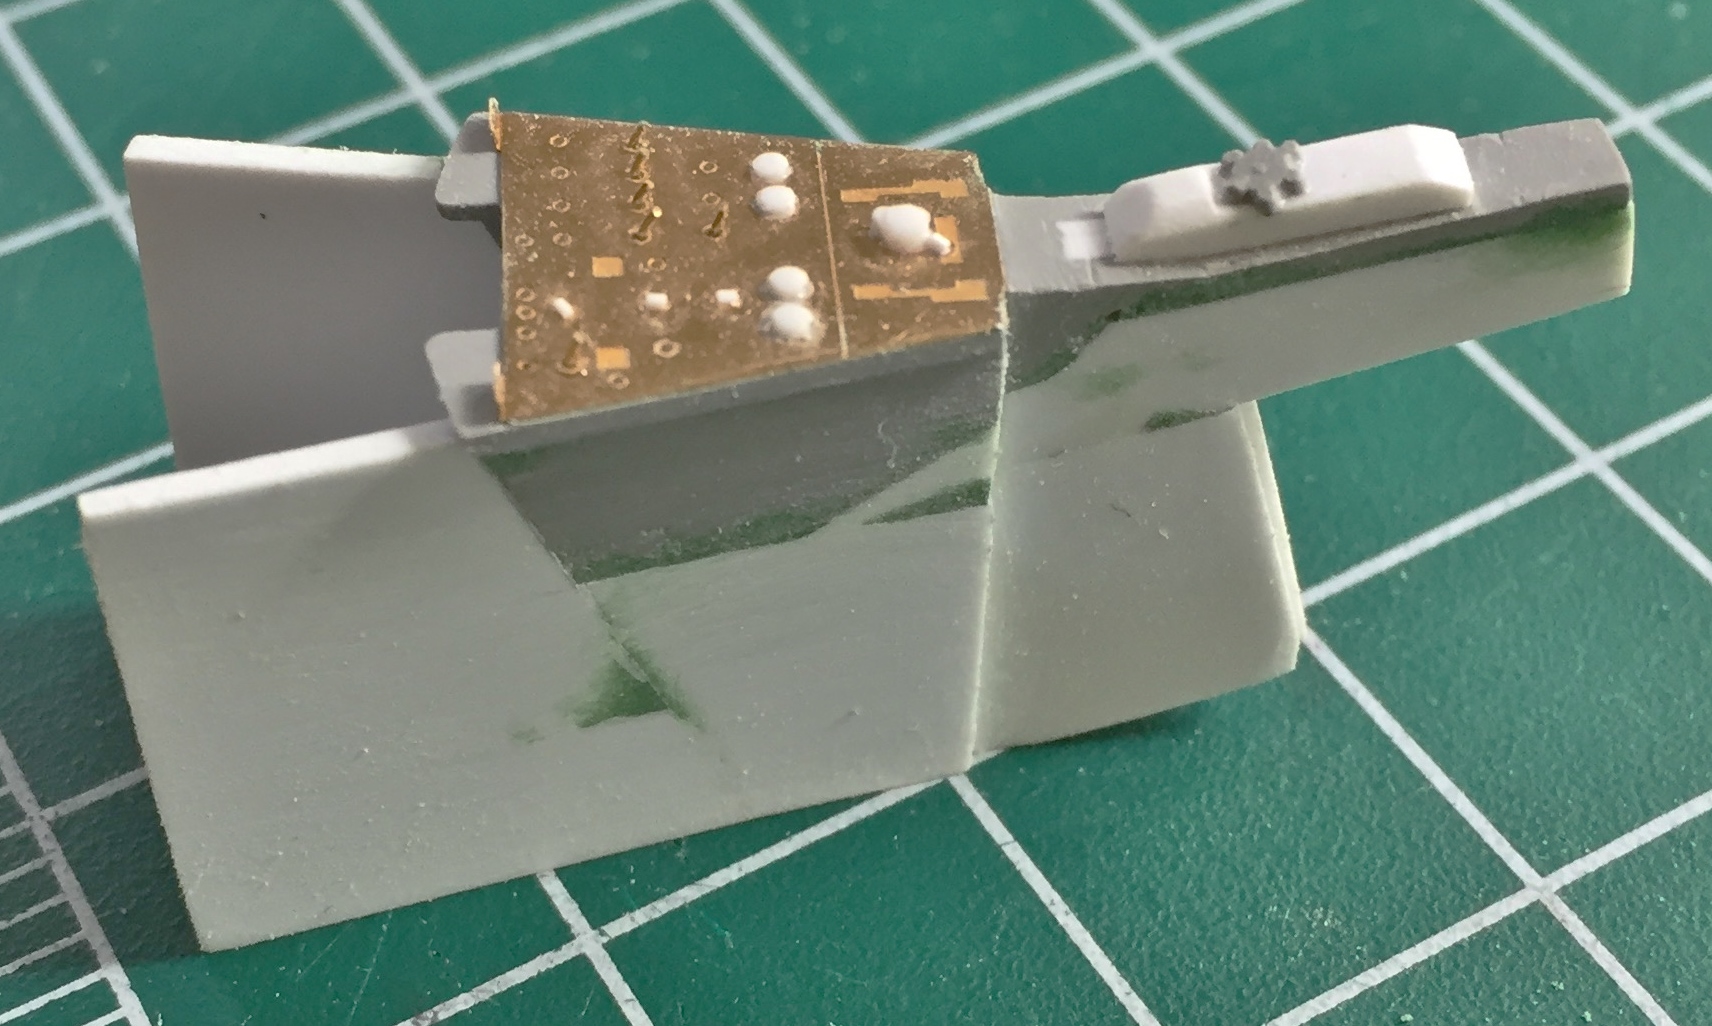
I still have to add more to the sides of the console, but lacking four (or more) hands, I needed to reduce the number of individual parts (and tape) for dry-fitting so I attached the console to the main panel. Normally I use superglue to attach resin bits to each other. Due to such a small contact area between the console and the panel, this time I used 5-minute cure epoxy:
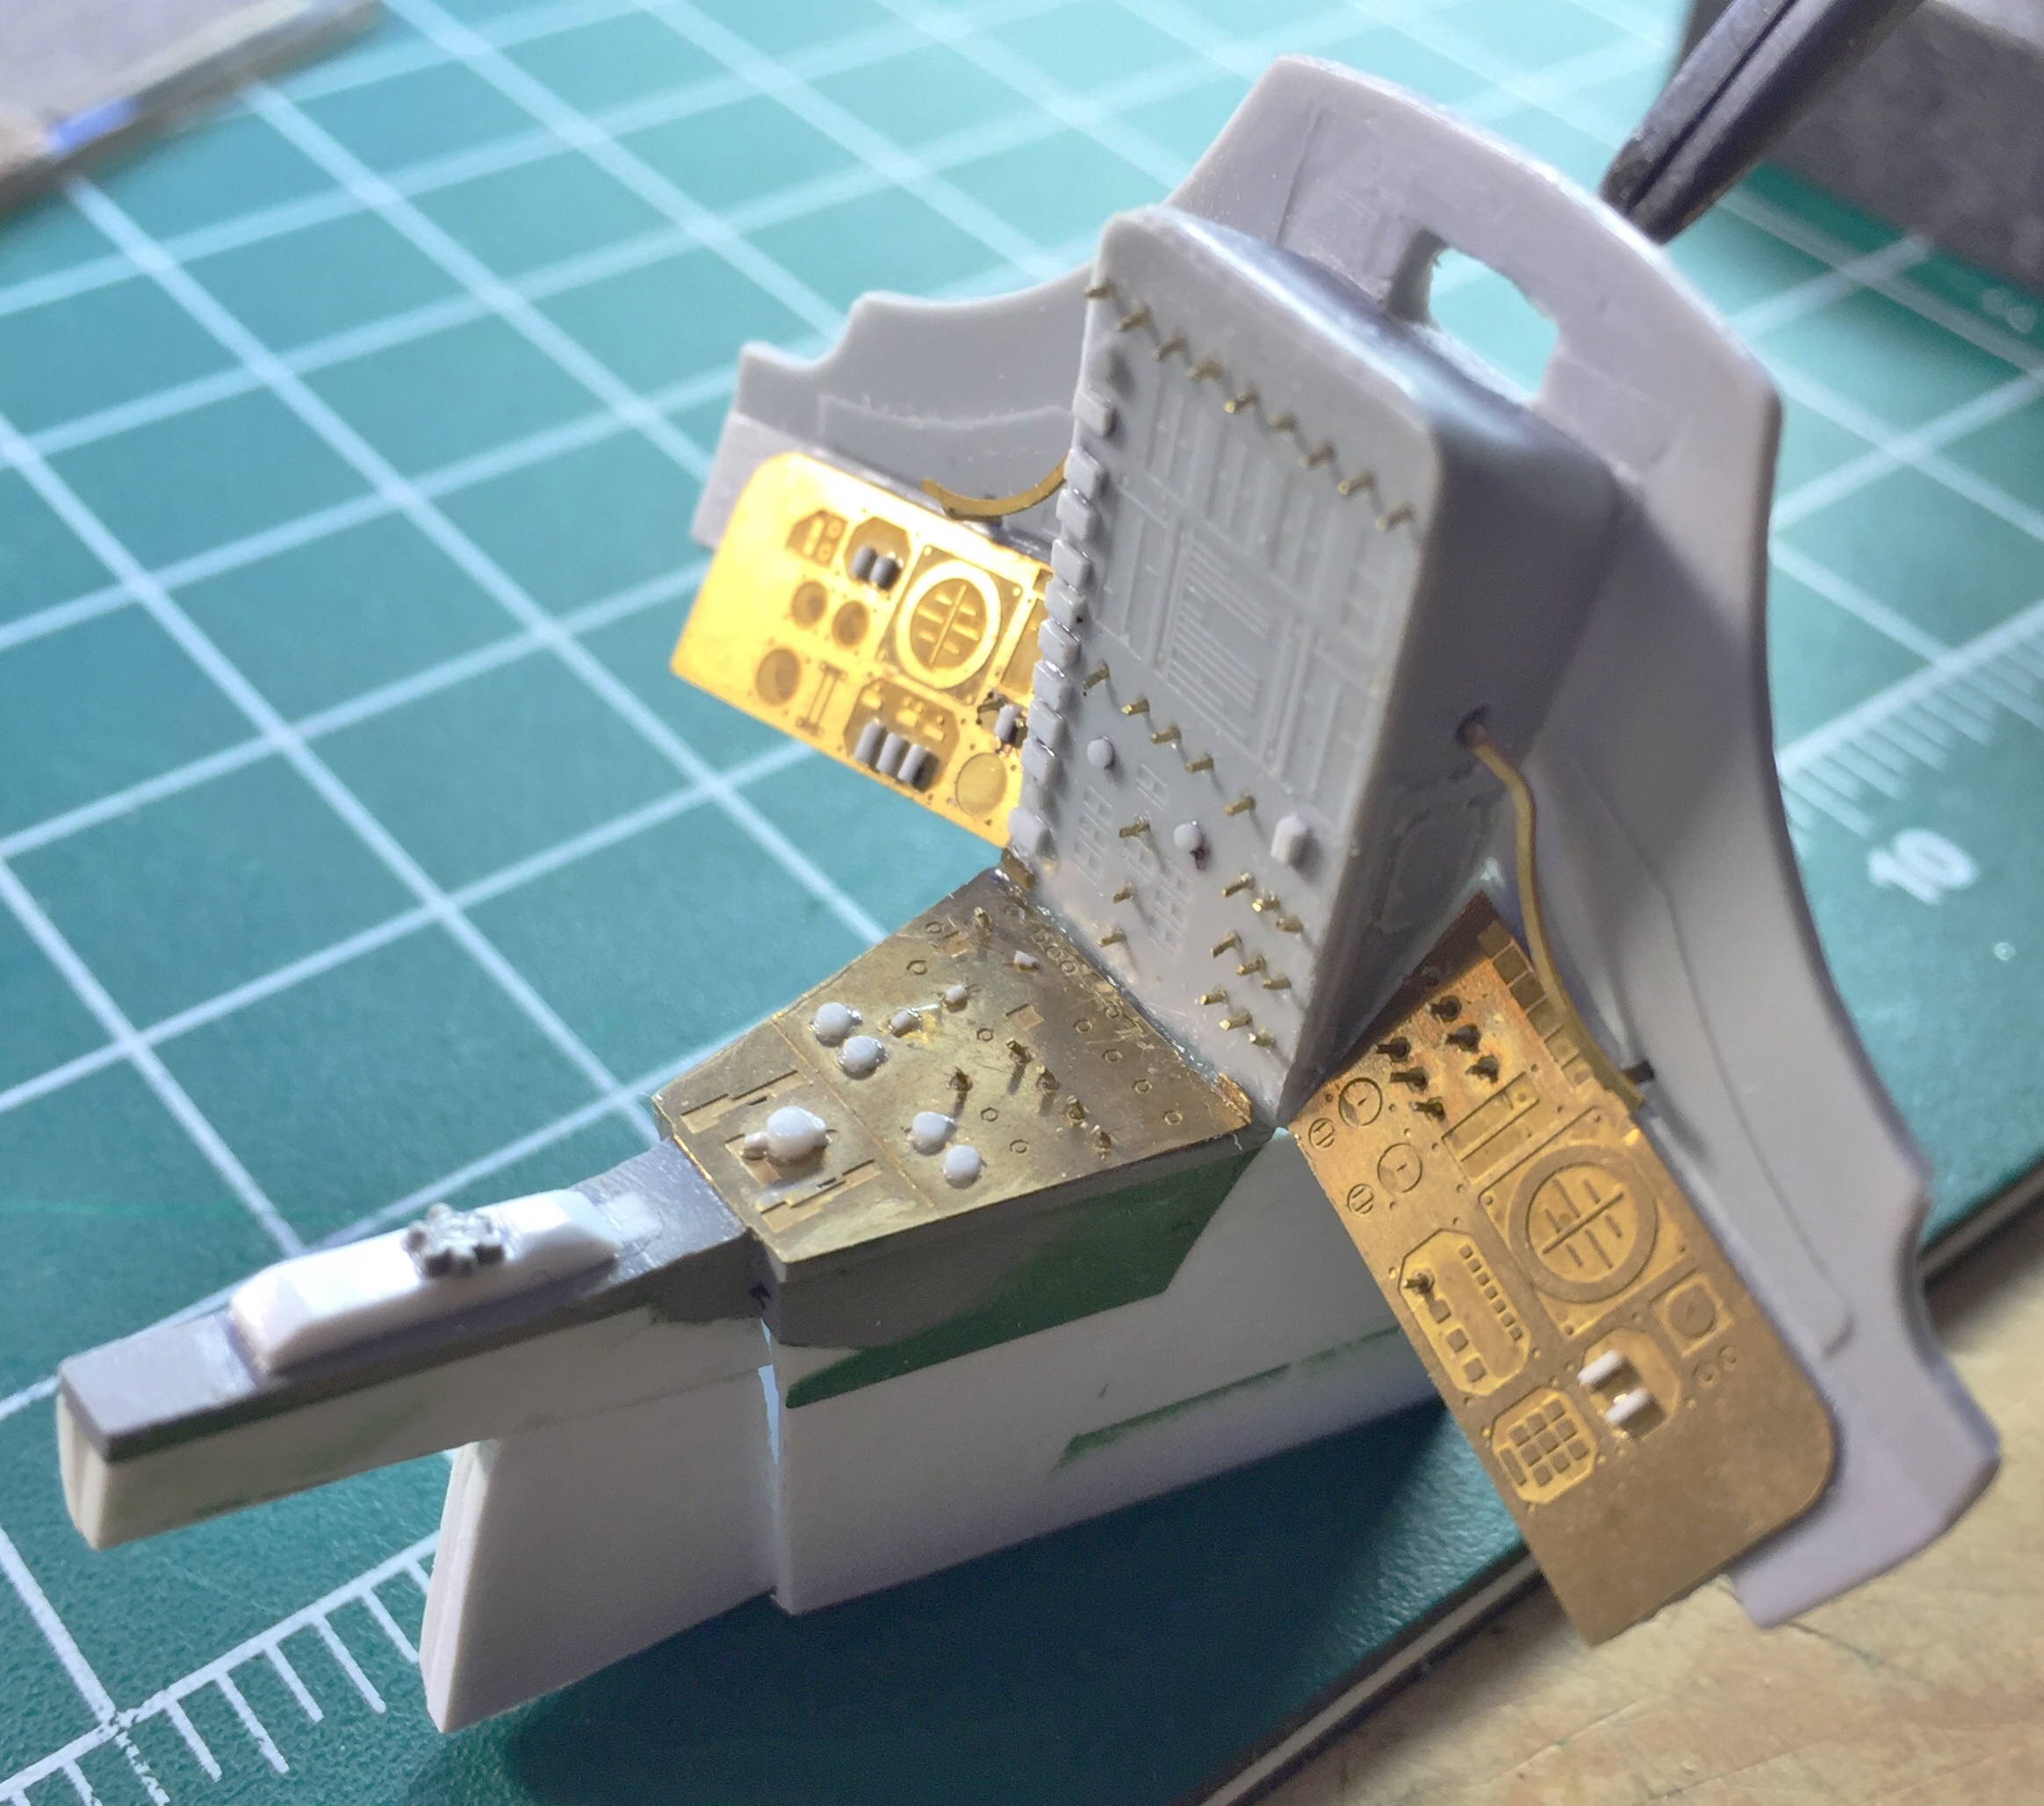
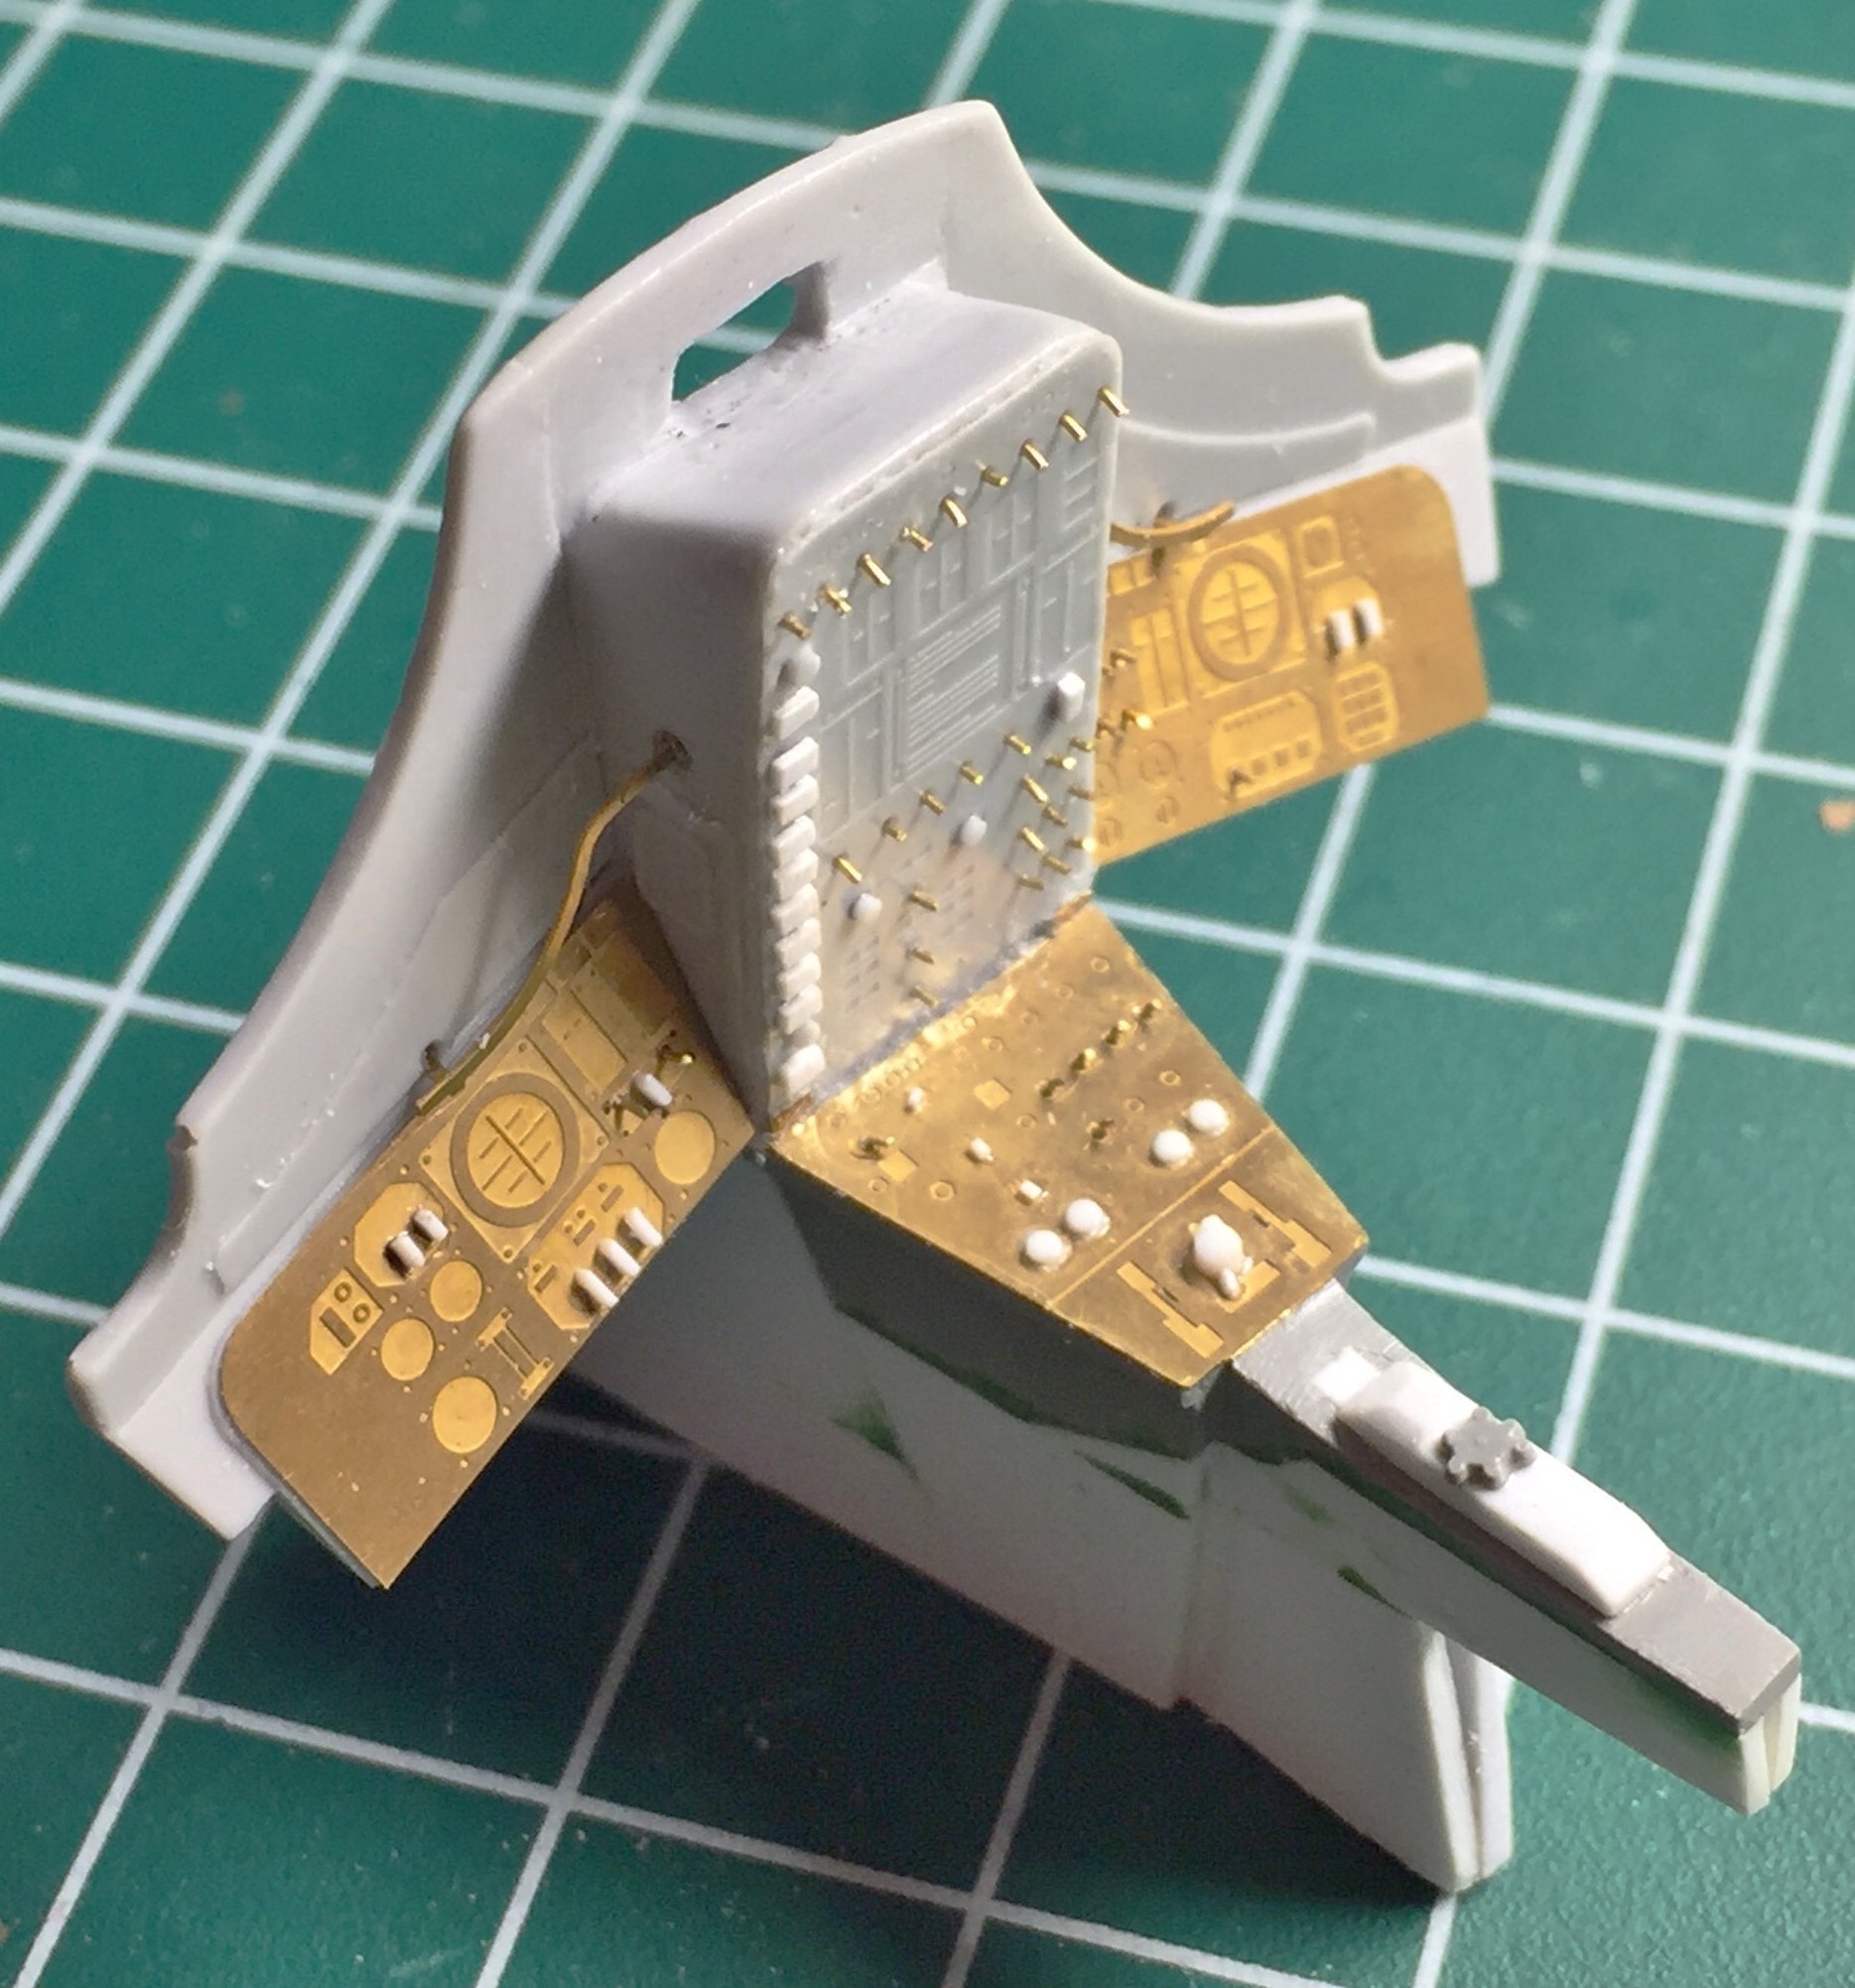
There is a joystick on the center console which will also need to be replaced. I started with five pieces of .020″ (.205mm) sheet (scraps, actually), drew the outline of what I wanted on the spine of what will become a more accurate joystick, and started dimensioning and gluing the other four pieces into place:
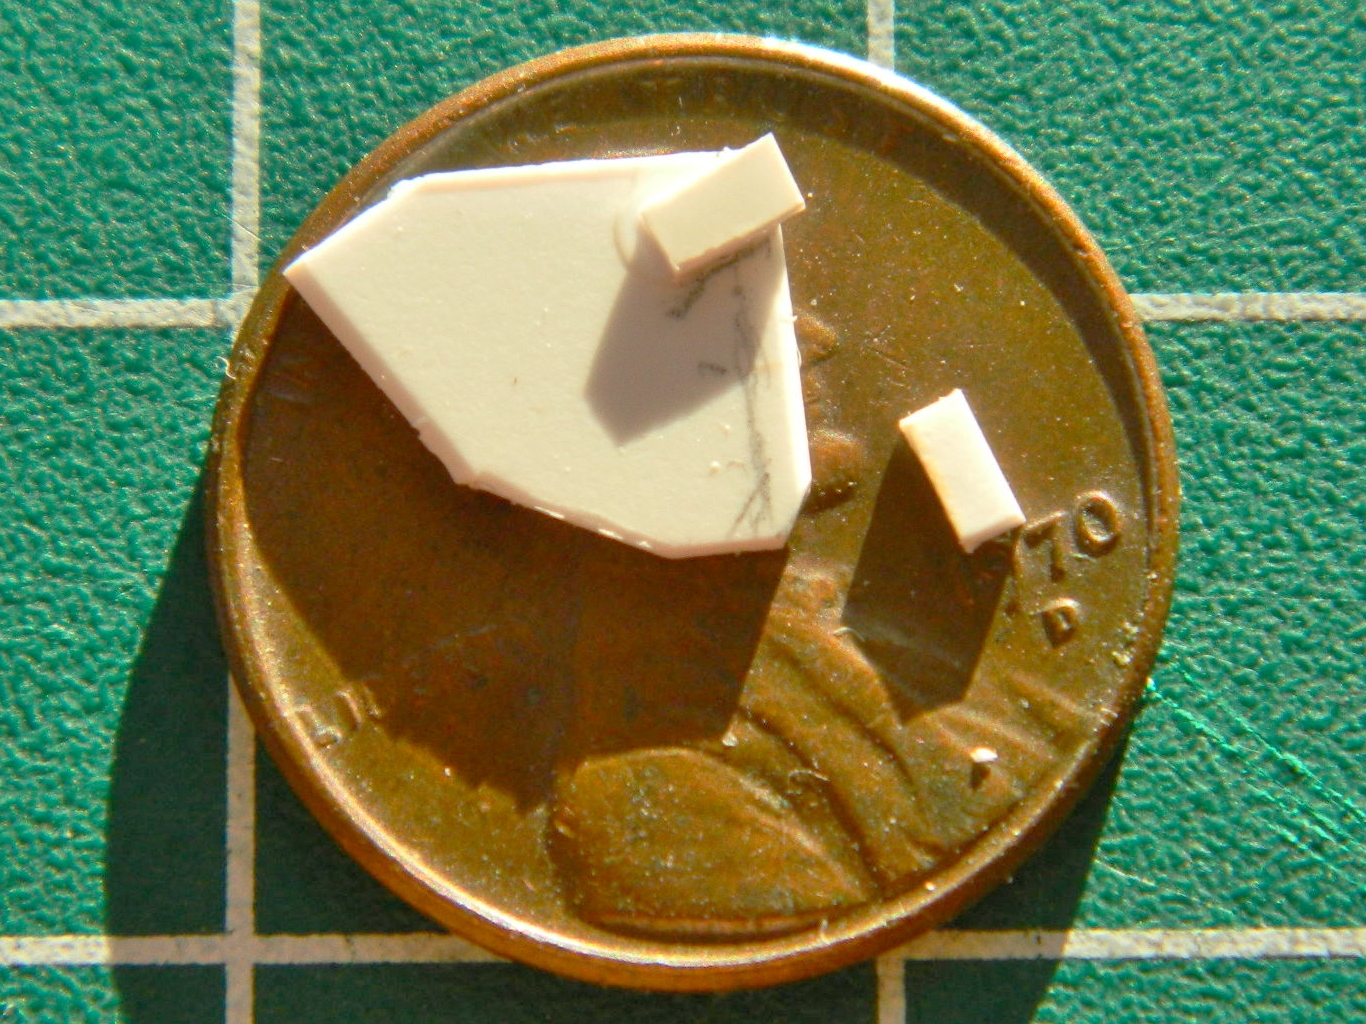
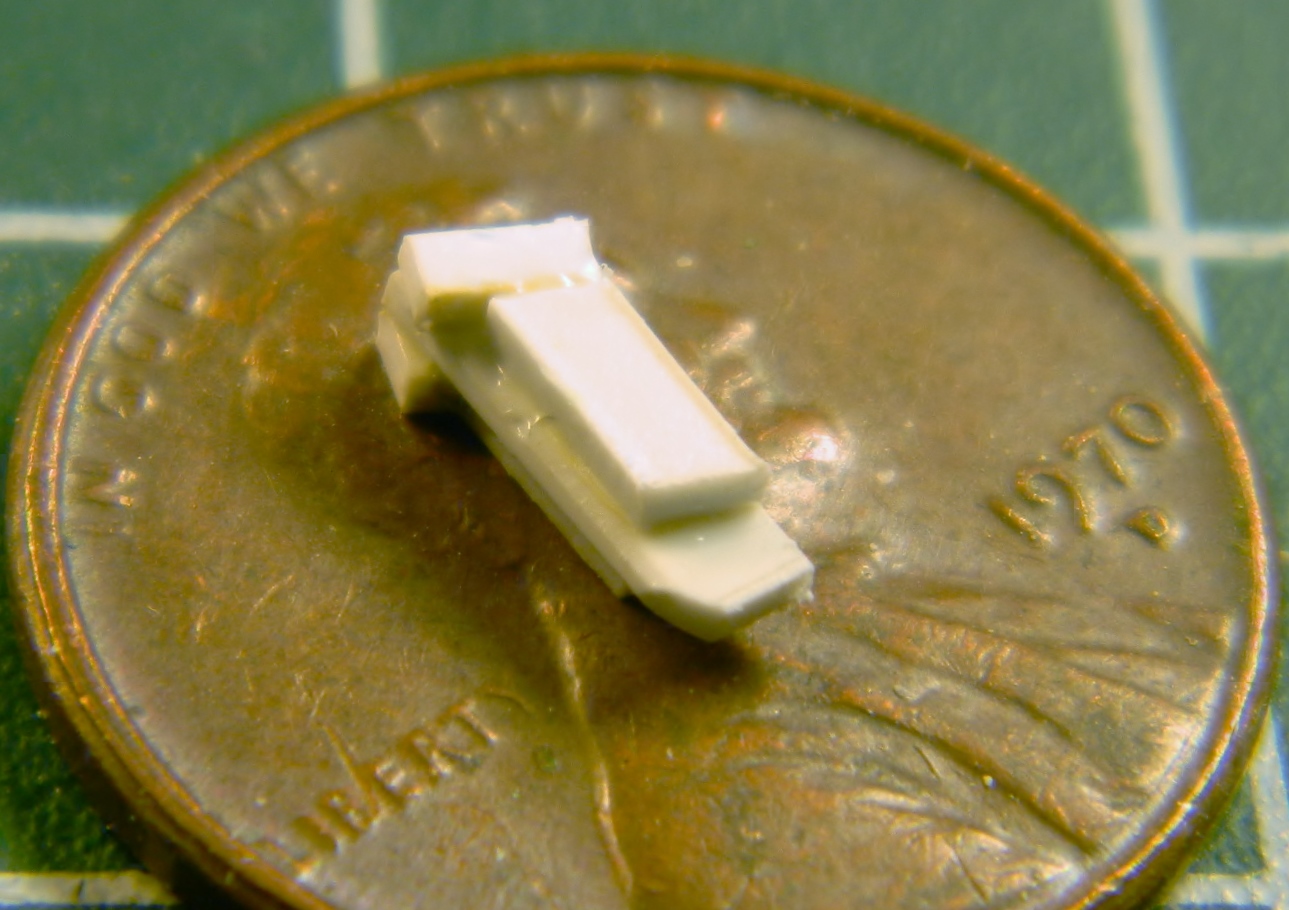
Then there were MANY DAYS of holding the sodding TINY part between increasingly sore finger tips while I scraped, filed, sanded, muttered, CURSED…er…exercised my ability with colorful (and anatomically unlikely) invective, interspersed with A LOT of time crawling around the (filthy, as it turns out) floor with a flashlight trying find out where the [INVECTIVE DELETED] thing landed this time after I dropped it. Finally I ended up with this:

When I spend so much time on something that is so small, I wonder if I’m actually in a small room somewhere, rocking back and forth and whimpering. Anyway, the joystick is mostly done with only a few very minor tweaks (as if the joystick itself isn’t minor) left to do to it.
One of the things I’ve found I have to deal with when building is the “before you can do this, you have to do that first, otherwise you won’t know how things fit.” With the console I’ve reached that point.
The ejection seats fill the interior. I’ve known since I assembled the PE parts (and decided that I wasn’t adding the astronaut figures) that I was going to have to detail them more than the PE set had. That started with taking the seats away from their backing. First step was making cushions. I had originally intended on making the cushions out of epoxy putty, taking a mold of them, and then casting resin parts to install. Then I realized I was making this far too complicated. I wanted to start with something about .070″ (1.778mm) thick and to do that, I needed to laminate sheets of .030″ (.762mm) and .040″ (1.016mm) to get that. Once laminated and cured, I cut them to dimension, shaped the bottom cushion, and then rounded the edges (and while you’re there, note how short the forward bottom face under the edge of the bottom cushion is…that has to be extended):

That worked well, and since there’s two seats, I needed to make another set:

Then I had to extend the front vertical bottom face of the seat. I used .005″ (.127mm) copper shim stock and soldered it into place on the front, figuring the seam between the two parts would be easier to hide at the fold line.
A word about soldering…
Using a soldering iron works fine for soldering small things that will heat up quickly. The soldering iron doesn’t do so well at heating up a large surface that heats slowly. For one thing, it only heats the area it’s in contact with. Fine if you want to solder something small at a small contact area. NOT so fine if you’re trying to solder a long(ish) part that’s been folded one too many times and has snapped off. It’s also not so fine if you’re trying to solder a wide, flat part to another wide, flat part…like I had to do with the extension to the front bottom of this seat, for which I used .010″ (.254mm) copper shim stock:

In the following picture, let me direct your gaze to the SLOP at the top center of the photo. This is where the seat back joined the seat bottom. It got dropped one too many times and snapped off. There isn’t enough surface area at the join for adhesives of any sort to work. I tried soldering it with a soldering iron and the charred lumpy crap you see is the results of my efforts. Yeah…it does hold the seat back to the bottom, but it looks like shit (and the only reason I haven’t redone it is because it does hold the back to the bottom and the shitty area won’t be seen). And while online looking for something else entirely, I ran across a soldering tip (idea, not something you’d attach to a soldering iron). Put a little bit of flux onto the part where you want the solder to flow and then clamp the two parts together. Then cut small bits of solder (as I learned, smaller bits than what I used here) and lay them in place along the seam of the join:
THEN use something along the lines of this little beauty. It’s a butane pencil torch (in case there’s someone from the UK reading this, I mean torch…not a handheld light source…which is what a torch is, I guess, but…well…I’m digressing a lot, here). A propane torch works well, also. It doesn’t take a lot of heat to solder:

Fire that baby up and make several passes across the surfaces you’re soldering together, starting further away from it than you think it should be and then gradually moving closer. First the flux will liquefy and flow between the parts. Then the solder will liquefy and follow it. Quickly remove the heat source and you should end up with a nice clean soldered join:
And that’s how I ended up getting that extension neatly attached.
There are details that now need to be added and removed. Reference photos show the details on this area of the seat. To transfer the dimensions from a photo on my computer screen to copper parts on my workbench, I used these…proportional dividers:

By adjusting the pivot, dimensions of one scale can be easily reproduced in a different scale consistently. Reminding myself (again) that in modeling, things have to look right…in engineering, things have to be right (there is no “alternative engineering” any more than there is “alternative truth”). I placed the large spread of the divider against the screen and the small end against the seat front, and diddled with the pivot until everything matched, and then I took the relative measurements:

The details that are replicated by removal are those holes. I took out my Eyecrometer and made a template. Since this area is VERY small, I needed a template that would hold itself in place as my fingers are just too large. Masking tape “worked” but was problematic in use (too thick for the size I needed and more difficult to remove that I wanted to deal with). Instead, I used the sticky section of a Post-It note:
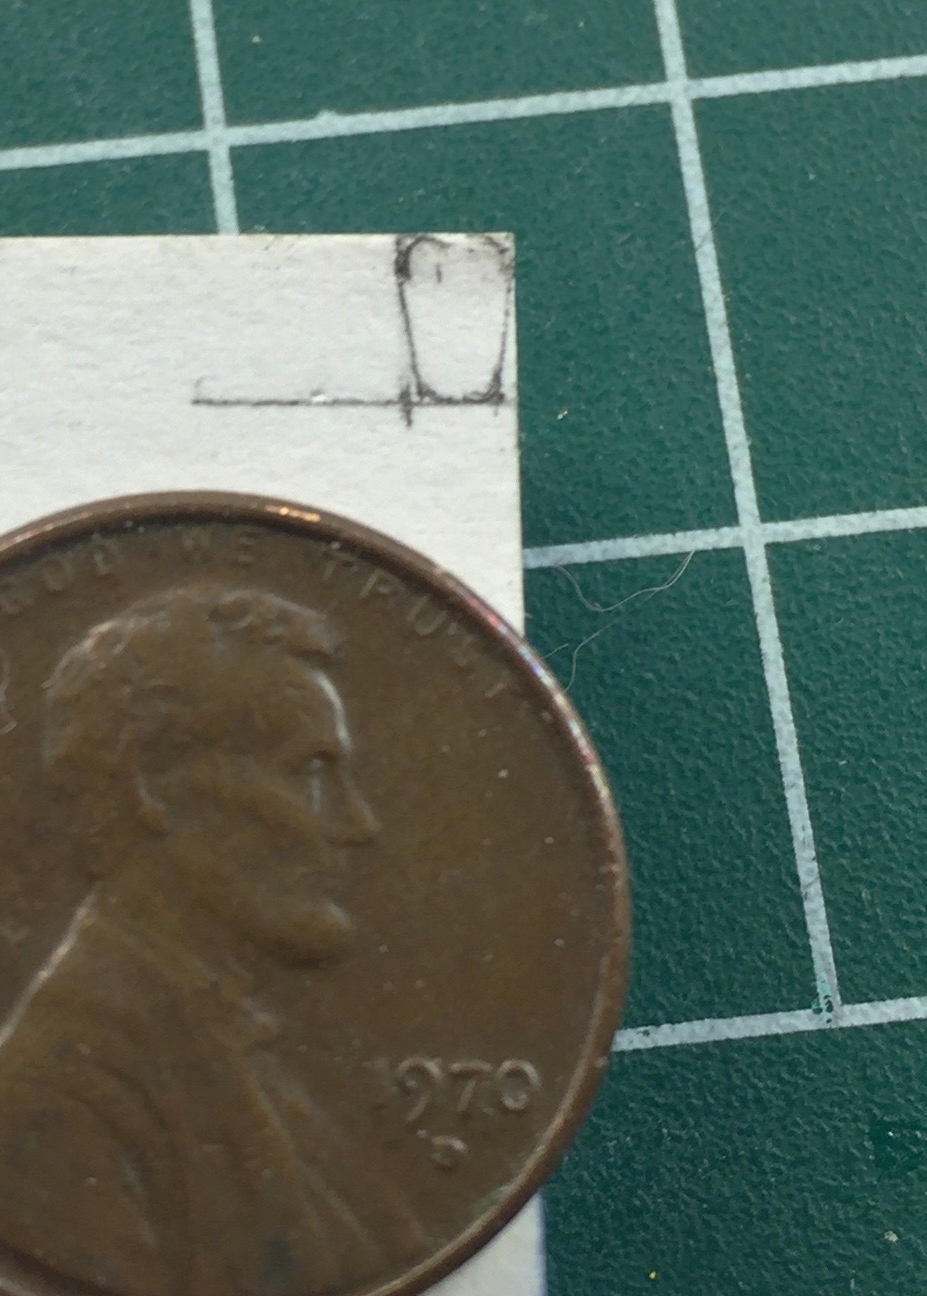
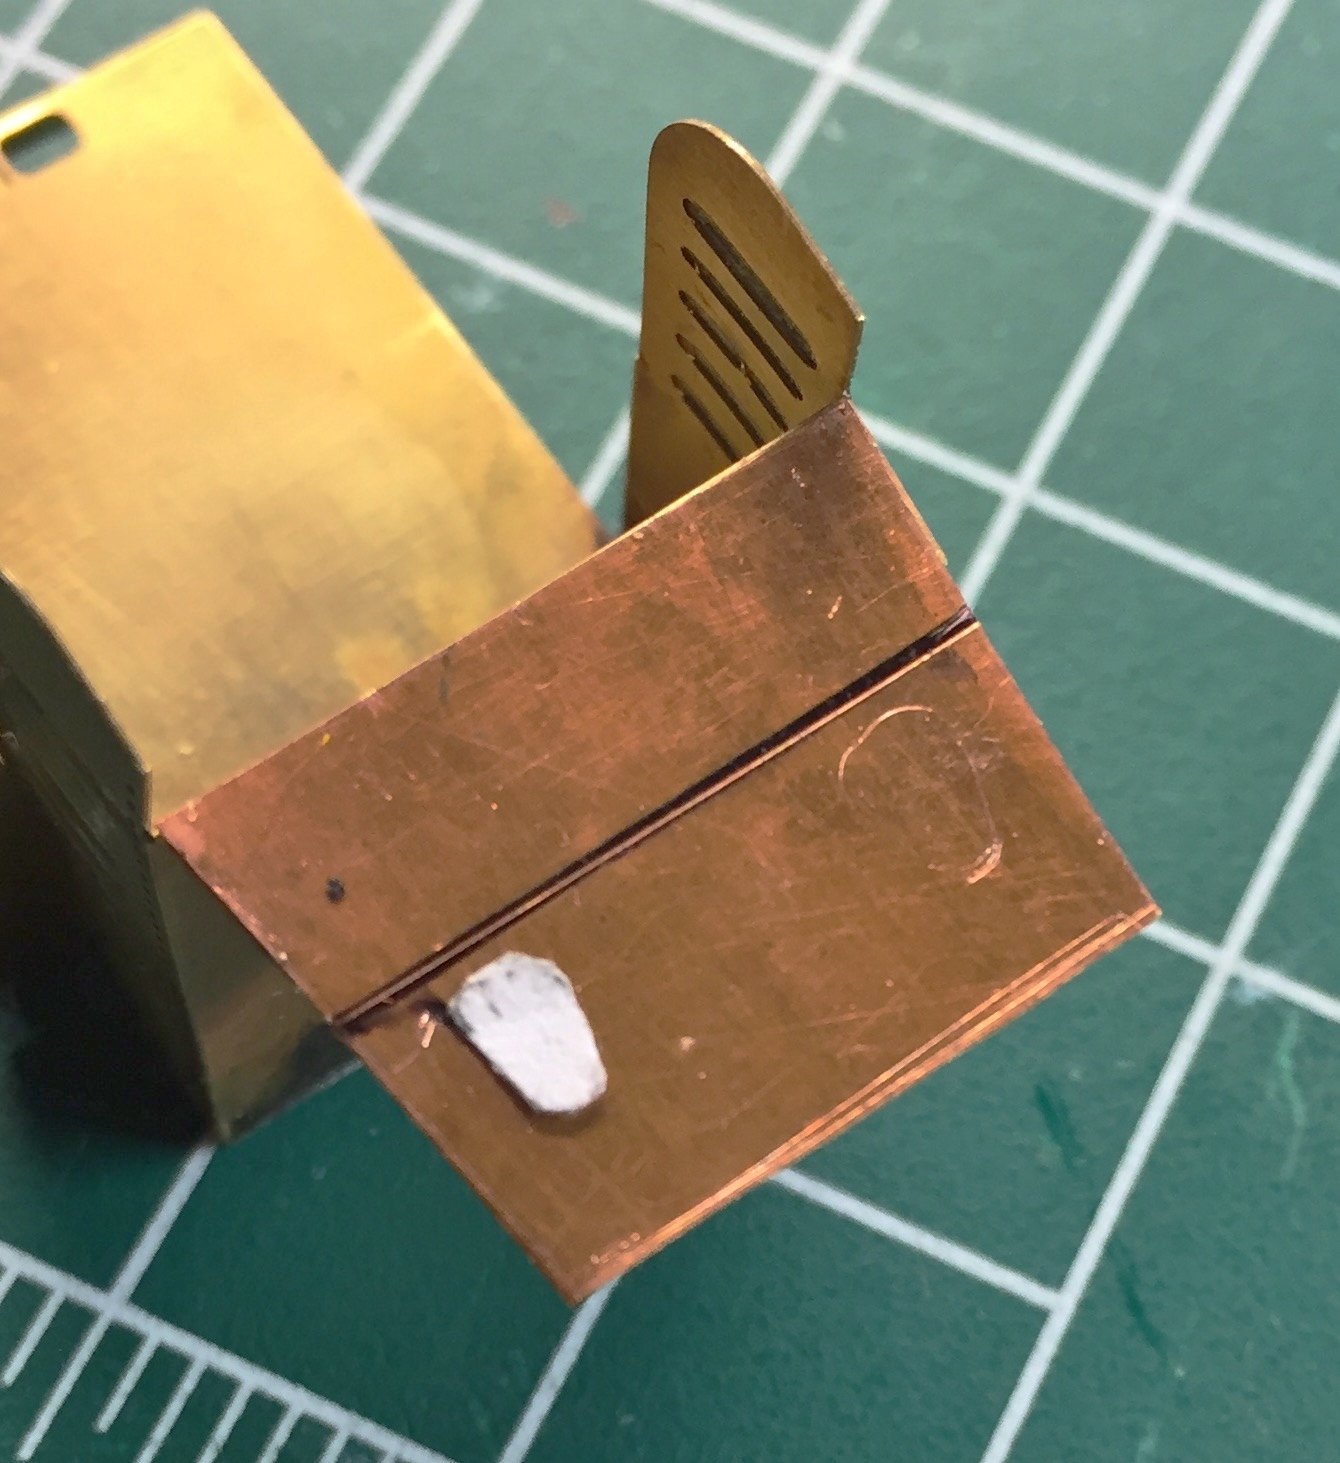
Then it was a matter of drilling and filing things to shape:
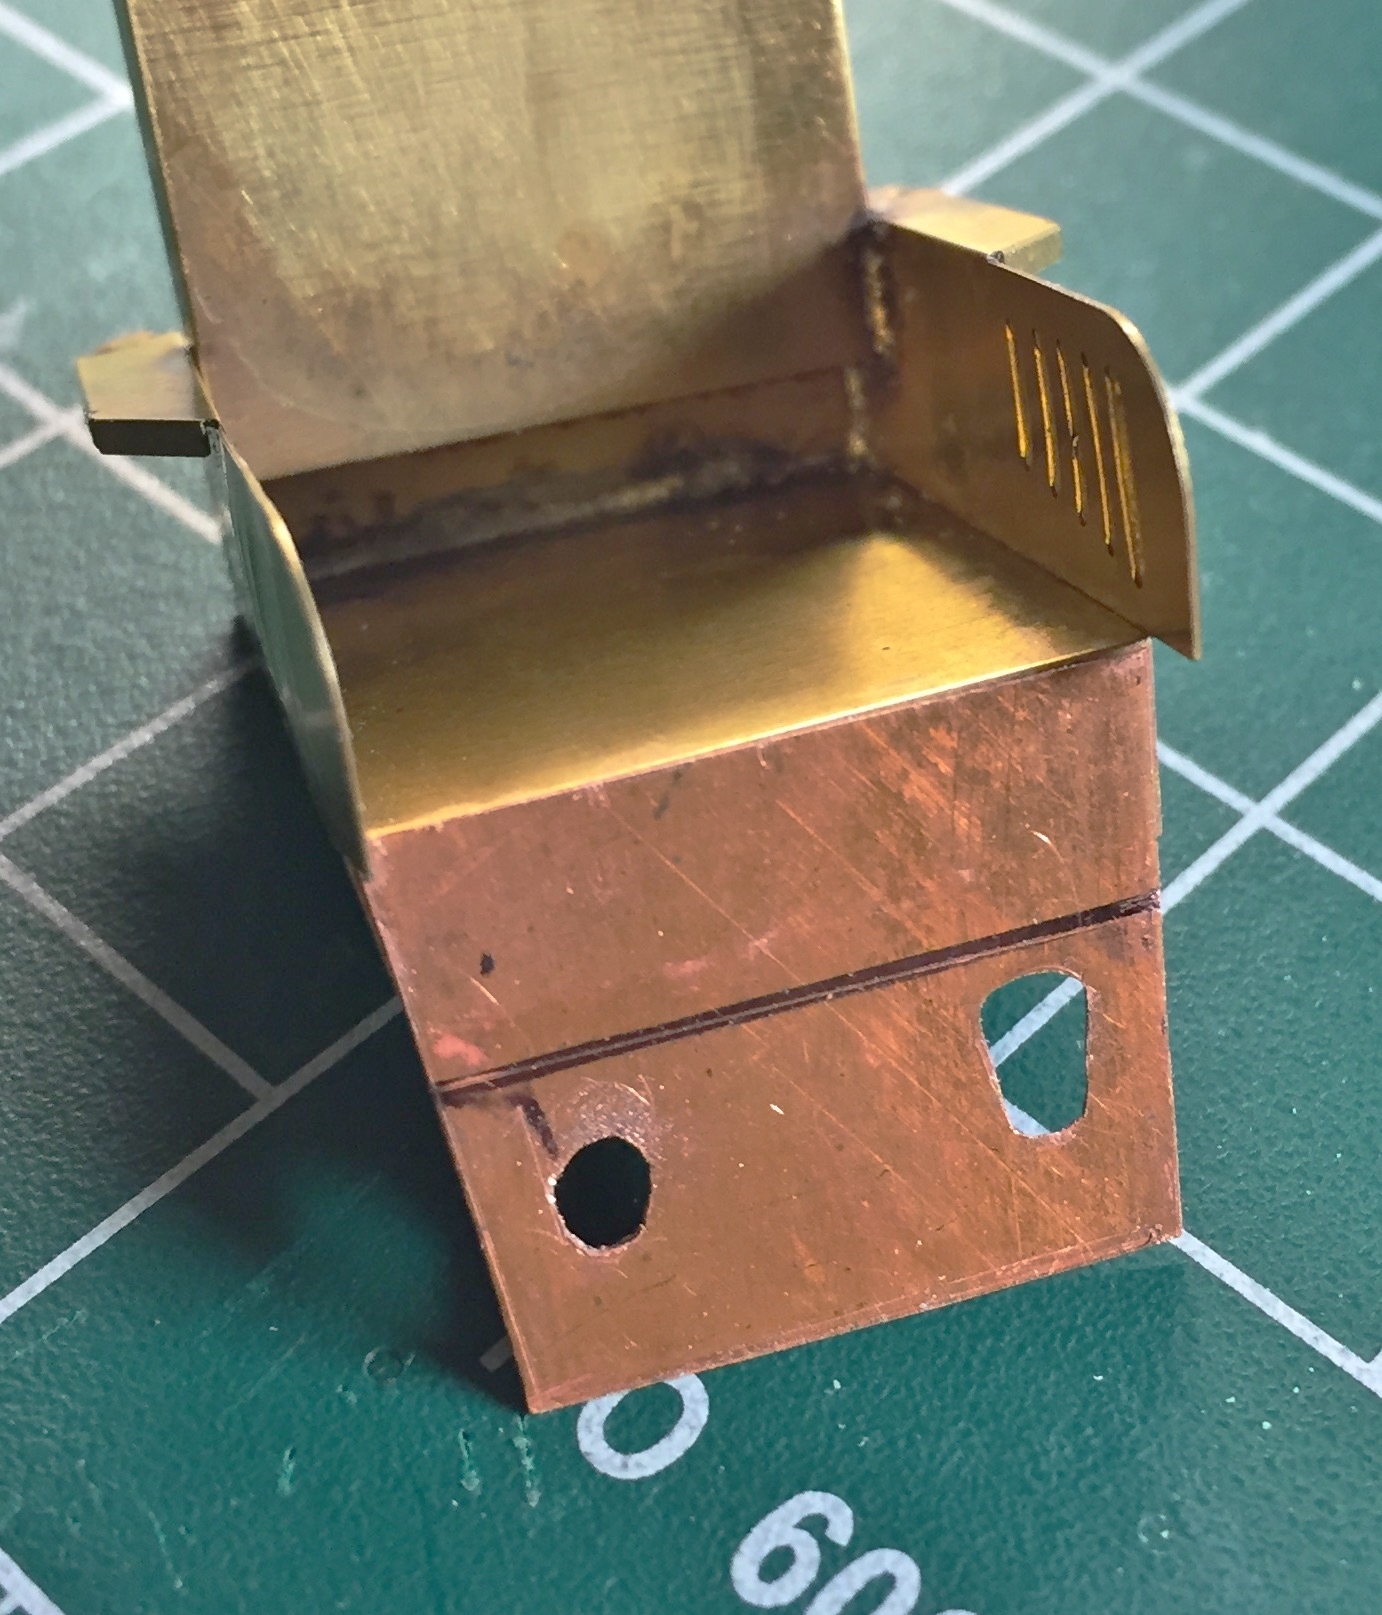
The sides of the seat come down further than the PE parts do and those needed to be fabricated and added:
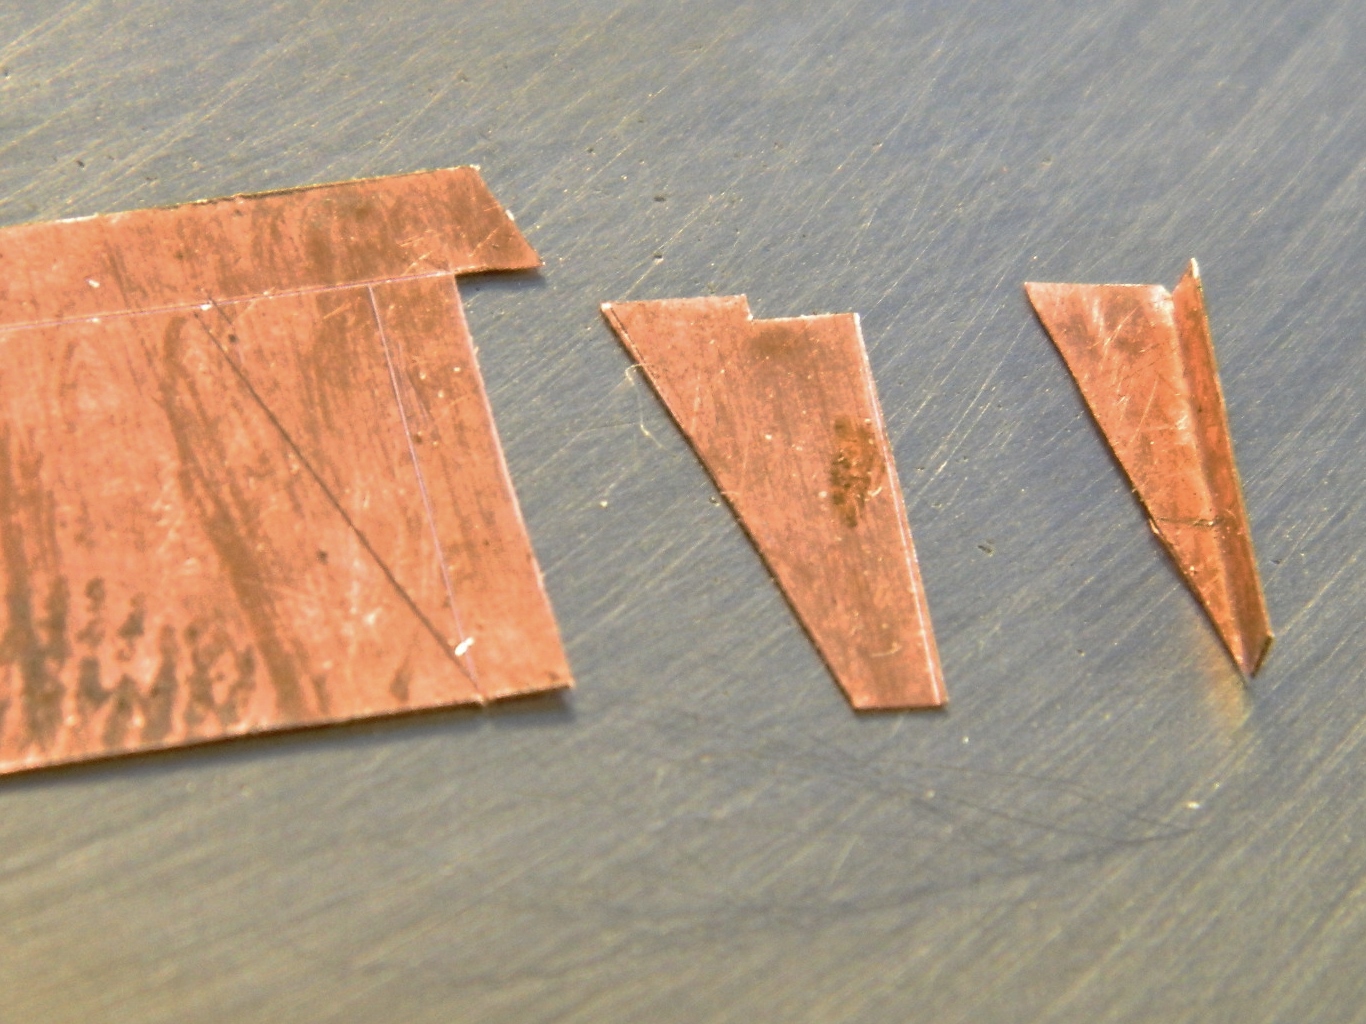
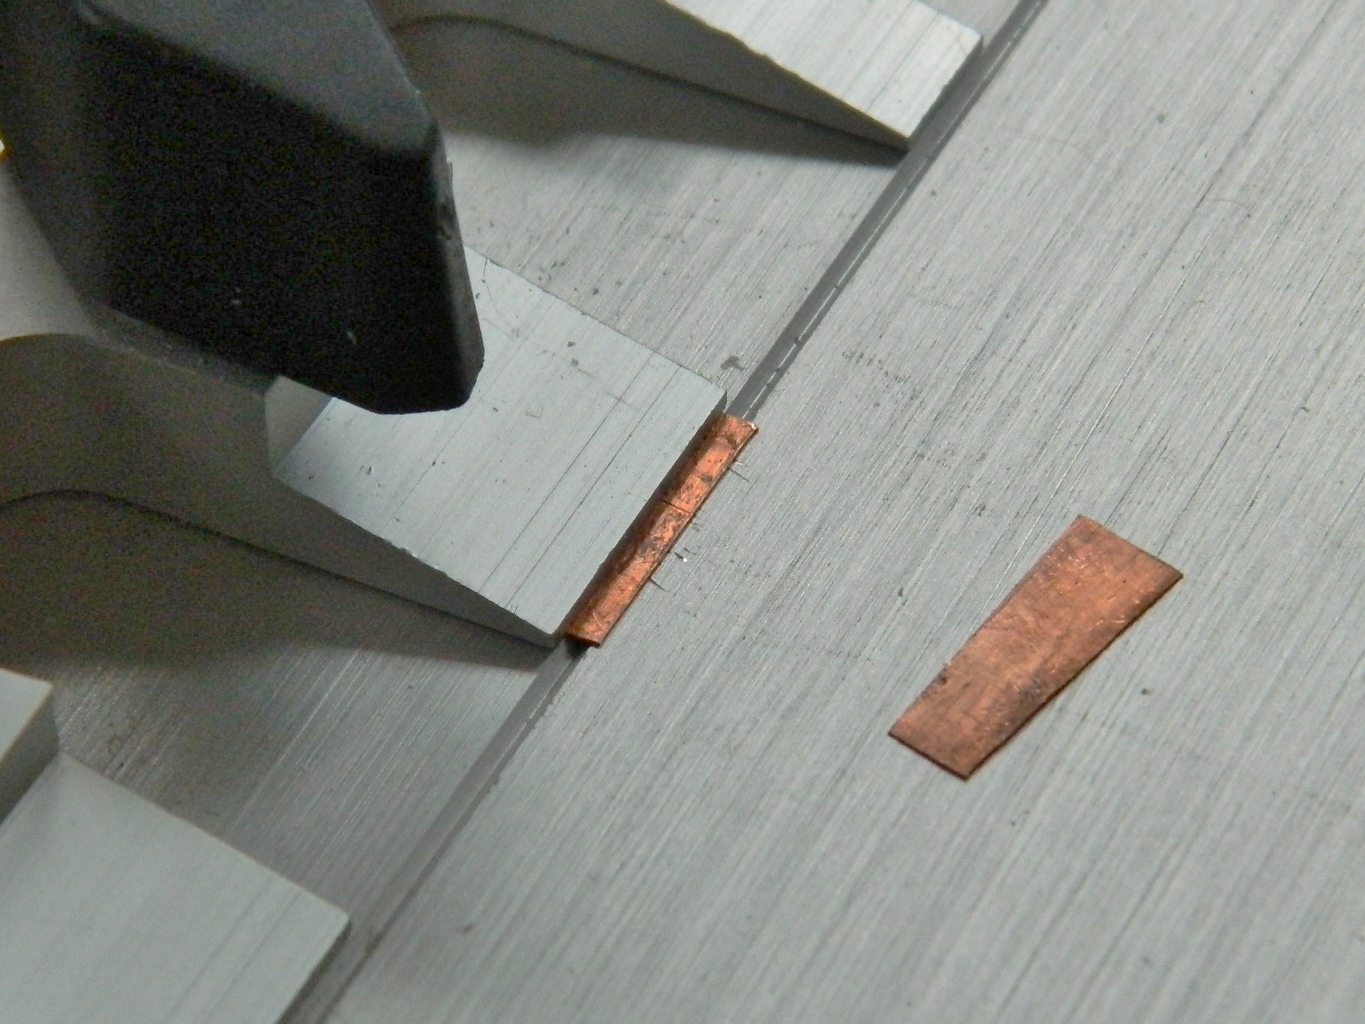

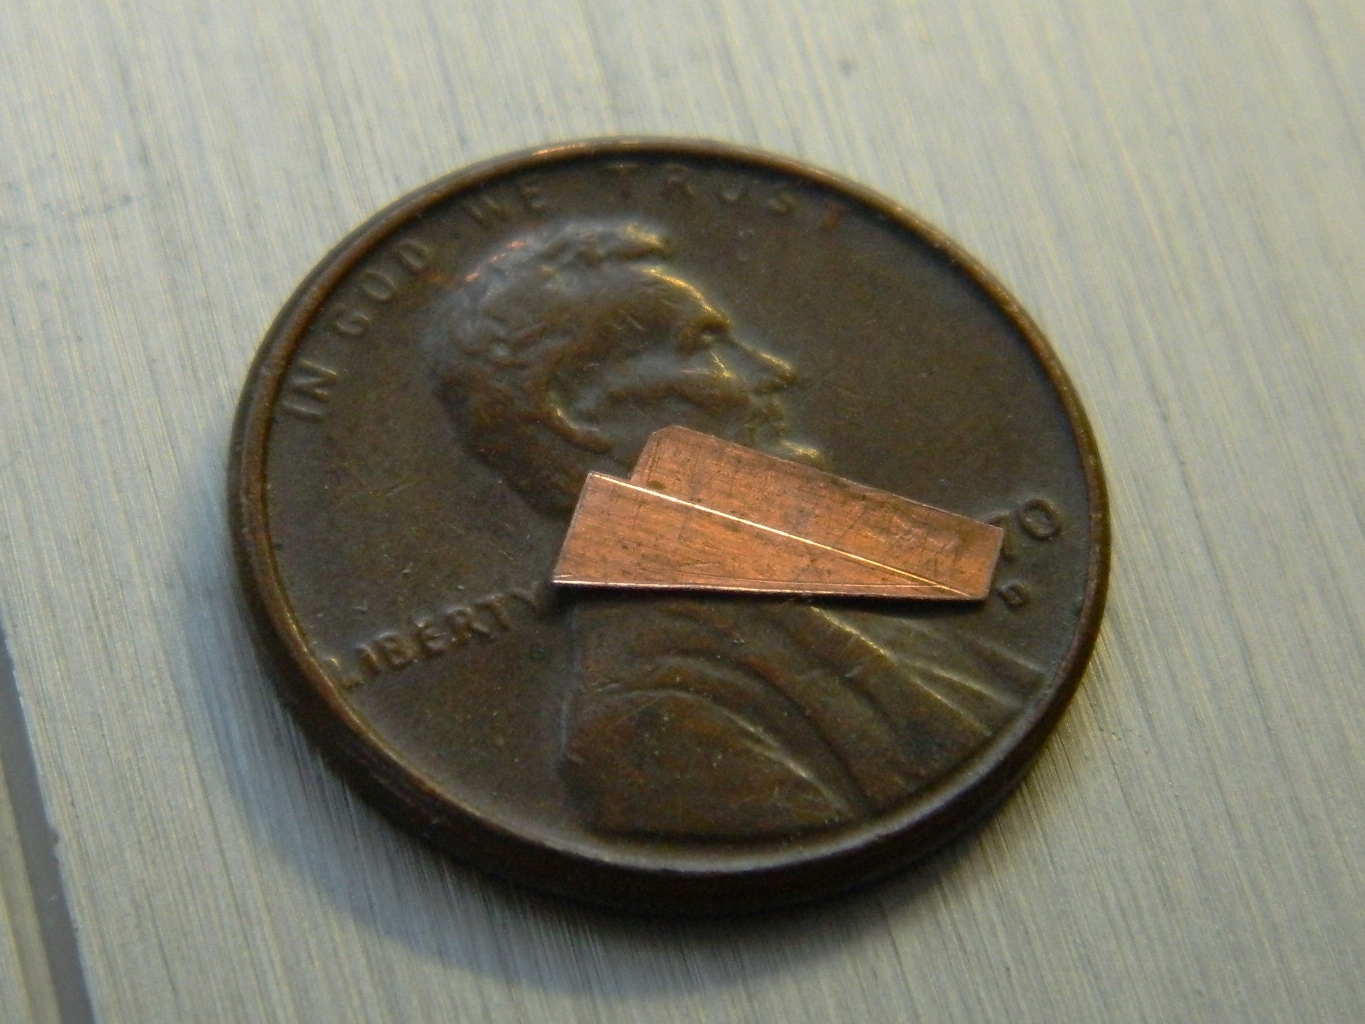
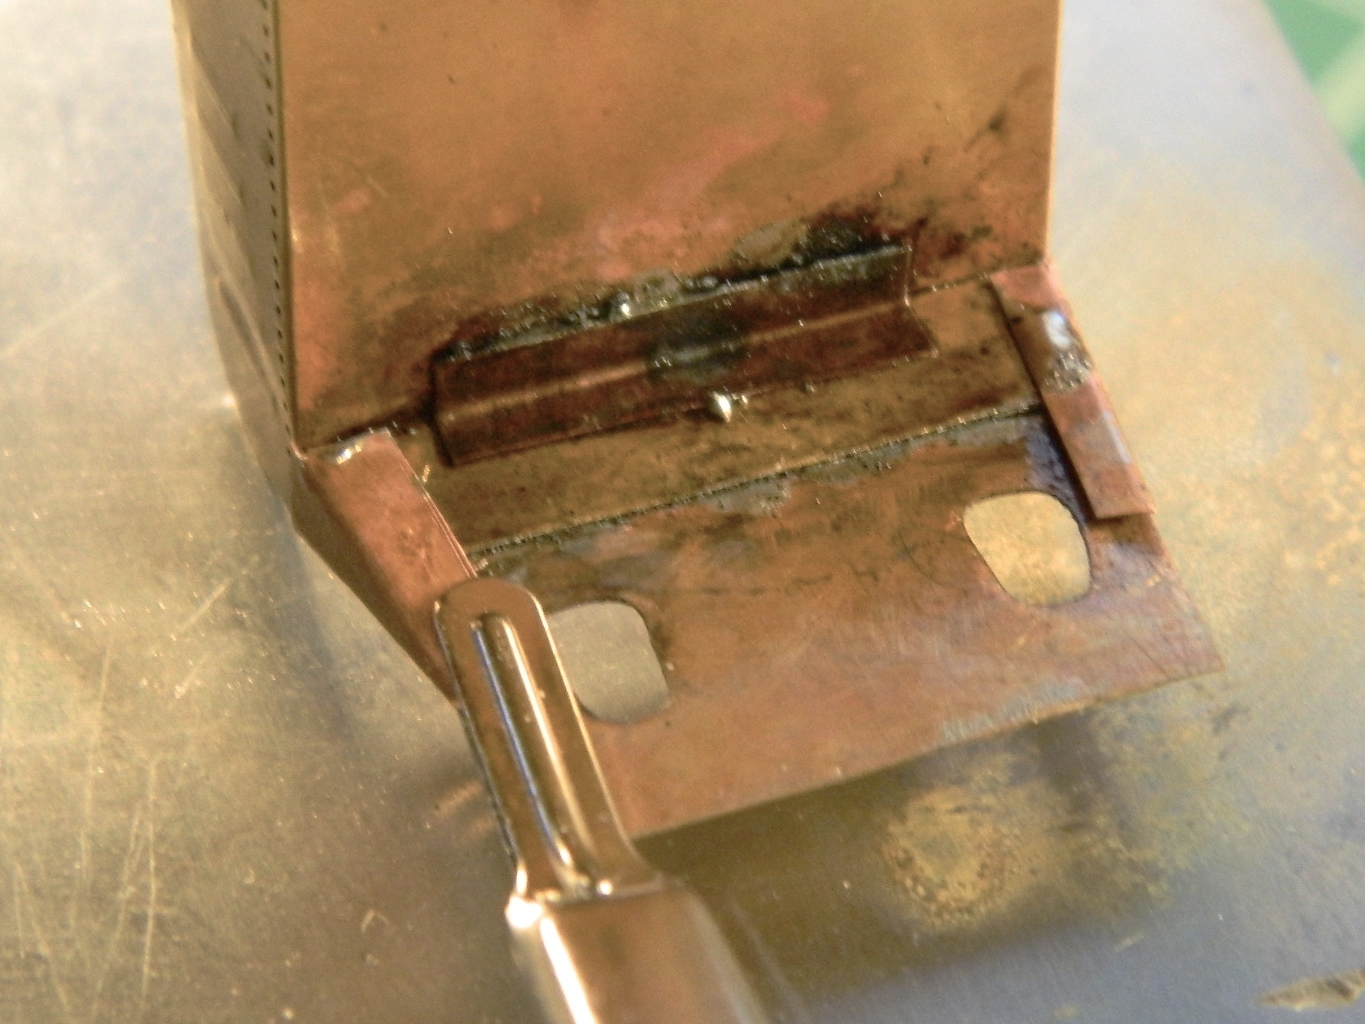
Then I needed to fill gaps my ham-handedness left. I tried my structural putty which didn’t work. The gap was large enough for a piece of scrap plastic to be sanded to thickness and superglued into place. Then commercial putty was used to blend everything (hopefully) seamlessly:

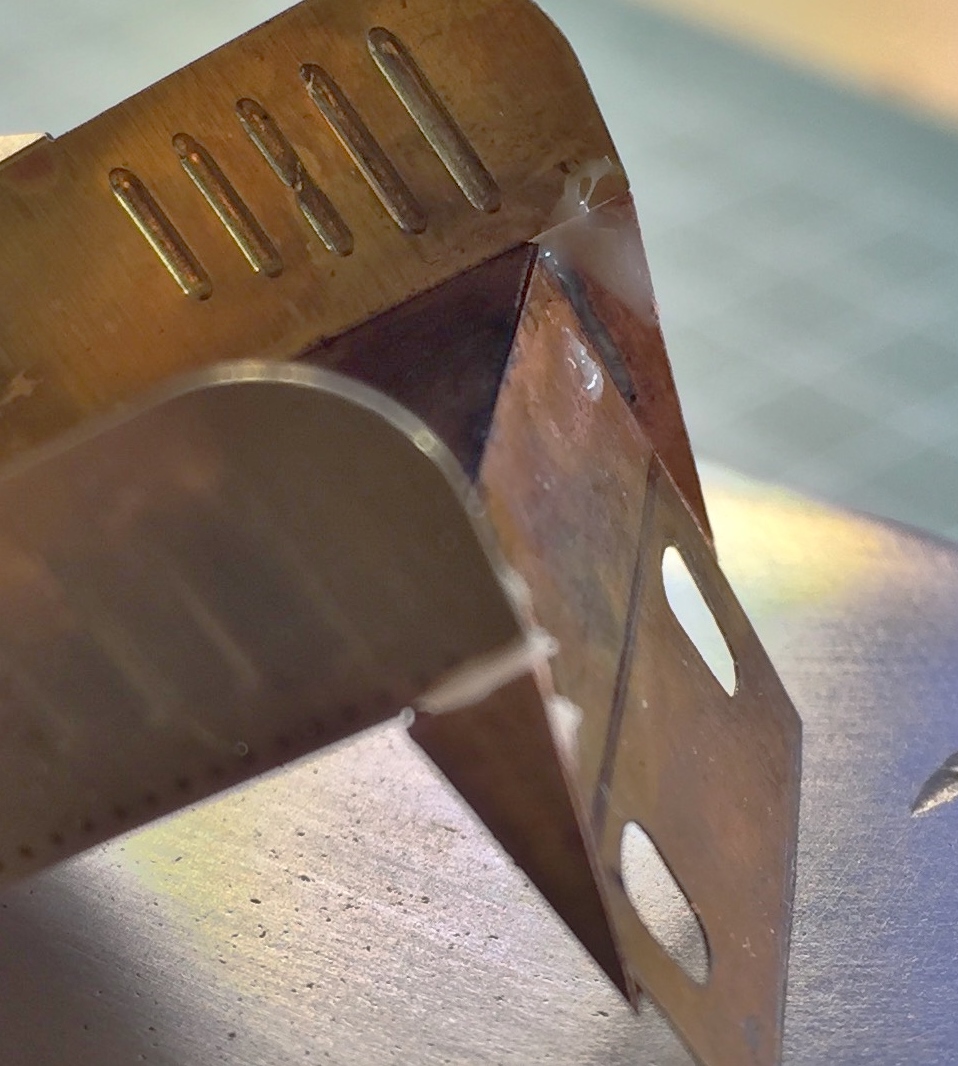
Since there are two seats, that all had to be done again. Having made my mistakes (and rectifications) on the first seat, the second seat went much easier and was neater:
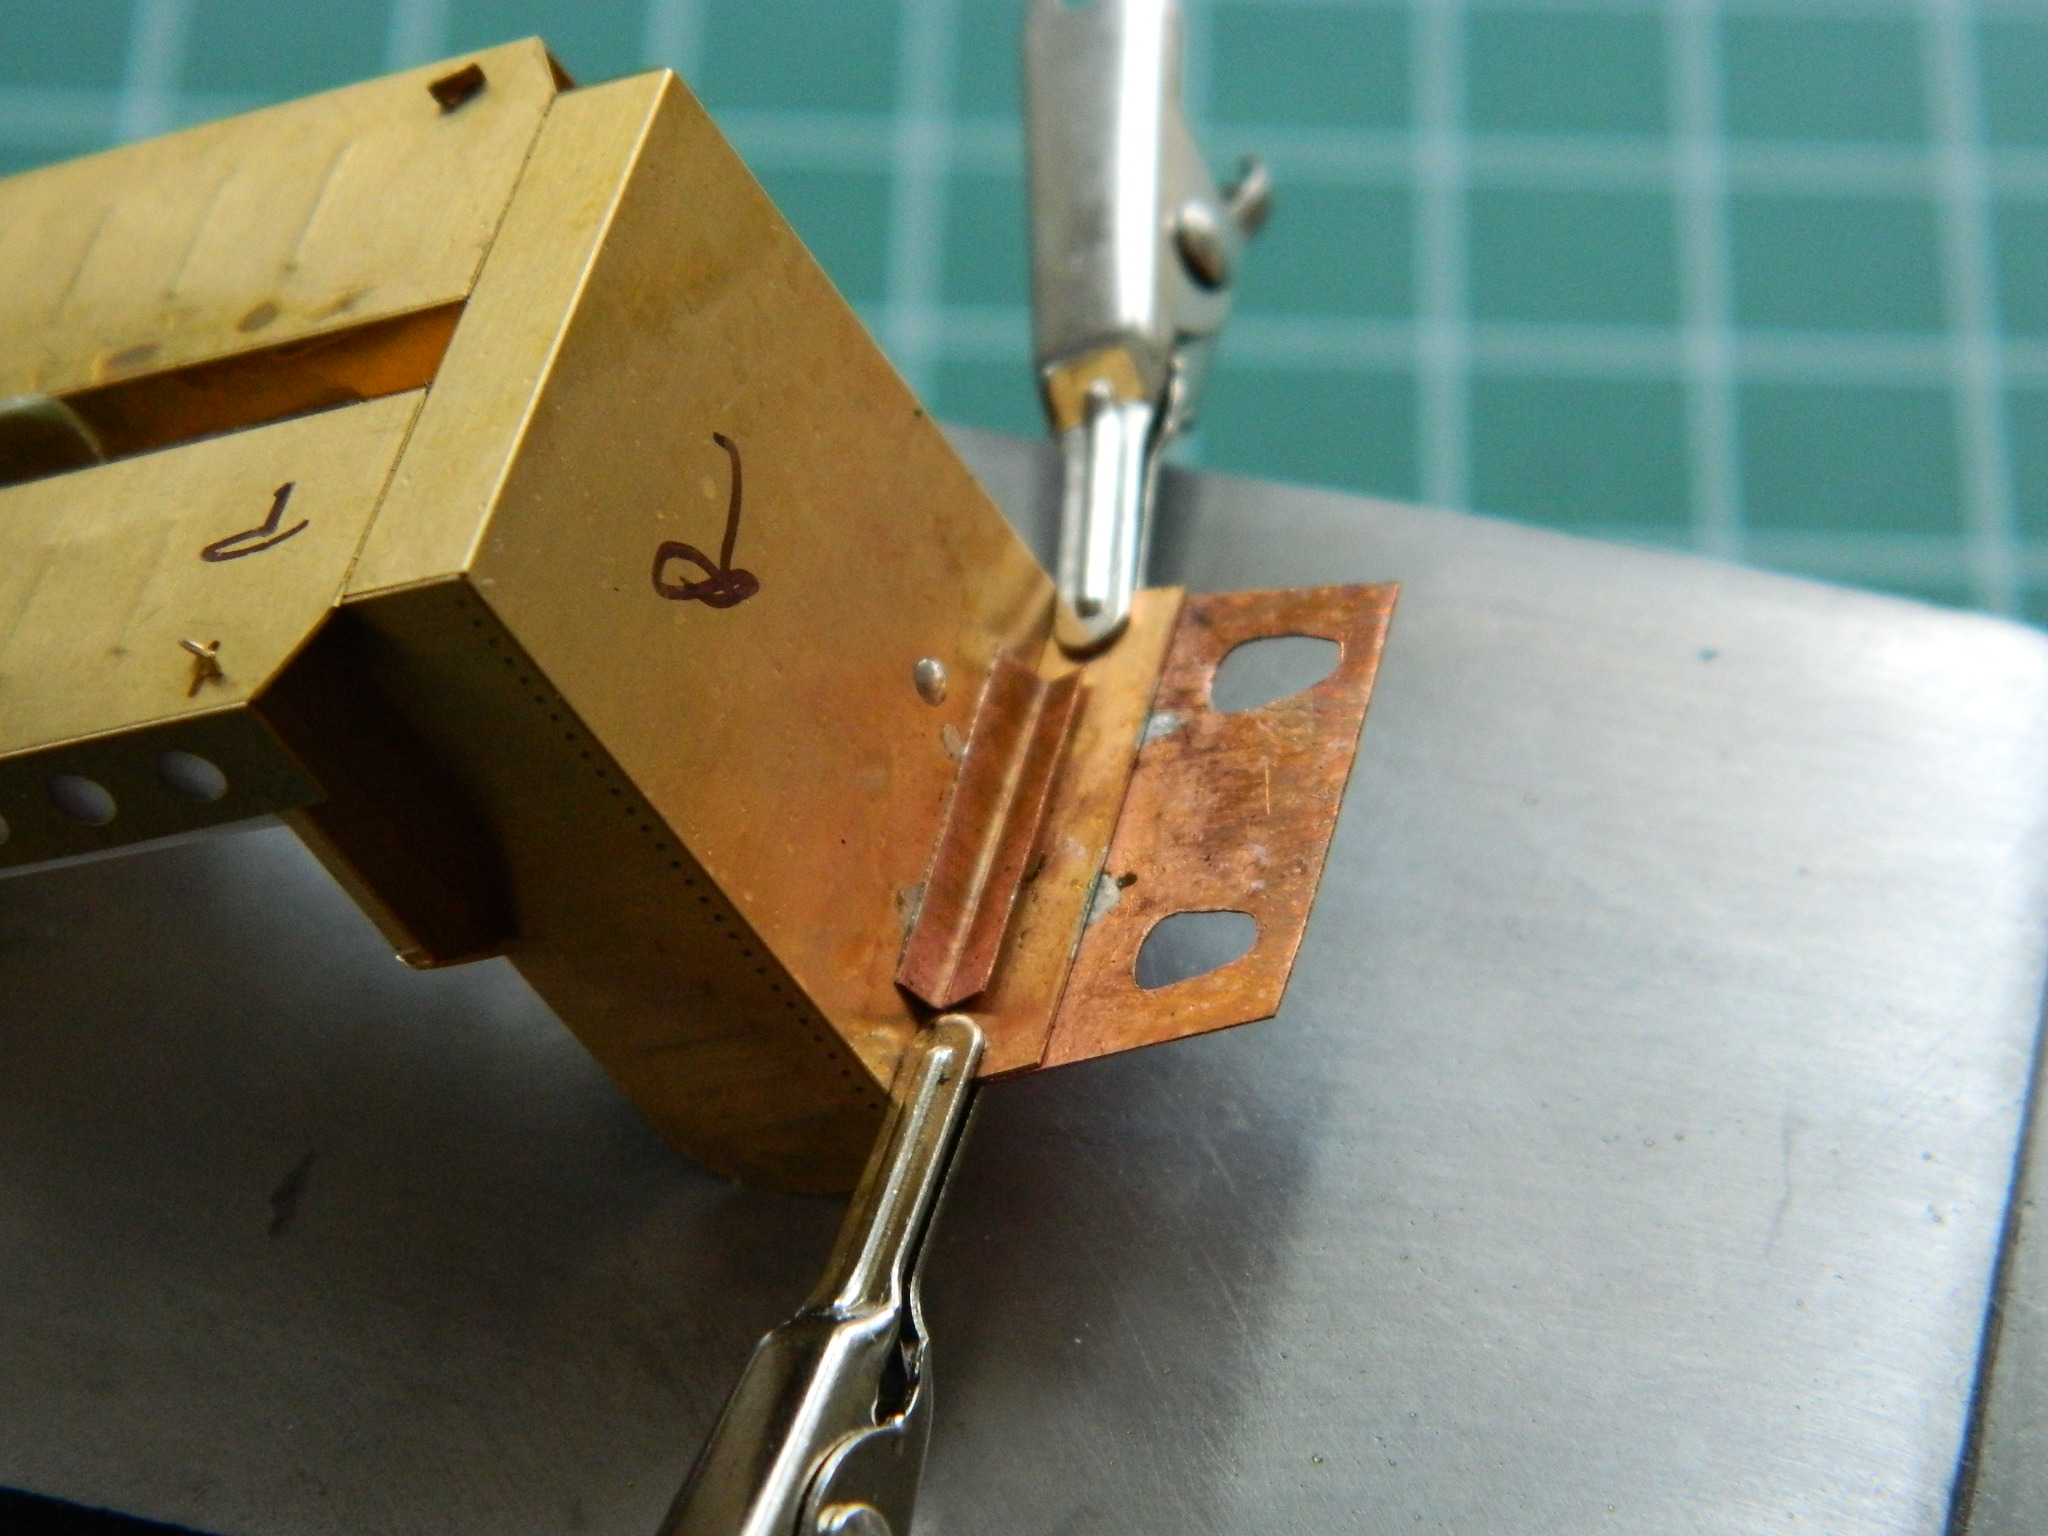
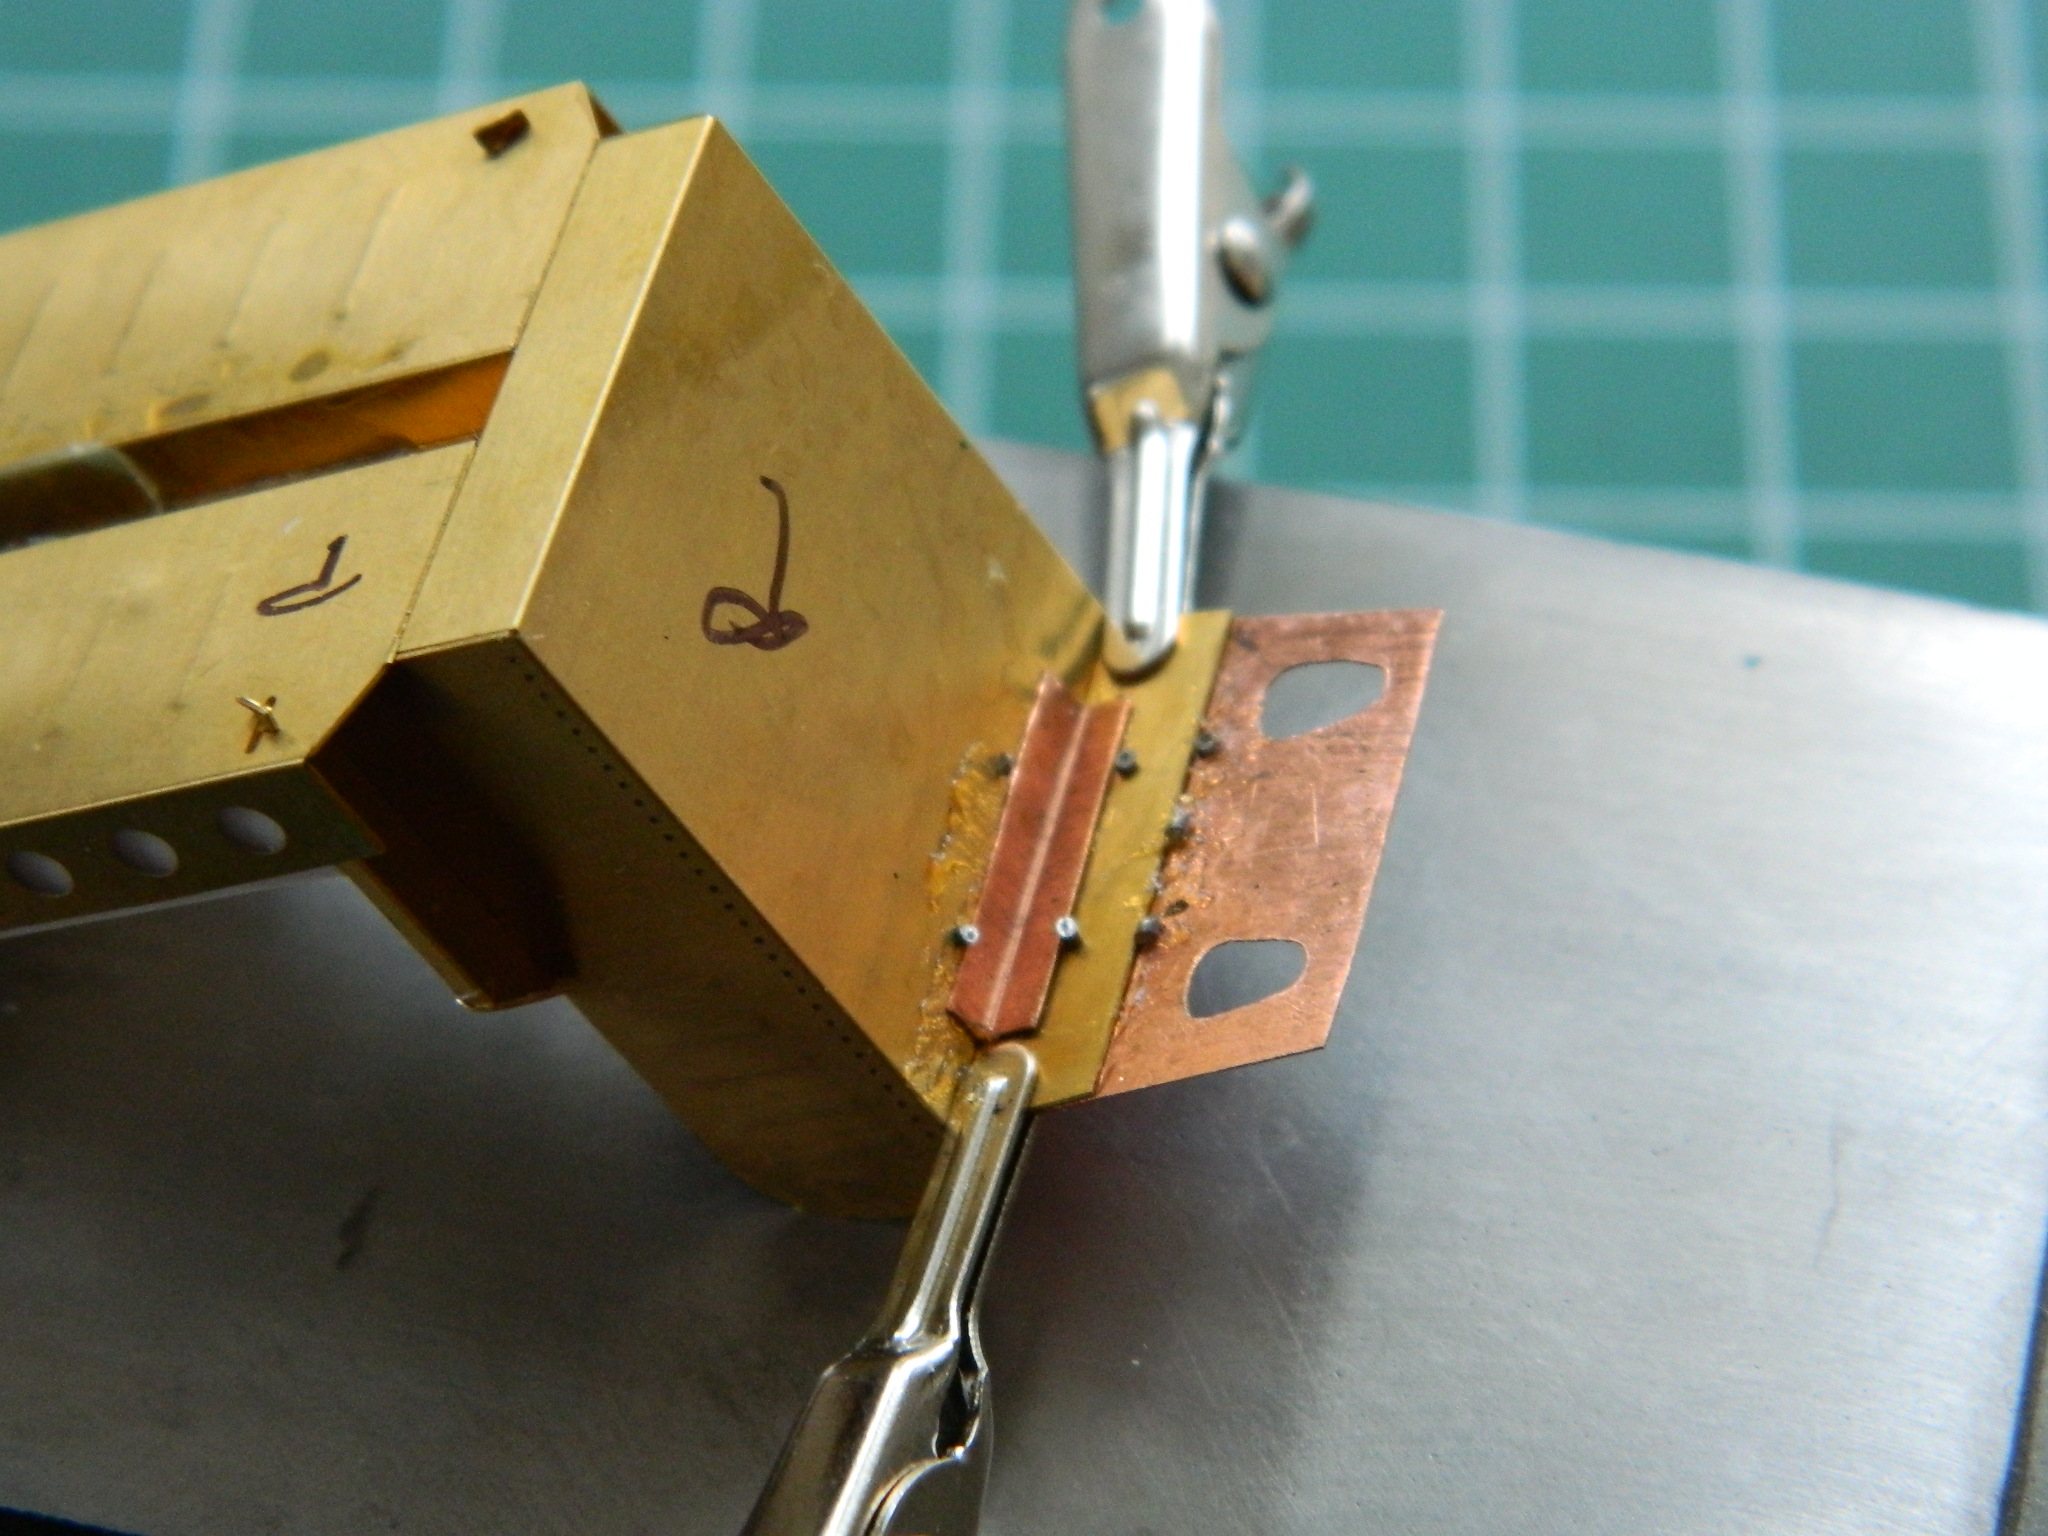
Gemini (Revell) Build #4 – Interior Work (and a Bazillion Little Tiny Switches)
Since the surfaces of the resin and PE parts are different, I used both PE on both instrument panels for commonality:
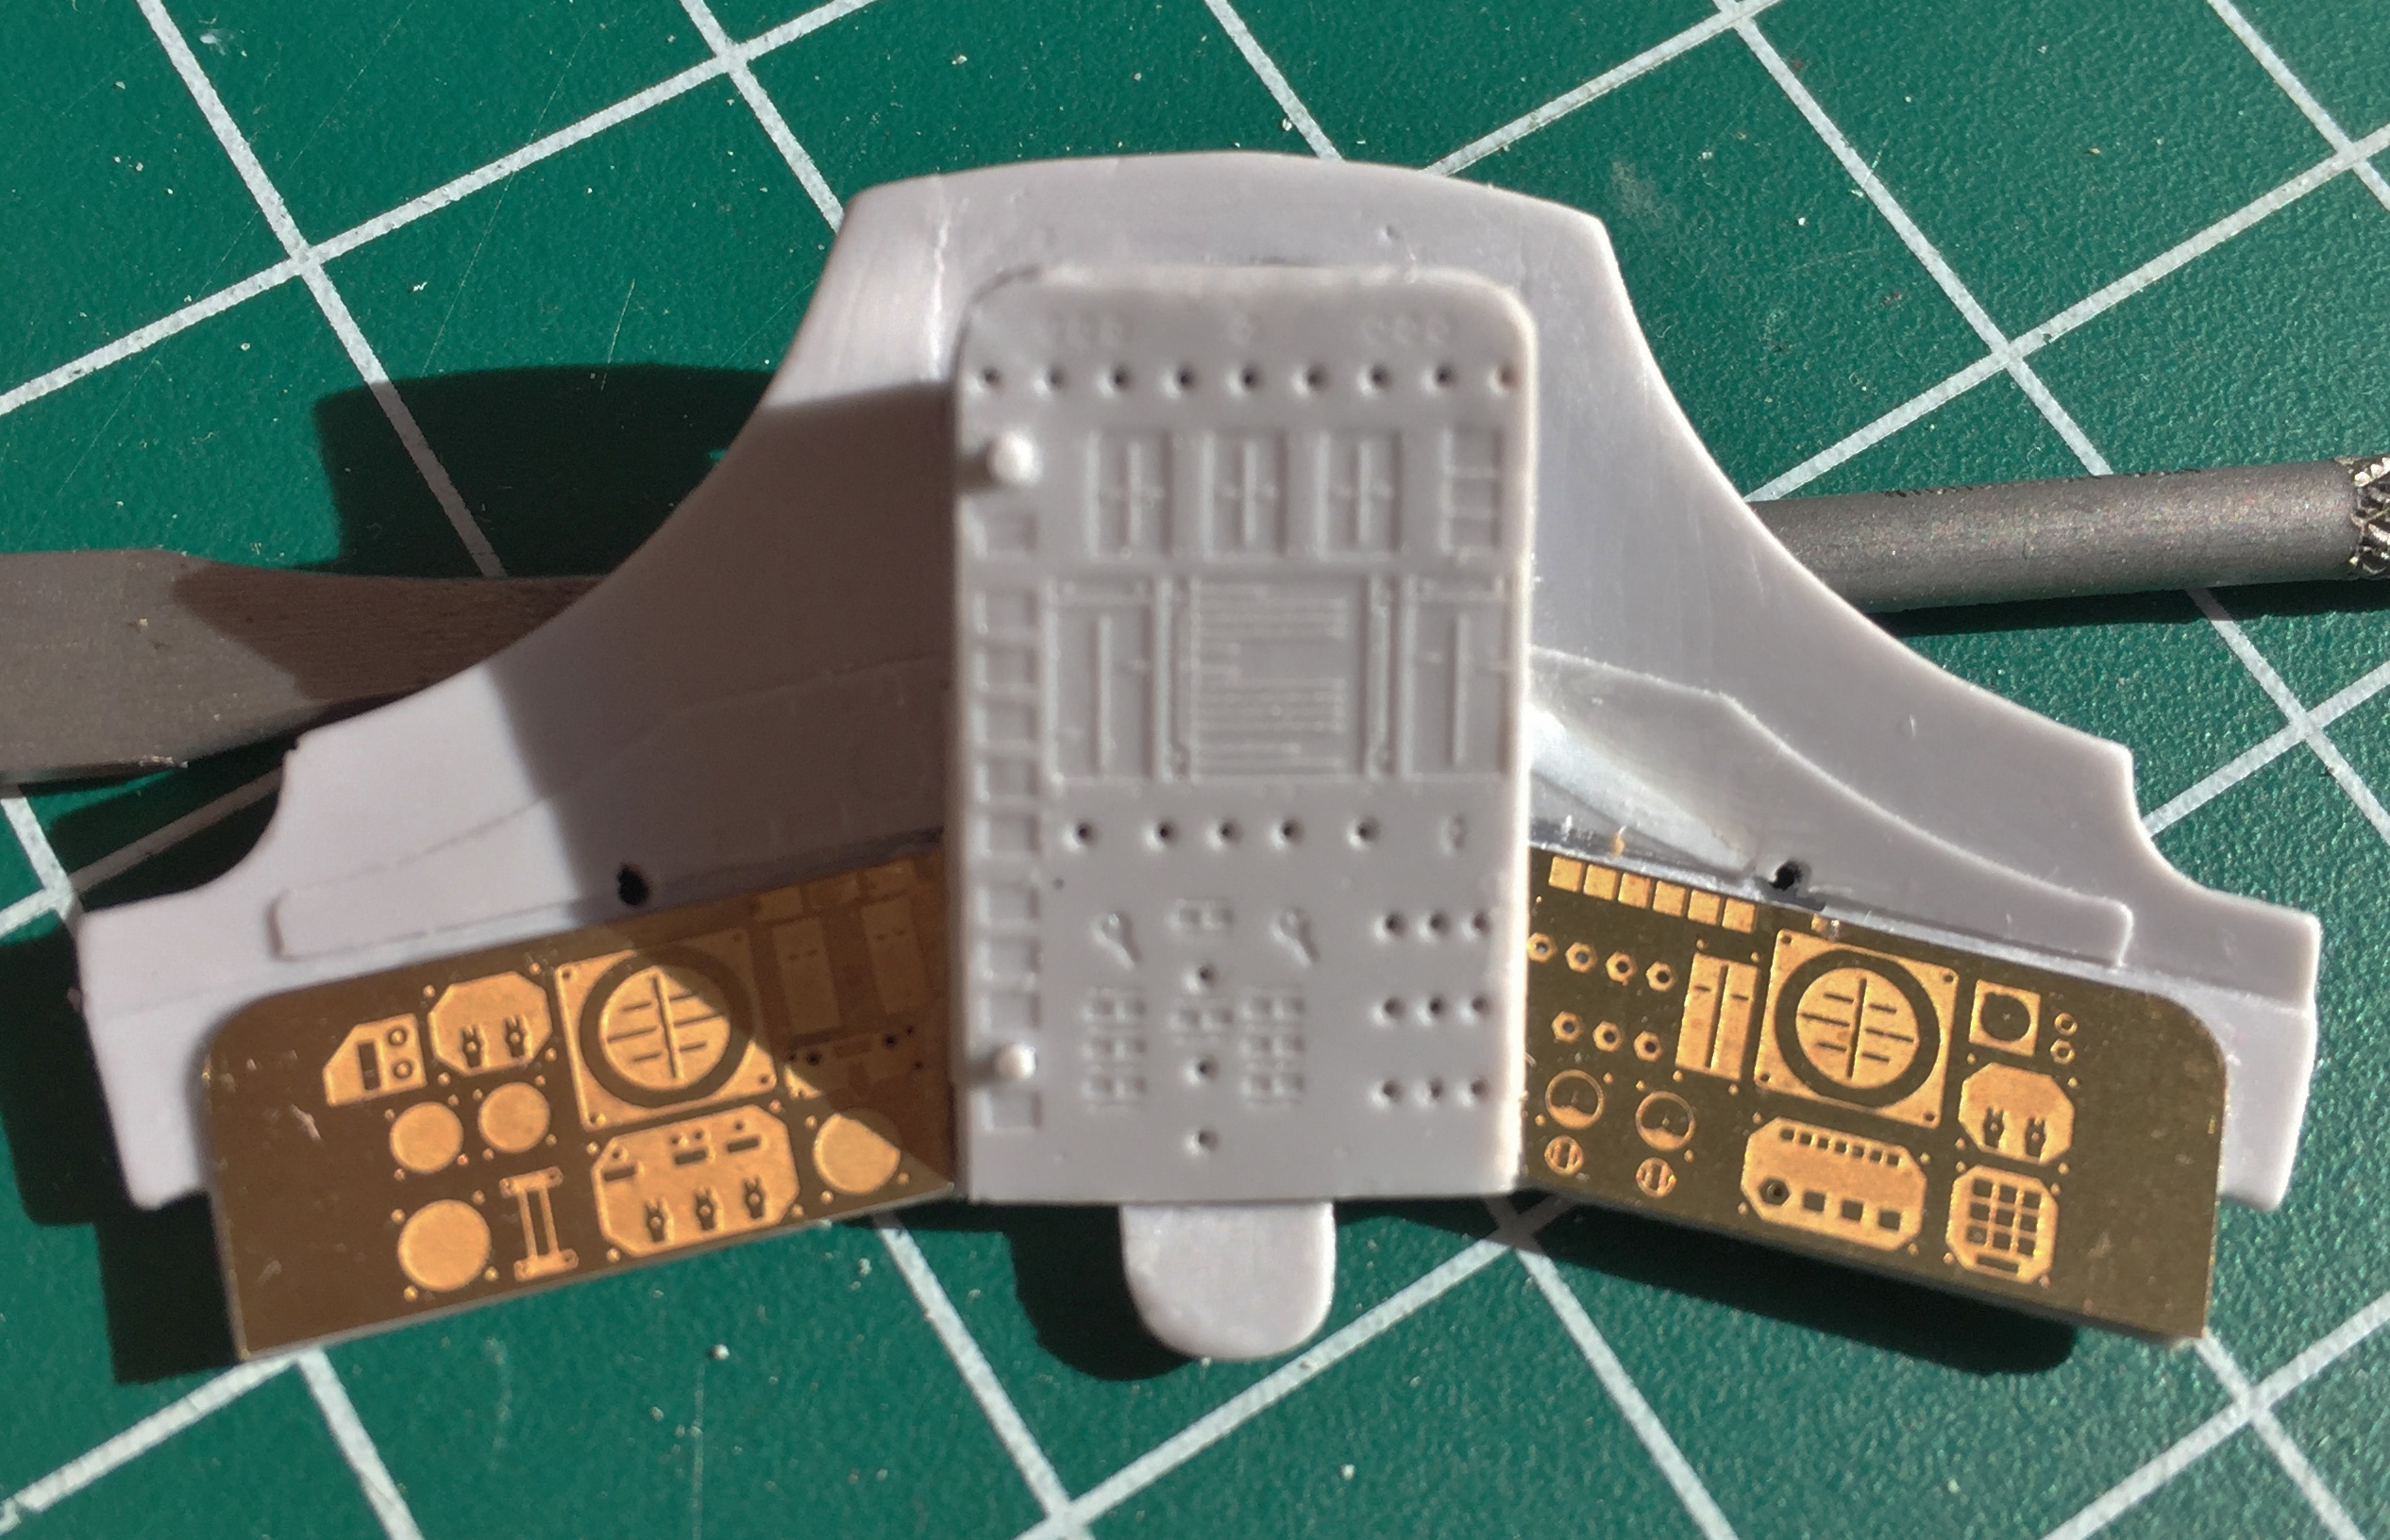
And since I was working with PE parts, I went ahead and did the rest of the panels in the cabin. The center console (lower right) and the overhead switch panel (bottom) both had details molded on that had to be removed. Once that was done, I superglued the PE parts in place:
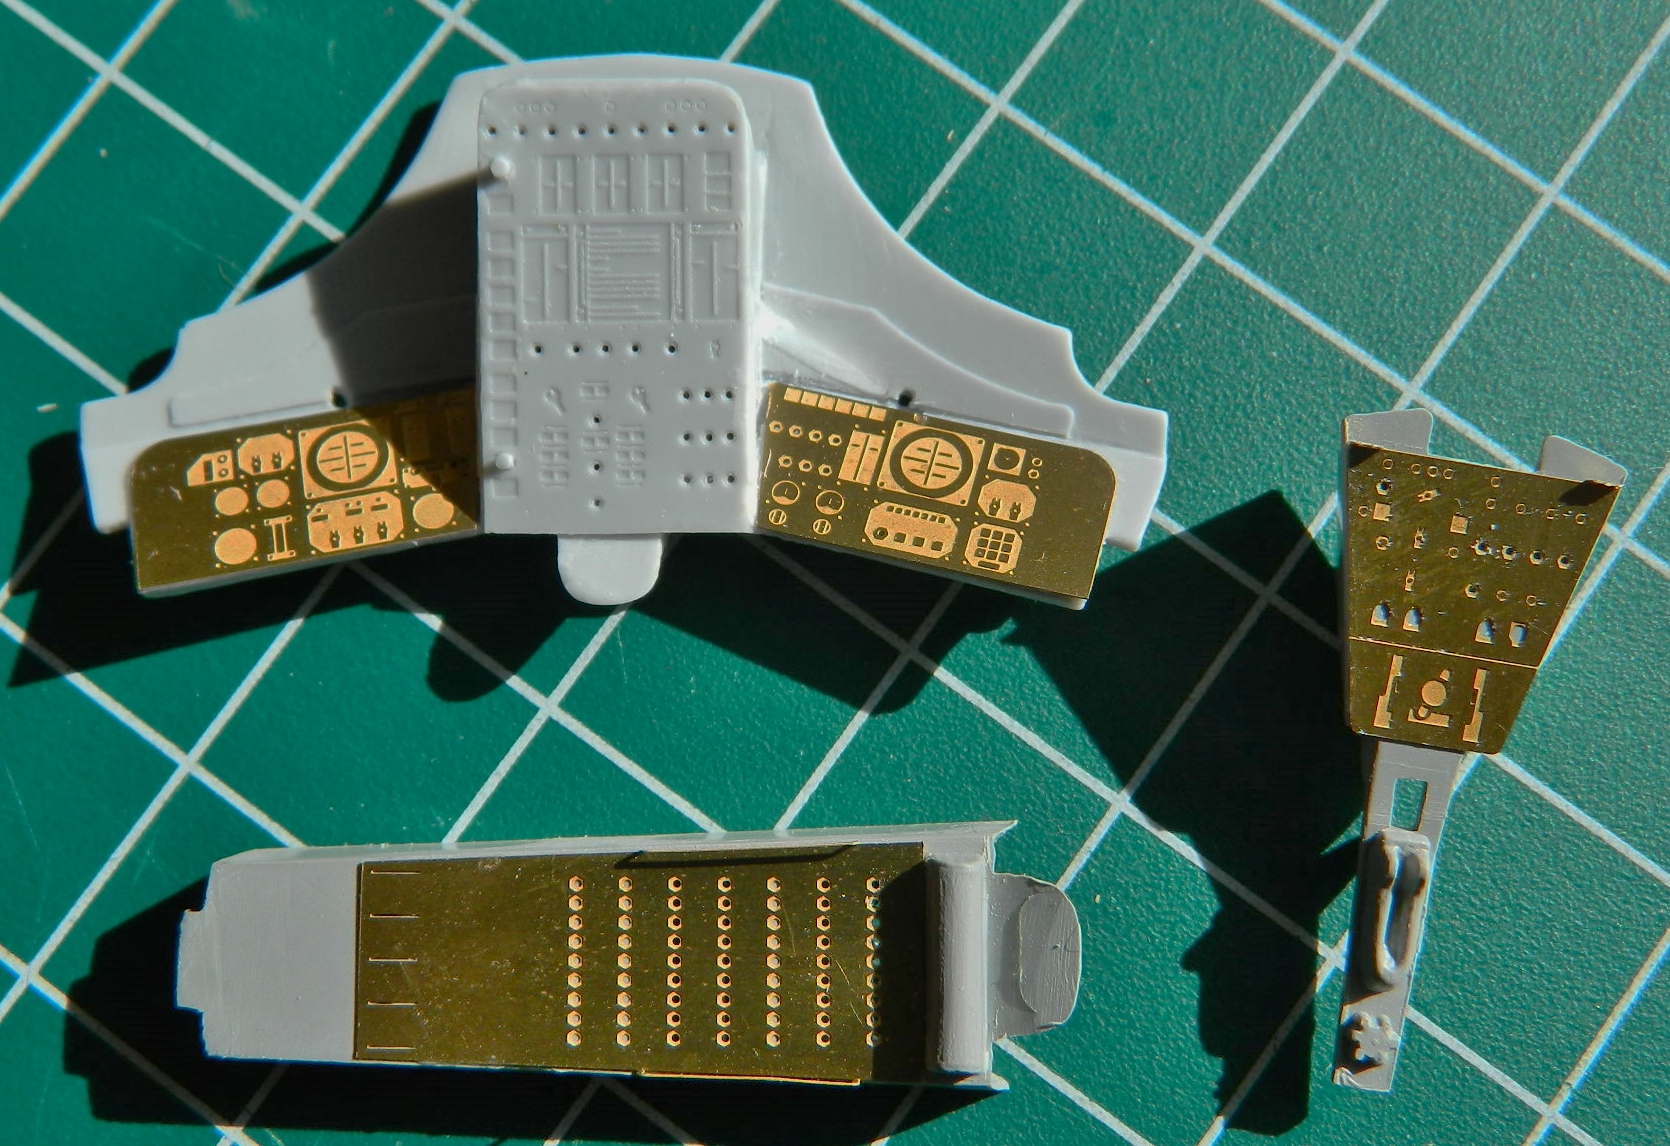
A small console that’s mounted on the rear of the cabin only had a pedestal for the upper section of the main body. I don’t know how visible this part will be once everything is assembled, but I do know that once everything is assembled I won’t be able to get in there to fill in empty spaces that turn out to be visible, so I added some flat styrene to the back and then trimmed it to fit:

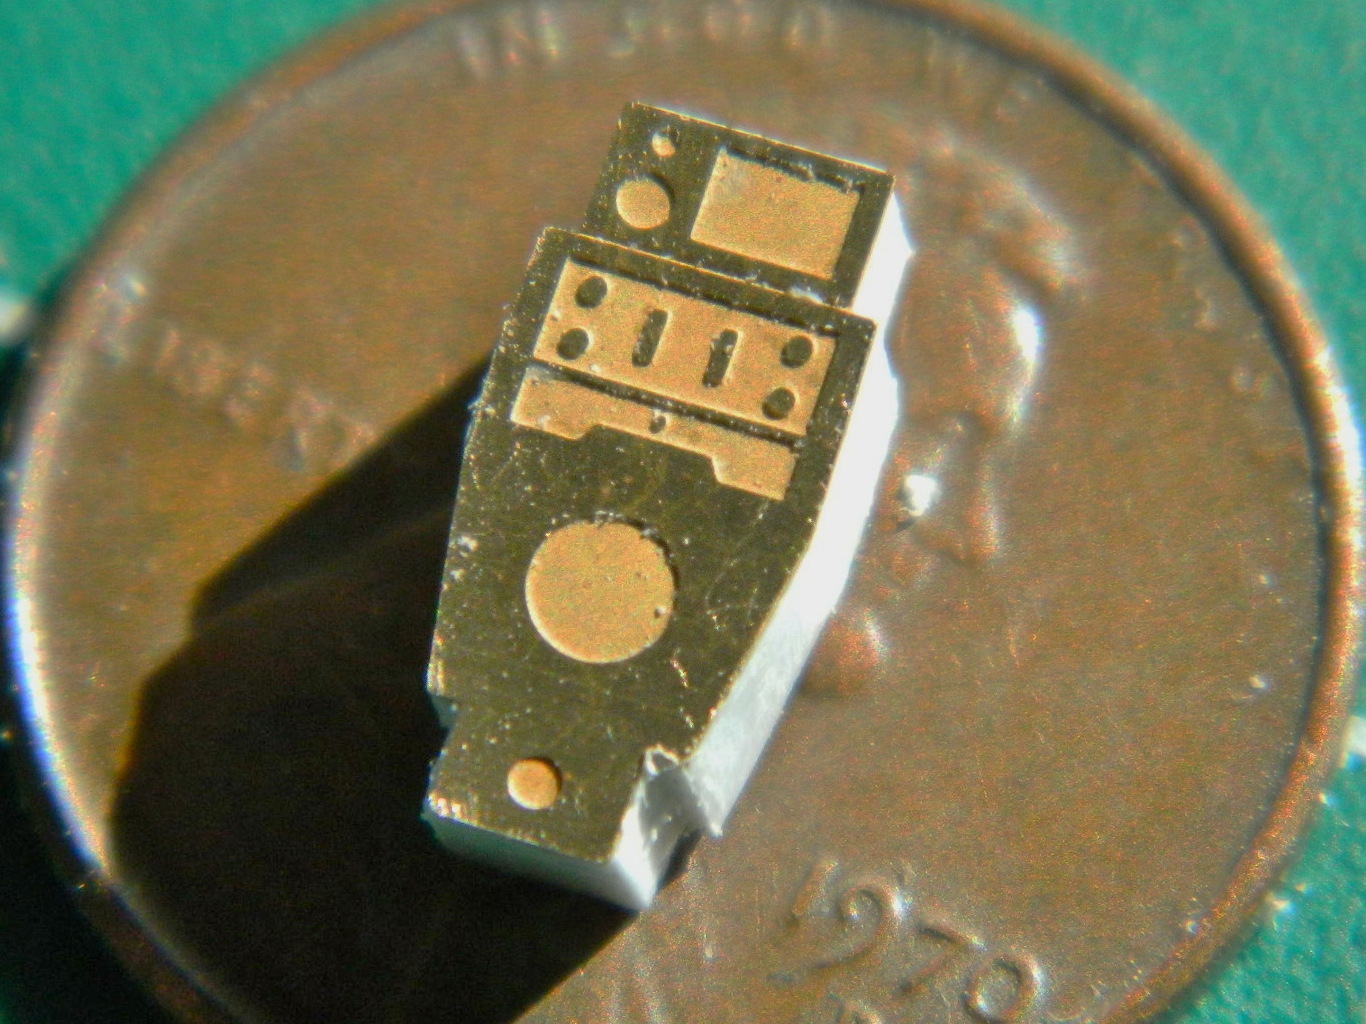
As it turns out, that rear console isn’t particularly visible for most of it, but the top of it is visible so I’m glad I decided to add what was missing:

I prefer to get tedious jobs done so that they aren’t hanging over my head. Having to put 63 individual toggle switch bats in place, this classifies as “tedious” to me and that’s where I started:
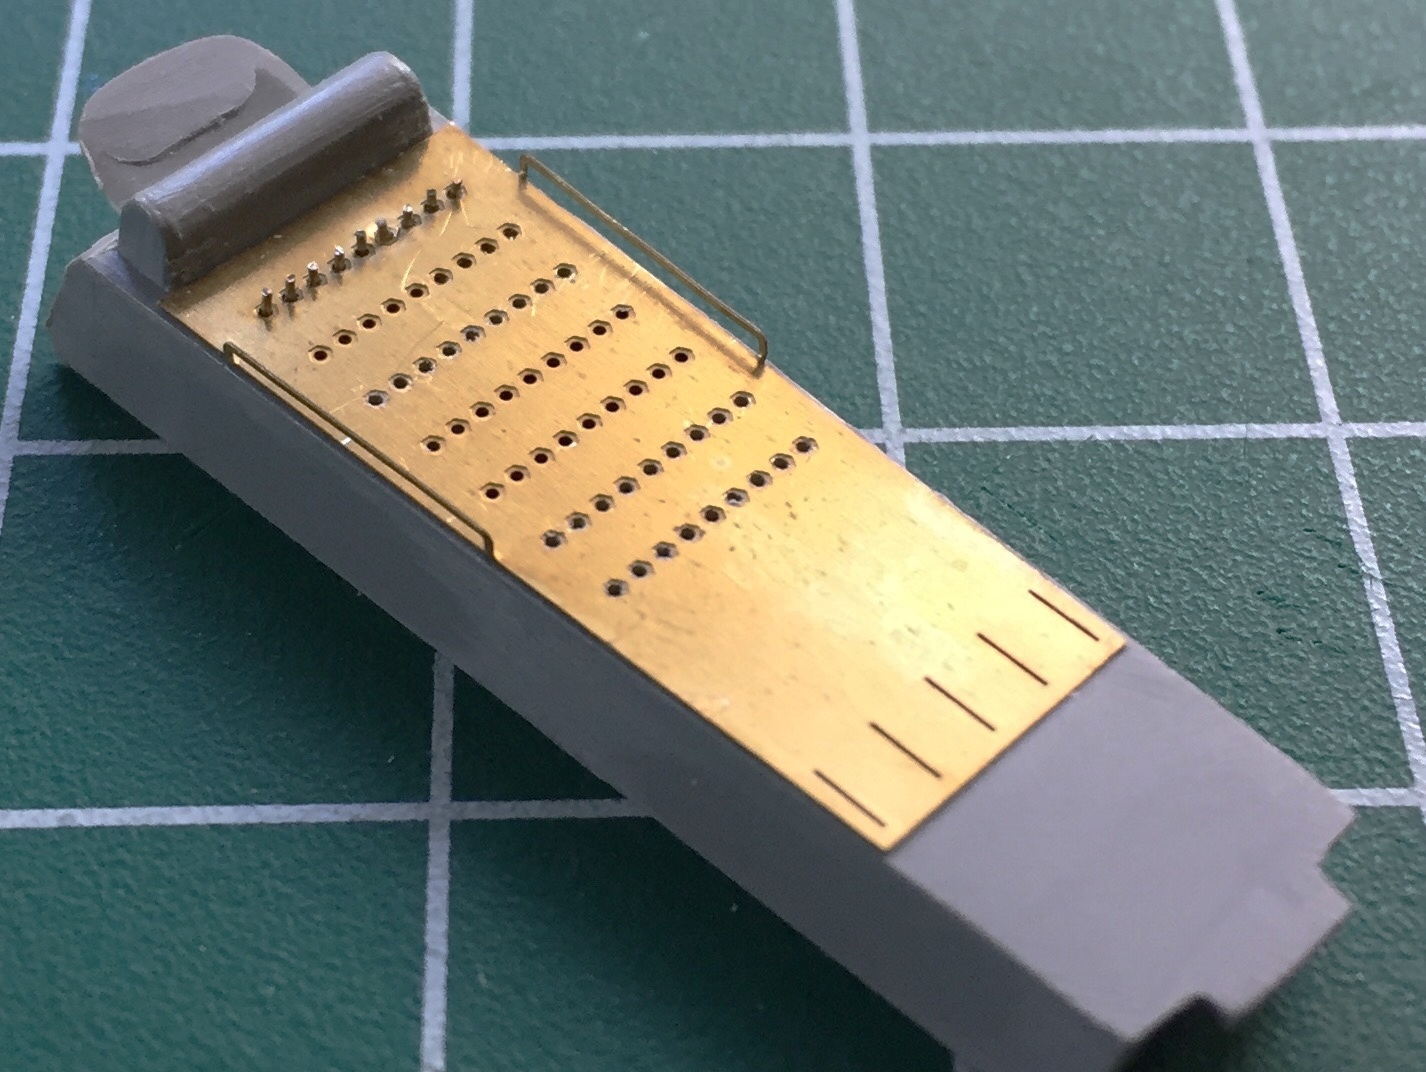
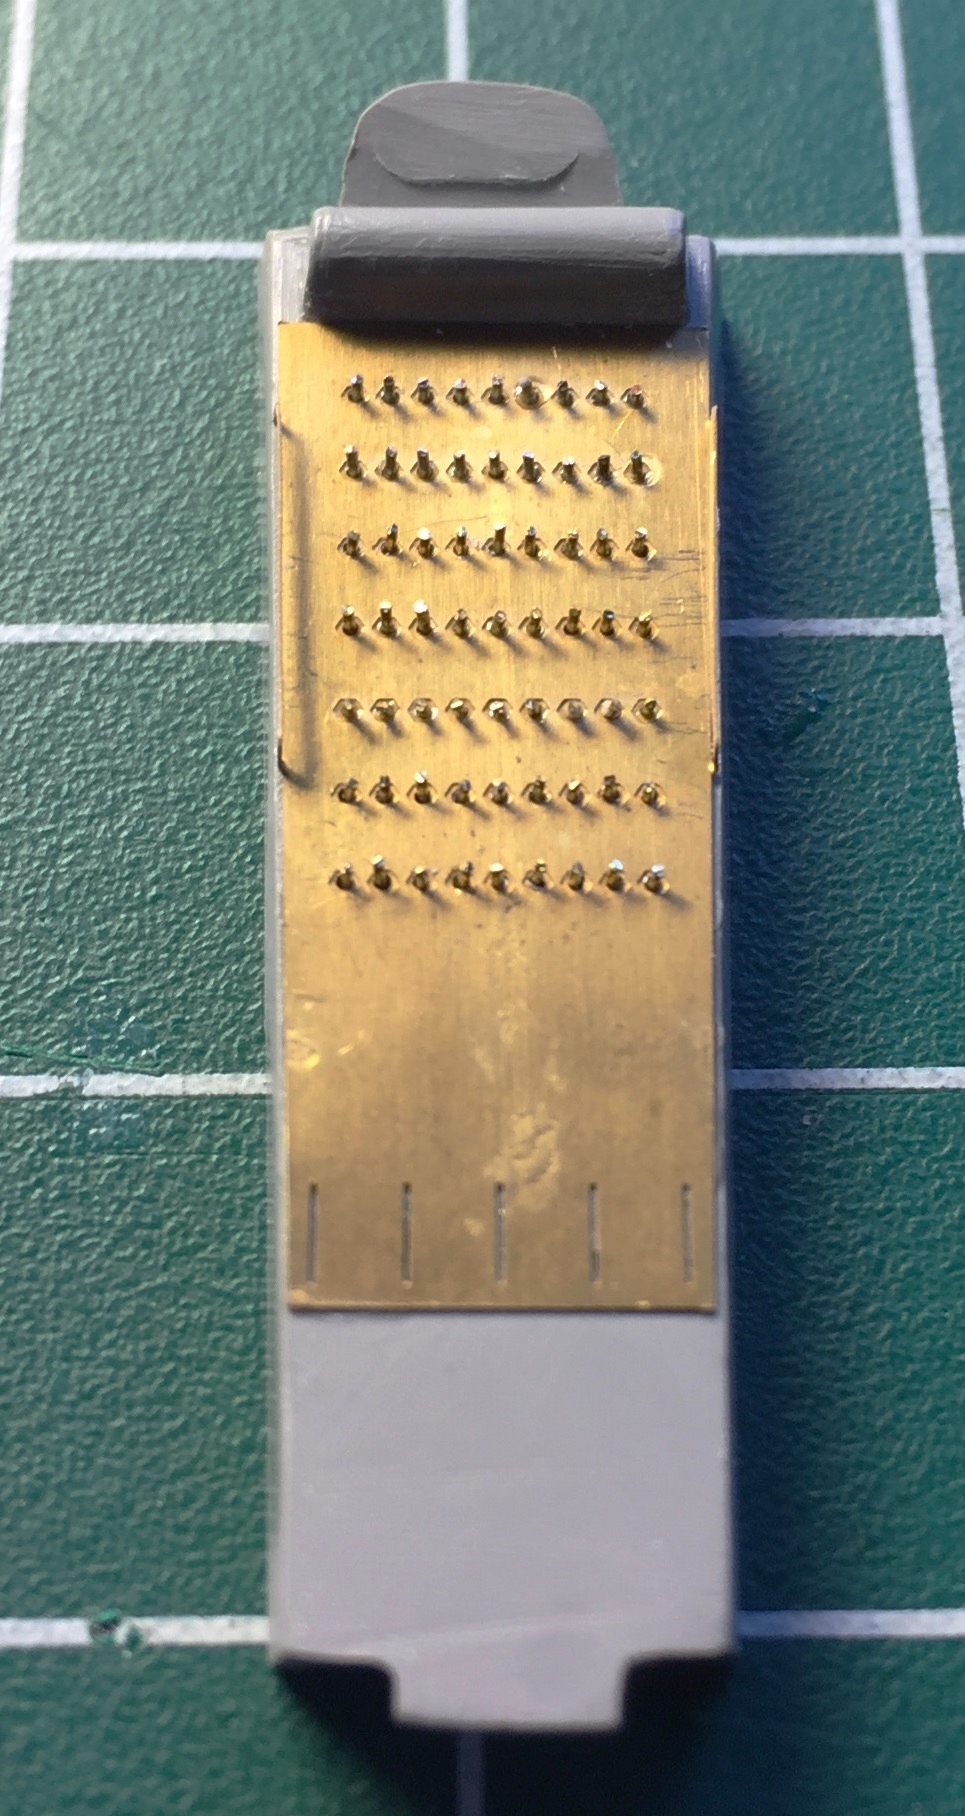
And since I was knocking tedium out of the way, I bent the side panels (more switches) and added scrap flat styrene to the back to allow for more surface area for the glue to hold the wires (24awg) that I’m using for switch bats in place:
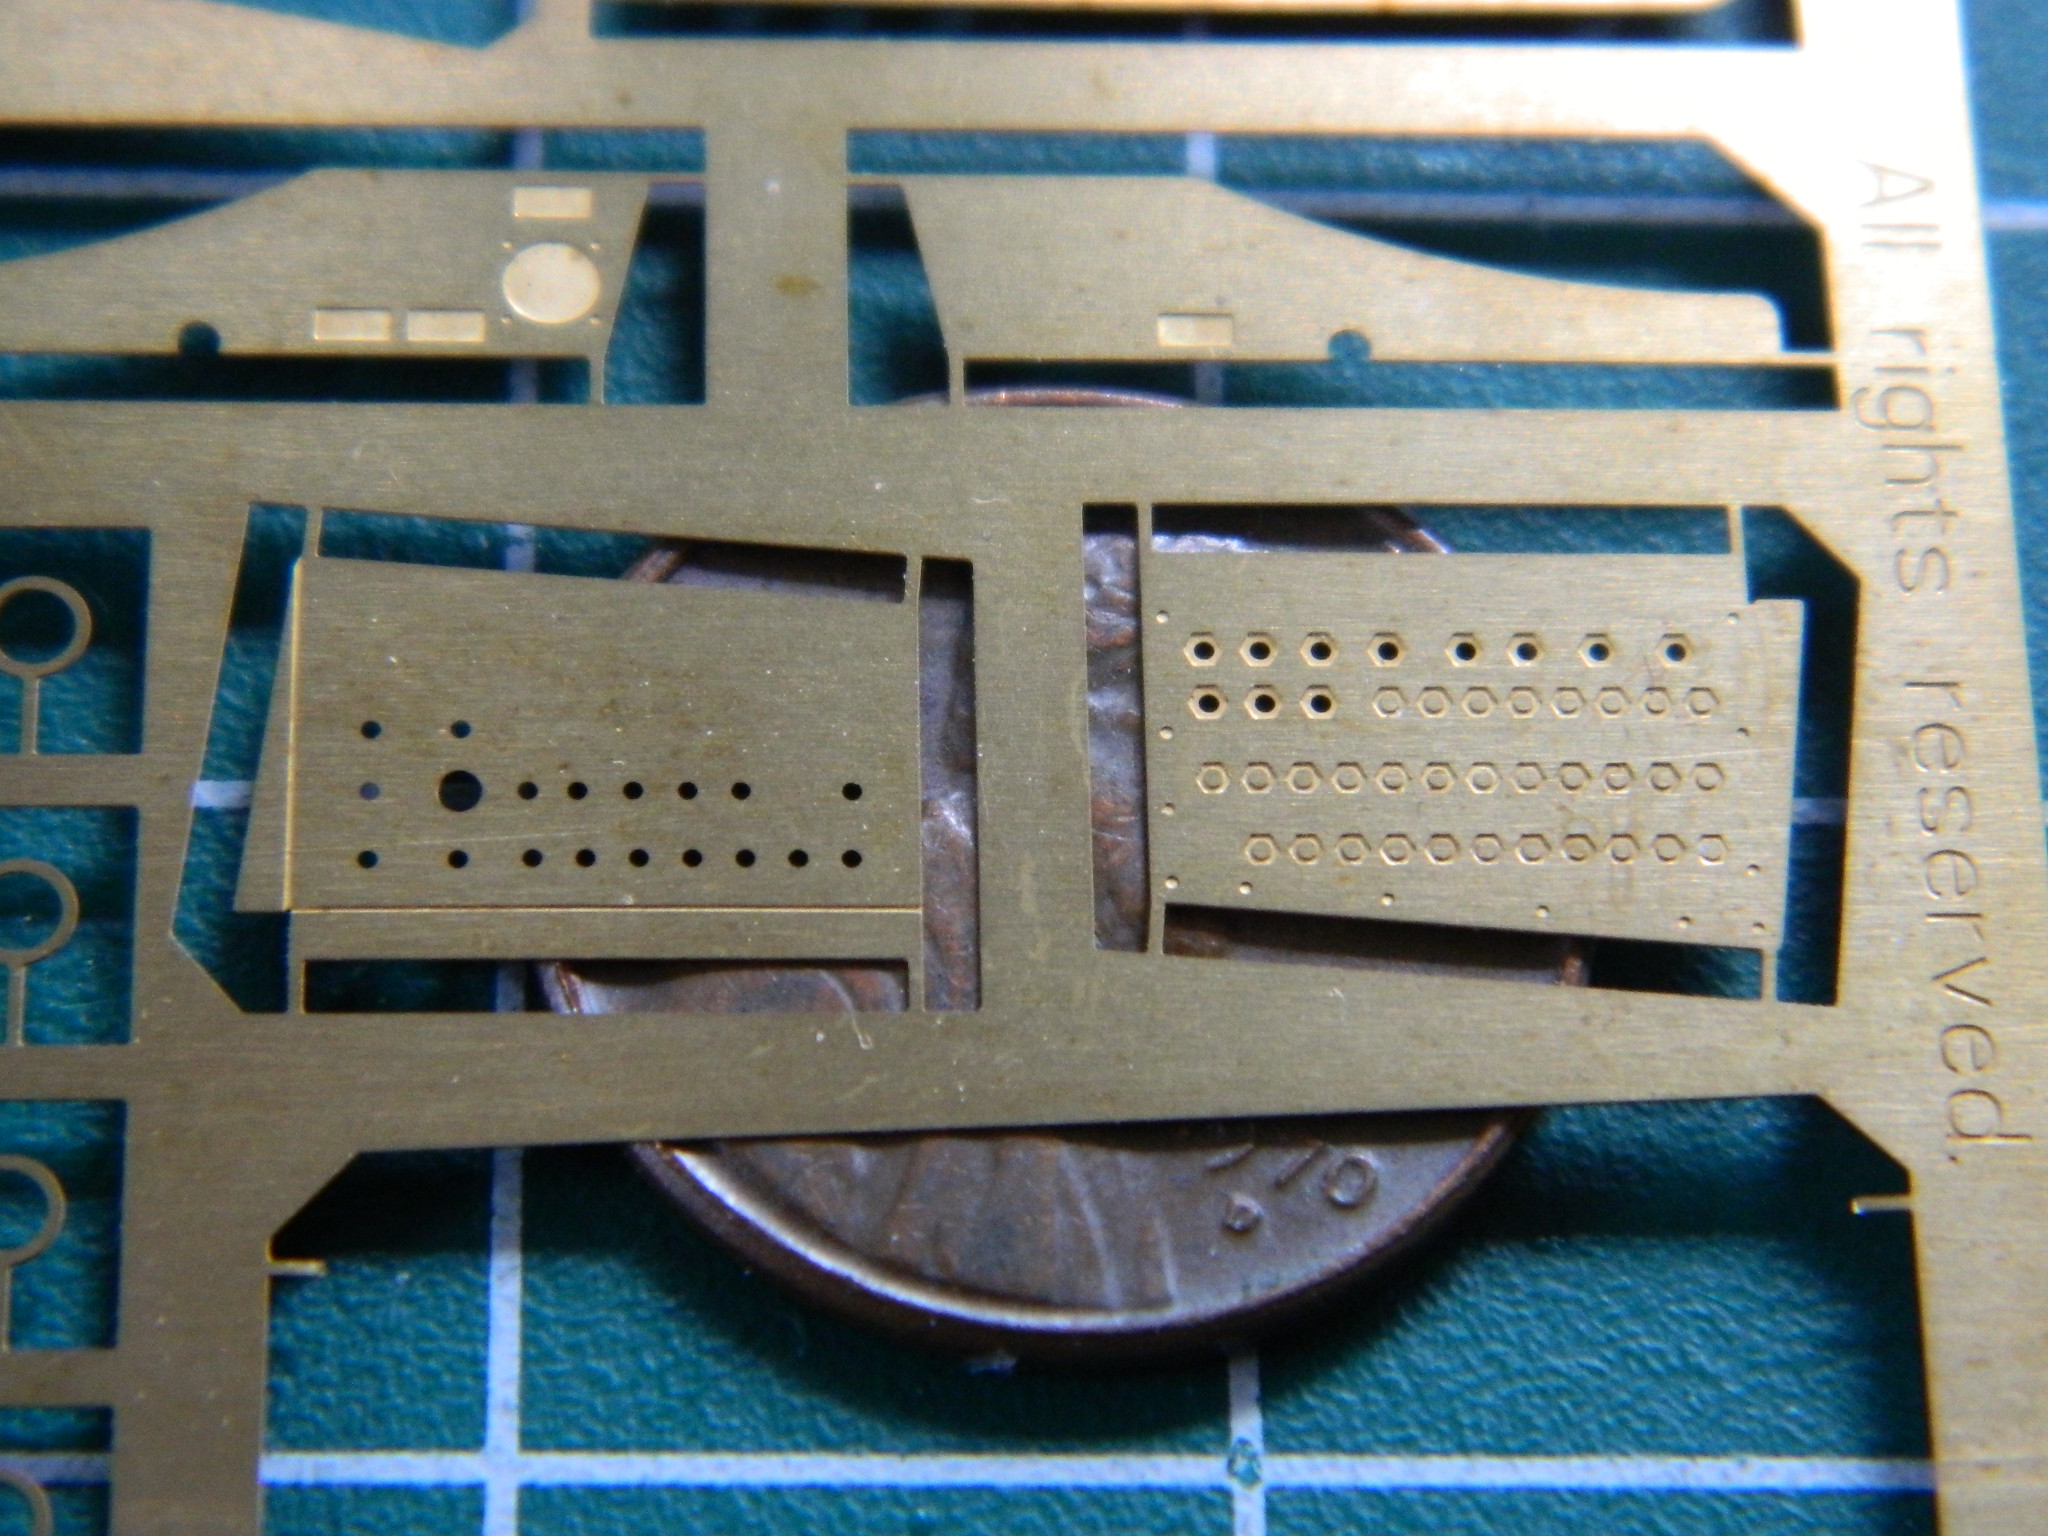


Since there are two panels, I did that twice. There is a larger selector knob in one of the panels. I used styrene rod and a tiny bit of scrap to make that knob:

There are a number of selector switches as well as toggles on the main panel and all those got added:
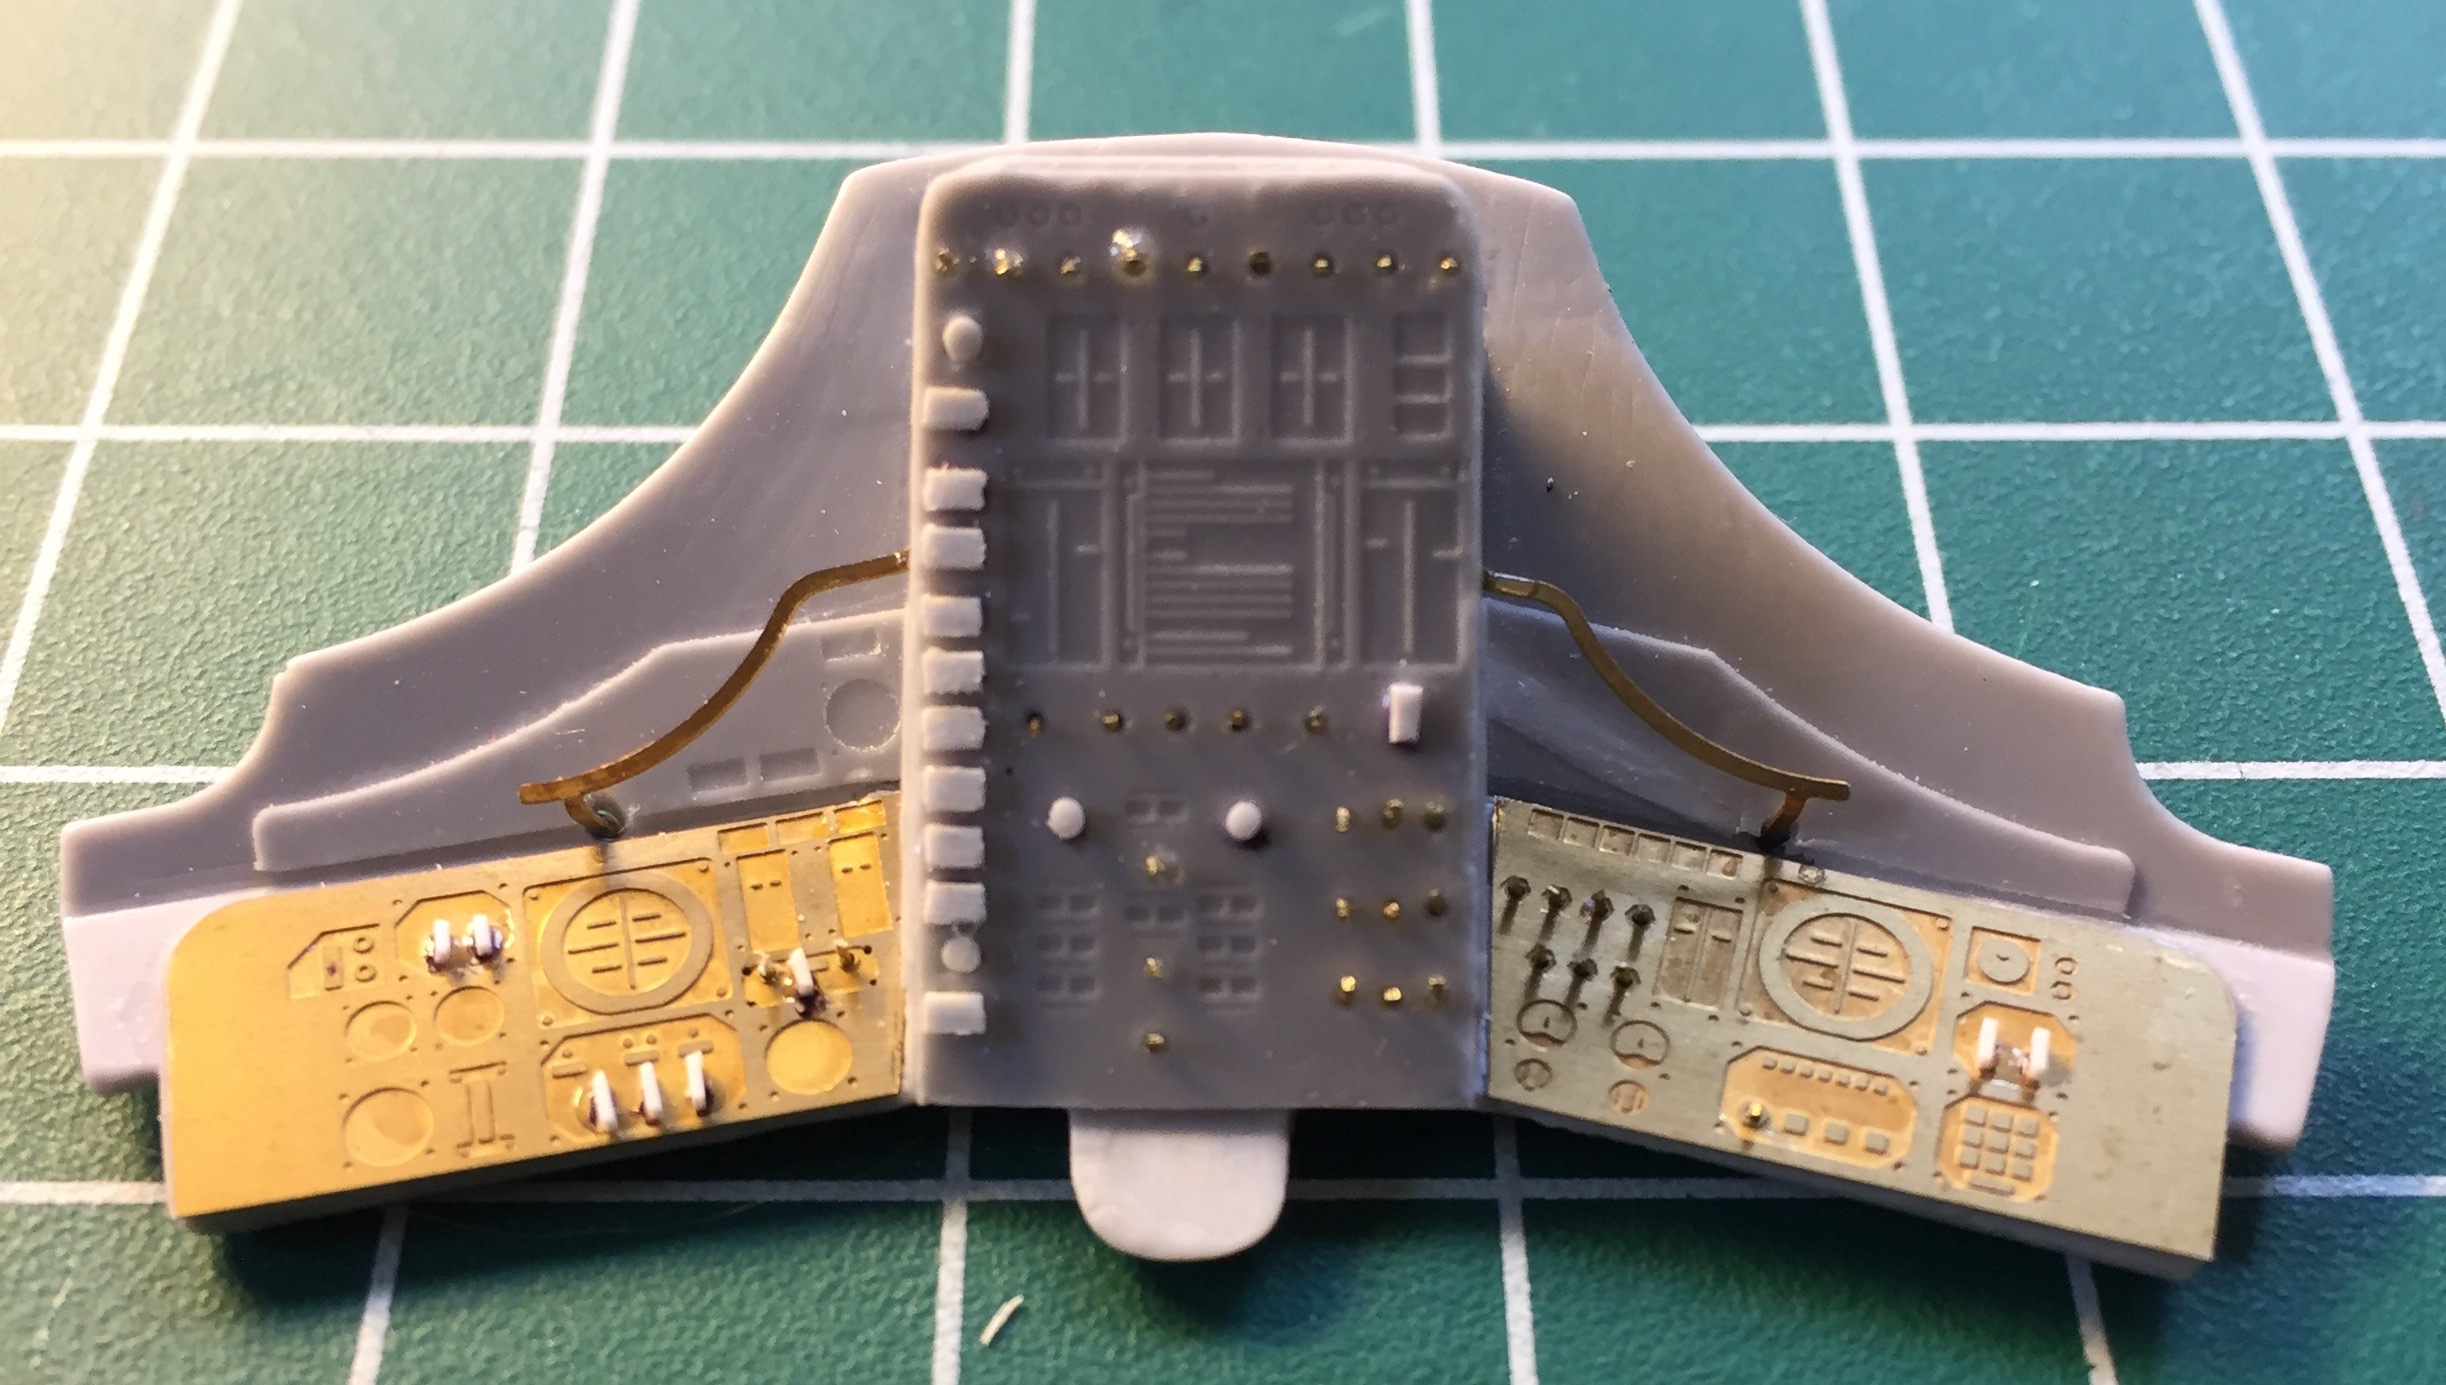
I taped the major parts in place so that I could determine where the side panels go and then I glued them in place:
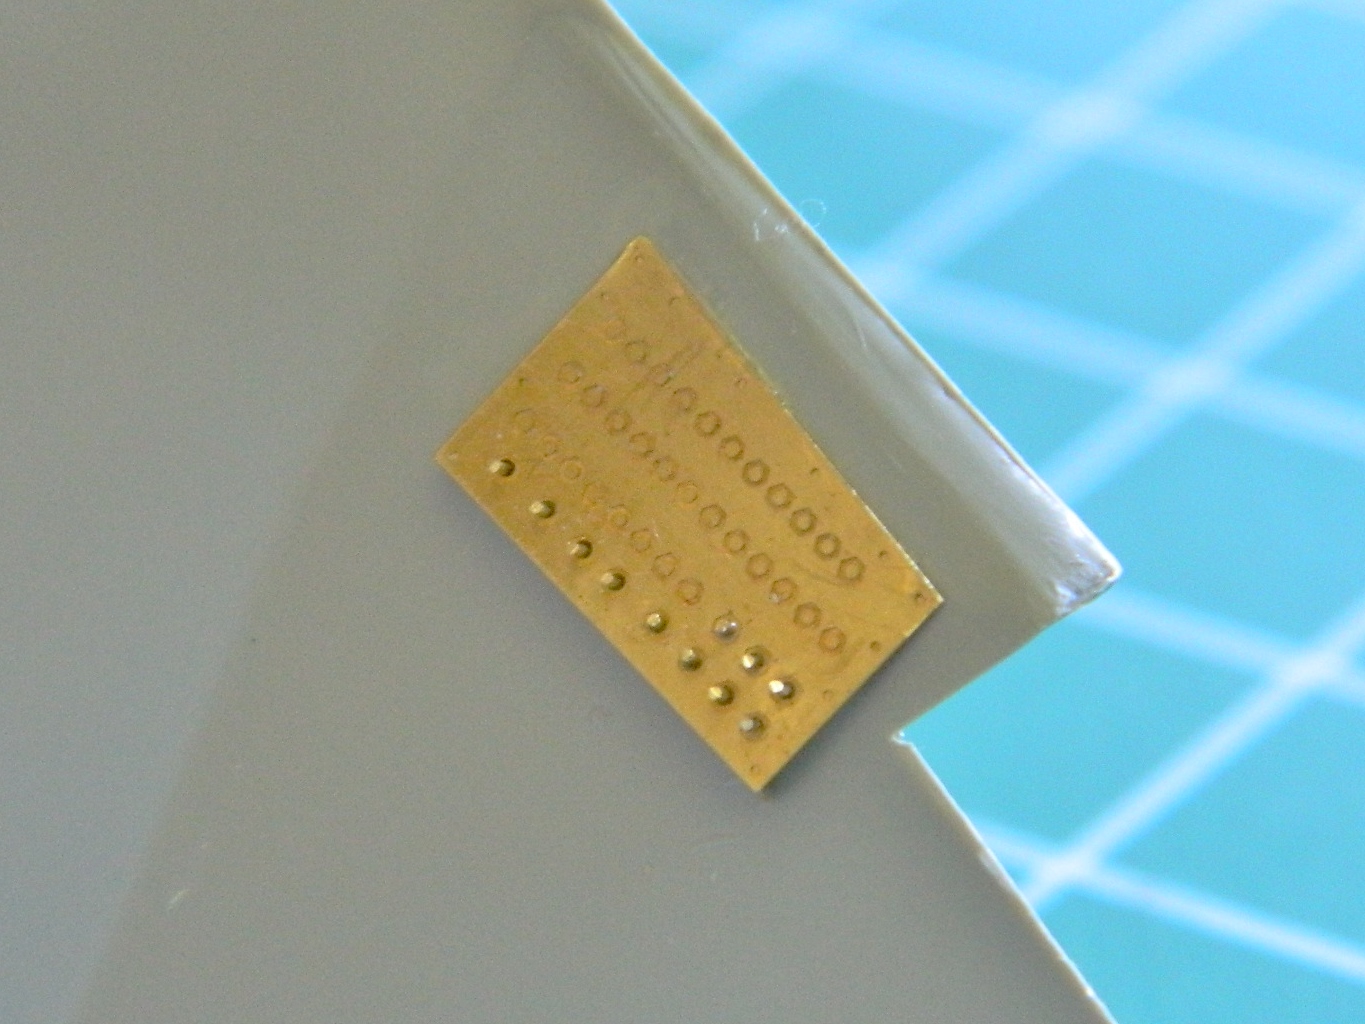
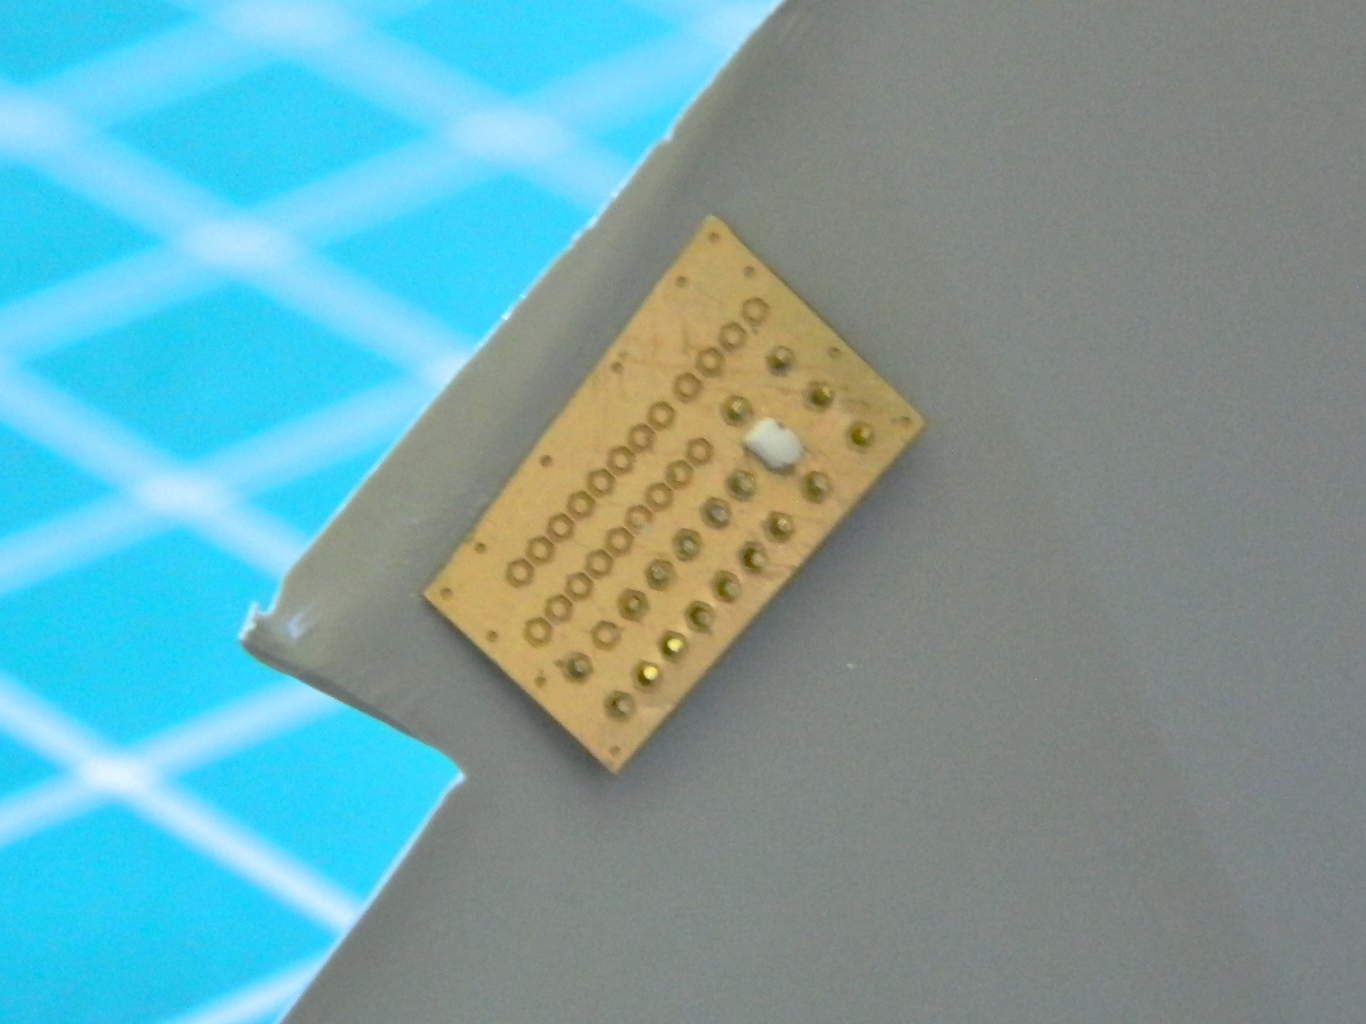
(Once I had all the switch bats in place, I looked at a drawing that showed what each individual switch for the main panel and center console were for. I’m not going to add figures to this so that means the capsule isn’t in space. I adjusted the switches to all their “off” positions.)
The center console also had another inaccuracy for a production capsule. The knurled knob is the main cabin heat control and it doesn’t go there. However, where it does go wasn’t molded on. I took some scrap styrene and changed the top of the console, then I took a very thin saw and removed the knob. I added the final shape to the addition to the console (the big white section) and glued the knob on:
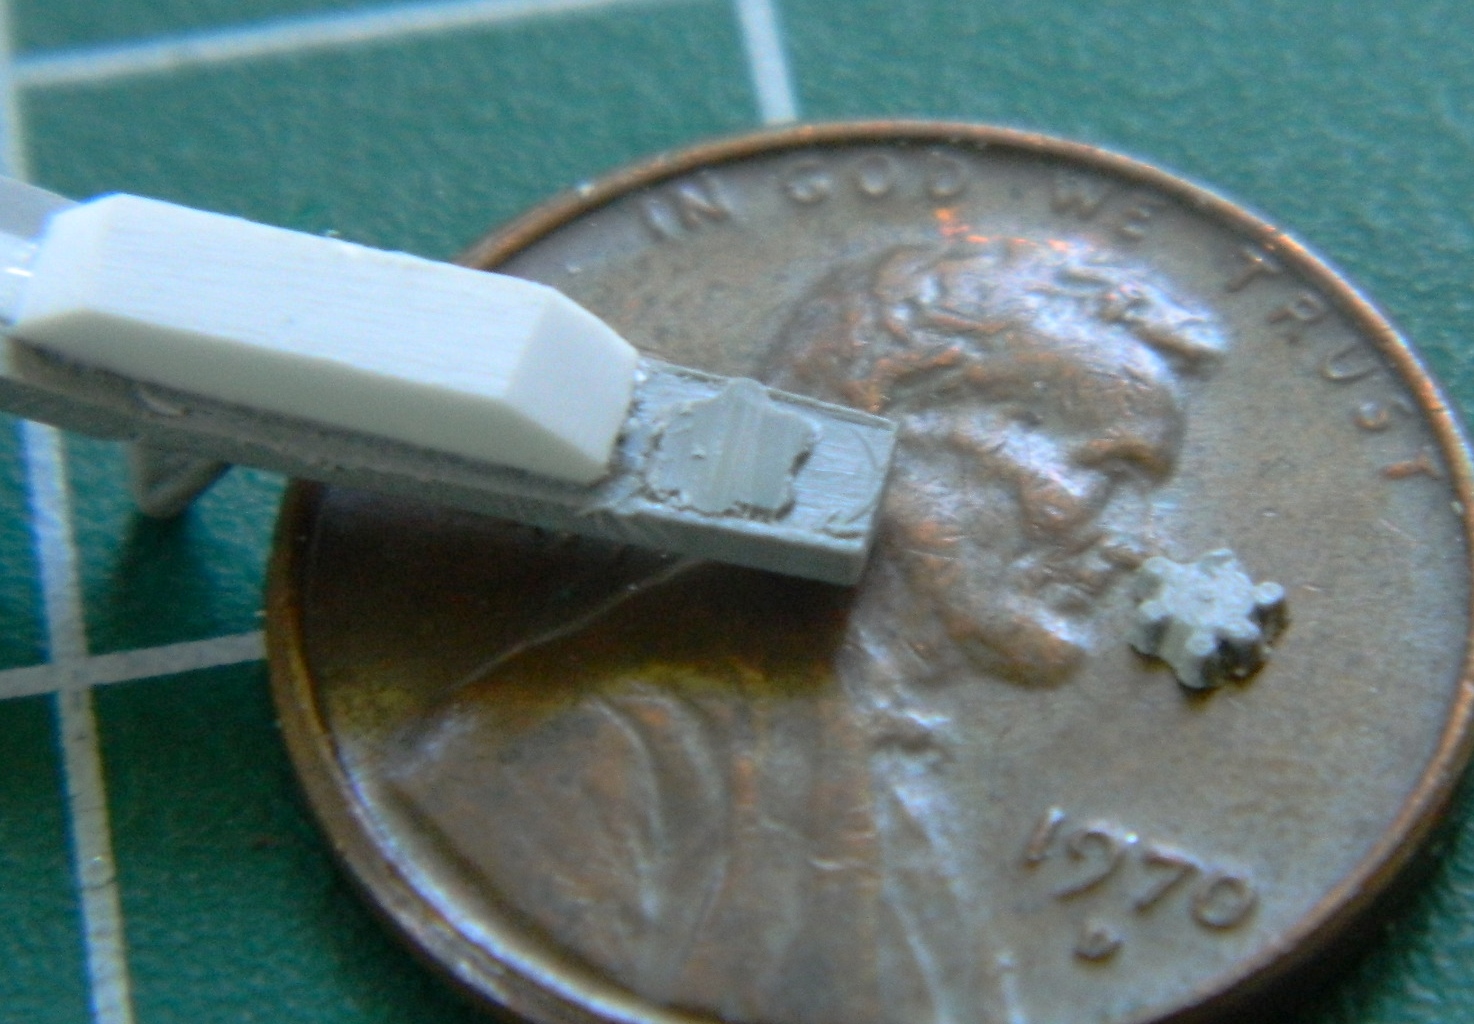
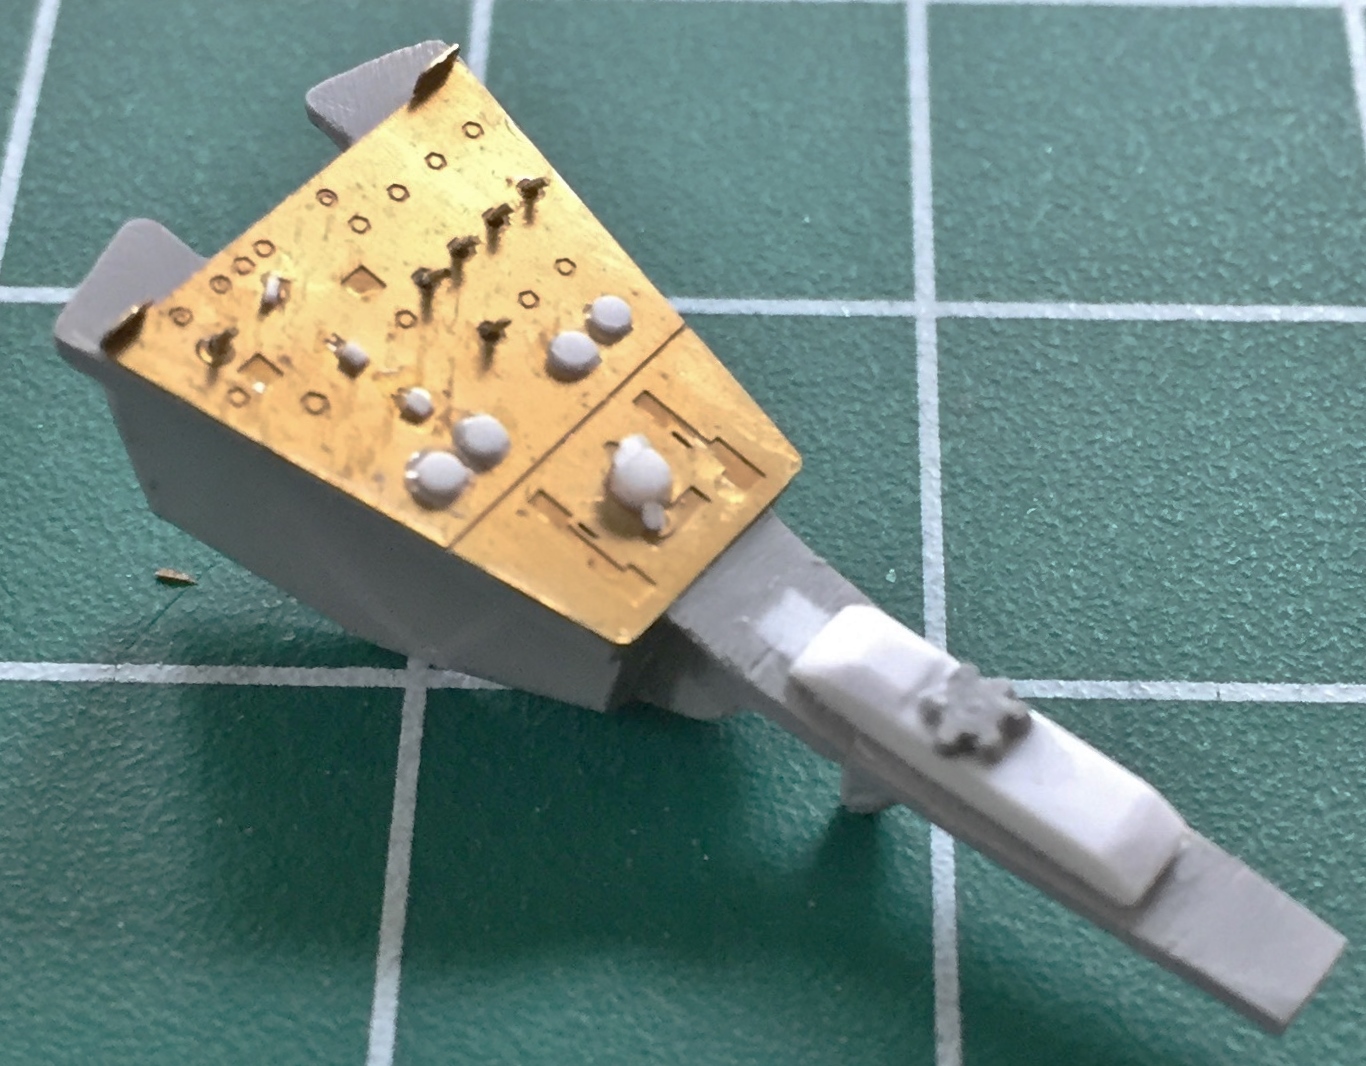
The overhead switch console has PE parts to add details that weren’t molded with the kit. Dry-fitting the PE parts and then checking references show me that I have to cut away sections of the kit part. Doing my best imitation of a four armed, glue-sniffing, rivet counter, I put the PE facade over the part it gets glued to and outlined the areas that needed to be cut away:
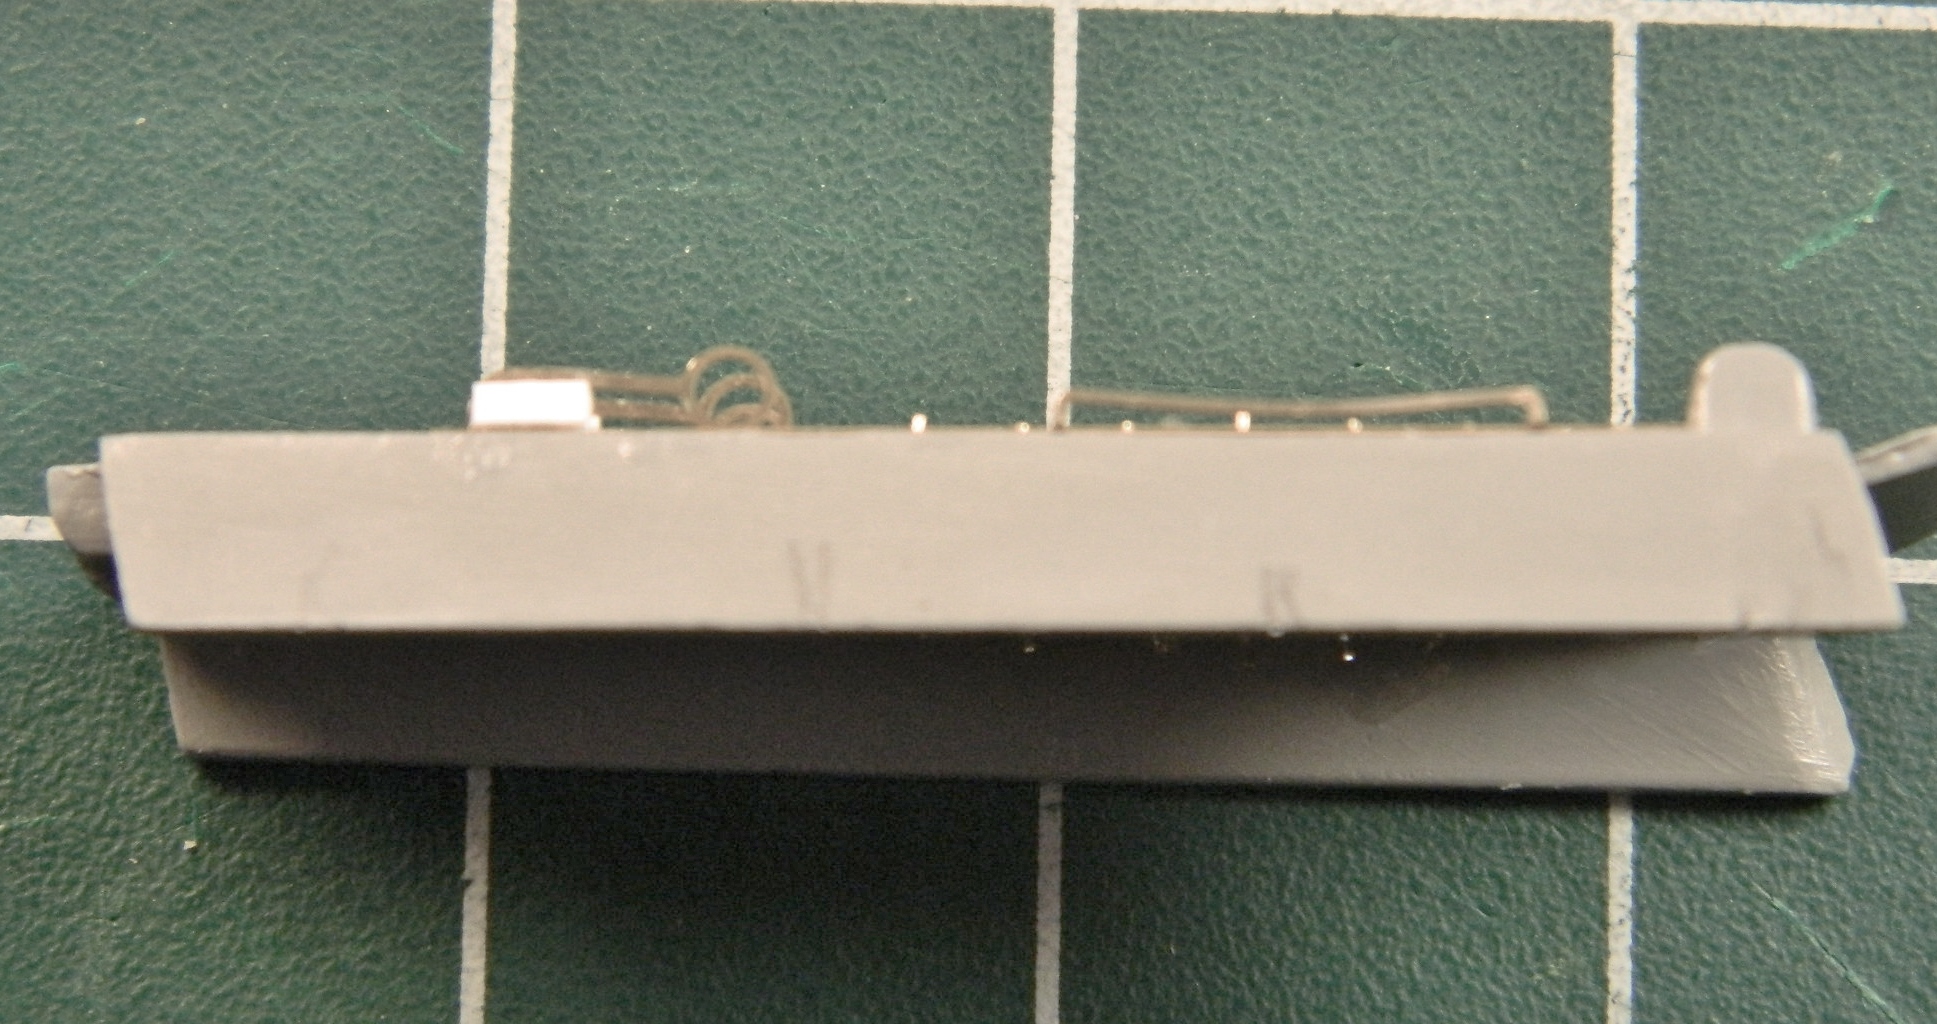
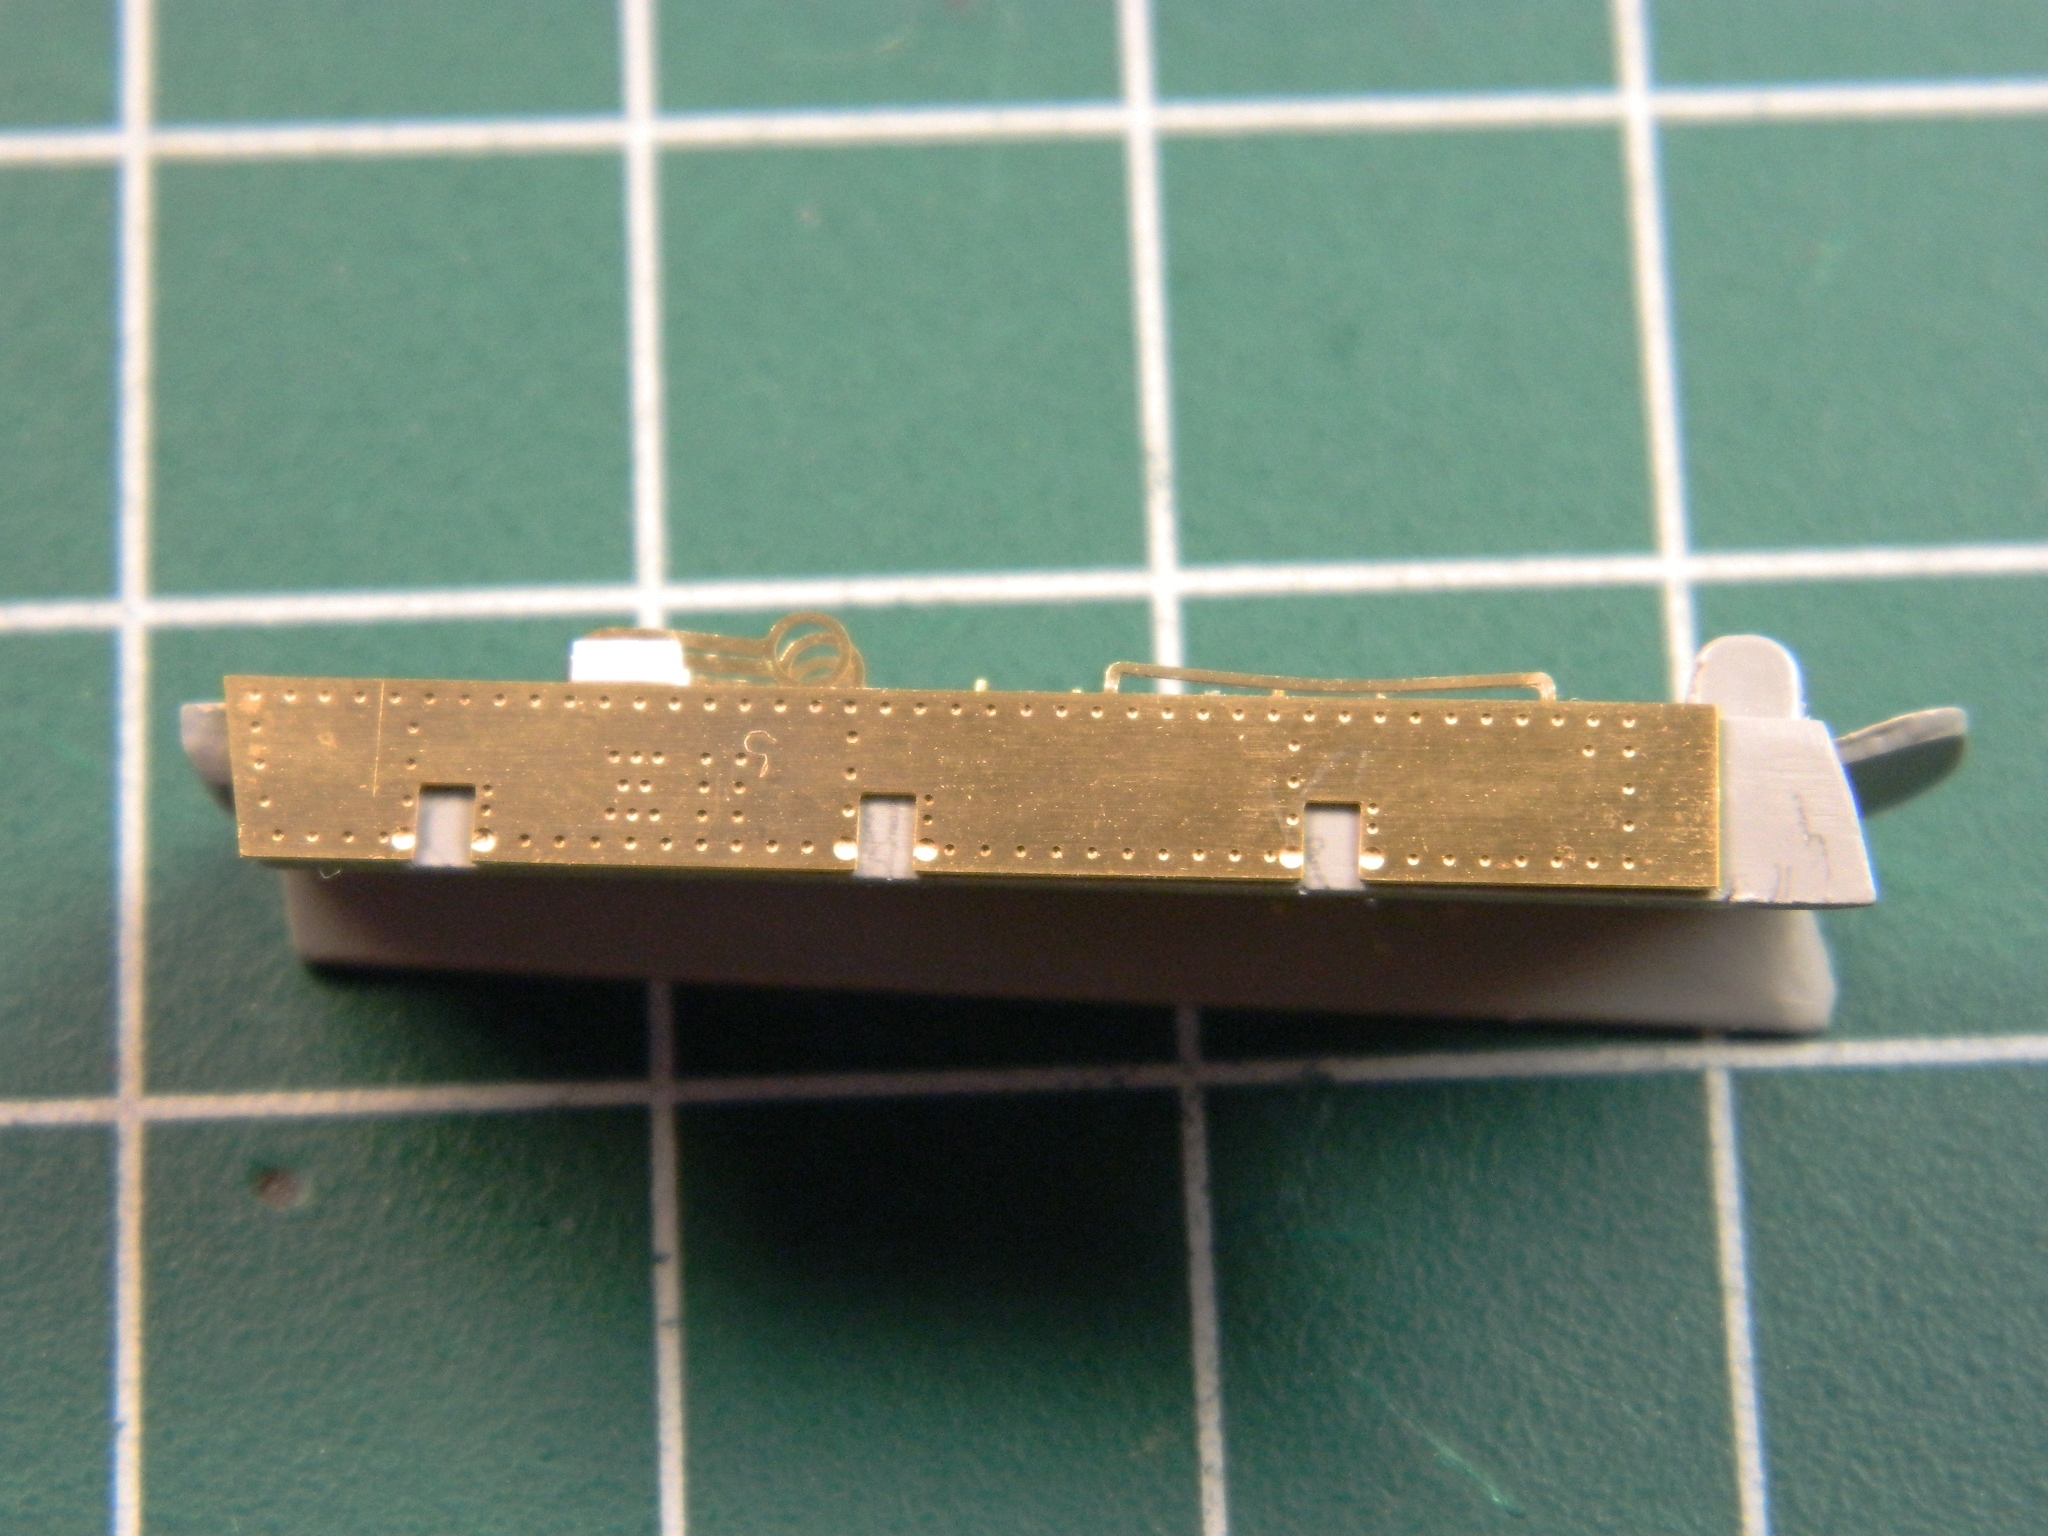
Then I dry-fitted and taped the major components together to see how everything fit. There will be modifications necessary to get all these parts to play nice with each other (if you look at the console at the top of the cabin, you can see where the plastic was cut away from the PE part) (because I forgot to take a picture before I took these):
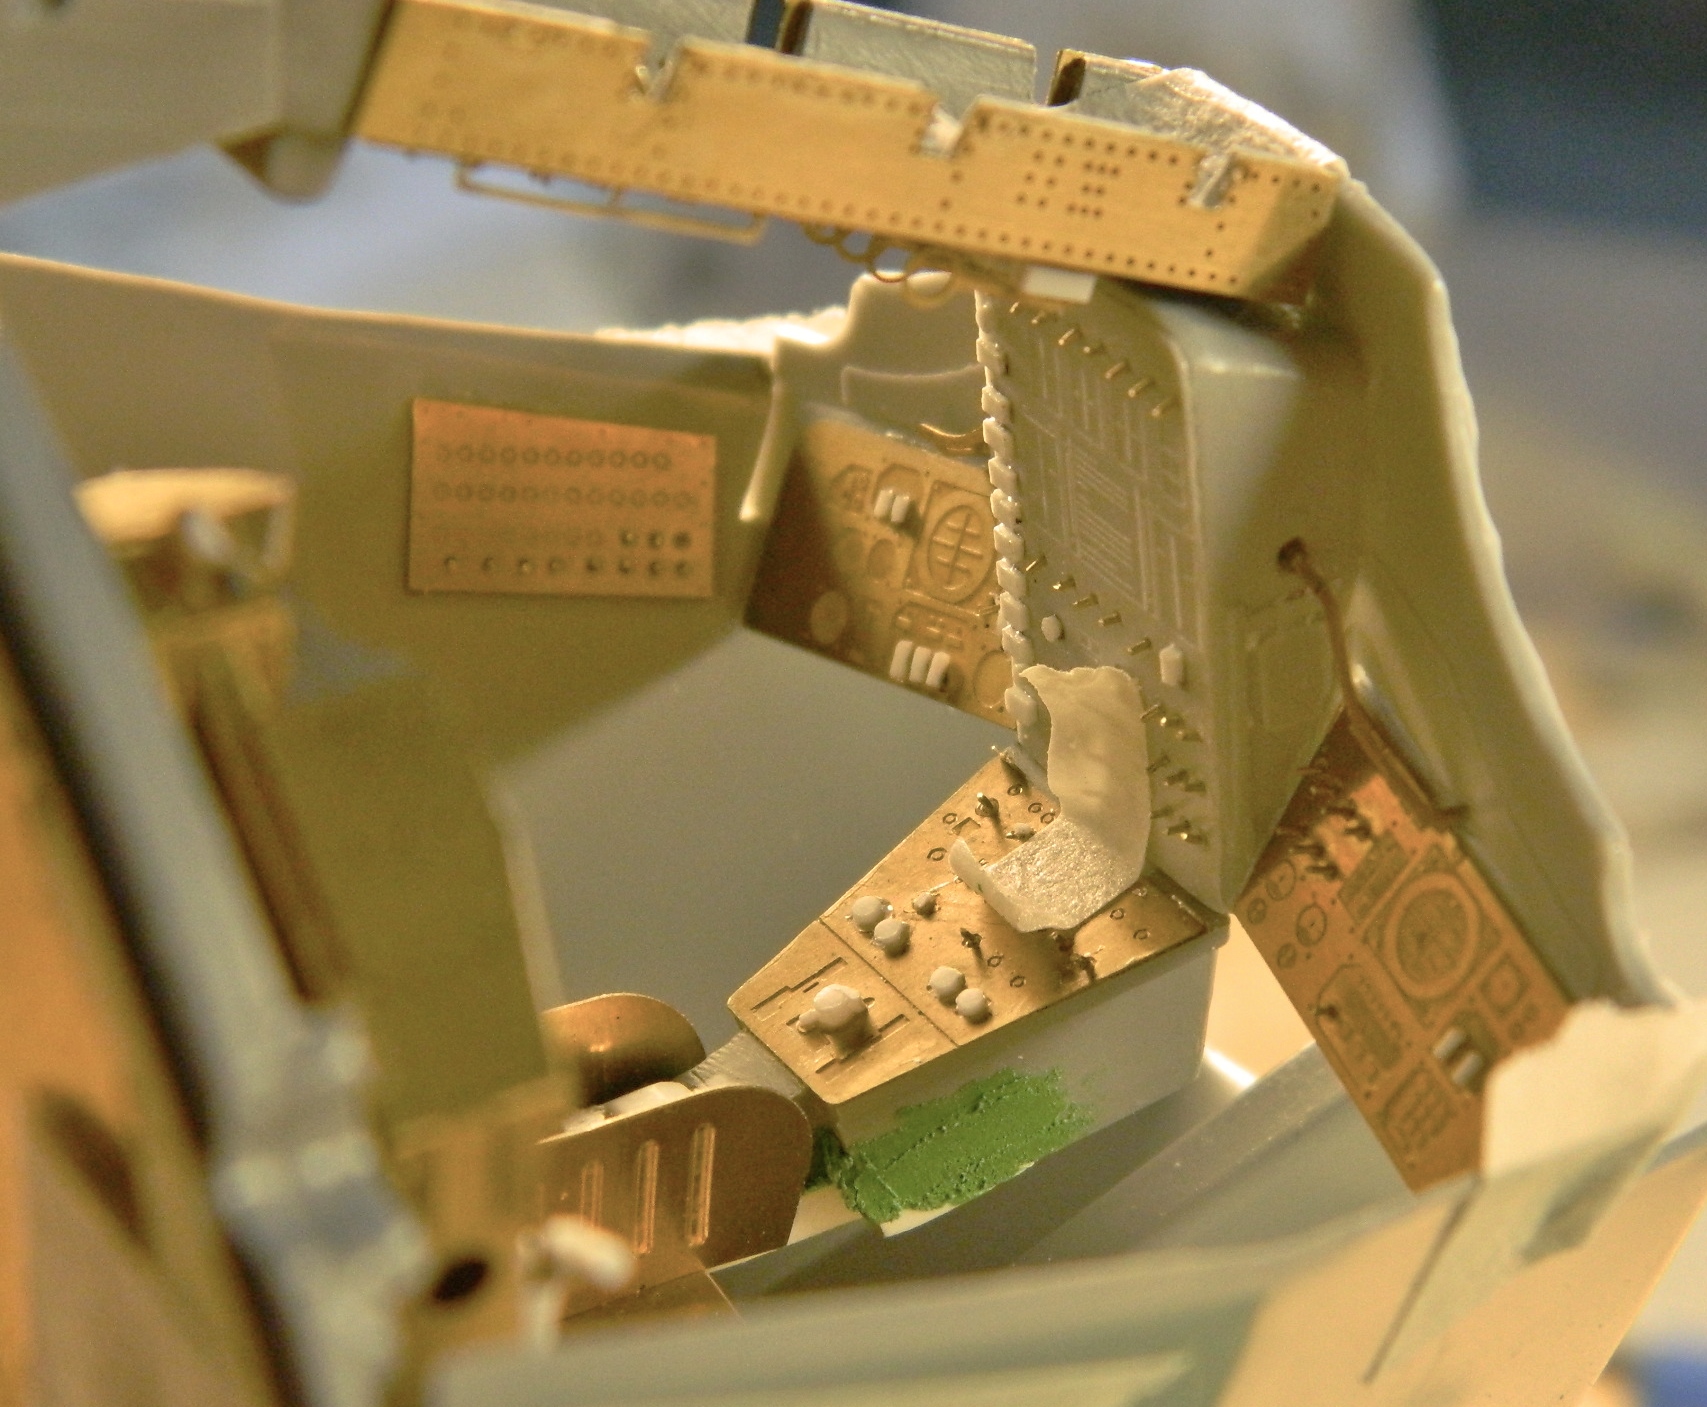
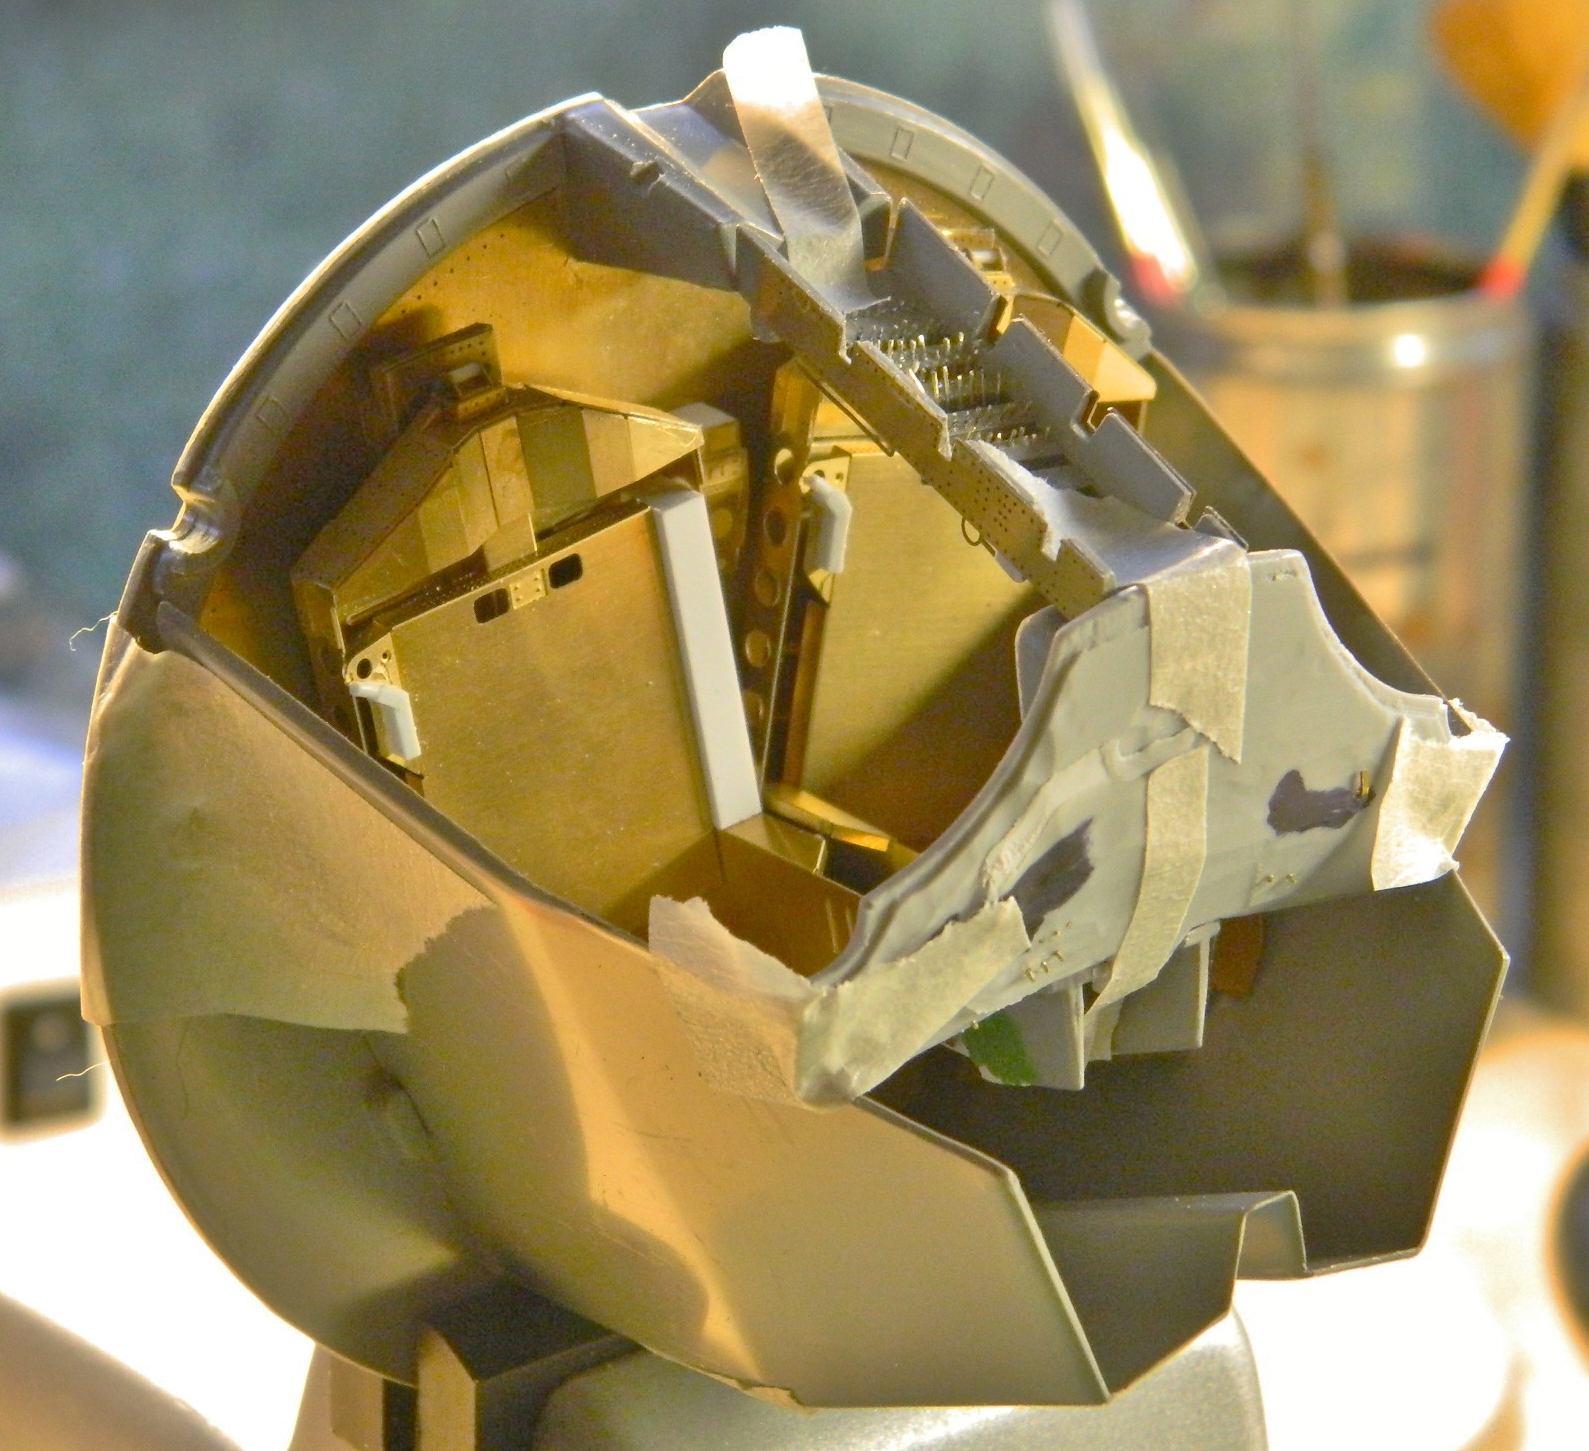
Gemini (Revell) Build #3 – Cleaning Up Exterior Seams and More Interior Work
My suspicions regarding how well the exterior parts align was optimistic. Thus far it looks like nothing lines up well; it’s a trade-off regarding which area(s) of the surfaces are more difficult than others to add/replace surface details.
Peeling away the masking tape gives me join lines that look like this:

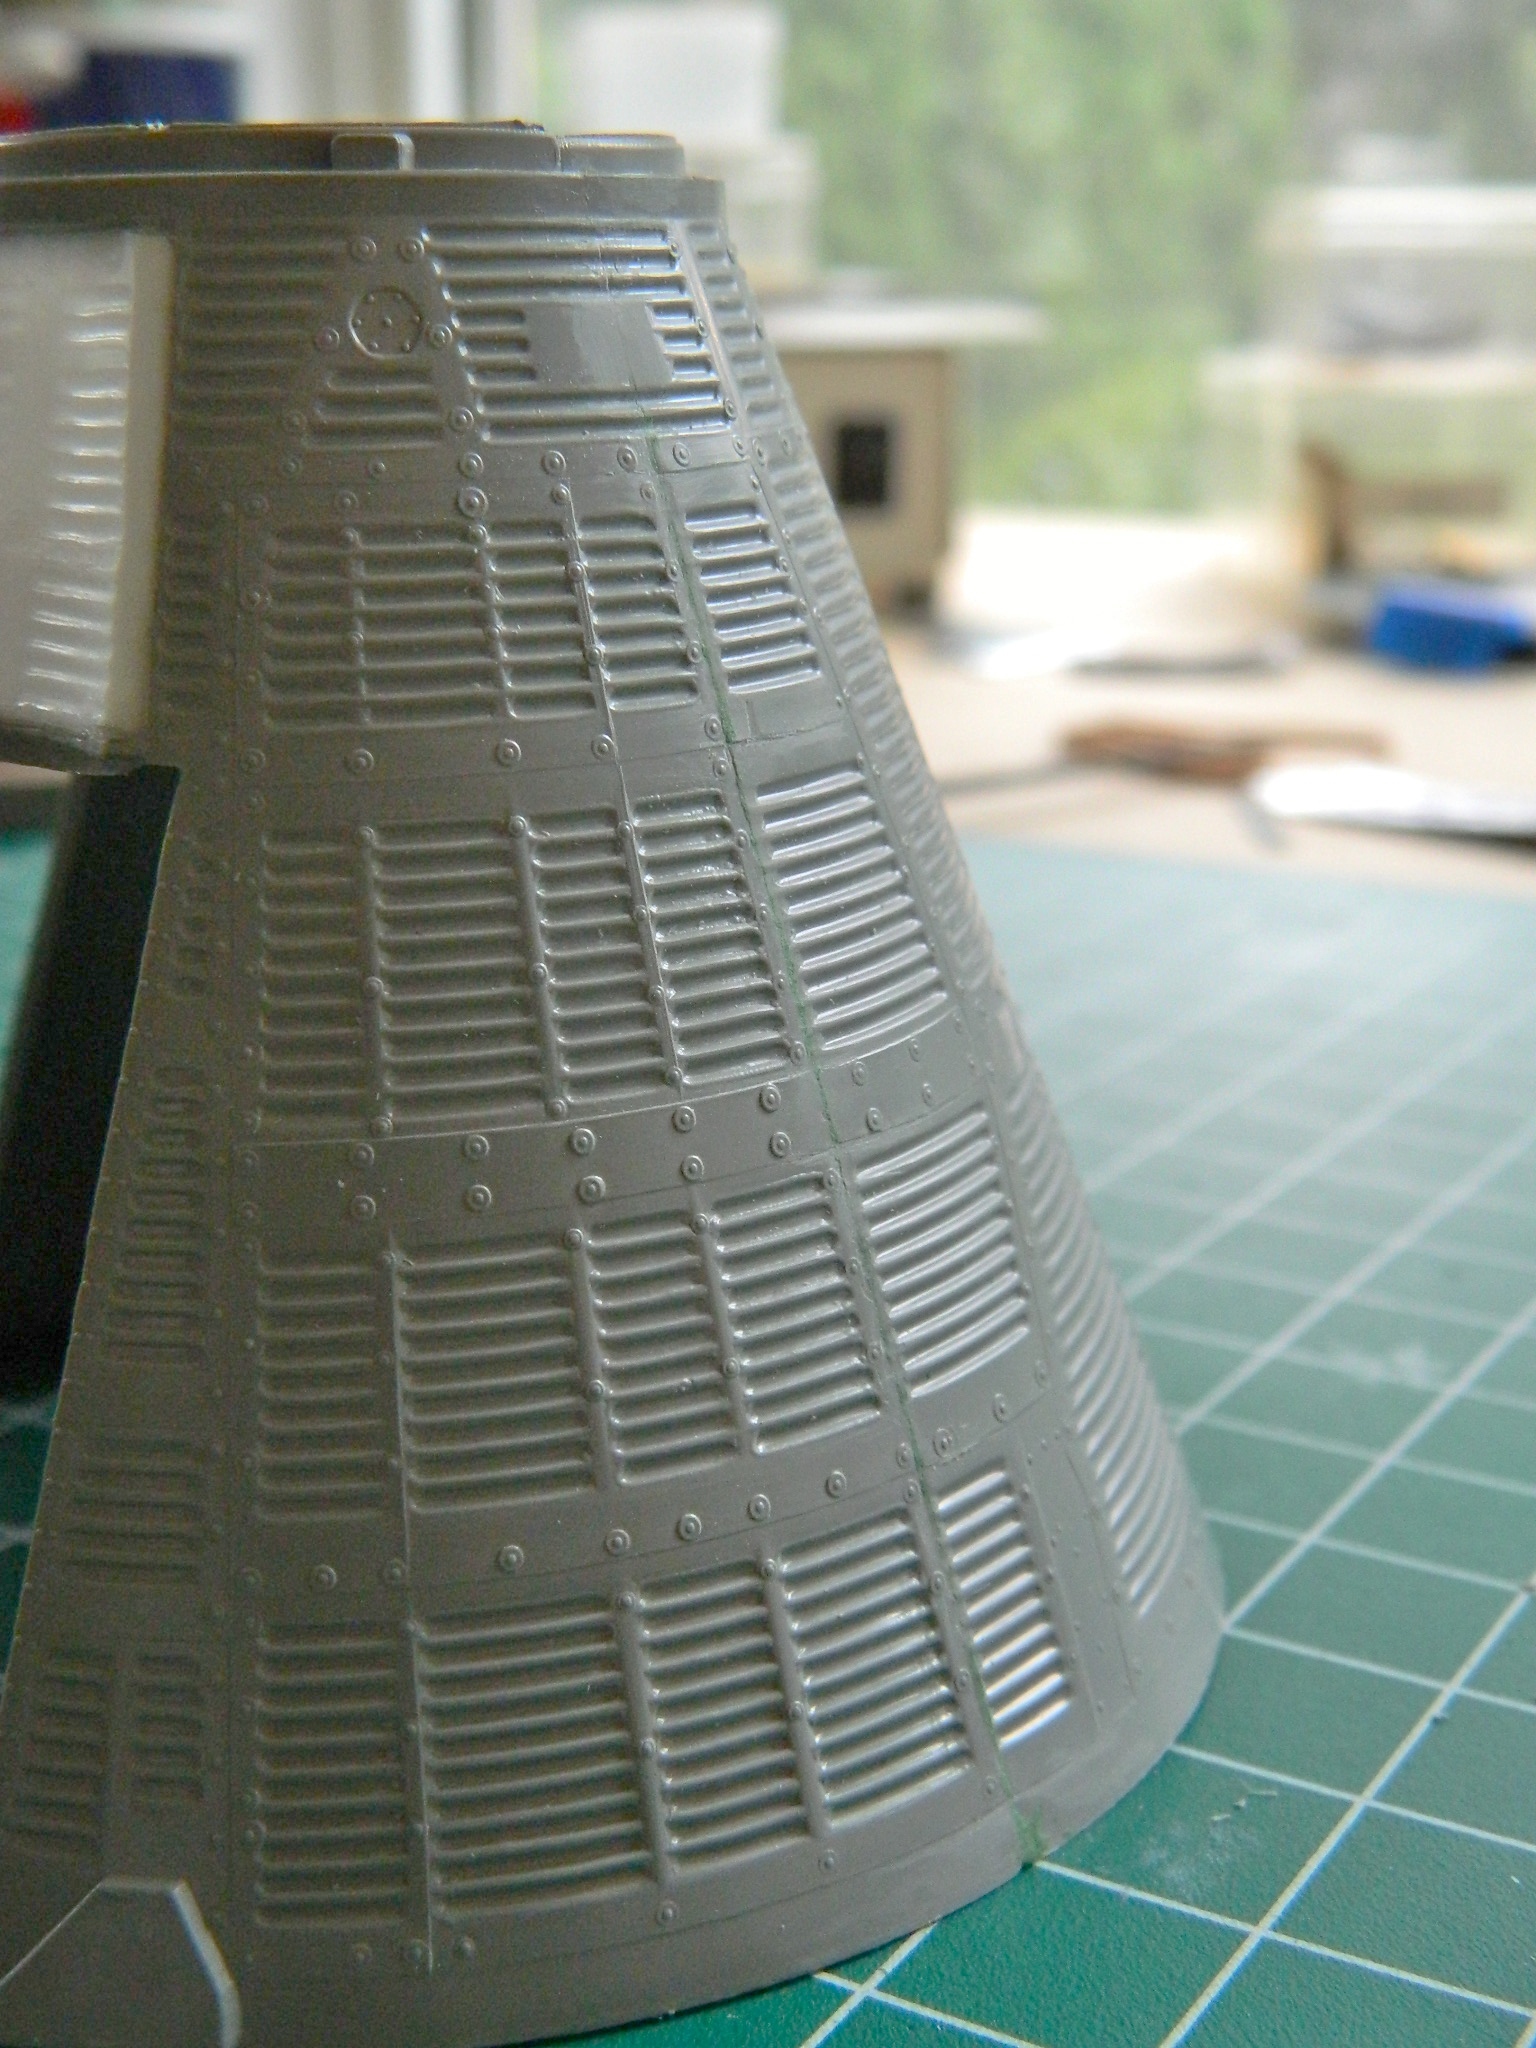
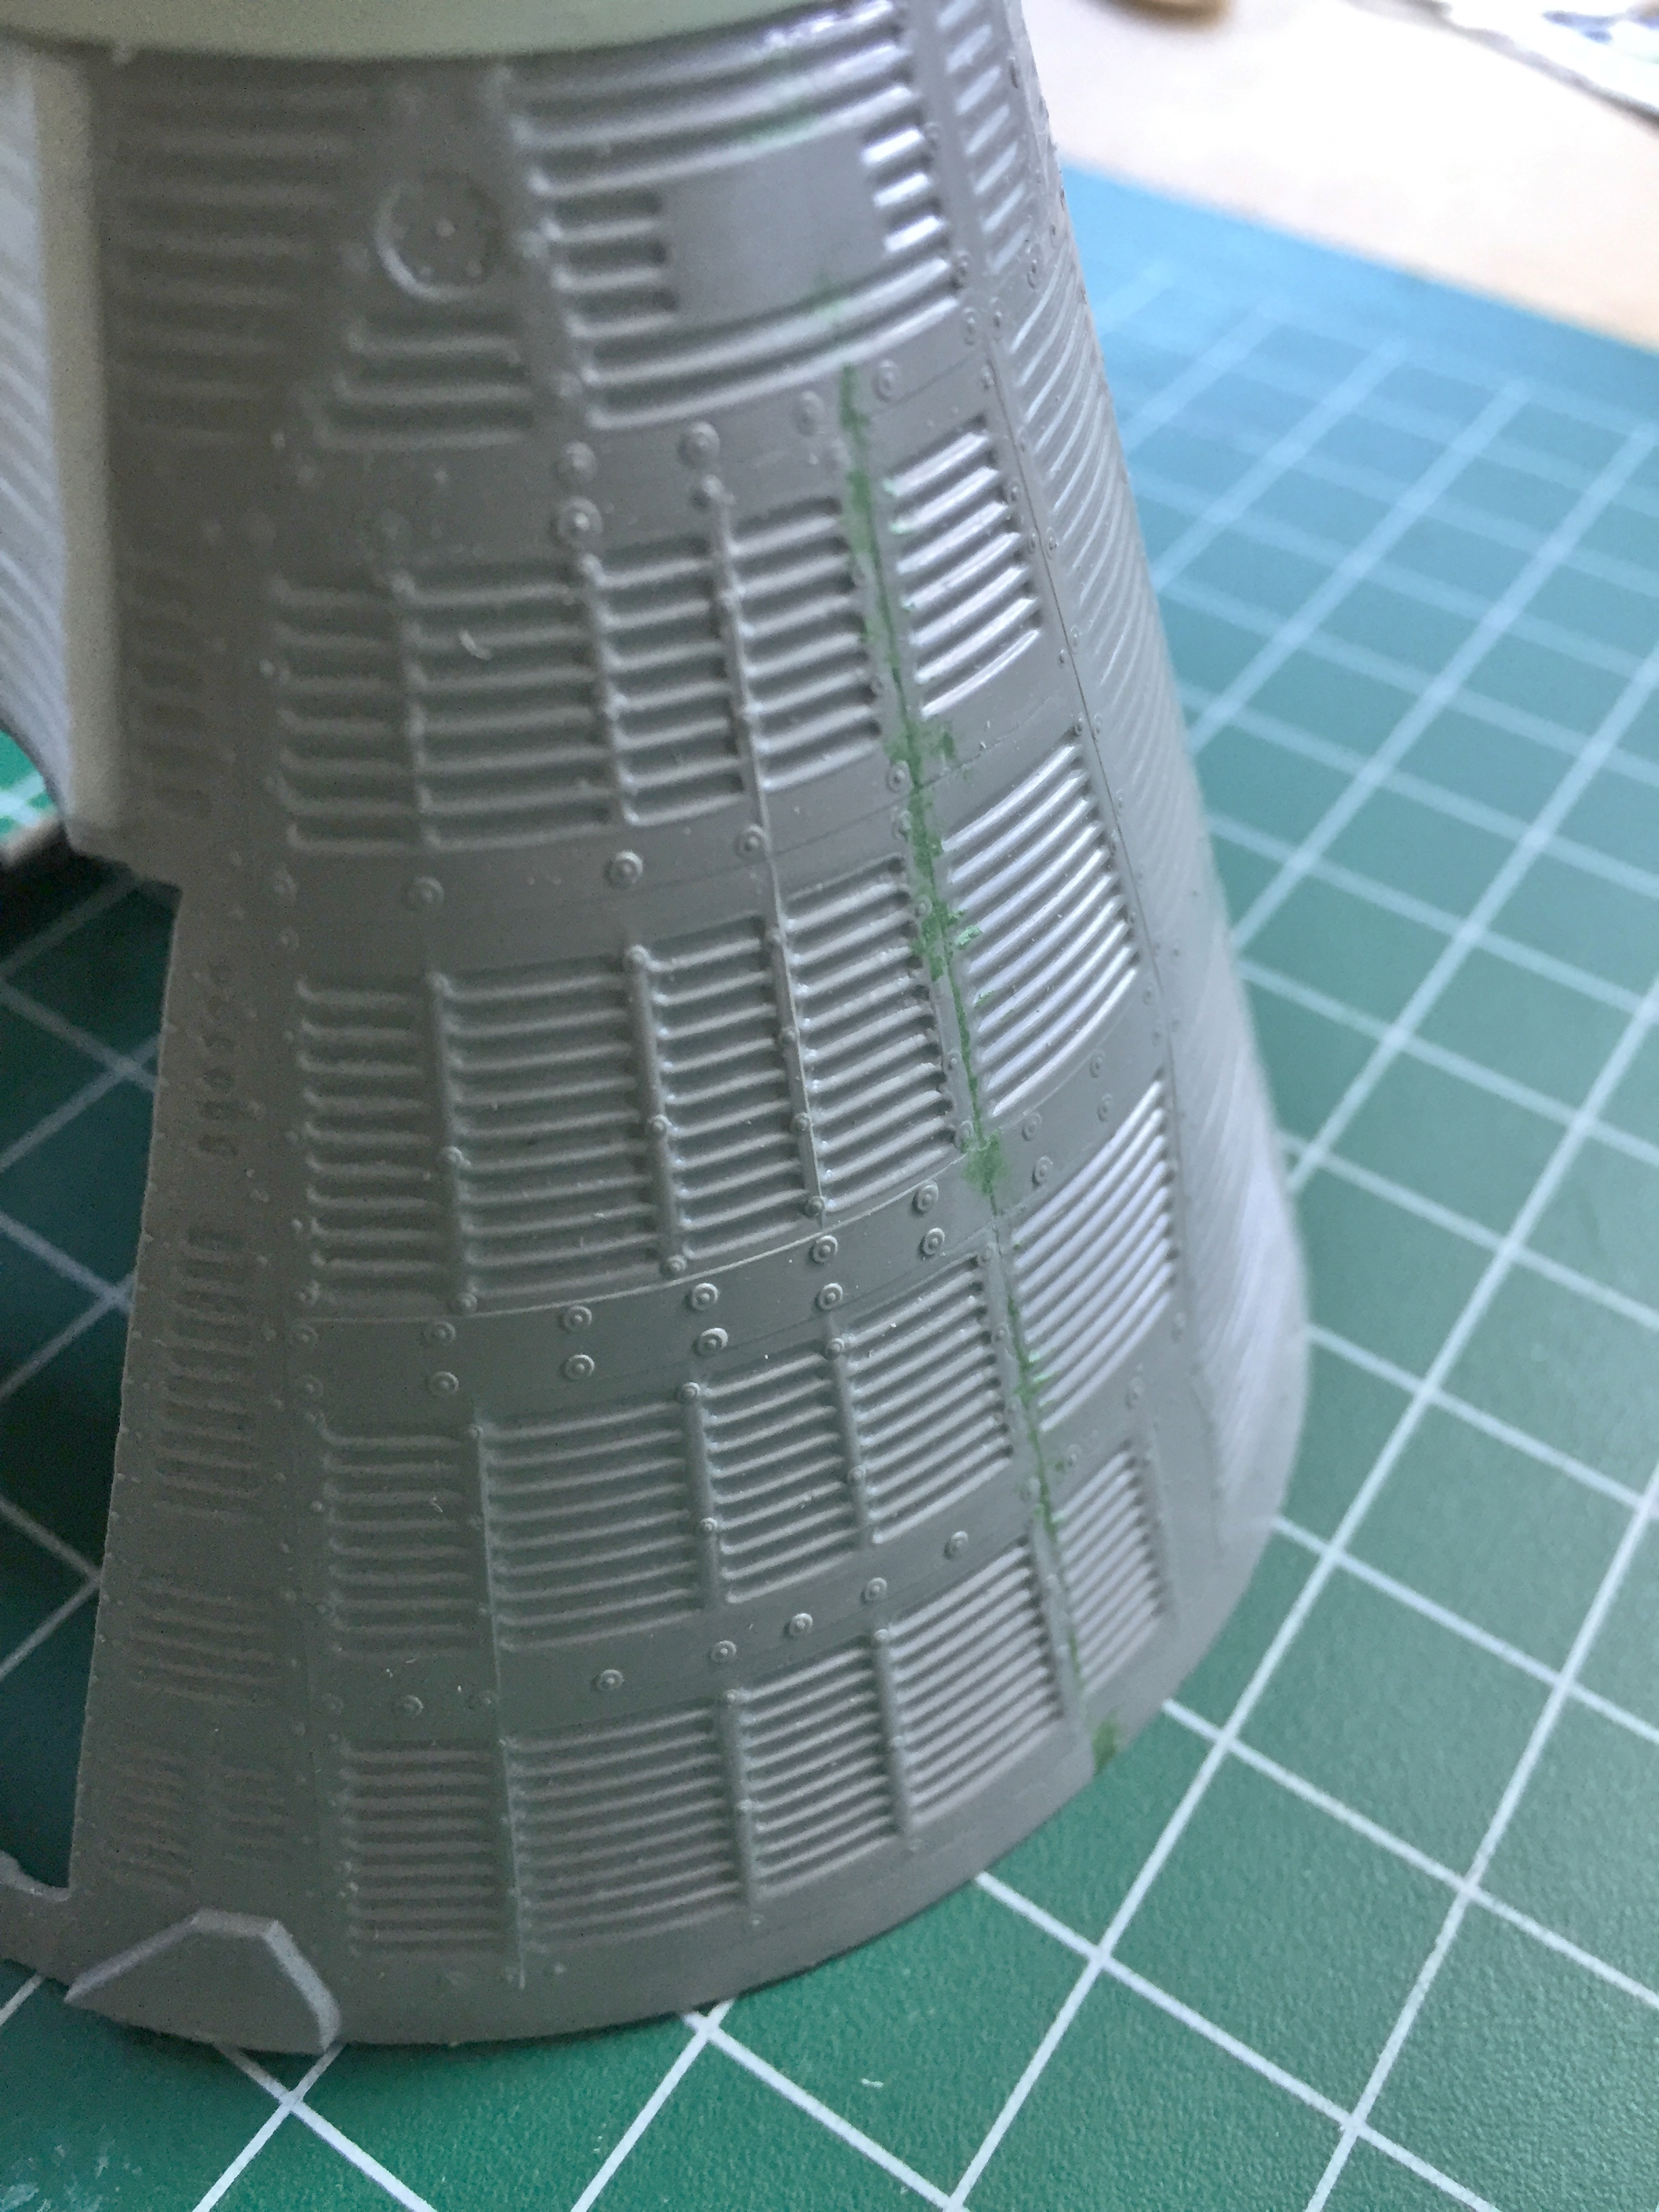

And the section that houses the maneuvering nozzles is too large in diameter where it meets the body parts (note the gap between the ring and body; this will be shimmed with styrene stock). To make up the difference I added a ring of .015″ (.381mm) styrene stock as well and then added putty to fill in gaps and misalignments:
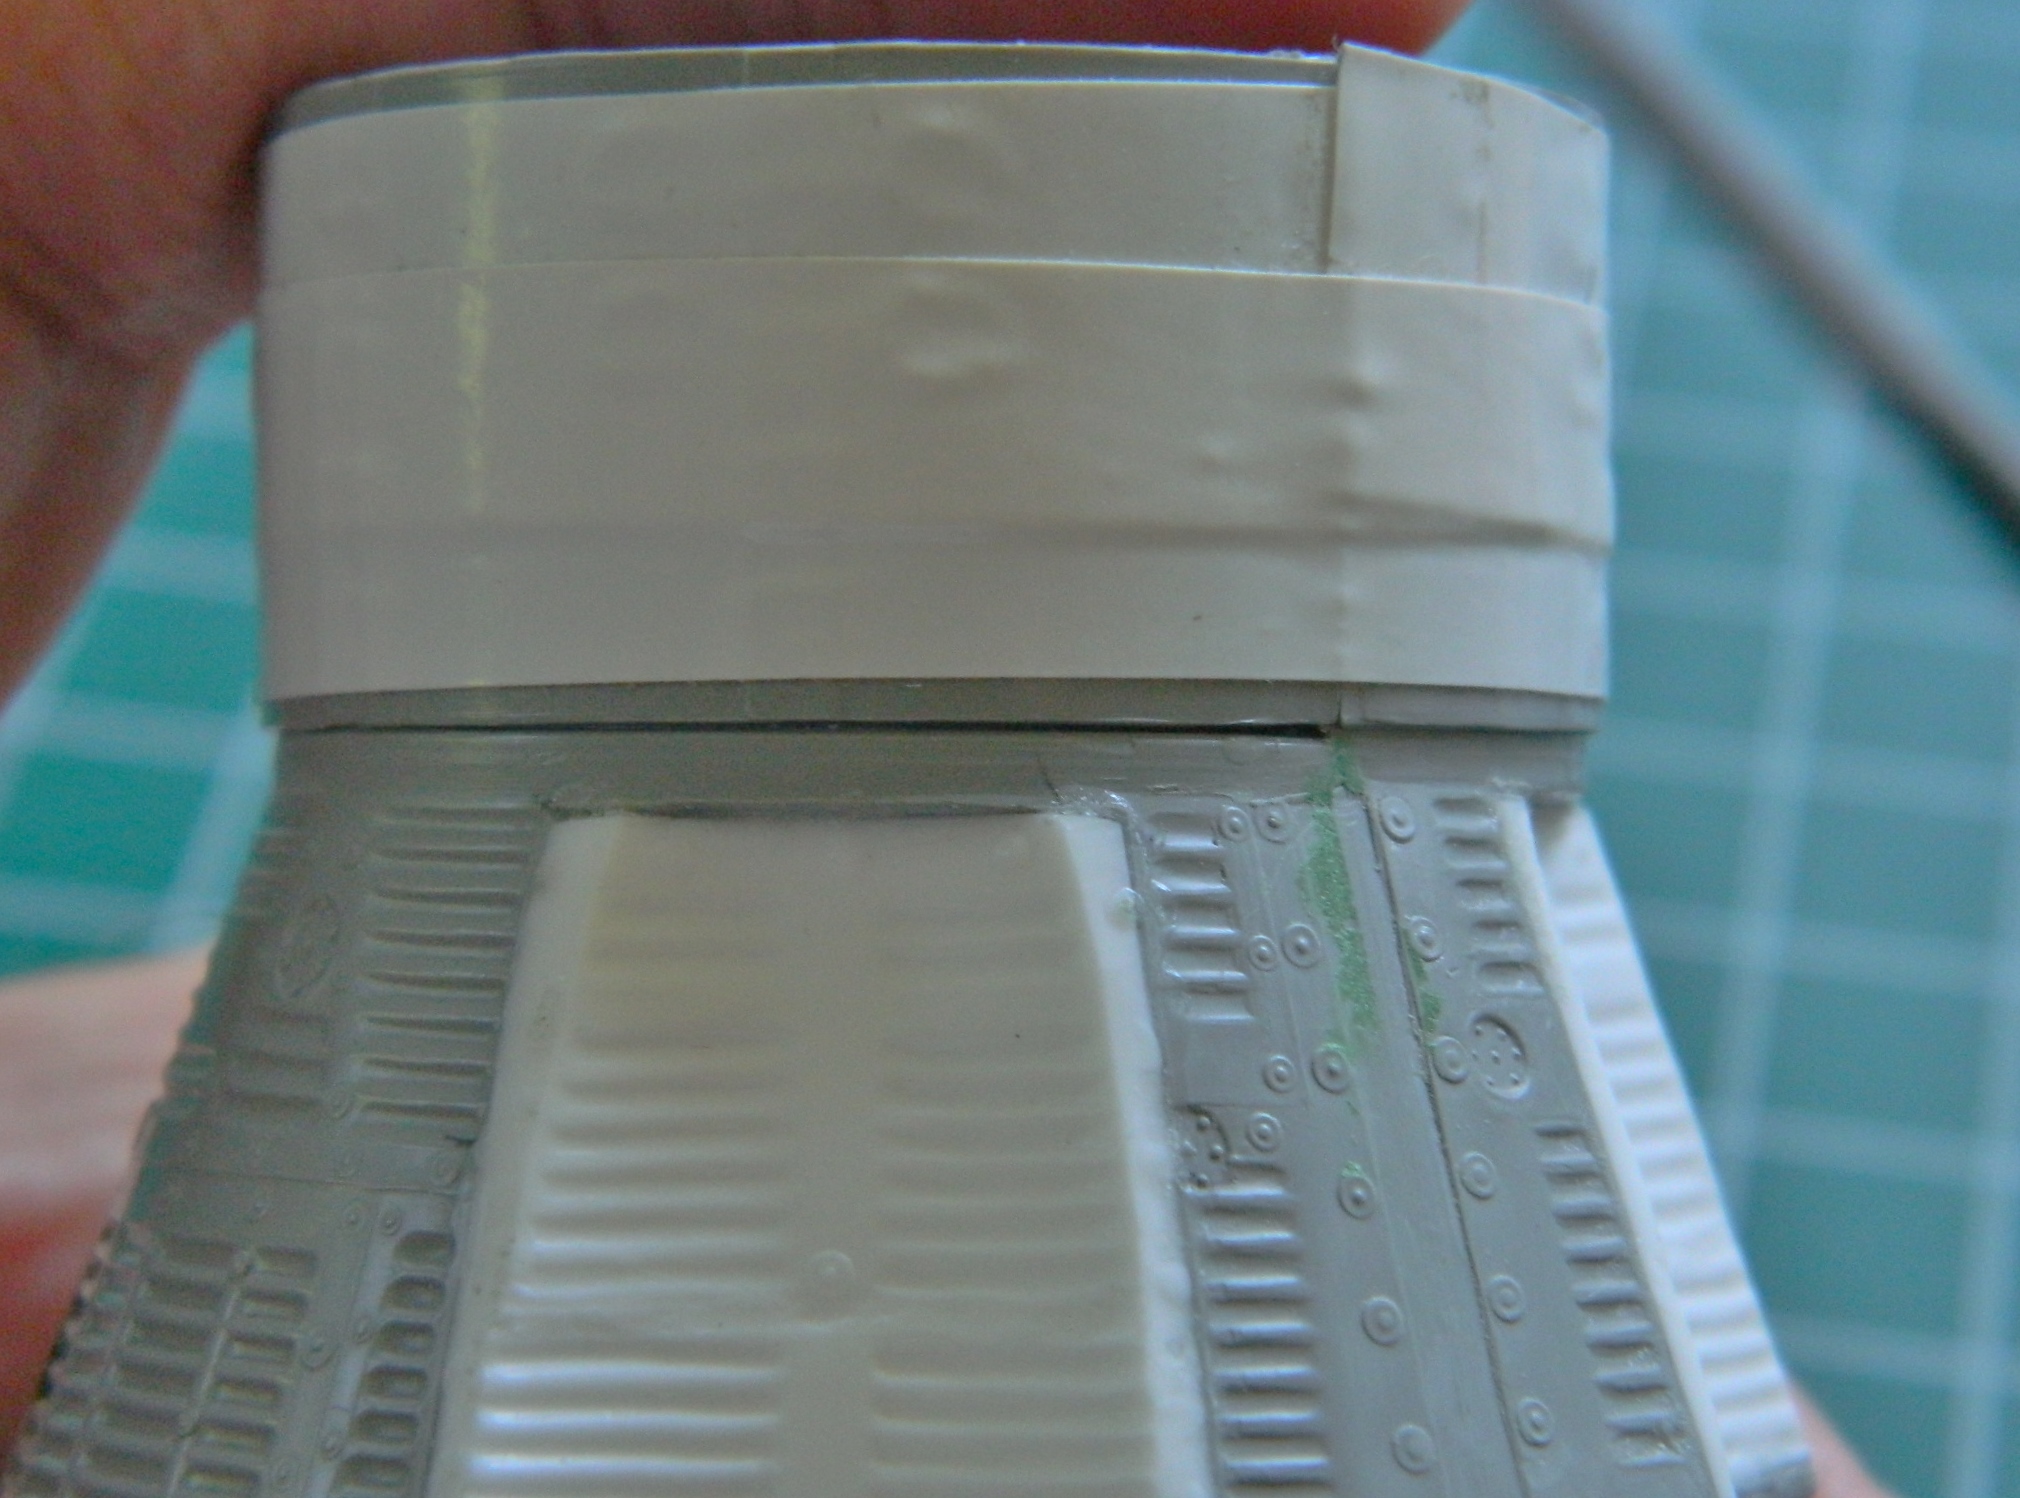


The attachment area was also rather approximate so when I used styrene cement to attach this ring, I added weight to get the tightest fit possible:

Once the putty hardened, it was time to remove the putty I didn’t want:


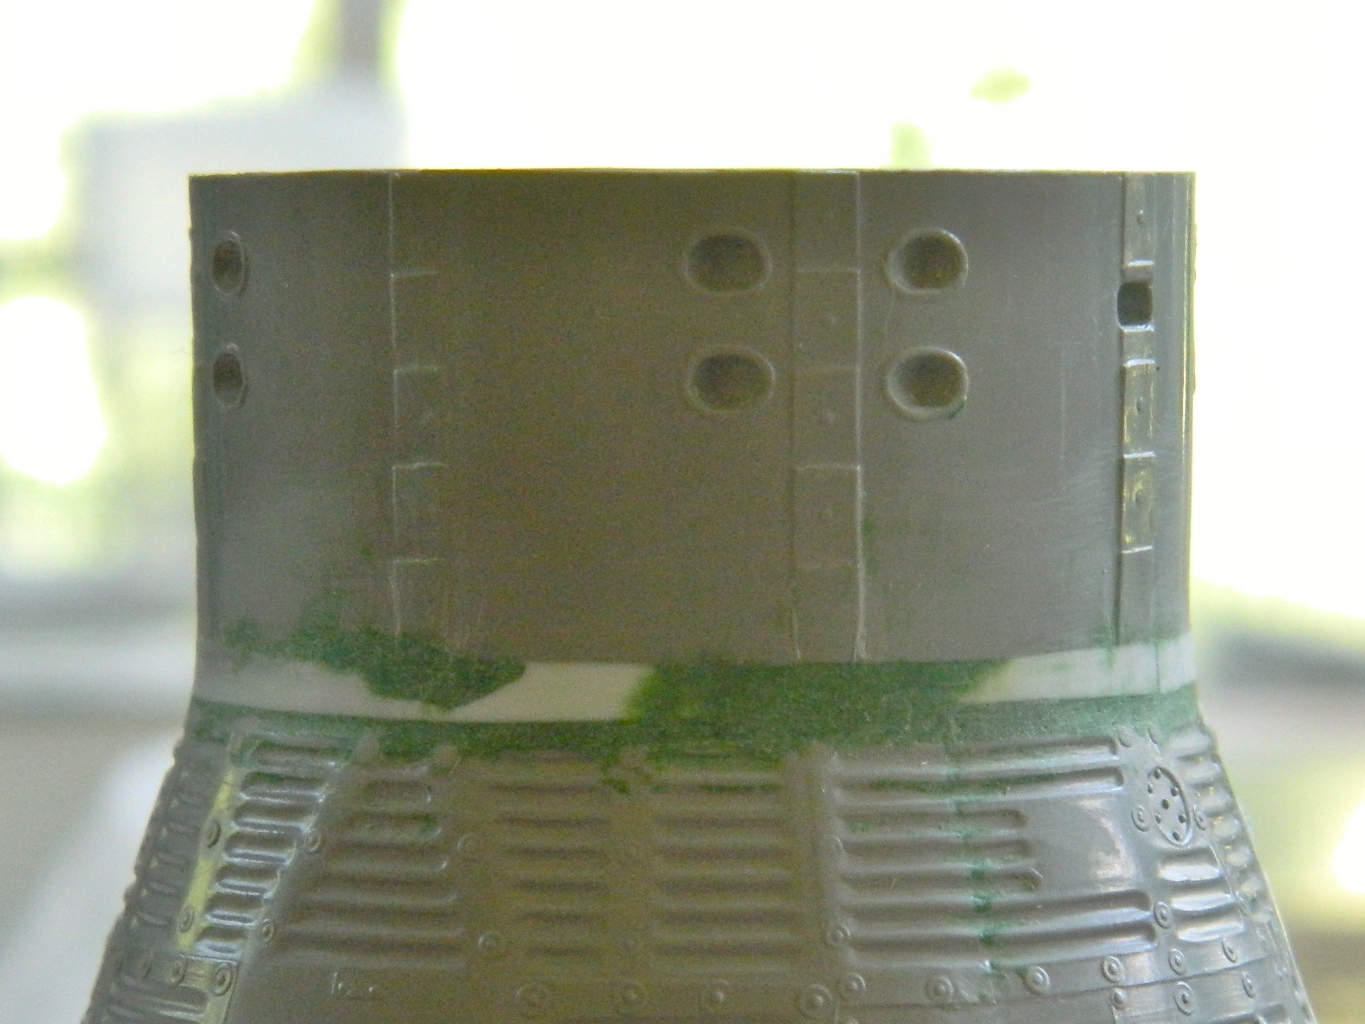

The model comes with a display stand (you can see it on the box top in the first post of this series) that I’m not going to use. That means the slot has to be filled in and carved to match the surface detail:


Sanding seams and putty removed surface details that I had to put back. I used my punch/die set to make the washers and a (very) small drop of superglue as the rivet:

At this point I have four different surfaces, each of which bounces light differently, and all of which have to play nicely with each other. I primed the surface so that I could see what areas needed more work (which is pretty much all of them):
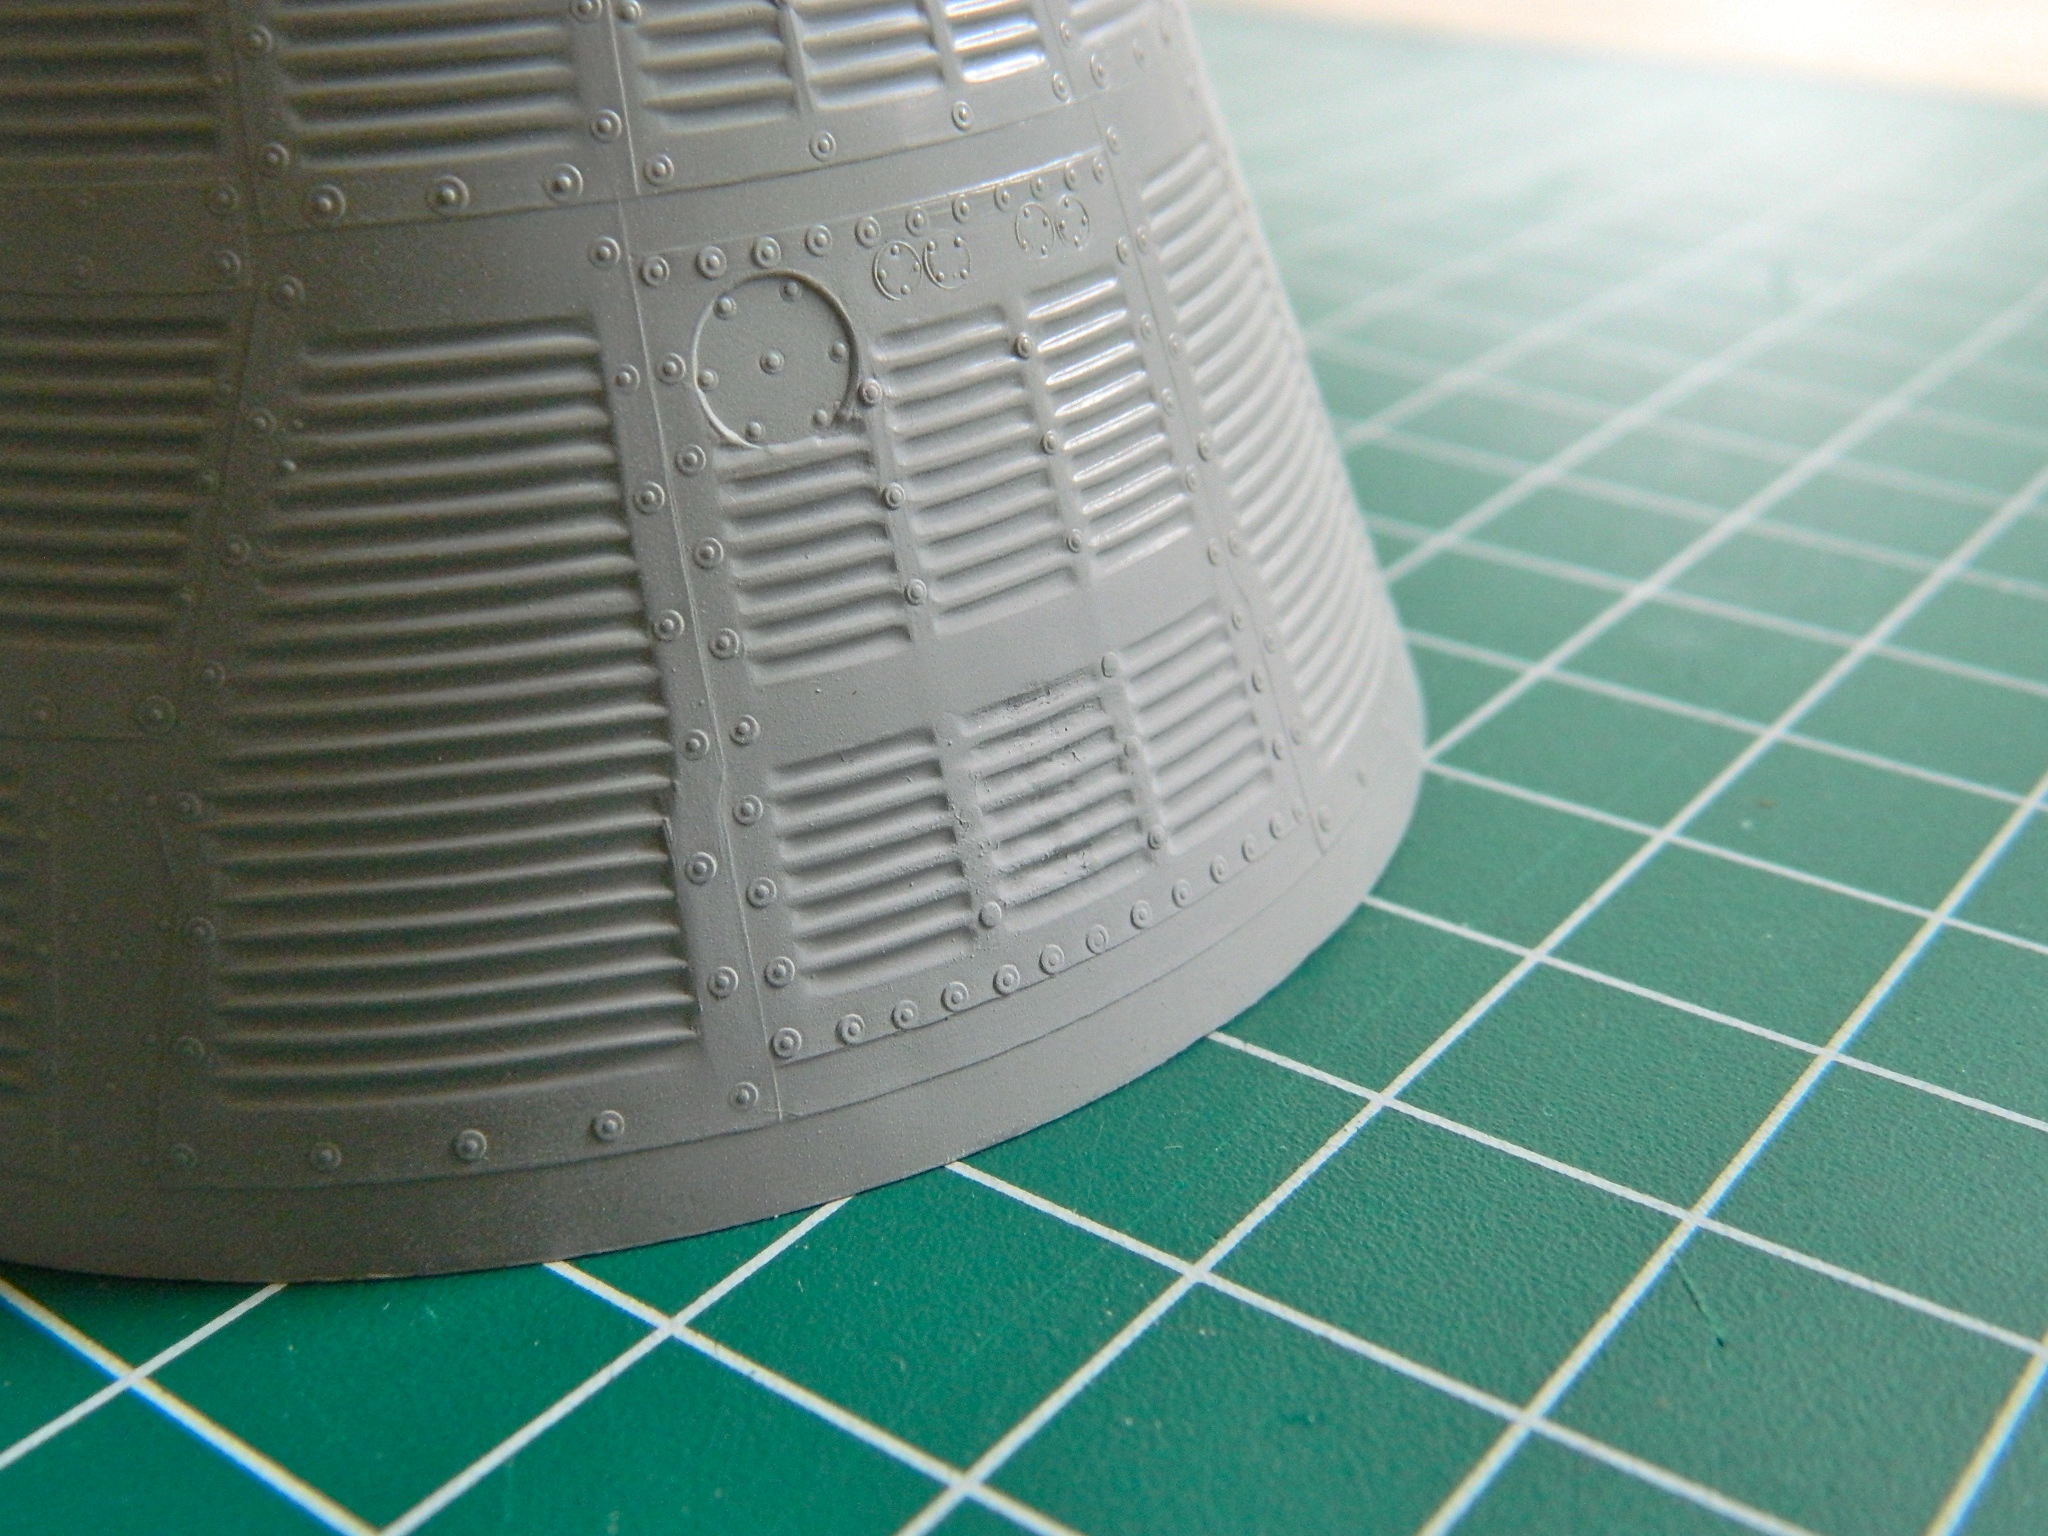


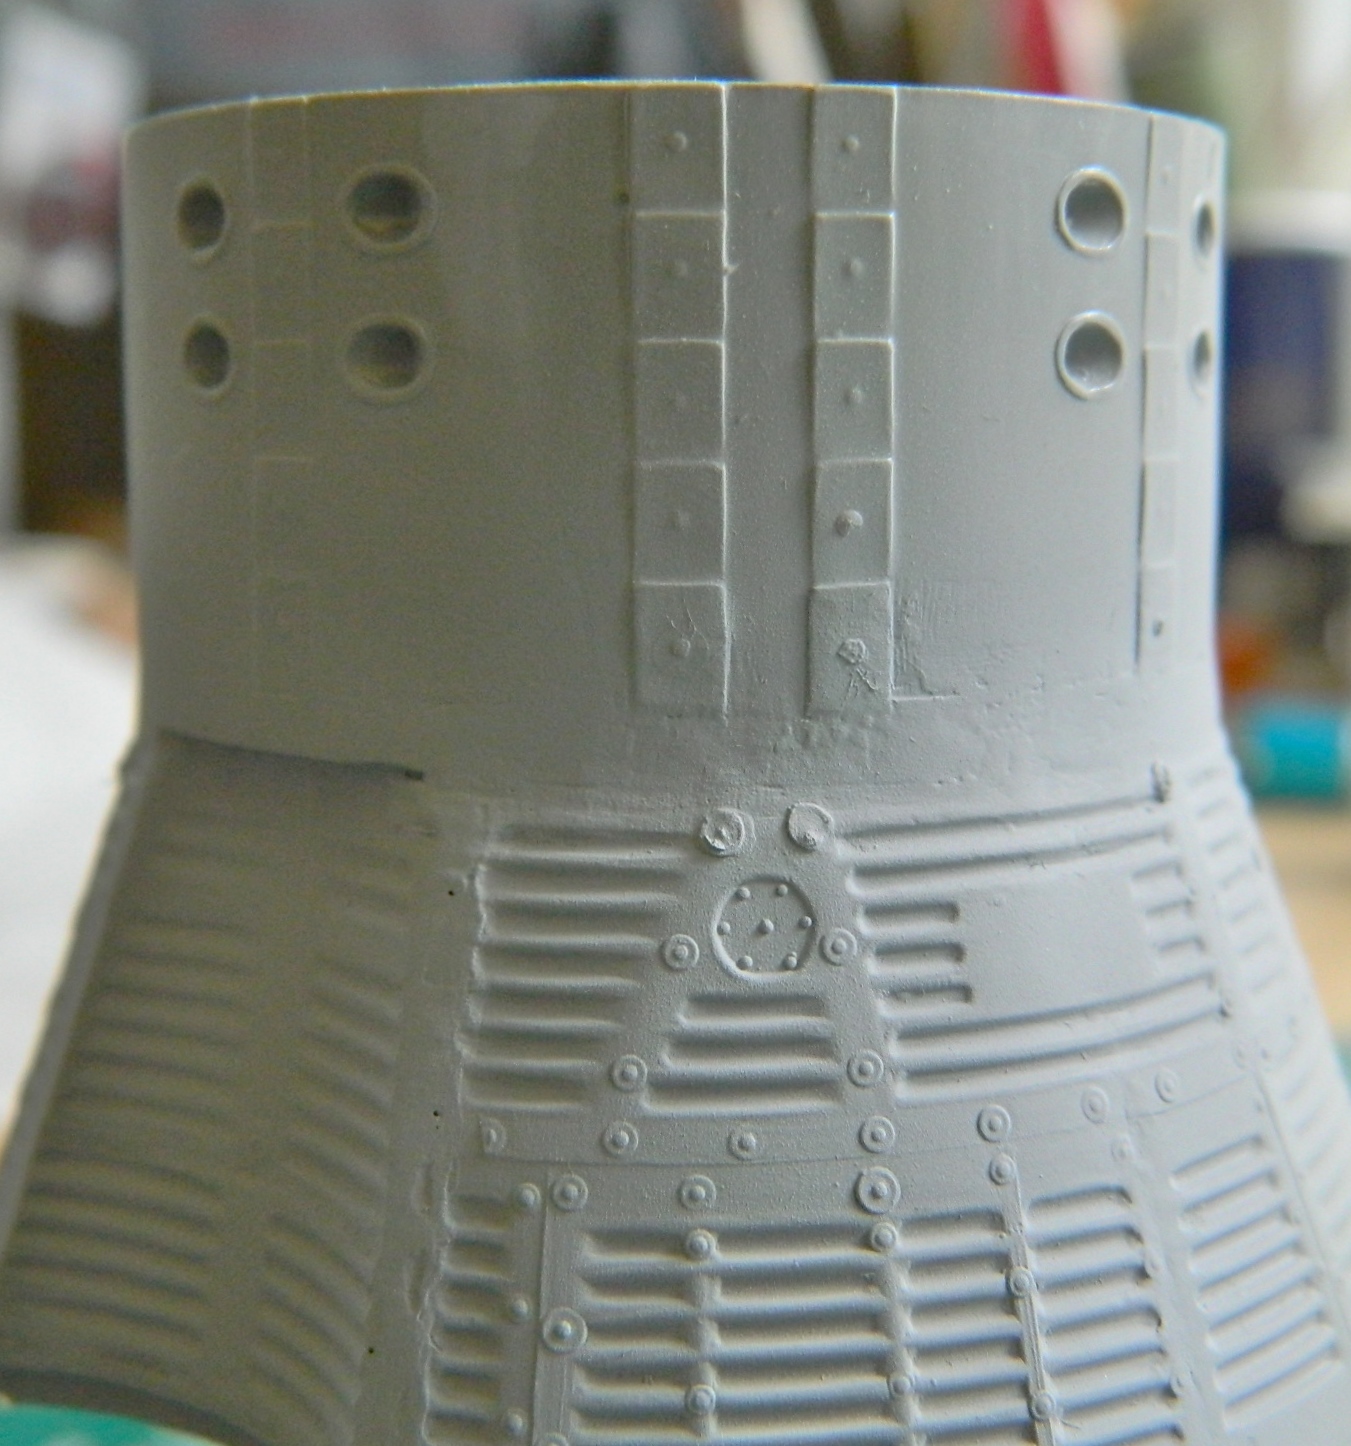
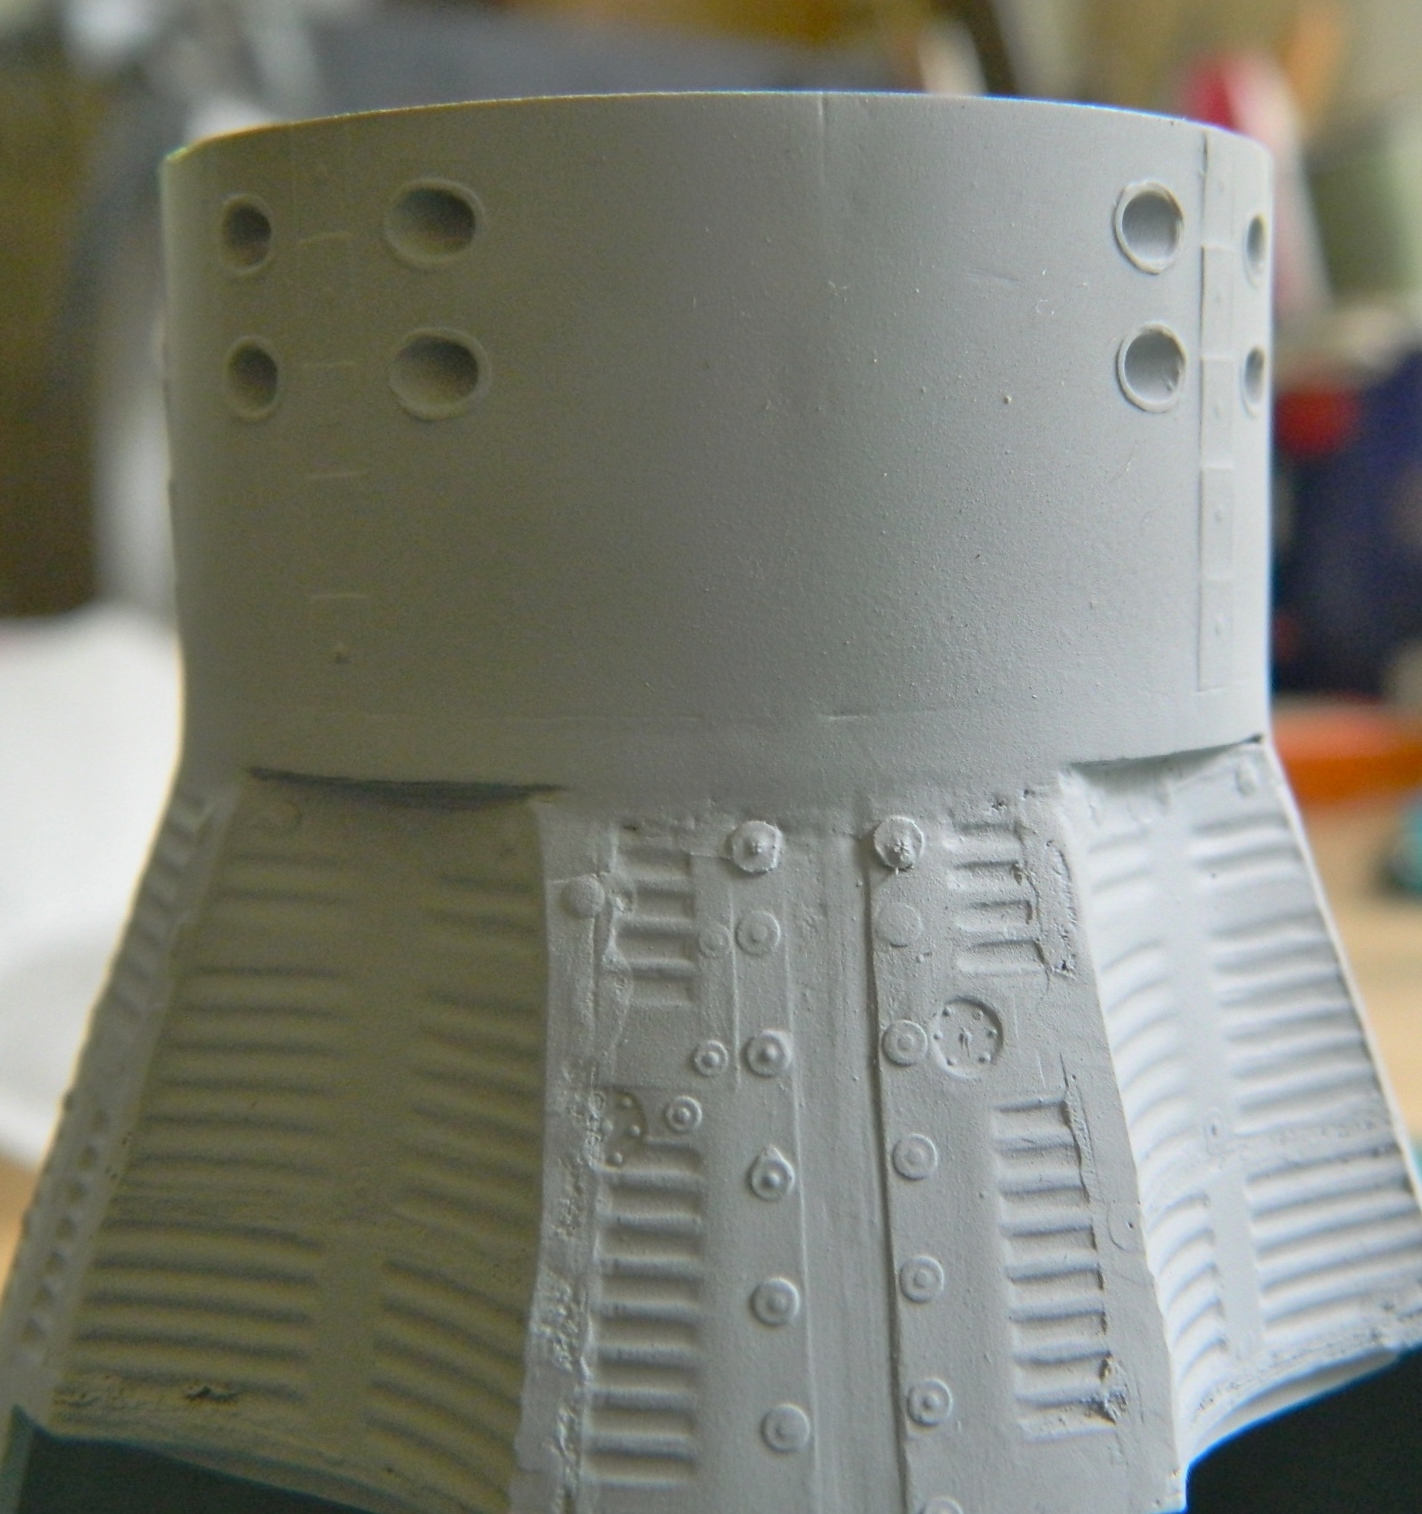

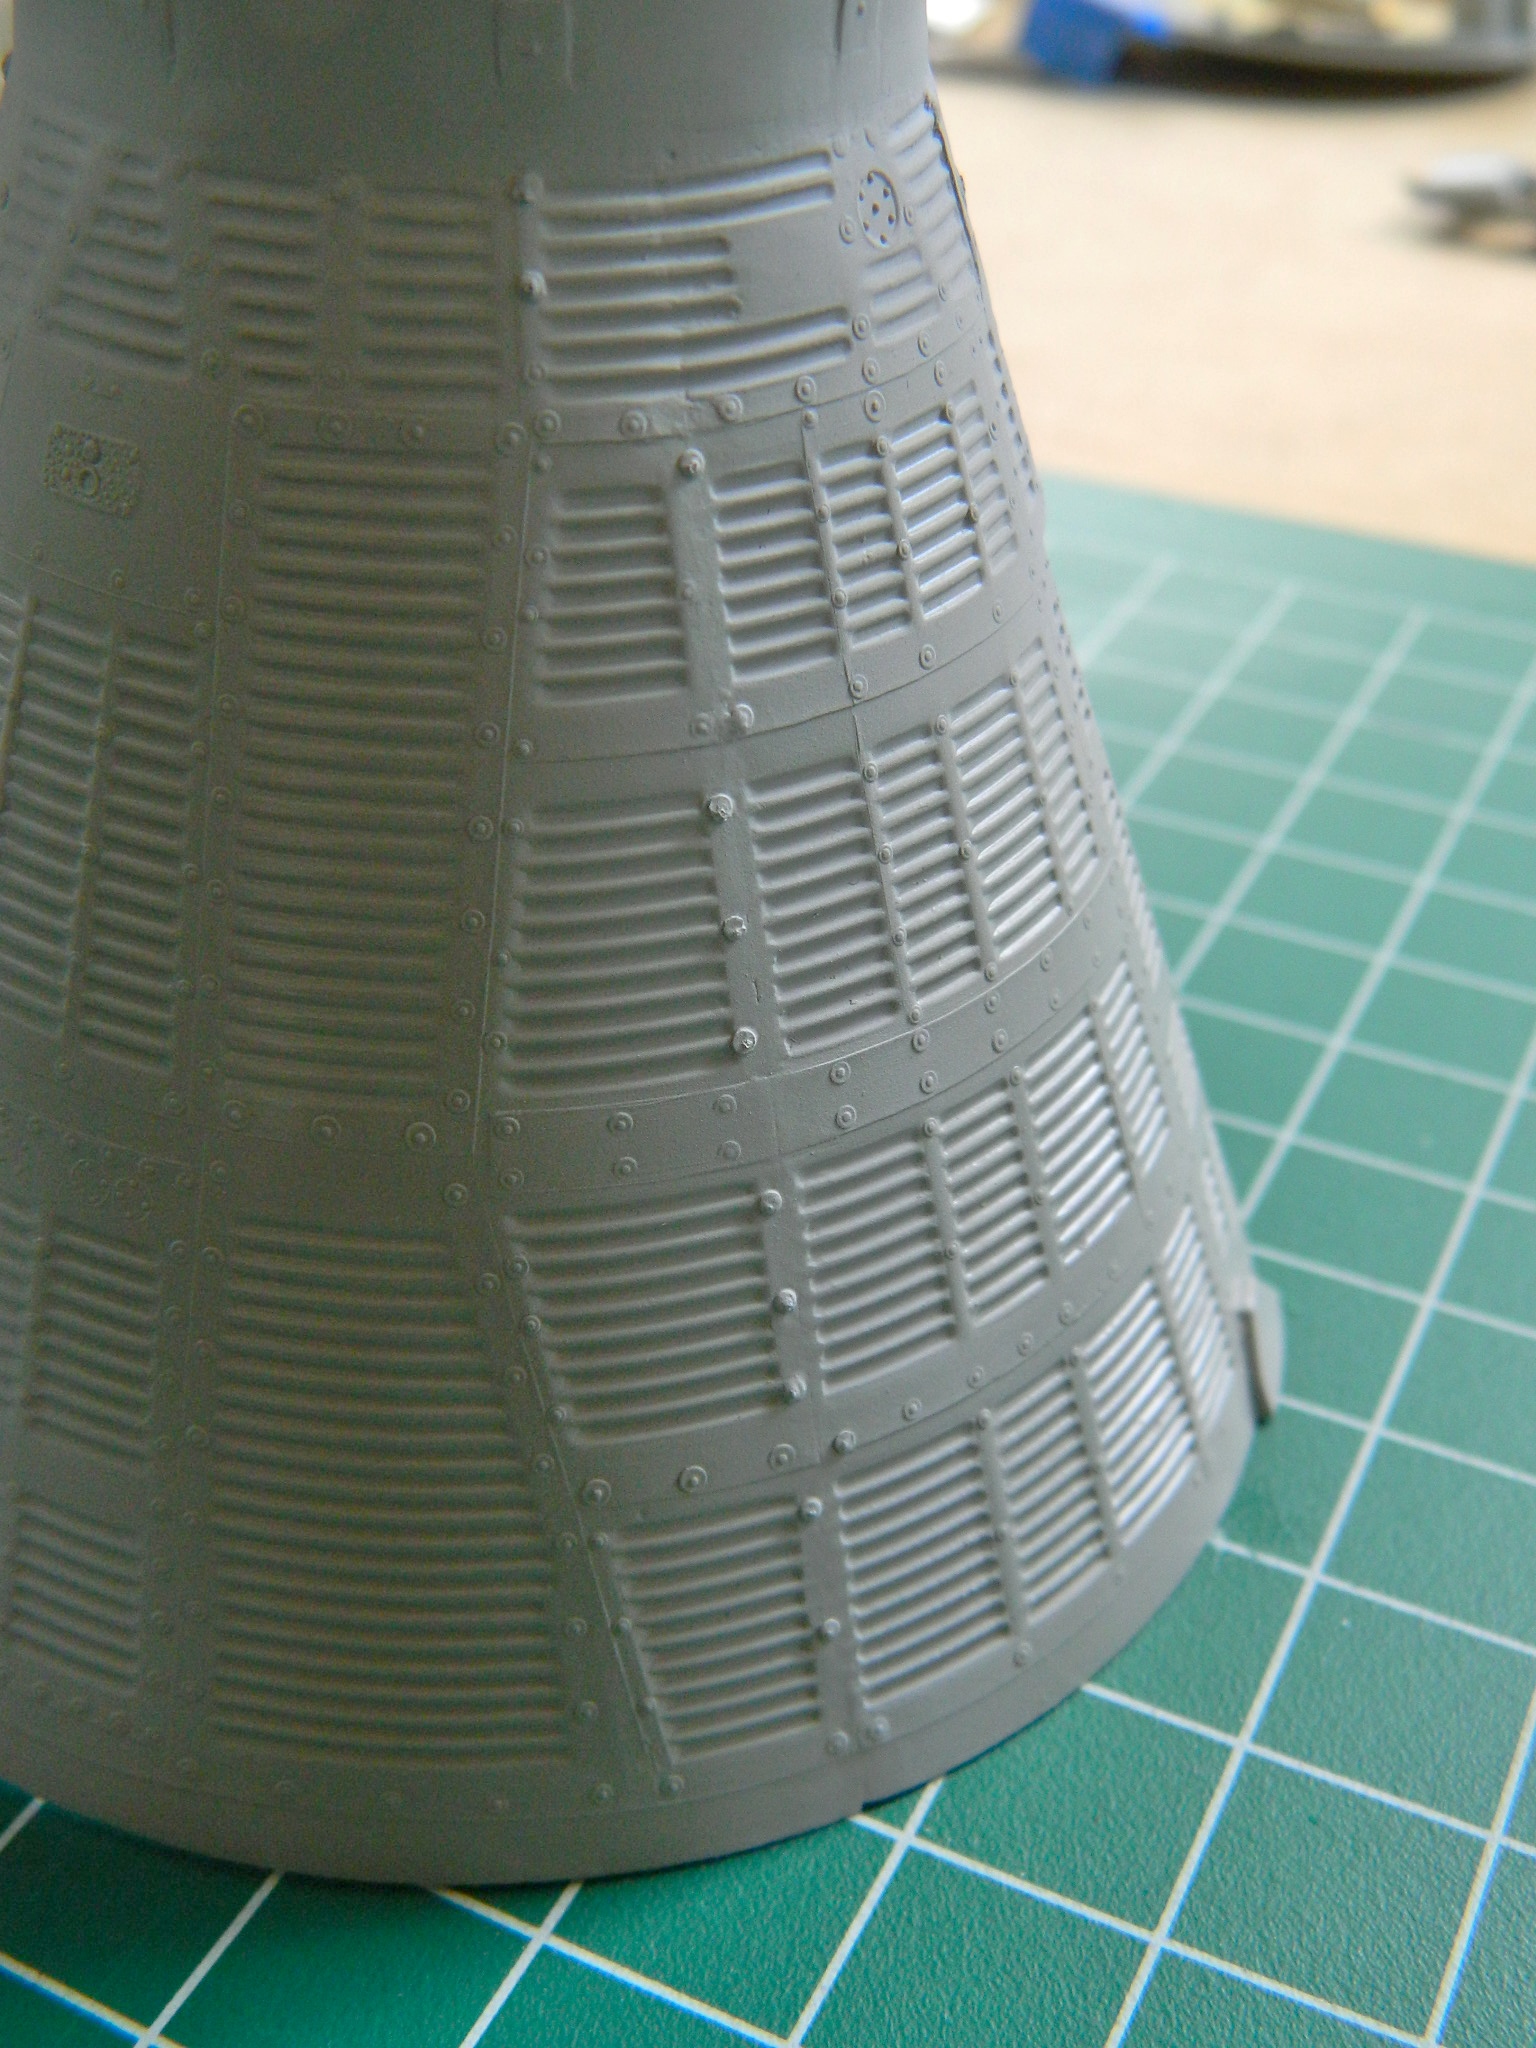
Needing a break from dealing with the surface of the capsule, I decided to do some of the work the hatches need. The PE parts were close but the bolts that hold the ports in place are quite prominent. I used Grandt Line bolts, adding the perimeter bolts and most of the inner bolts (there isn’t enough room to do all of the inner bolts):
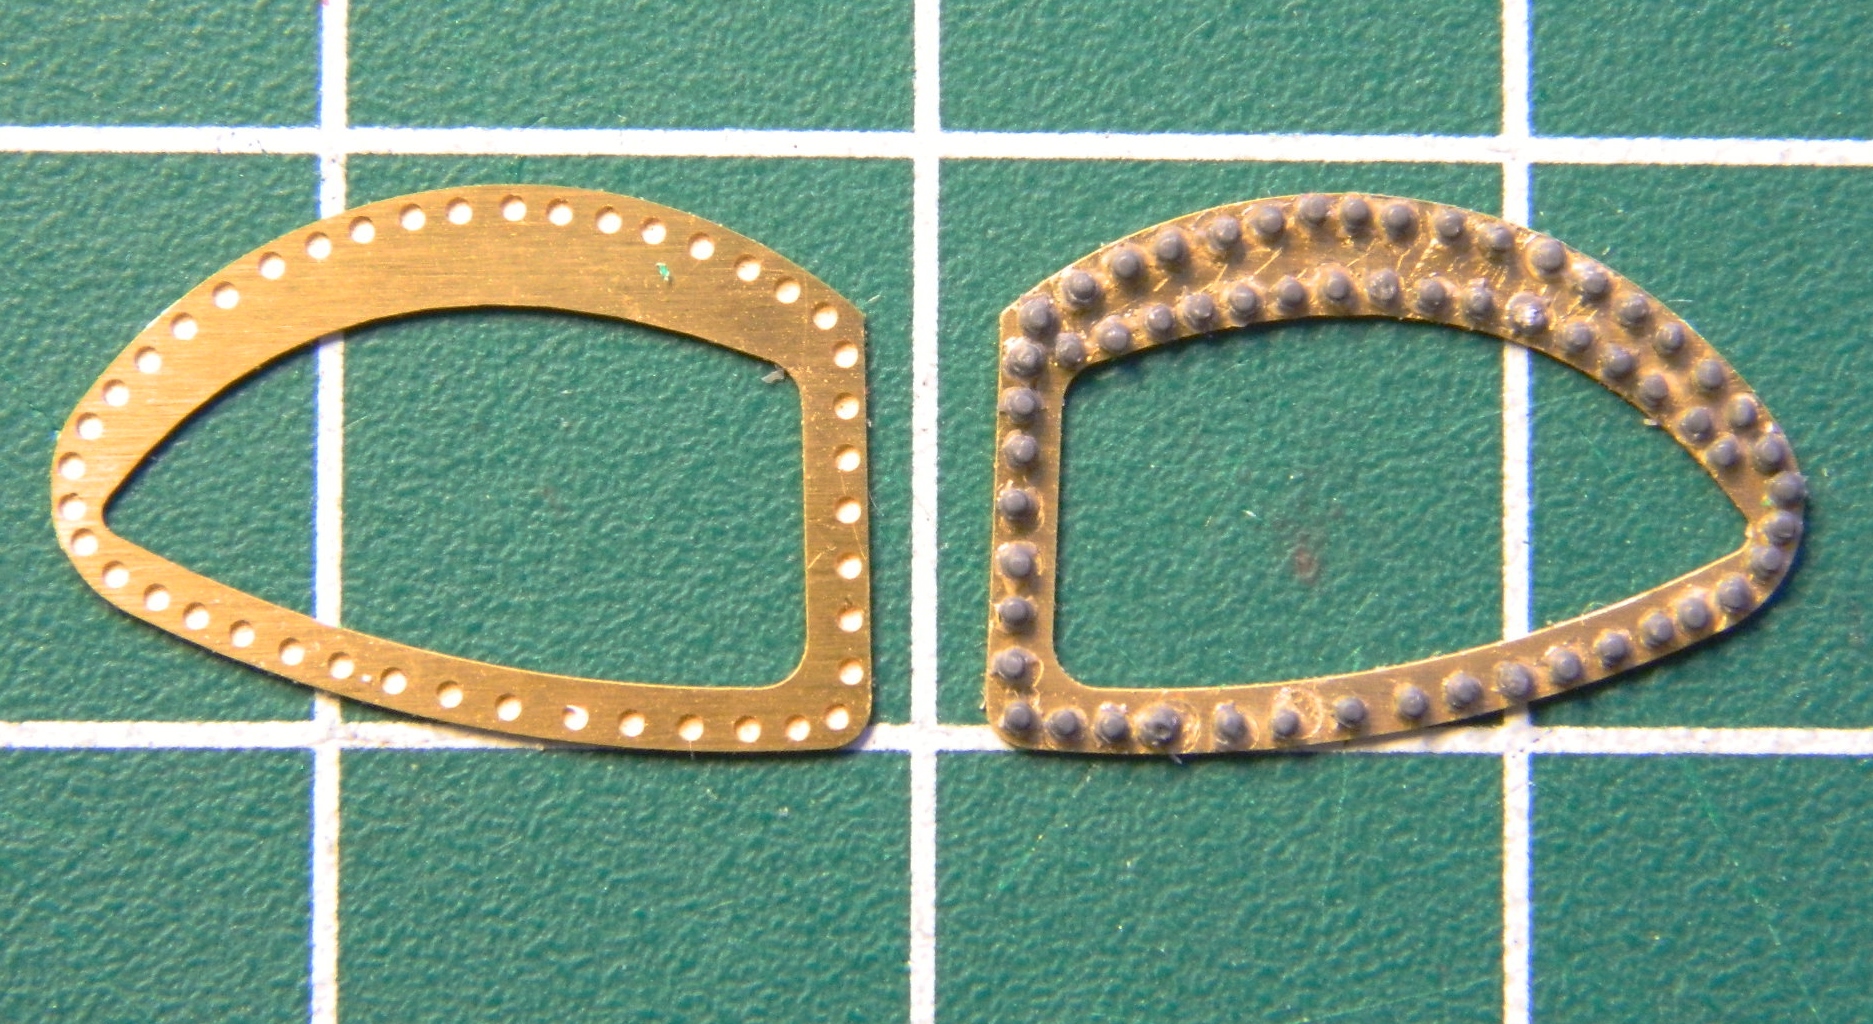

I also removed the ejector pin marks on the inner hatch surfaces (as-supplied on left, mostly finished on right):

Not having enough work to do already, I figured I’d screw up the resin instrument panel by not paying attention to where the saw went. Luckily I stopped and checked my cut, which is when I saw I’d cut into the raised details of the right side instrument panel. I glued in .015 (.381mm) styrene and cut it down to meet the surface:
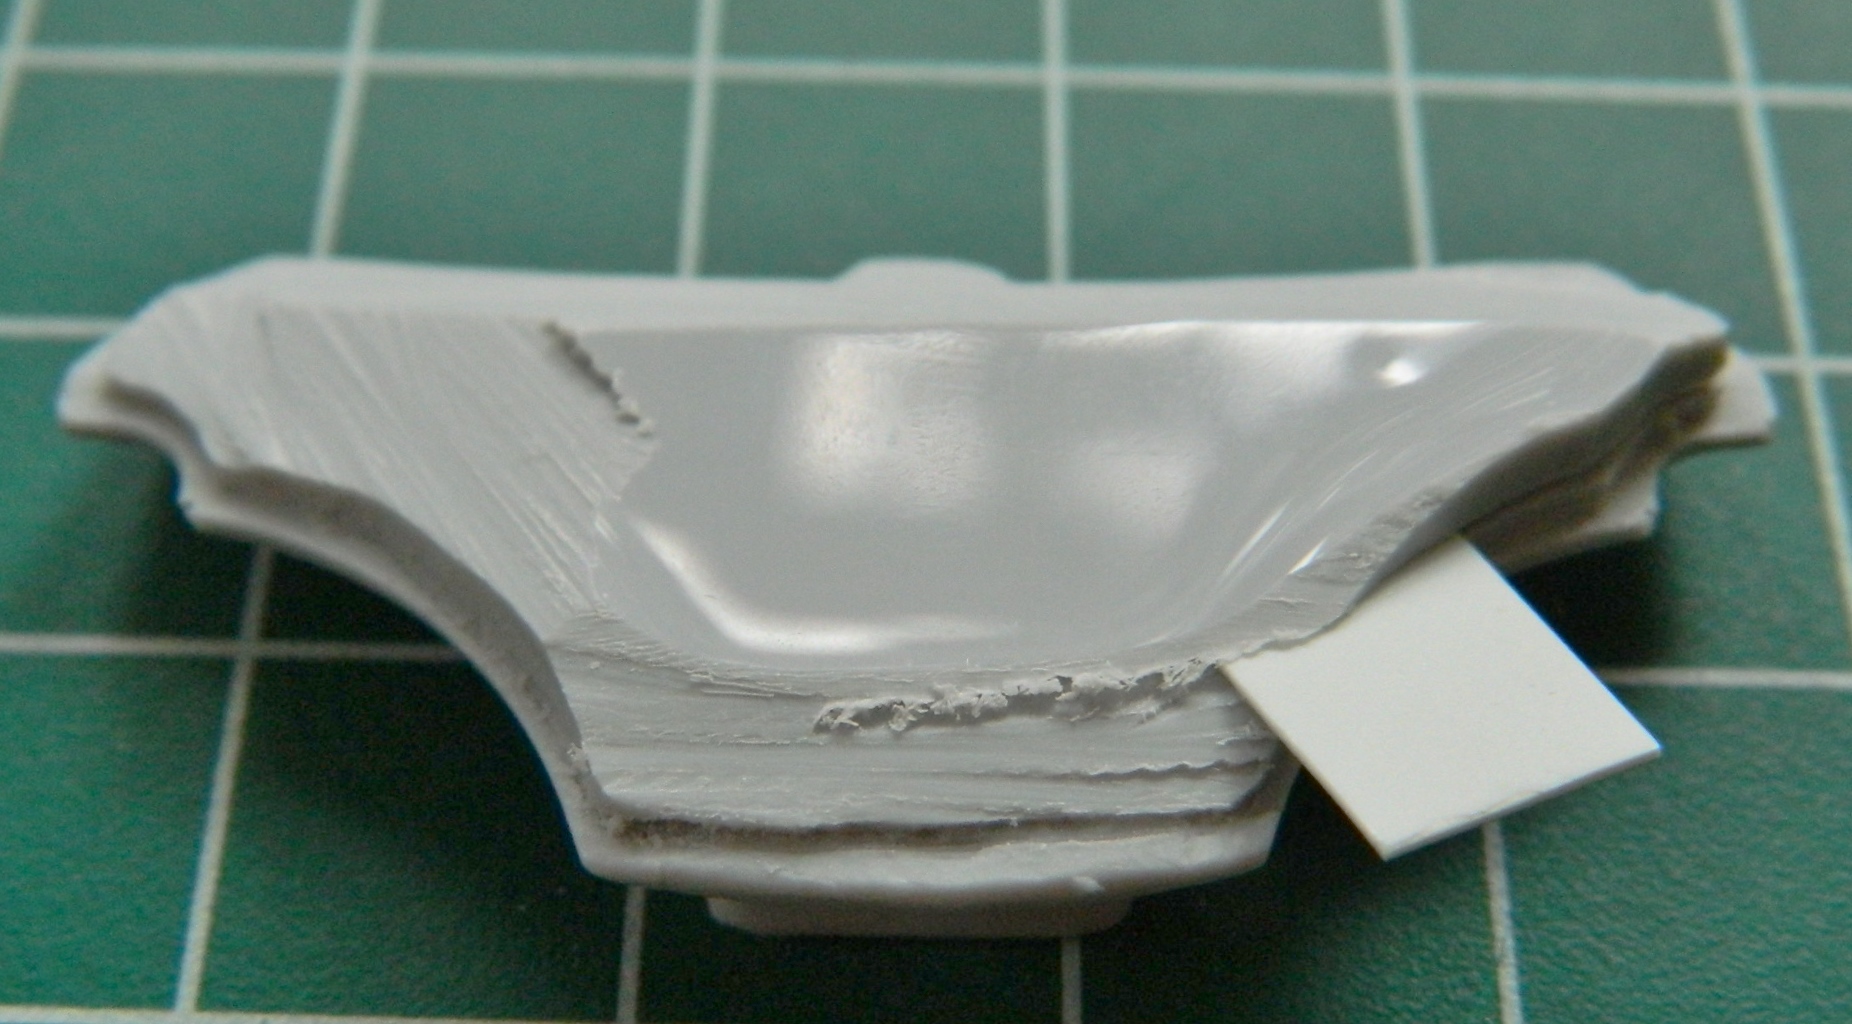

I didn’t destroy all the raised detail but I did wipe out enough to require some sort of clever fix. My first thought was to modify and use the kit part, but the part is so inaccurate that the amount of work (assuming my skills made it possible) to fix my screw up was too much:
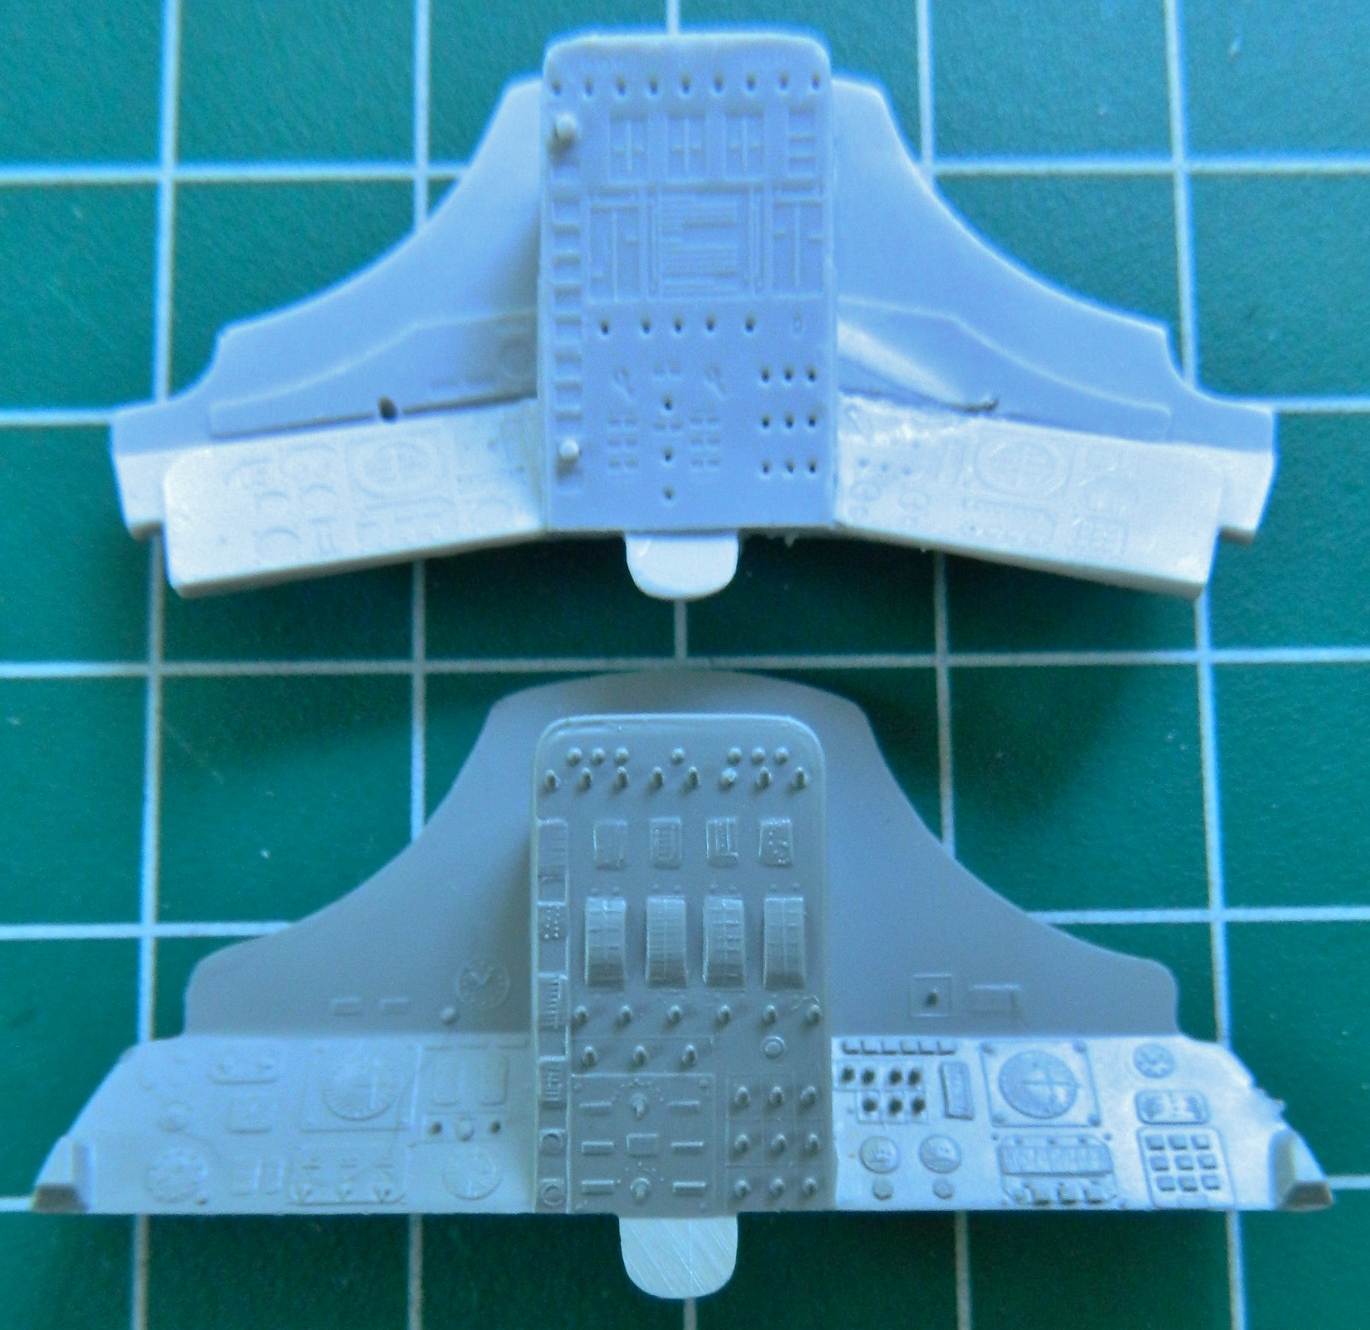
Fortunately the AM set also included PE panels that I will use to cover my mistake:

Gemini (Revell) Build #2 – Starting on the PE Interior Parts
With the glue (finally) set, I masked off the surface to minimize having to clean putty away from unnecessary surfaces and applied the putty:

I added the mounts for the ejection seats to the rear bulkhead:
Then I started on the ejection seats themselves. When I first cut the parts free, I wondered how much of a drill this was going to turn out to be:
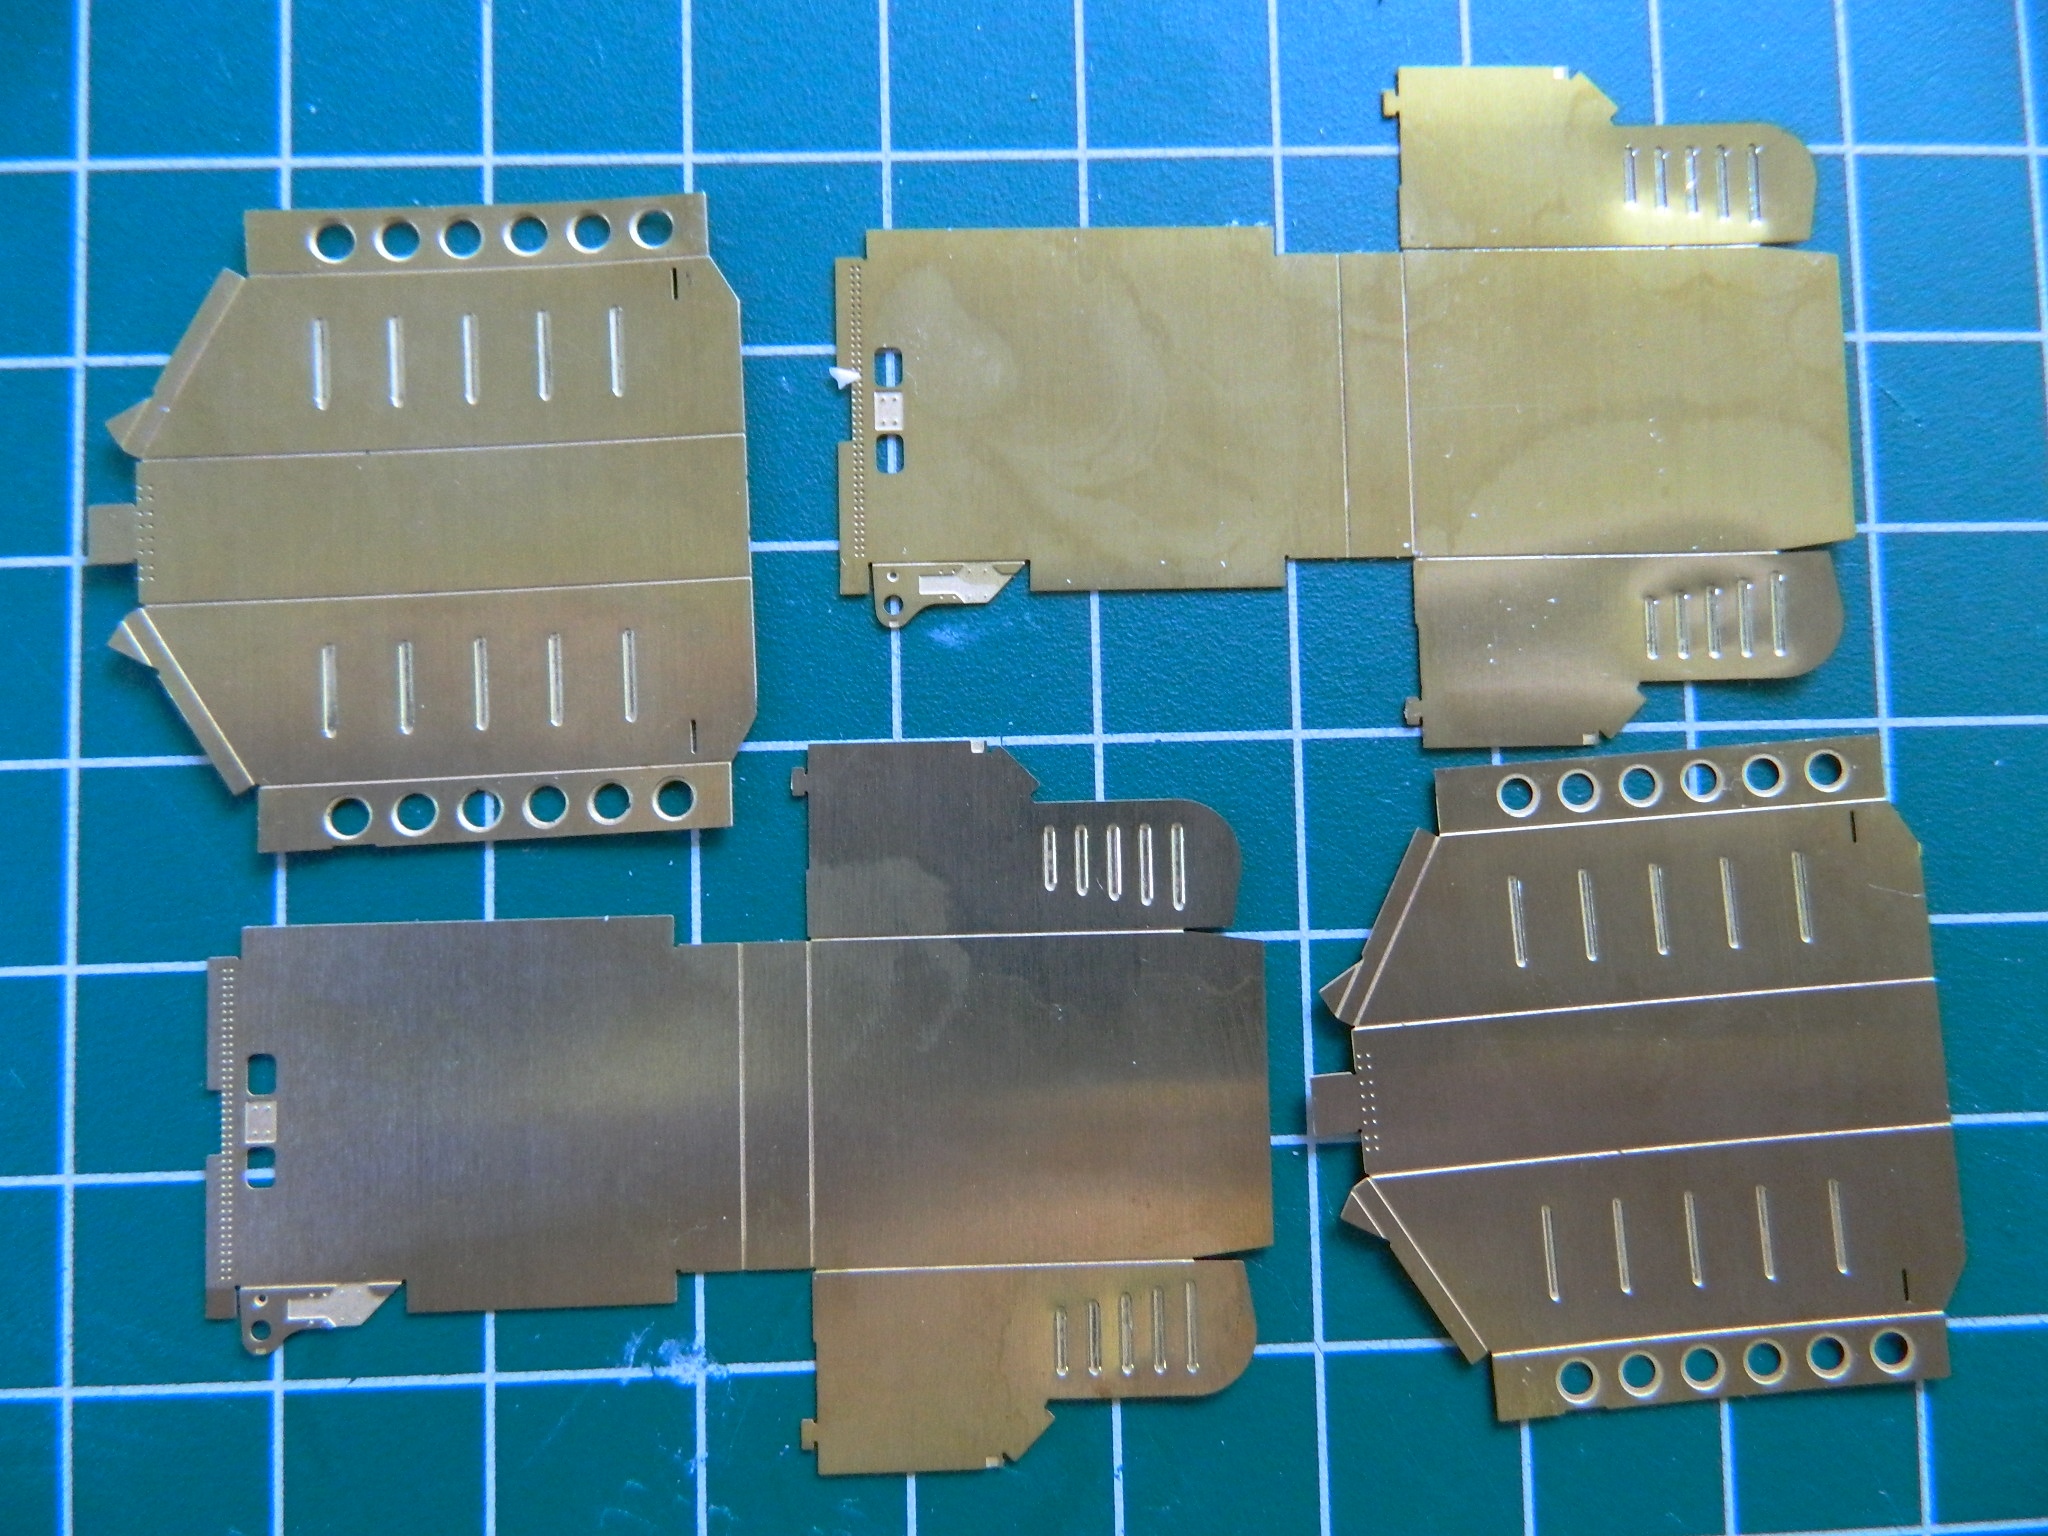
LVM Studios, the people who produced this AM set really engineered it beautifully. The parts fell together as much as something this complex can. The scored panels made making all the bends SO much easier:
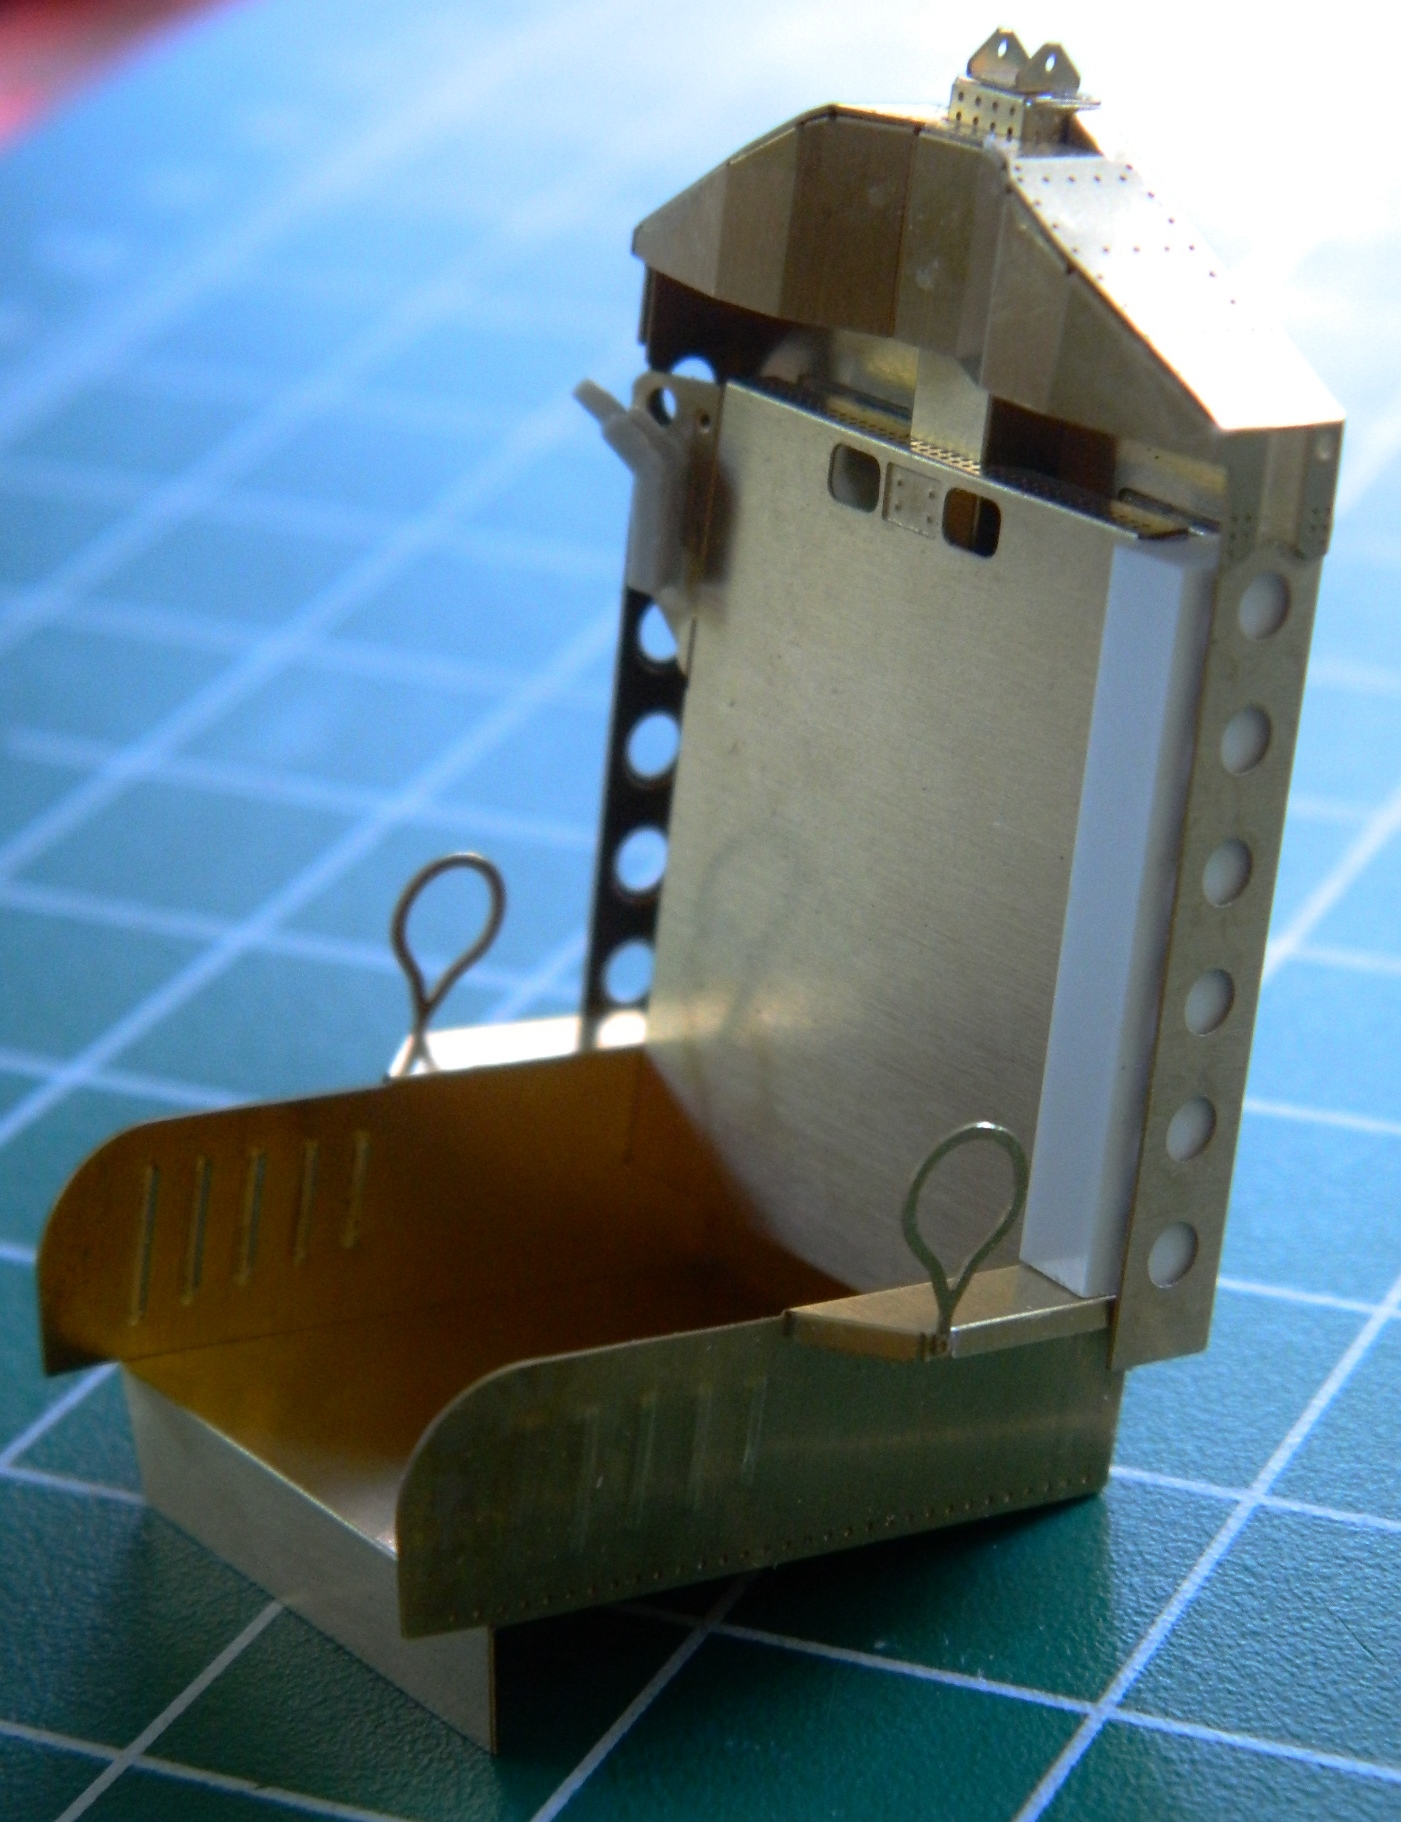

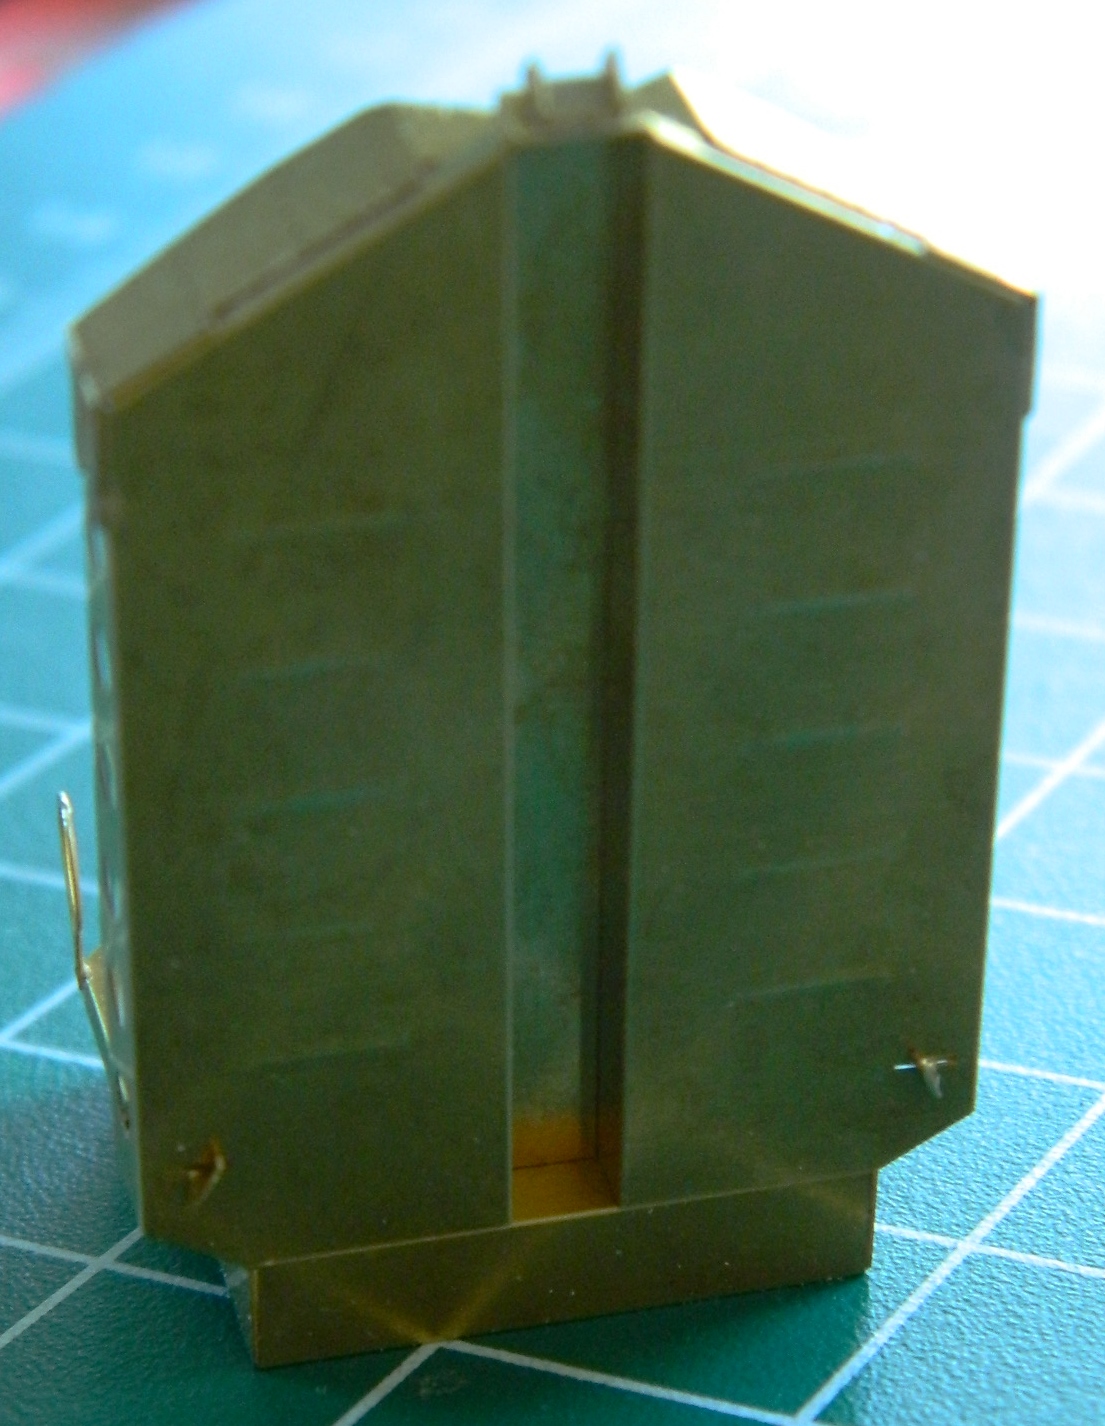
The first one went together easily using superglue; no solder. So I made the second one and dry-fit them to their mounts (I’ll attach them permanently after painting them):

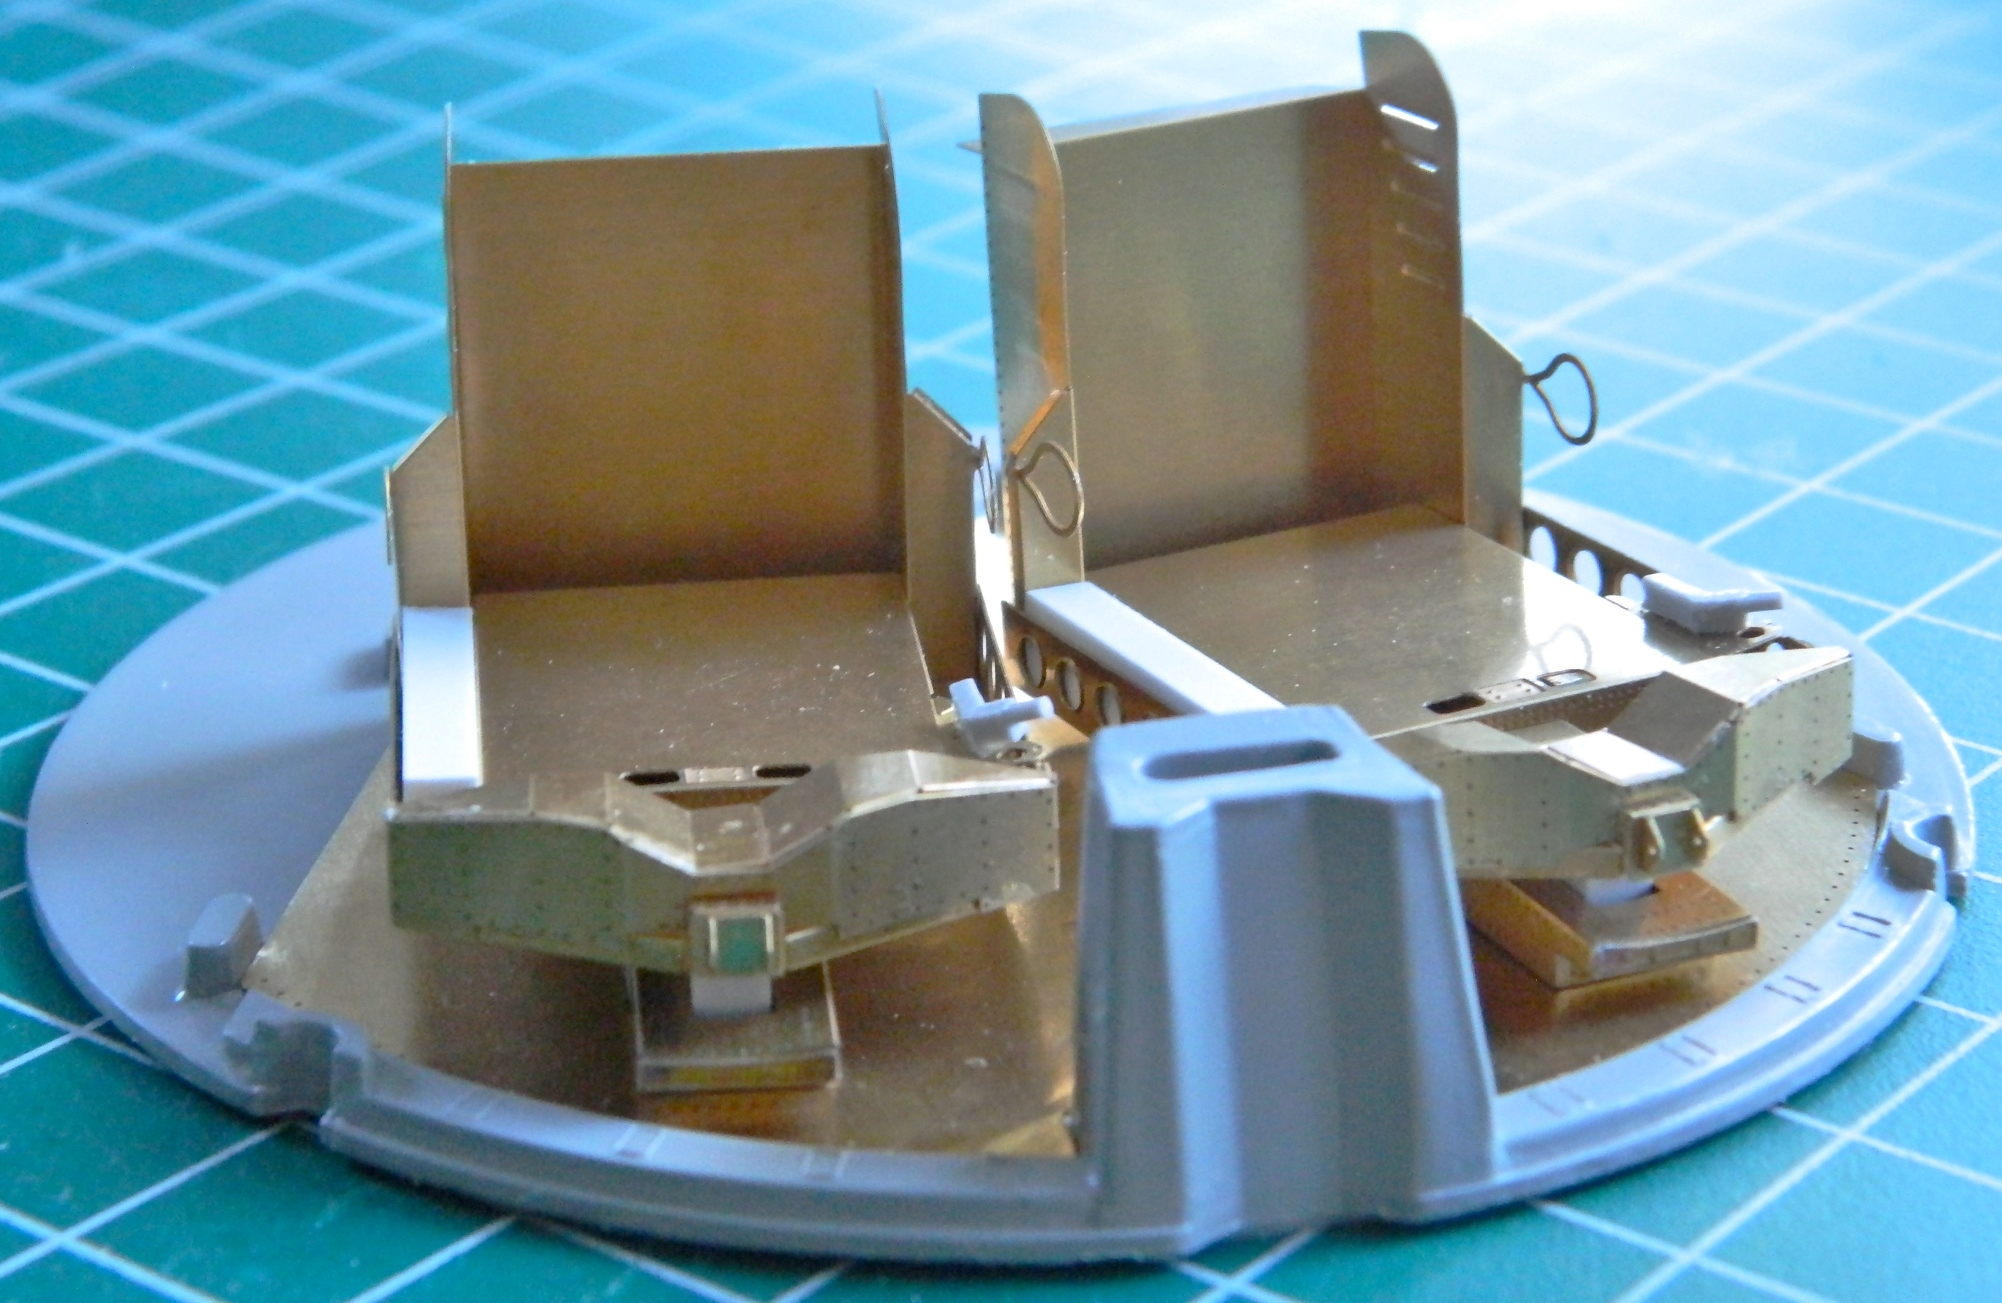
The (surprisingly) easy part done, I’ll turn my attention to cleaning up the exterior next. I suspect that won’t be easy at all.
Gemini Program – A Brief Overview
[Information taken from, http://nssdc.gsfc.nasa.gov/planetary/gemini.html%5D
In December of 1961, NASA announced a plan to extend manned spaceflight. The goal was a manned mission to the moon and to do that, NASA needed to learn everything. What were the effects of weightlessness on a human body? Could humans function in space at all? What where the psychological effects of being confined to a (VERY) cramped spacecraft for a long period of time? Though the math supported the idea, could humans actually effect docking with another spacecraft? What would happen to a human’s perceptions outside a spacecraft? Communication and tracking needed to be refined. None of what we know today was anything other than a theory in 1961. If the US was to fulfill Kennedy’s mandate of a man on the moon by the end of the ’60s, all of this had to be ascertained first.
There were a series of twelve launches, two unmanned for testing and ten crewed launches.

It was an ambitious and successful program (even when things went wrong). Aside from the obvious difference of two crew and a larger capsule, I think the major difference between the Mercury program and the Gemini program was in the basic paradigm. Mercury was primarily ground-controlled research and development vehicle and the astronaut’s ability to control the capsule could be effected, though limited (however Gordon Cooper’s manual re-entry after the onboard computer crashed really stretched the limits of what the astronaut could do!). The Gemini capsule was designed to be primarily controlled by the crew, though ground-control could effect back-up control. The Gemini program intended to develop procedures astronauts would need to get to the moon and back.
Another major difference was how the capsule itself was constructed. Mercury capsules were essentially built from the inside out. If something inside broke, everything outside that was in the way had to be removed before it could be repaired. The Gemini capsule offered modular construction enabling just the affected module to be replaced.
About the capsule:
The Gemini spacecraft was a cone-shaped capsule consisting of two components, a reentry module and an adapter module. The adapter module made up the base, or rear, of the spacecraft. It was a truncated cone 228.6 cm high, 304.8 cm in diameter at the base and 228.6 cm at the upper end where it attached to the base of the reentry module. The spacecraft consisted of a truncated cone which decreased in diameter from 228.6 cm at the base to 98.2 cm, topped by a short cylinder of the same diameter and then another truncated cone decreasing to a diameter of 74.6 cm at the flat top that housed the radar. The reentry module was 345.0 cm high, giving a total height of 573.6 cm for the Gemini spacecraft. The adapter module and radar module were detached in orbit and the capsule then became the reentry module.
The adapter module was an externally skinned, stringer framed structure, with magnesium stringers and an aluminum alloy frame. The adapter was composed of two parts, an equipment section at the base and a retrorocket section at the top. The equipment section held fuel and propulsion systems and was isolated from the retrorocket section by a fiberglass sandwich honeycomb blast shield. The retrorocket section held the reentry rockets for the capsule.
The reentry module consisted mainly of the pressurized cabin which was to hold the two Gemini astronauts. The unmanned test flights had instrumentation pallets holding cameras, accelerometers, batteries, and other devices situated in the astronaut area for those missions. Separating the reentry module from the retrorocket section of the adapter at its base was a curved silicone elastomer ablative heat shield. The module was composed predominantly of titanium and nickle-alloy with beryllium shingles. At the narrow top of the module was the cylindrical reentry control system section and above this the rendezvous and recovery section which holds the reentry parachutes. The cabin held two seats equipped with emergency ejection devices, instrument panels, life support equipment, and equipment stowage compartments in a total pressurized volume of about 2.25 cubic meters. Two large hatches with small windows could be opened outward, one positioned above each seat.
The program started with the first unmanned launch on April 8, 1964, and concluded on November 11, 1966.
About this build:
I’m looking to replicate the capsule used on the Gemini VIII mission. That was an interesting mission and certainly showed how adaptable a crew could be when the alternative was death. Here’s the highlights of that mission:
Gemini VIII March 16, 1966
Crew: Neil Armstrong (Command Pilot), David Scott
Mission: Three-day mission. Planned rendezvous and dock with an Agena target vehicle and perform one EVA (Scott). Mission aborted after 10 hours, 41 minutes, and 26 seconds due to thruster malfunction.
Problems: After a successful dock the stack went into a tumble. Armstrong attempted unsuccessfully to use the OMS (orbital maneuvering system) to stabilize the stack. He undocked and the capsule went into an even worse tumble, turning one revolution per second, causing the crew to black out for a short period of time.
Out of radio and radar contact with Ground Control, Armstrong decided to abort the mission. Without confidence in the OMS, Armstrong switched to the Landing System, took manual control, and stabilized the capsule, using most of the fuel required to de-orbit.
Managing a successful de-orbit burn, Gemini VIII splashed down in a different ocean than had been planned for. Instead of the intended splashdown site off the east coast of the United States, the capsule came down a thousand miles south of Japan in the Pacific Ocean. The USS Leonard F. Mason successfully retrieved the crew and capsule.
No conclusive reason for the thruster malfunction was determined*. It has been assumed that an electrical short, probably due to a static electricity discharge, allowed power to flow to the thruster, even when switched off. Subsequent designs changed the circuits so that each thruster would have an isolated circuit. The thruster problem never repeated.
*The reason for the lack of determination of what caused the problem is due to the fact that all the hardware associated with the problem had to be detached in orbit in order for the capsule to reenter successfully.
P-51 (Accurate Miniatures) Build #14 – An Inattentive Error Sidelines the Build For Now
With the arrival of the clear styrene, I turned my attention and effort back to finally getting the landing light covers done.
I needed to cut a piece of styrene that would fit and to do that I needed a template. I decided to use the sticky strip of a Post-It pad that I cut to cover the opening and wrap around the wing. Needing to determine the dimension of the opening, I held the wing up to the light and traced the lighter shape of the opening:

With the shape I needed outlined, I cut the paper, tacked it down to the styrene, and traced the shape I needed to cut out:
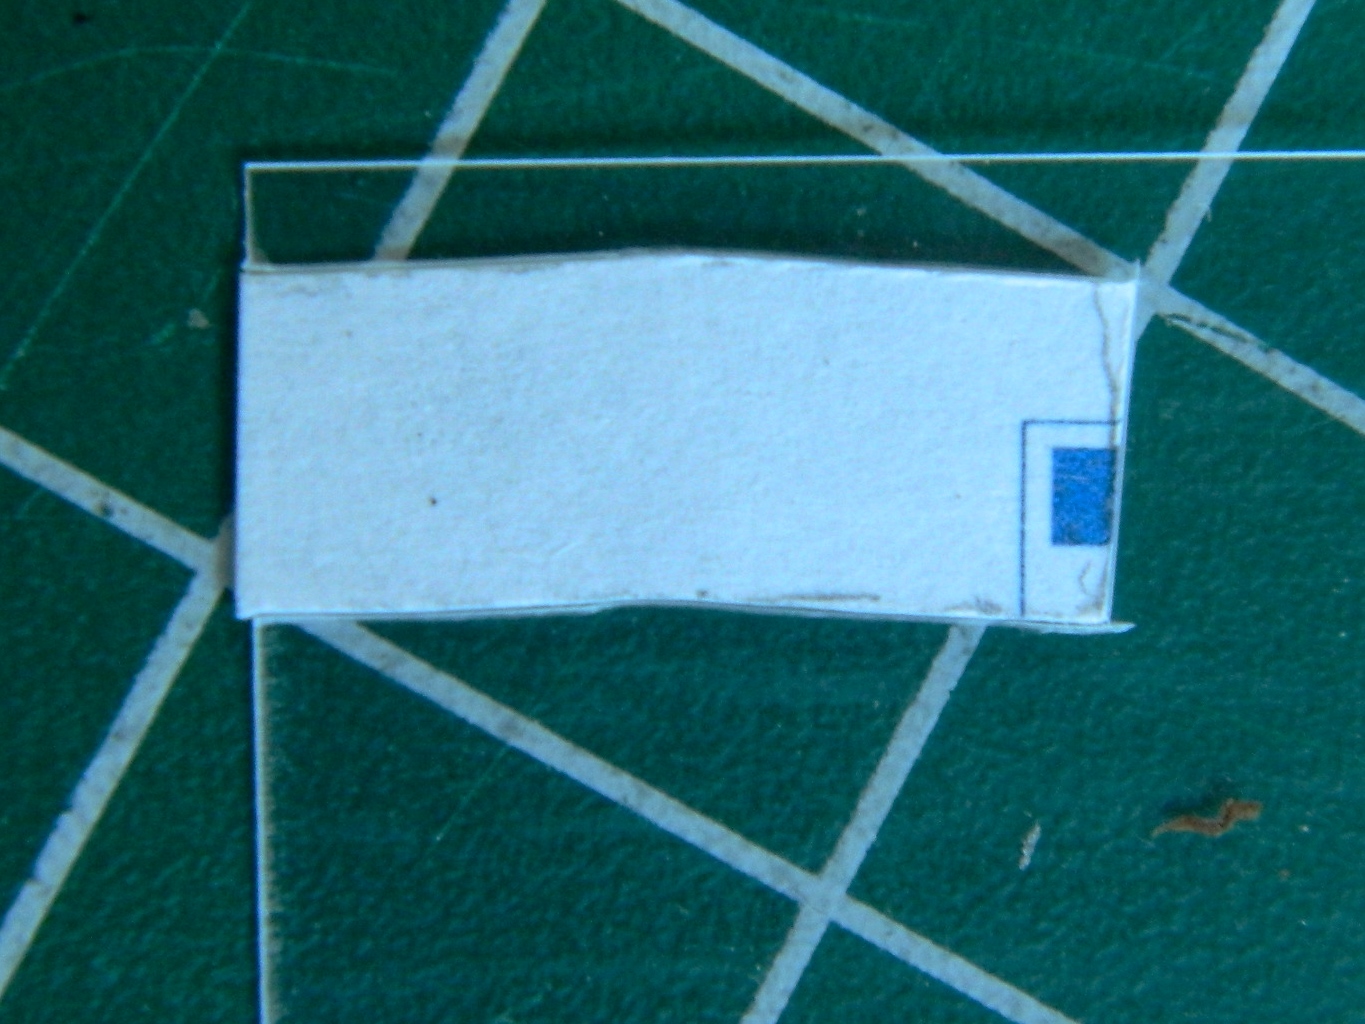
I taped one end in place and then used a hair drier to heat the plastic so that I could bend it around the wing. But once I took the tape off, I discovered that bending styrene caused the curved section to fog, which is not what I want:

Okay, so I repeated the process on butyrate:
And THEN I dropped the sodding model and snapped off the shaft the propeller was supposed to slide over:

Not AT ALL pleased with myself, I figured, “Okay…I can fix this.” And then I noticed that the hair drier, though it did a good job at heating the butyrate landing light cover, also did a FINE job of deforming the collar and shroud of one of the guns:

Well. My head didn’t exactly explode, but my reaction was…well…bad. Very bad. Ears ringing, nose running, earwax melting, eyes narrowing, claws extending, BAD.
Perhaps not obvious in these posts is the fact that this build has (as much as an inanimate object can) fought me every step of the way. Well, okay…I like a challenge. And then there’s this thing called “erosion.” Erosion operates very slowly and is rarely evident until whatever is being eroded is gone. And looking at that deformed gun mount brought to my attention the fact that my enjoyment found in surmounting challenges and difficulties had eroded away.
This isn’t my job. I’m not getting paid for doing this. It’s supposed to be enjoyable (the grown-up word for “fun”). I am NOT ENJOYING THIS ANYMORE. So I’m going to do something that I’ve never done before. I am stopping this build before finishing it. It’s getting boxed up and put on the shelf. If I don’t do this I am going to take a hammer to this thing and reduce it to a pile of plastic and resin (with a little butyrate) fragments.
The best part of being good is knowing when to quit. Perhaps I’ll come back to this ANNOYING build at a later date but for today I am done.
DONE.
Time to go put things away, clean the shop, and decide what I’m going to build next.
P-51 (Accurate Miniatures) Build #13 – Wrestling With Landing Lights, Replacing Propeller
Next, I wanted to get the clear covers over the wing-mounted landing lights. When I vacuformed the canopy, I also used the kit light covers as bucks to pull clear over. Well…I learned something with these parts. The easy part was forming them. Then I had to figure out how to hold something this SMALL while first trimming it, and then trimming it to fit:
Then I had to figure out some way to hold it while I glued the cover in place, so I made a “handle” using masking tape:
Okay, though tedious, up until now everything was going as planned. Past tense. Trying to glue the cover on was a massive exercise in futility. There just isn’t enough surface area on the edges of either the cover or the wing to effect a decent (not even good) bond. Well, poop.
Then I had the idea of using the spare kit to provide that area of the wing where the landing lights are as a buck. The idea was to use a larger piece of plastic and effect the gluing process by making it larger than needed so that I could cut recesses into the surface of the wing to provide a larger surface for gluing and then putty/sand the addition into obscurity:
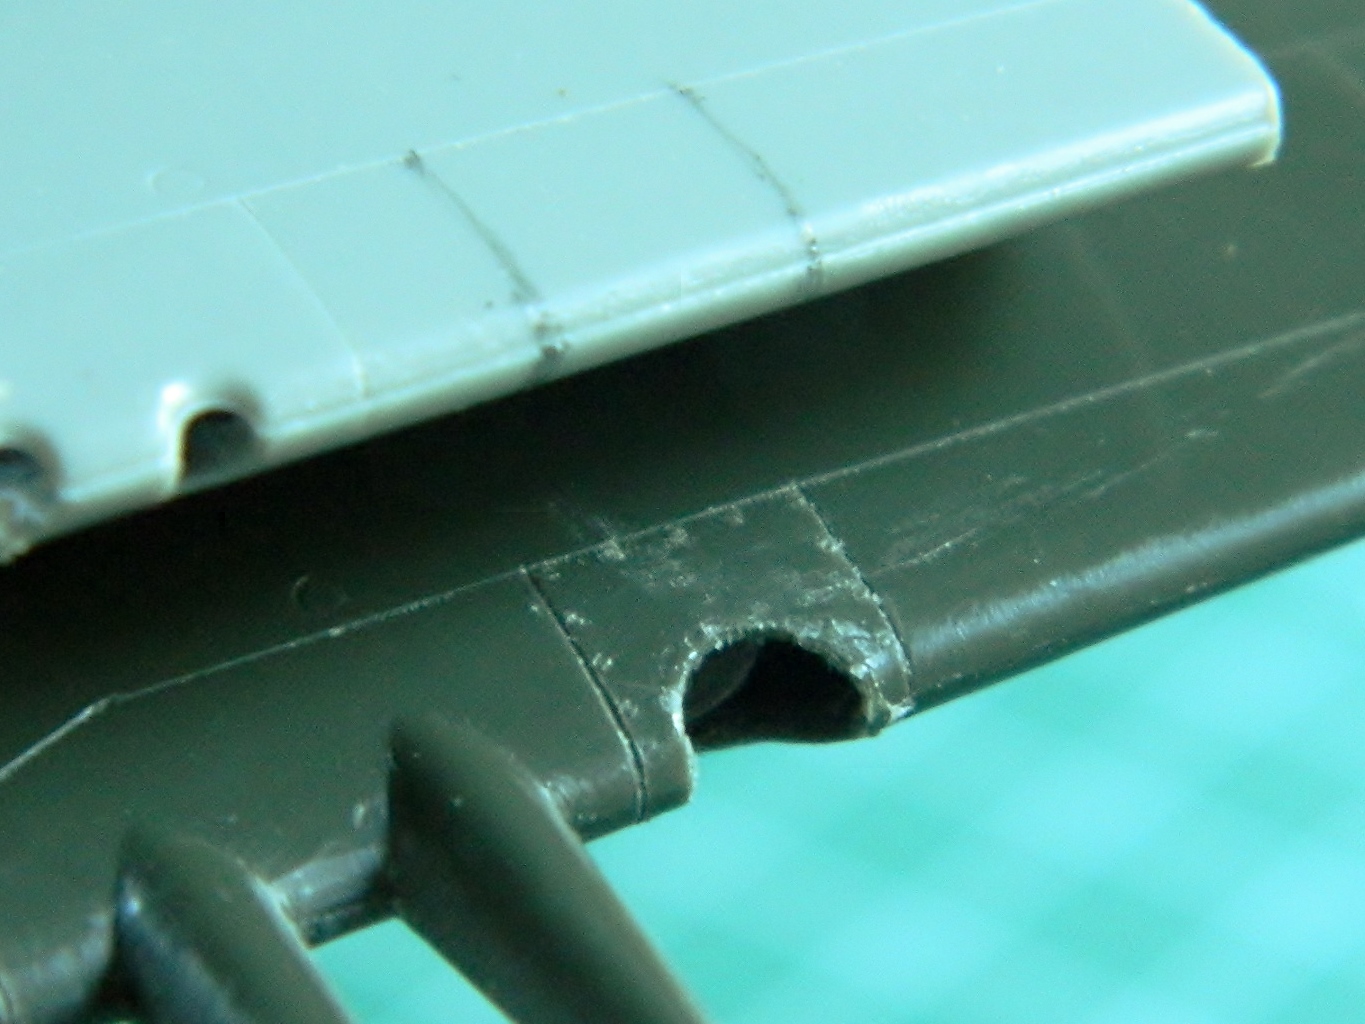
At this point I suspected that how I was viewing the task was creating a cage for me. Did I have to vacuform these covers? Well…no. In essence, it’s a flat piece that curves under and forms the leading edge of the wing. So why not cut a flat piece of plastic, glue one end in place, and use a hair dryer’s hot air to create the curve? This would also allow me to remake the landing lights (because I knew the ones already made would not likely survive the excision) and fit them into the clear plastic prior to installing the assembly into the wing.
I began by cutting the molded-in landing light away:
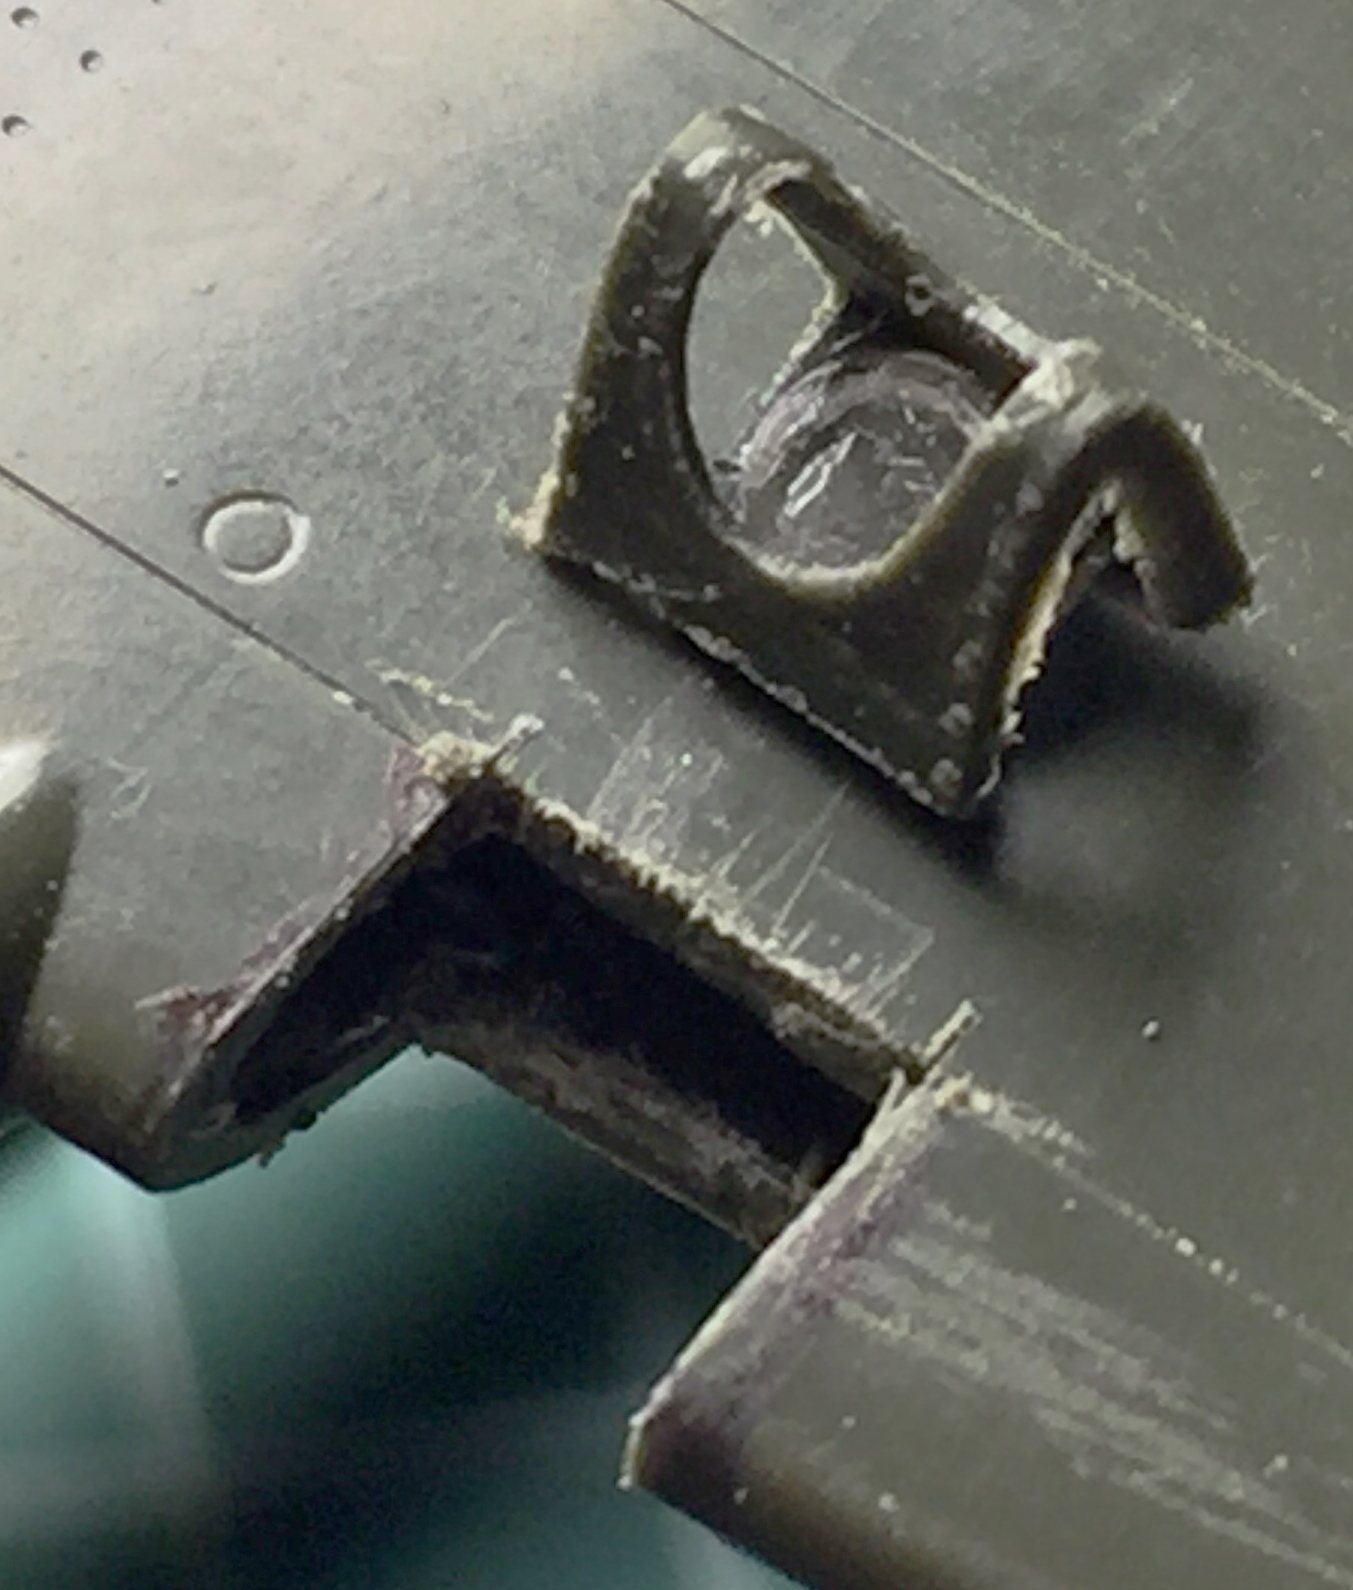
Then I used masking tape as guides for the panel scriber. I scribed first so that I could use the panel lines to guide the knife when it came time to remove plastic from the wing’s surface to recess the clear piece:
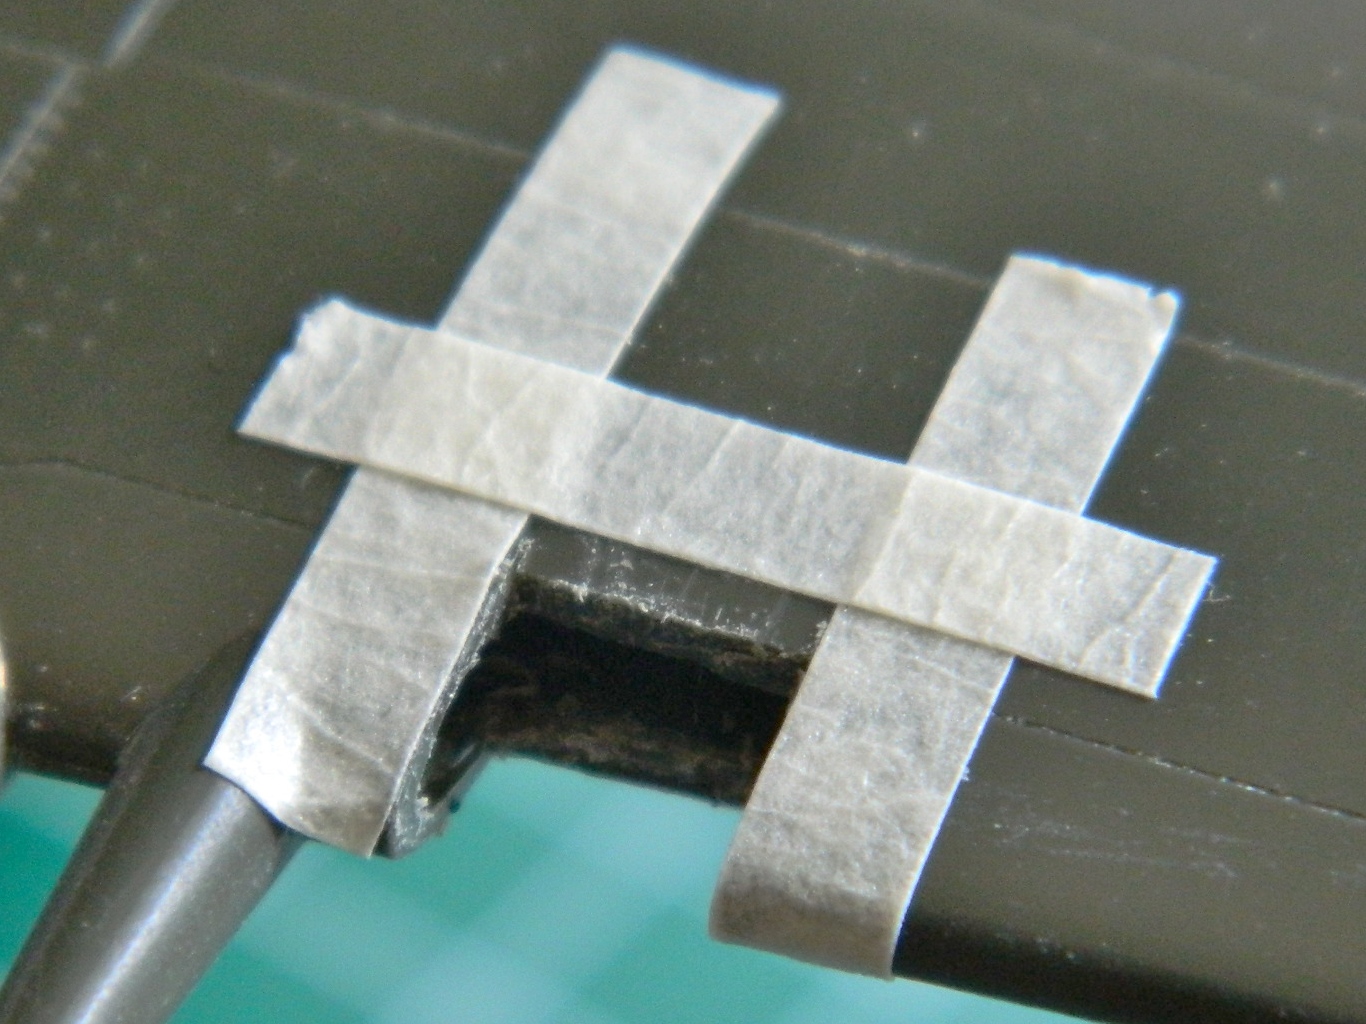
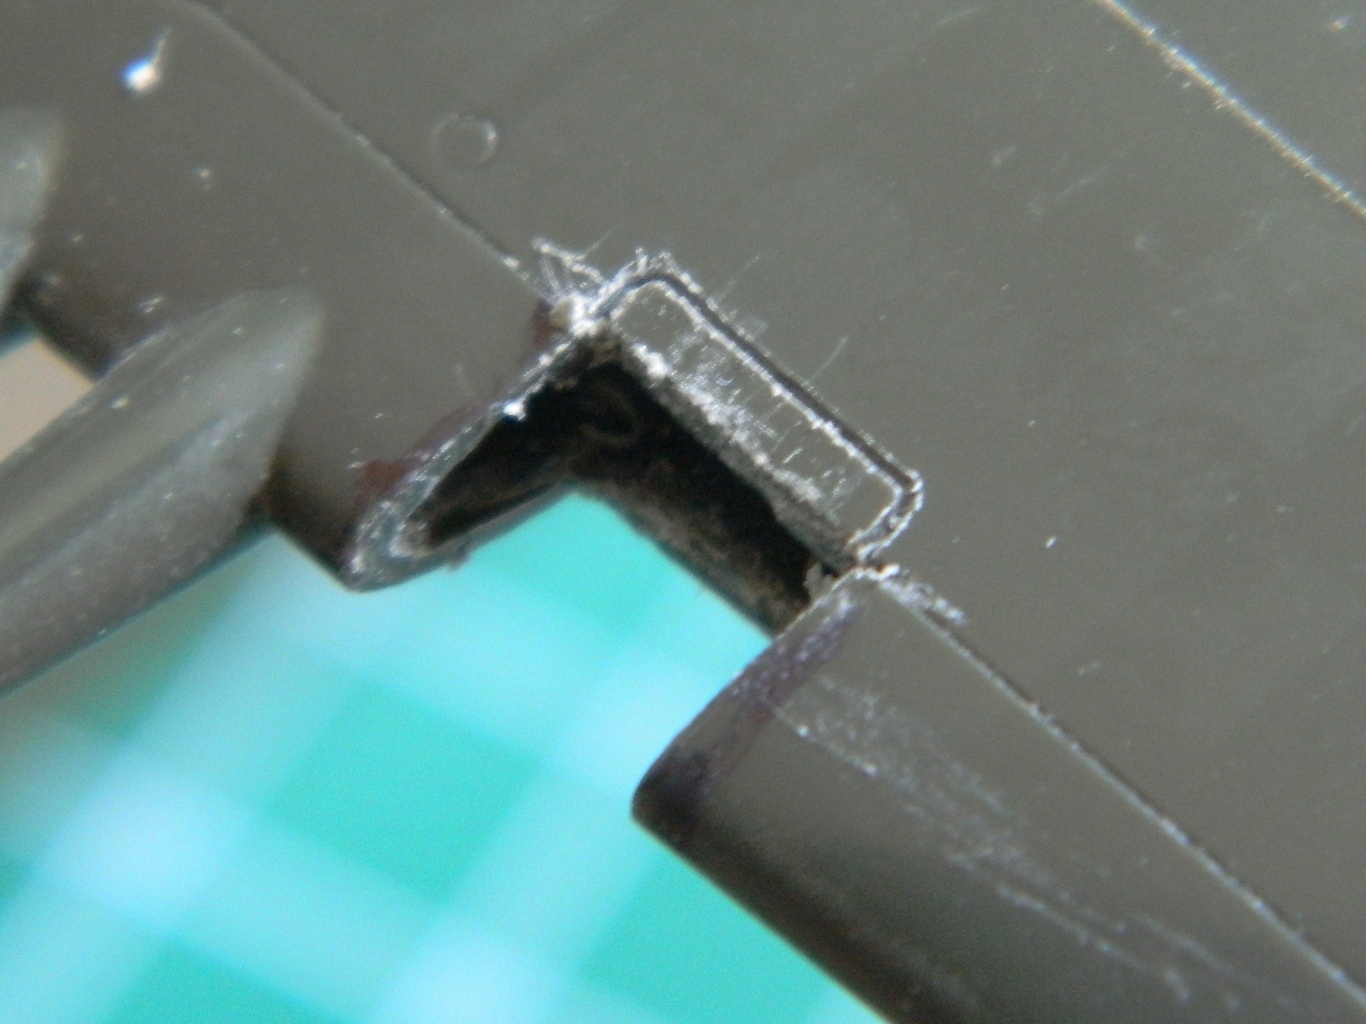
The grooves act as guides to keep the knife from skipping across the surface (again) as I removed the plastic:
This part of the build came to an abrupt halt when I realized I didn’t have any more clear styrene on hand. I could use butyrate instead but I want to use styrene so that I can use styrene cement to effect a solid bond. Okay…put this aside for now. I’m sure there’s something else I could do.
I could do the propeller!
A famous weak point in the Accurate Miniature Allison Mustangs is the shape of the propeller. They look less like propeller blades than they do elongated canoe paddles. Yeah, I could rework the kit parts. Or, I could replace the prop with something more accurate. On my shelves I happen to have the AMT/Ertl kit of the A-20G Havoc. I checked one of the props from that kit against the Accurate Miniature’s prop and it’s a very close match, only without the inaccuracies. But I also want to build the A-20G so I’m going to need those props. In looking online, I found a resin Hamilton Standard prop set for the A-20G. I bought ’em, made molds of the parts, and cast copies.
In order for the hub to fit inside the Mustang’s spinner, I had to cut the end off the propeller hub. Then I had to center the hub on the backing plate. To do that, I used a machinist’s parallel clamp to hold the hub in place, then used the MkI Eyecrometer to line up each of the blade mounts with the openings for them in the backing plate:



I superglued the hub to the backing plate and then cut and trimmed flash away from the individual blades and dry-fit them to the hub and then placed the spinner over the assembly to check for fit:


The result is MUCH better than the kit part:
I measured the diameter of the pin that the prop mounts onto and drilled out the resin hub and checked for fit (sorry about the color…):
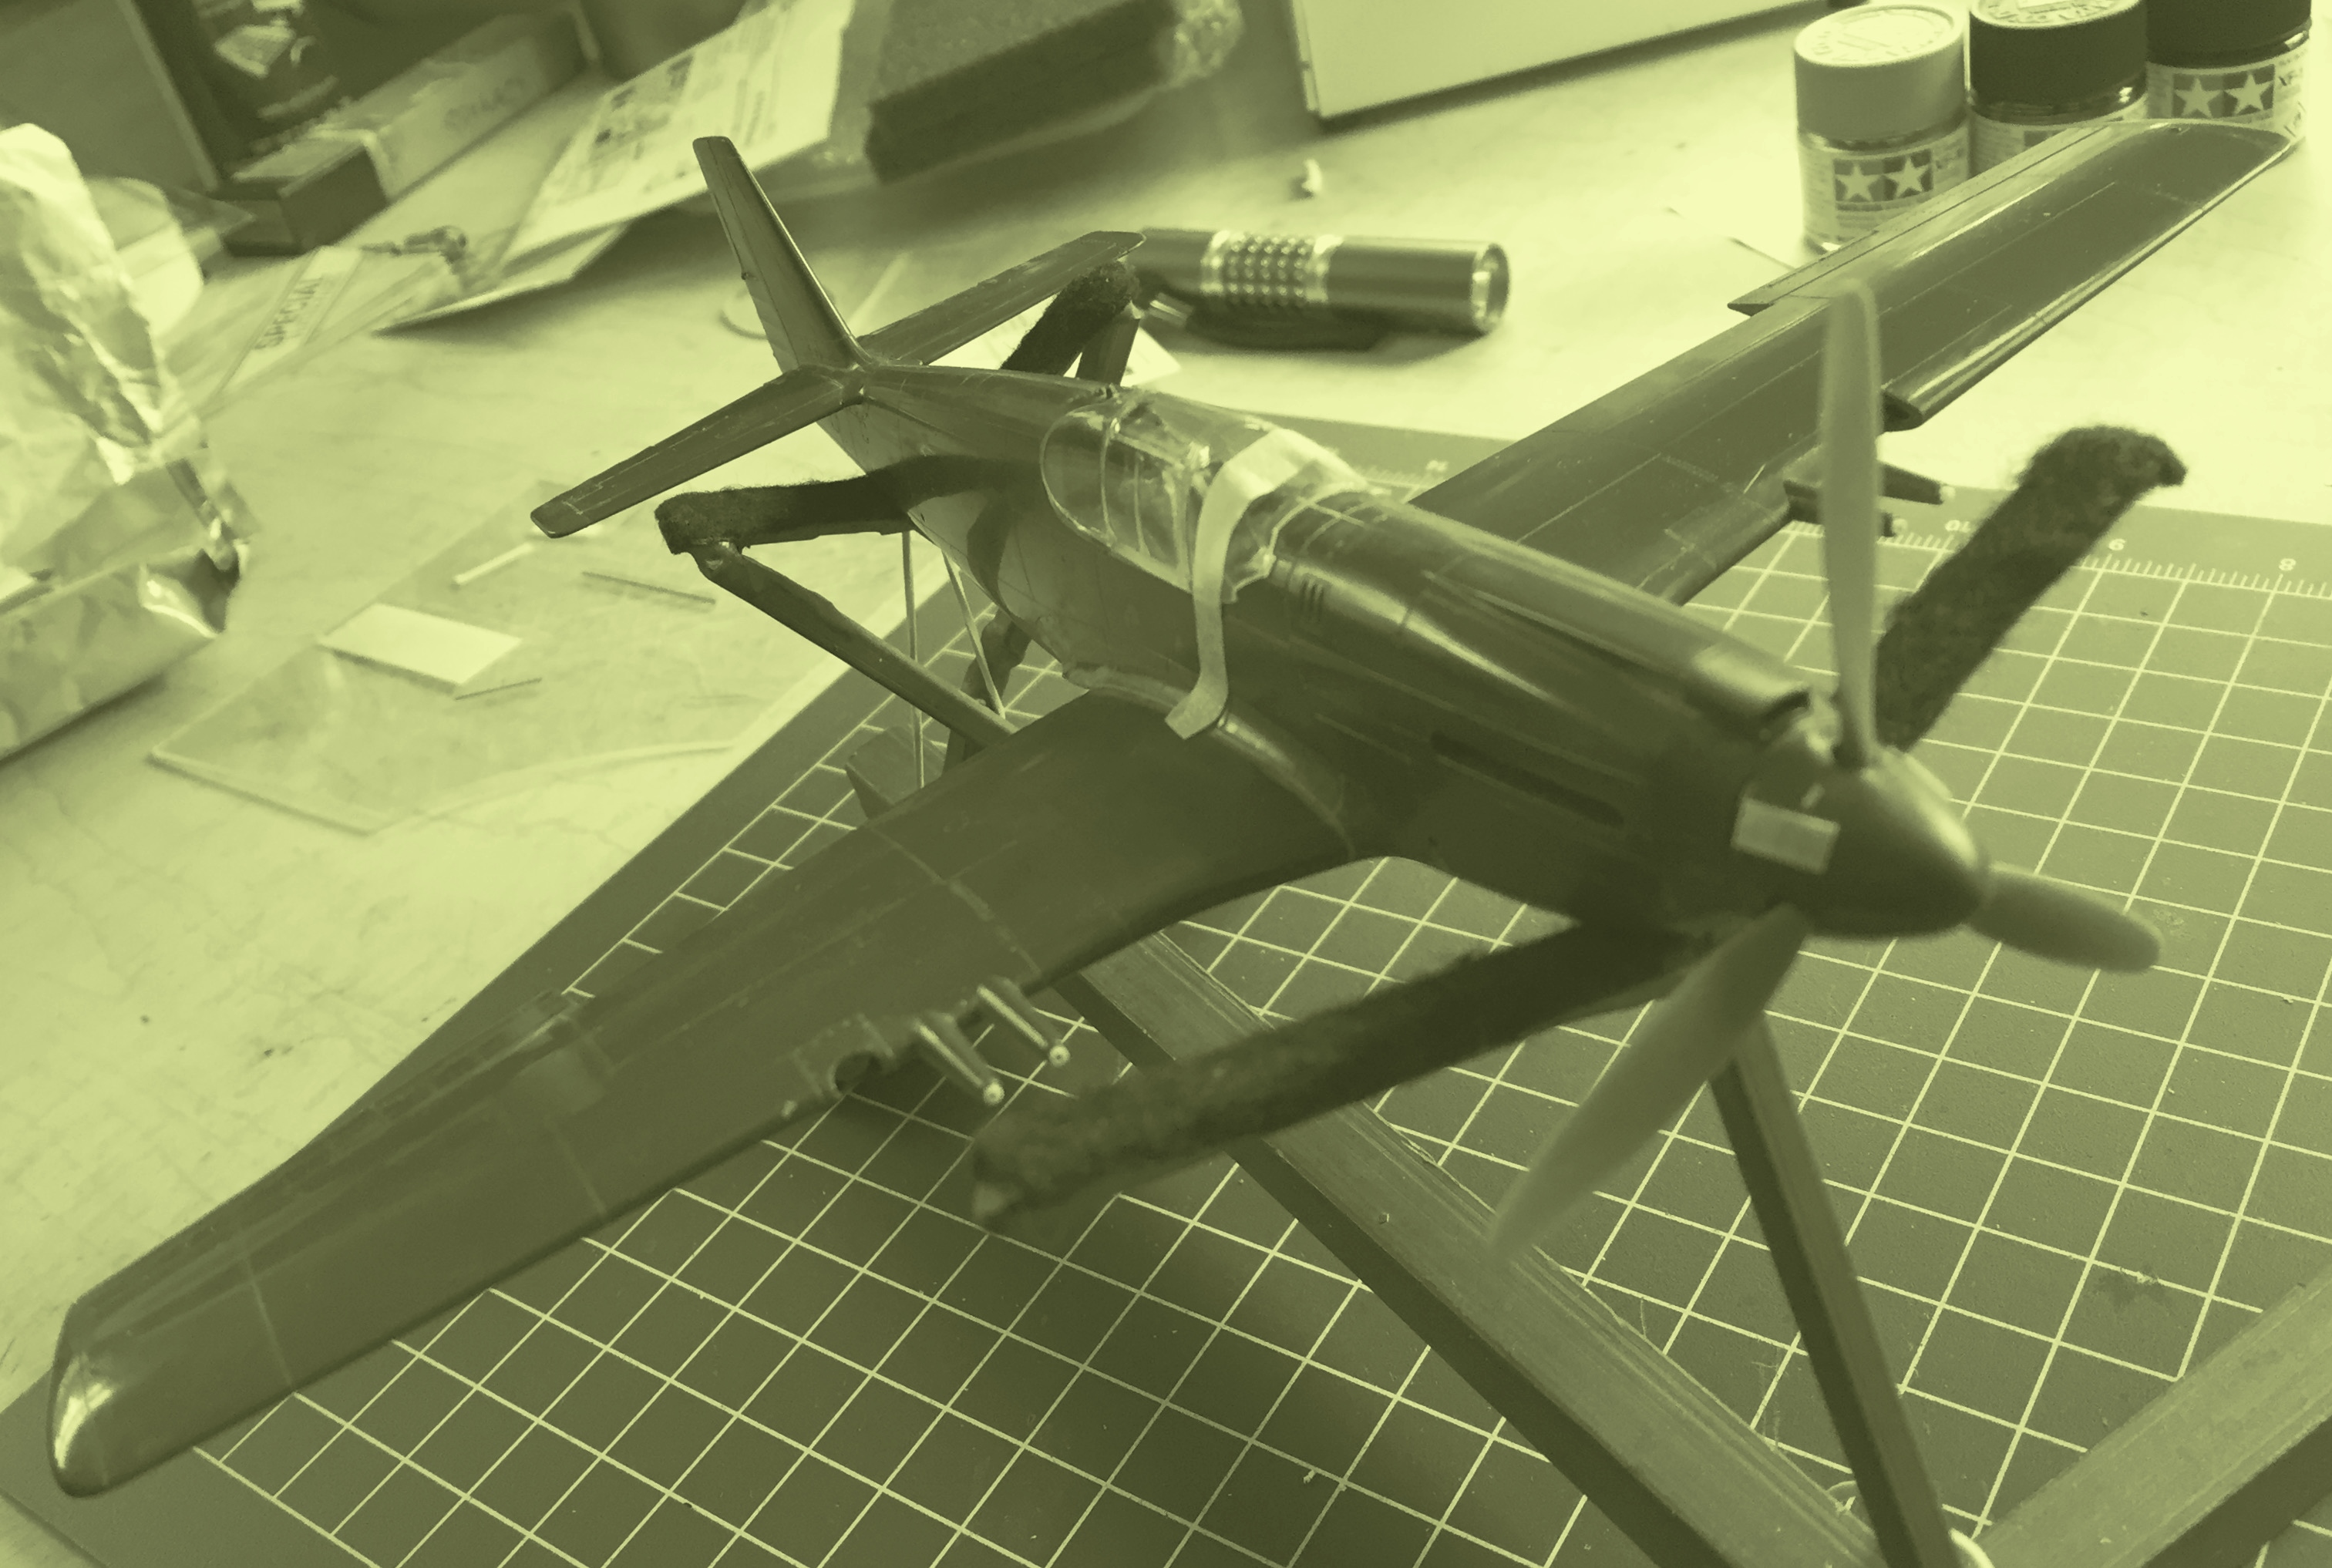
Pending the arrival of the clear styrene, I could also finish up a couple of things in the cockpit that has to be done before the canopy can be glued down and blended it. The coaming over the panel and gun-sight needed to be painted and then the clear reticle for the gun-sight had to be cut out, trimmed, and glued to the gun-sight (talk about fiddly…that reticle is very small):


With the cockpit finished, I can now glue the canopy down and start blending it to the fuselage while I’m waiting for the arrival of the clear styrene…

